cs184-aj
Eric Zhang
HW6 - Raytracer Extension
Project Overview
For my final project I decided to extend the raytracer from HW5 for additional realism and performance.
Here are the new features I was able to implement:
Performance Improvements
- Bounding volume hierarchy
Realism improvements
- Antialiasing
- Glossy reflections
- Refraction
- Translucence
- Soft shadow volumes
Other
- Ambient occlusion
Bounding Volume Hierarchy
Since an acceleration structure was not required for solo submissions, I did not implement one for HW5. Scene 7, the dragon, ended up taking about 70 minutes to render. For HW6, I implemented a BVH structure. I created a box intersection test and then put each object in the scene in a bounding box and combined each box hierarchically. For each ray of the image, we need only traverse this binary tree, thus requiring only theoretical log(n) intersection tests per pixel in a scene with n objects.
As expected, this increased performance greatly.
Scene 7 (dragon) render time:
No image effects enabled
Without acceleration: ~70 minutes
With BVH acceleration: 10 seconds
I was extremely surprised at these results and regret not implementing an acceleration structure earlier.
Antialiasing
Antialiasing greatly improves visual fidelity by reducing jagged edges, providing smoother edges in the regular grid of pixel displays. I implemented antialiasing by shooting five rays, through each corner and the center of the pixel. I averaged the color values from each of these five rays to arrive at the final color of the pixel.
Hover over each image to see image without antialiasing
Glossy reflections
In HW5 we implemented specular highlights but in a realistic scene these highlights are often blurred as objects are rarely perfectly specular. To implement proper glossy highlights, I modifed the recursive reflection implementation. Instead of shooting one reflected ray, I would shoot multiple. These rays would have their direction modifed randomly within a certain grid. The size of this grid dictates the level of "blurriness", the spread of the reflections and is customizable by the user with the "glossy [float]" command. The reflected color is the average of these multiple rays.
Glossy reflections with "glossy 0.2". 16 rays. Hover to see glossy reflections disabled
Glossy reflections with "glossy 0.5". 16 rays. A wider spead so we see a blurrier reflection.
Hover to see glossy reflections disabled

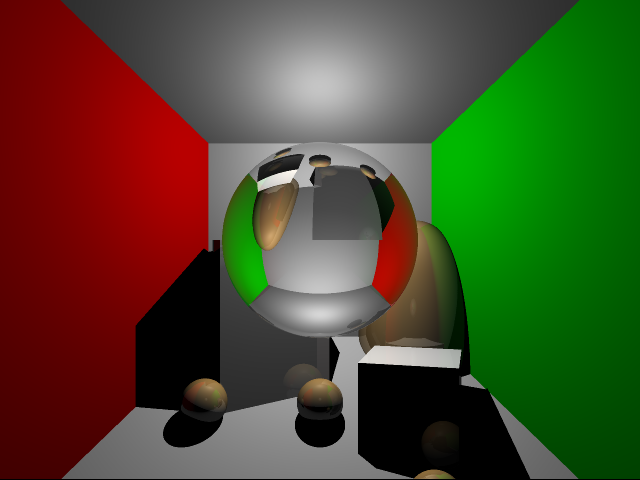
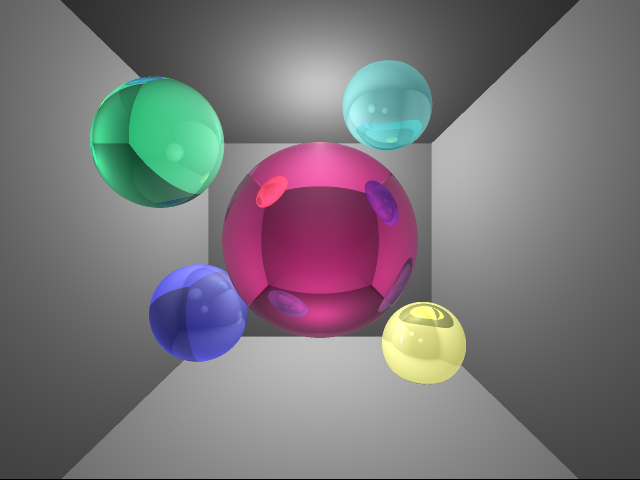
Refraction
To properly implement transparent object, we must account for the bending of lights rays when an object travels from a medium of one refraction index to another. I was able to implement refraction. The scene has a refraction index of 1.0 and each object can be transformed with a customizable refraction index with the command "refraction [float]". Additionally the coefficient of transmission to multiply refracted colors by can be supplied with the command "transparent [r] [g] [b]". Extra was care was taken to preserve the state of the current refraction index in each ray so the refraction index can be properly changed when entering a new material vs exiting a new material.
Glass ball, refraction index 1.51
Several glass balls, refraction index 1.51. Colors varied by setting different transmission values using the "transparency [r] [g] [b]" command
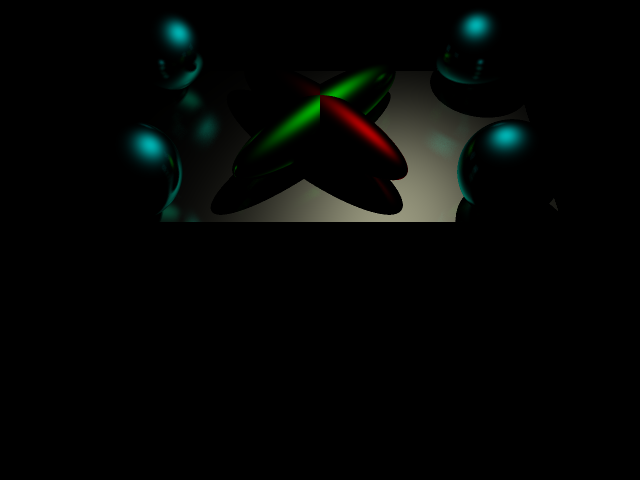
Transluceny
Realistic ransparent objects will often scatter light. I implemented translucency in a manner similar to glossy reflections. For the recursive refraction ray, I now shoot multiple rays with each randomly positioned about a grid with size dictated by the user with the "translucent [float]" command. The larger the size of the grid the more spread the transmission would be and thus the blurrier the image.
Translucent ball, refraction index 1.02 (visually similar to a hollow glass ball).
Translucent grid size 0.03 using "translucent 0.03". 9 rays
Hover to see image with refraction but no translucency
![]()
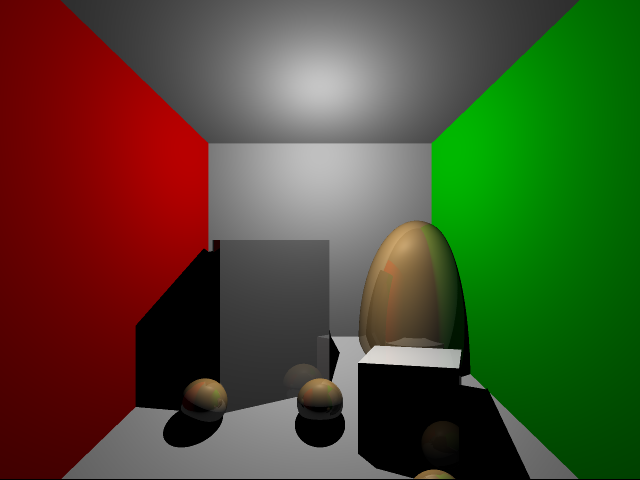
Soft shadow volumes
Real lights are never perfect point lights. For a realistic shadow with soft borders, usually an area light is implemented. Instead of adding a new type of light, I instead chose to enhance the realism of existing point lights by modeleing them as spheres. Real lights, such as light bulbs, are approximately spherical. Their volume dictates why real shadows have soft edges. By treating point lights as spherical volumes we can reach a similar effect. I changed the shadow ray implementation to shoot multiple rays at the point light. The rays are randomly scattered about a sphere around the point light. The final visiblity of the object is equal to the proportion of these rays which are obscured from the light. The color intersection point is multiplied by this visibility. The soft shadow effects is greatly improved as more random rays are used. I'm not entirely certain my implementation here is correct, as some of the edges and surfaces of the shadows look a bit strange. This is likely because of the light volume radius chosen or the code making poor random choices for points on the volume.
With 16 rays. Light volume radius 0.2
Hover to see image without soft shadows

With 64 rays. Light volume radius 0.2
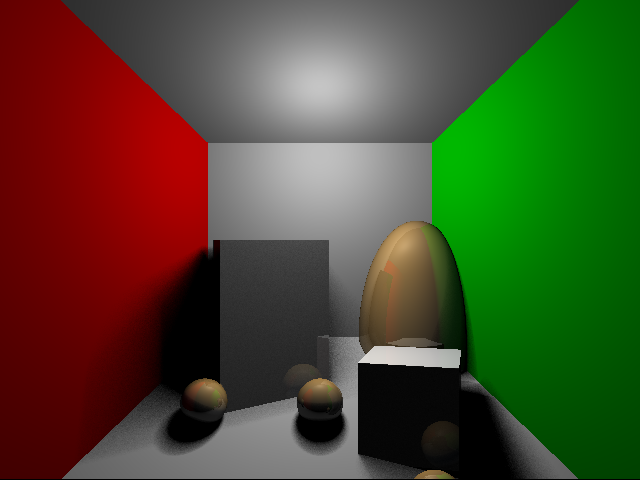
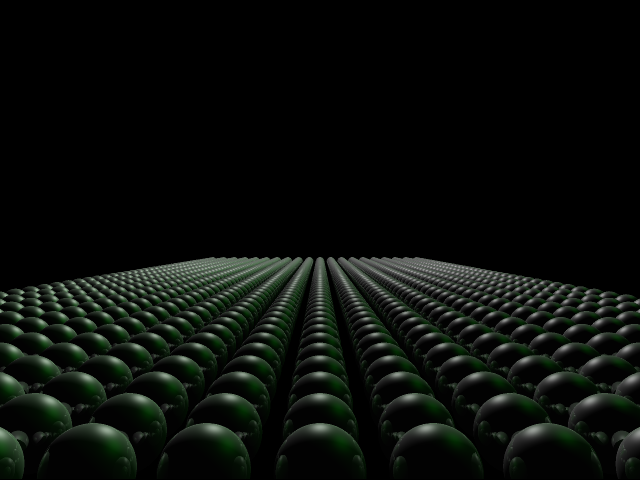
Ambient occlusion
This effect does not contribute to the realism but is in itself a whole new lighting model. All of the previous effects are no longer considered and we simply shoot rays around a hemisphere and color each point based on the proportion of those rays that are obscured. The darkness of a point represents how occluded that point is from the general scene. This produces a very pleasing visual effect with no particular realistic basis.
Scene 6. 144 rays
