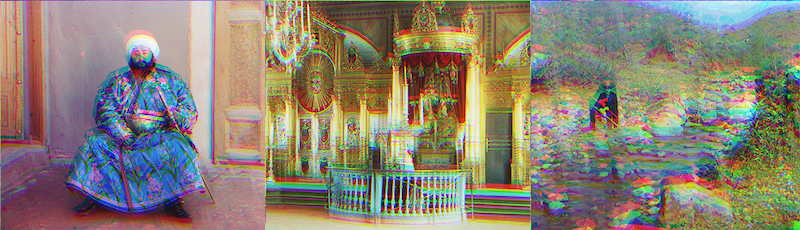
 Examples of images processed using naive alignment
CS194-26 Image Manipulation and Computational Photography
David Xiong // cs194-26-abr
In 1907, Sergei Mikhailovich Prokudin-Gorskii set out on a quest to document the Russian Empire with color photographs. There was just one problem - he only had black-and-white negatives available to him, as color photography hadn't been invented yet. The idea he came up with was simple: he record three exposures of every scene onto a glass plate using a red, a green, and a blue filter. Luckily, his glass plate negatives survived the fall of the Russian Empire in the late 1910s and were purchased by the Library of Congress - who have recently made the collection available online.
The goal of this assignment was to take the digitized Prokudin-Gorskii glass plate images and, using image processing techniques, automatically produce a color image with as few visual artifacts as possible. In order to do this, I needed to extract the three color channel images, place them on top of each other, and align them so that they form a single RGB color image.
[Adapted from CS194-26 Project 1 Specification]
I first sliced each image into equal thirds, aseach color plate takes up roughly 1/3 of the total input image. However, there was the problem of the black borders - this was not much of a problem for the smaller .jpg images, but it proved to be a pain for the larger .tff ones as the large borders led to bad alignment. In the end, I simply decided to crop each image - this was enough to get rid of the black border without losing too much content.
My first steps were to test alignment on the smaller .jpg images. As per a hint on the specification, I tried simply using Normalized Cross Correlation (NCC) on those images. This worked fantastically for the smaller images, but once I moved to the larger .tffs things started to fall apart - there was too large of a gap between different features and the images began to look mismatched.
Examples of images processed using naive alignment
Instead, for the larger images, I decided to use pyramid alignment. For each of the pairs of colors I wanted to align, I would recursively quarter the size of the image until it was reasonably small to work with, and then performed naive alignment on that base case. When the function works its way up the stack, we can use these guesses
from the smaller images to further refine our resulting displacement vector - giving us a nicely aligned image by the time the main function call returns.

cathedral
Green Offset: (5, 2) // Red Offset: (12, 3) // Completed in 0.3s
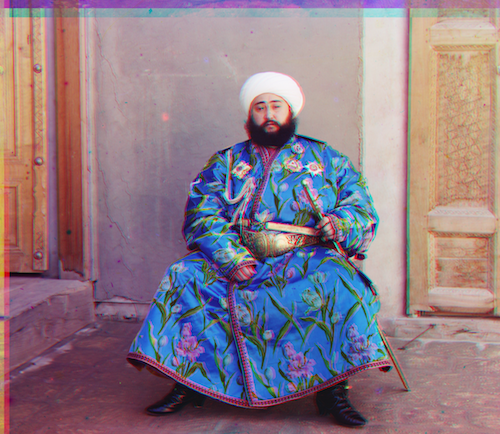
emir
Green Offset: (49, 24) // Red Offset: (103, 55) // Completed in 47.40s
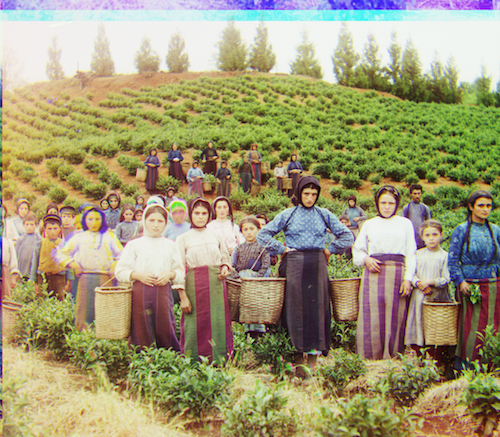
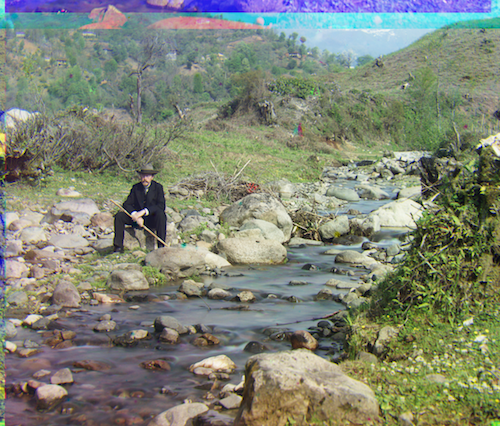
harvesters
Green Offset: (59, 16) // Red Offset: (124, 13) // Completed in 45.98s
![]()
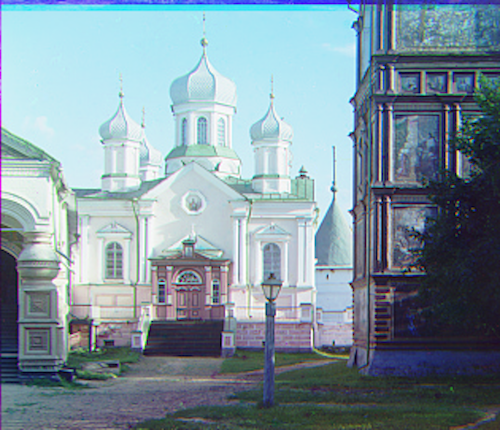
icon
Green Offset: (41, 17) // Red Offset: (89, 23) // Completed in 47.20s
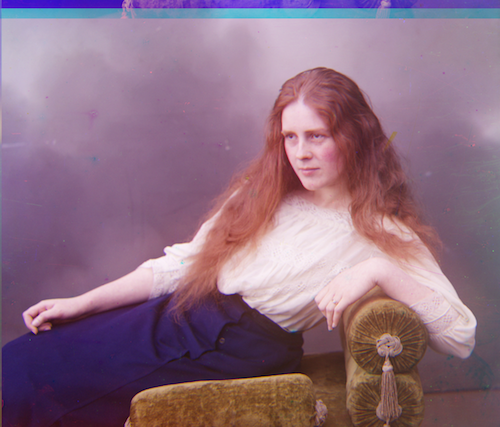
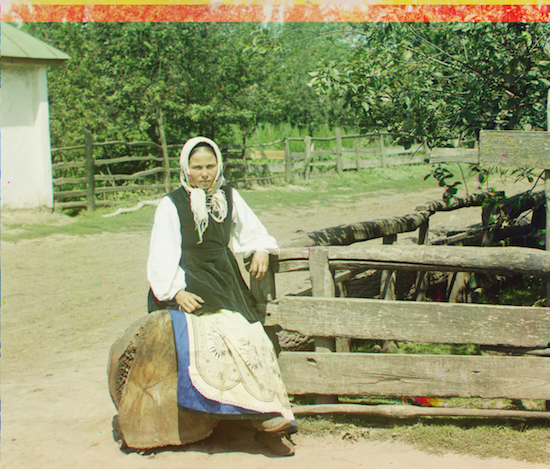
lady
Green Offset: (51, 9) // Red Offset: (112, 11) // Completed in 43.44s
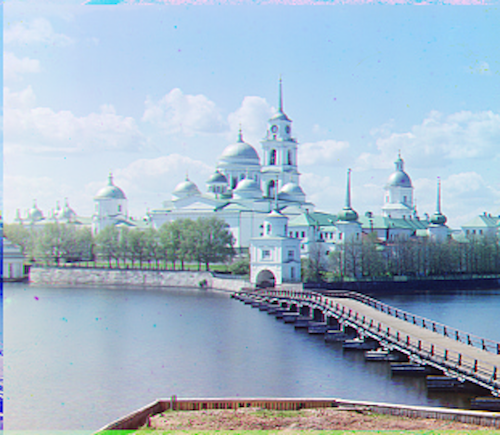
monastery
Green Offset: (-3, 2) // Red Offset: (3, 2) // Completed in 0.34s
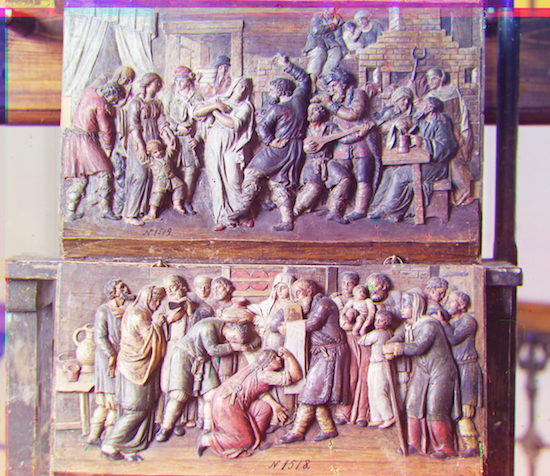
nativity
Green Offset: (3, 1) // Red Offset: (7, 0) // Completed in 0.45s
self_portrait
Green Offset: (78, 29) // Red Offset: (176, 37) // Completed in 46.02s
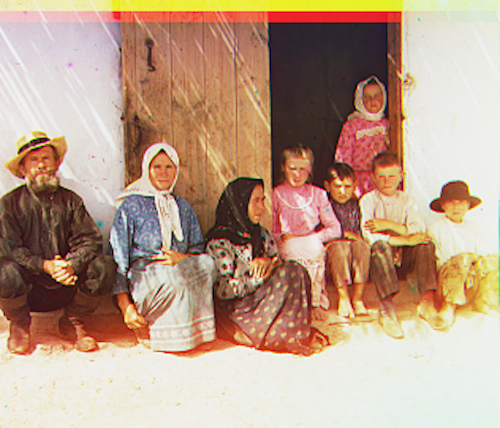
settlers
Green Offset: (7, 0) // Red Offset: (14, -1) // Completed in 0.47s
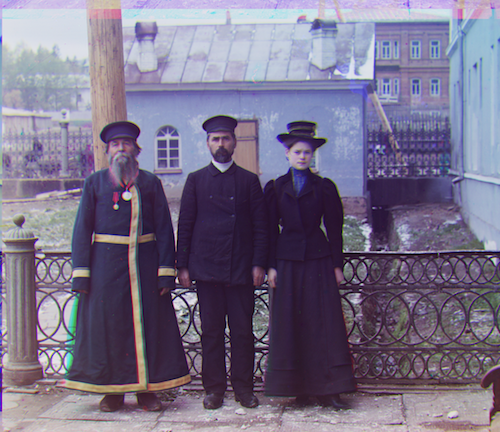
three_generations
Green Offset: (53, 14) // Red Offset: (112, 11) // Completed in 47.48s

train
Green Offset: (42, 5) // Red Offset: (87, 32) // Completed in 44.21s

turkmen
Green Offset: (56, 21) // Red Offset: (116, 28) // Completed in 44.14s

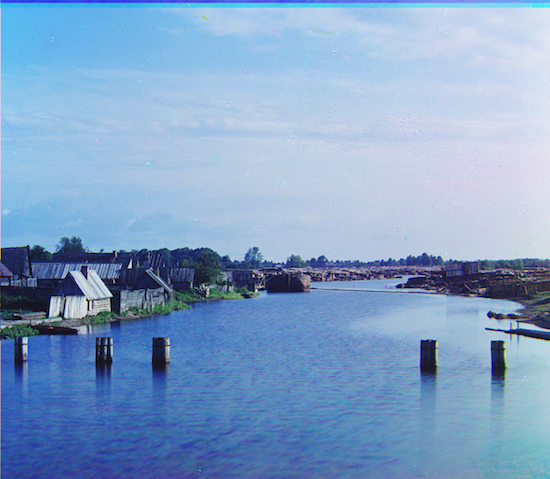
village
Green Offset: (64, 12) // Red Offset: (137, 22) // Completed in 47.65s
Credit goes to the Library of Congress' Prokudin-Gorskii Collection Archives
Green Offset: (25, 3) // Red Offset: (120, 4) // Completed in 47.89s
Green Offset: (16, 2) // Red Offset: (42, 4) // Completed in 48.97s
Green Offset: (40, -13) // Red Offset: (102, -10) // Completed in 52.44s
Green Offset: (42, 28) // Red Offset: (90, 44) // Completed in 44.30s