Colorizing Images of the Russian Empire
George Geng
 Gorskii's Cathedral Exposures
|
In the days of the Russian Empire, Sergei Mikhailovich Prokudin-Gorskii built one of the first color cameras. He took thousands of exposures of landscapes and buildings or farmers and tsars, documenting his country through a red, a blue, and a green filter onto a glass plate. Although there was no way at the time to print colored photographs, he envisioned special 3-filter projectors that would be able to display his pictures someday. In the final years of the Russian empire, they were purchsed by the Library of Congress (here), which are digitized and available online. Sadly, he never saw his vision come to fruition. But, with some image processing, we can colorize and touchup these images to see what he gazed upon once, and look through the eyes of a man far ahead of his time.
SSD and NCC
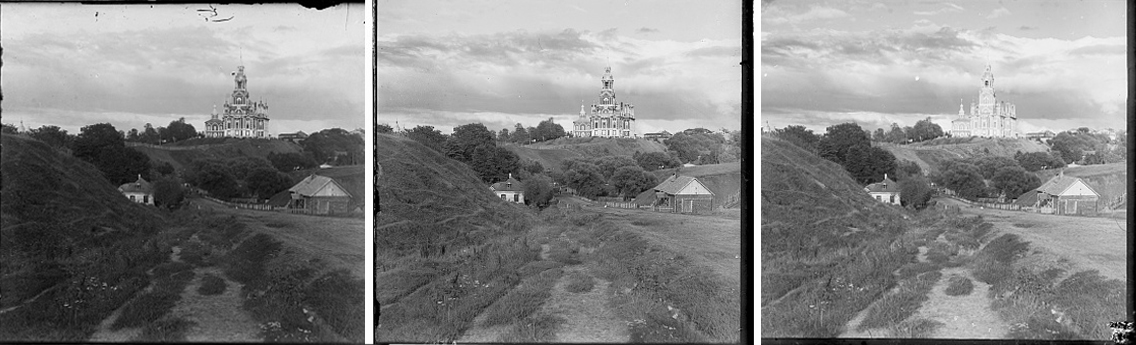
Each image contains the color intensities of the b, g, r channels respectively, so the first step is to split the image into their individual components. By stacking them on top of each other, we get the following result (after cropping the borders by 20).
 Cathedral Simple Stack
|
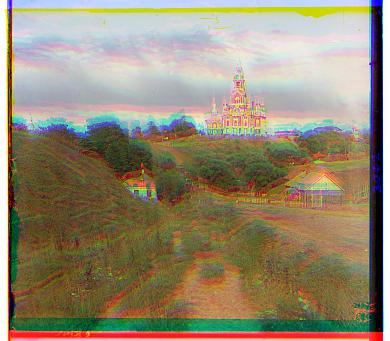
This clearly looks no good because the images aren't aligned, so the text task is to align them! A simple metric is taking the SSD (sum of squared differences) of all the pixels. The smaller the SSD, the more likely it is that the images are aligned. The SSD is given by the following formula:
Applying this metric in a [-15, 15] search window over the middle third of several images give the following results:
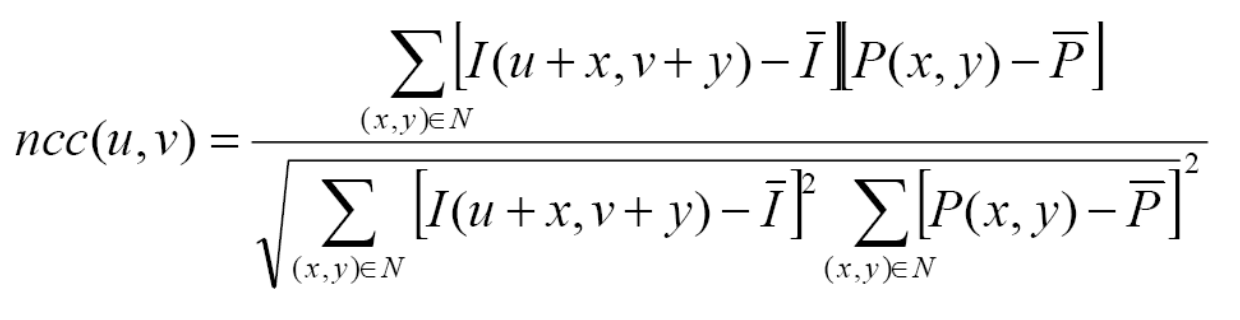
Another approach is the maximize the NCC (normalized cross correlation) of the two images, essentially a scaled dot product, given by the following formula. While it is supposed to be more robust than the SSD, it did not visibly improve the resulting images by too much and required more computation time.
Pyramiding
While this worked well for .jpg files, needing roughly only 0.6 seconds to colorize each image, simply computing these metrics for the larger .tif images required a drastic increase in computation time, since our search window of [-15, 15] was no longer sufficient. This can be handled through a pyramiding algirthm. By recursively scaling the images to different resolutions and searching for the best alignment (using a simple metric we already have such as SSD), "bubbling" the result upwards to the next layer of higher resolution and reapplying the search algorithm until we reach our original image, we're able to cut back on time while also finding a close to optimal alignment.
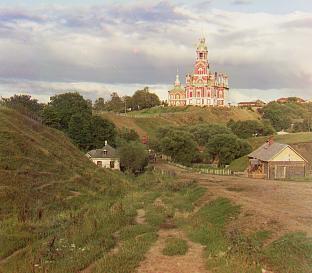
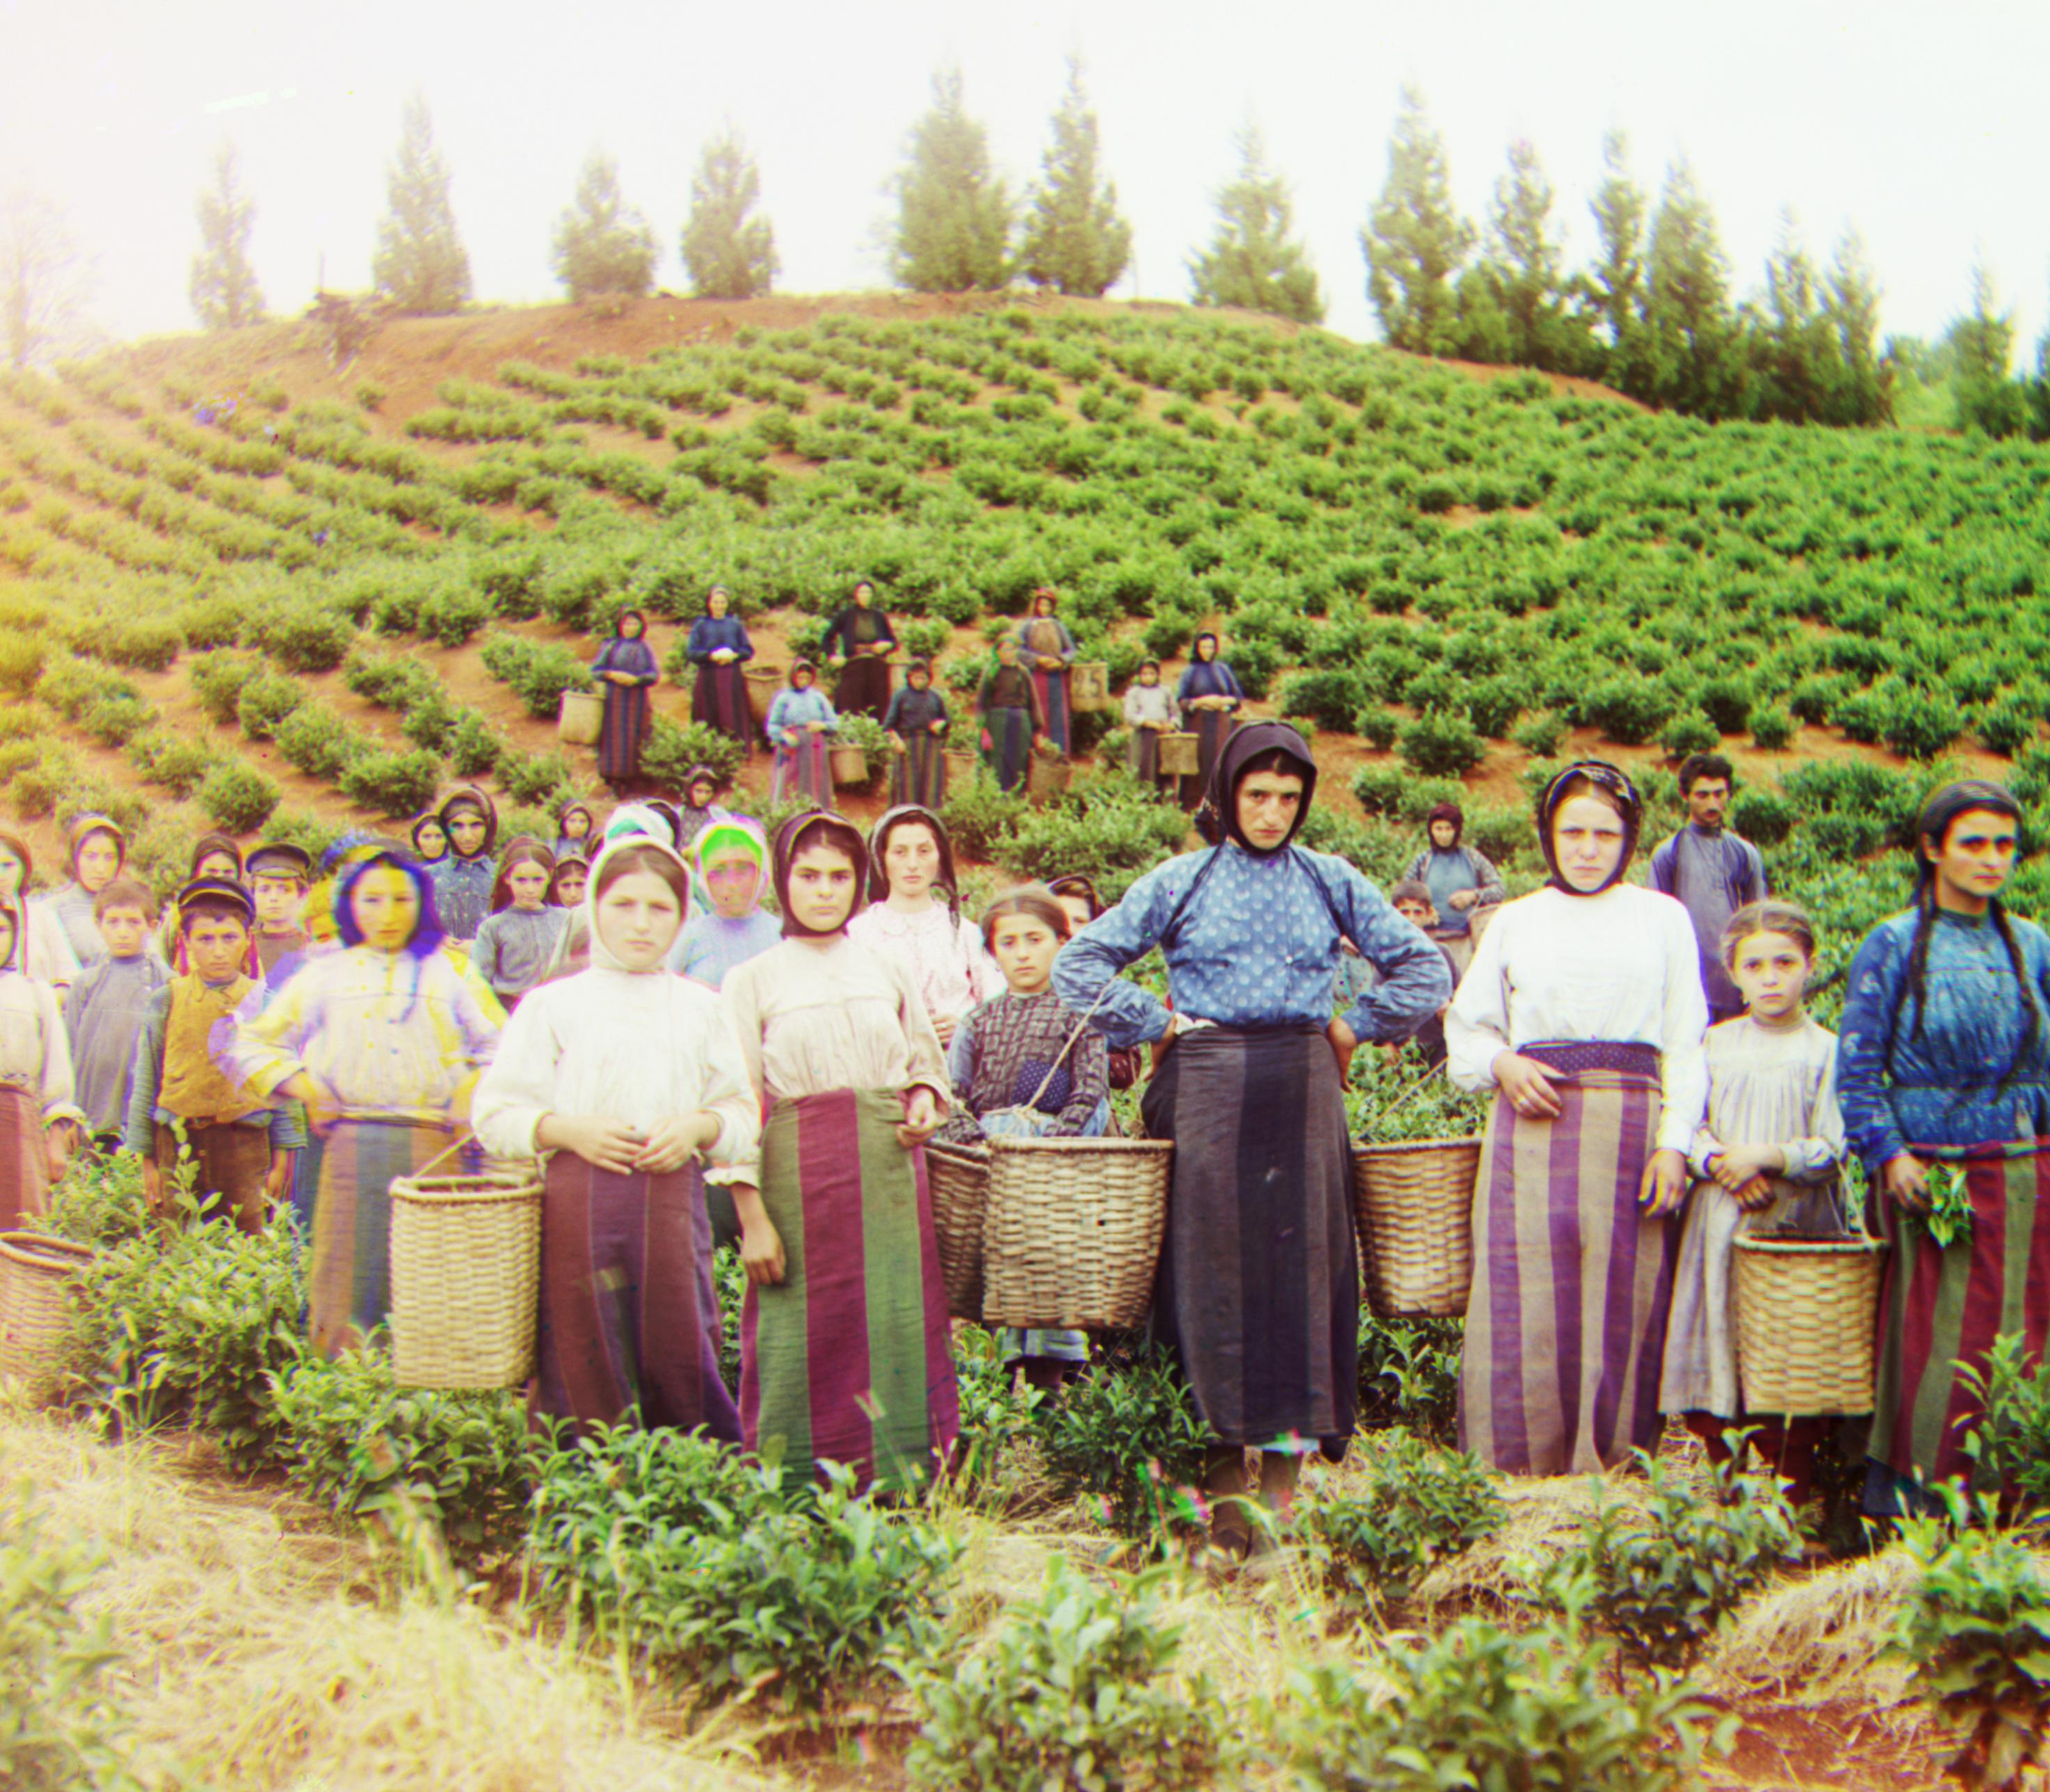
This works (and decreases the search window, as well) for the smaller .jpg files. The results and computation times of using the pyramiding algorithm are shown here.
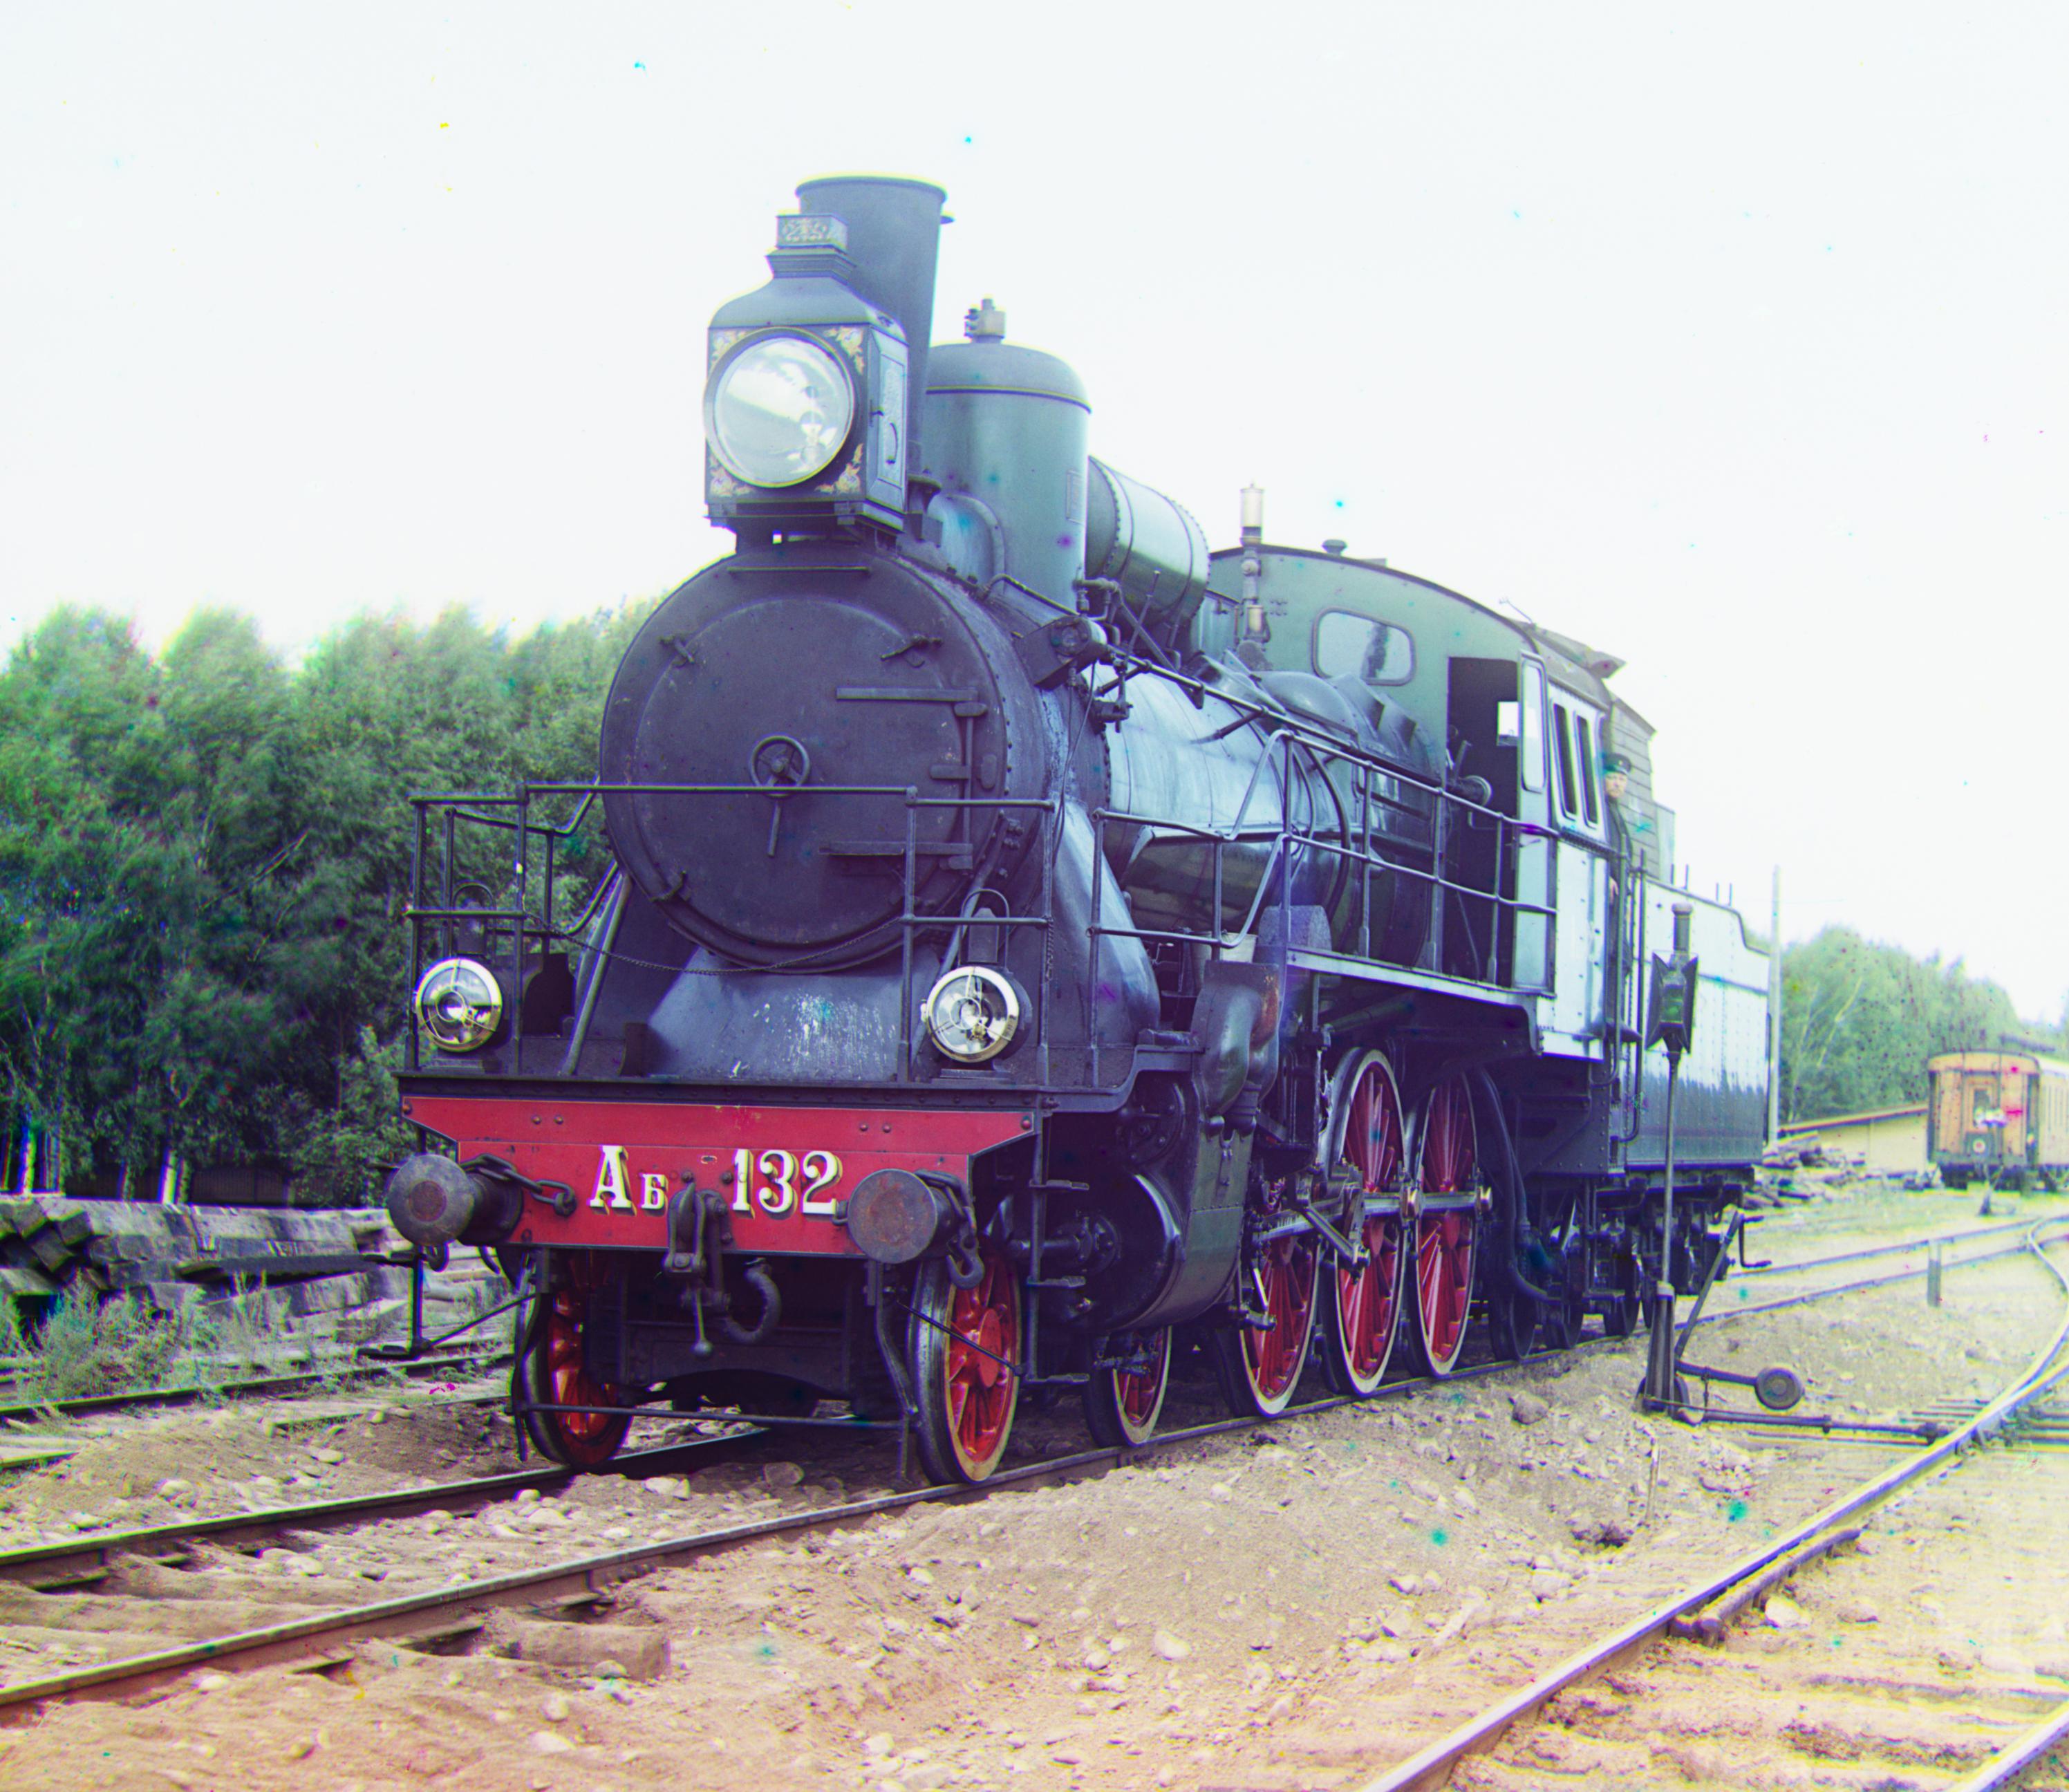
35.626 s
|
39.957 s
|
36.439 s
|
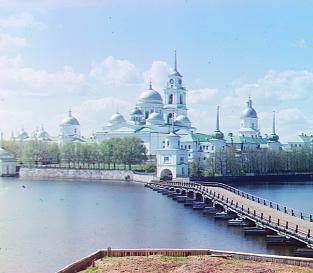
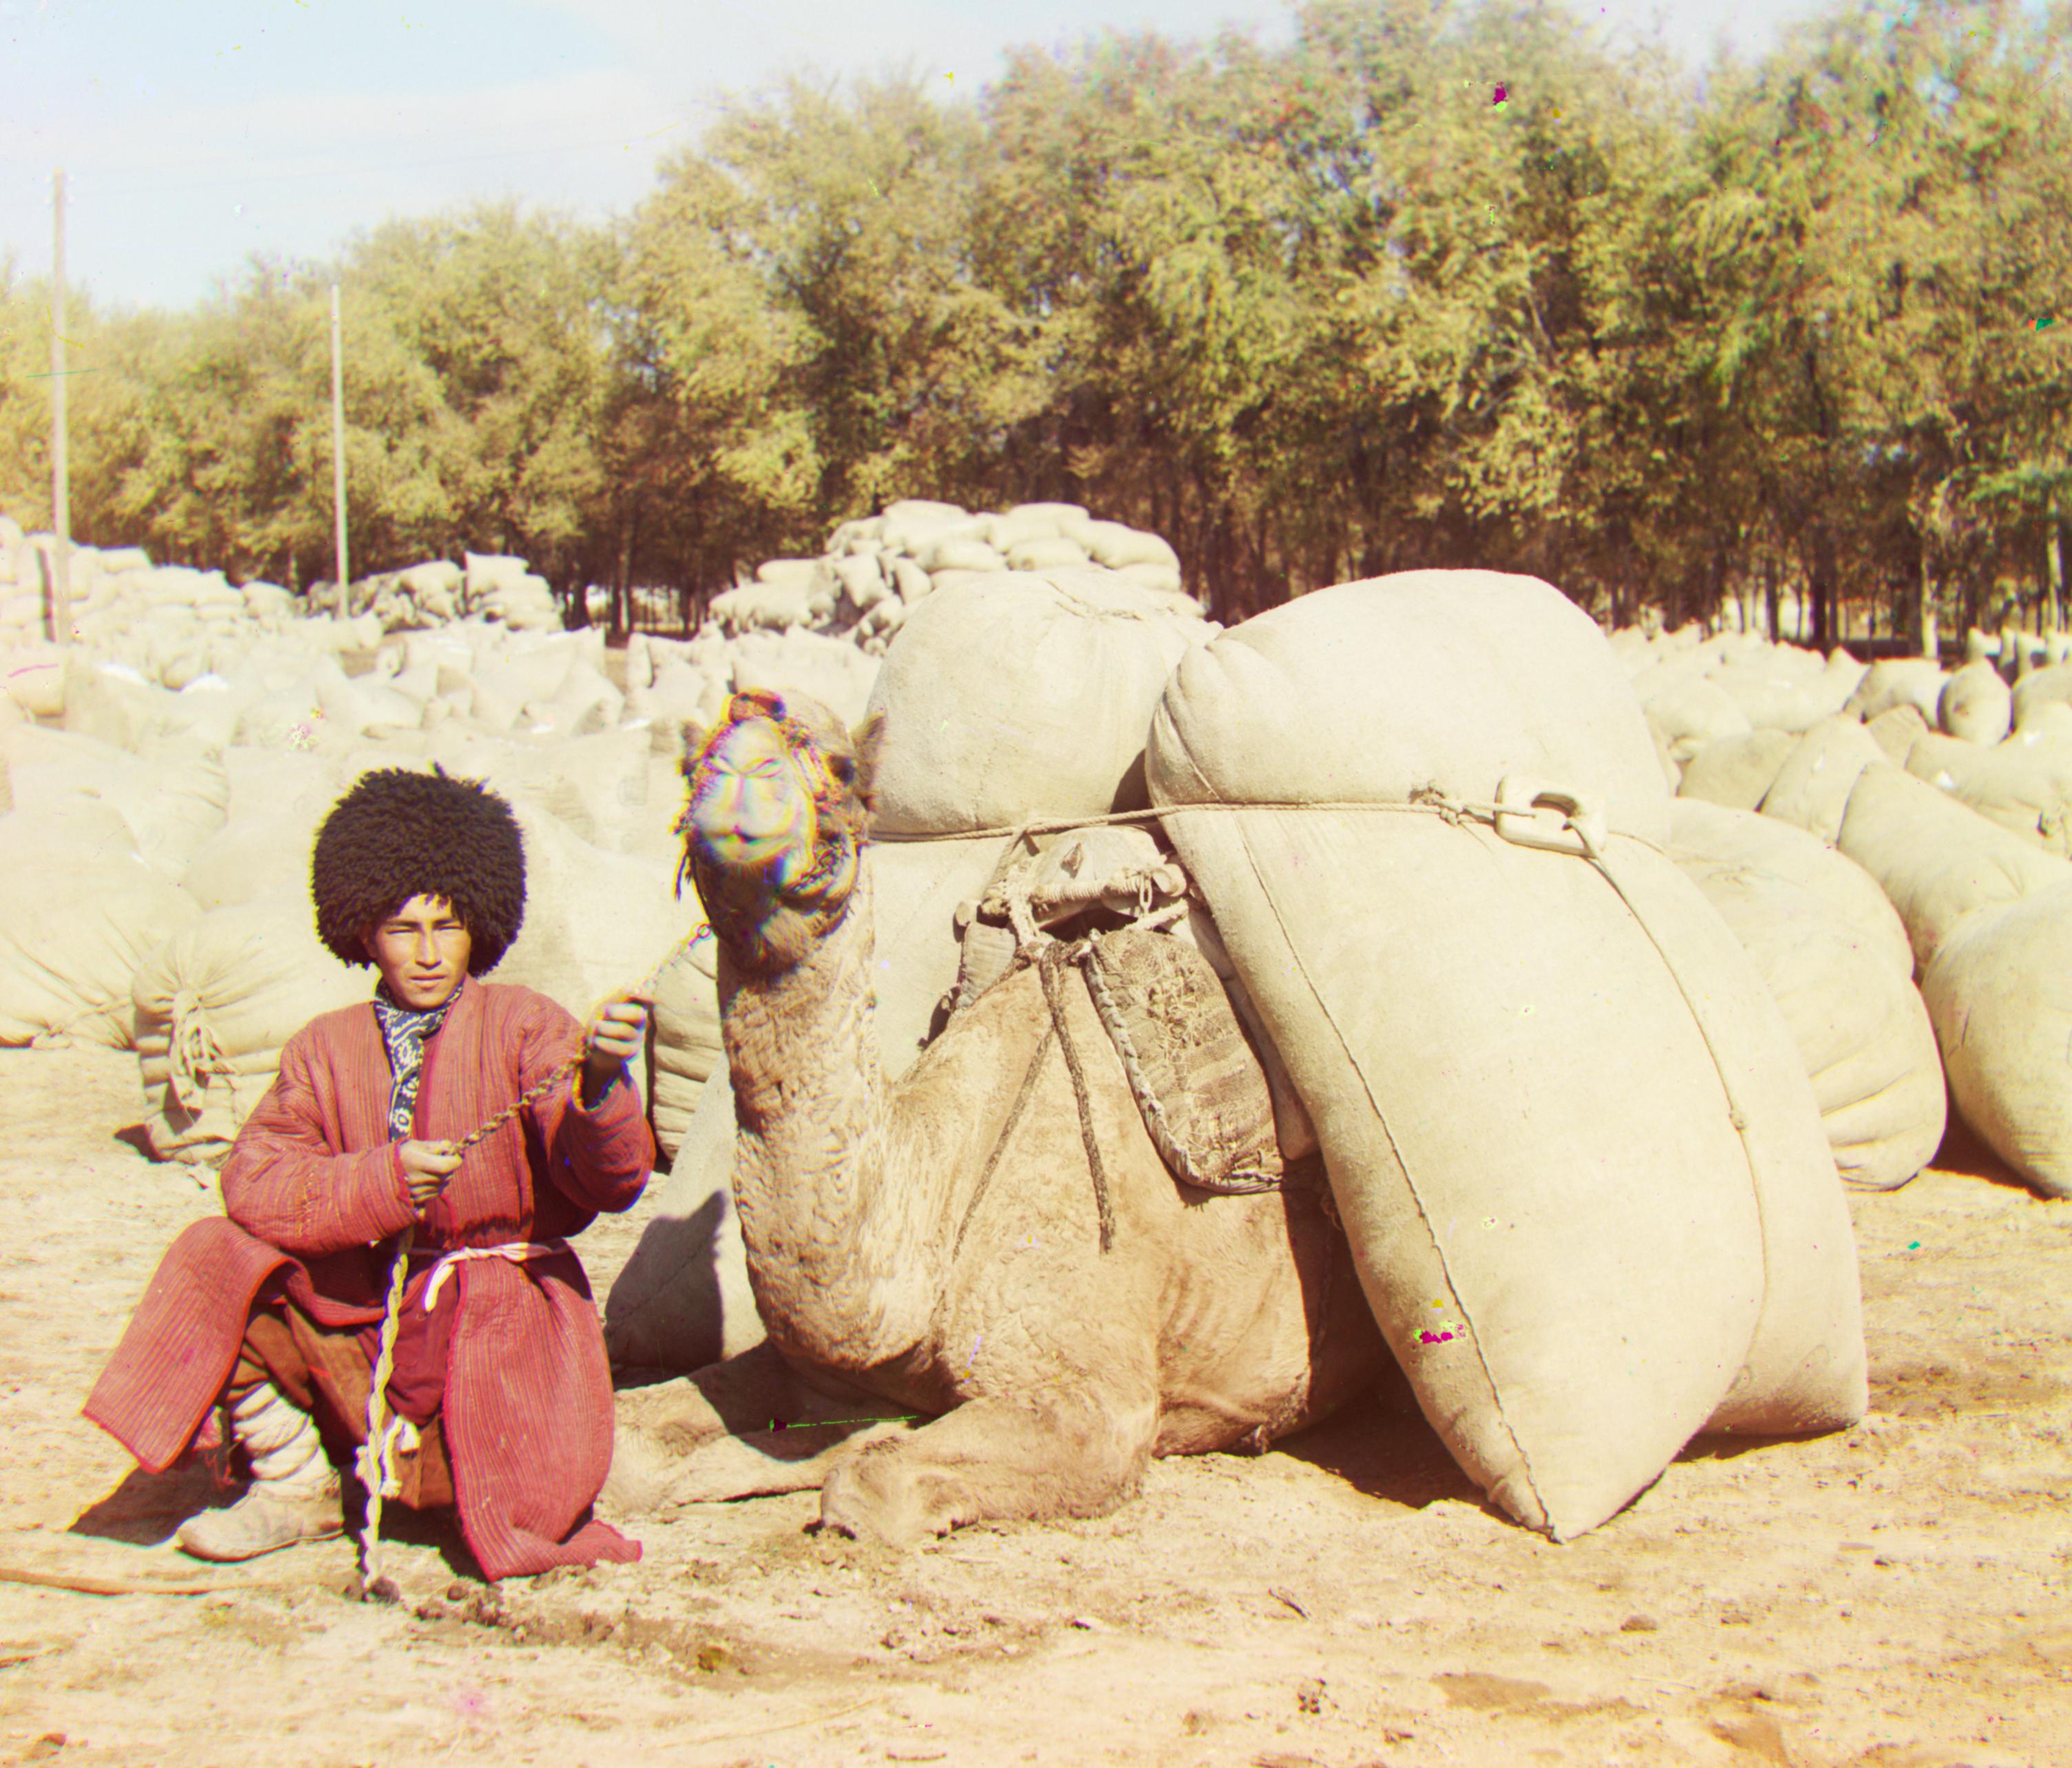
0.291 s
|
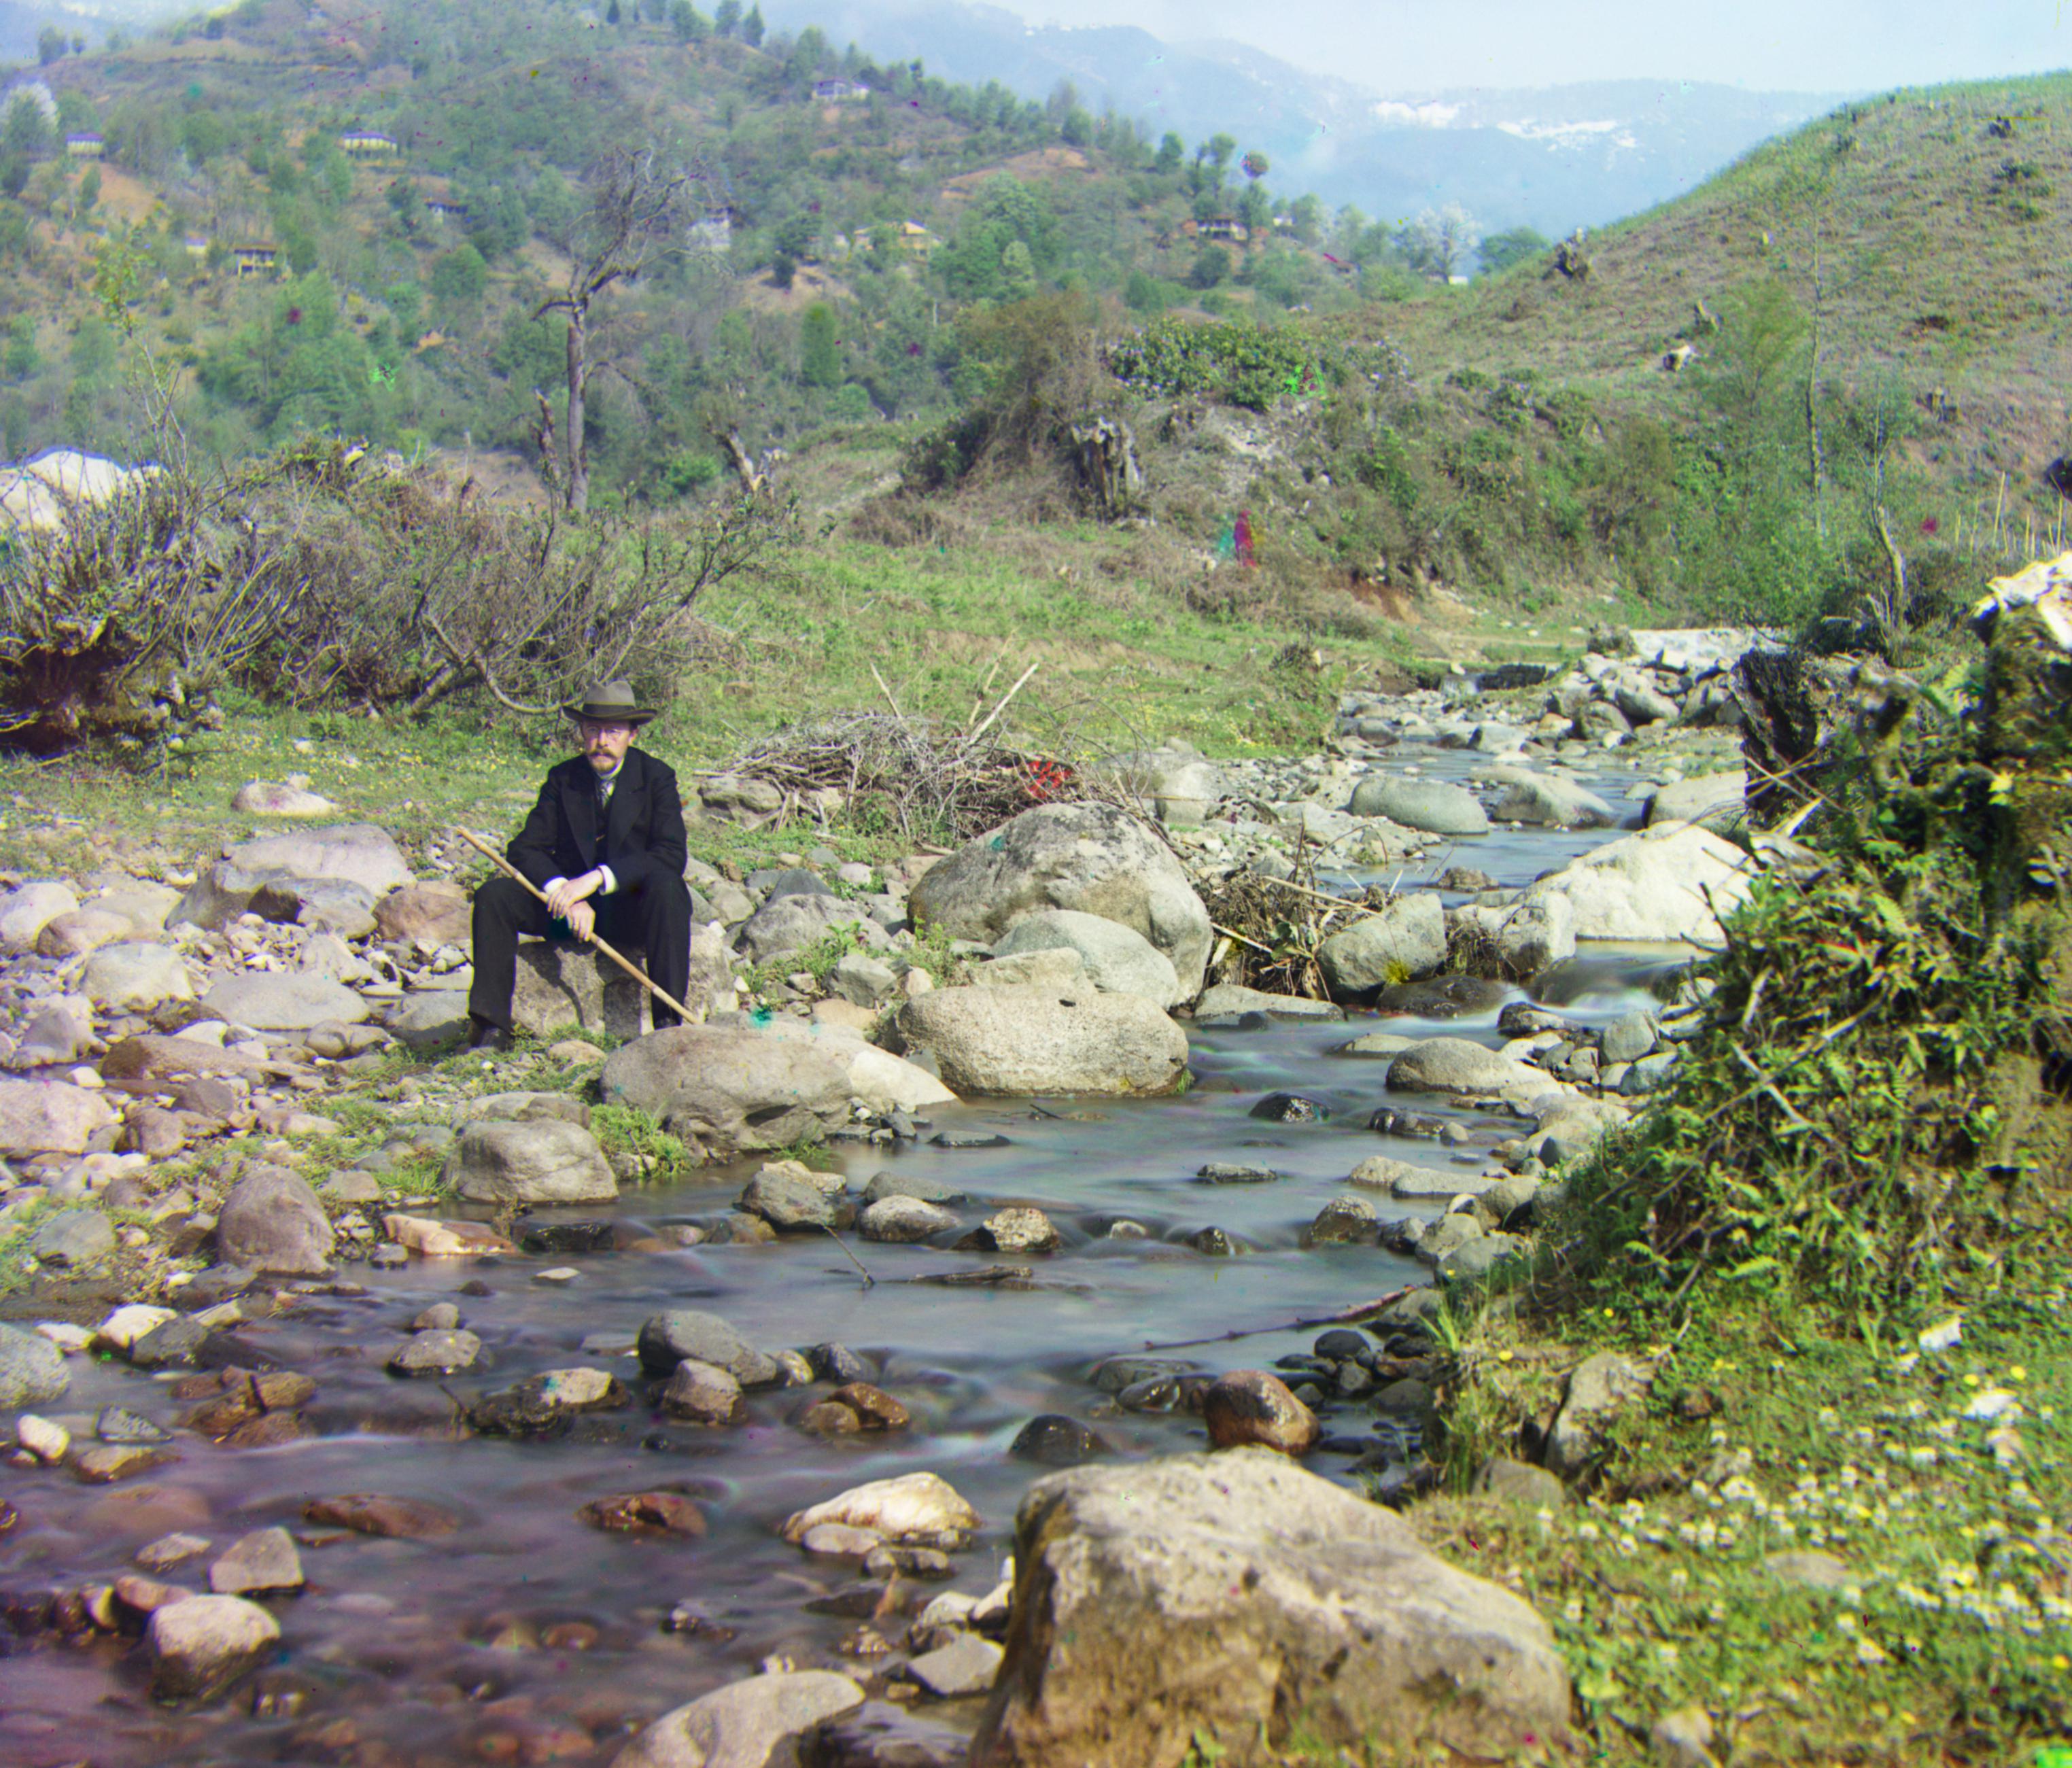
37.402 s
|
34.430 s
|
34.218 s
|
38.171 s
|
36.642 s
|
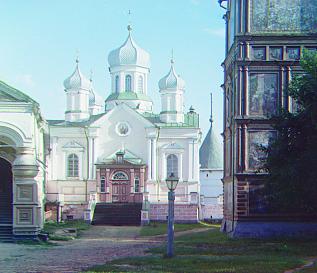
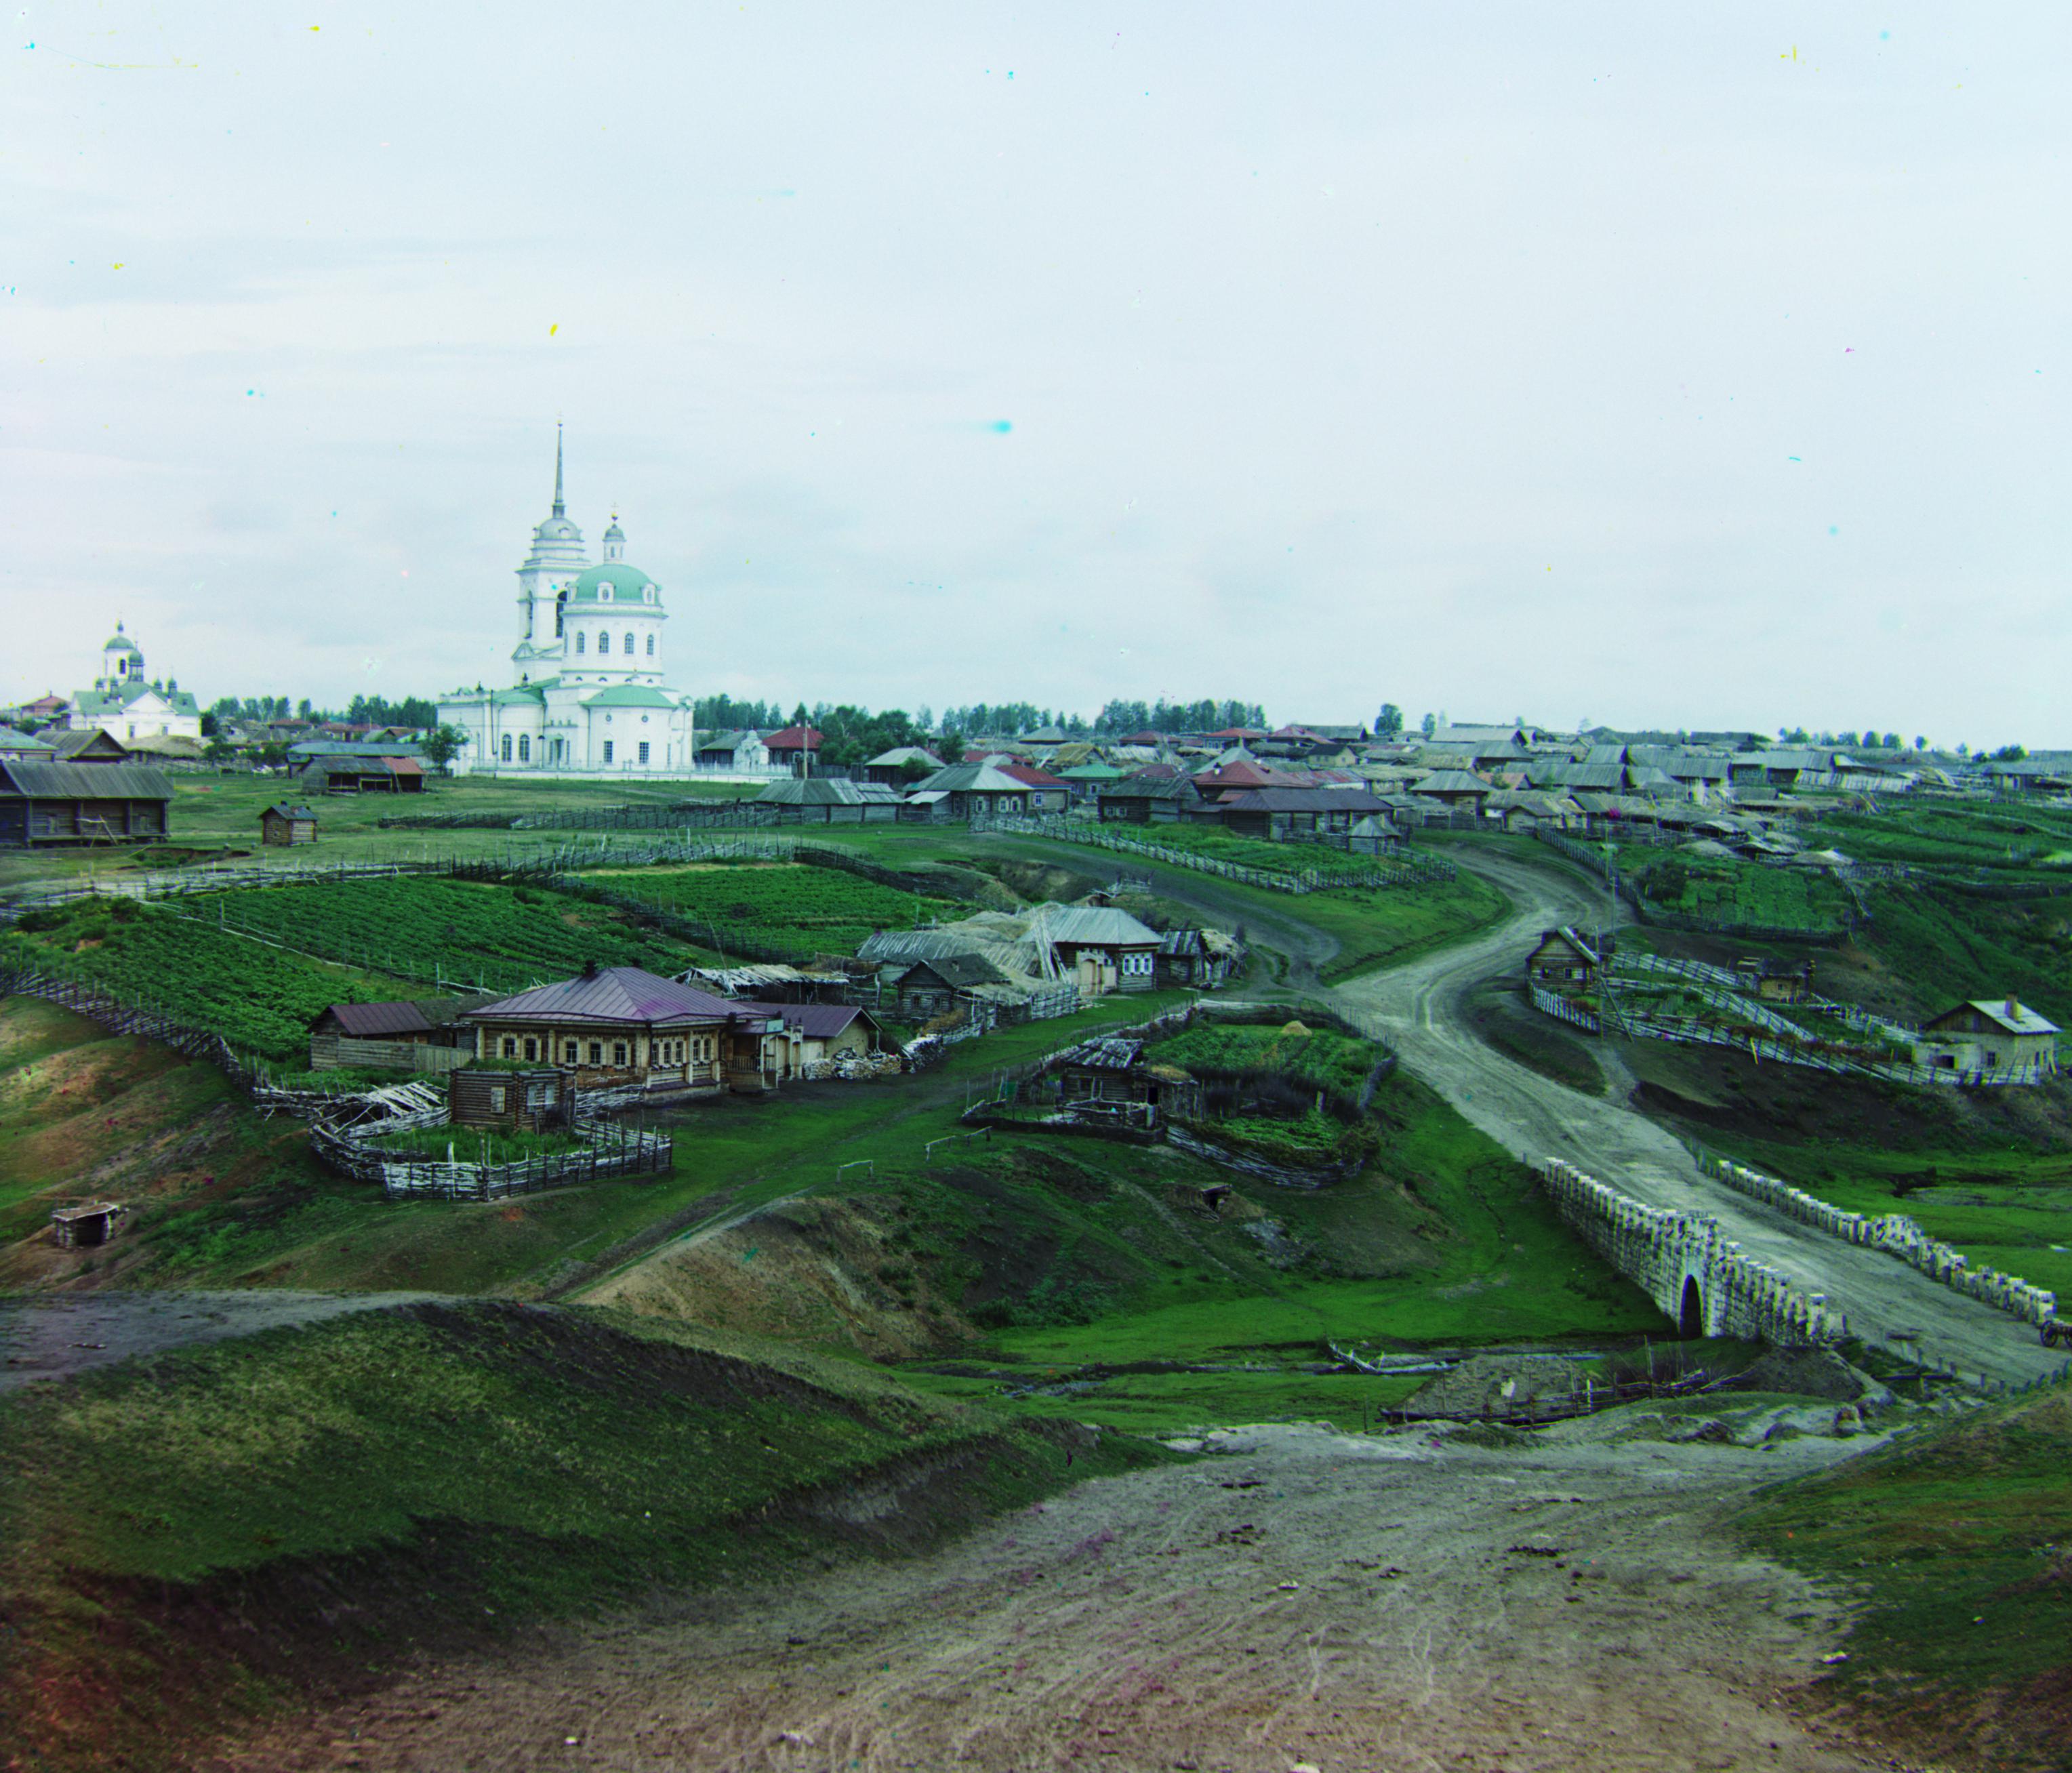
The monastery image, which took 0.29 seconds, was a .jpg. Thus, the pyramiding algorithm not only works on lower resolution images, but by searching through a smaller window it also improves the computation time!
Bells and Whistles: Edge detection
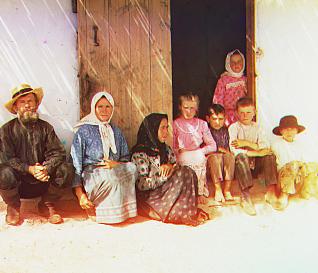
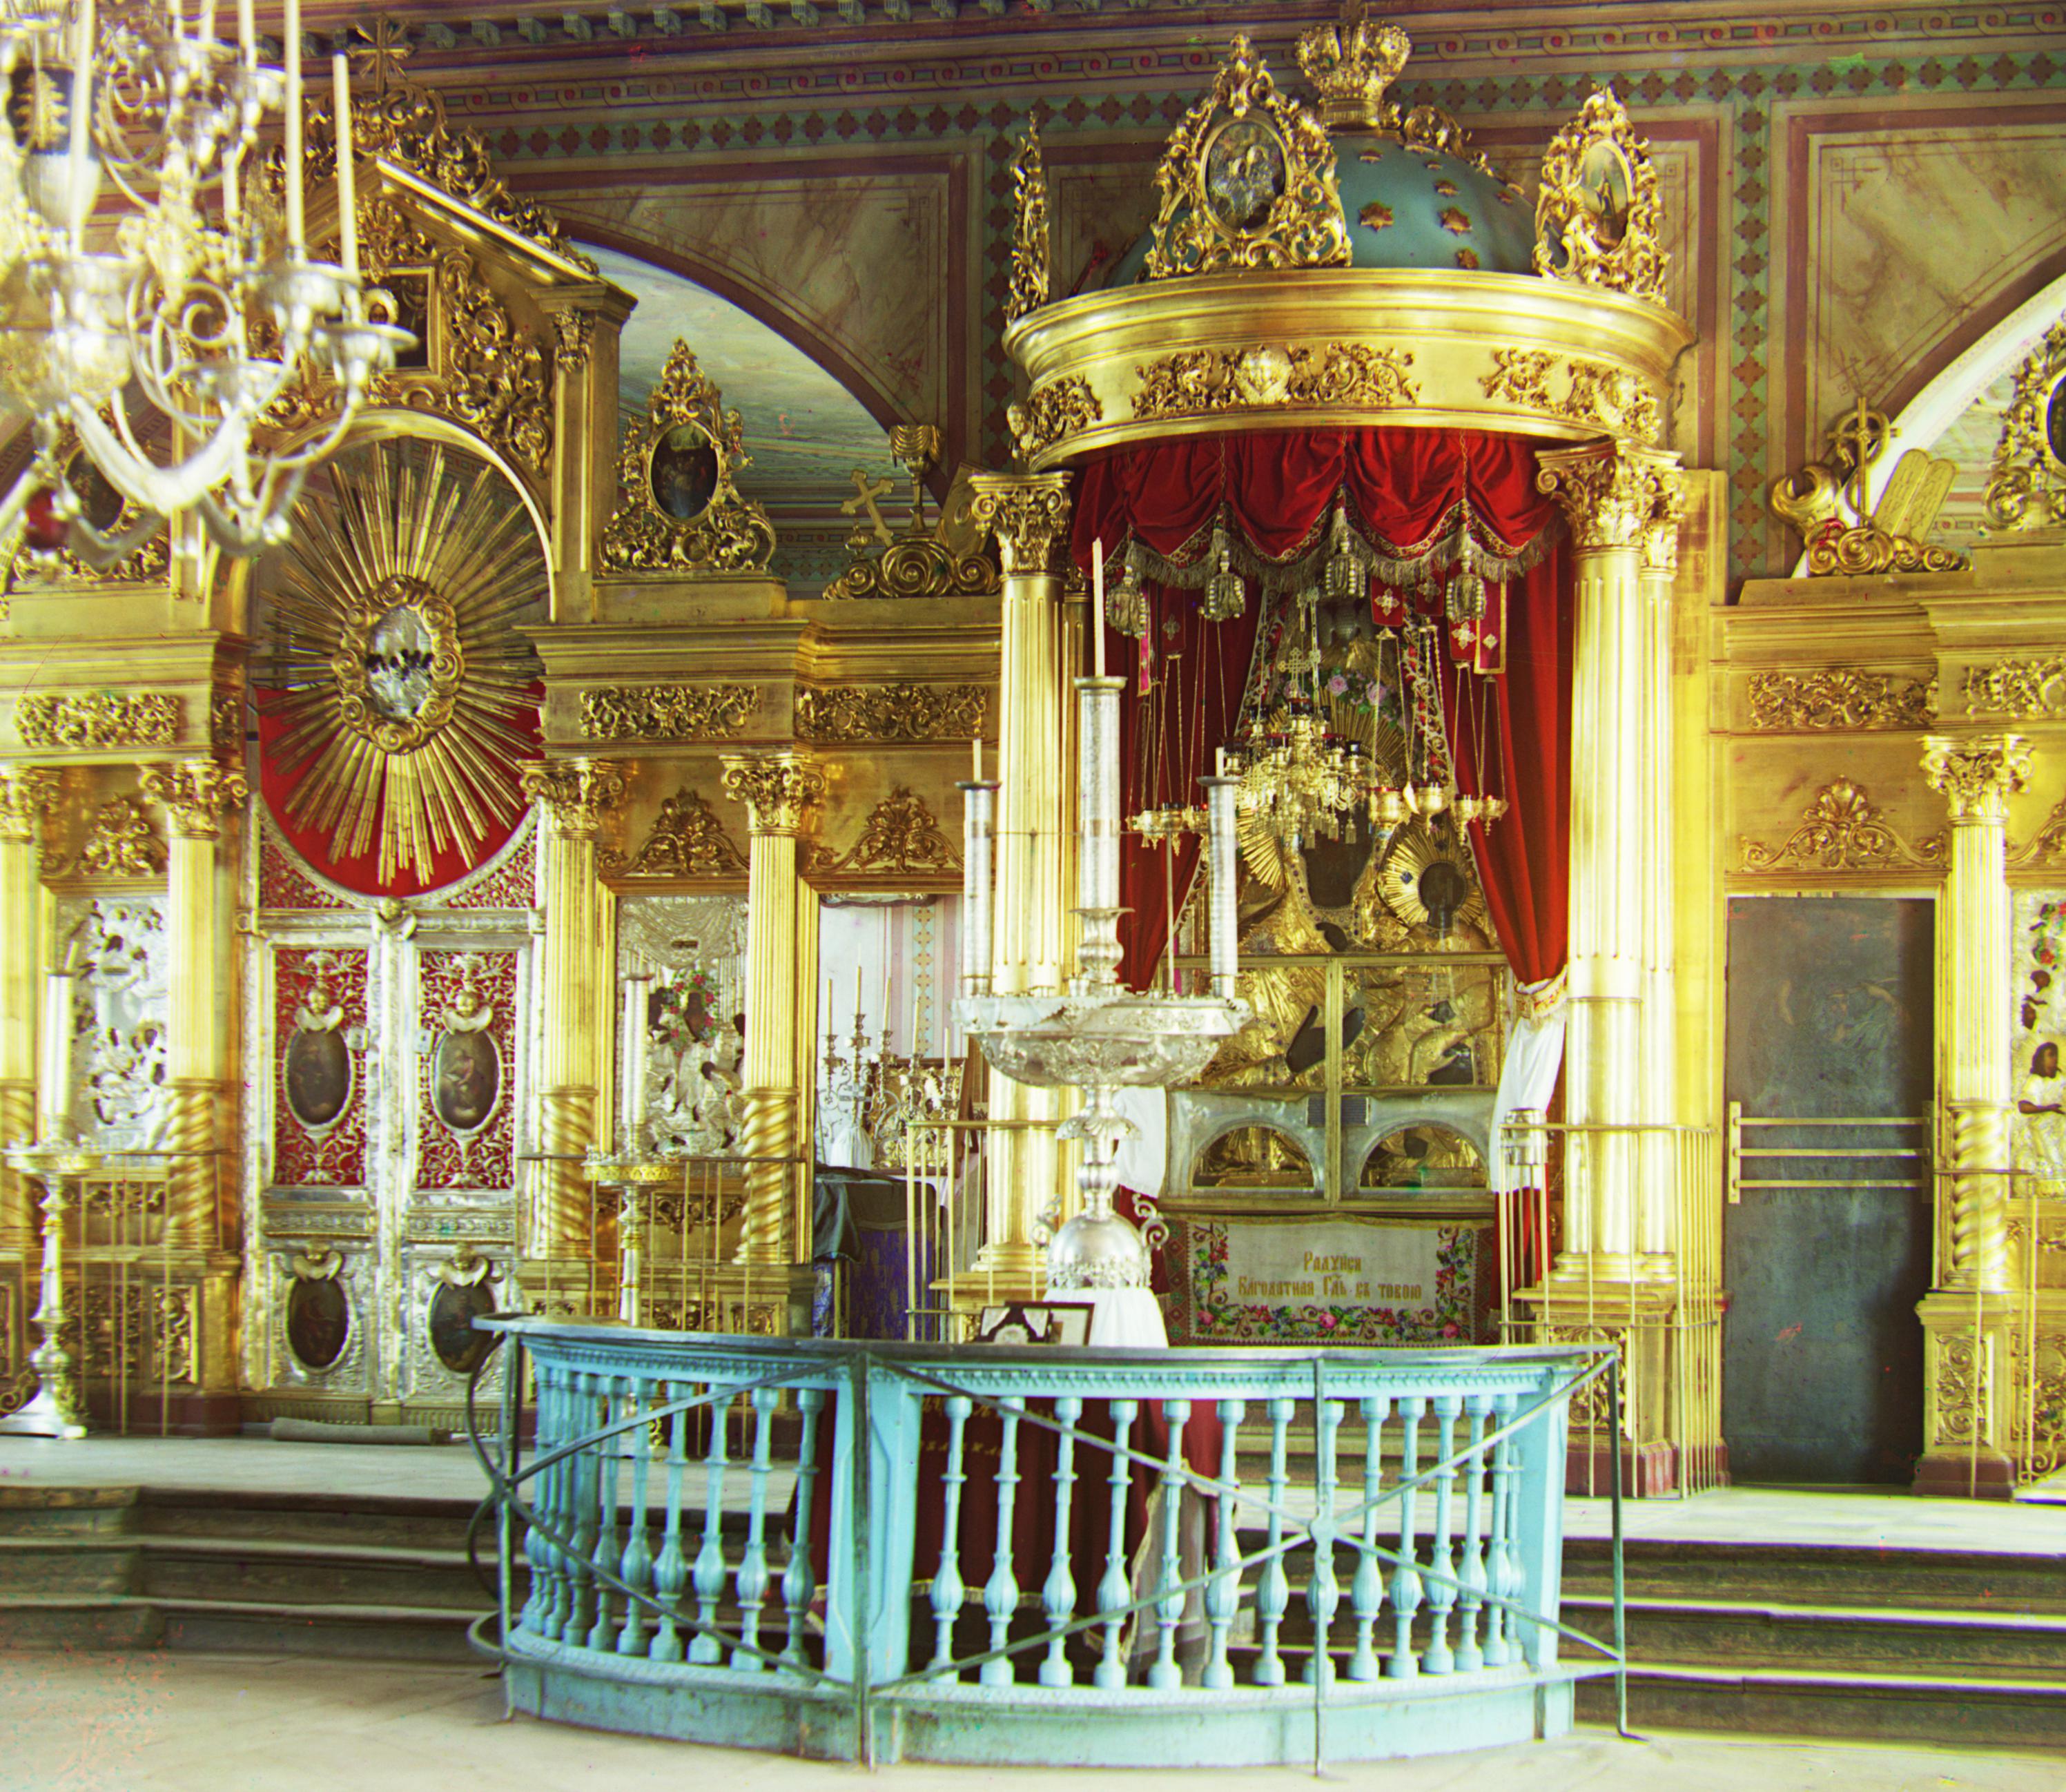
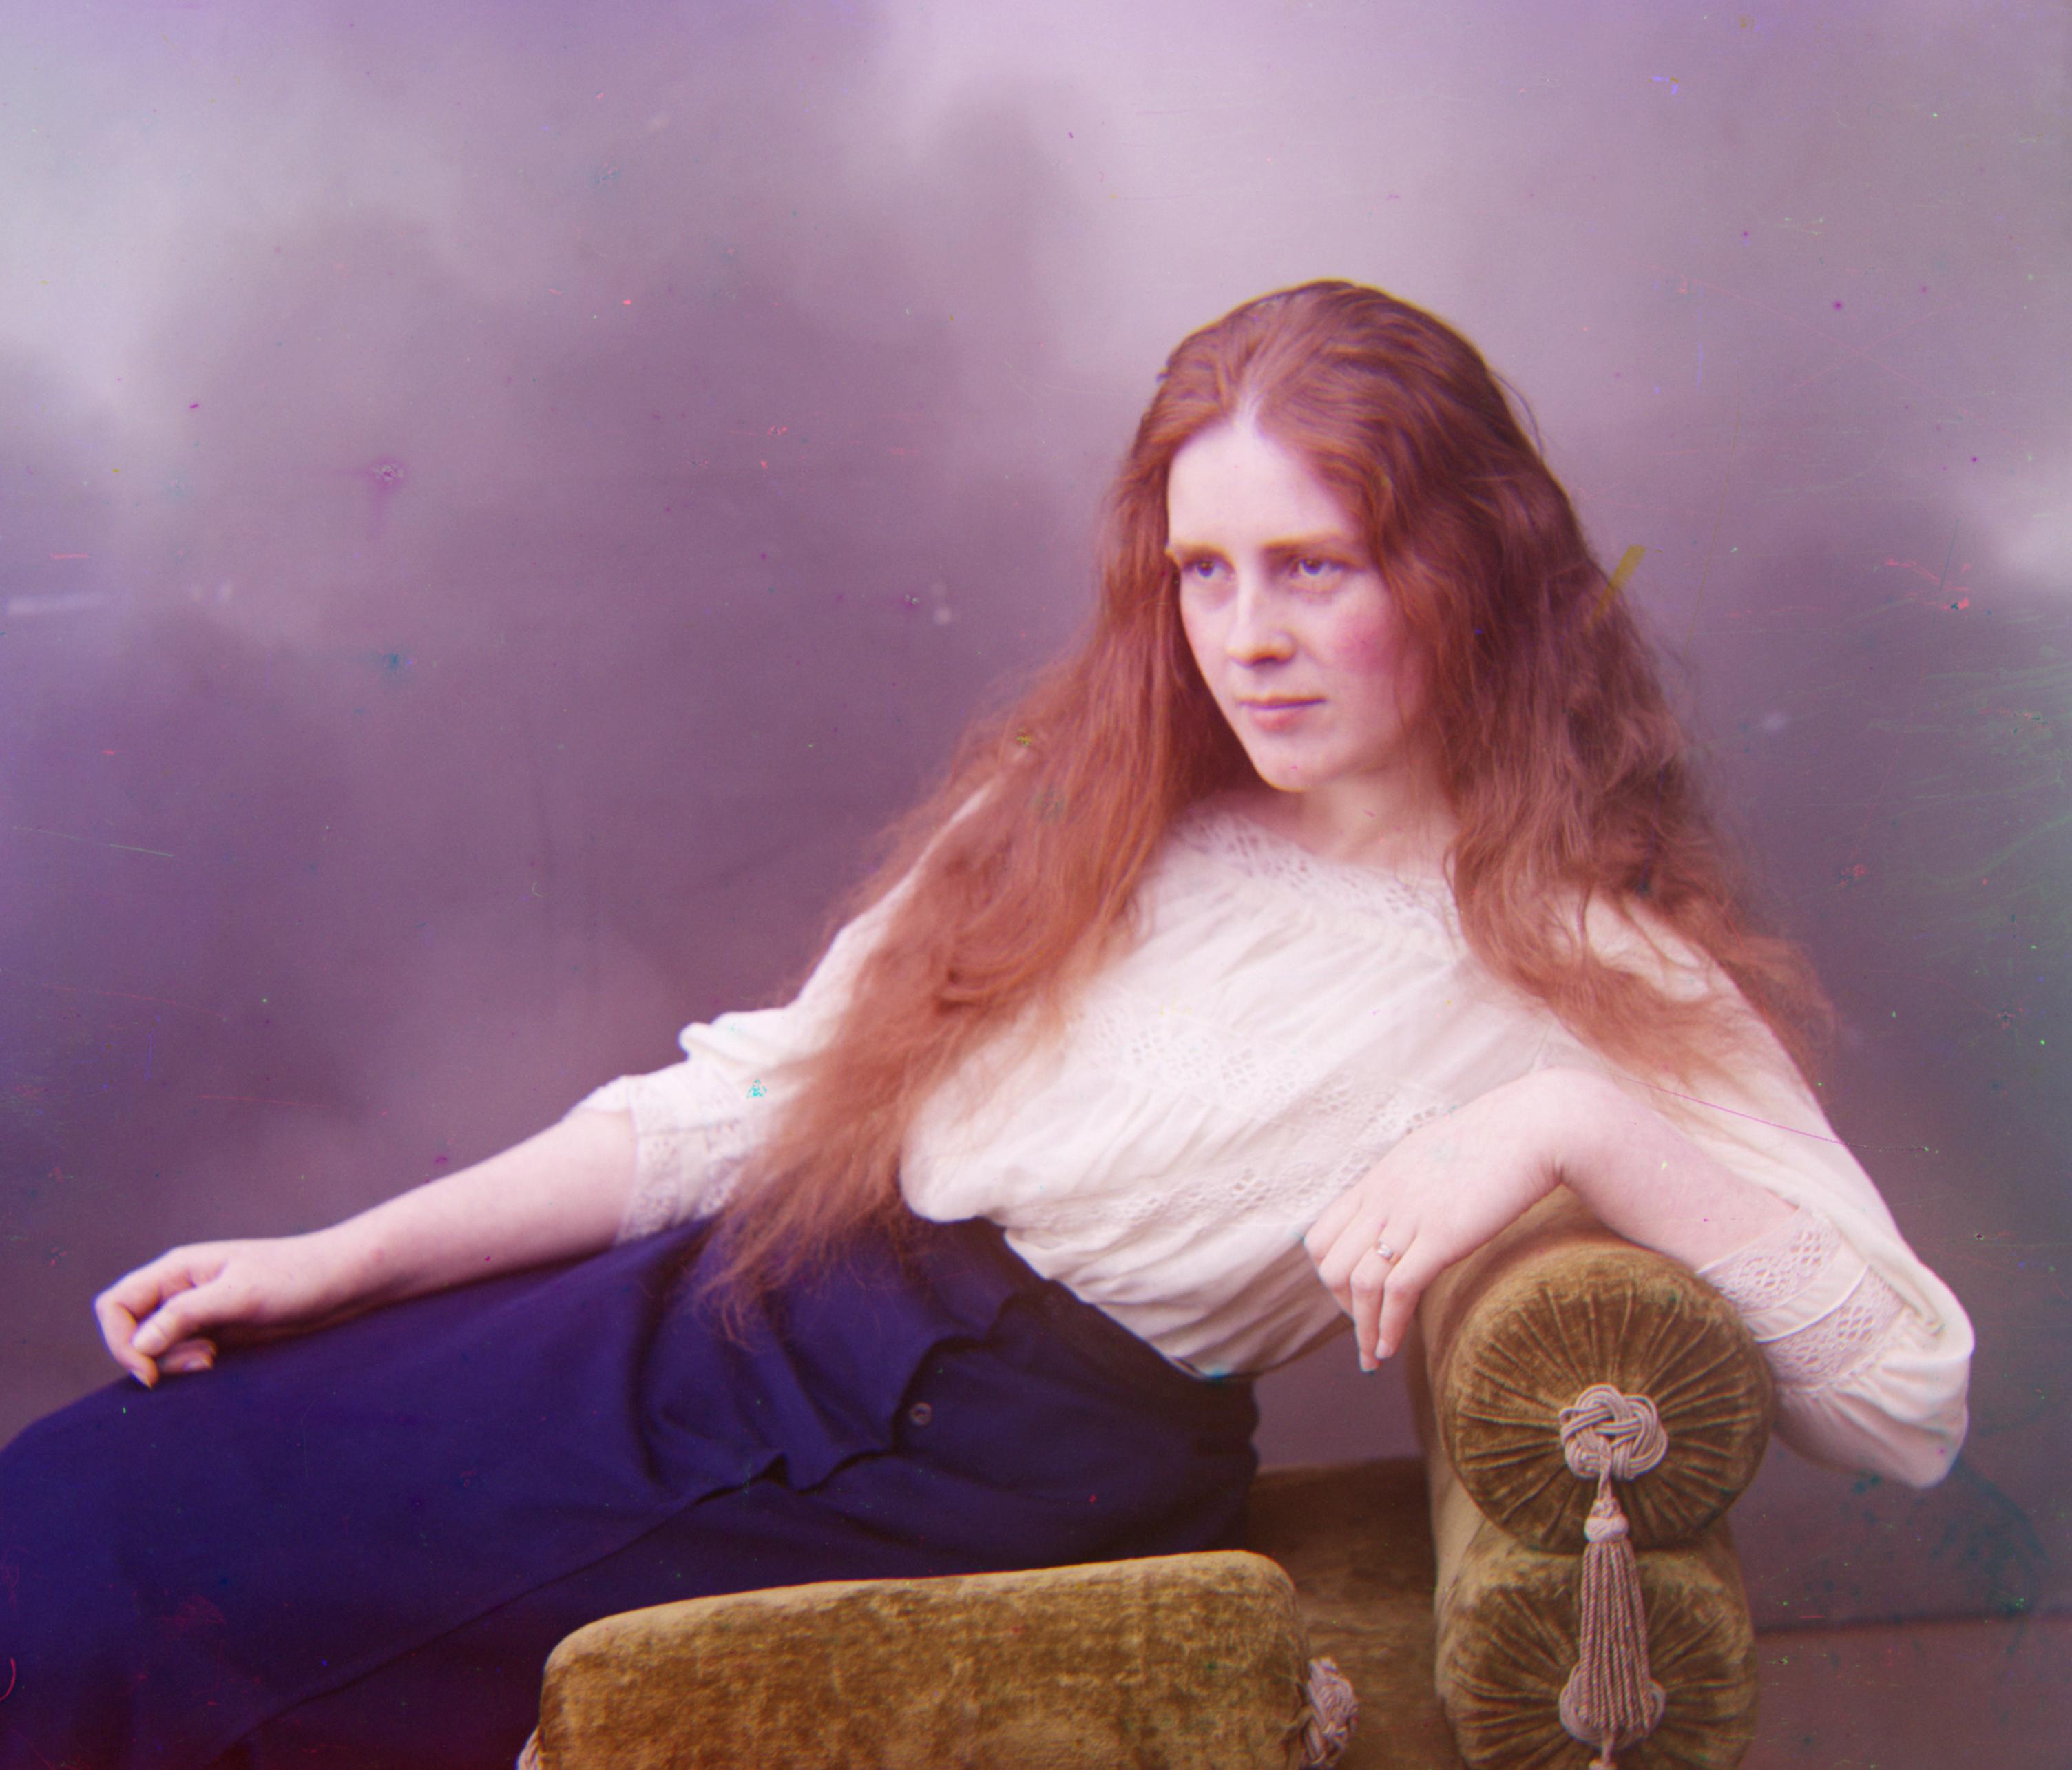
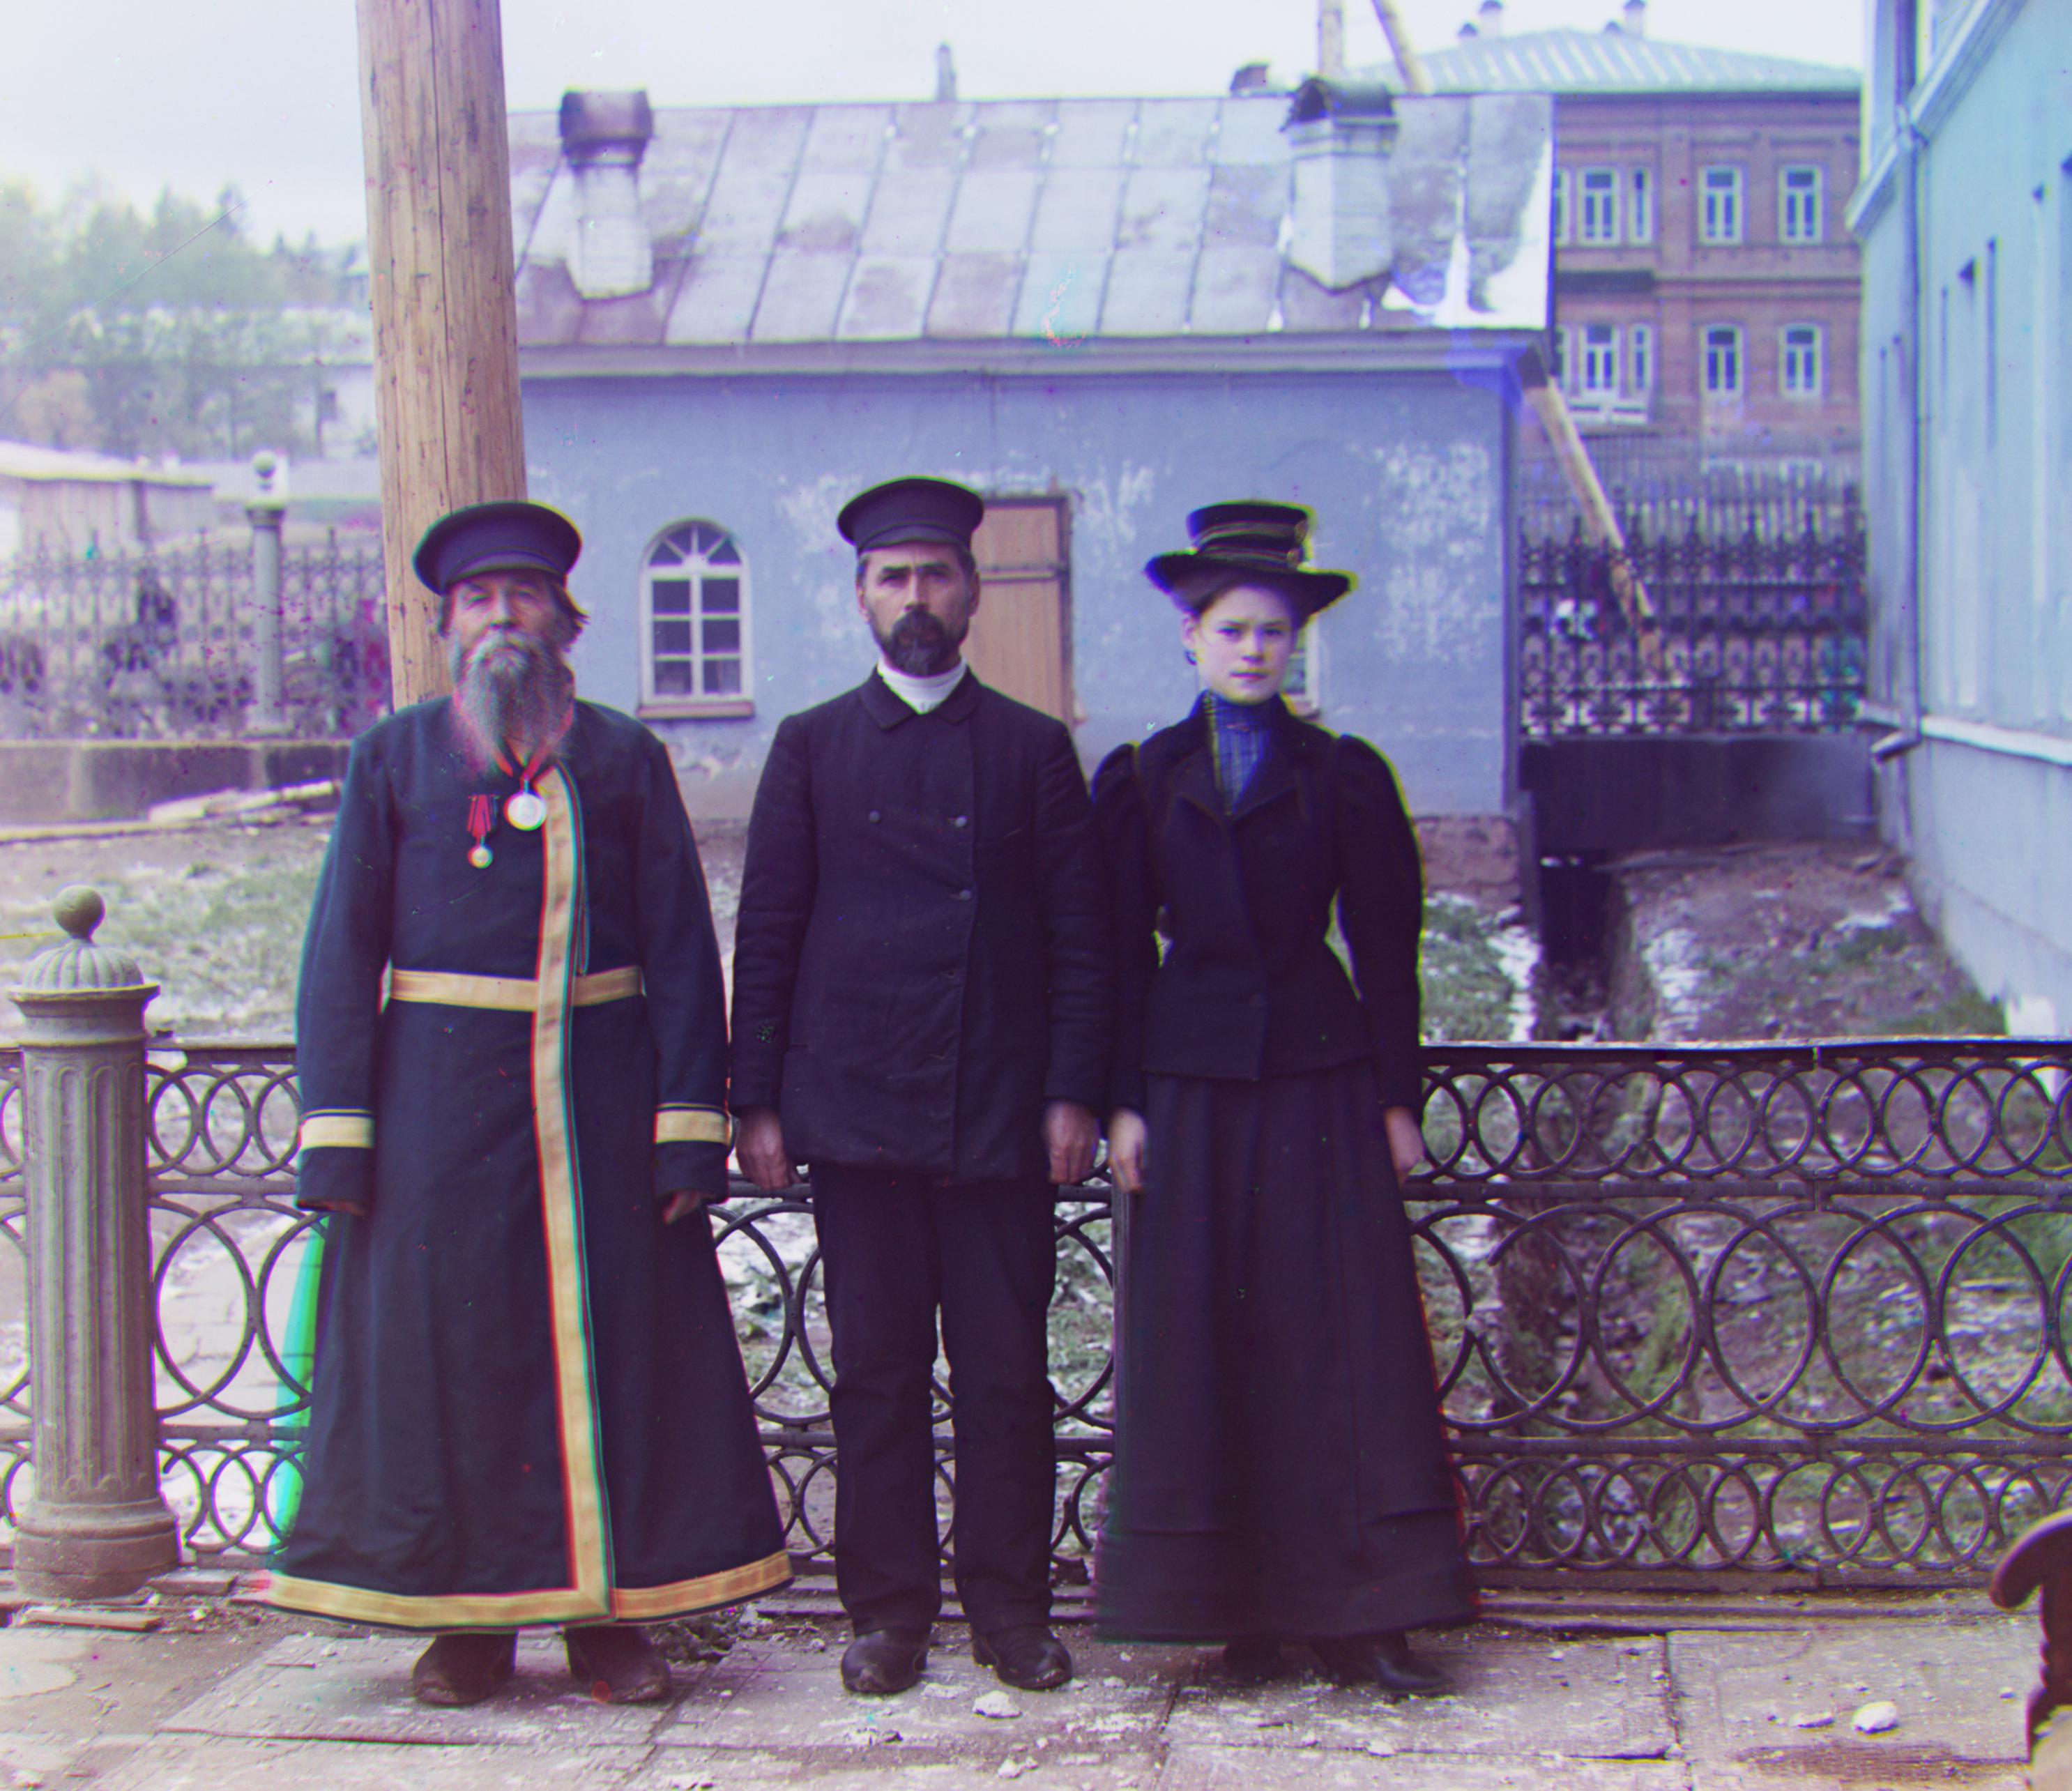
An important thing to note is that the photograph of the emir did not colorize properly using the above techniques because of large deviations in the values between the different channels. In particular, the blue and green channels, his robe appears lighter than him; in the red his robe appears darker. Thus, these were converted to binary images using the Roberts filter to detect the edges, and then aligned using SSD-pyramiding. This had to be done on the village image above, as well.
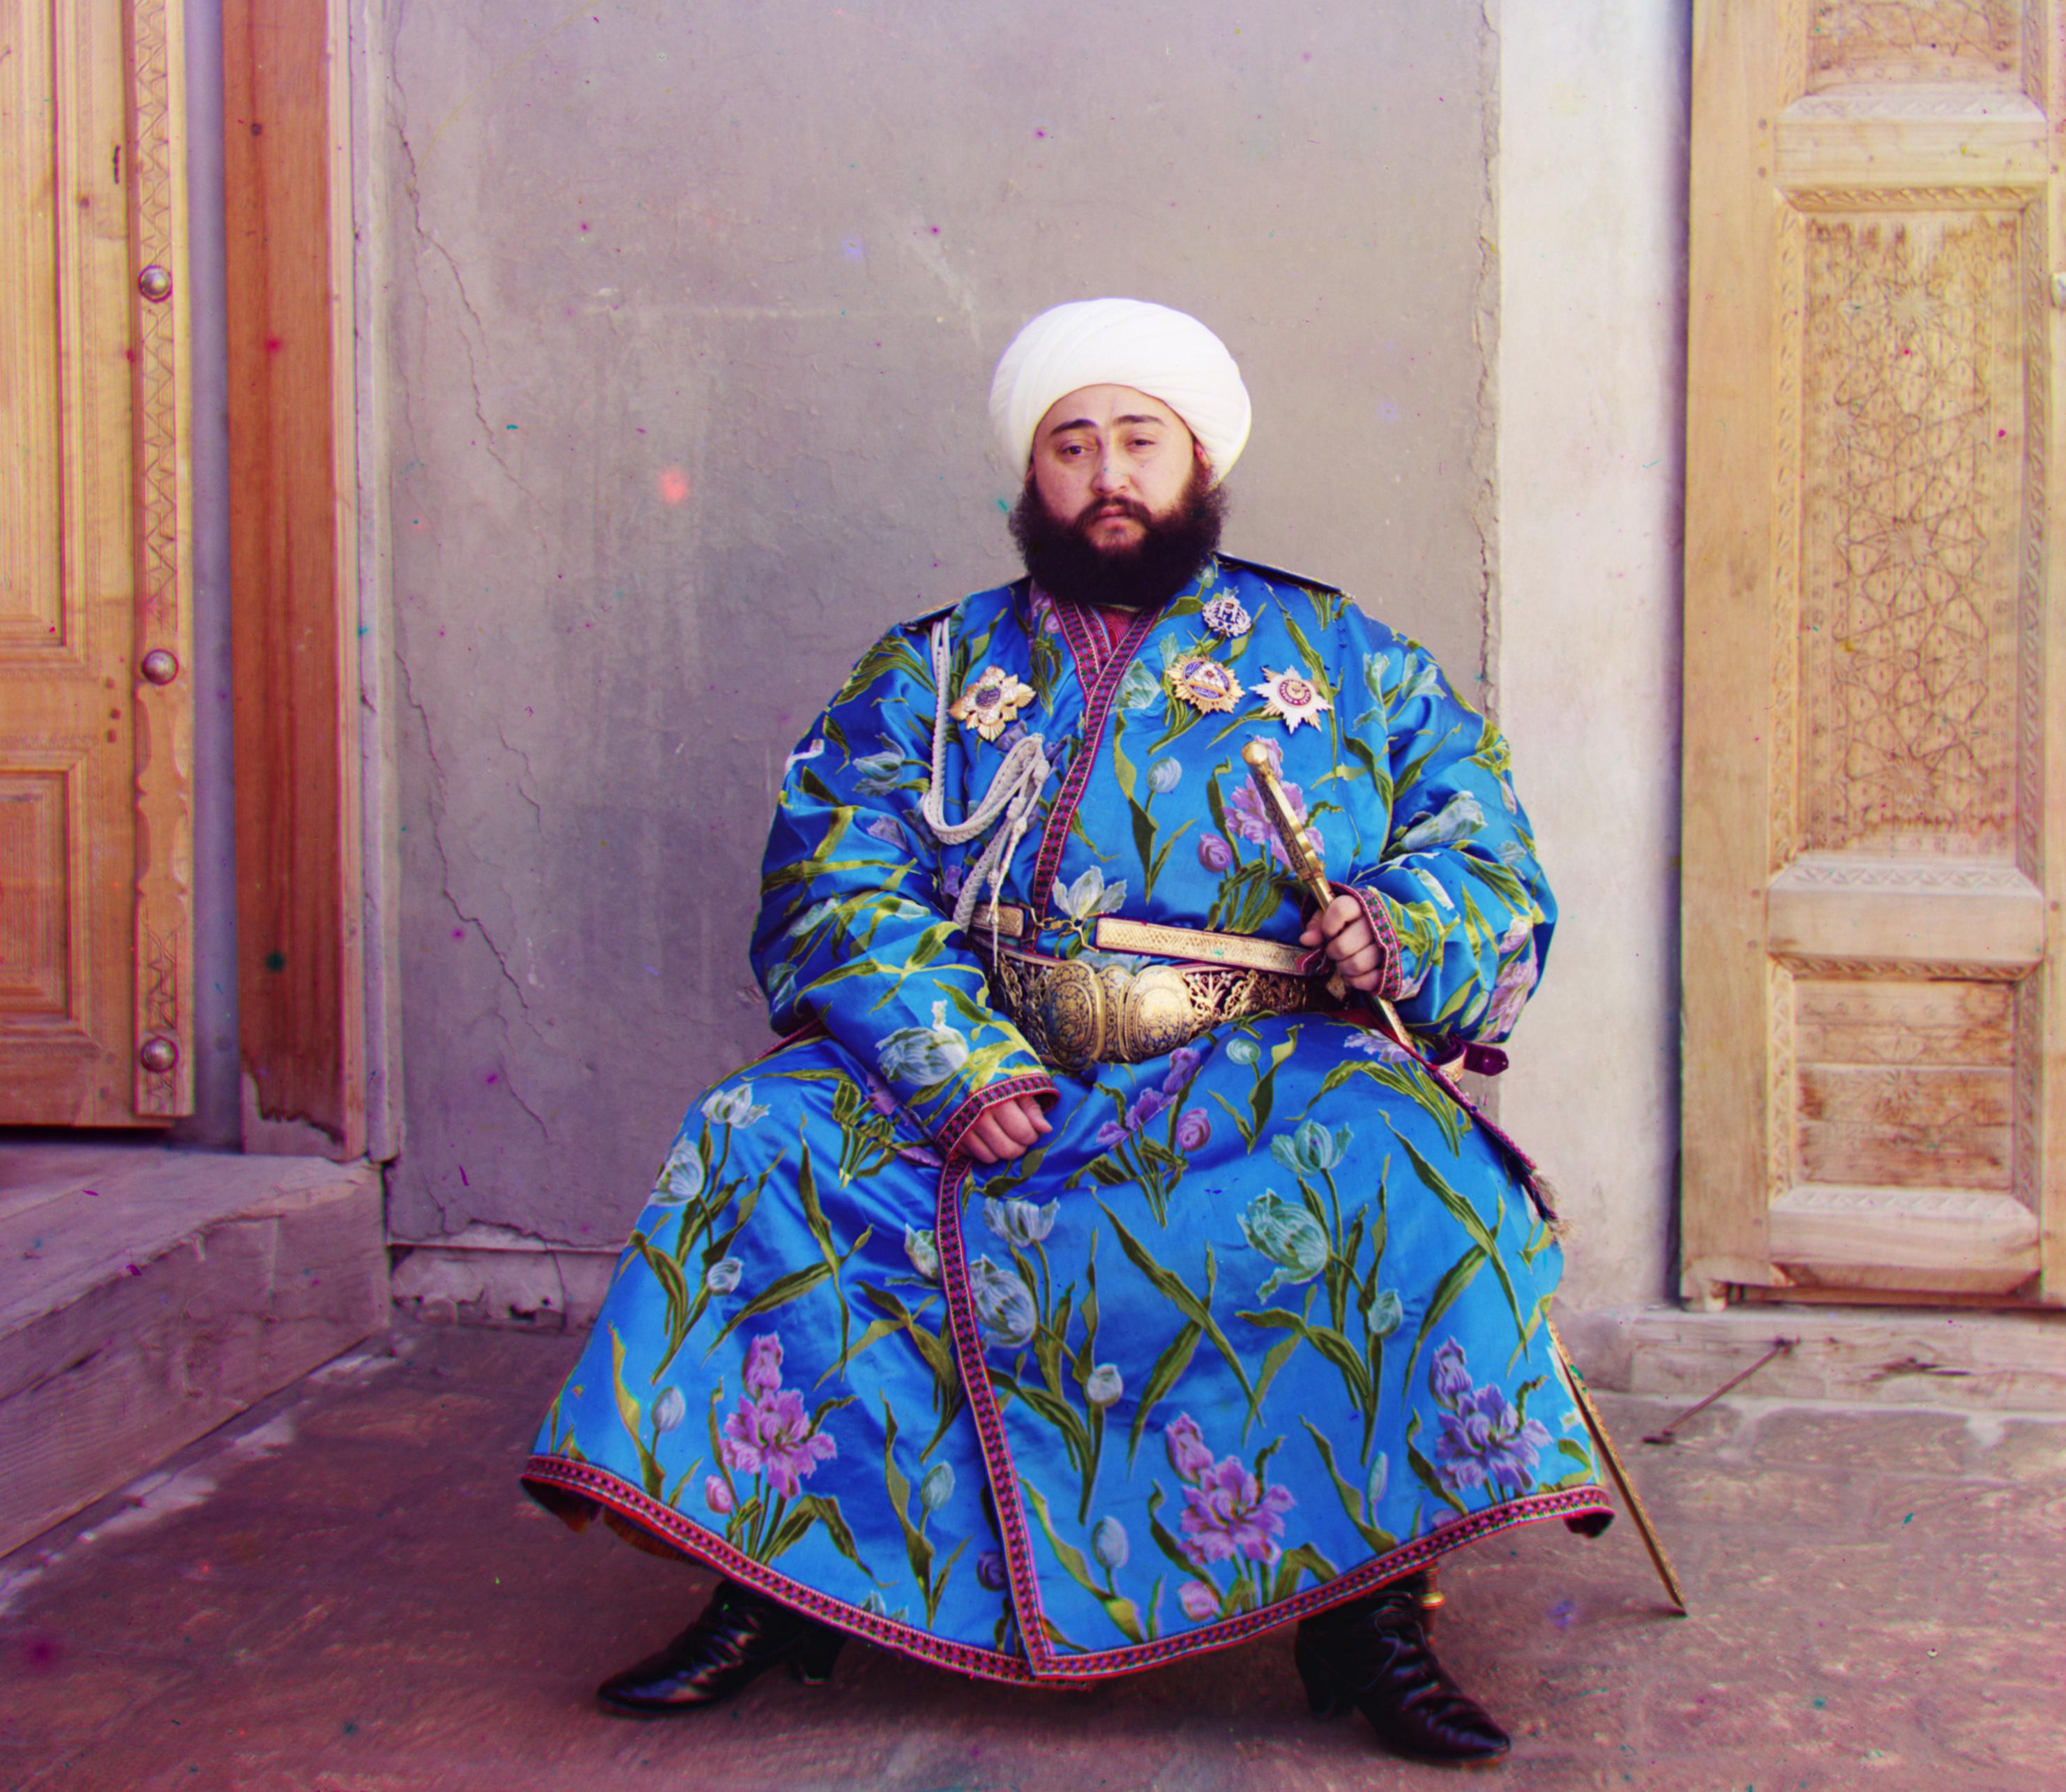 38.315 s
|
Man, what a lovely, colorized man! Overall, this project was super interesting with rewarding visual results, and a great way to dip my toe into image processing.