Images of the Russian Empire:

Colorizing the Prokudin-Gorskii photo collection

By Ziqi Chen

Overview

Prokudin-Gorskii created color photos back in 1907 by taking photographs with different exposures of each scene using red, green, and blue filters. He then aligned these plates to create colored photographs. In this project, I used the digitized Prokudin Gorskii glass plate images and used image processing to extract the three different color channels and align them on top of each other to form a RGB color image.

Disclaimer: tif files are very large and not supported by many browsers, so in this website, I've displayed all the tif files as jpgs. The tif files are included in my project.

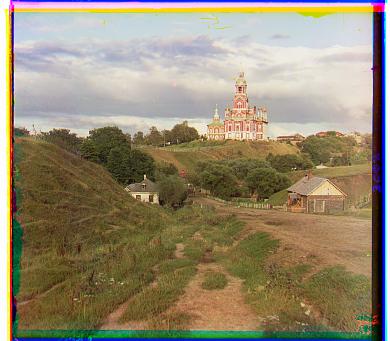
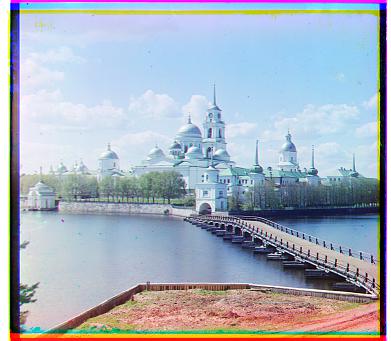
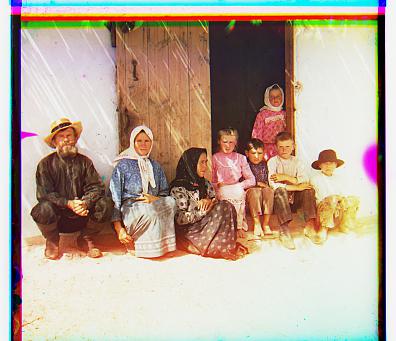
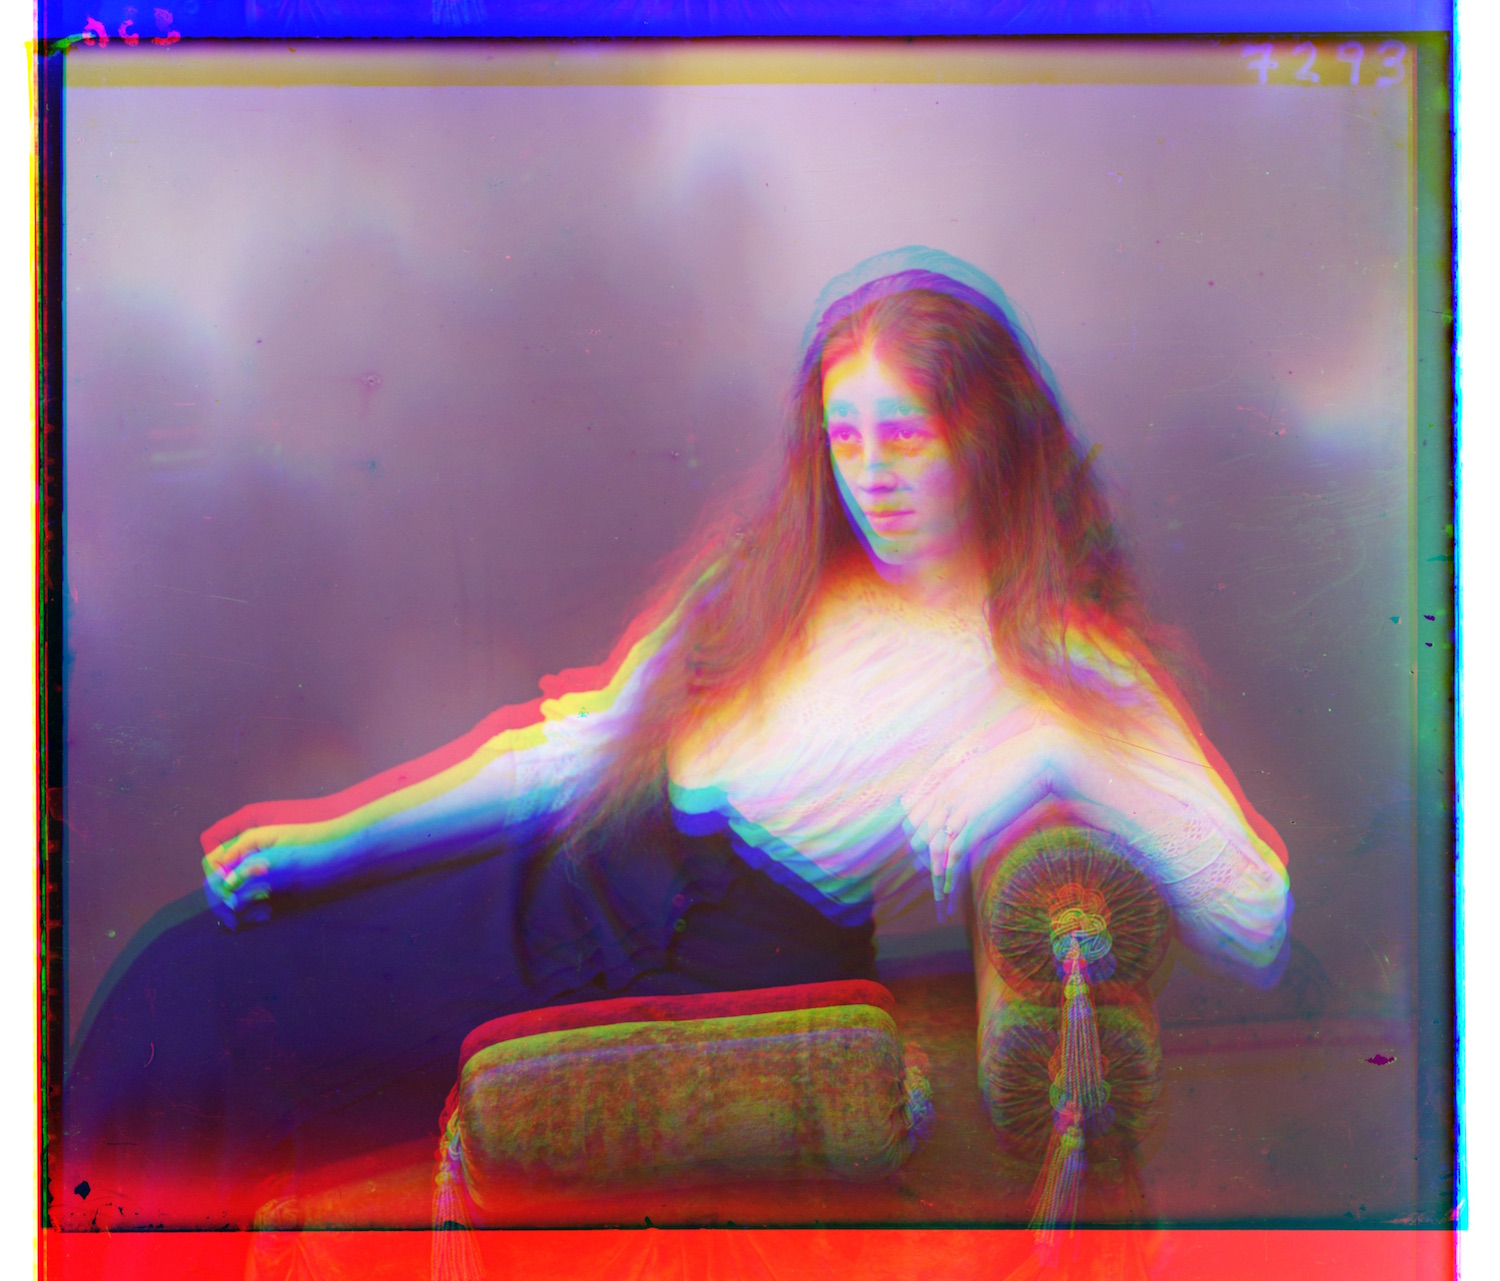
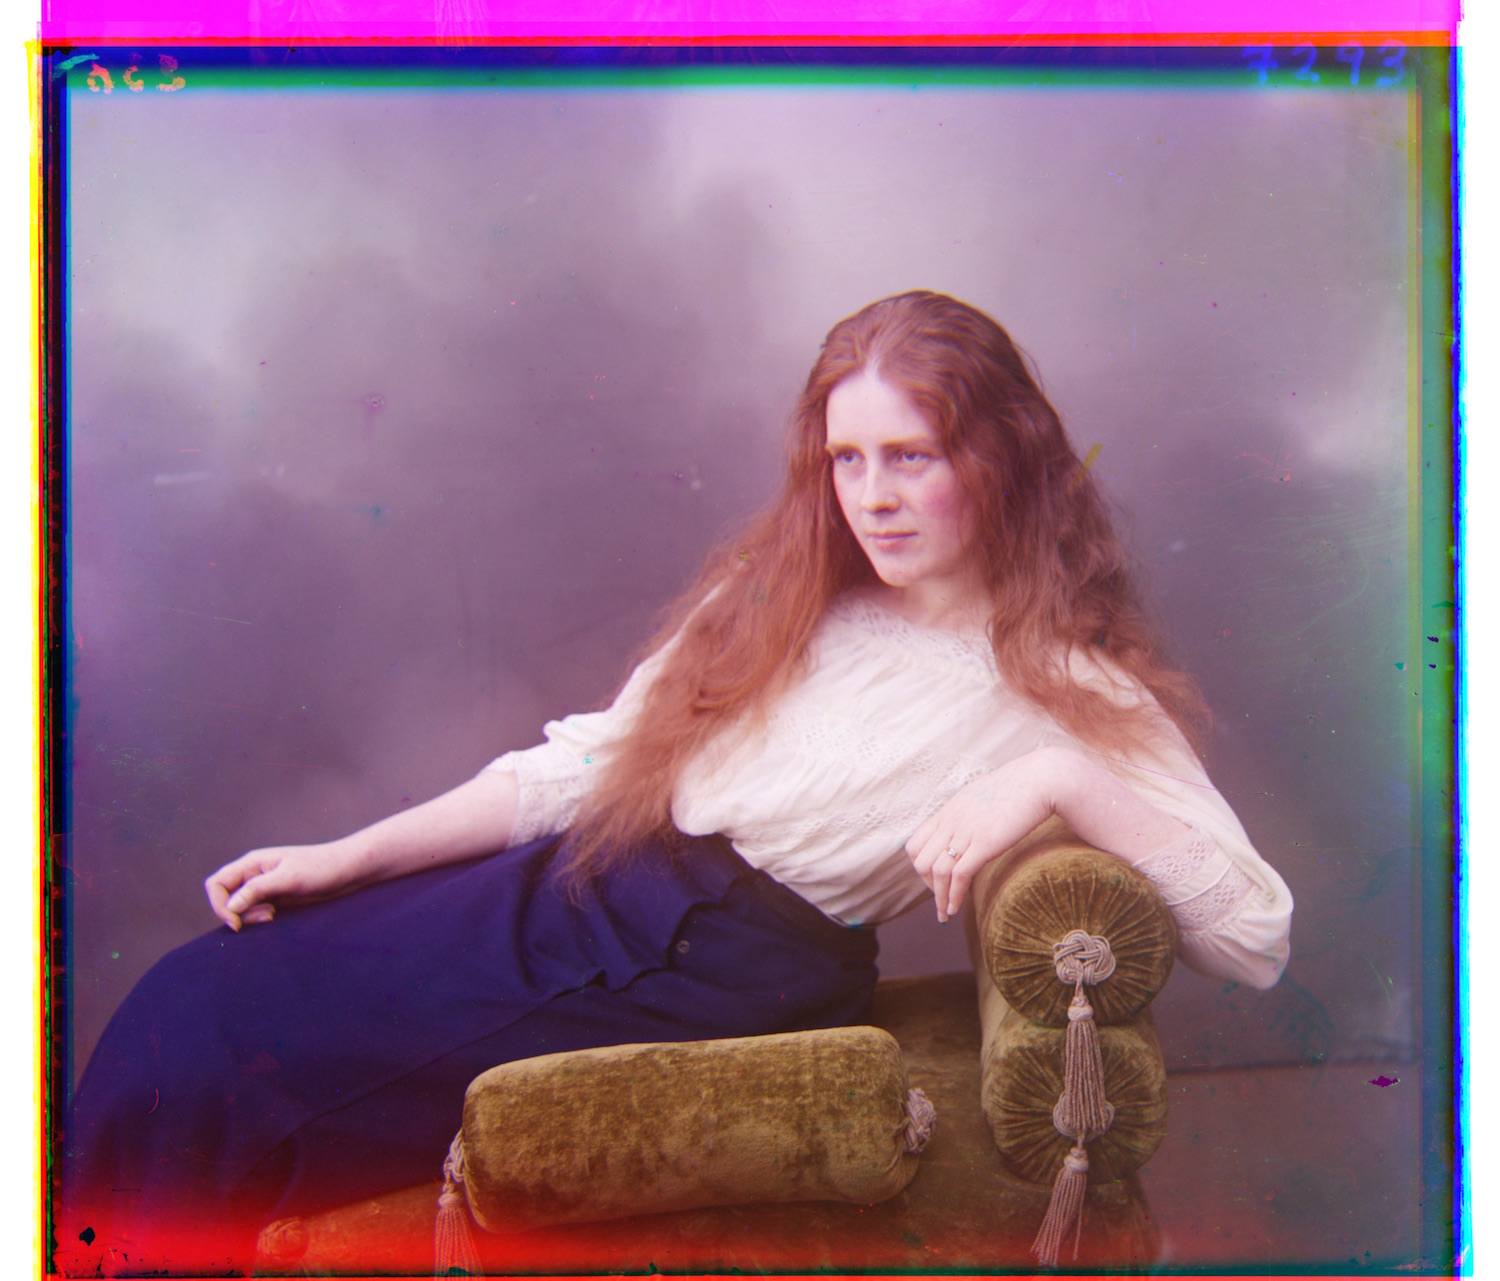
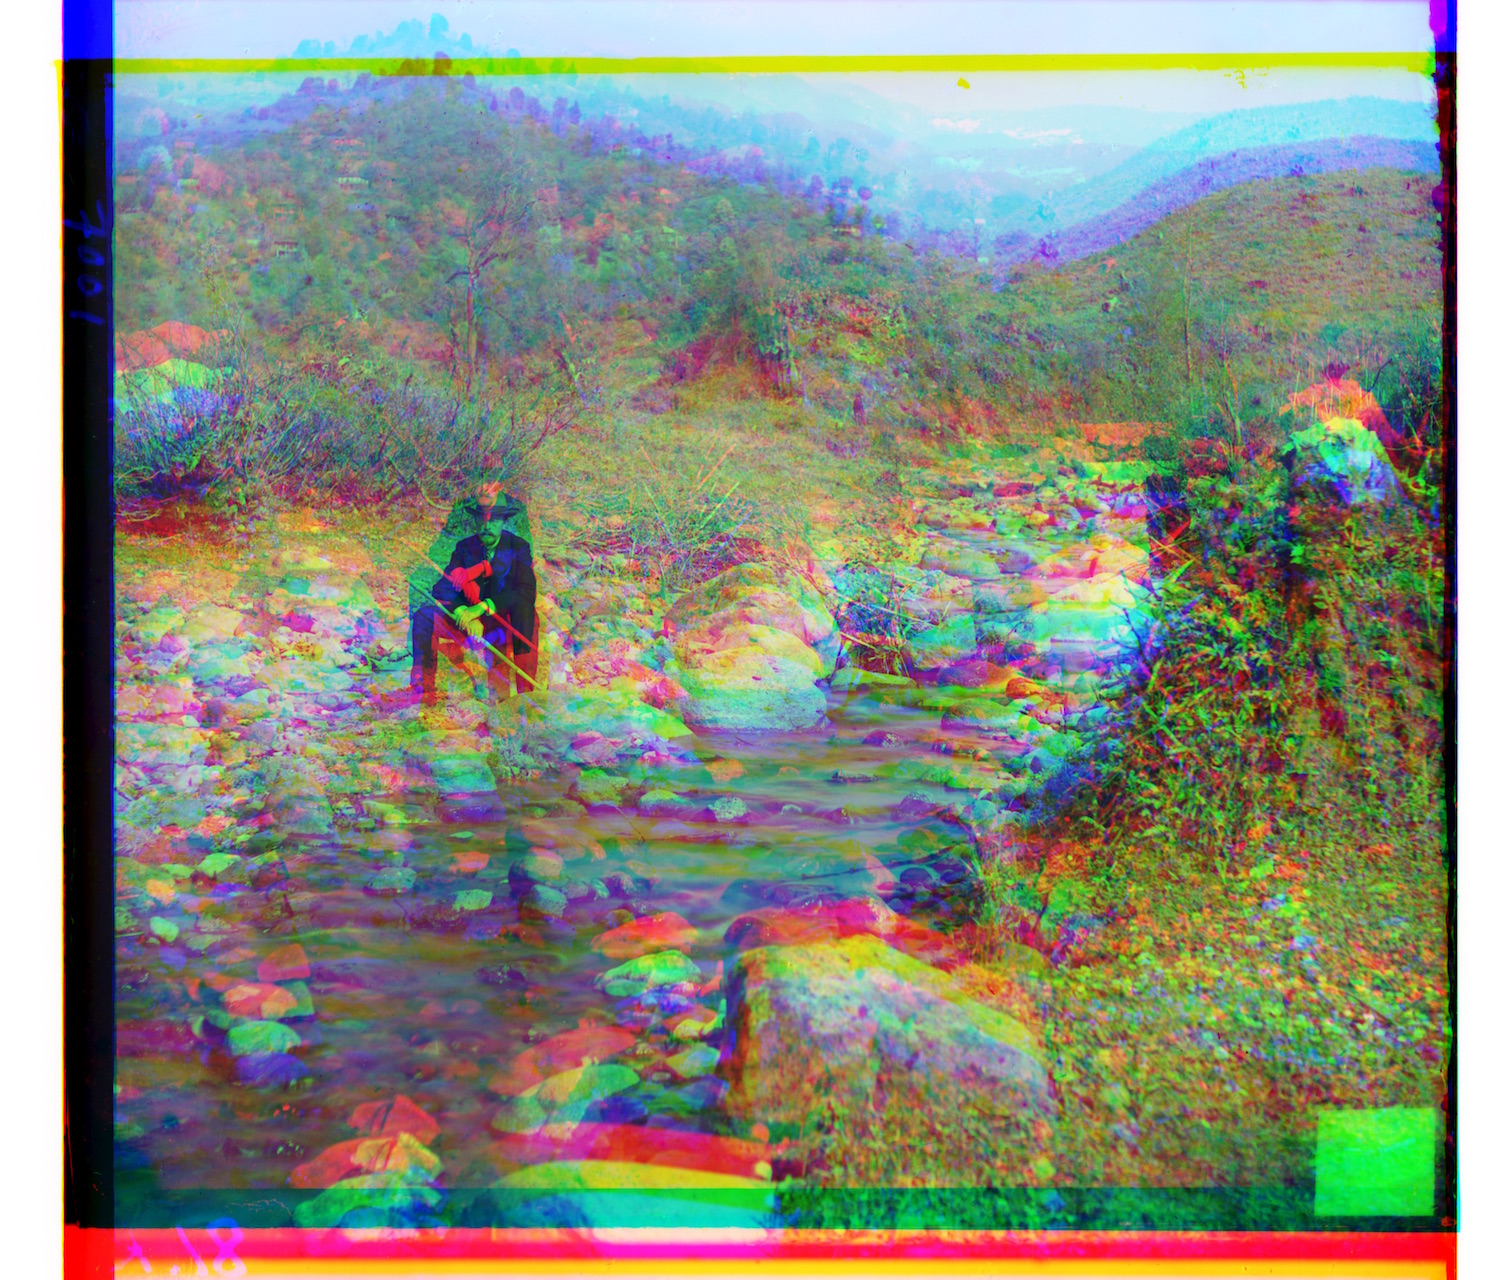
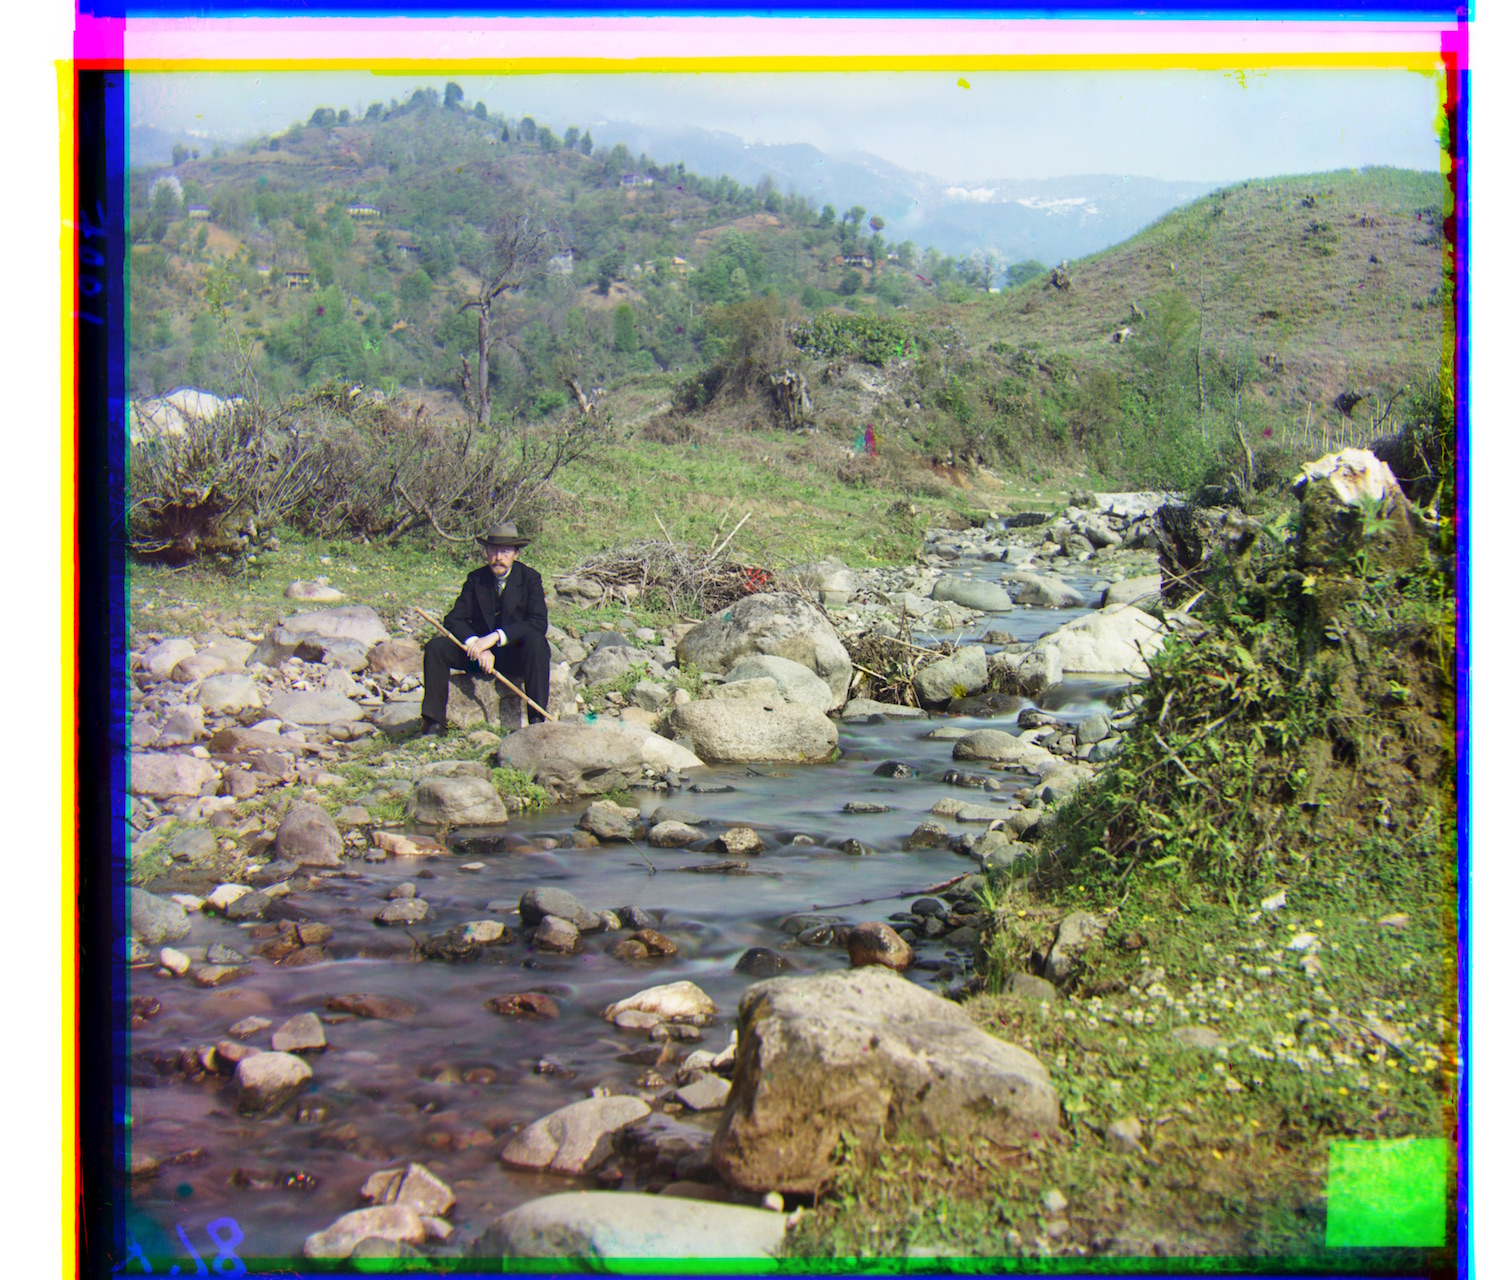
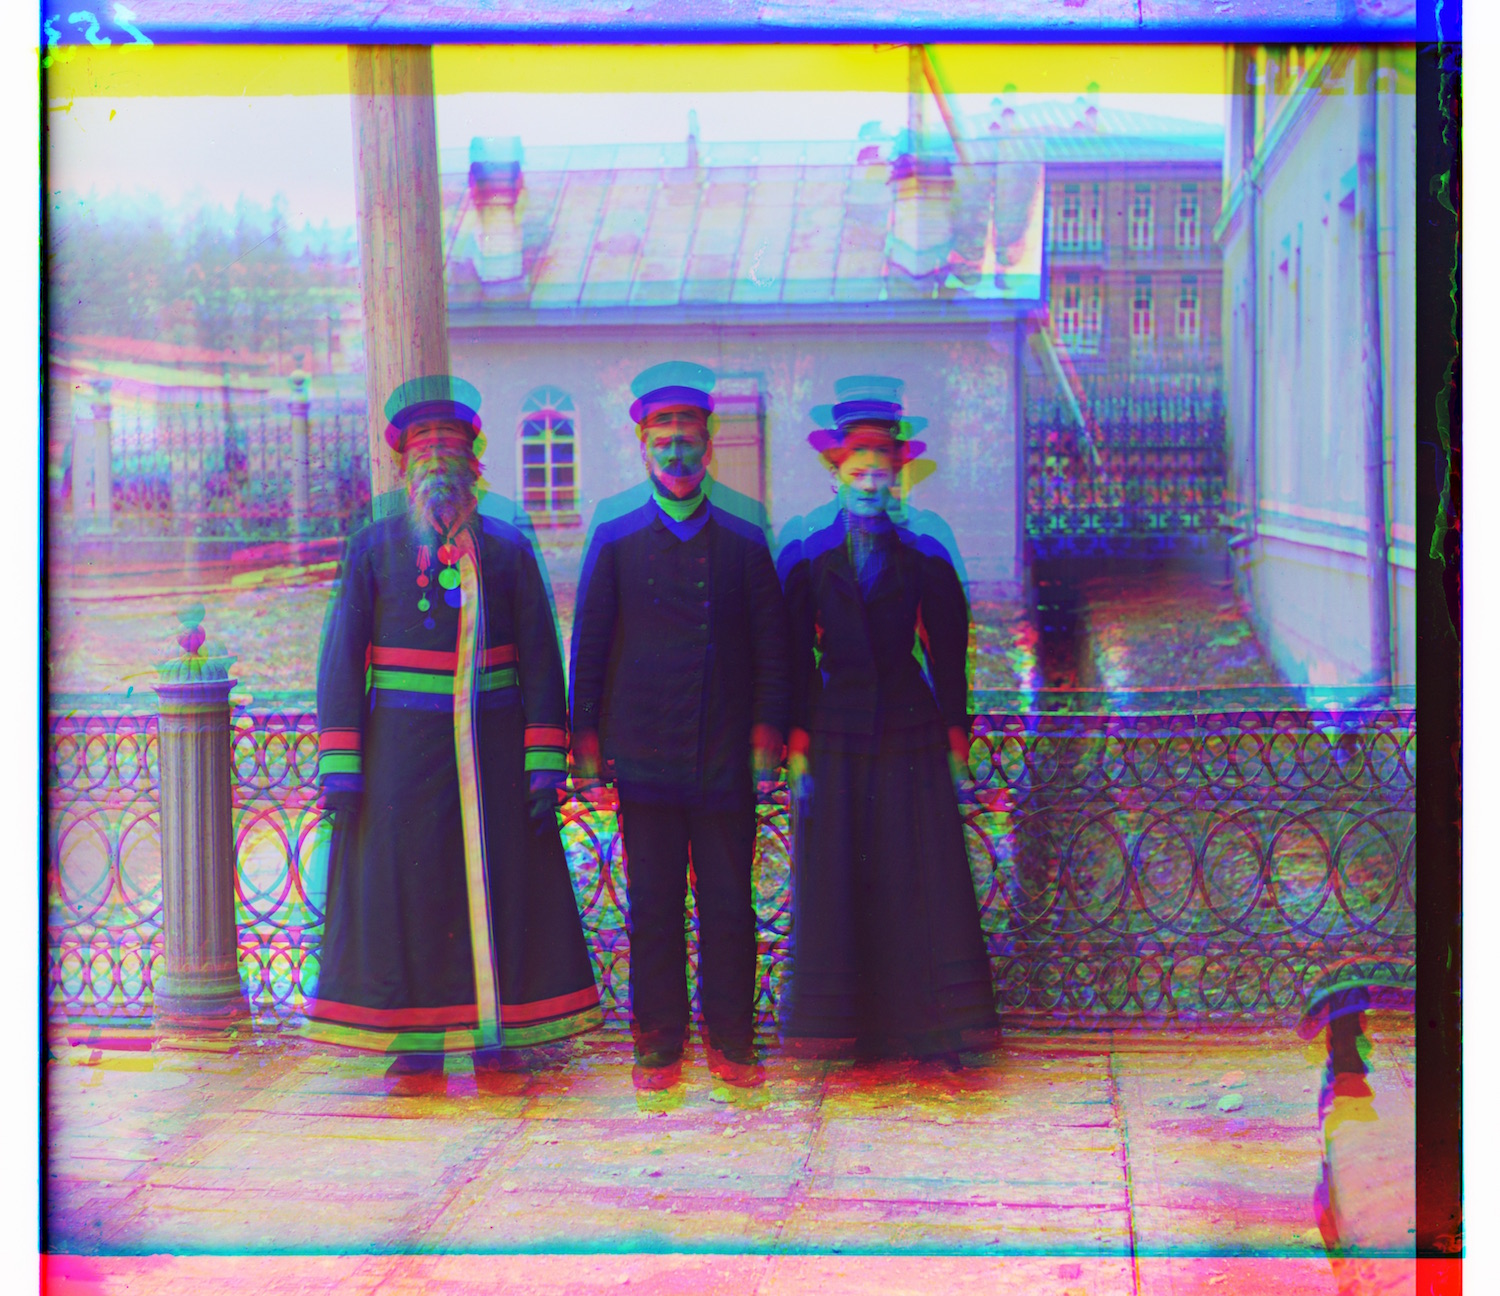
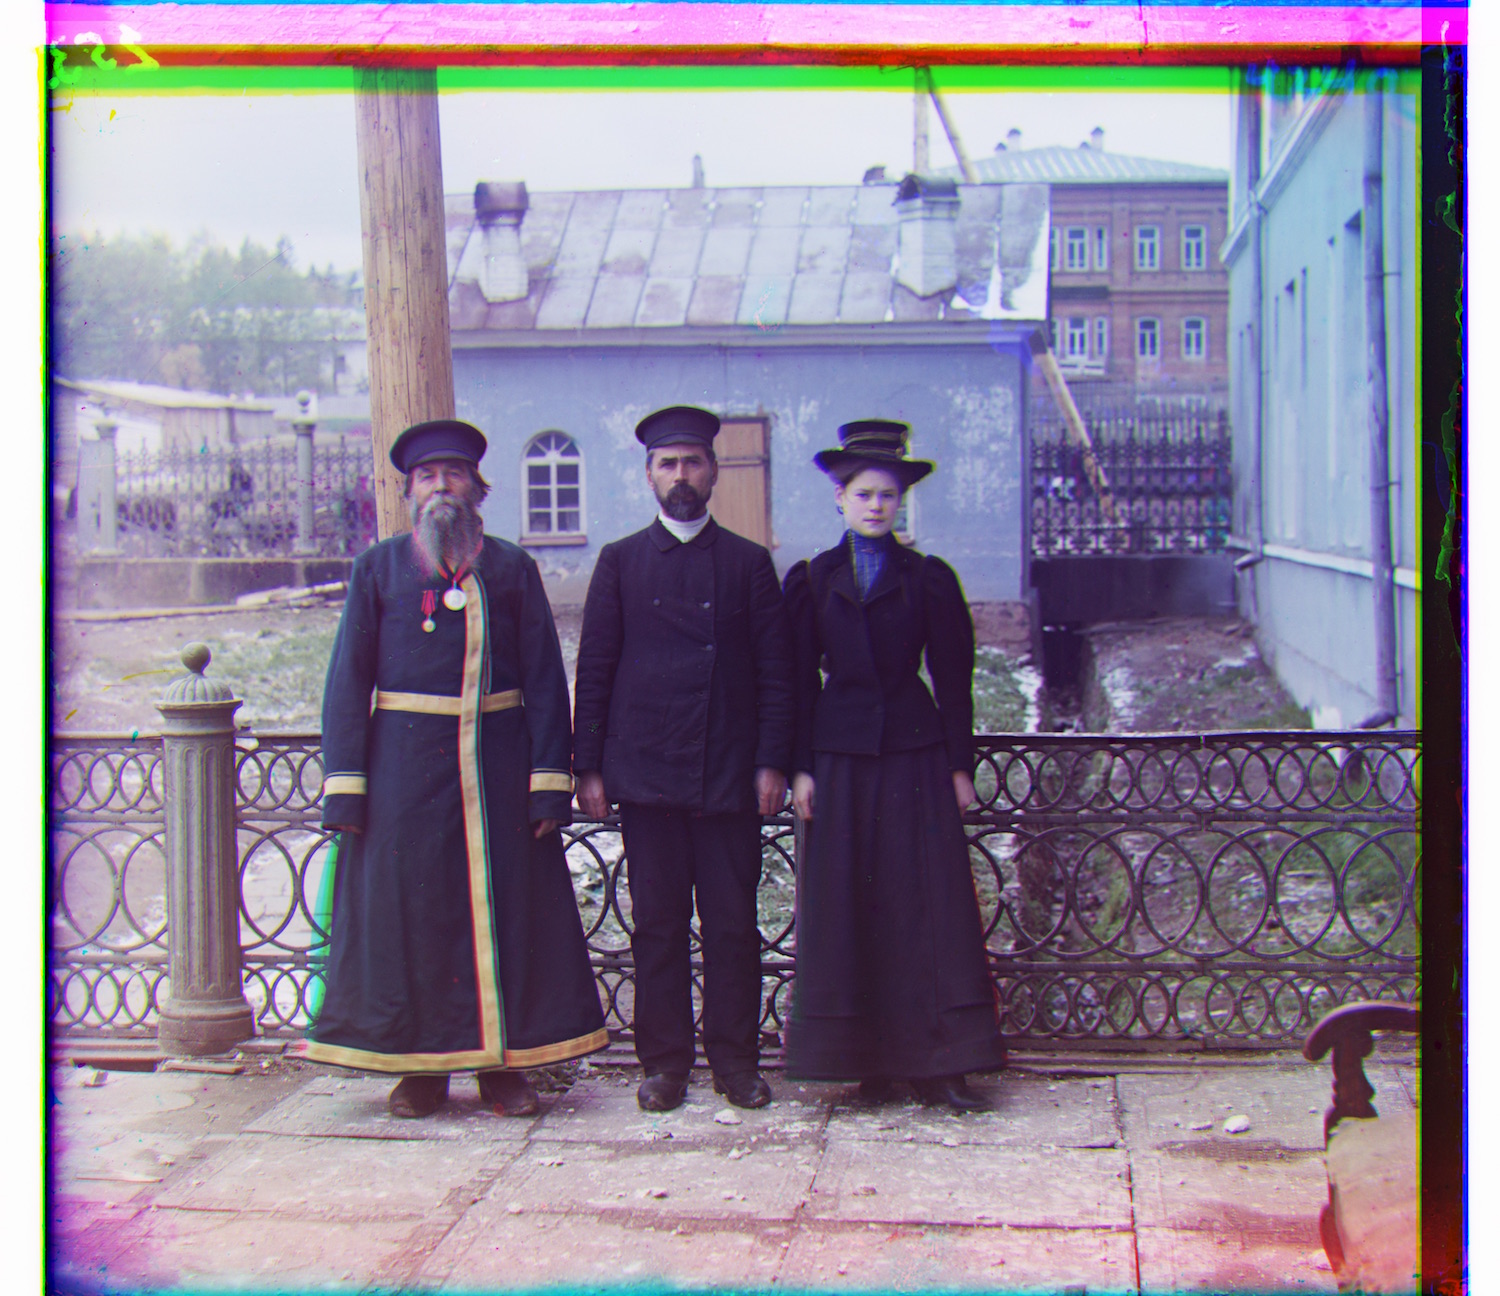
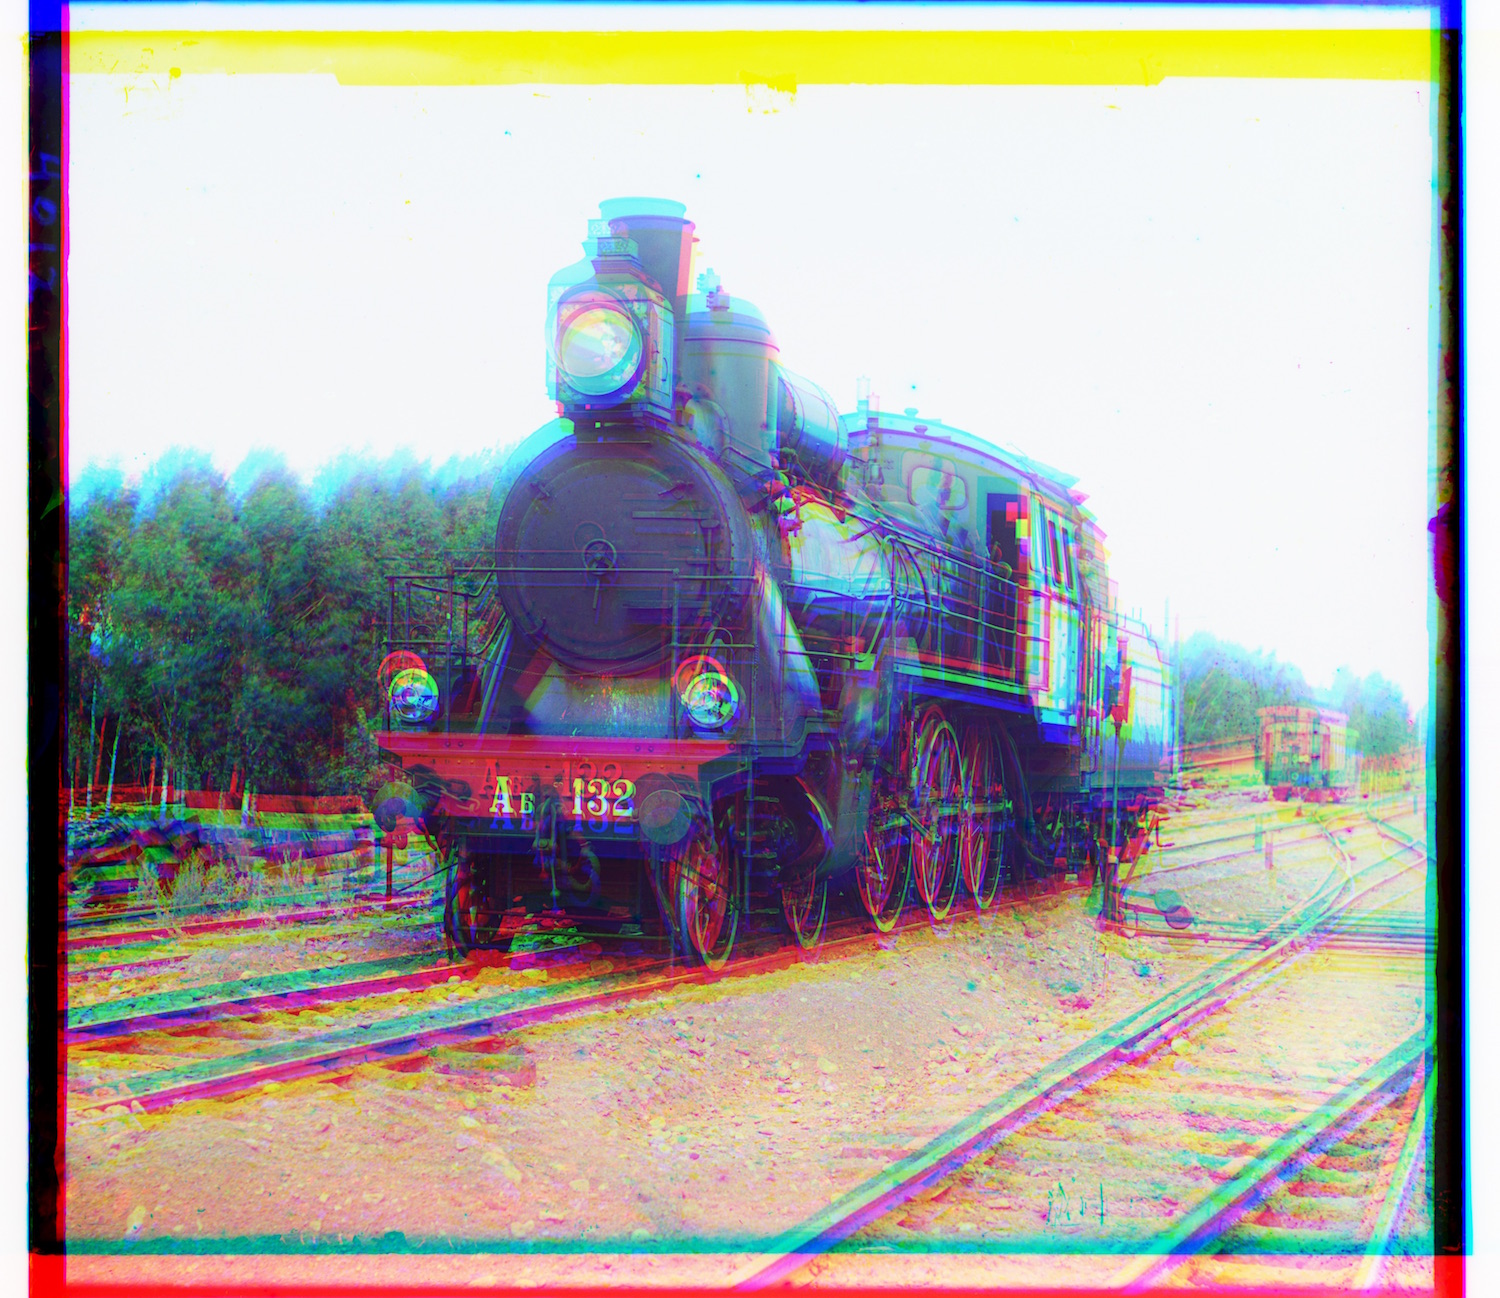
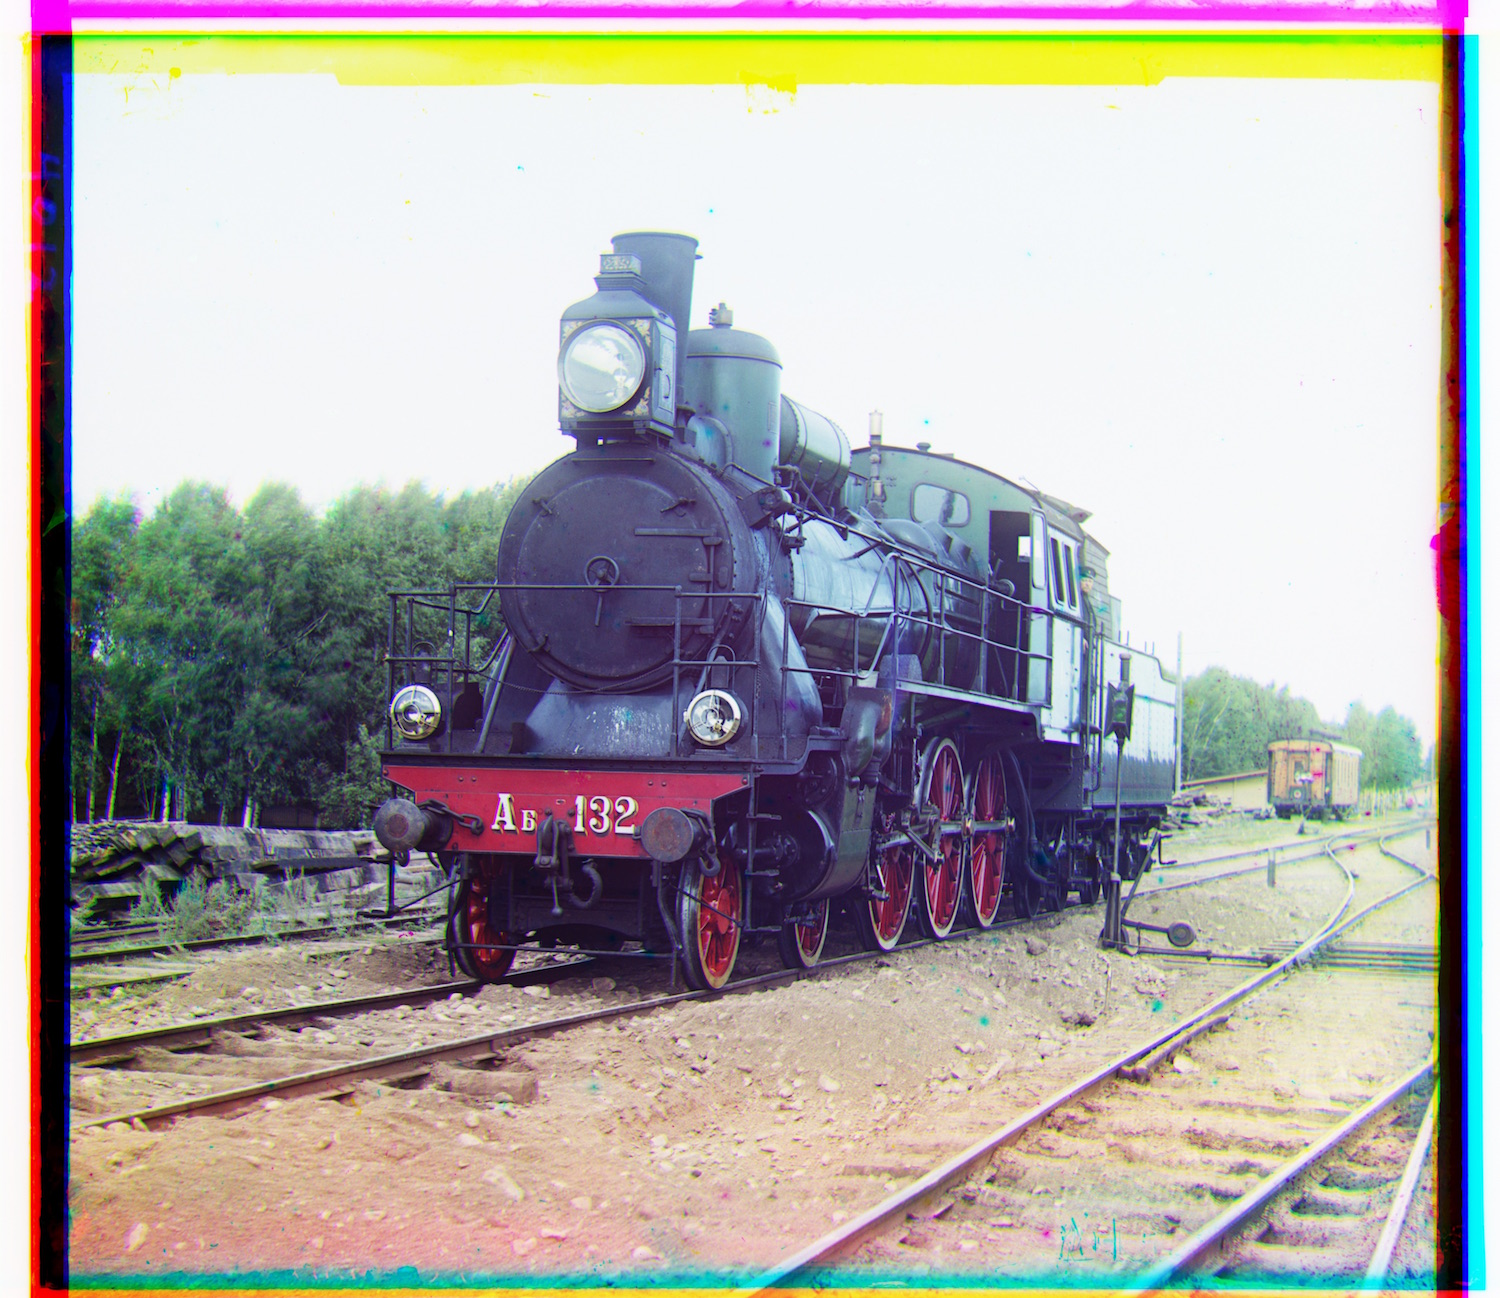
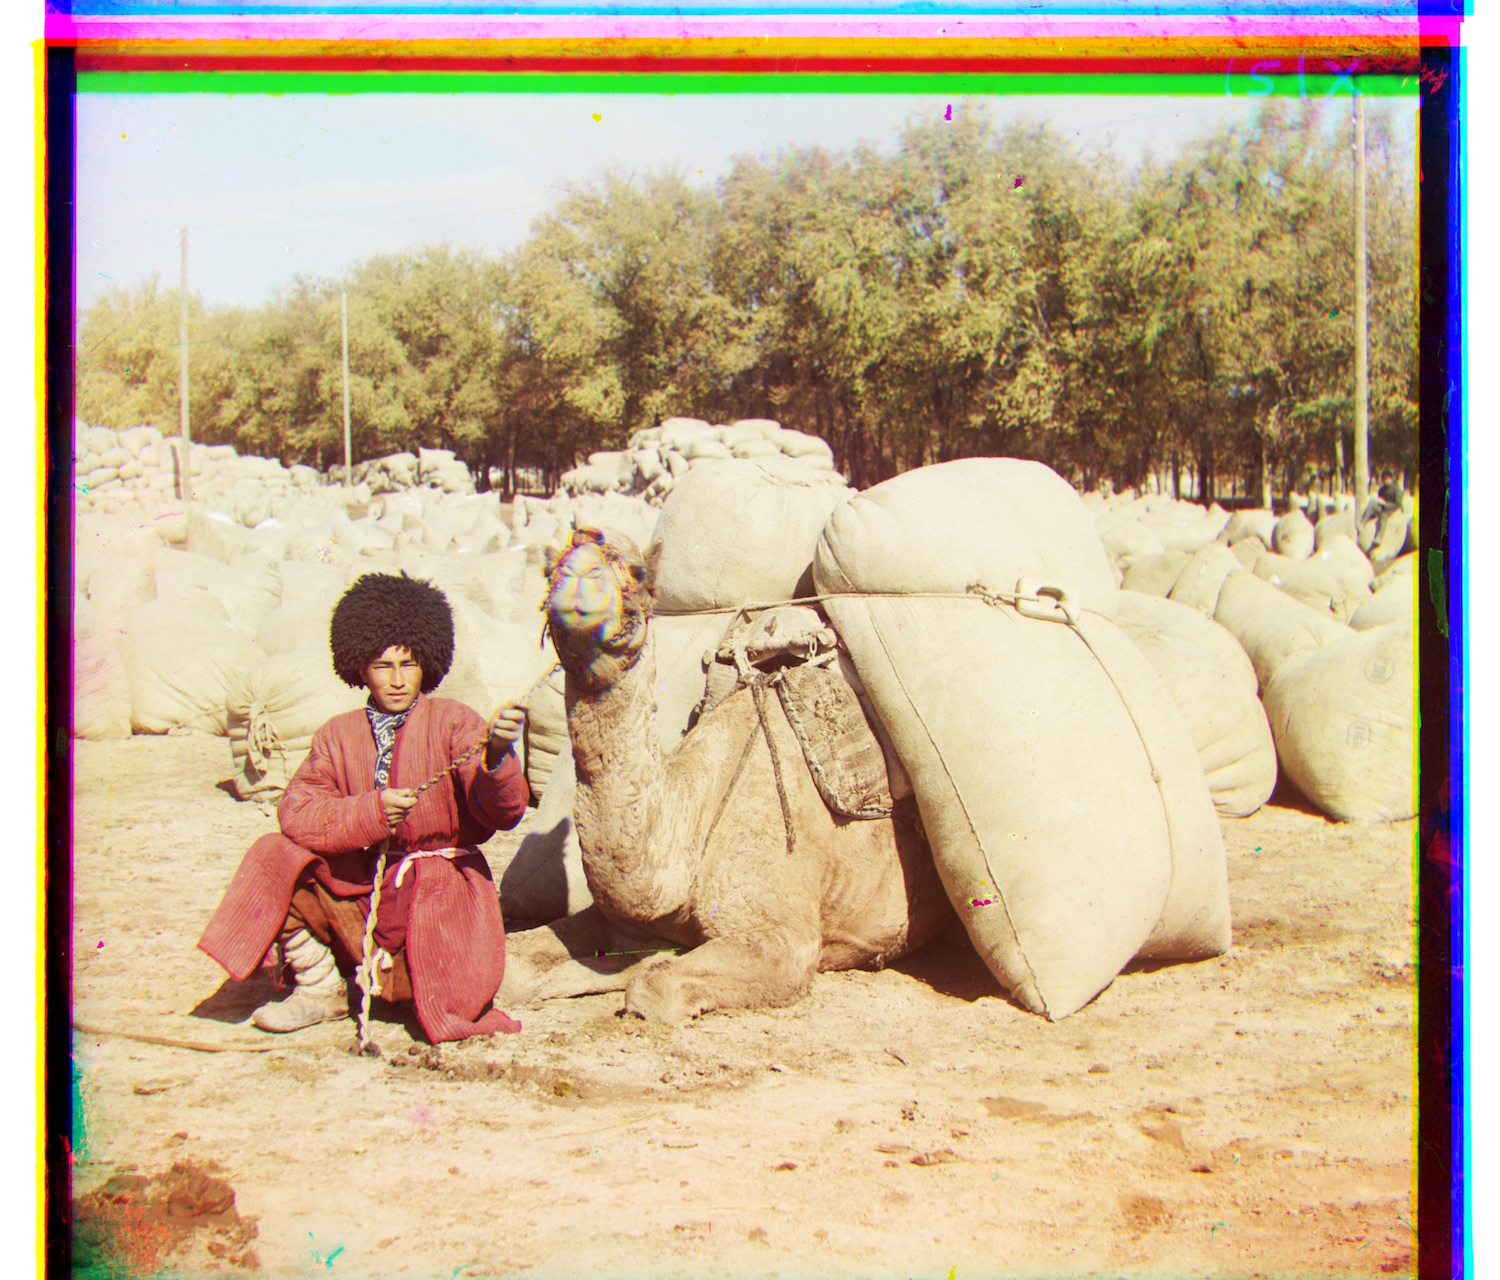
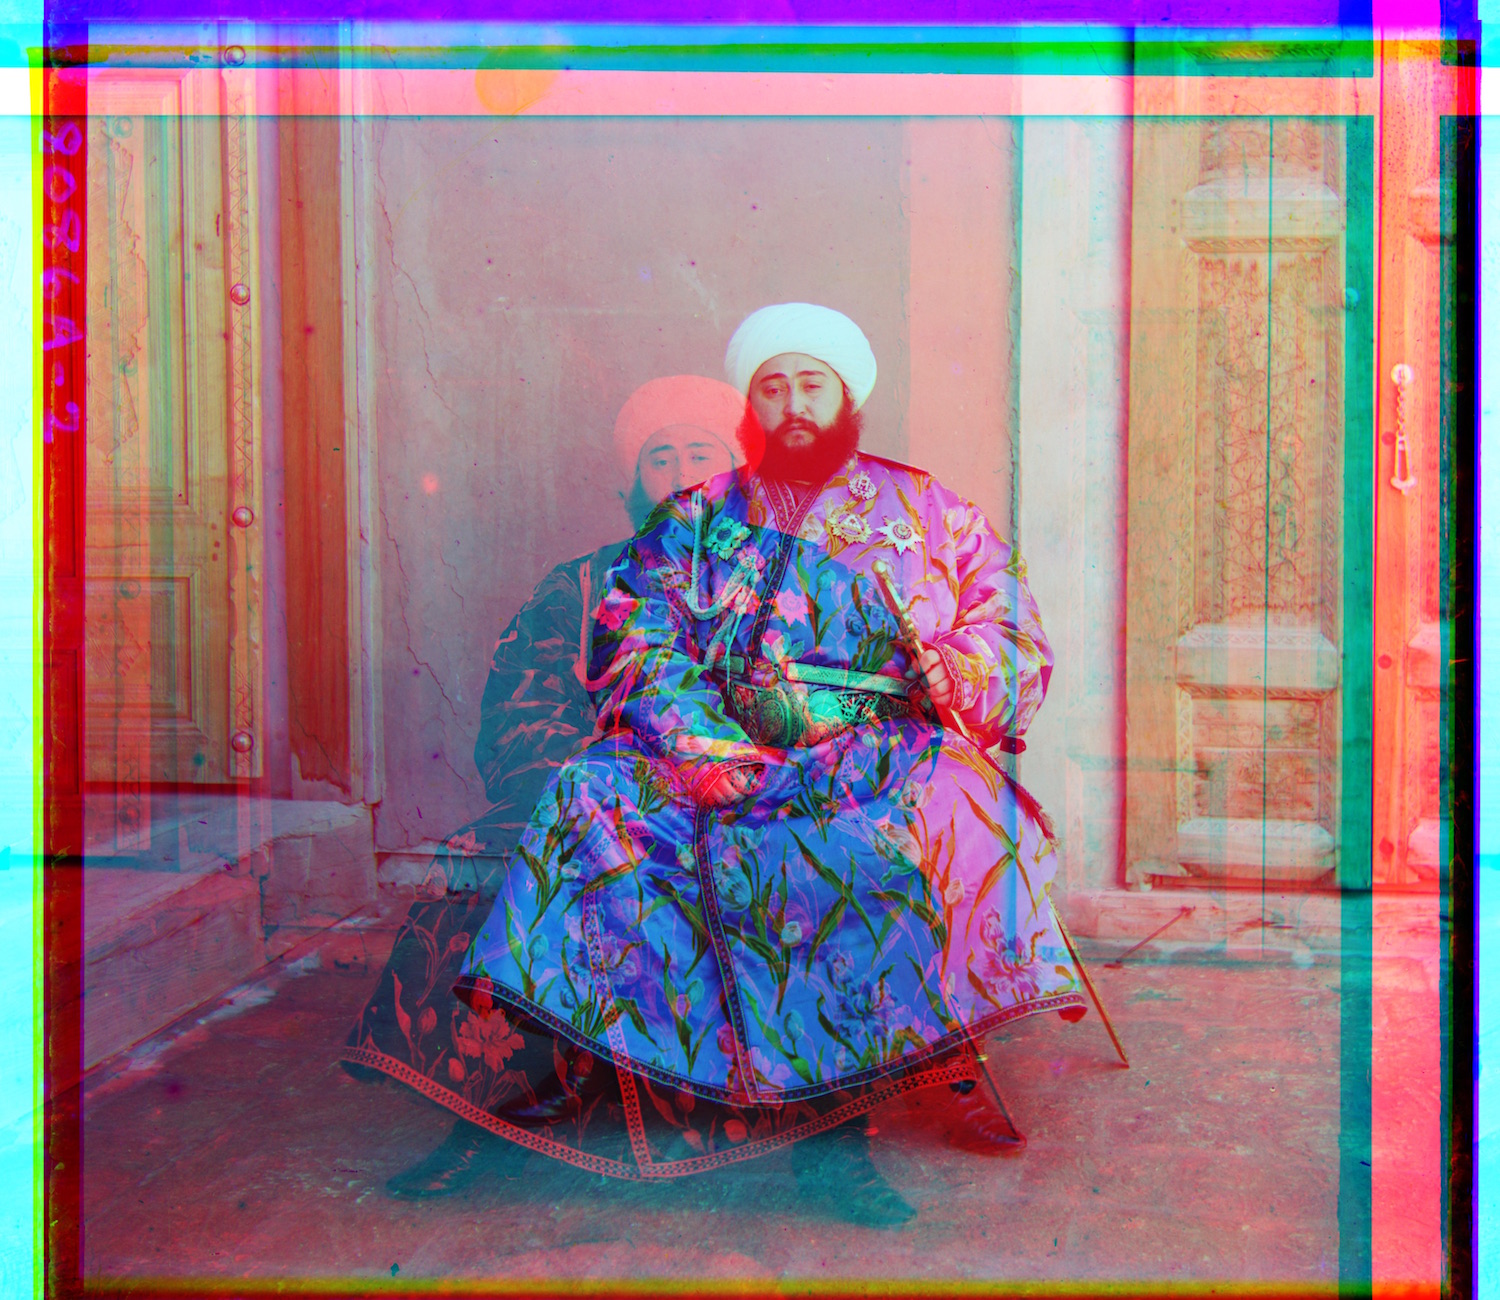
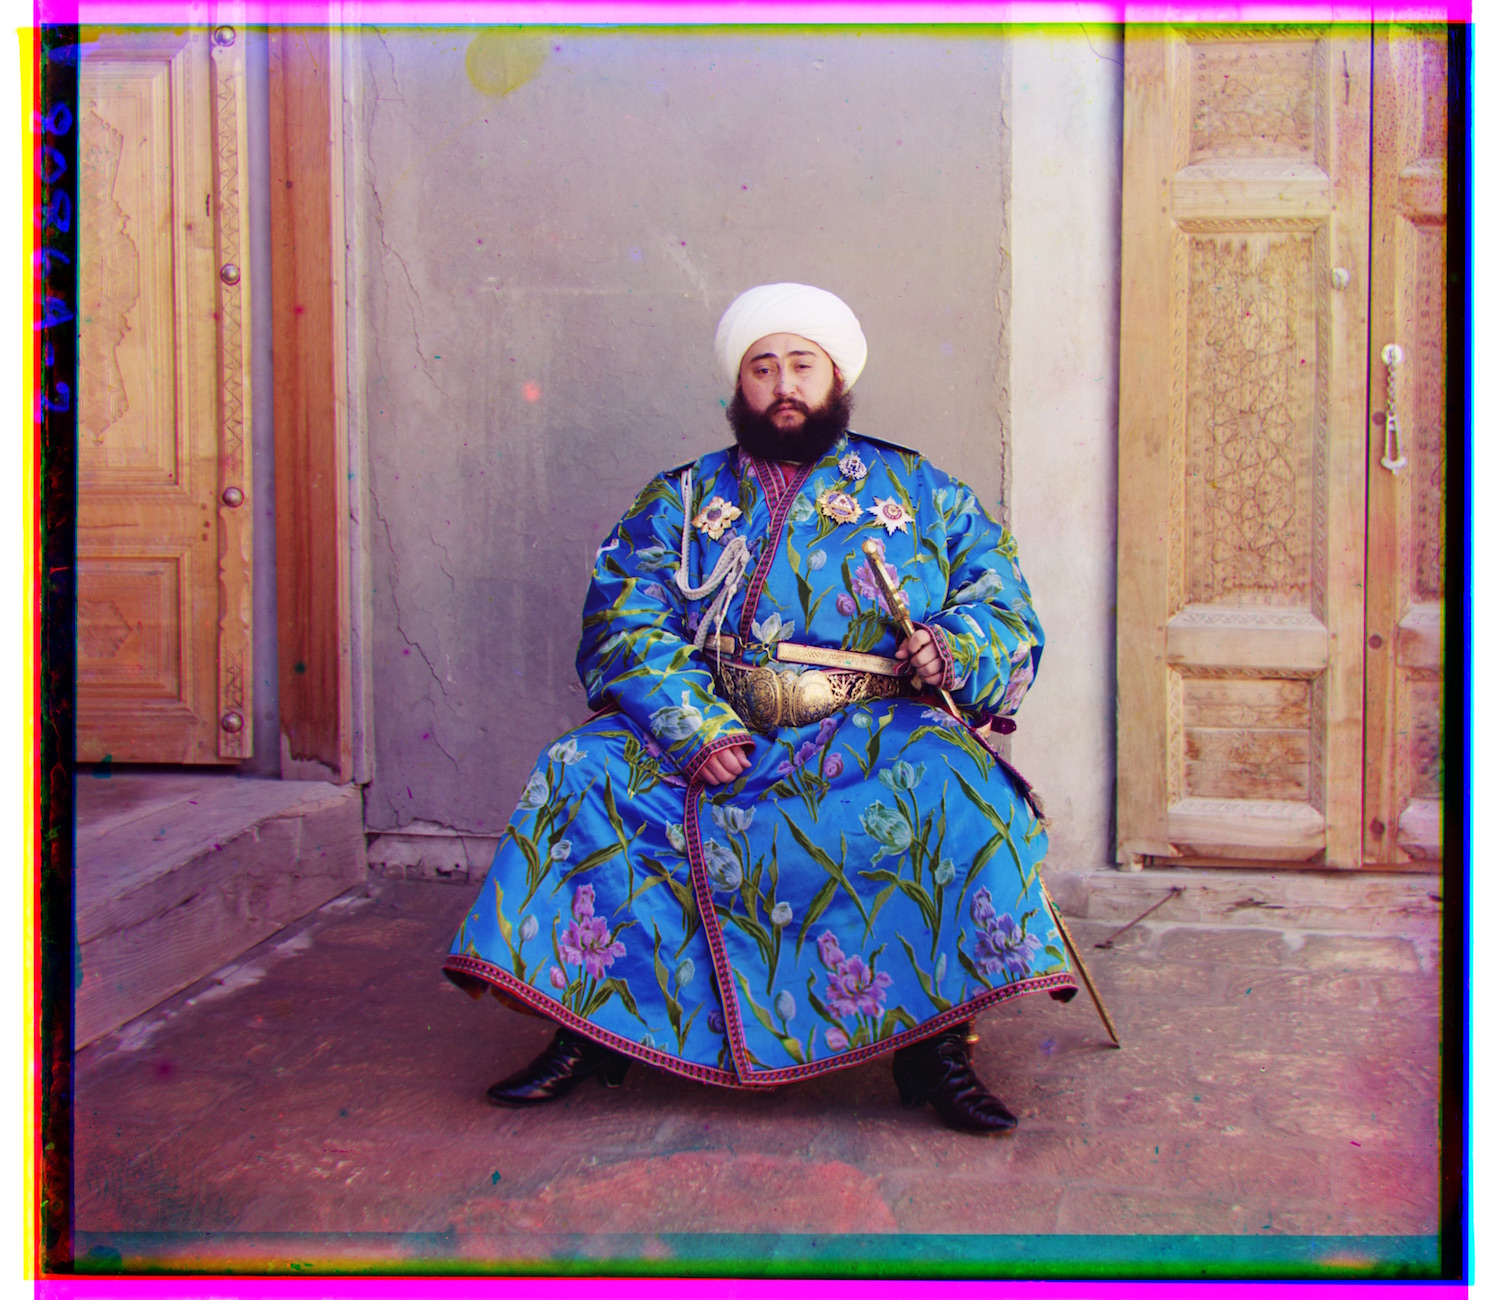
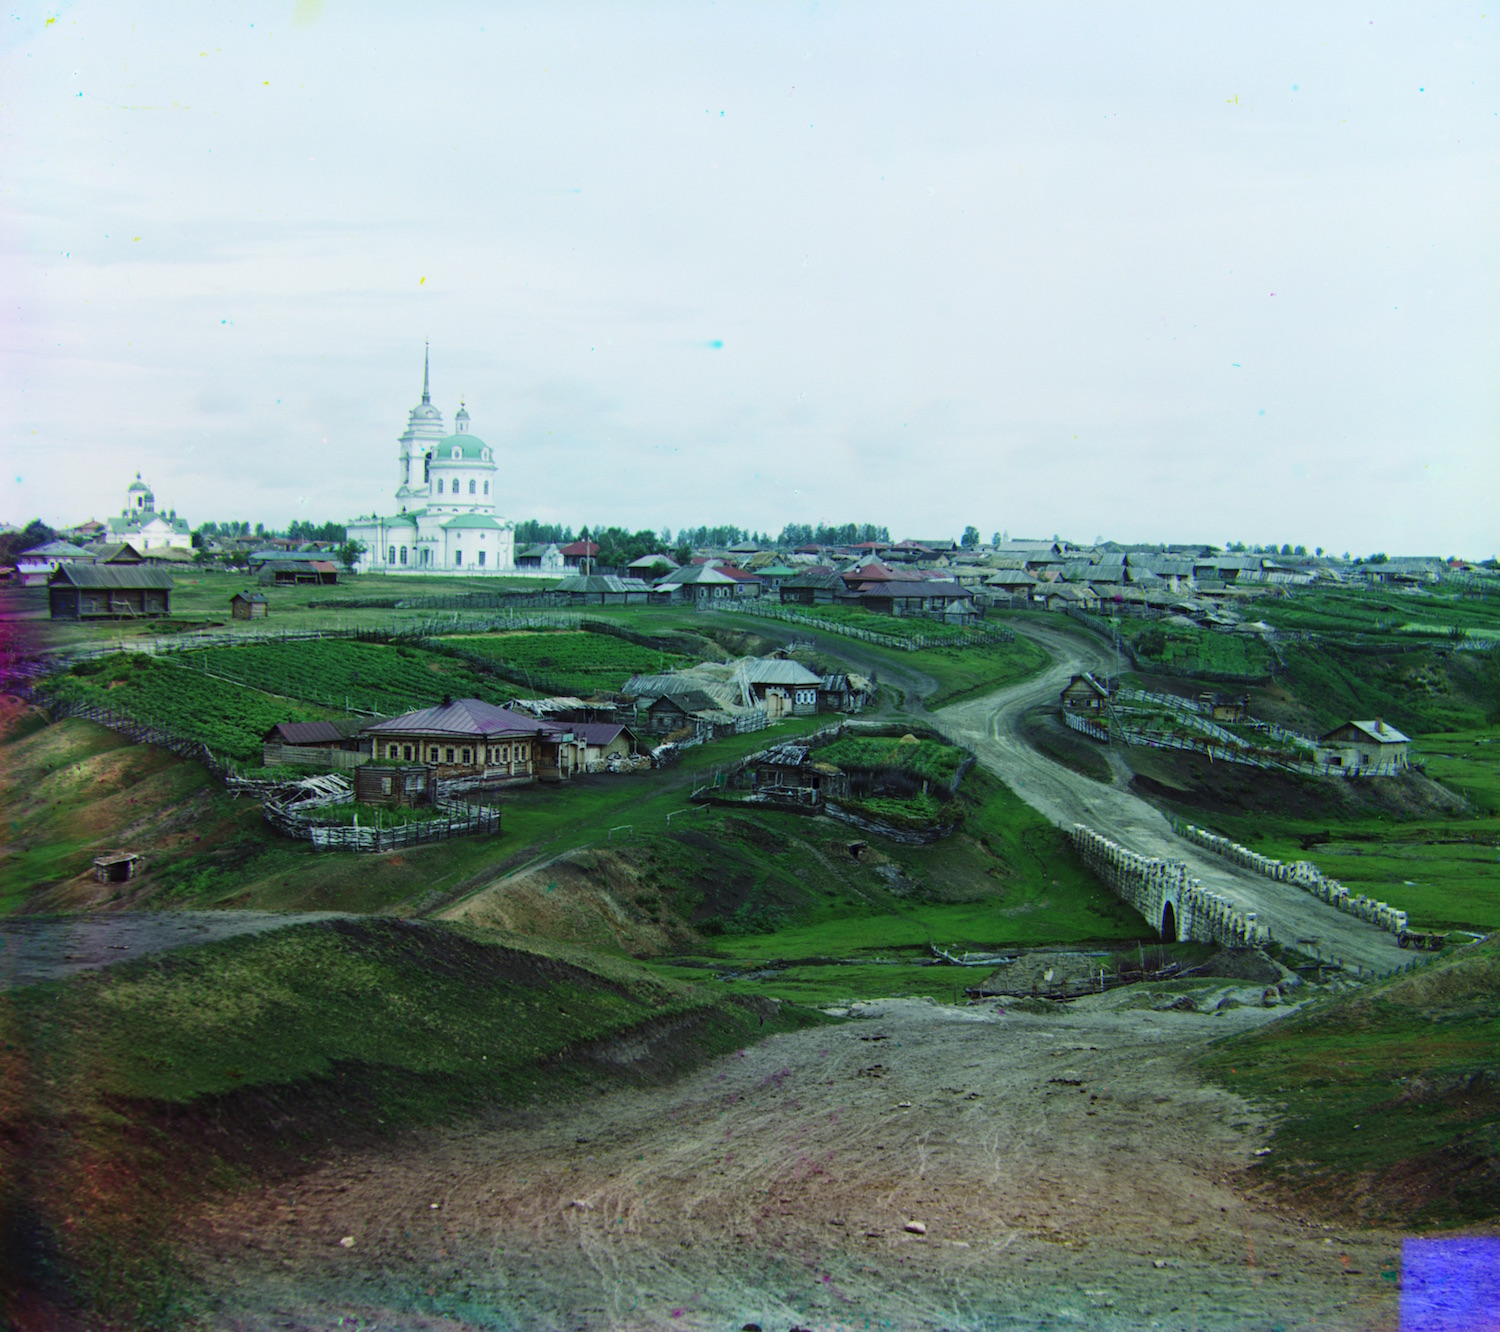
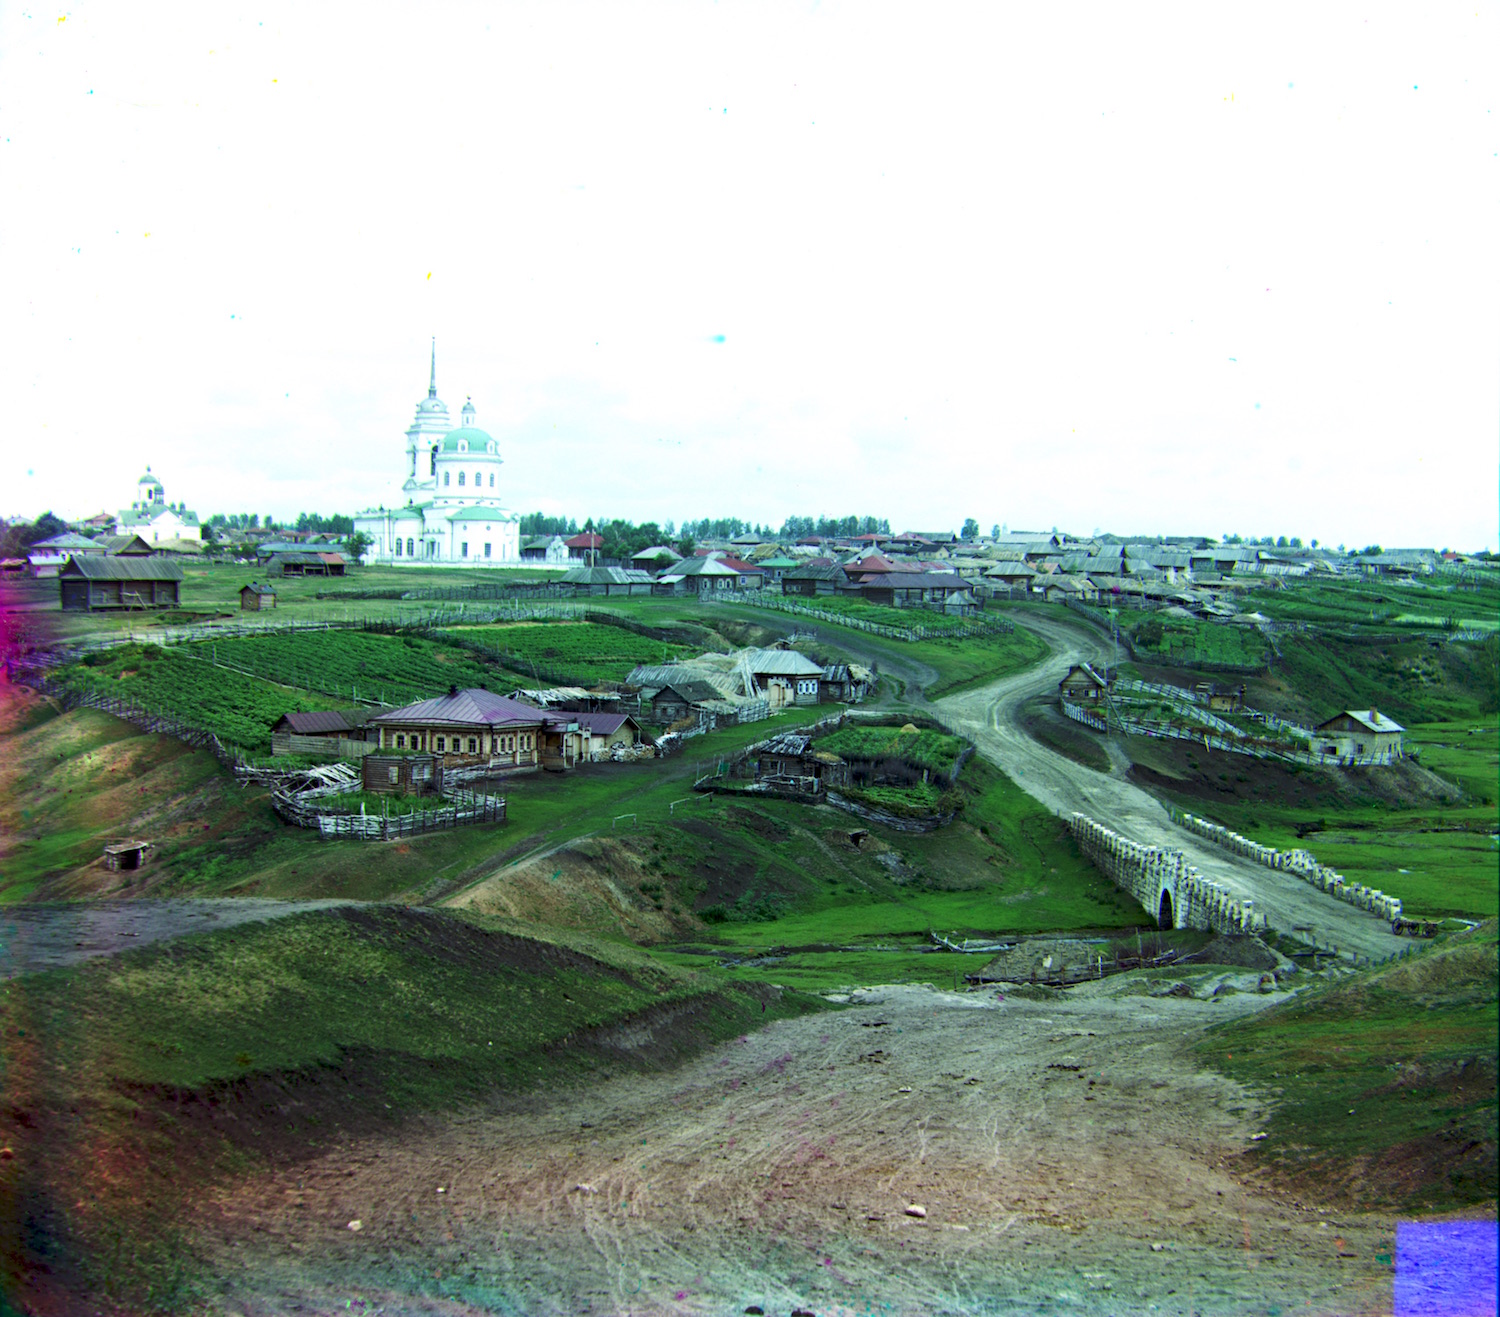
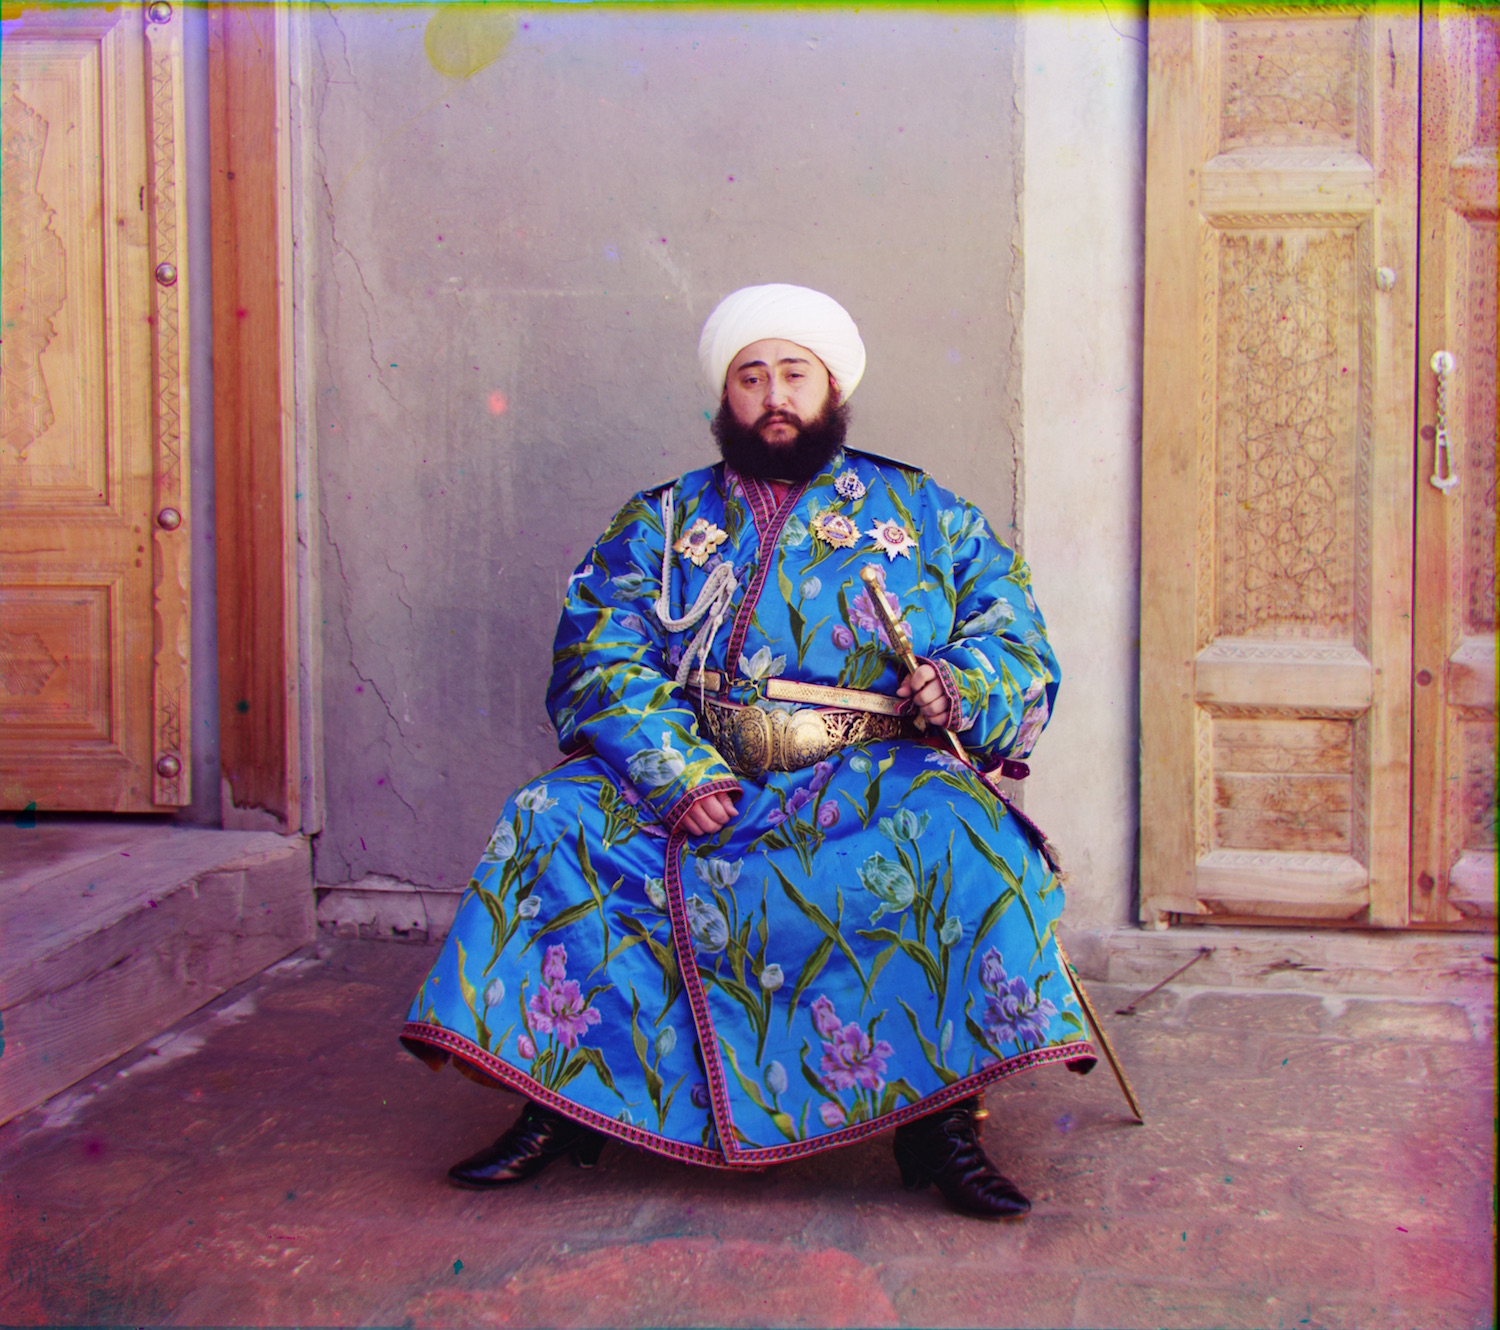
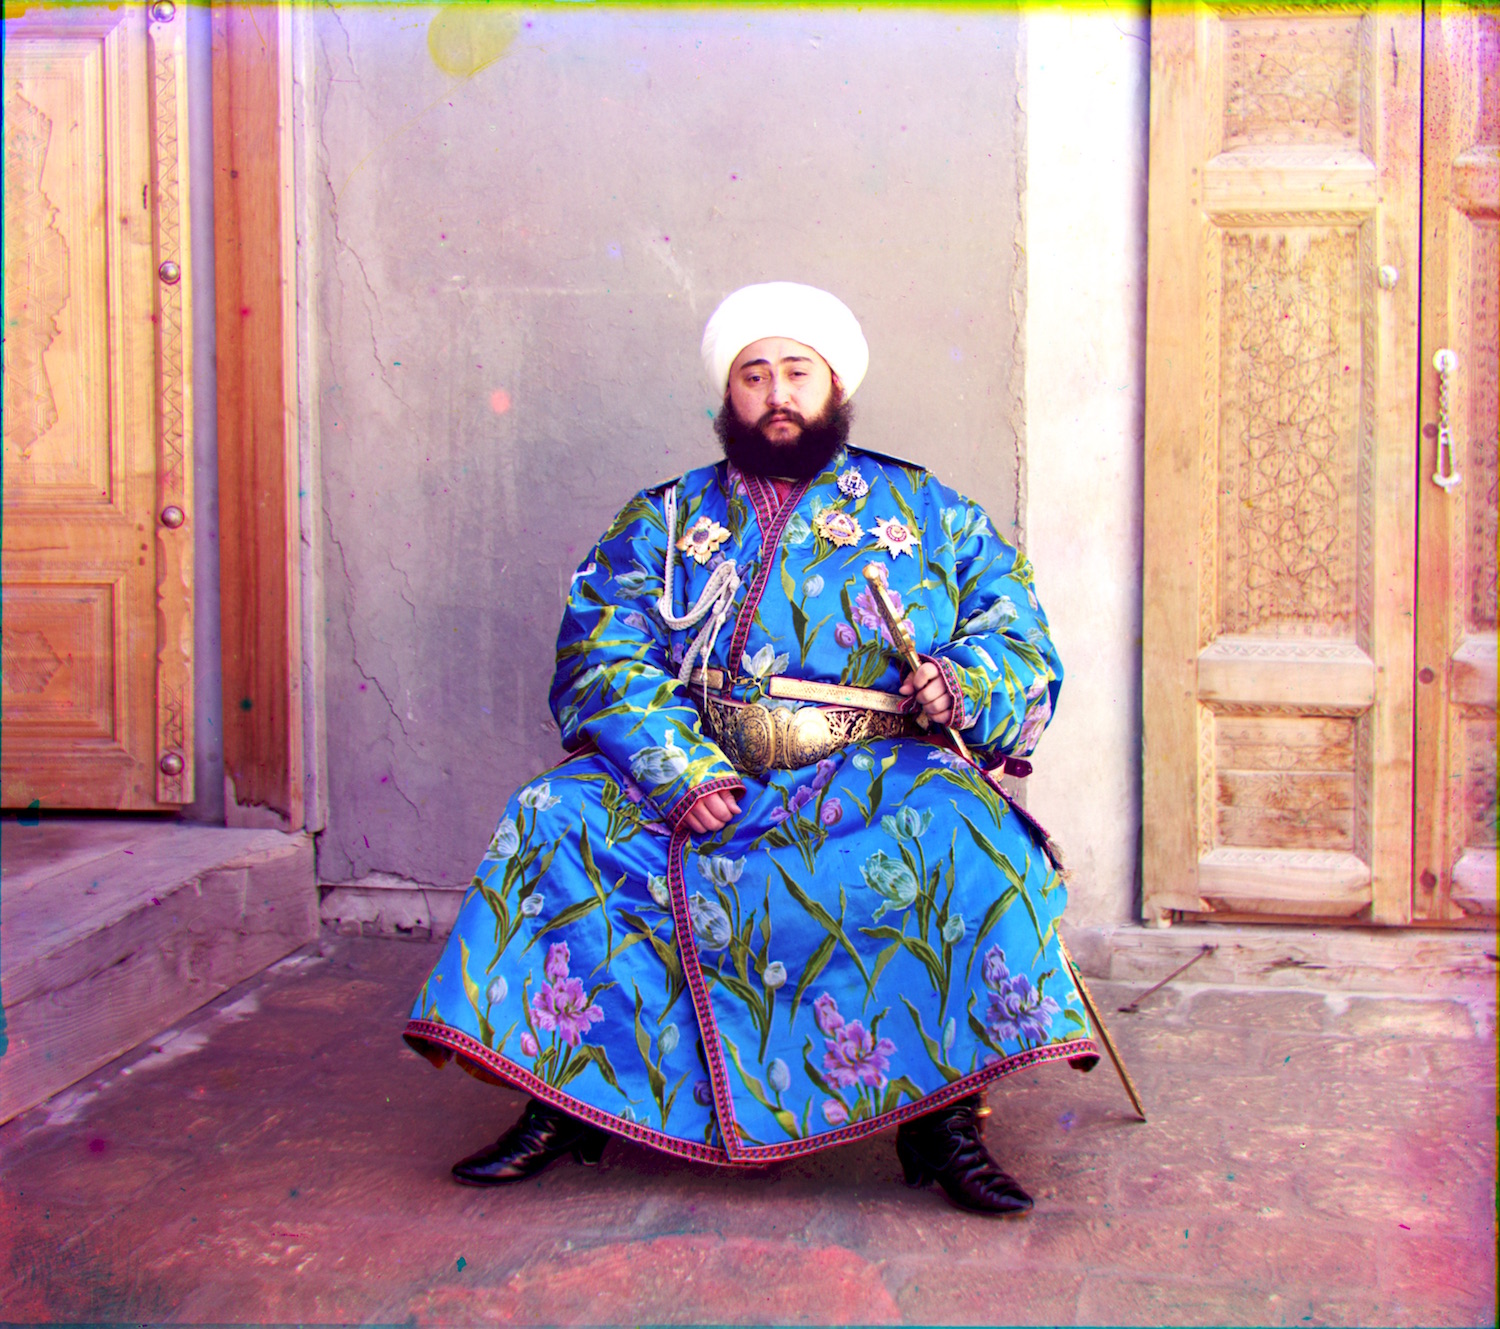
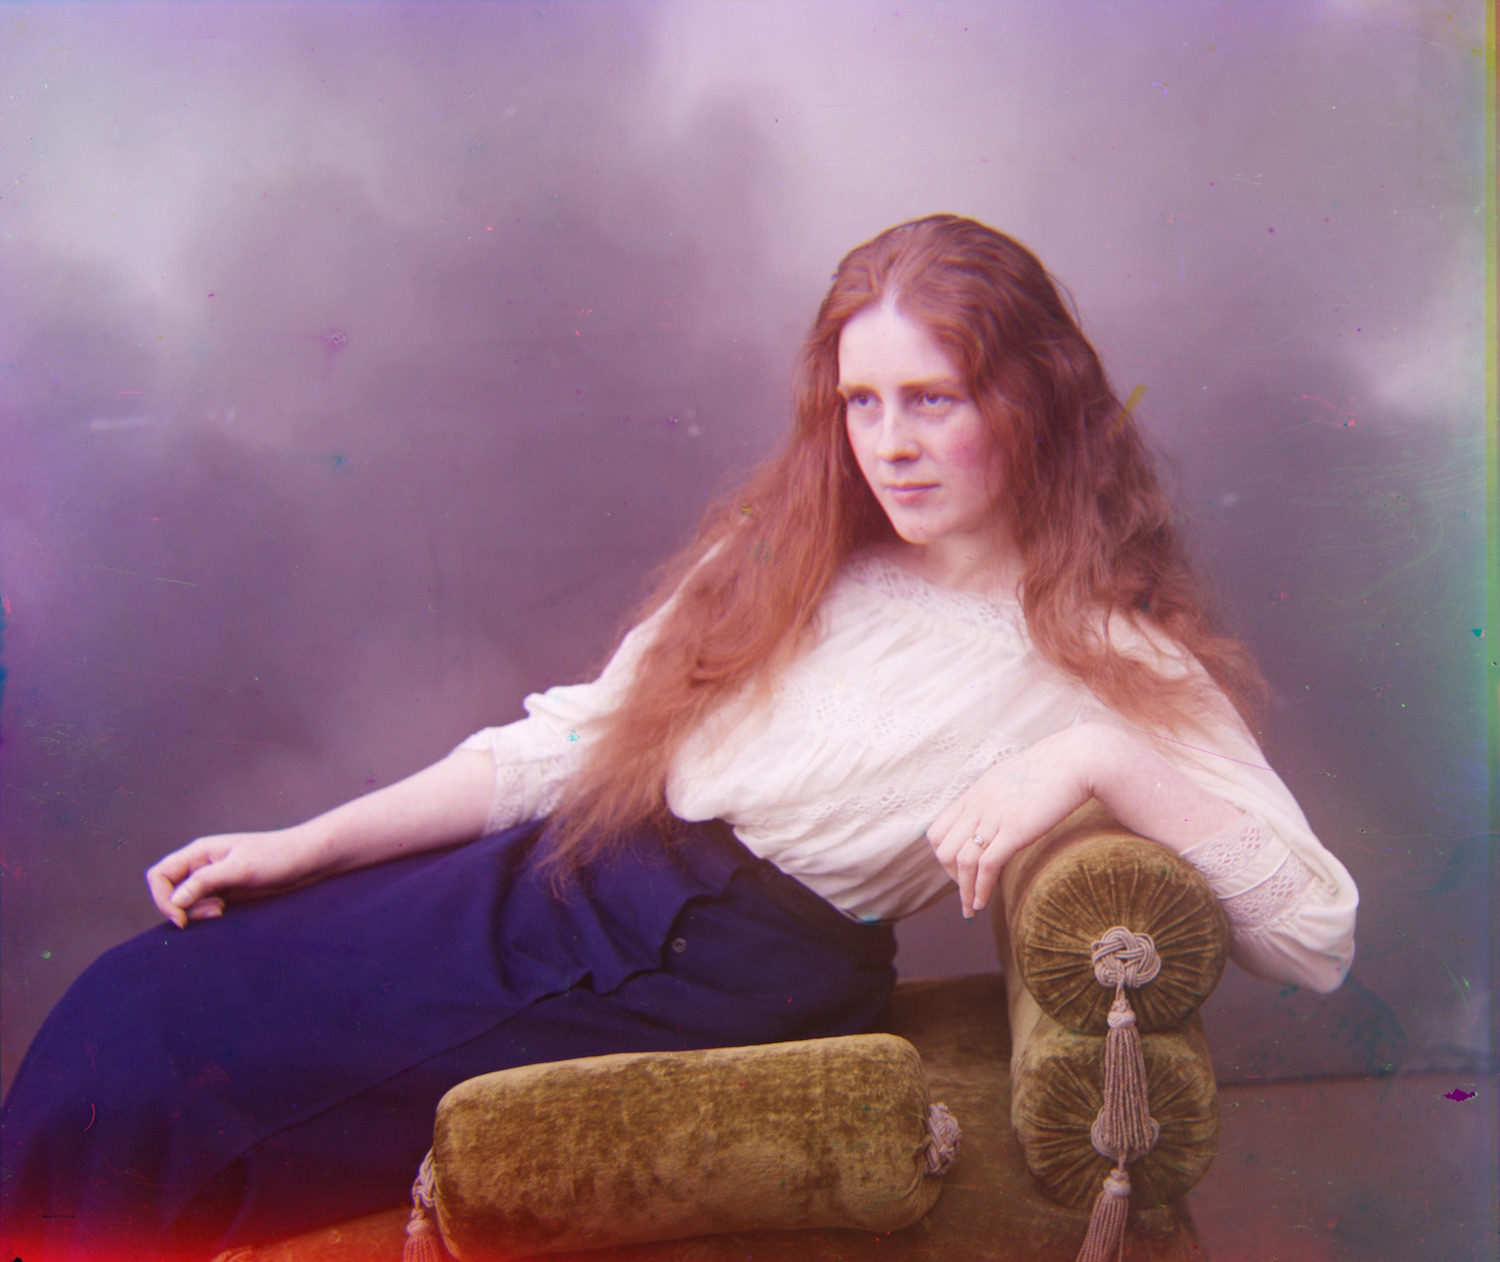
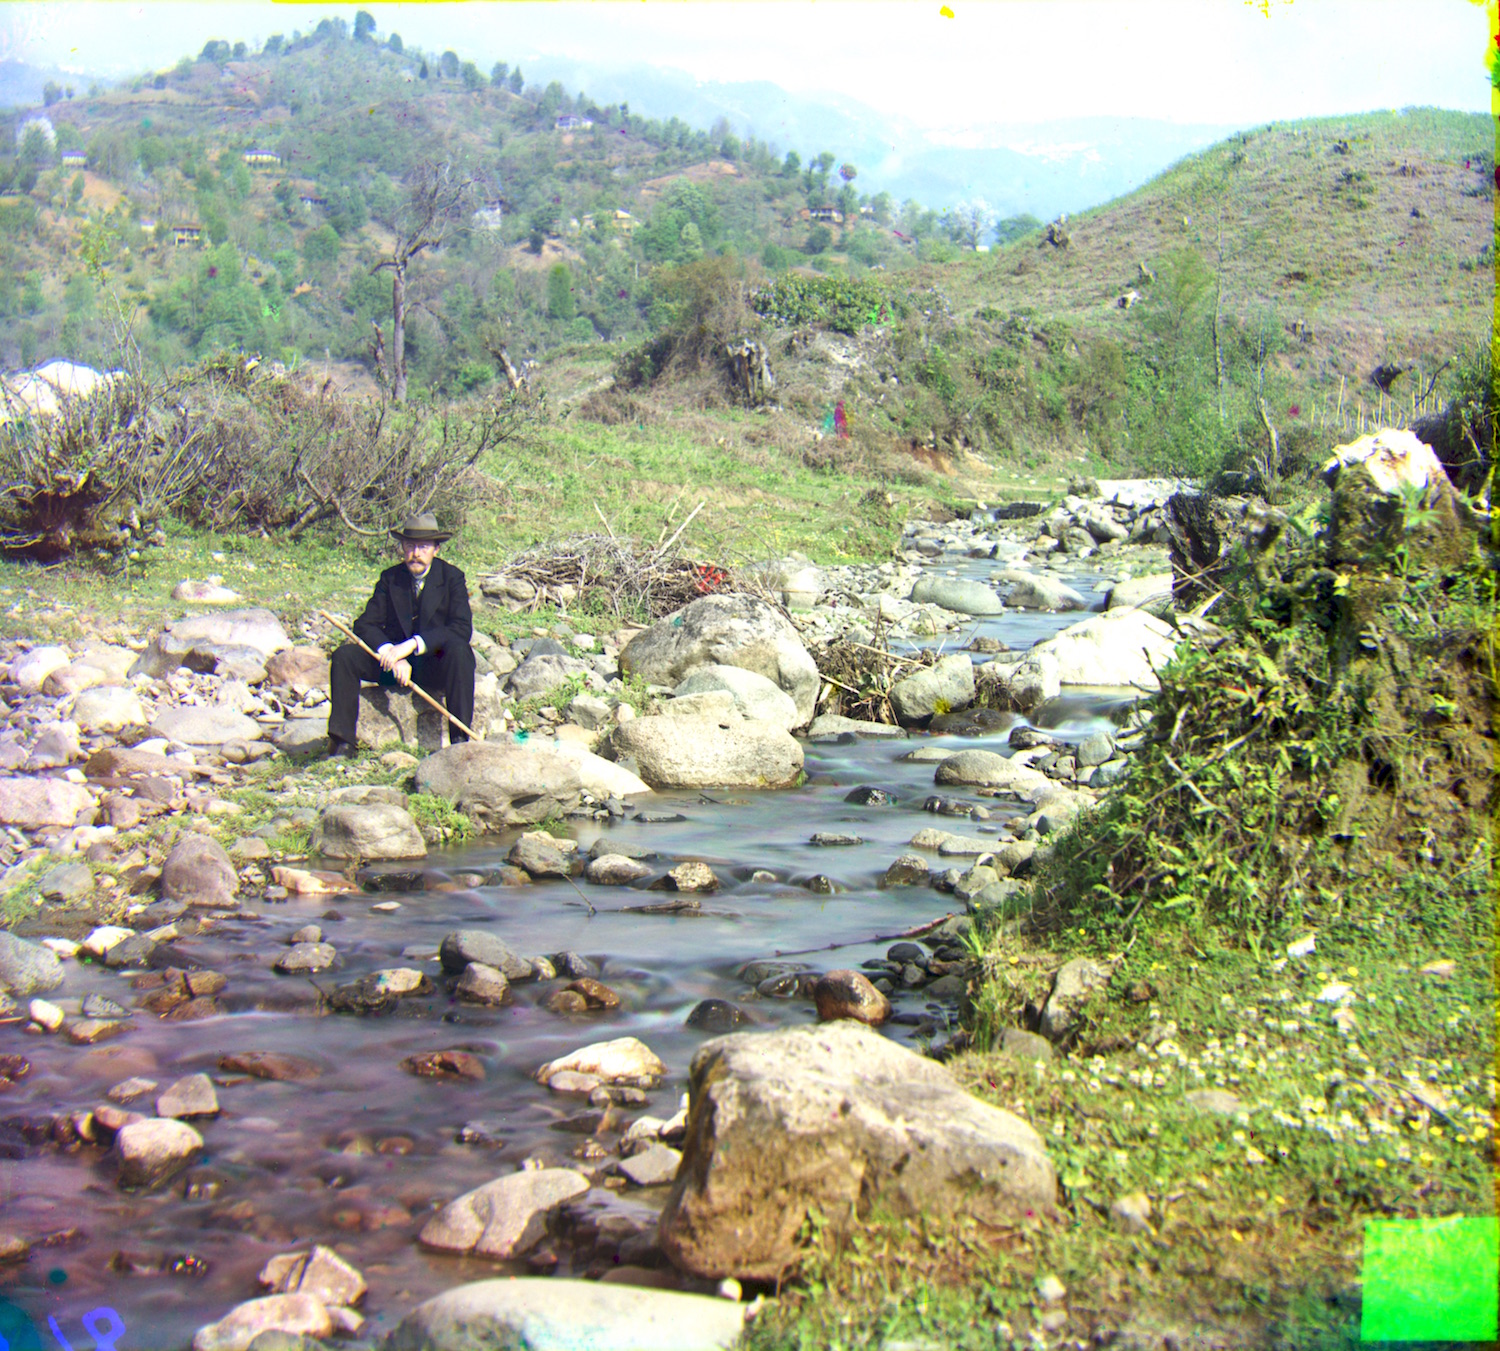
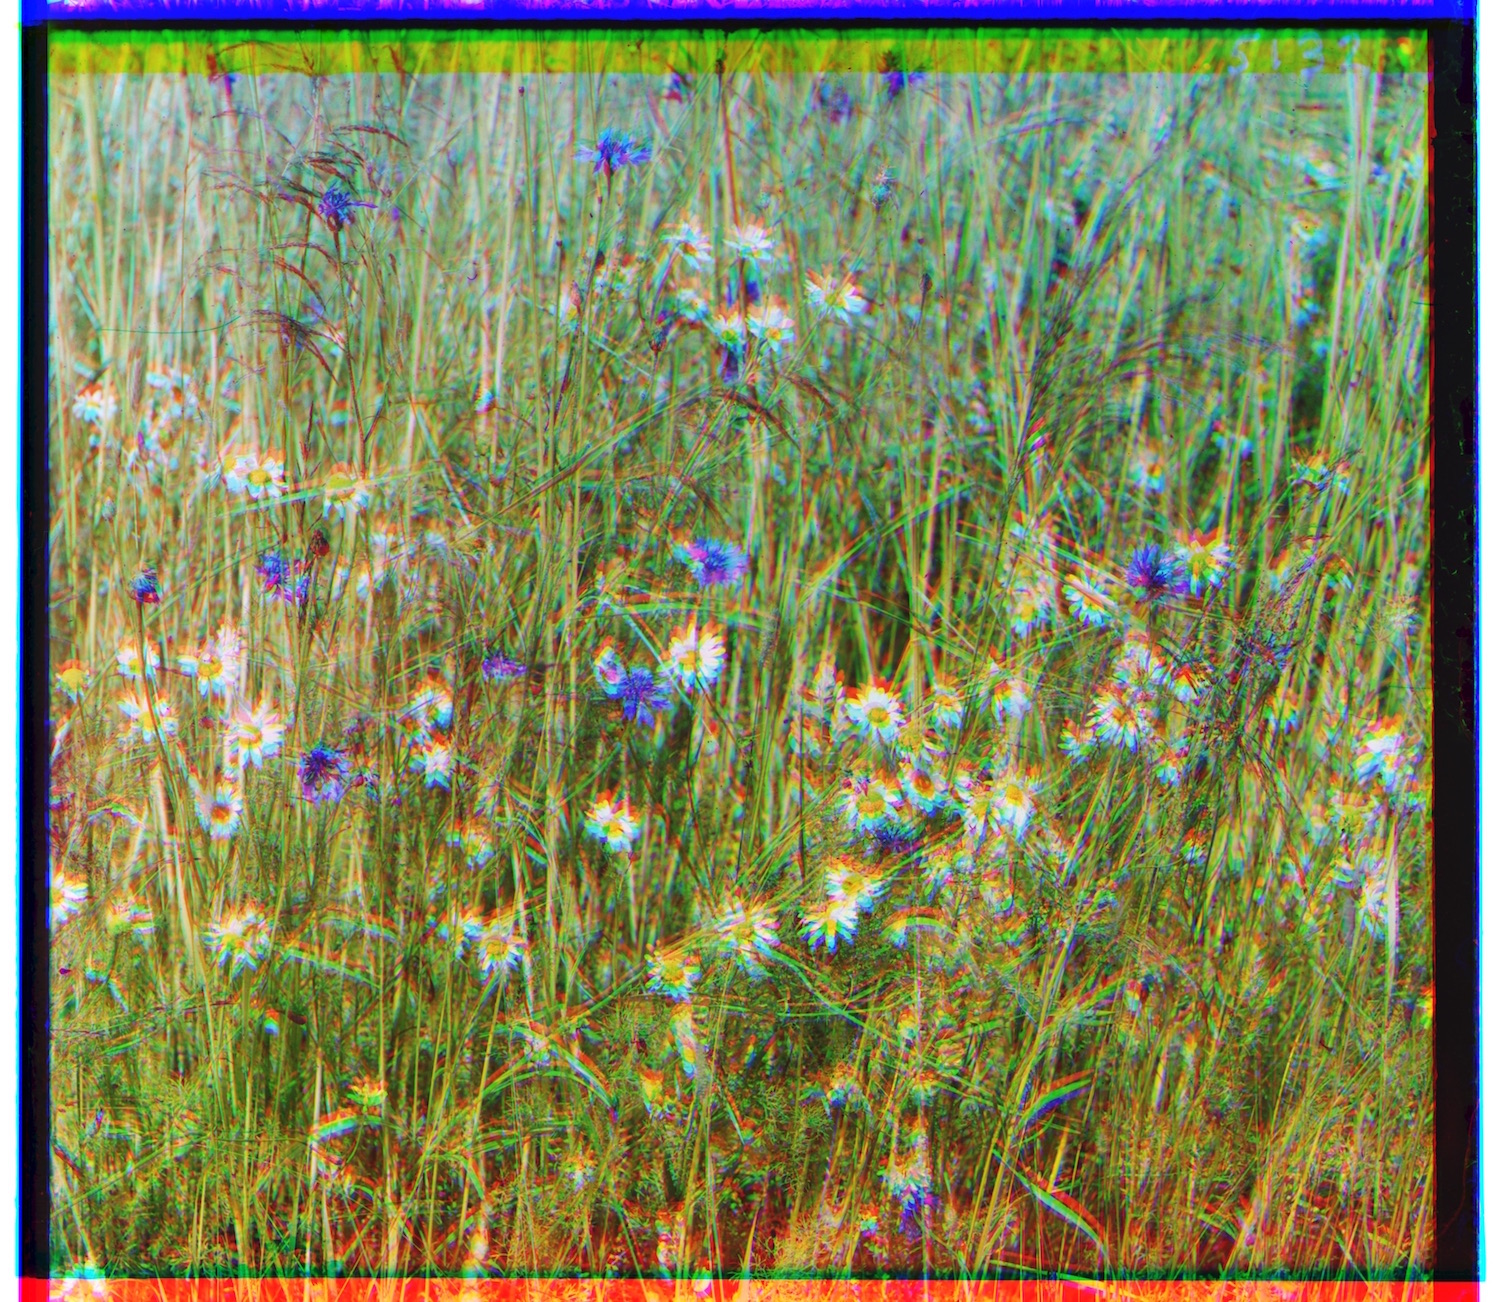
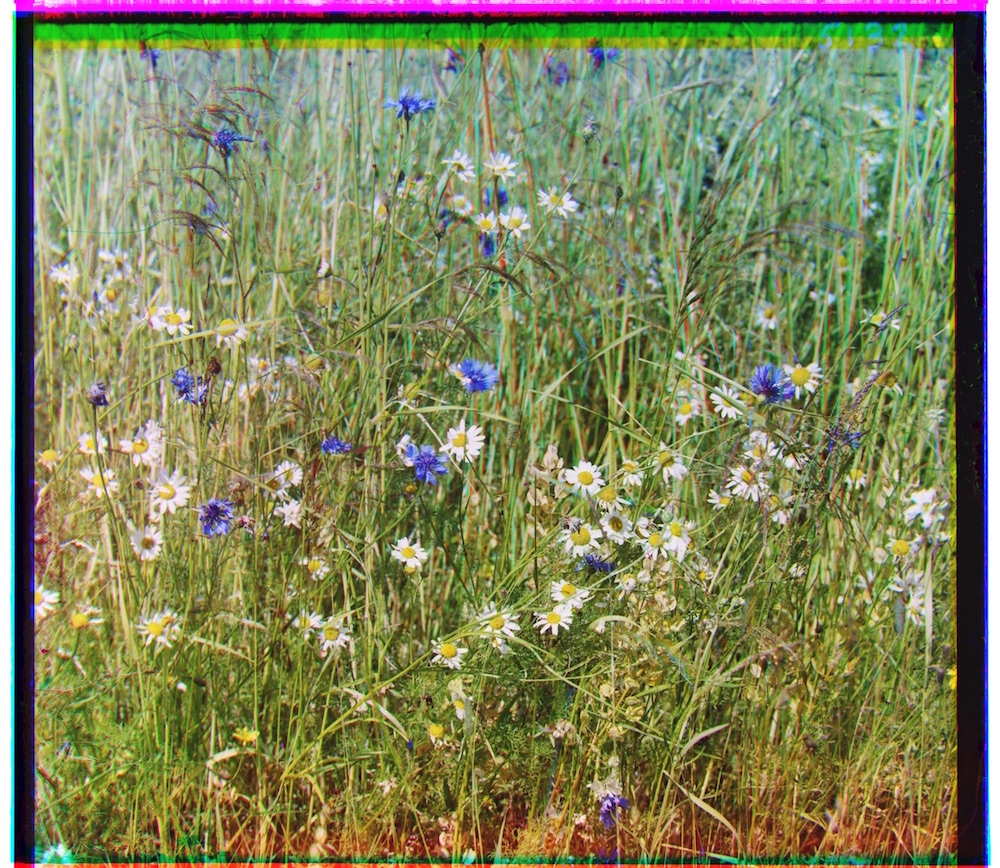
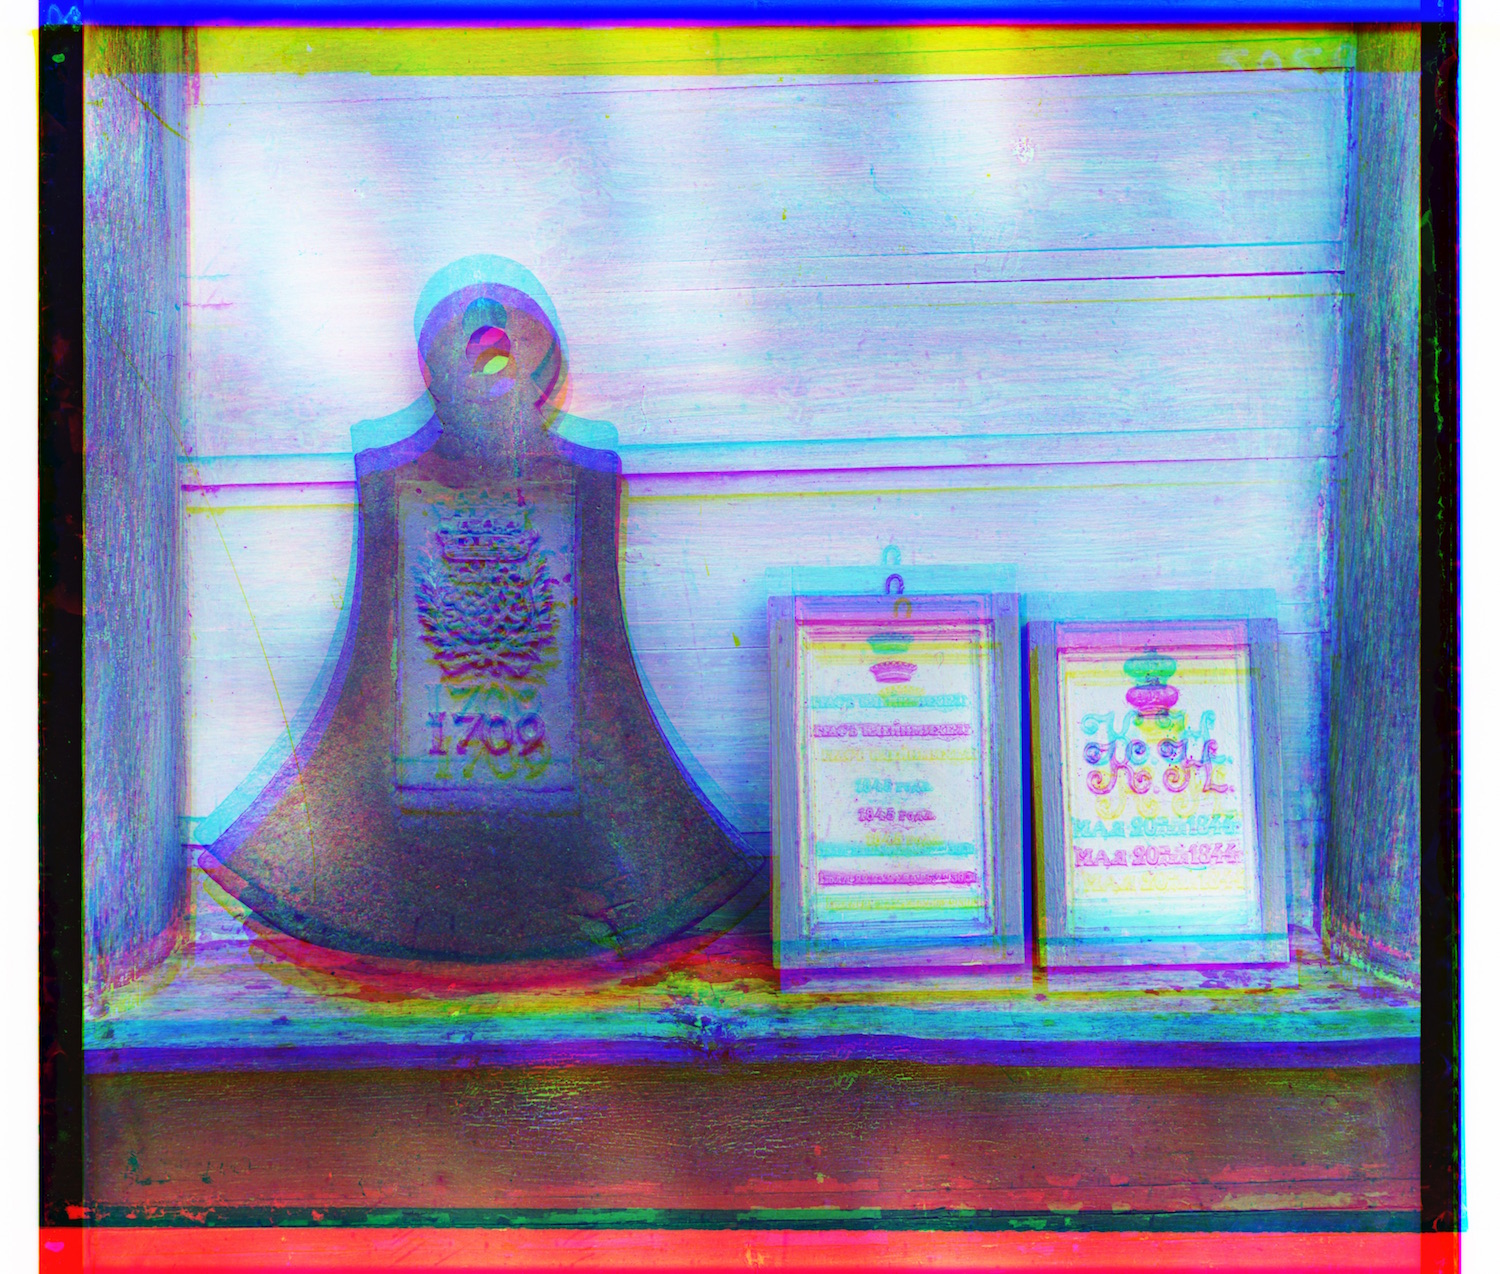
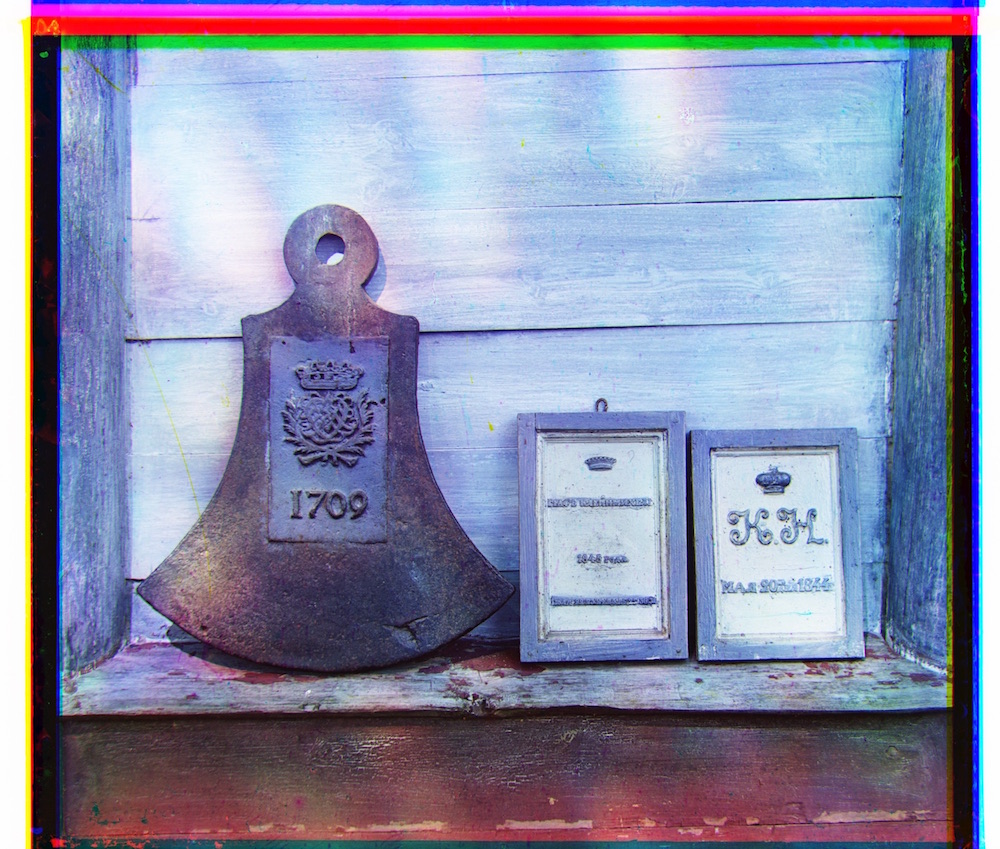
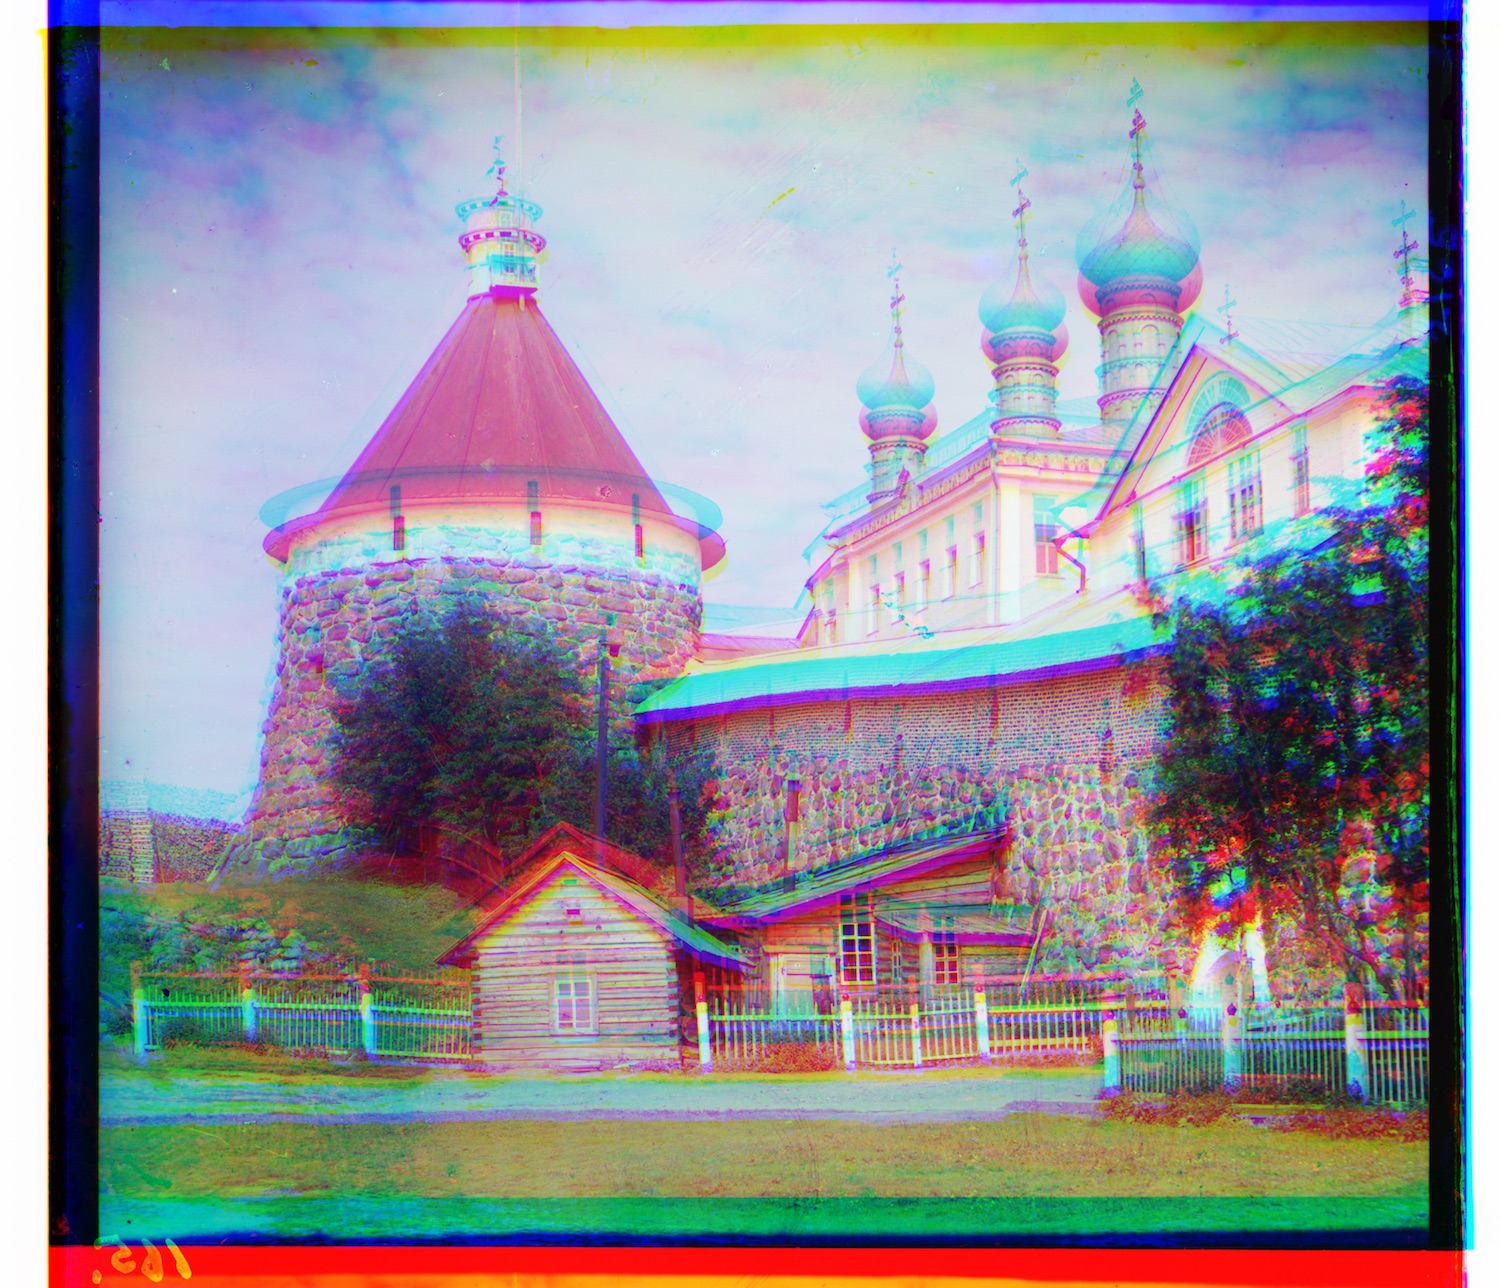
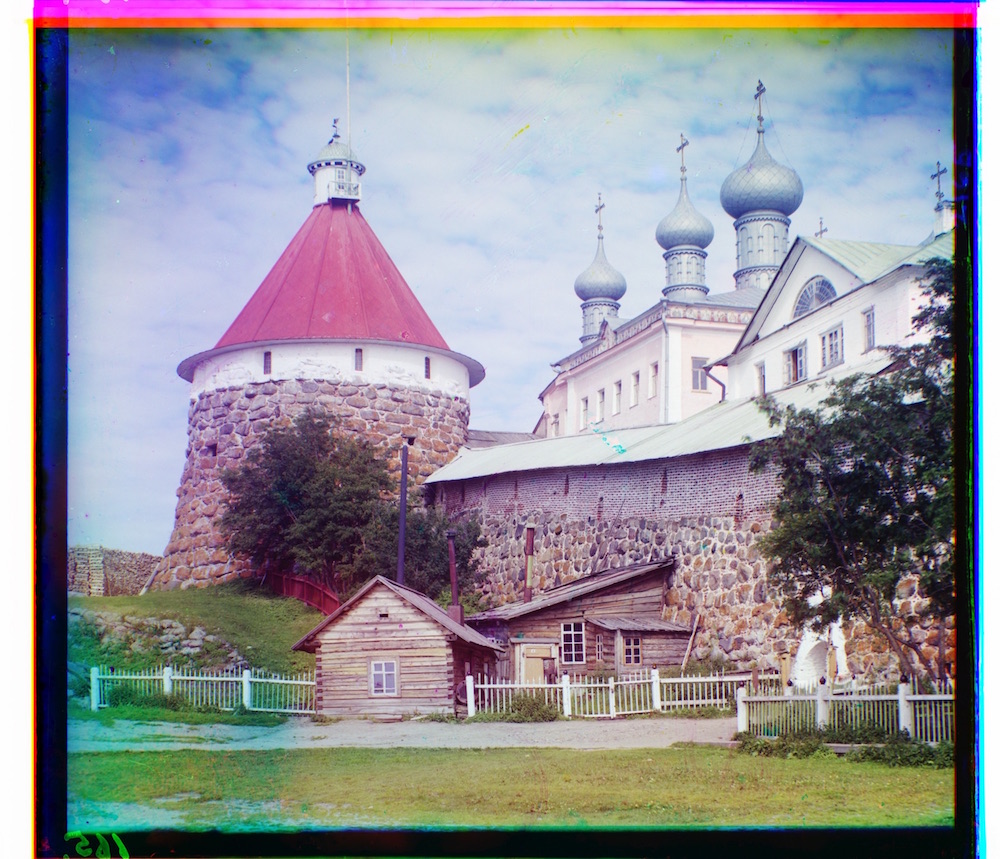
Demonstration of the purpose of this project. The original glass plates are represented with the grayscale image, and is B,G,R from top to bottom. The images are cropped apart from each other, and stacked, as shown in the middle. Then they are aligned to fit into one color image.

Phase 1

Naive Alignment Algorithm for Small Files

For the first phase of my project, I worked with only the .jpg files. I wrote a naive alignment function that would displace each image between a window of [-16,16), and then ran a comparison on the middle 80% of the matrix to align two images together. I used SSD on each displacement and picked the displacement with the smallest SSD to align the red plate to the blue plate and the green plate to the blue plate.

Below are pictures of the .jpg files from this step.

Image of the monastery before and after alignment. Displacement: R(3,2) G(-3,2)

Image of the cathedral before and after alignment. Displacement: R(12,3) G(5,2)

Image of the settlers before and after alignment. Displacement: R(15,-1) G(7,0)

Image of the nativity before and after alignment. Displacement: R(8,0) G(3,1)

Phase 2

Extending the Algorithm to Pyramid Alignment for Larger Files

For the second phase of my project, I tried to extend the phase 1 algorithm to the .tif files as well. As a result, I built an image pyramid. First, I kept scaling the image down to 1/2 it’s size until it was less than 400 pixels width and height. Then, I would calculate the optimal displacement at this low resolution. From there, I would rescale the displacement up by multiplying by two, and then doing another search around the displacement window in the larger image for another optimal displacement. I would keep repeating this until the image is at the original size. In each iteration, I would scan around the displacement estimate from the earlier iteration to optimize the best alignment. In order to speed up my algorithm, I decreased the window size to [-5, 5] around the displacement point, and I also decreased the search space for alignment from the middle 80% to the middle 60%. Also different from phase 1, in order to create the image pyramid, I had to separate my alignment function into two functions: calculating the displacement and applying the displacement. I also discovered after experimentation that the NCC algorithm worked slightly better than the SSD algorithm with the pyramid approach on the .jpg files, so I decided to change my evaluation metric to NCC from SSD.

Below are pictures of the .tif files from this step. The .jpg files look the same with the same displacement with this new algorithm. All of them aligned pretty well with this algorithm except for emir.tiff, which I will show in the next section.

Image of the harvesters before and after alignment. Displacement: R(123,14) G(59,17)

Image of the icon before and after alignment. Displacement: R(89,23) G(40,17)

Image of the lady before and after alignment. Displacement: R(116,12) G(54,9)

Image of the self portrait before and after alignment. Displacement: R(174,37) G(78,29)

Image of the three generations before and after alignment. Displacement: R(111,12) G(52,14)

Image of the train before and after alignment. Displacement: R(87,32) G(43,6)

Image of the turkmen before and after alignment. Displacement: R(116,28) G(56,21)

Image of the village before and after alignment. Displacement: R(137,22) G(65,12)

Phase 3

Aligning Emir.tif

I haven't shown emir.tif yet, and that is because the alignment was terrible after my algorithm in phase 2. In my third phase, I experimented some more with just emir.tif

The color of emir’s robe is blue, so it has a very high value for the B plate, and a 0 value for the R plate. This means that the reason emir probably failed during my algorithm in phase 2 was because I couldn’t line up the red and blue pixels by value. I noticed that the blue and green lined up well from Phase 2, so I decided to switch the alignments. Instead, for this iteration, I lined up the blue plate and red plate with the green plate, and that worked much better.

The results are displayed below:

Image of Emir before alignment (farthest left), aligned with my algorithm in phase two (middle), and aligned with my new algorithm in phase 3 (right).

For the last image that aligned the best, Displacement: R(57,17) G(-49,-24)

Phase 4

Automatic Contrast

In this section I experimented with automatic contrasting. My algorithm was very simple. In order to increase the contrast, I multiplied the value of each current pixel by 1.2, and also decreased all pixel values less than 0.09 to 0. This worked pretty well on the .tif files that had lower contrast to begin with, but not as well as the .jpg files

The results for a few of the images are displayed as follows. I cropped the images to show the contrast between each photo a little better:

Shows the contrast between emir before and after the automatic contrast algorithm was applied. Becasue of the huge contrast in pixel value between the sky and the grass beforehand, this photo was the most sensitive to my algorithm.

Shows the contrast between emir before and after the automatic contrast algorithm was applied. For this photo, because the photo has less original contrast, the biggest effect my algorithm had on emir was the increase in whiteness of the wall and turban.

Shows the contrast between lady before and after the automatic contrast algorithm was applied.

Shows the contrast between self portrait before and after the automatic contrast algorithm was applied.

Phase 5

Extra Photos

I found out this algorithm works really well for many other photos in the Library of Congress' collection. Here are some of my favorites!

Applied the algorithm on both sizes for the tif files, the larger image is above, and the smaller one is below. I didn't find a huge difference in image quality to the naked eye.

Another picture from the library of congress! I'm impressed how well this one lined up. I picked it because I thought that it's original photos had different contrasts for RGB values.

Picked this one because I simply love the building.