Images of the Russian Empire:
Colorizing the Prokudin-Gorskii photo collection
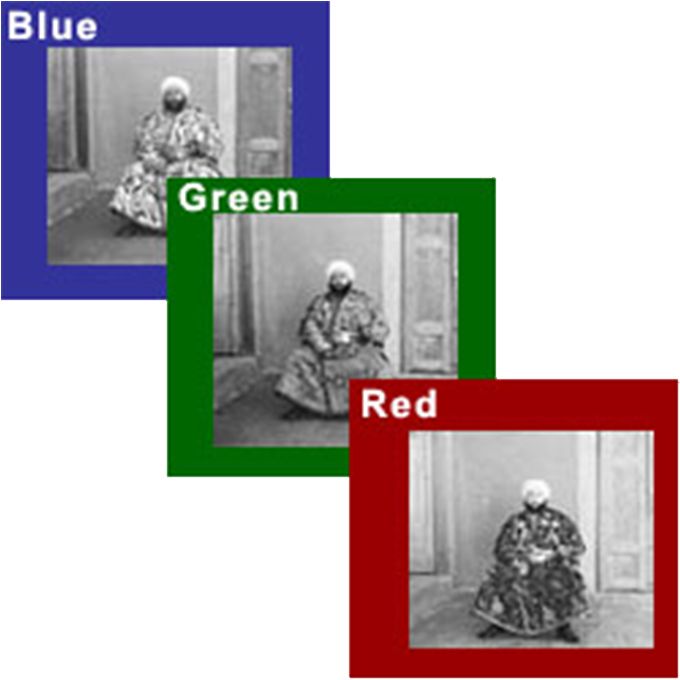
Long before color photography, Sergei Mikhailovich Prokudin-Gorskii of Russia had the idea to take color photographs by recording exposures onto a glass plate using red, green, and blue filters. While he never got to see his plans through, his RGB glass plate negatives survived. The goal of this project is to implement Prokudin-Gorskii's vision: take the three Prokudin-Gorskii glass plate images, one for each of the RGB filters, and produce a colorized image as a result.
To accomplish this, I separated the three color channels, aligned the images, and stacked them on top of each other. For all images, I used the SSD metric to find the best alignment. While a simple exhaustive search over a set displacement window worked well for the smaller images, the larger images required larger displacement windows, which were too expensive to compute. To solve this problem, I used an image pyramid to recursively compute the proper displacement.
I started out by aligning the smaller example images using a simple exhaustive search over a [-15,15] window (aligning both the red and green channels to the blue channel). For each of the possible displacements, I calculated the sum of squared differences between the raw pixels of the two images, then taking the minimum SSD as the proper alignment. I then shifted the red and green channels by their proper displacements and produced the following colorized image (the displacement is denoted as (# of down shifts, # of right shifts)):
Cathedral
Green Displacement: (1, -1)
Red Displacement: (7, -1)

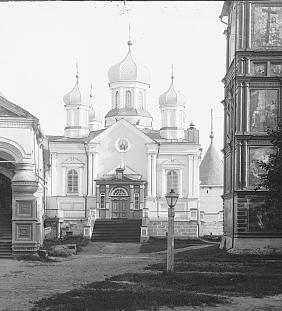
Monastery
Green Displacement: (-6, 0)
Red Displacement: (9, 1)
As you can see, the images are still a little off. A possible explanation could be that the black and white borders of the images are throwing off our metric. To solve this problem, we implement an algorithm to detect and remove the borders of an image.
My algorithm for border detection is twofold: first, we find the white outside border of each of the 3 color channels. Then, we find the black inside border of each image, giving us the starting and ending indices of the borderless images. To make sure that the two images we are trying to align are the same size, we take the image with the larger border, and remove that border from both images (so both images are cropped by the same indices). This means that the border will not be perfectly cropped for one of the images, but it is better to overcrop than to undercrop, as we only need the most important features of the image to align them.
To find the outside border of an image, we use three entry points to find the inside edge of the border. For example, if we are finding the top border, we will find the inside edge of the border a quarter of the way across the image, halfway across, and three quarters of the way across. At each entry point, we look down pixel by pixel until the value of the pixel drastically changes. We take the inside-most index (bottom-most in this case), and set that as the inside edge of the top border. After removing the outside borders, the RGB channels look like this:

Nativity - Blue
Nativity - Green
Nativity - Red
We then find the inside border of the images with the outside borders removed. We use the same method as we did for the outside borders. We intentionally remove a few more pixels after the outside border is detected, and a few more after the inside border is detected. This is because it is better to overcrop than to undercrop, so more of the image is cropped than is necessary. After removing the inside borders, we are left with these images:
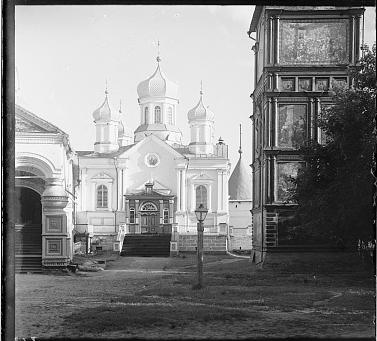
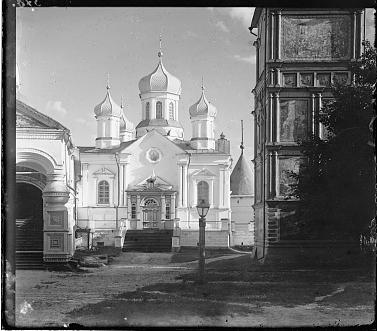
Monastery - Blue
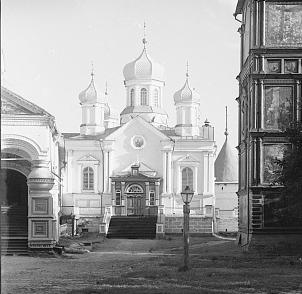
Monastery - Green
Monastery - Red
As we can see, the images don't perfectly line up. Therefore, we take the inside-most indices for each border and crop all three color channels with those indices. After cropping the images, we align them using the same method as above, and get back the proper displacement. We then apply the displacement to the original, uncropped images, to produce the following colorized images:
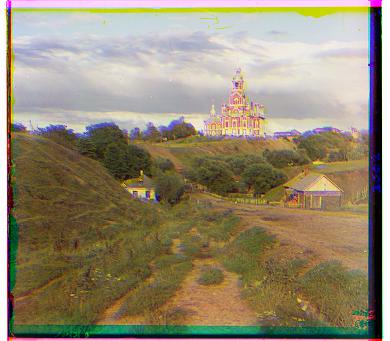
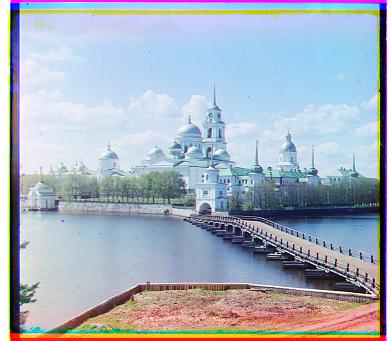
Cathedral
Green Displacement: (5, 2)
Red Displacement: (12, 3)
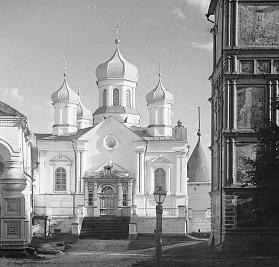
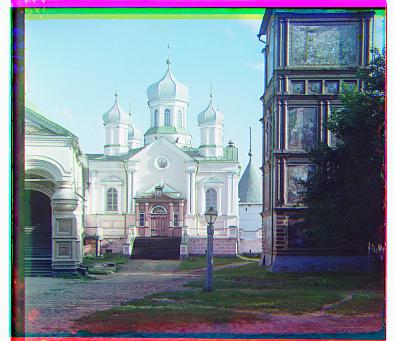
Monastery
Green Displacement: (-3, 2)
Red Displacement: (3, 2)
Nativity
Green Displacement: (3, 1)
Red Displacement: (7, 0)

Settlers
Green Displacement: (7, 0)
Red Displacement: (14, -1)
These images look much better than the ones colorized without border removal. However, exhaustive search only works for smaller images and smaller displacements. To work with larger images, we need to use an image pyramid.
To avoid having to search through a large displacement window, we can rescale each image to be half of its original size, align those smaller images, and multiply the displacement by two and apply it to the original images. We can then search over a very small window to make adjustments to the alignment. If we continue this procedure recursively, we end up only having to perform exhaustive search on a very small image.
Using an image pyramid, we can now effectively colorize the larger images:
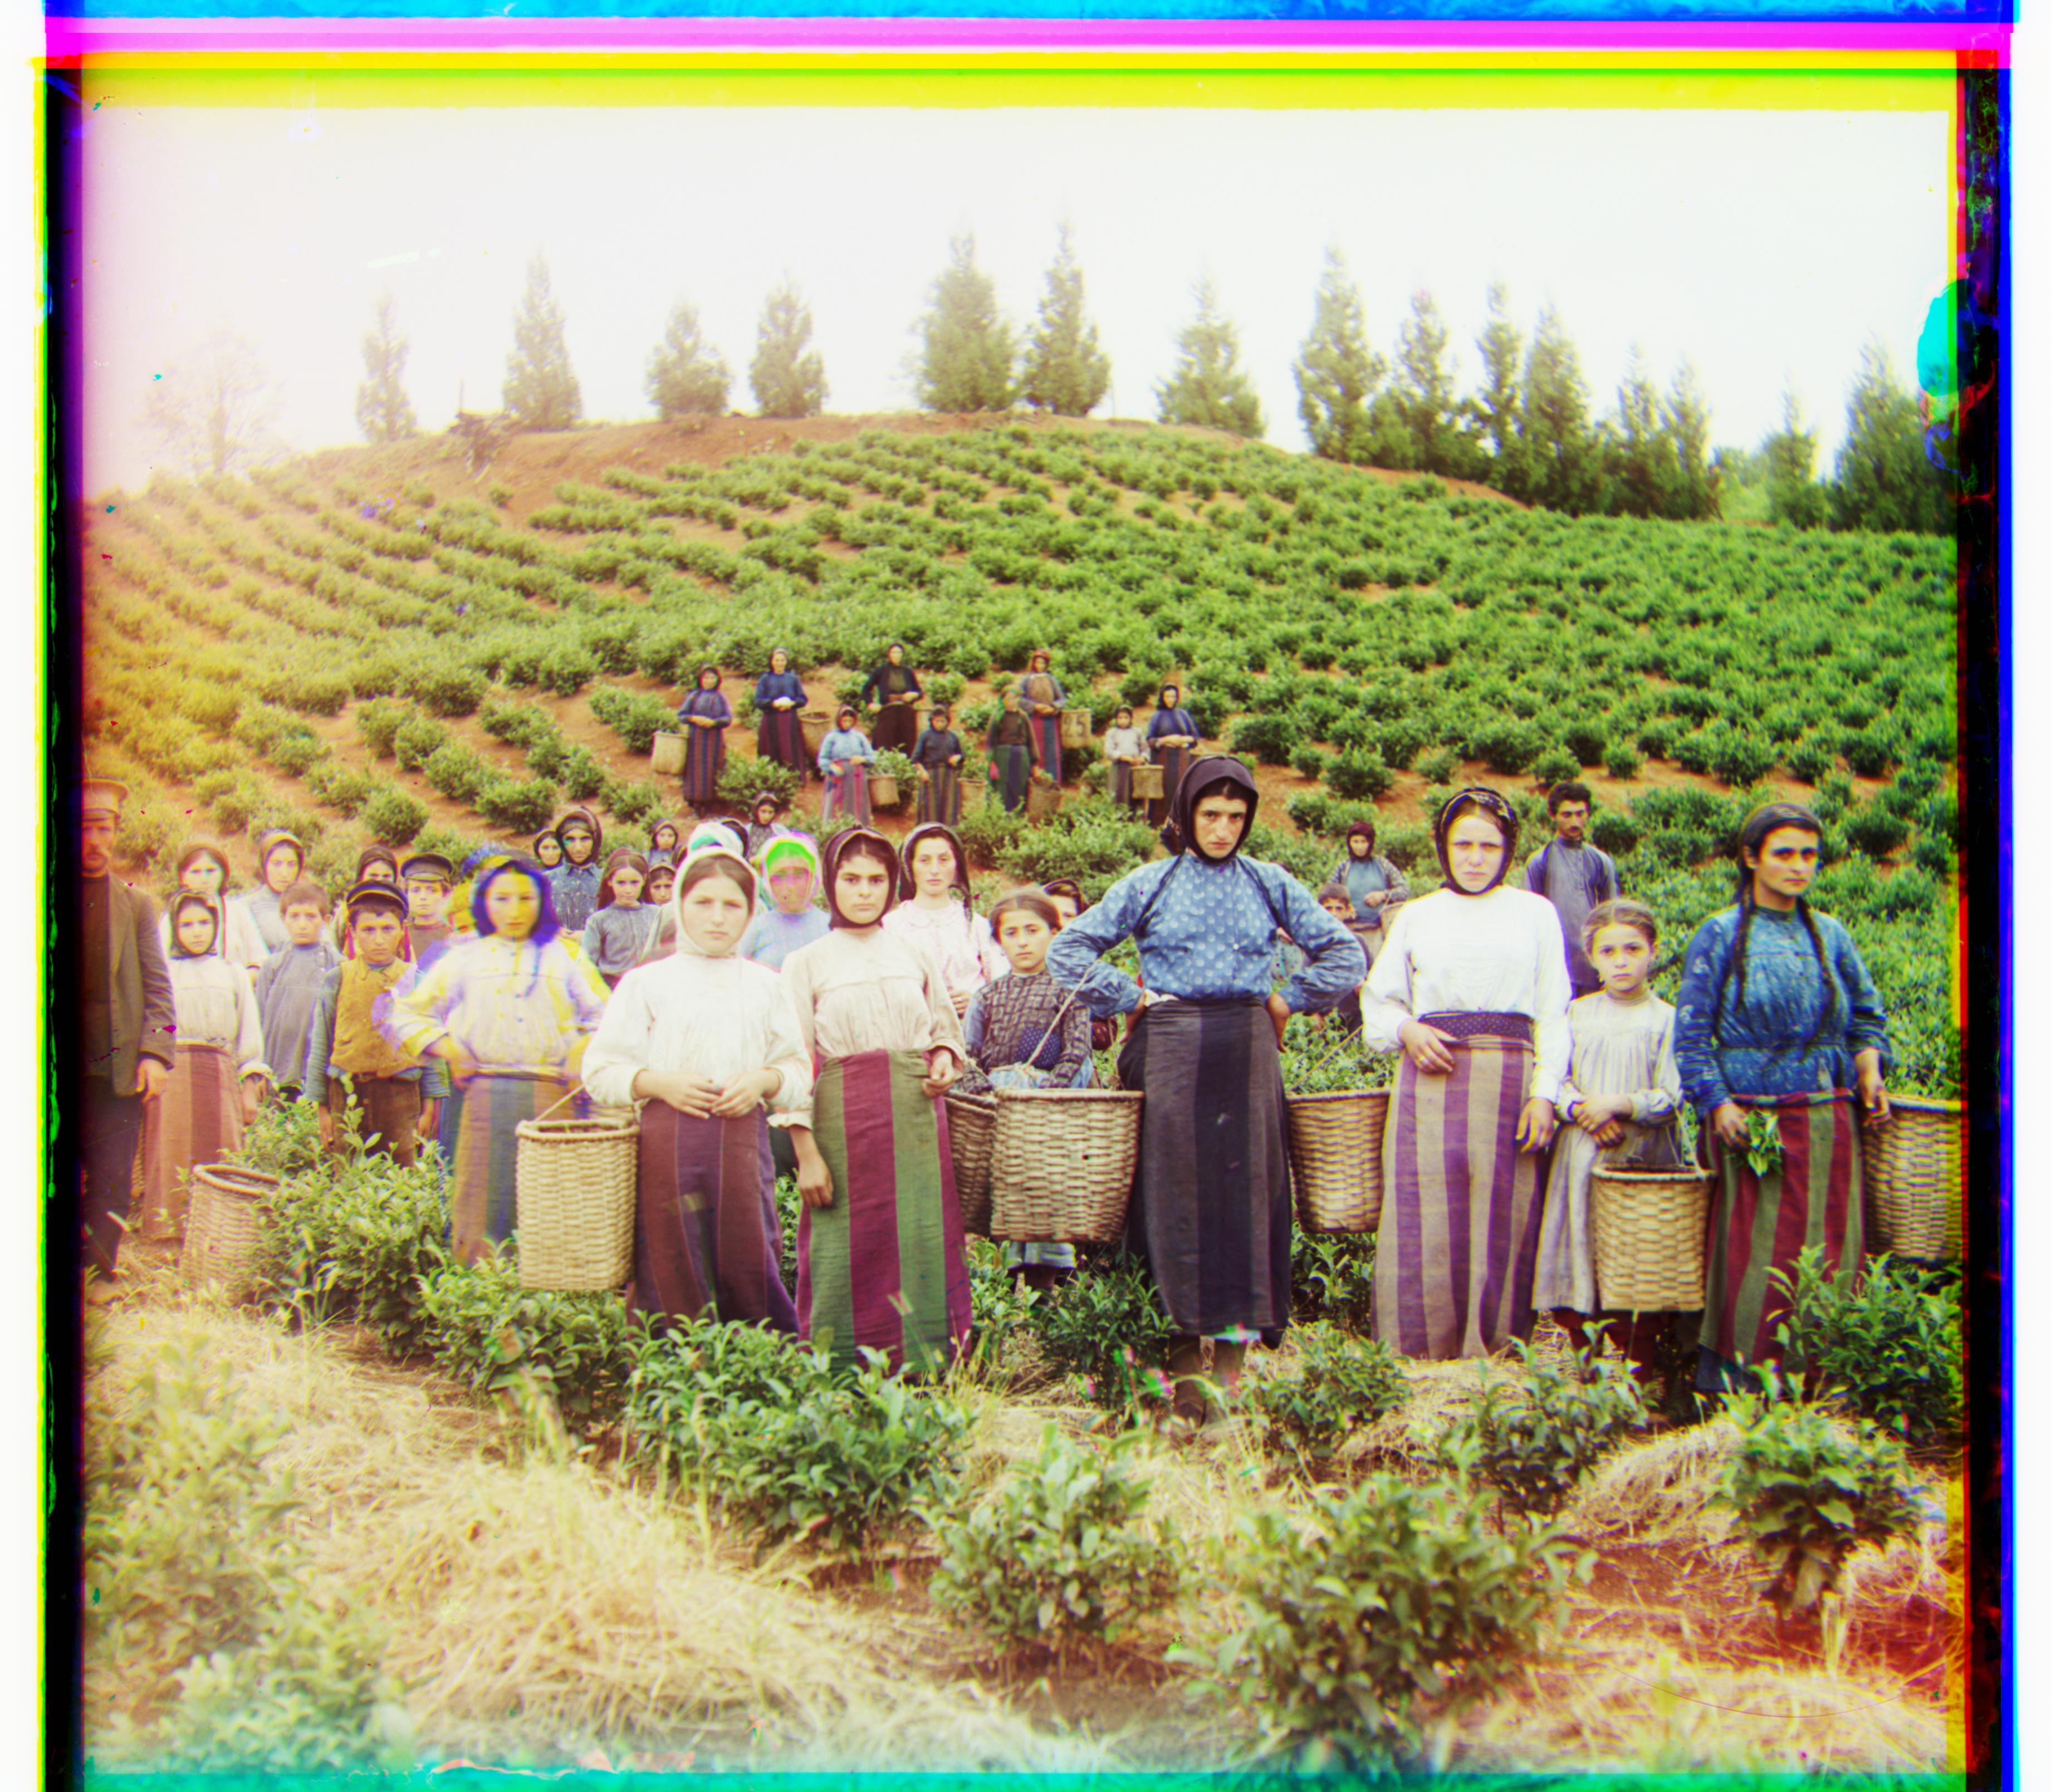
Harvesters
Green Displacement: (59, 16)
Red Displacement: (123, 13)
Icon
Green Displacement: (40, 17)
Red Displacement: (89, 22)
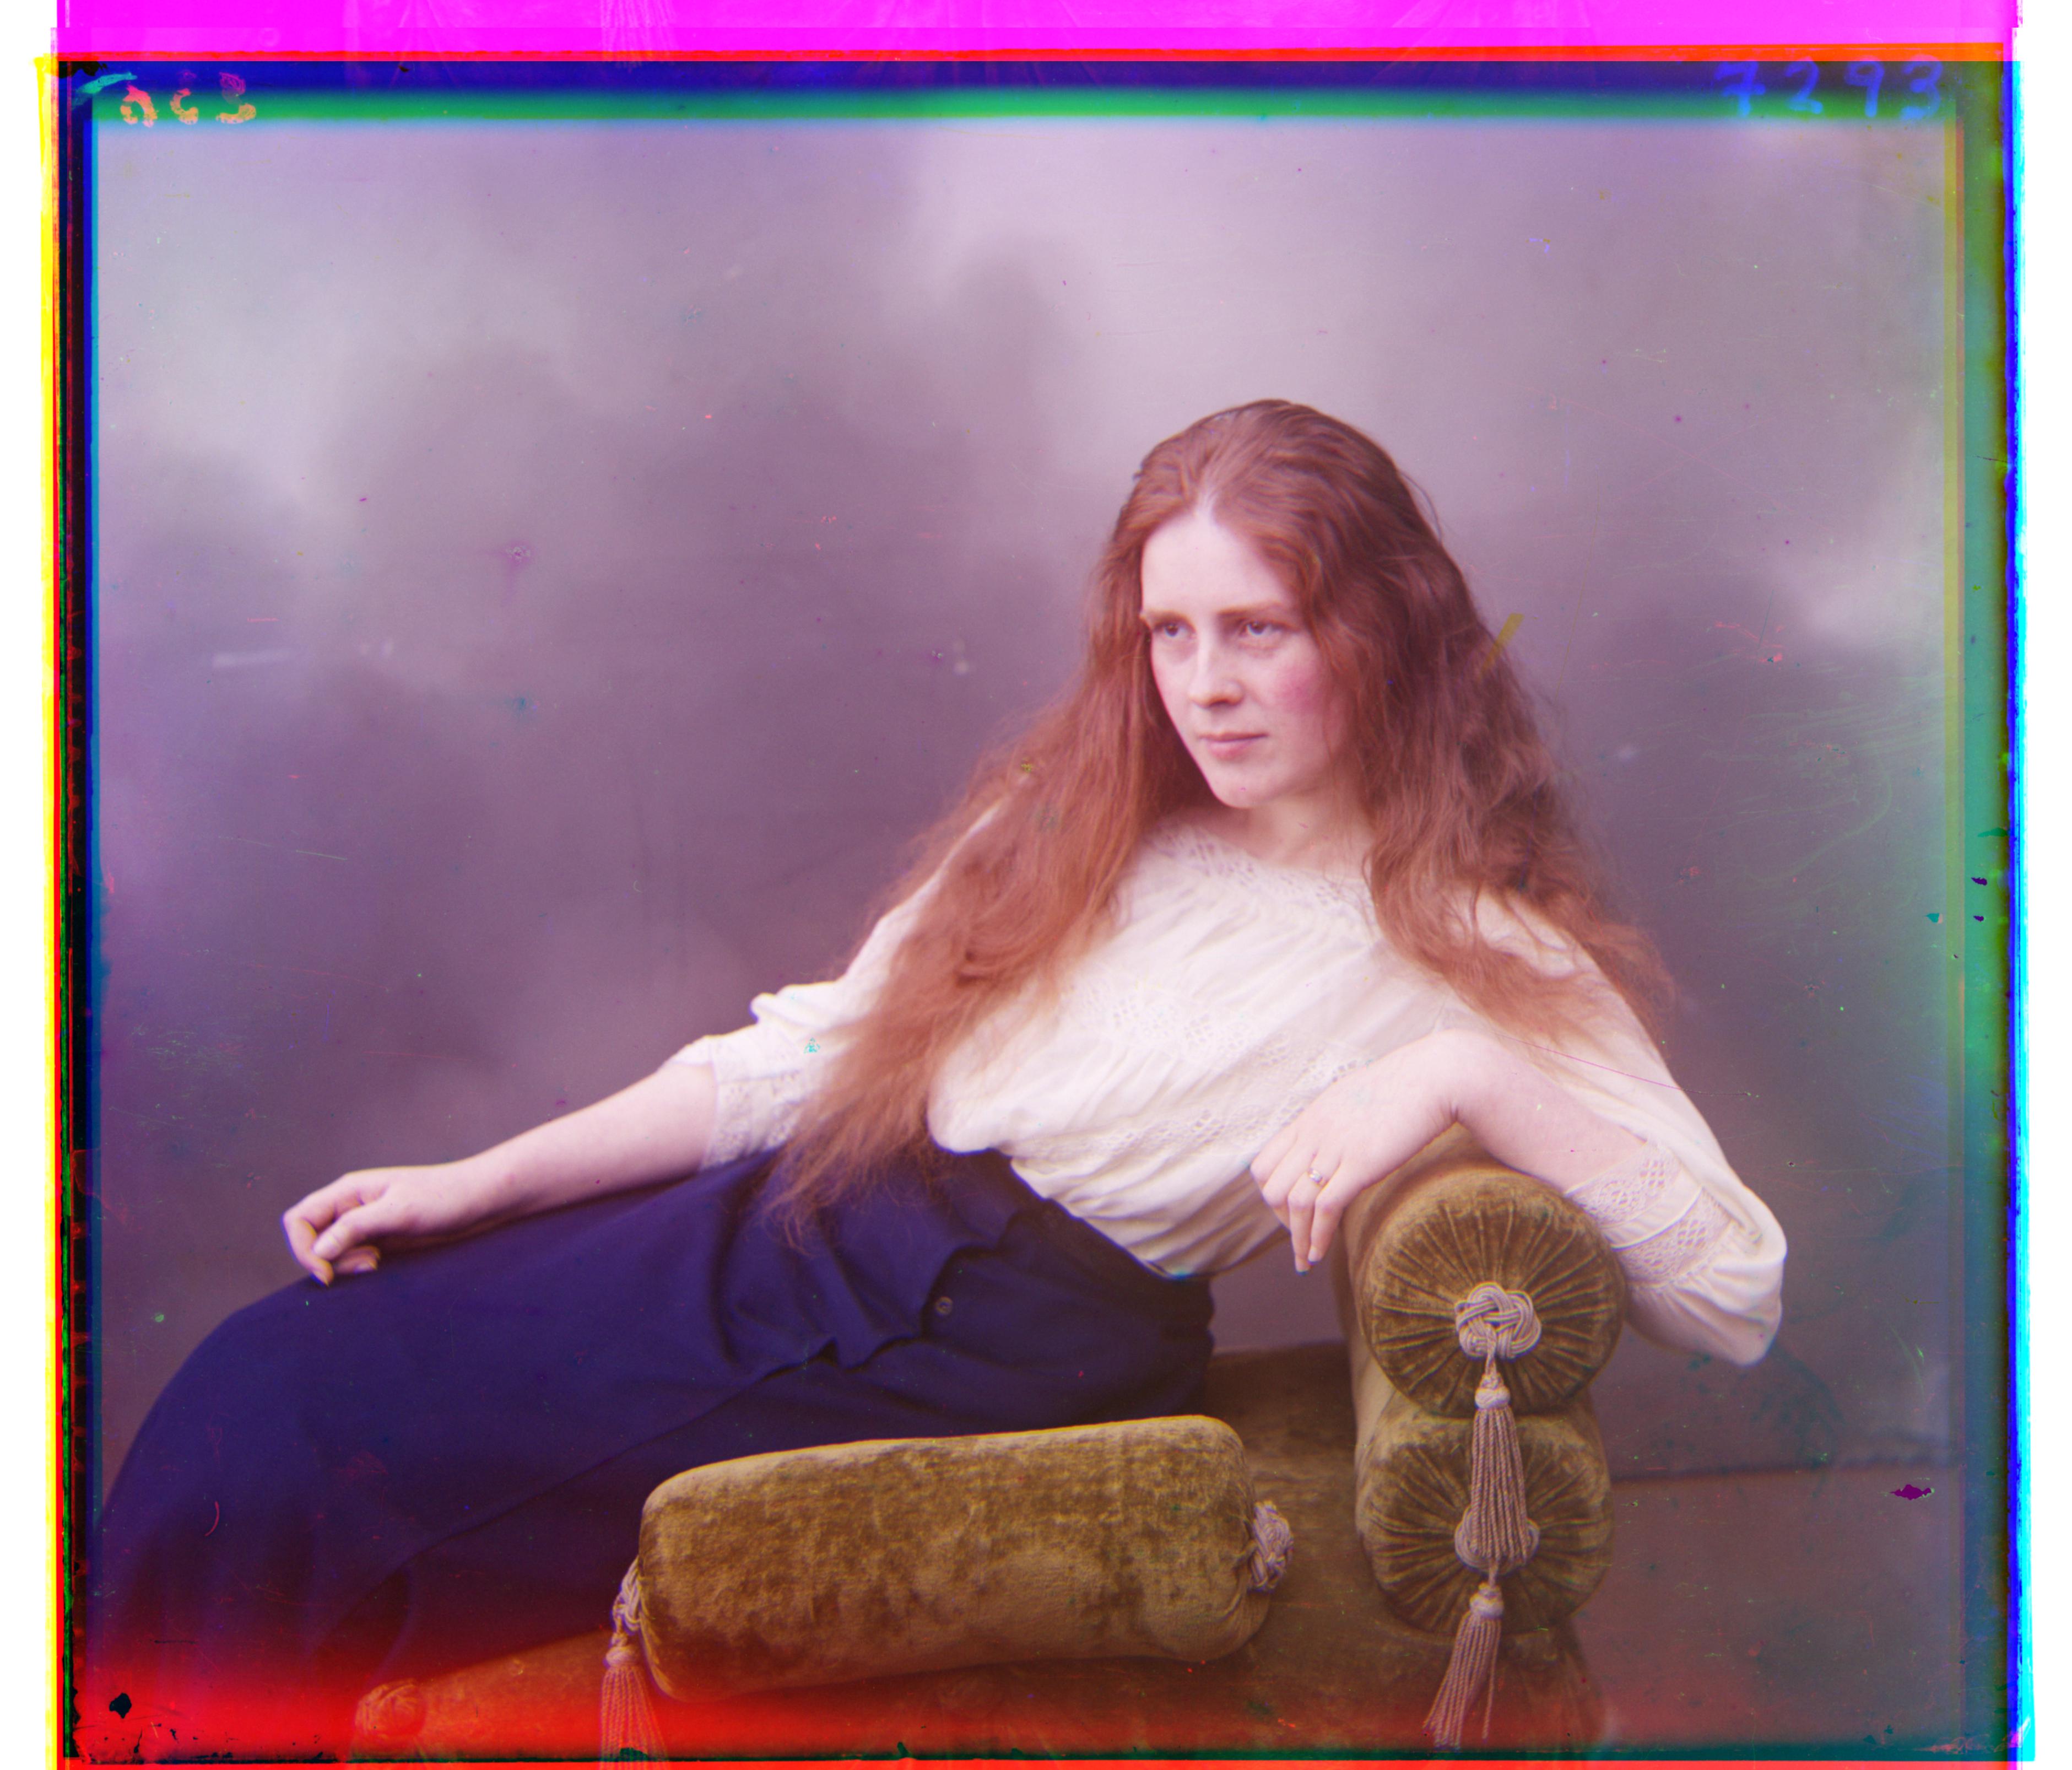
Lady
Green Displacement: (50, 9)
Red Displacement: (111, 12)
Self Portrait
Green Displacement: (77, 28)
Red Displacement: (175, 37)
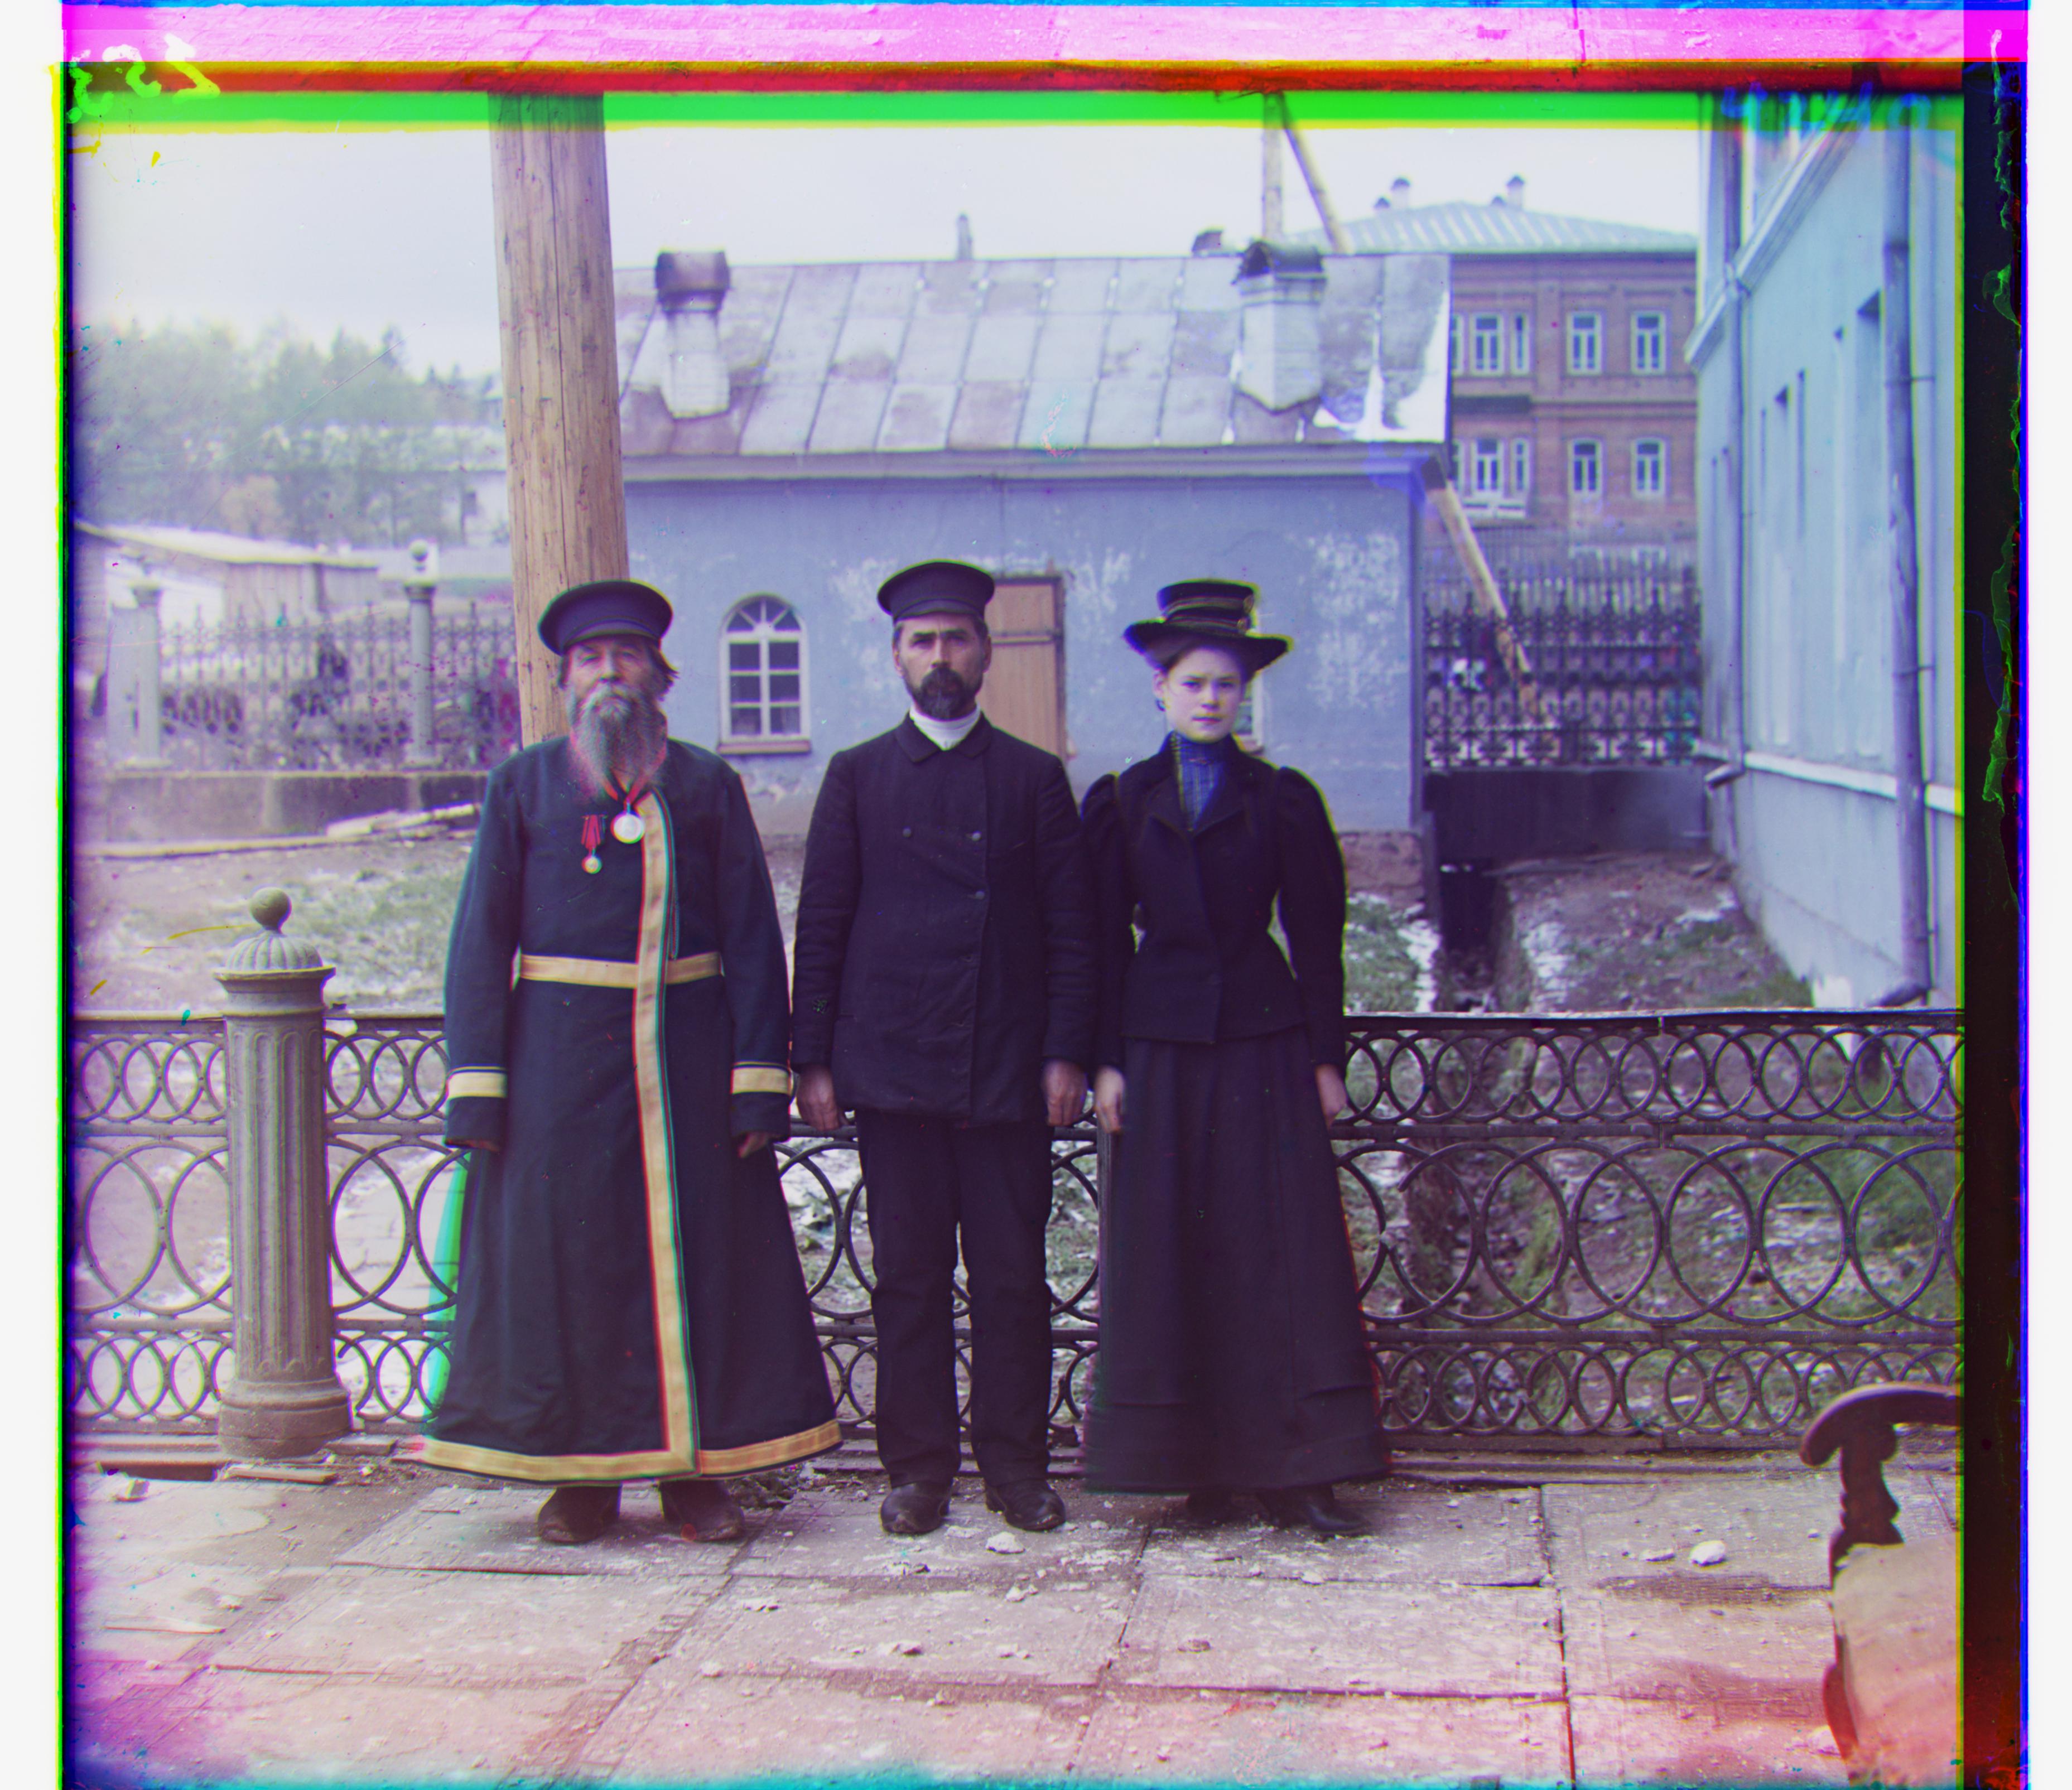
Three Generations
Green Displacement: (53, 14)
Red Displacement: (111, 11)
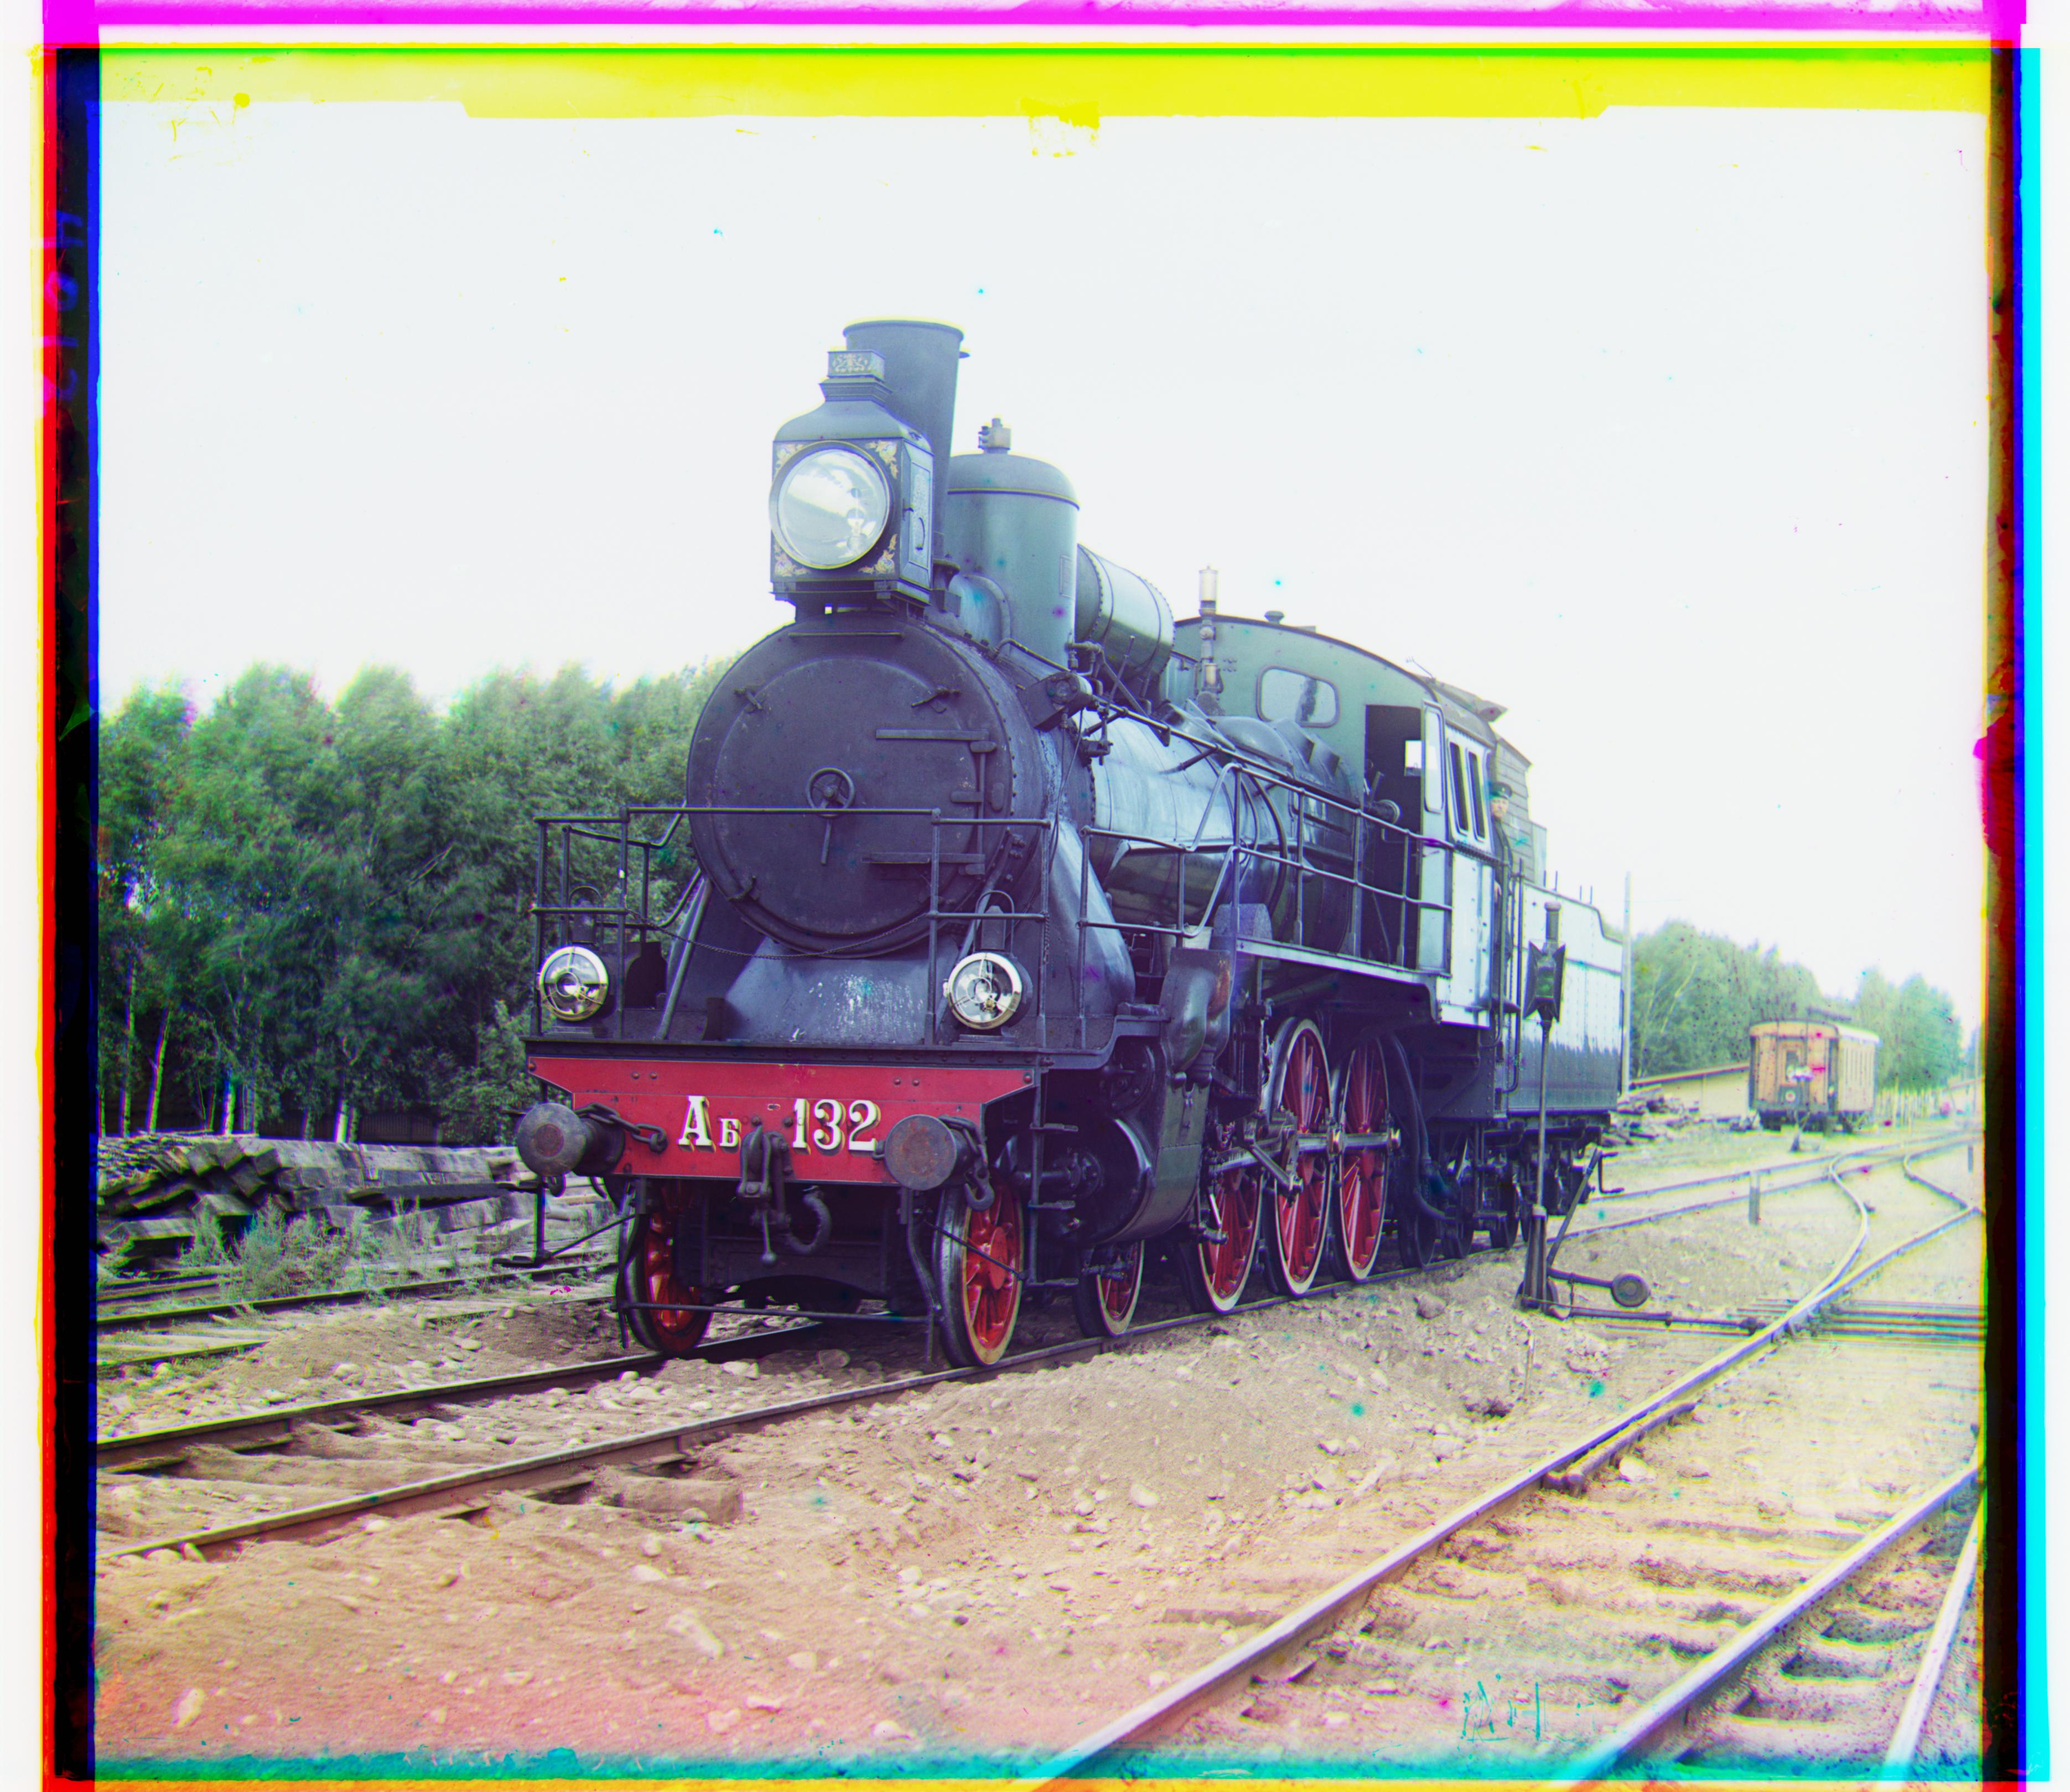
Train
Green Displacement: (43, 6)
Red Displacement: (87, 31)
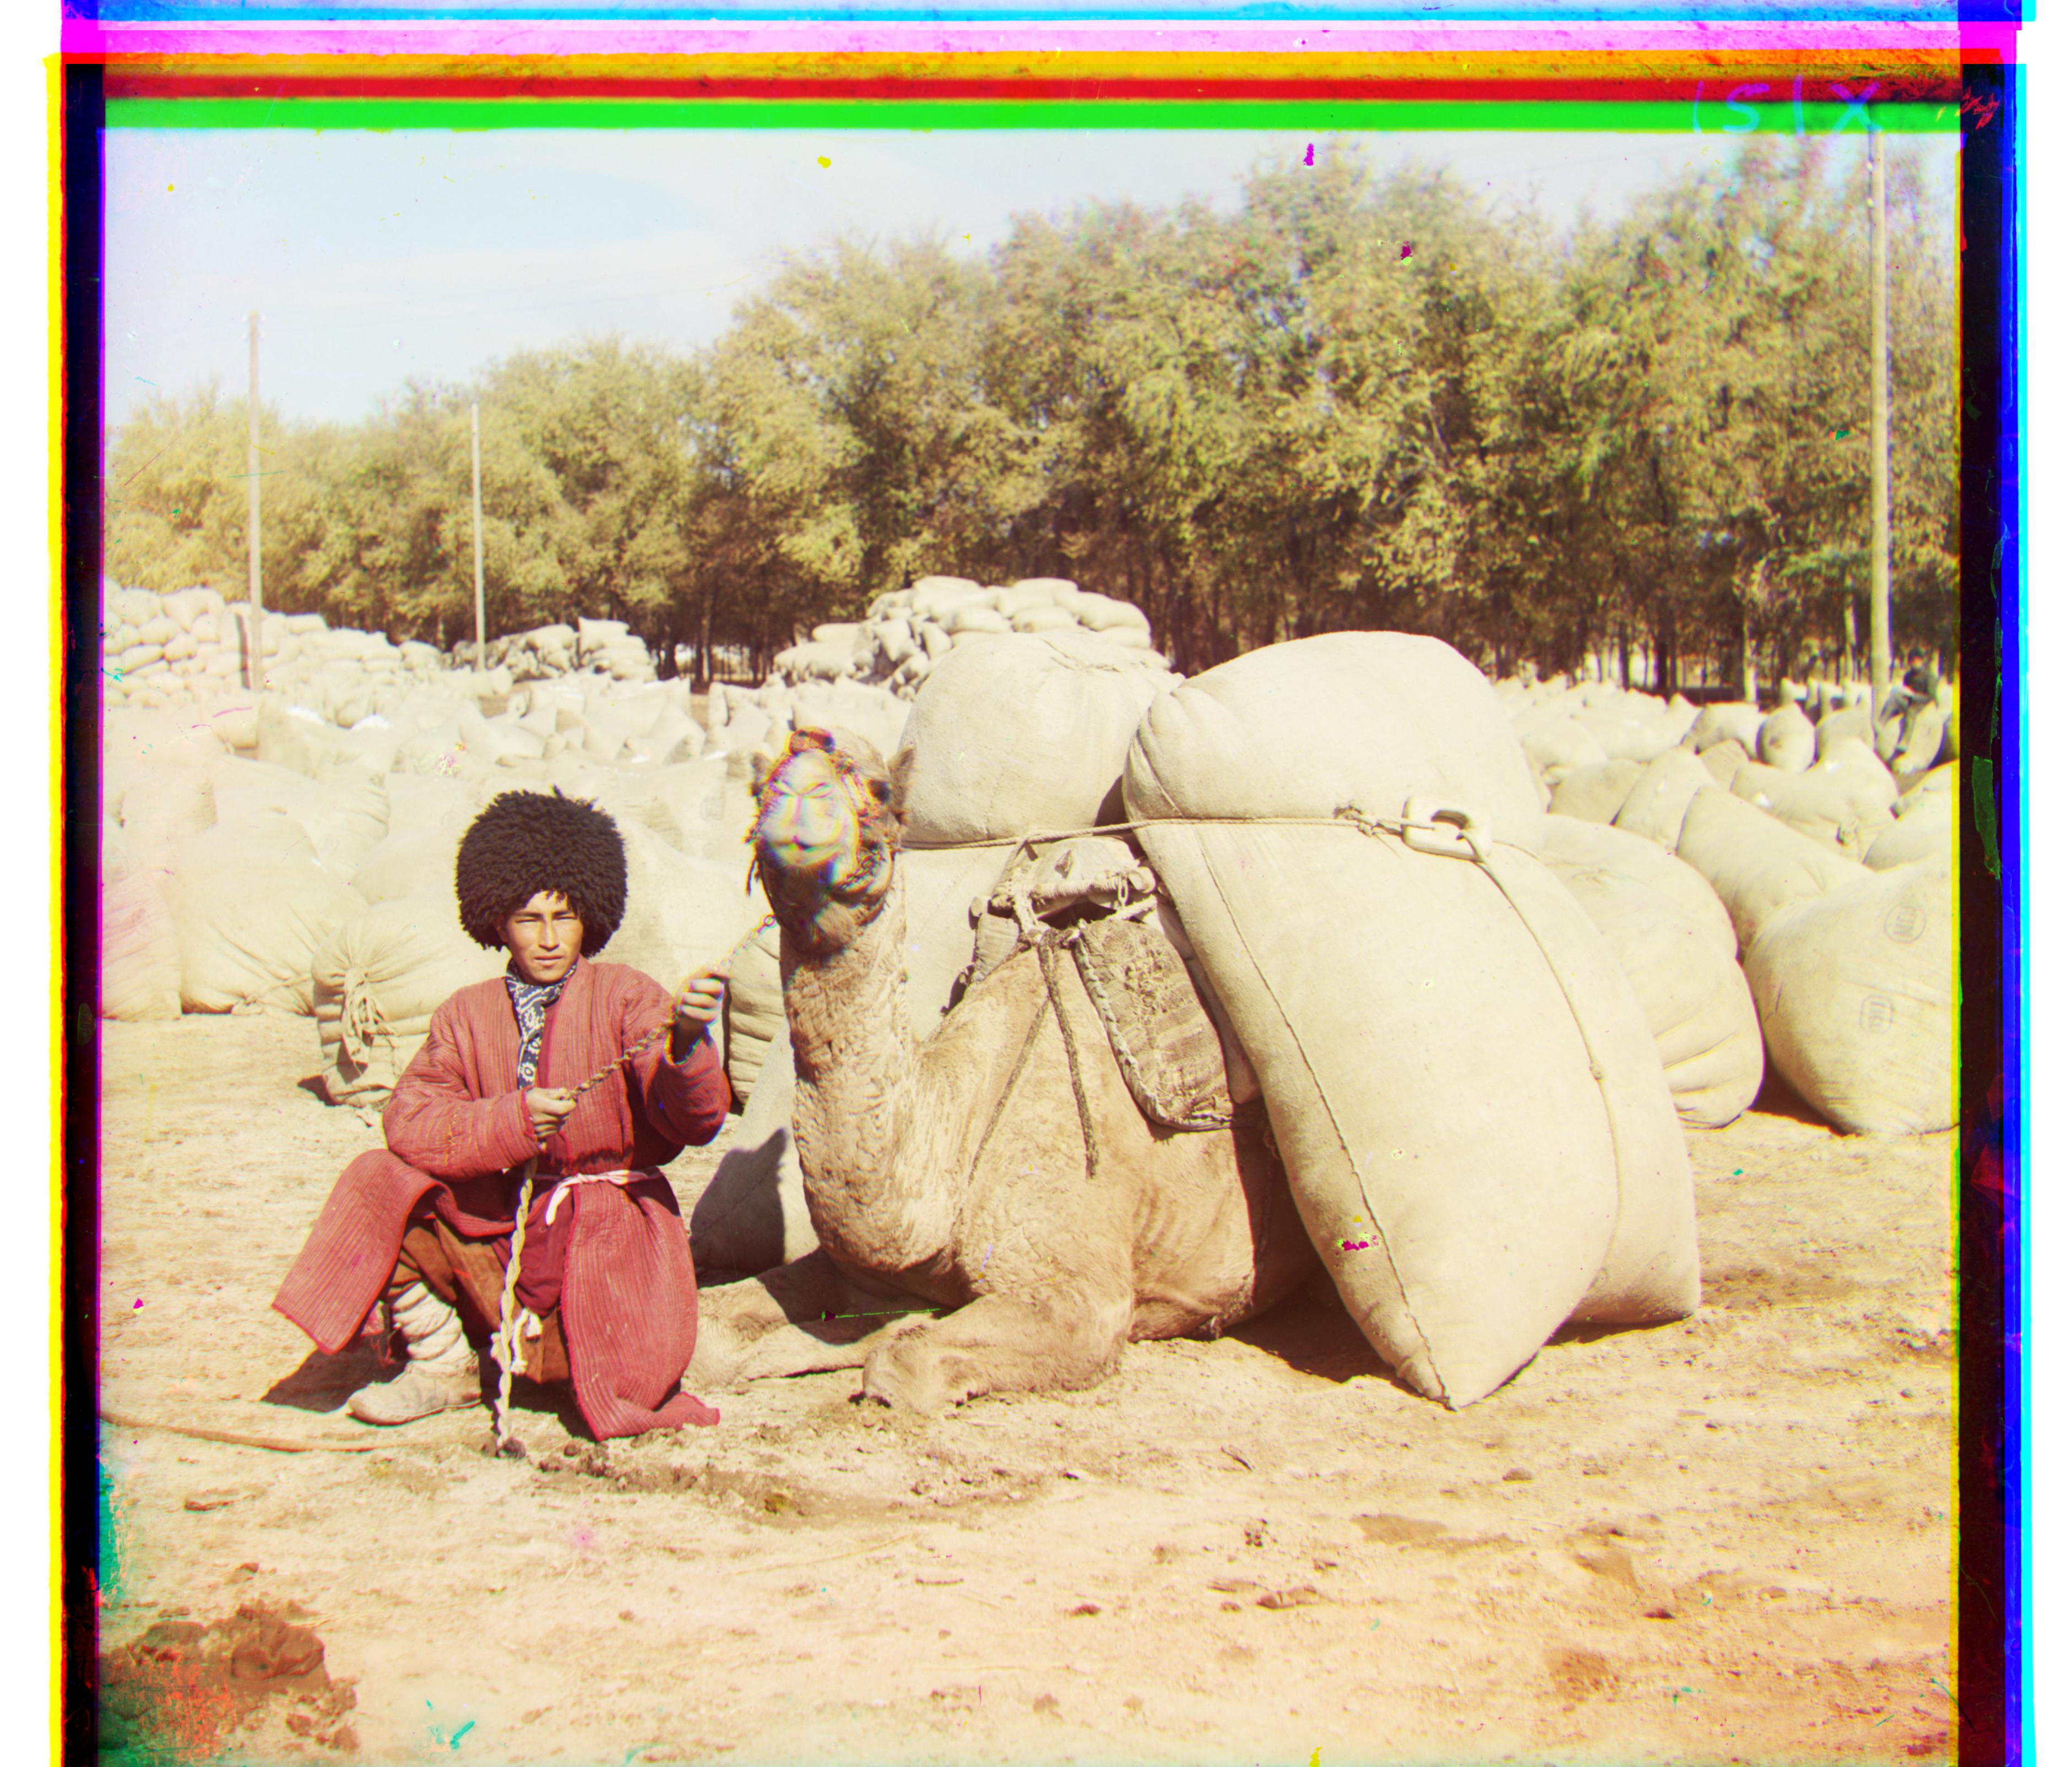
Turkmen
Green Displacement: (55, 20)
Red Displacement: (116, 28)
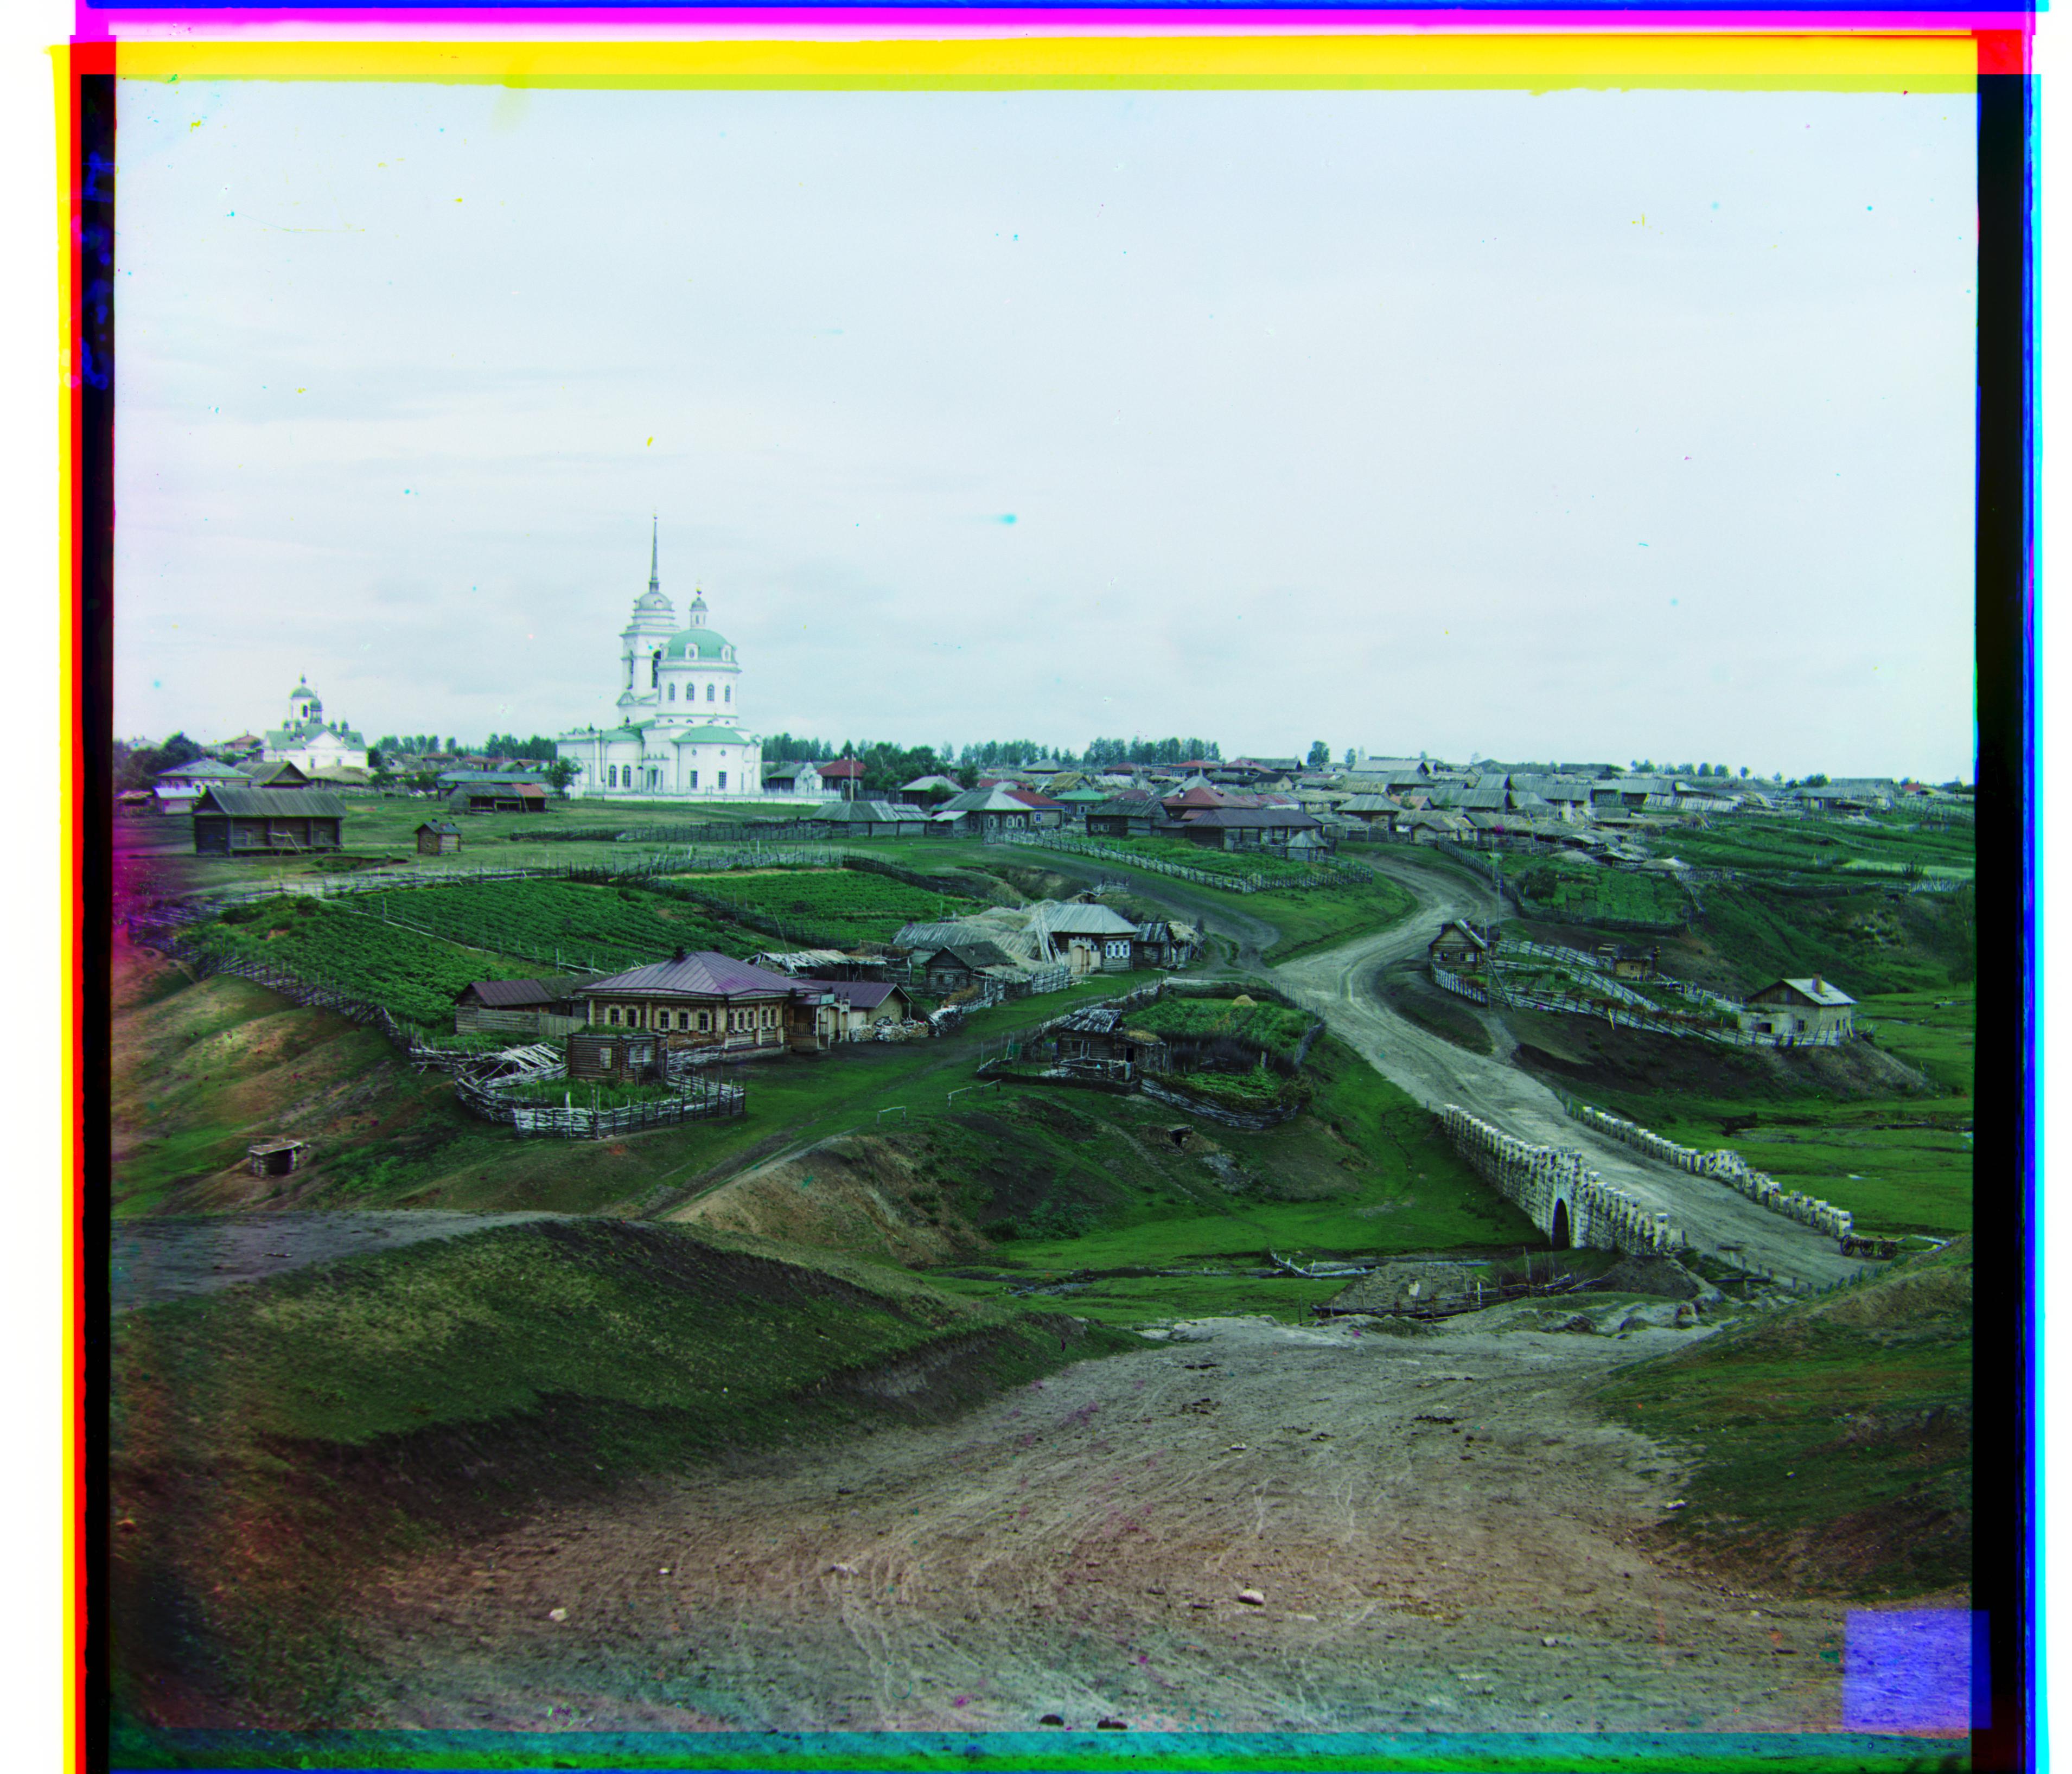
Village
Green Displacement: (65, 12)
Red Displacement: (137, 22)
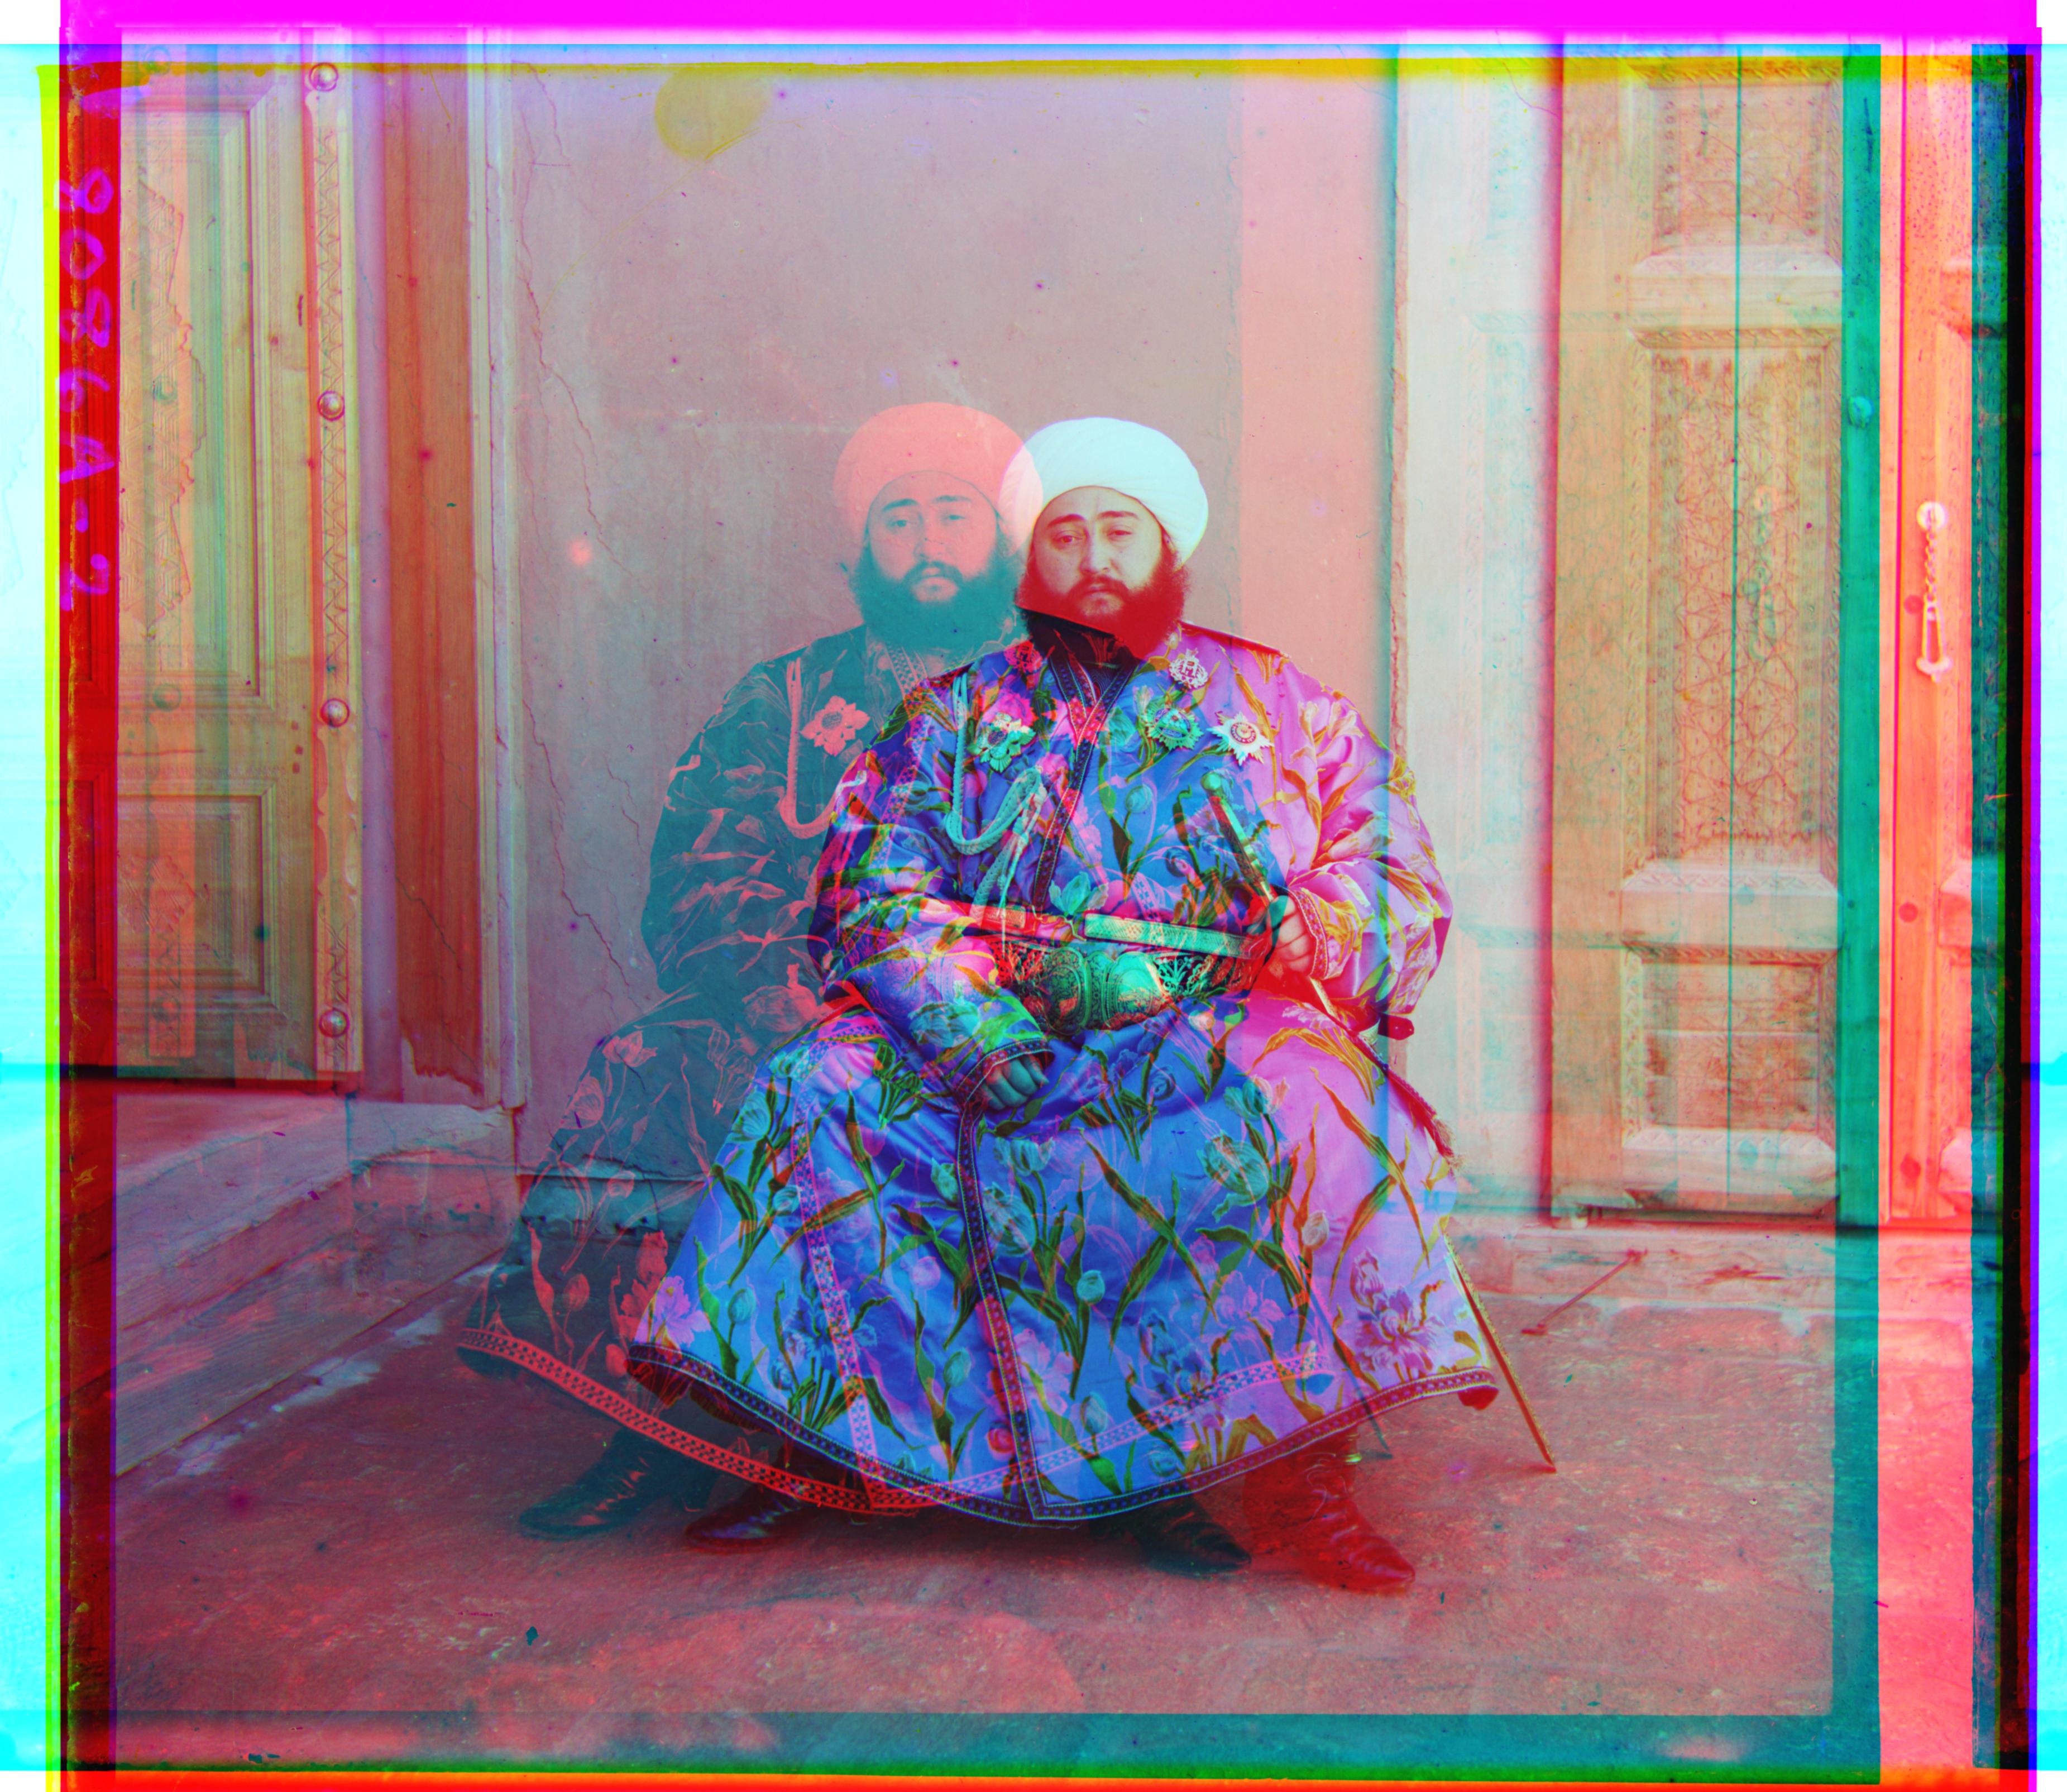
Emir
Green Displacement: (49, 24)
Red Displacement: (79, -255)
All of these larger images look good except for Emir. This is likely because the different color channels do not have the same brightness values, so a simple SSD metric using raw pixels is not enough. One possible solution is to use edge detection instead.
Instead of detecting the brightness of pixel values, I tried to use Canny Edge Detection to line up the edges of the image instead. With the exception of Emir, the images produced by this method largely matched the ones in the section above, with a difference of at most a couple pixels. As you can see below on the left, Village has a slightly different displacement but the image quality is unaffected. Emir's image on the right, however, is largely improved.
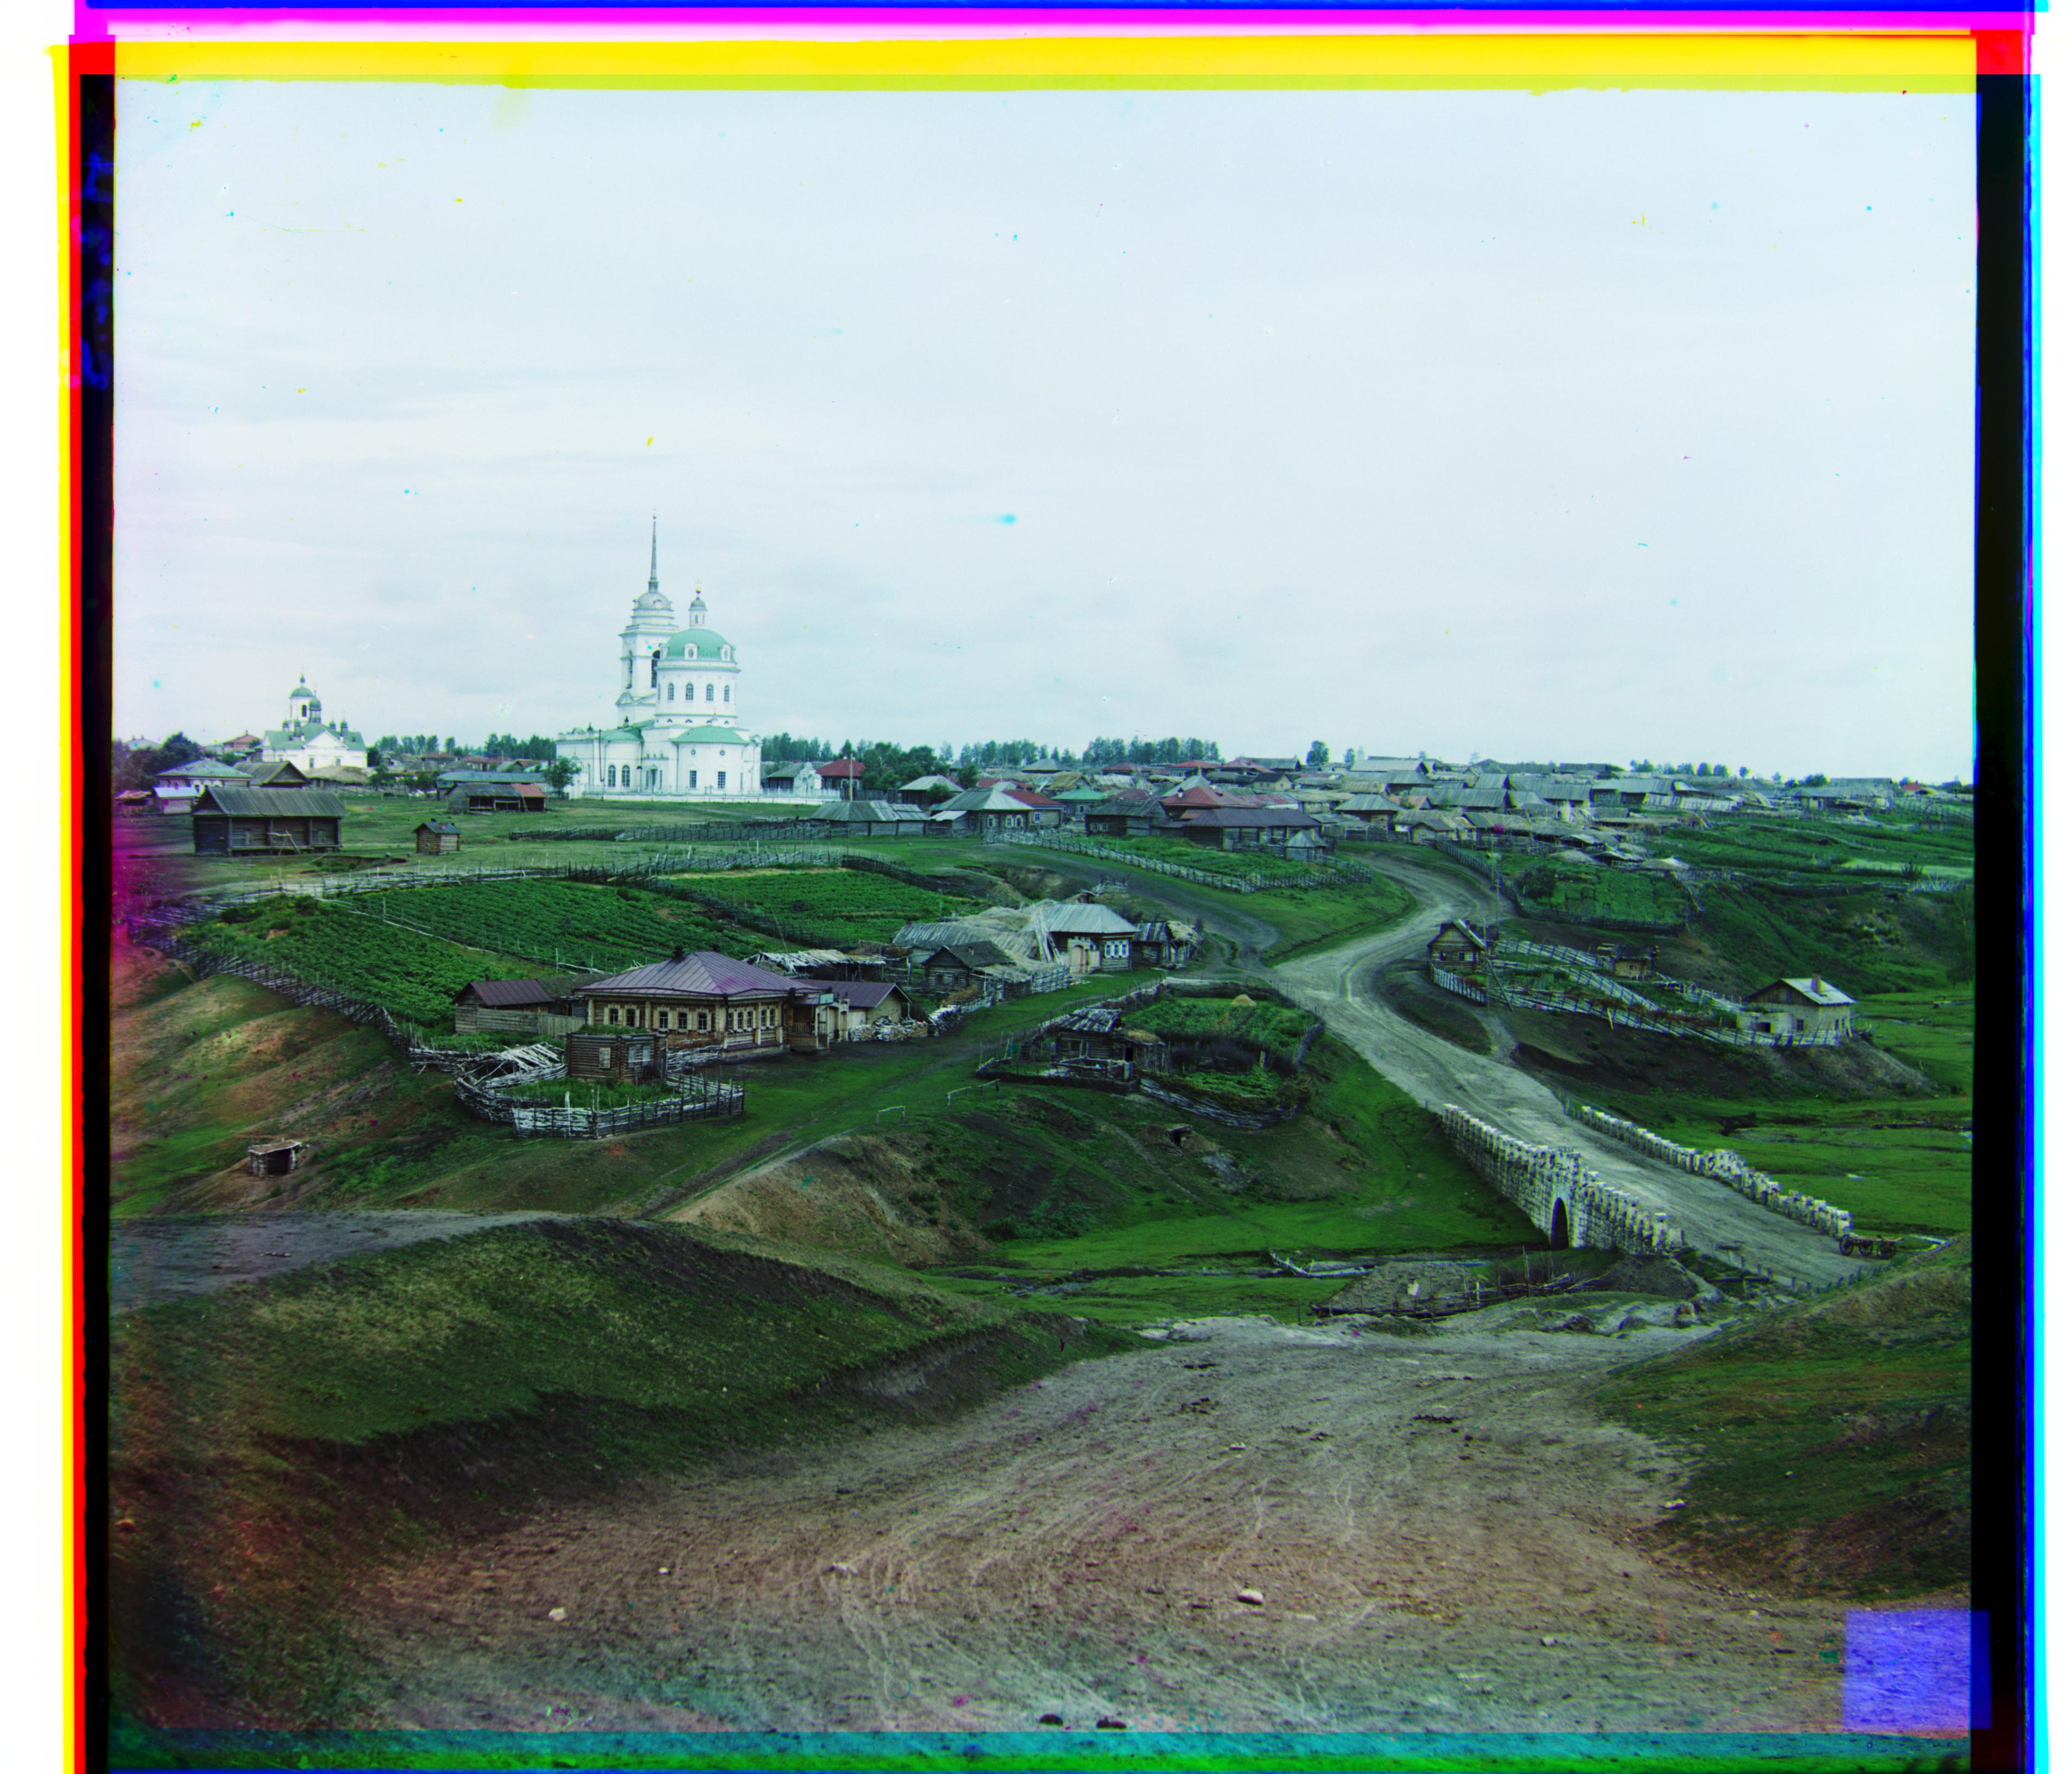
Village
Green Displacement: (64, 10)
Red Displacement: (137, 21)
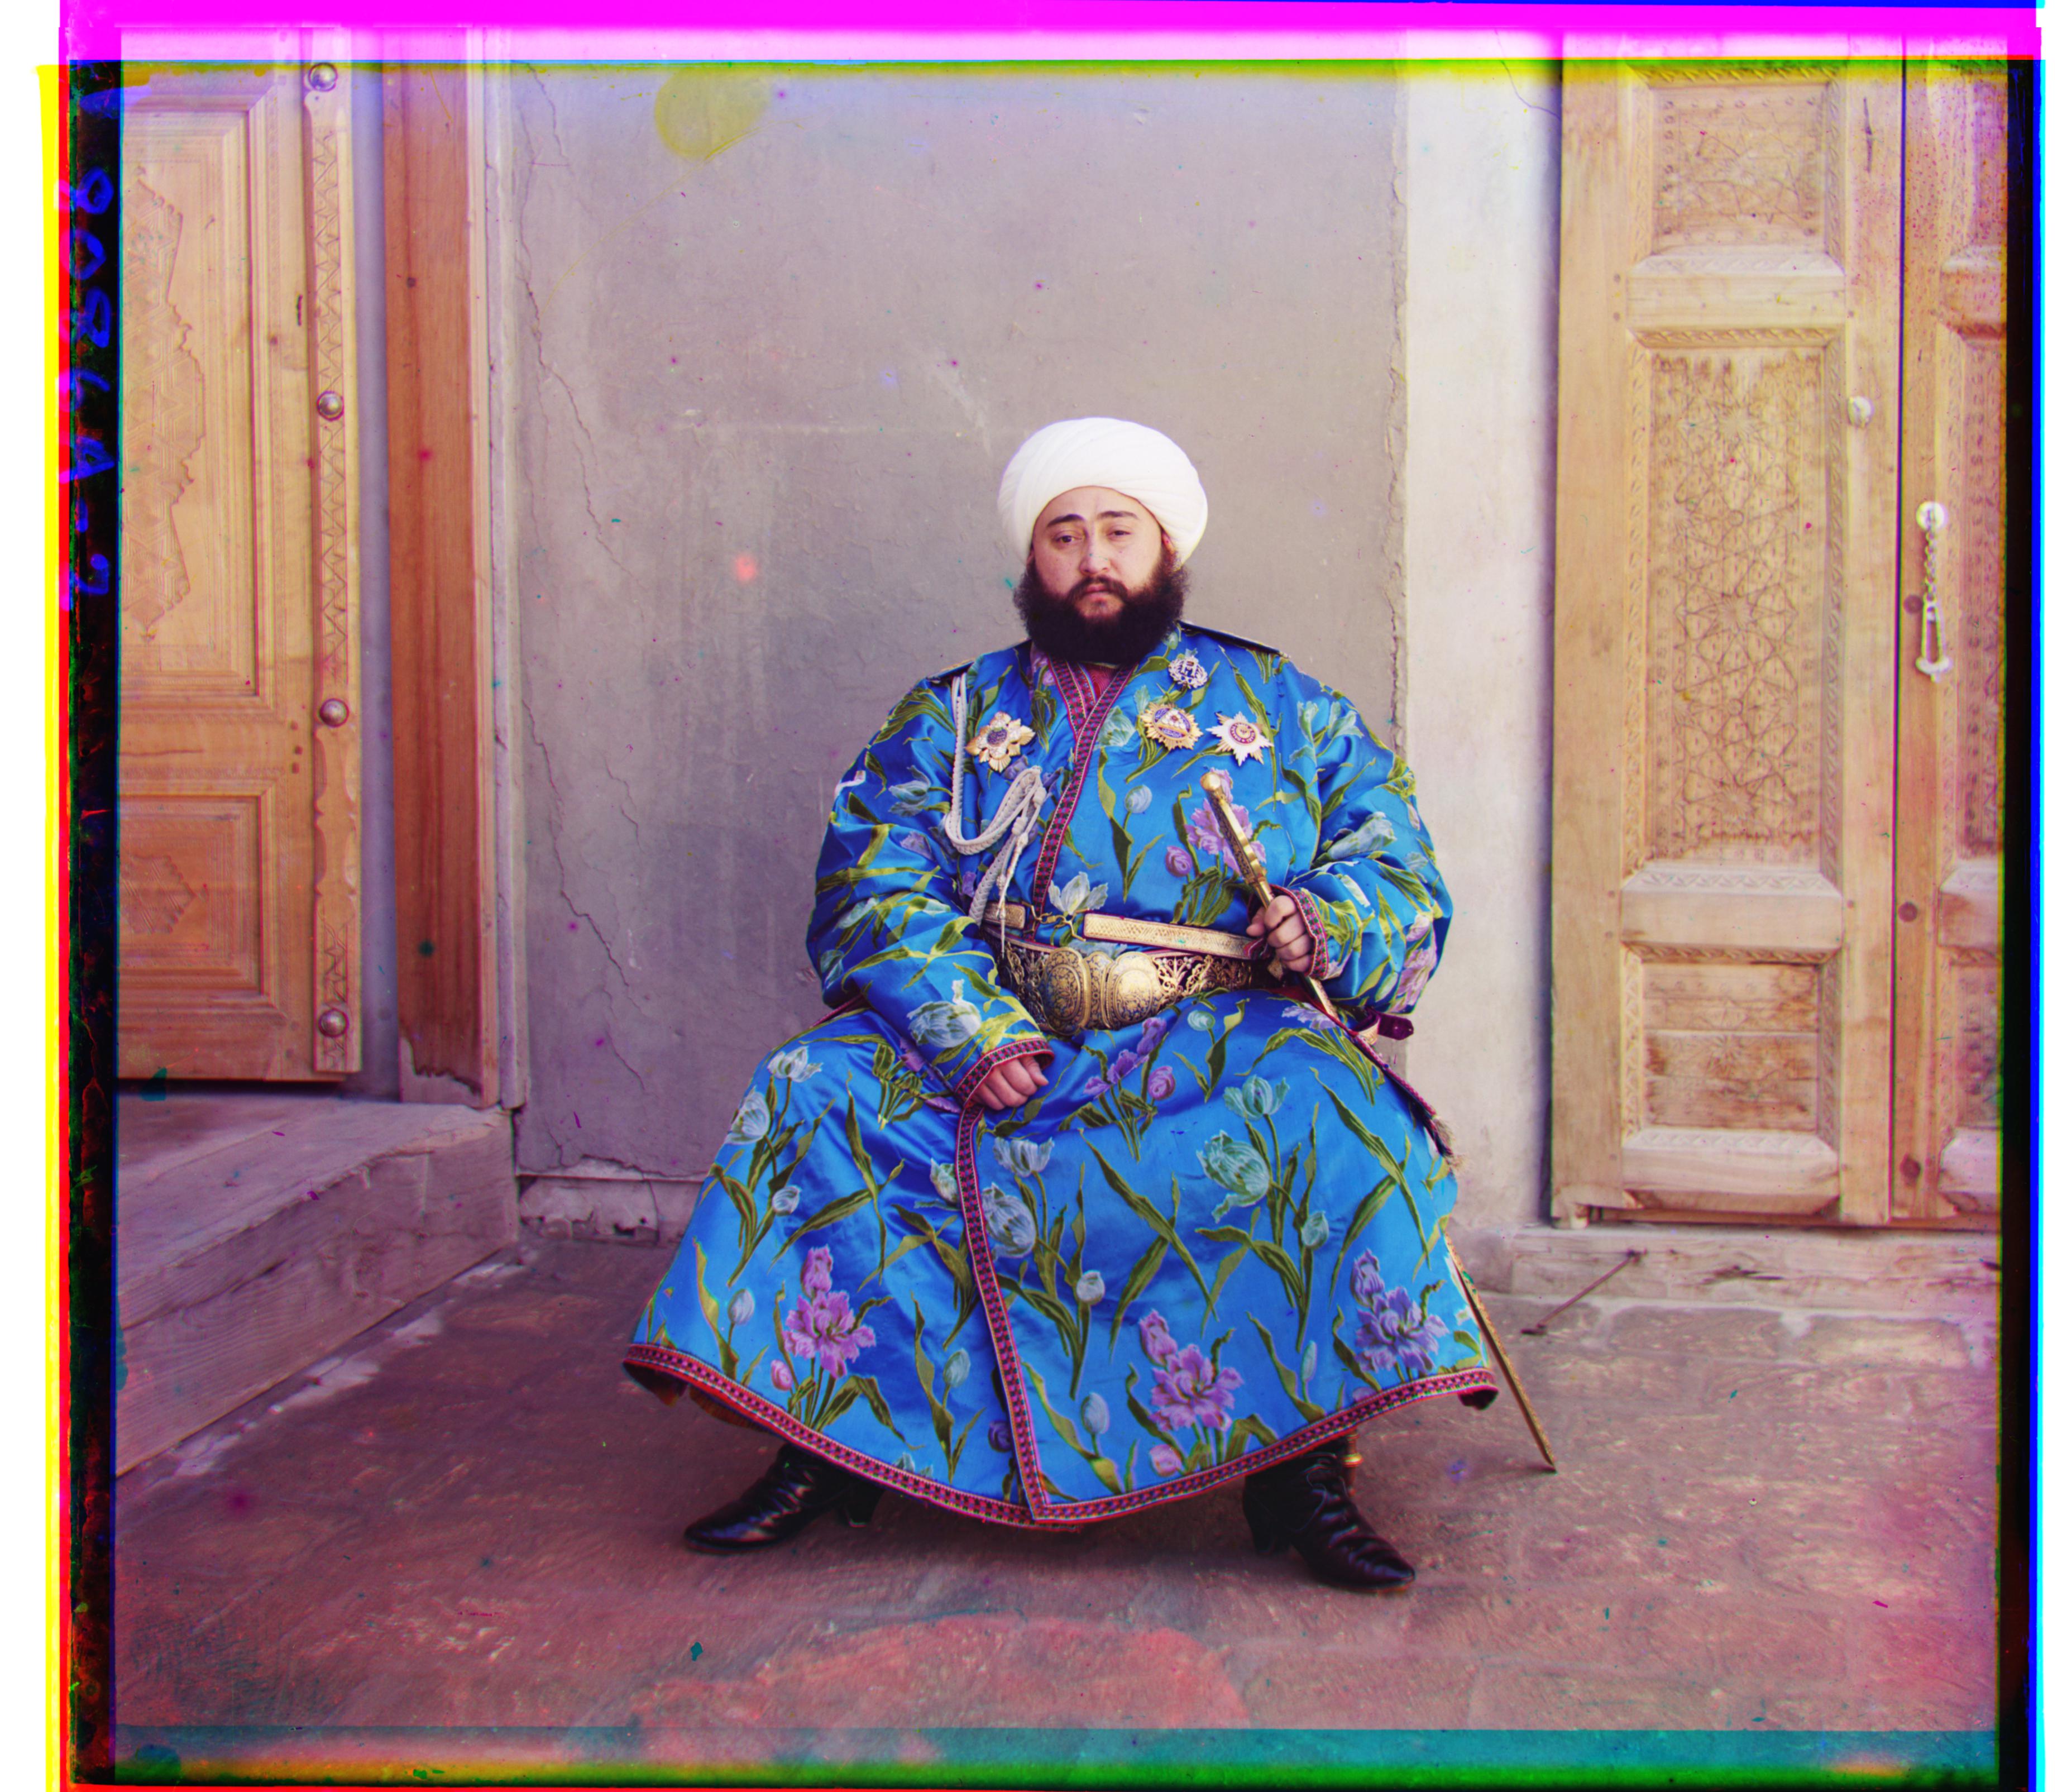
Emir
Green Displacement: (49, 23)
Red Displacement: (107, 40)
Here are the results of my algorithm on some other images in the Prokudin-Gorskii collection:
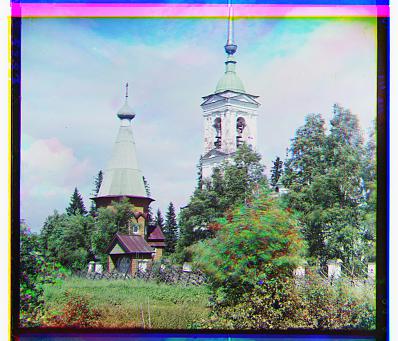
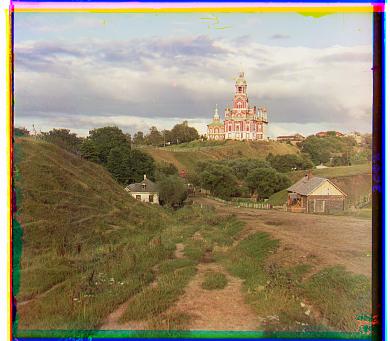
Church
Green Displacement: (7, 3)
Red Displacement: (17, 4)
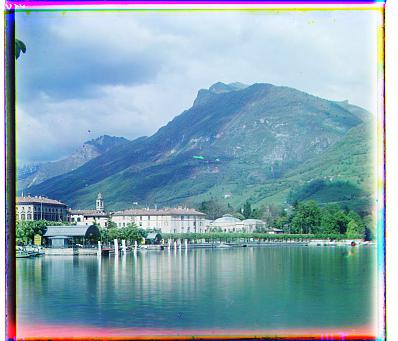
Lugano
Green Displacement: (4, -2)
Red Displacement: (9, -3)
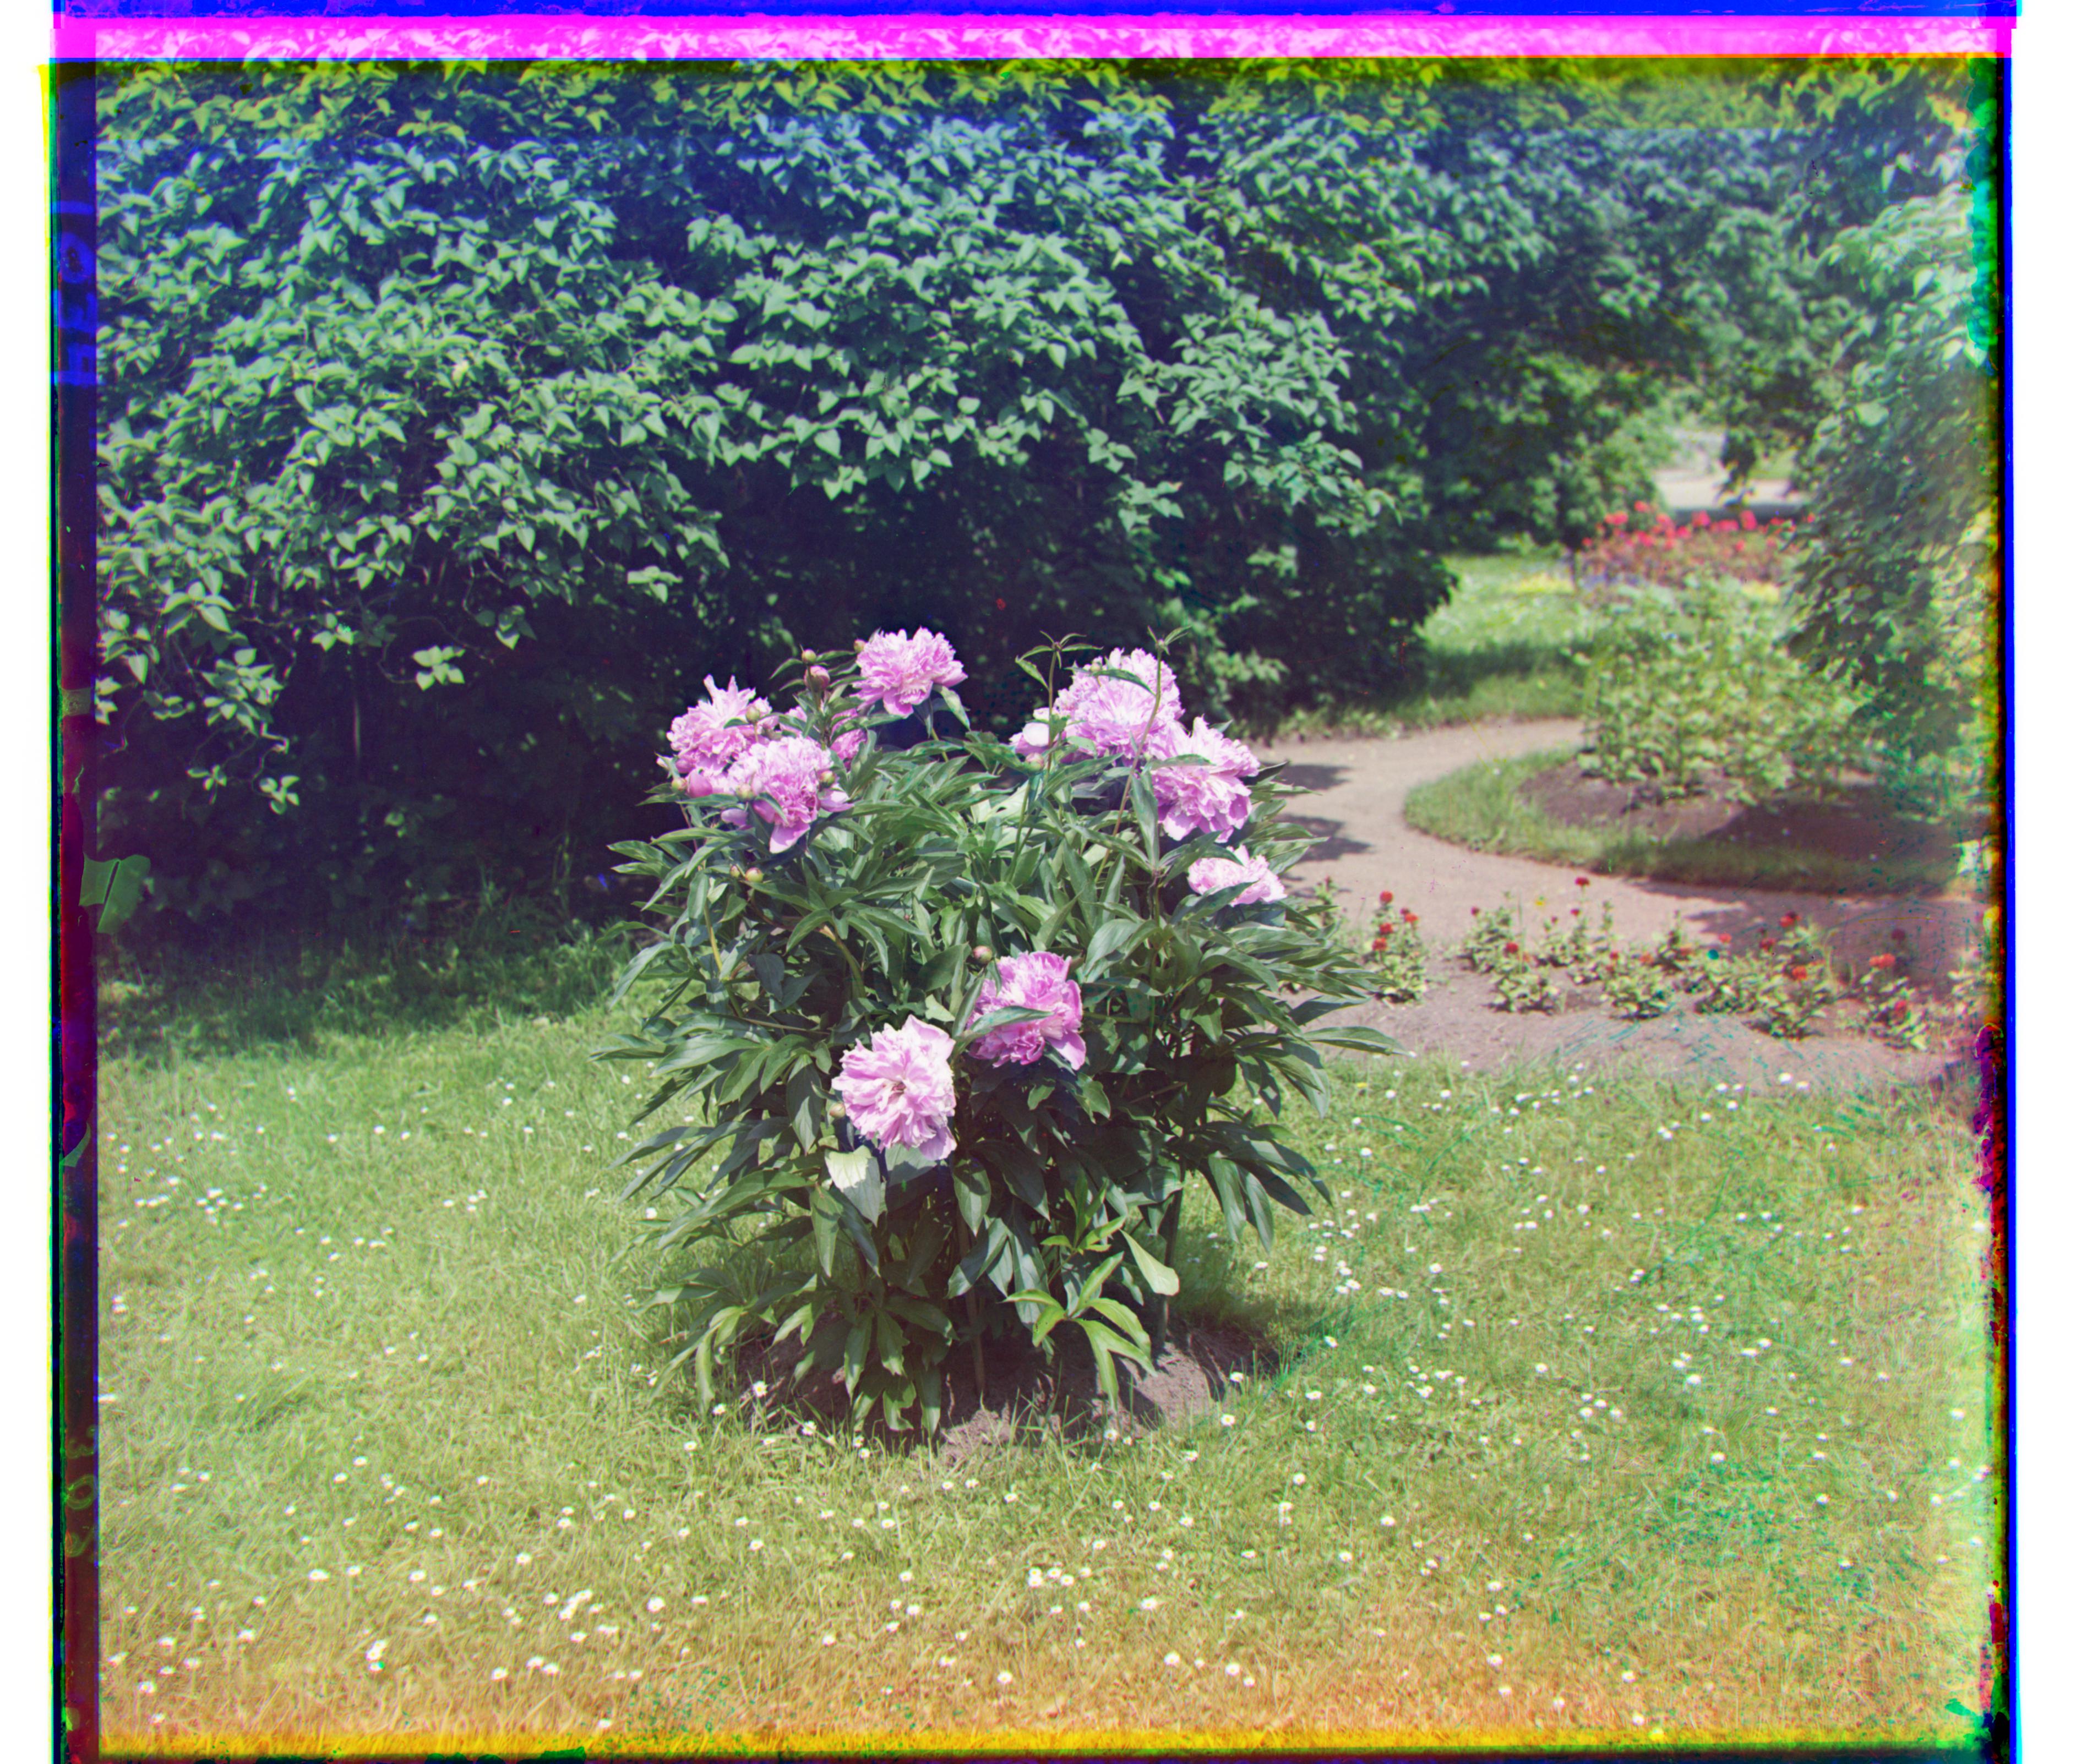
Peonies
Green Displacement: (52, 3)
Red Displacement: (105, -5)
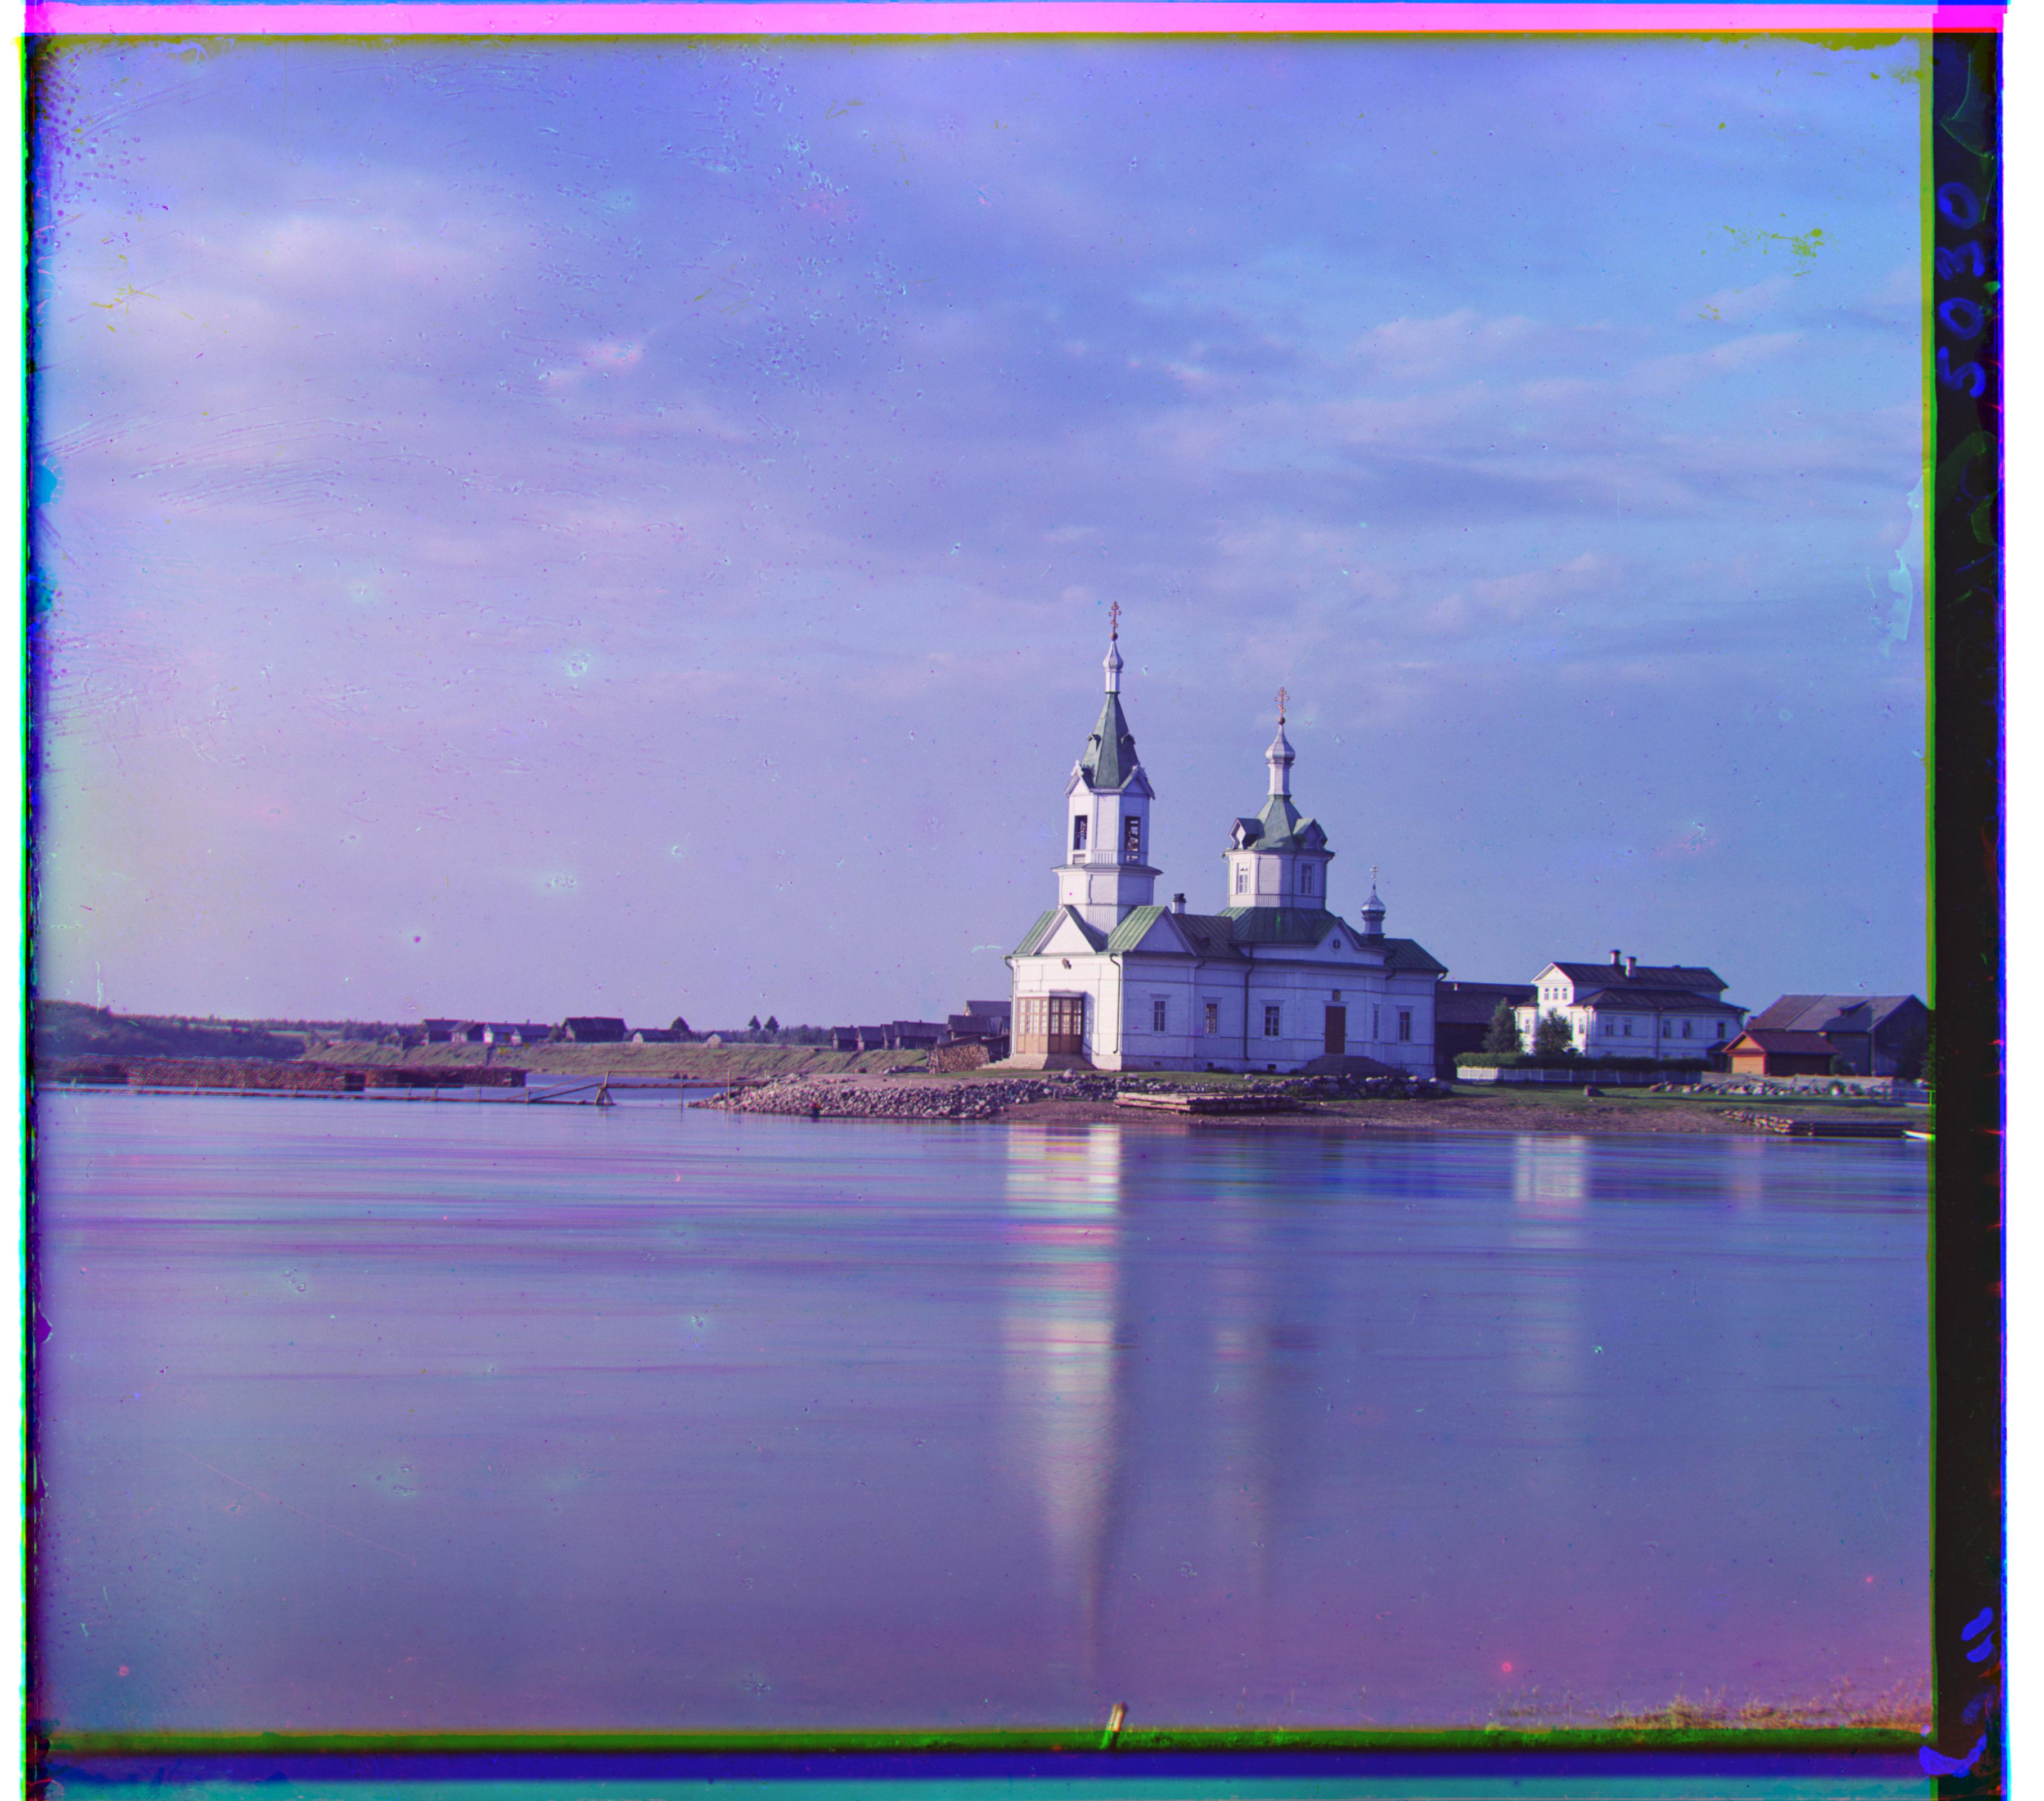
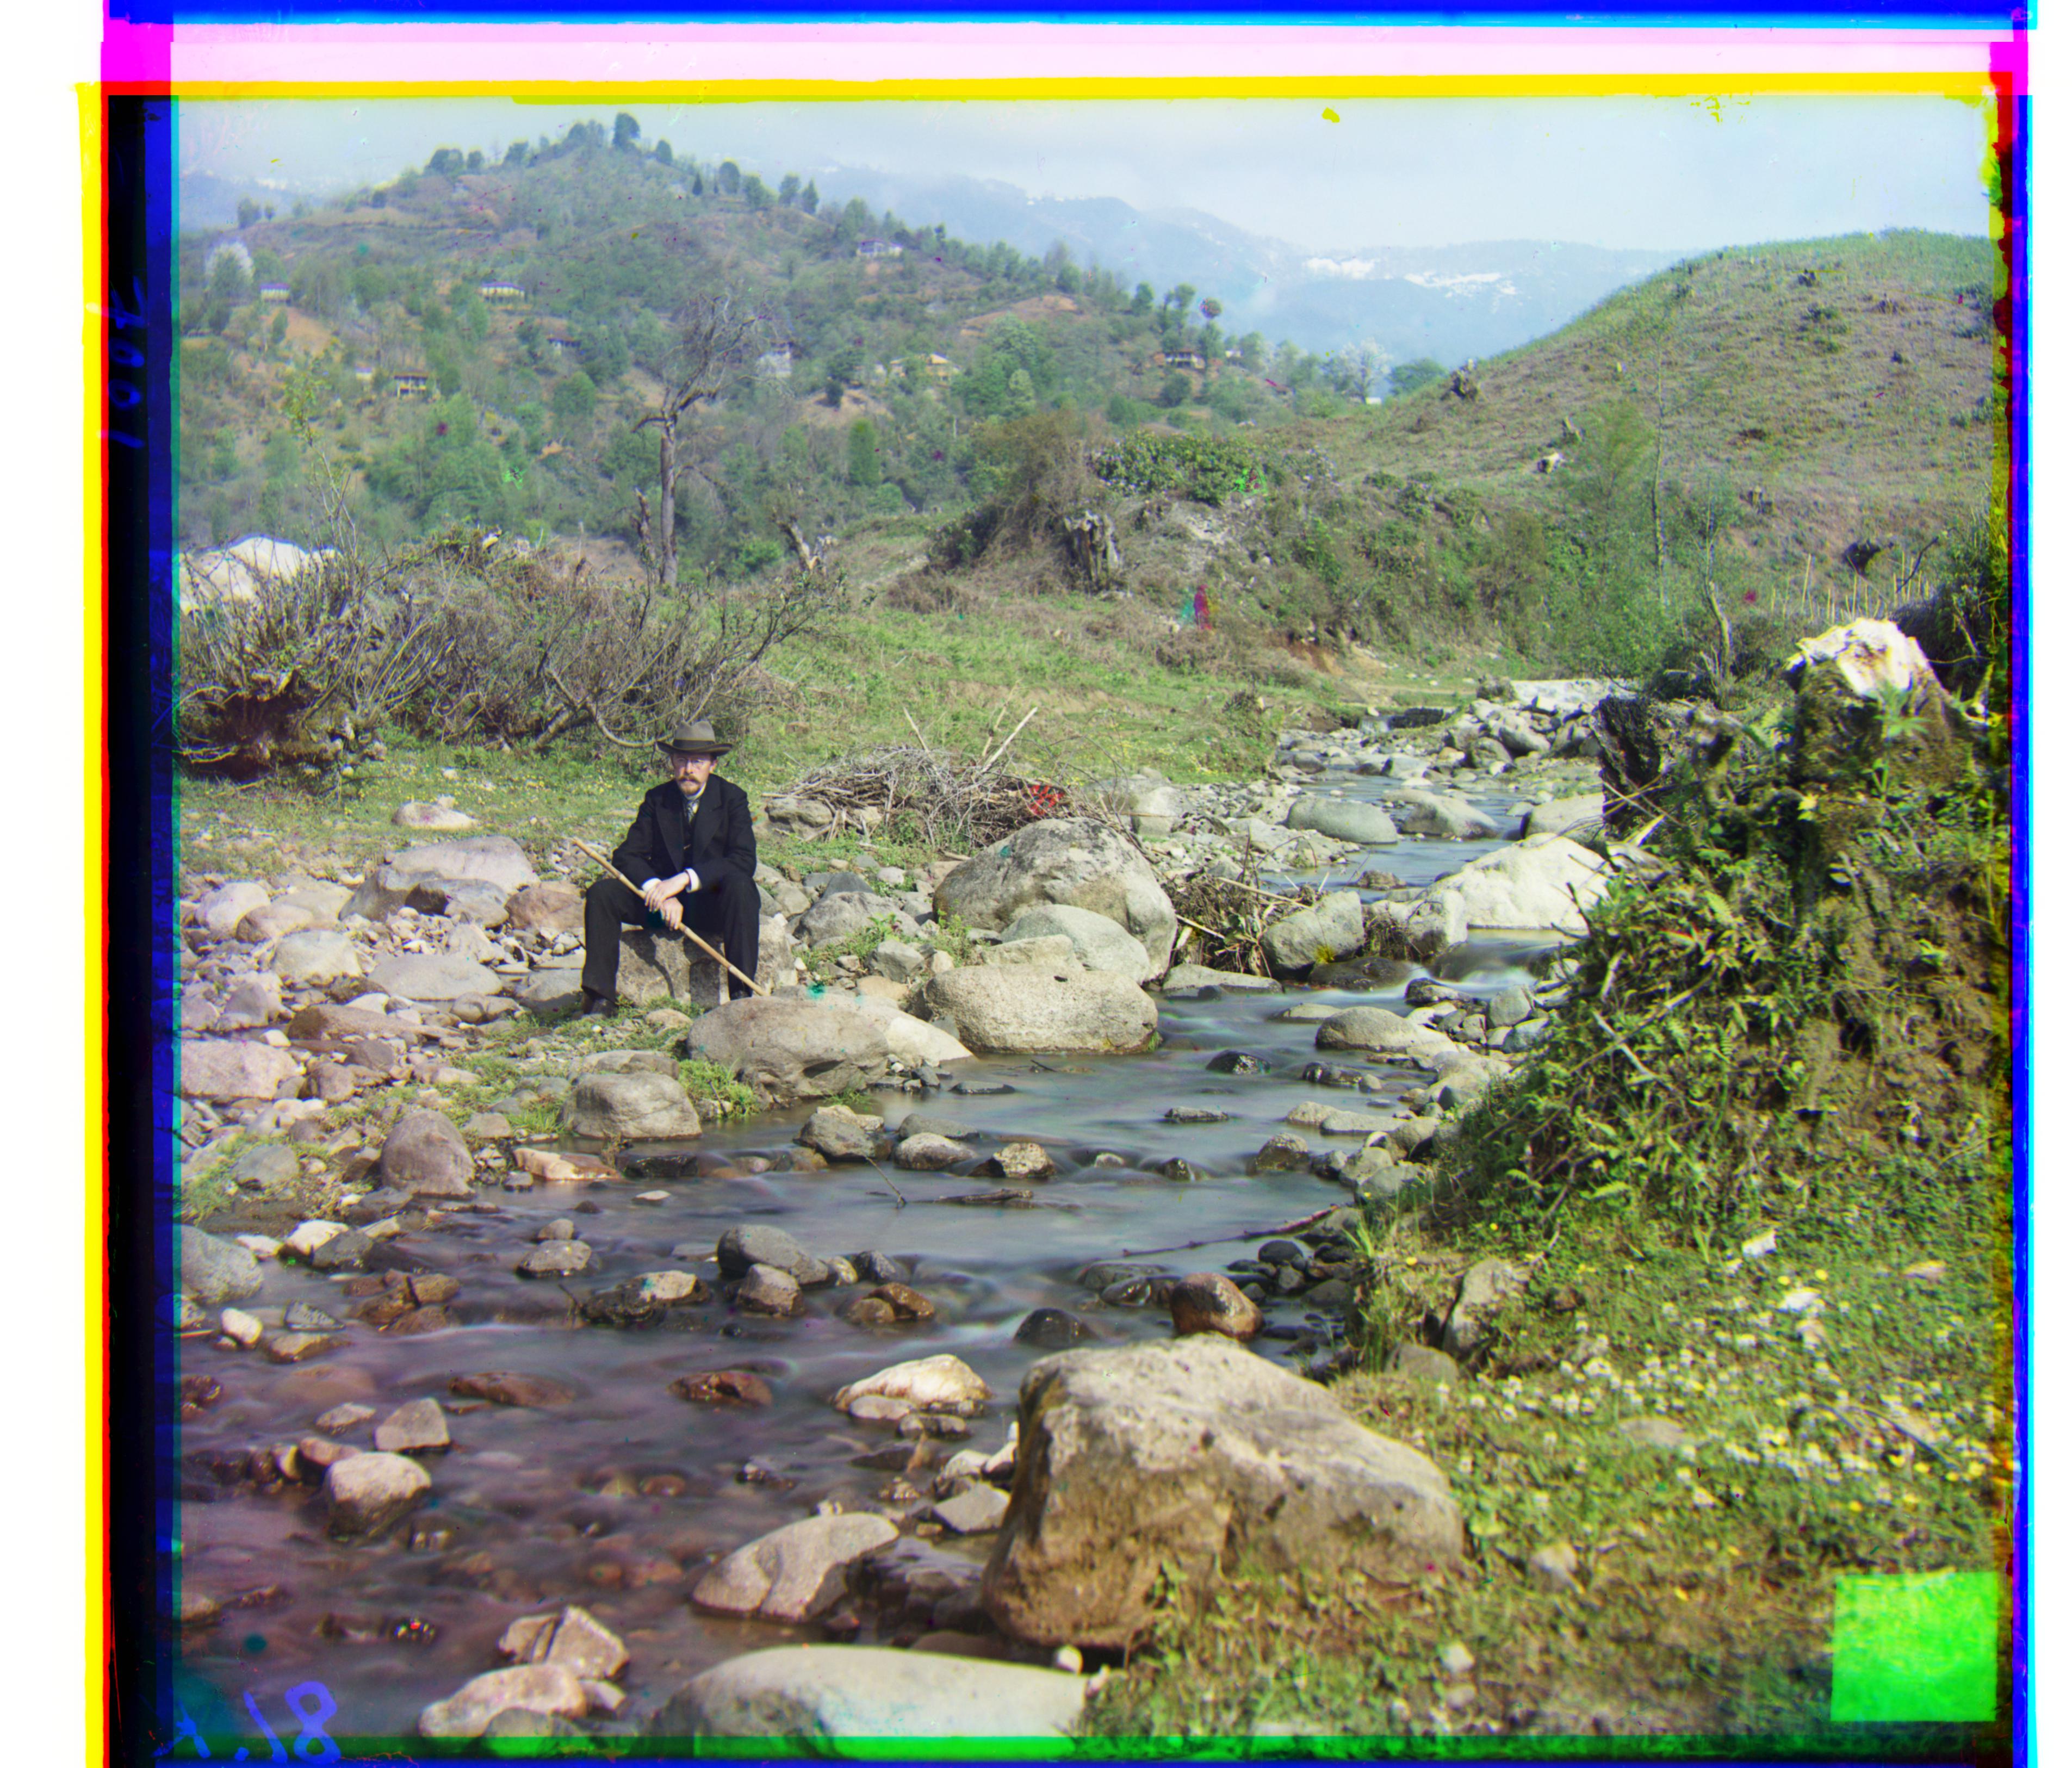
River
Green Displacement: (24, 4)
Red Displacement: (58, -4)