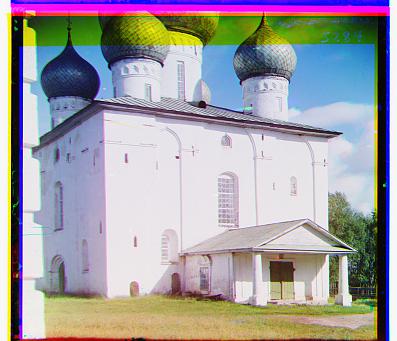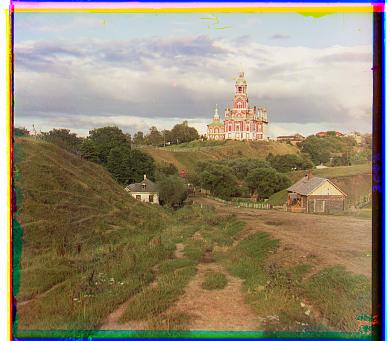
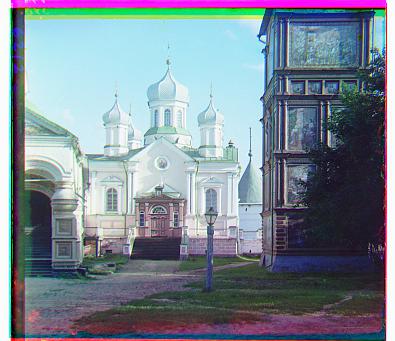
cathedral.jpg
Green: (+2,+5)
Red: (+3,+12)
The first step was basic alignment of the 3 photos. Without translation of the green and red filtered images, the compiled image would look like the image on the left. Alignment allows all images to line up on top of one another, leading to a clear image, such as the one on the right.
For Step 1, we assume that we work with small images. Try all possibilities of translation of the image over a [-15,15] grid. To do this, use
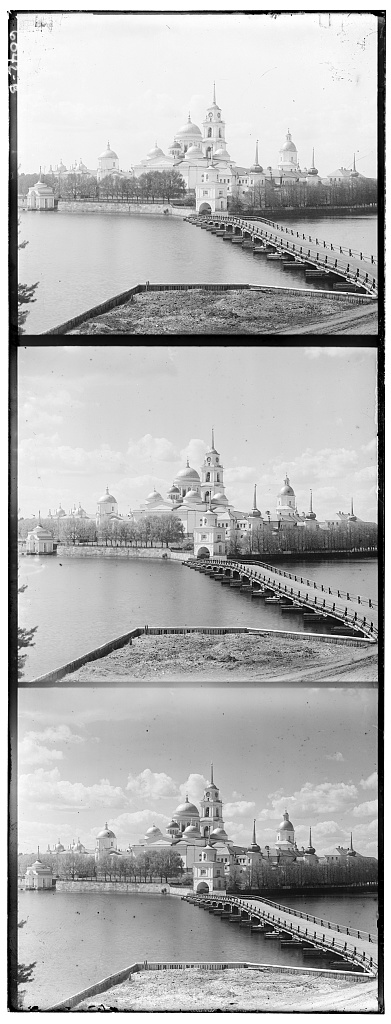 Input: All three filters
 No Alignment
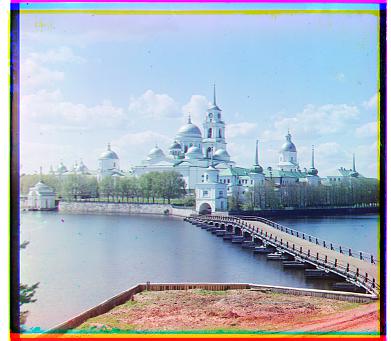 Output: With Alignment (search over grid)
With larger images, the (x,y) the displacement needed to align images would be greater than 15–with these larger images (on the scale of 4000x3000), an exhaustive search would take too long. Therefore, we use a pyramid structure to downscale the image, then align the smaller-sized images. We then scale up the displacements, and use them to align the higer-resolution images.
For an image, continue to
Below we can see the process executed on smaller .jpg images. Hovering over each photo will show the (x,y) displacements used for the Green and Red filtered images.
cathedral.jpg
Green: (+2,+5)
Red: (+3,+12)
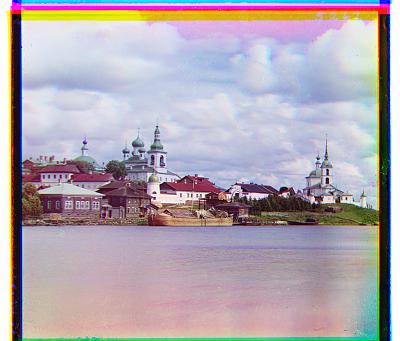
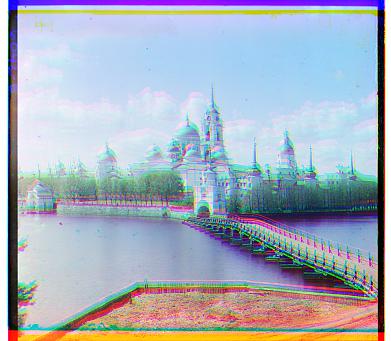
monastery.jpg
Green: (+2,-3)
Red: (+2,+3)
nativity.jpg
Green: (+1,+3)
Red: (+0,+8)
settlers.jpg
Green: (+0,+7)
Red: (-1,+15)
Below we can see the process executed on larger .tif images. All executions lasted less than 30 seconds. Like above, hovering over each photo will show the (x,y) displacements used for the Green and Red filtered images. Below this is the execution time to complete the alignment.
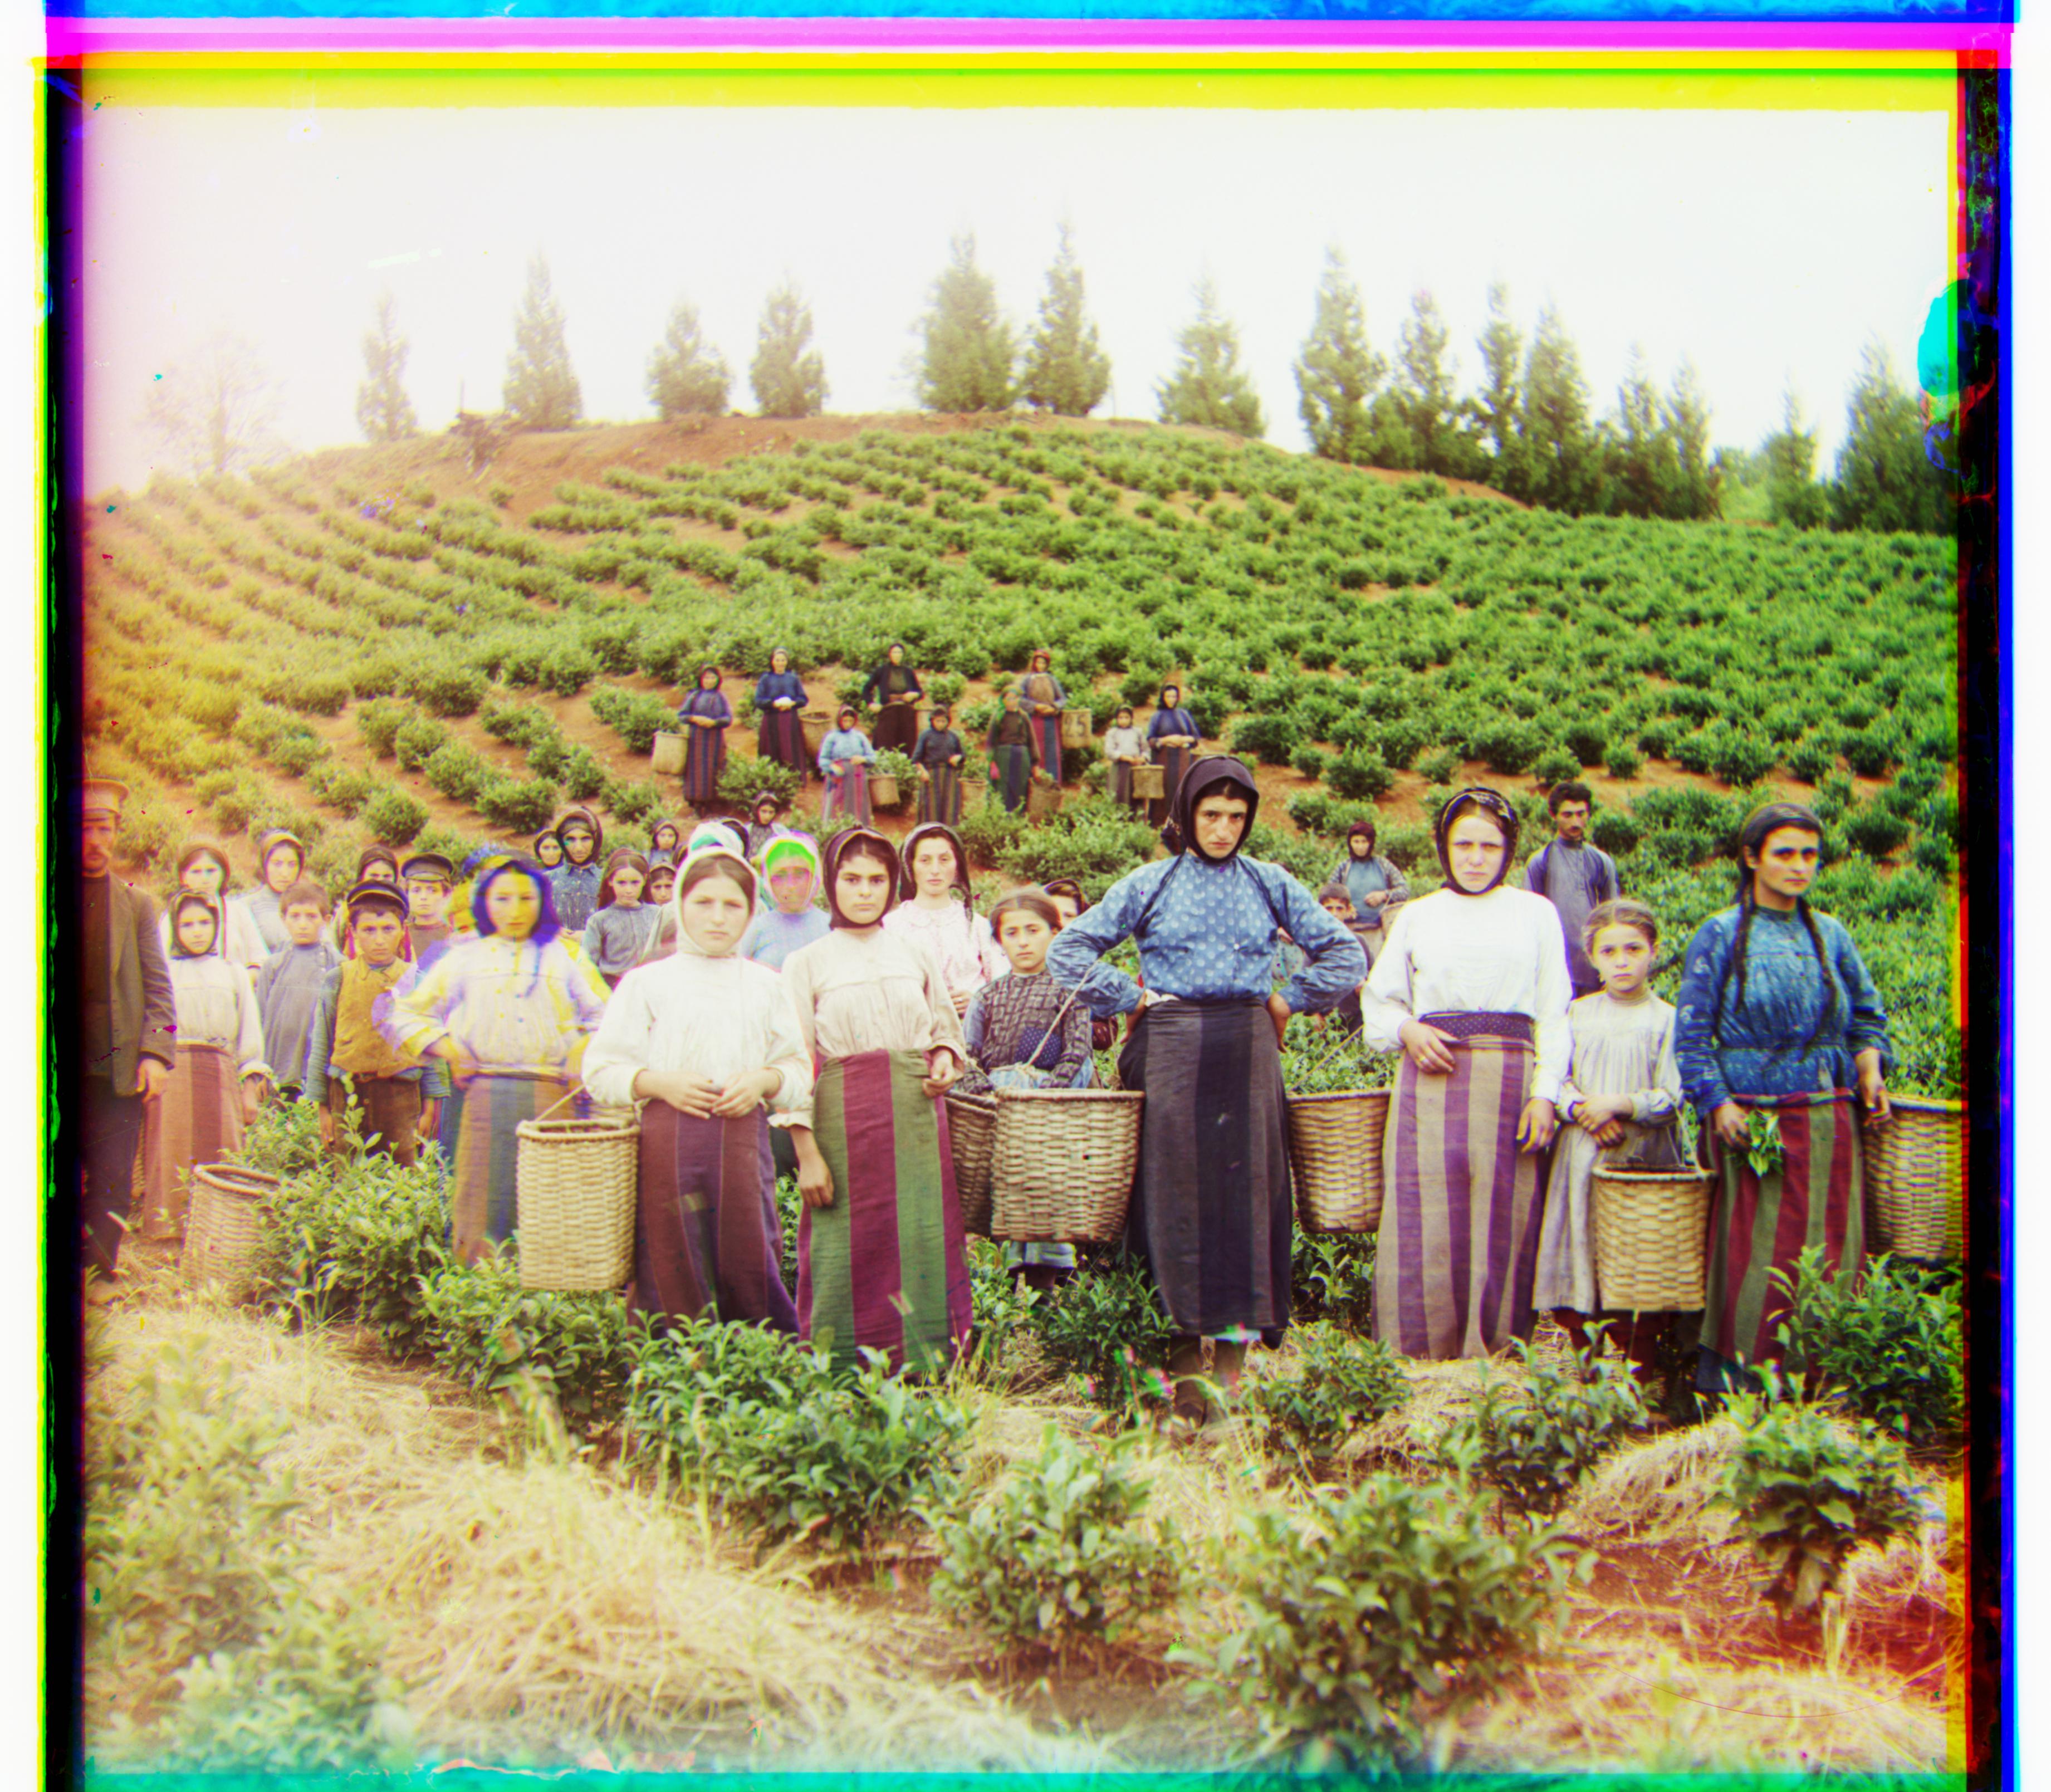
harvesters.tif
Green: (+17,+59)
Red: (+14,+123)
Time: 21.35s
icon.tif
Green: (+17,+40)
Red: (+23,+89)
Time: 21.17s
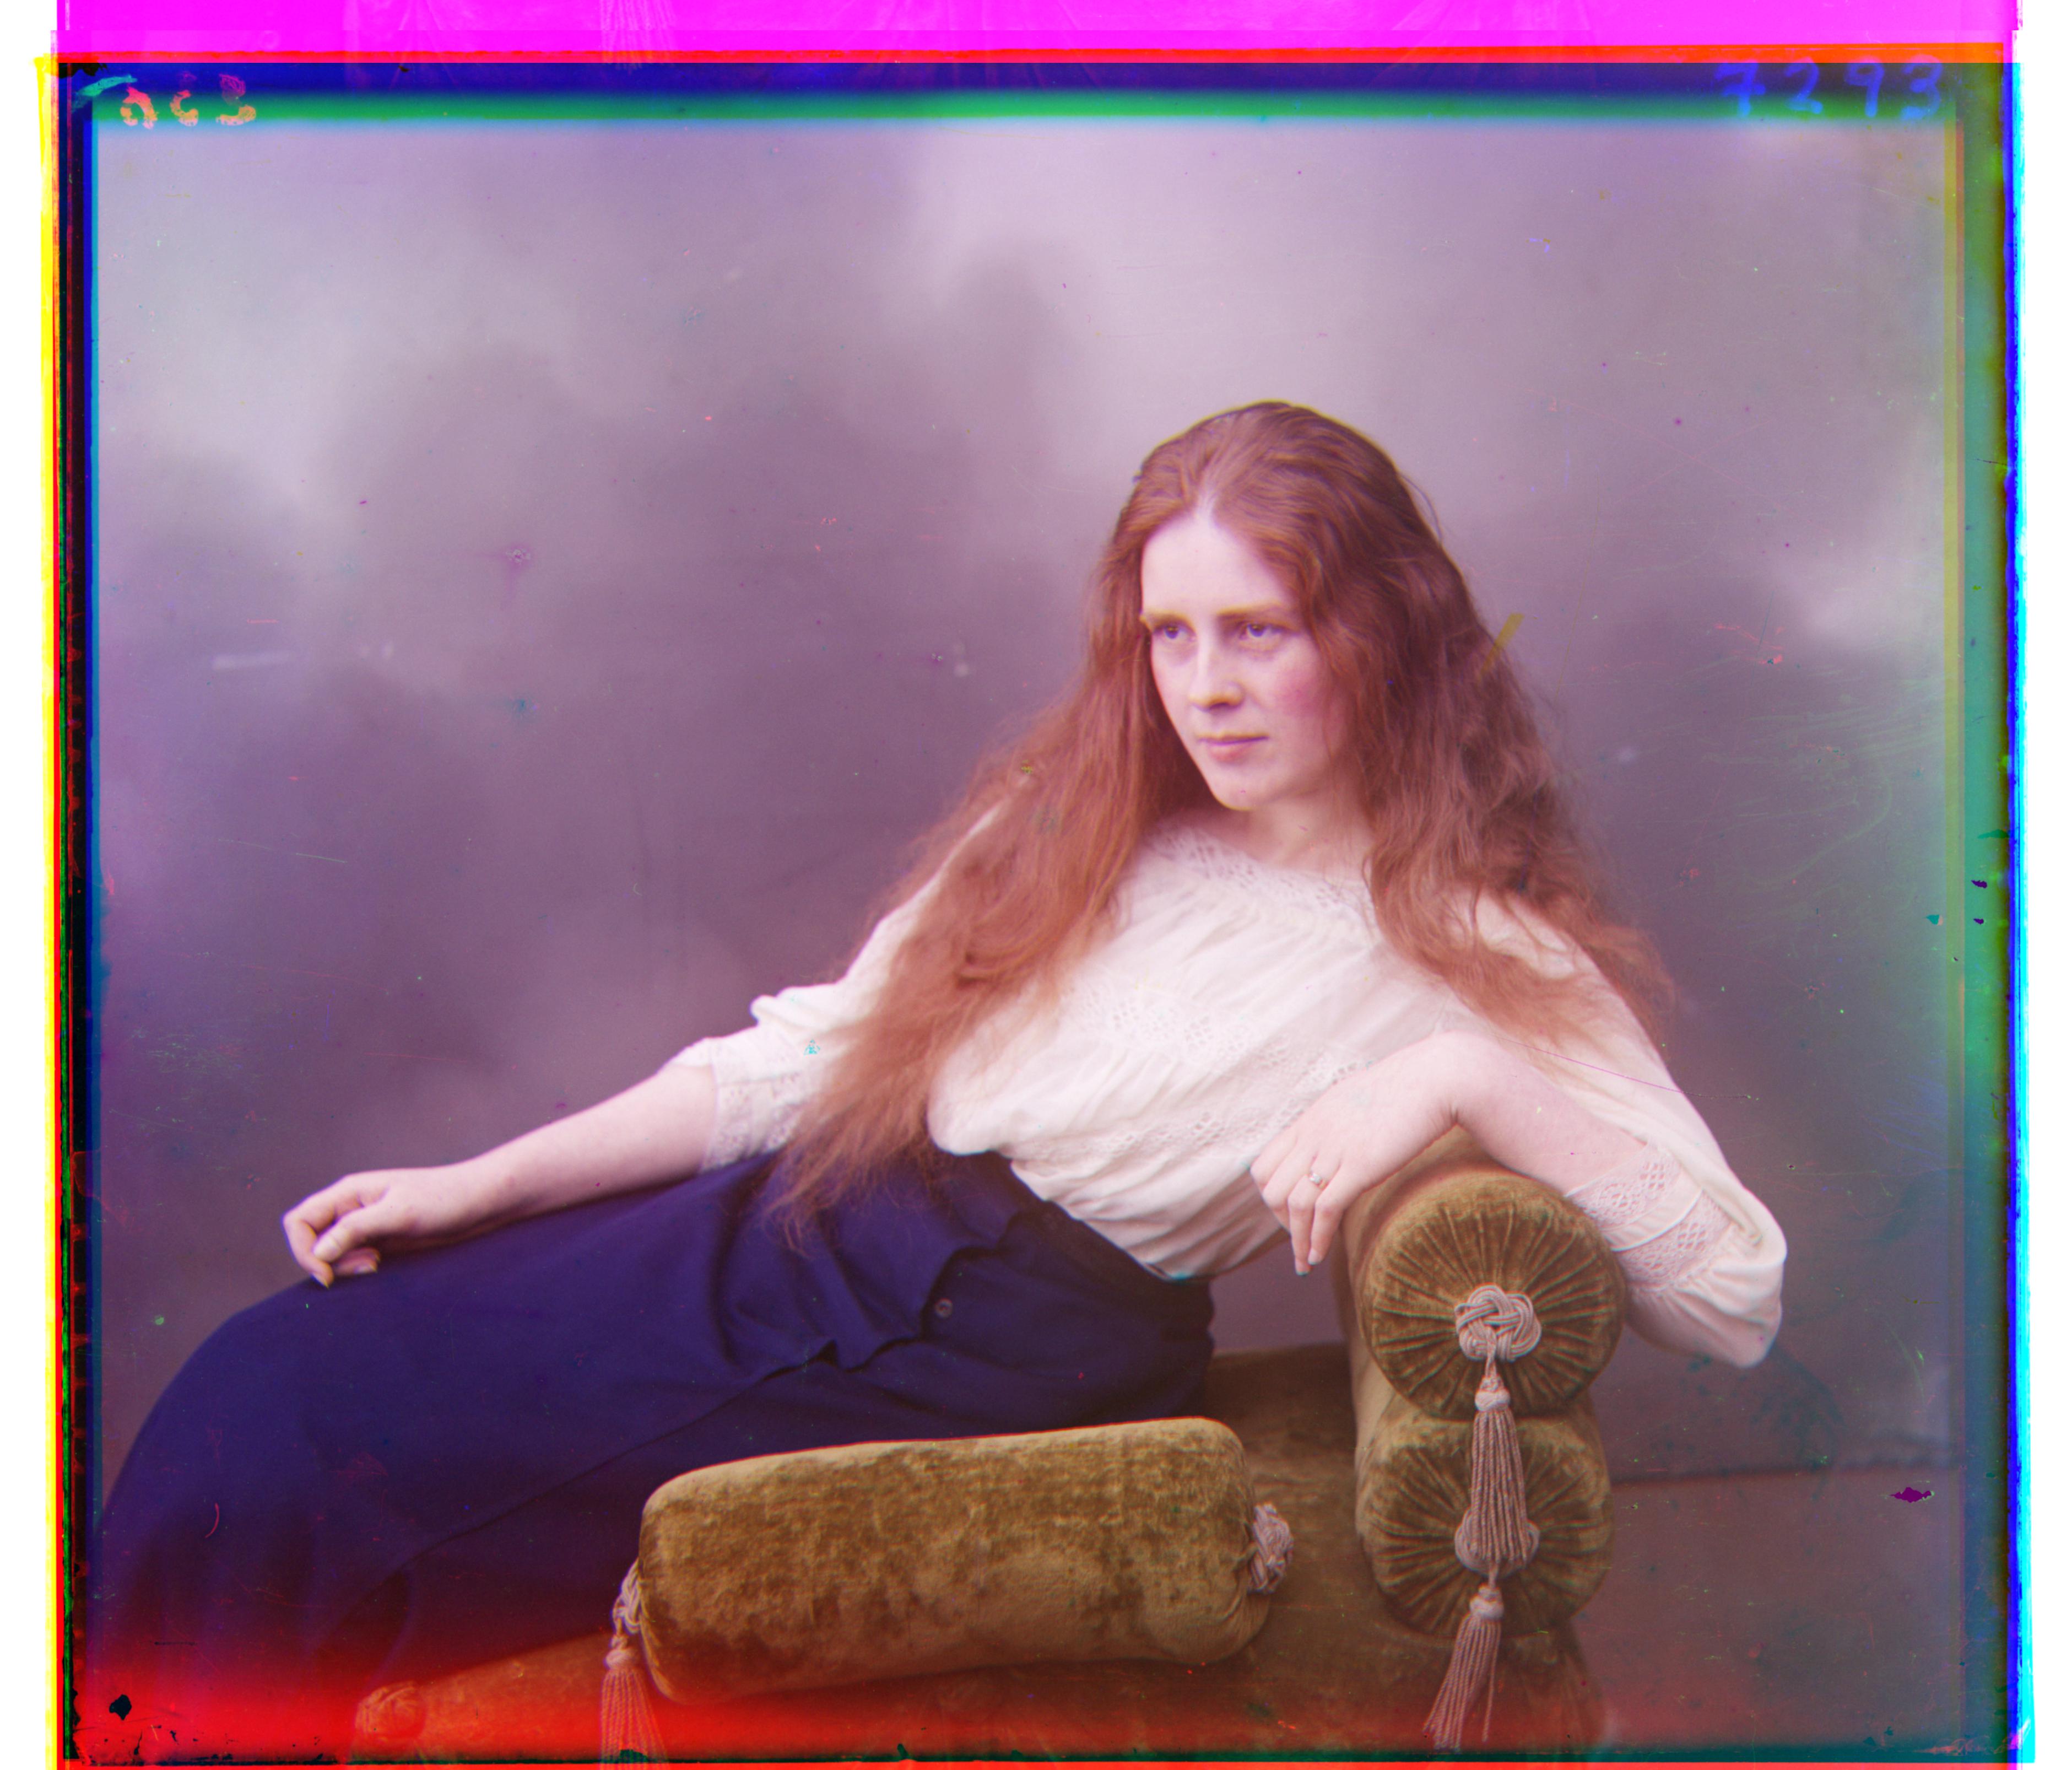
lady.tif
Green: (+9,+55)
Red: (+12,+114)
Time: 20.69s
self_portrait.tif
Green: (+29,+78)
Red: (+37,+176)
Time: 22.17s
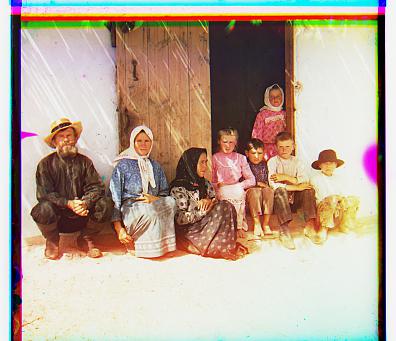
three_generations.tif
Green: (+14,+52)
Red: (+12,+111)
Time: 21.02s
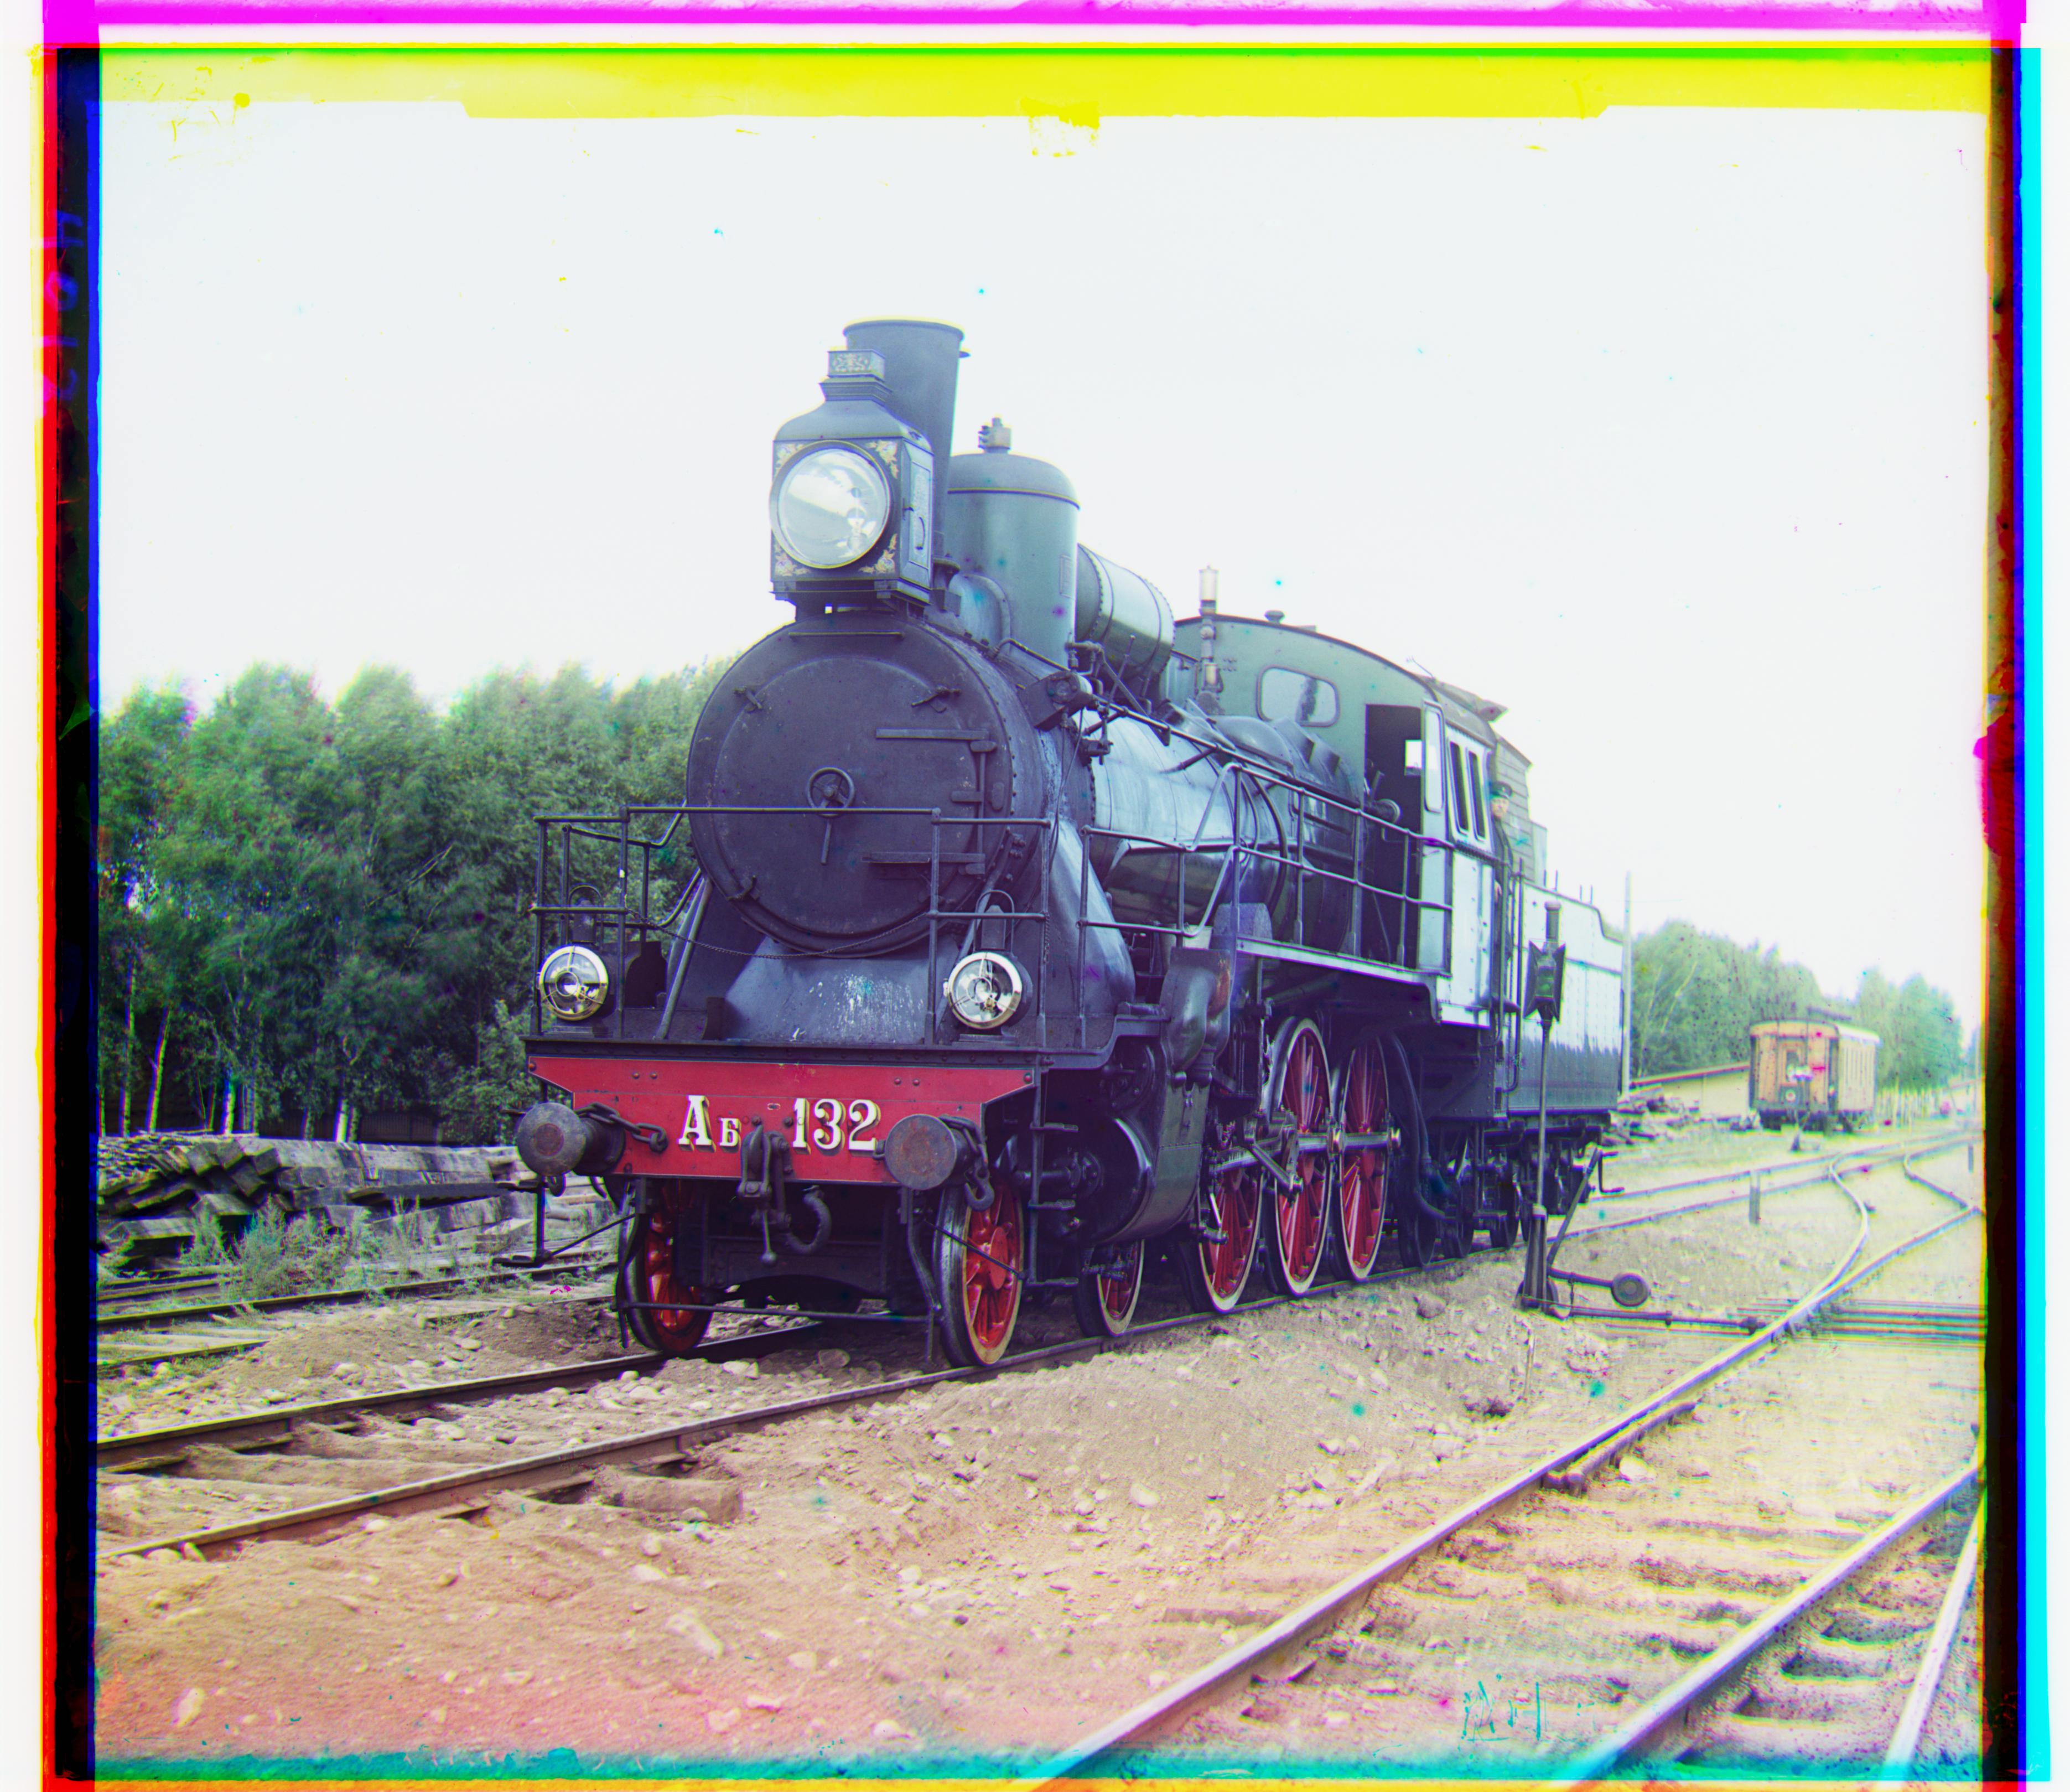
train.tif
Green: (+6,+42)
Red: (+32,+87)
Time: 21.98s
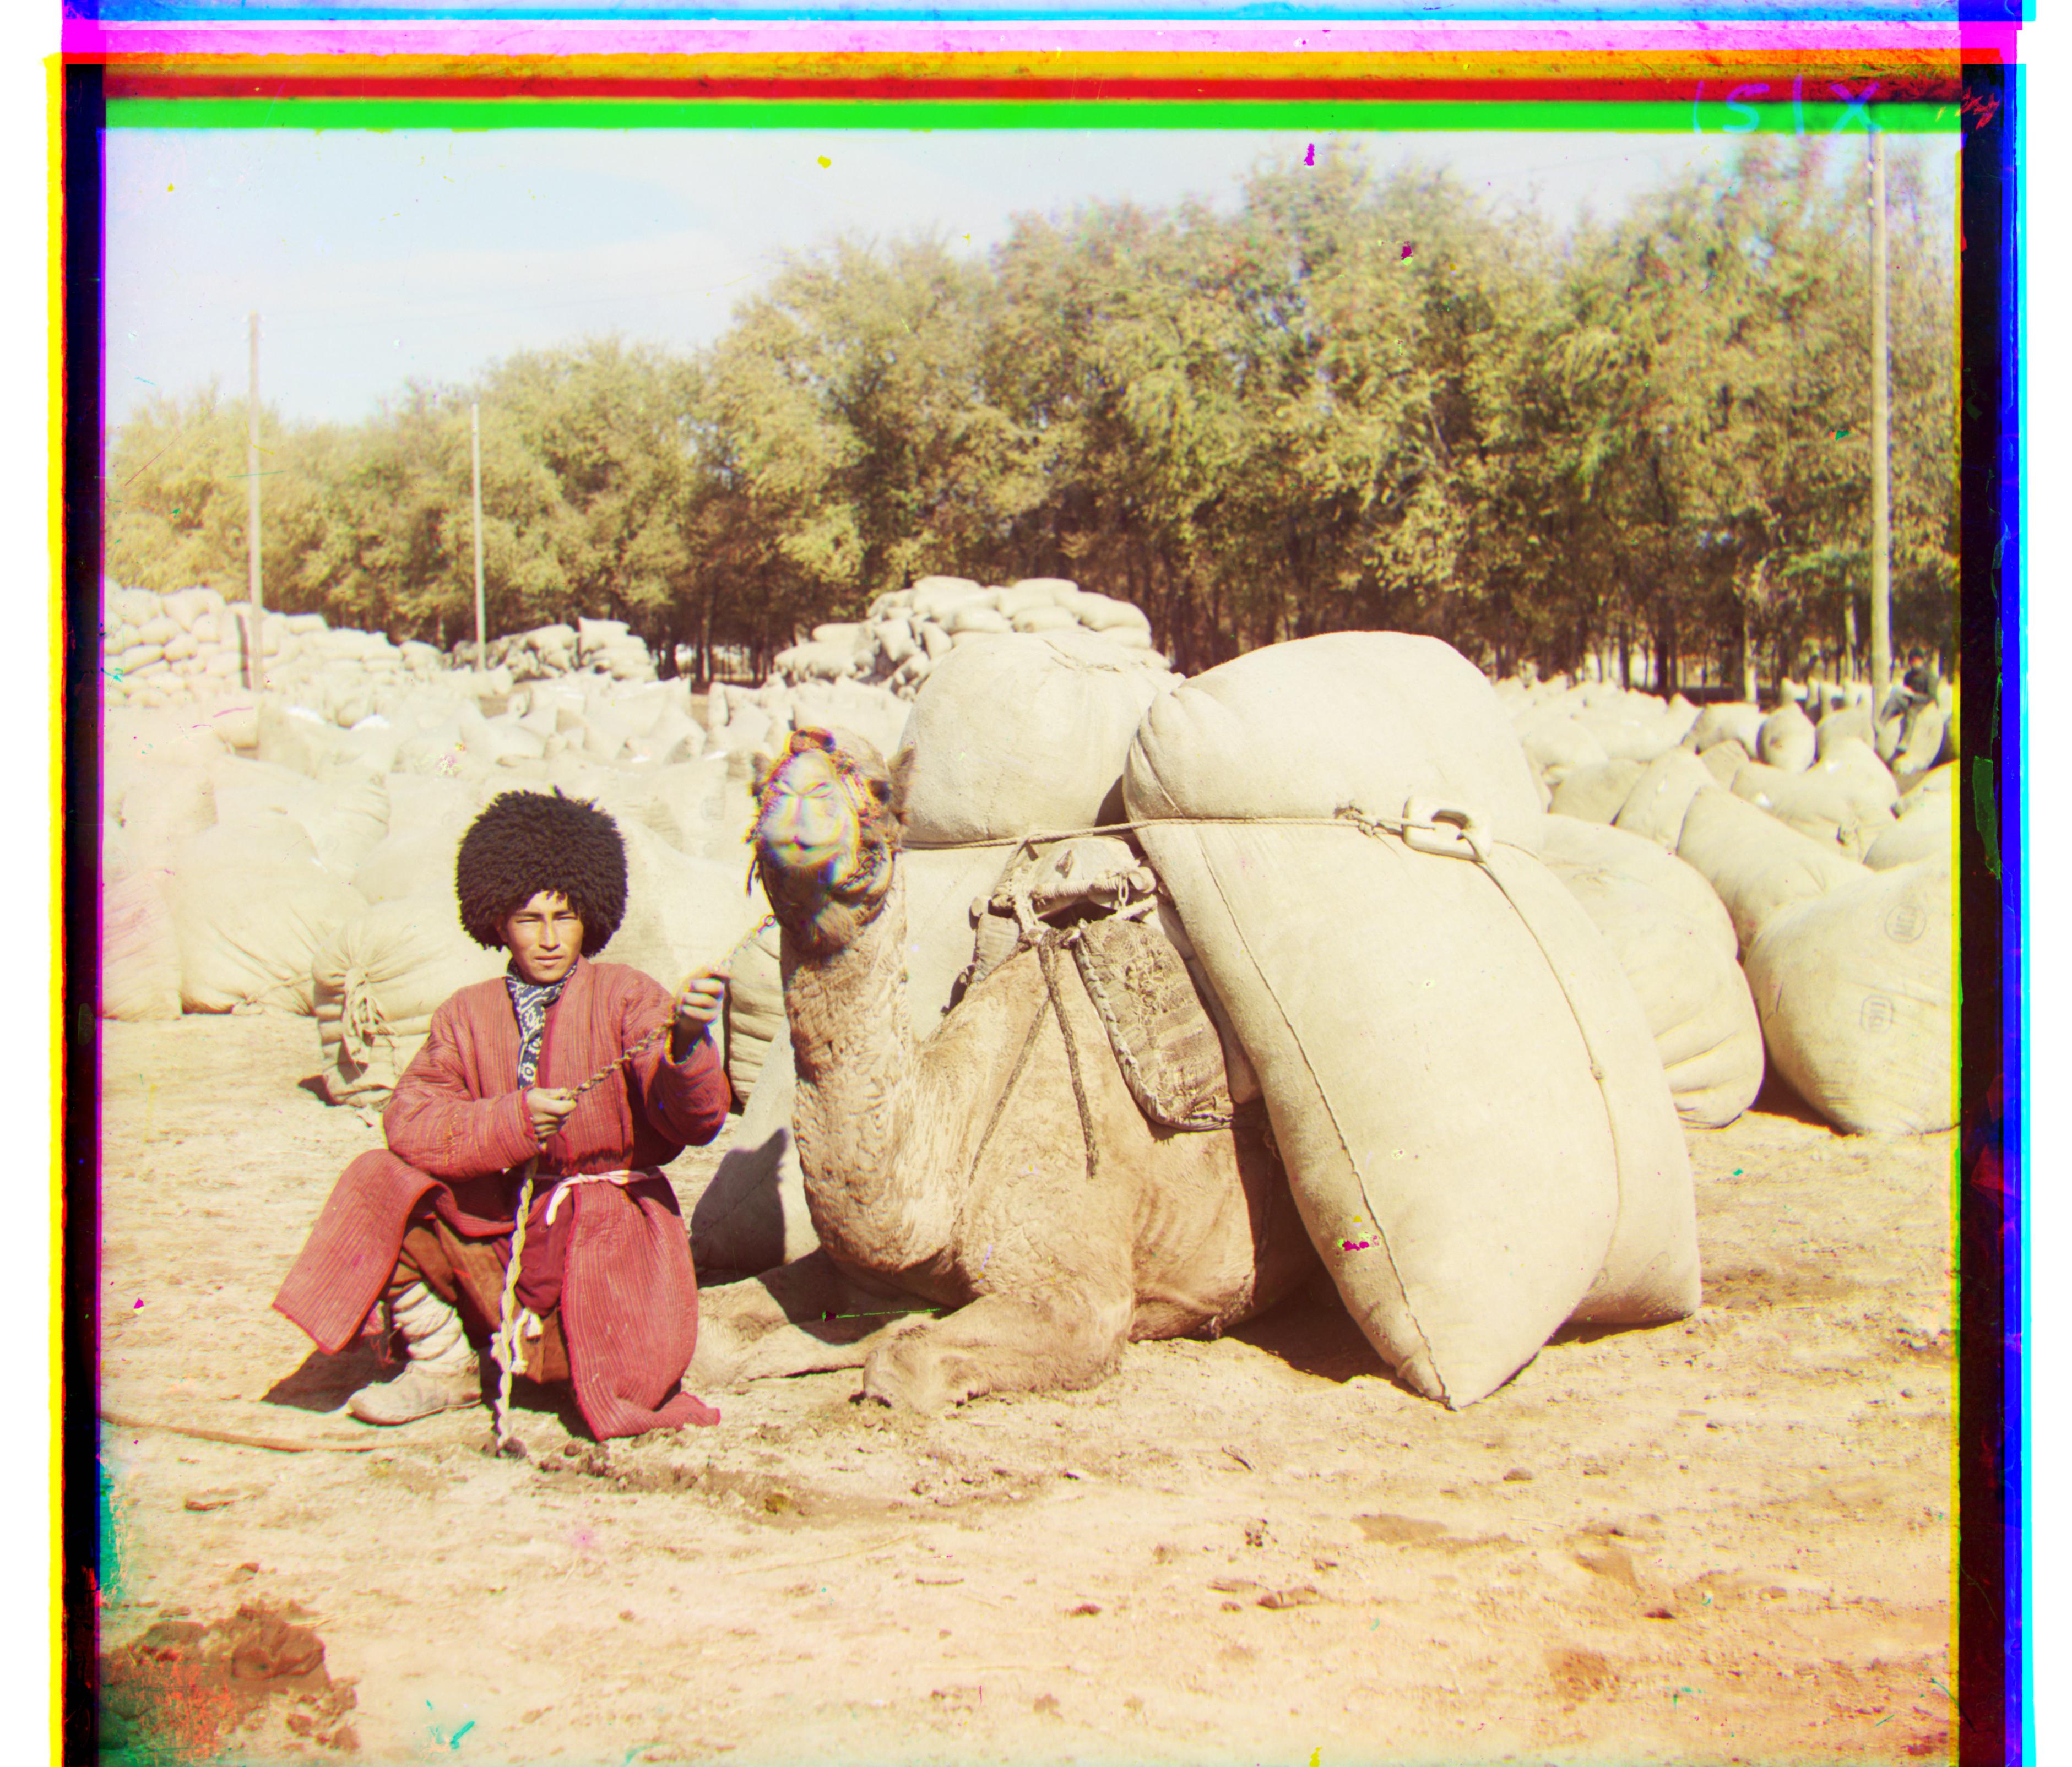
turkmen.tif
Green: (+21,+55)
Red: (+28,+116)
Time: 22.43s
village.tif
Green: (+12,+65)
Red: (+22,+137)
Time: 23.23s
Although the method worked for all other images, the emir.tif image wasn't working correctly. As the spec mentions, this is probably because the brightness values were different. To solve this issue, I tried to align on a different color. Because there wasn't as big of an issue with brightness values, the image aligned correctly.
Blue: (-24,-49), Red: (17,57), Time: 20.65s
 emir.tif
 emir.tif, aligned on blue
 emir.tif, aligned on green
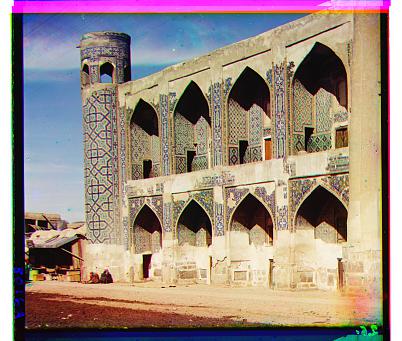
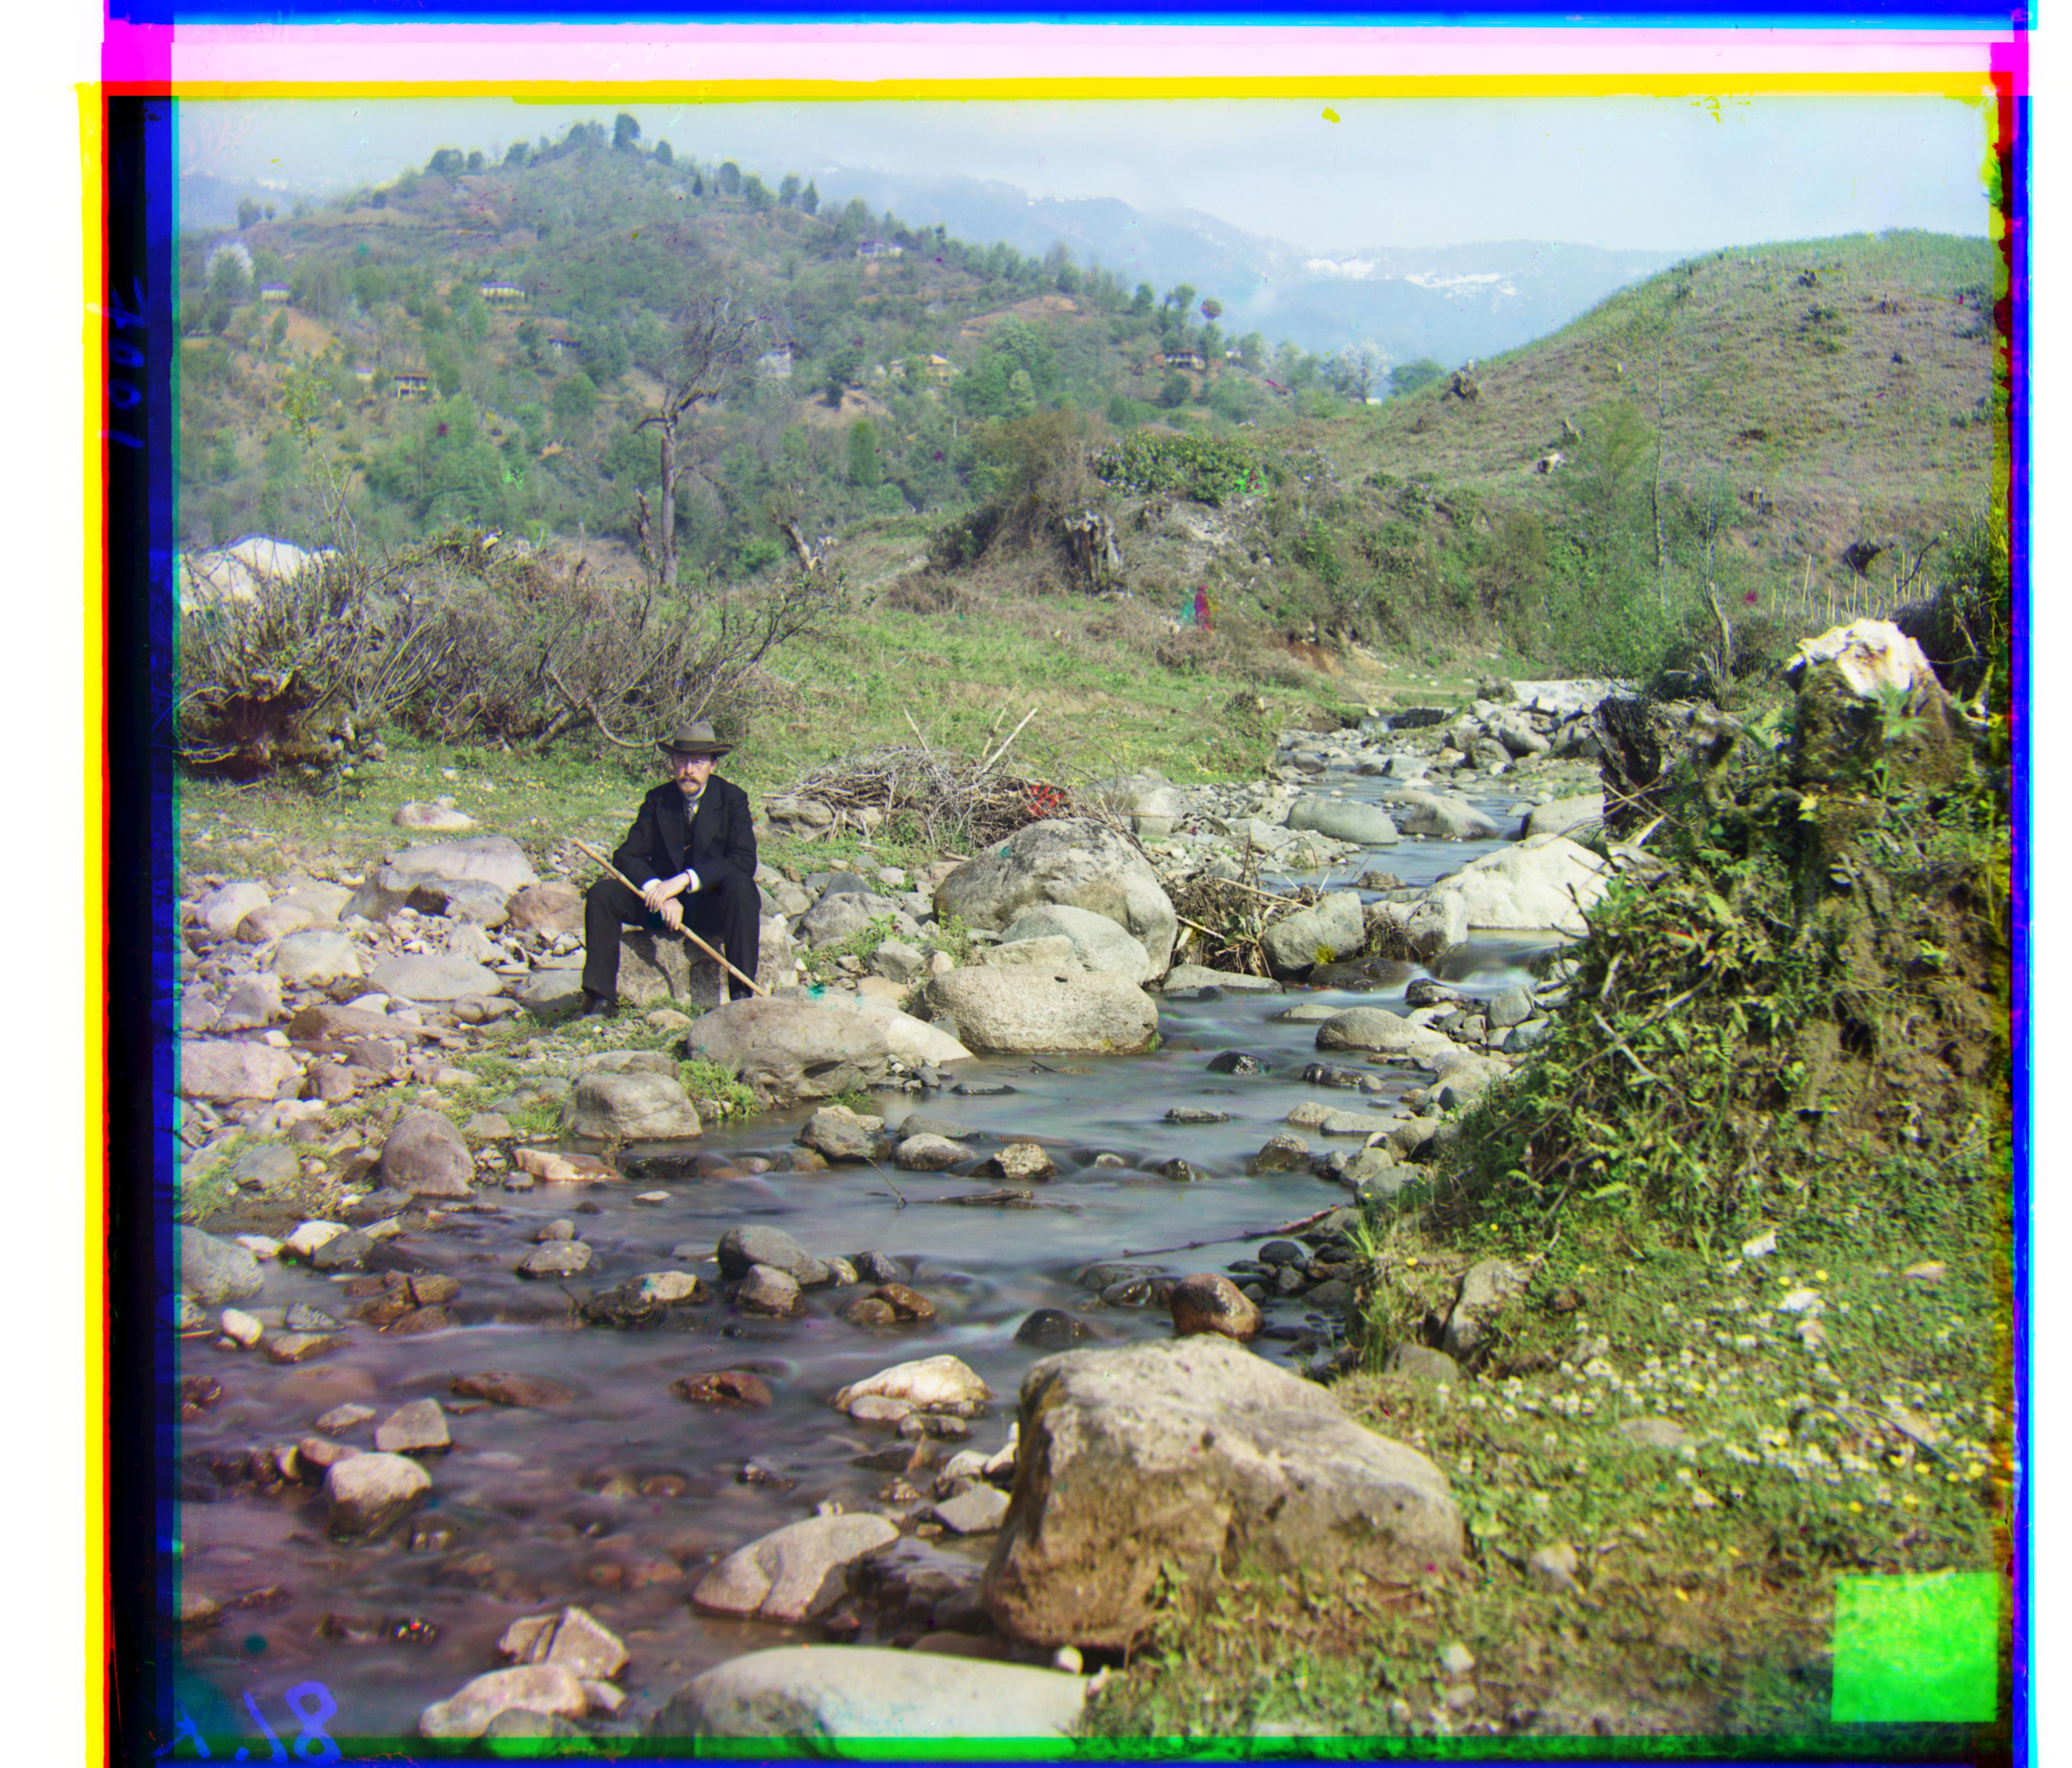
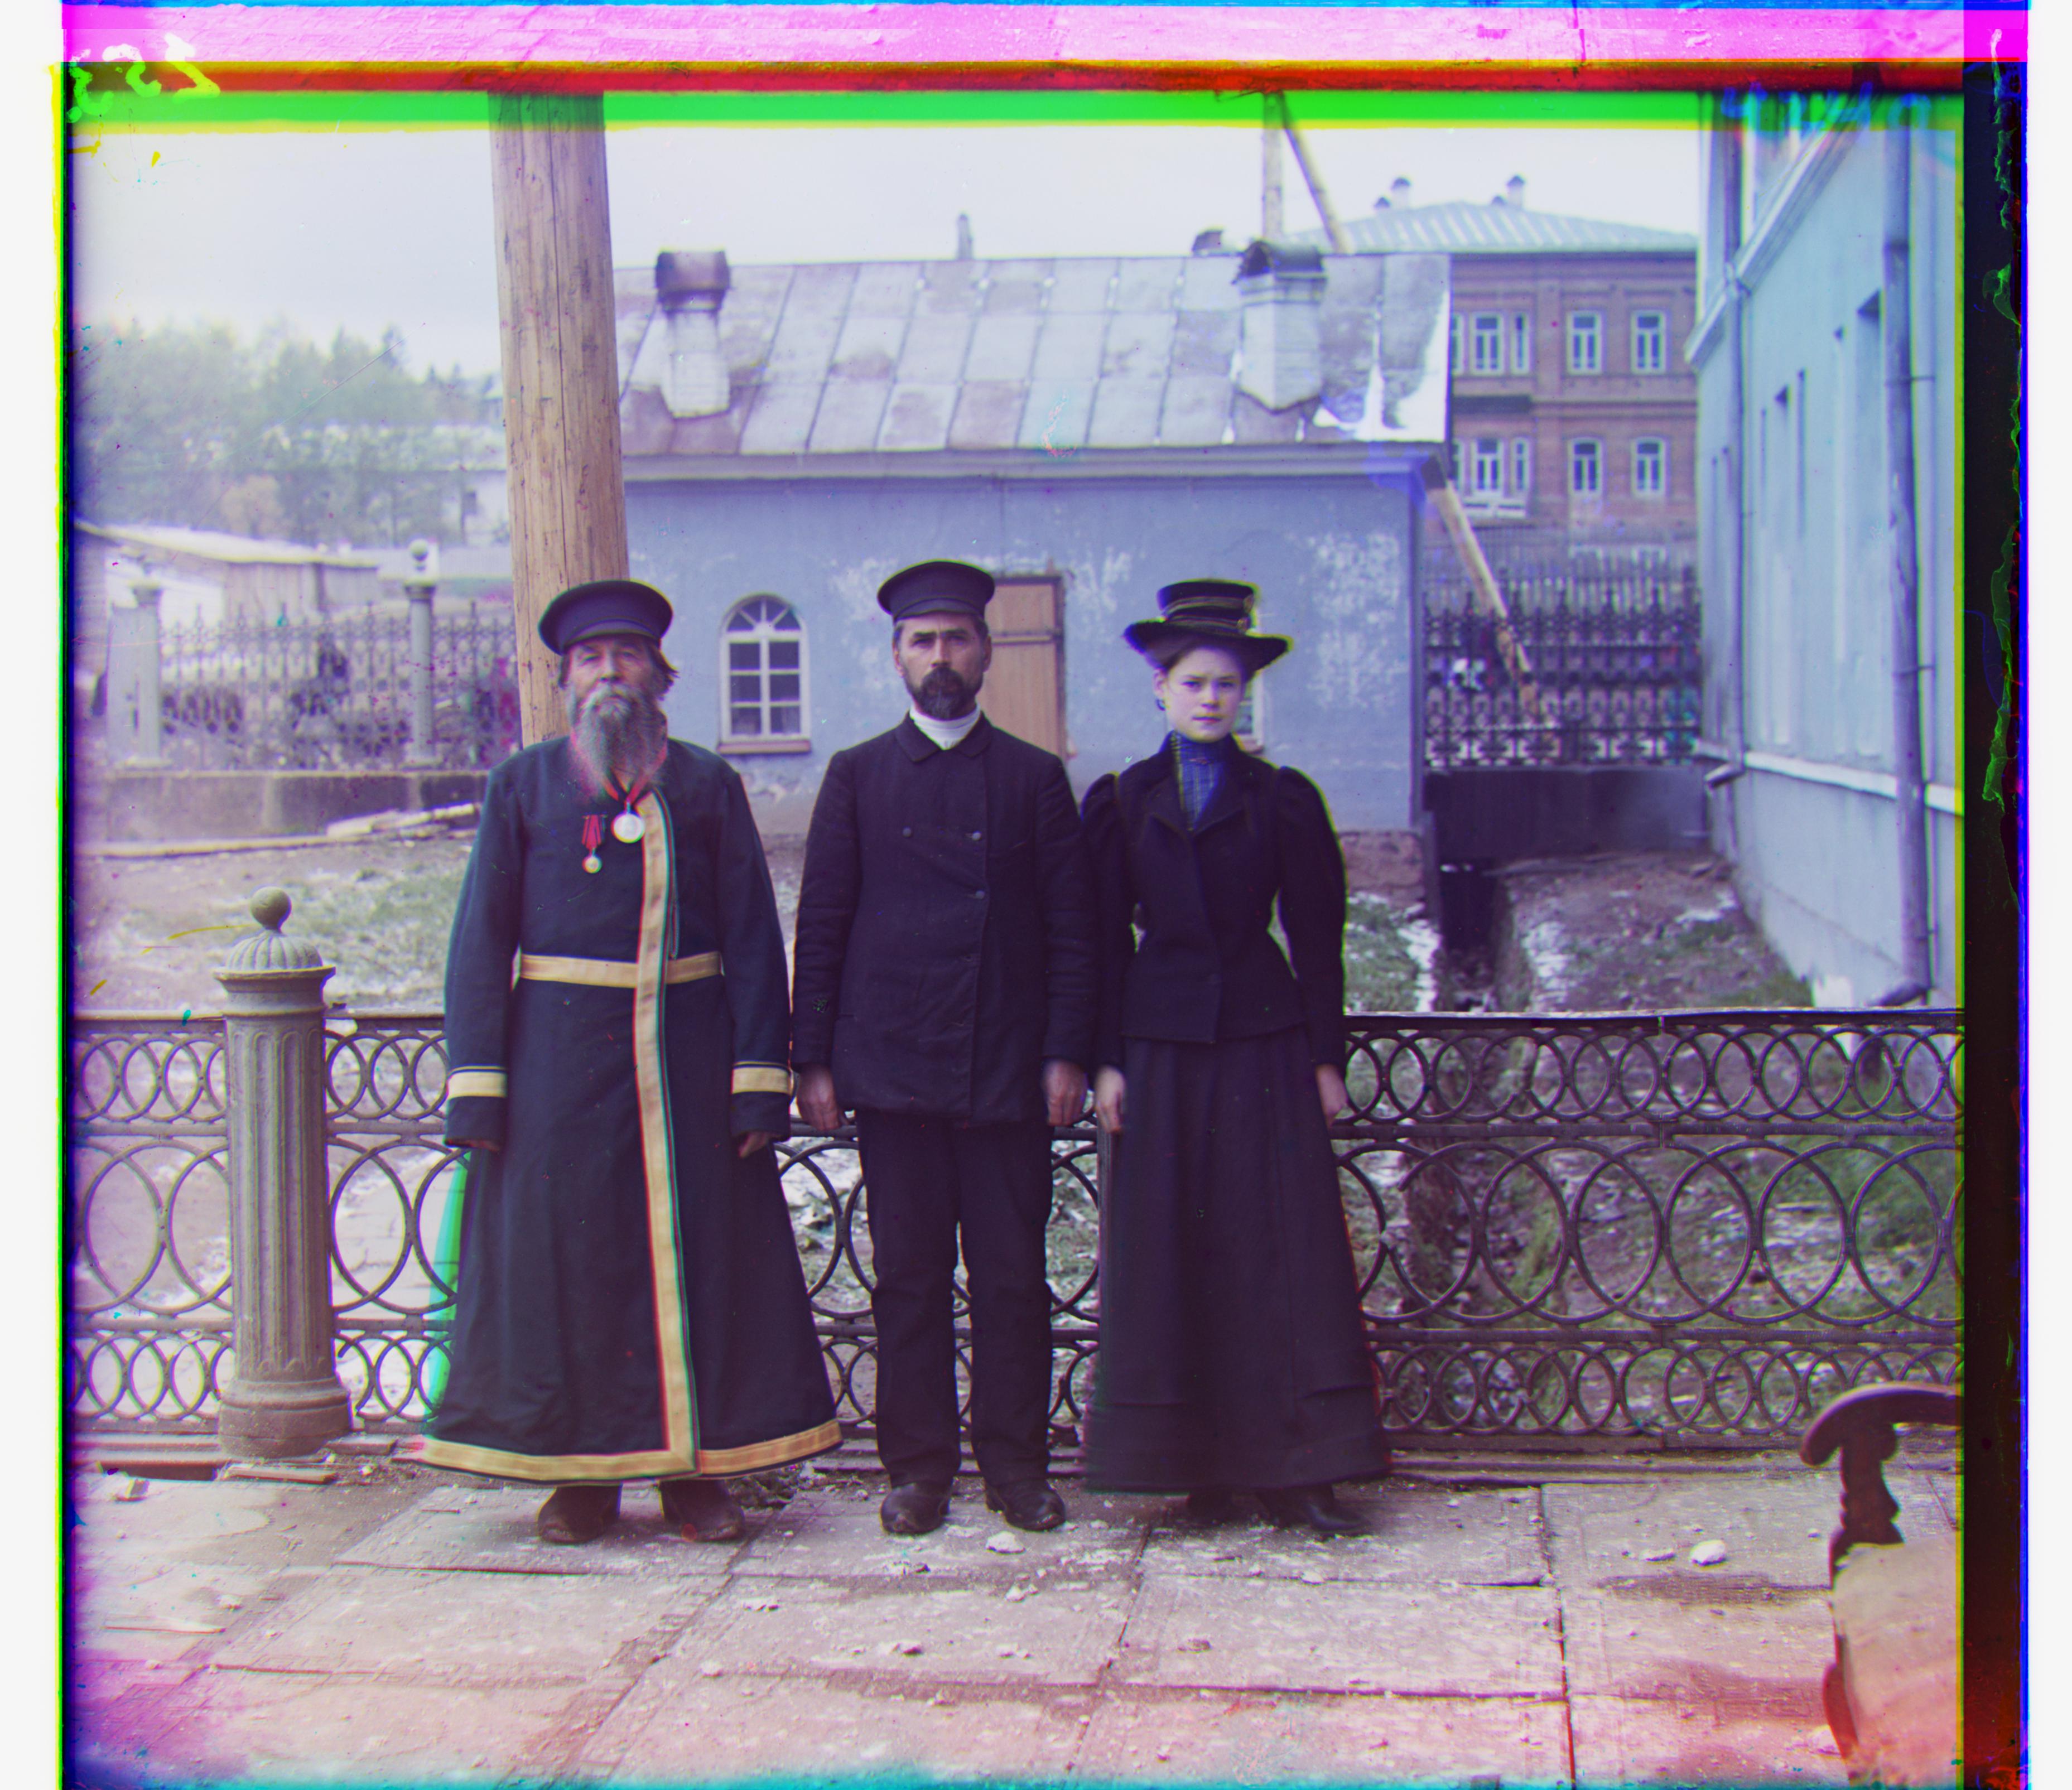
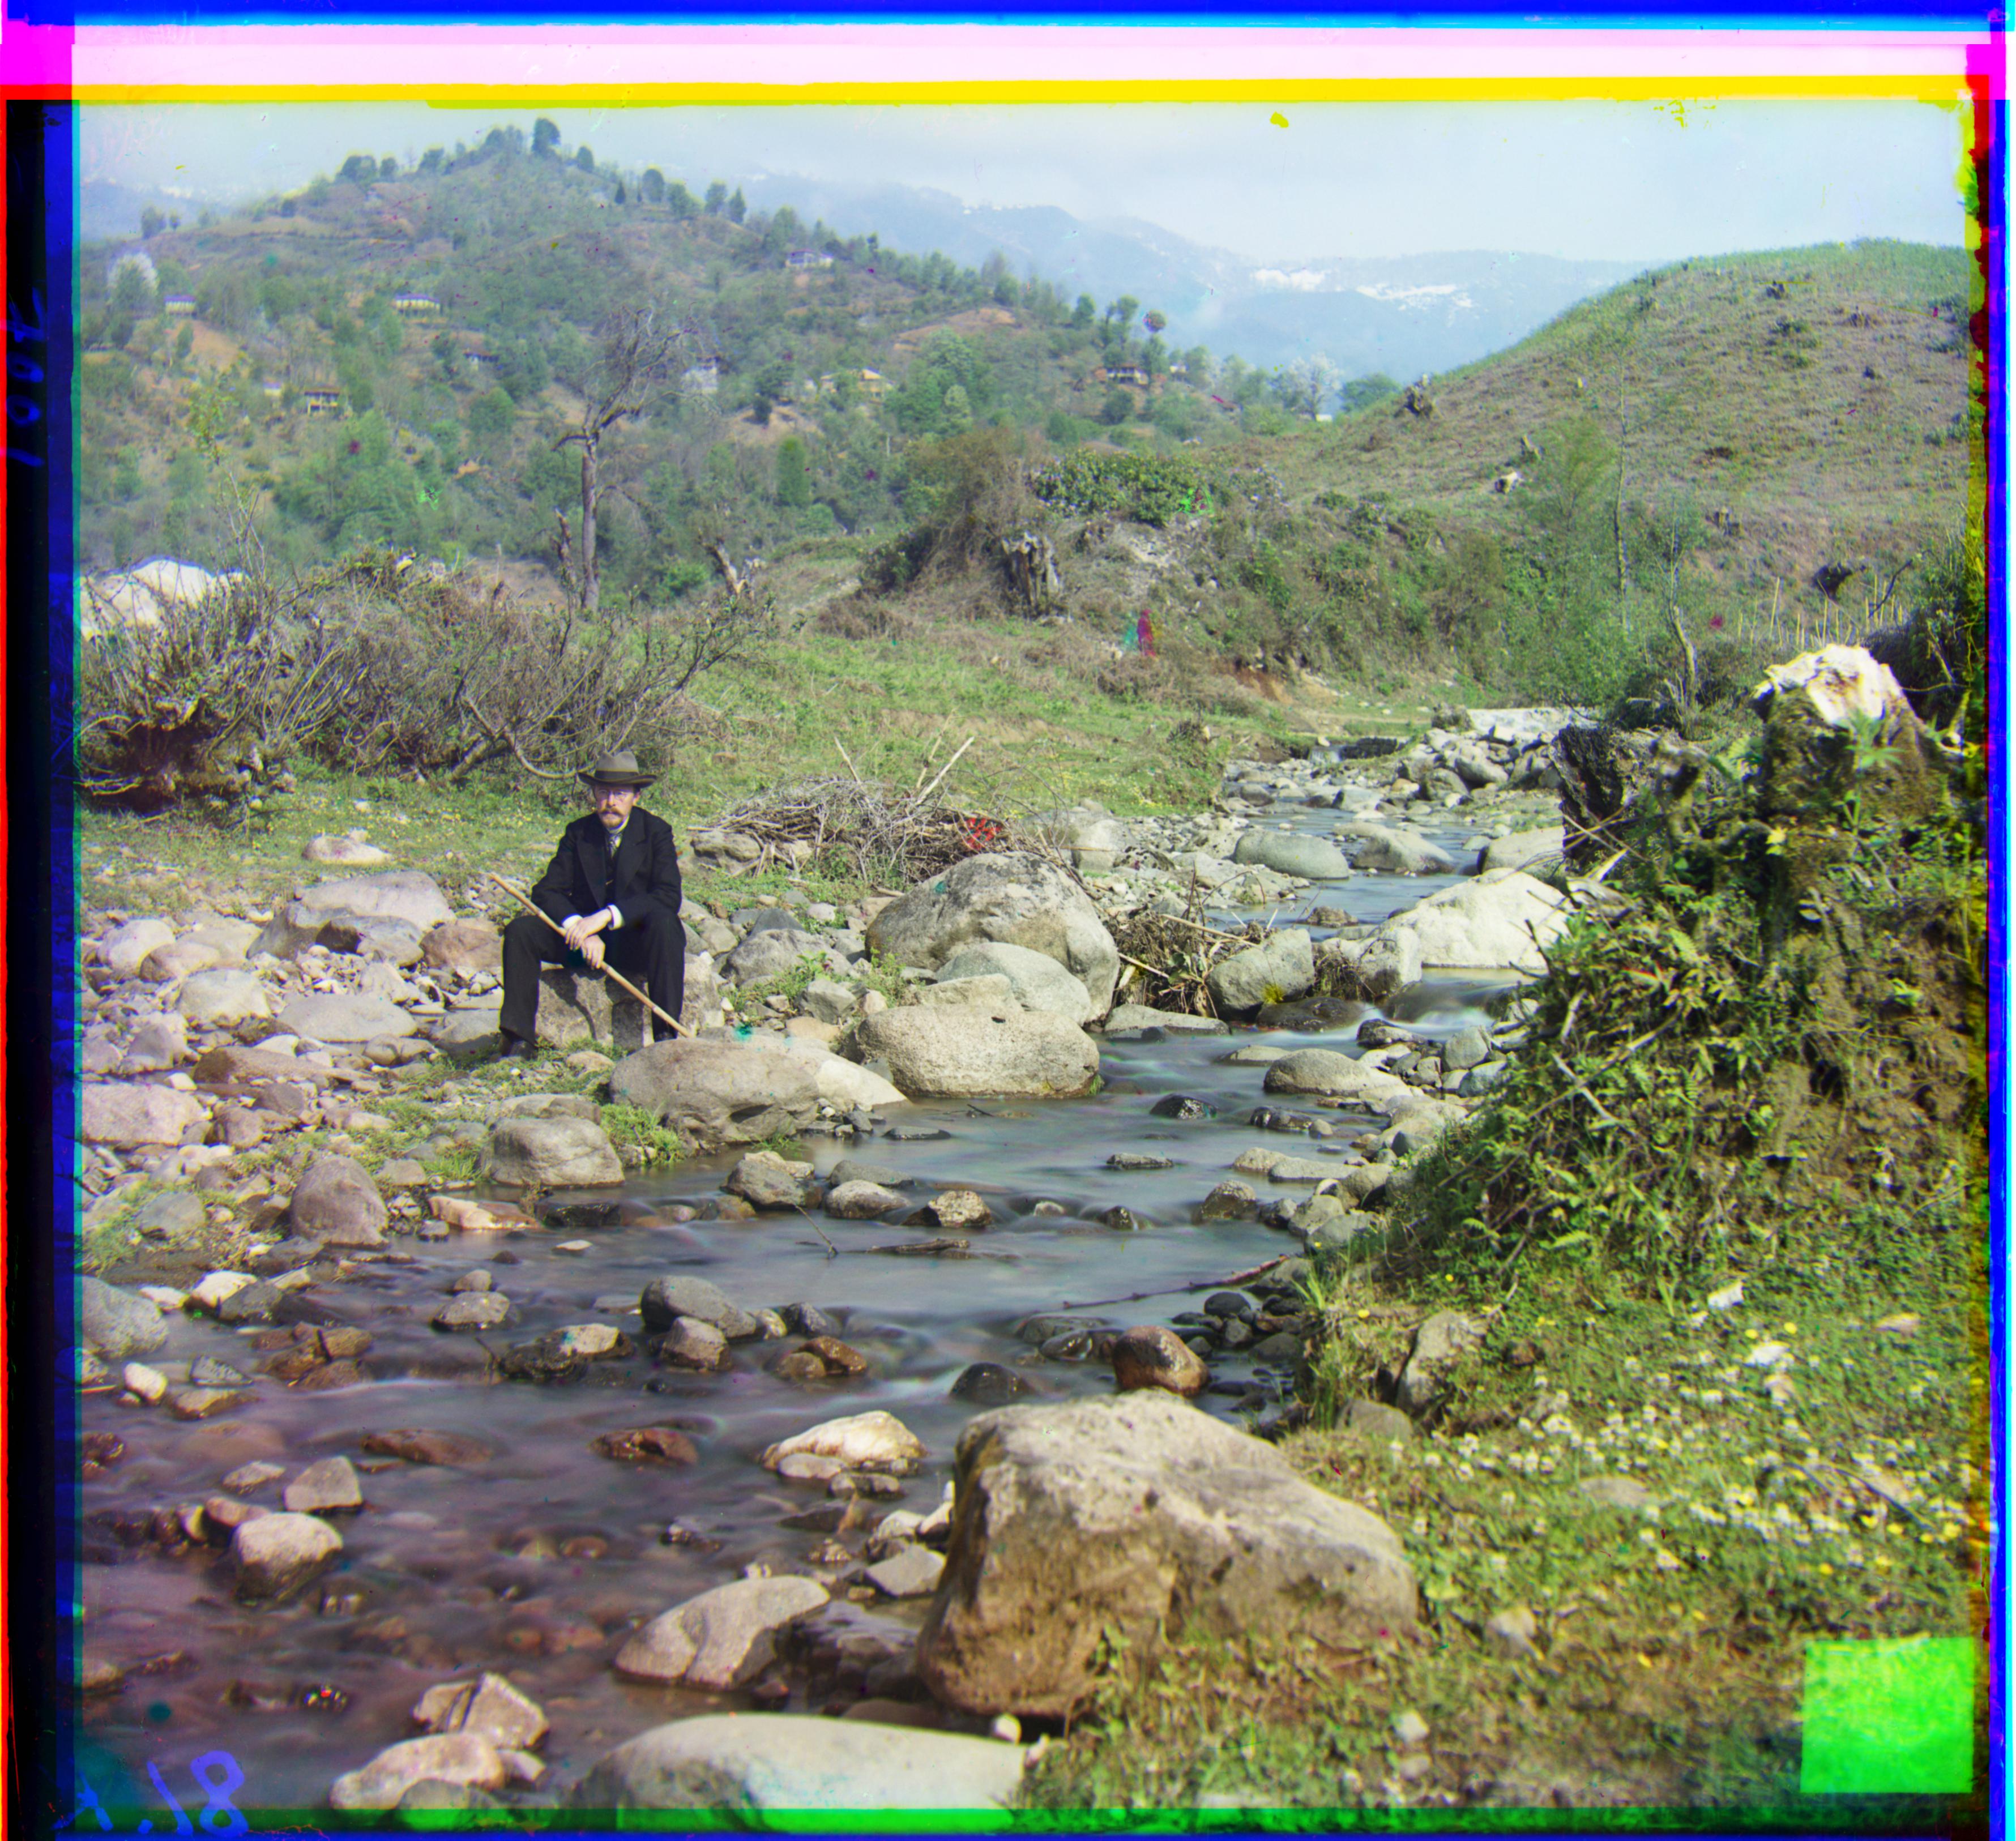
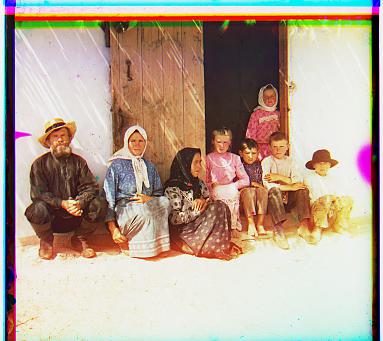
Below we can see the process executed on other images in the collection. To view original source, hover over the photo. Note: image names were made up by me
There is a noticeable white border on the left and right of almost all the images. I aimed to remove these borders. In order to do this, I added up all the columns for all three images, once aligned. Since the white columns would have much larger pixel values, the summed values would be noticeable higher than the rest of the image.
The results can be seen below. The black border around the image shows the cropped white borders.
No Cropping
 With Cropping
No Cropping
With Cropping
No Cropping
 With Cropping