Project 1: Aligning Images of the Russian Empire
Utkarsh Singhal
Introduction
The goal of this project is to recover color photographs from the glass plates made by Sergei Mikhailovich Prokudin-Gorskii in early 1900s. Each 'photograph' consists of three sections of a glass plate, each containing information about a different color channel of the image. To get to the true photograph, one has to separate these sections, crop them, align them, and then remove distortions and artifacts. Traditionally, these tasks require experienced artists, but it is possible to use computer vision algorithms to make the job easier. My approach for this problem finds the perfect alignment between these R,G,B images by minimizing a correlation function between the images. To optimize for speed, I used a multi-scale search on a gaussian image pyramid. I further explored the usefulness of features like edges for this alignment, along with some post-processing methods to automatically crop, white-balance, and sharpen the photo properly. Finally, I tried to use a variant of Anisotropic Diffusion to get rid of monochromatic speckles accumulated by the glass plates.
Basic Alignment Method
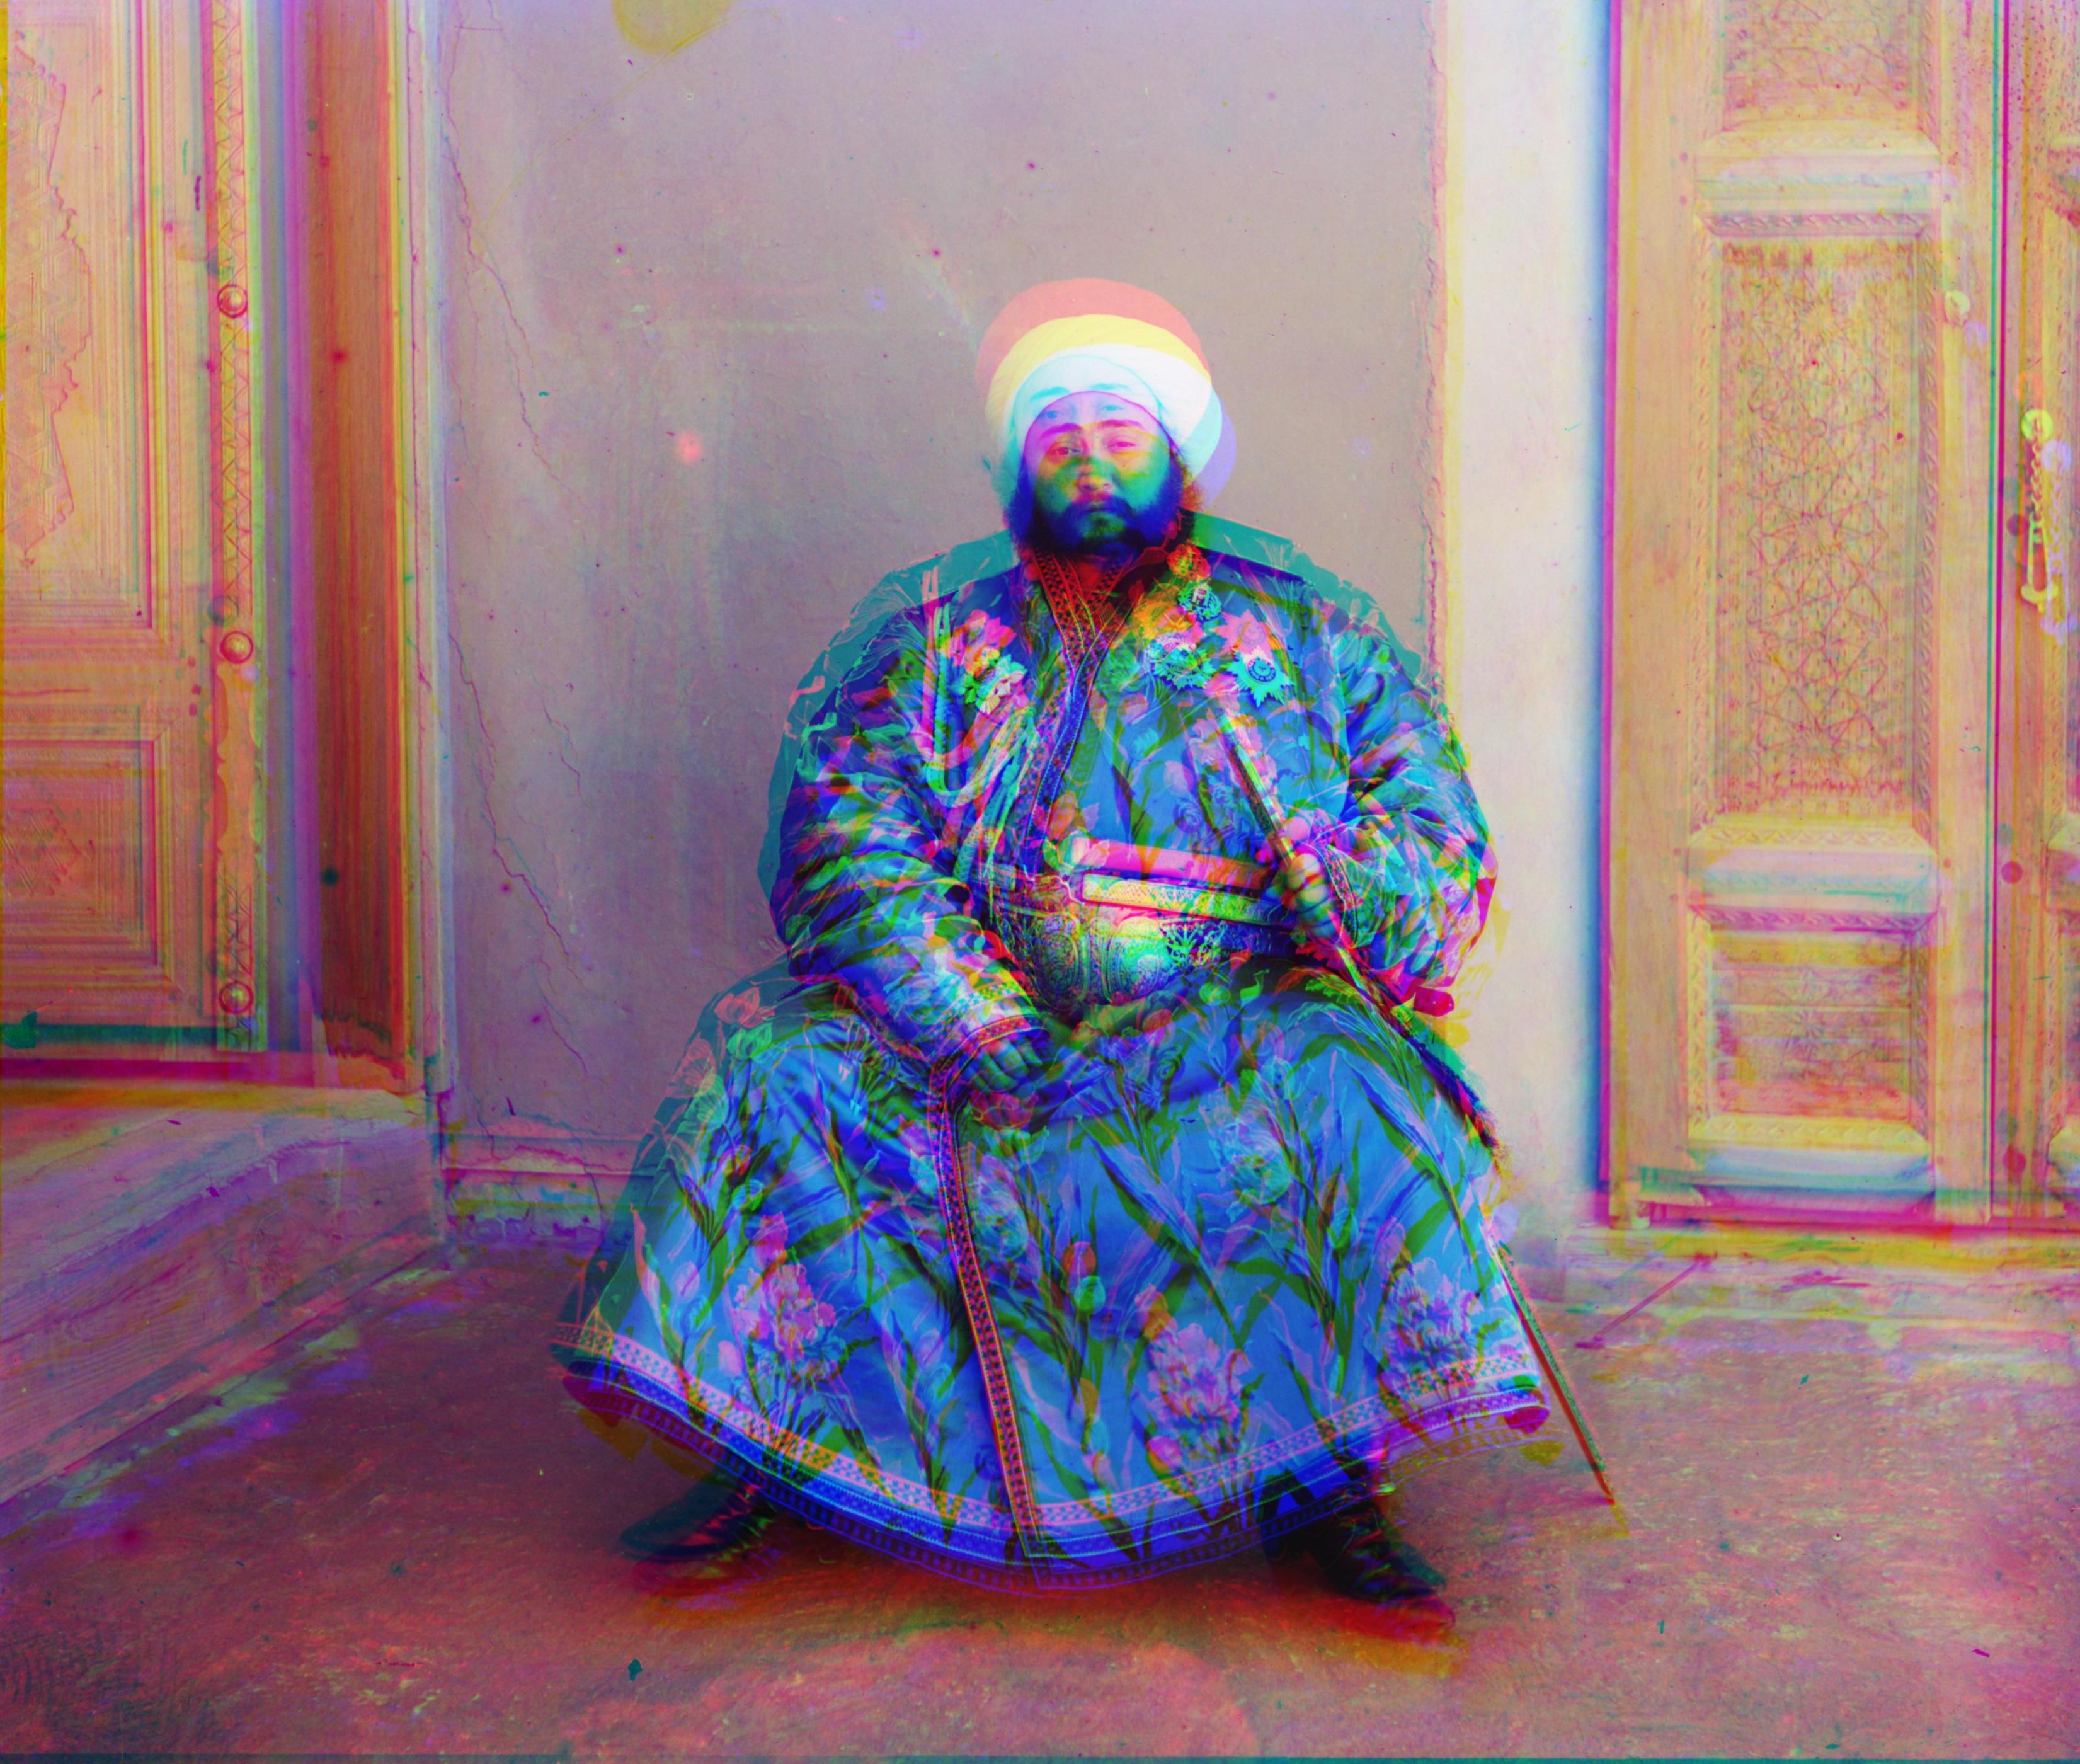
In order to align two images, I used exhaustive search to minimize a dissimilarity function. The objective function that my approach seeks to minimize with exhaustive search is a weighted version of NCC. To be precise, each image is weighted along each axis by sin(x) so that the areas in the middle are the brightest (and consequently more influential). Visually, the images being correlated look like:
This re-weighting helps the objective function focus on objects in the center, which helps the alignment tremendously as the subjects of these photographs tend to be in the center, and unwanted artifcats like borders and rotational misalignments tend to be away from the center. In fact, with this objective function, one doesn't even need to crop the images before alignment. As demonstrated in the Bells and Whistles section, this also lets us speed up the alignment significantly as up to half the pixels can be safely discarded. For these reasons, as well as all-round performance, I decided to just go with sine-NCC instead of SSD or NCC even though they tend to be faster. Since exhaustive search can be slow on big images, I used a multi-scale search to speed up the results. I experimented with different kinds of image pyramids, but found the result quality to be the same regardless.
Basic Alignment results
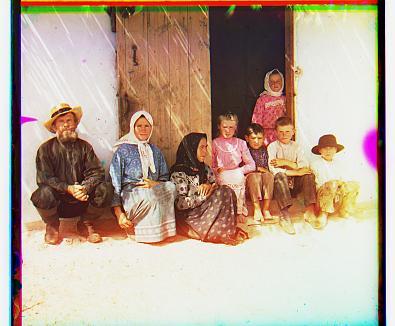
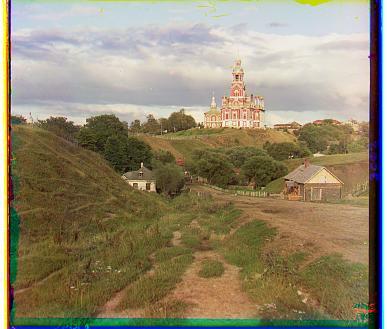
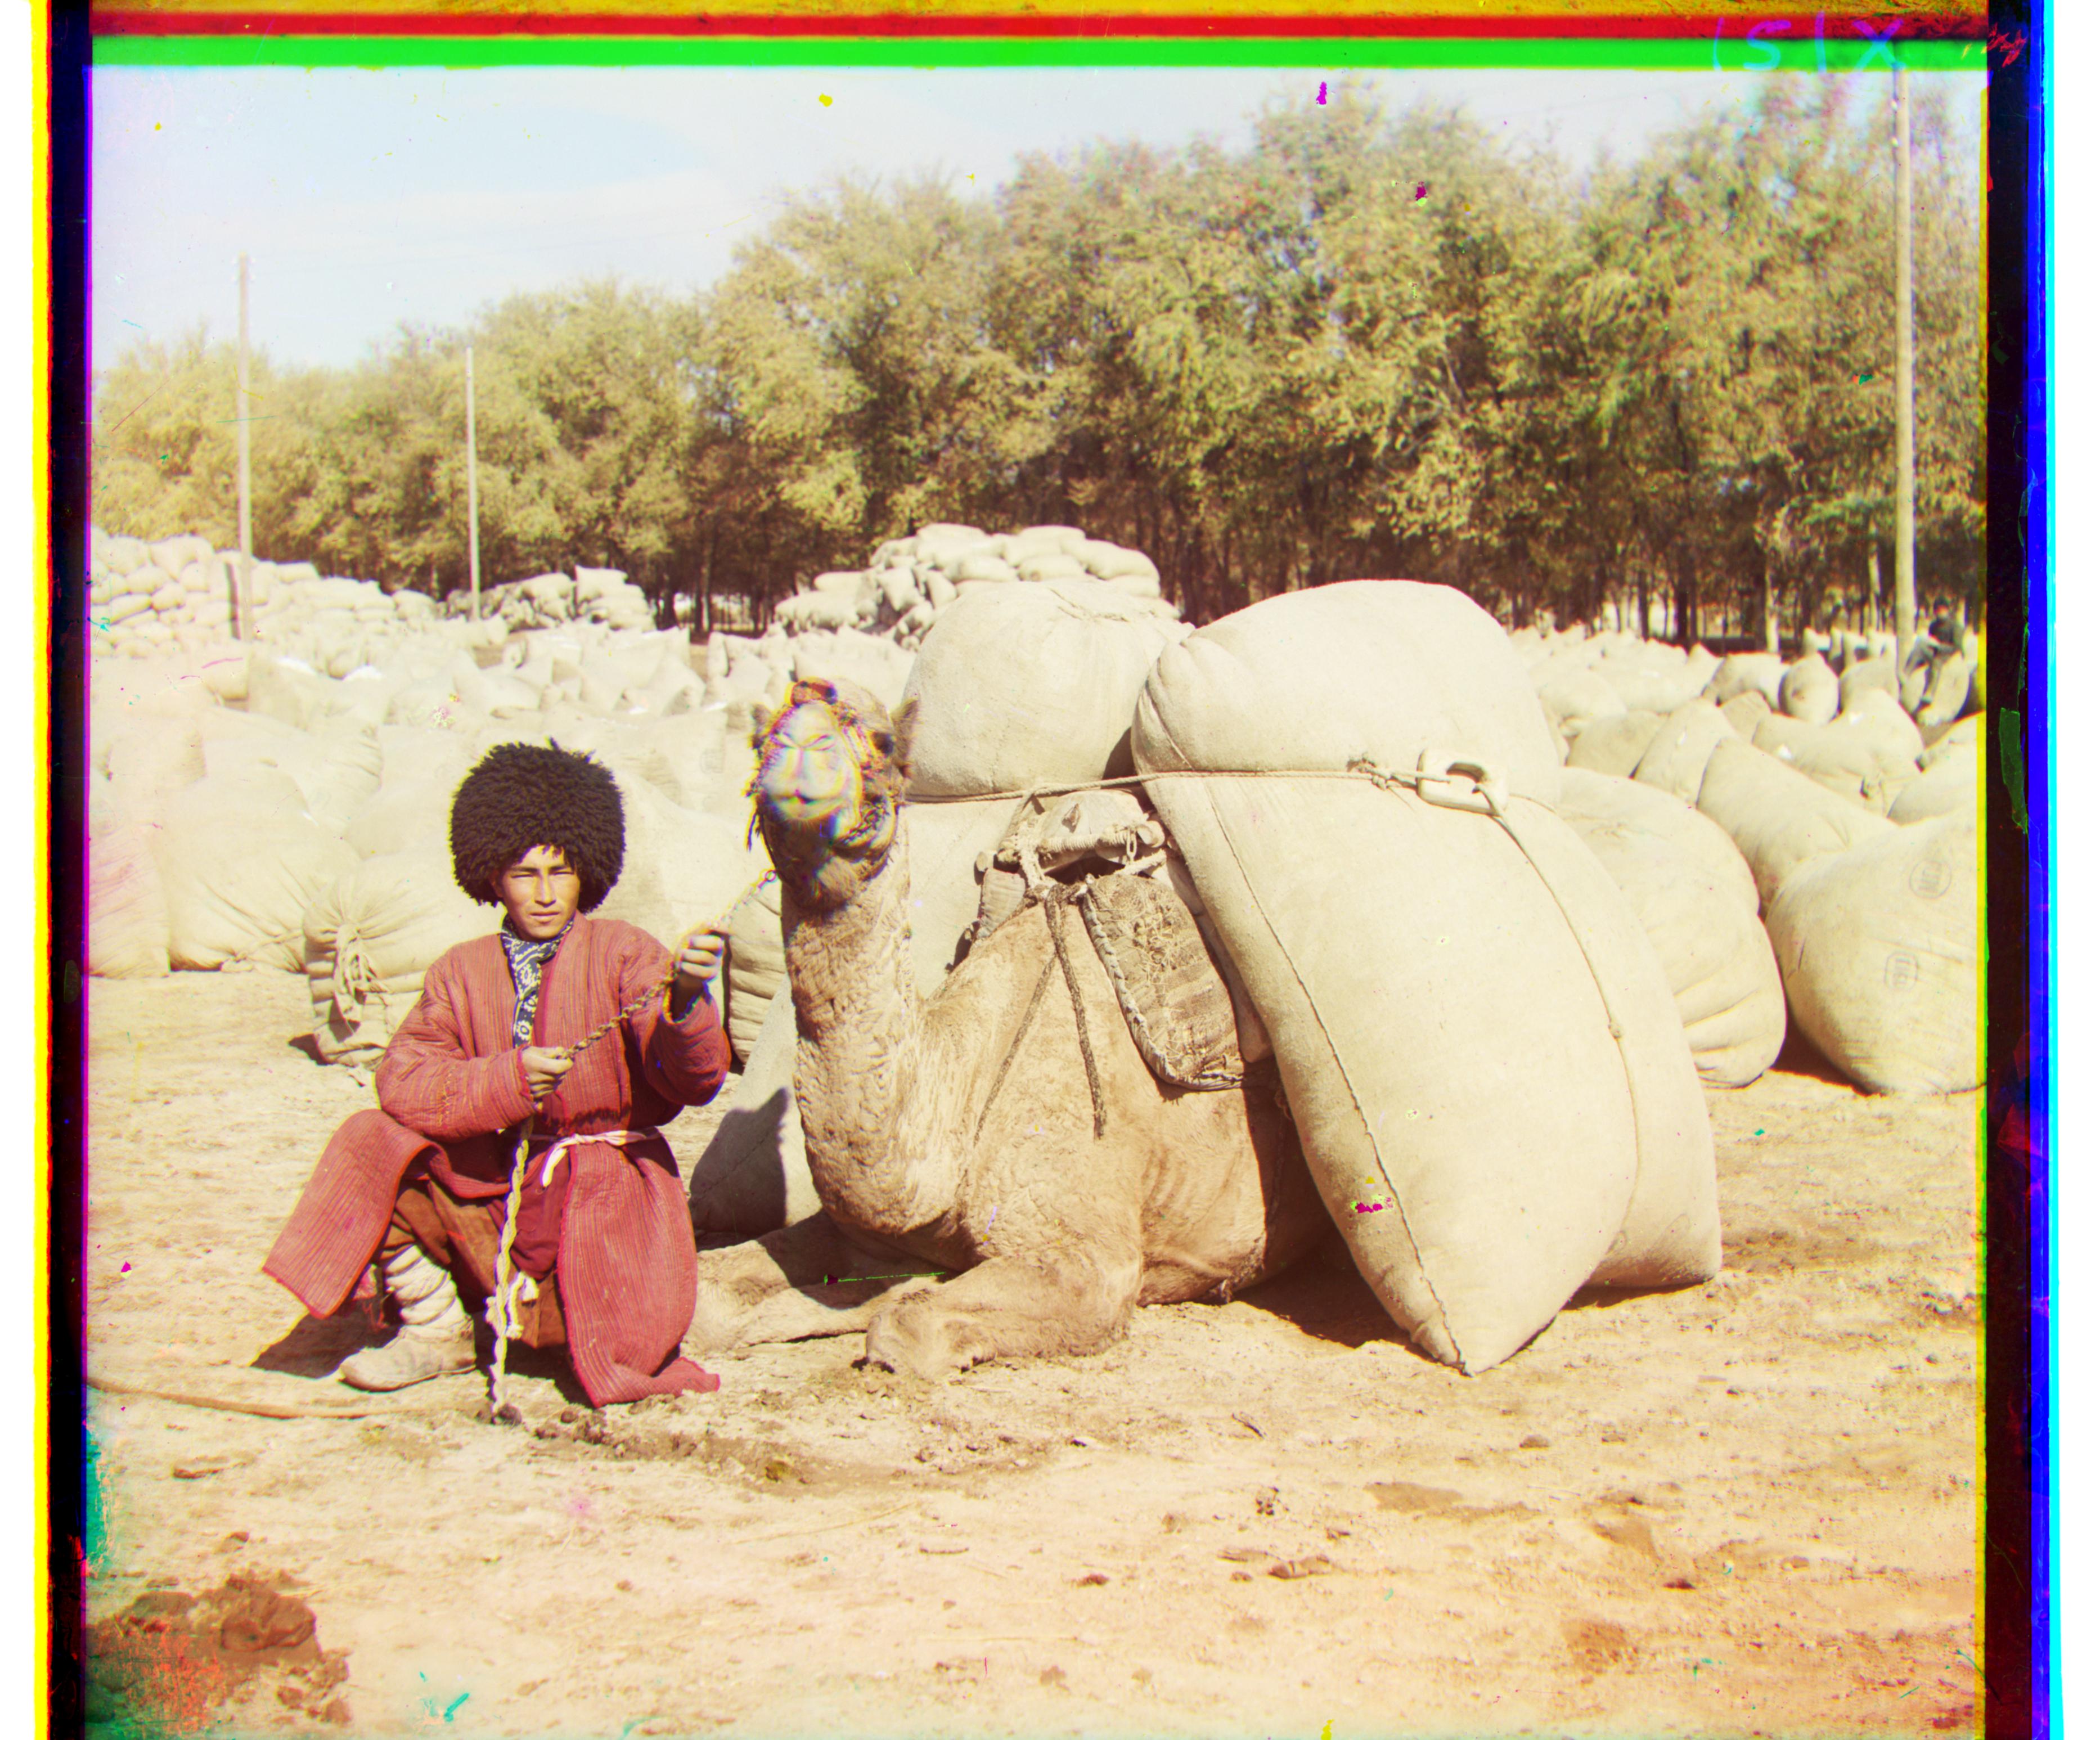
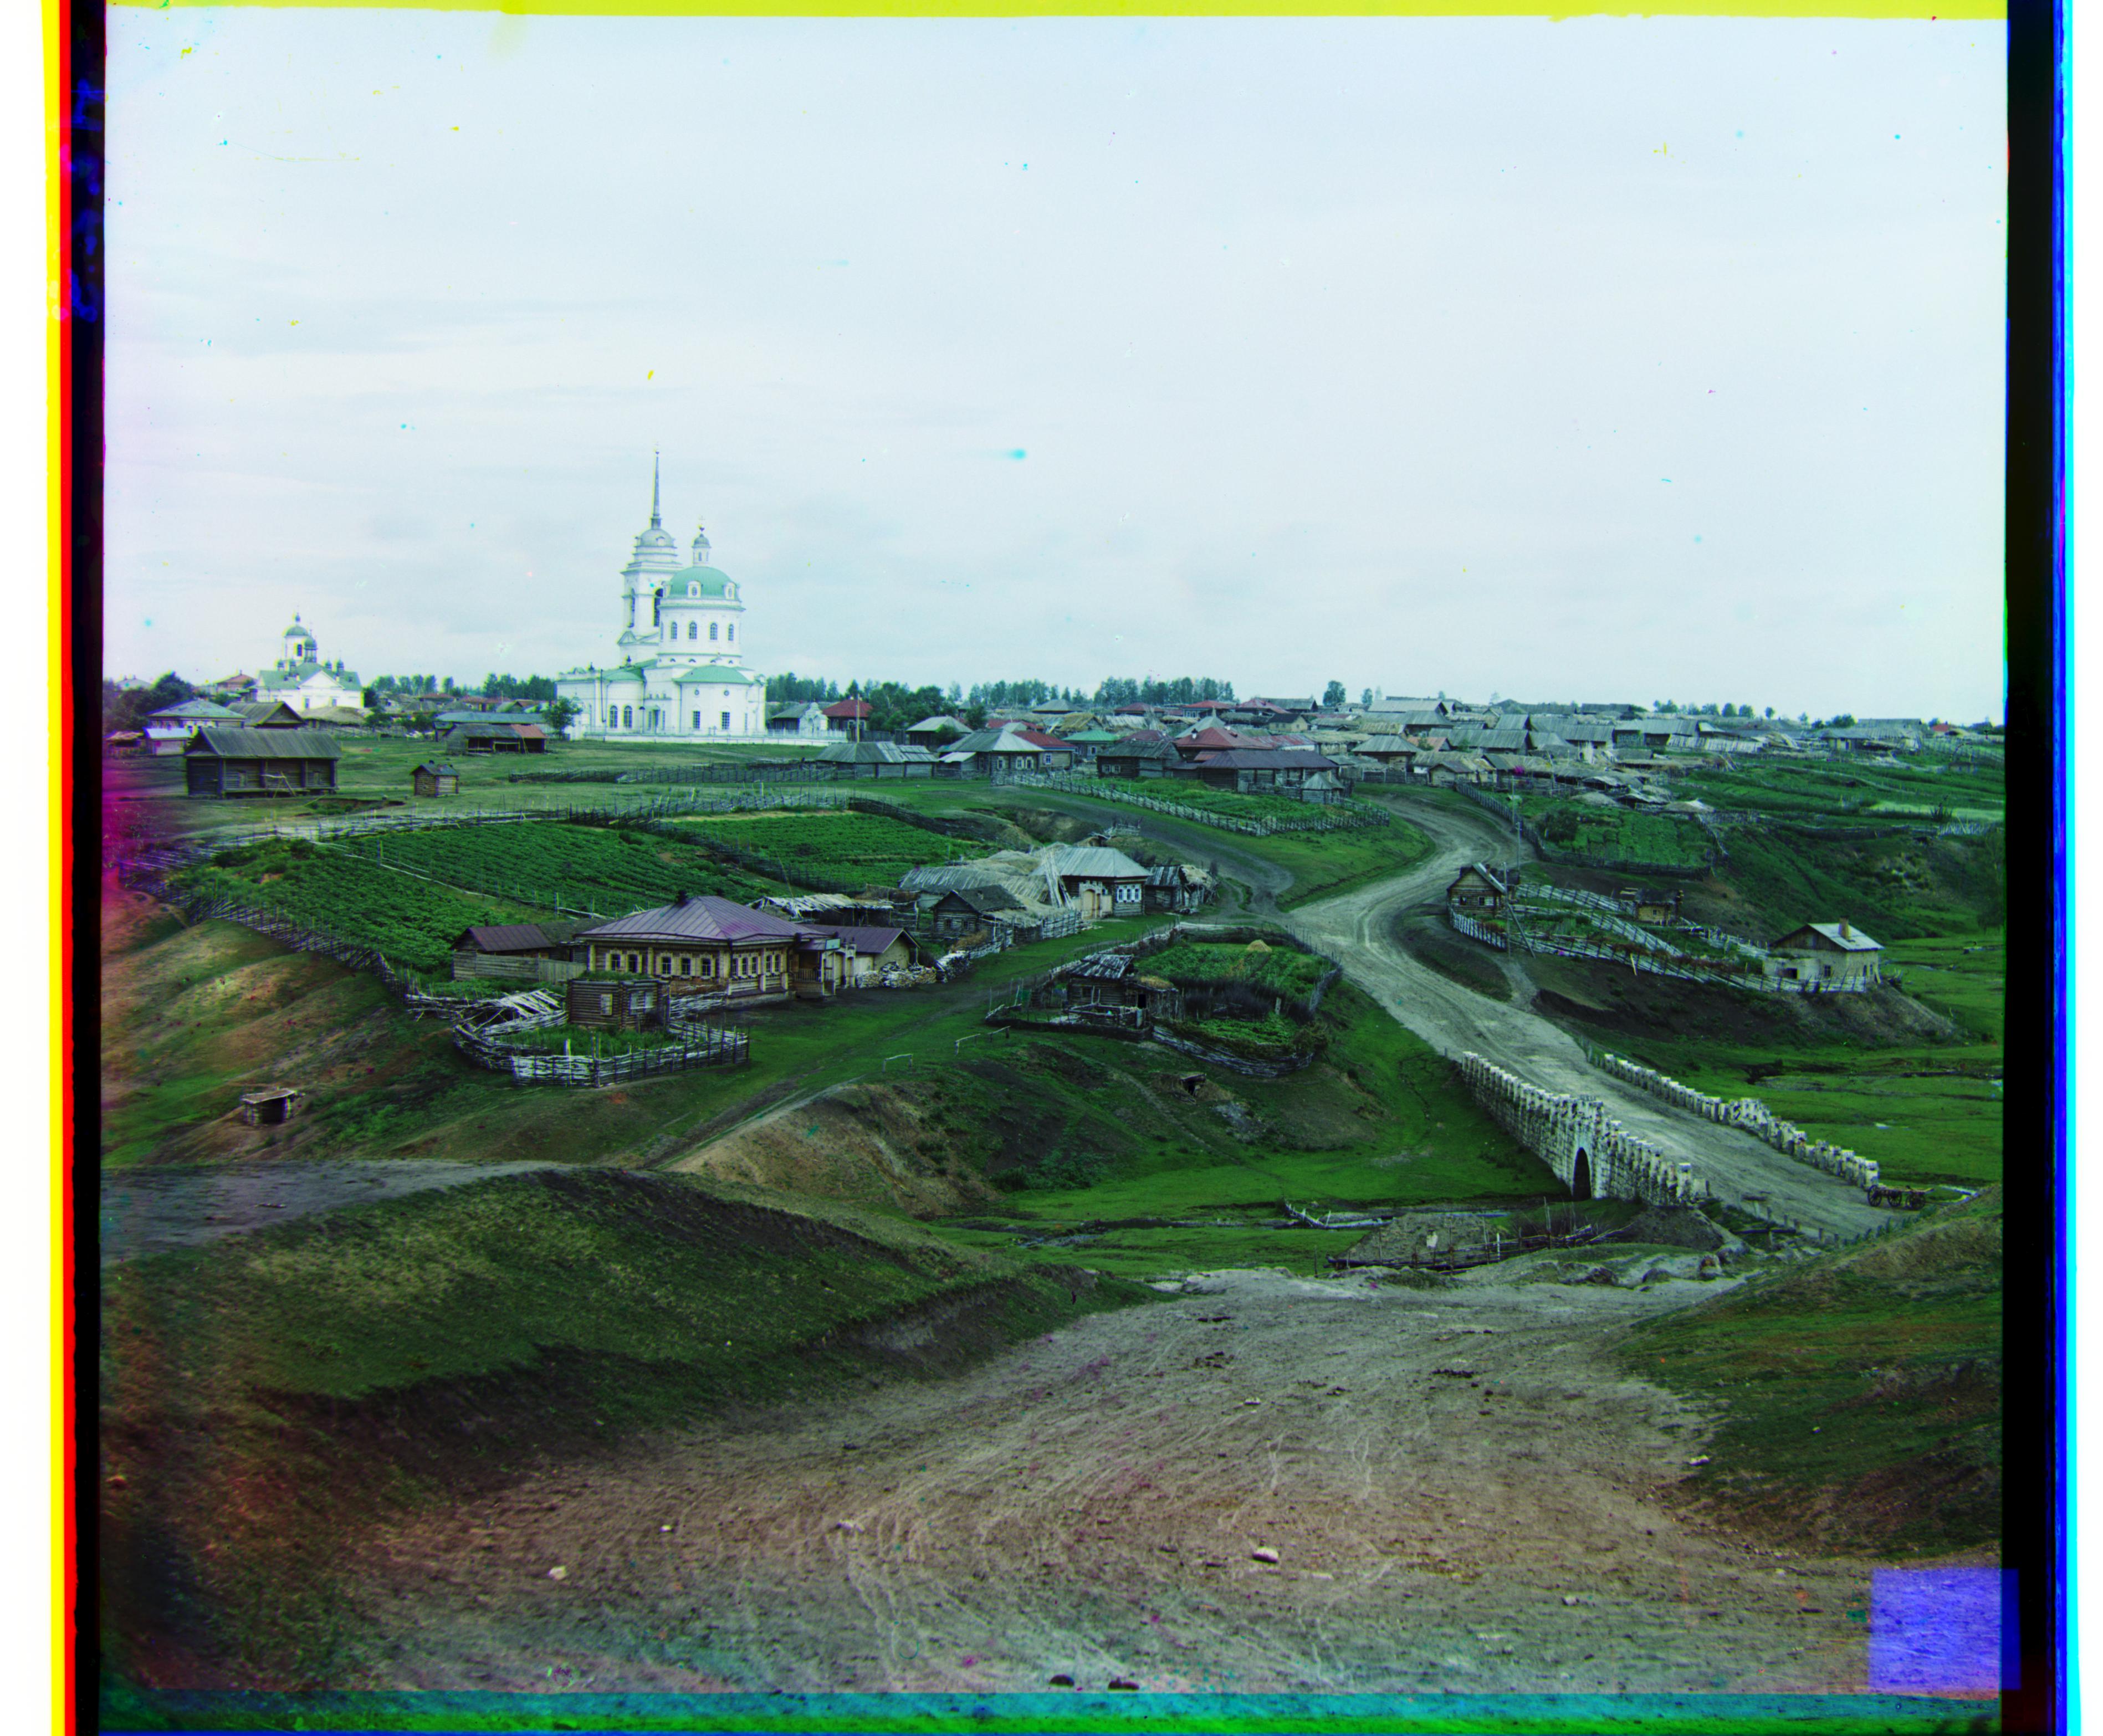
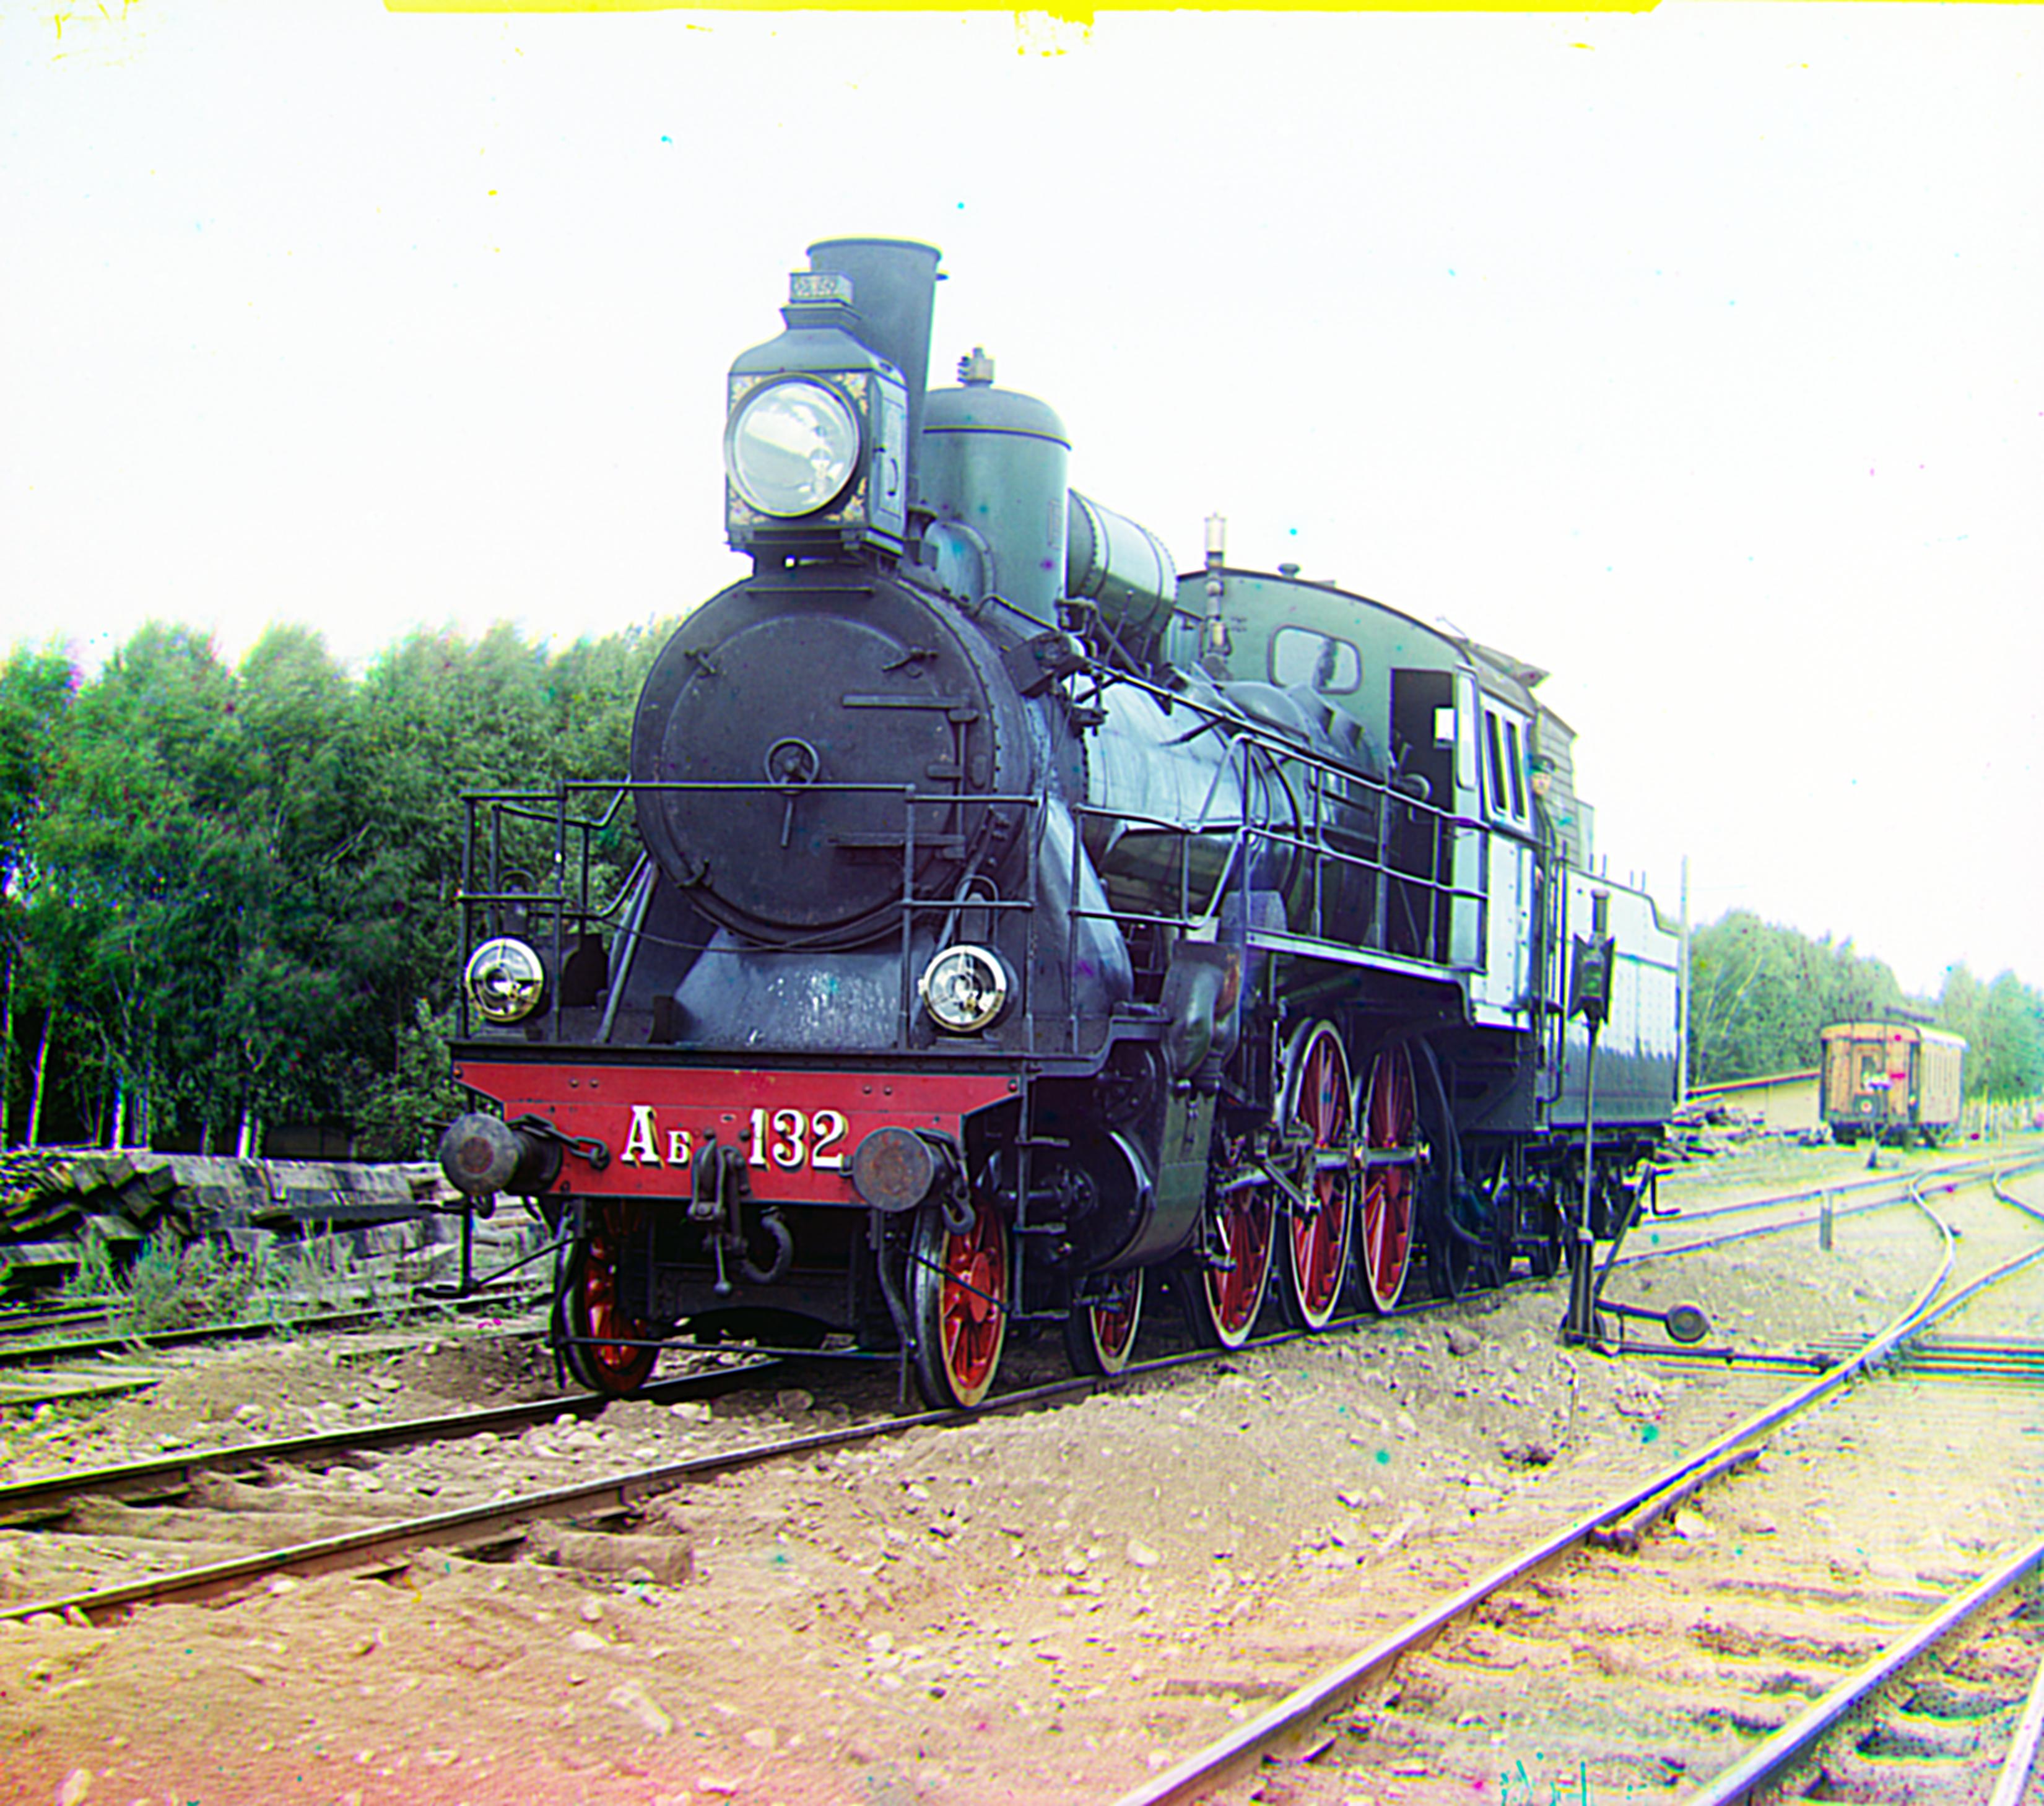
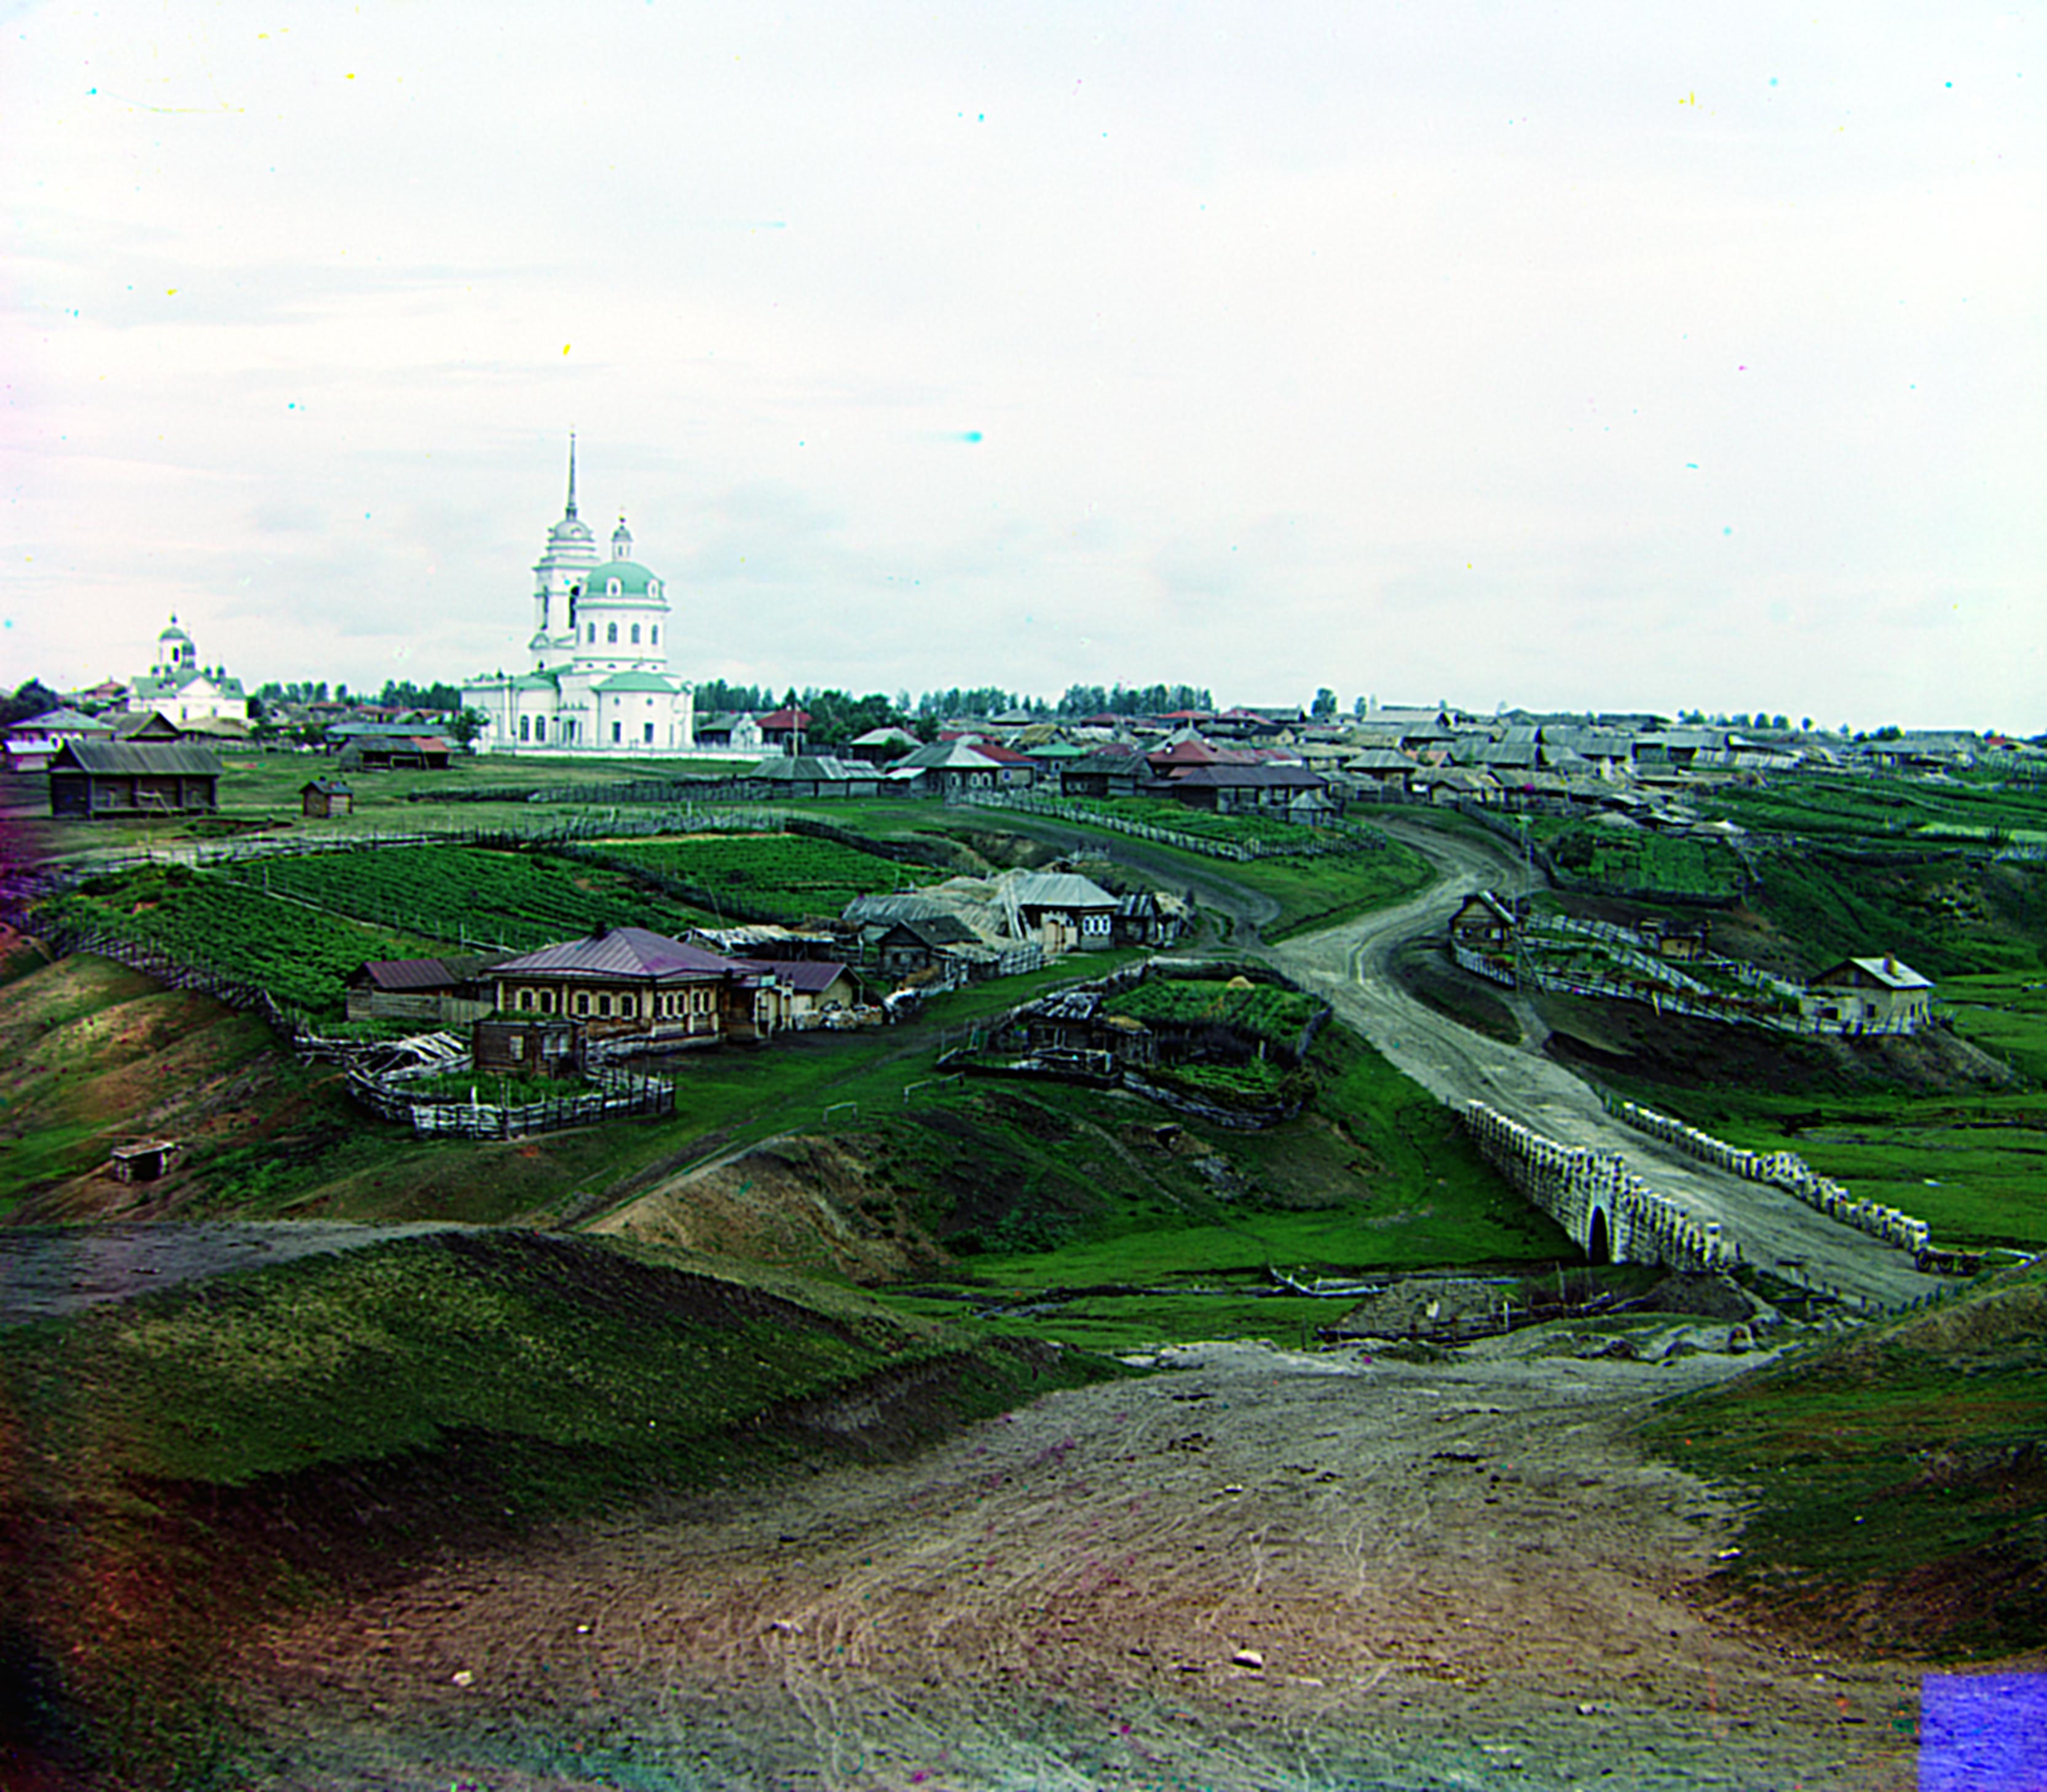
Small Images: Aligned using exhaustive search with sine-NCC
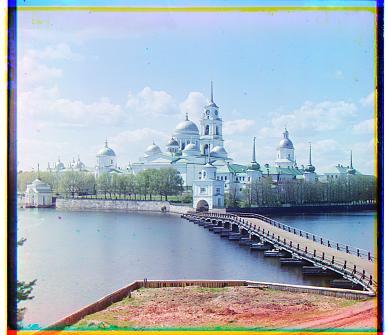
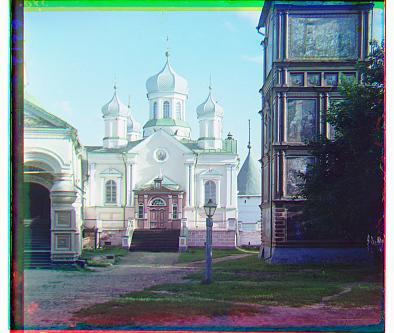
Large Images: Aligned using multi-search search with sine-NCC
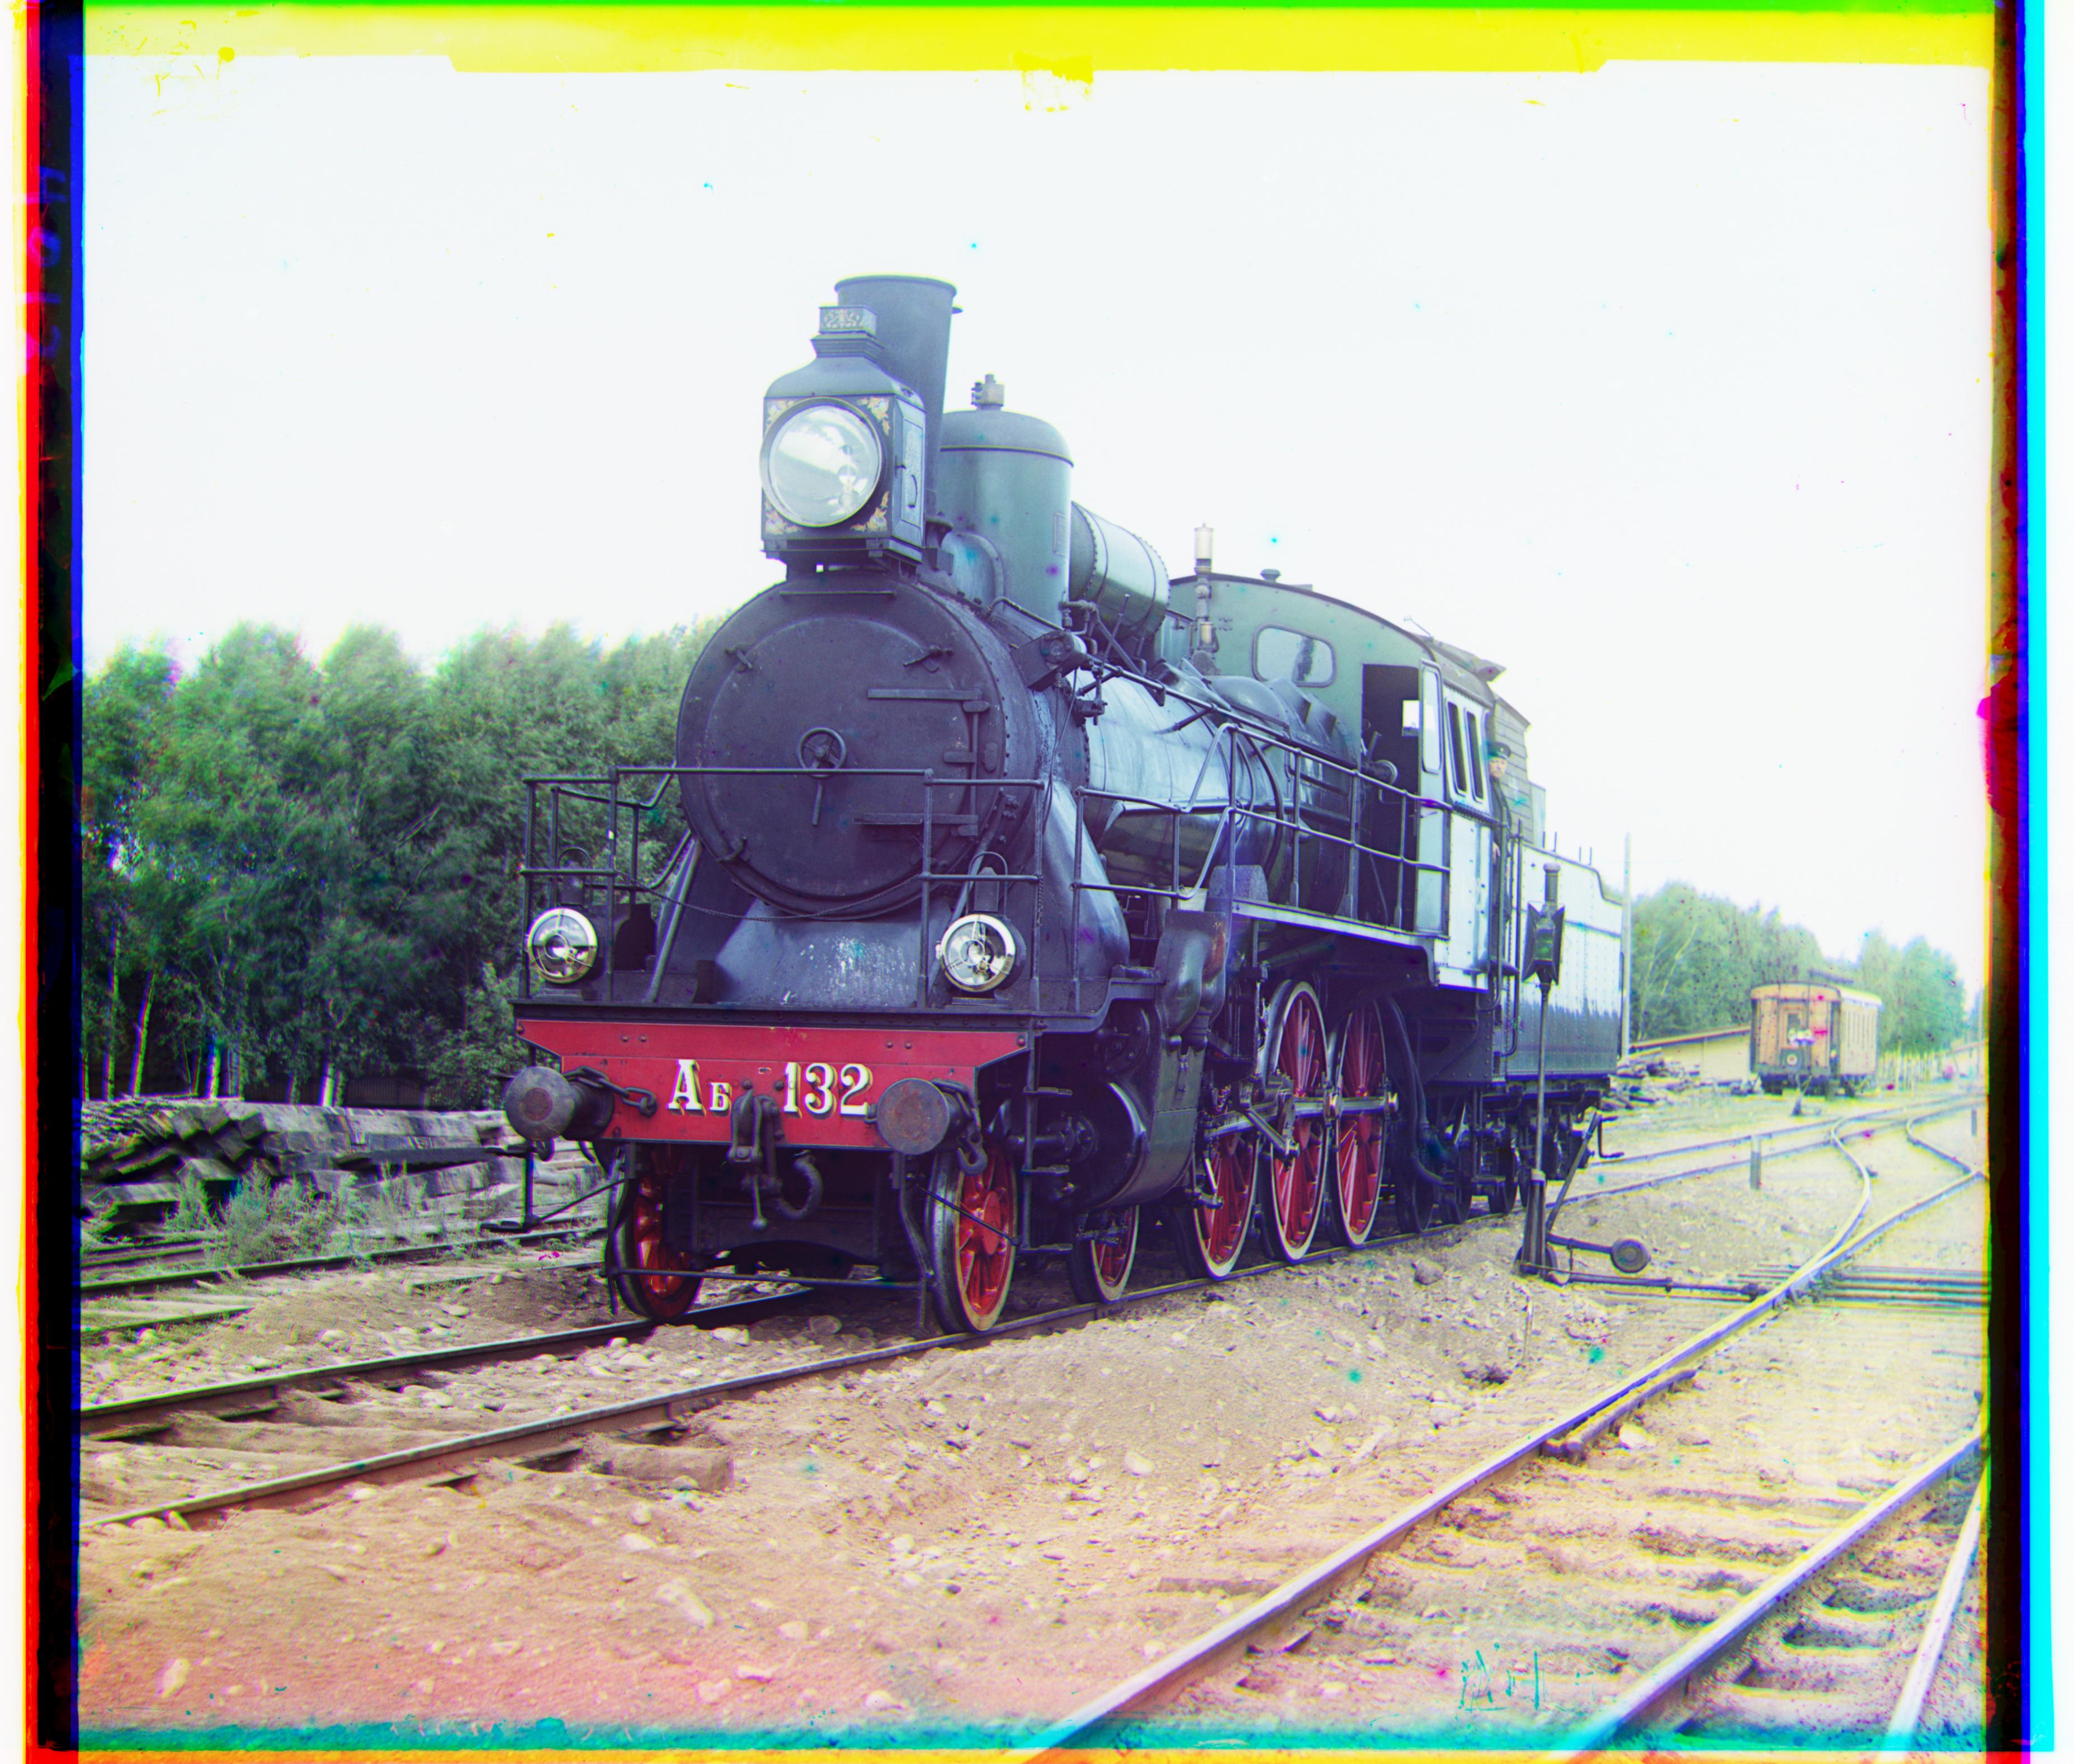
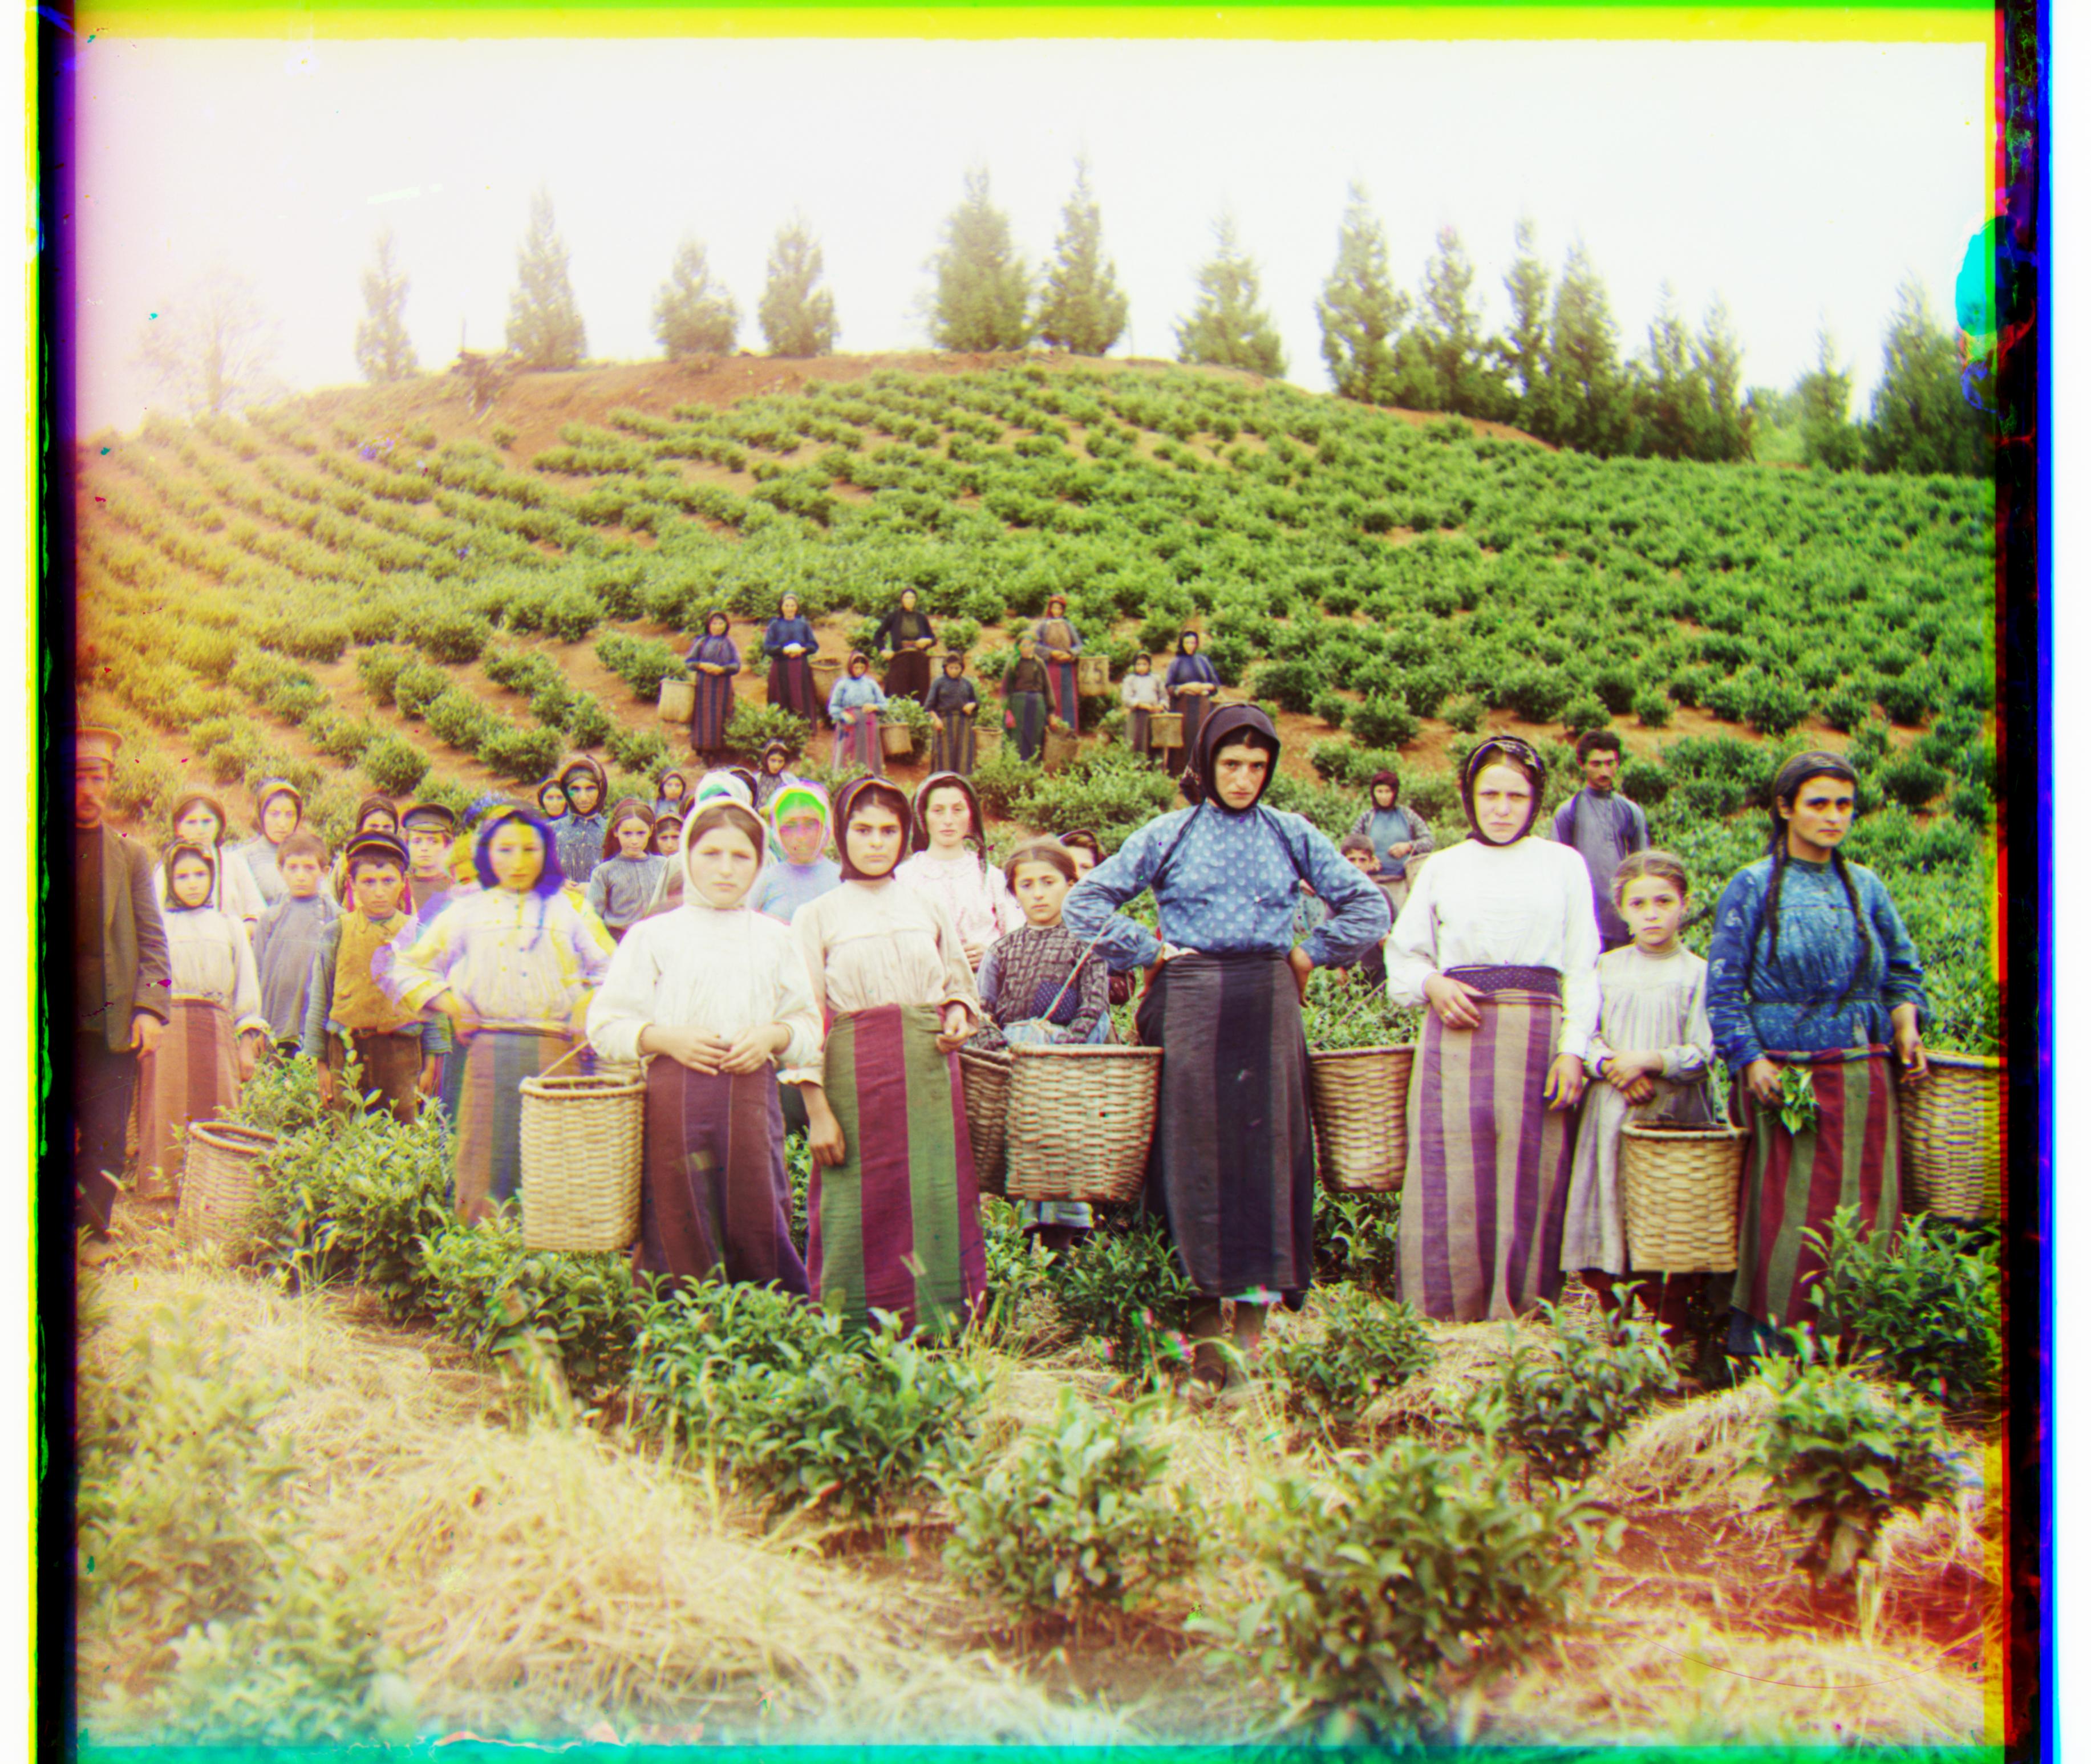
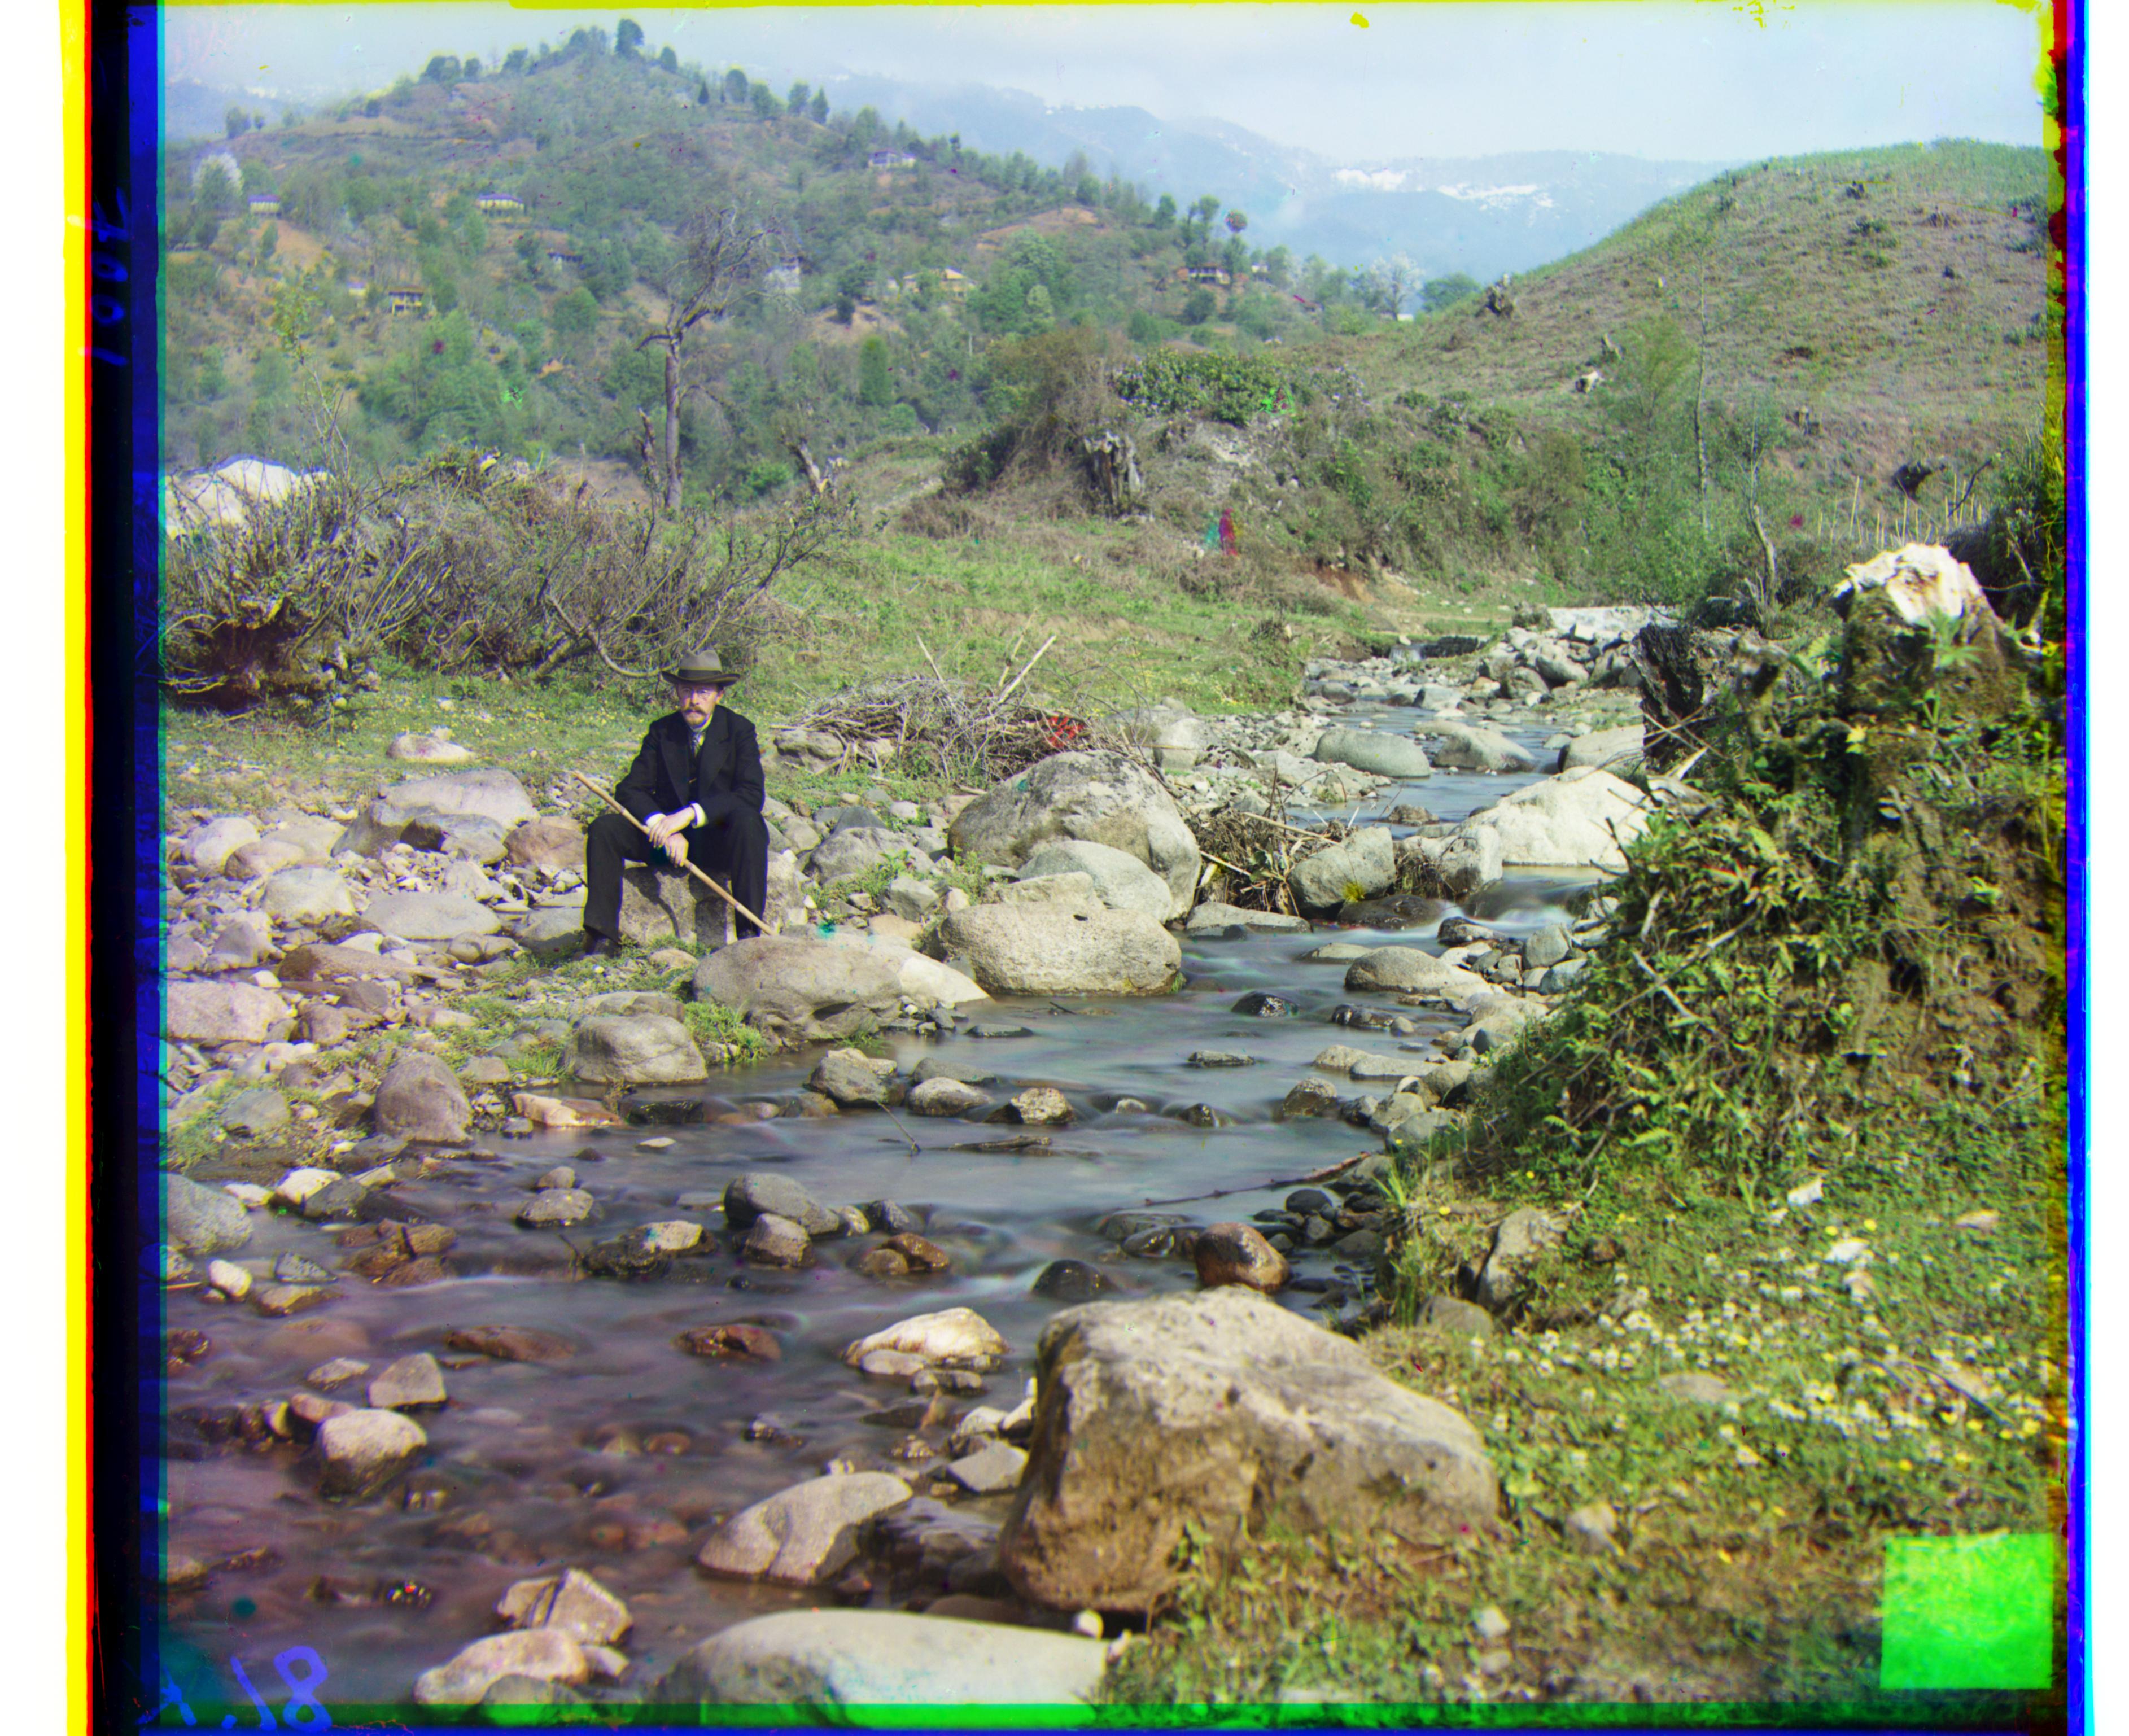

Depending on the error function used and precision desired, the algorithm takes 7-45 seconds/image for big images, and 0.5-10 seconds/image for small images
Bells and Whistles
To improve upon the basics, I tried:
- Automatic Cropping
- Alignment using edge features instead of raw pixel values
- Speeding up search by disarding pixels
- Automatic Color Balance
- Despeckling channel noise
Automatic Cropping
To crop out the frame border in channel images, I thresholded variation (as given by standard deviation) in pixel brightness along a given axis. The idea here is that the surrounding frame has very low variance, as opposed to the main image, which has more. The threshold is determined as a weighted average of the highest variance and the lowest variance. However, this method tends to be conservative in cropping the frame. This problem can be fixed by cropping out a pre-determined extra amount of pixels. For the following image, that is approximately 6% on each side.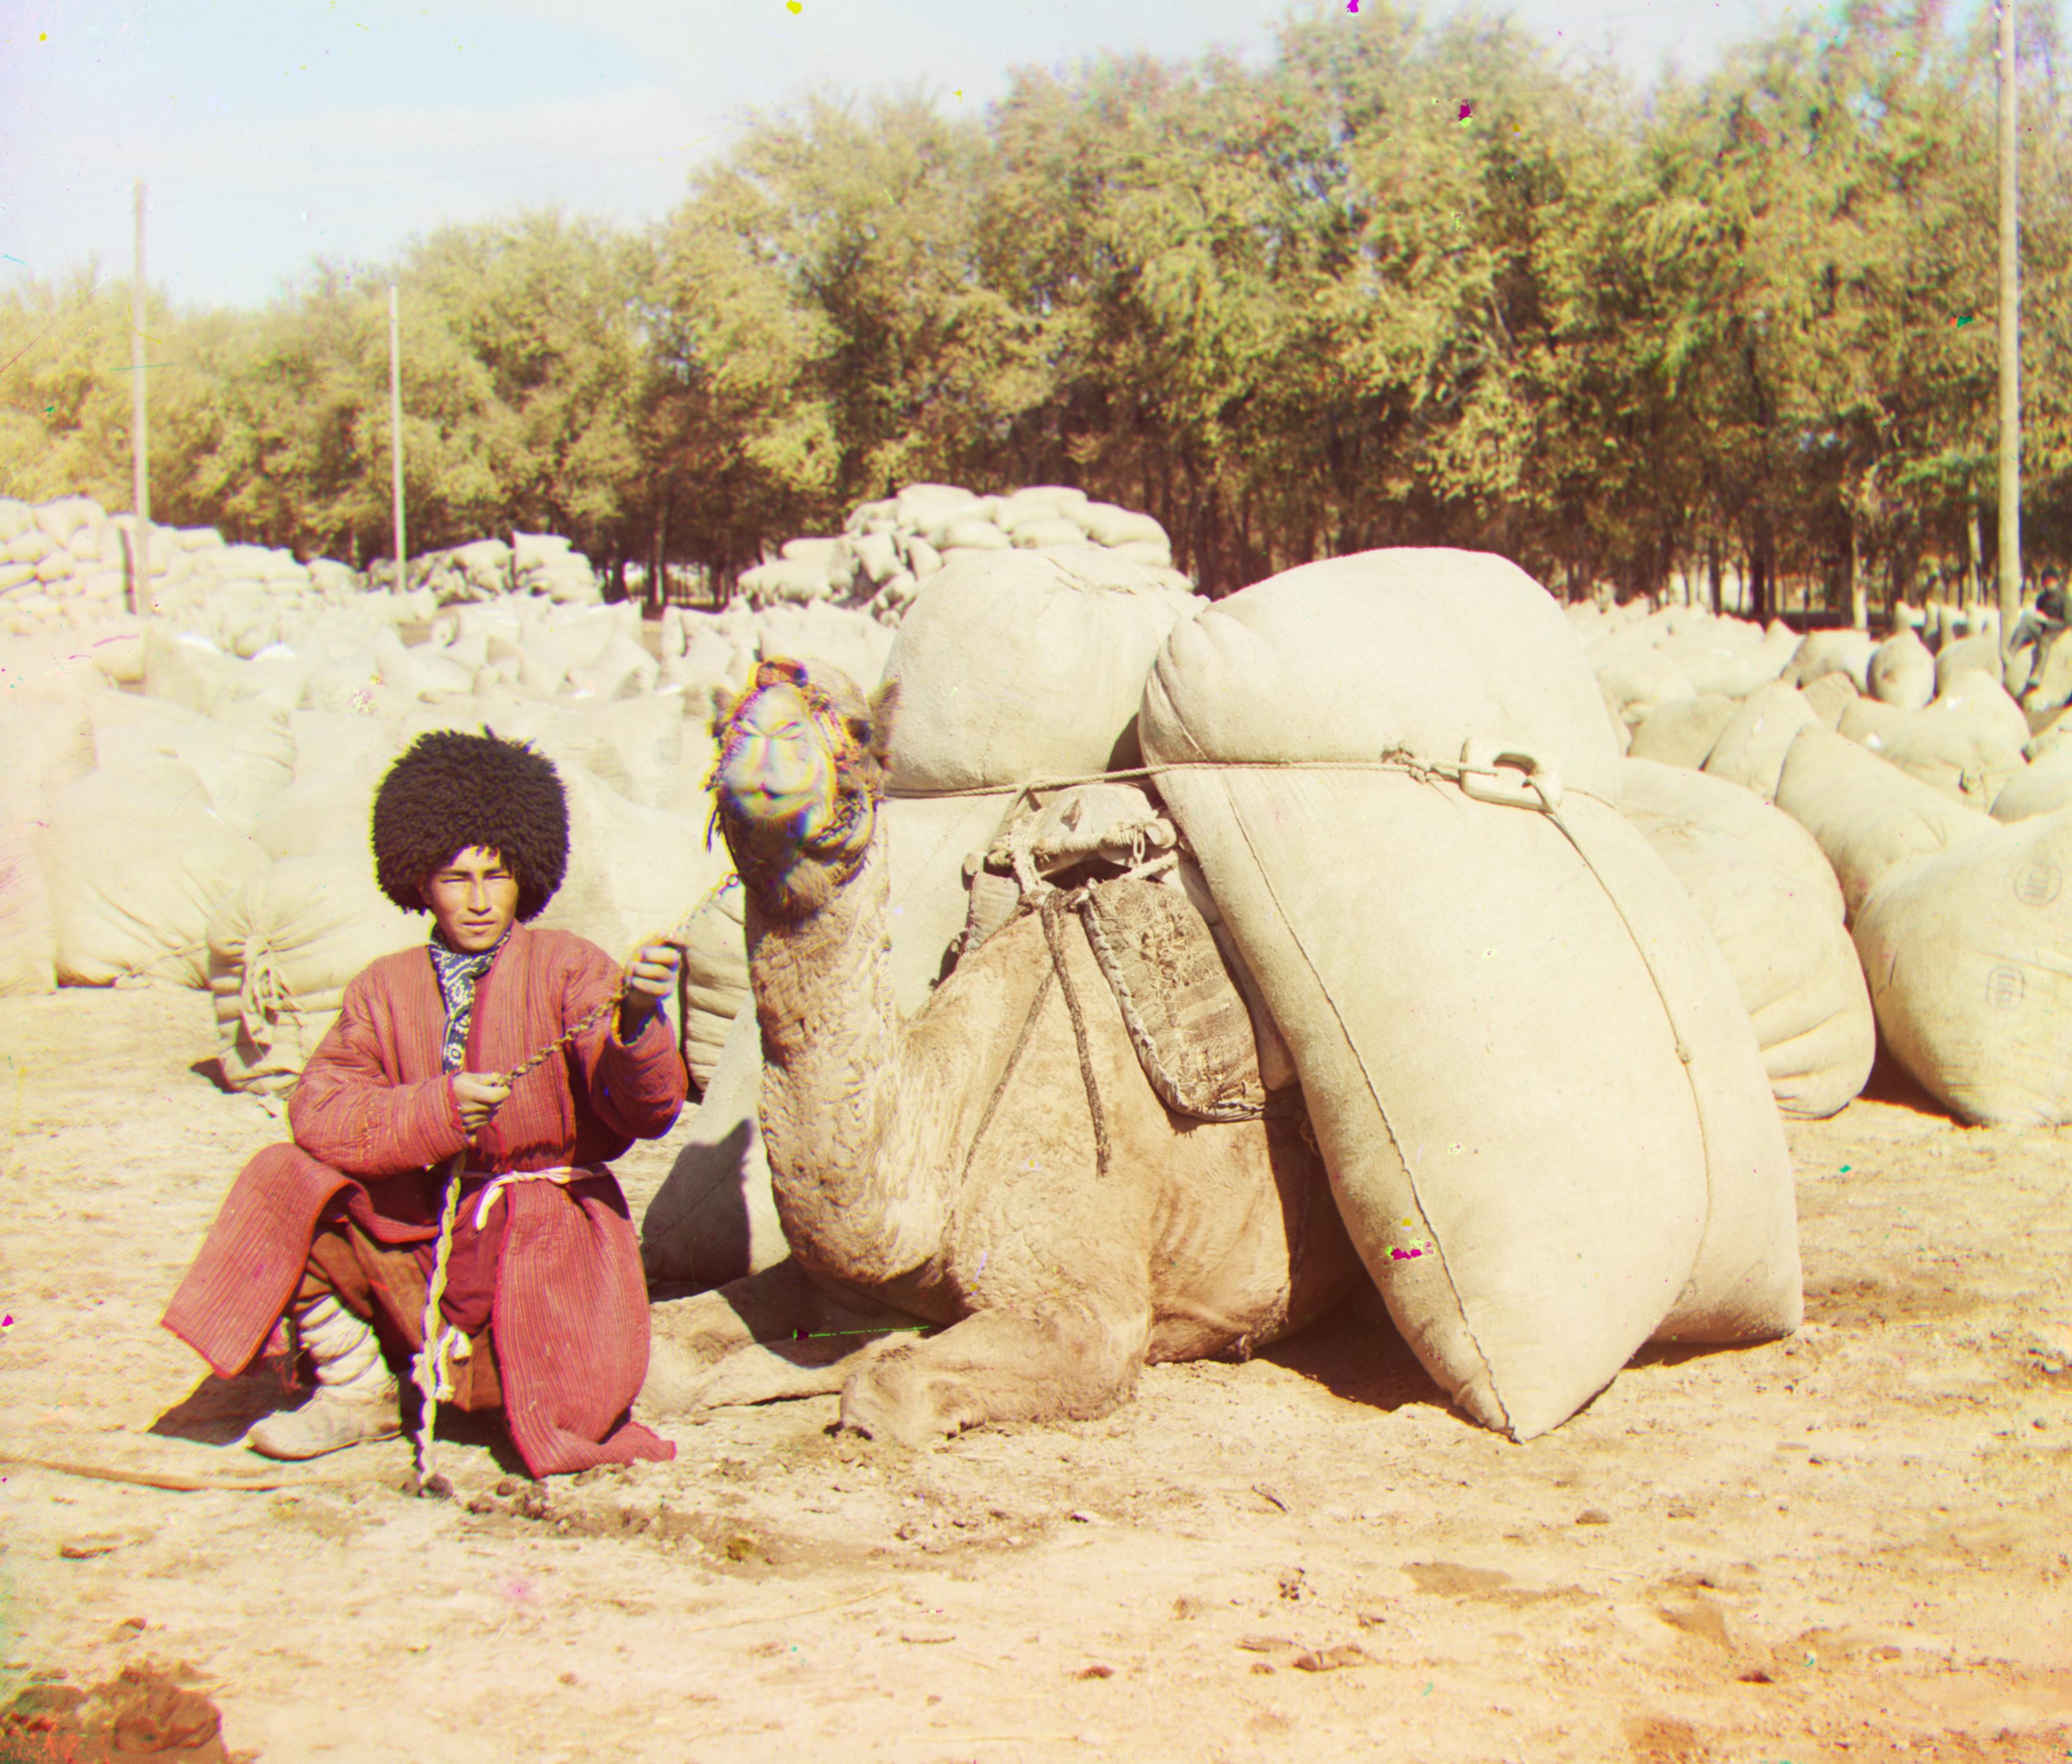
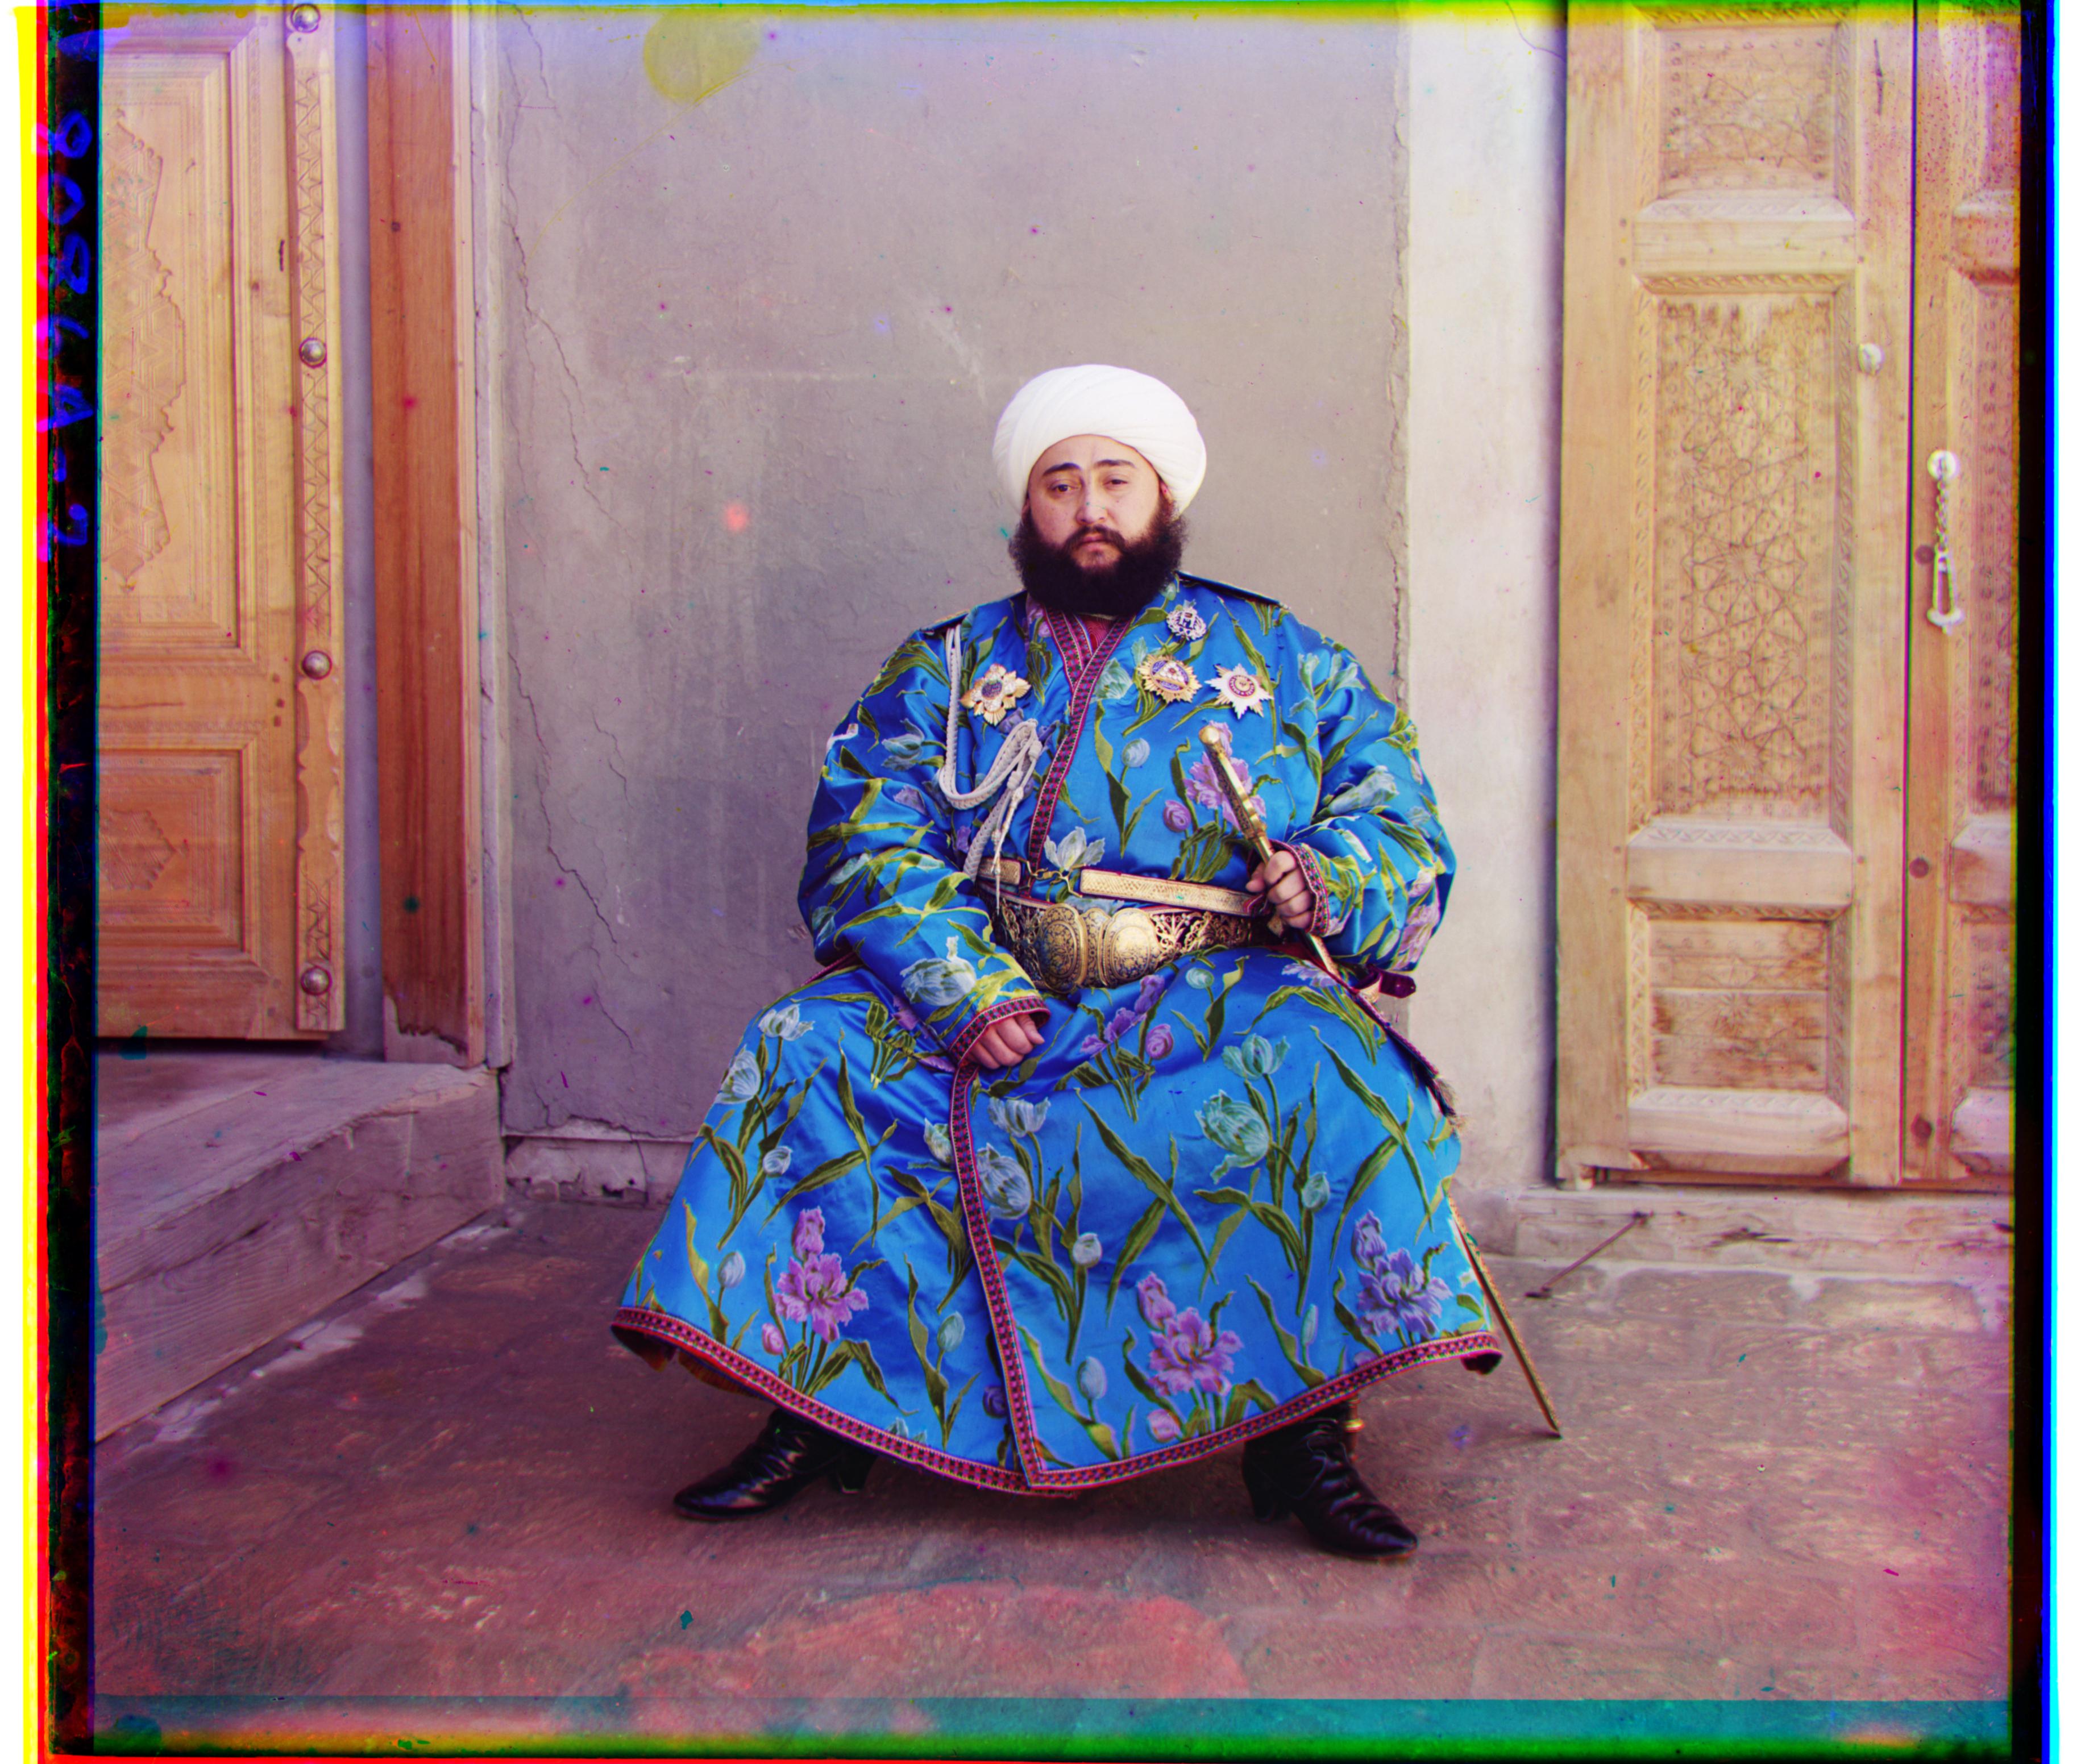
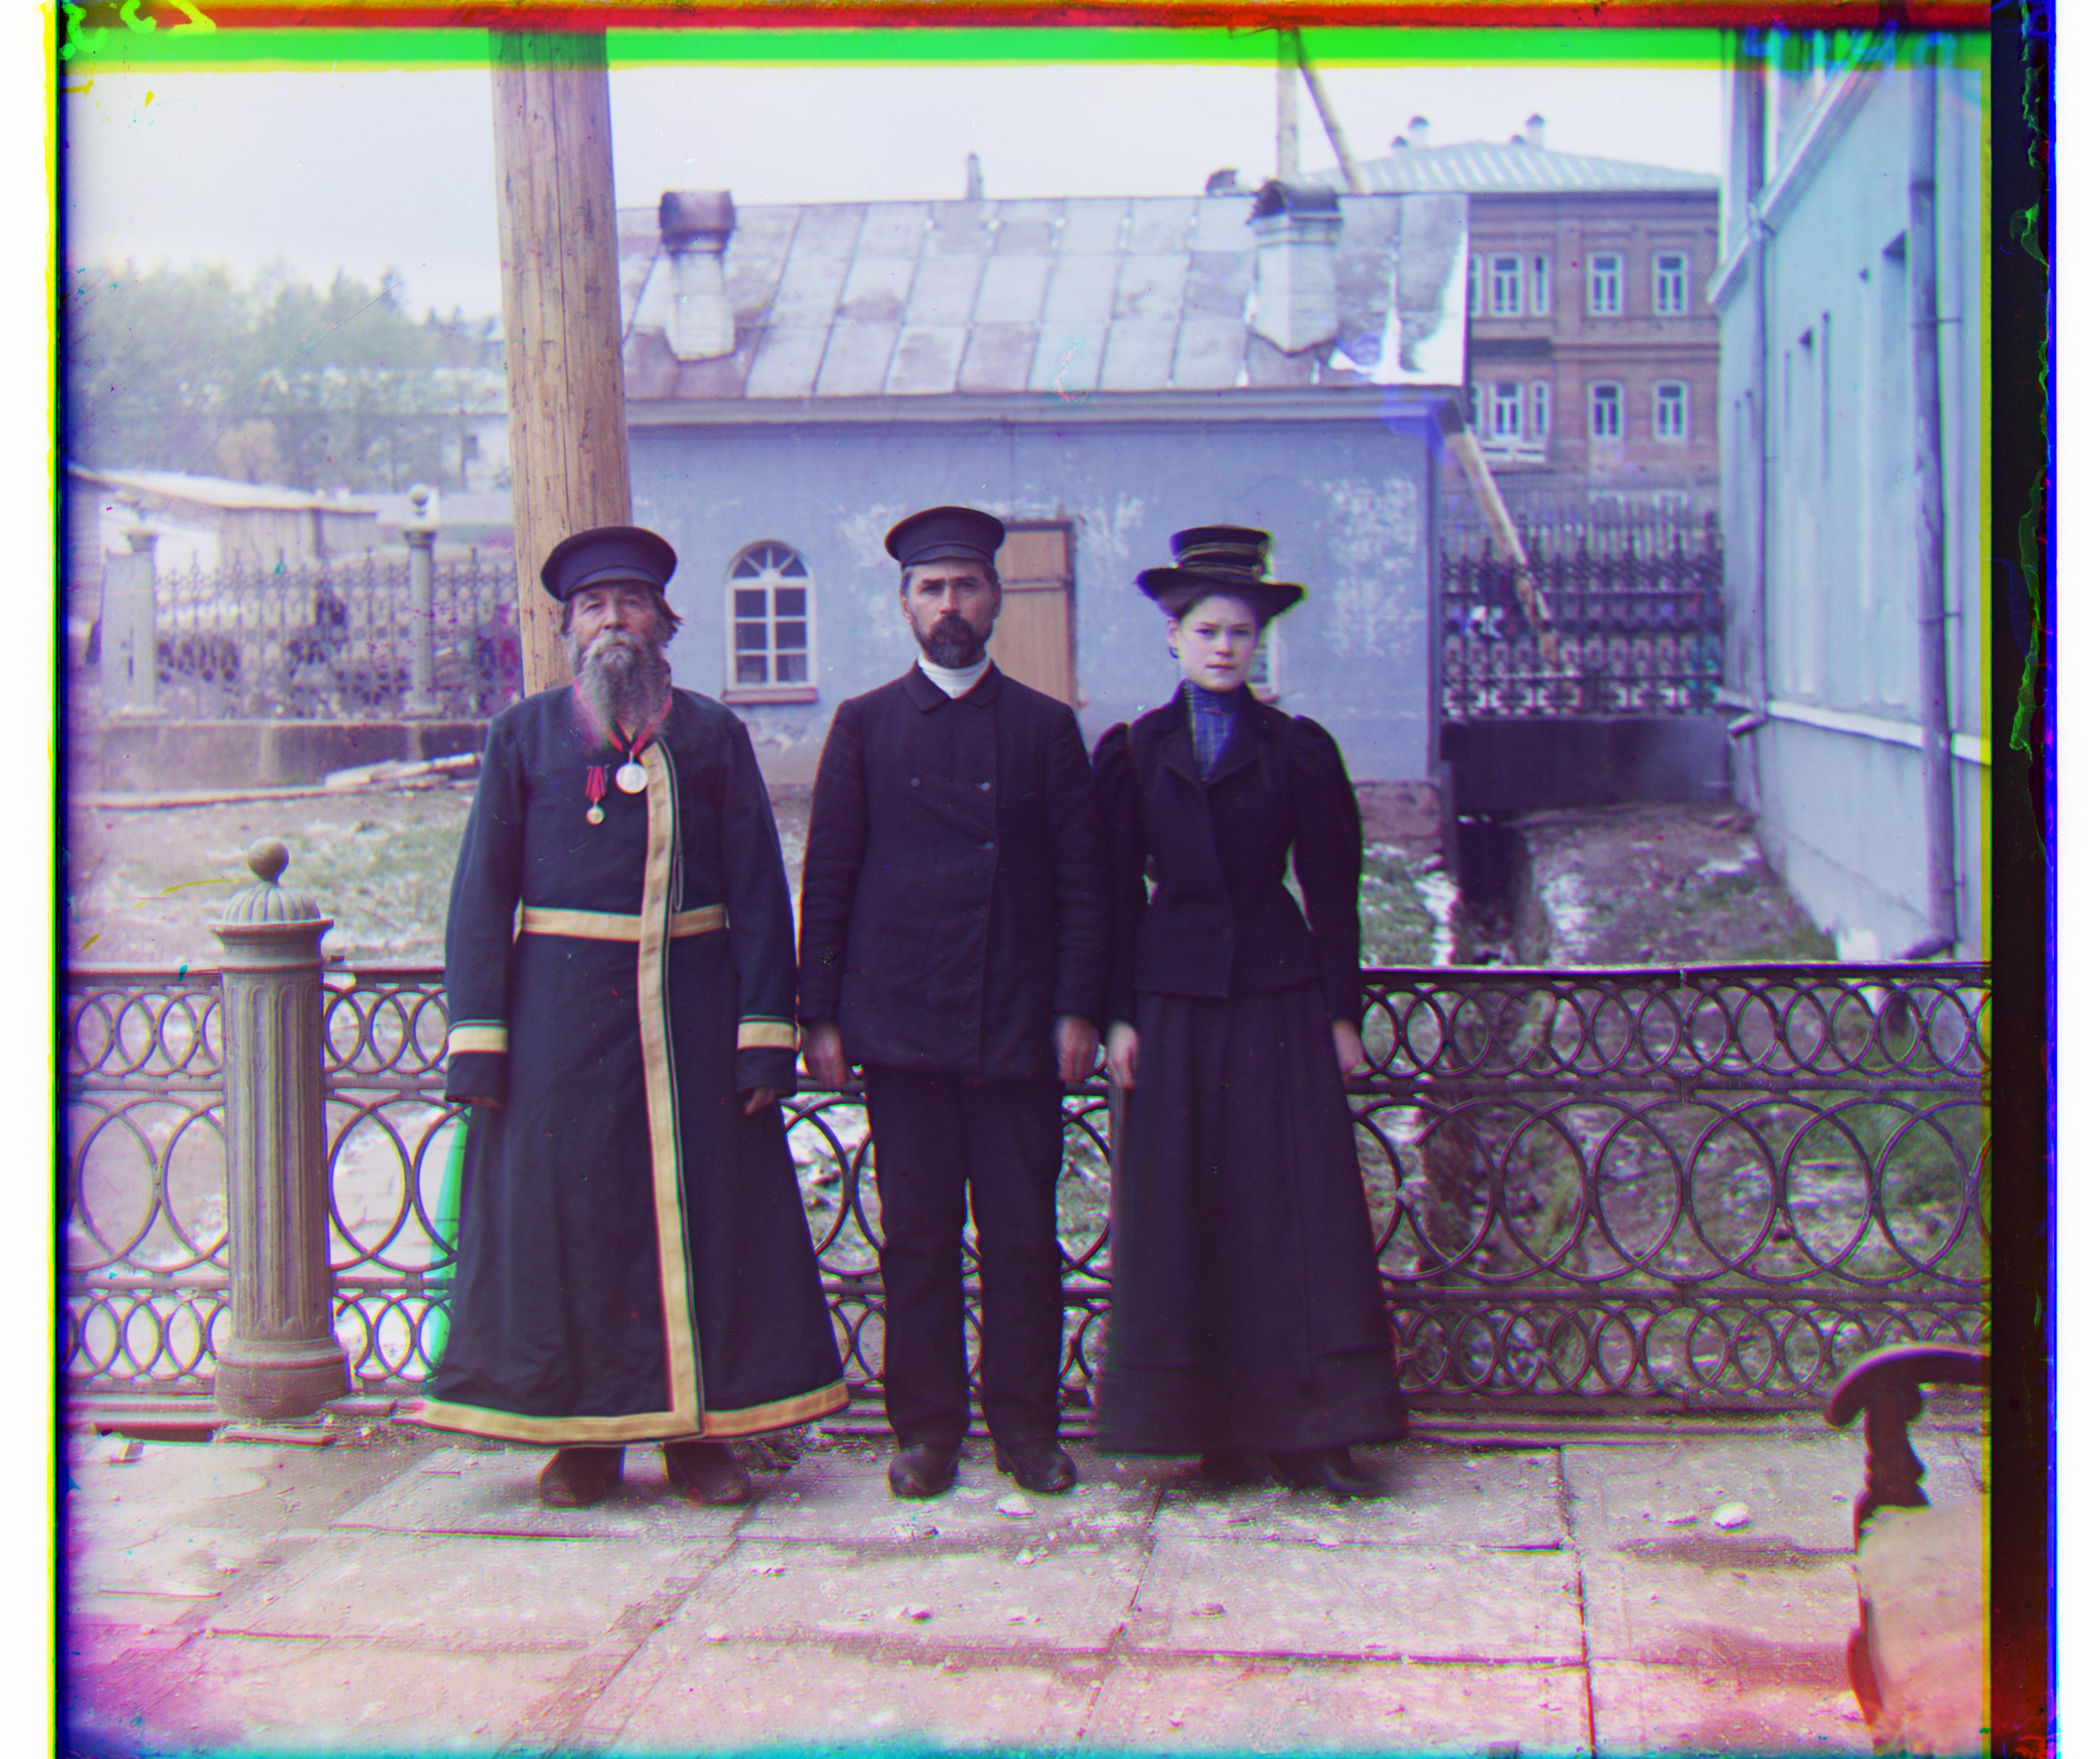
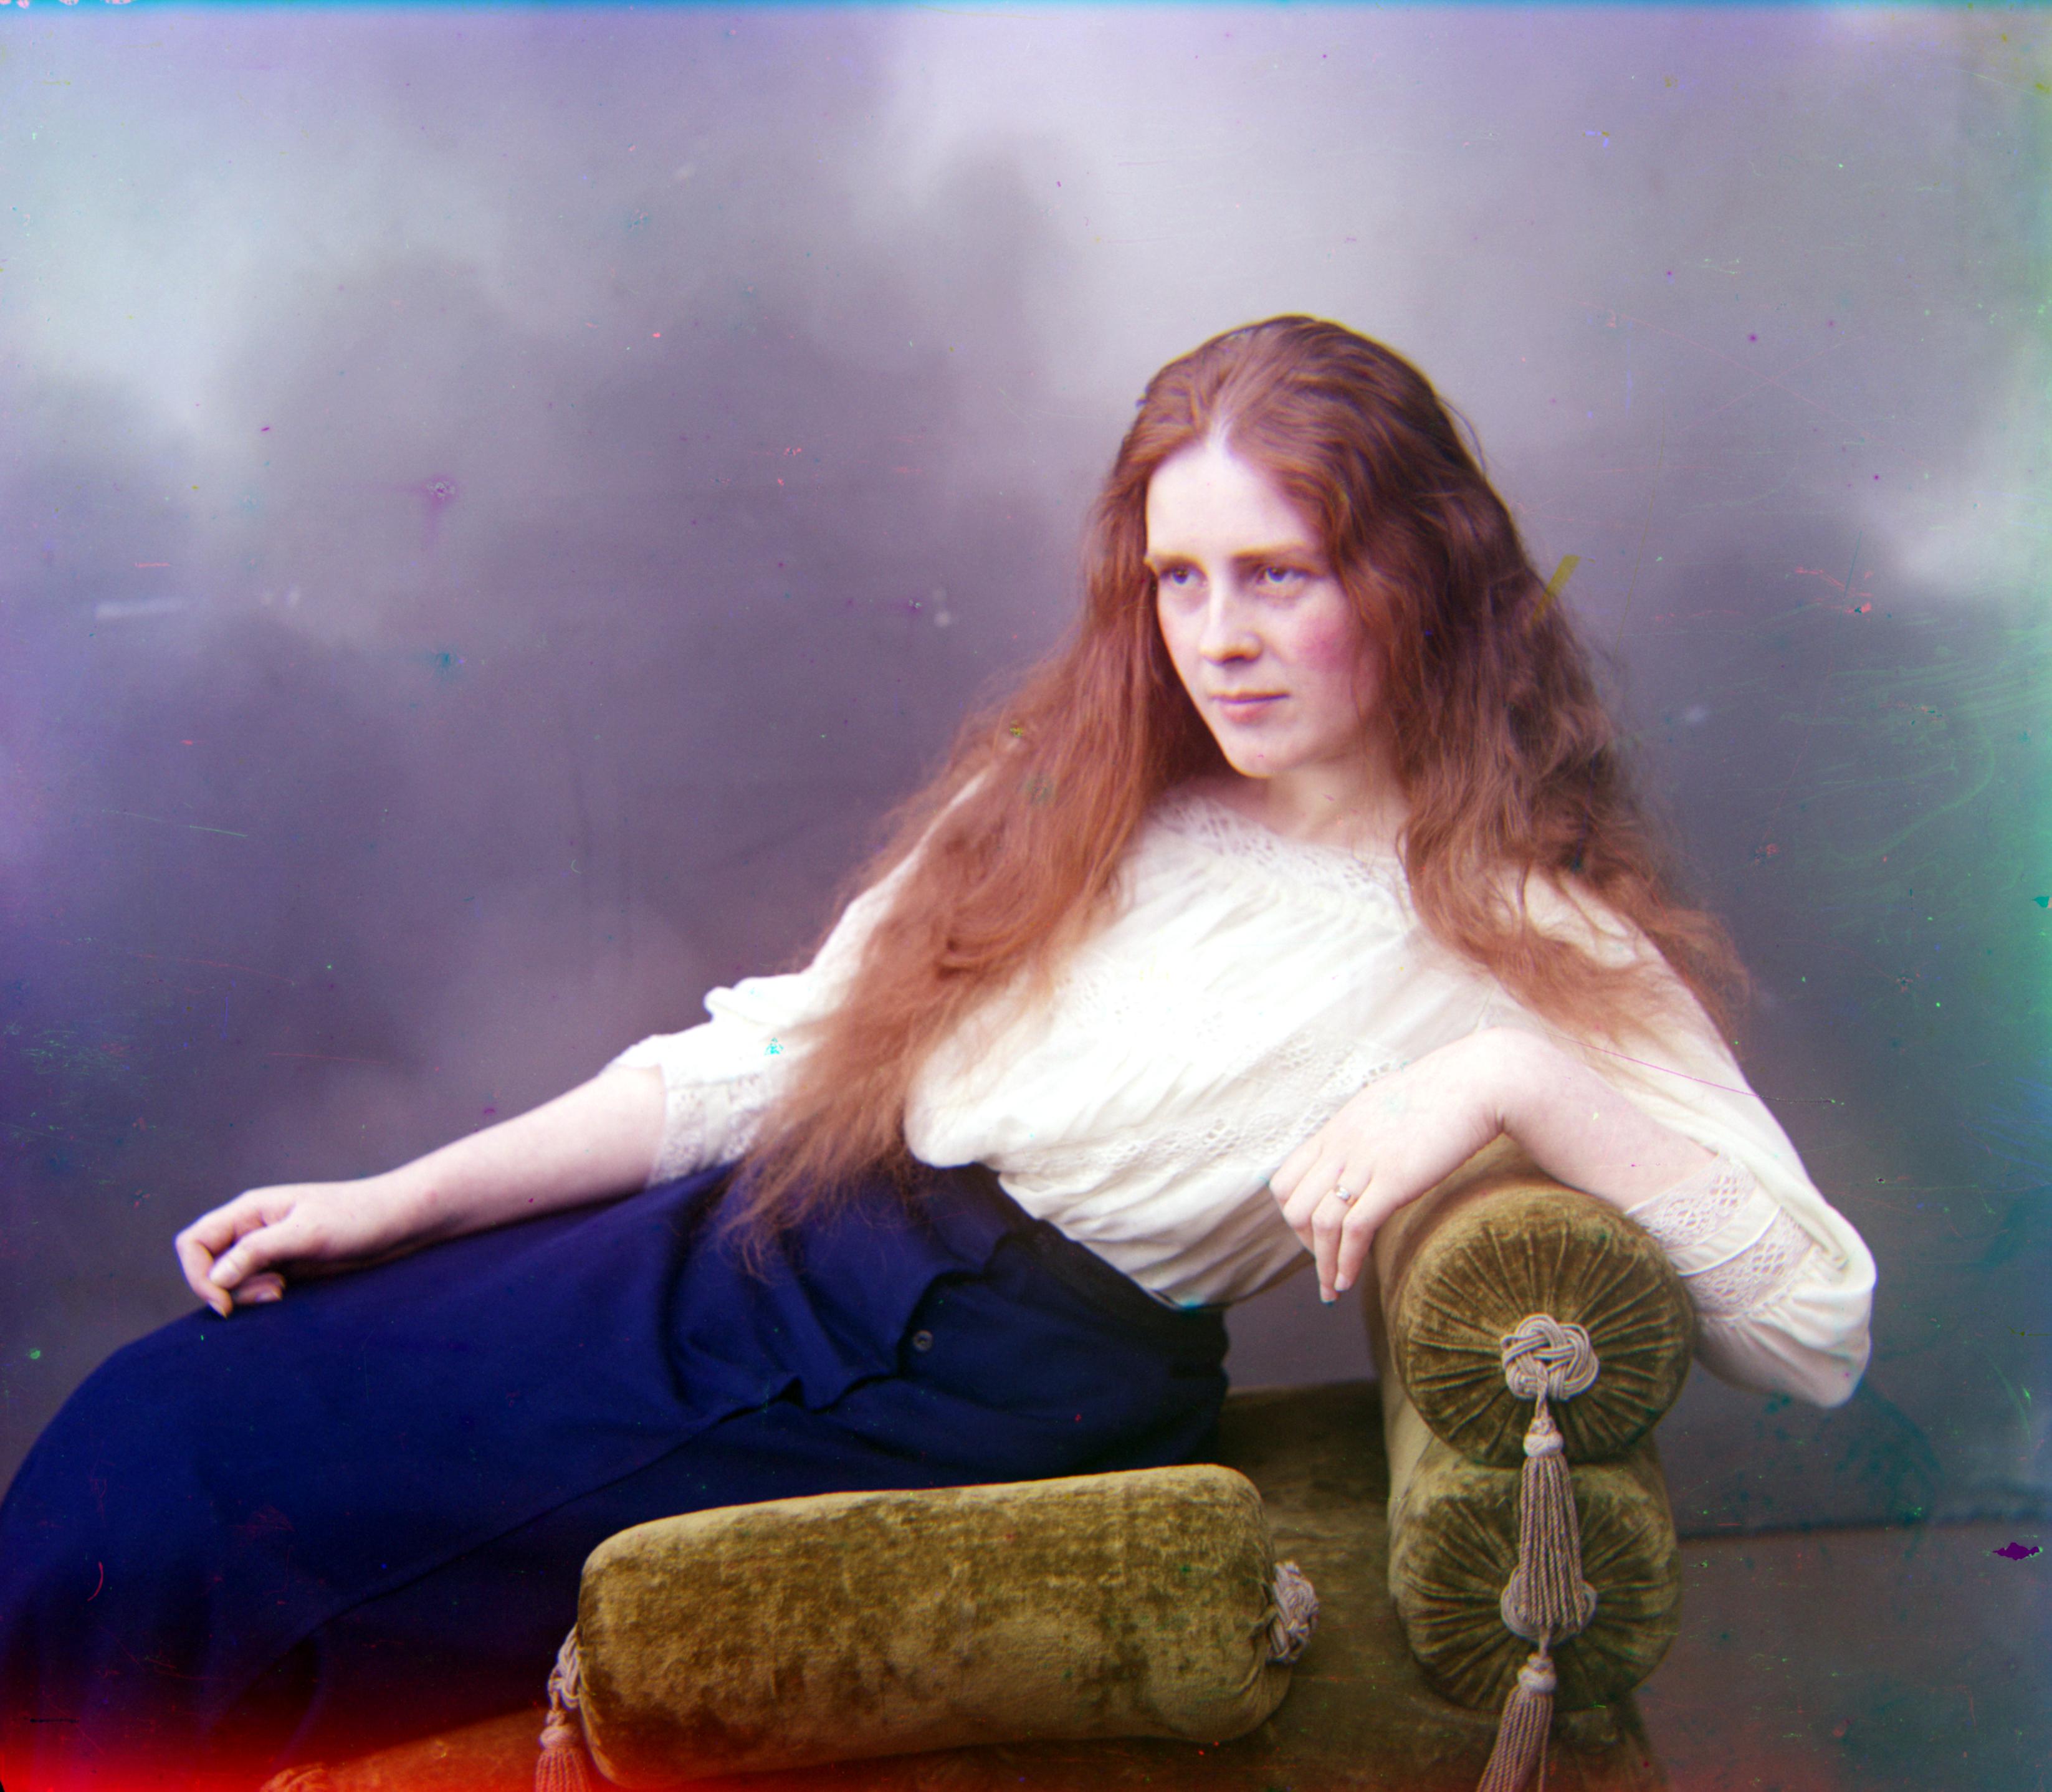
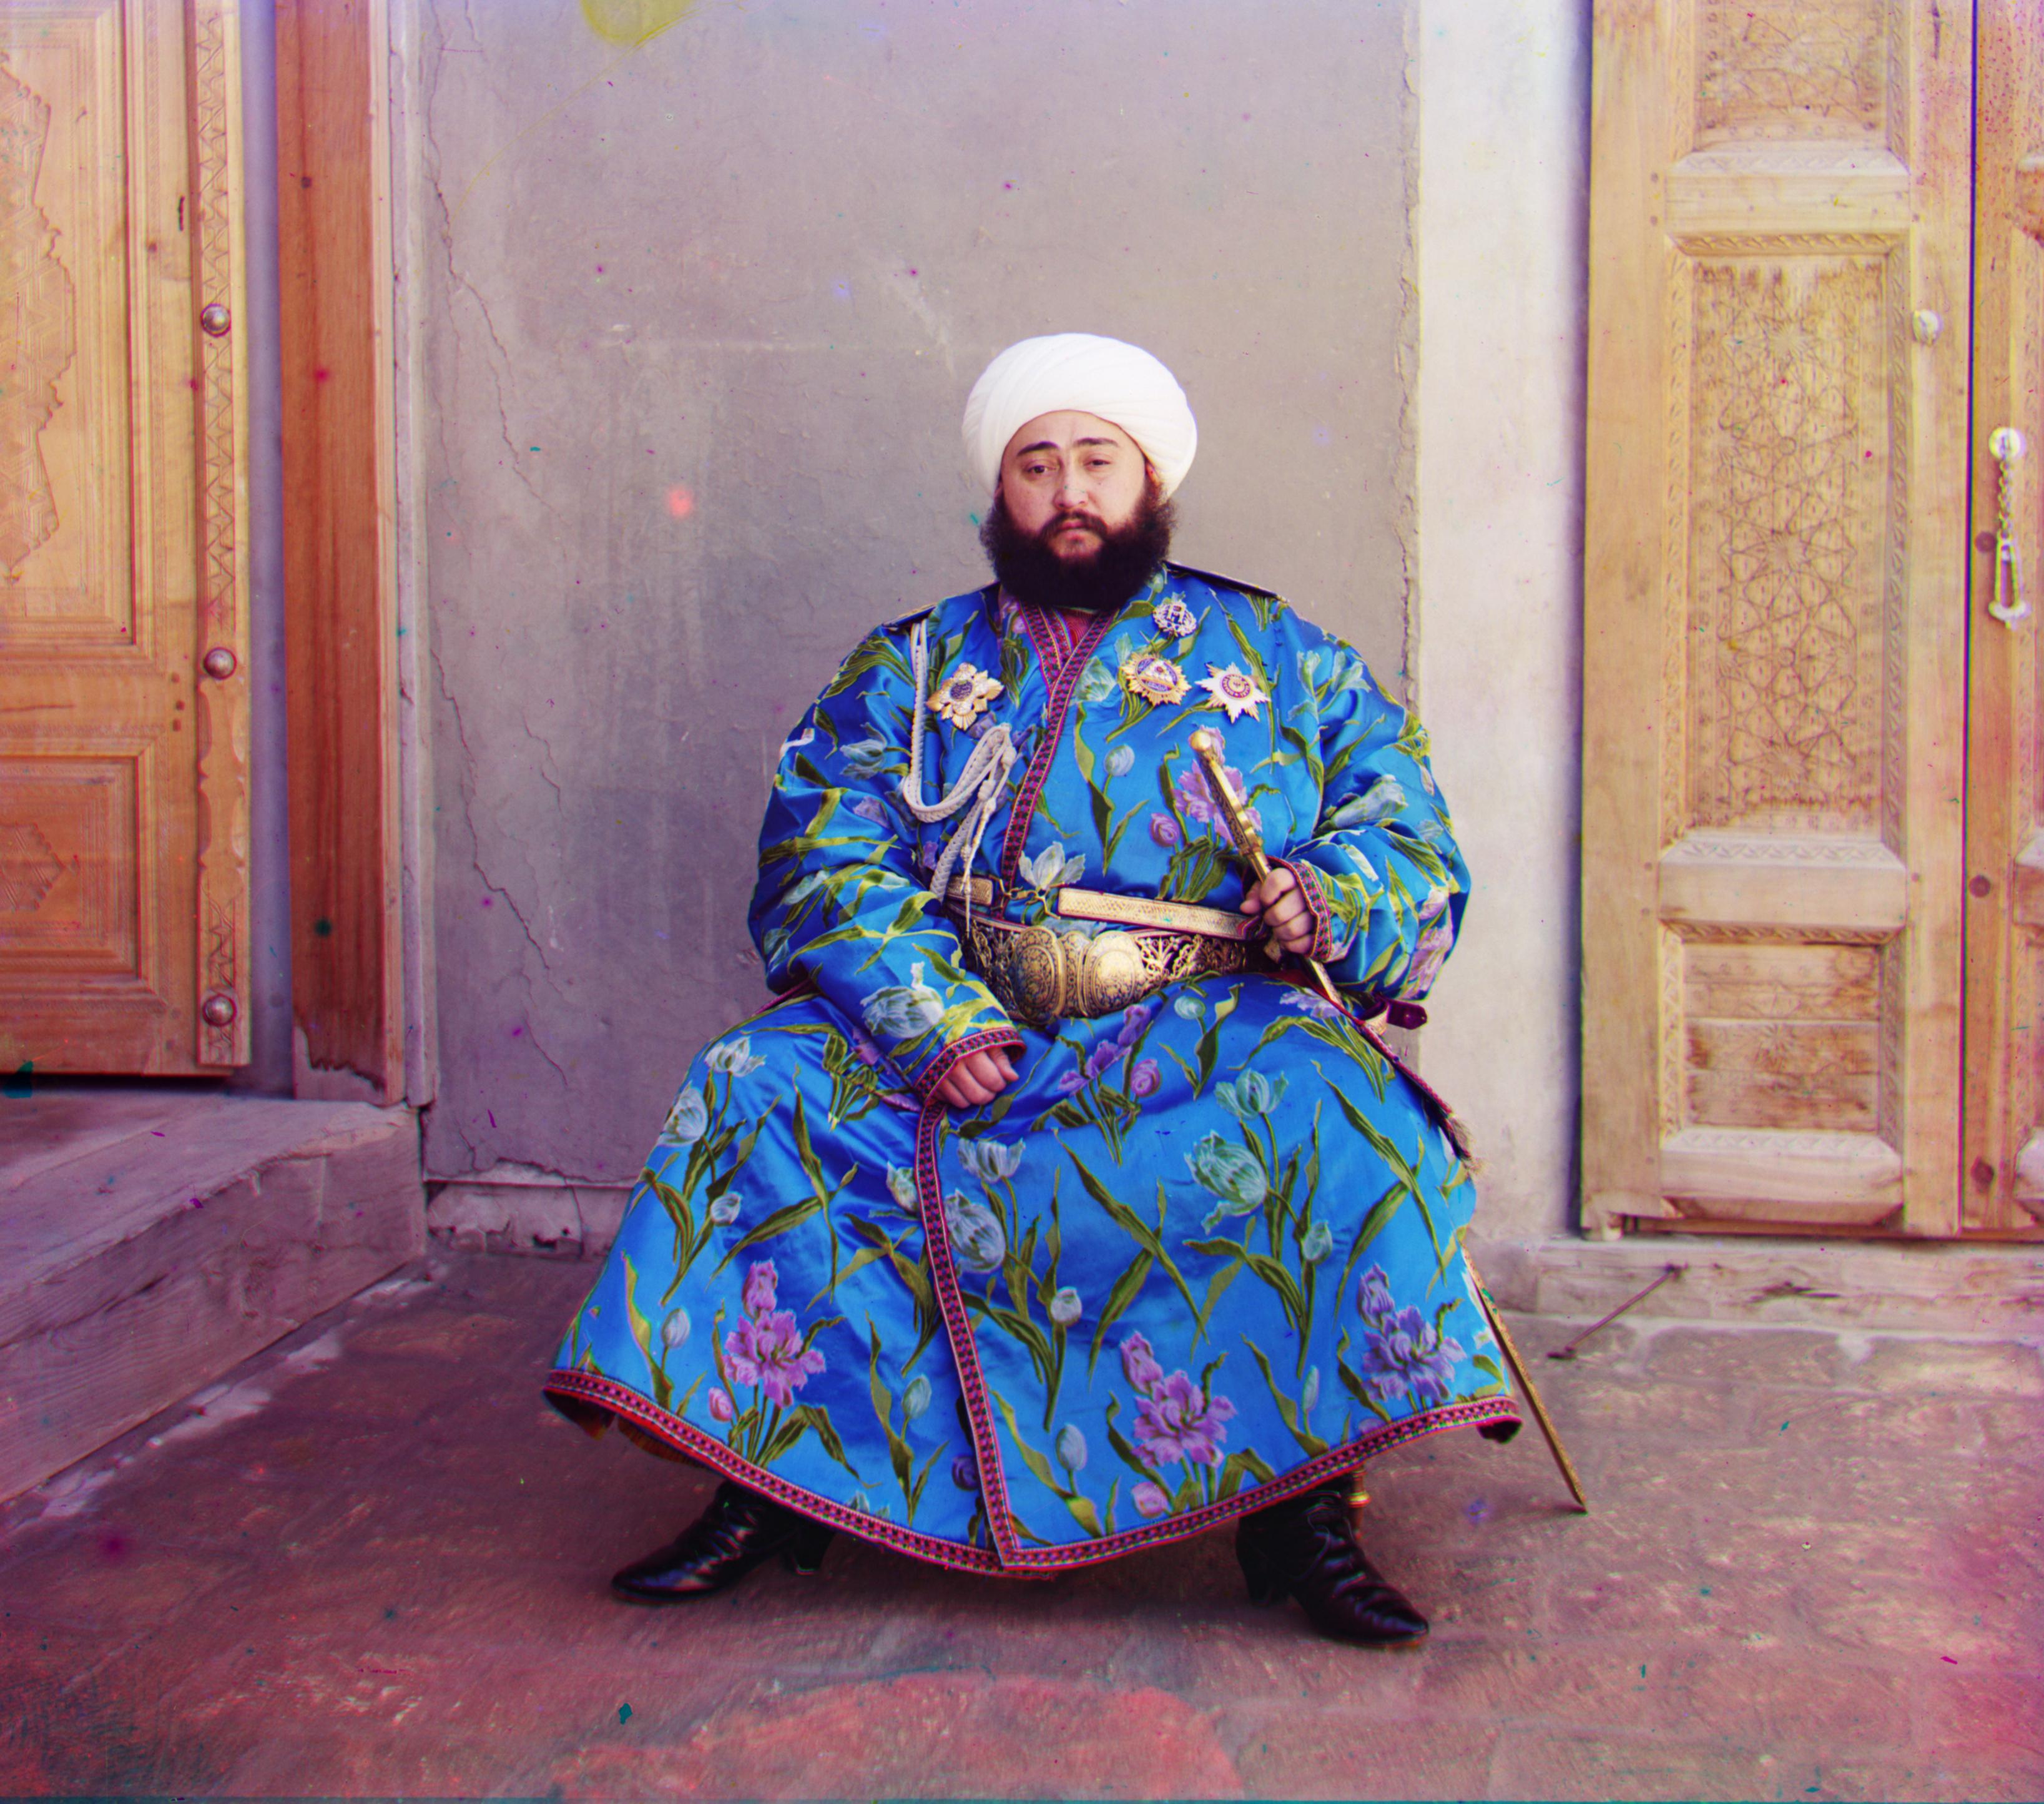
Automatic White Balancing
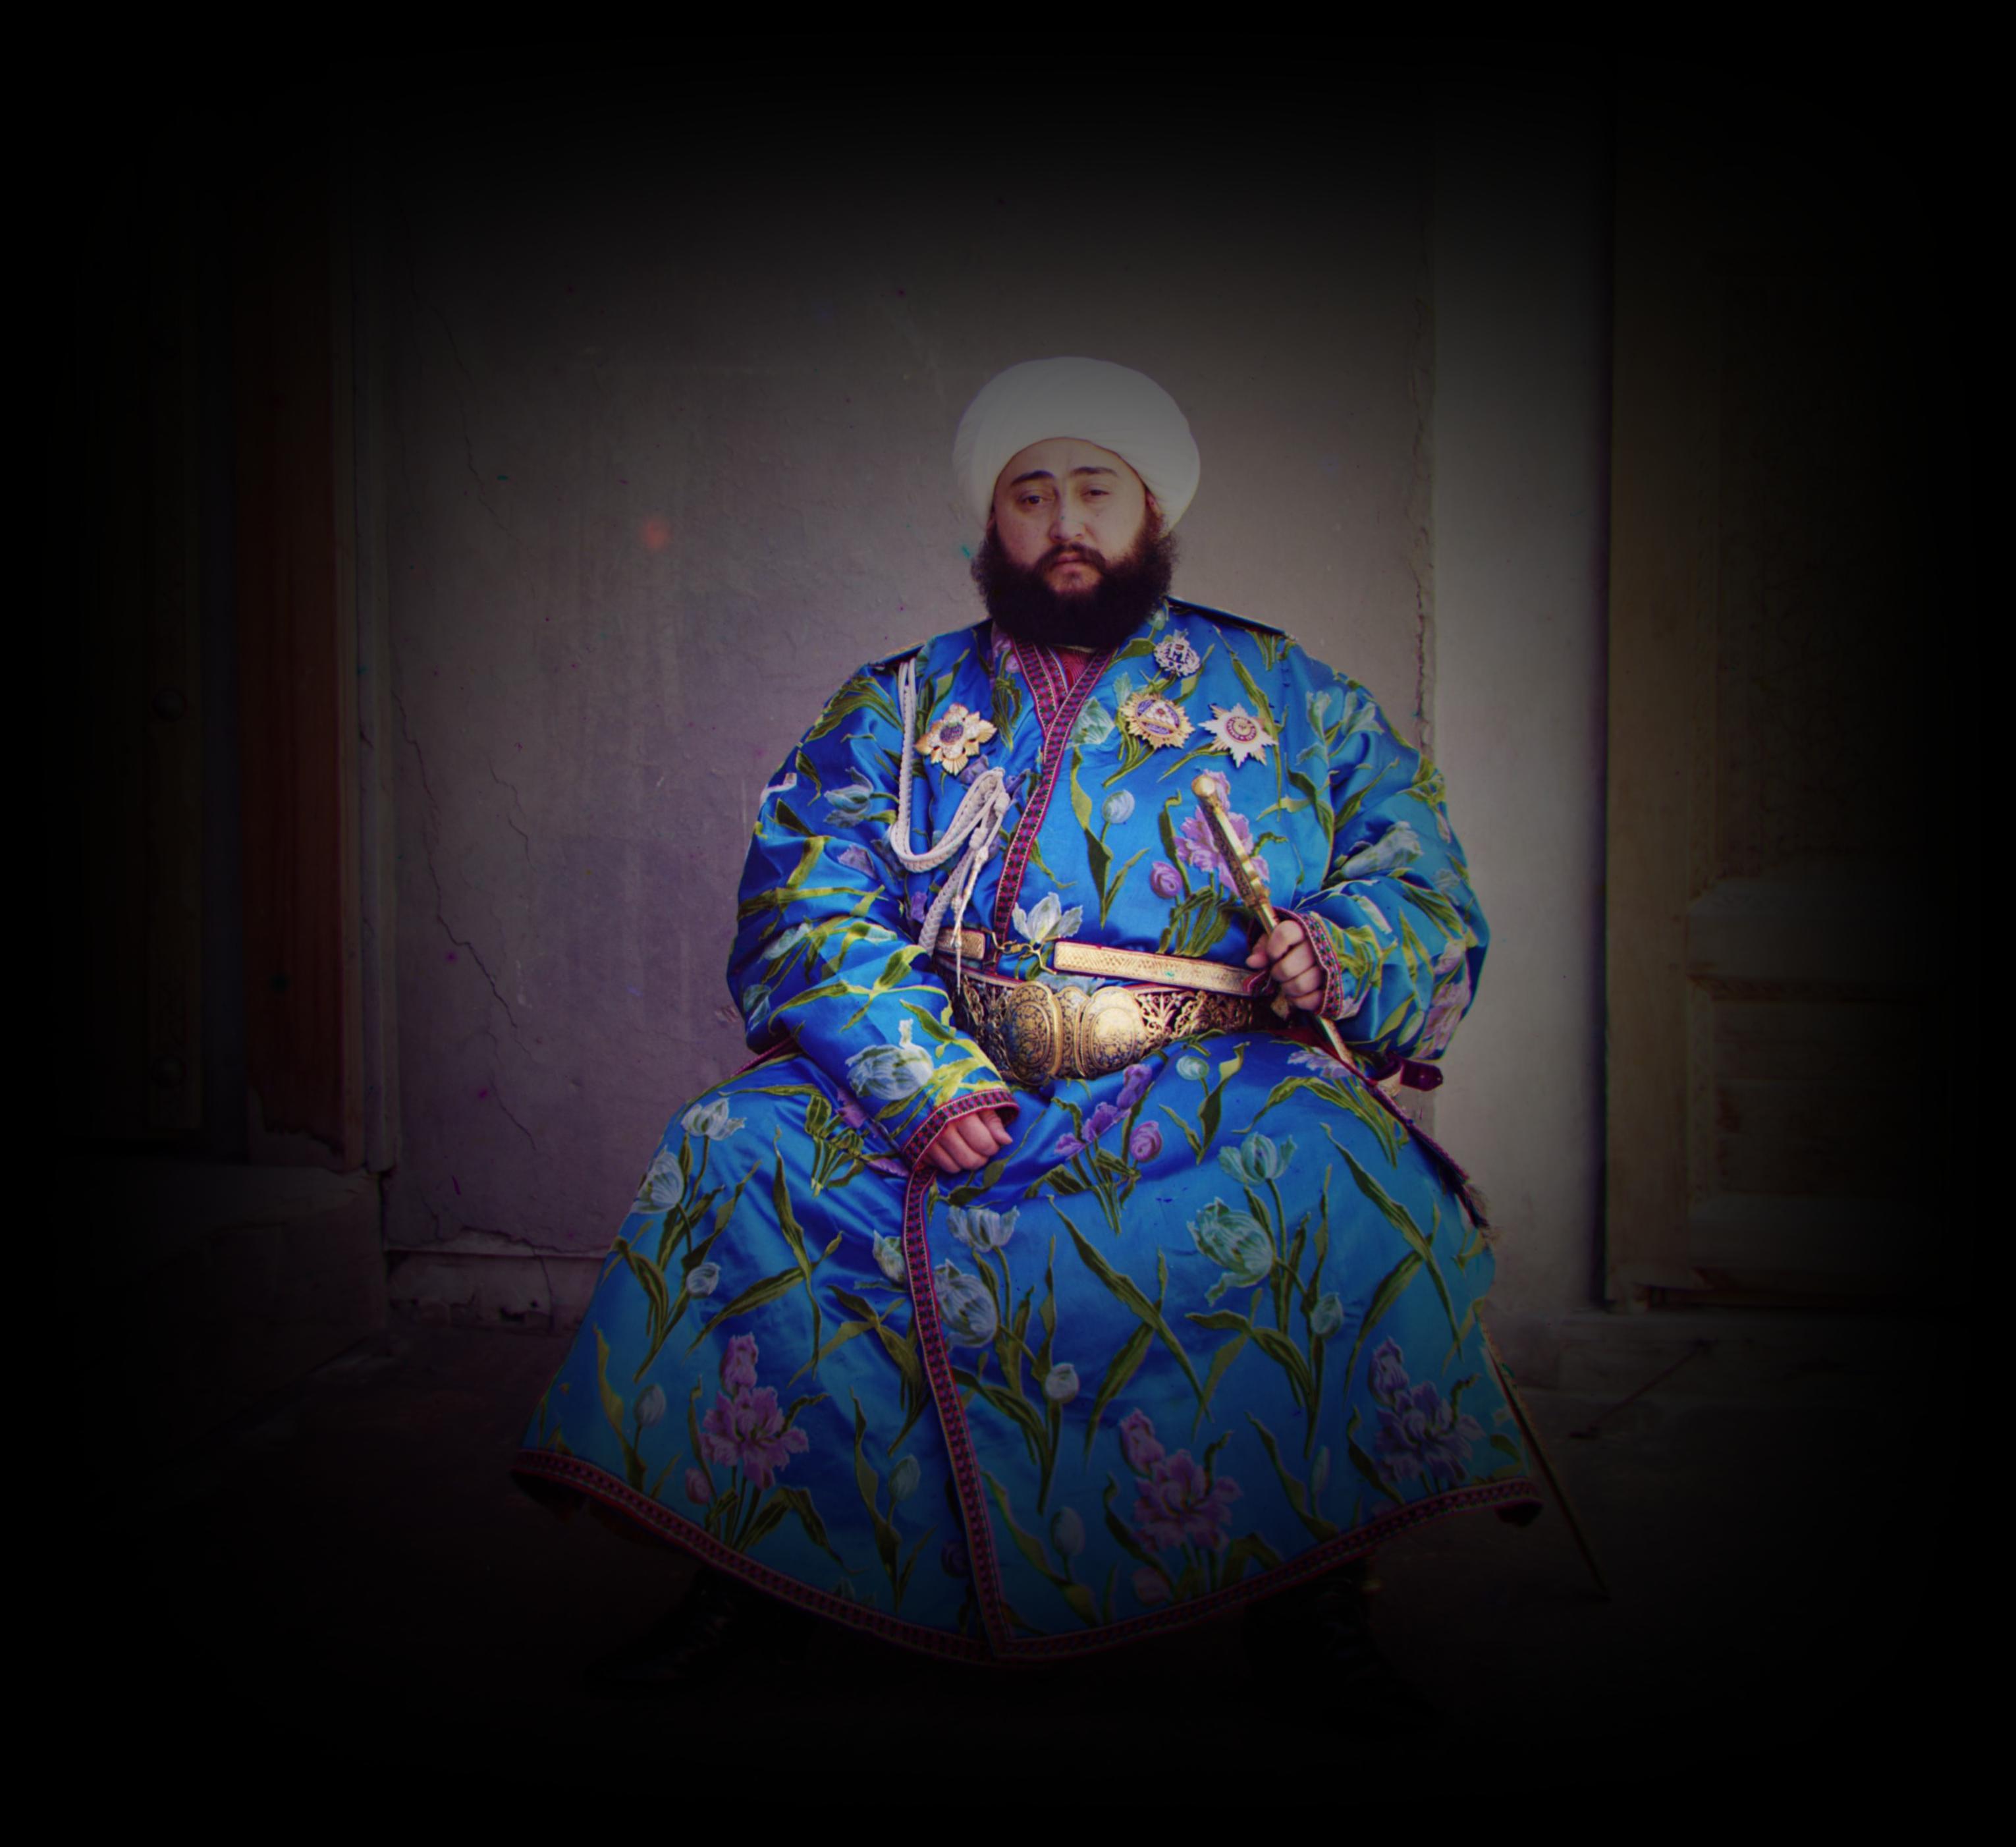
I used the same algorithm used by GIMP. For each separate channel, I define the 99th percentile as white and 1st percentile as black, and scale other pixels accordingly. Although this method is quite simplistic, it seems to give good results. However, it has two drawbacks: 1) Large amounts of speckle noise distorts colors, and 2) It can lead to oversaturation (as seen in the lady's shirt). To mitigate this, one can autocrop and auto-contrast images before white balancing.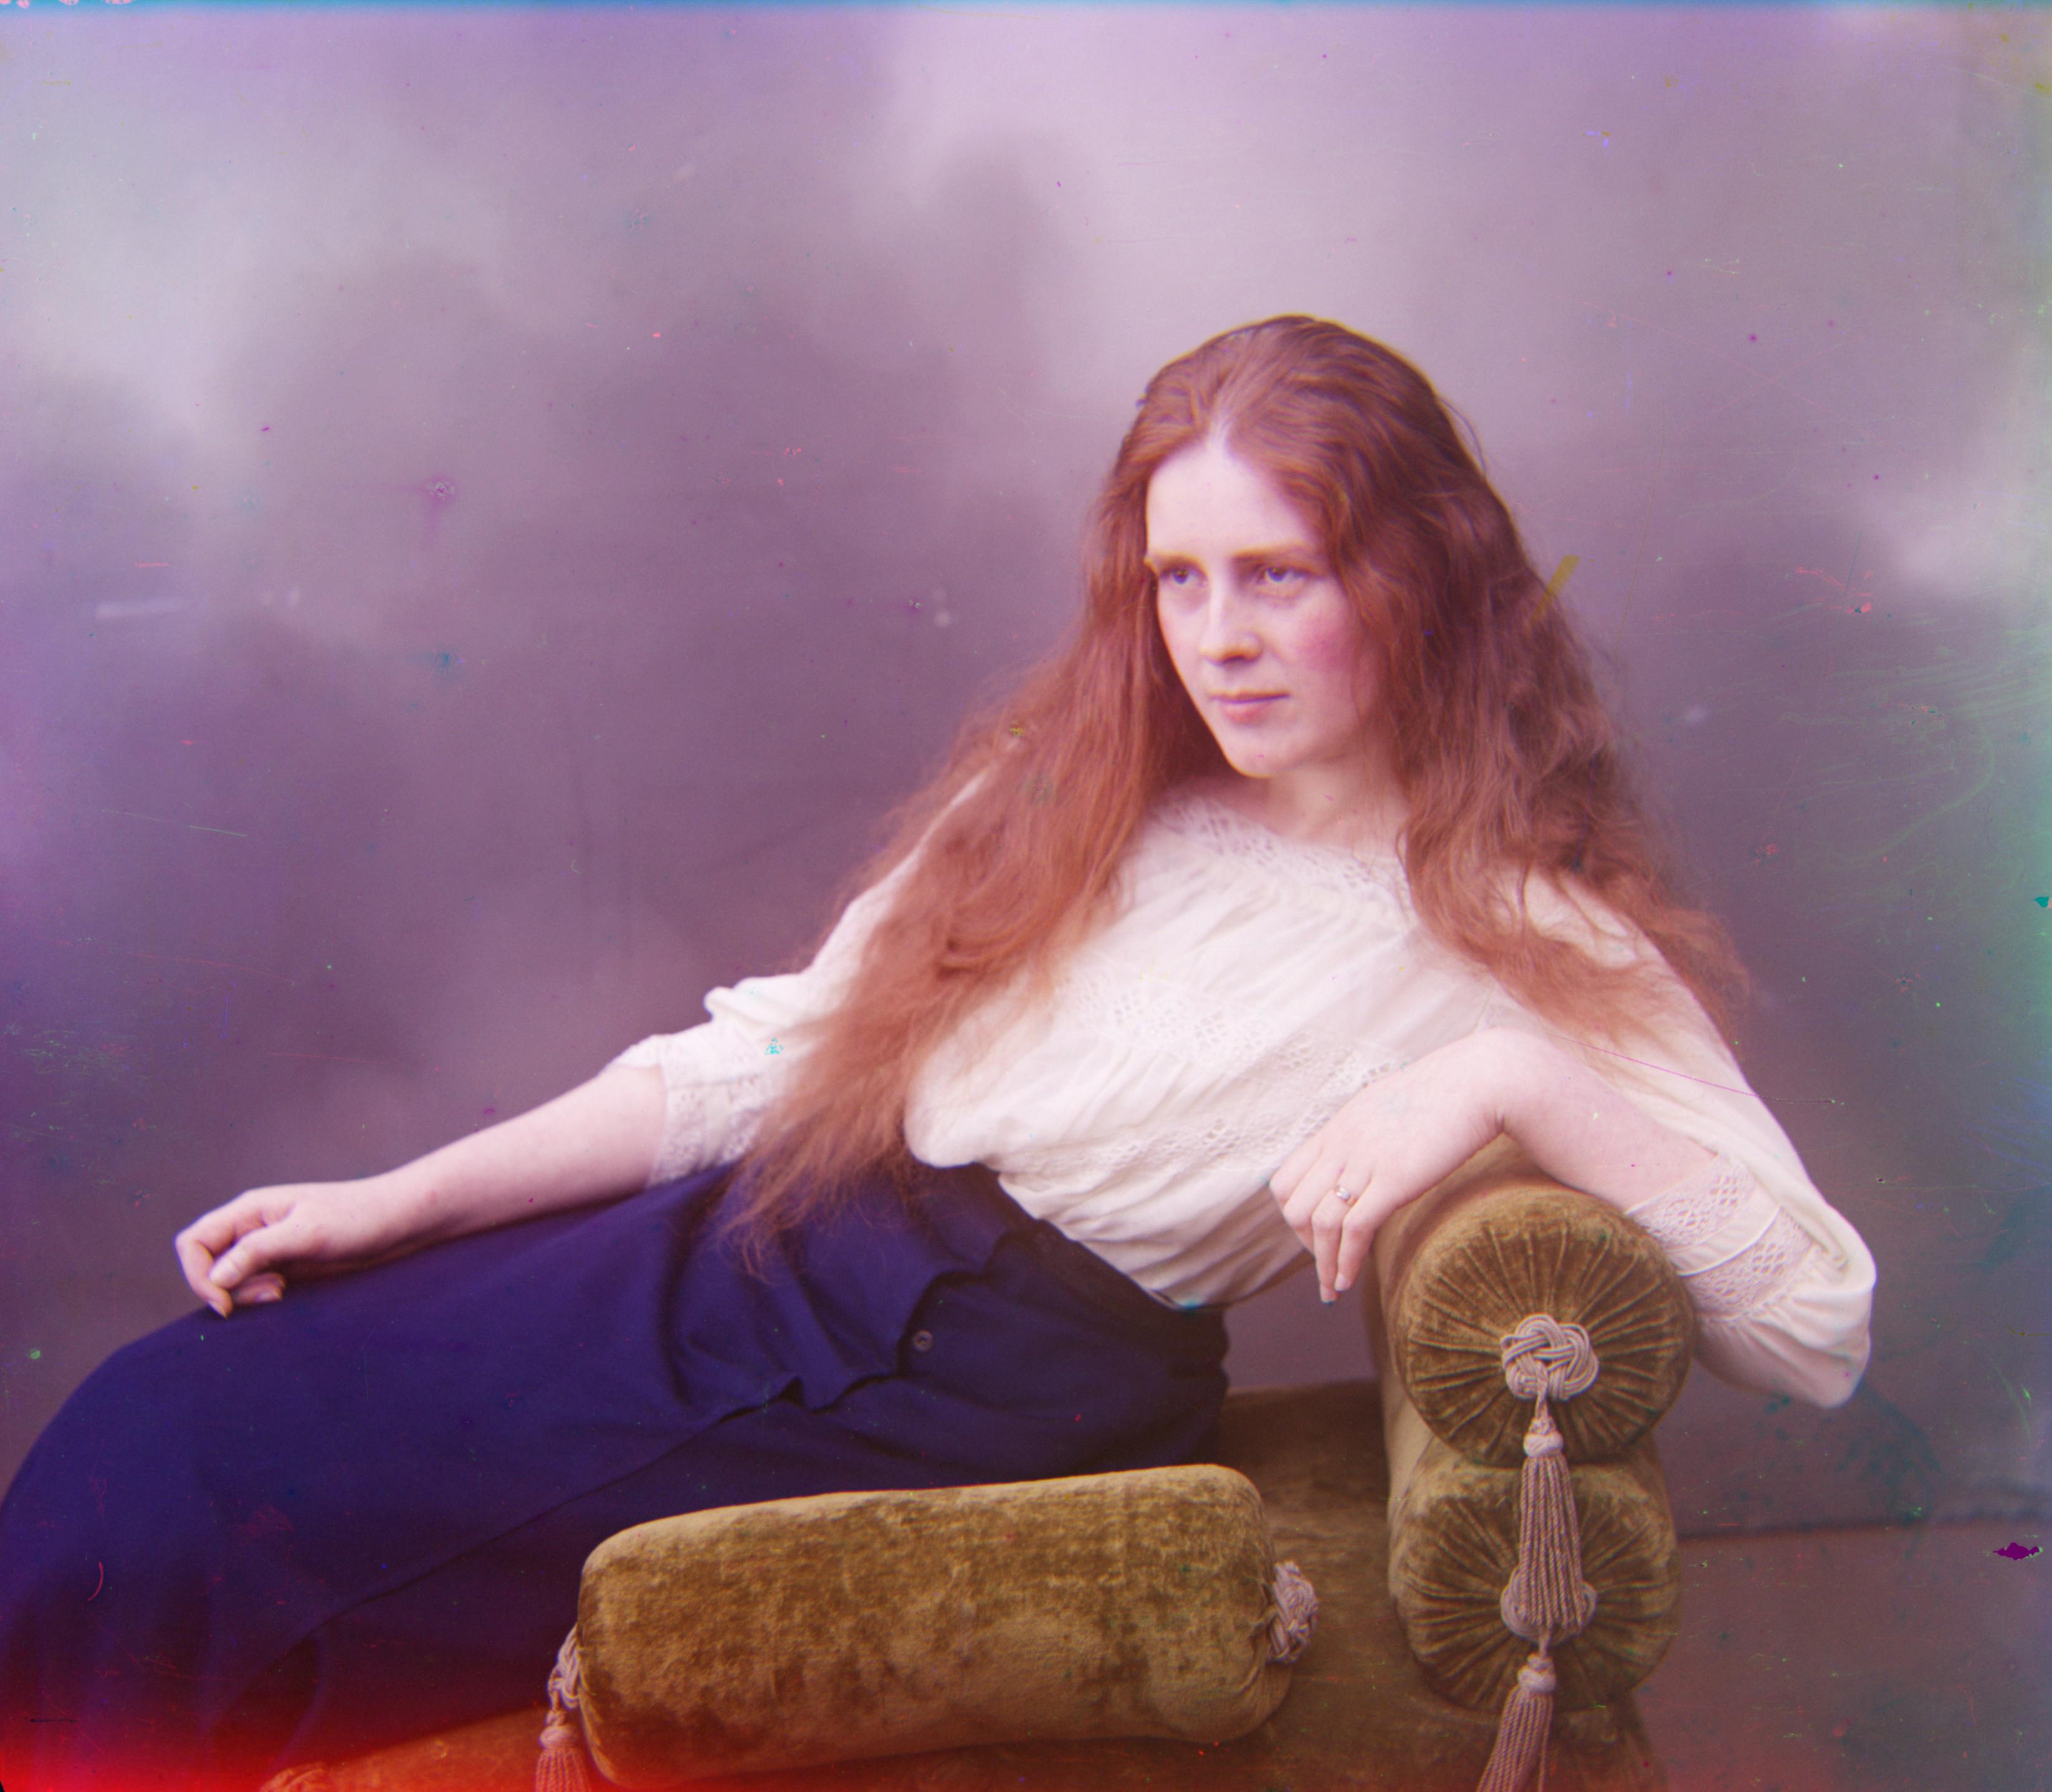
Alignment using edge features instead of raw pixels
I tried to use sobel filters to improve the alignment performance. It doesn't have any improvements with sine-weighted NCC. In fact, it sometimes makes performance worse. However, for regular NCC, it can result in huge improvements

Speeding up search
Since sine-weighted NCC mostly looks at center areas, it is possible to crop out thick borders and still get the same alignment. This can cause drastic speedups as most pixels are contained near borders. For example, cropping the image by just 15% on each side (30% per axis) can reduce the number of total pixels by half. This speeds up the computation by twice, and as the following images indicate, the alignment is still perfect. The displacements obtained from these cropped images are the same as large images.
Image Sharpening
Simple gaussian sharpening boosts image quality noticeably.Channel De-speckling
Over the last century, these glass plates have acquired quite some damage. Some of this damage shows up as little speckles all over the image. Fortunately for us, due to the phsyical structure of these glass plates, most of these speckles are highly saturated and only limited to one channel. This makes it easier to filter out the speckles. My technique relies on a modification of anisotropic diffusion that modulates blurring in a channel (say R) using edges in other channels (G and B) instead of the original channel (R) itself. As of now, it doesn't work :(Final Results
Here are some comparisons between aligments with and without these bells and whistles

Credits
Anisotropic diffusion function was copied from http://pythonhosted.org/MedPy/_modules/medpy/filter/smoothing.htmlMy white balance algorithm was inspired by GIMP's algorithm
Sharpening code: http://www.scipy-lectures.org/advanced/image_processing/auto_examples/plot_sharpen.html