Overview
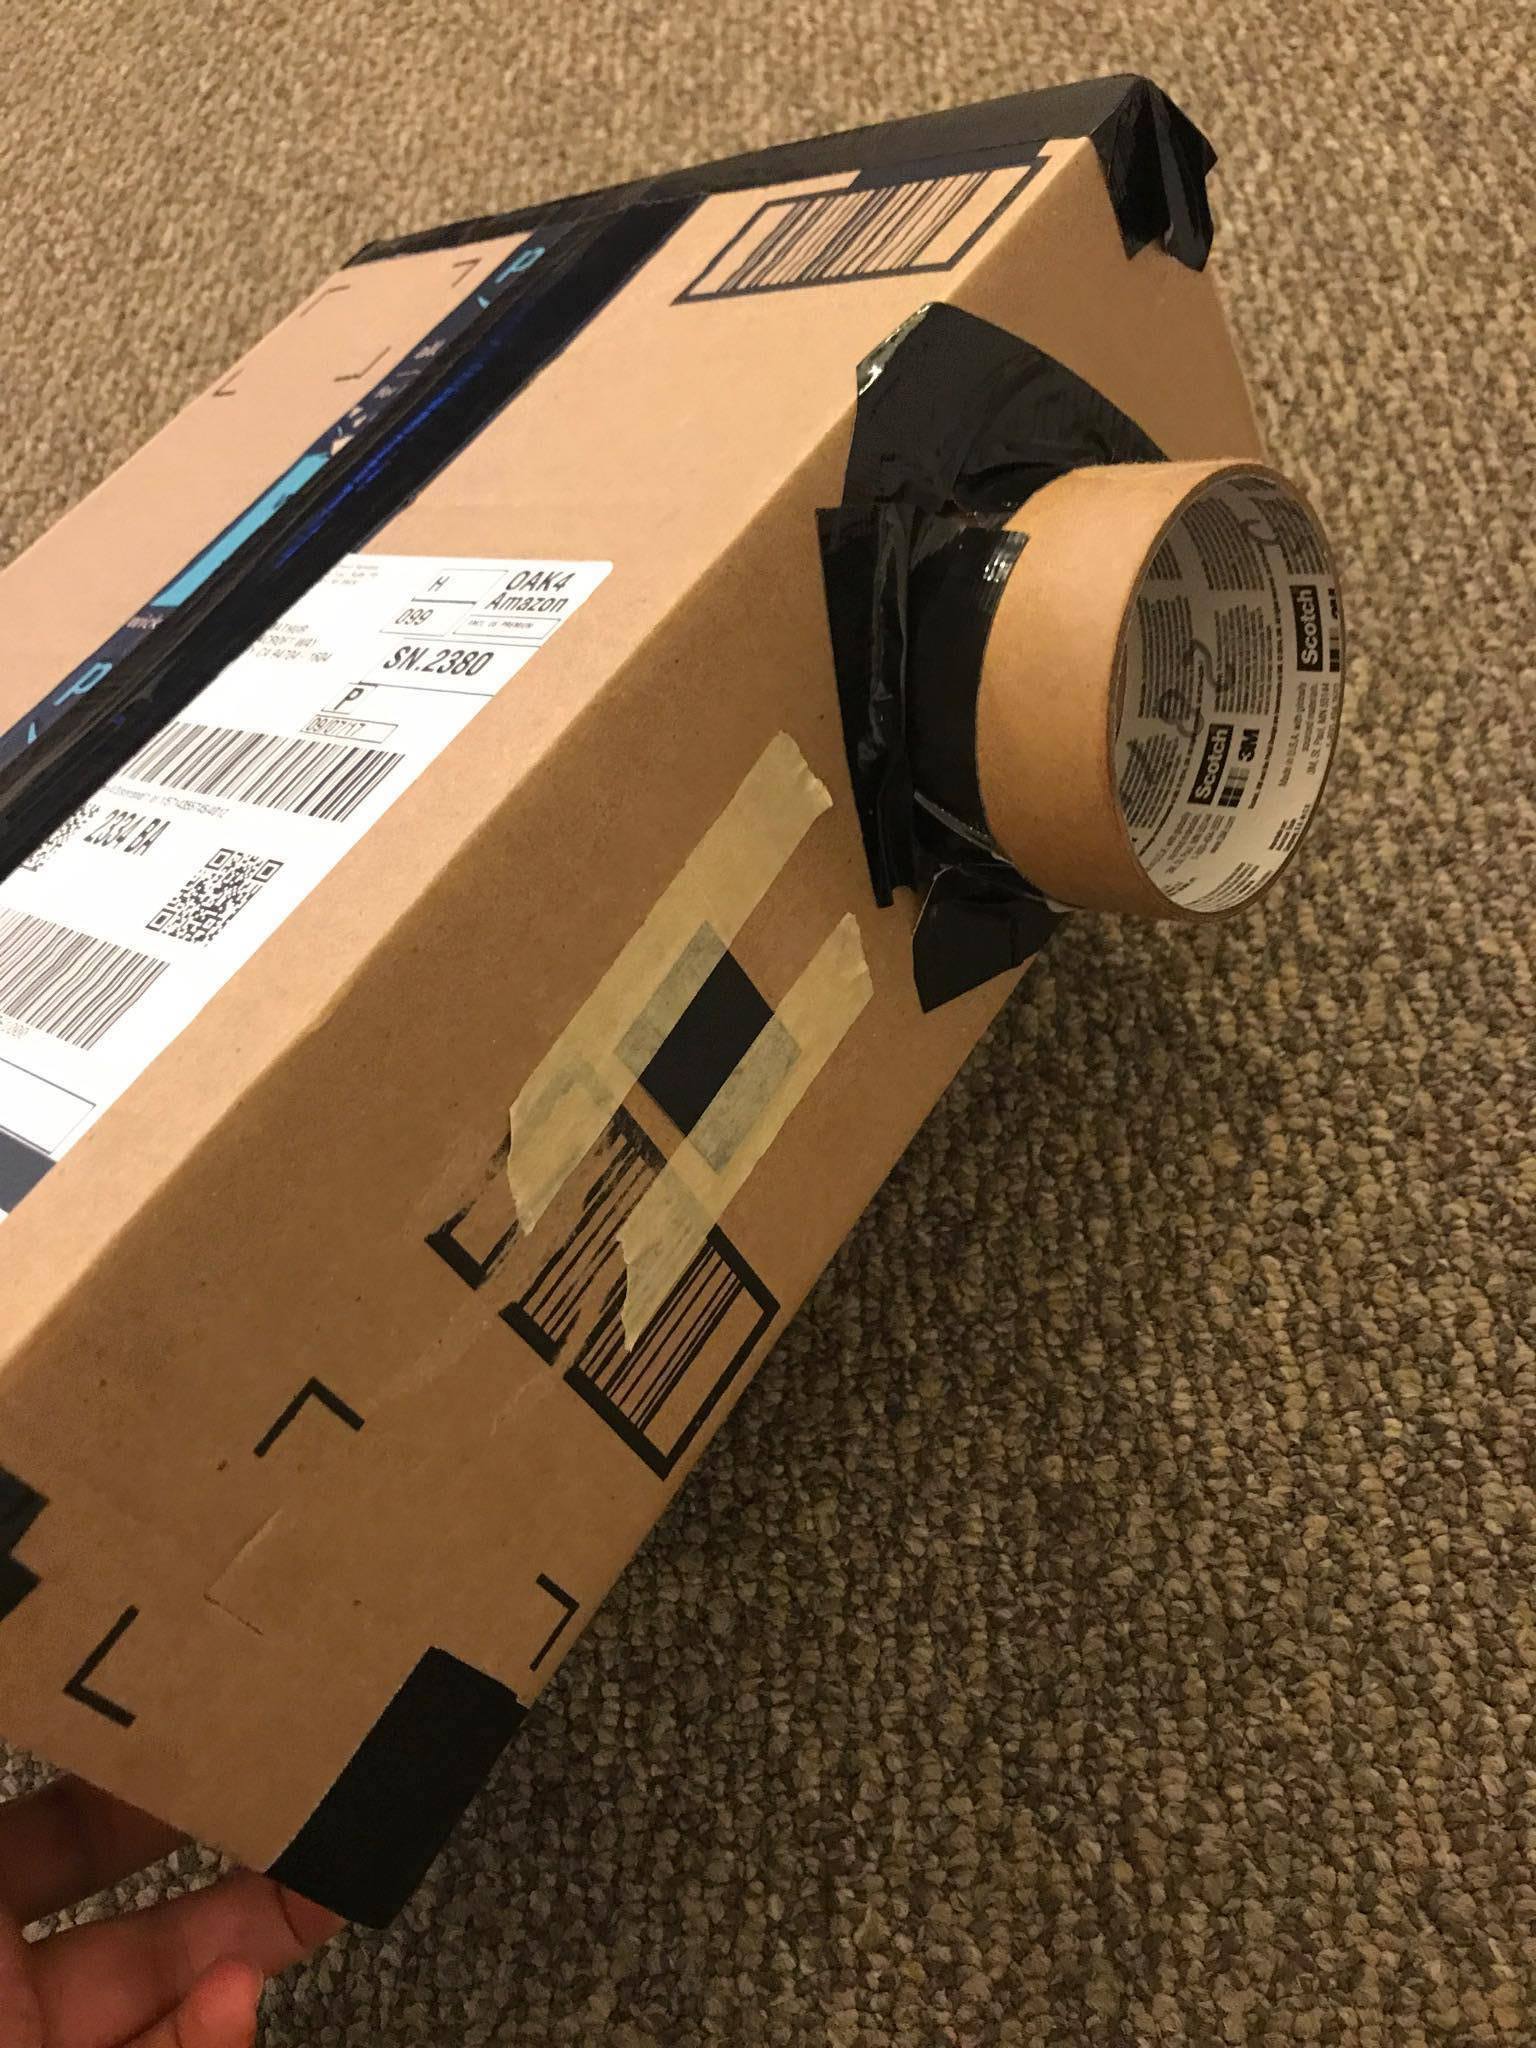
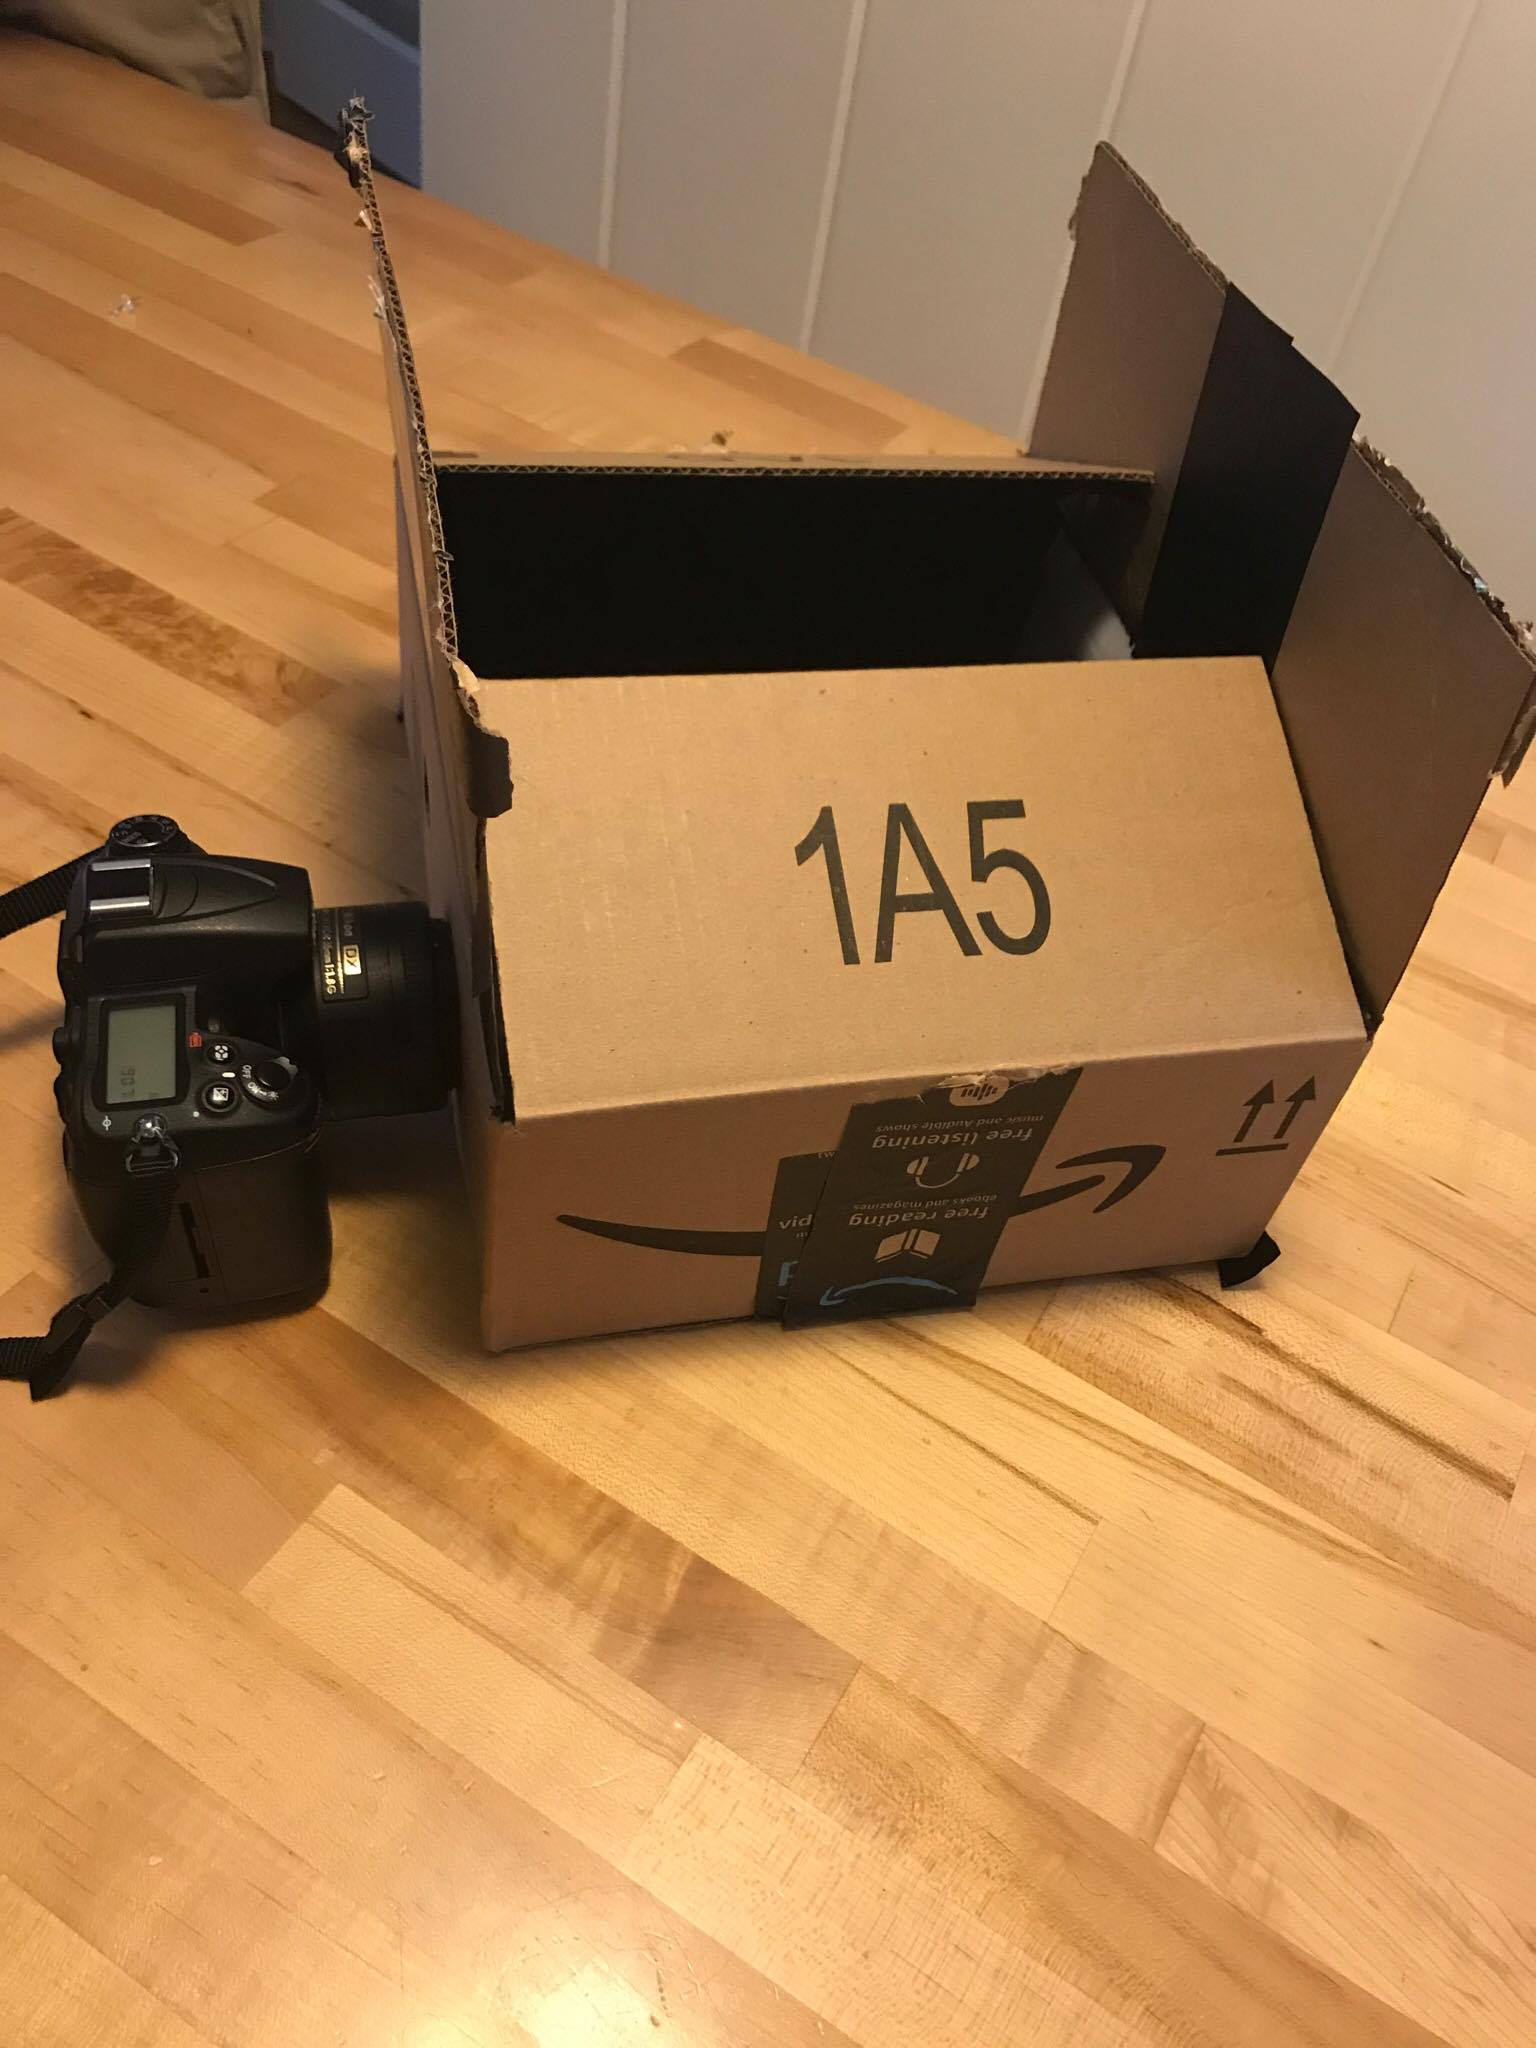
In this project, we built a pinhole camera, similar to the image above. We took an old cardboard box and poked a pinhole in one side. We covered the inside wall opposite the pinhole with white paper, and black paper for all other inside walls, so that light would enter the box through the pinhole, and only bounce off the white wall. The scene from the world will be projected onto the screen, and the digital camera will take a photo of the image that is projected.
Building the Camera
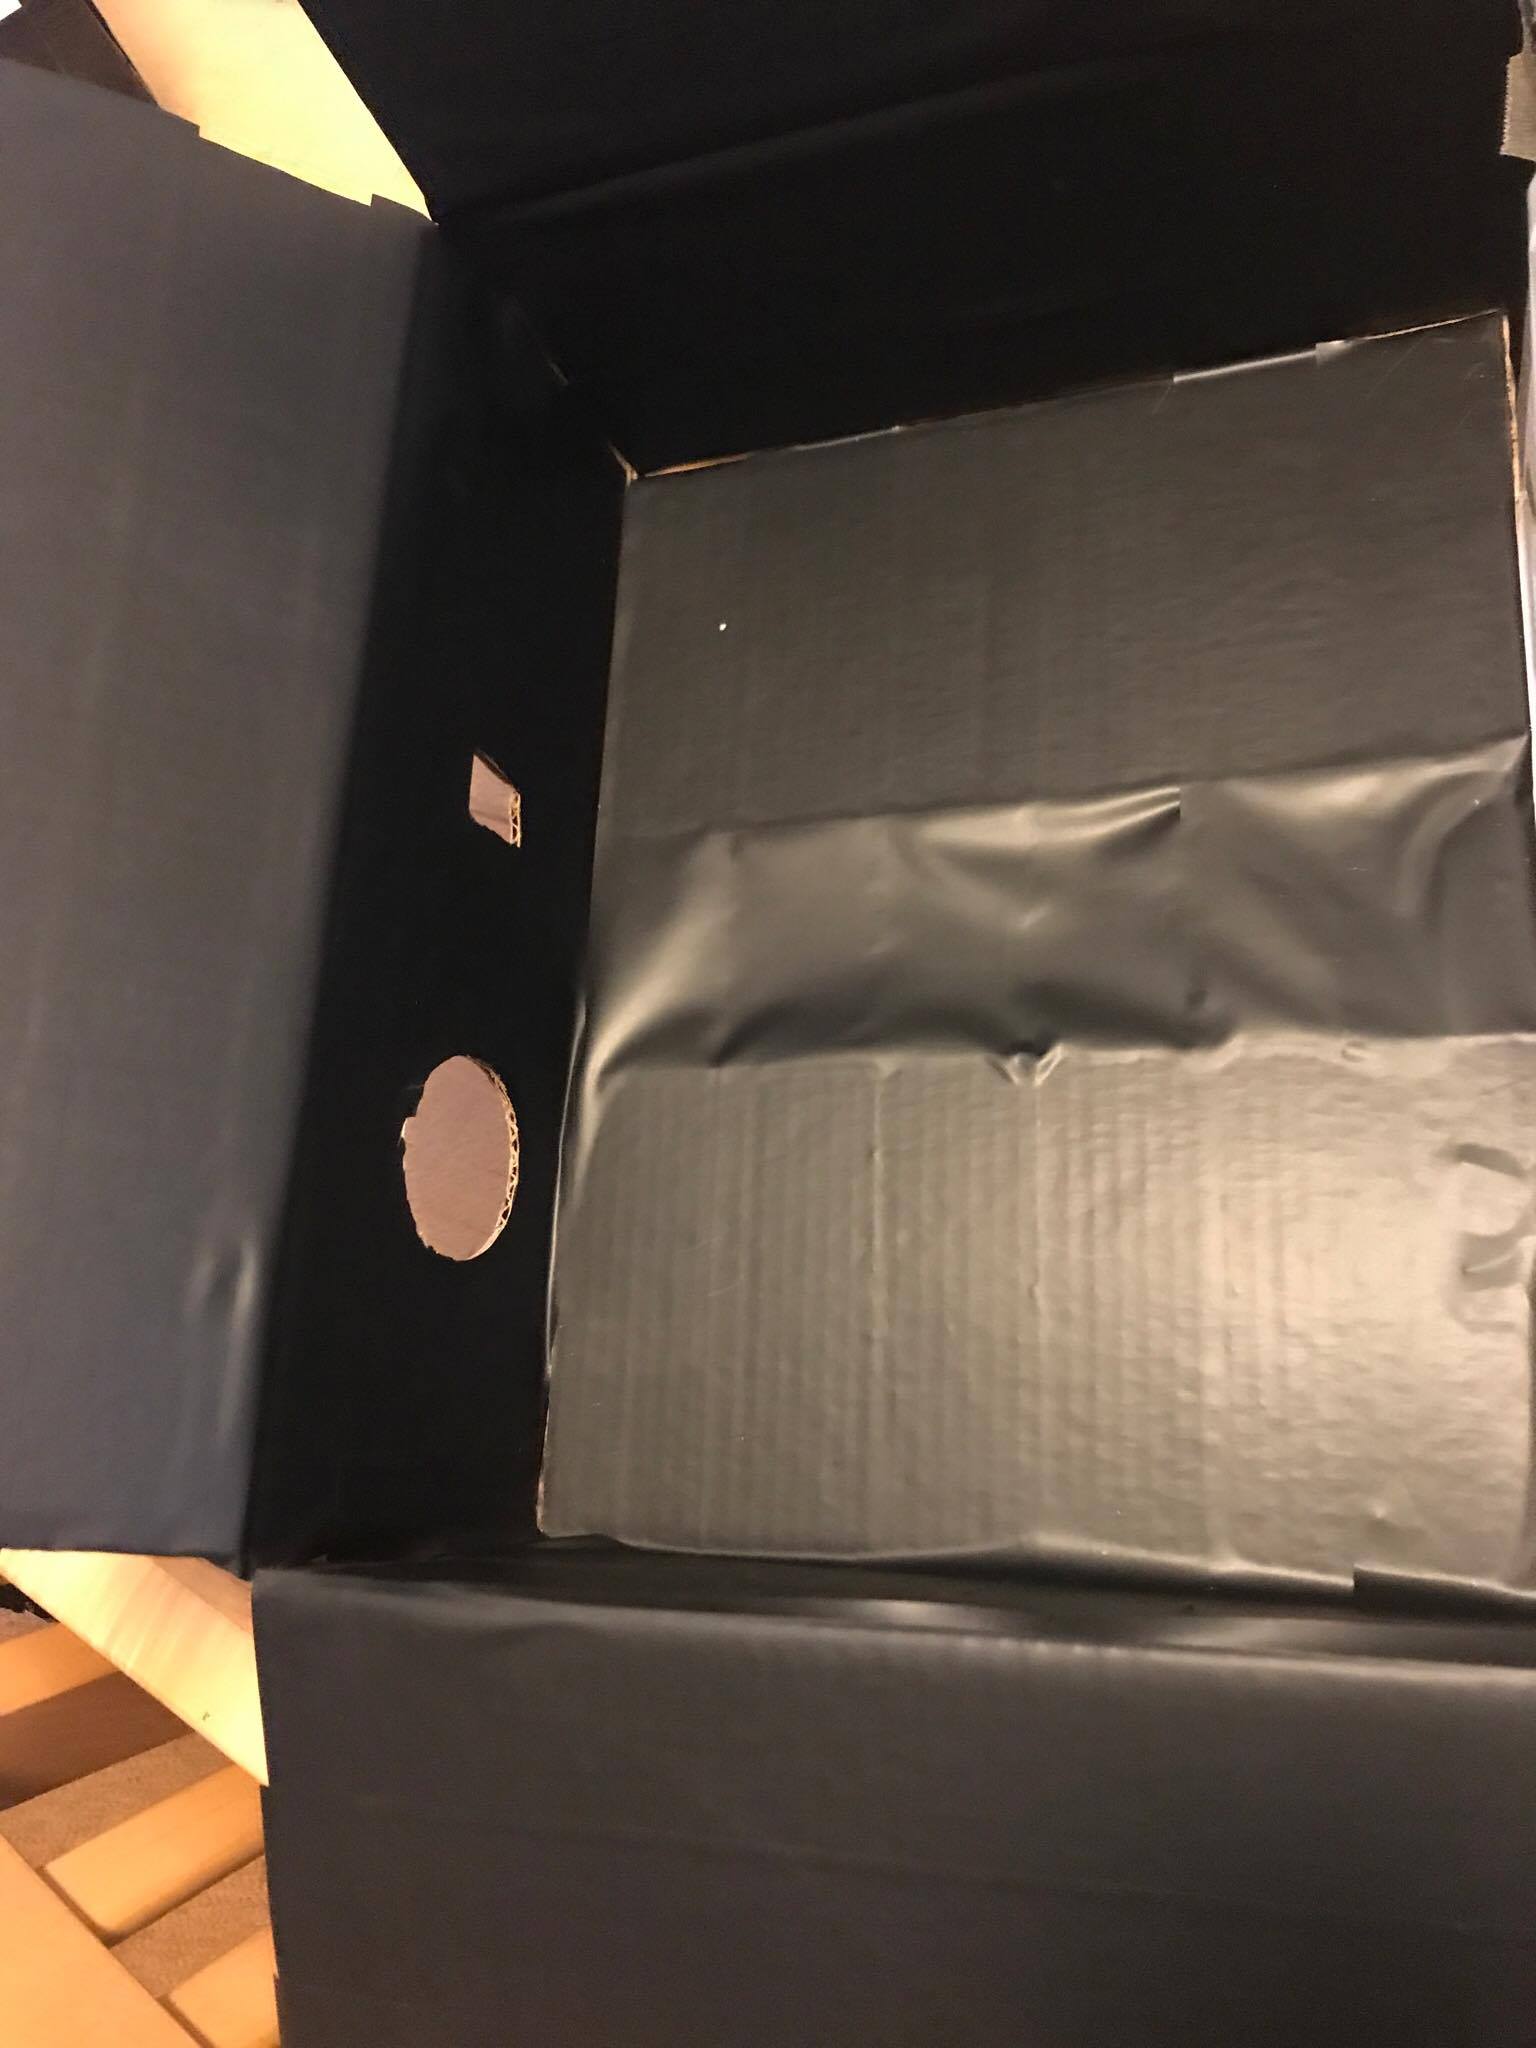
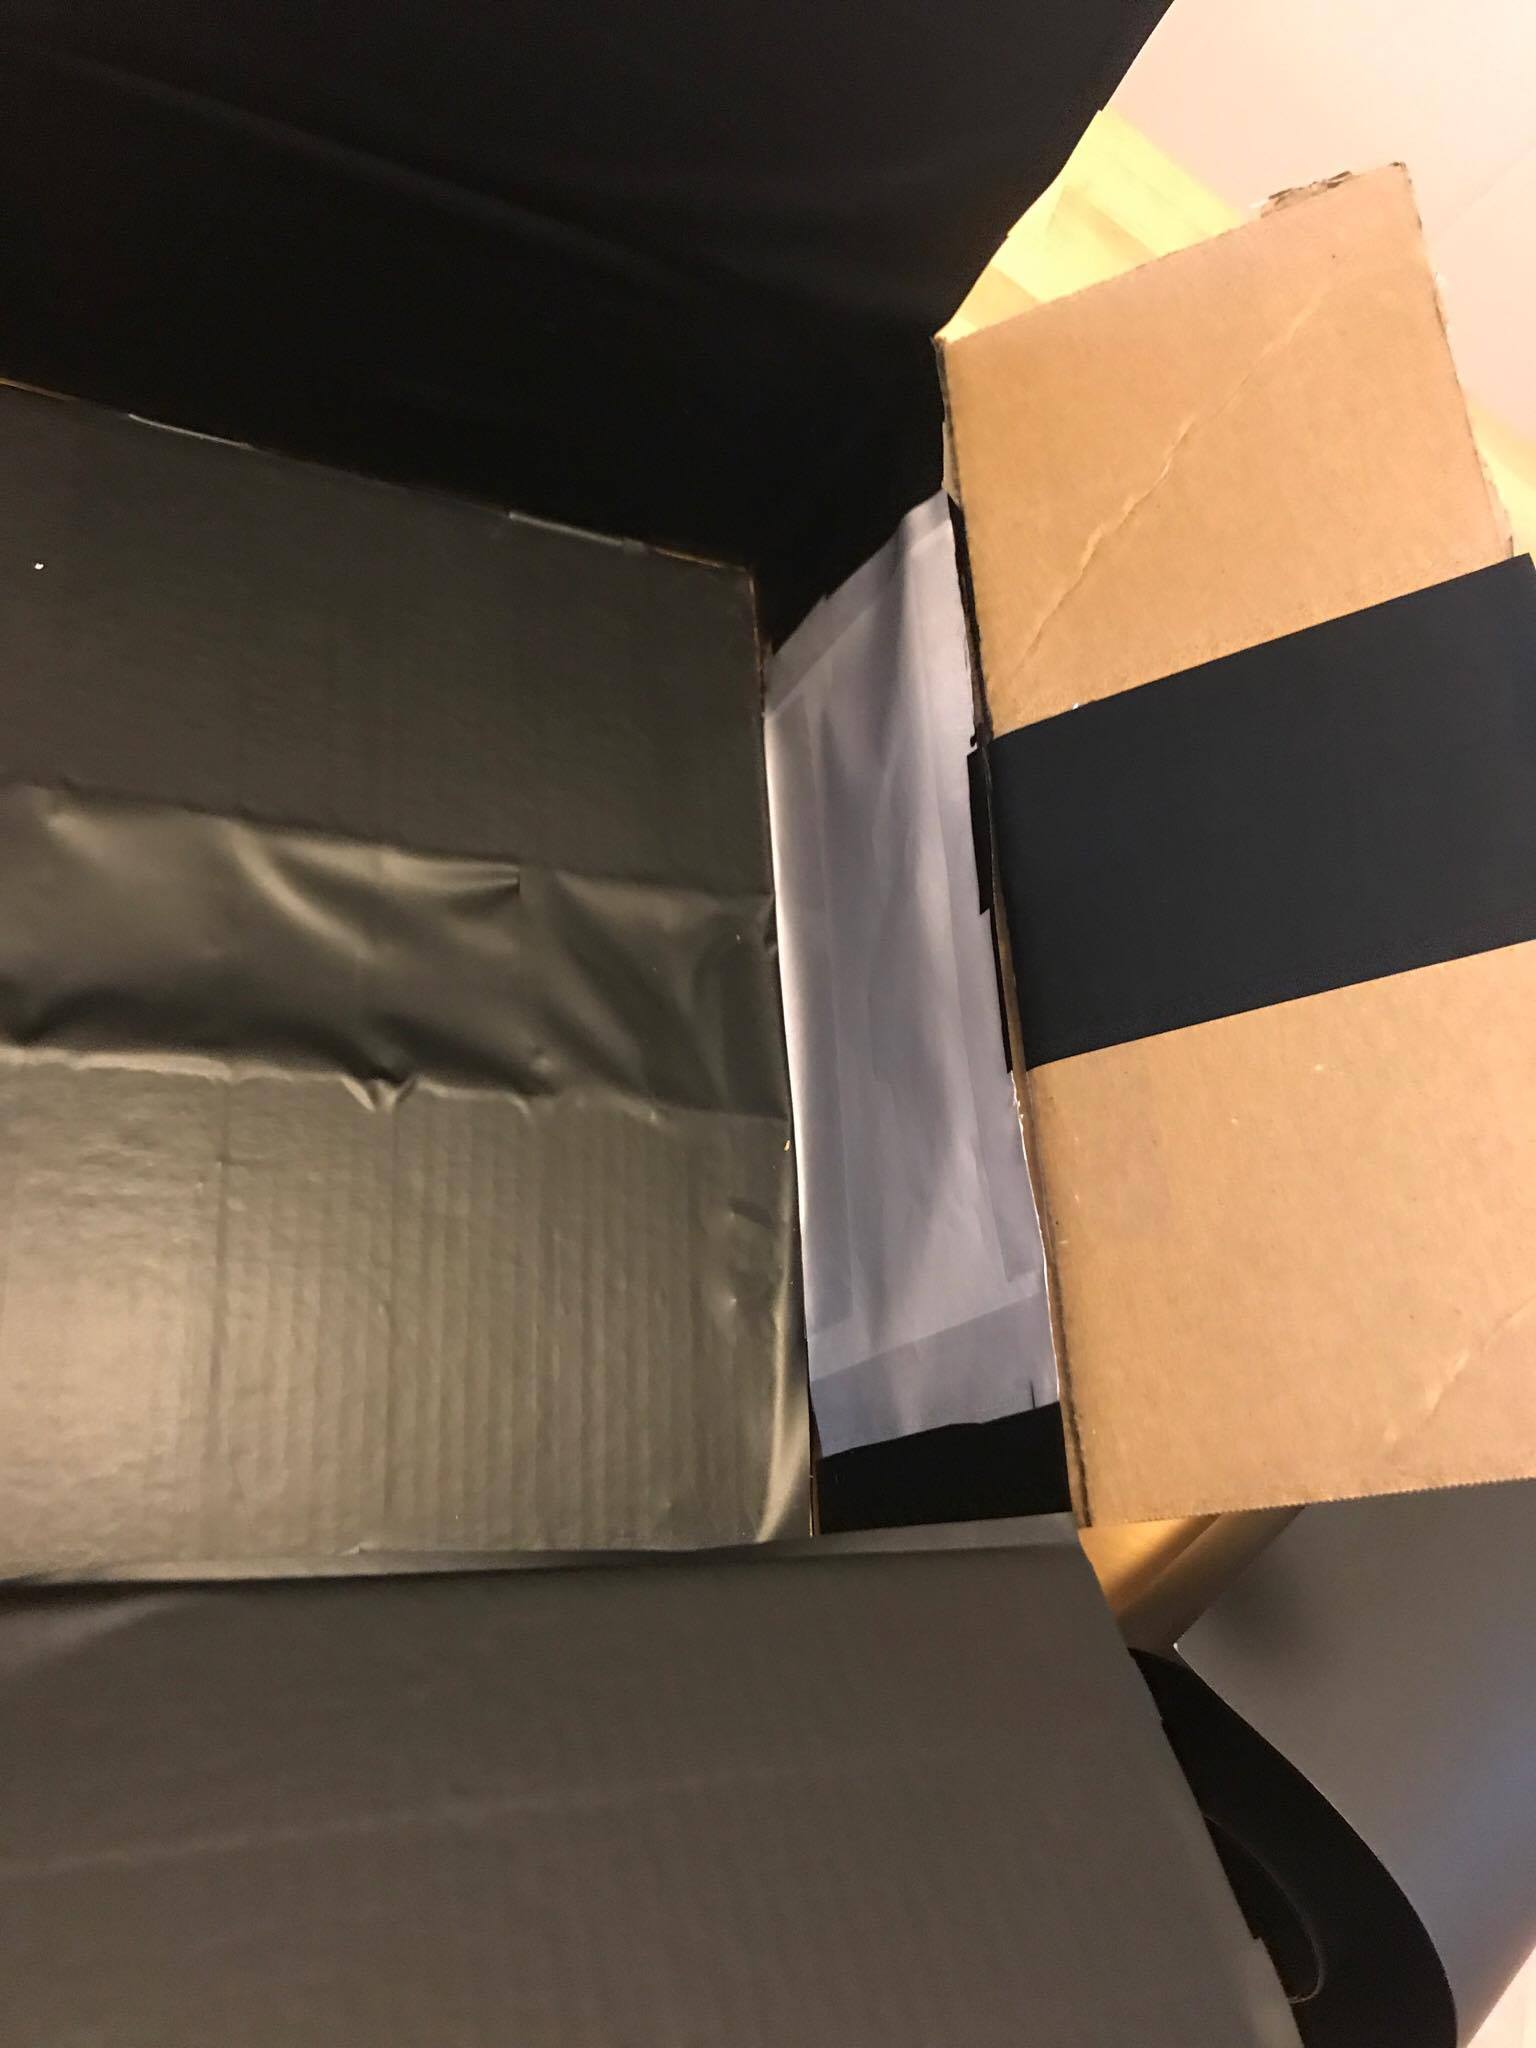
Below are some photos of the final product. We faced numerous difficulties. We were unable to find black paper, despite checking multiple office stores, so we decided to cover the inside of the box with black tape instead. In order to prevent light from entering the hole for the digital camera, we covered the opening with a small tube, as shown below. Another difficulty we faced was making sure the screen was completely flat against the wall, and didn't bend when we closed the box. Finally, we found that the photos we took were off to the side. To fix this, we angled the camera slightly, so that it pointed to the center of the back screen rather than the edge.
|
|
|
|
Results
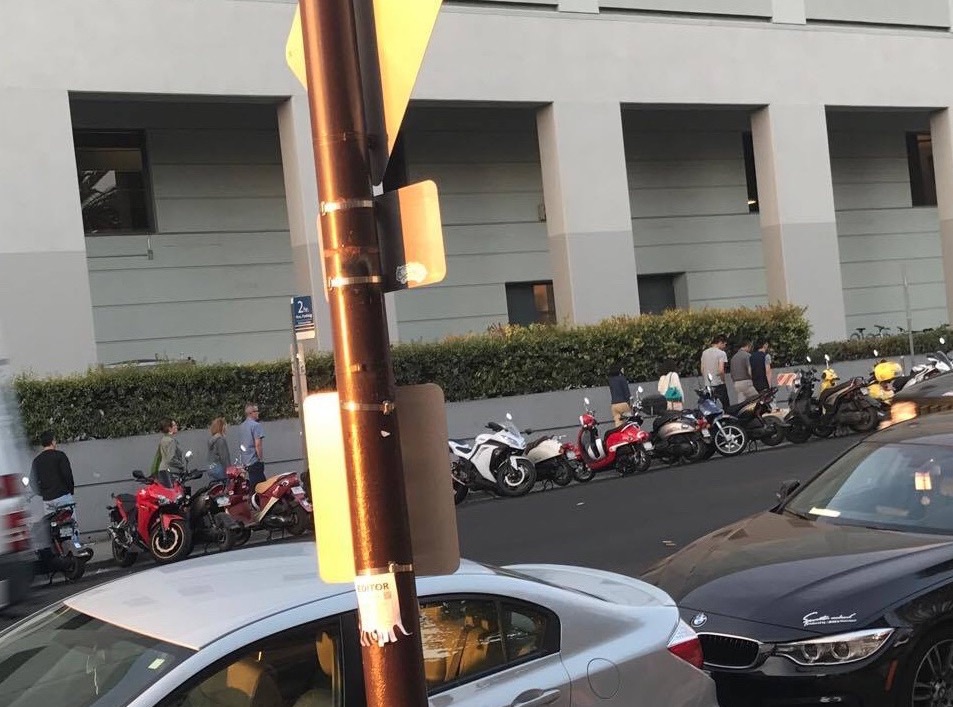
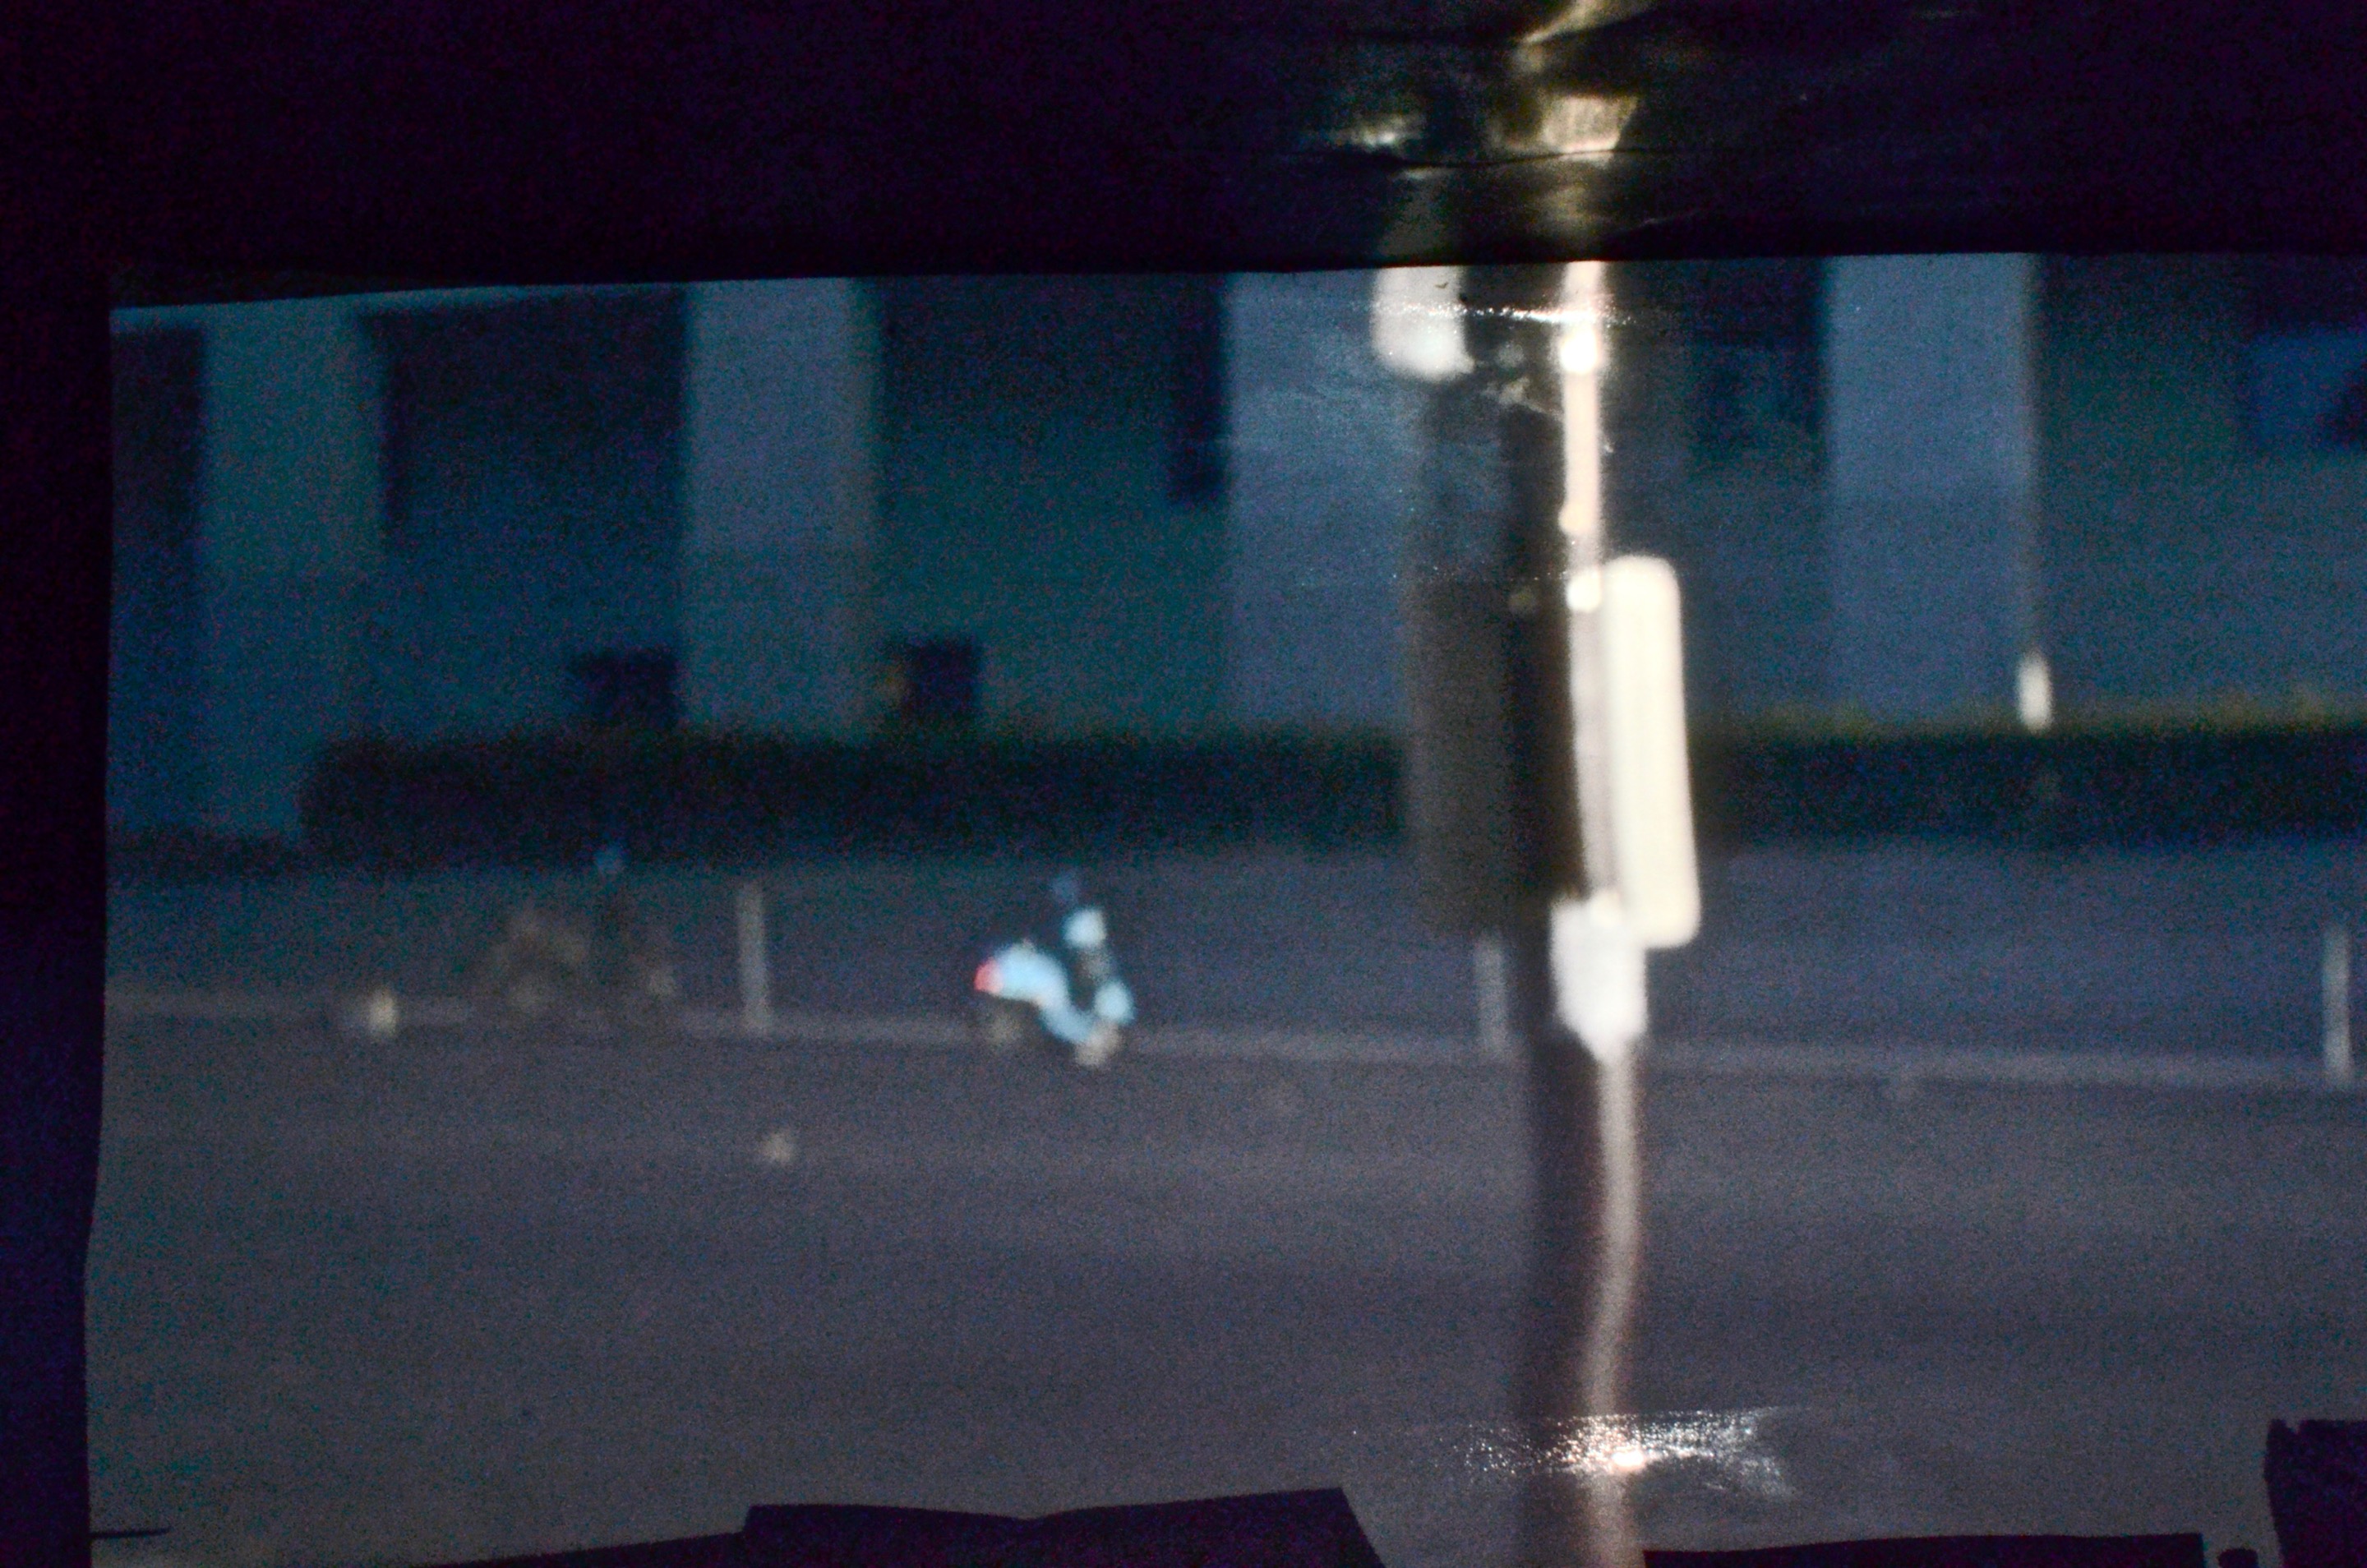
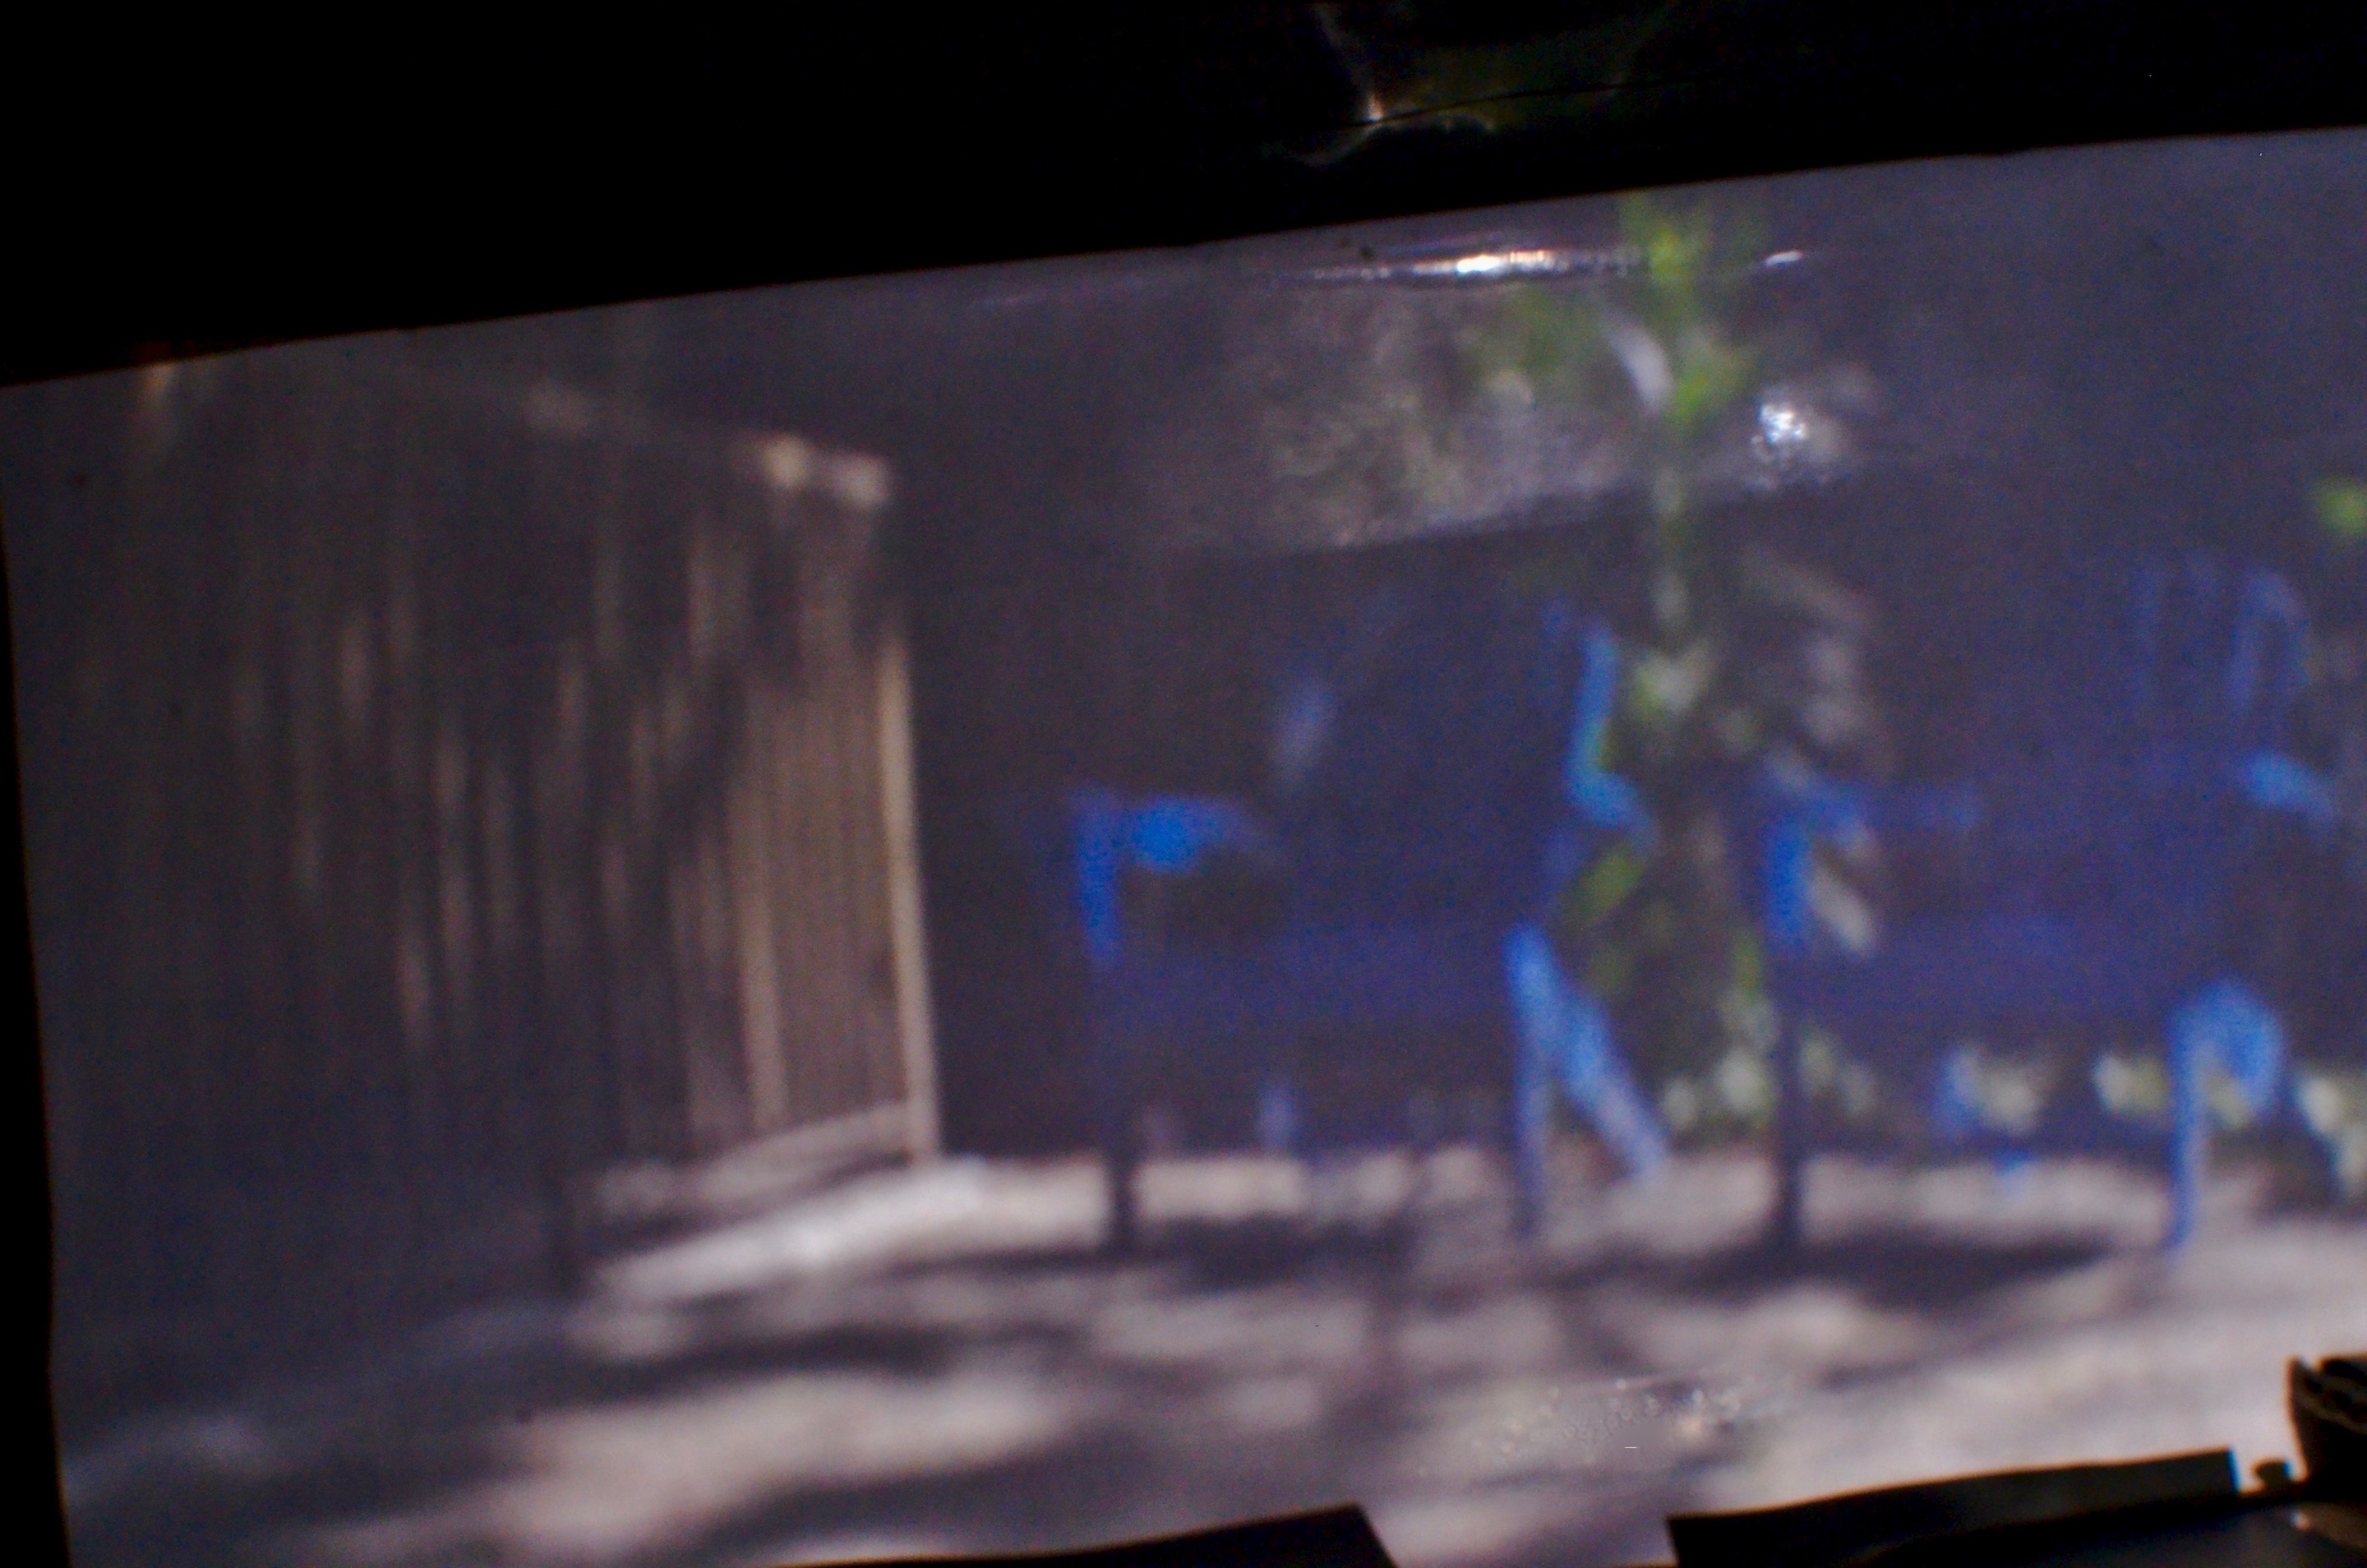
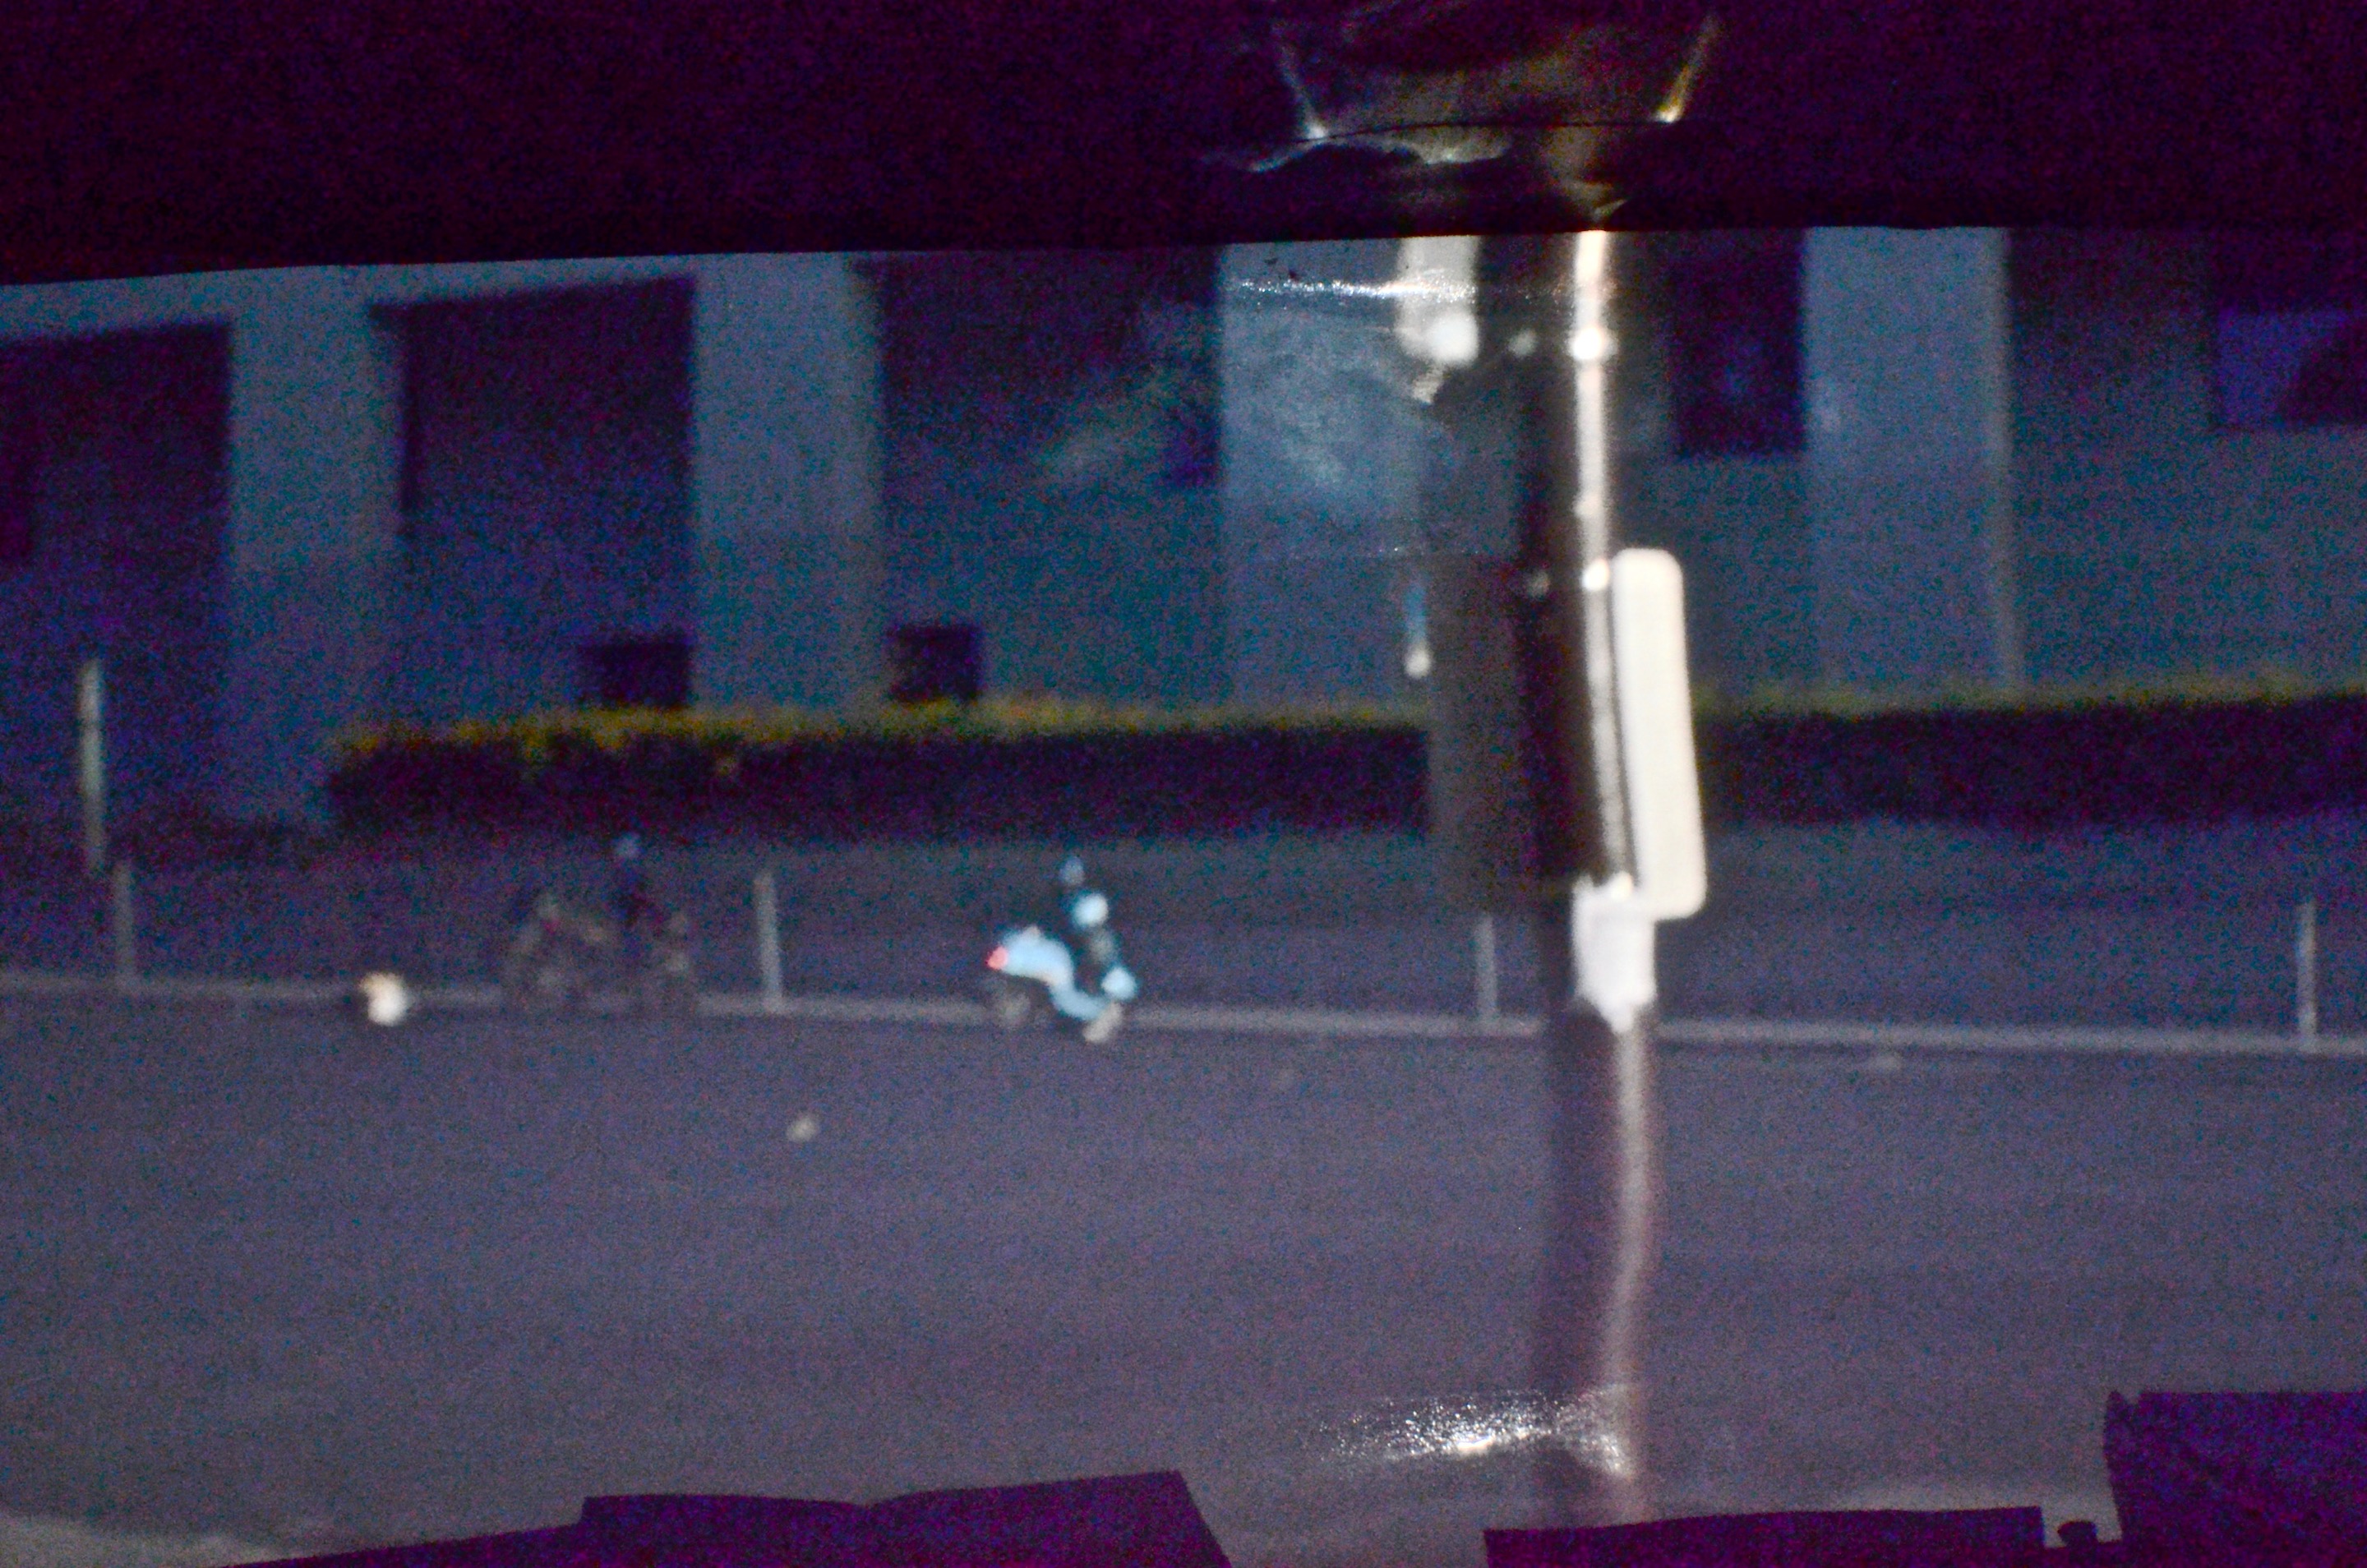
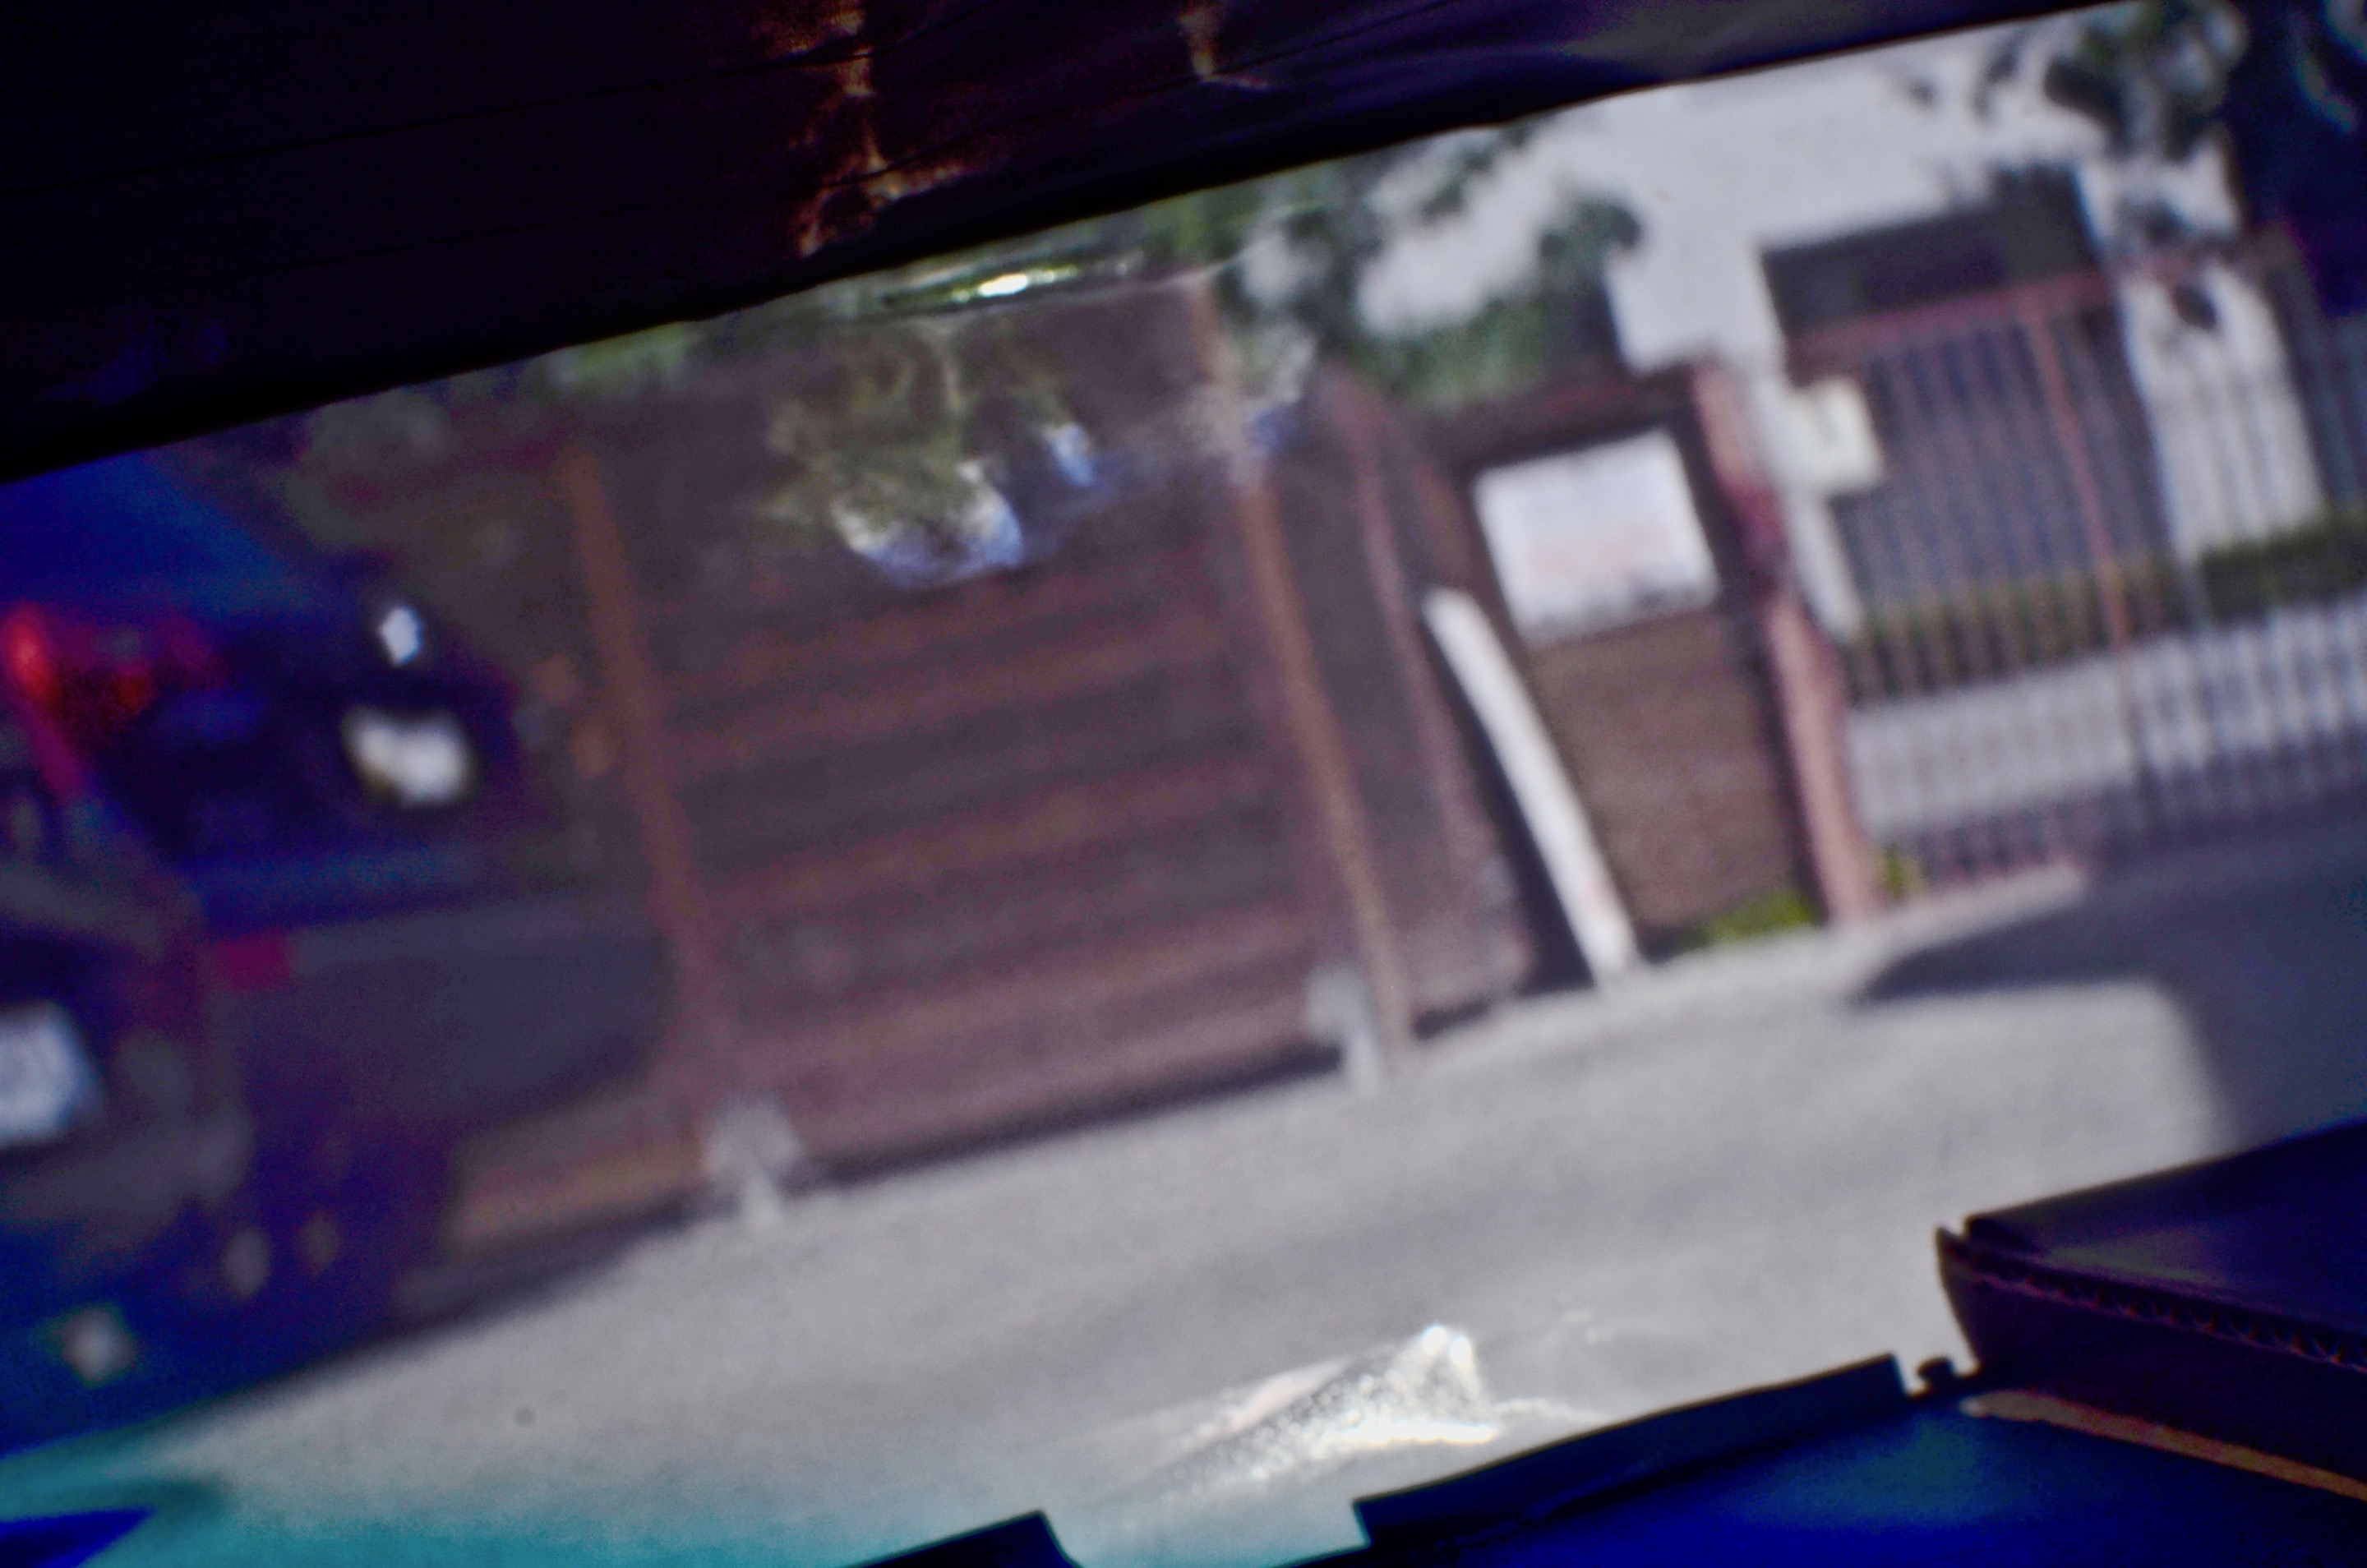
We got pretty good results for the 5mm pinholes, and quite good results for the 3mm pinholes. We had to increase the brightness, decrease the noise, take the histogram of the colors of the images, and bring it closer to the center. As expected, the 5mm pictures were the brightest but also the blurriest. The 3mm photos were fairly dark, but sharper than the 5mm photos. Unfortunately, the 0.1mm photos were so dark that they were nearly black, but ideally, the images captured by this sized pinhole would have given us the sharpest image.
You can see the pole is slightly warped. The reason for this is a small crease on the screen. This warps the image thats projected onto the screen.
|
|
|
|
|
|
|
|
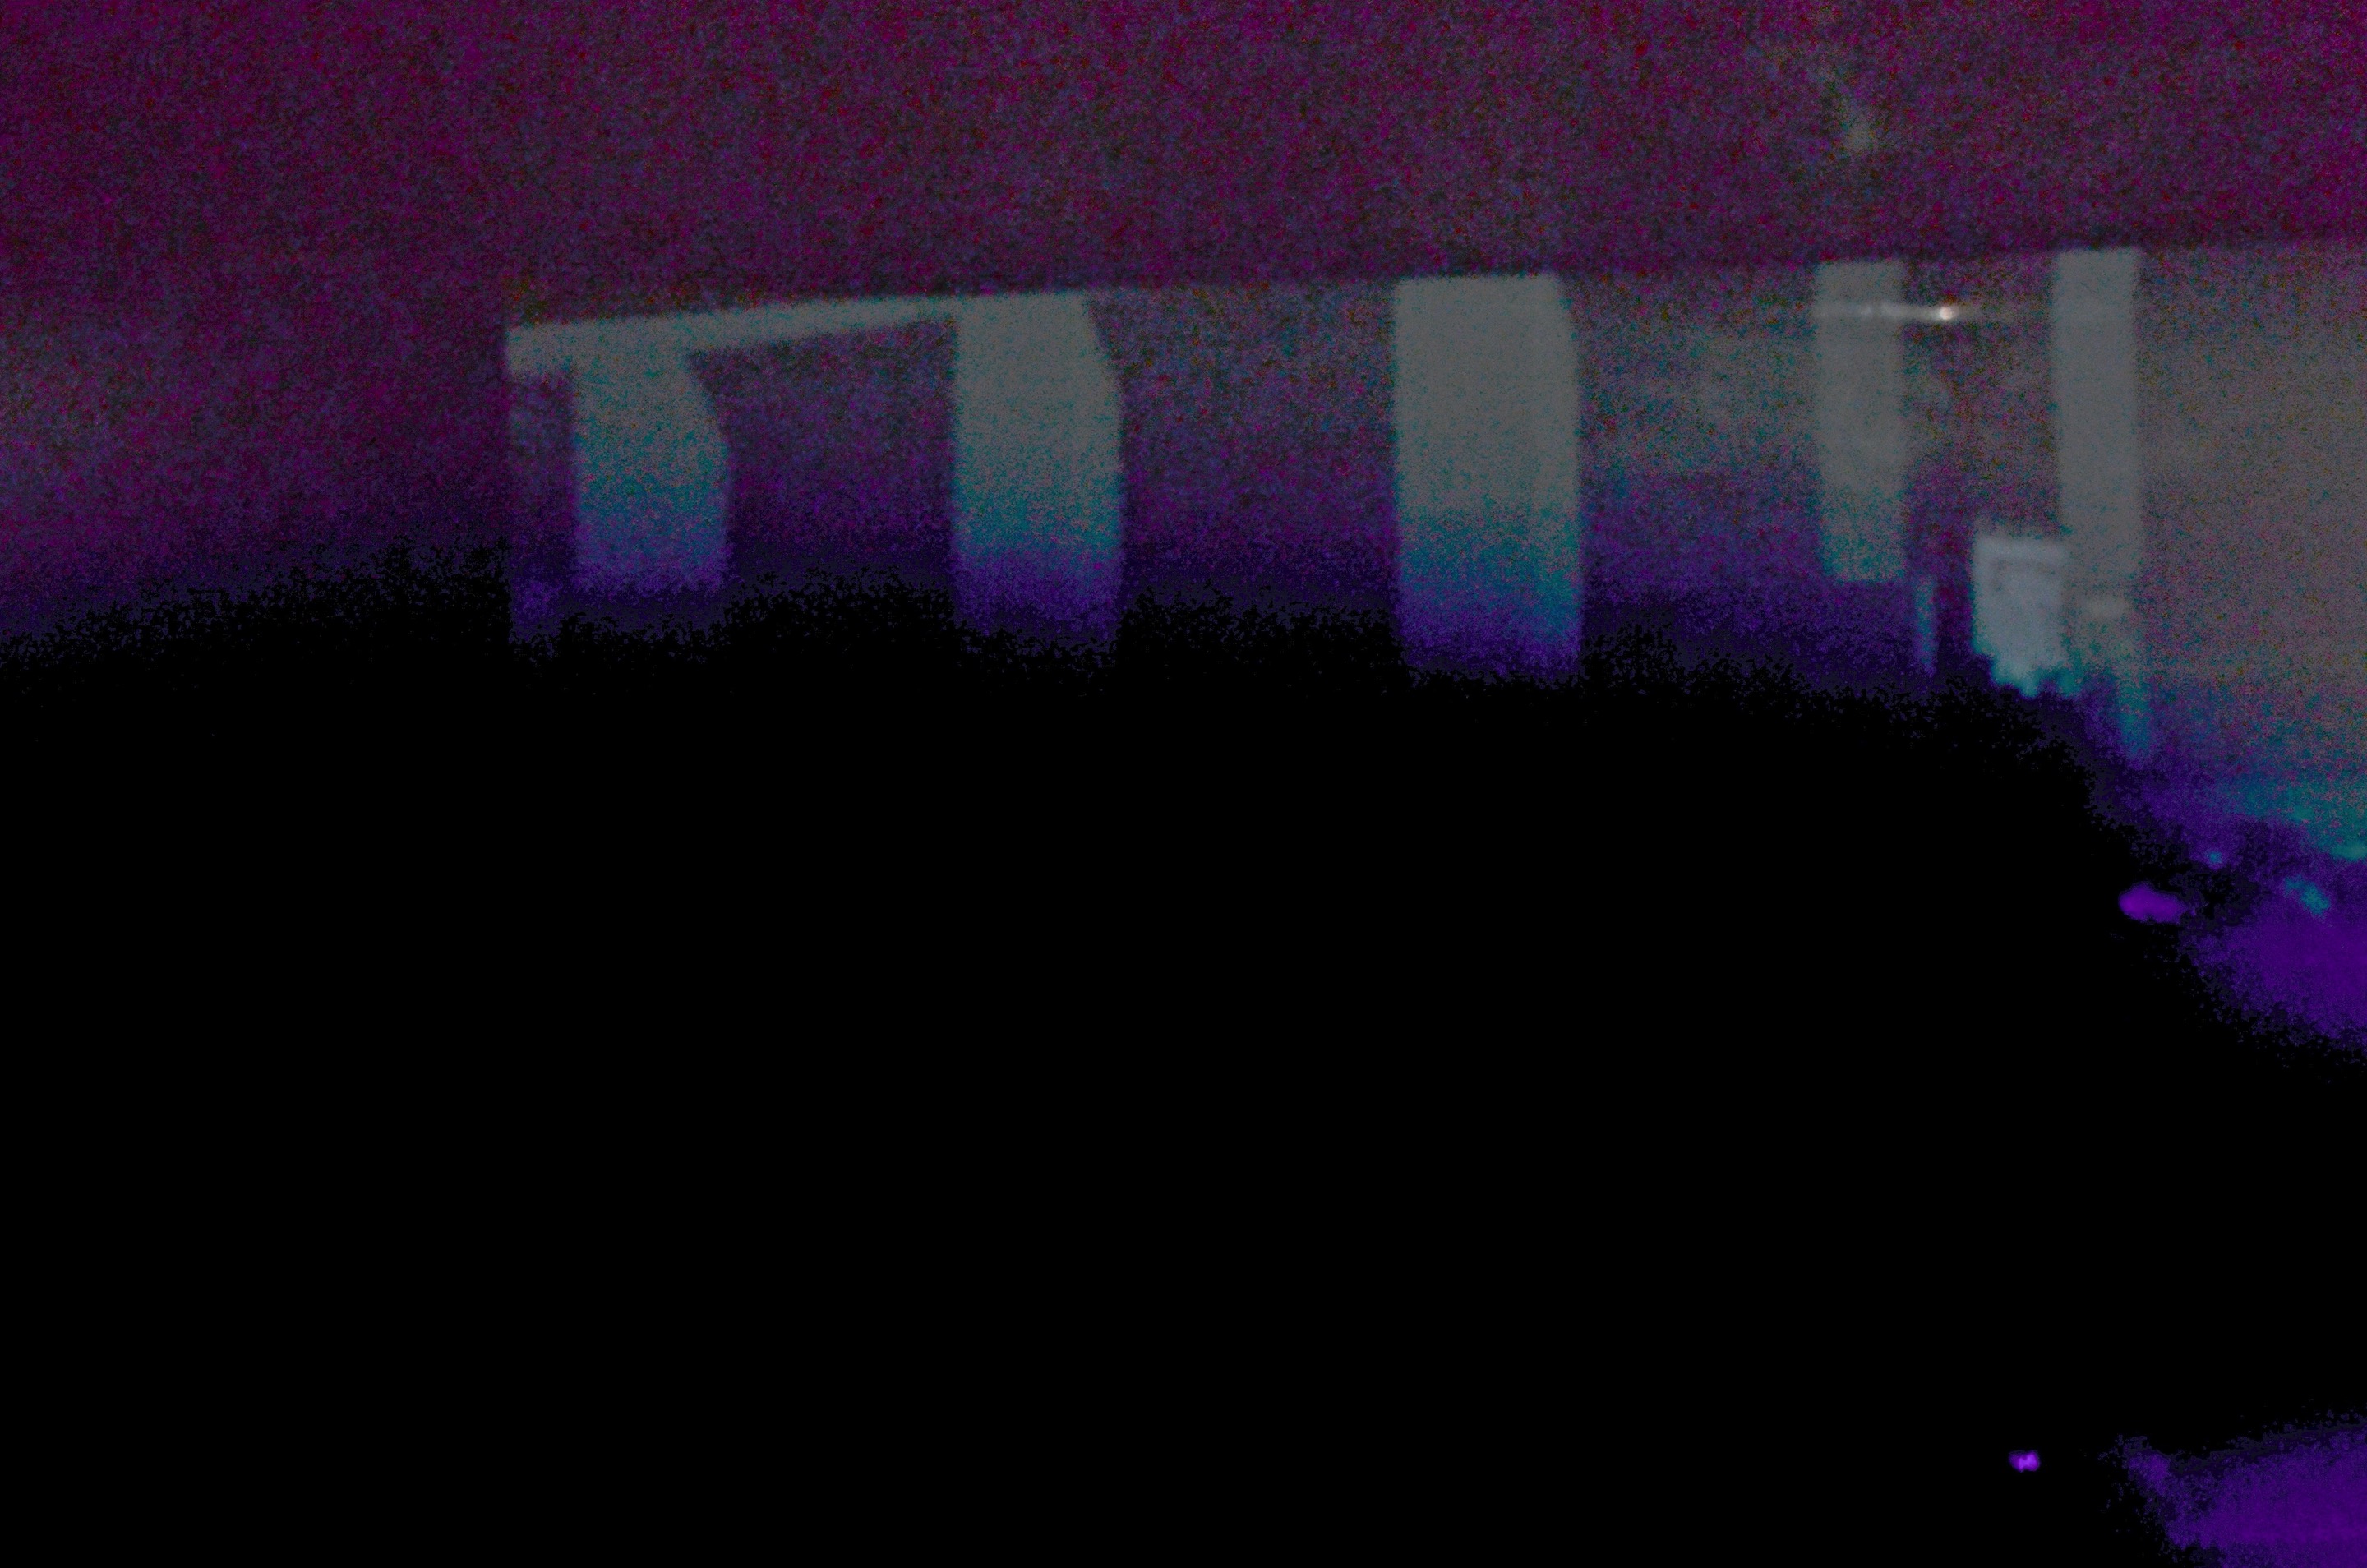
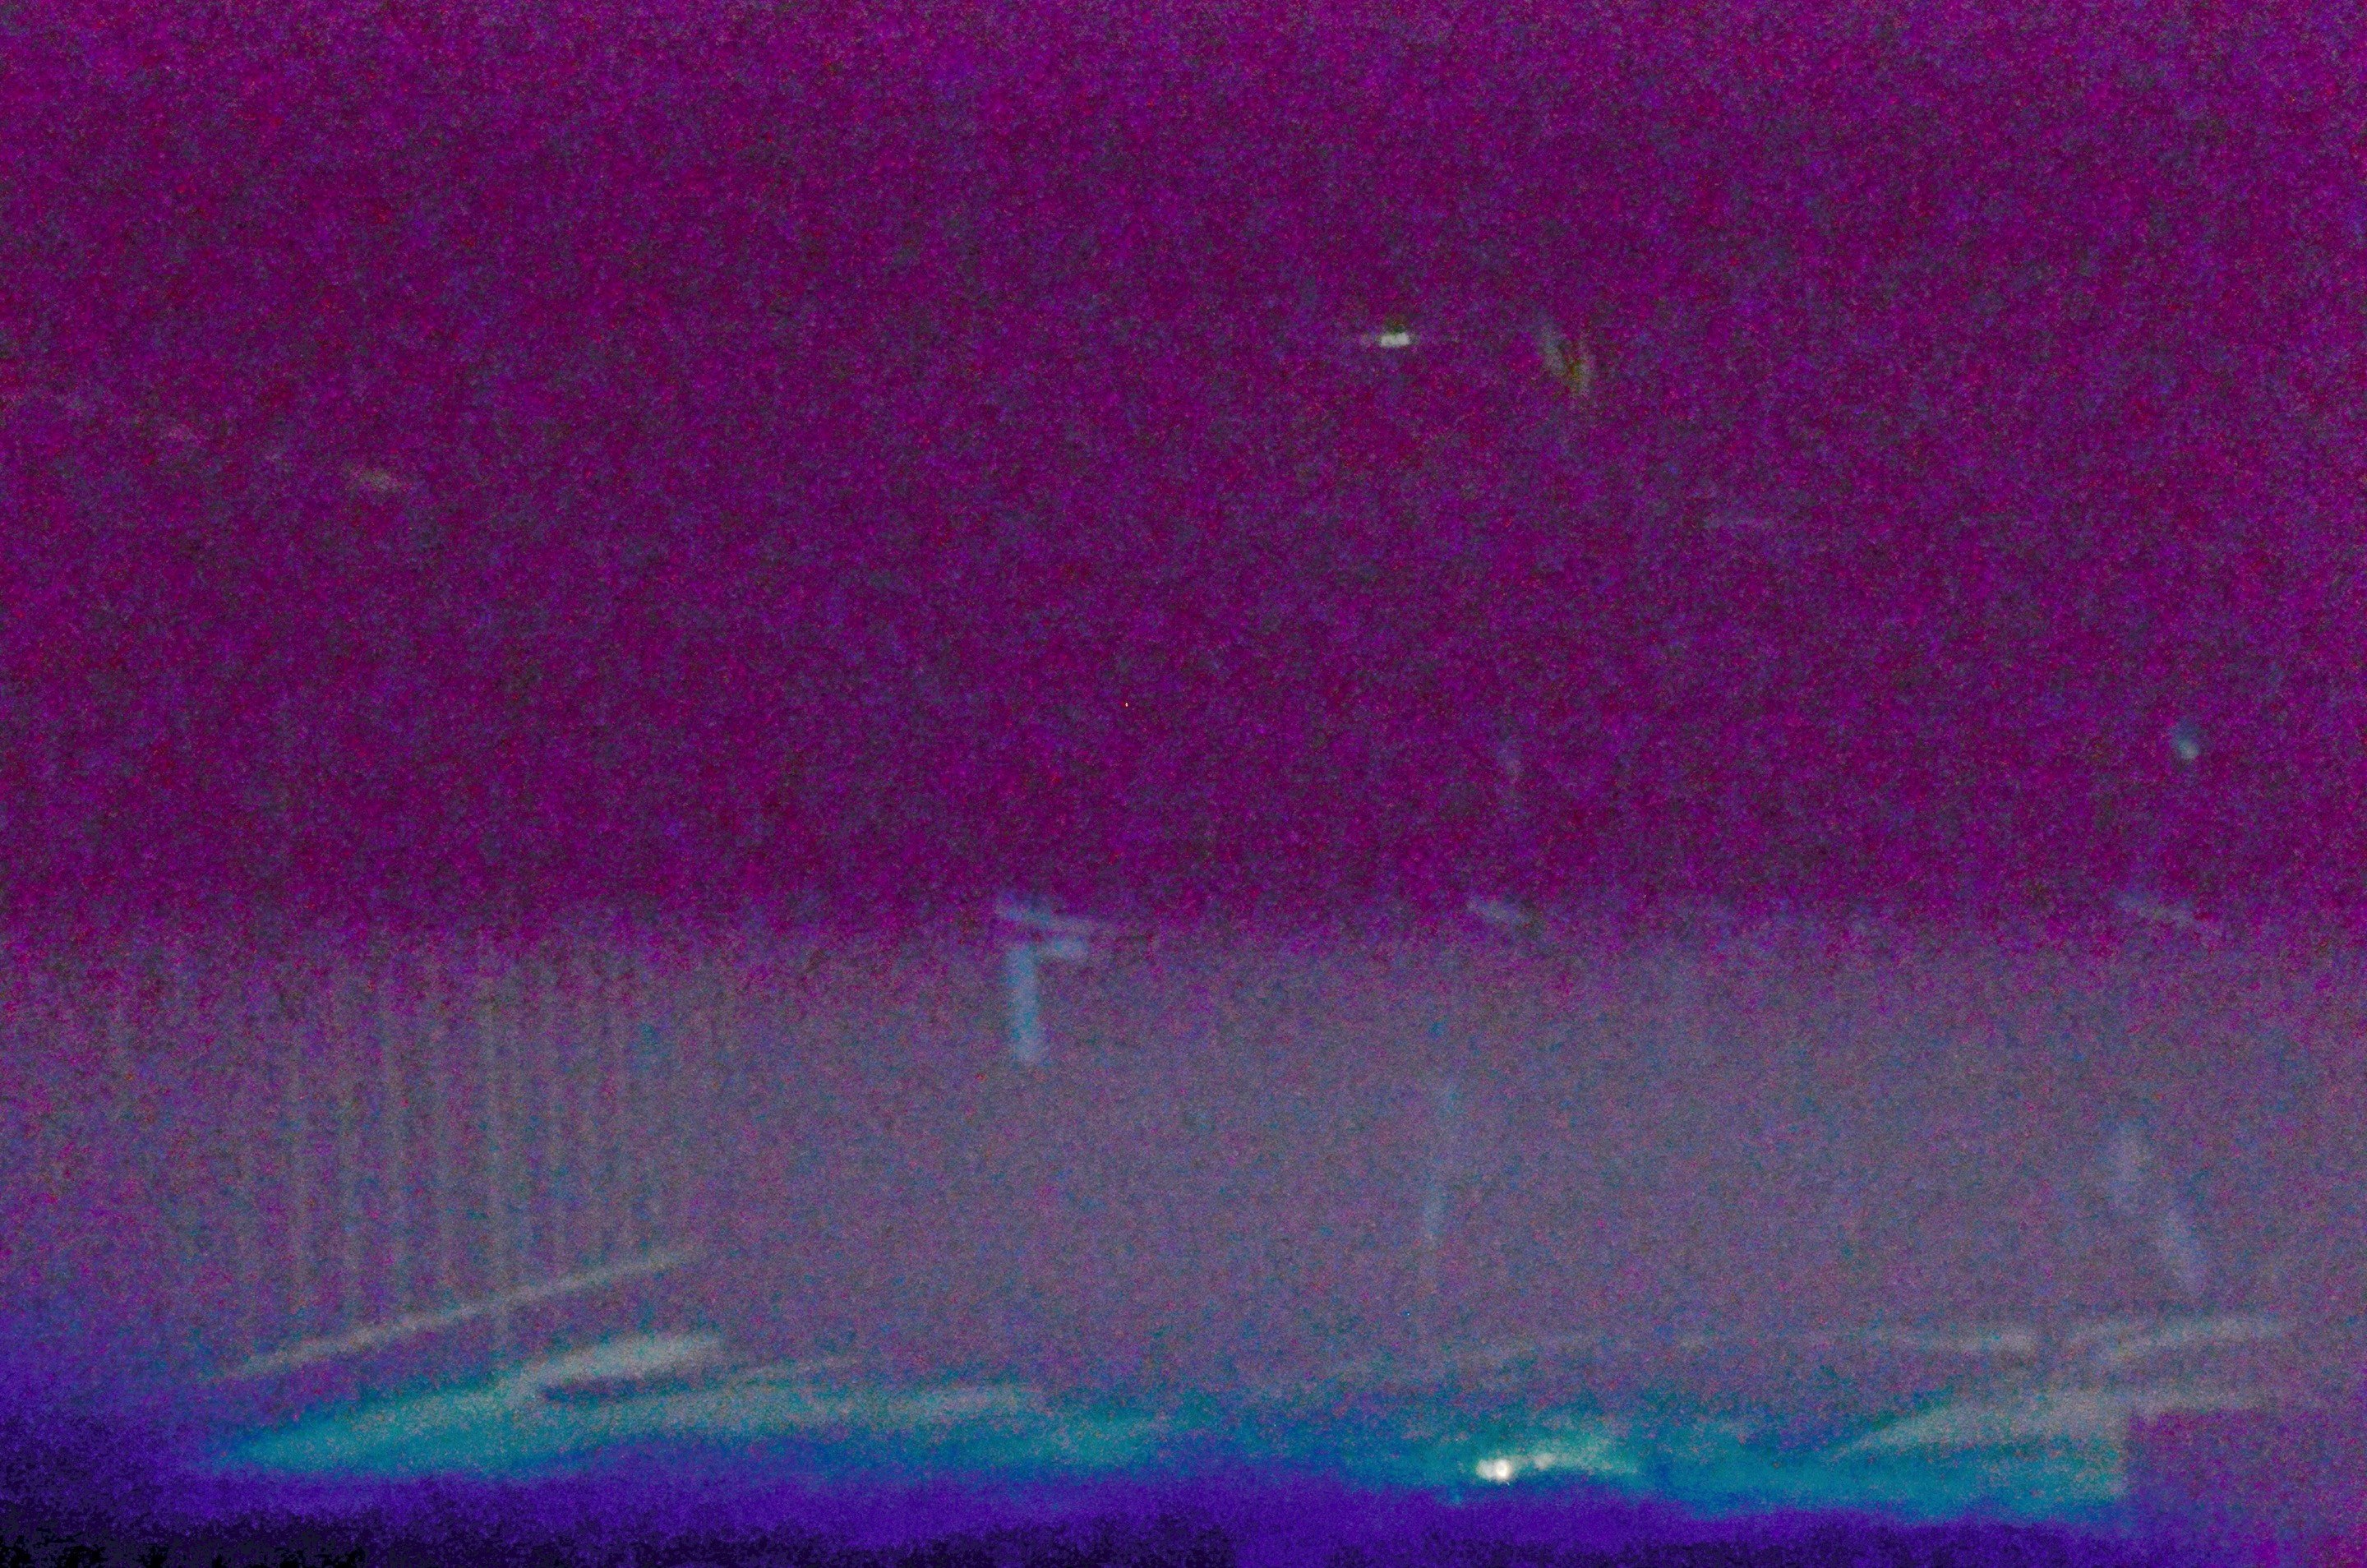
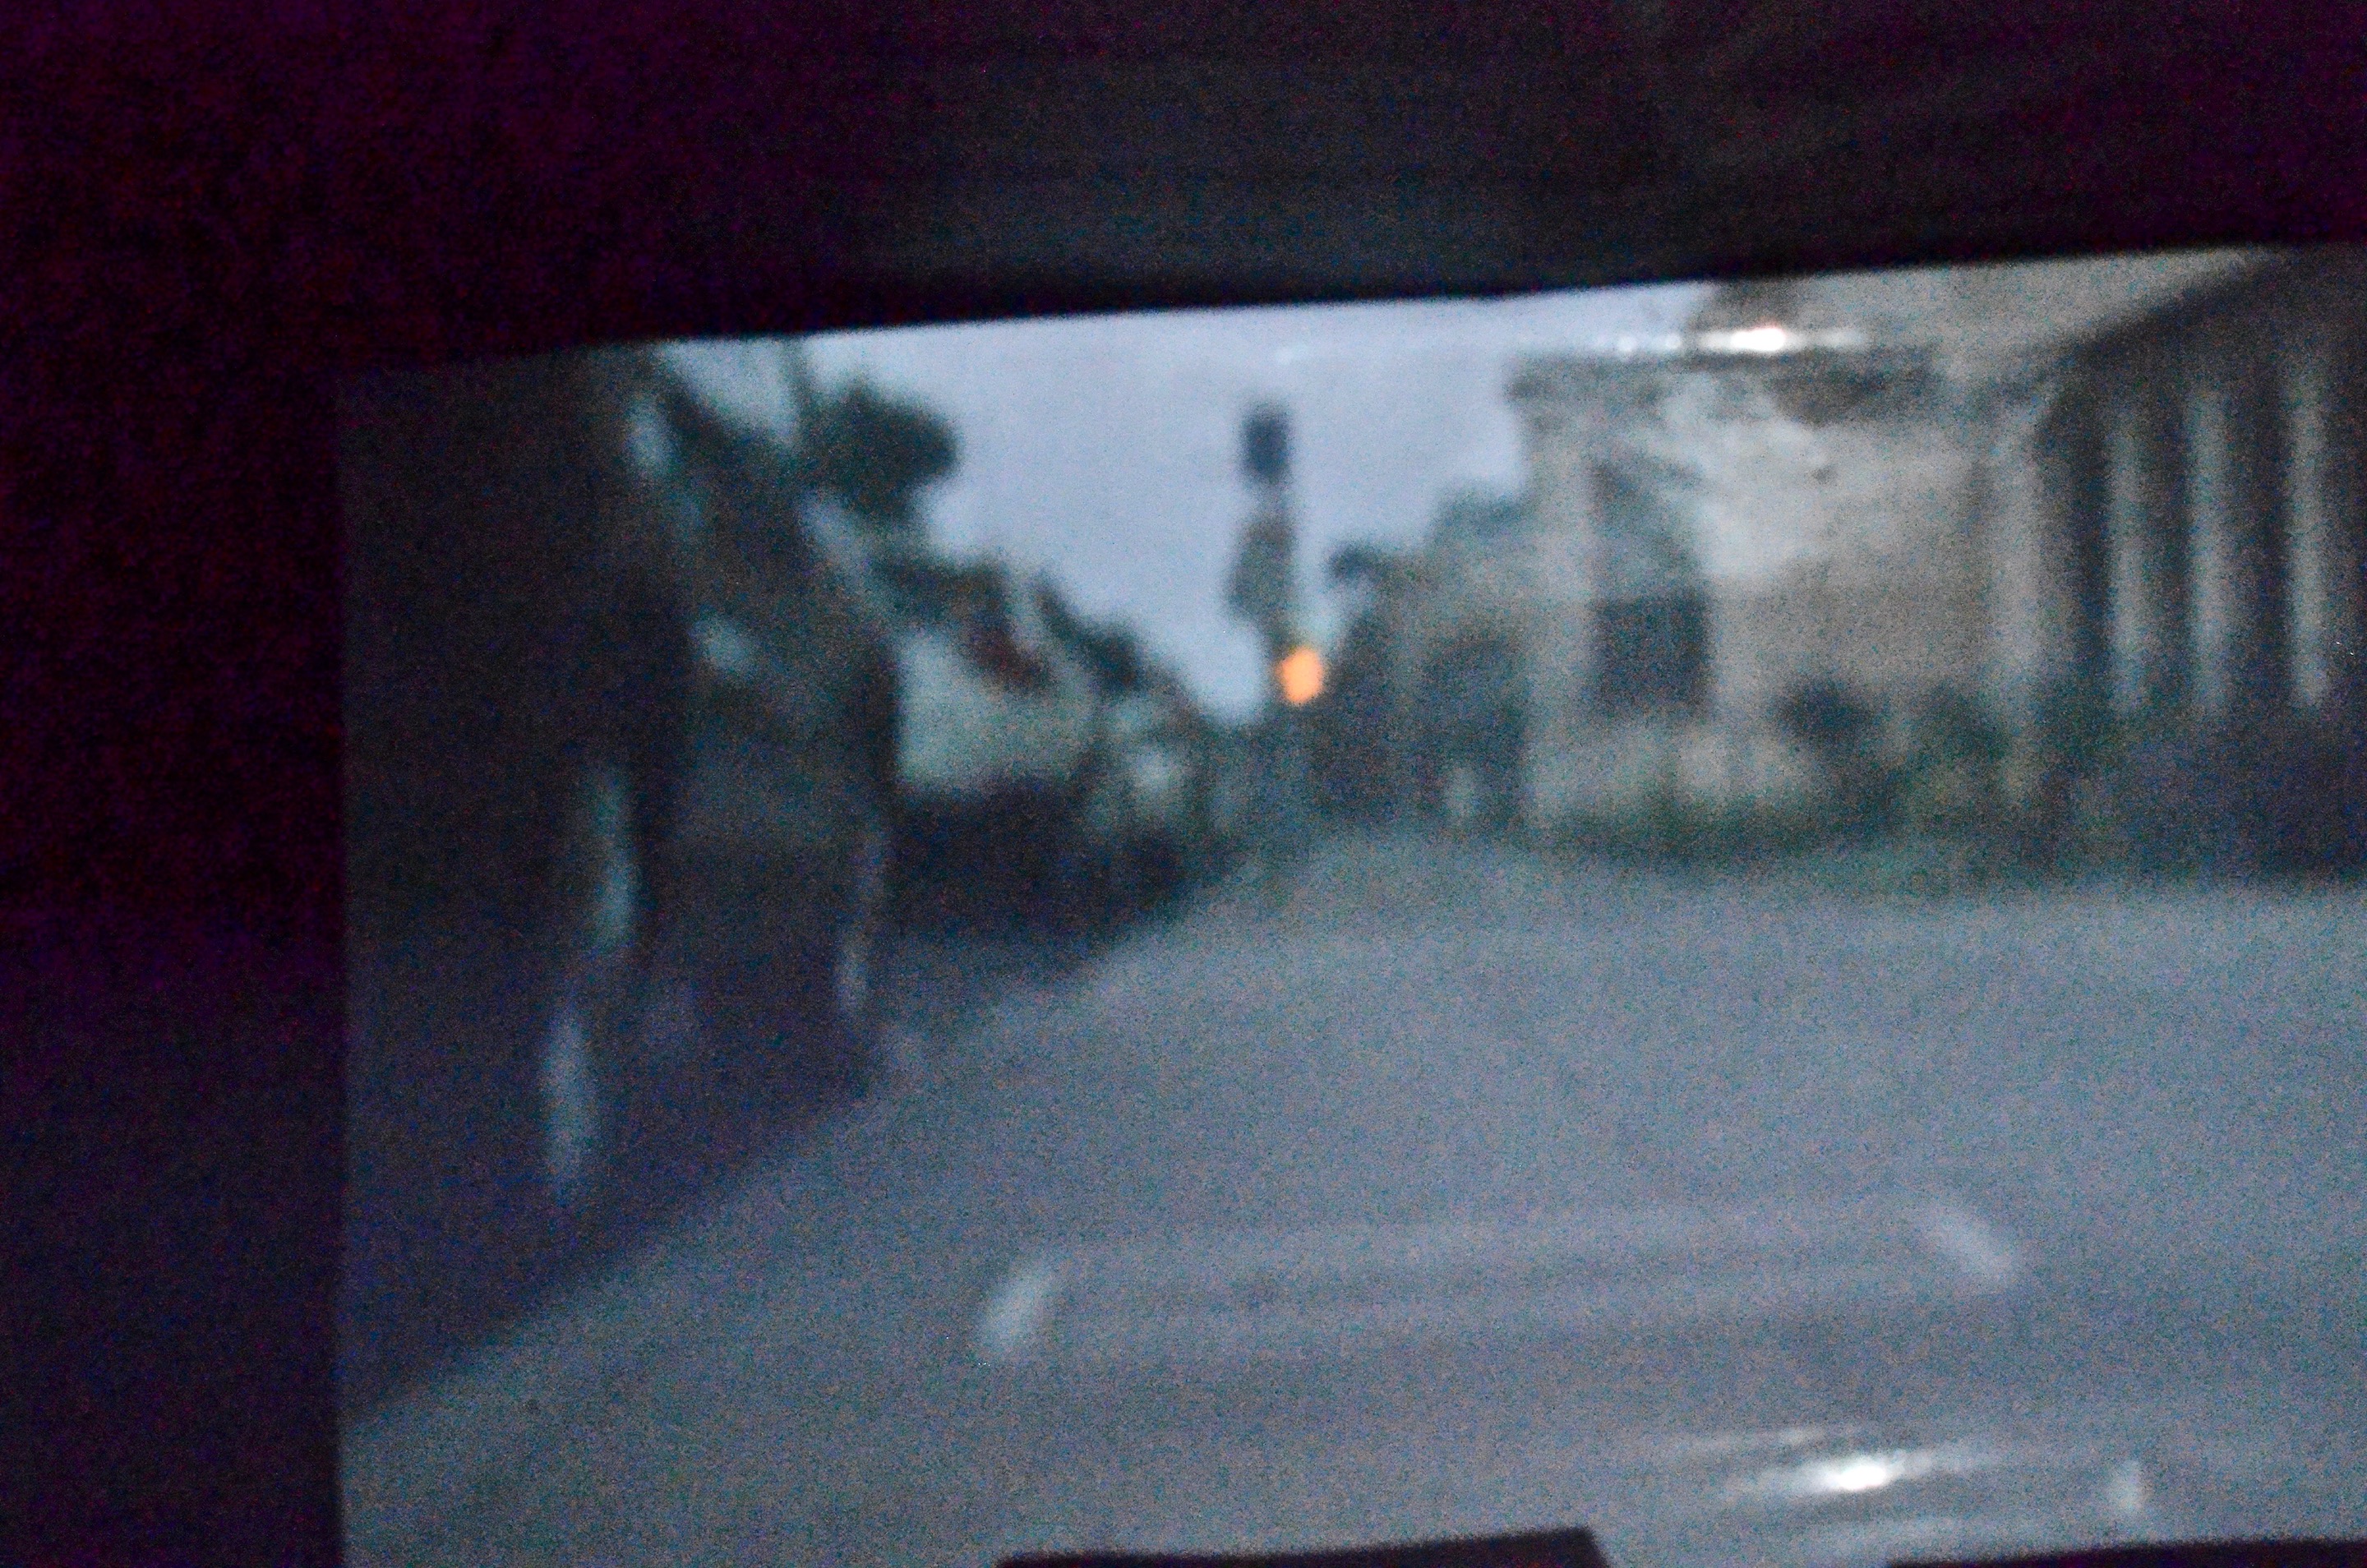
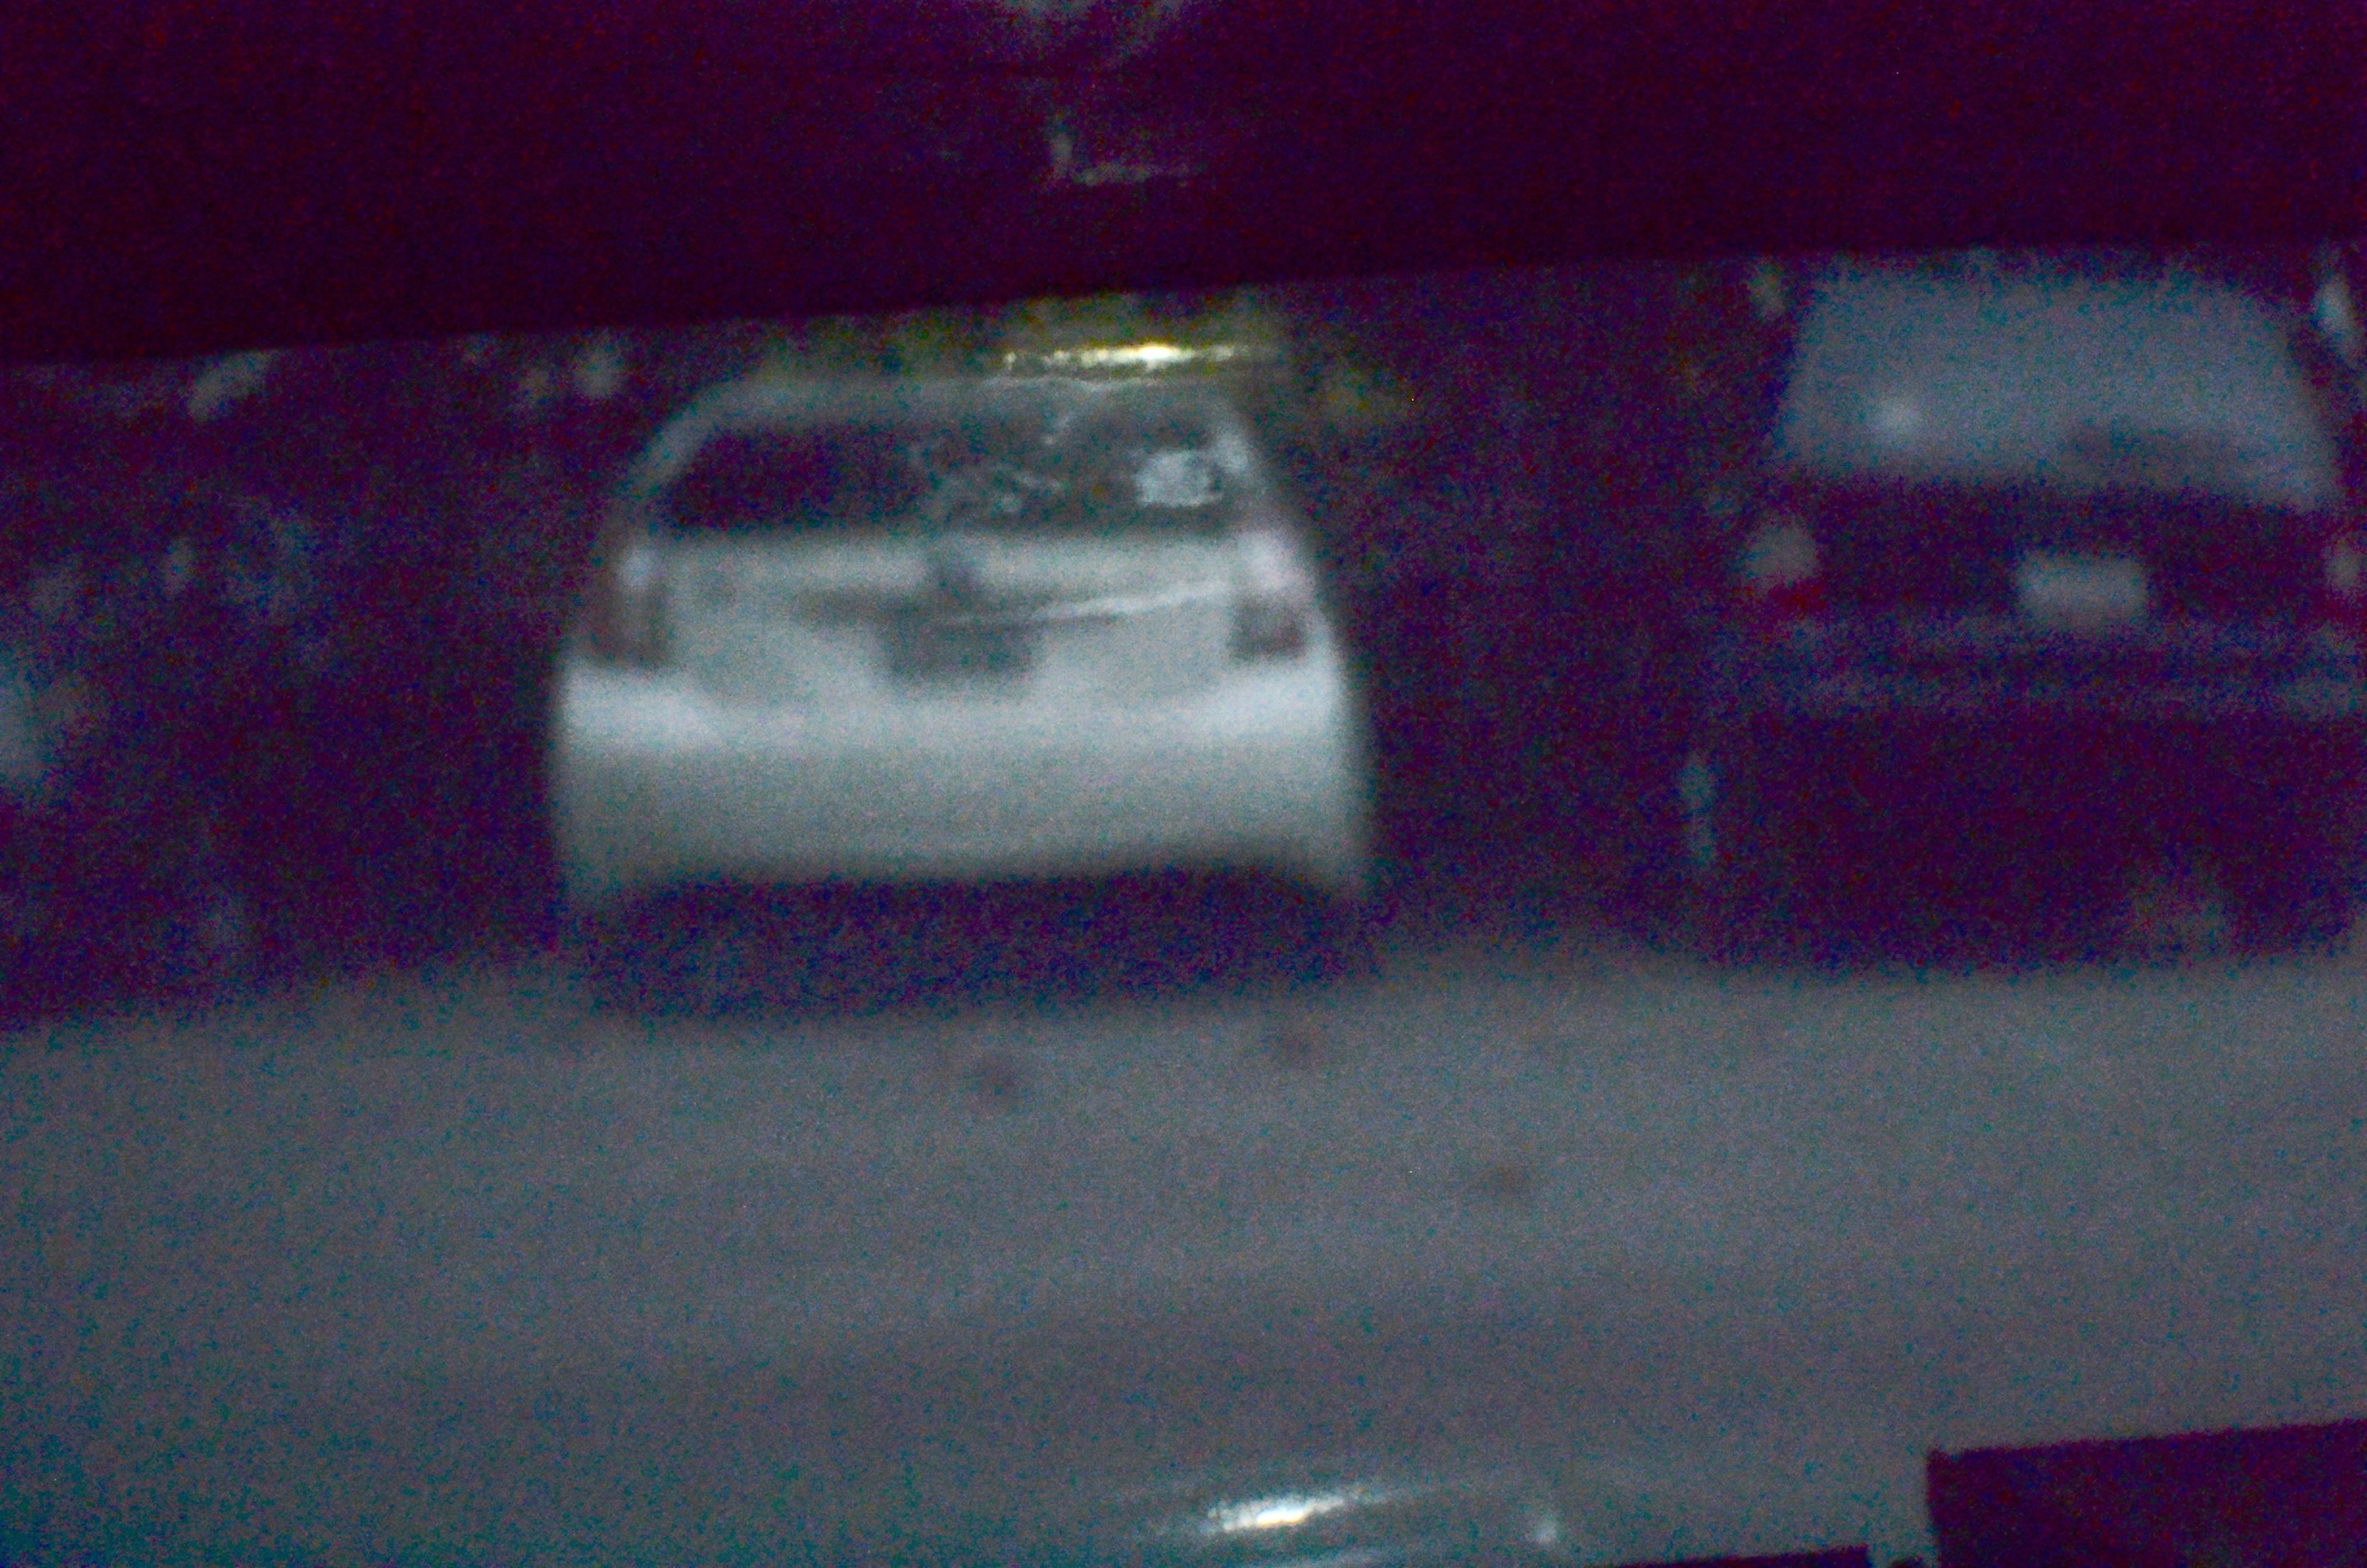
Four Additional Images
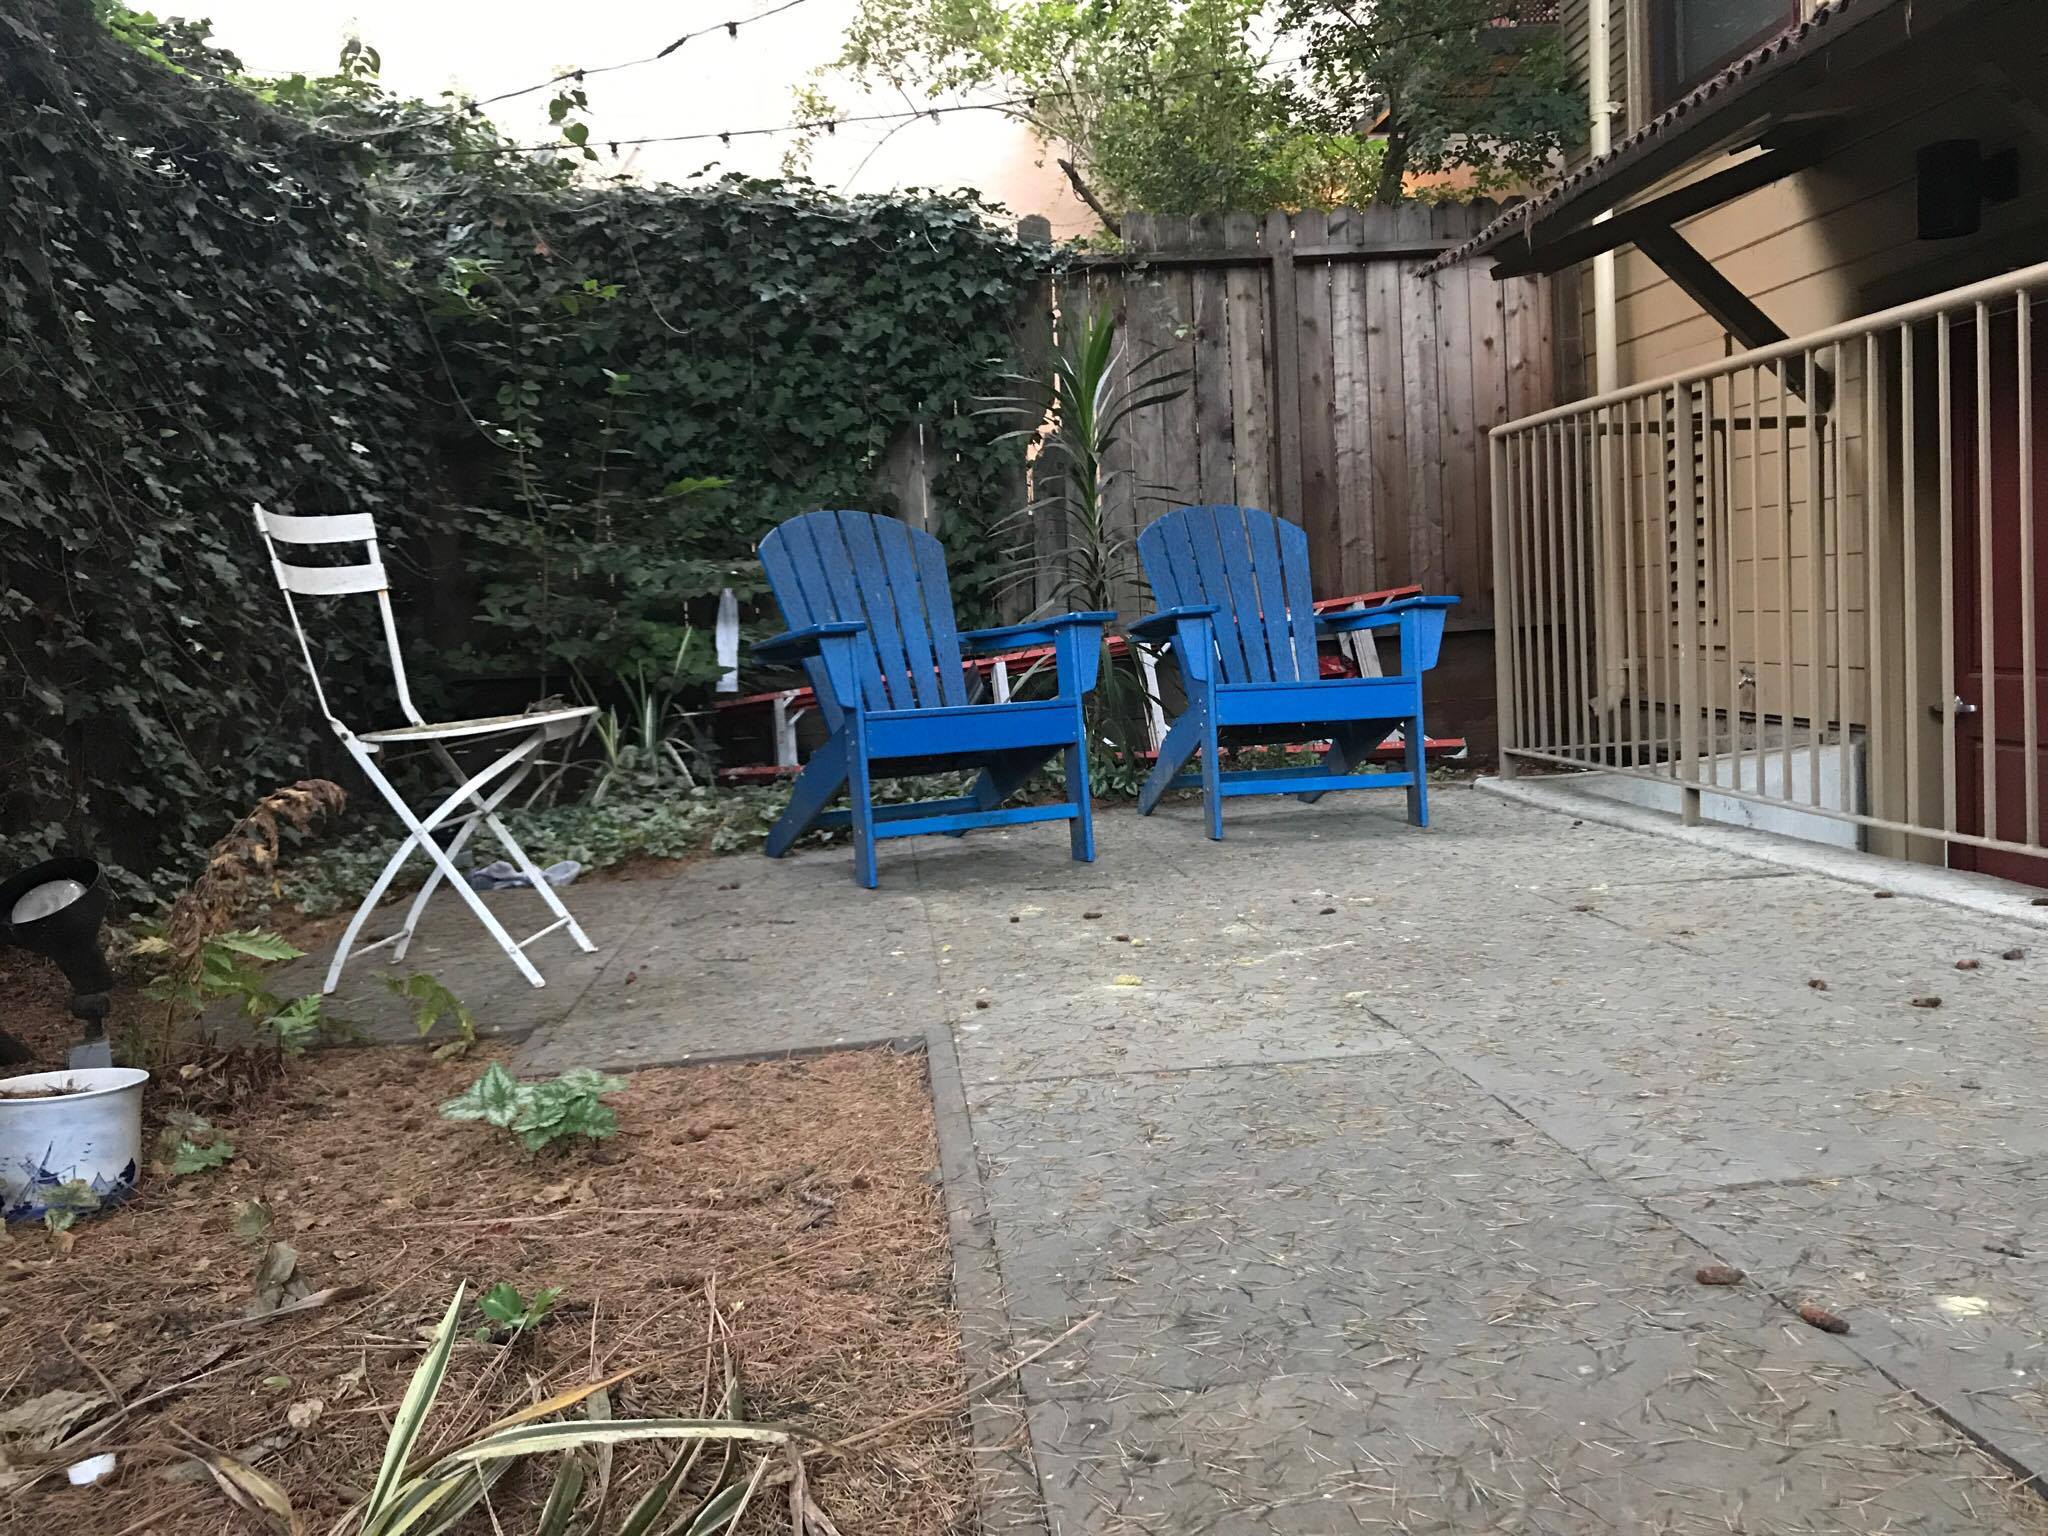
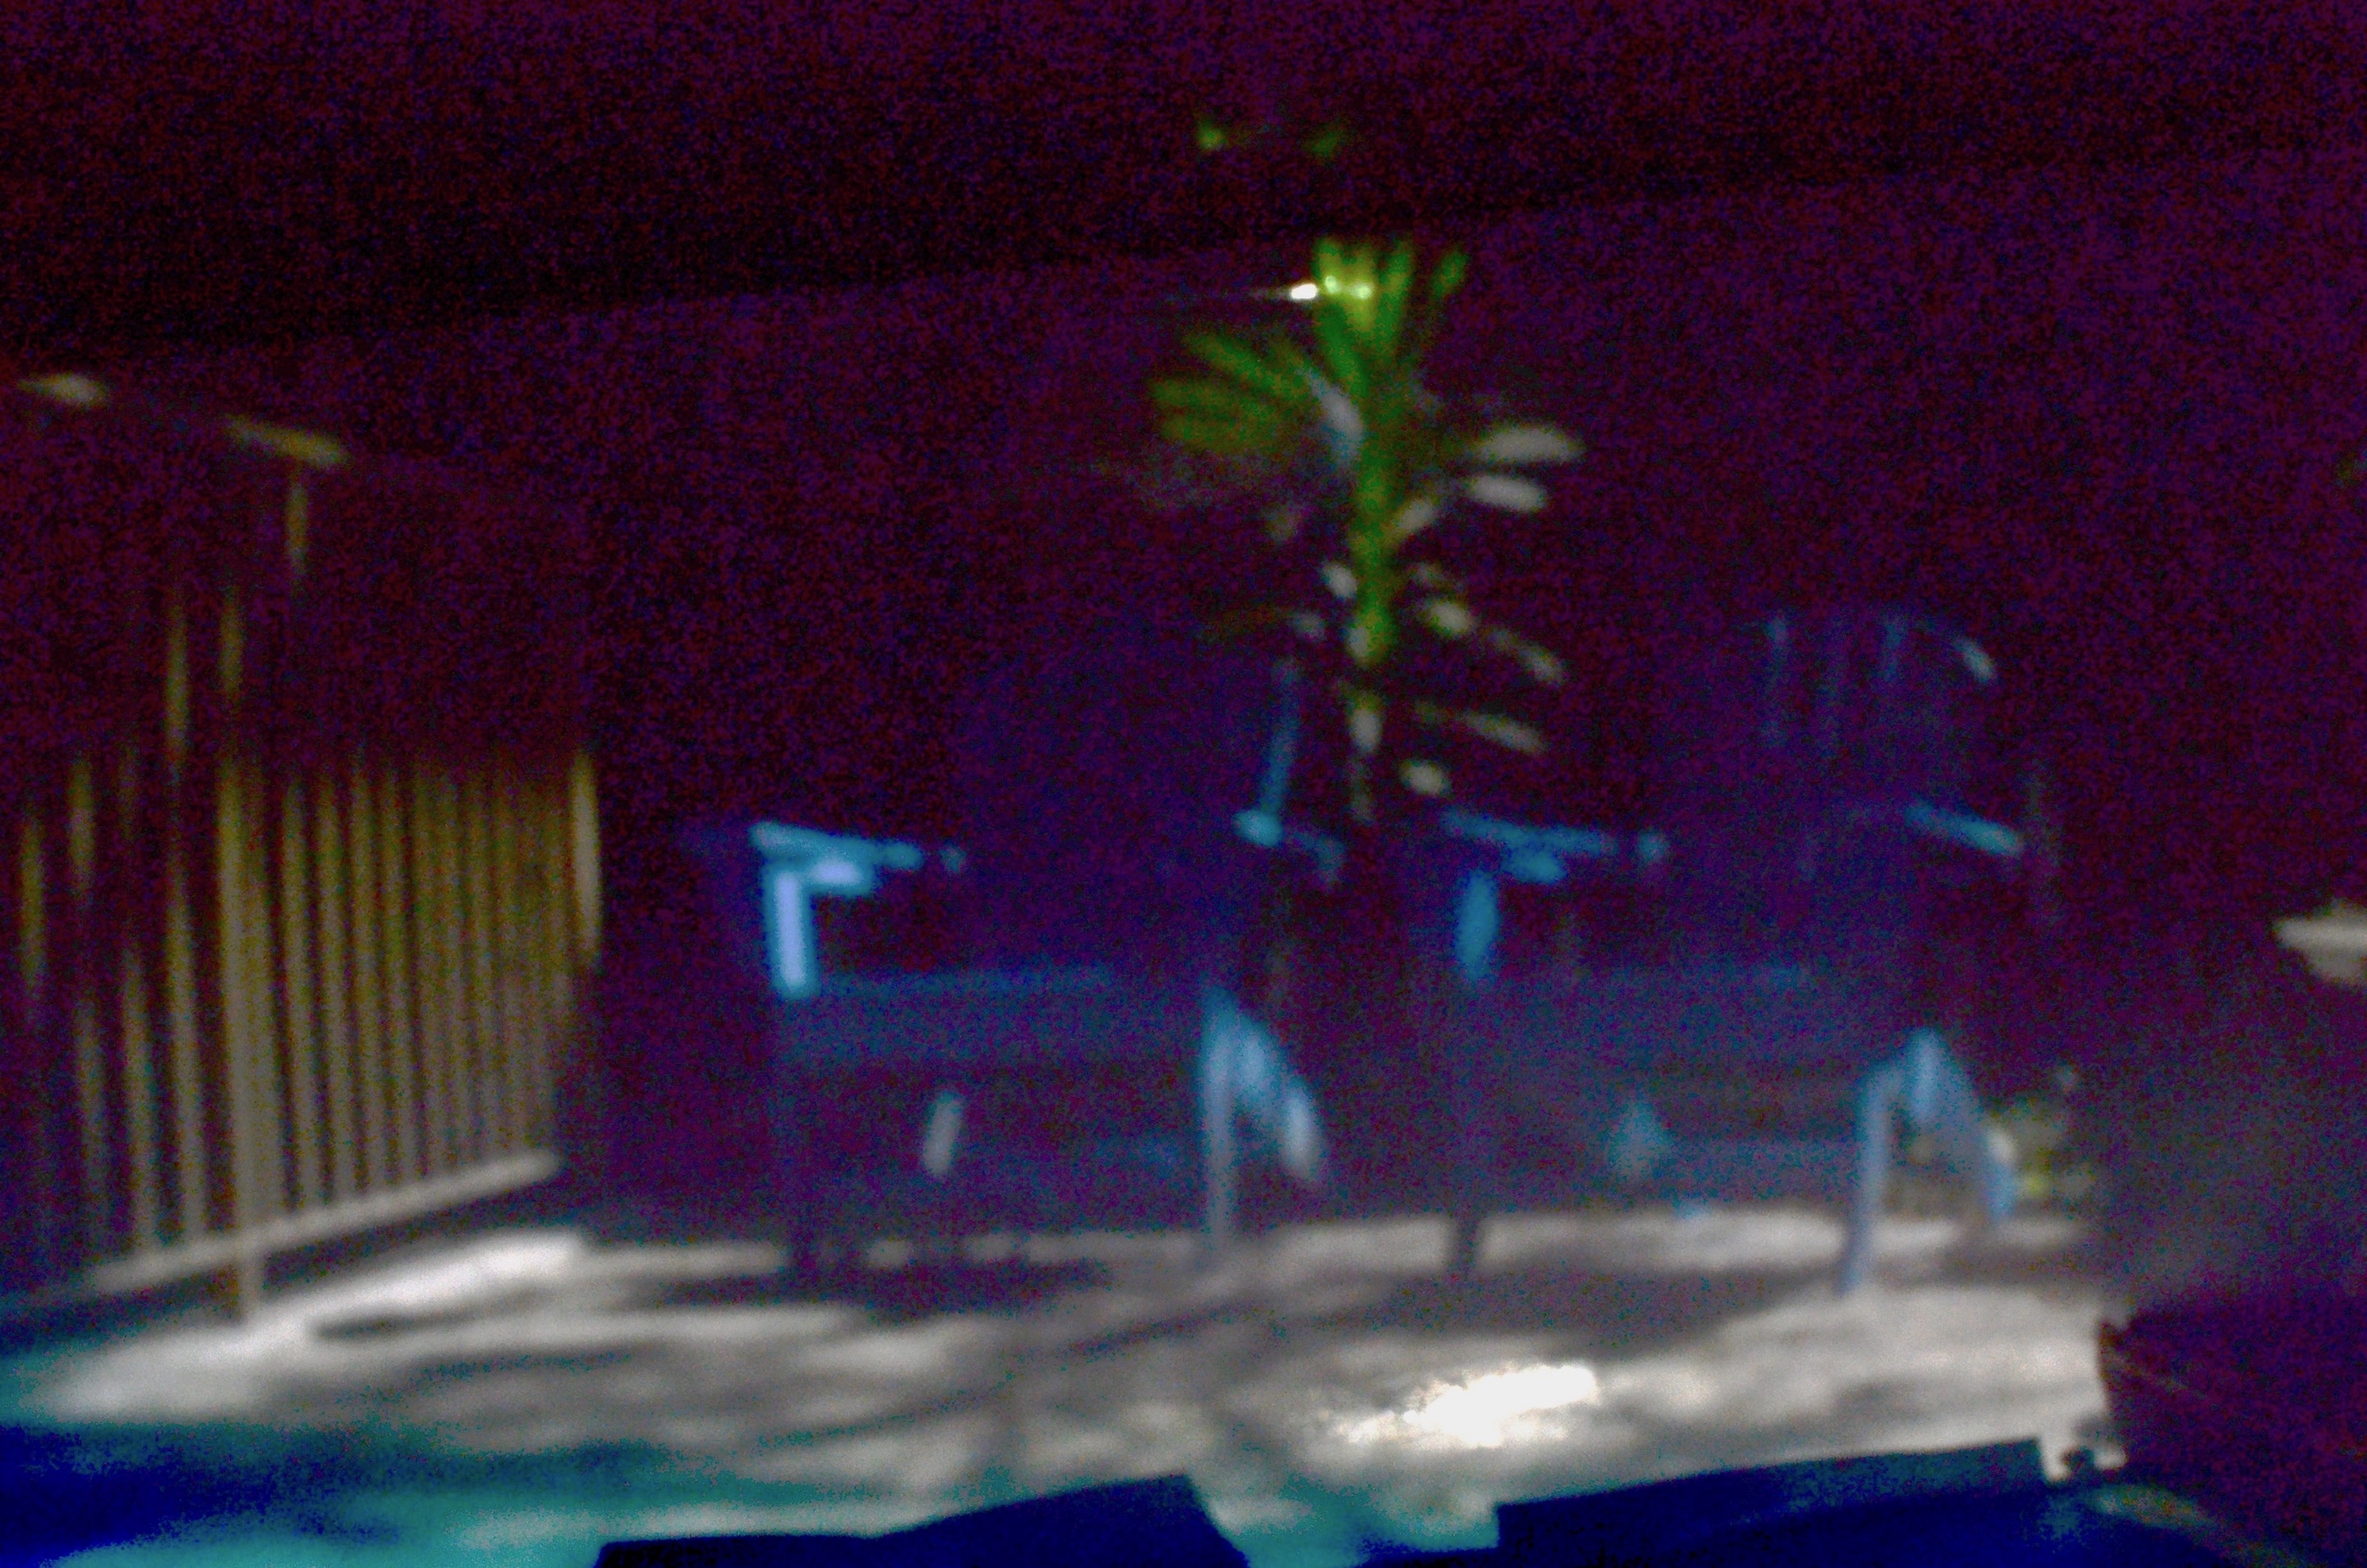
Since the 3mm diameter pin hole gave us the best results, here are 4 extra images taken from the 3mm pinhole.
|
|
|

|
Bells and Whistles
To make this image, we used a sparkler in the dark and slowly moved it through the scene while taking a long exposure.