Objective
For this project we built a pinhole camera using a cardboard box, and used a DSLR camera to generate the final images. Despite the (relatively) primitive setup the final results were compelling!
Camera Setup
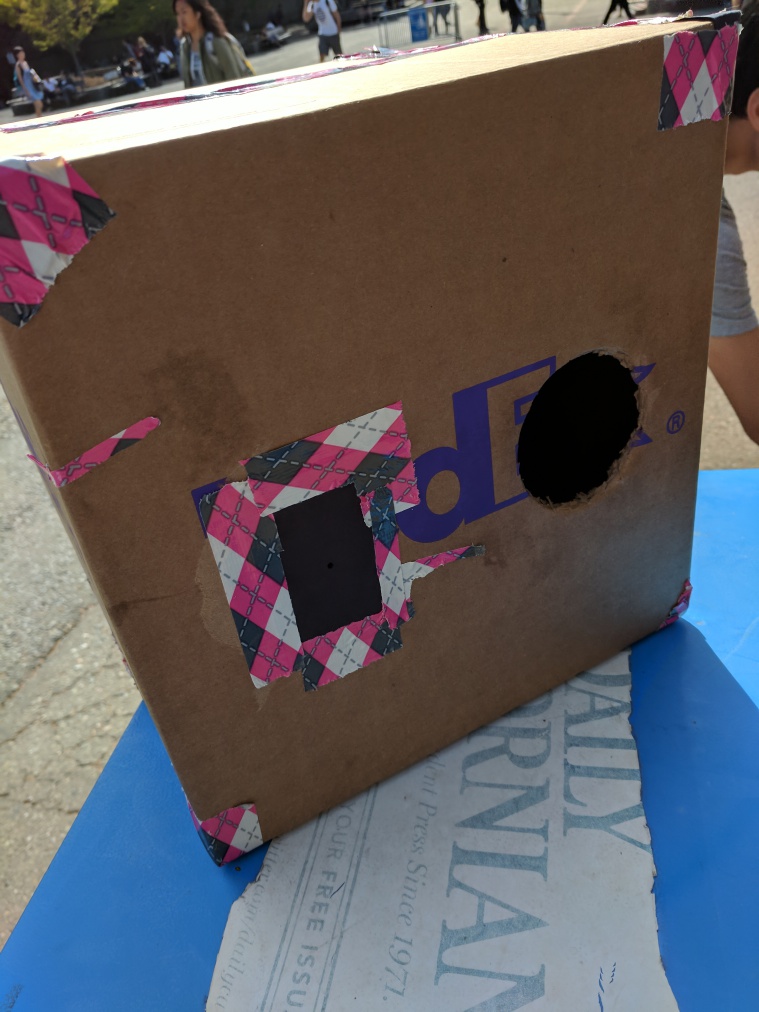
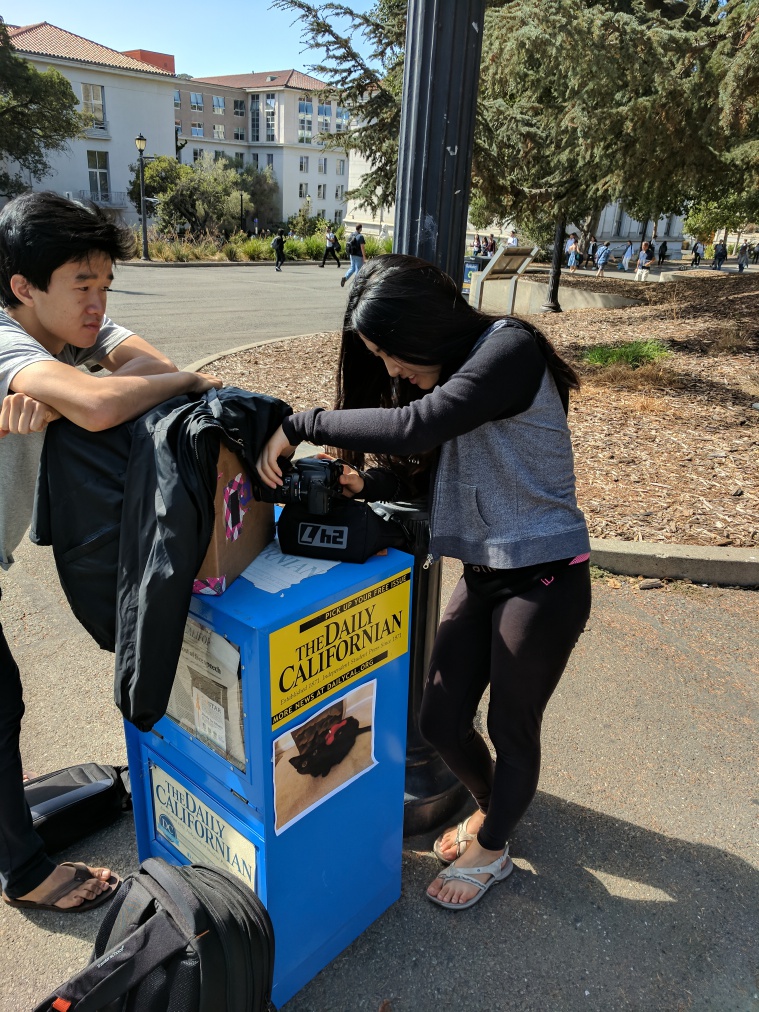
Our pinhole camera is a cardboard box with paper lining the inside. The paper is black except for the pages lining the imaging plane which are both white. There is a circle cutout opposite of the imaging frame for a DSLR camera lens, and hole over which the aperture is placed.
While experimentation we noticed that movement of the camera or box during the 30 second exposure period could really mess up the shots. Appropriate precautions – like holding down the box and propping up the camera were implemented to counteract this effect.
|
|
Comparison of Various Apertures
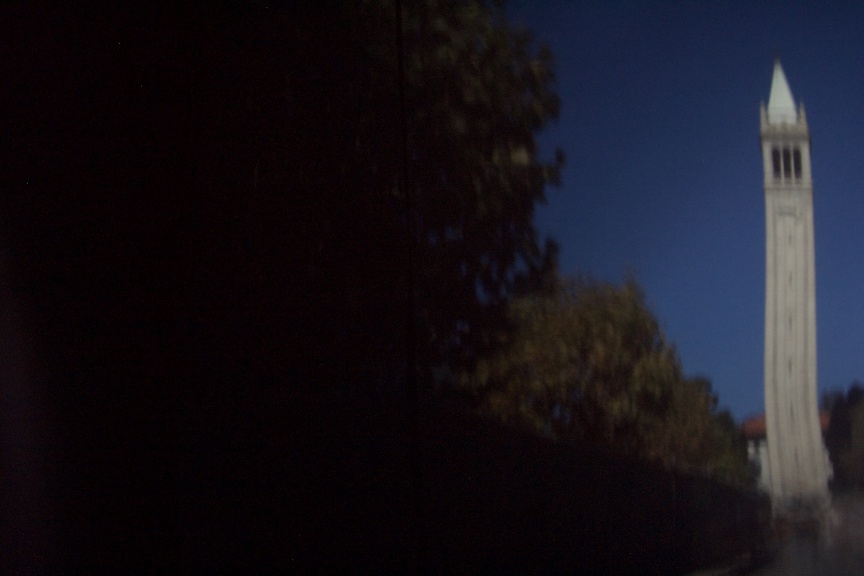
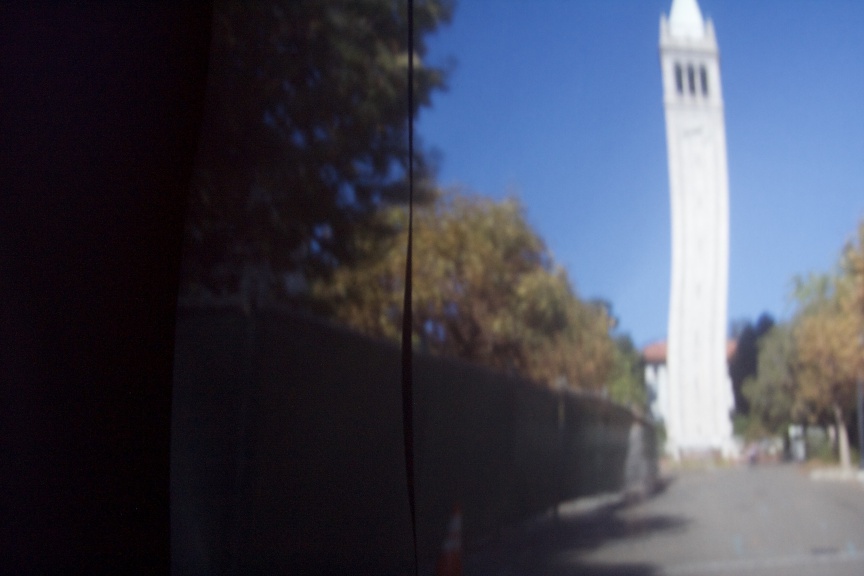
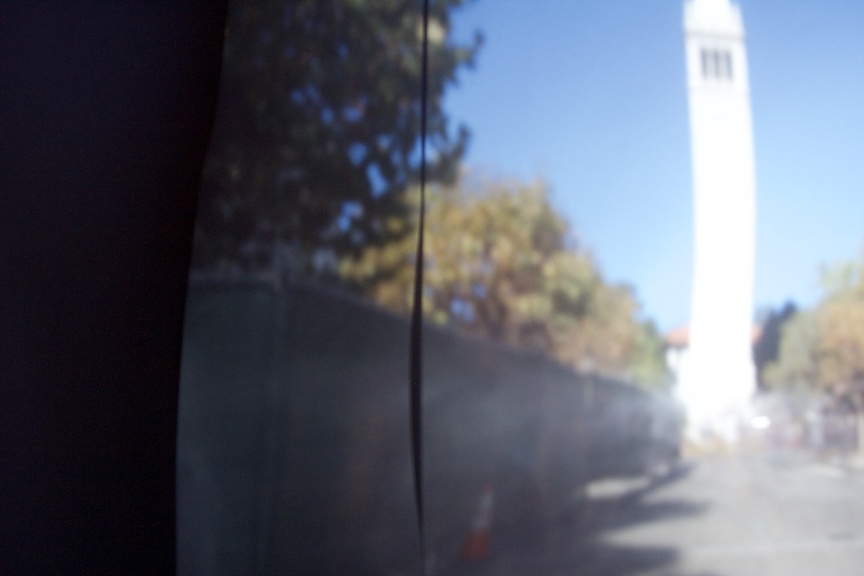
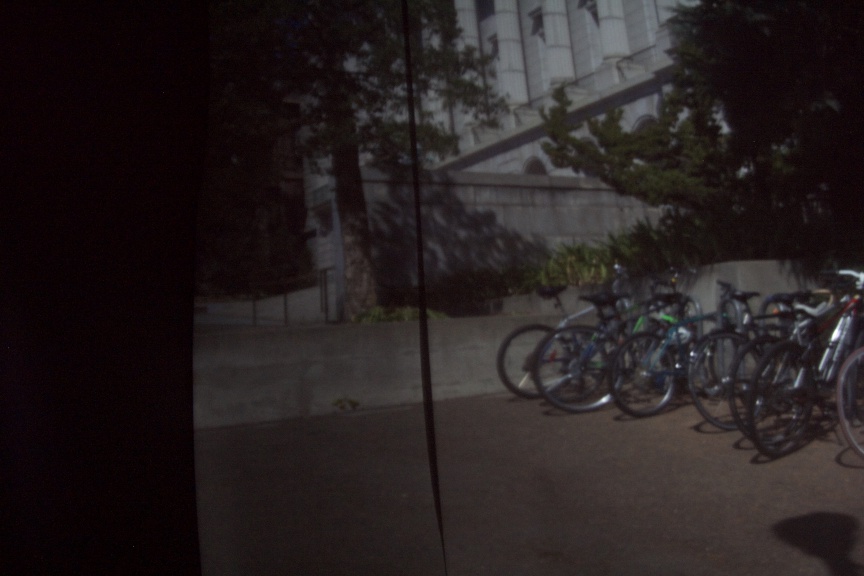
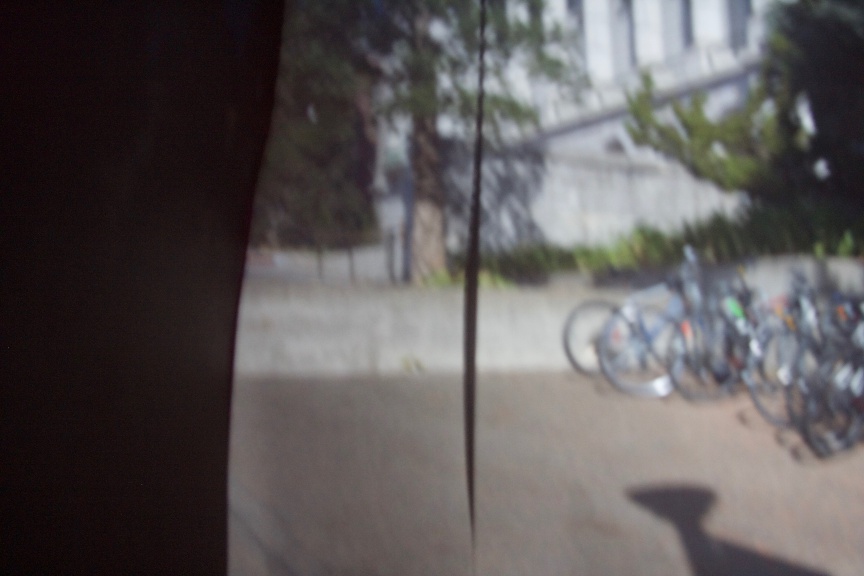
These images of Sather Tower and a bike rack were taken with 1mm, 3mm, and 5mm apertures. In general, increasing the aperture size reduces depth of field, increases de-focus blur, and increases the amount of light entering the camera (less dim images). This intution is confirmed by our results.
|
|
|
|
|

|
Note: There is a black line in the middle of the shots, and the images themselves seem somewhat warped. That's because two sheets of paper were needed to make the imaging plane: the black line is where the paper sheets meet, and the wave texture is caused by paper bending when the box moves.
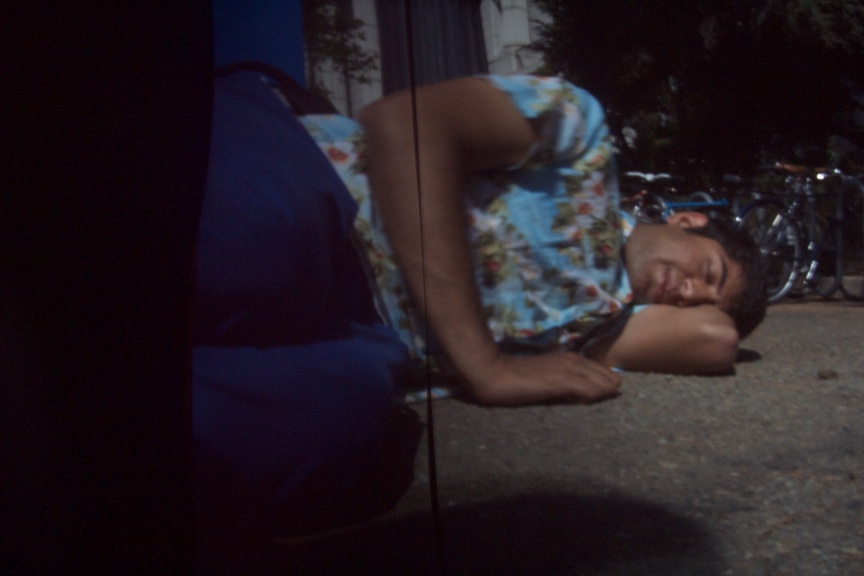
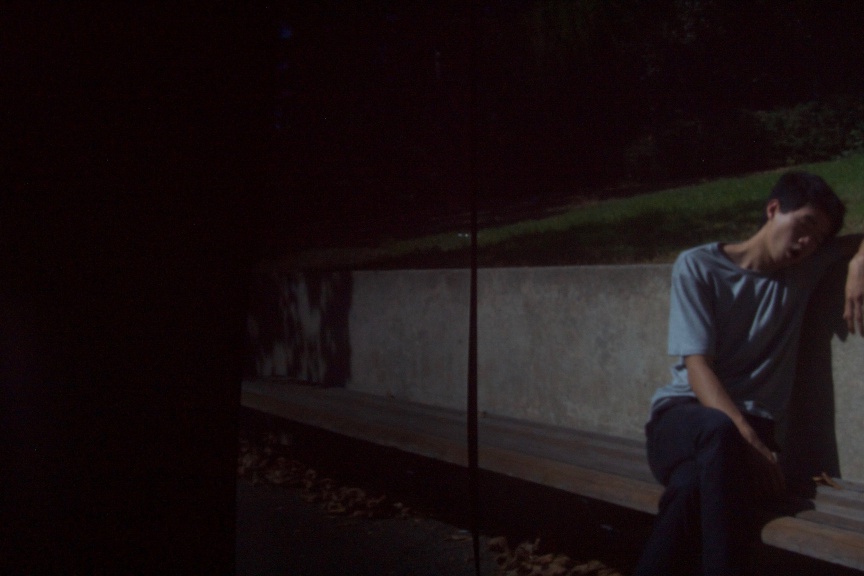
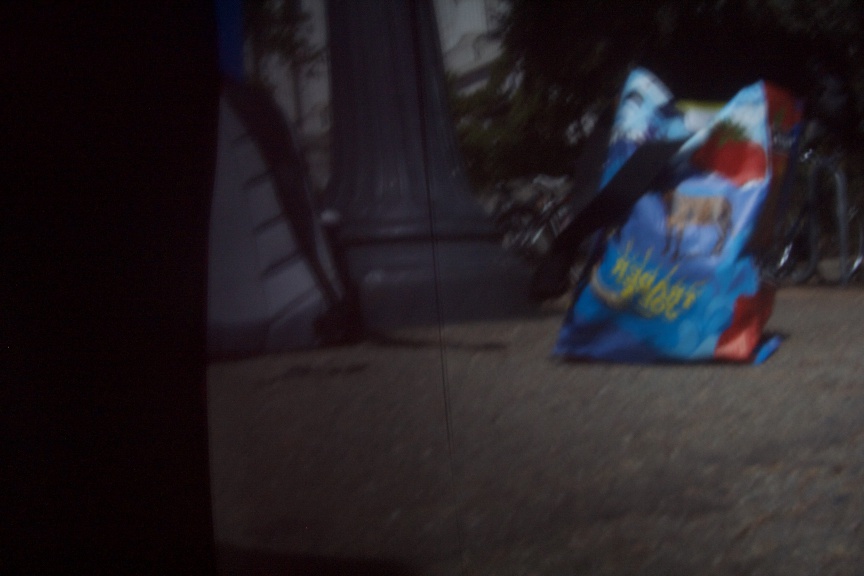
Extra Scenes
All pictures were shot with 1mm aperture and 30 second exposure on the DSLR. In testing we found these parameters gave best results.
|
|
|

|