CS 194-26: Image Manipulation & Computational Photography // Project 2
Amanda Bui (-abd), Alexander Ros (-aag), Emily Tsai (-aal)
Overview
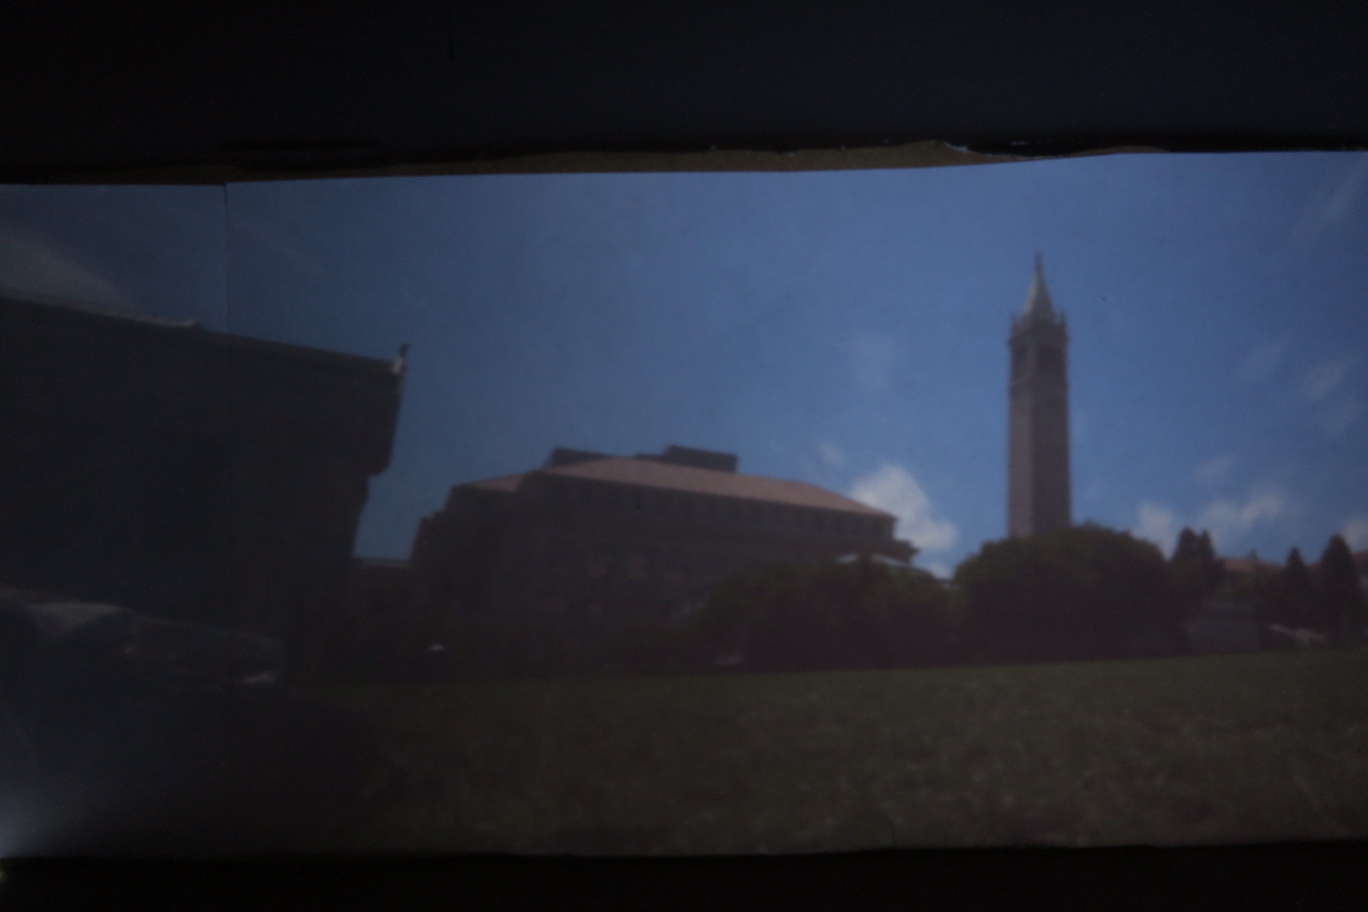
The pinhole camera (also called the "camera obscura") is a dark box with a pinhole on one face and a screen on the opposite face. Light reflecting off an object is directed through the pinhole to the screen, and an inverted image of the object forms on the screen. Because it is hard to see the image formed with the naked eye, a digital camera with a long exposure time (60 seconds) is attached to the pinhole camera to capture the image reflected on the screen.
Box Design
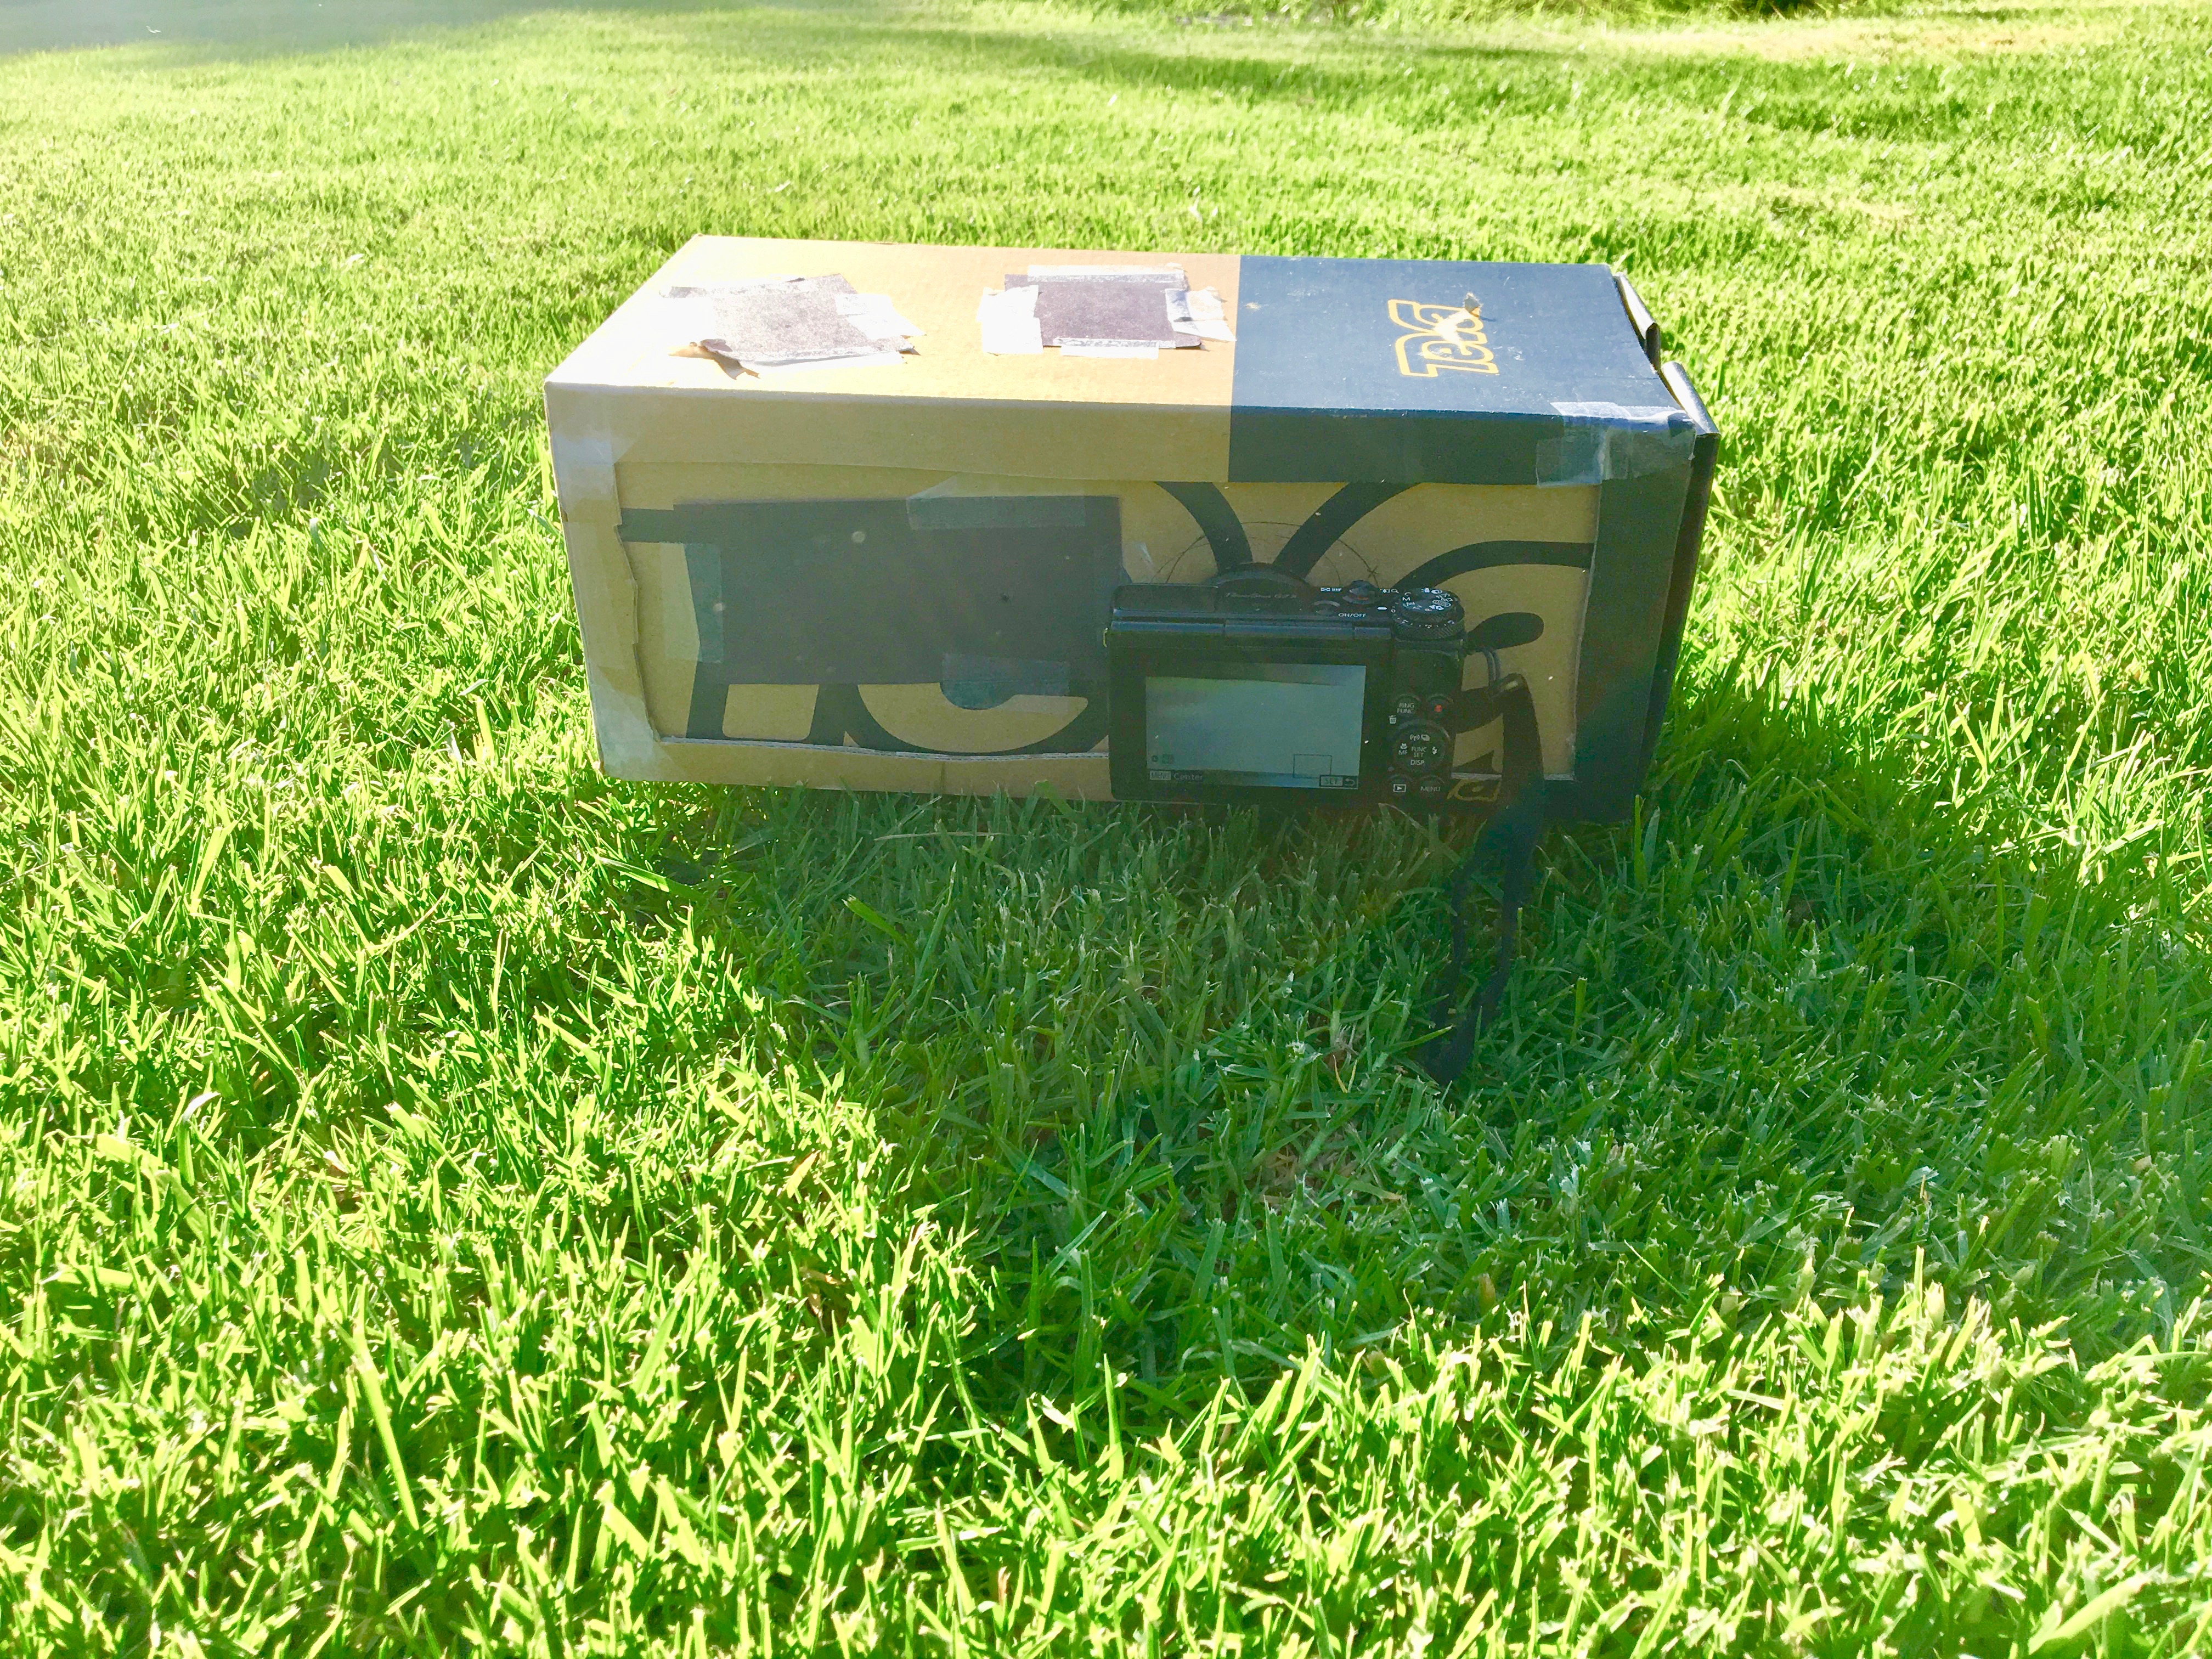
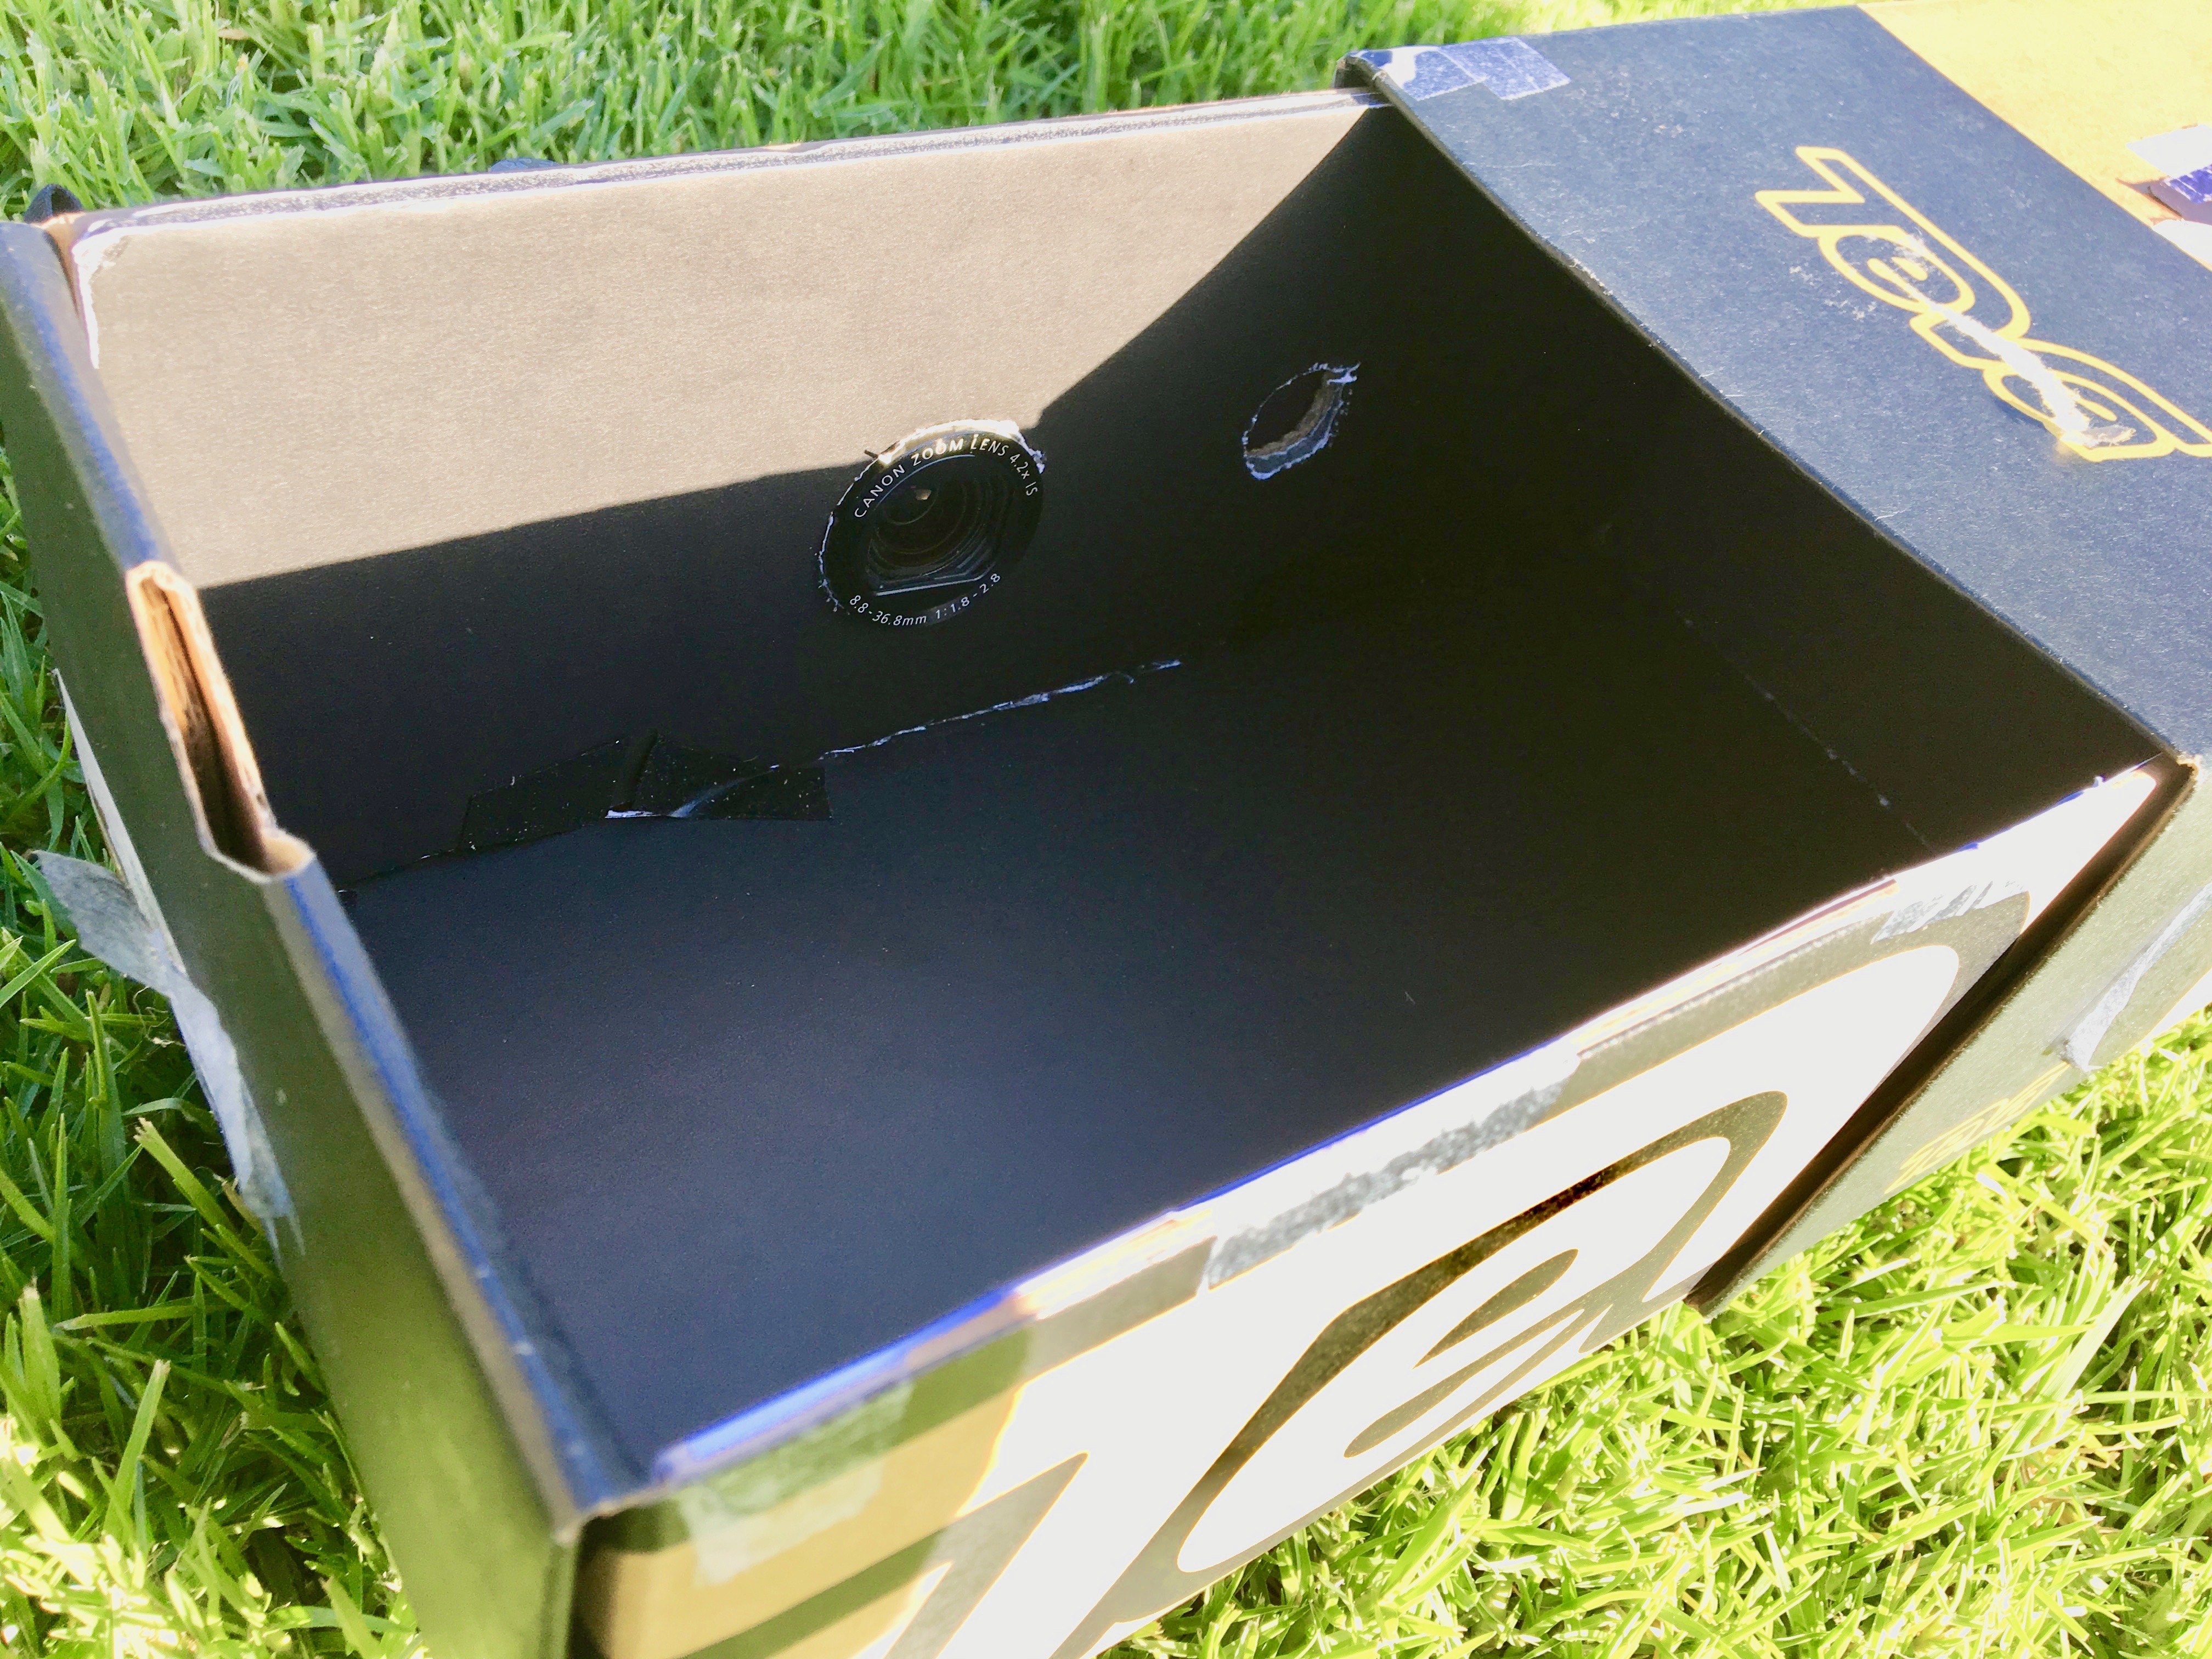
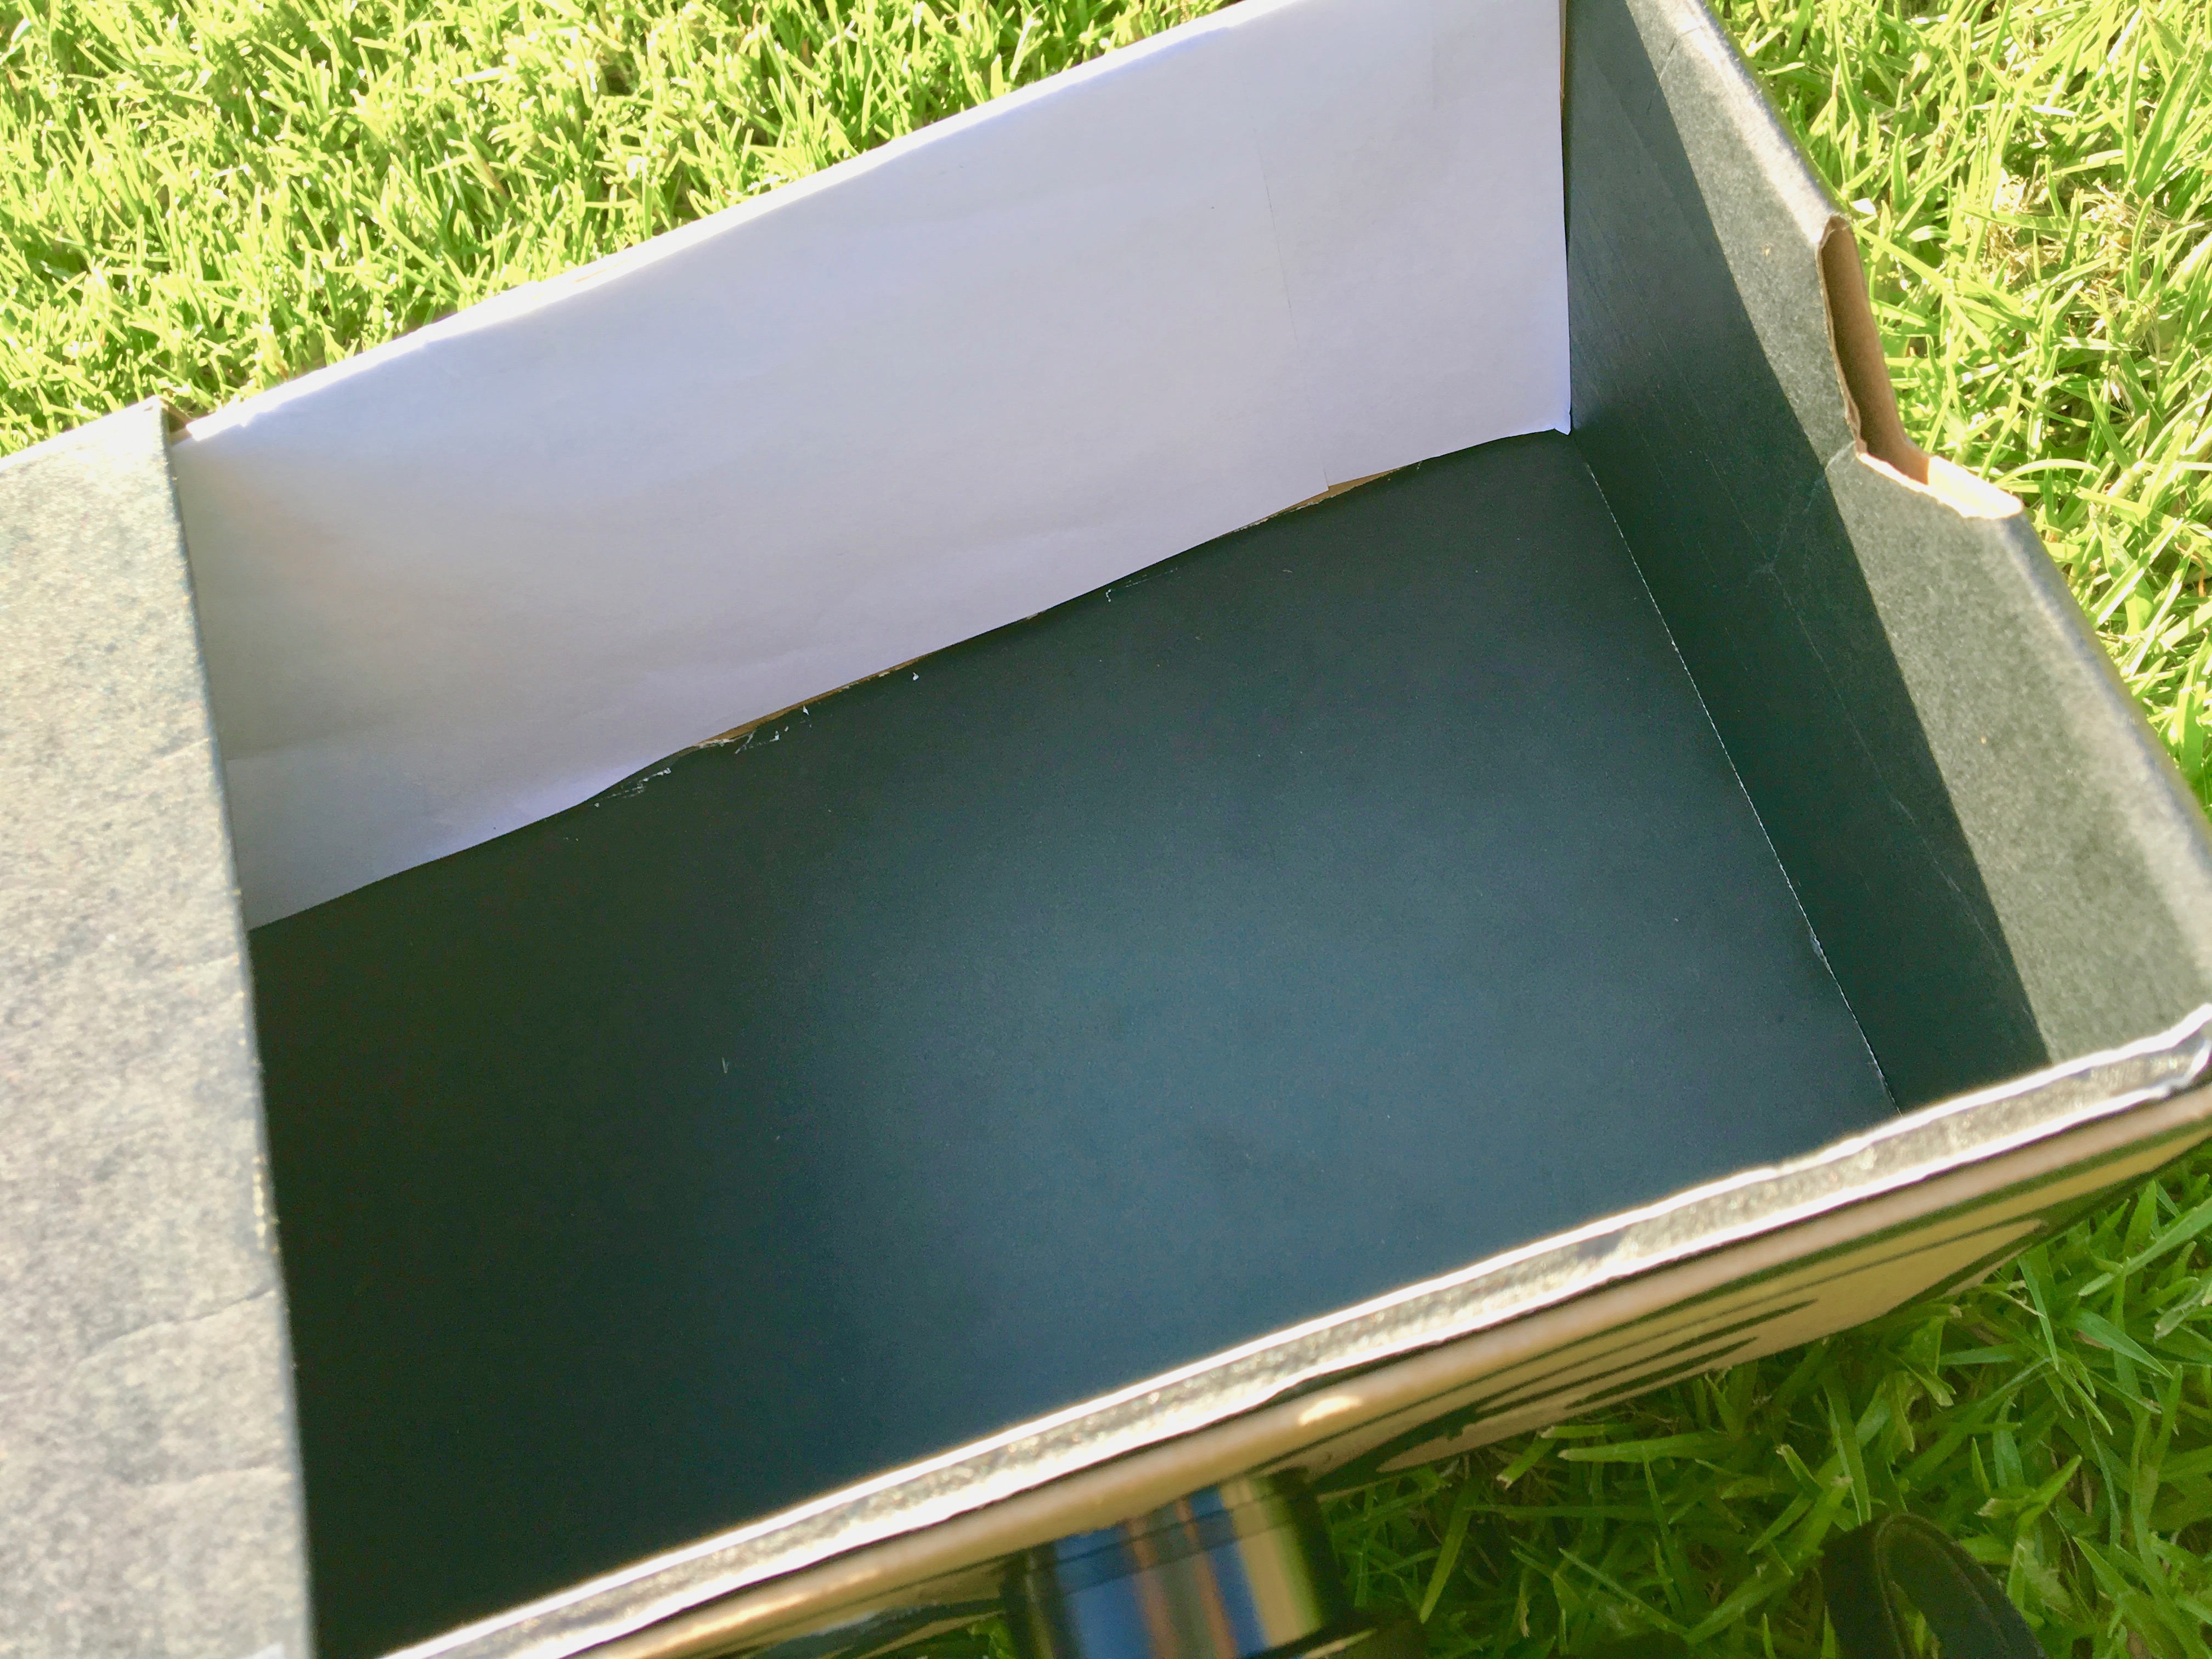
The base of our camera obscura is a shoebox. On one of the long sides of the shoebox, we cut two holes: one for the pinhole, and one for the camera. On the opposite facing side, we lined the inner wall with white paper; this becomes the screen upon which the images are projected. In order to keep the box as dark as possible, we lined each of the remaining inner walls, floor, and ceiling of the box with black poster board that we carefully measured, cut, and aligned. After this, we closed the box and sealed any remaining holes and gaps with black felt and tape. We then made three pinhole sizes on black poster paper: 0.6mm, 1mm, and 3mm. Our camera obscura is now ready for photos!


Camera Obscura, to the Test!


Features
Pinhole Sizes
We used the following formula to calculate the best pinhole size: 1.9 * sqrt(f * lambda), where f is the distance between the pinhole and the screen, f = 16 cm, and lambda is the wavelength of light, lambda = 550 nm. Based on these calculations, we got that the optimal pinhole size should be 0.59329587896mm, rounded up to 0.6mm. We also made 1mm and 3mm pinhole sizes to test out. In the end, we found that the 1mm pinhole produced the best images. The 0.6mm was the sharpest, but a bit too dark overall and especially around large objects or dark objects (like trees). The 3mm pinhole produced the brightest, but blurriest images. The 1mm pinhole was a nice balance between the two.
Camera Settings
For our digital camera settings, we set the ISO to 125, the f stop to f11, and the shutter speed to 60 seconds.
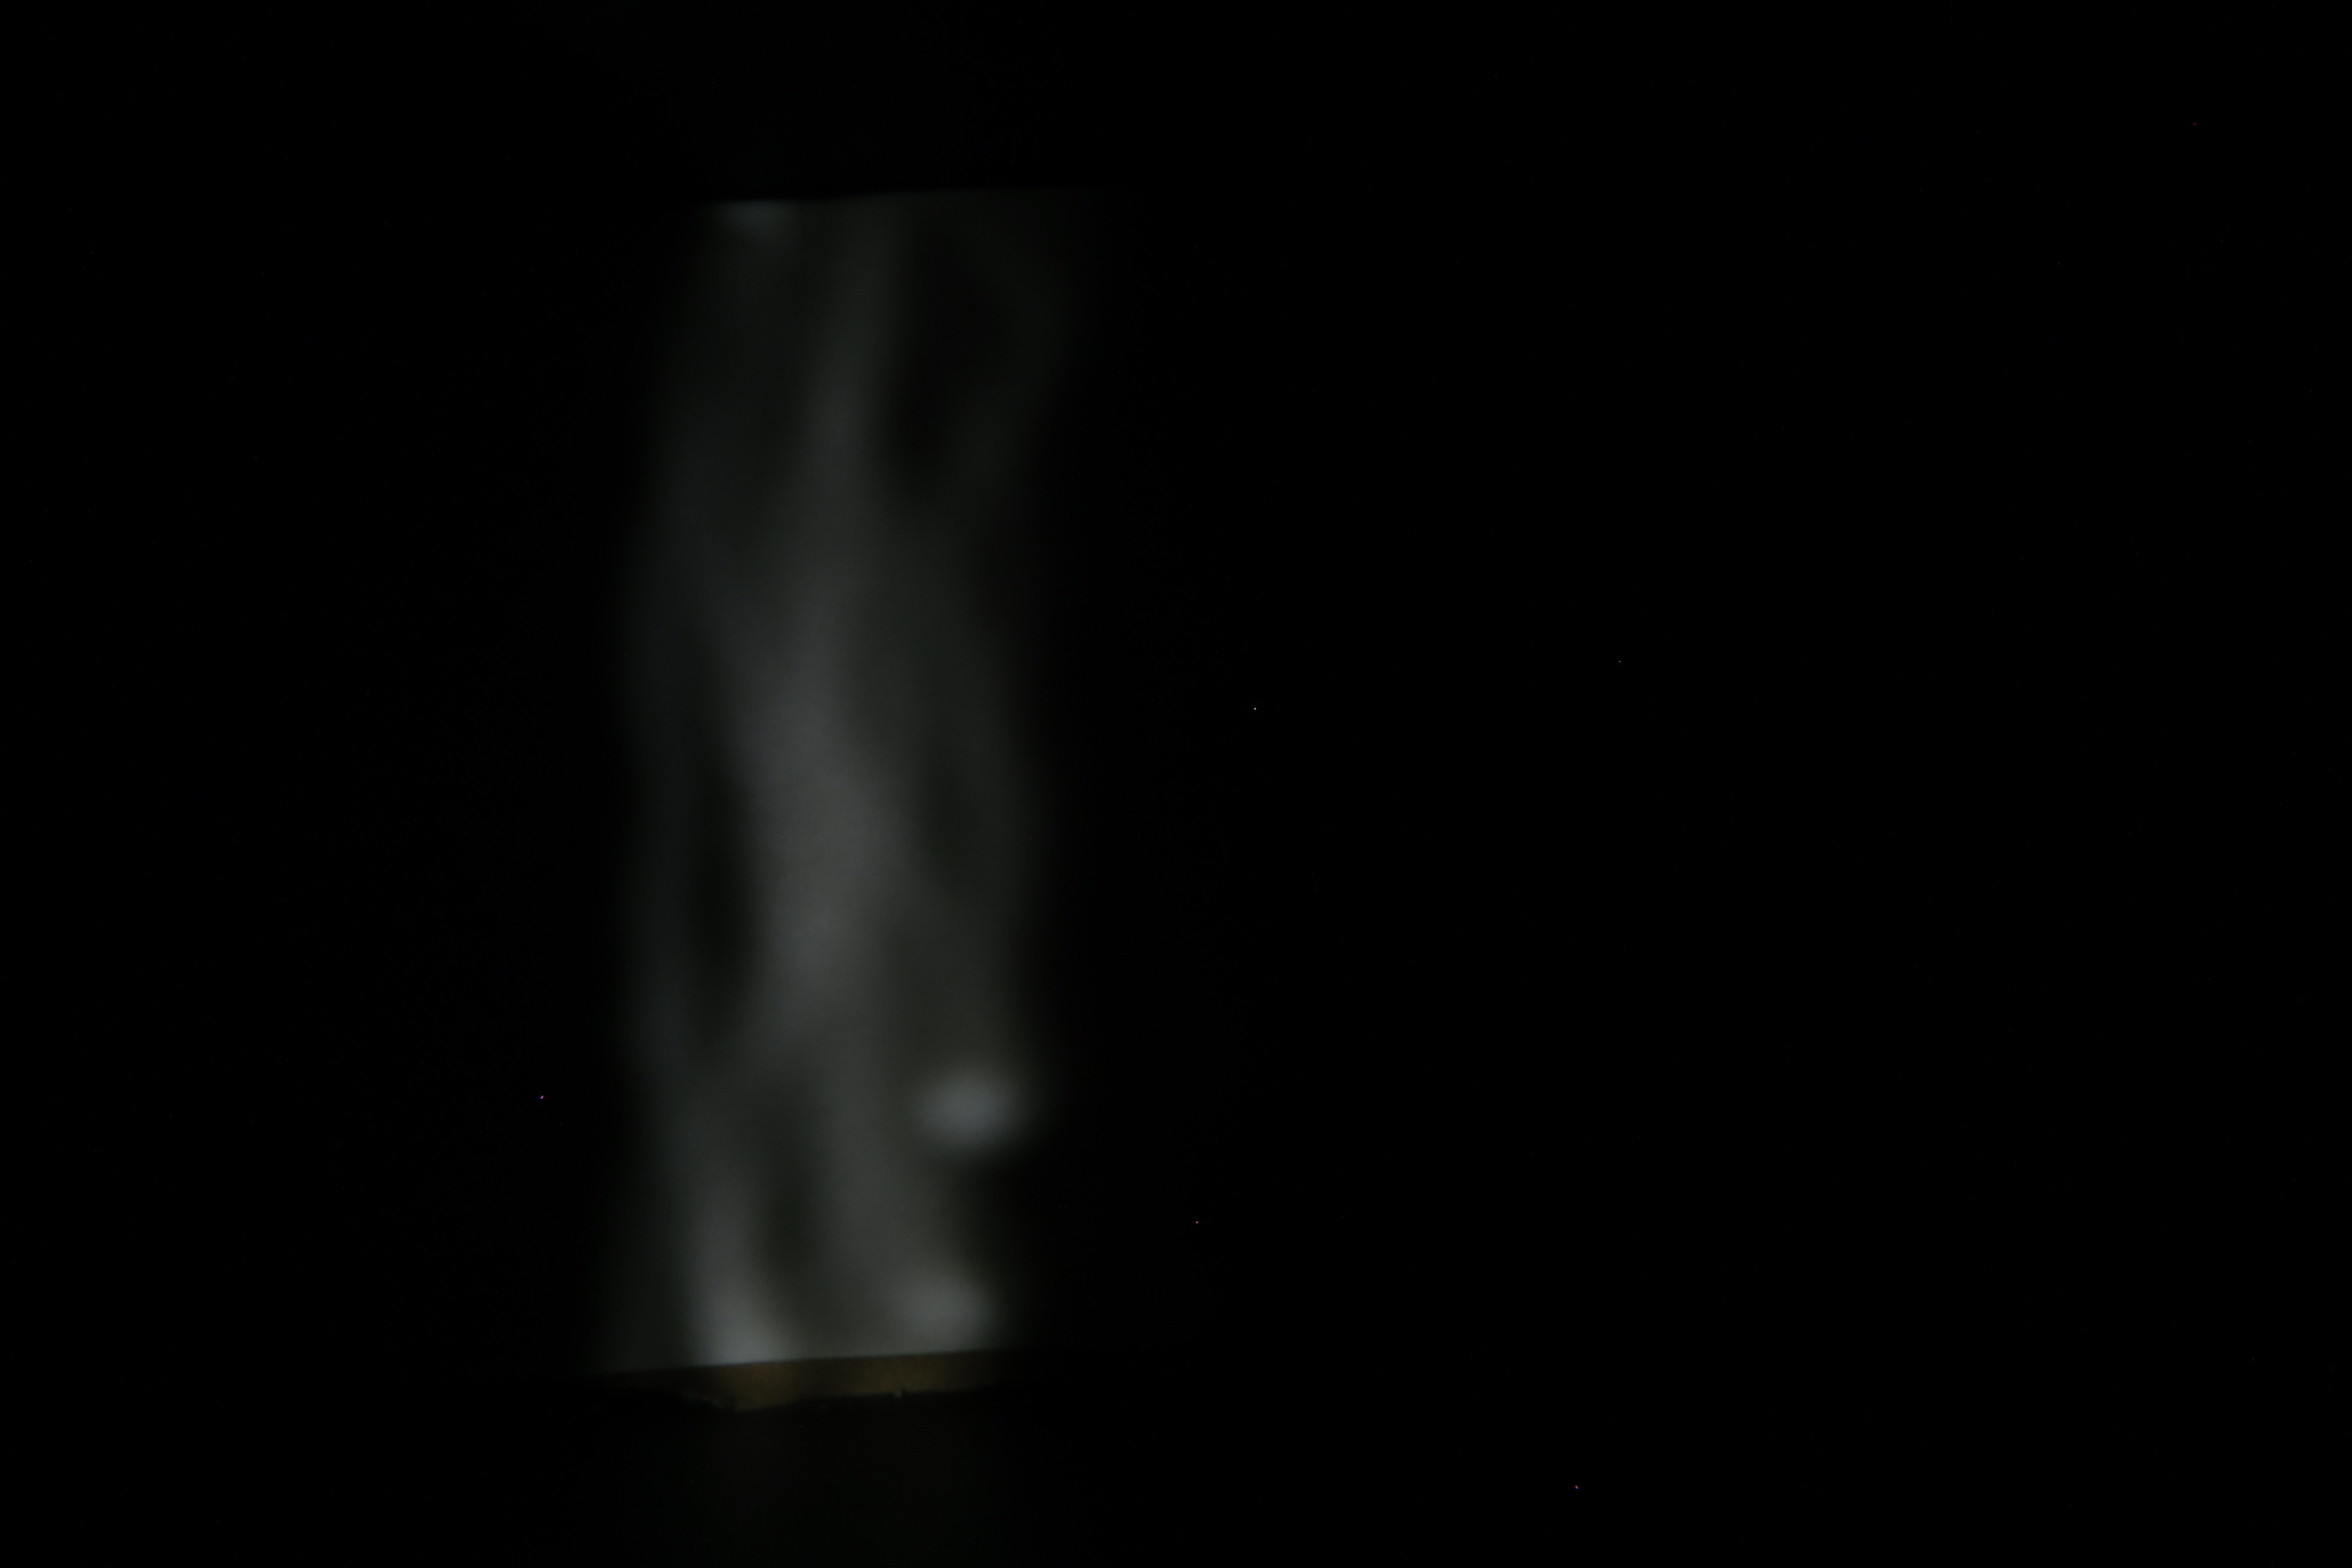
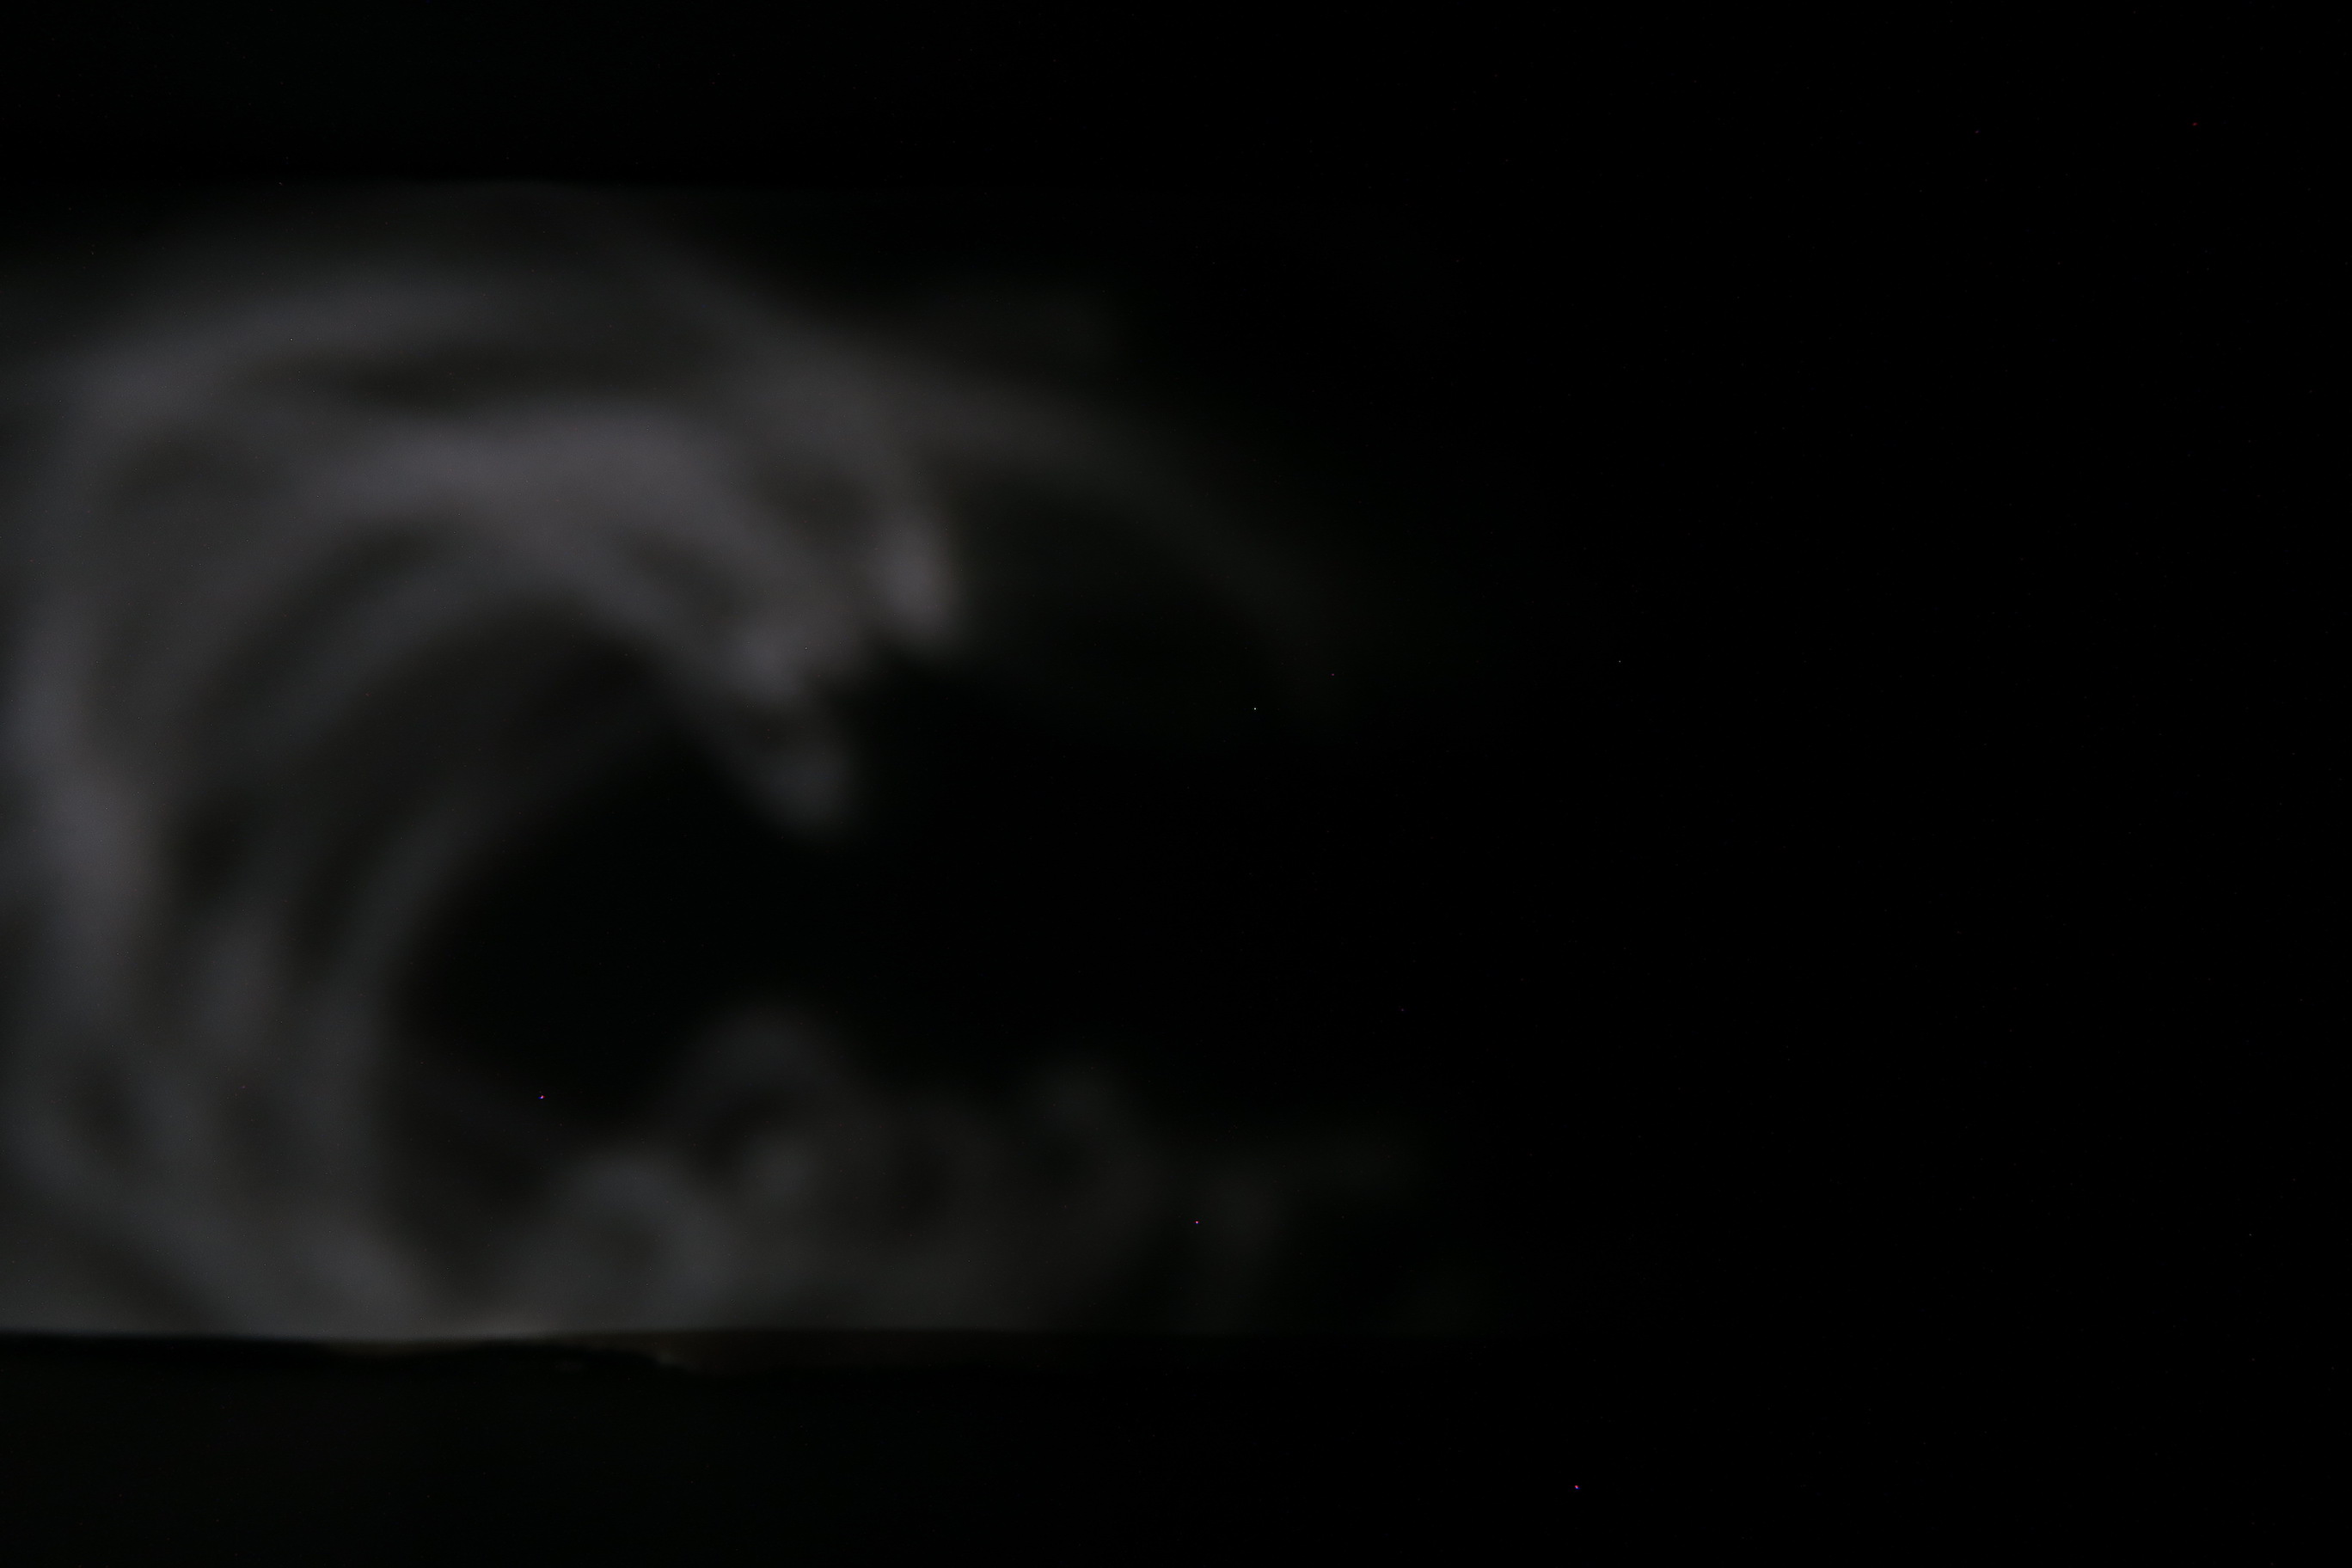
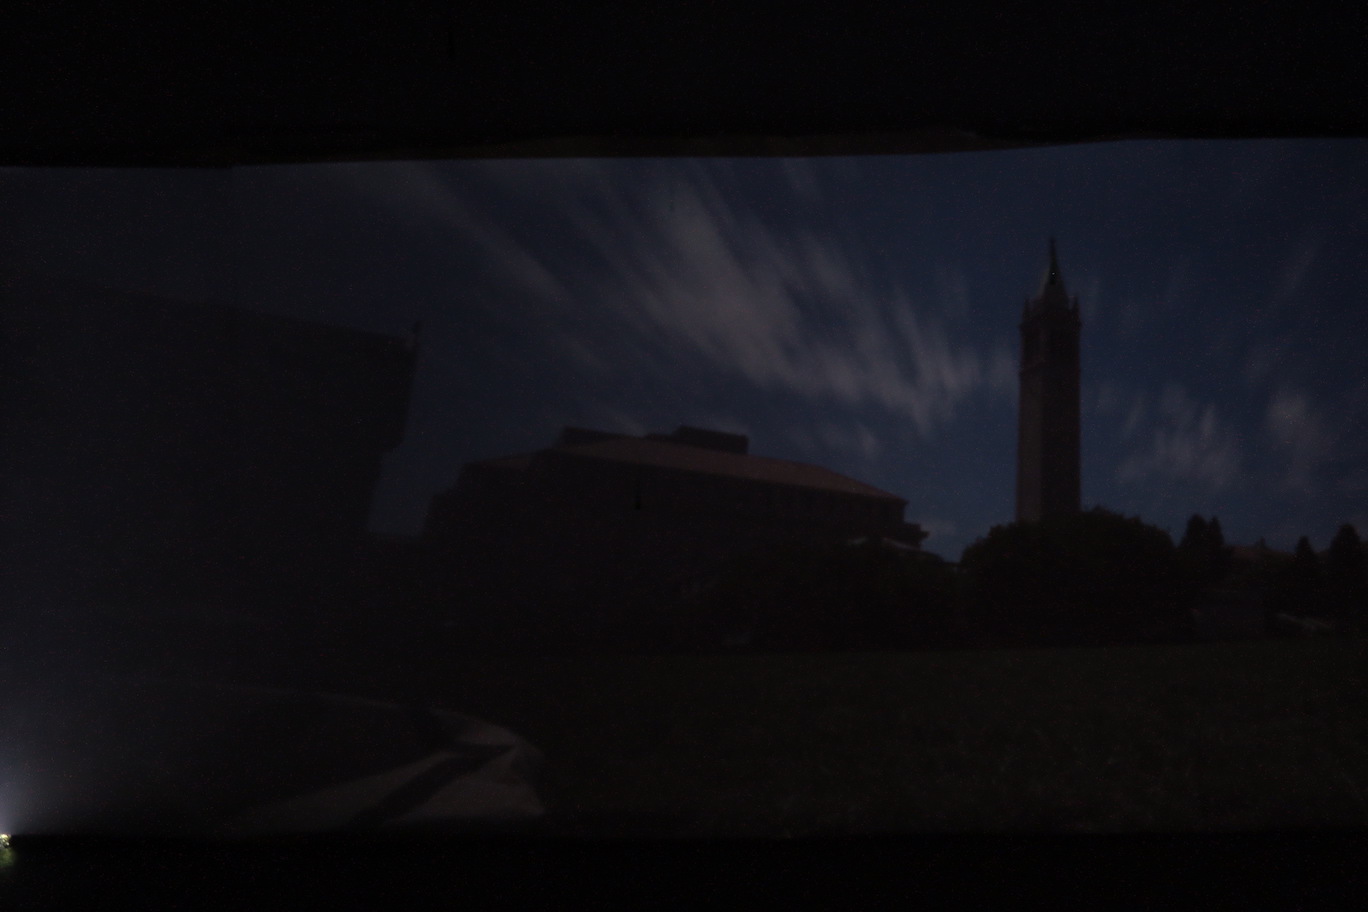
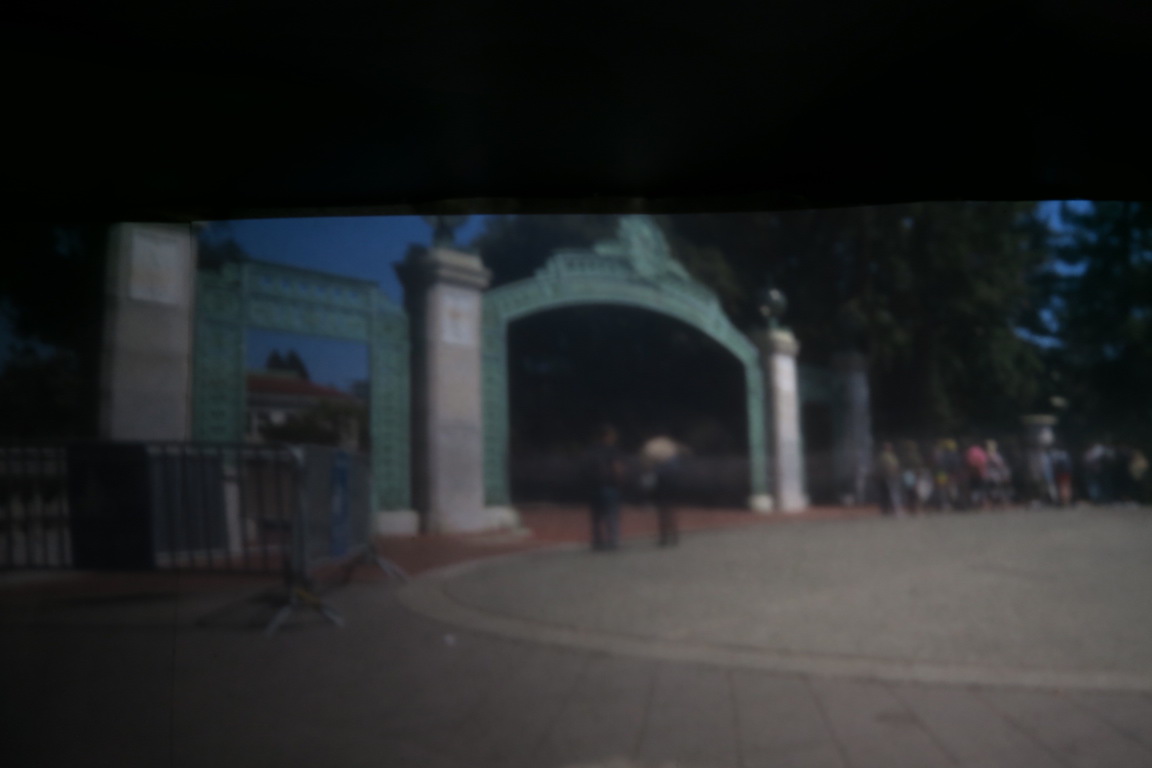
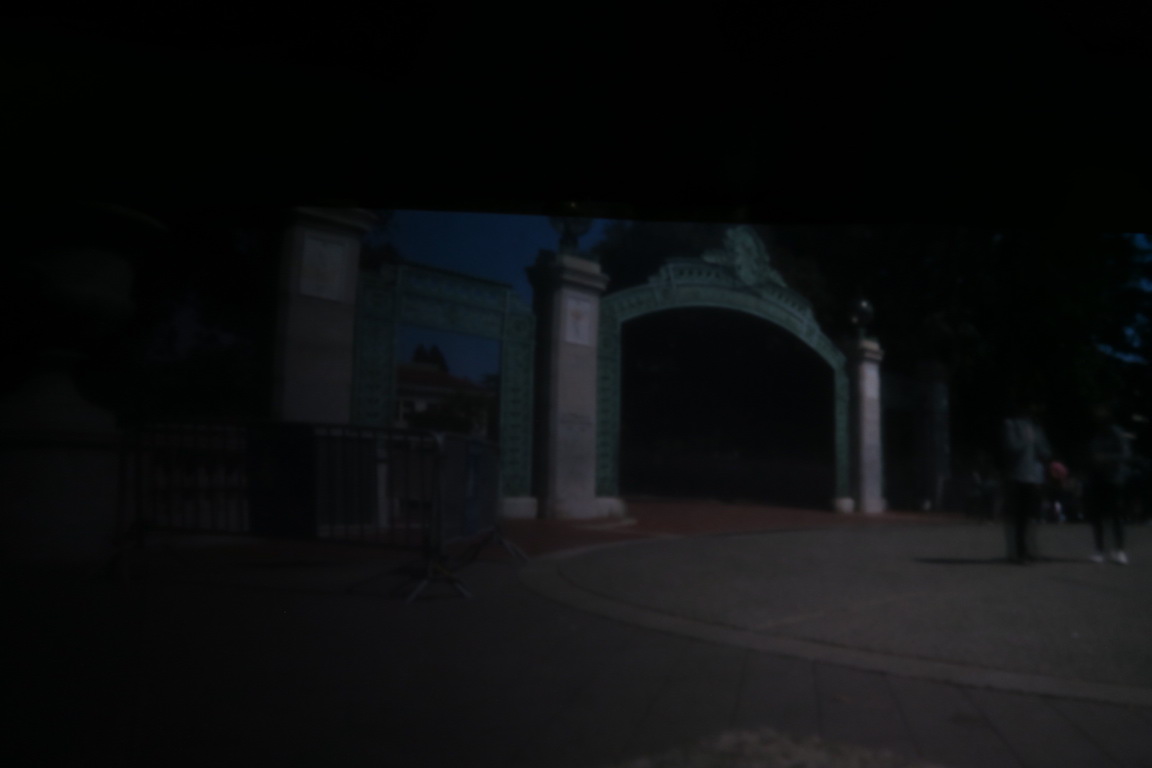
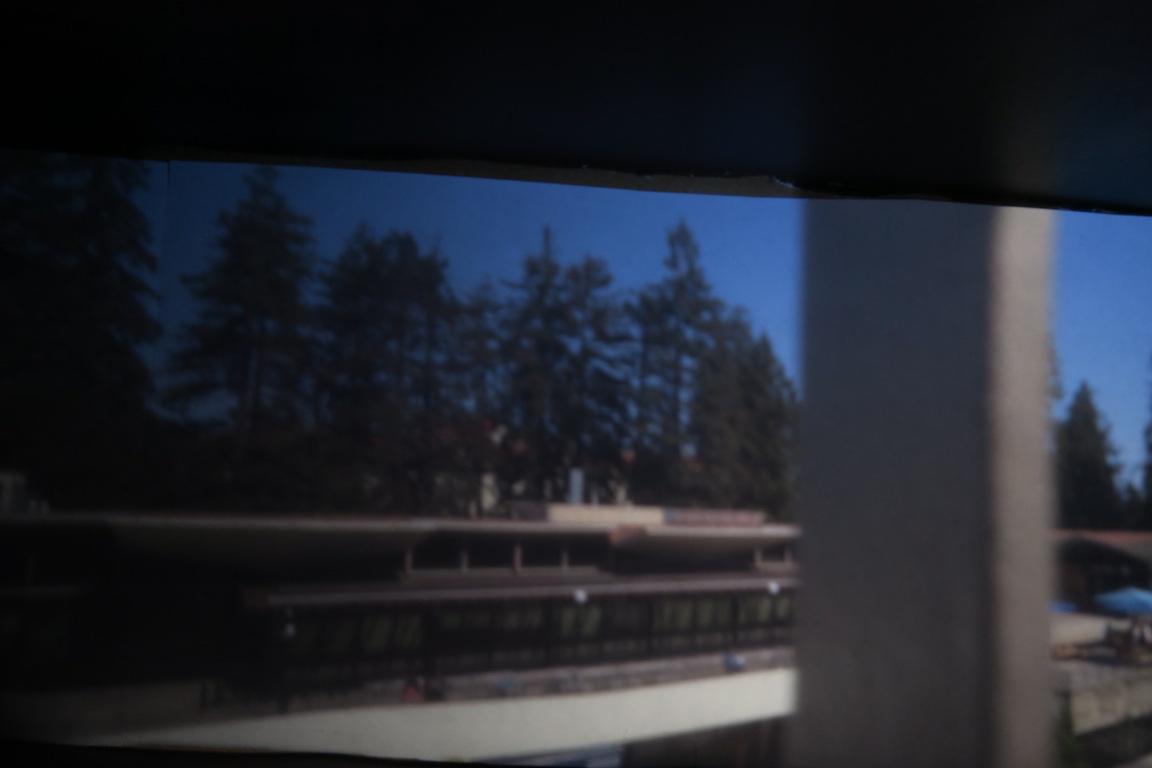
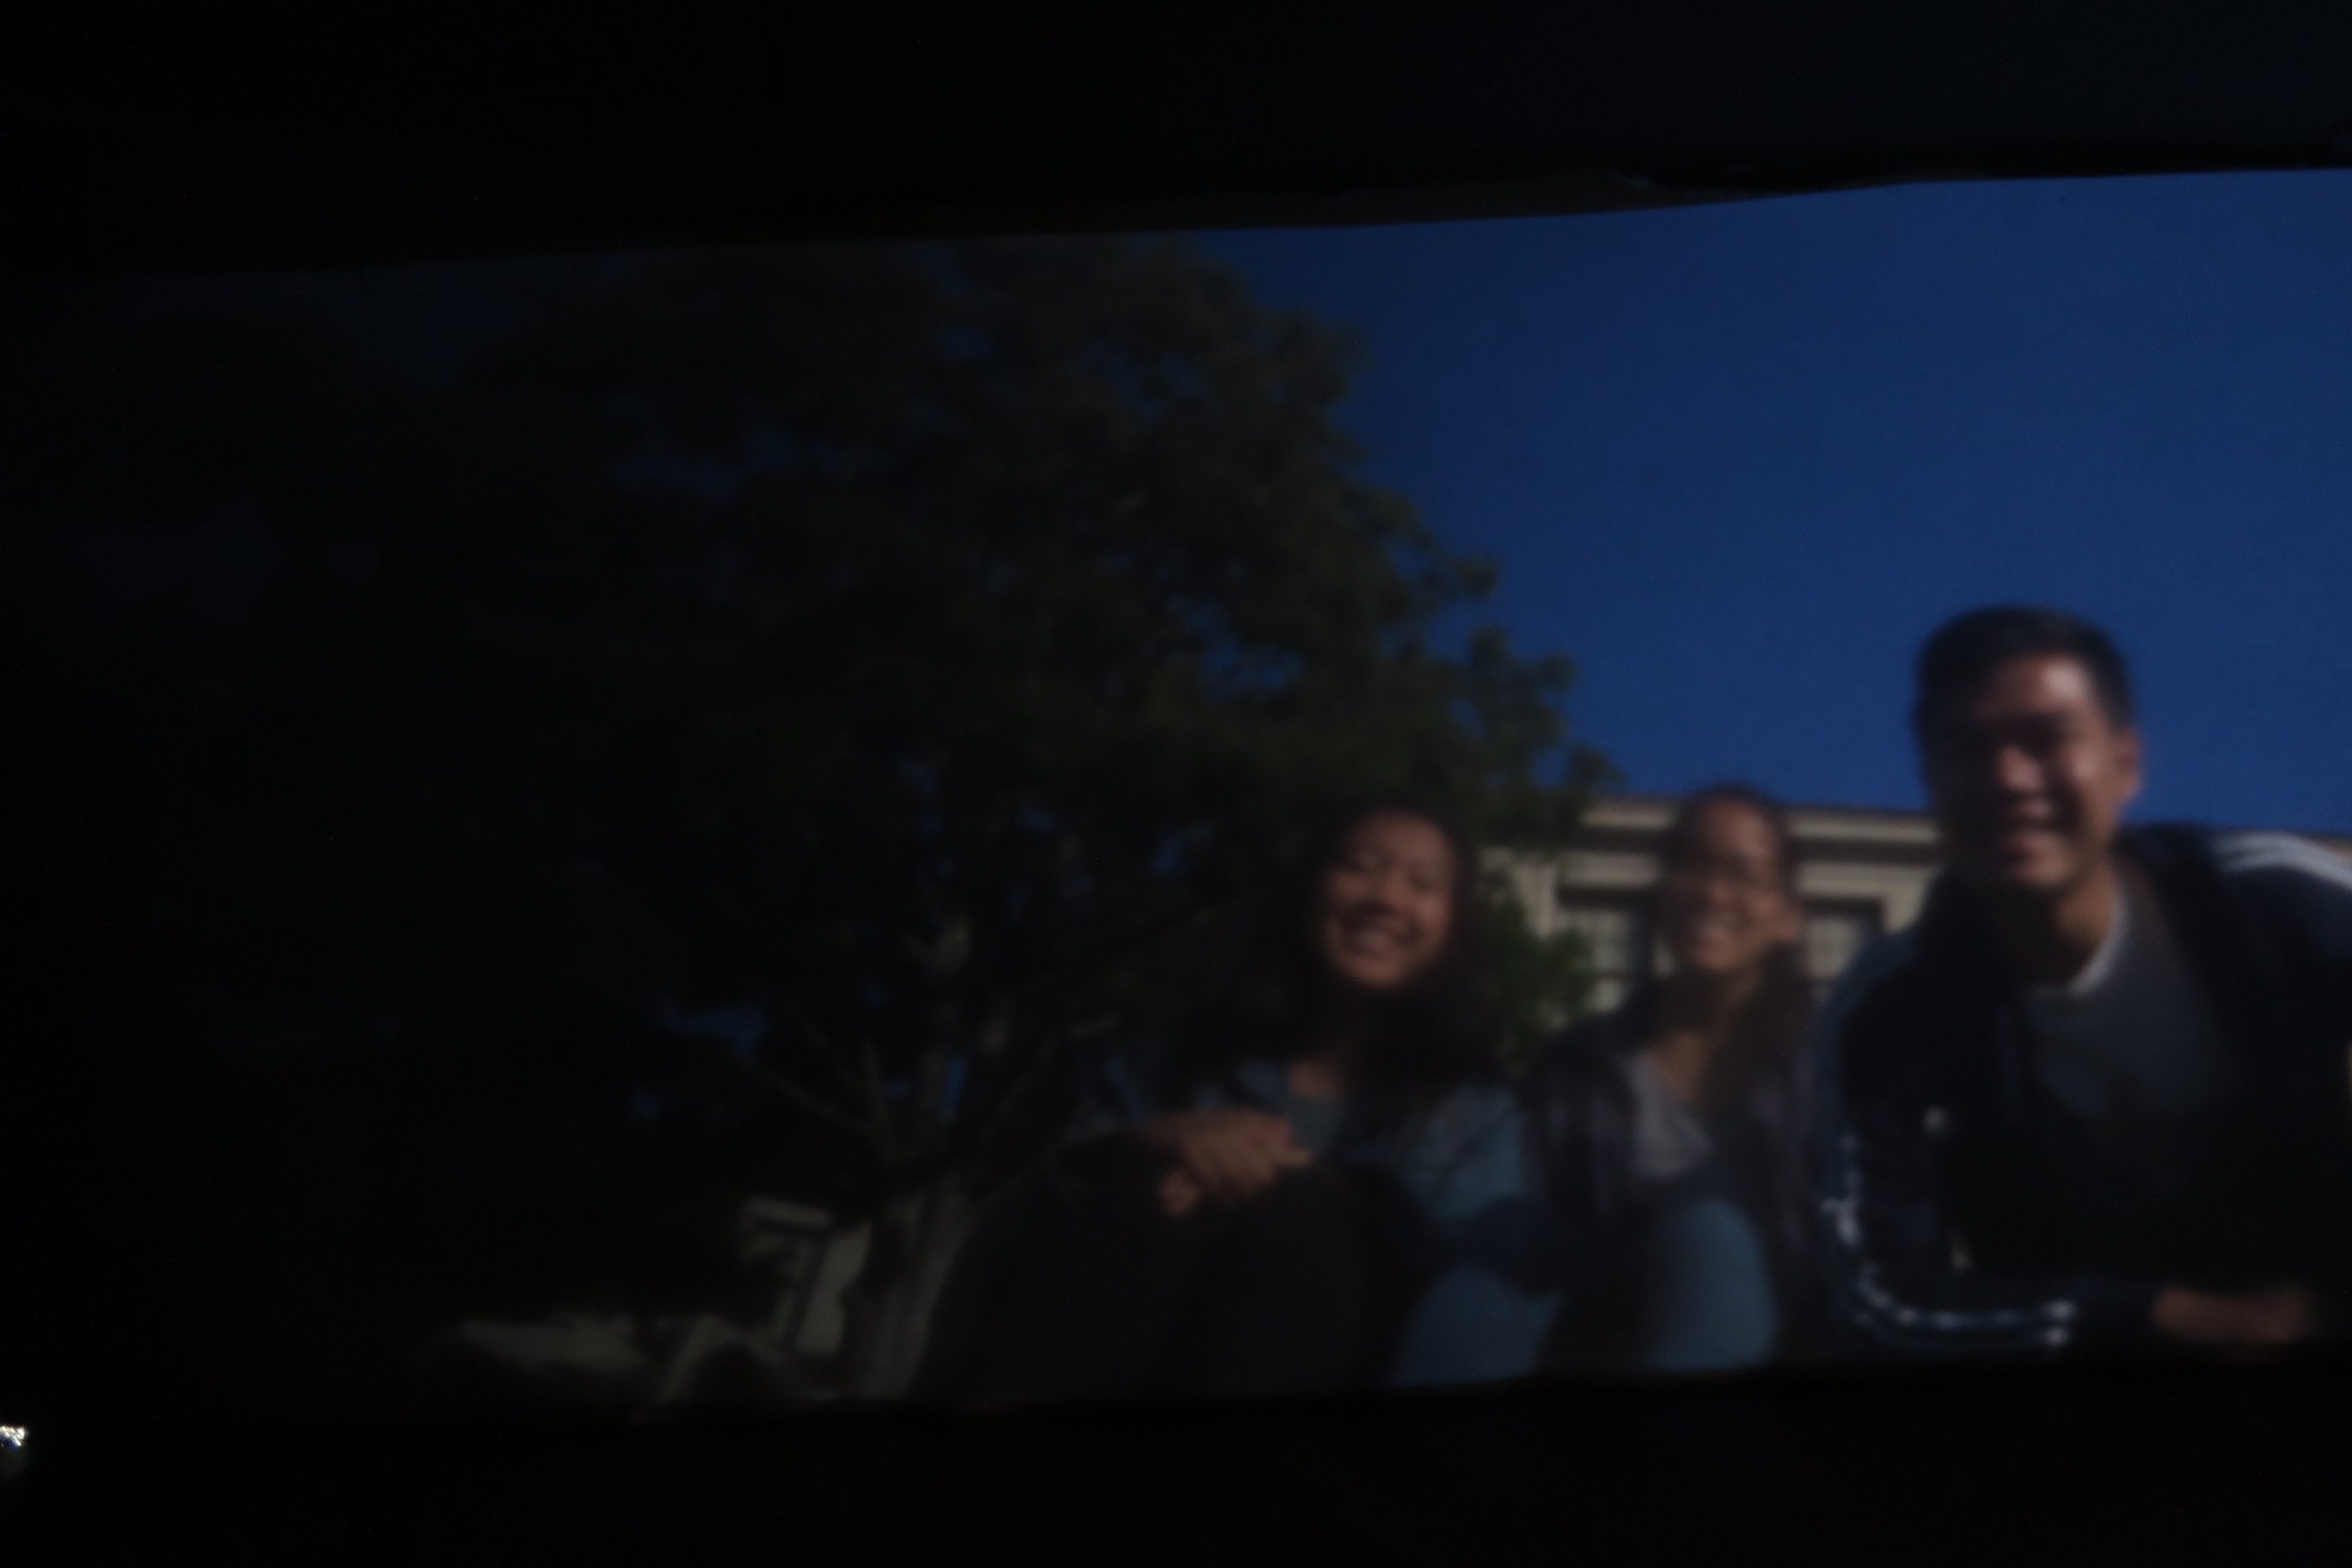
Image Portfolio (1mm)
***Note: click on any photo to view it in HD quality!***


Bells and Whistles
Stereo Pinhole
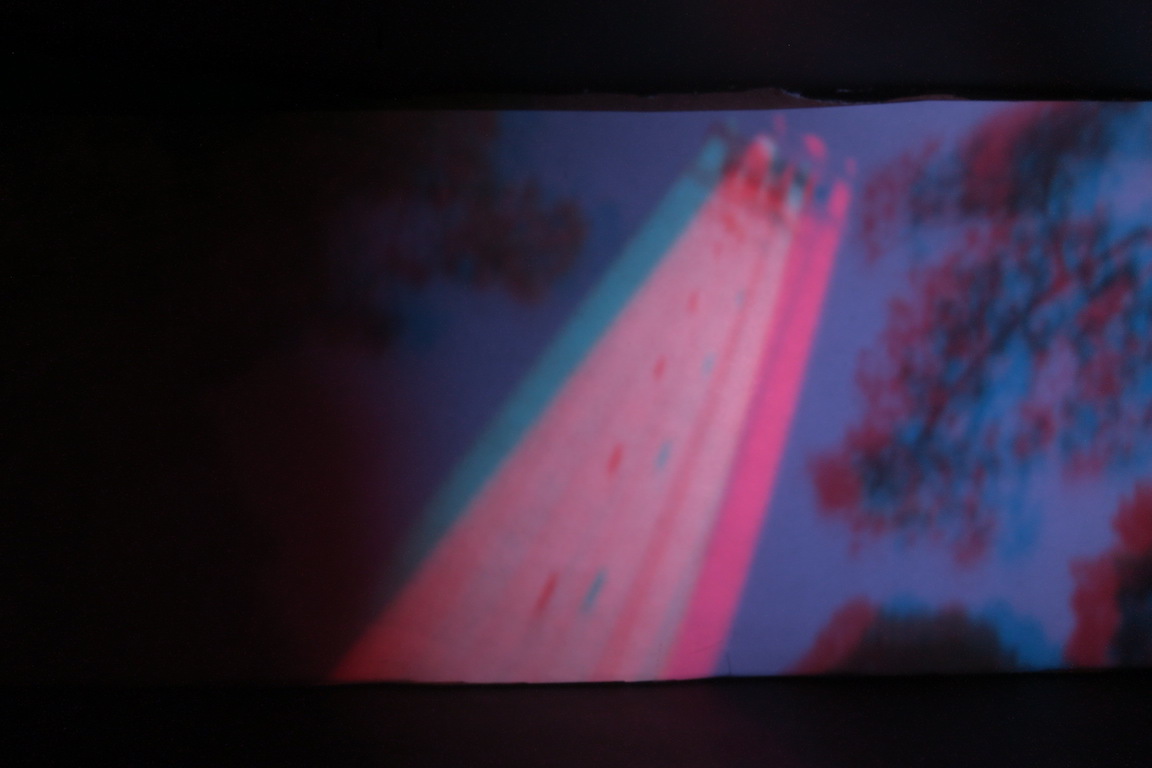
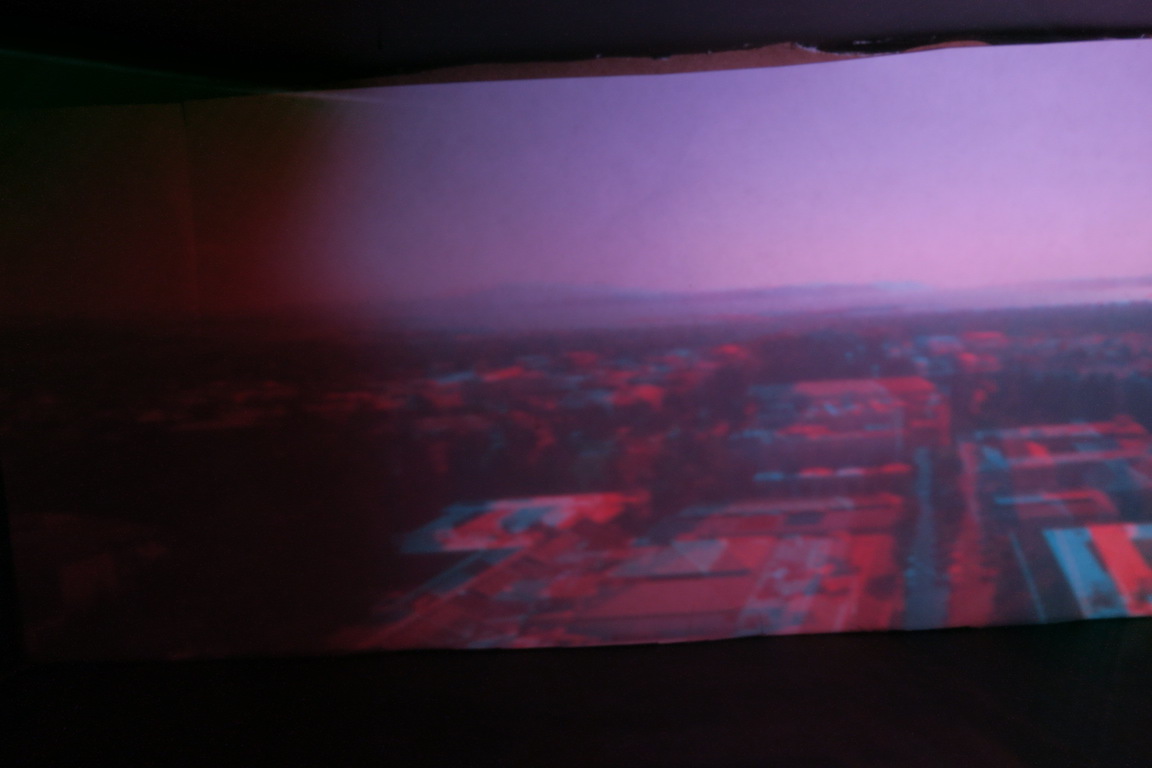
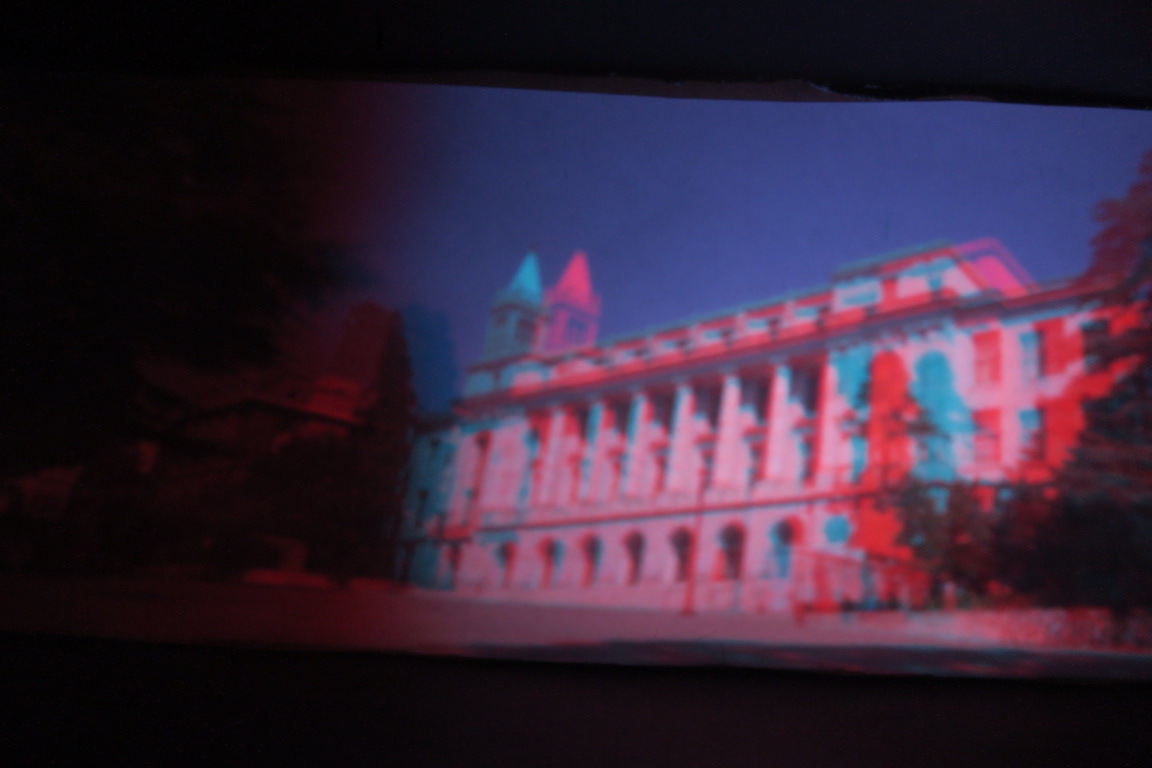
Not only does our camera obscura take 2D images, but we also used red and cyan pinhole filters set 2cm apart to create 3D images! The resulting anaglyph images, which are fused pairs of stereo images (one red channel and one cyan channel) create a 3D effect. Our pinhole sizes were 1mm each. Here are the images! They look best when you have on a pair of red and cyan 3D glasses.

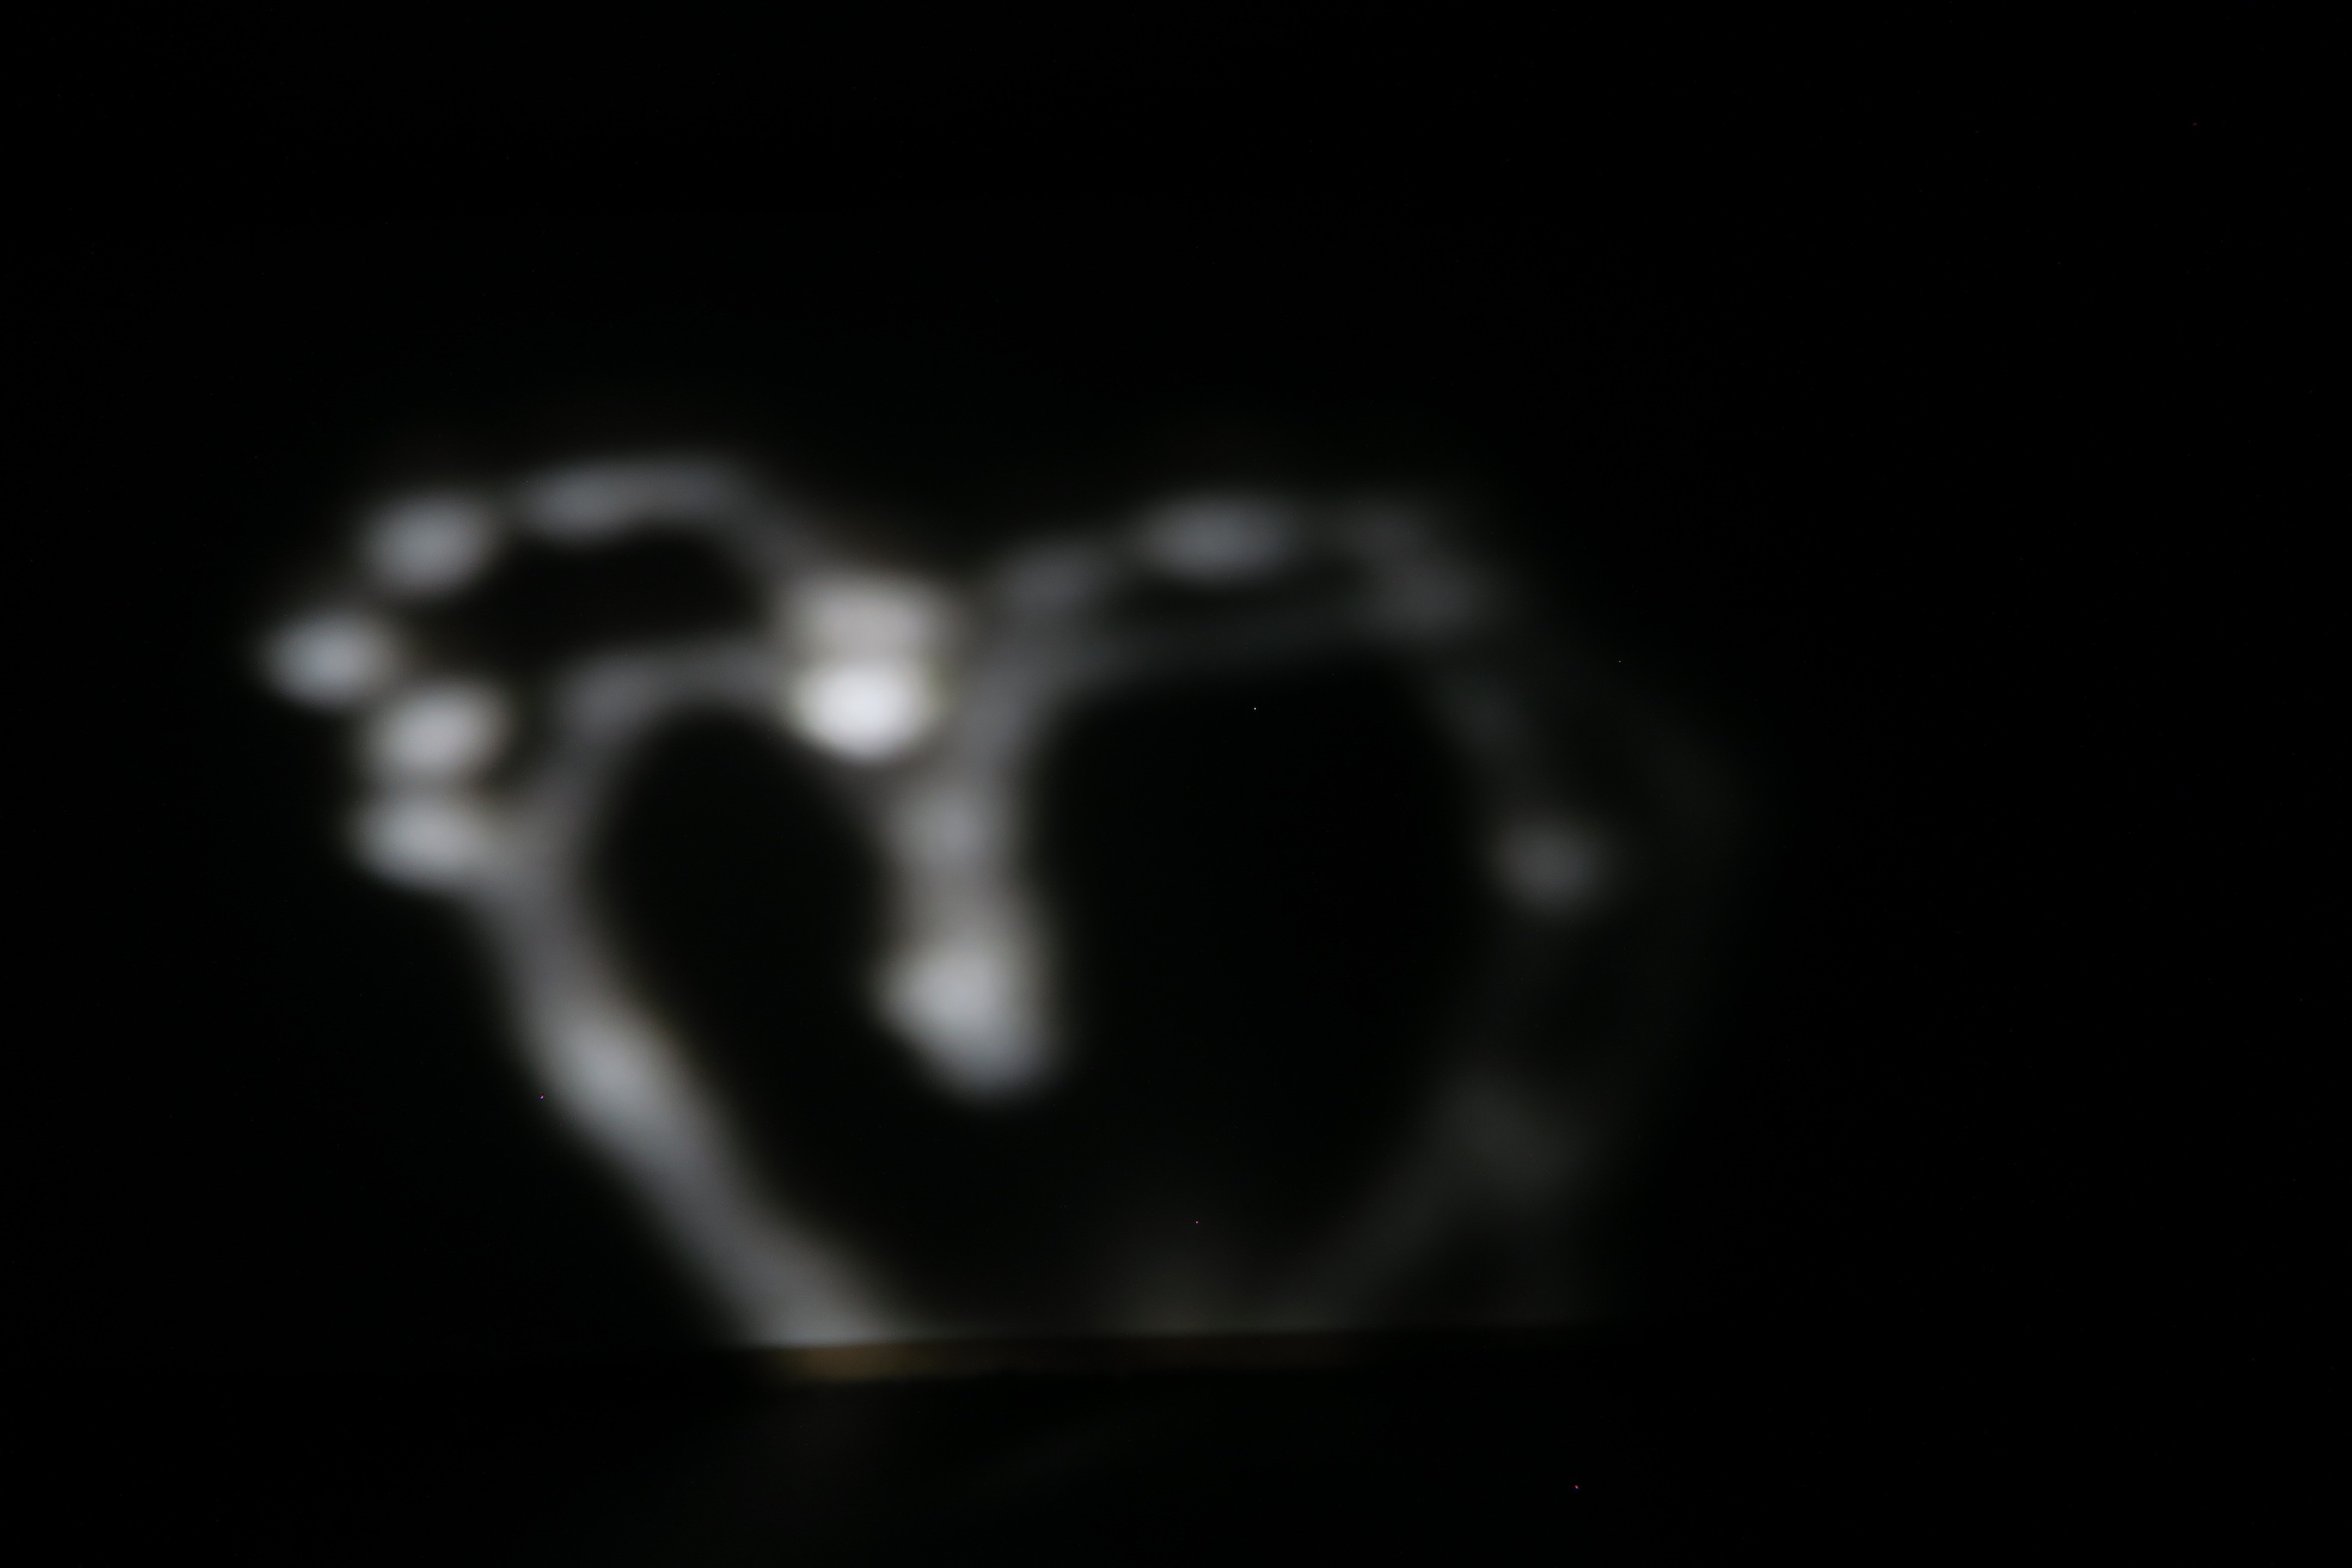
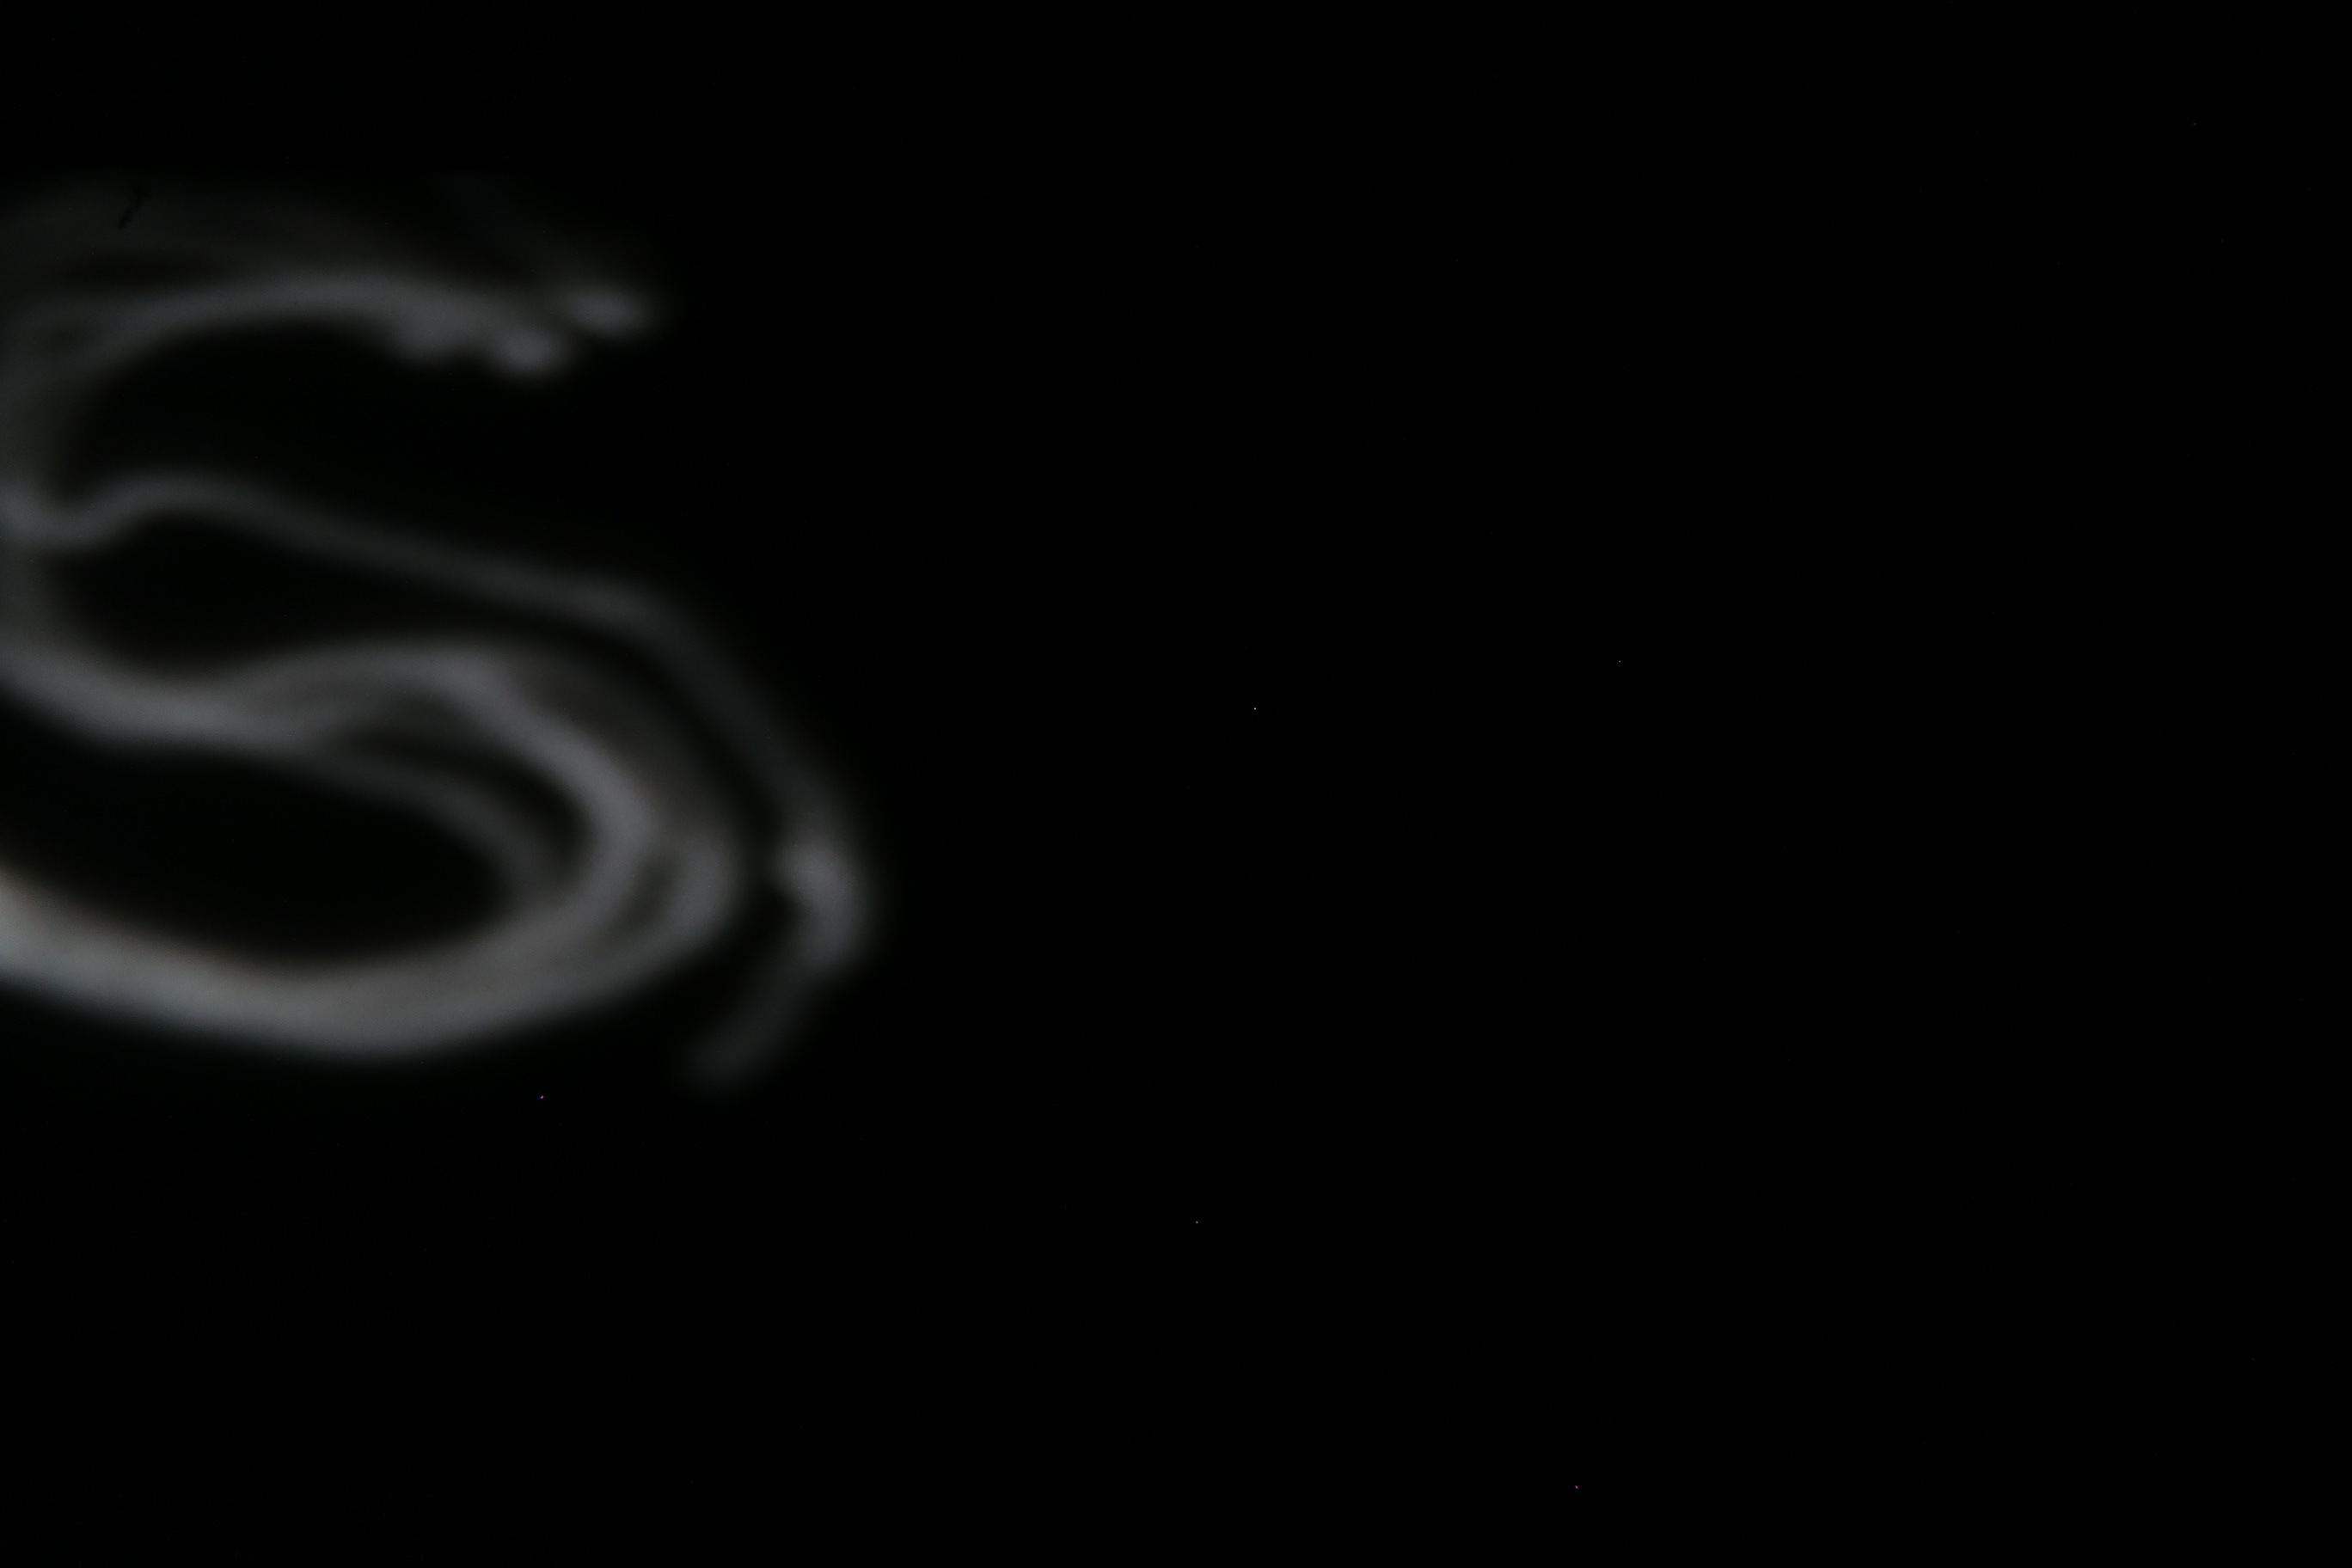
Light Painting
We also used our camera obscura to create some fun light paintings. We found that we had to use the 3mm diameter pinhole and hold our phone flashlights within just a few inches of the box in order to get a good light painting photo.