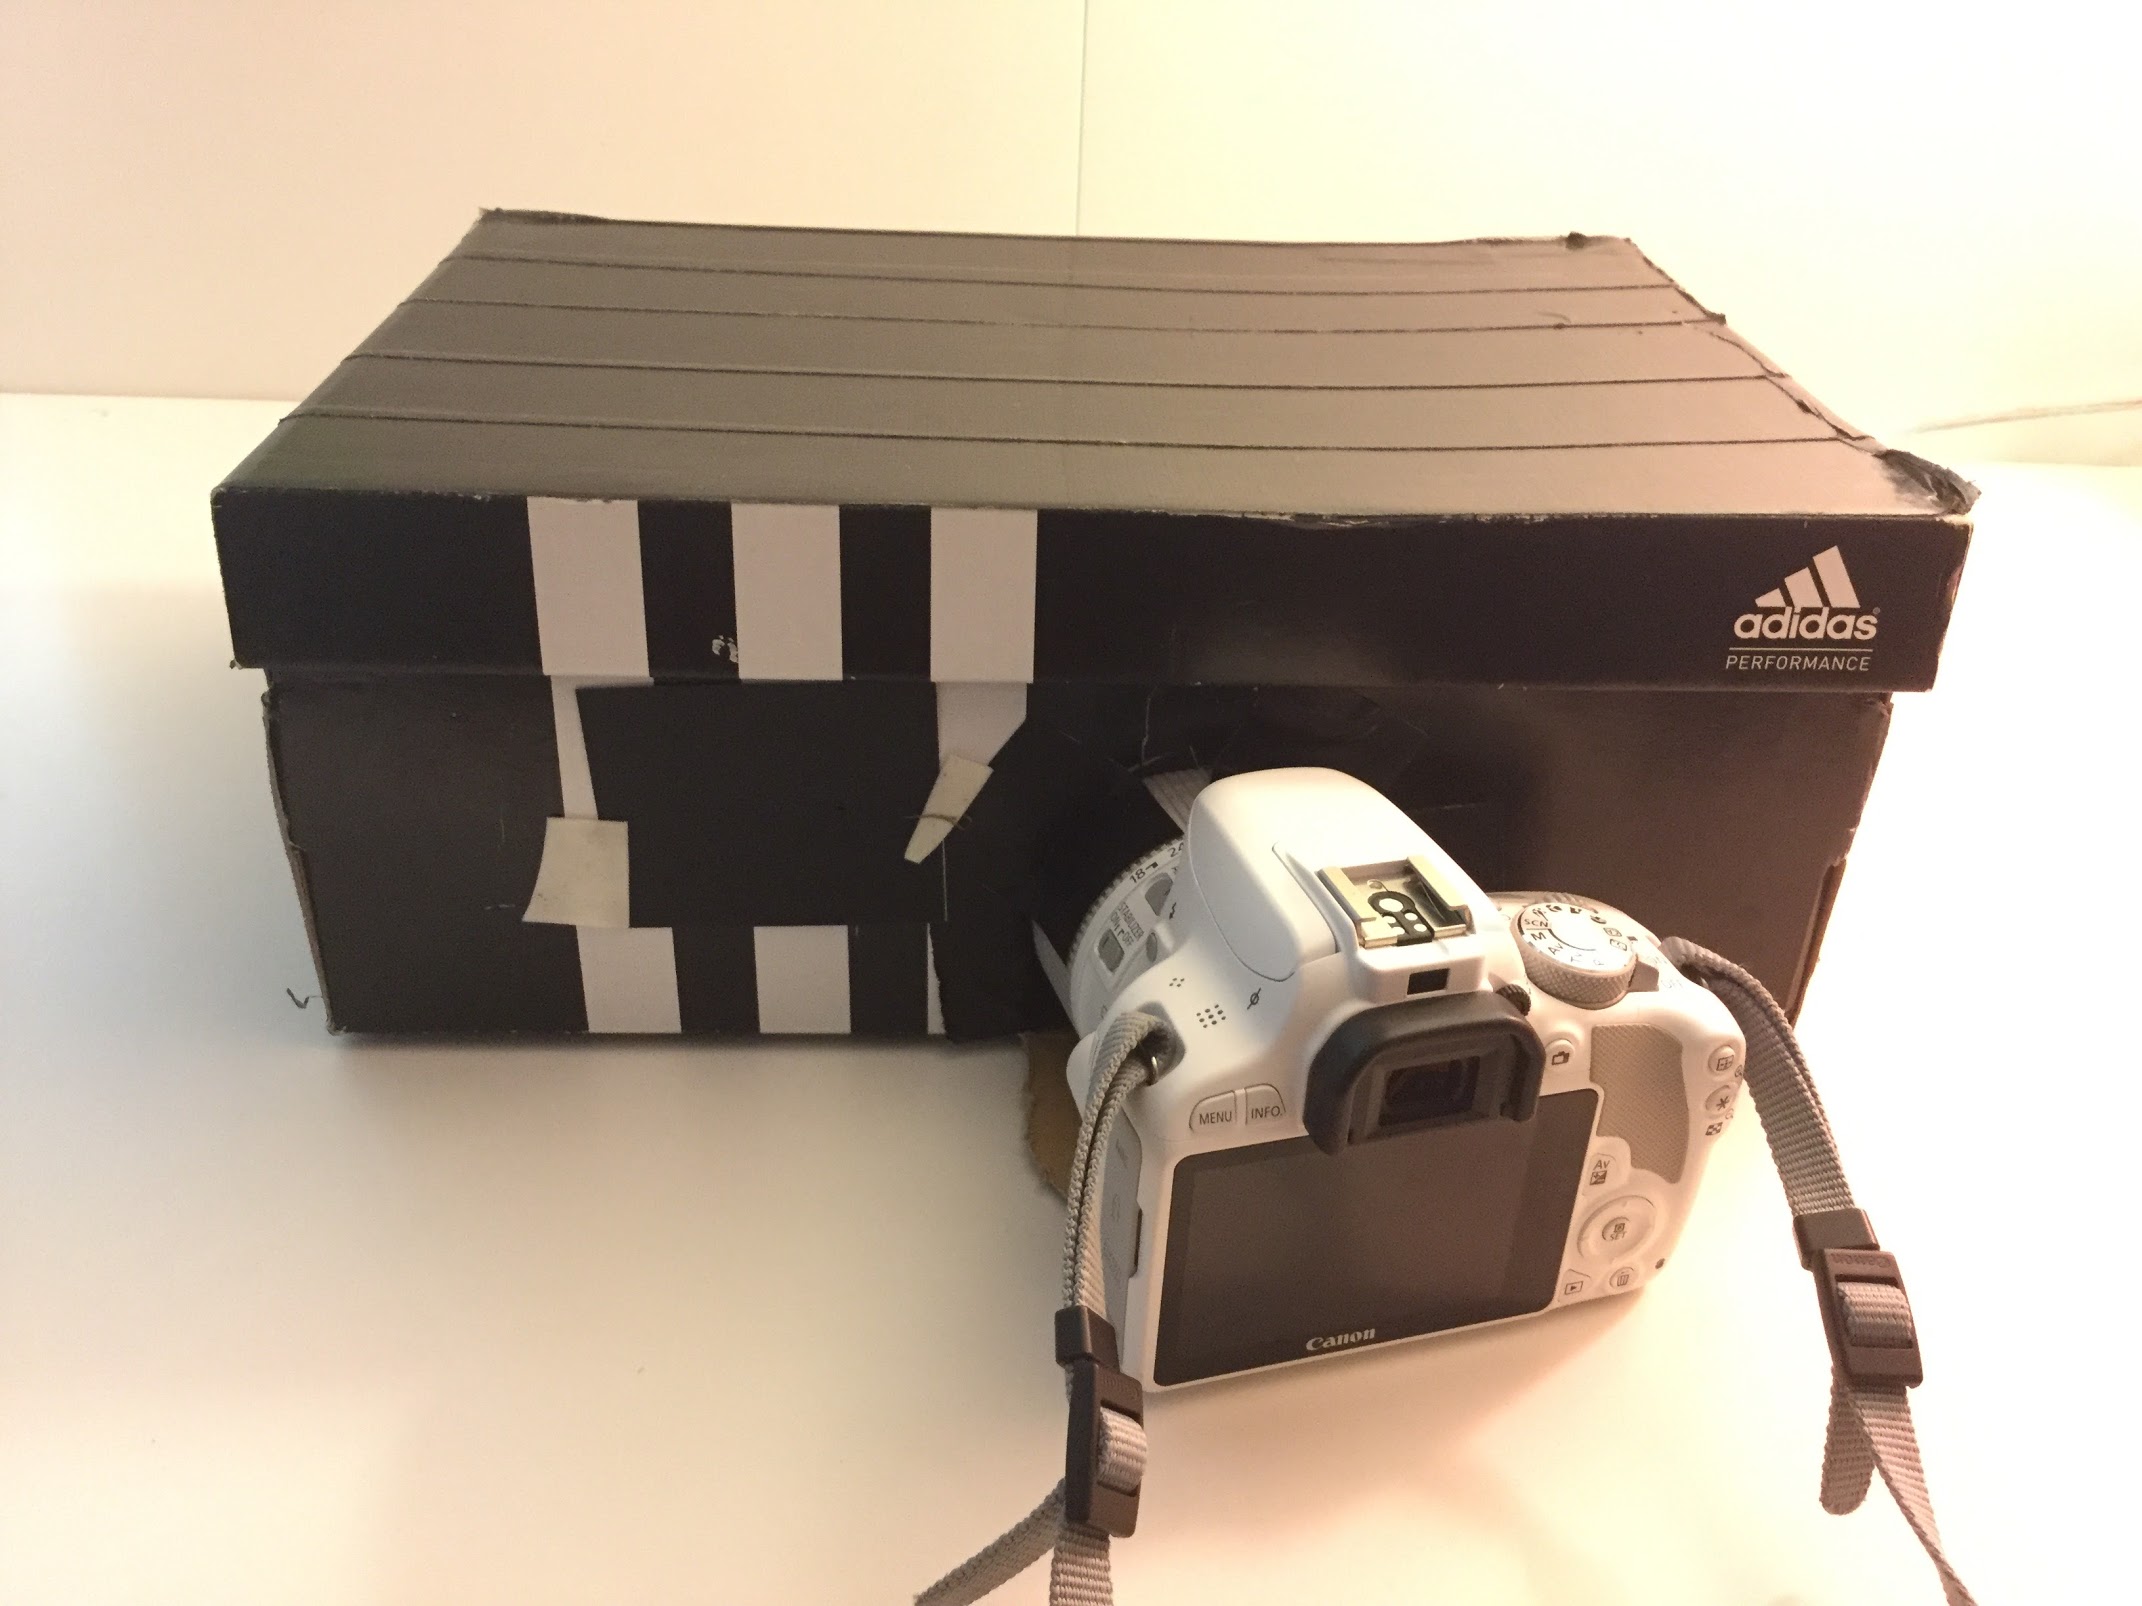
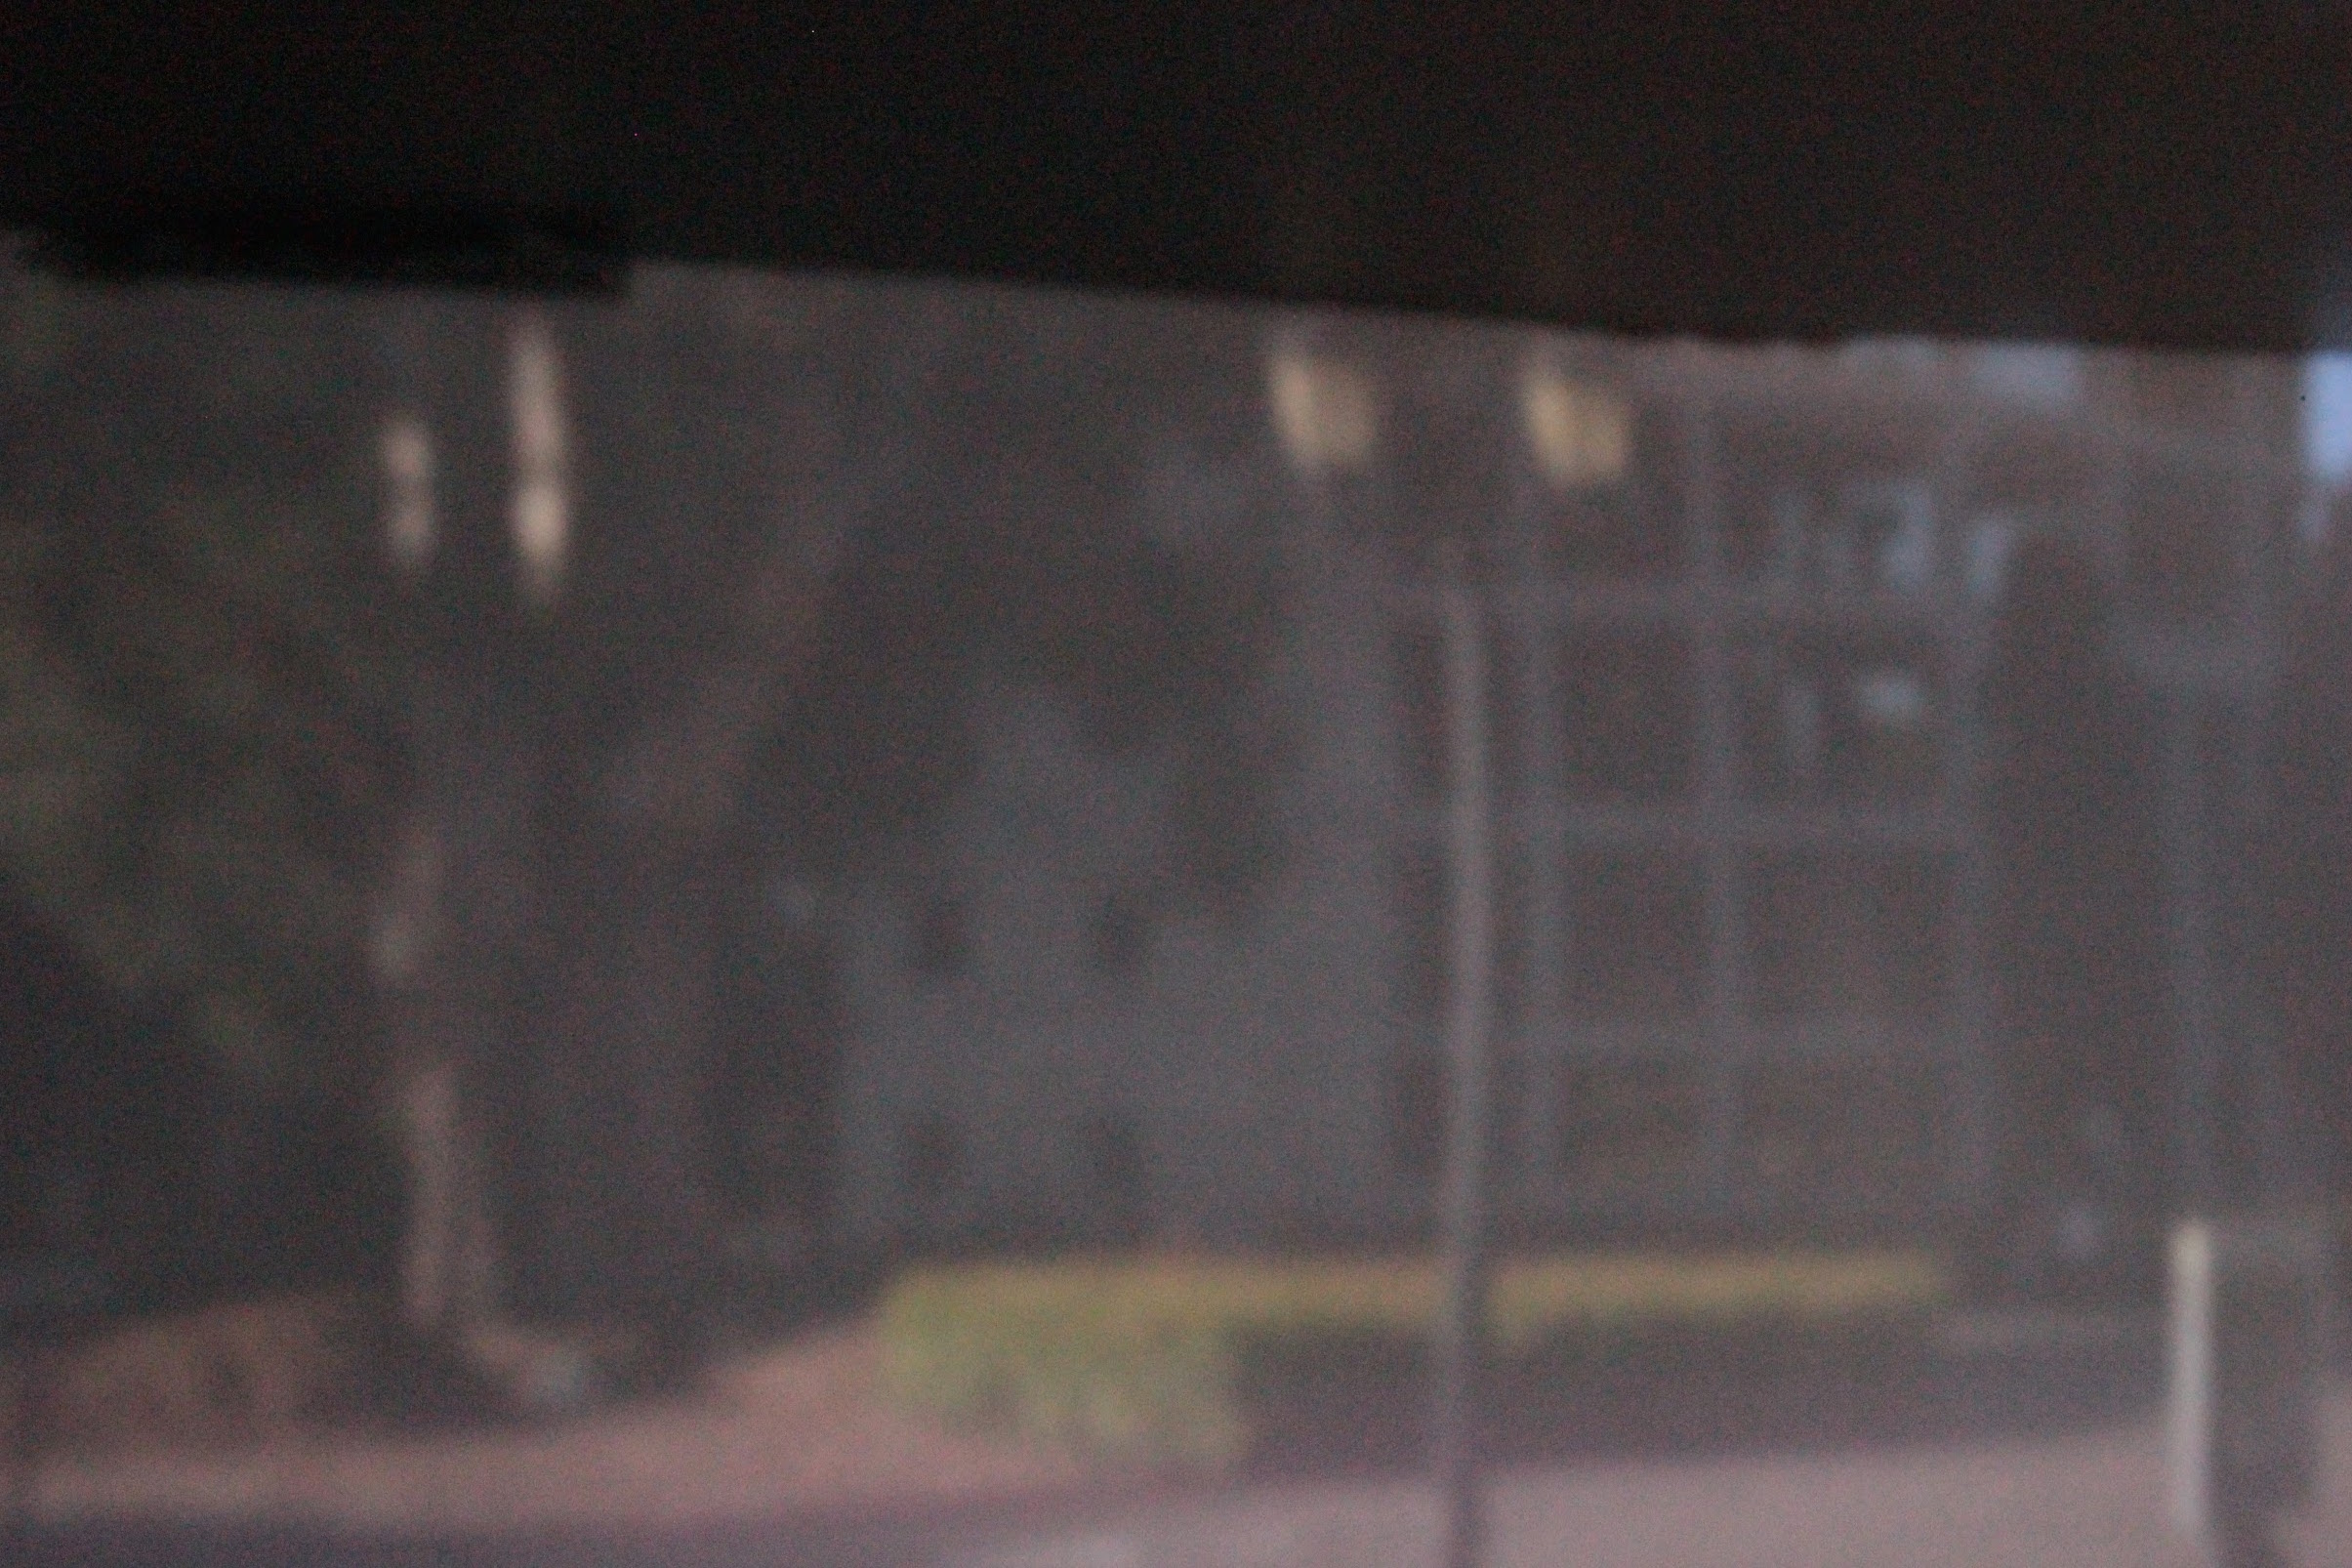
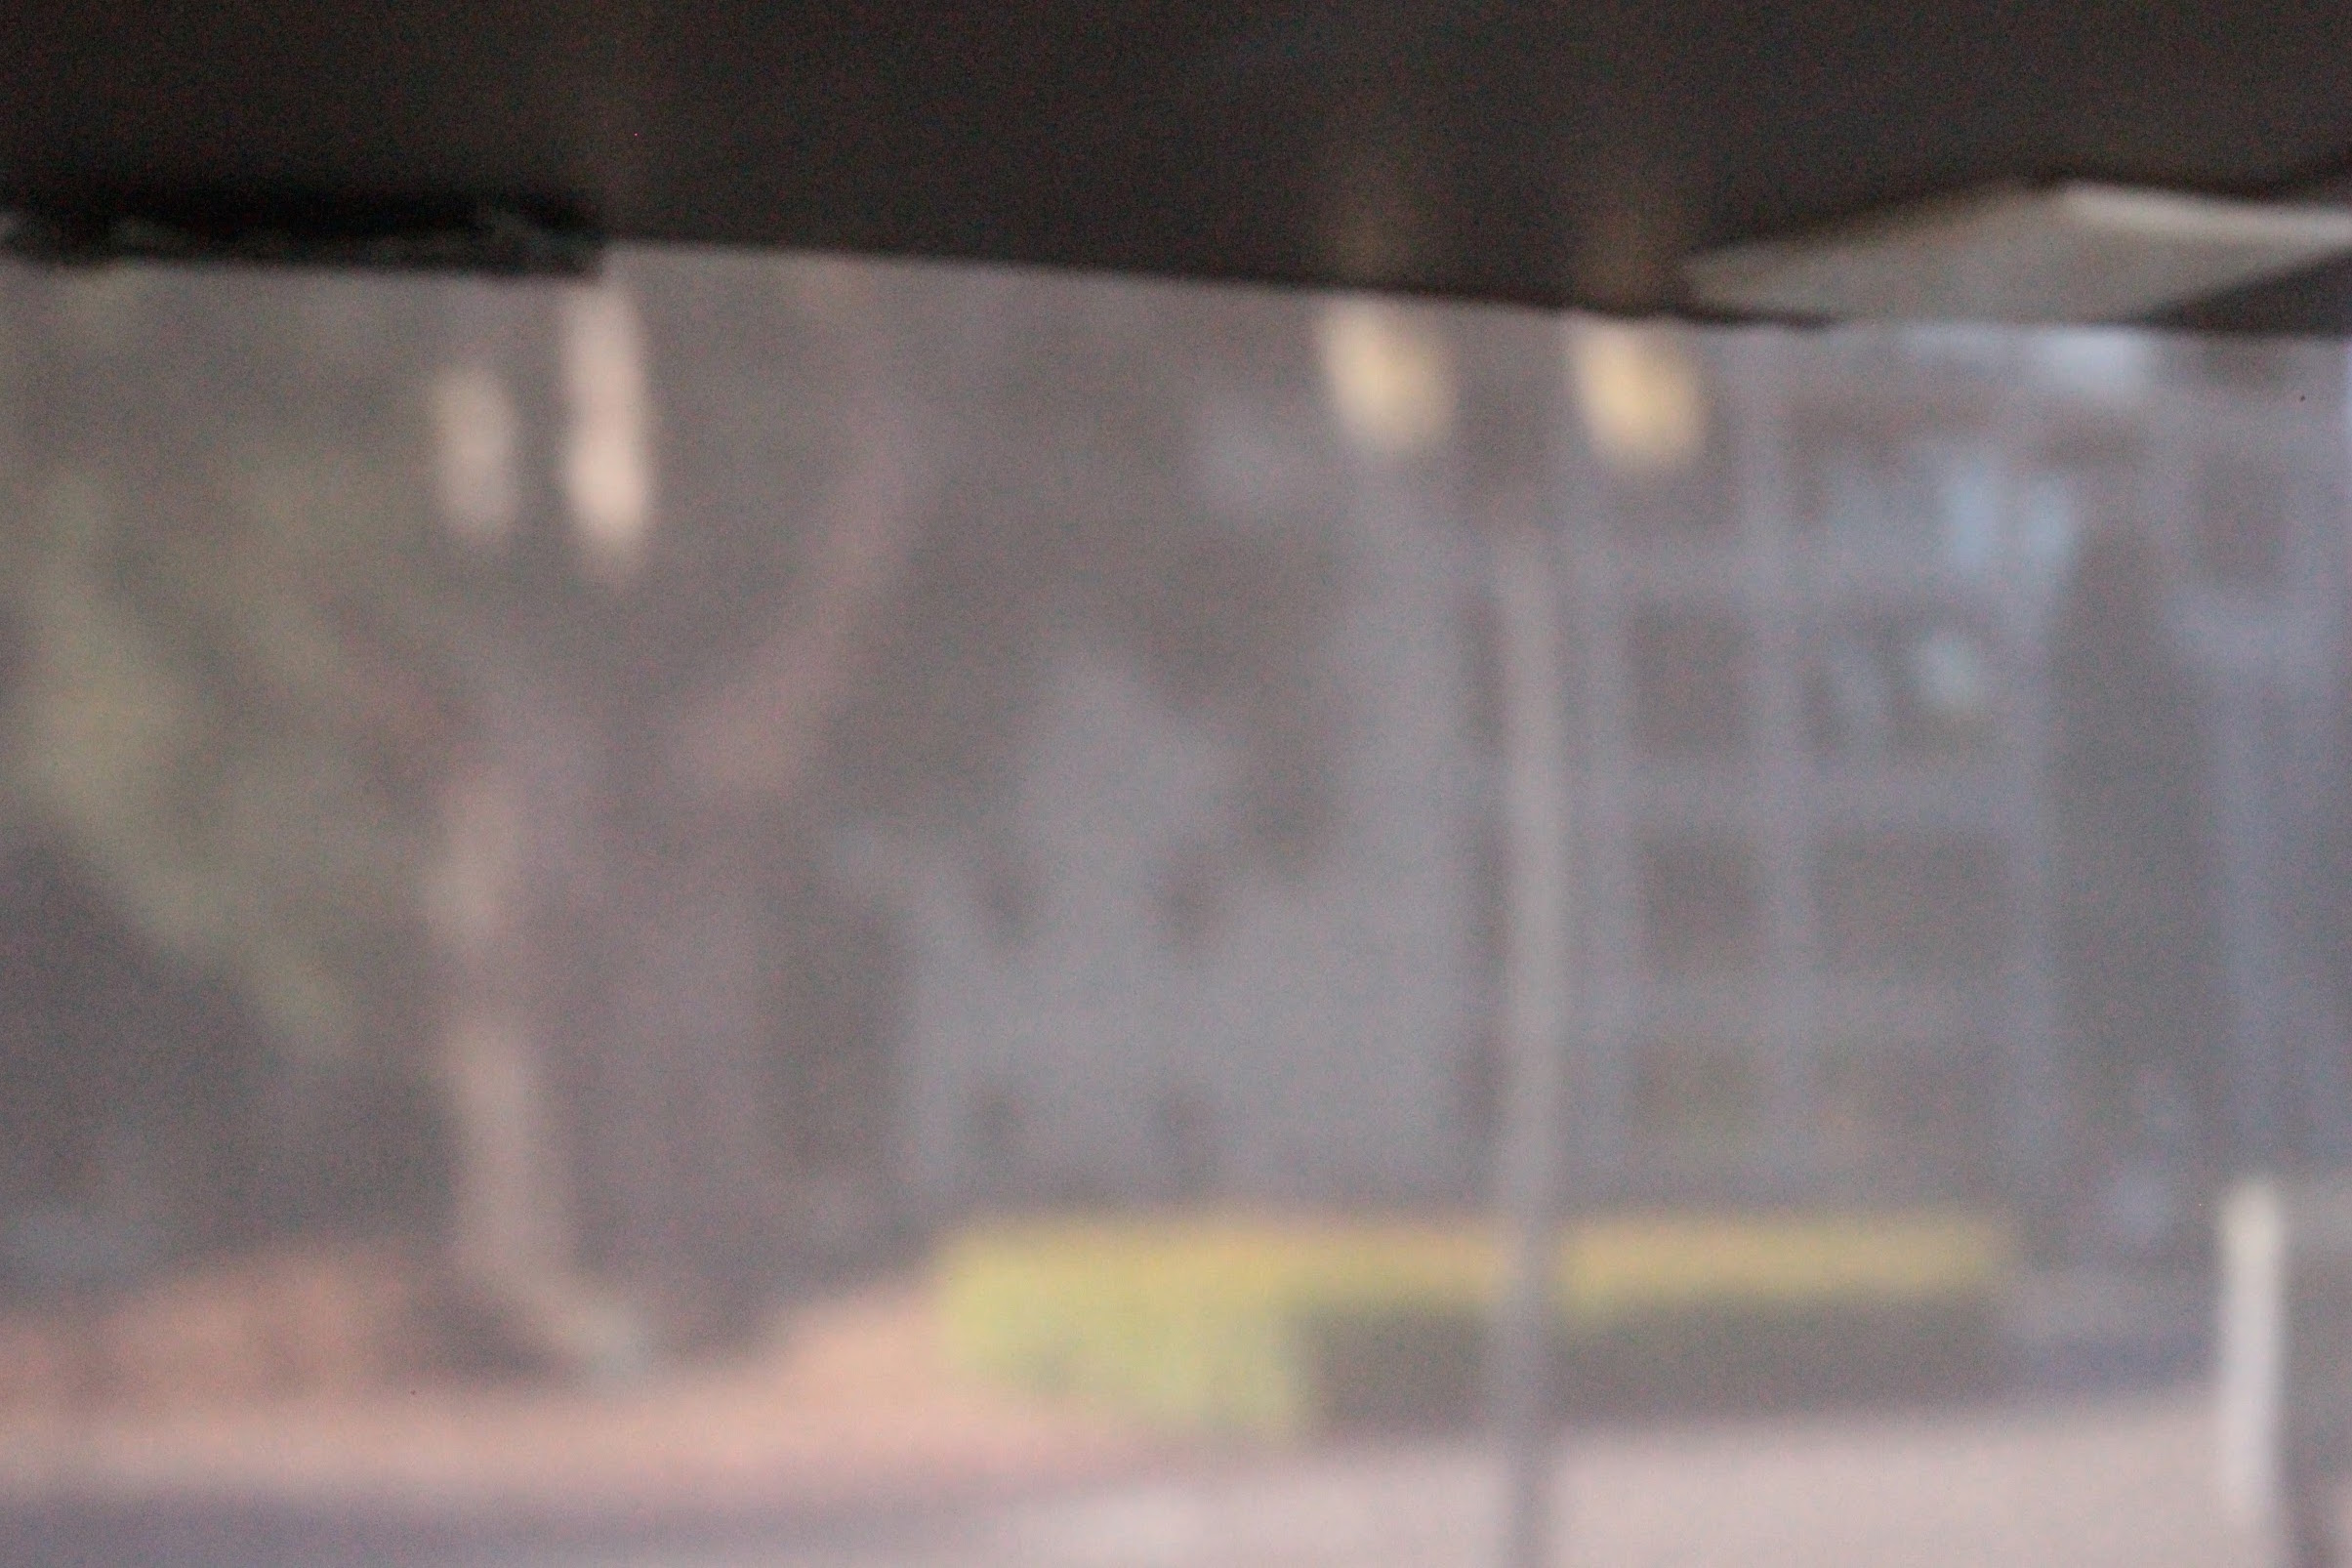
The goal of this project is to create a pinhole camera, also known as the 'camera obscura', using a shoebox. As reflected light from the environment enters the pinhole, an inverted image is projected on a screen inside the box. Since the image is difficult to see with the naked eye, a digital camera is placed in the box to take a long exposure timed shot of the image.
We created our pinhole camera using the following materials:
A shoebox: For the pinhole camera itself.
Black paper: For lining the inside of the box to make it dark.
Card stock: For the different pinholes.
White paper: For the screen where the image is projected.
Duct tape: For light proofing the box.
Digital camera: For capturing the projected image.
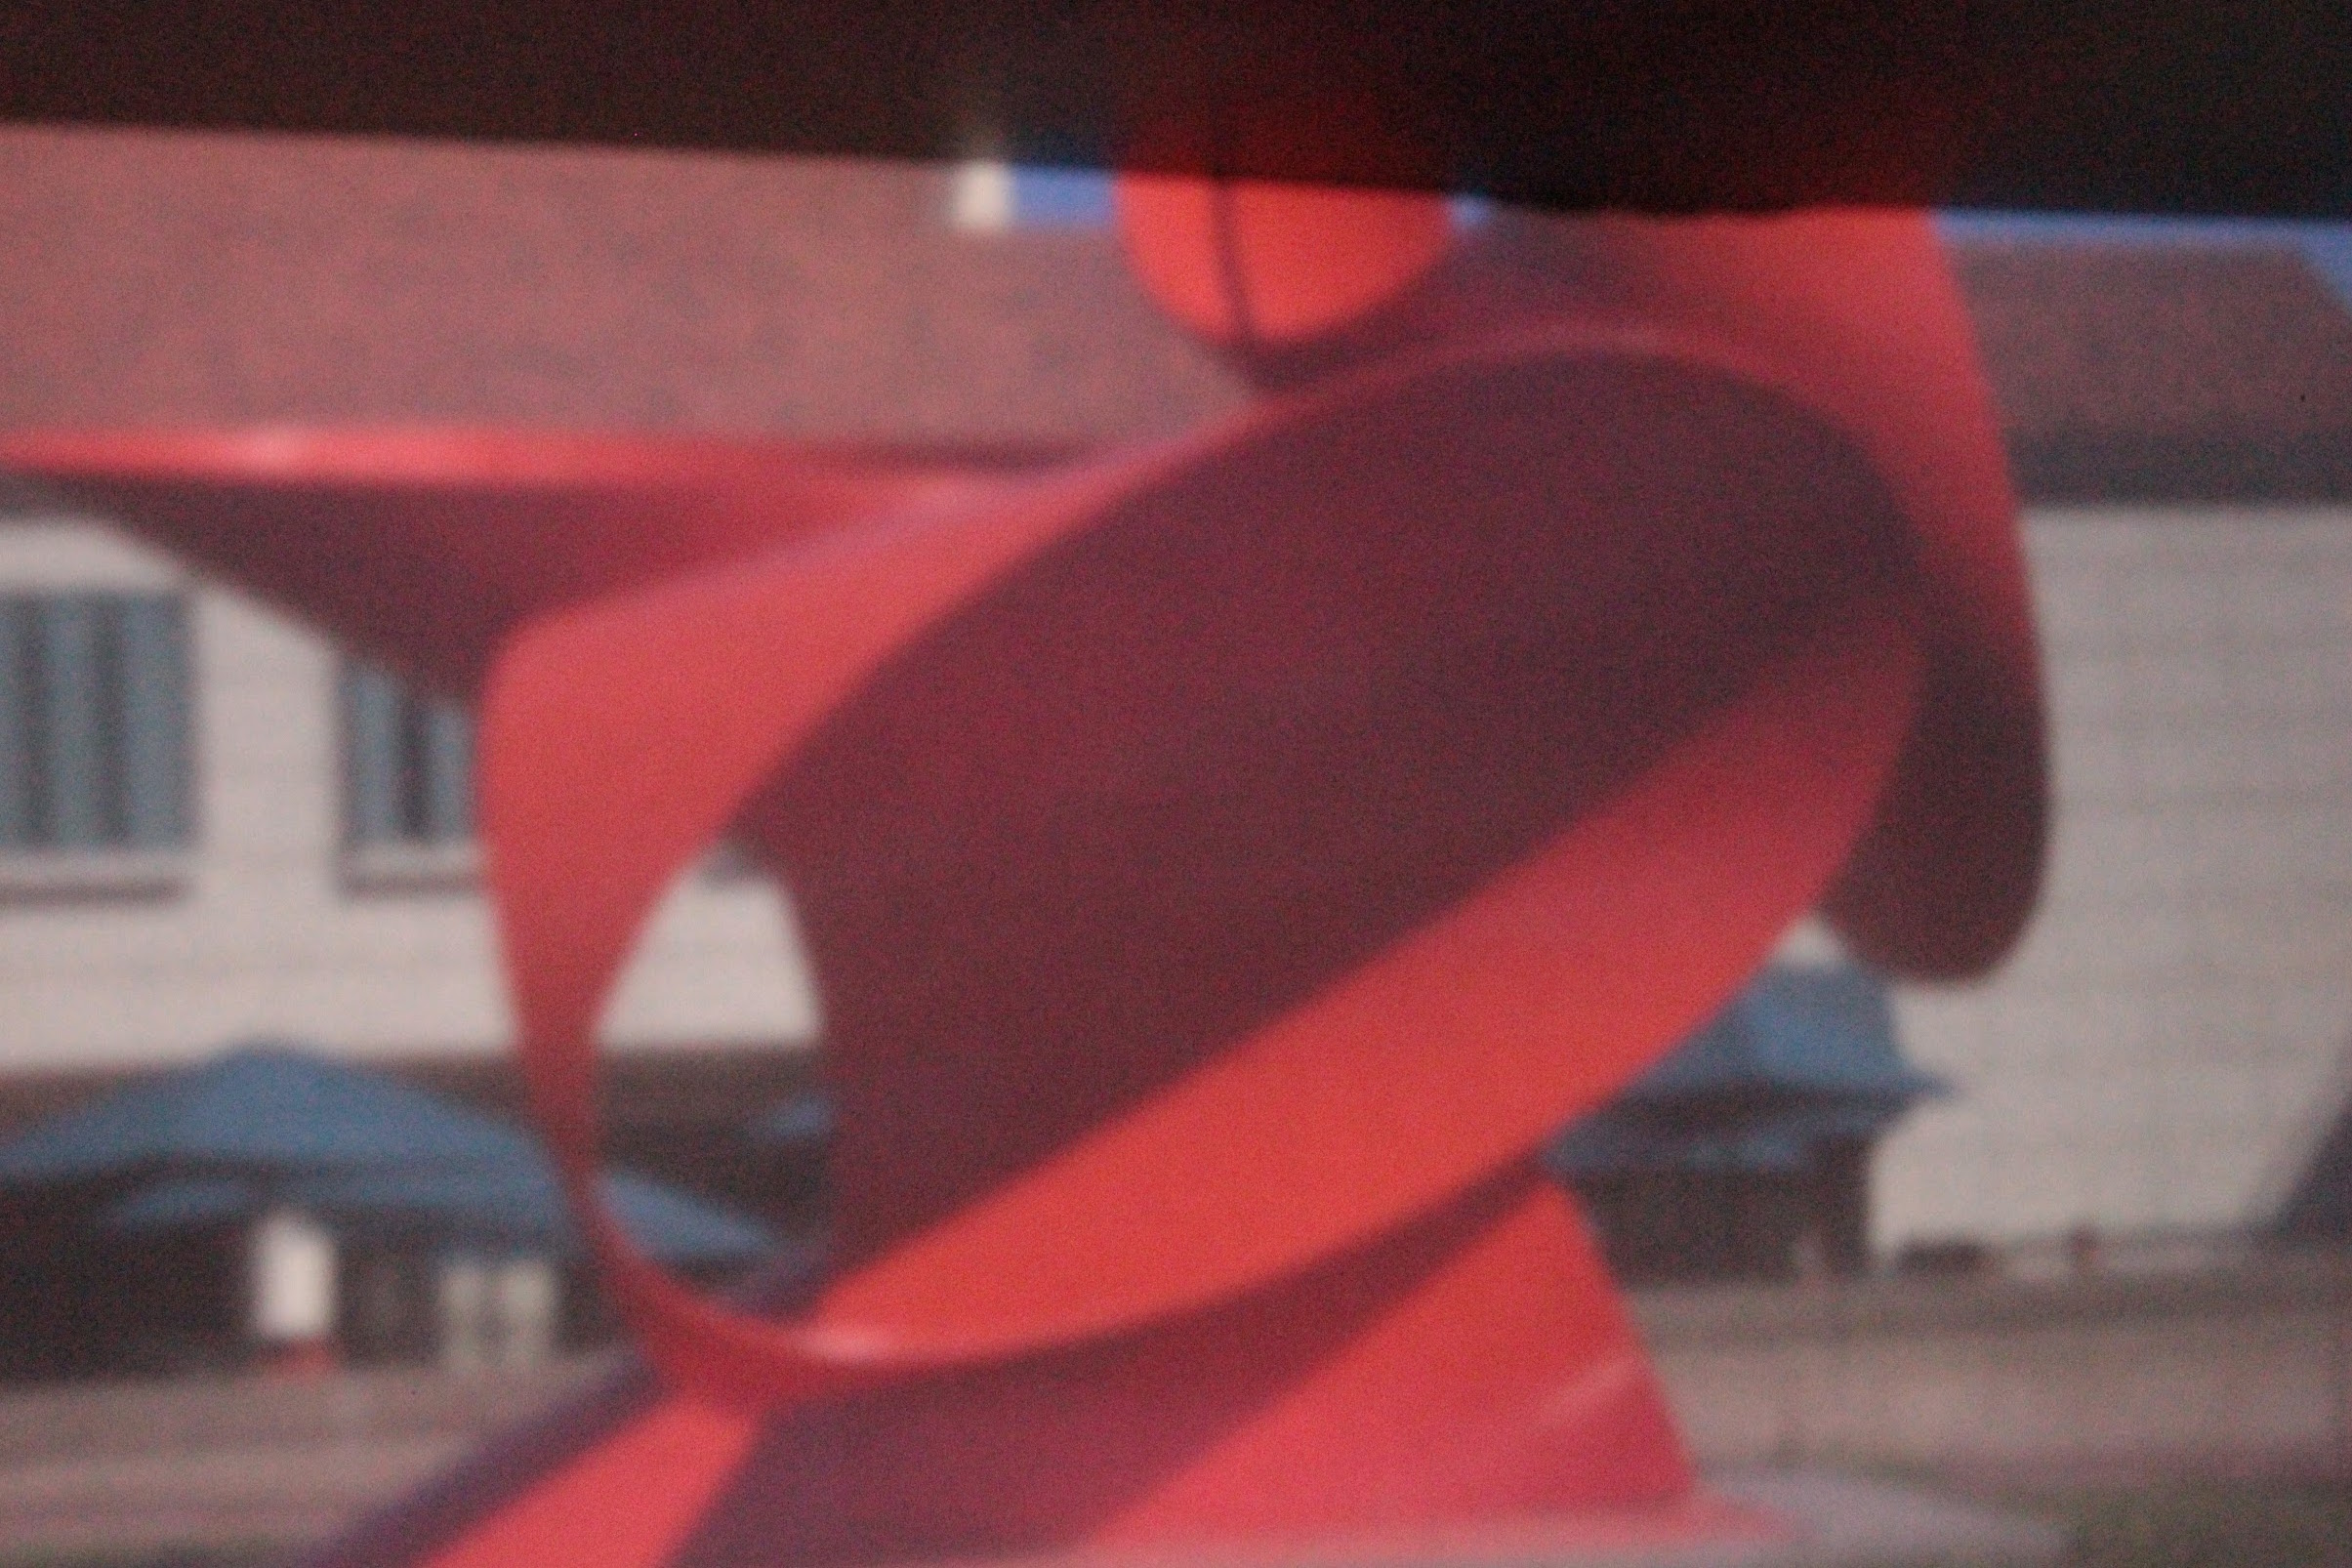
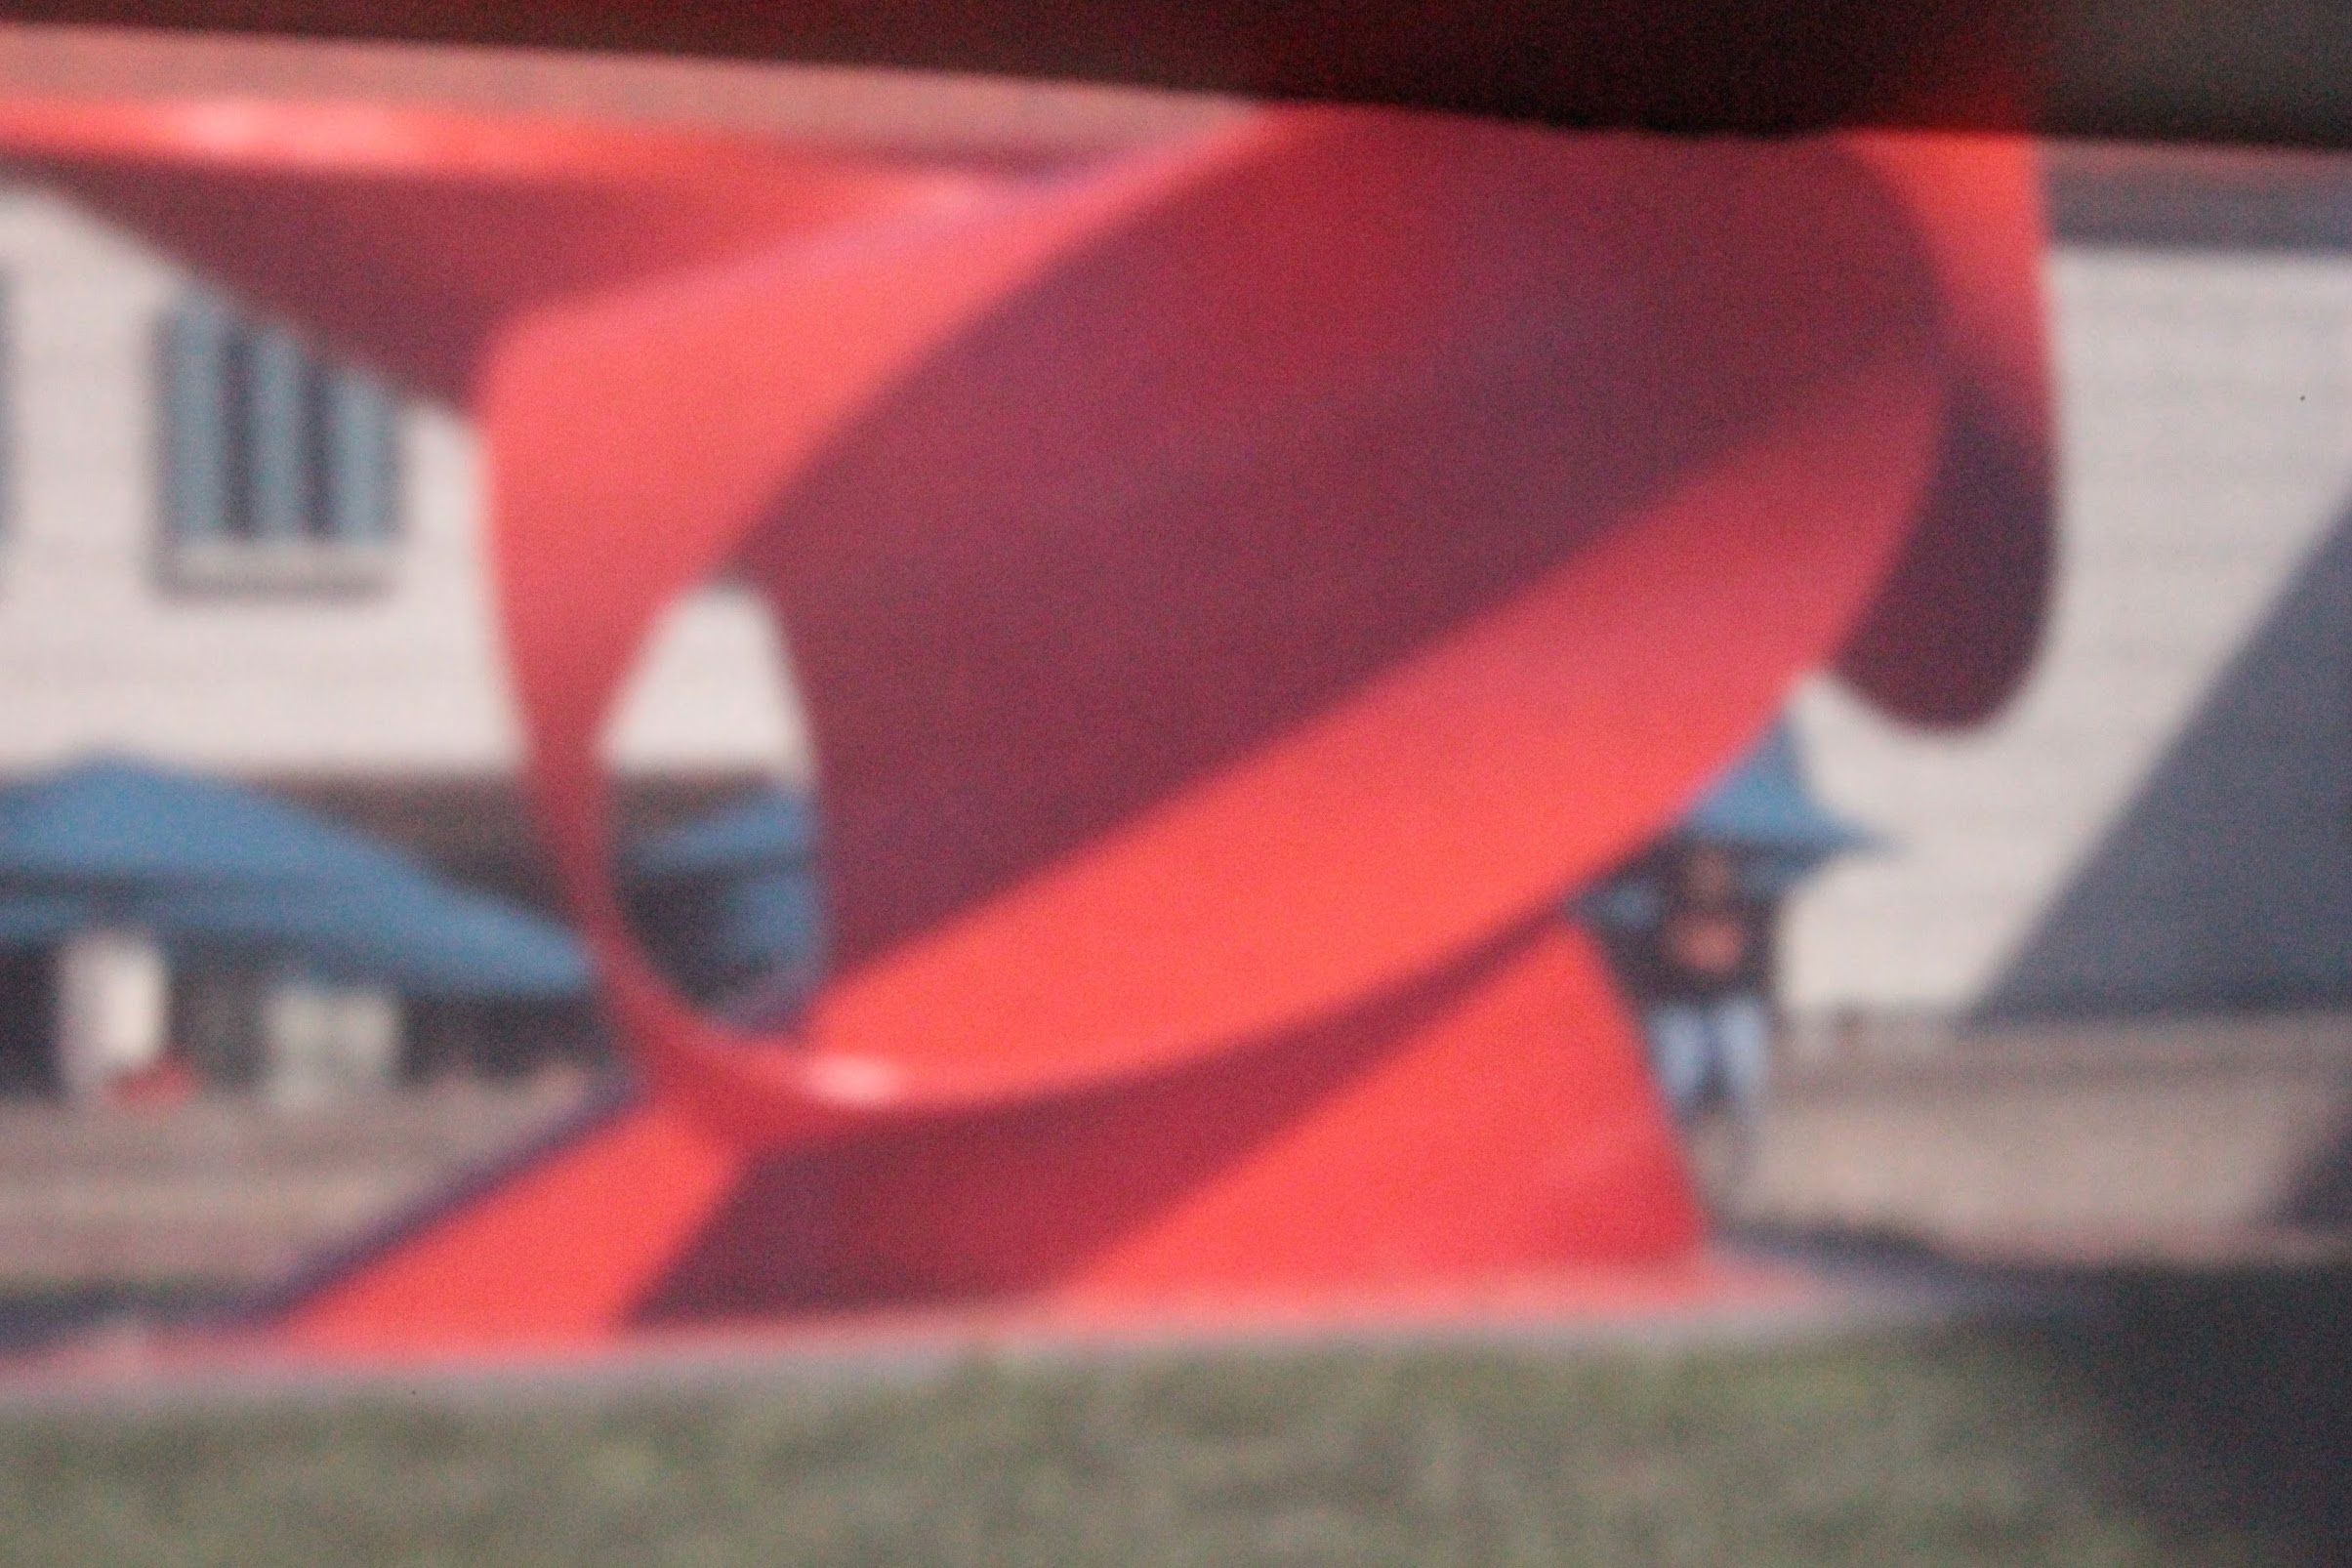
We found that for well lit scenes (e.g. outdoors on a sunny day), the smallest pinhole size (0.1 mm) worked best to provide much clearer images, but were darker. This finding aligns with what we learned in class. However, for darker scenes (e.g. indoors for light painting), the biggest pinhole size worked best as it allowed for more light to pass through.
Probably the most challenging part of this project was finding the right settings on the digital camera to adjust for the surrounding light. While the exposure time was constant throughout (30 s), we had to adjust the aperture and ISO settings several times. We also had difficulty at the beginning to get images to show up, and we realized that we just needed to light proof the box.

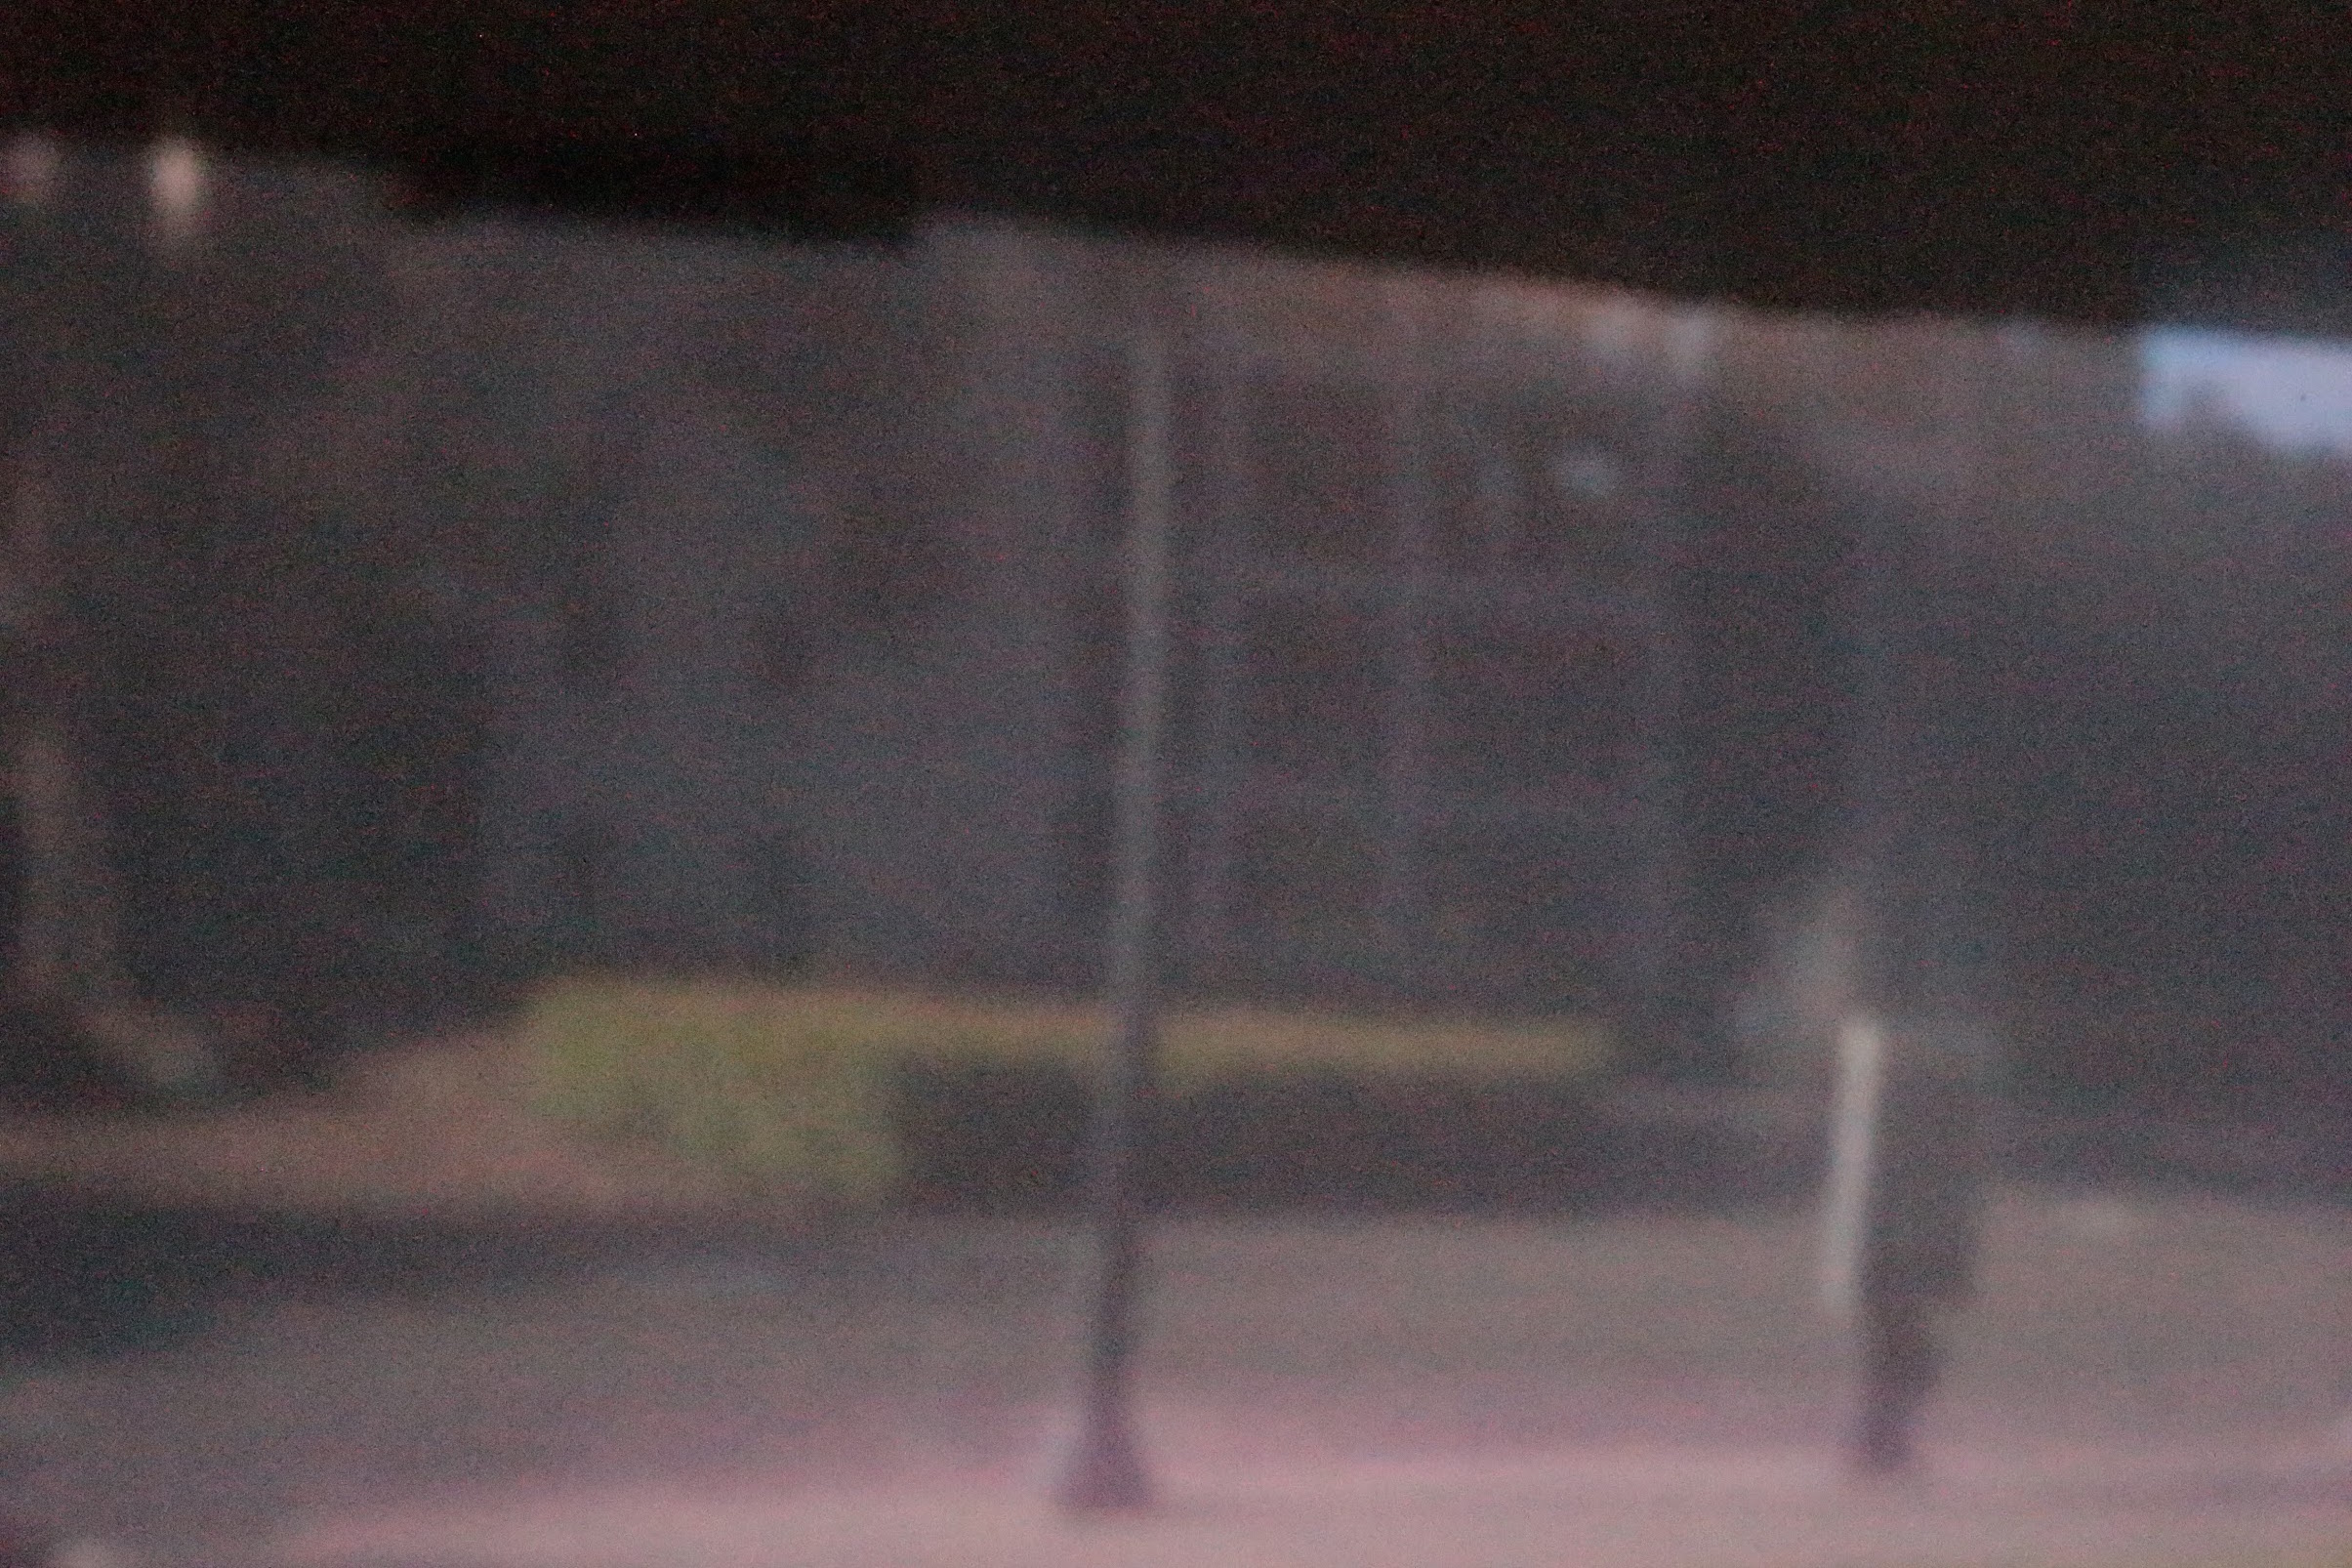
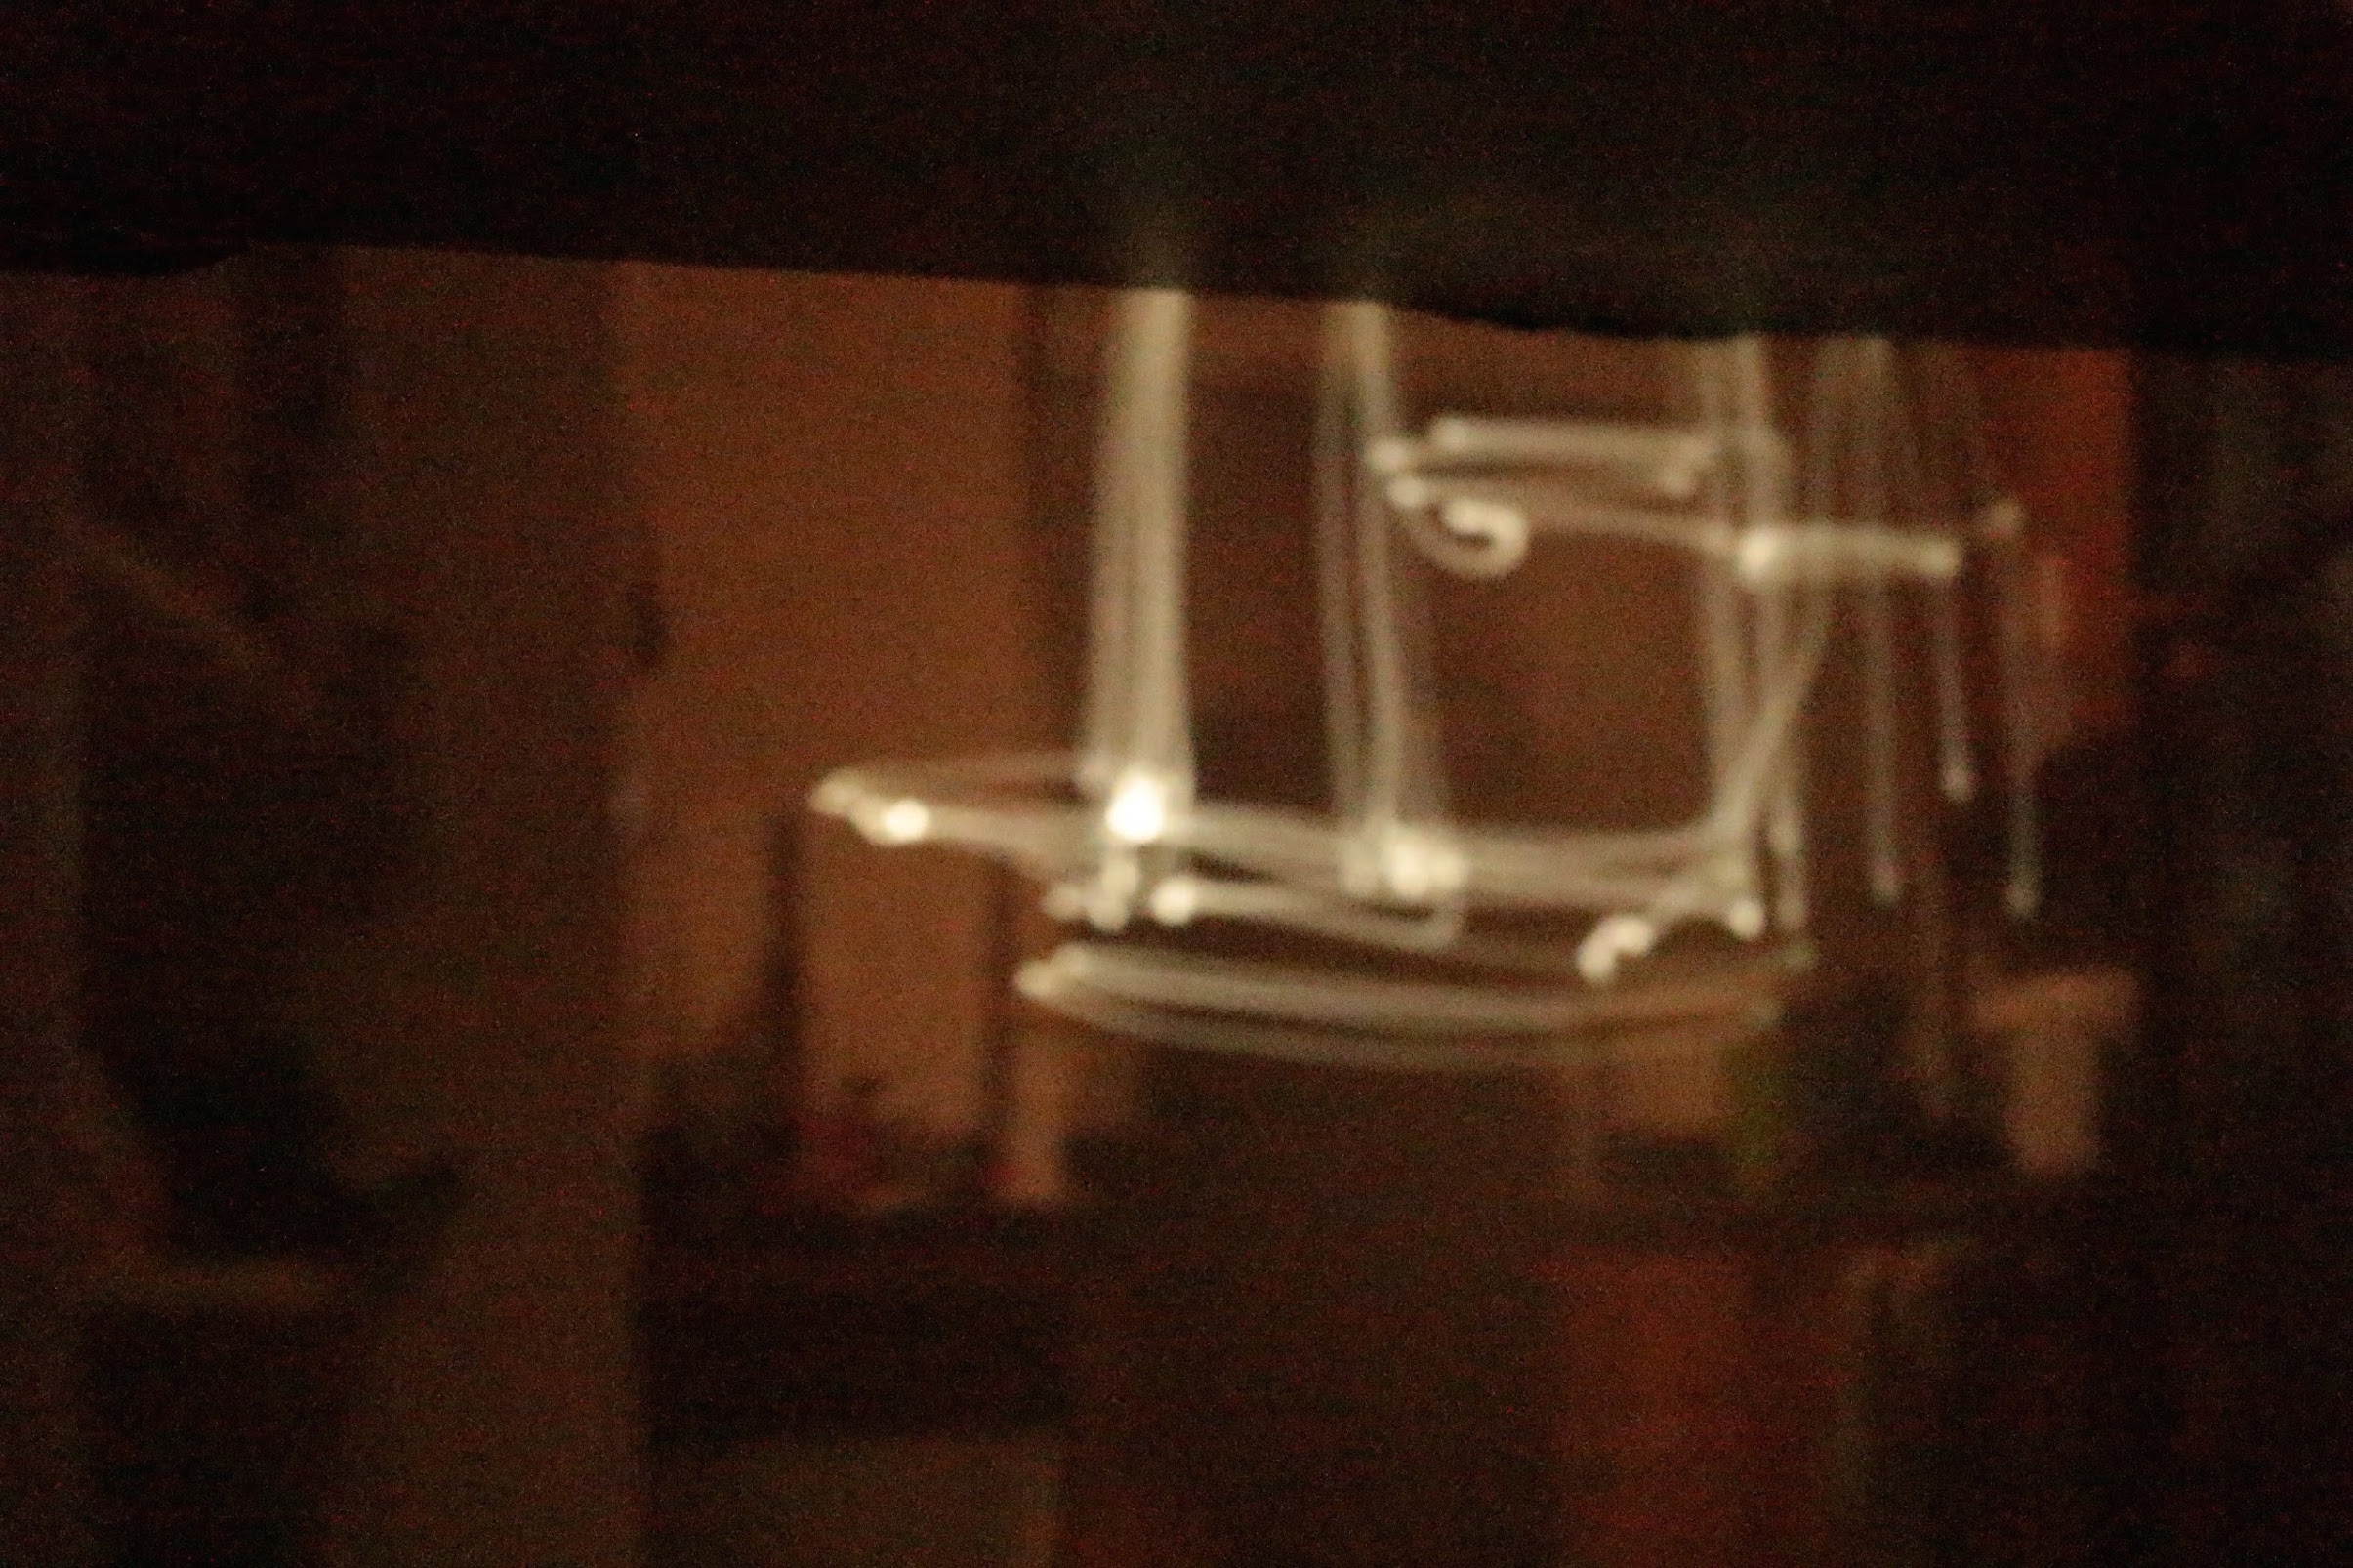
We realized that light painting required a much bigger pinhole size. We started off with the 0.1mm sized hole (as seen in the first image) which would pick up some light, but the photo in general was really dark. With a bigger pinhole size, we were able to capture a much better image where the scene was also visible. Additionally, we started with a very small ISO, then realized we had to max it out to capture the light, especially since we were taking pictures in a low-light setting.

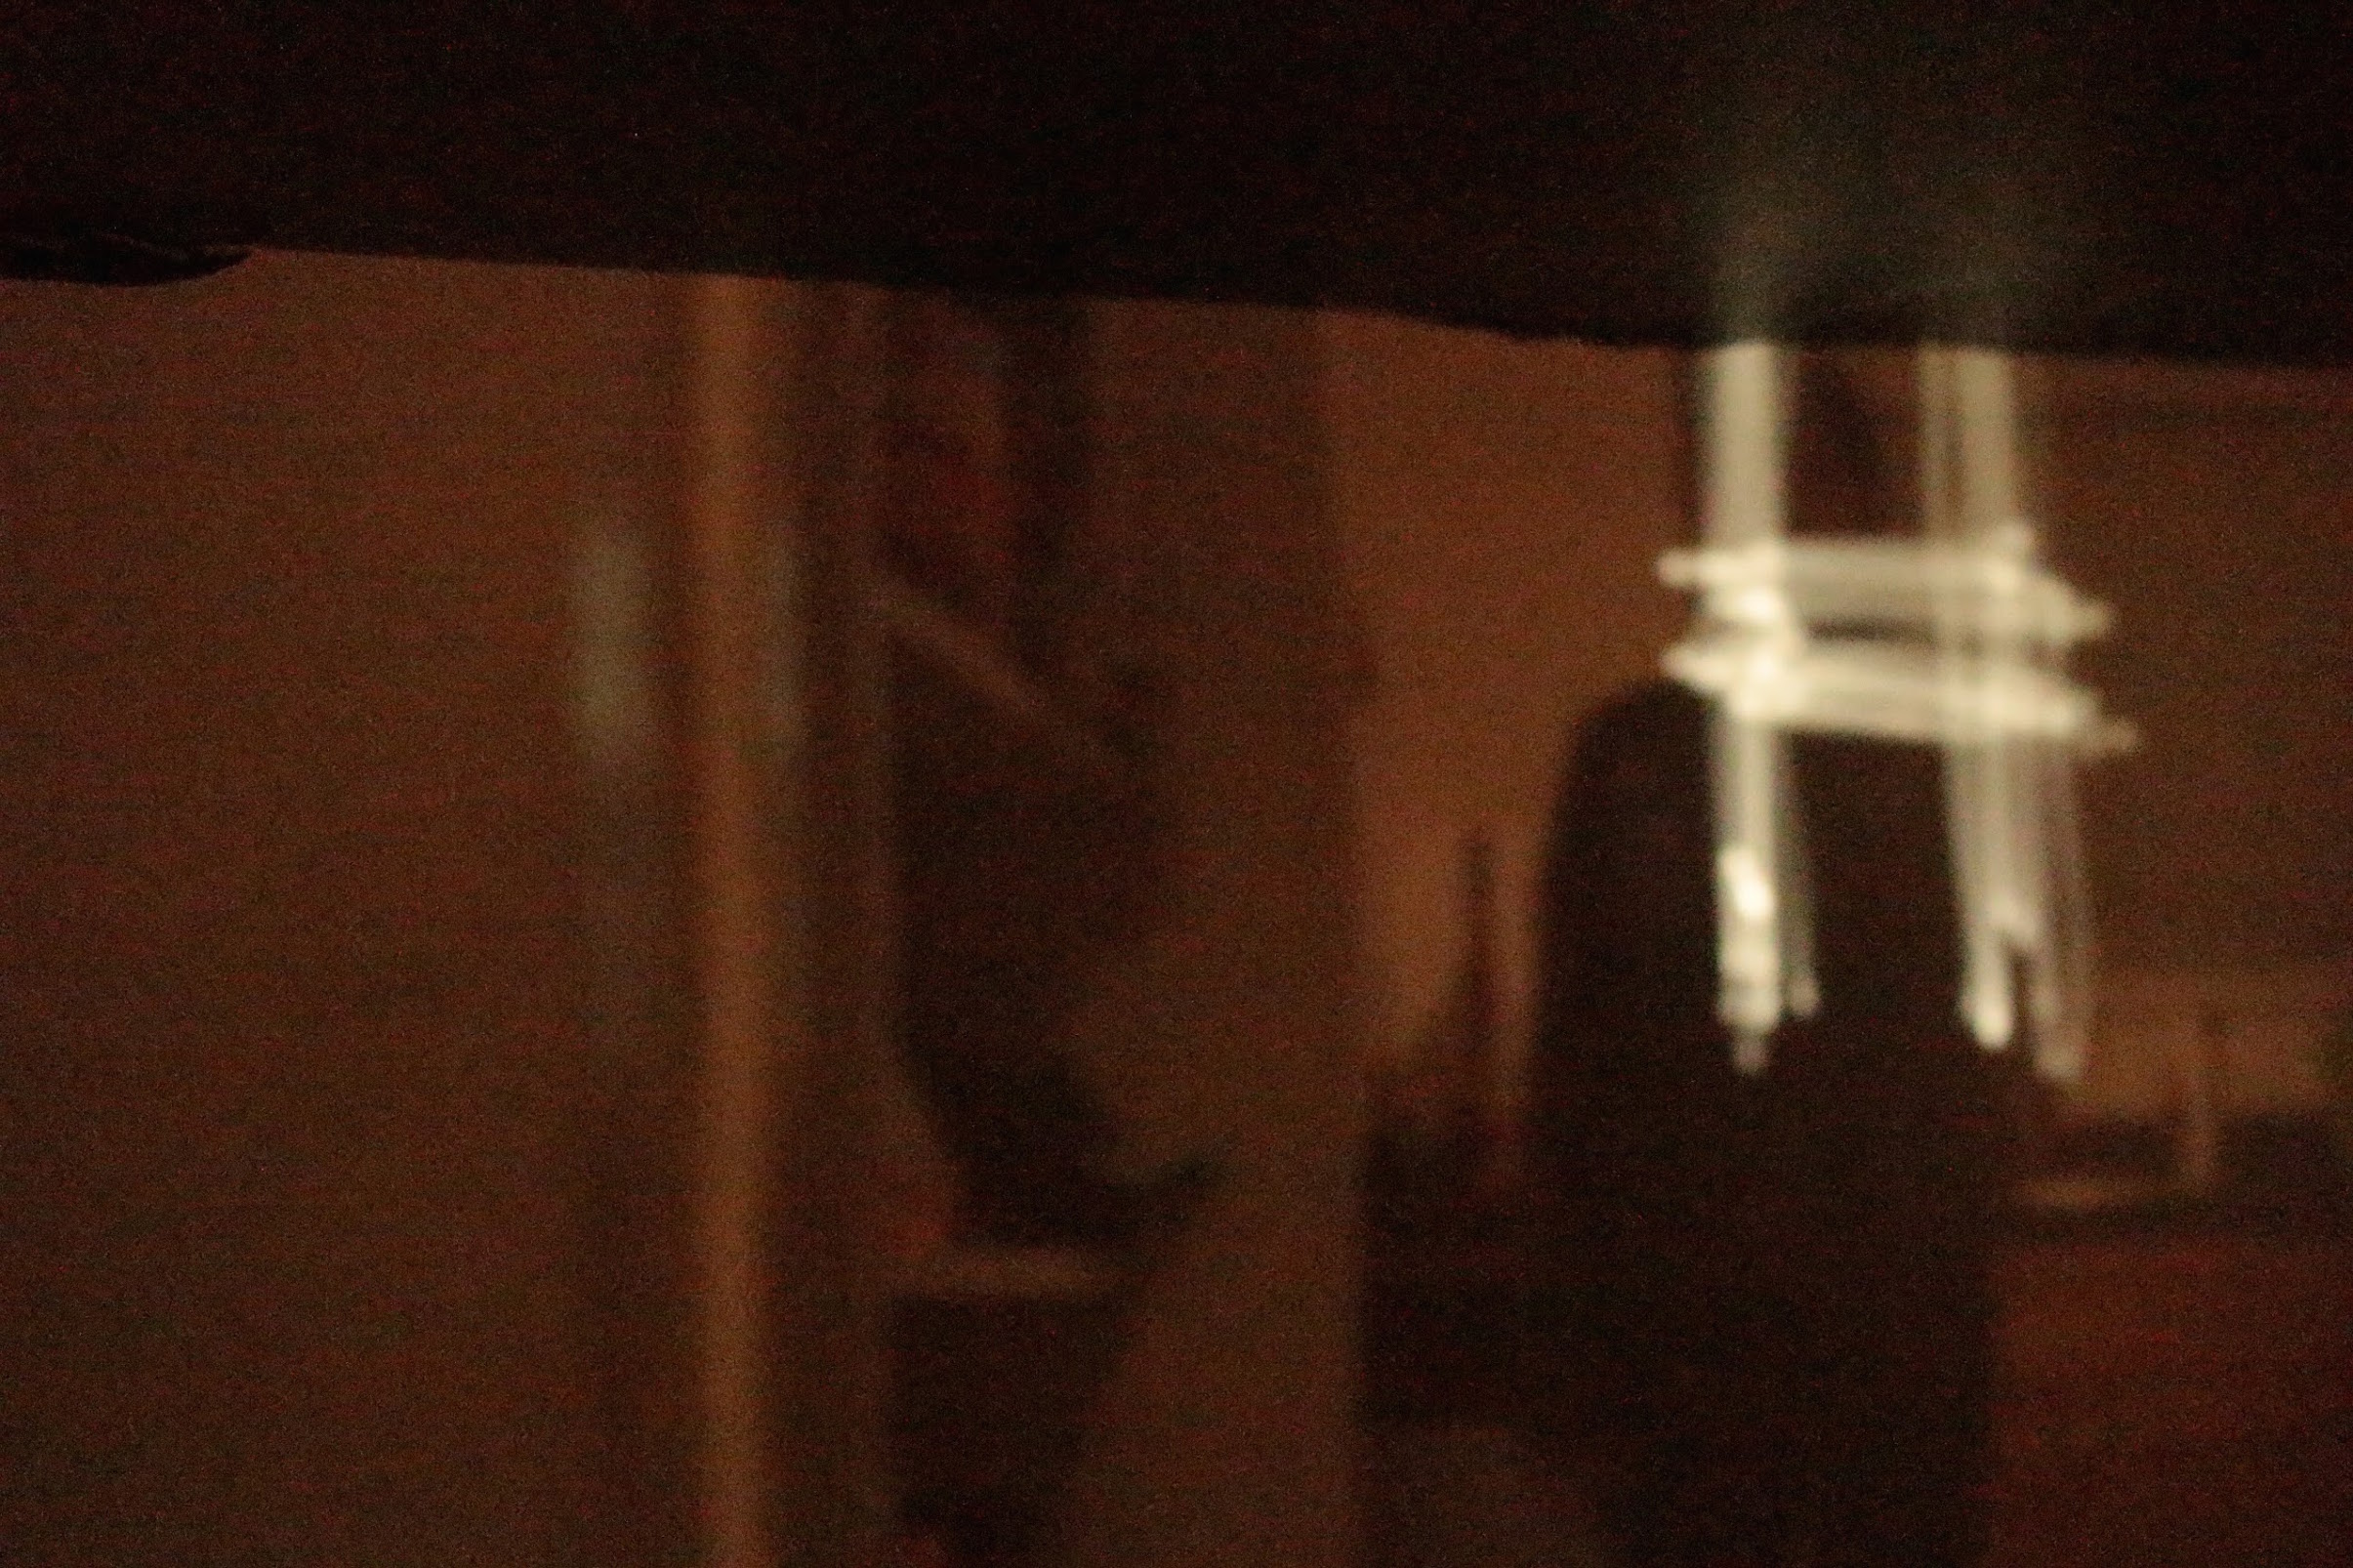
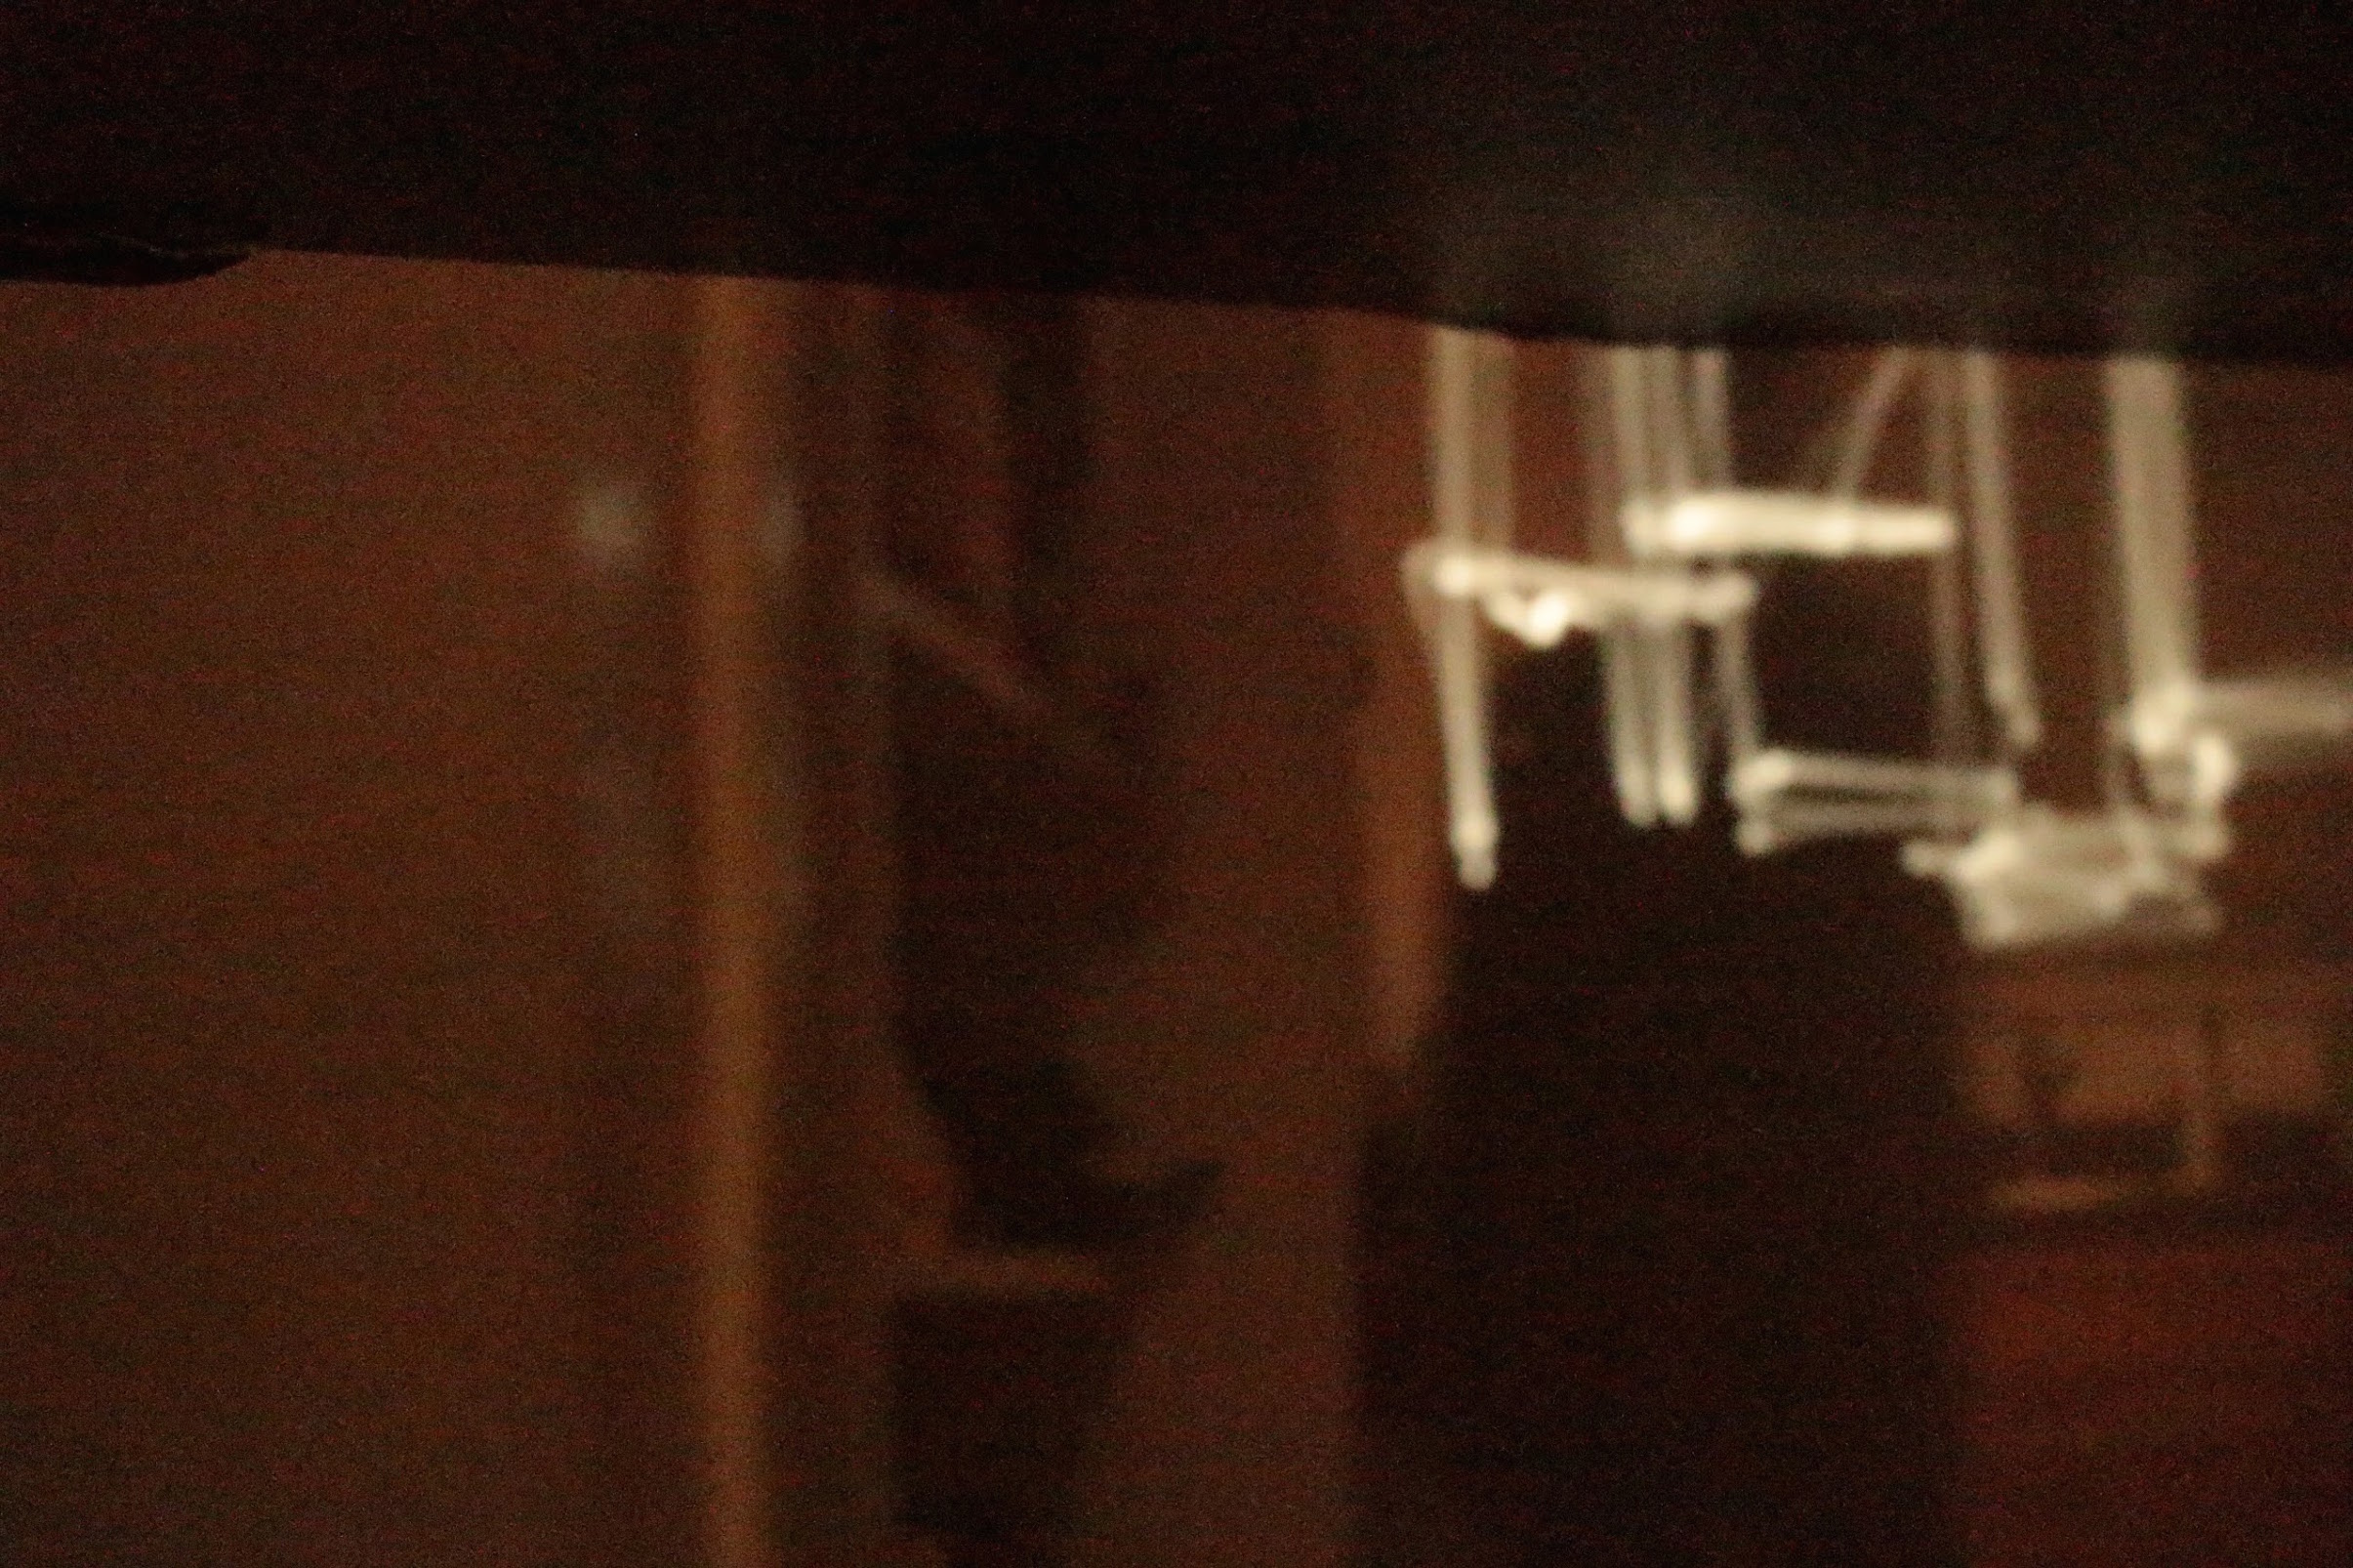
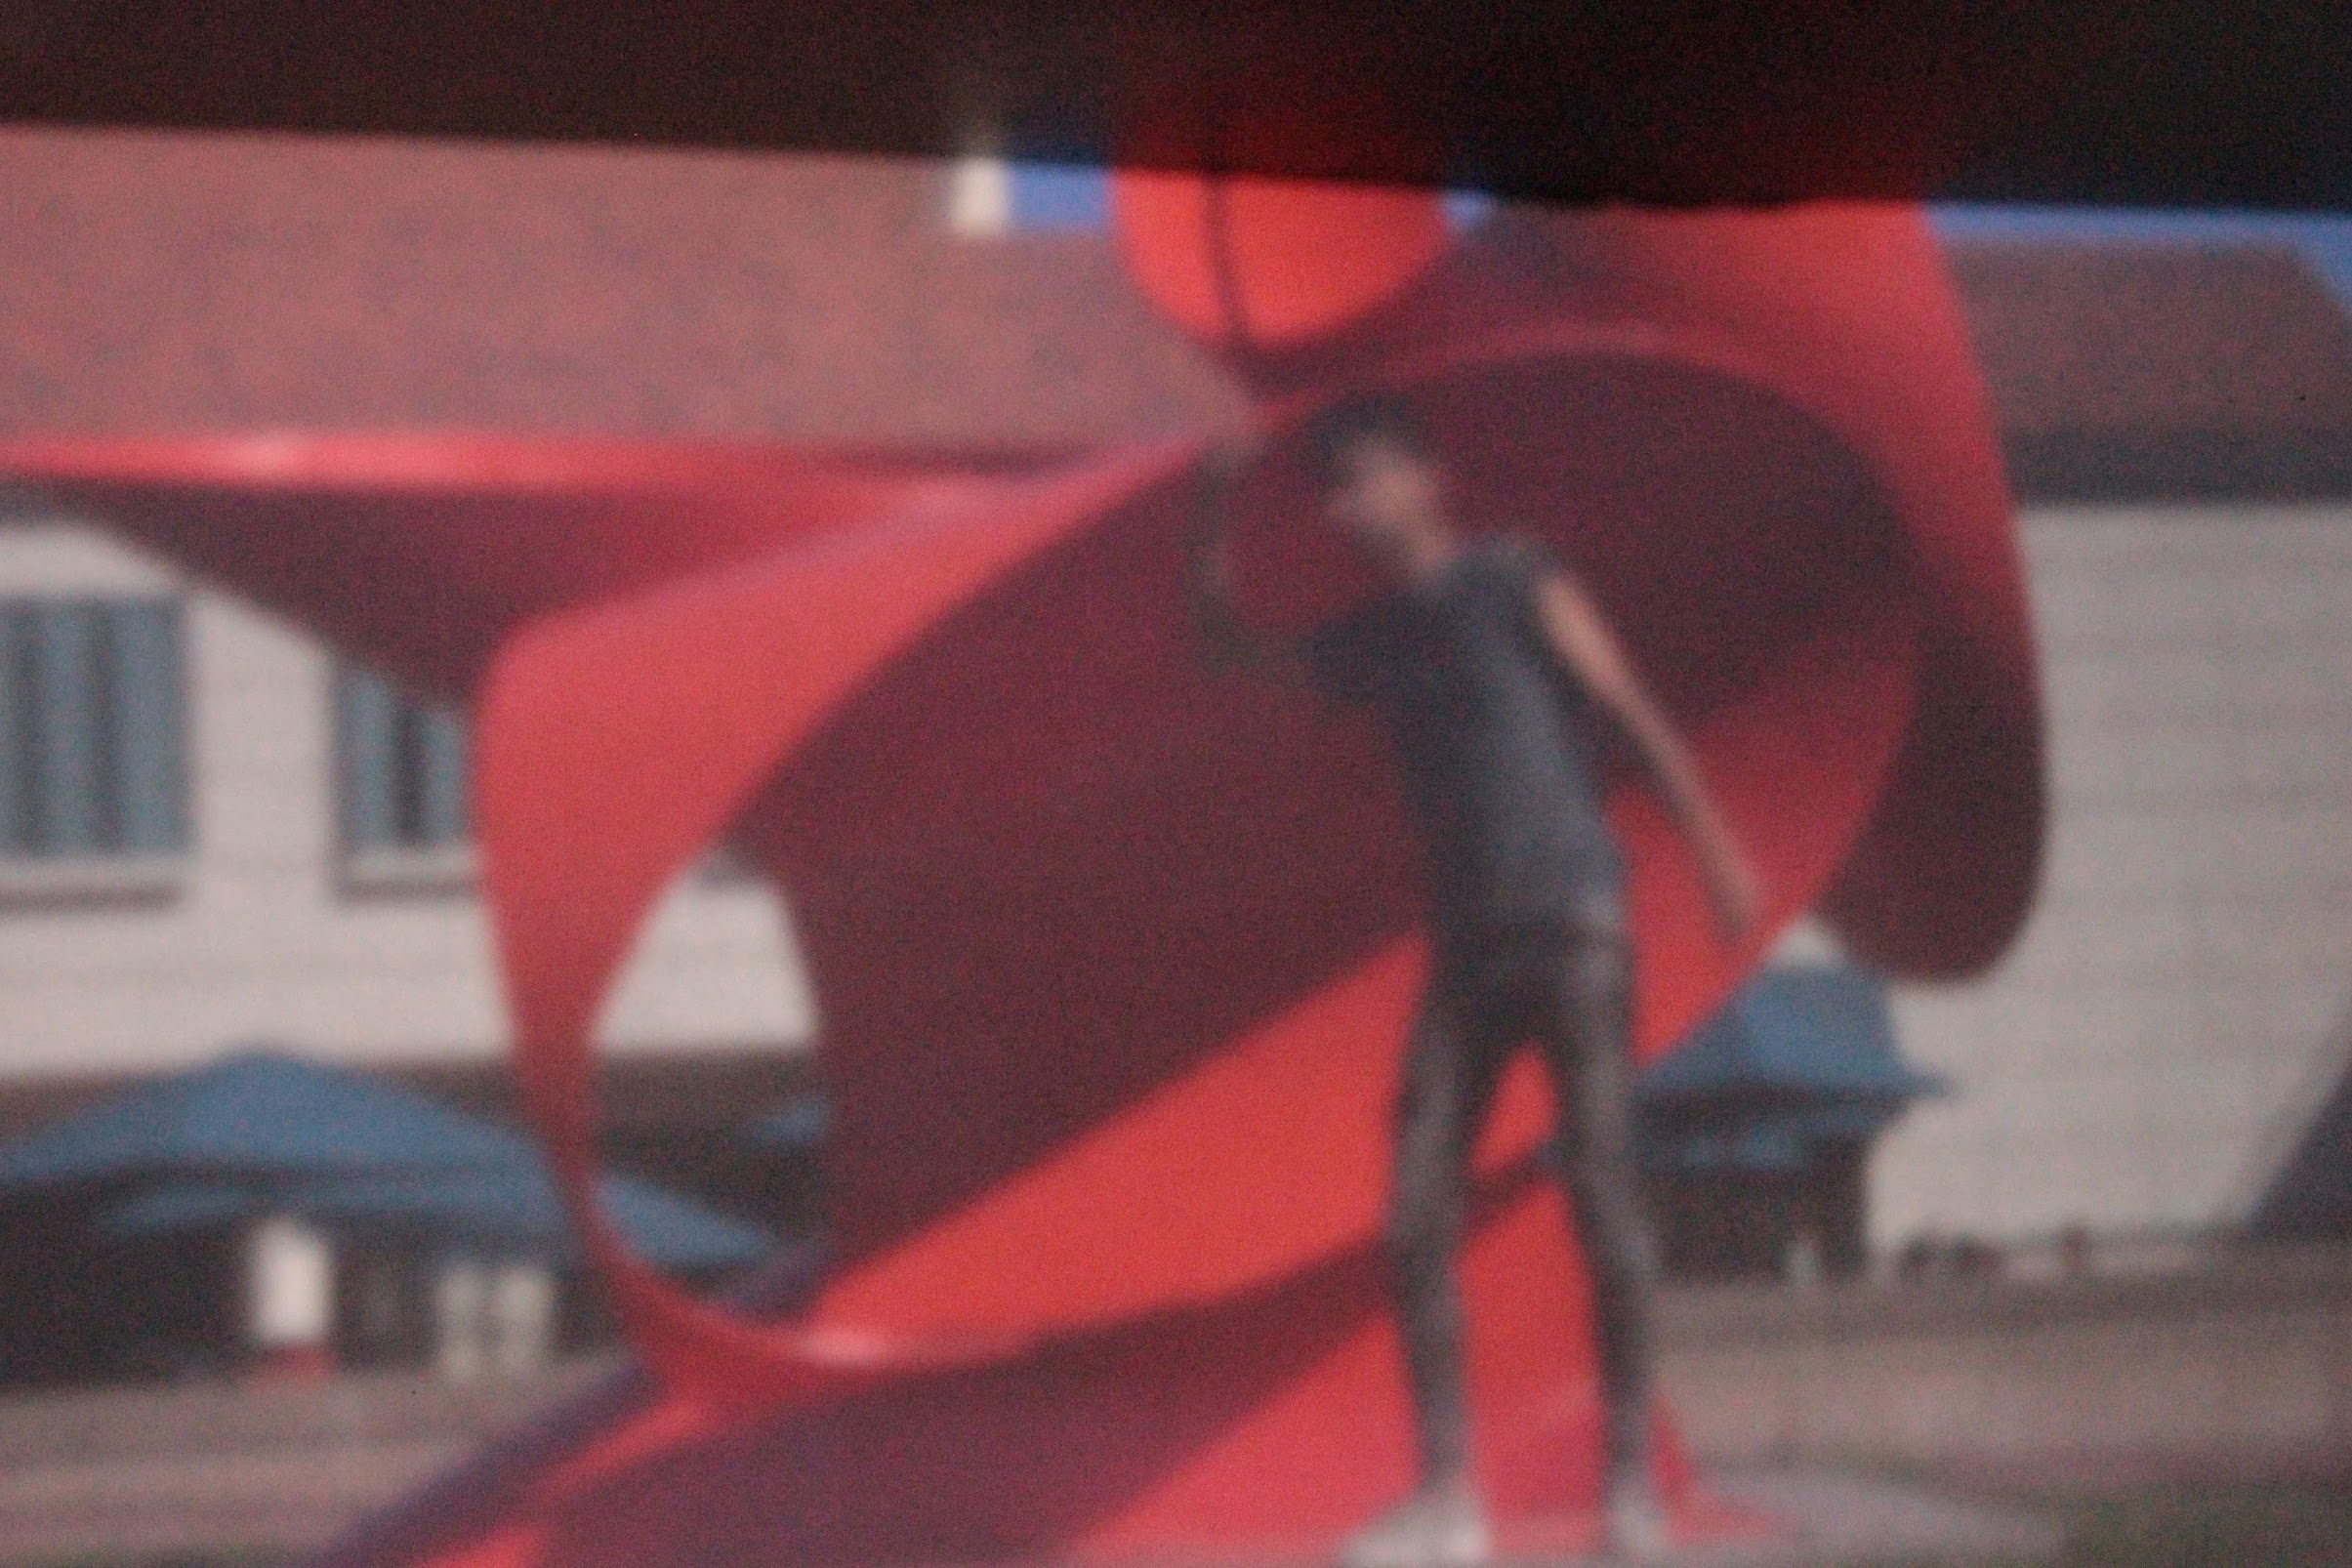
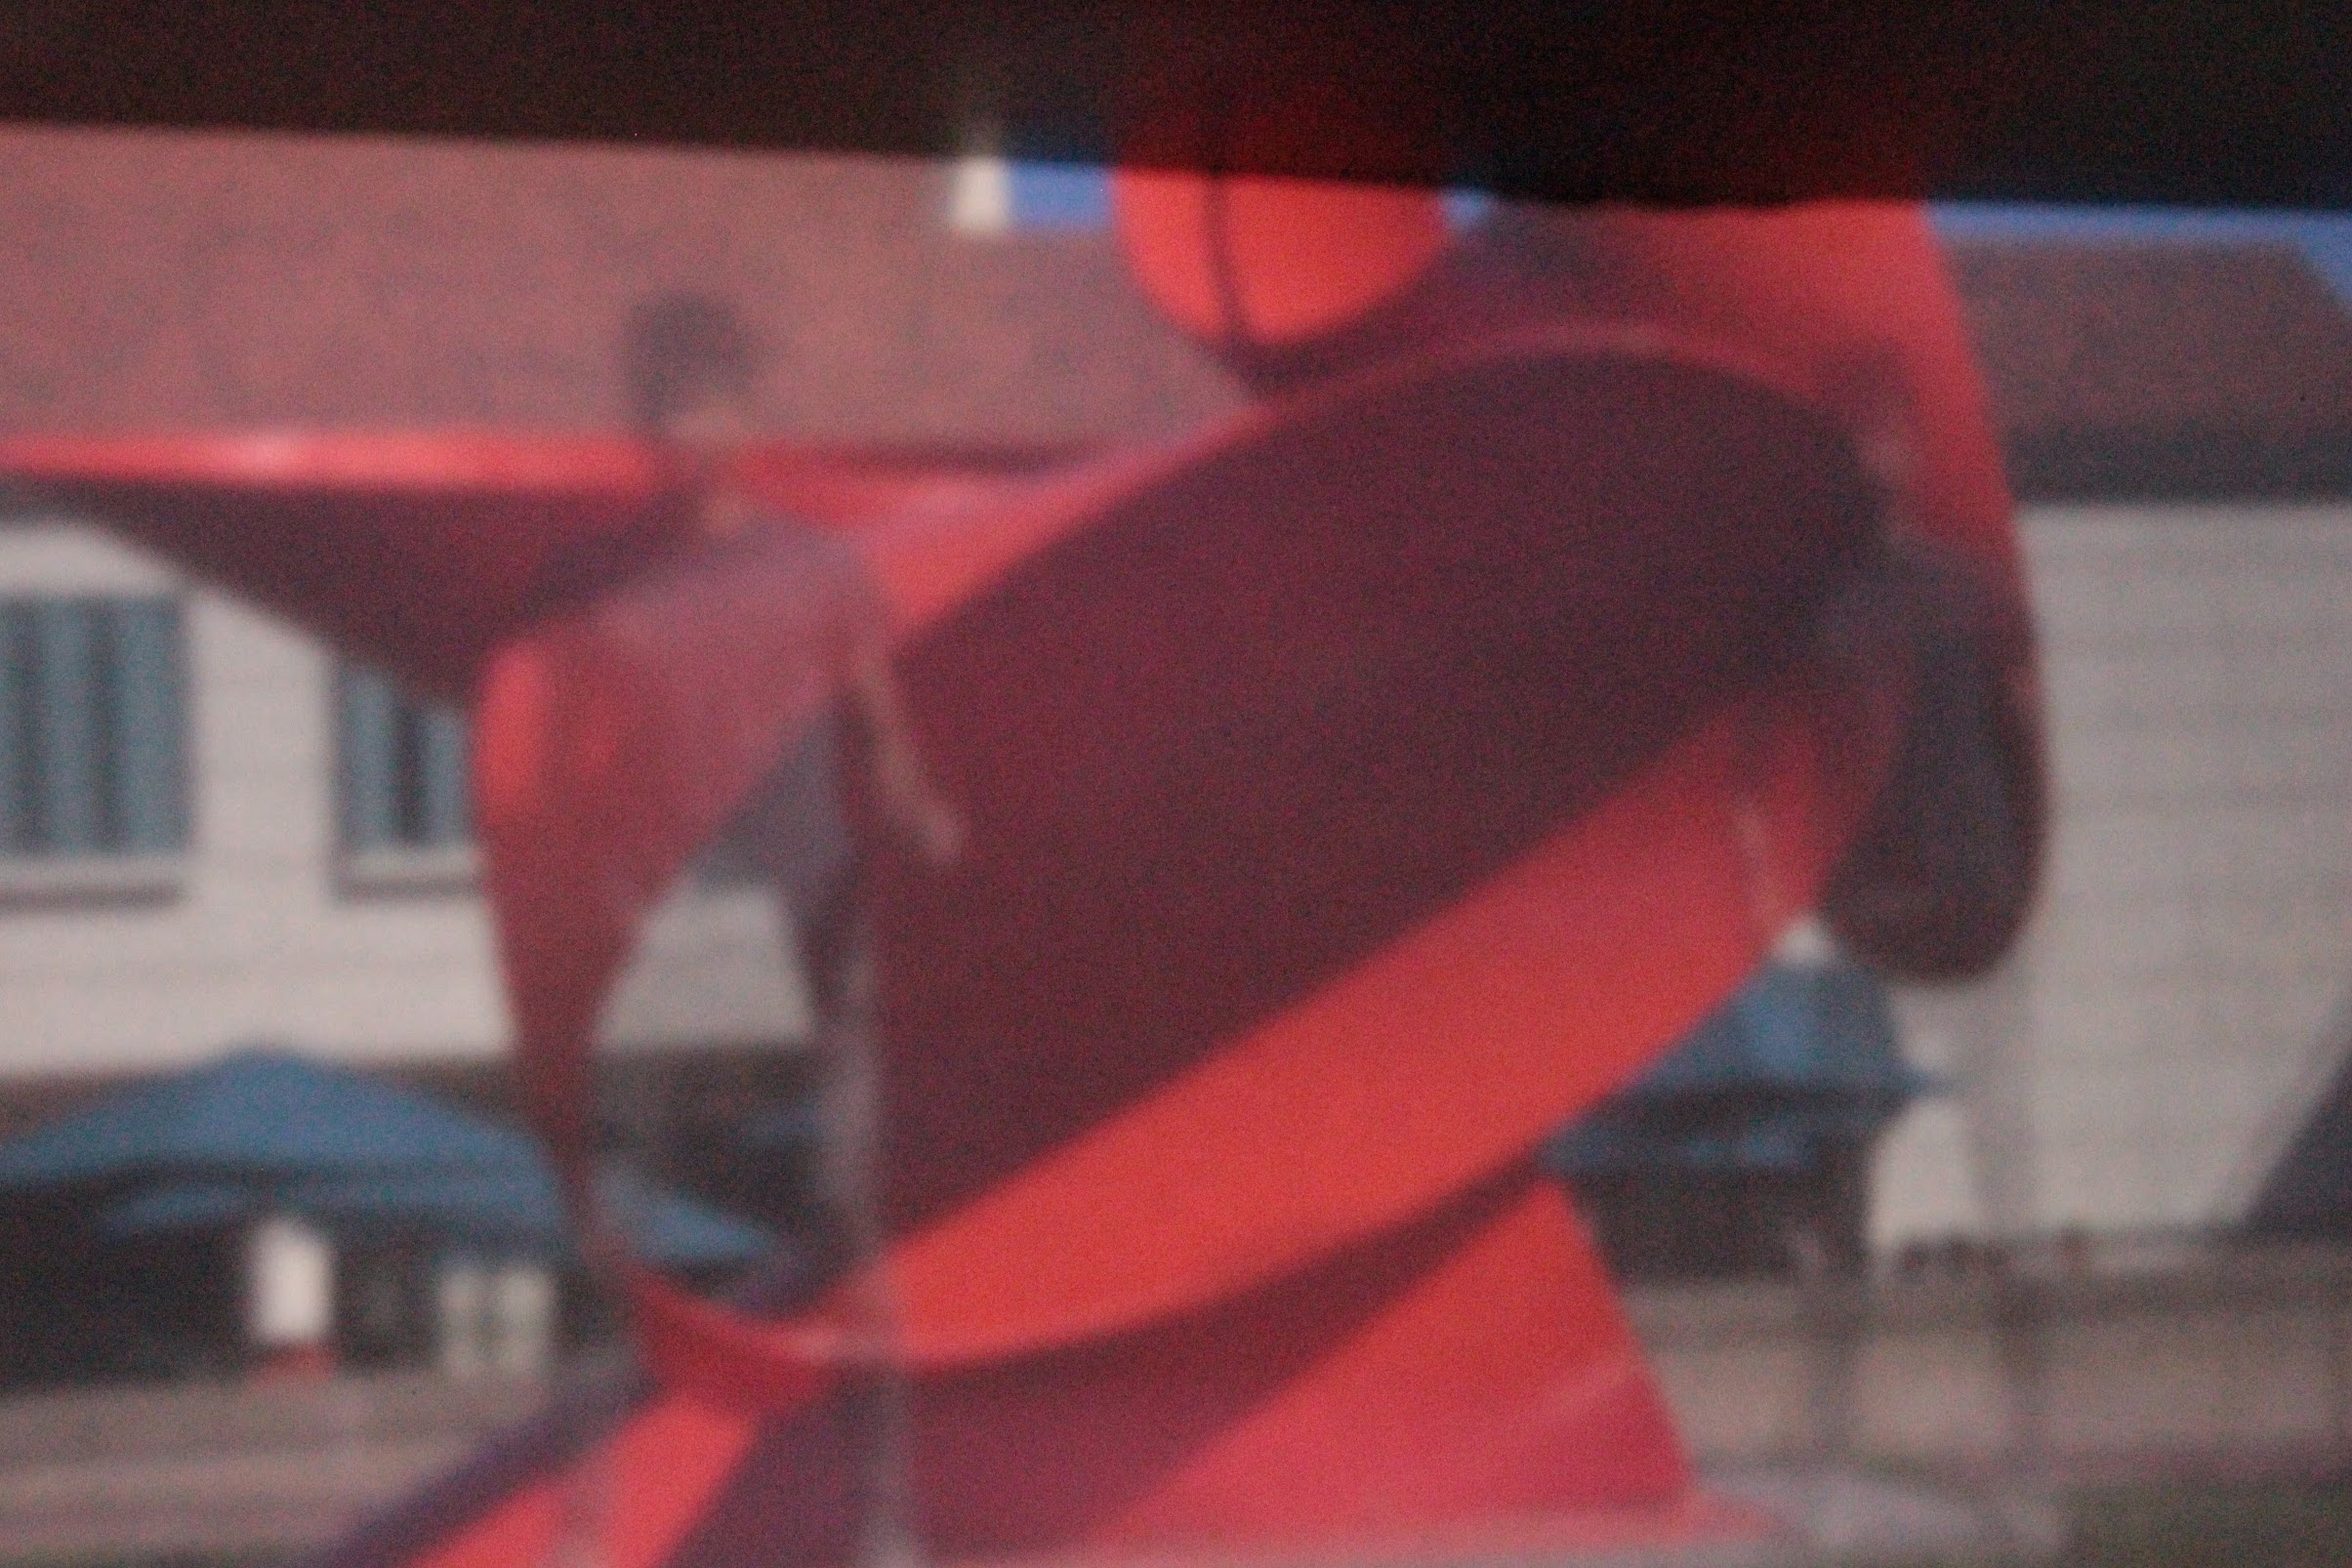
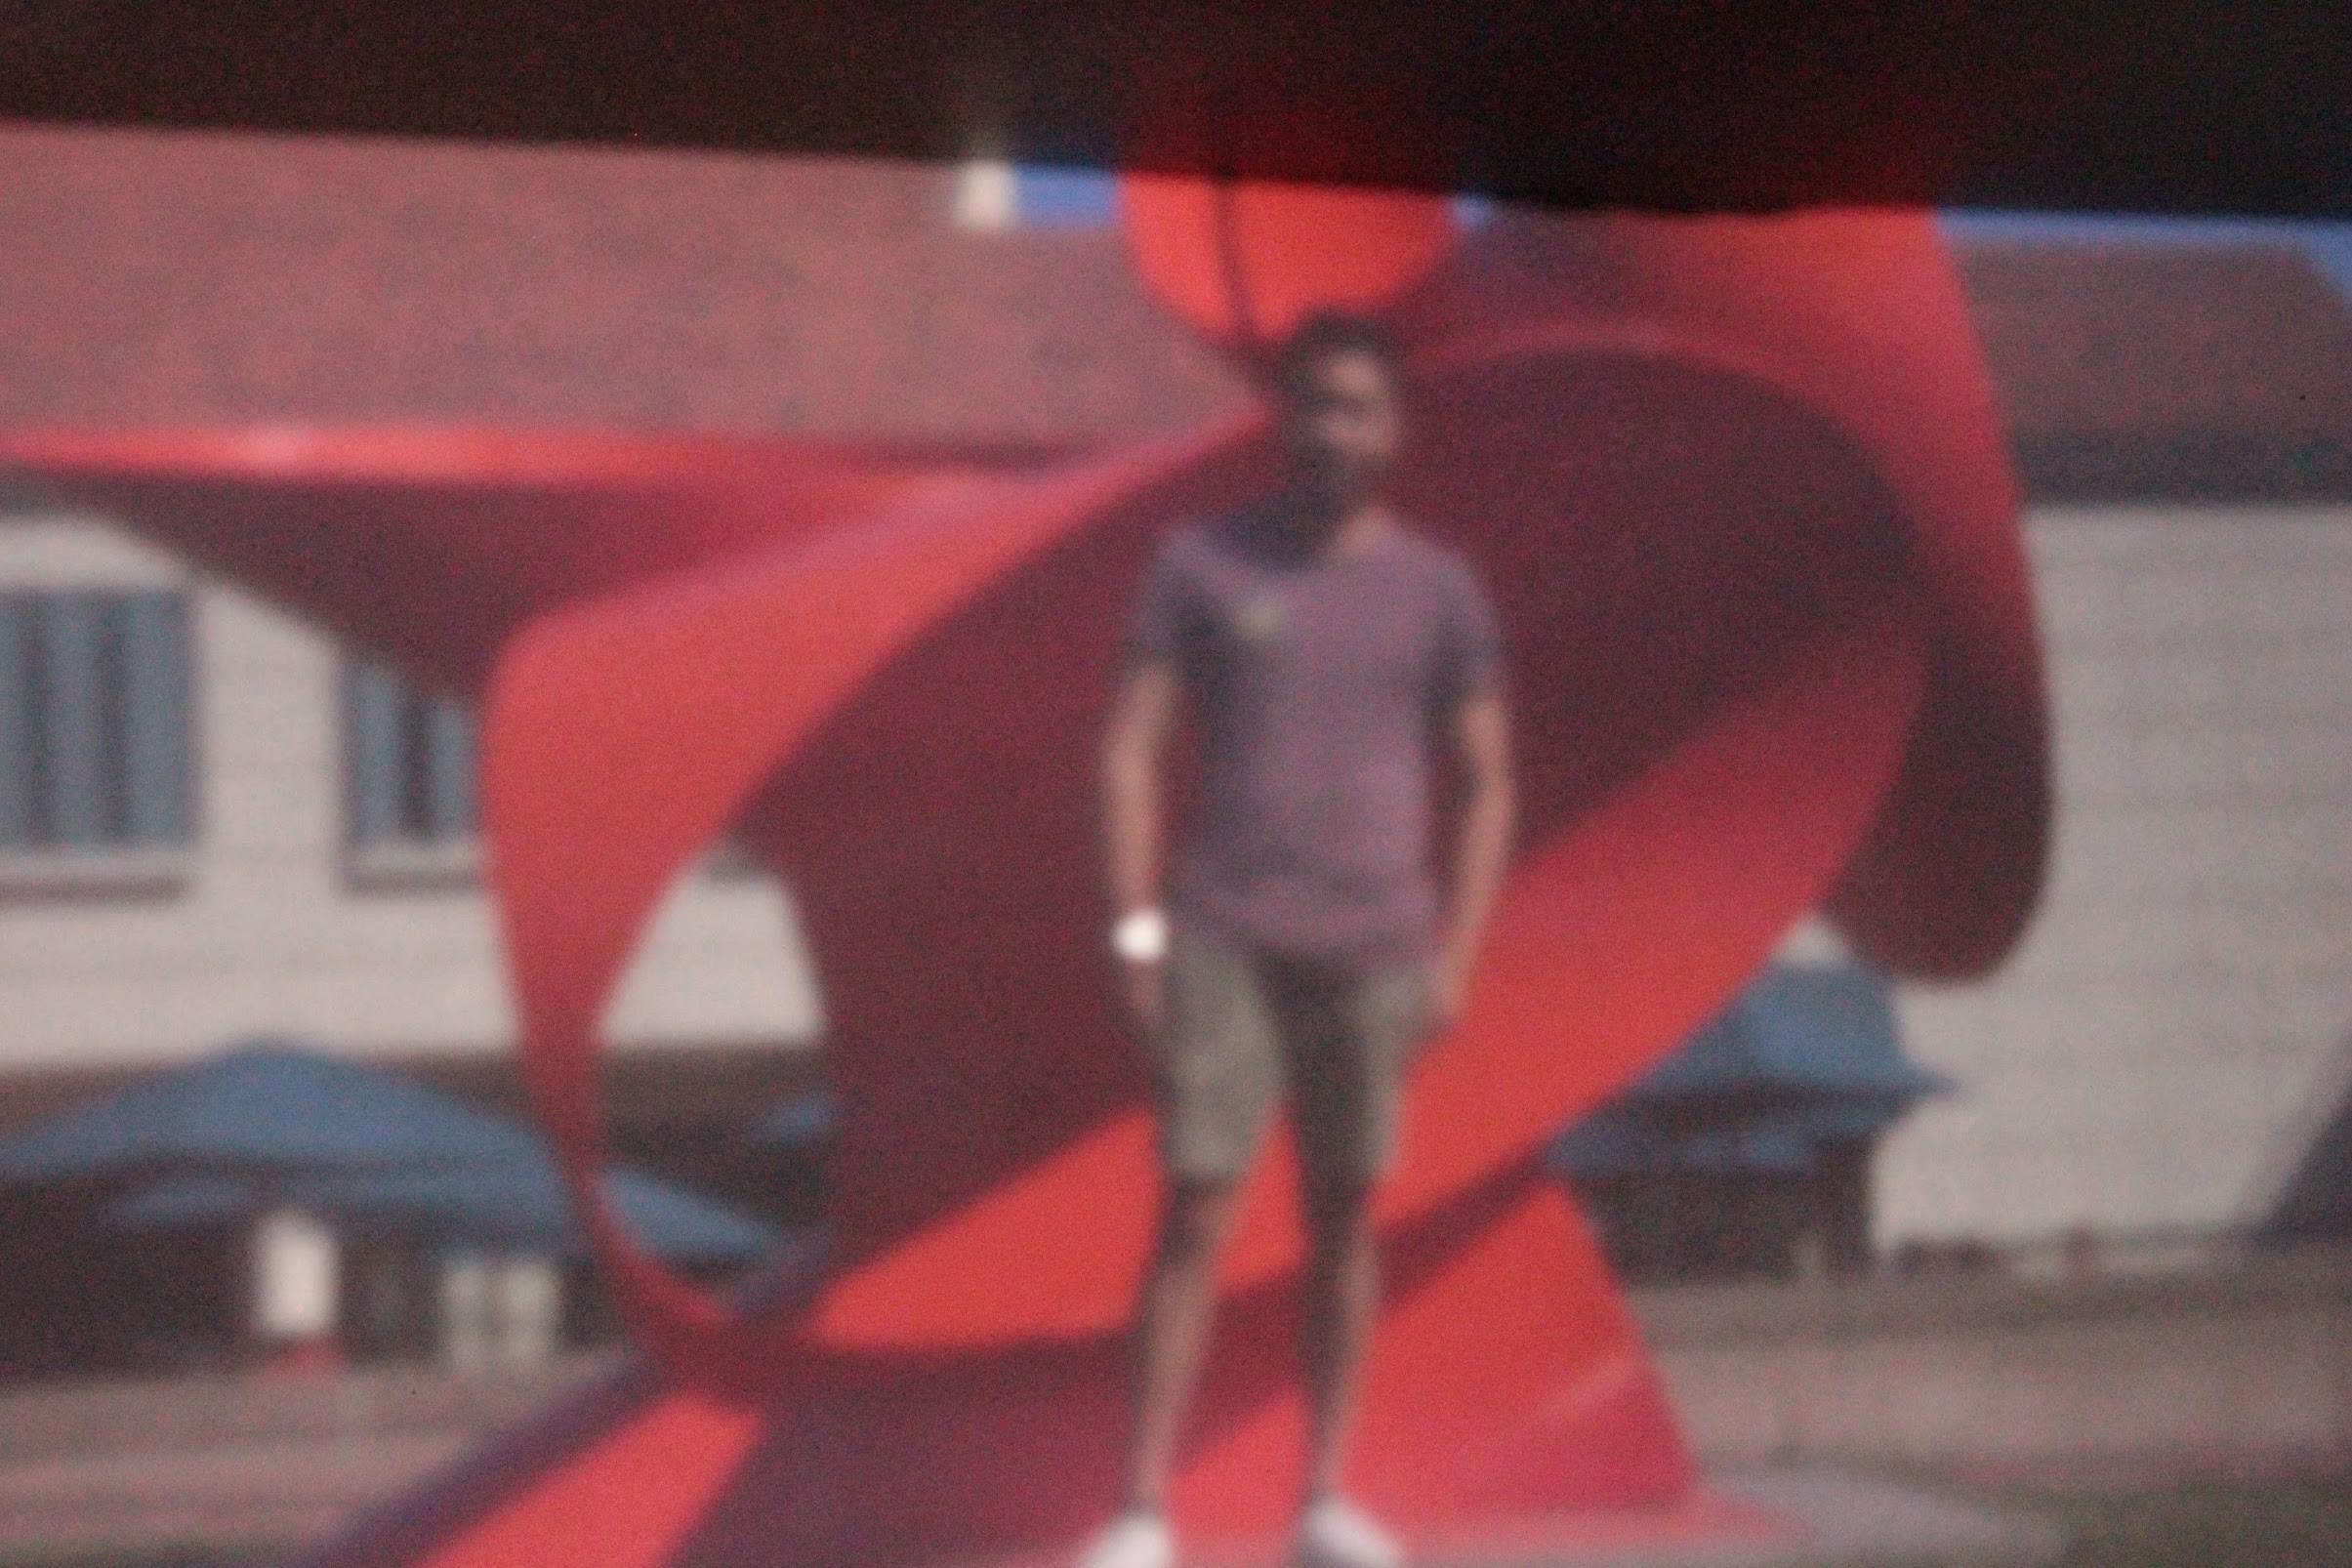
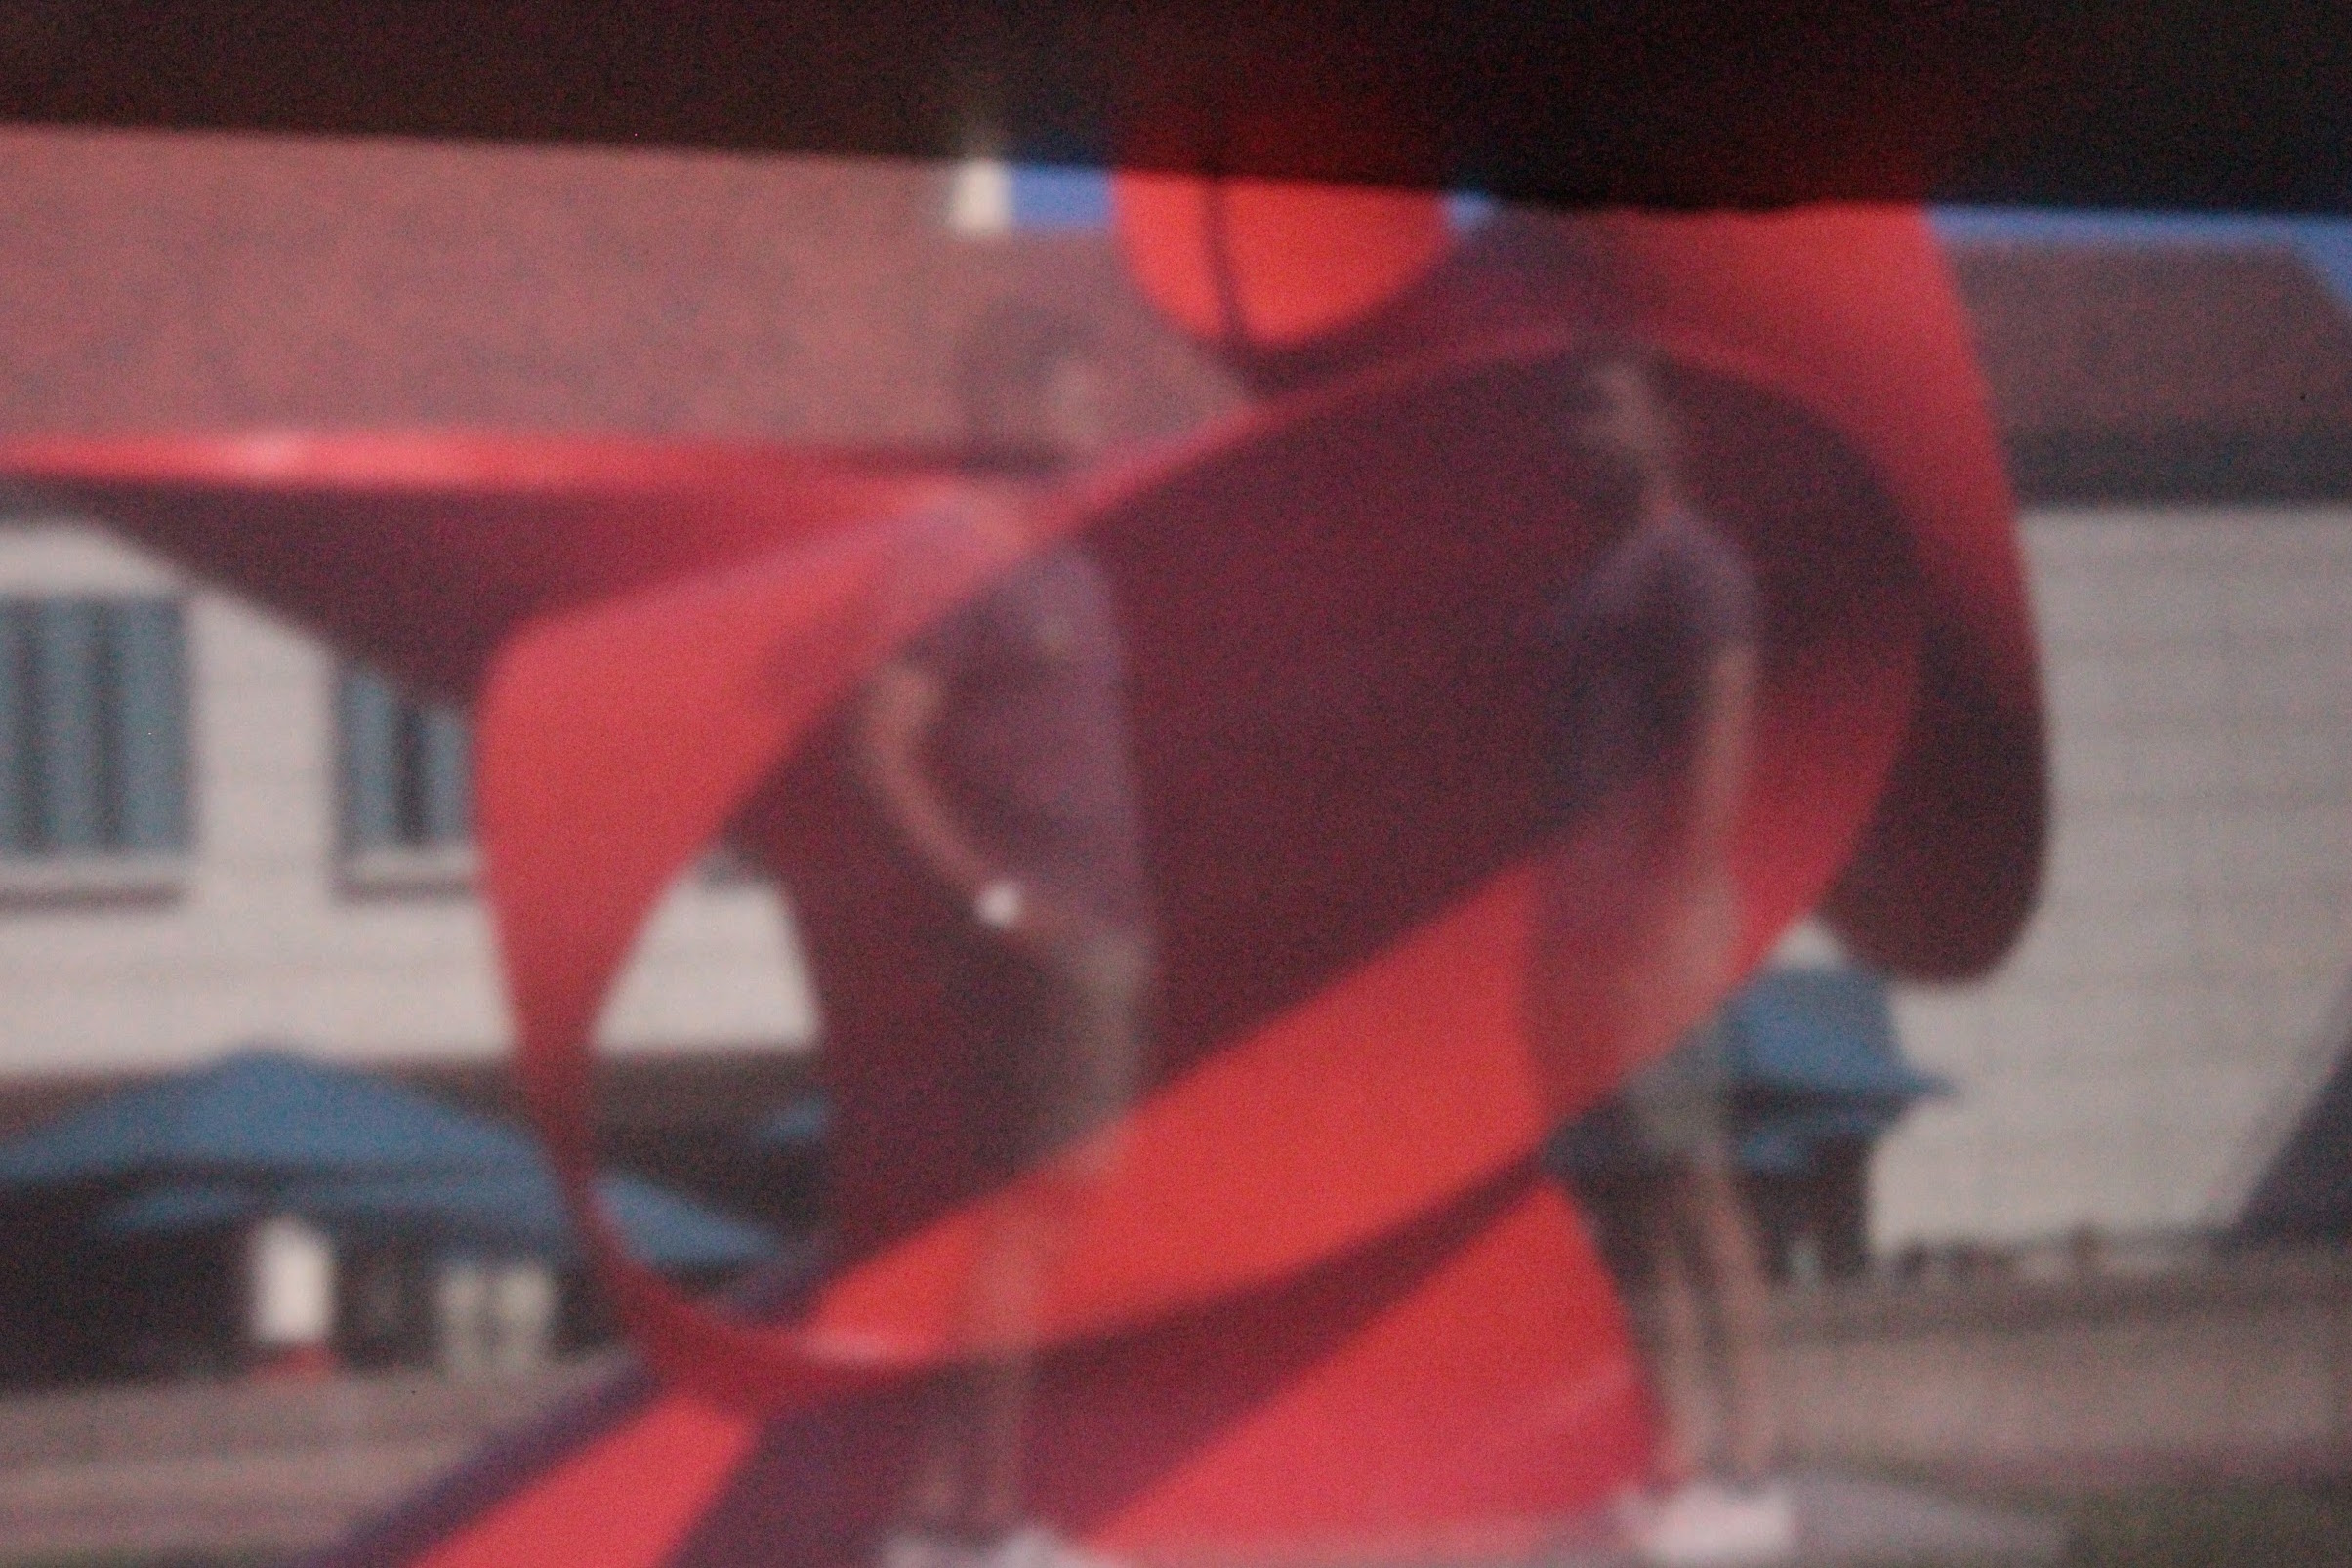
We tried playing around with the long exposure time by making ghost-looking images. We would stand for 15 seconds on one side and 15 seconds on the other side. The following images all used the 0.1mm sized hole.