Project 2: Camera Obscura
Project Overview and Camera Model
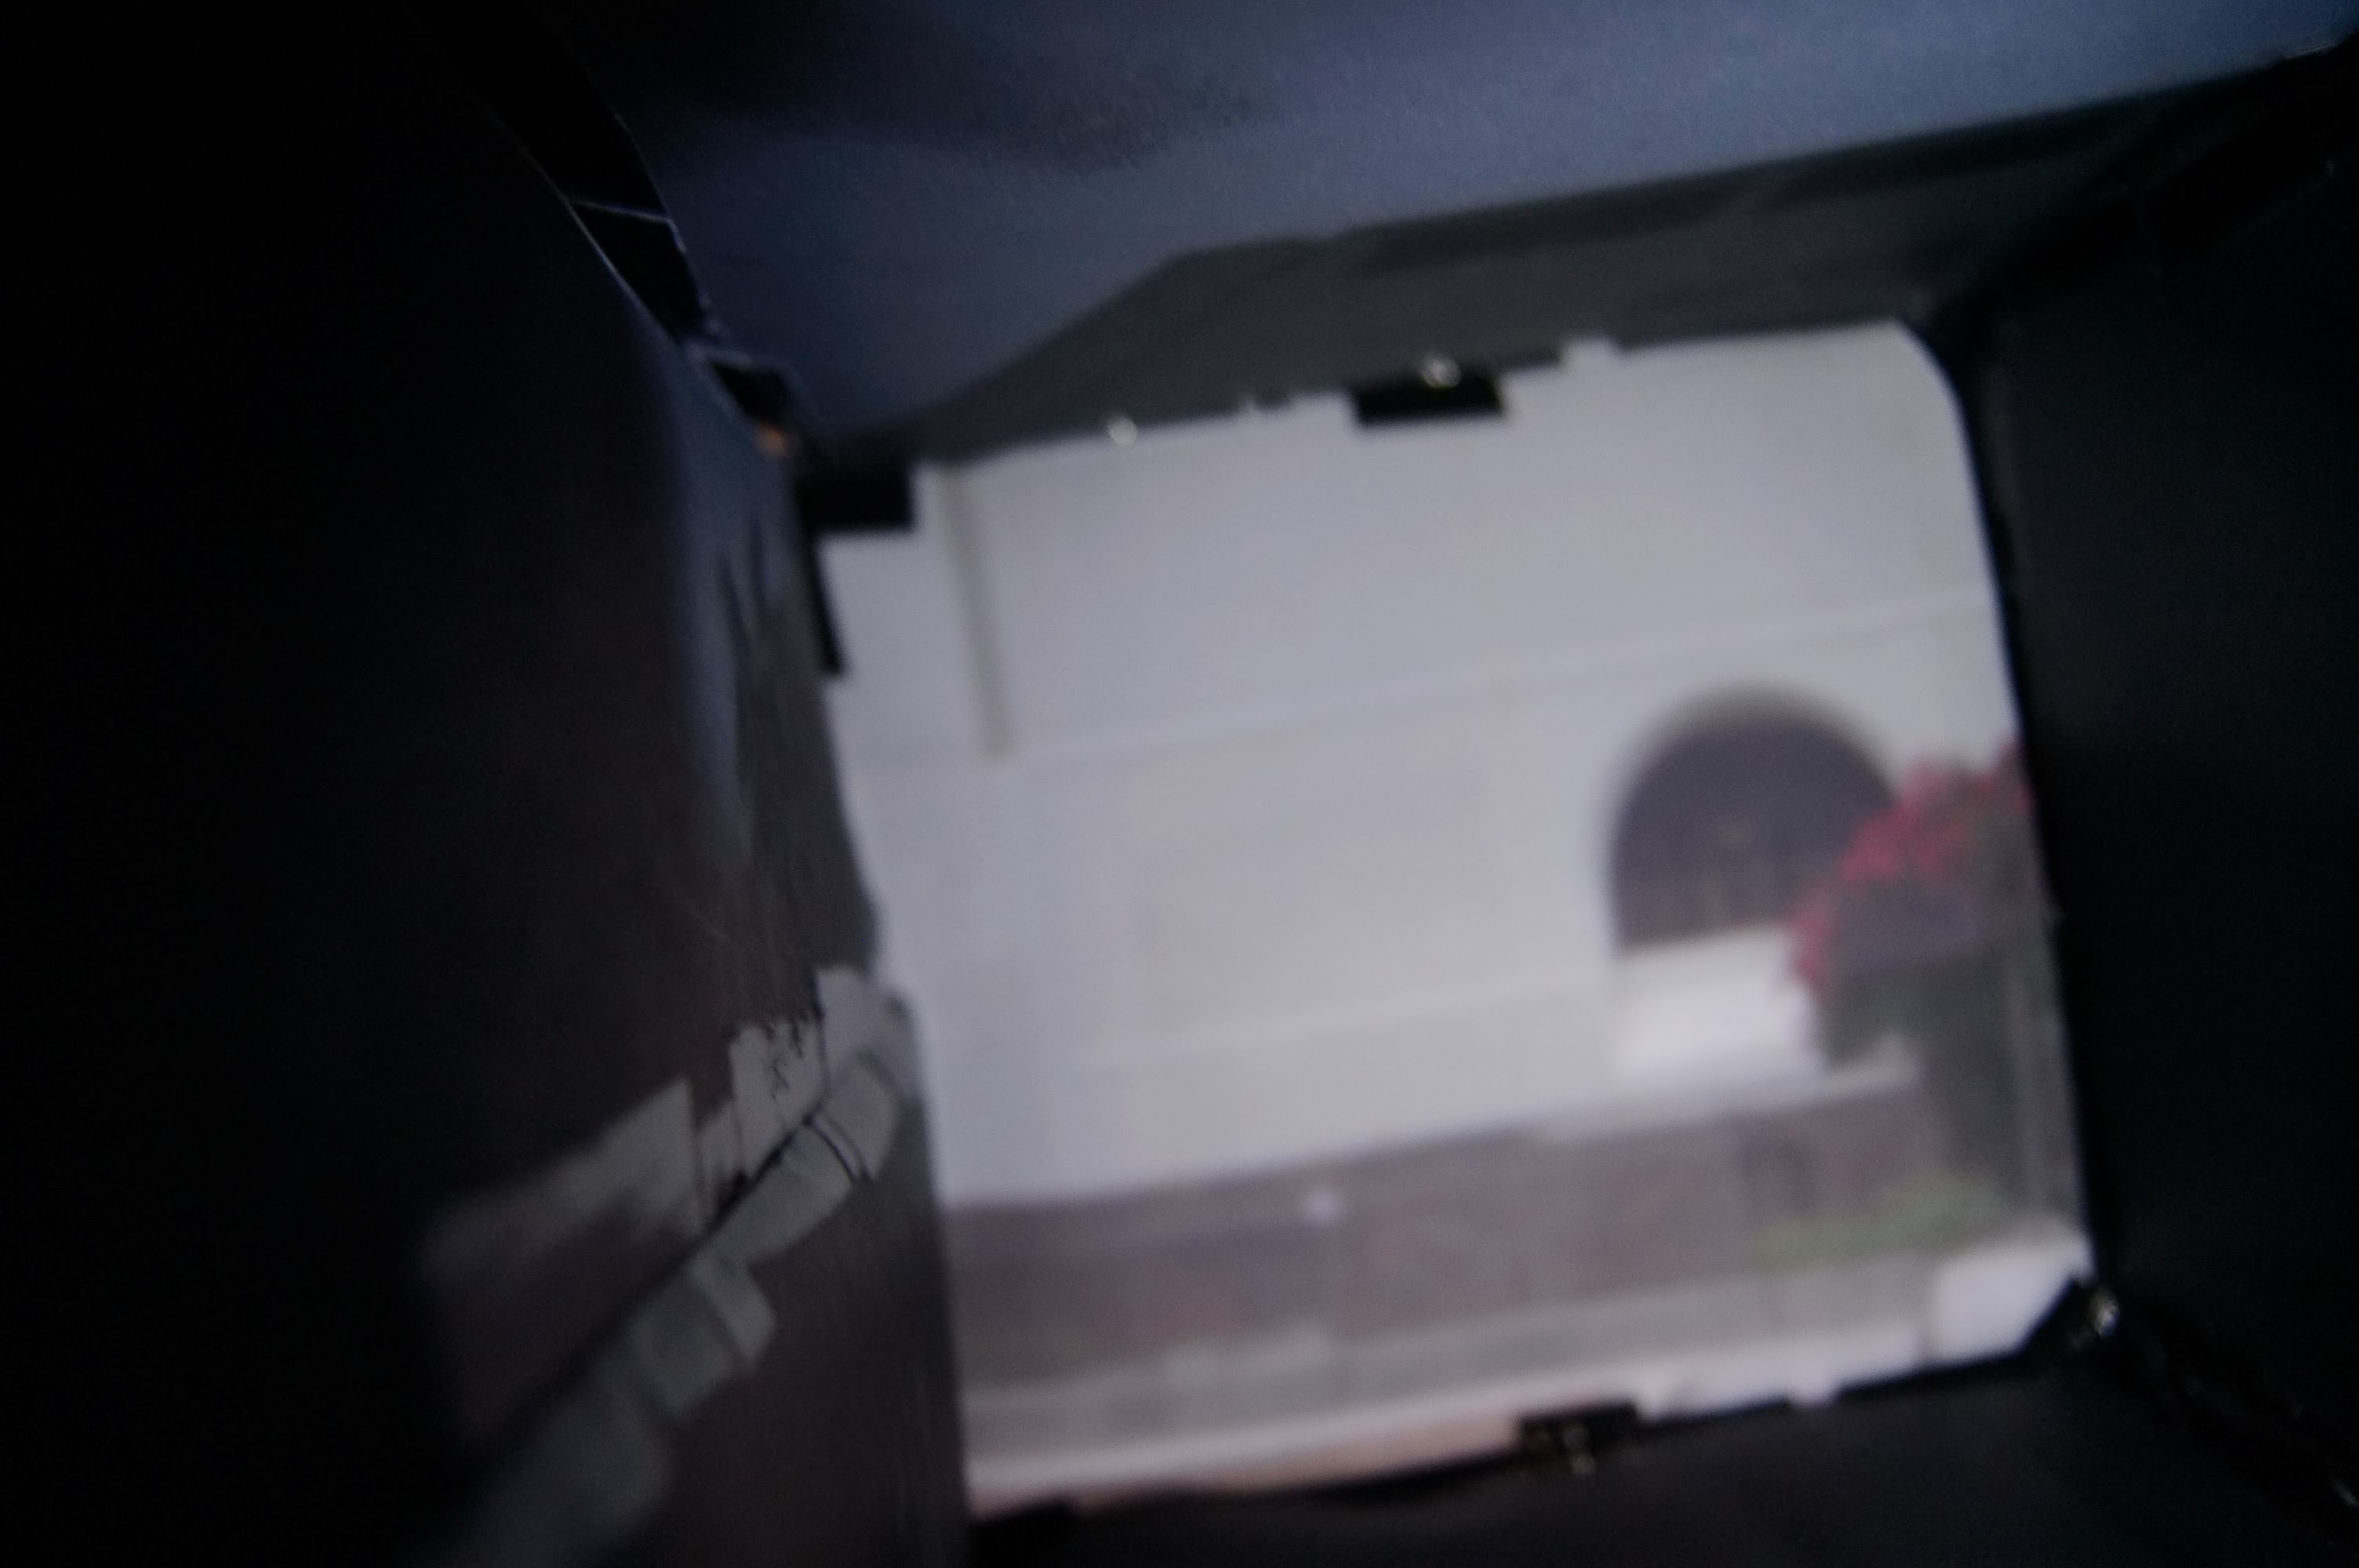
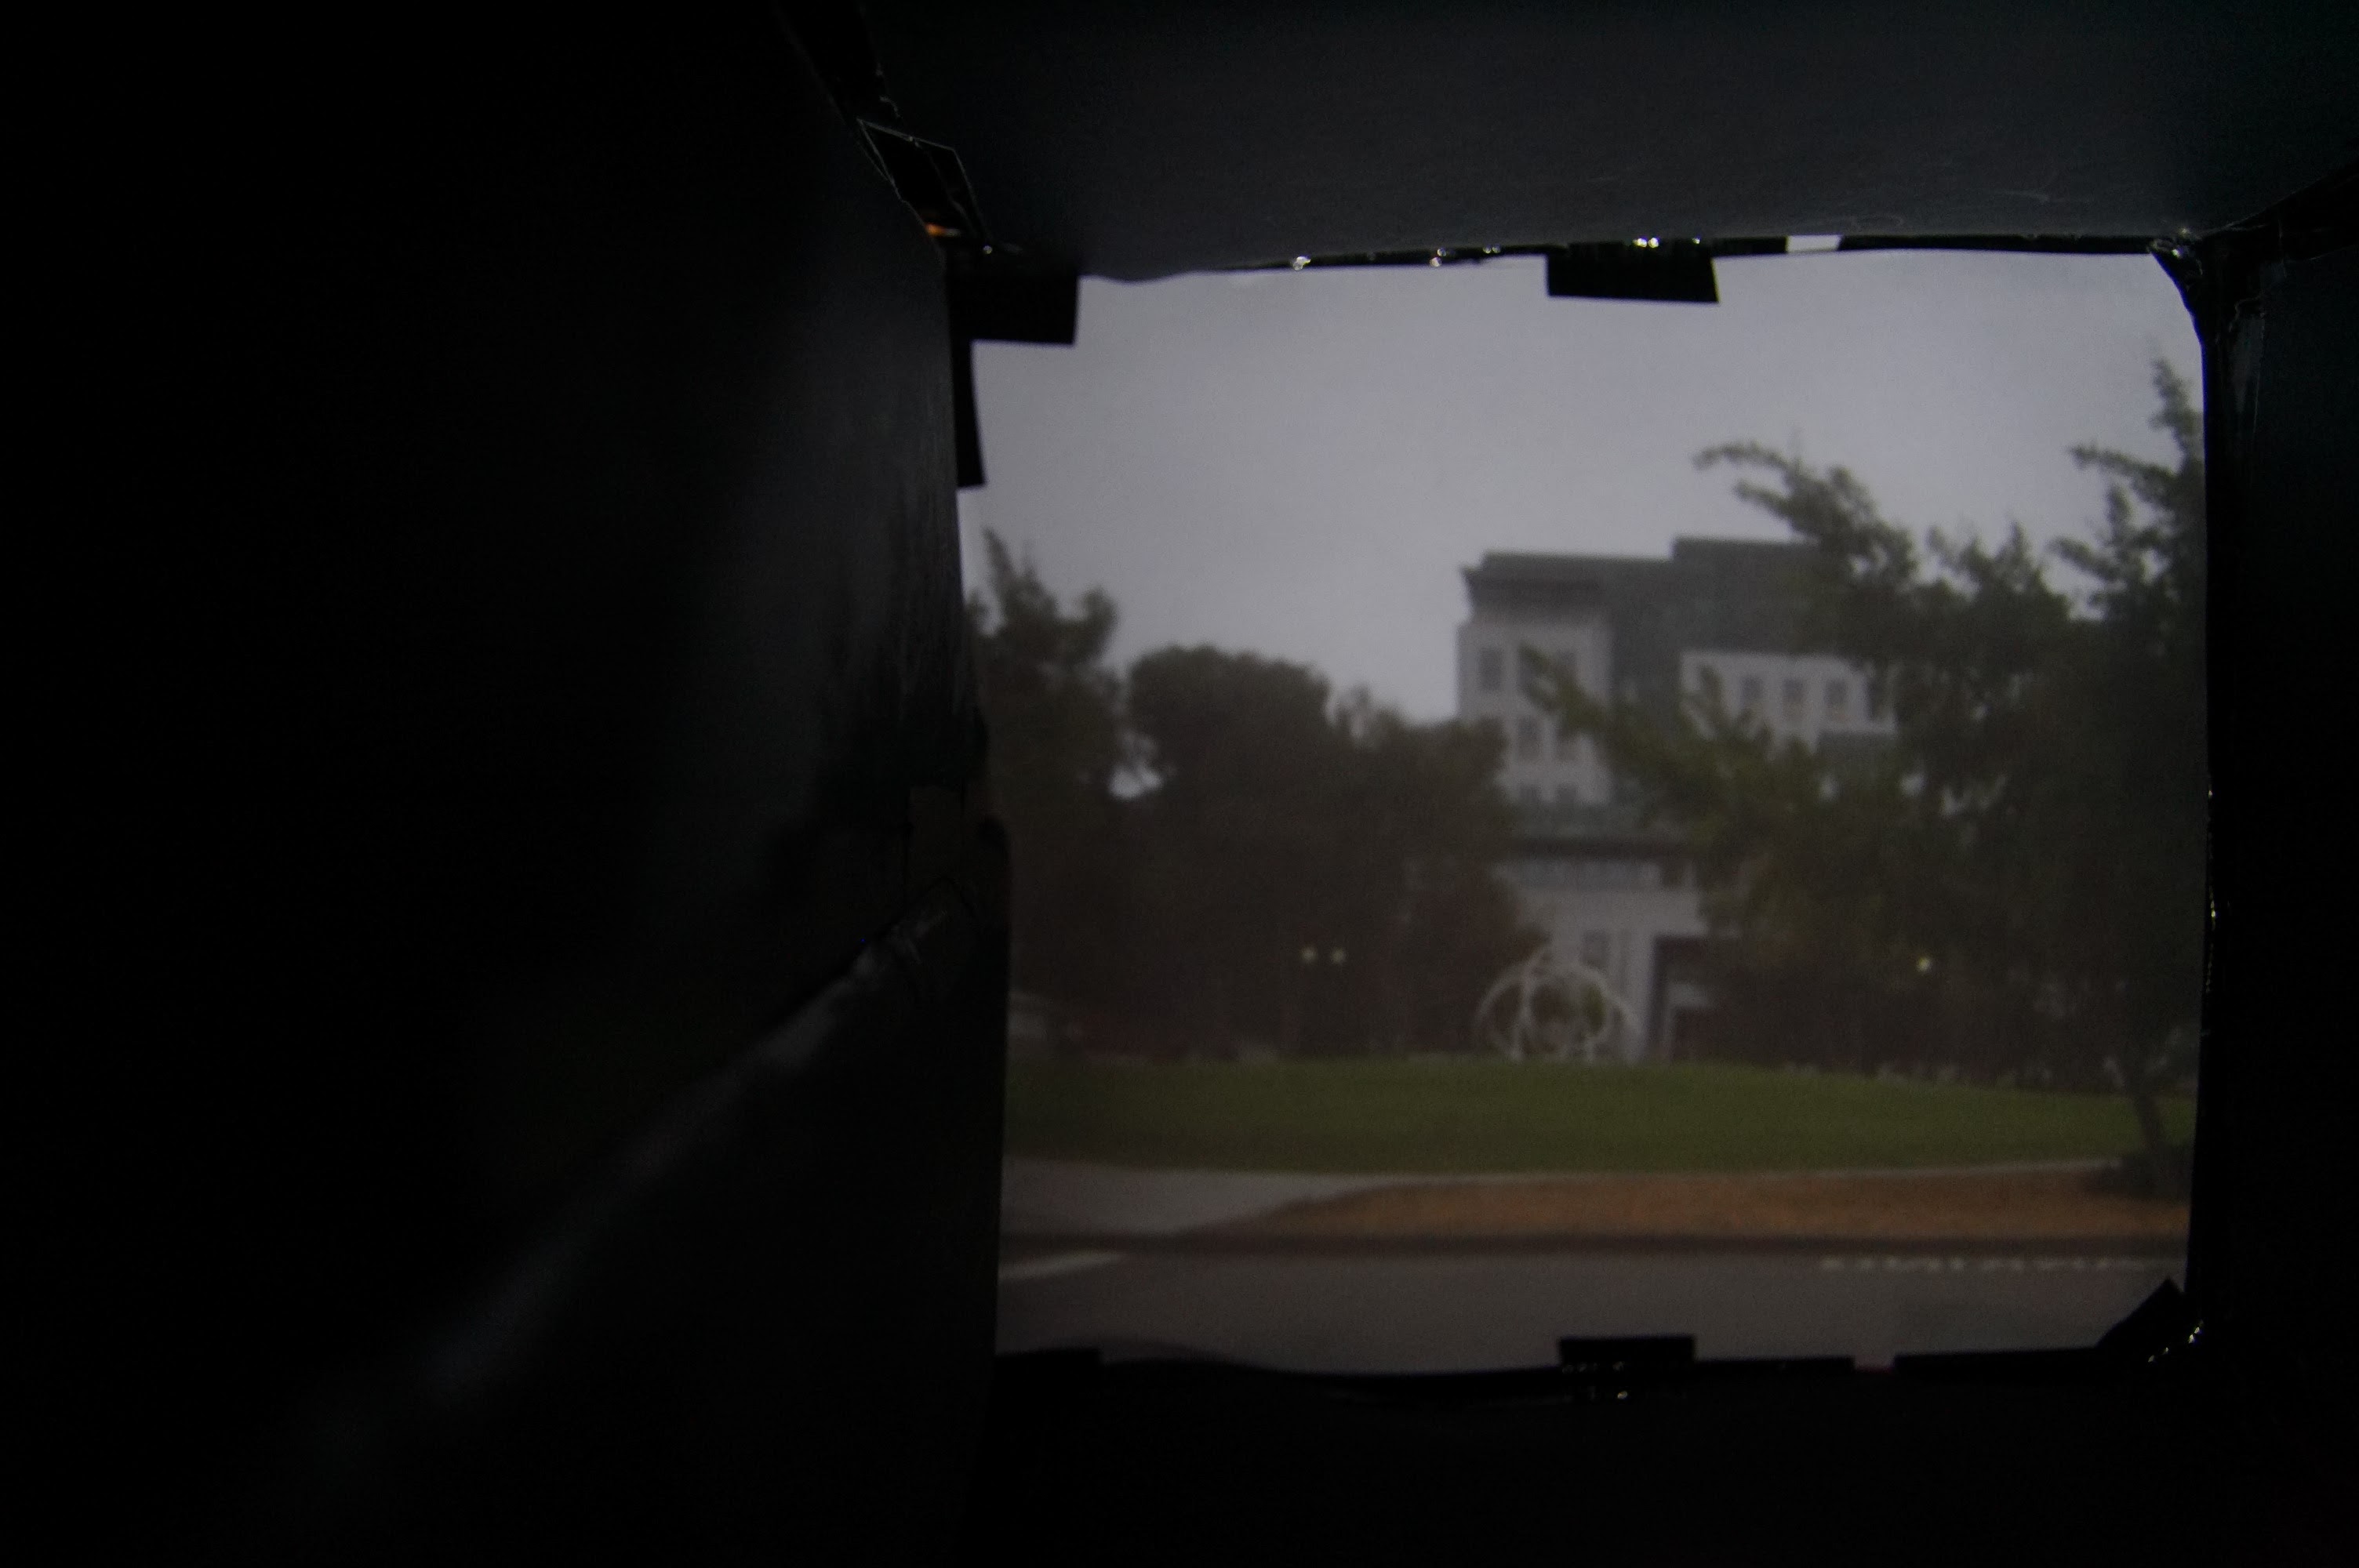
In this project, we built our very own pinhole camera, also known as the "camera obscura." We experimented with varying sizes for our pinhole, notably 0.1 mm, 3 mm, and 5 mm in diameter. To achieve this, we take a small box lined with black paper. On one face, we cut out a hole for the camera and a small rectangle for the pinhole. We use an interchangeable pinhole sheet to experiment between the different pinhole sizes easily. To change which pinhole we use, we simply shift and re-tape the paper covering the rectangular hole until the desired size of pinhole was in place. To ensure that no light came in through the hole that the camera lens was sticking in through, we created a sleeve for the lens out of duct tape, and then taped that to the box (creating a kind of tent between the lens and the box to seal it off). All seams of the box were sealed with duct tape from both the inside and the outside. Light travels through the pinhole and bounces off a white screen on the opposite face. Finally, a digital camera with a long exposure of 30 seconds captures the inverted image on the white screen.
Example Images!
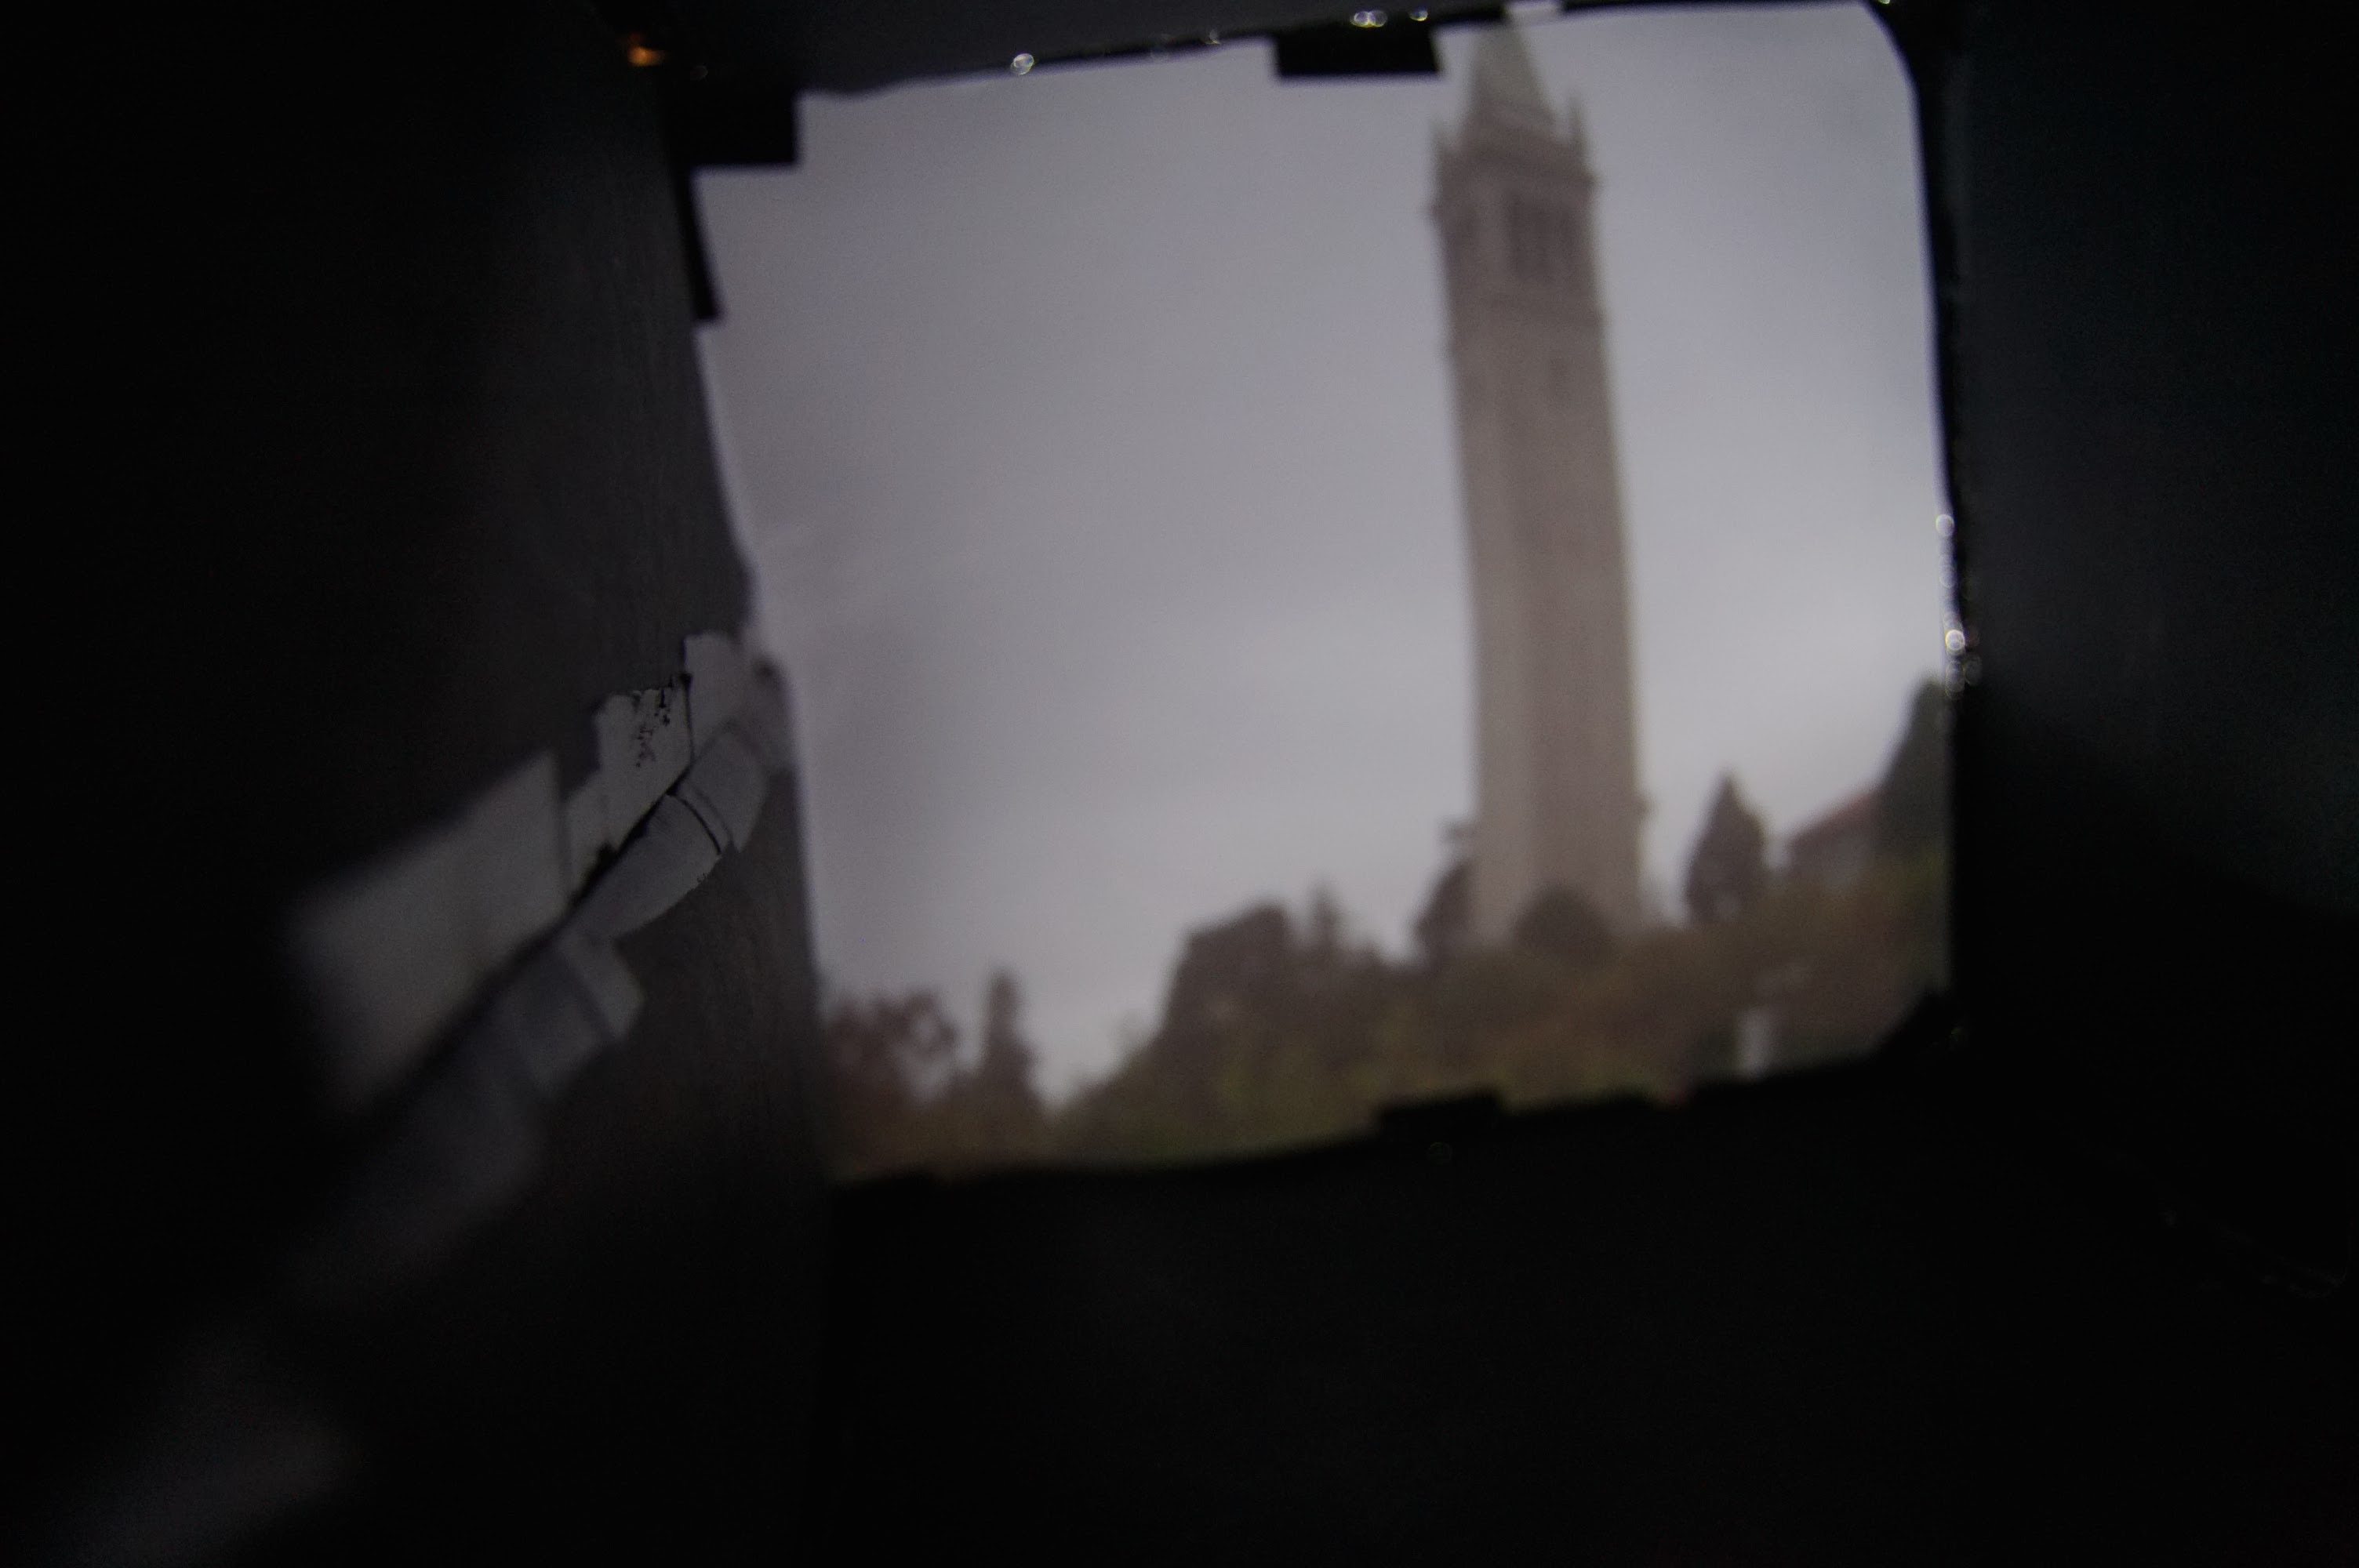
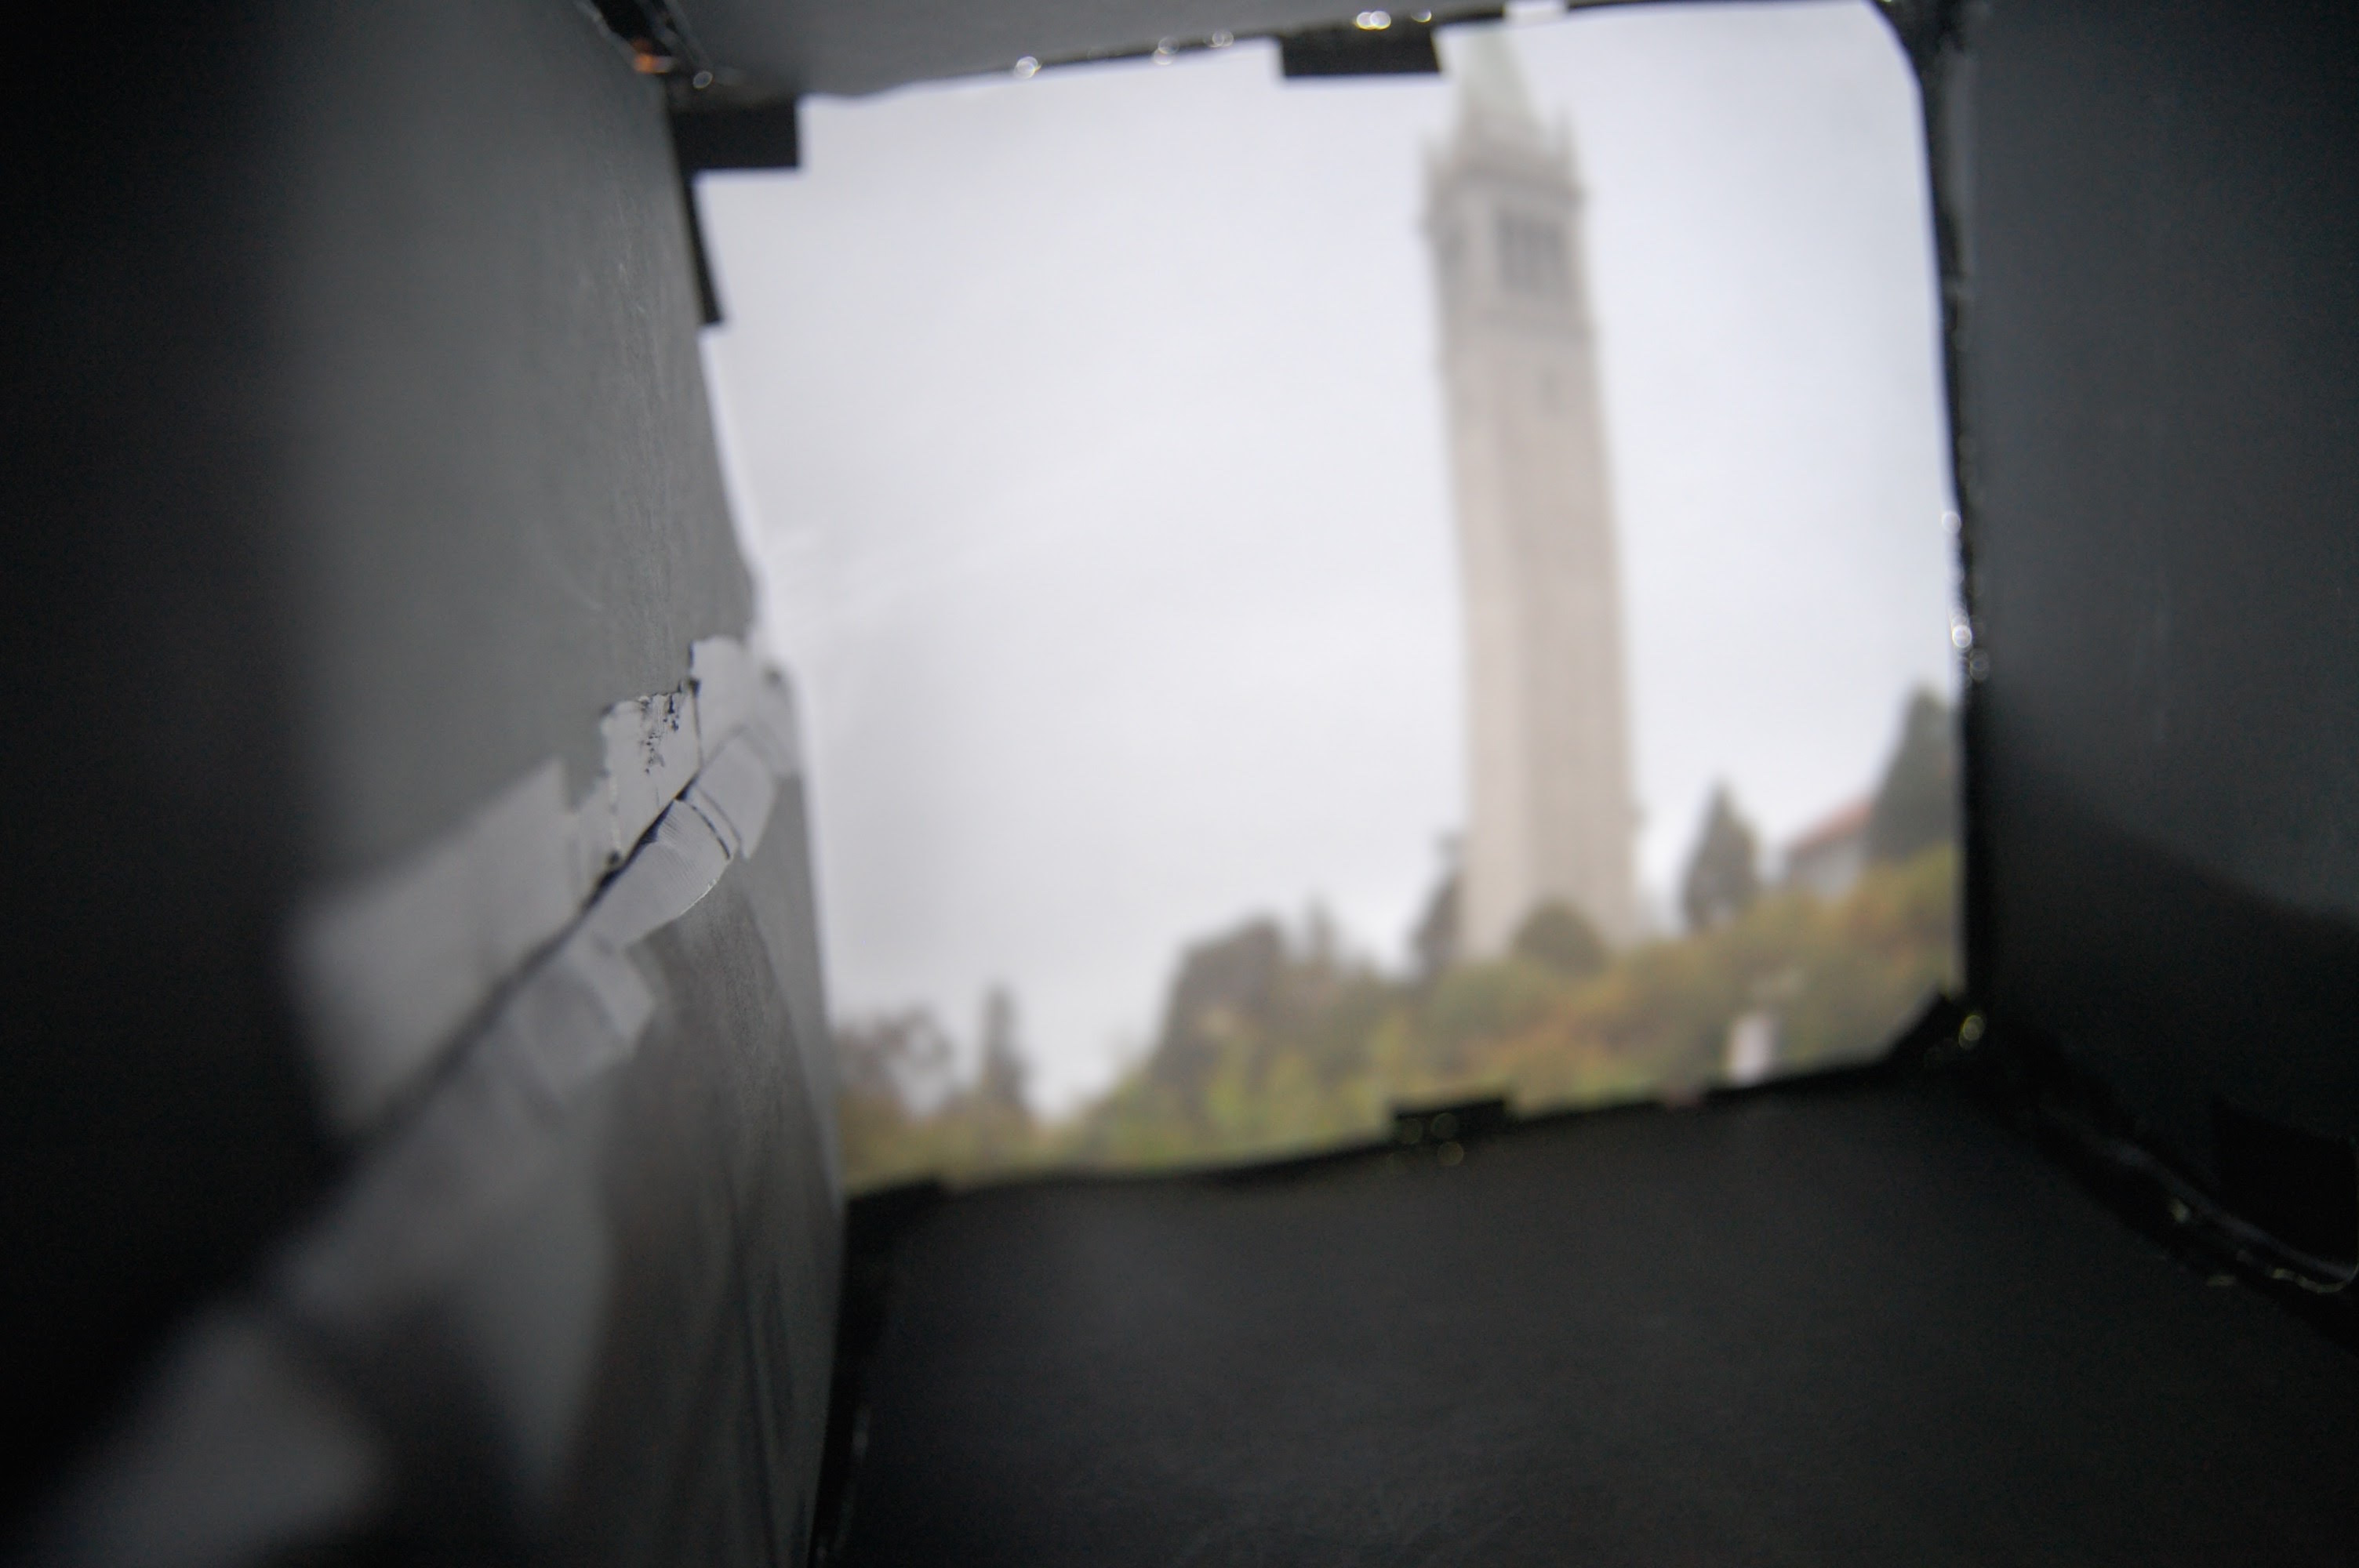
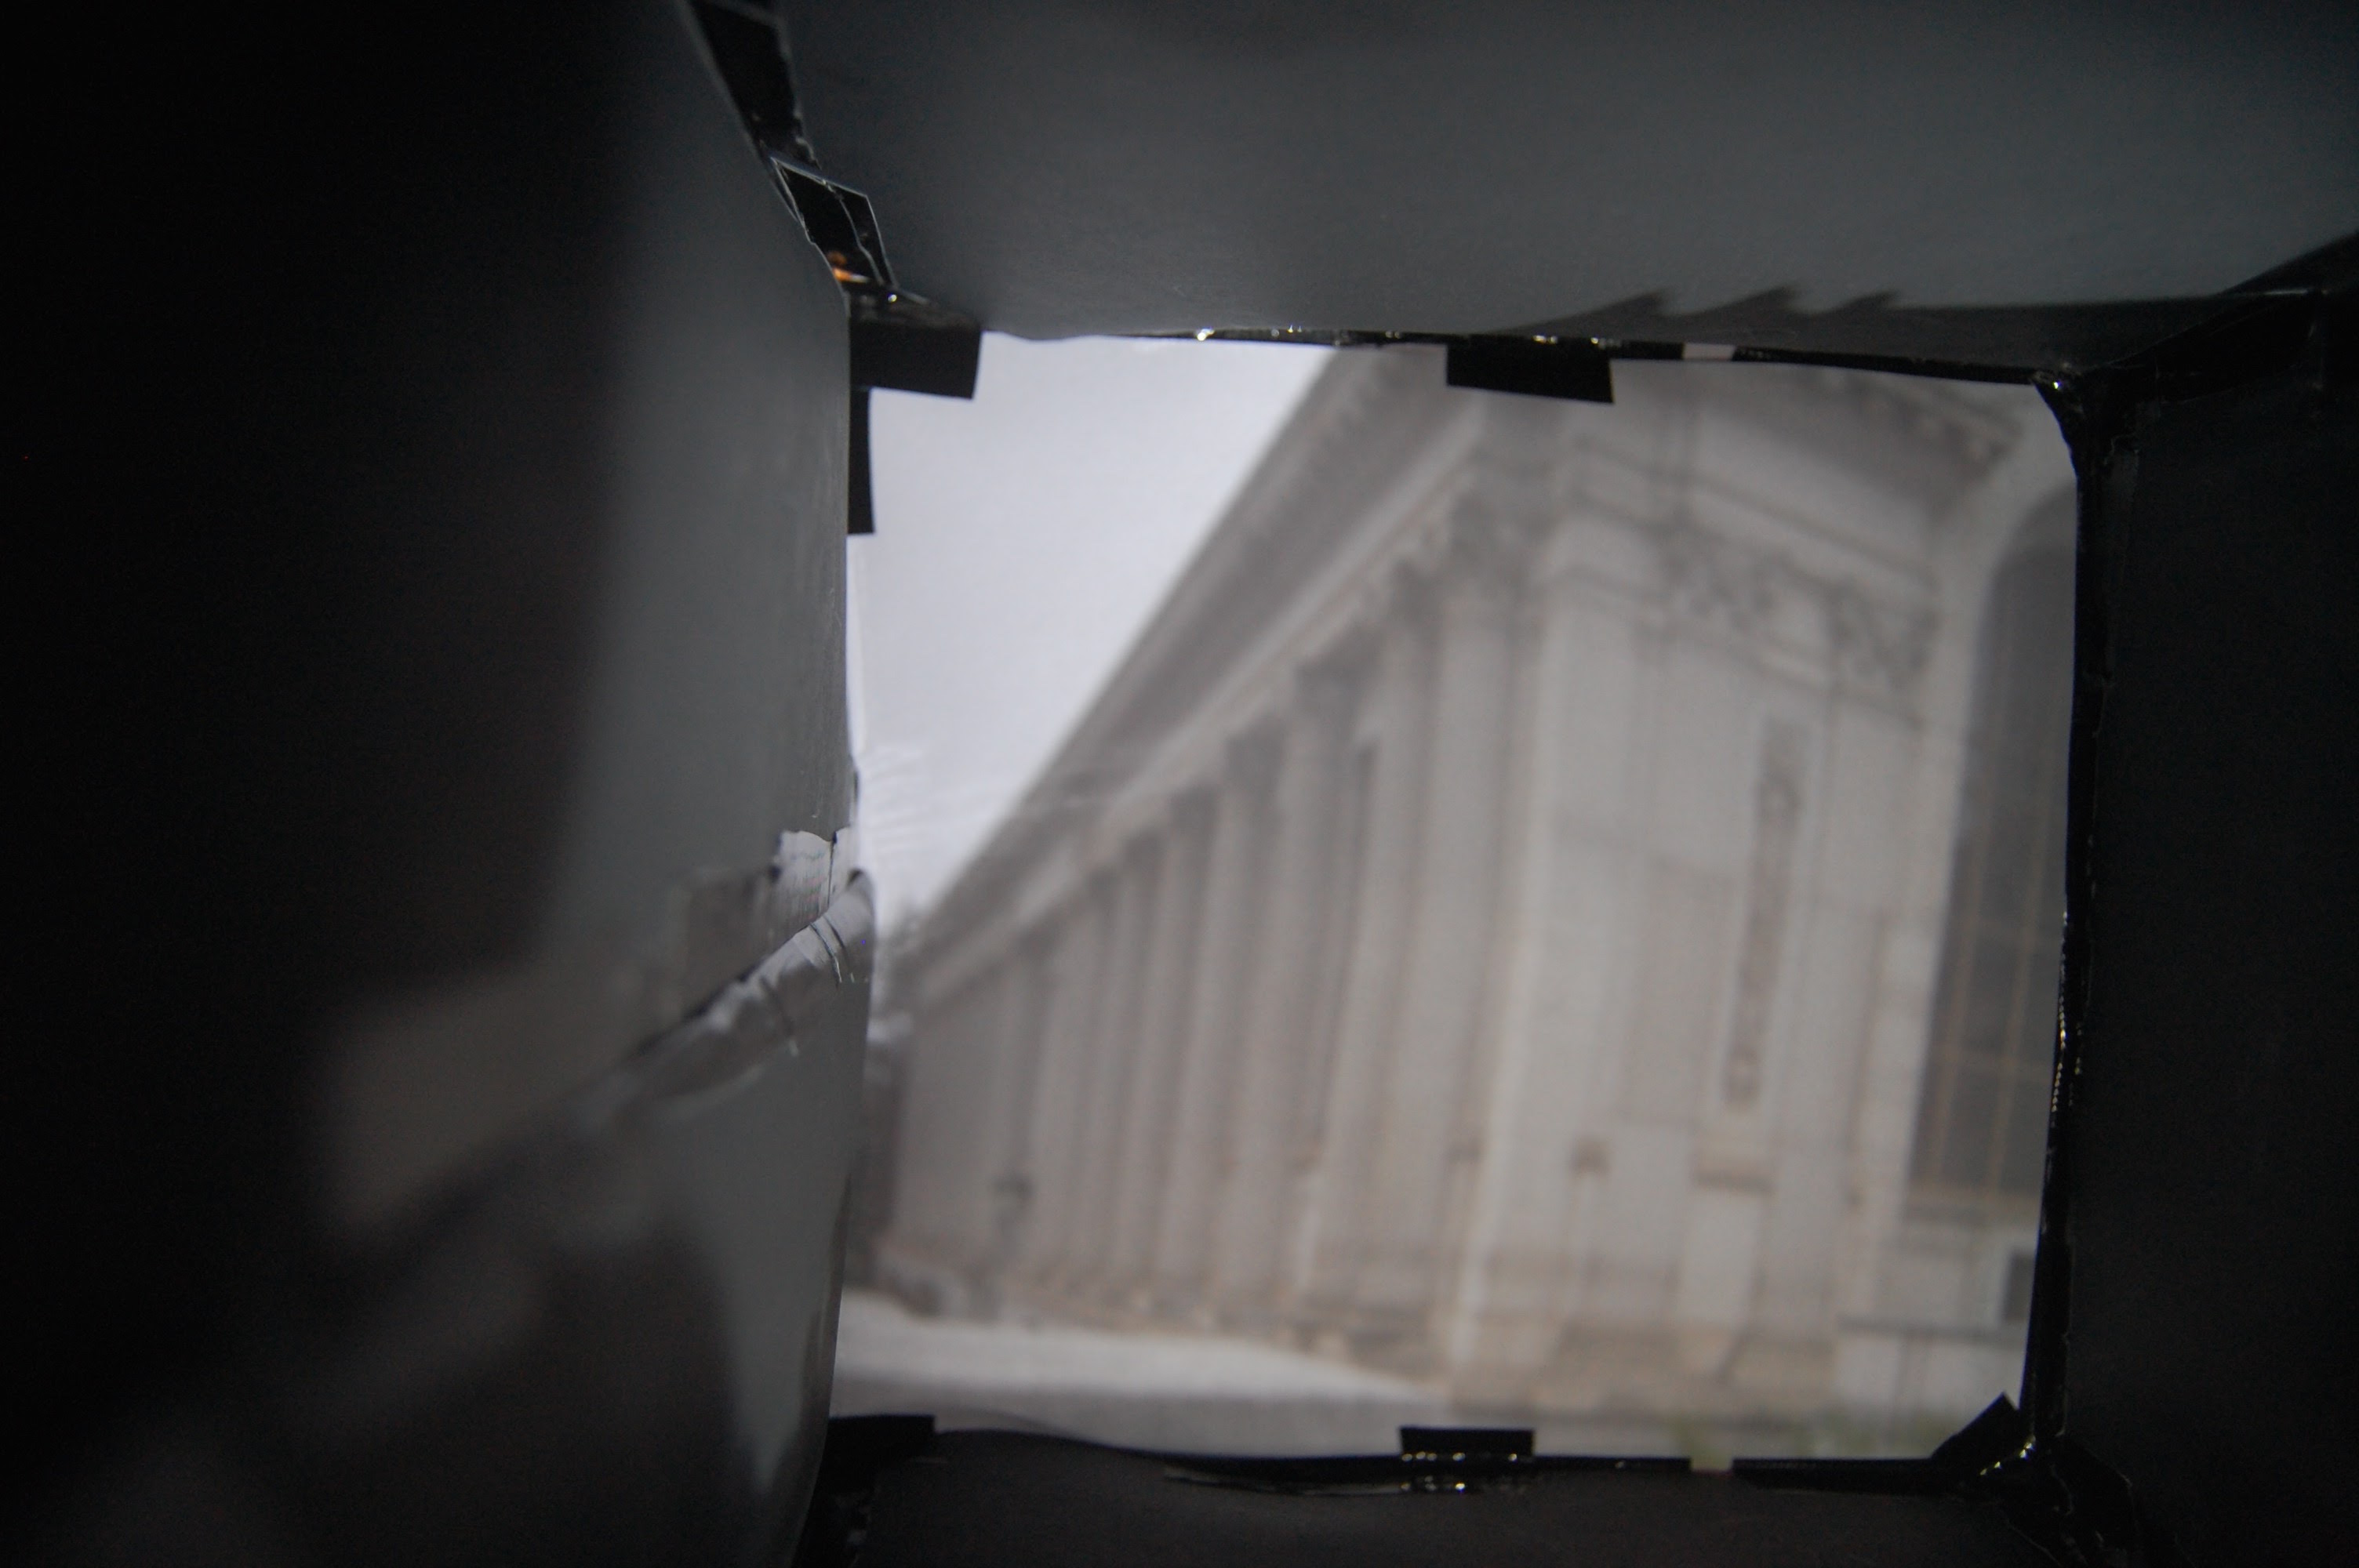
Note that the original images were all inverted. We have rotated them to be right side up to display below. Here is an example of an original Campanile image:
The following examples show the same scene using the 0.1 mm, 3mm, and 5mm pinholes from left to right. The shutter speed is 30 seconds. The fnumber is 3.5 (the lowest we could set).
Campanile:
Doe Library:
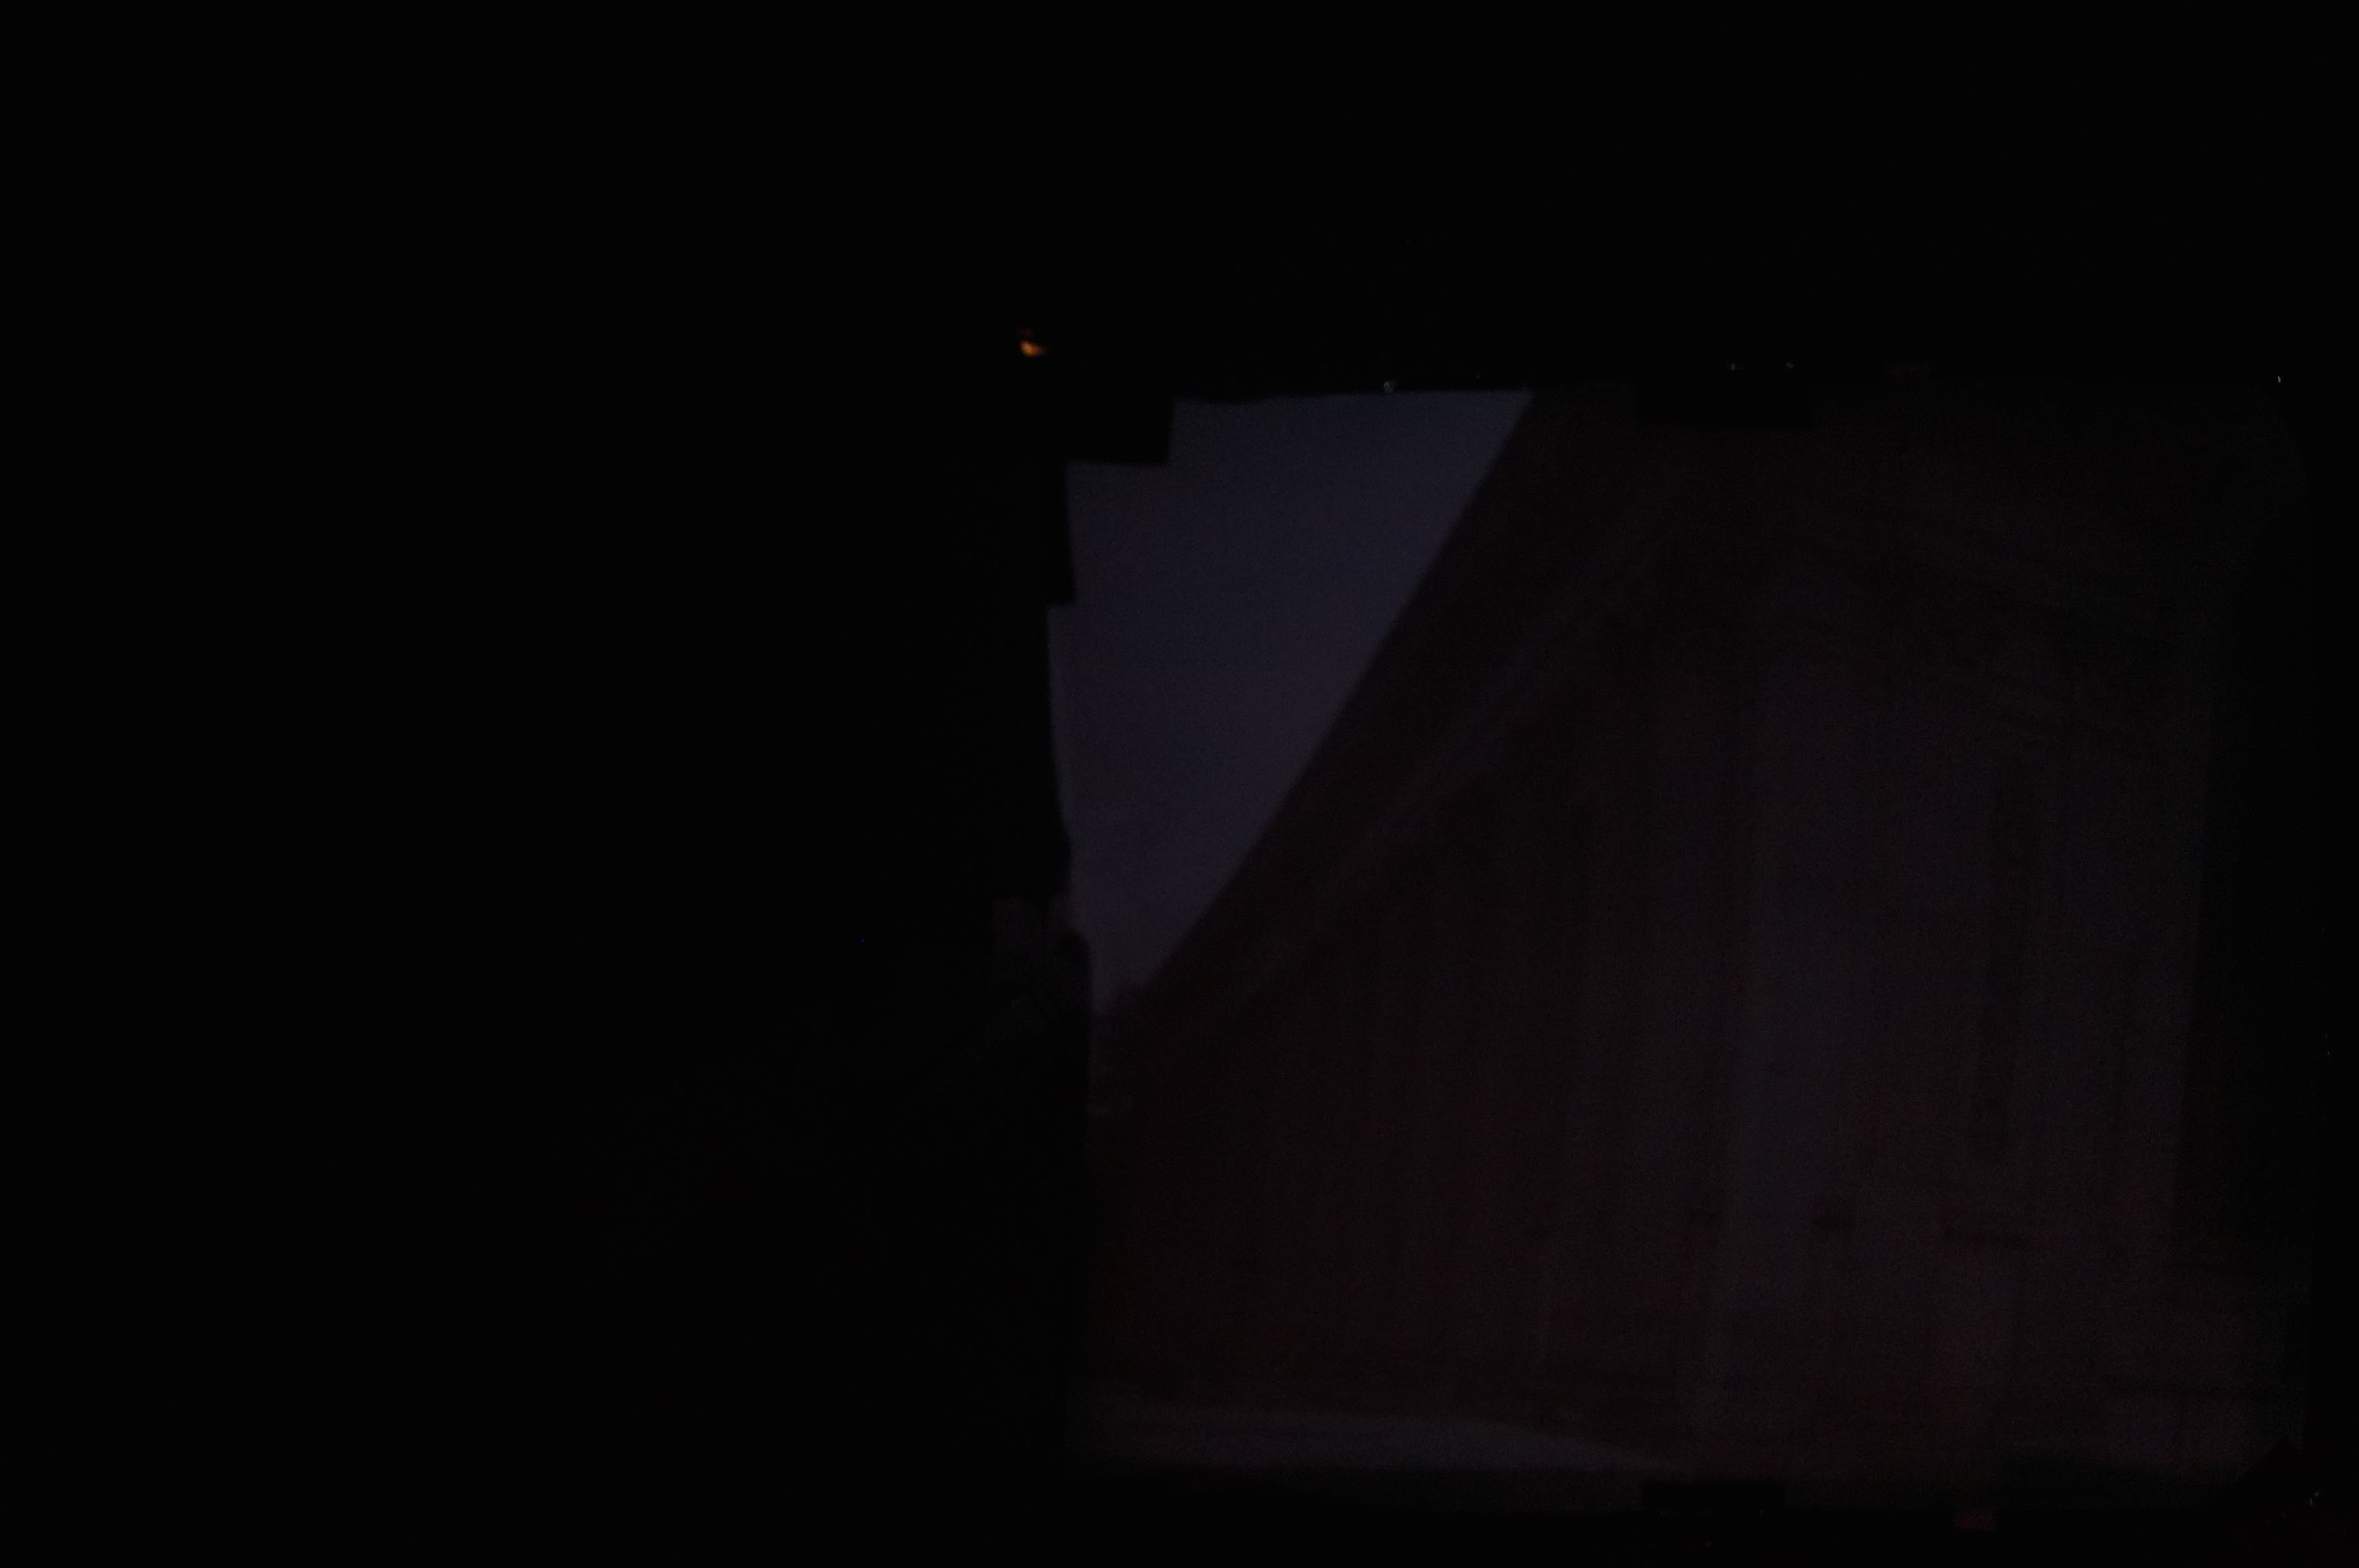
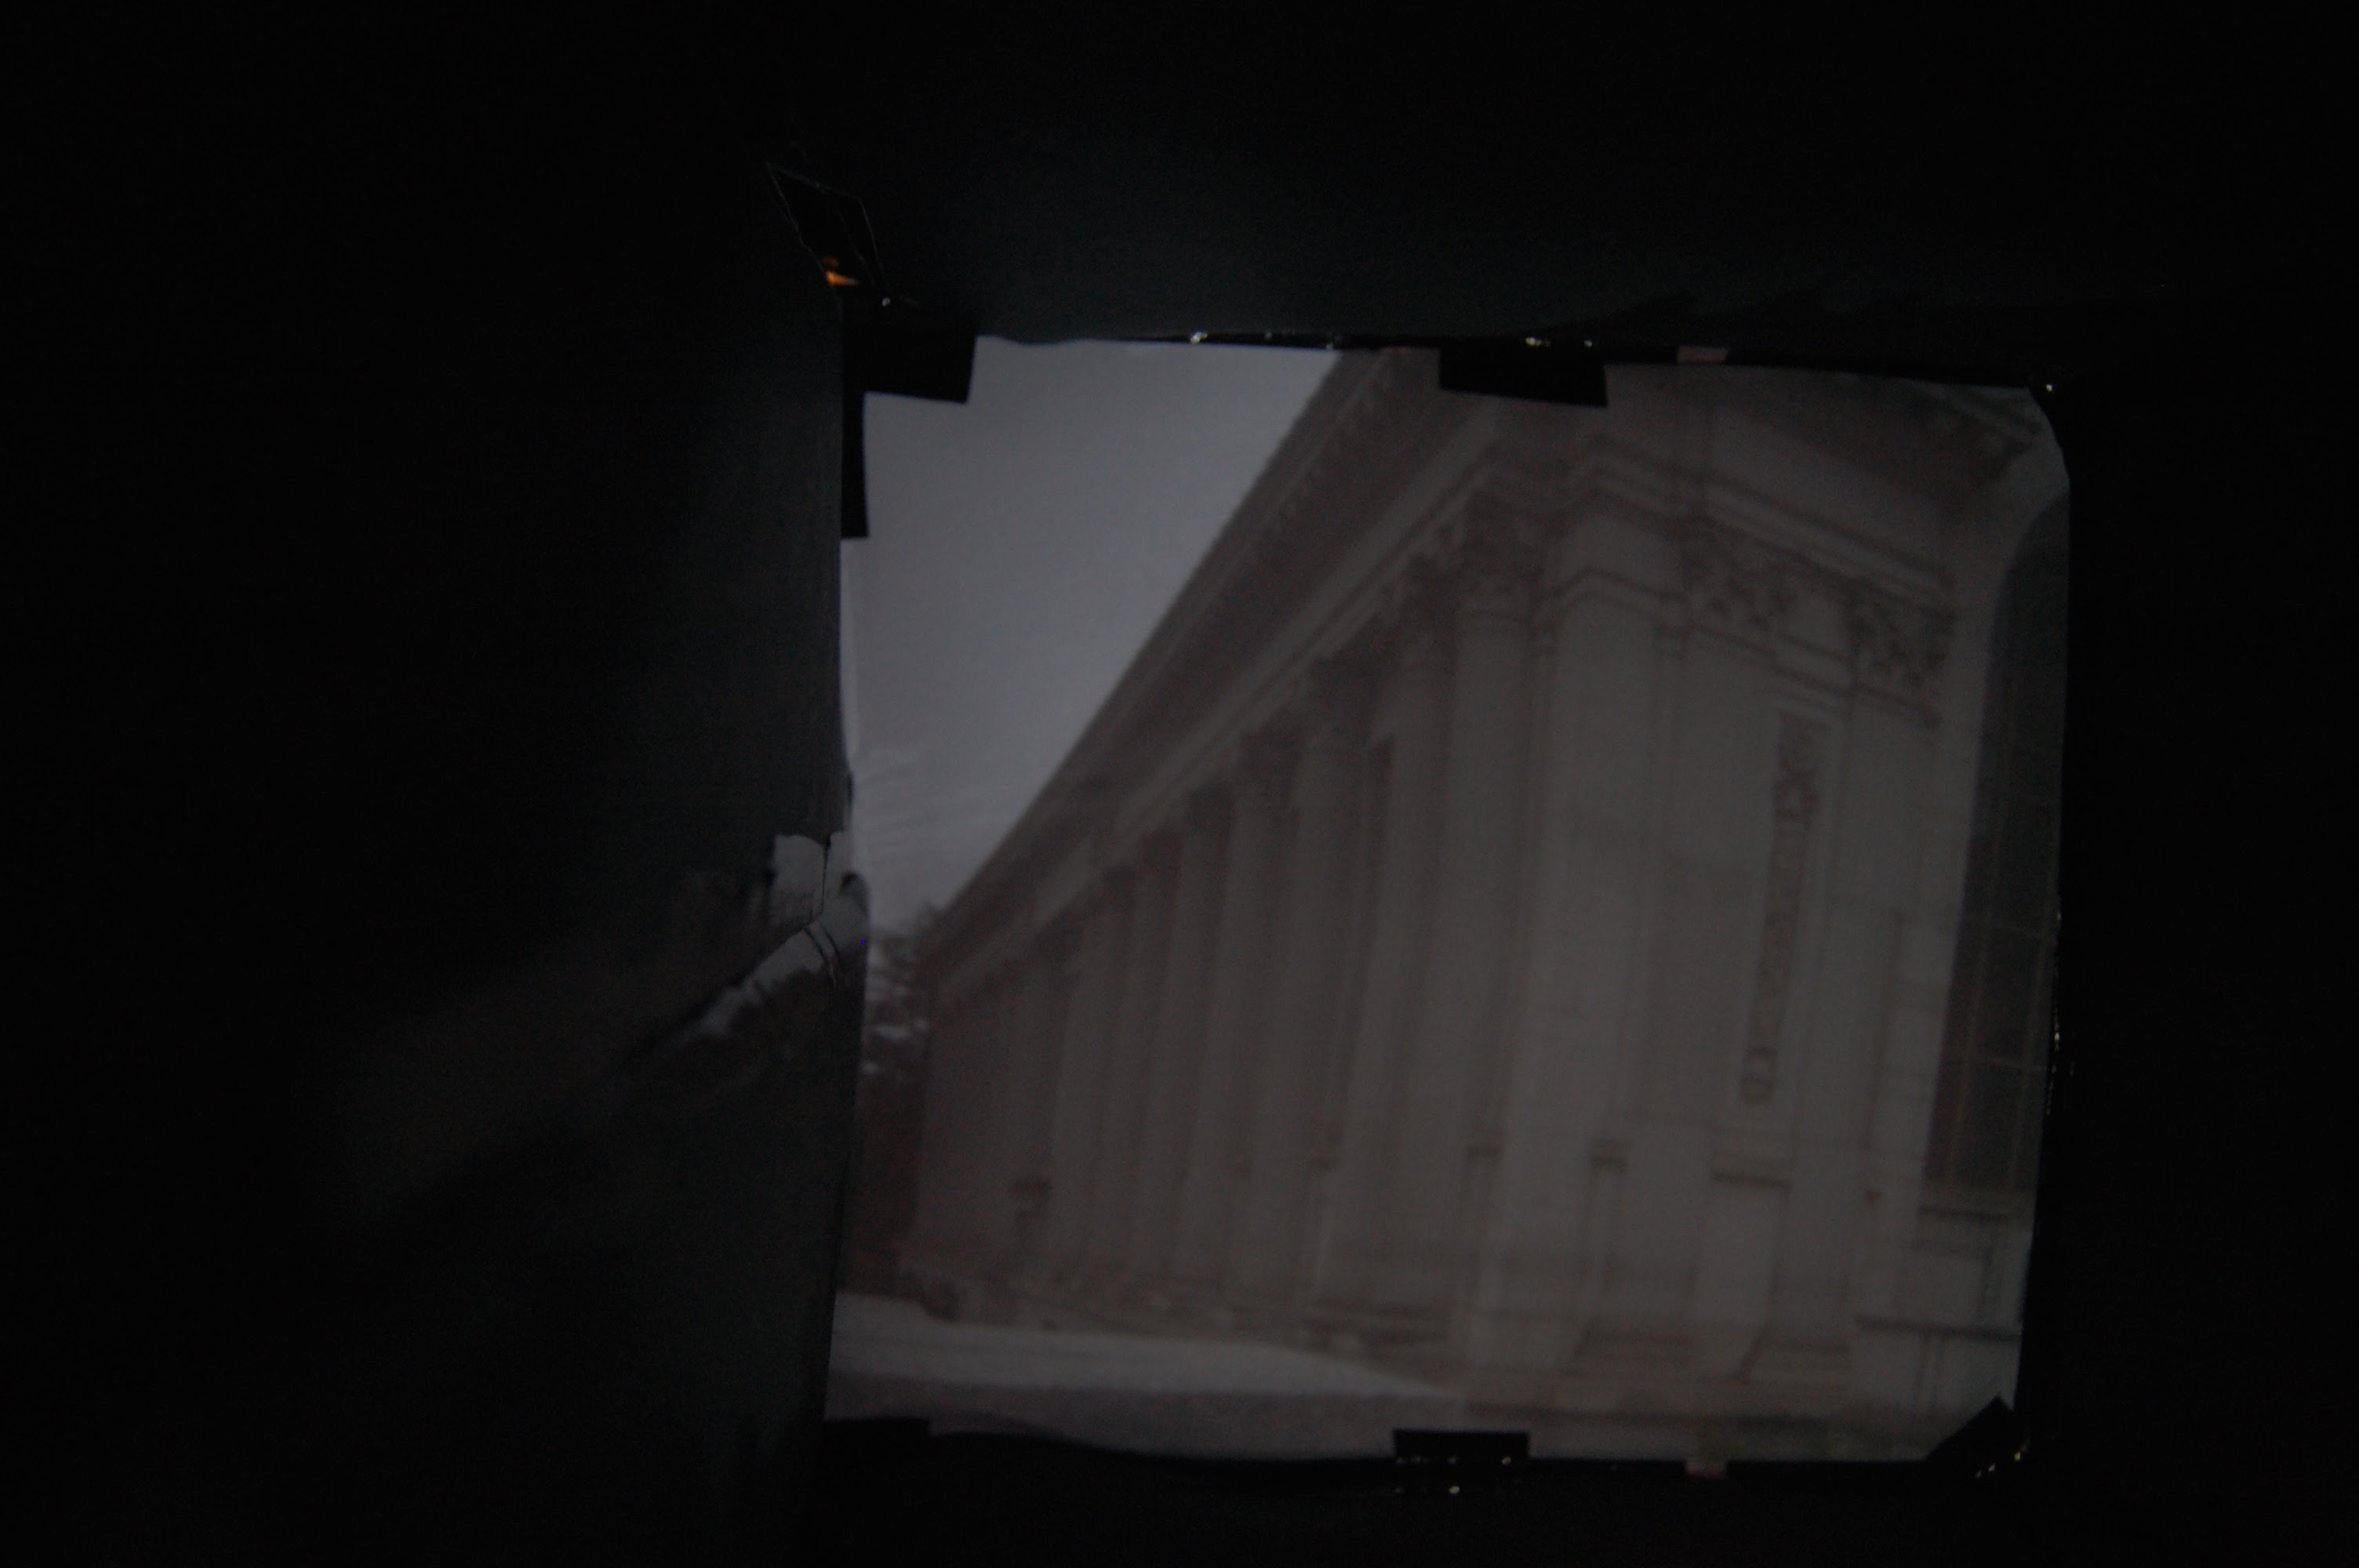
The above two images were both taken on a cloudy day, so some of the sun's light was certainly obscured. We believe that the 3 mm pinhole (the middle image) came out the best. The smaller pinhole didn't let enough light through, particularly due to the overcast sky, to make out any of the details. All you can see are vague shadows of the Campanile and the trees below. In the case of Doe Library, the picture from the 0.1 mm hole is even more shadowed. However, the larger pinhole lets in too much light, so the whole scene is quite overexposed. There is little contrast between the Campanile and the sky behind it. Similarly, the details of the library walls get lost in the exposure.
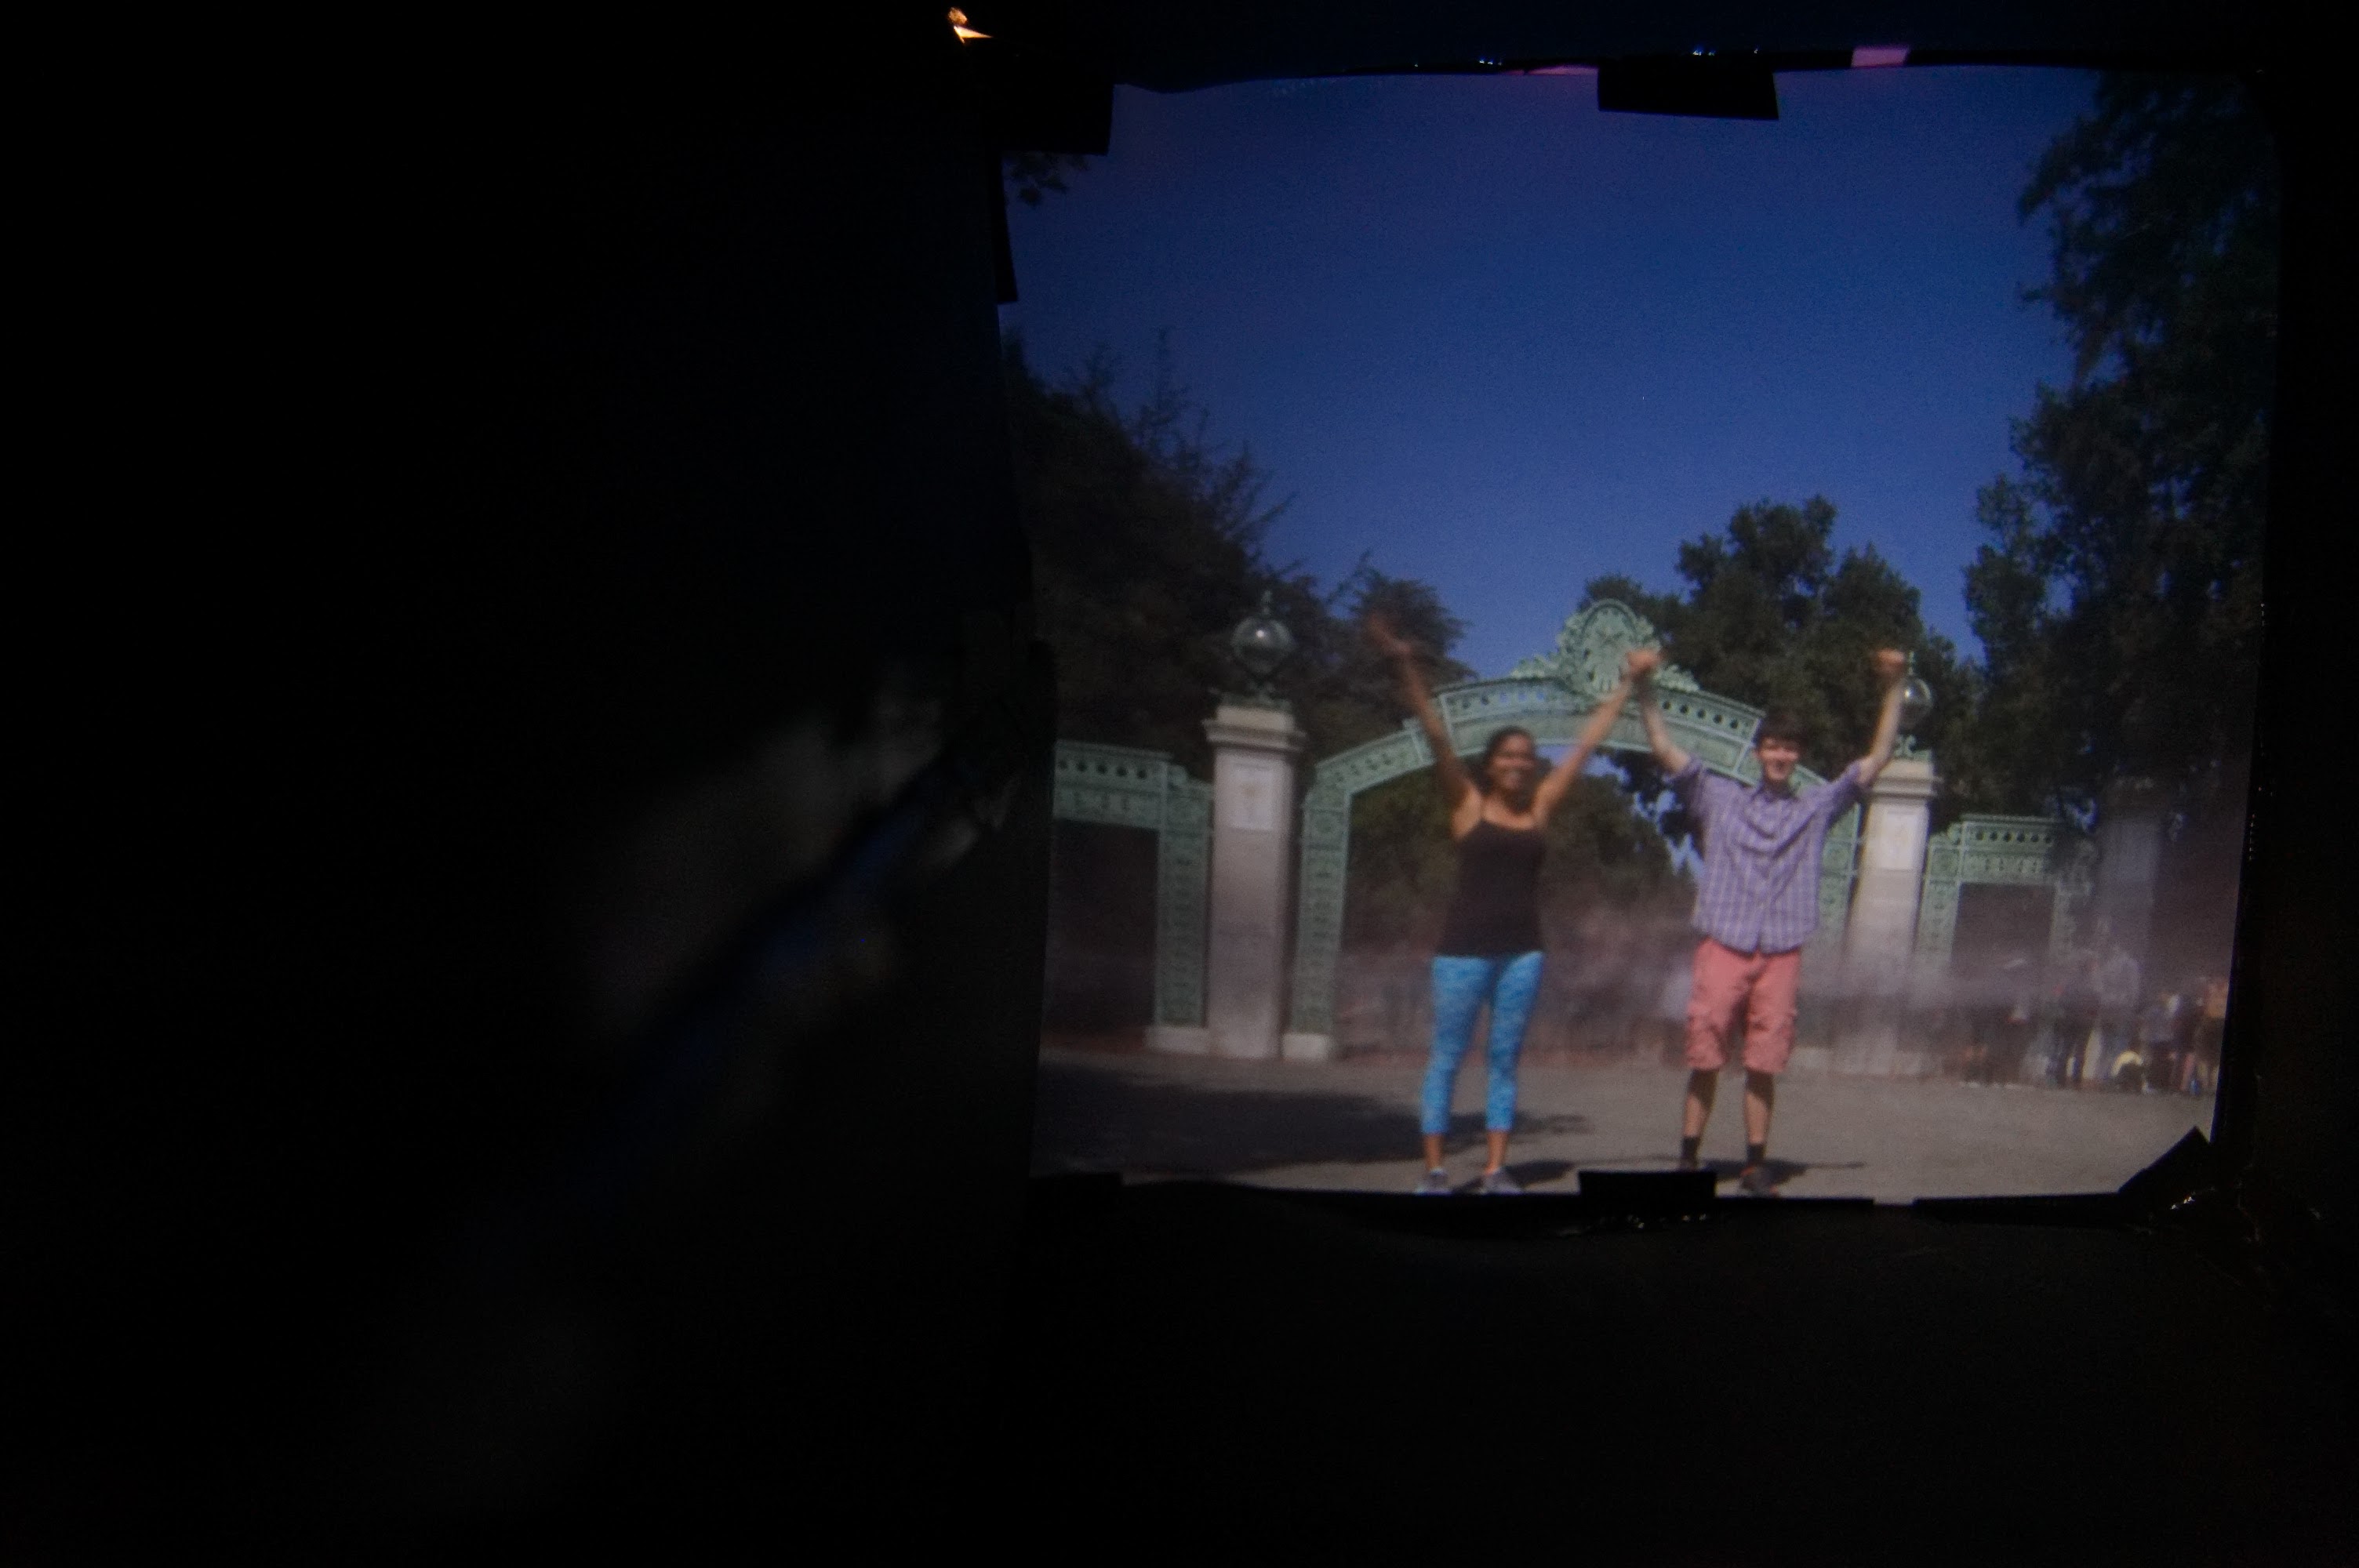
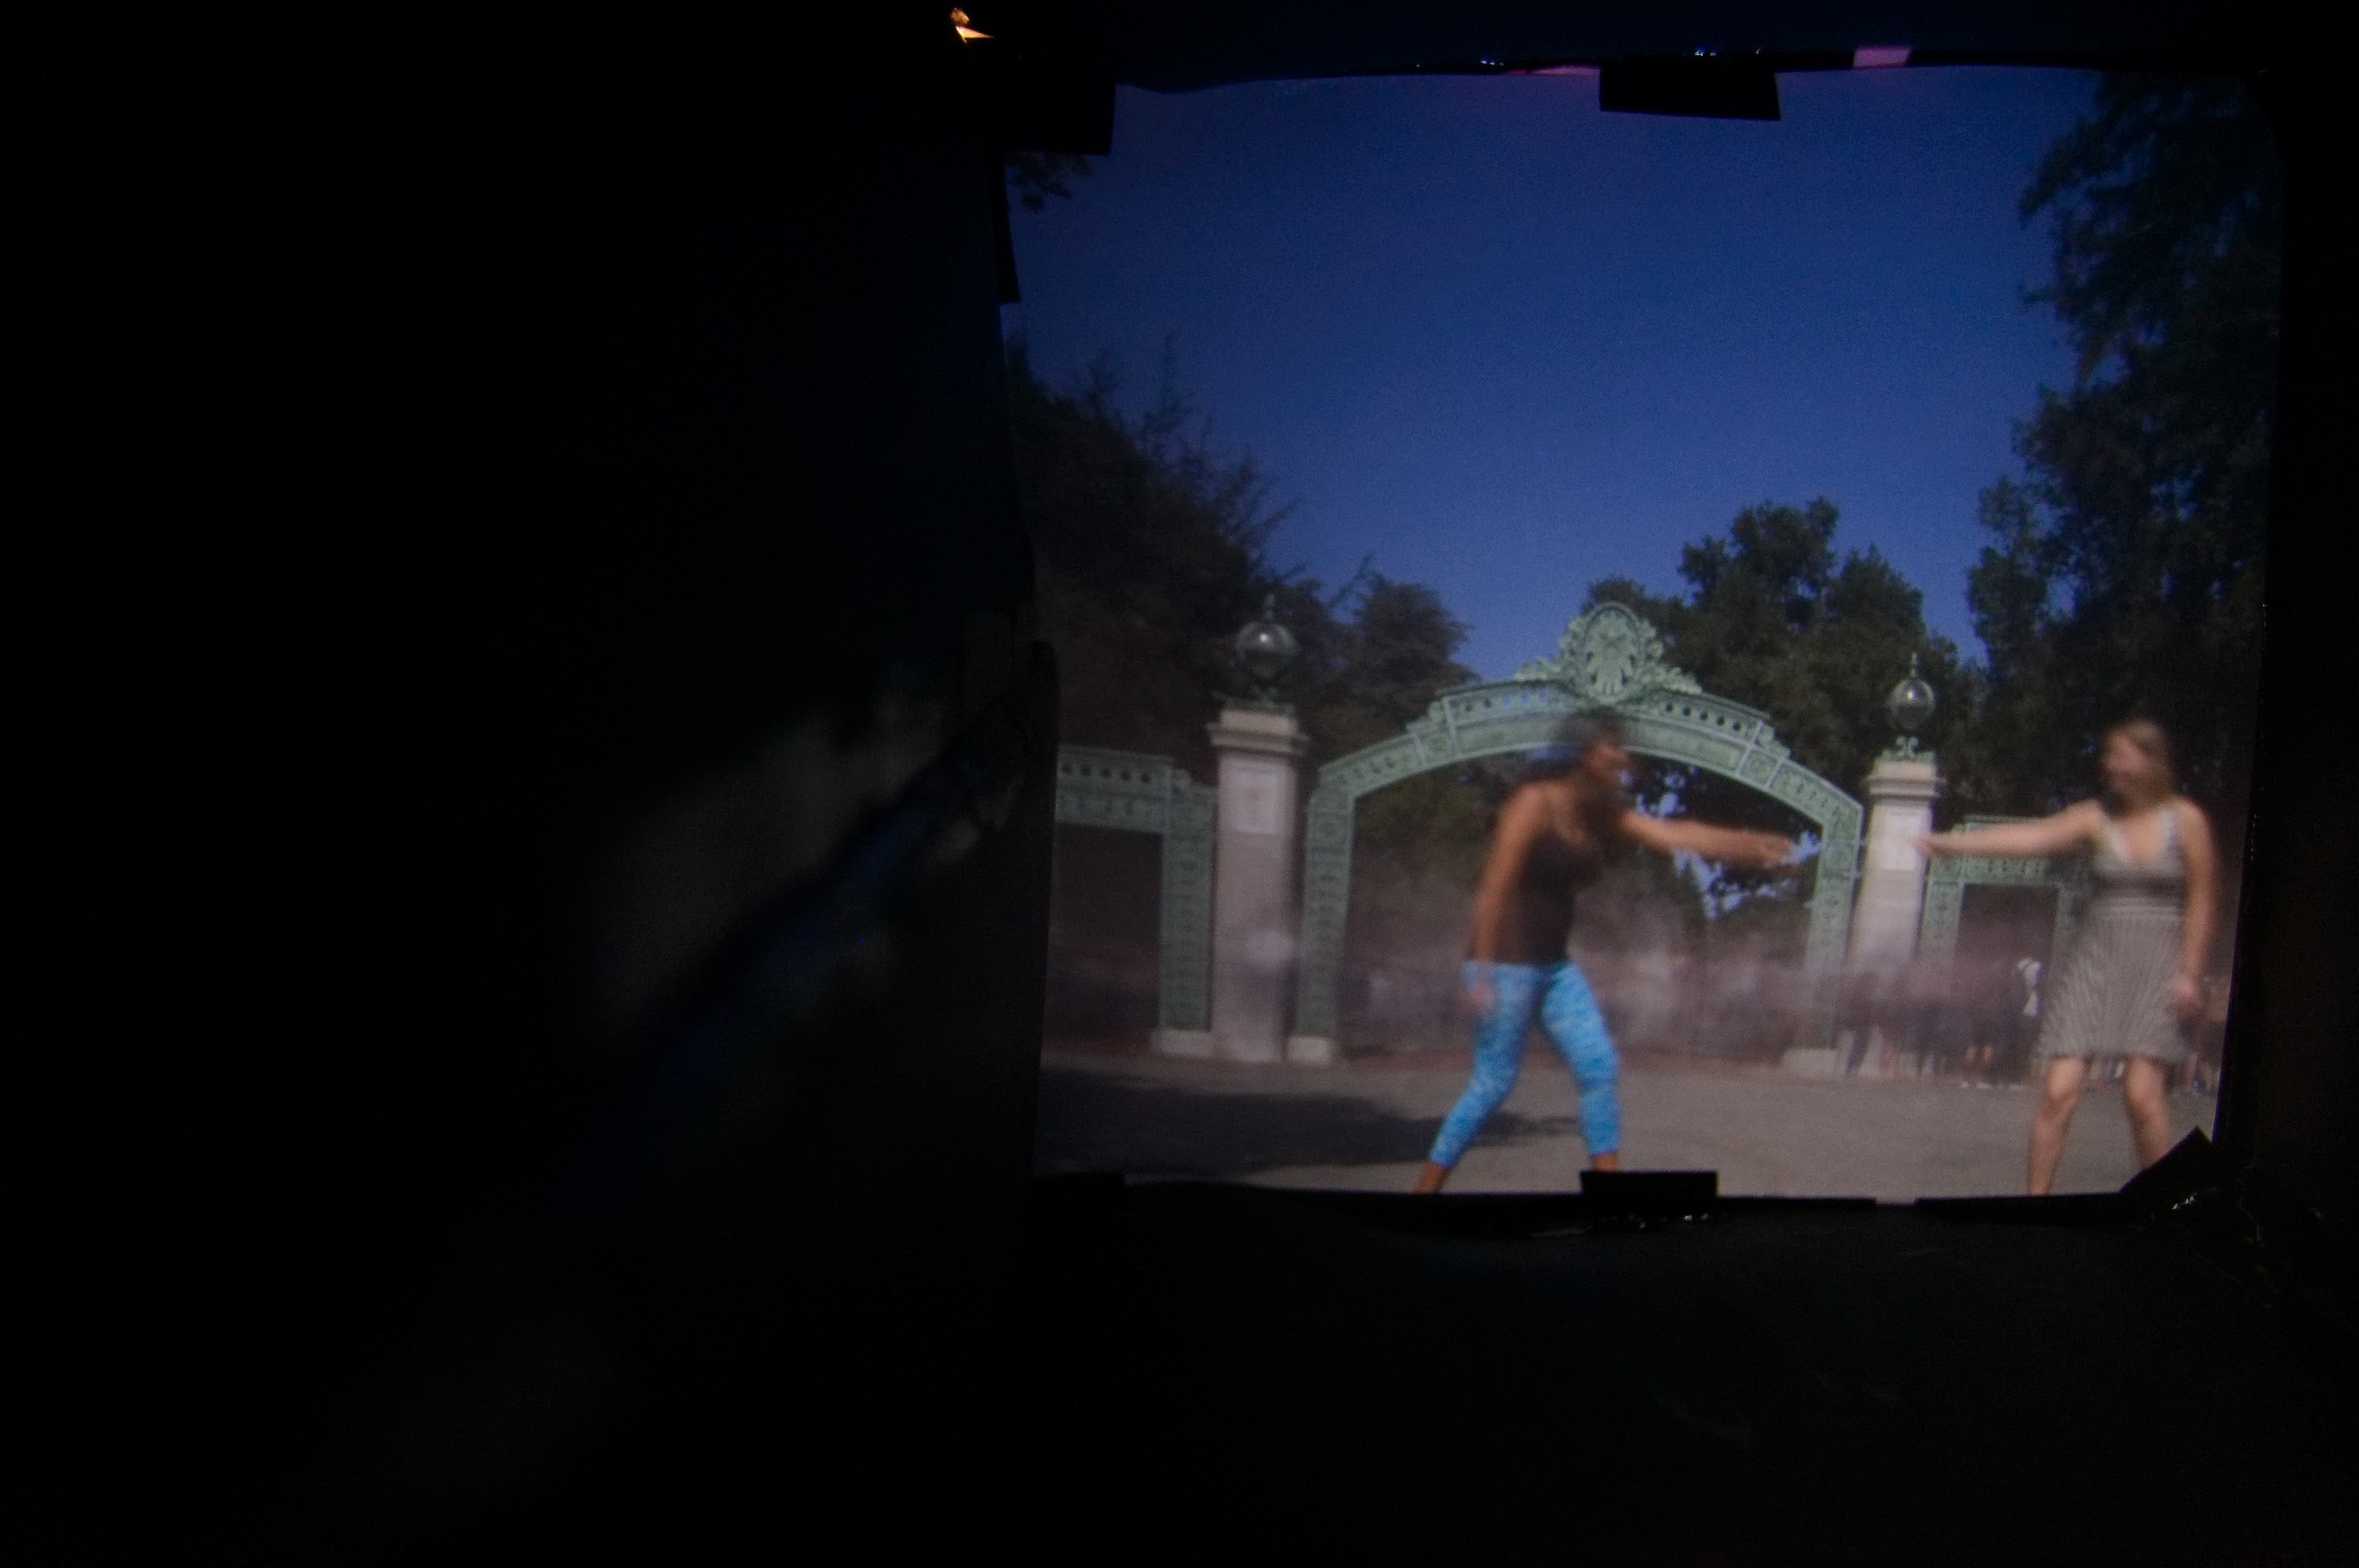
Sproul Plaza:
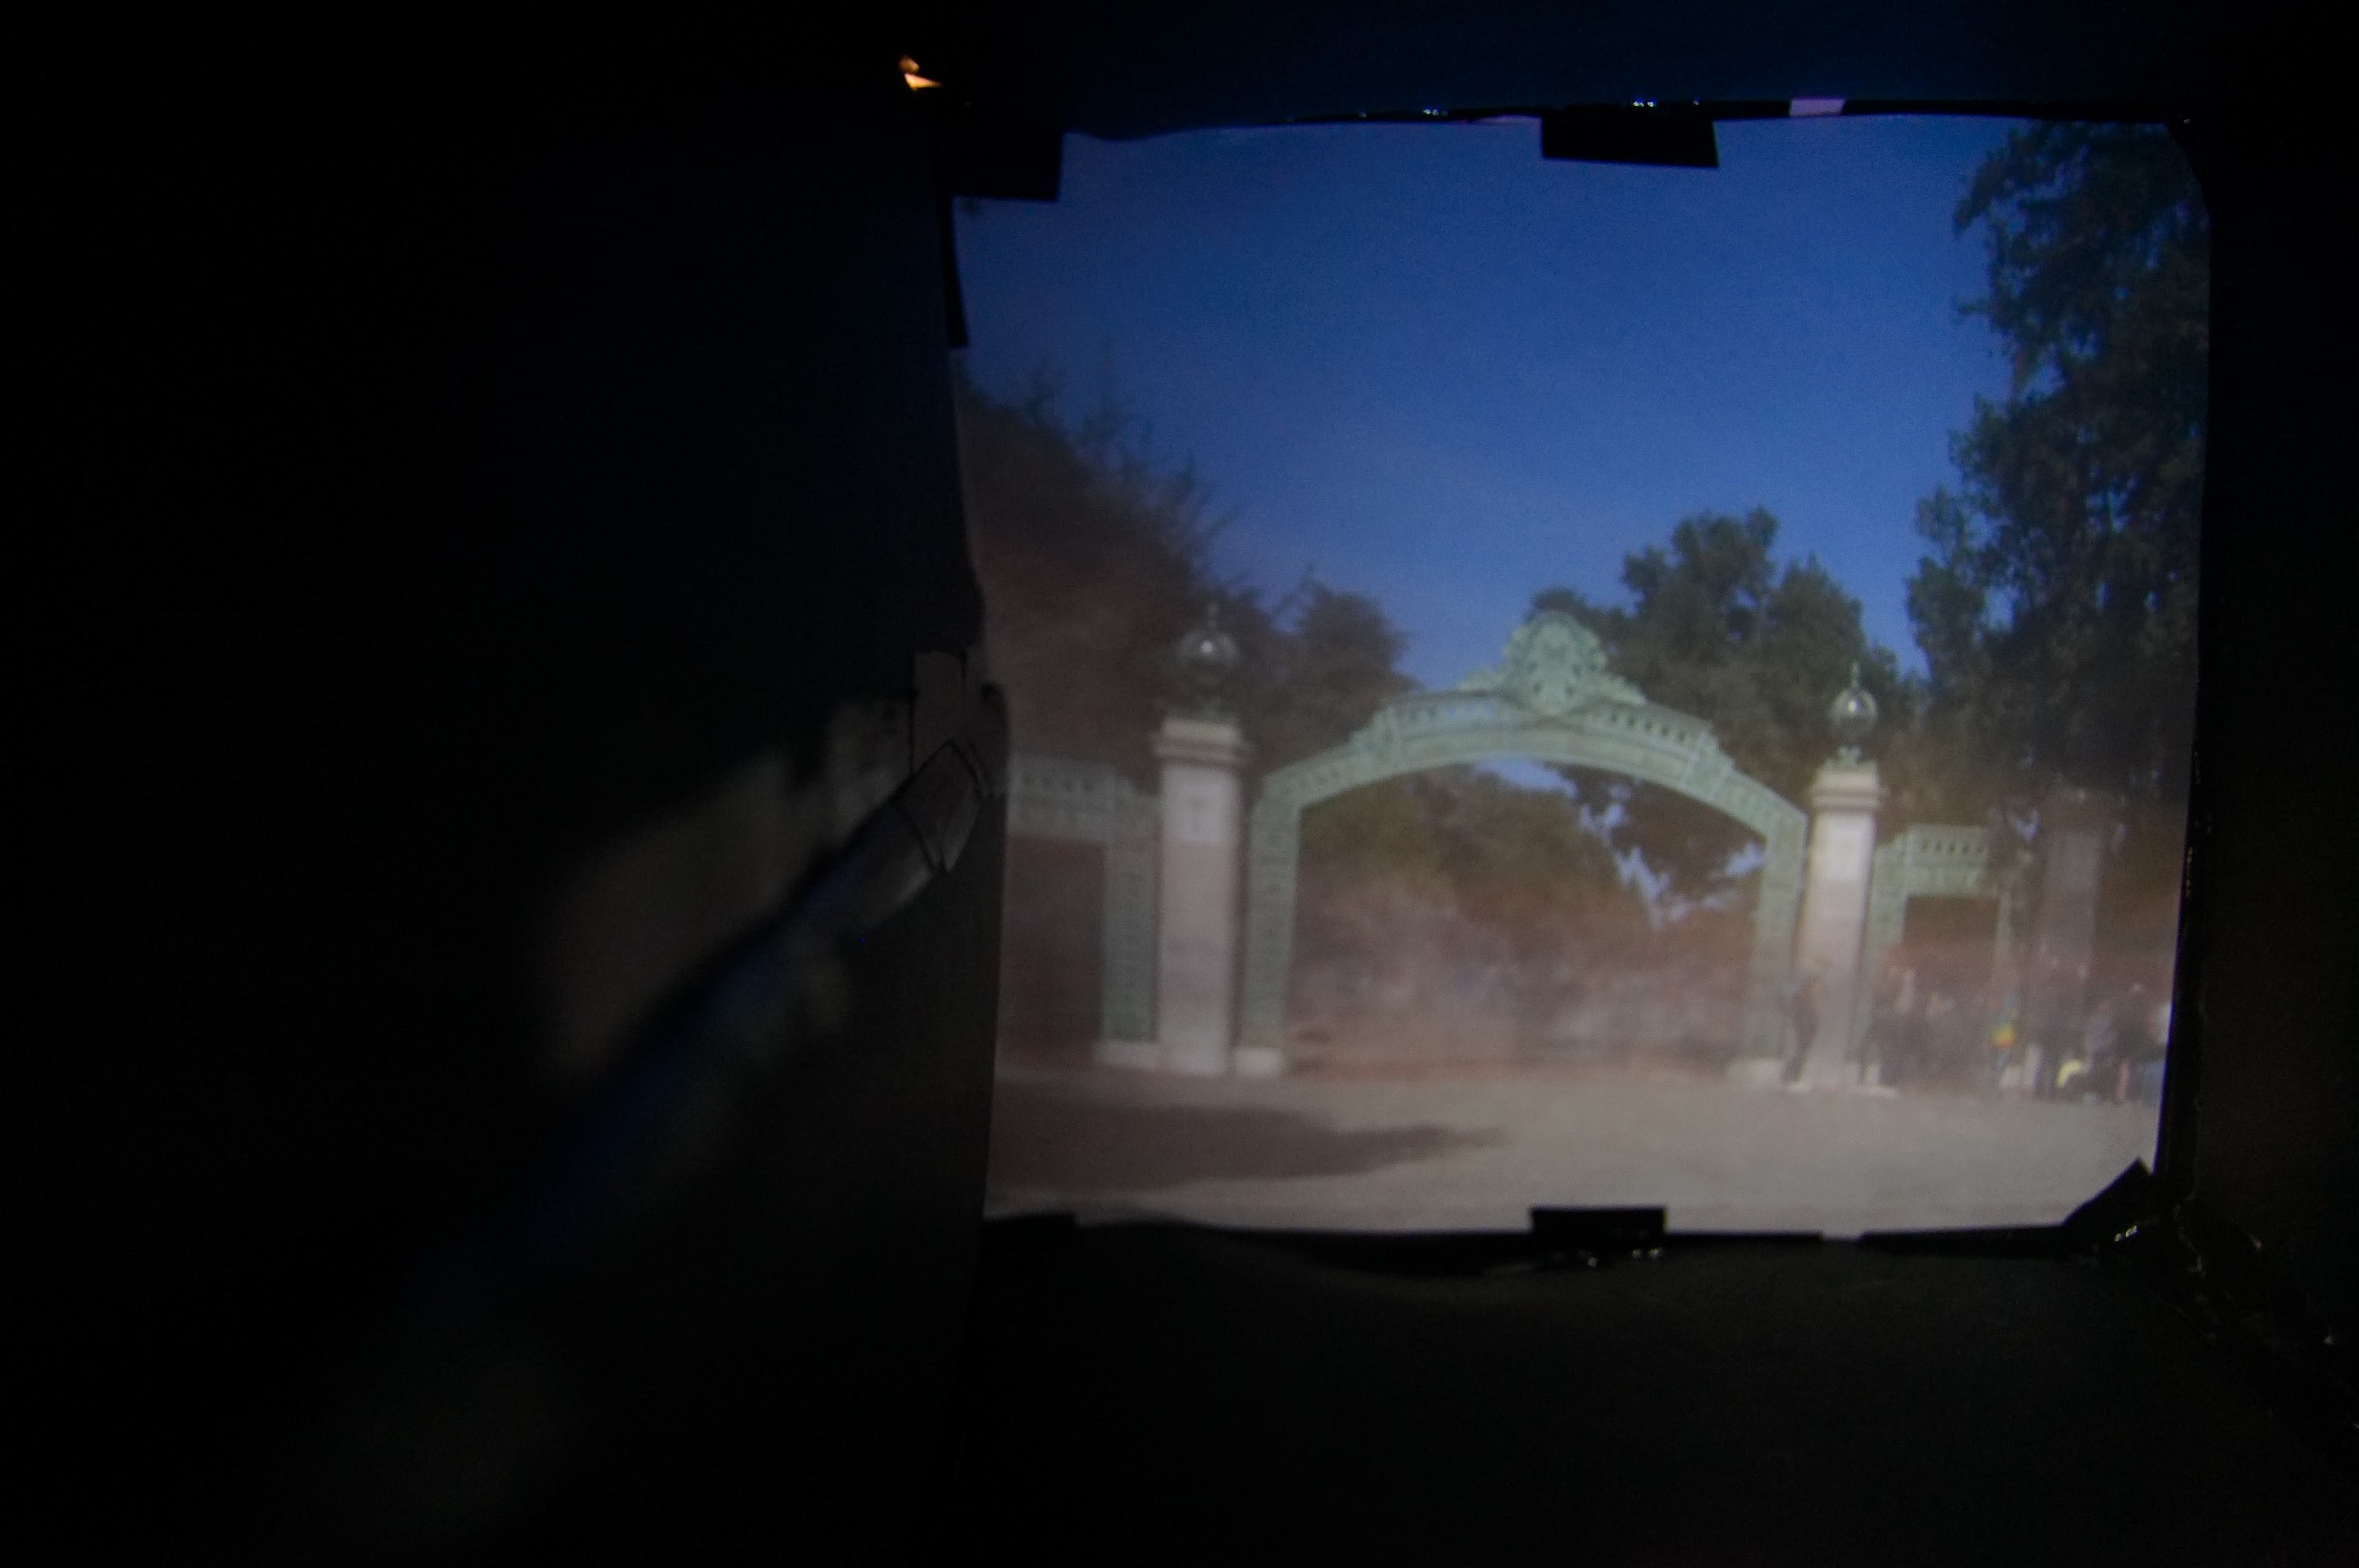
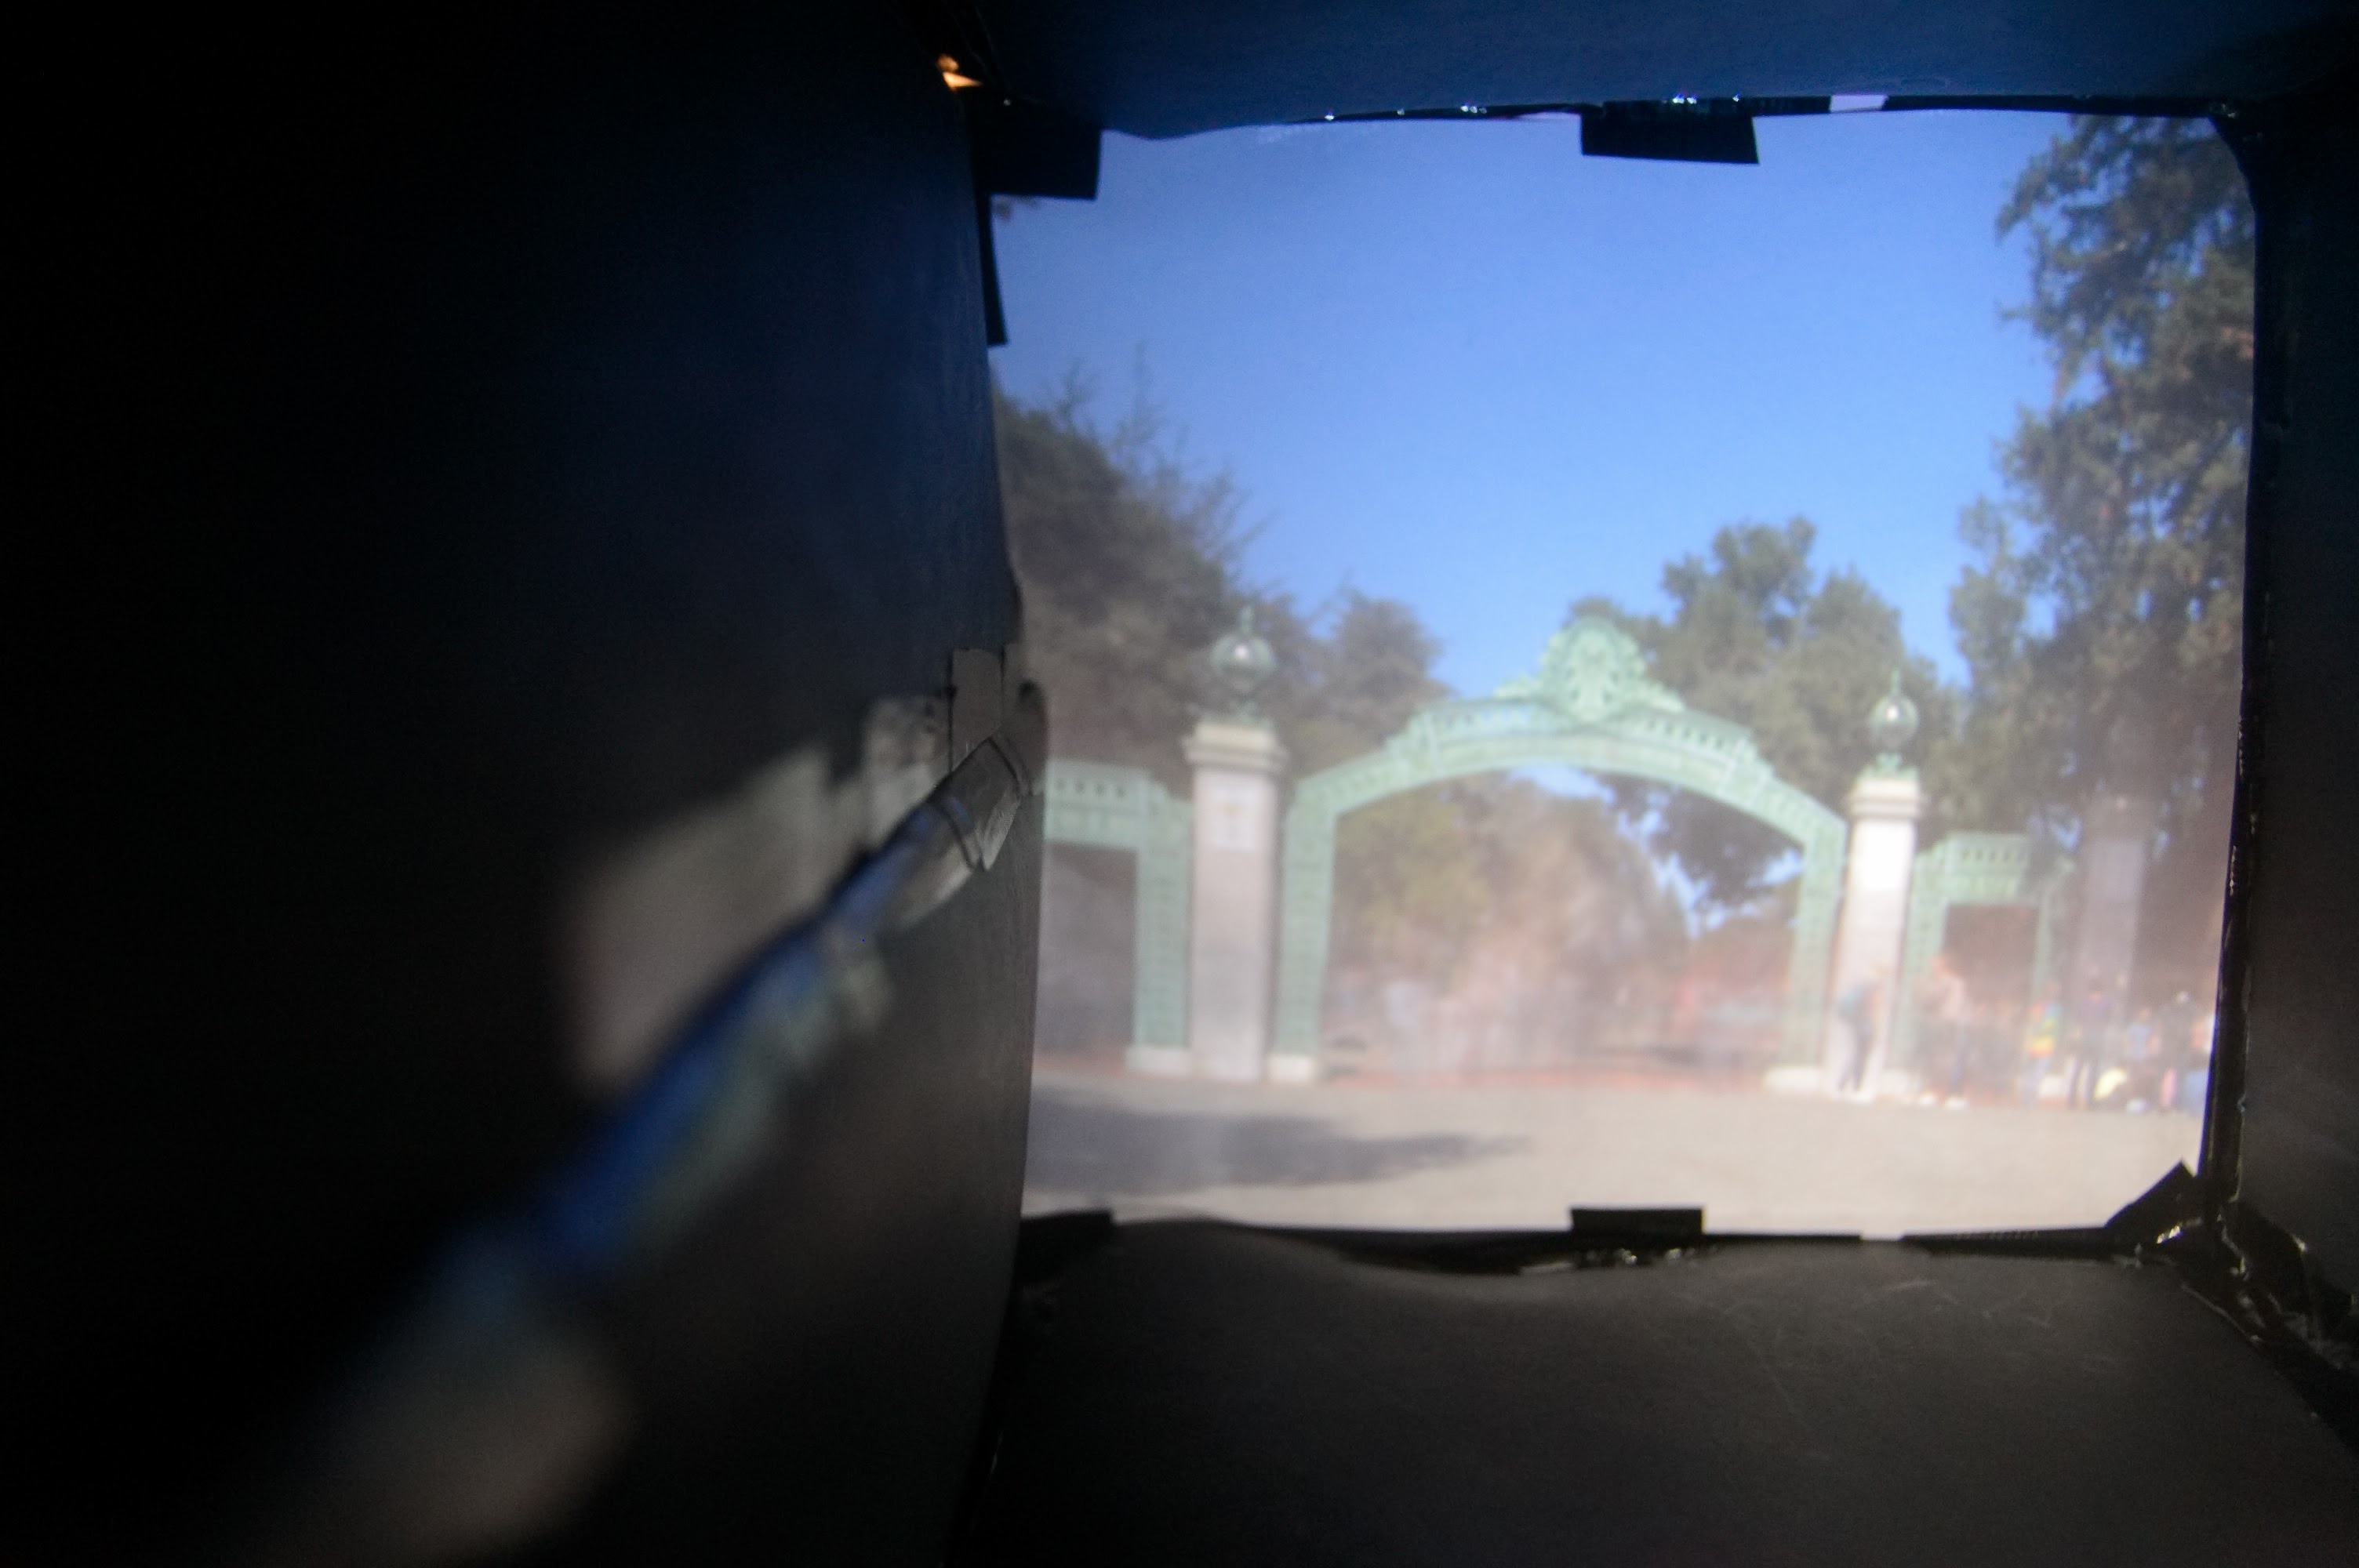
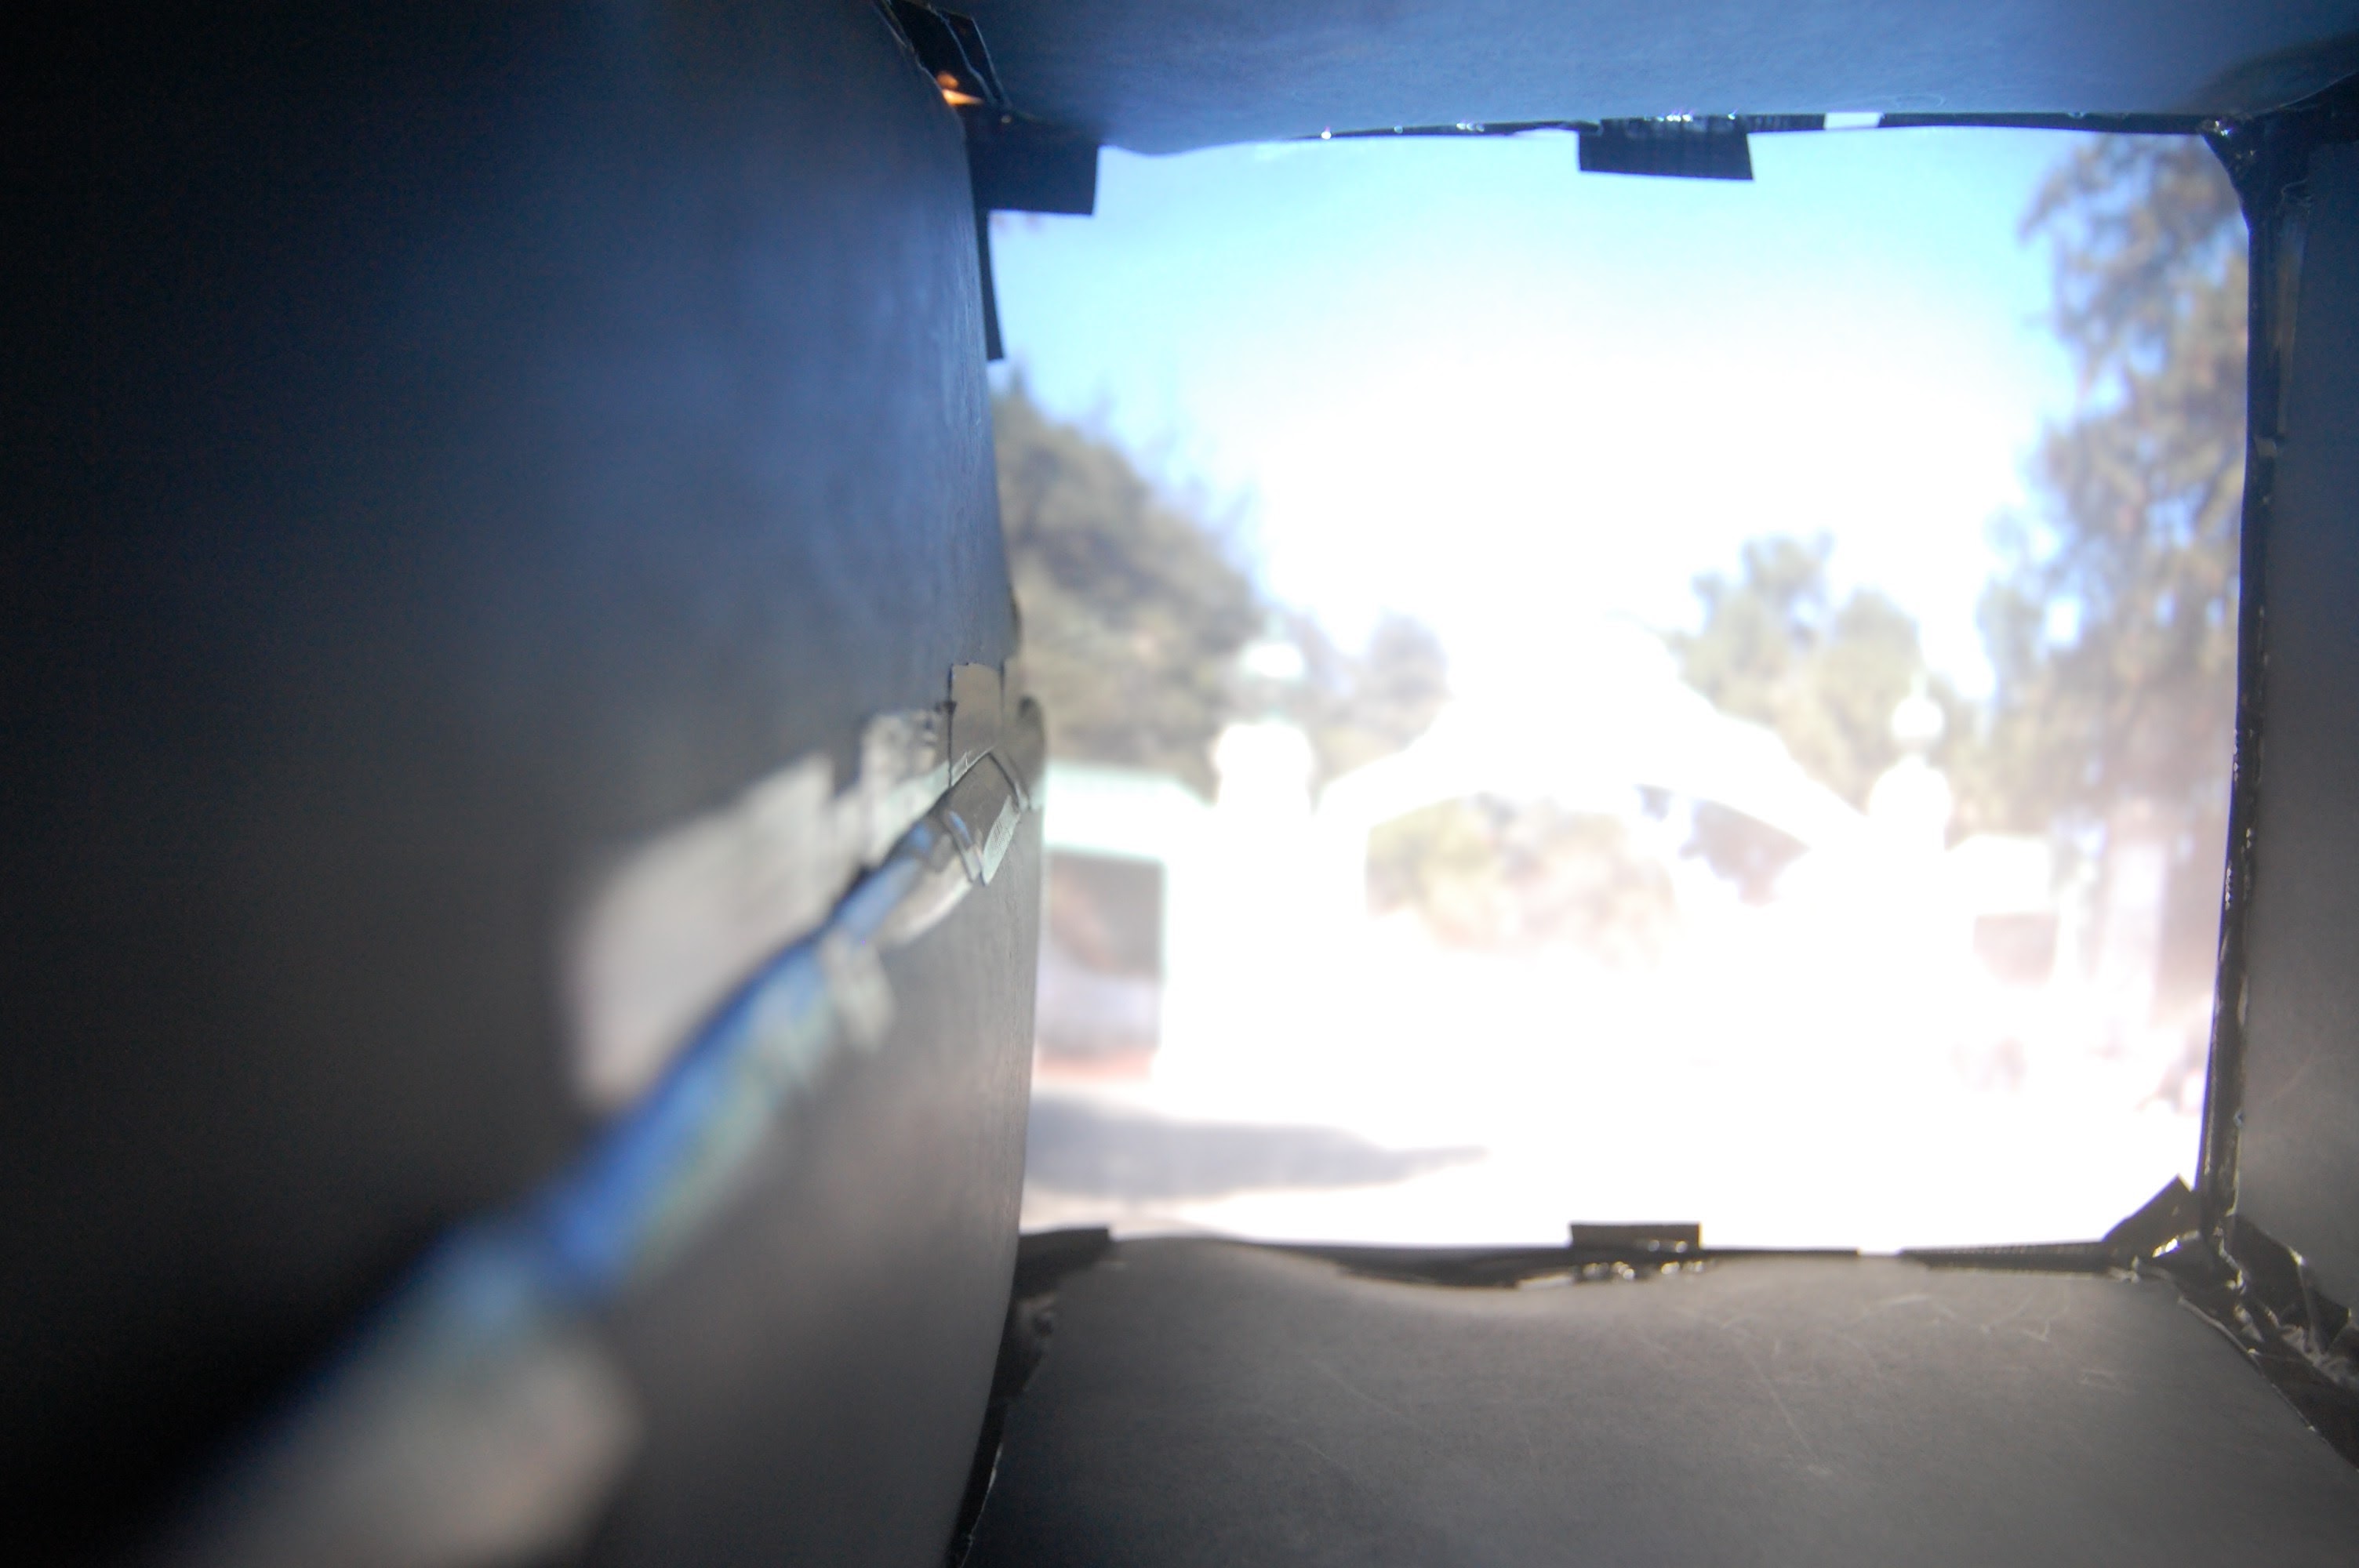
These images were taken on a very sunny day, so the amount of light being let through the pinhole was magnitudes greater than on the cloudy day. In this case, the smallest pinhole does the best job. The larger holes clearly are very overexposed, therefore showing little contrast and resulting in a very blurry image.
Fun Images!
Cloudy Day -- 3 mm Pinhole:
Sunny Day -- 0.1 mm Pinhole:
Light Painting!
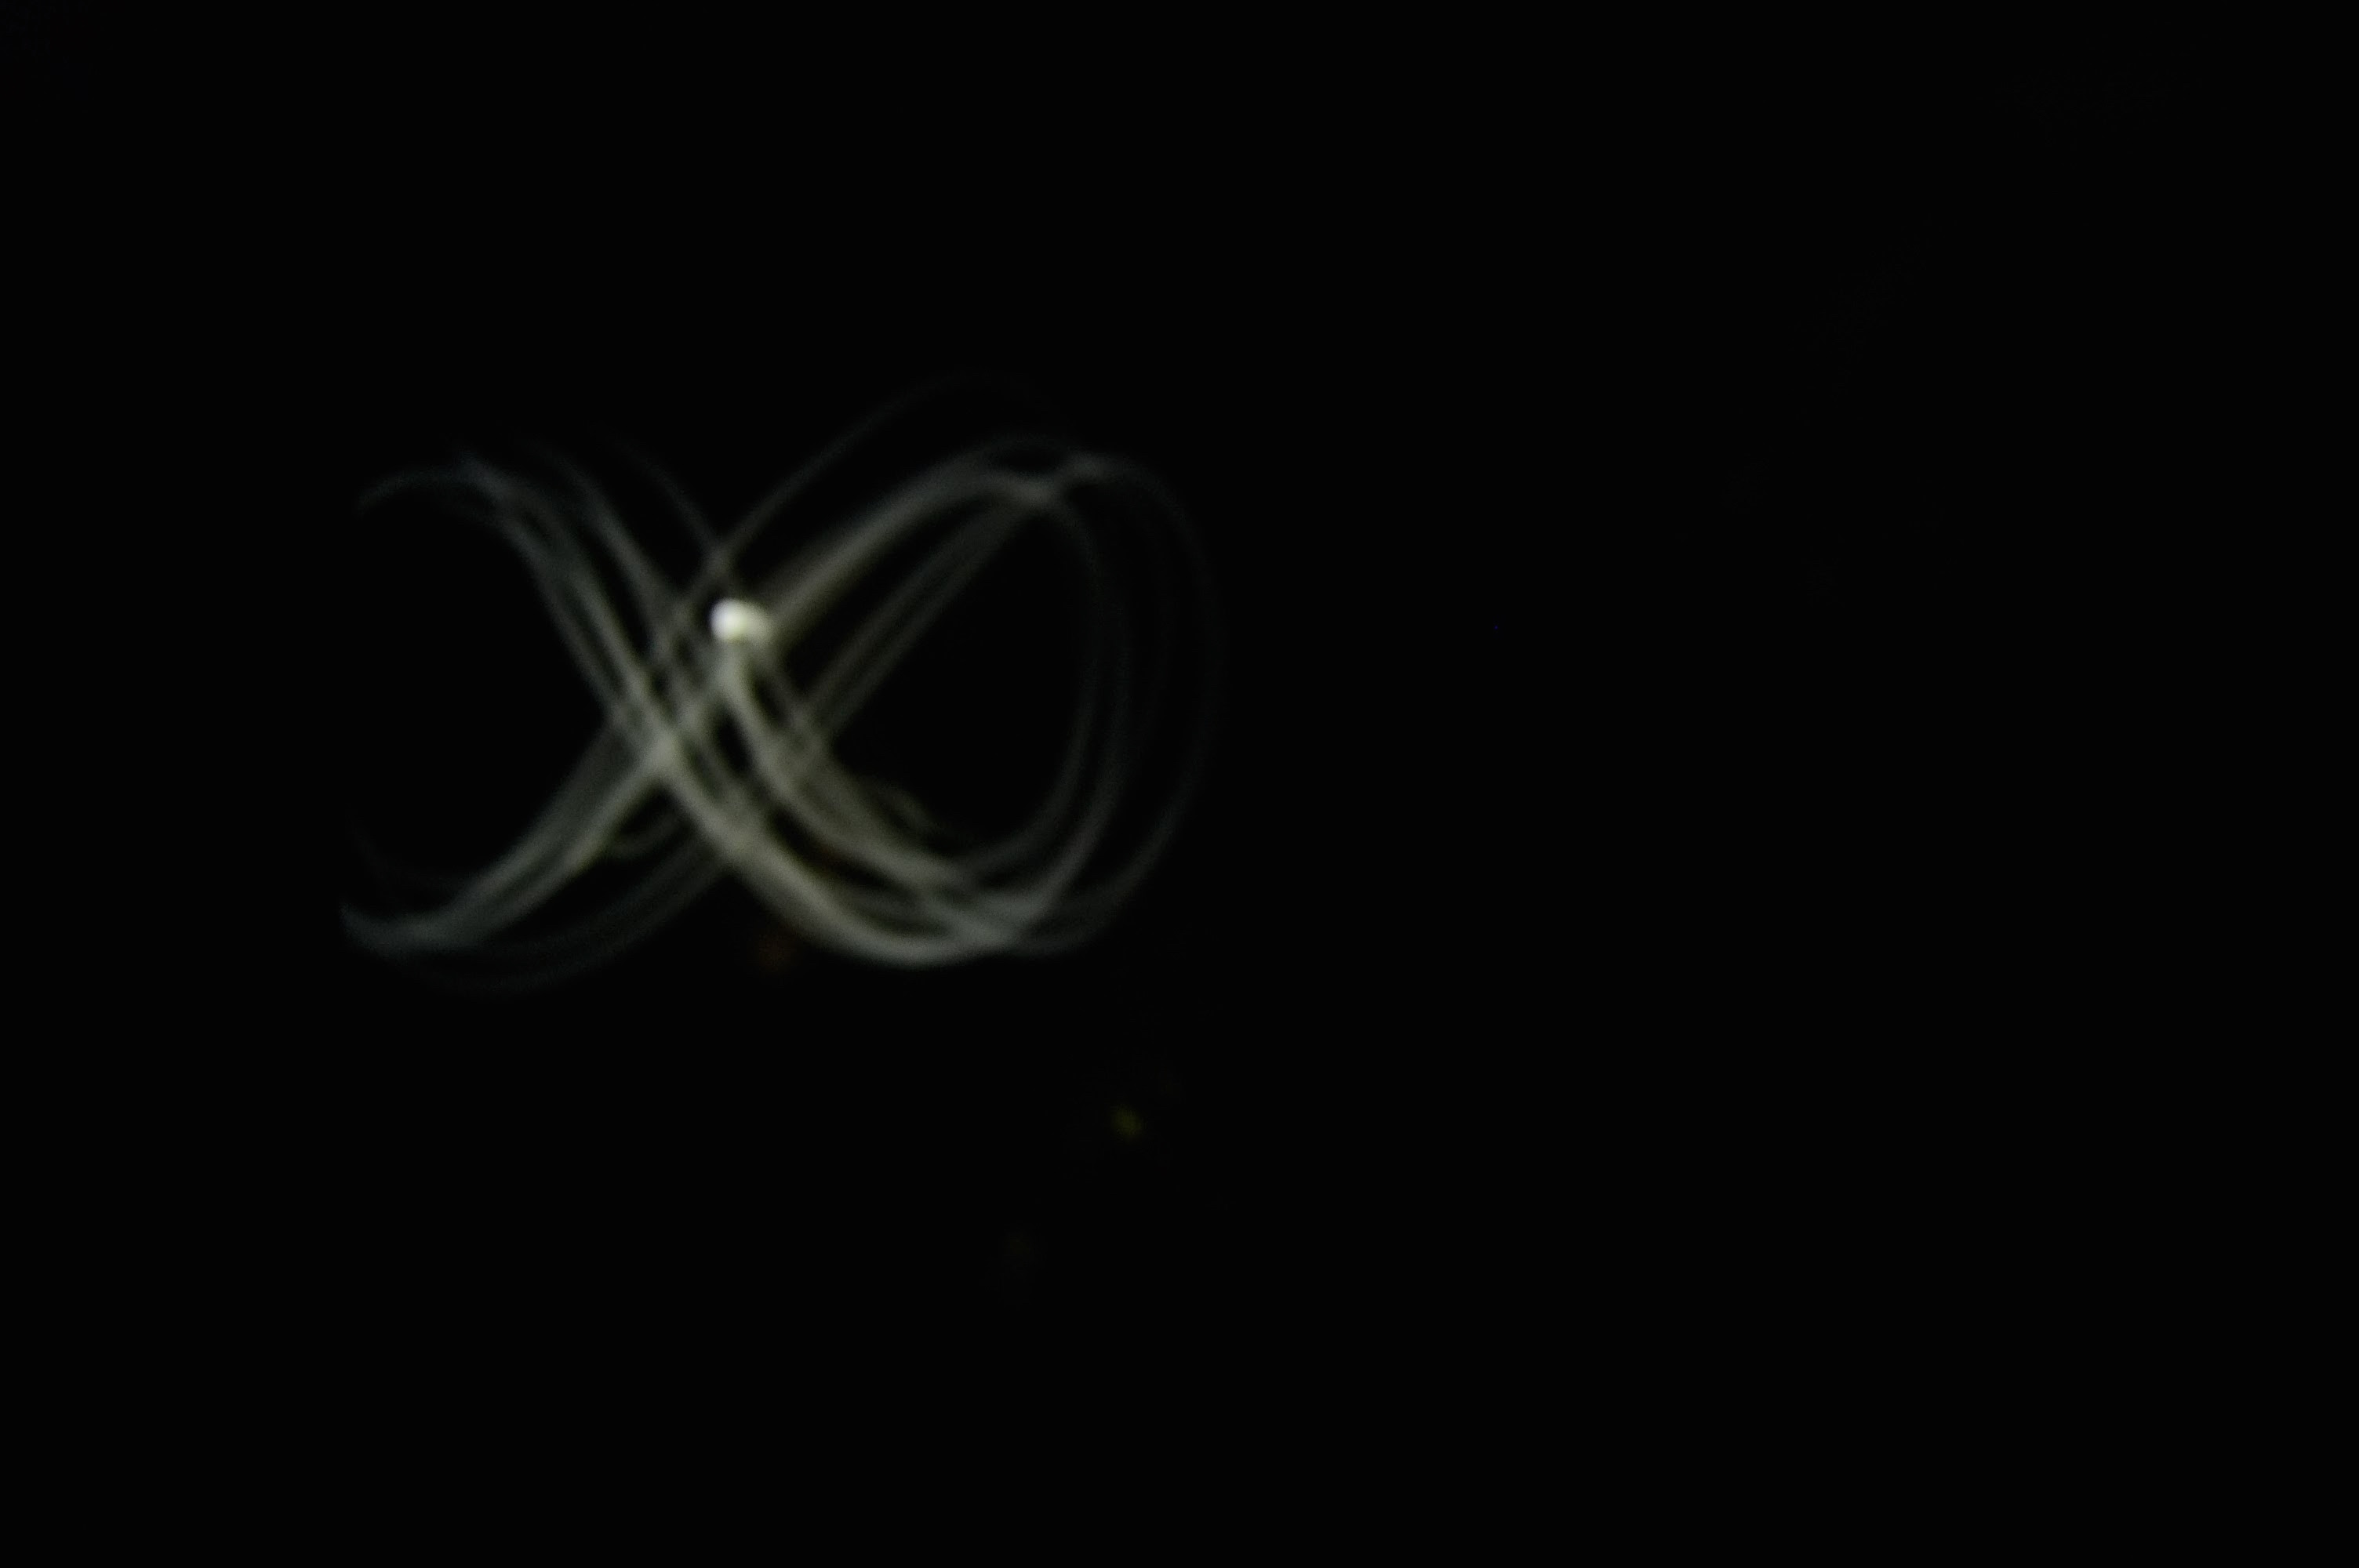
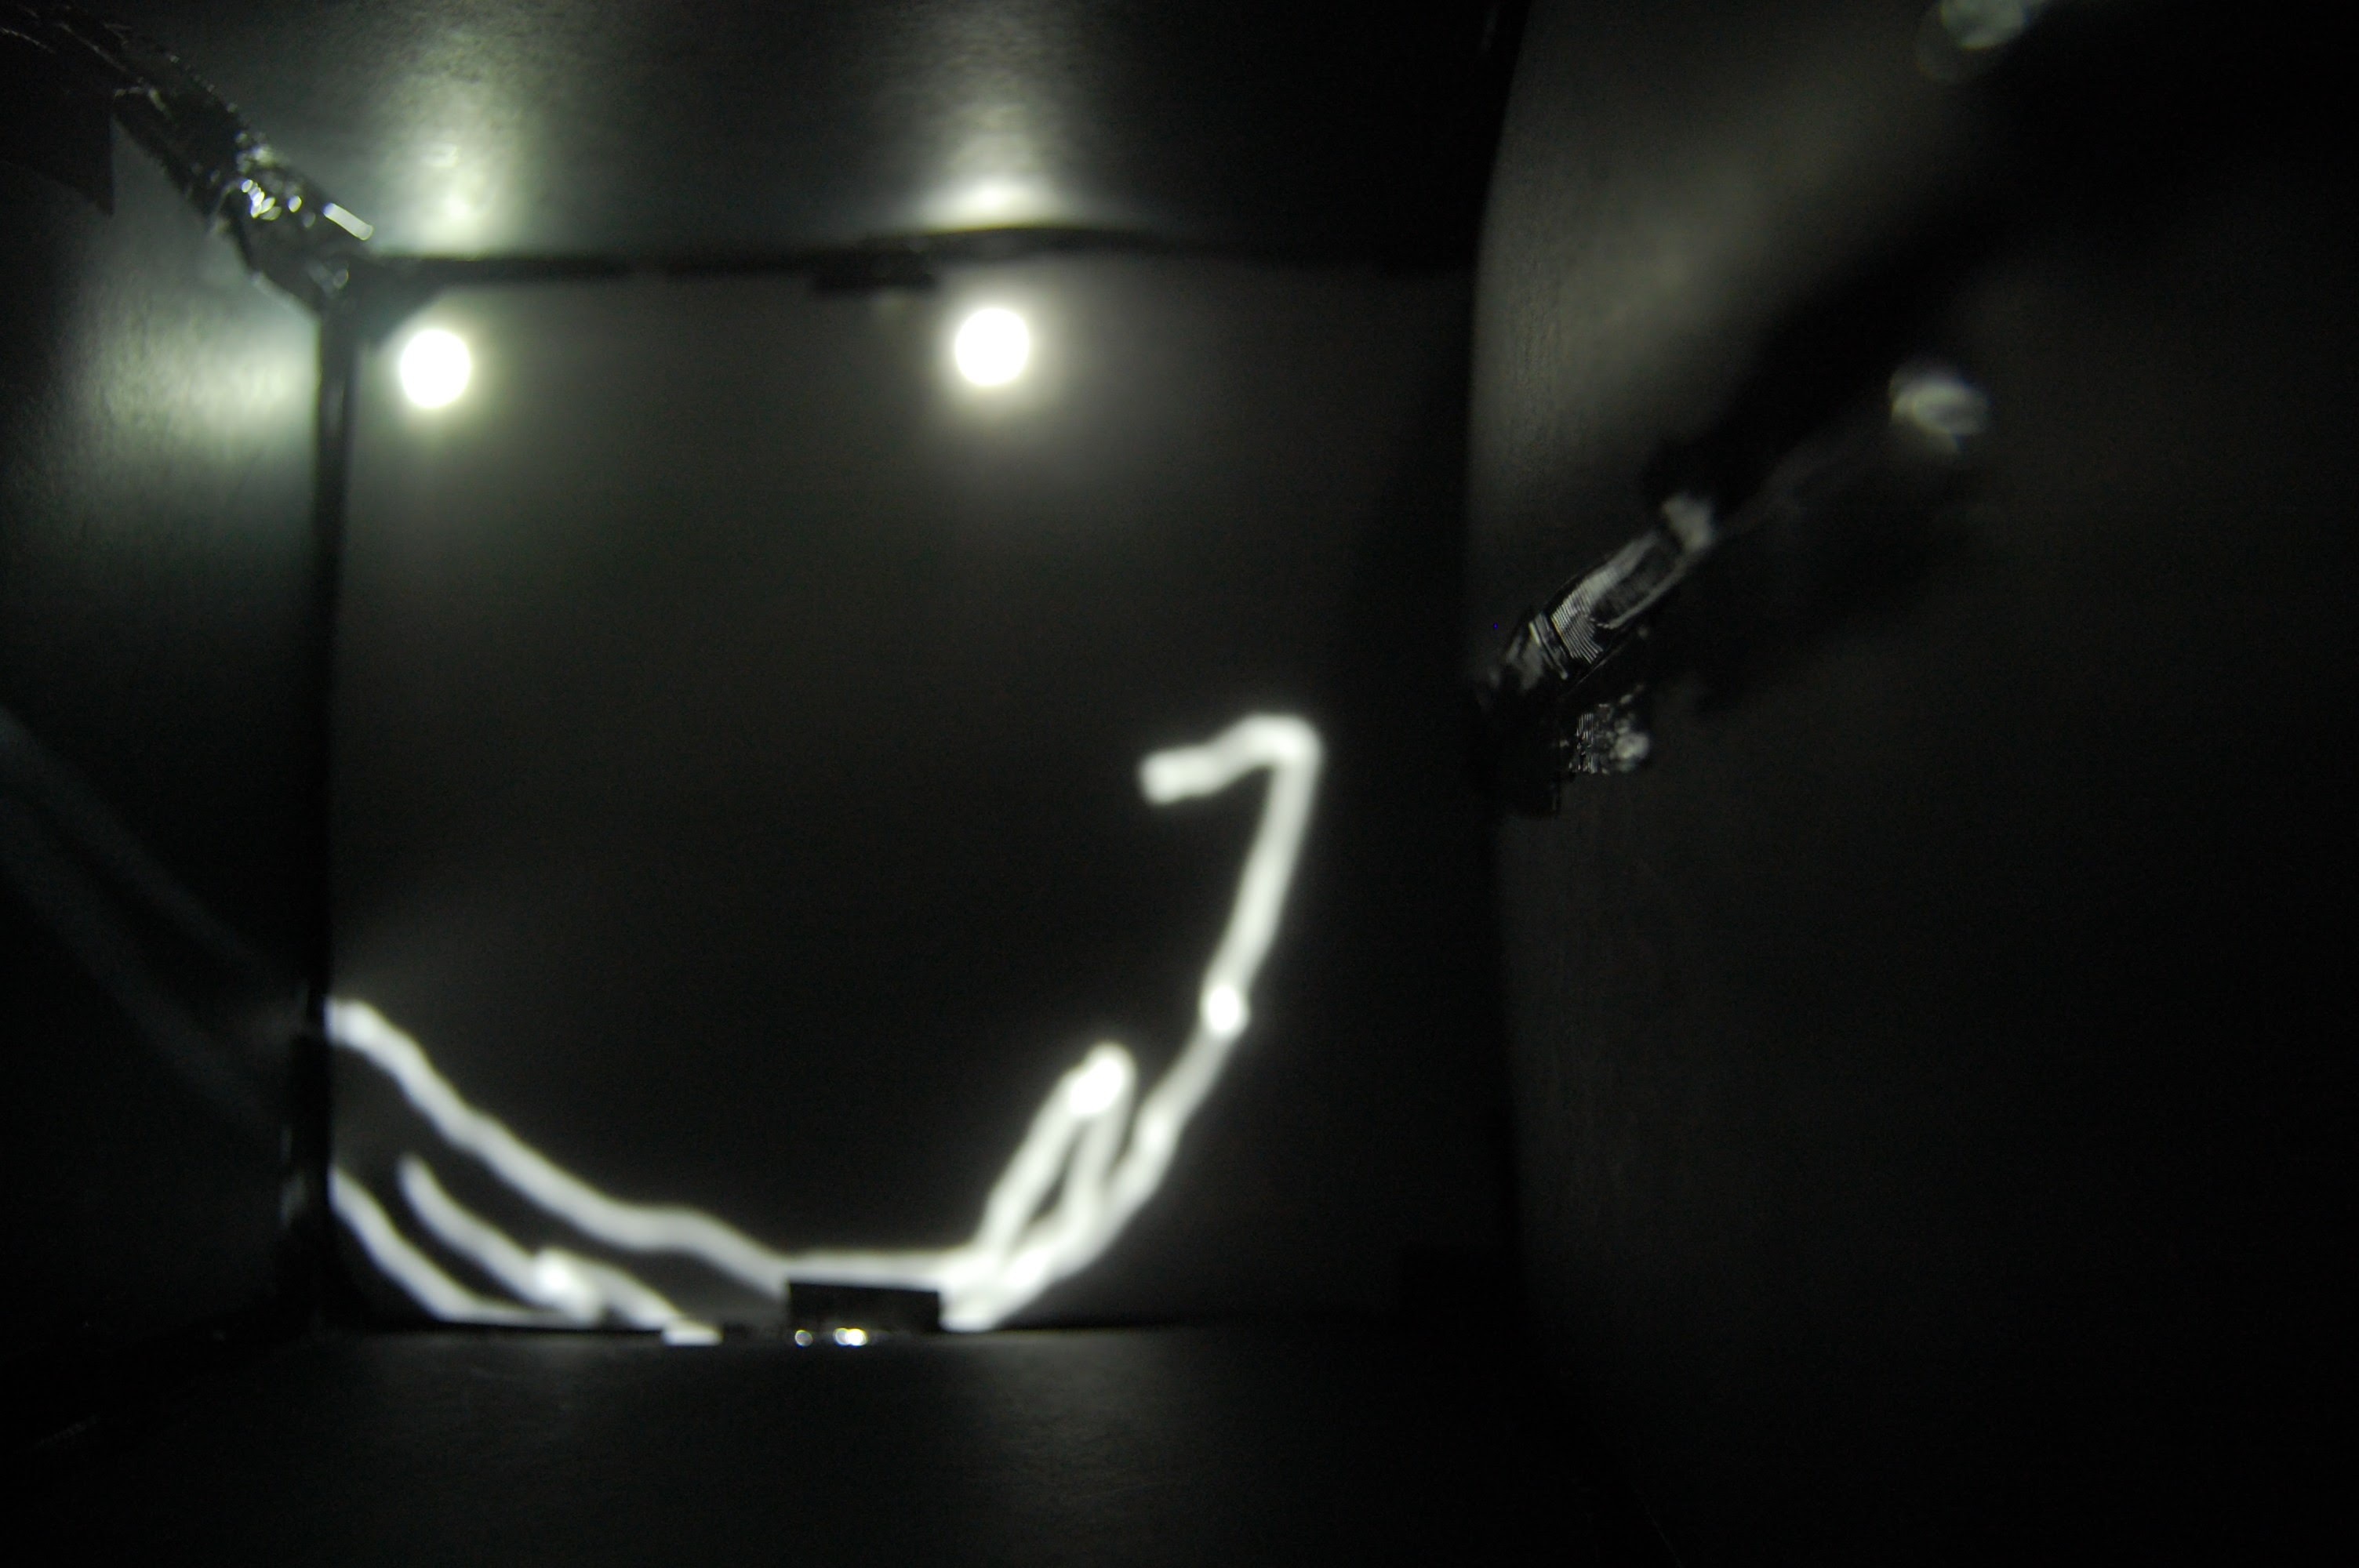
We had a lot of fun with this project :)