(click to unveil)
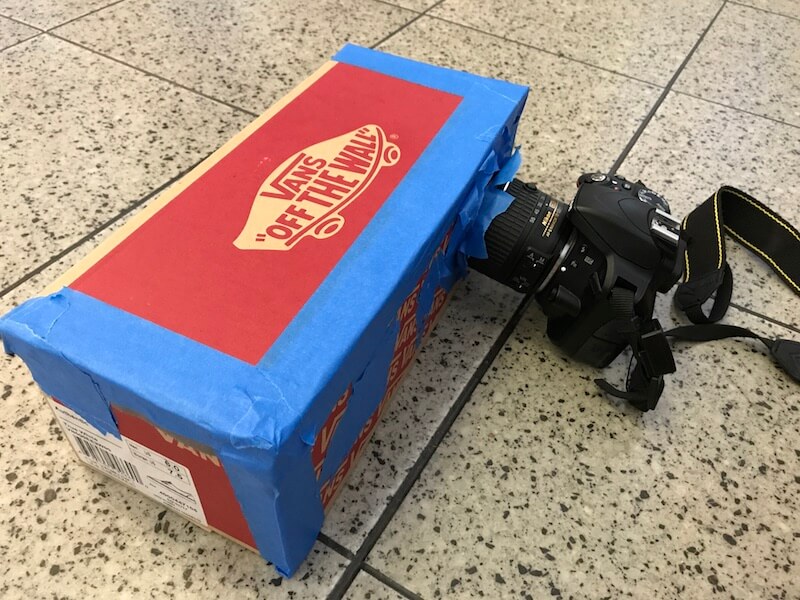
For this project, we created a camera obscura (i.e. a pinhole camera). The idea is simple: we have an object of obstruction with a small hole that we set between our scene and our screen. Light reflected off the scene is projected through the hole onto our screen. We use a camera with a long exposure setting to capture this image.
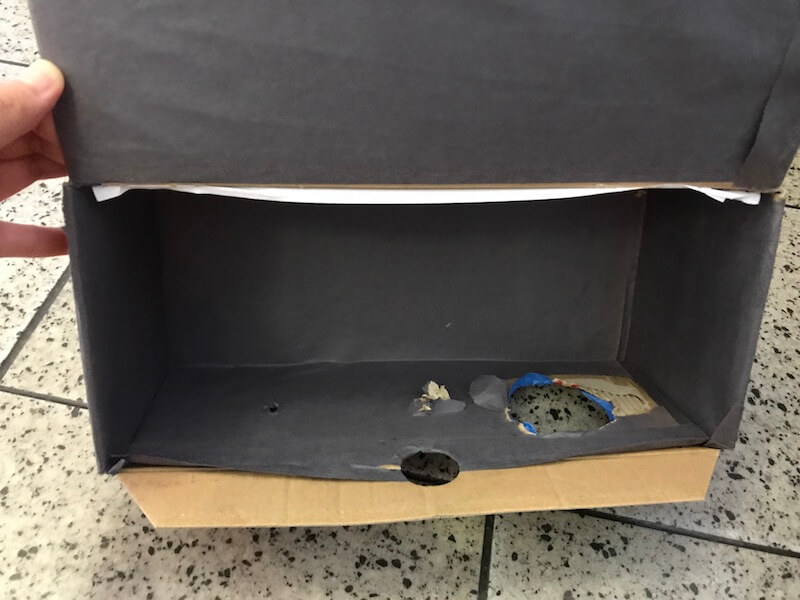
We used a Vans shoebox and a Nikon DSLR for our pinhole camera setup. We taped black paper on the inside of the box, excluding one of the longer faces. On that longer face, we taped white paper for the screen where our scene would project onto. On the opposite side of the screen, we cut two holes. One of the holes was large enough to fit the lens of our DSLR. Adjacent to that was another hole that would serve as our pinhole. The latter we taped with masking tape so we could poke holes of varying size. The edges of the box and the gap between the camera lens and the corresponding hole were taped with masking tape to prevent any additional light from bleeding in.
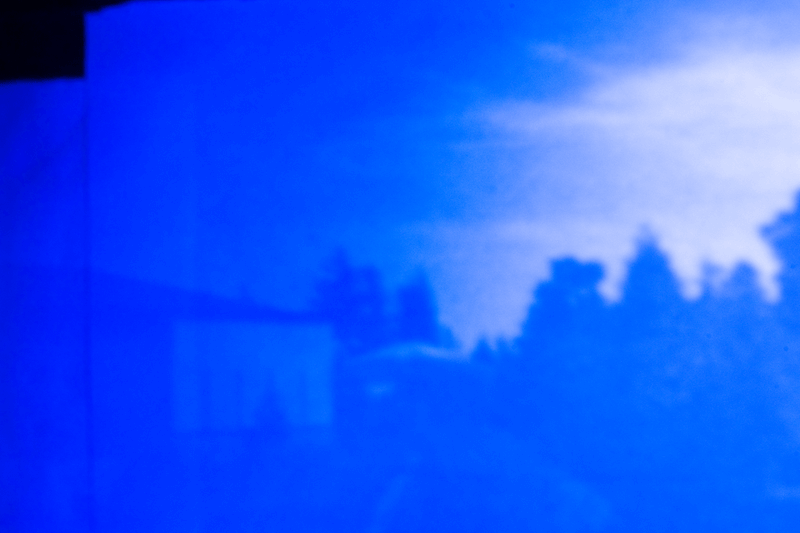
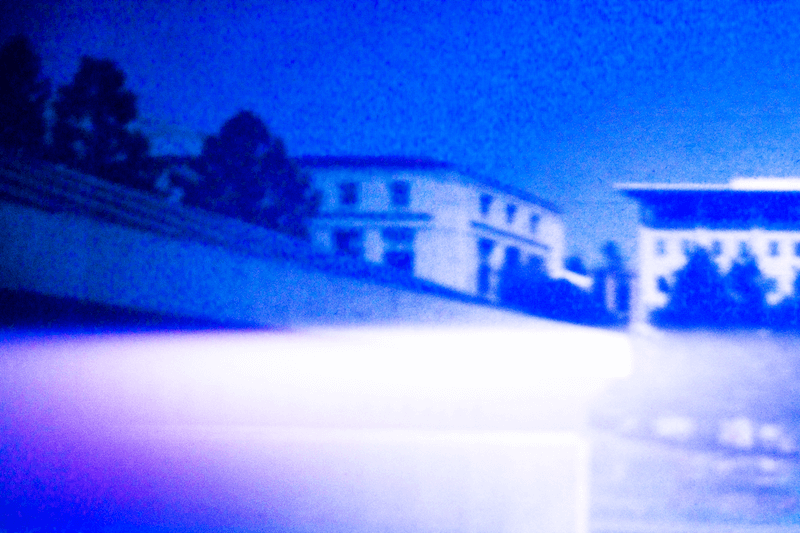
We used a 30 second exposure time with an ISO of 100 and a F-stop of 29 to capture our image.
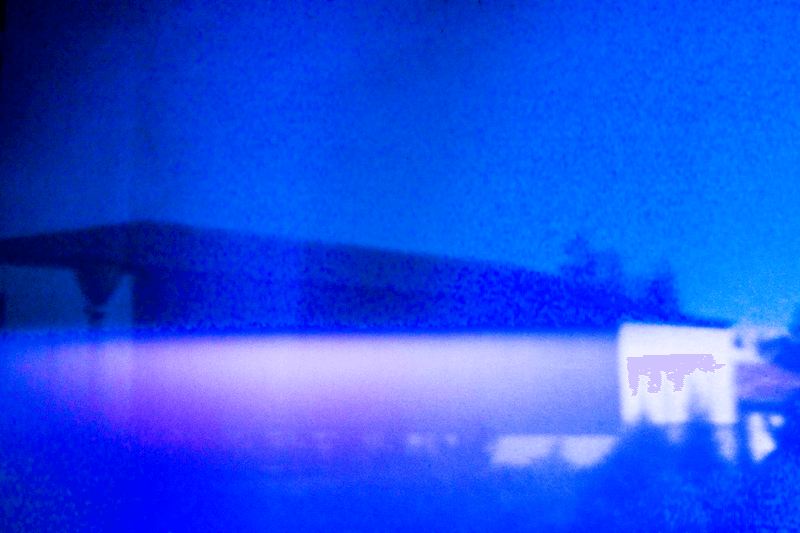
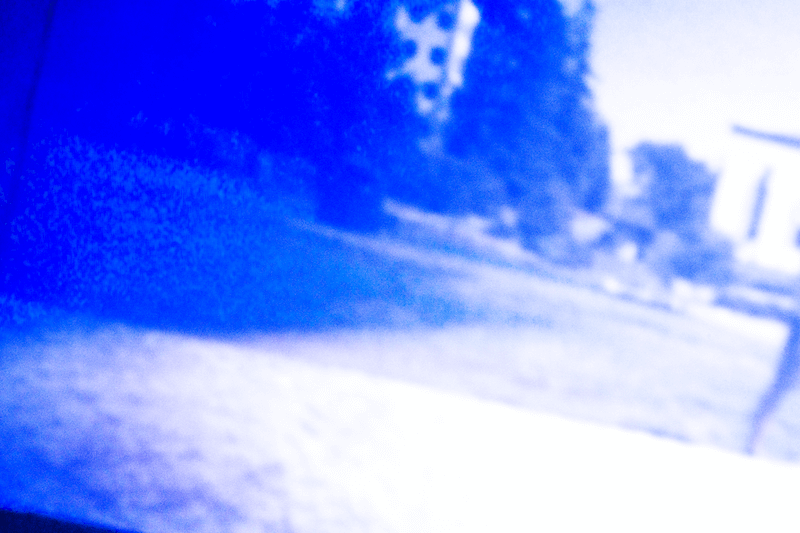
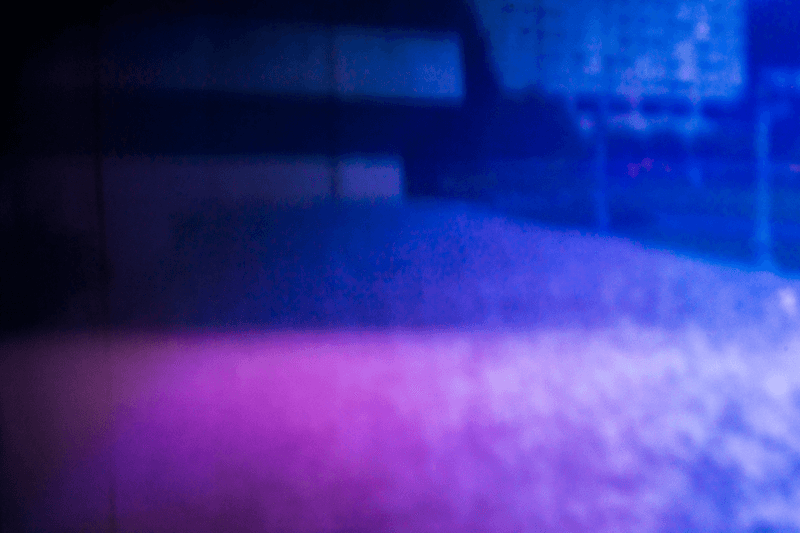
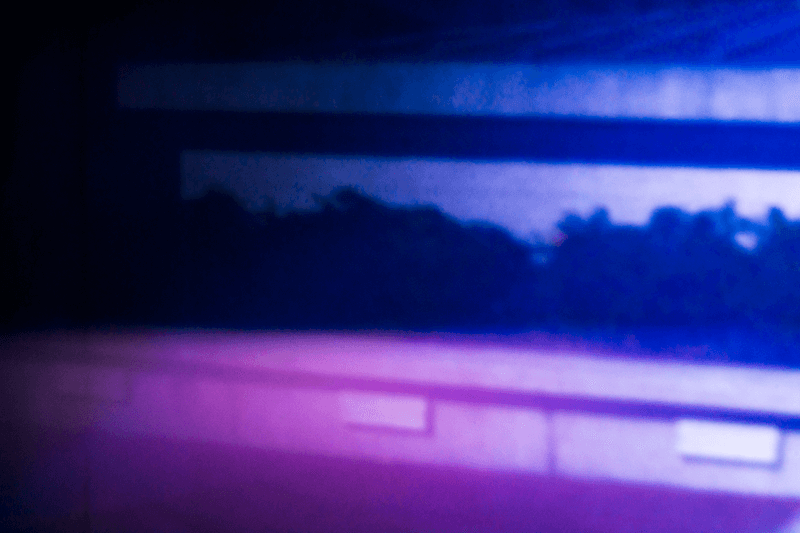
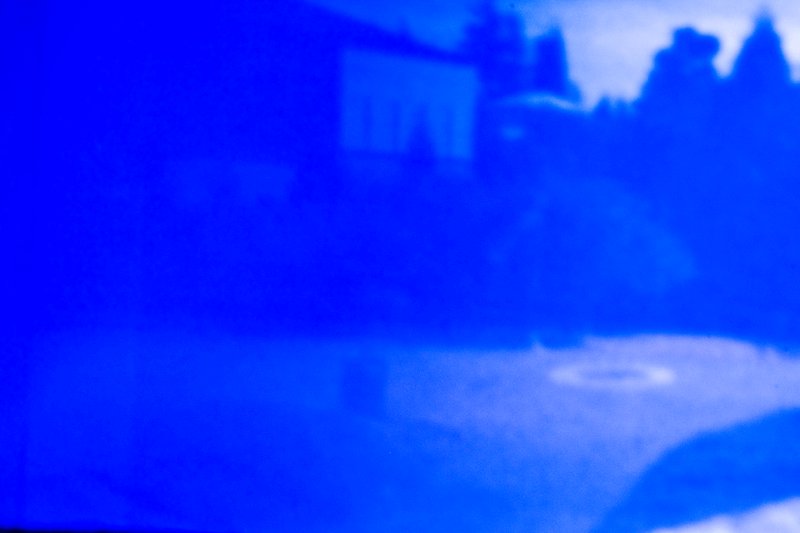
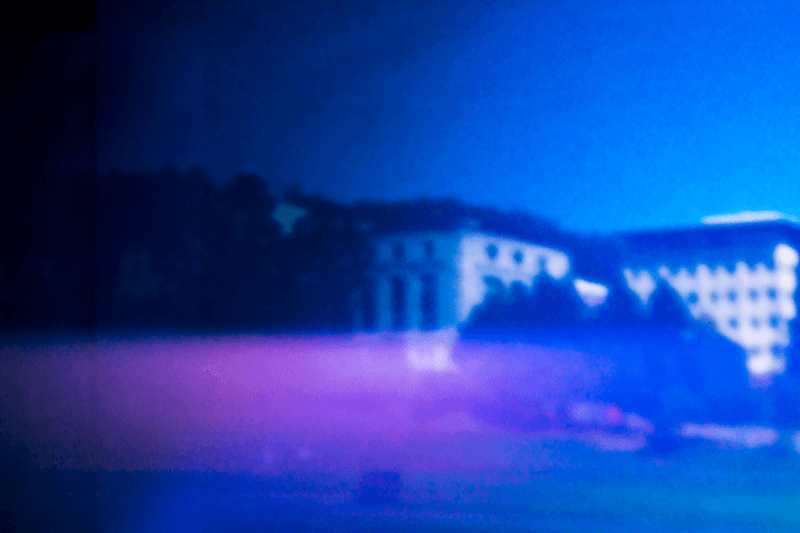
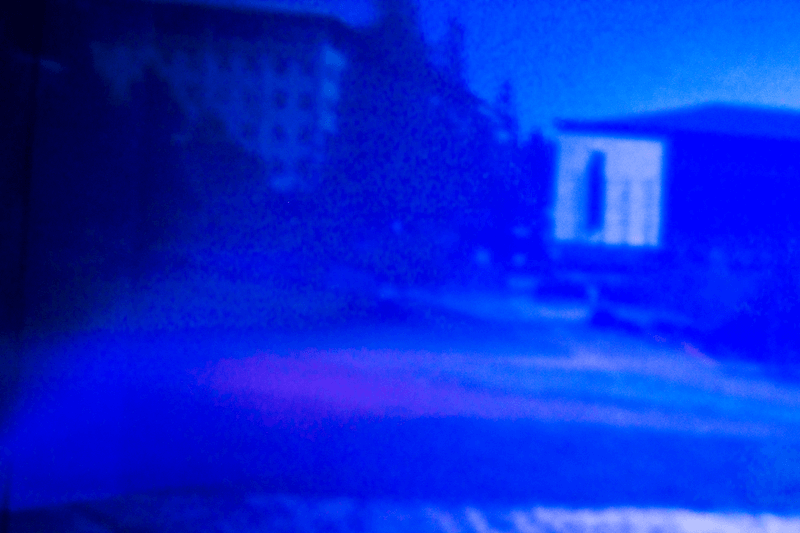
Our captures for 1mm, 2mm, and 5mm are below. We note that as the pinhole diameter increases, so does the blurriness of the image, as expected. This is because there no longer exists a one-to-one mapping between points beyond the camera and points on the display. Note that the clearest images have a blue tinge. We suspect that we did not completely seal the box. Our masking tape was blue, and this may explain the blue hue.
1mm left
1mm right
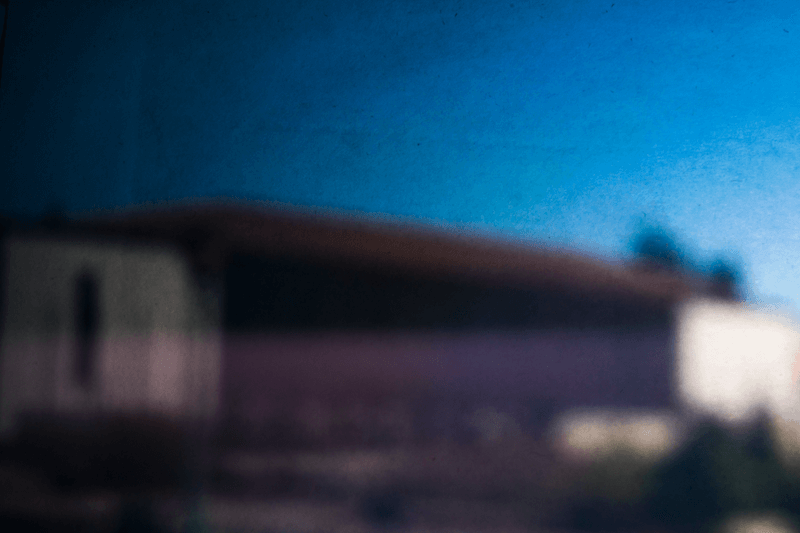
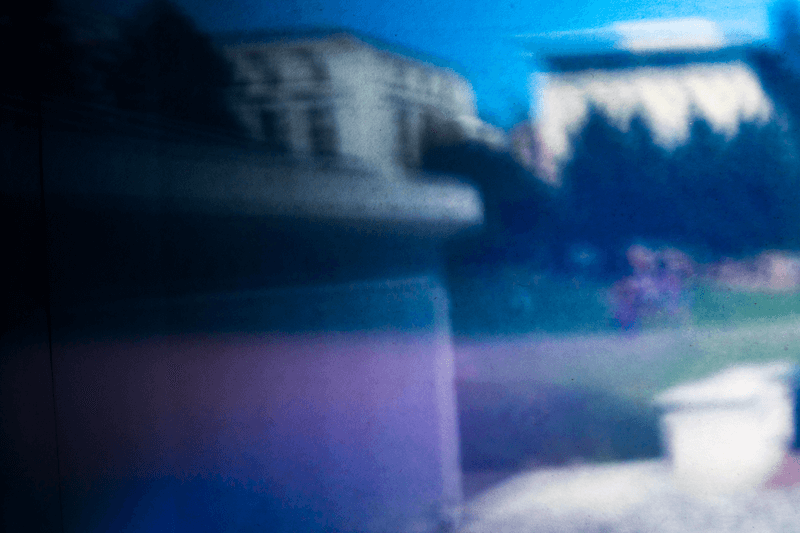
2mm left
2mm right
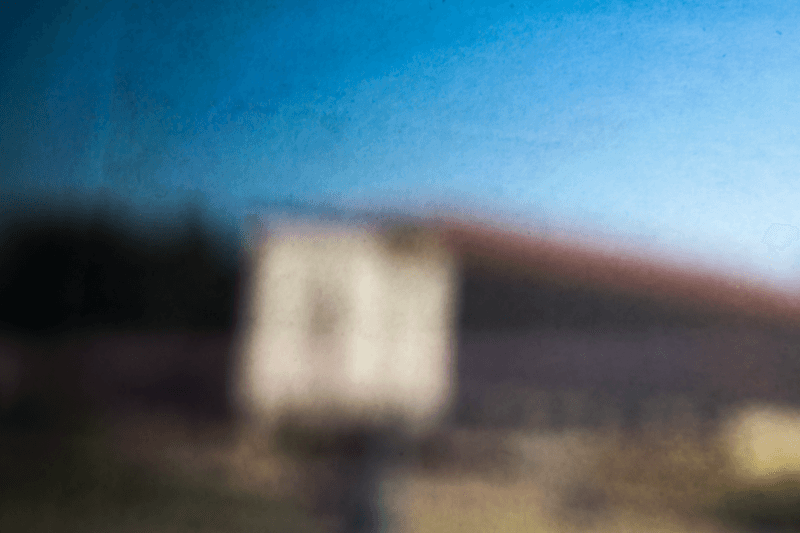
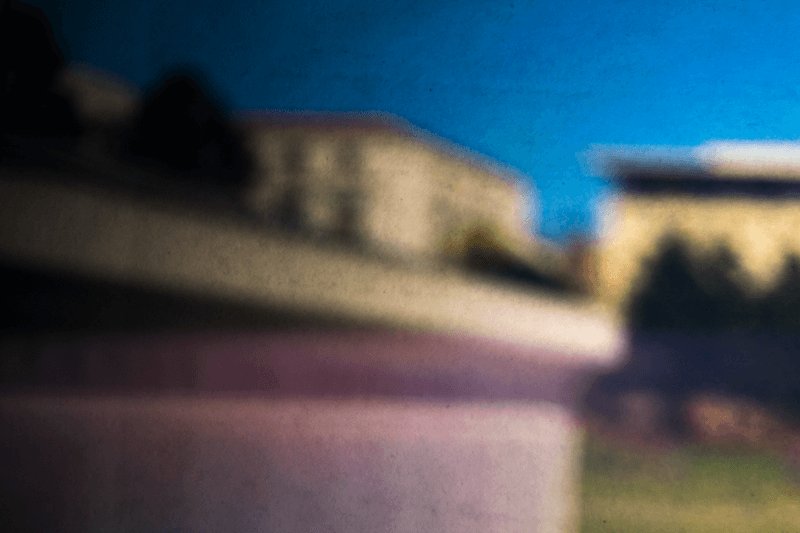
5mm left
5mm right
Here are additional images taken with 1mm.

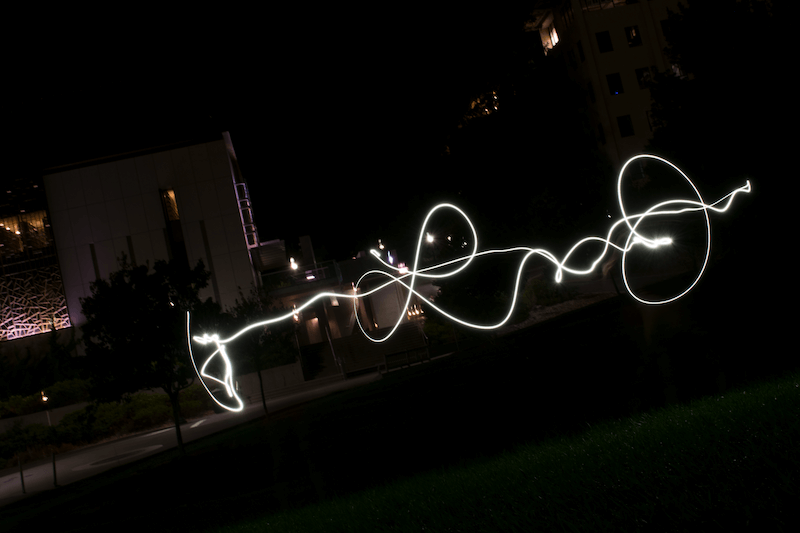
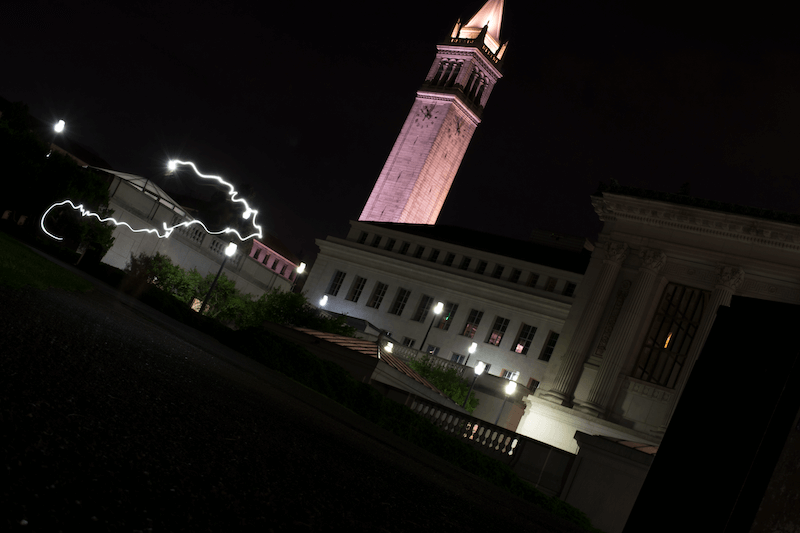
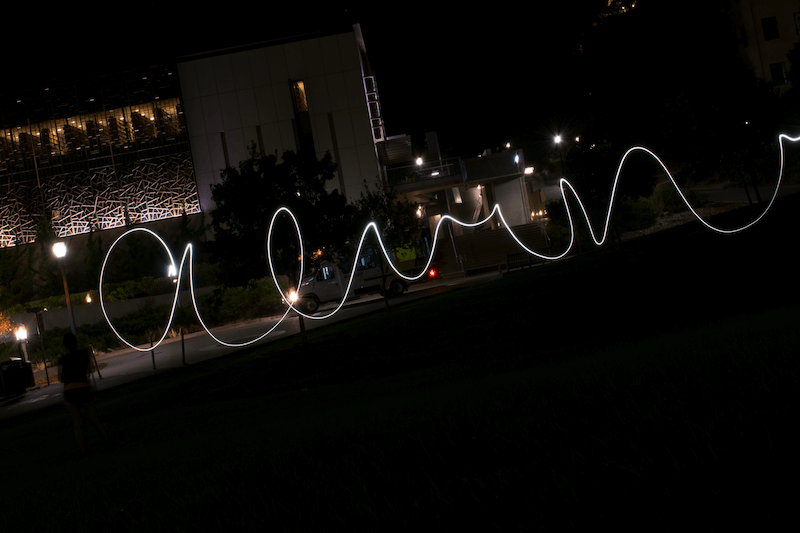
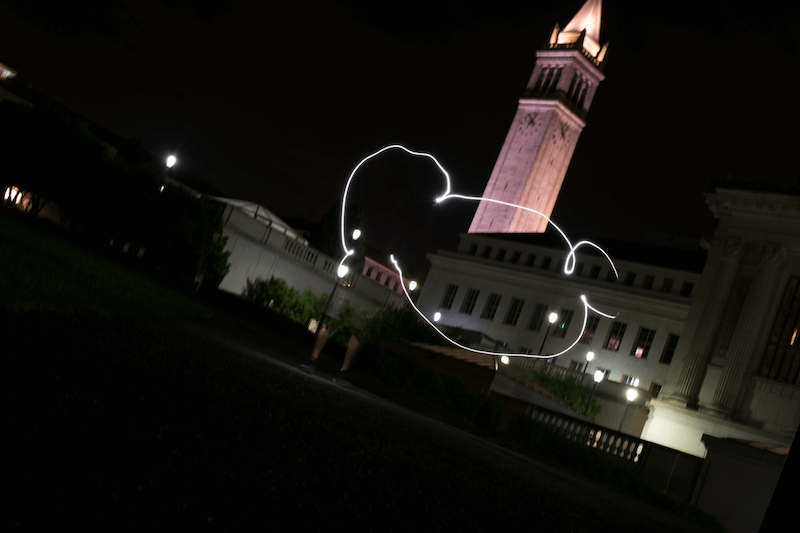
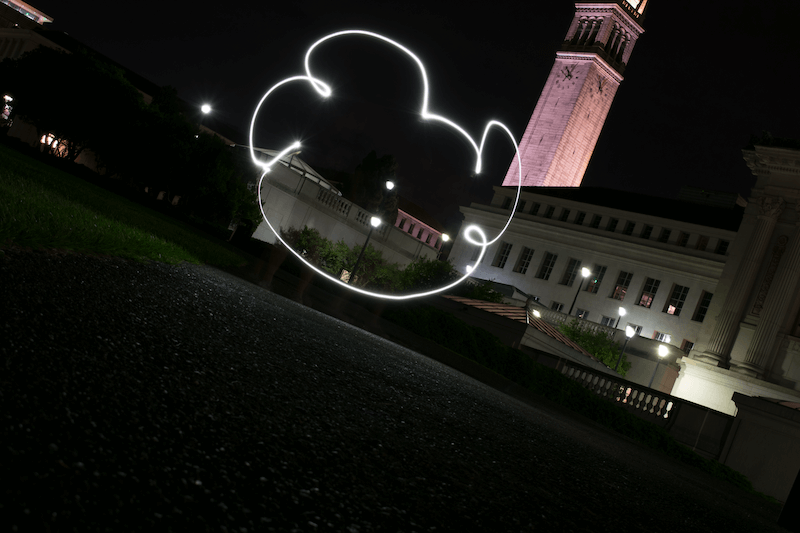
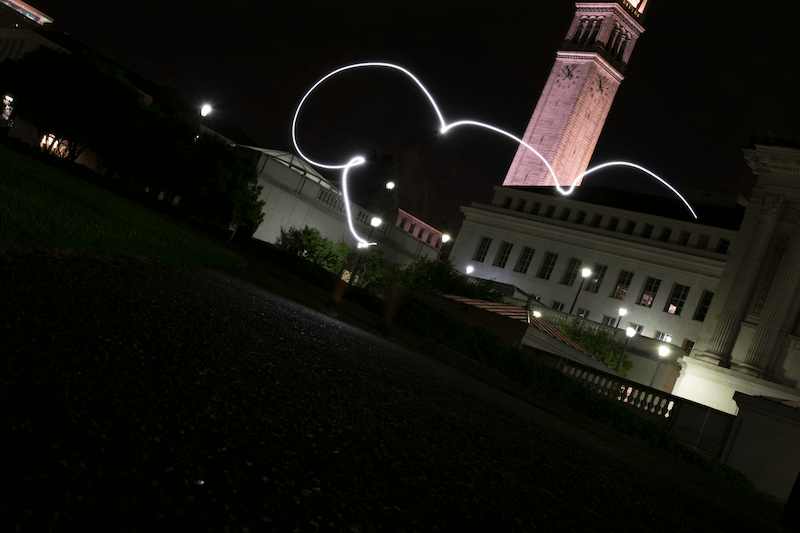
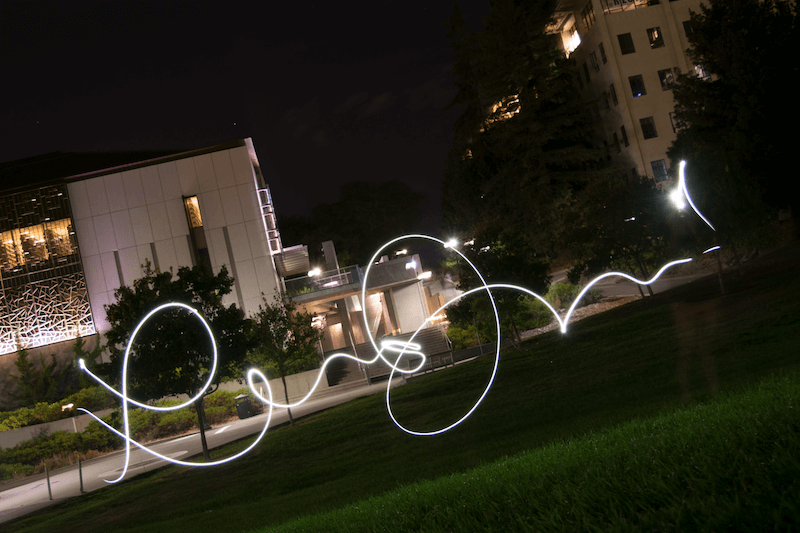
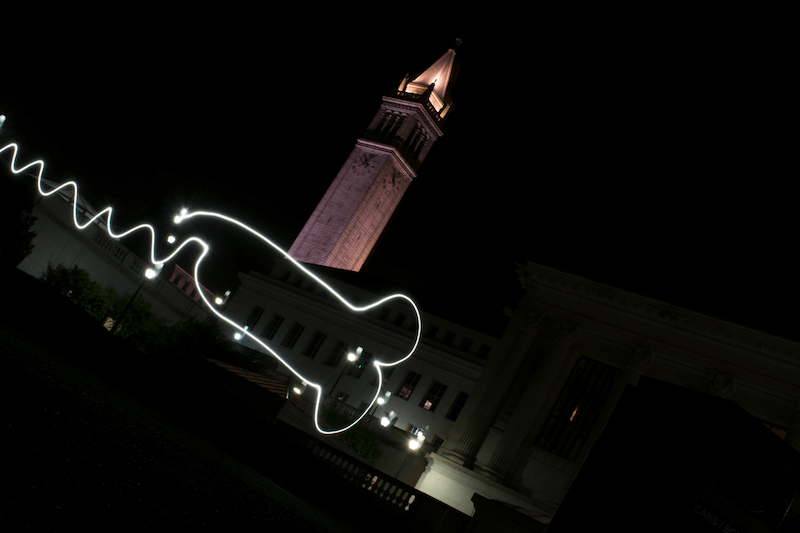
We experimented with light painting. Set long exposure (15 seconds) and simply doodle in the air. We had to mount the camera in a stable position (i.e., stick it atop a pile of backpack).