CS 194-26: Image Manipulation and Computational Photography
Project #2: Building a Pinhole Camera
Will Tait (abw), Annie Xie (abx), Jacky Zhao (afg)
Fall 2017
Project Overview
In this project, we built a pinhole camera (also known as the "camera
obscura"). The pinhole camera is a dark box with a pinhole on one side, and
a screen on the opposite. To capture an image, light reflects off an object
into the pinhole and onto the screen, and the resulting image of the object
is inverted.
Since we cannot see the formed image with the naked eye, we used a digital
camera with a long exposure time to capture the light coming into the
pinhole. We also experimented with different pinhole sizes based upon the
focal length of the box to yield the best results.
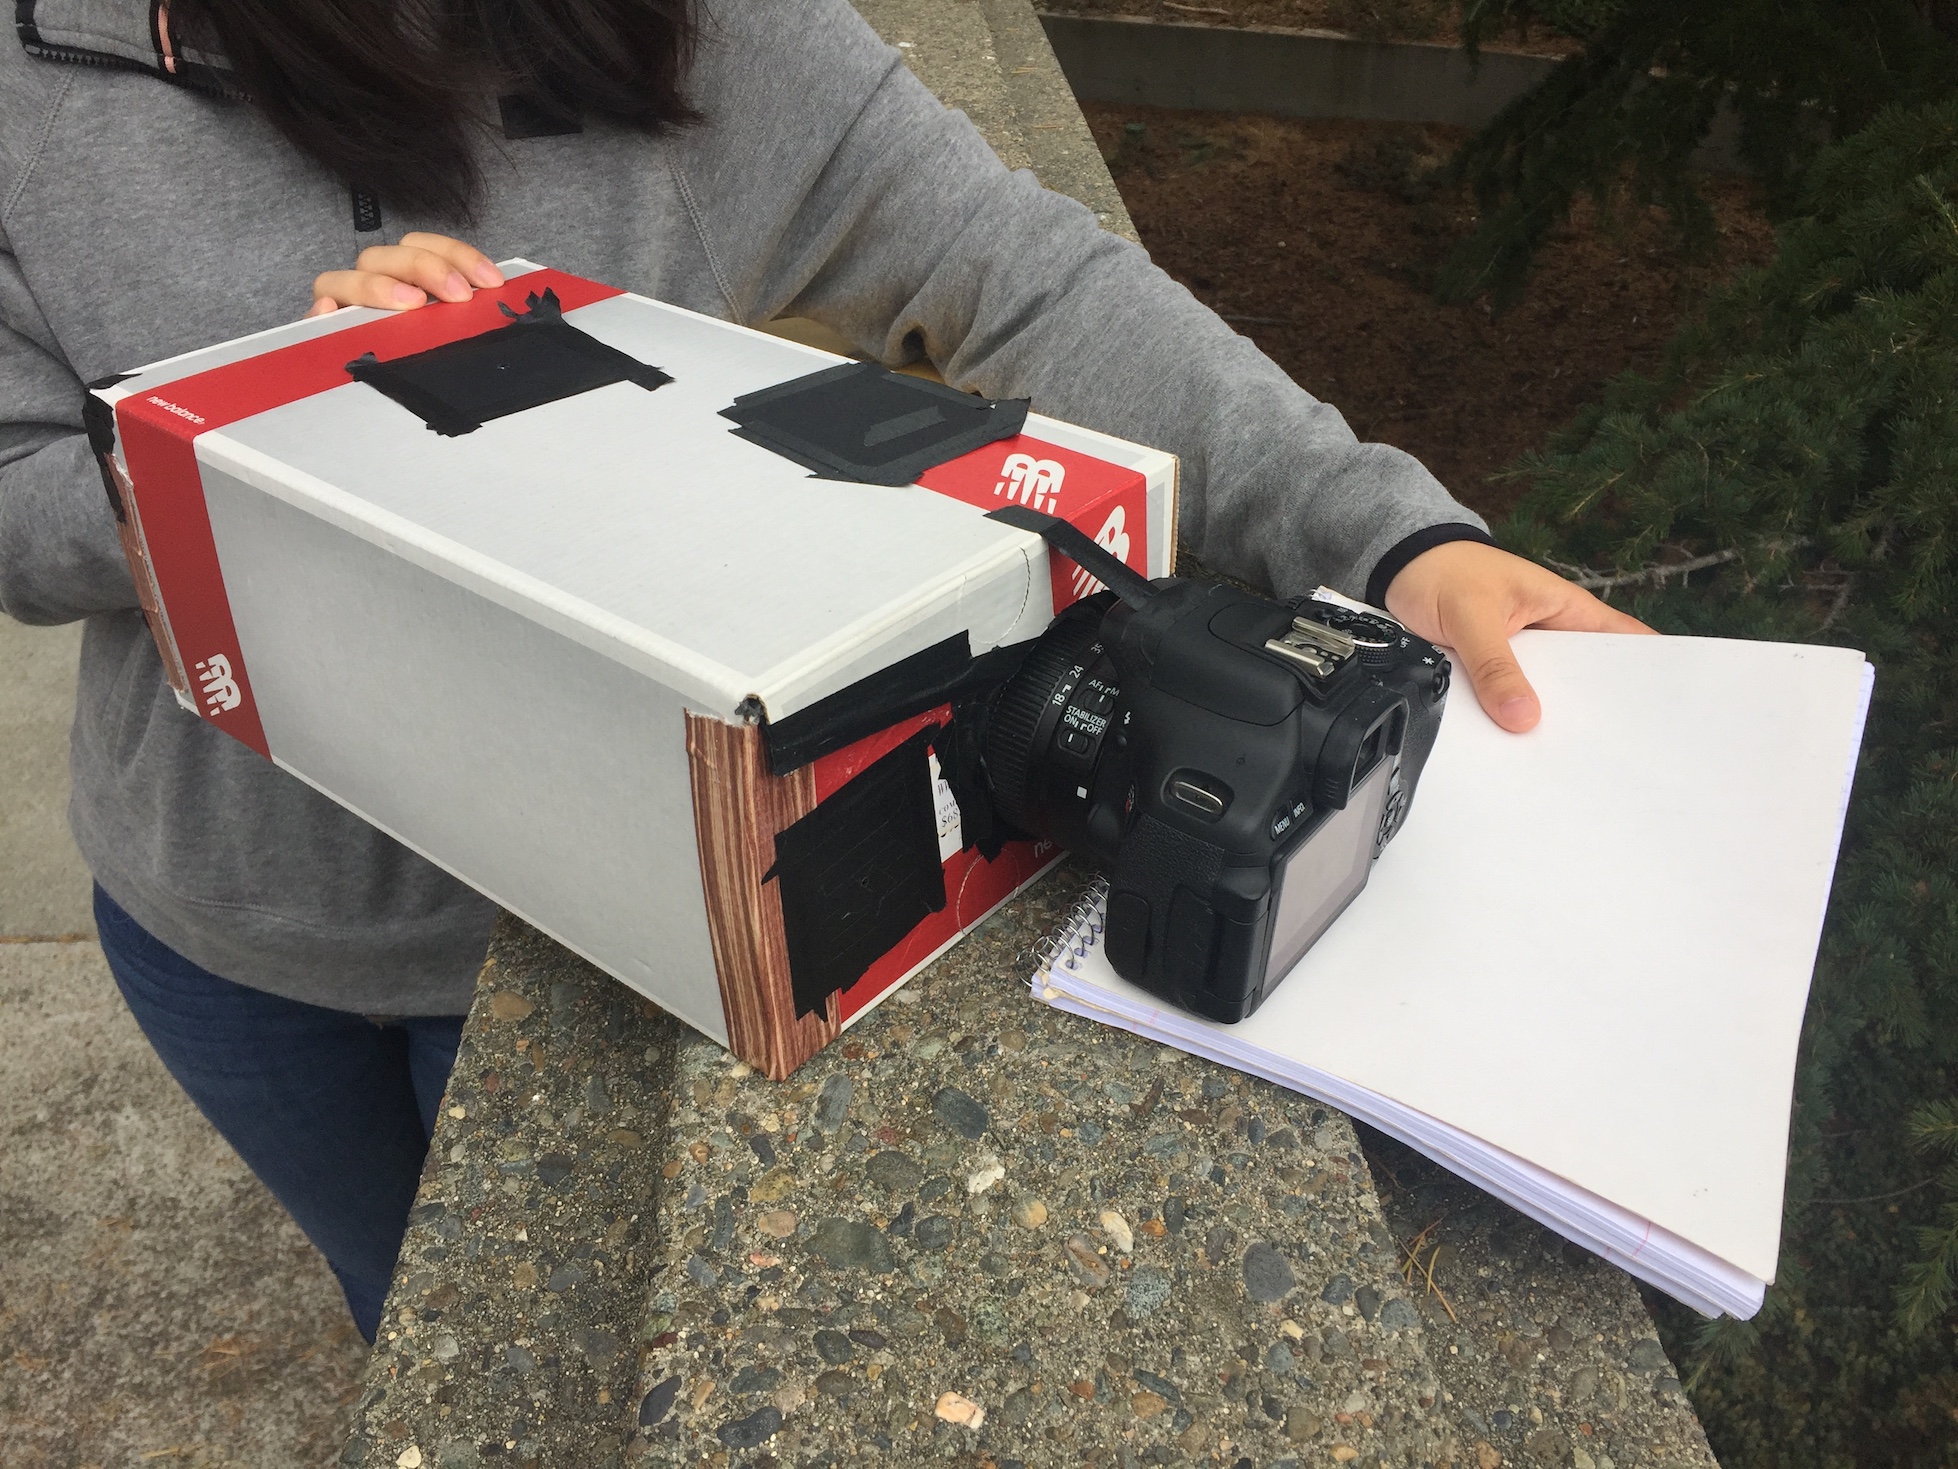
Box Design
For our camera obscura, we taped black paper all over the inside of a
shoebox, with the exception of one of the sides, which we covered with
white paper. Opposite of the side with white paper, we cut out a large hole
for the lens of the camera to come through. We also cut another hole for
sheets of black cards with our various pinholes. To ensure that the pinhole
was the only source of light in our shoebox, we duct taped all corners and
edges of the box.
Captured Images
We compared 3 pinhole sizes of 1, 3, and 5 millimeters. In addition to varying the pinhole size,
we fine-tuned some of the camera settings to produce the more quality images. In the end, our best
results happened with
- 20-second exposure time
- f/5.0 aperture
- ISO 3200
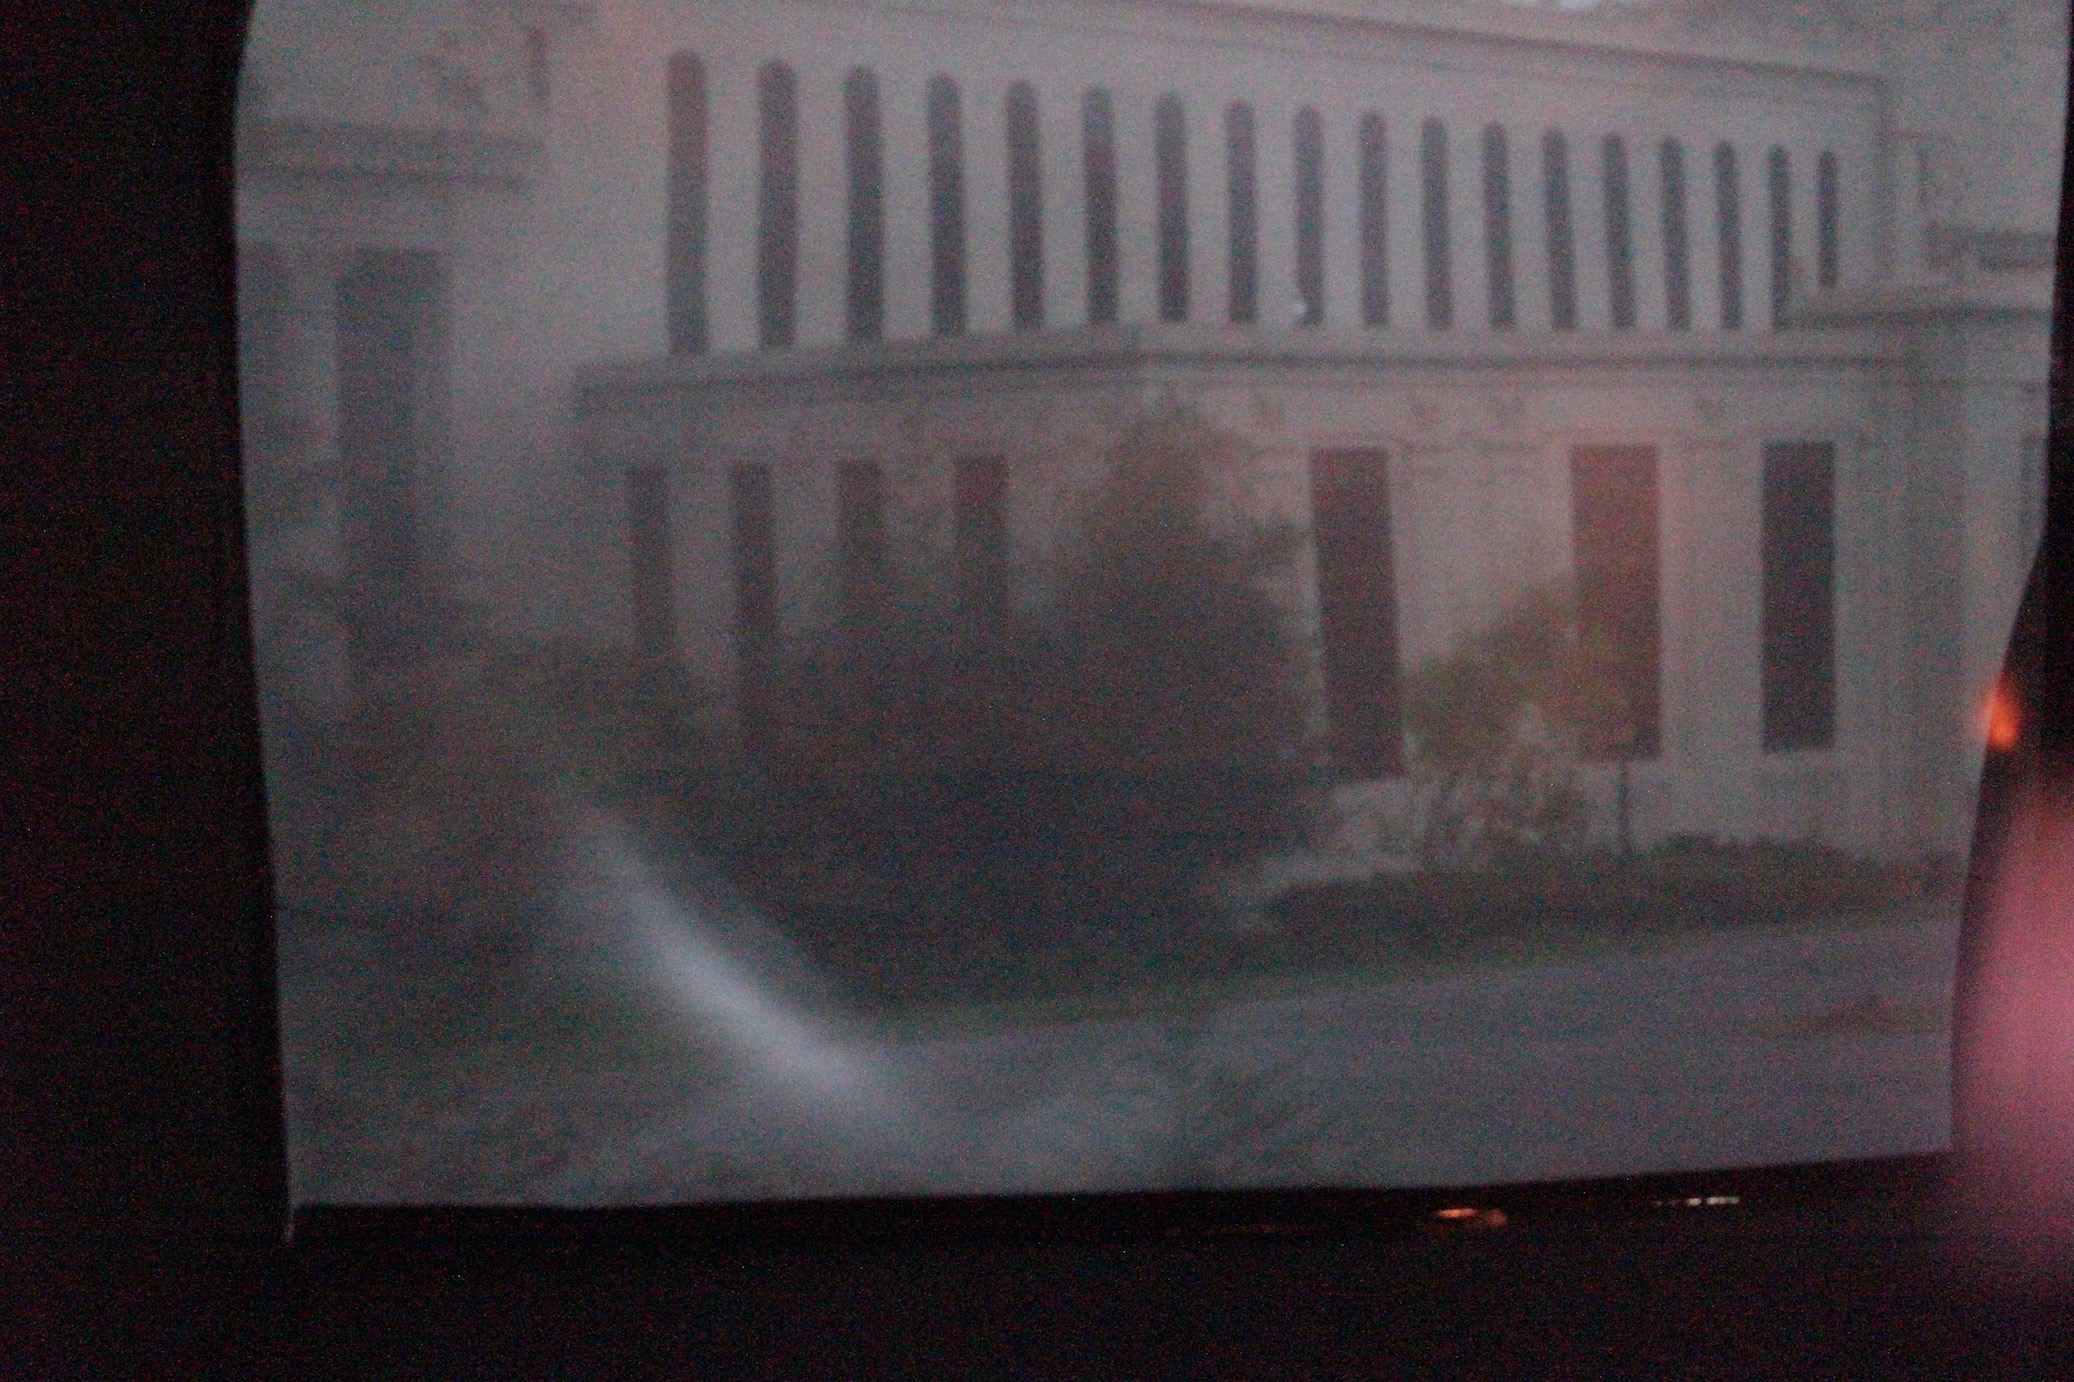
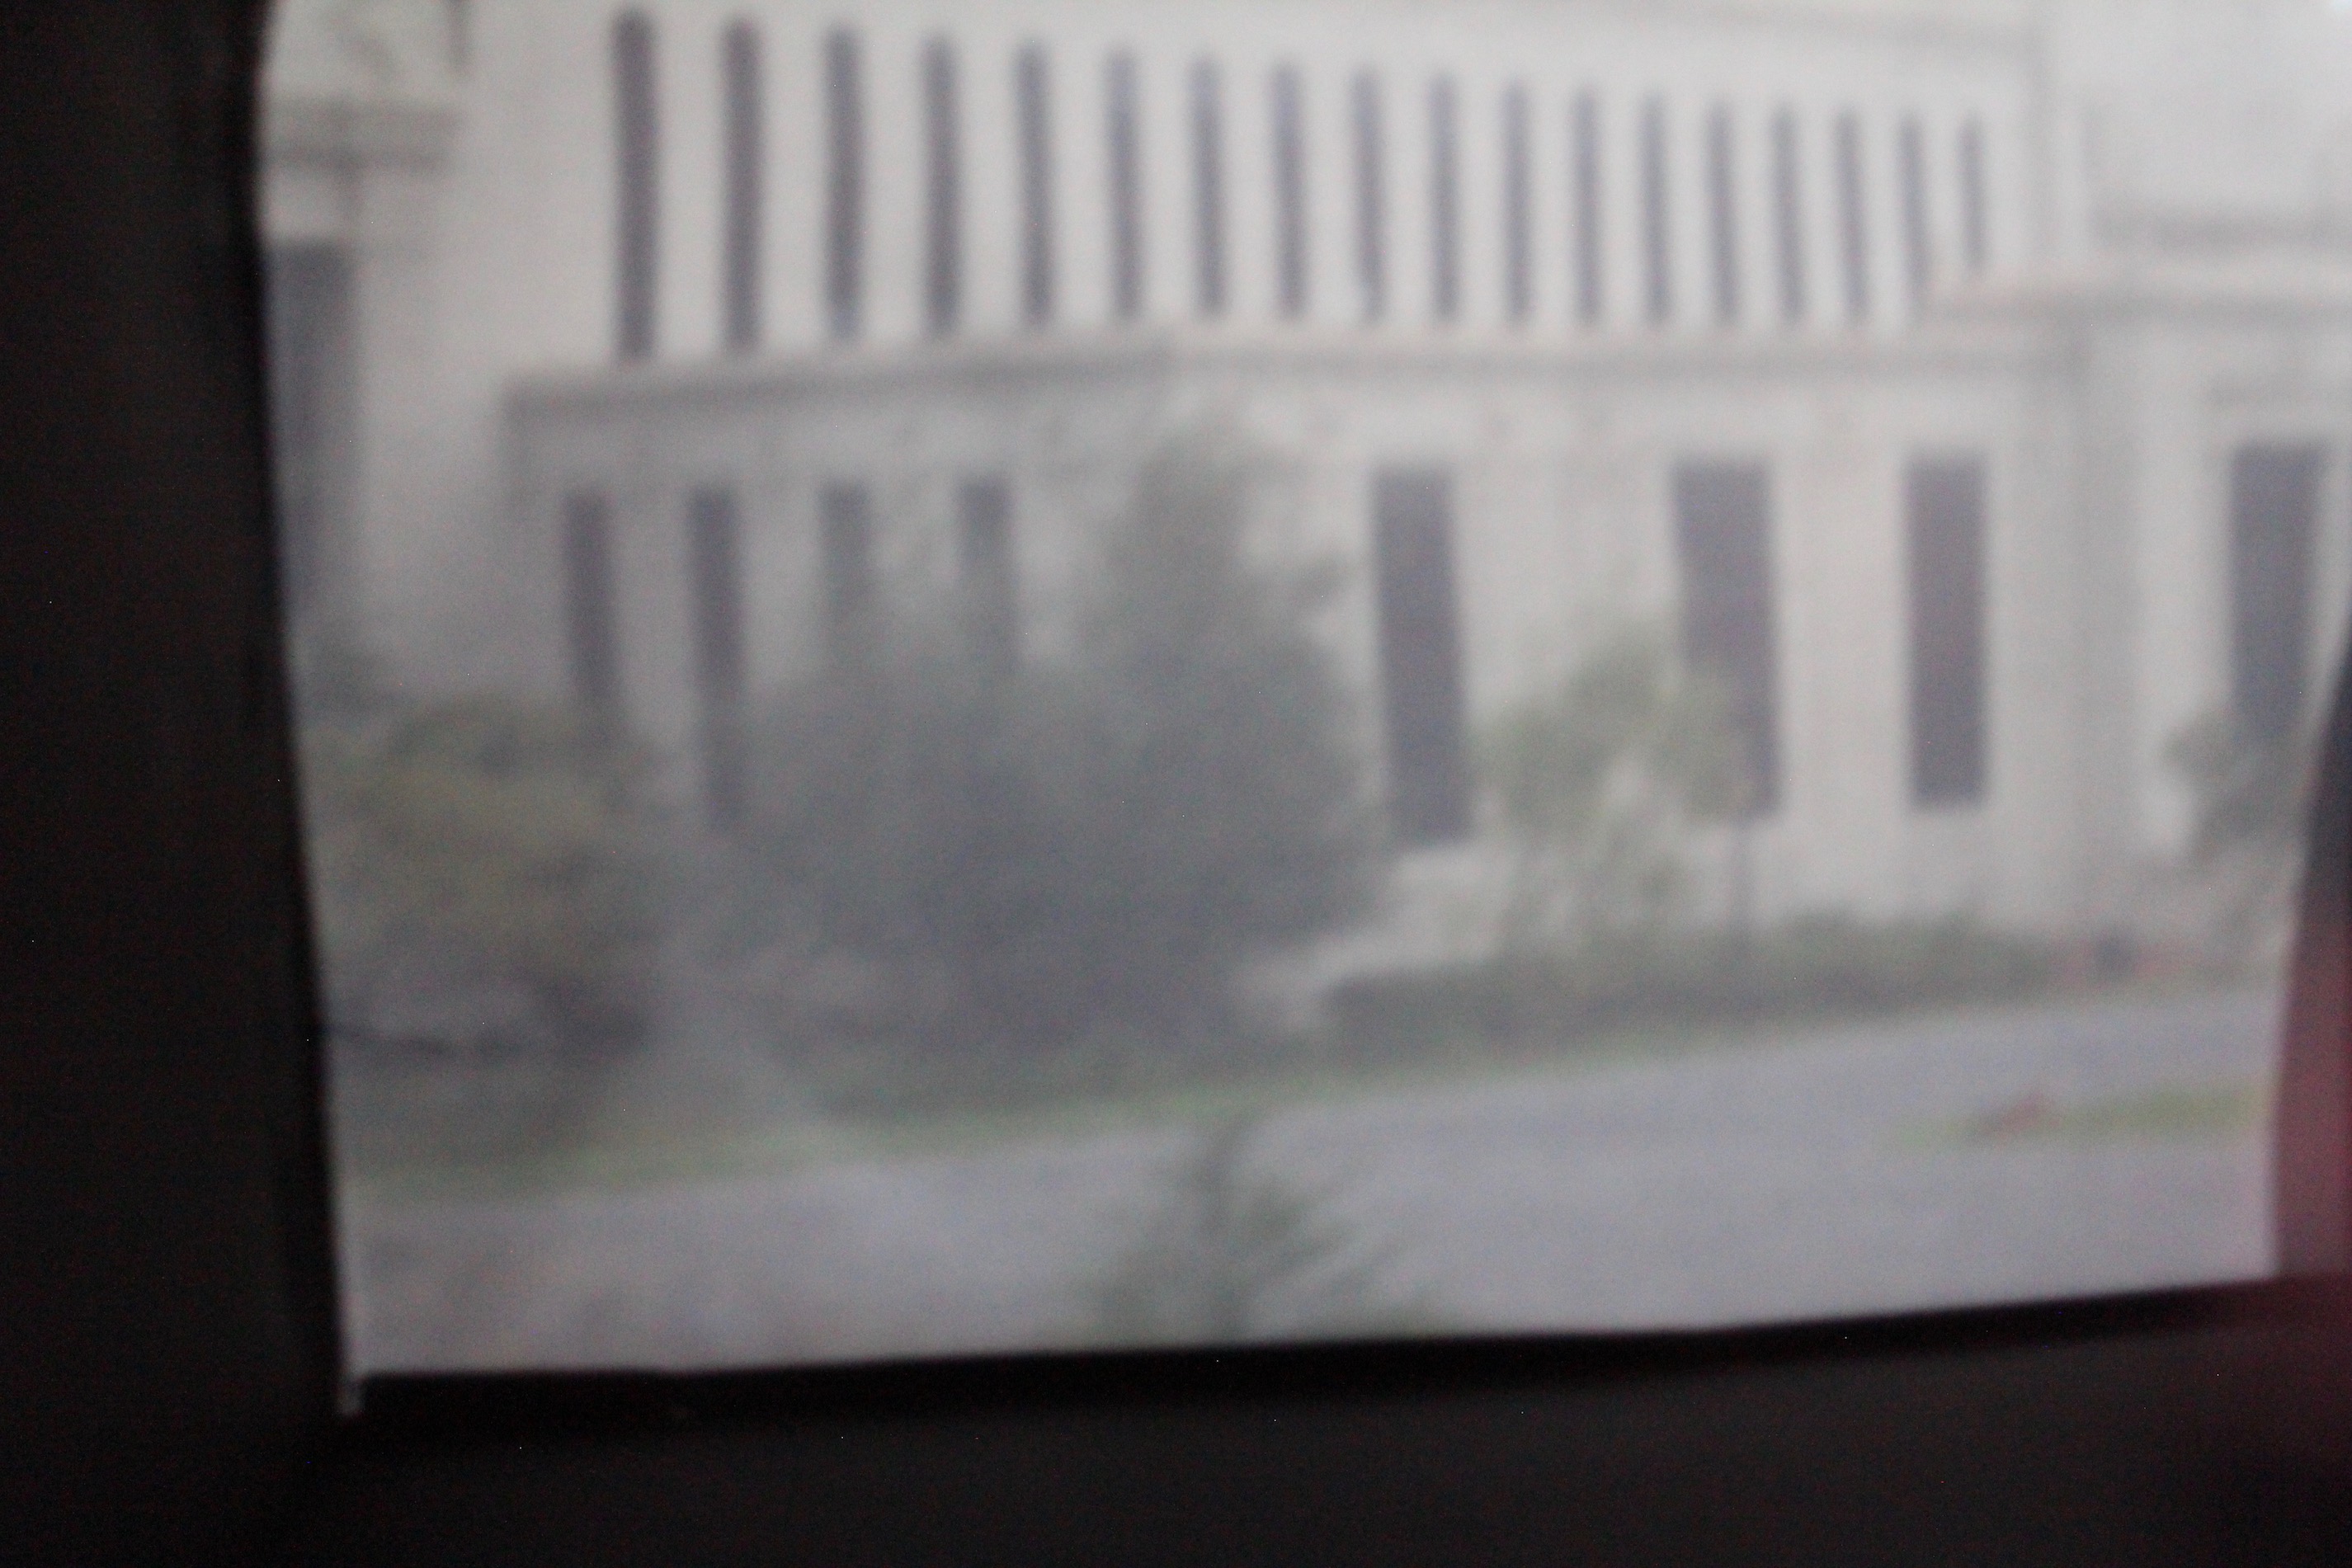
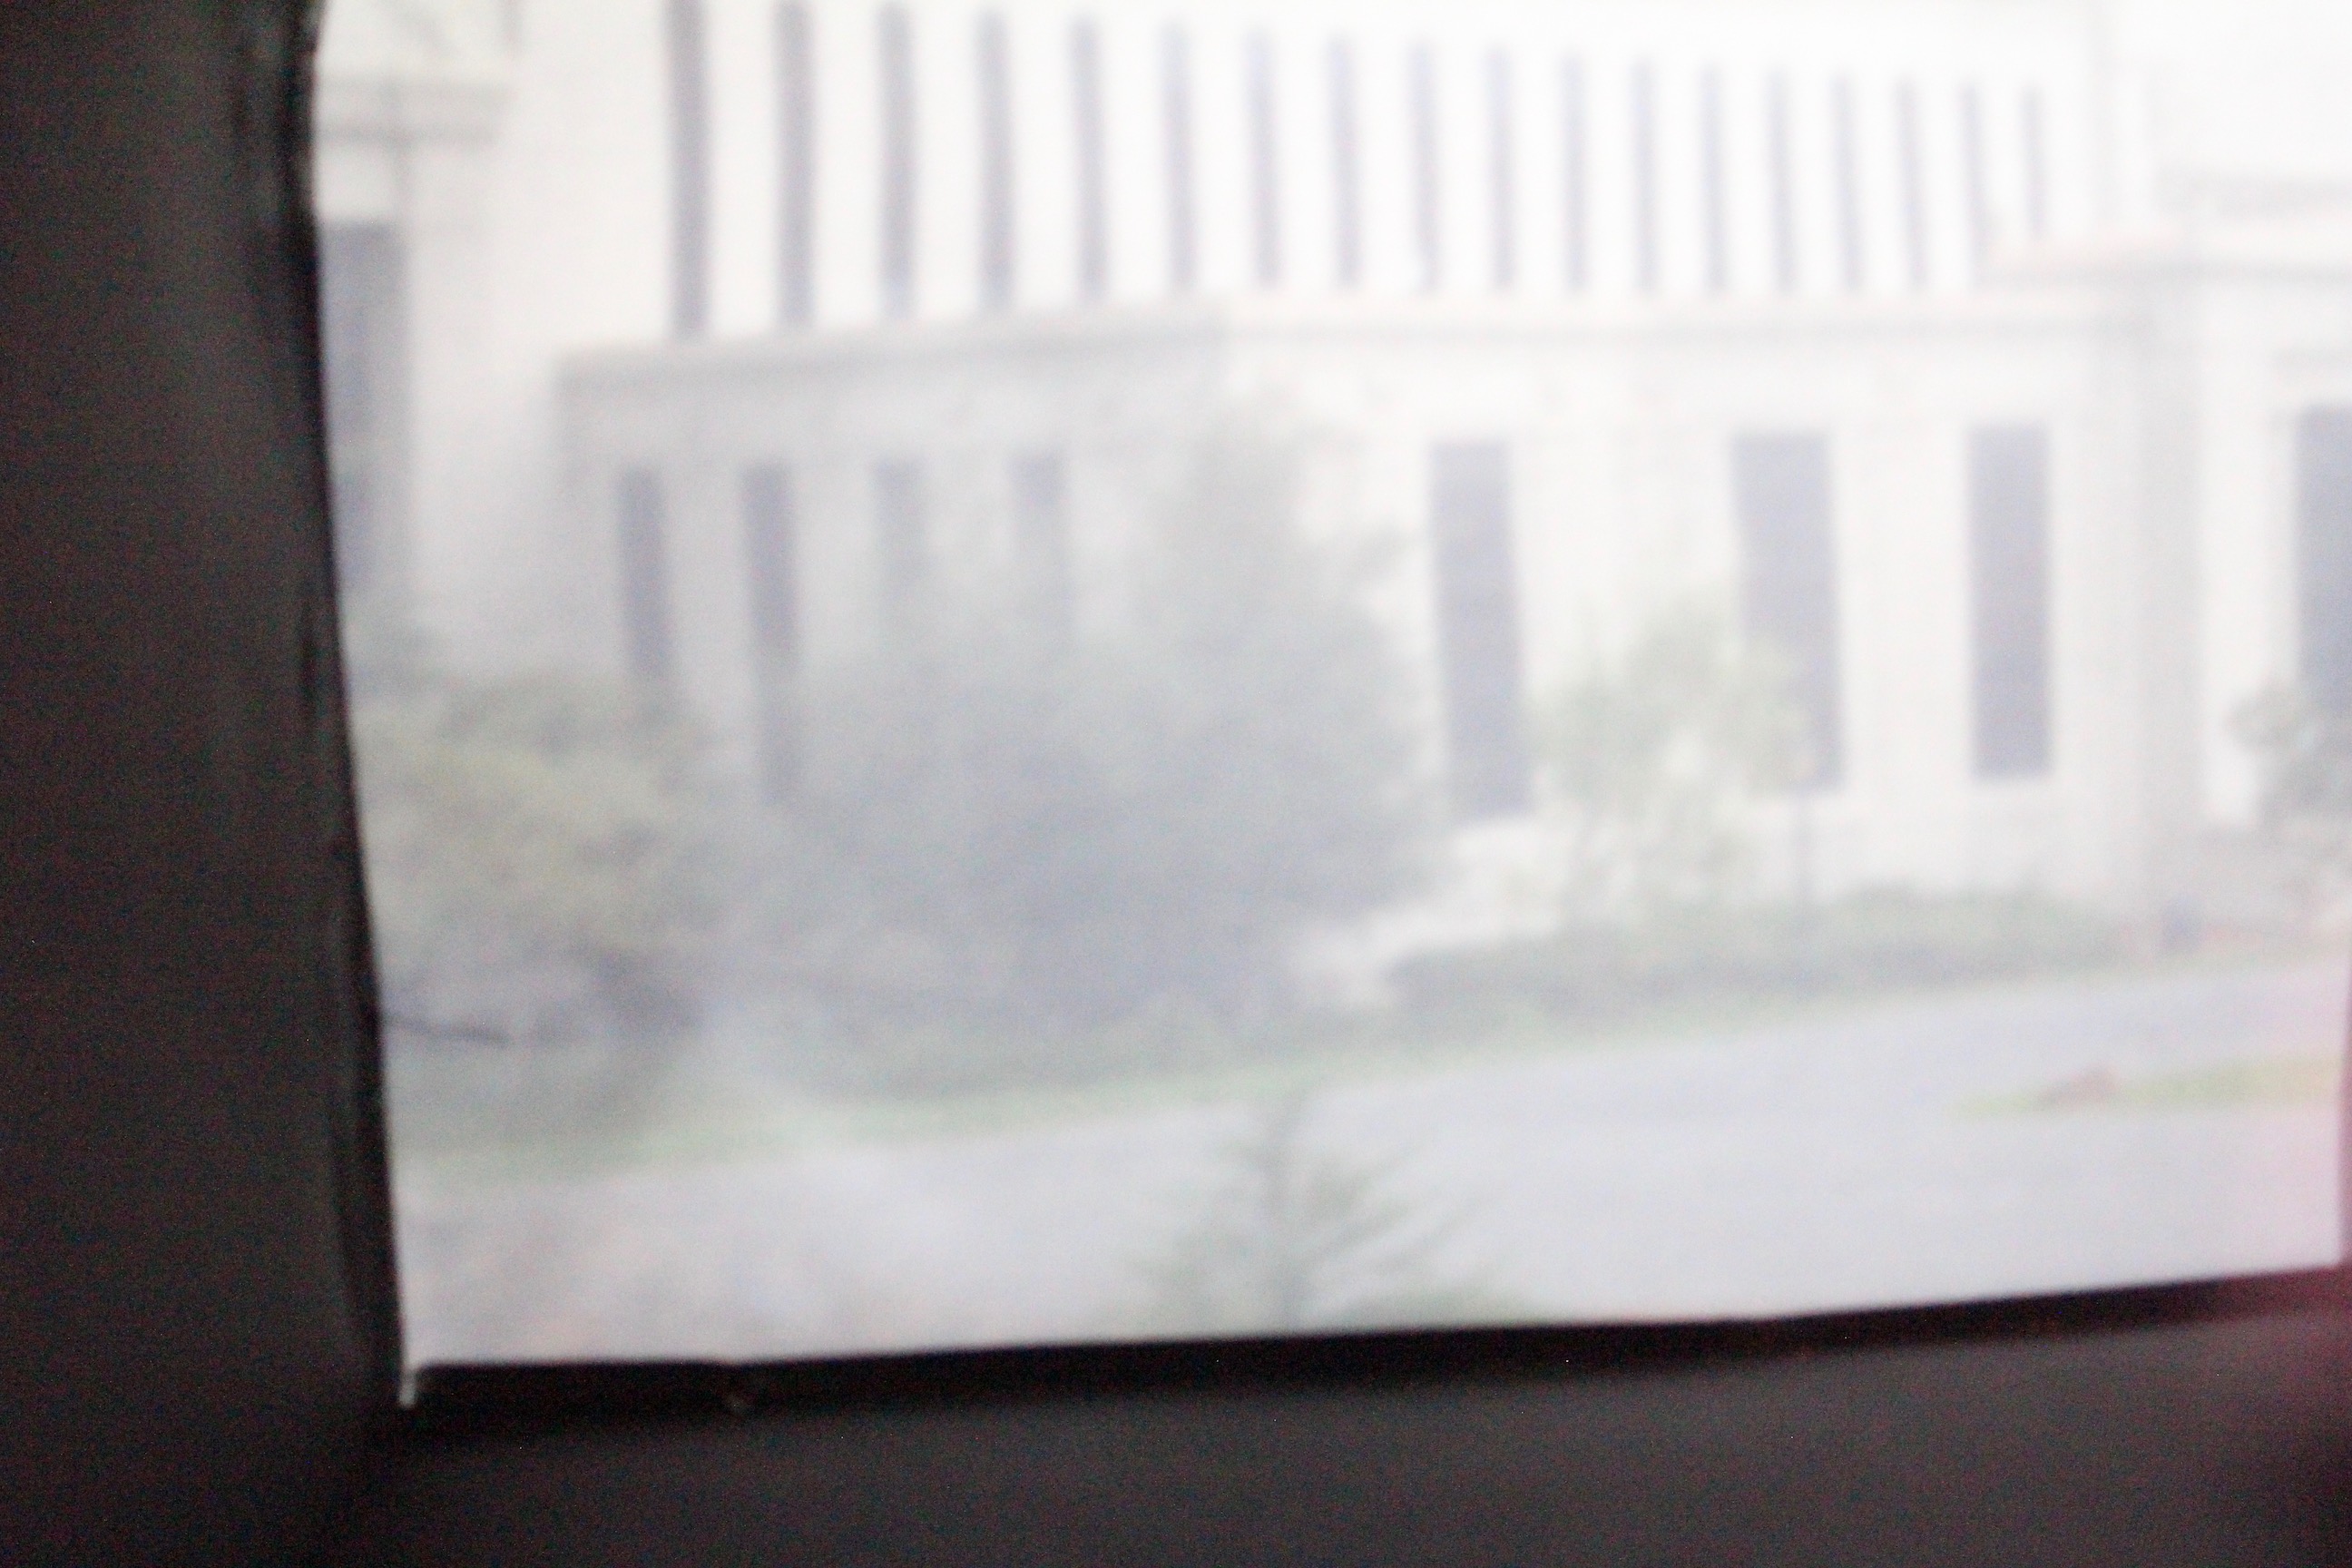
Scene 1: VLSB
1mm diameter
3mm diameter
5mm diameter
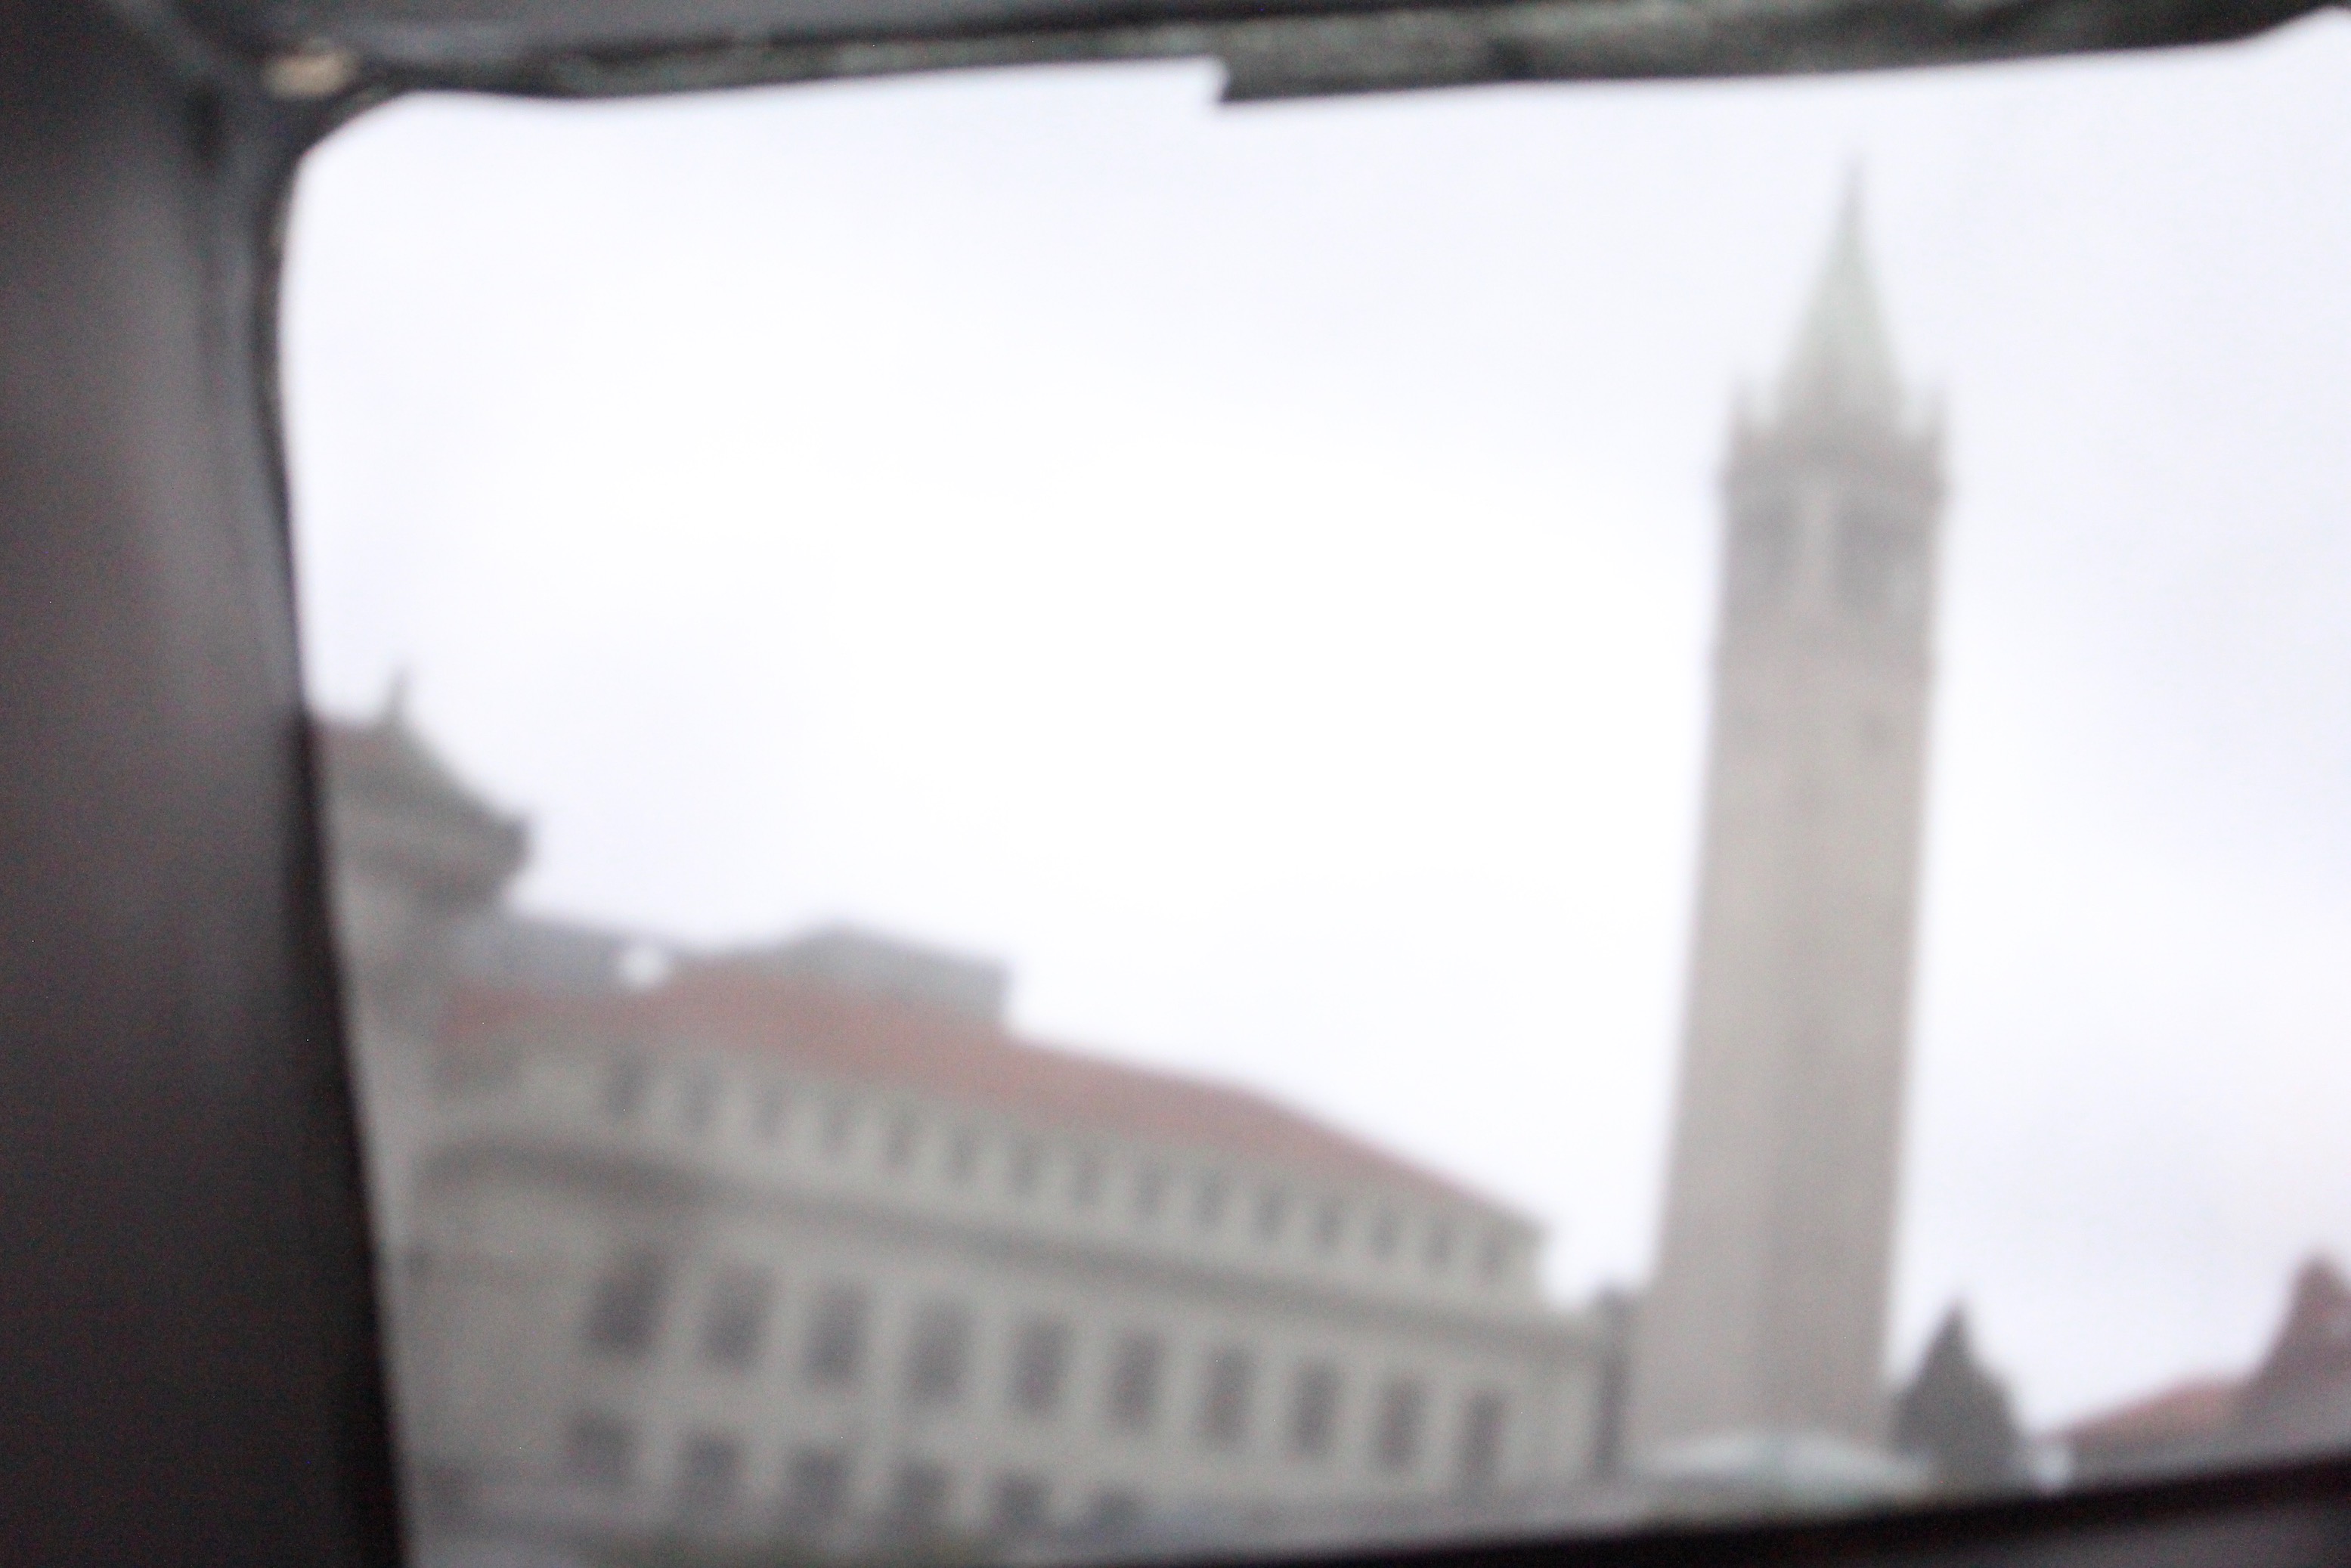
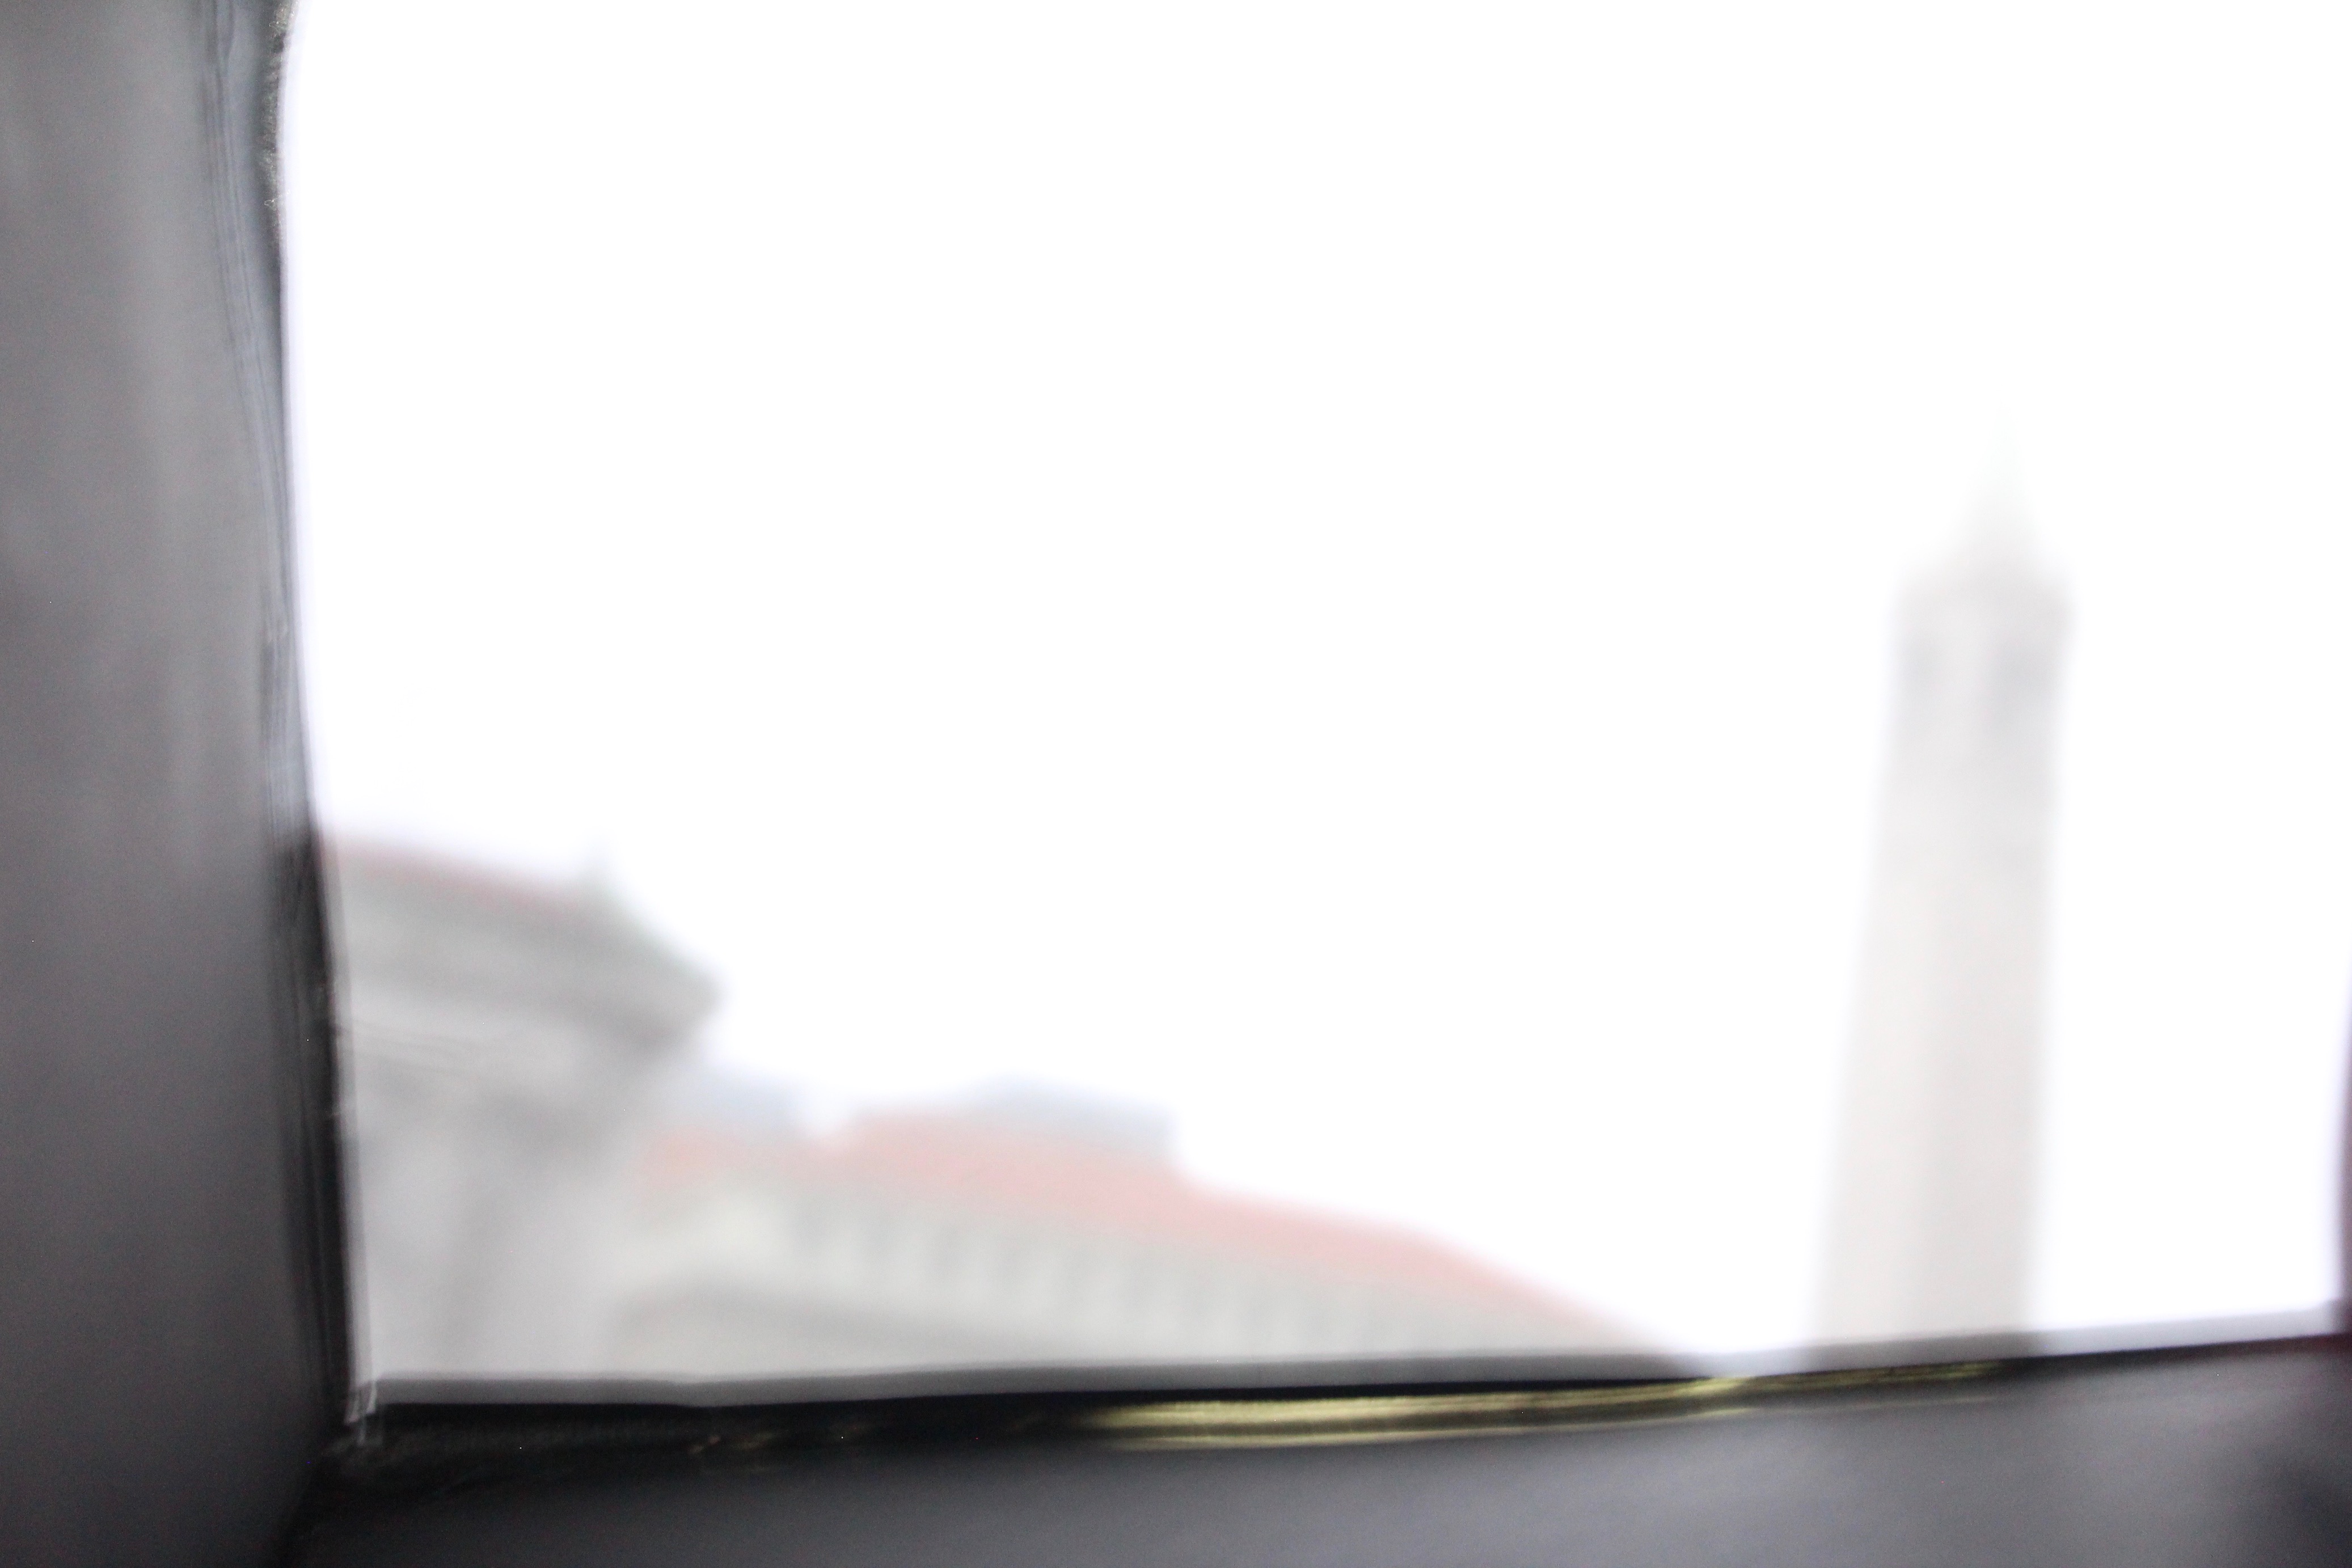
Scene 2: Campanile from the Glade
1mm diameter
3mm diameter
5mm diameter
Image Analysis: What Went Wrong?
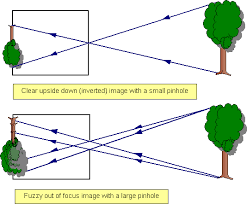
The 3mm pinhole resulted in a blurrier and brighter image than 1mm, and the 5mm even more so. The pinholes are acting as the aperture to let light into our shoebox, so it's easy to see why larger apertures created brighter images. The blurriness is summarized by the diagram to the right.
With a very small pinhole, there is just enough space for a single light ray from each point on the target image to reach through onto the back of our shoebox, which is called the "imaging plane". With a larger pinhole (the bottom picture) light rays from mutliple points will combine on a single point. Each point on the captured image contains information about that point and its nighbors from the target image, leading to a blurred image.
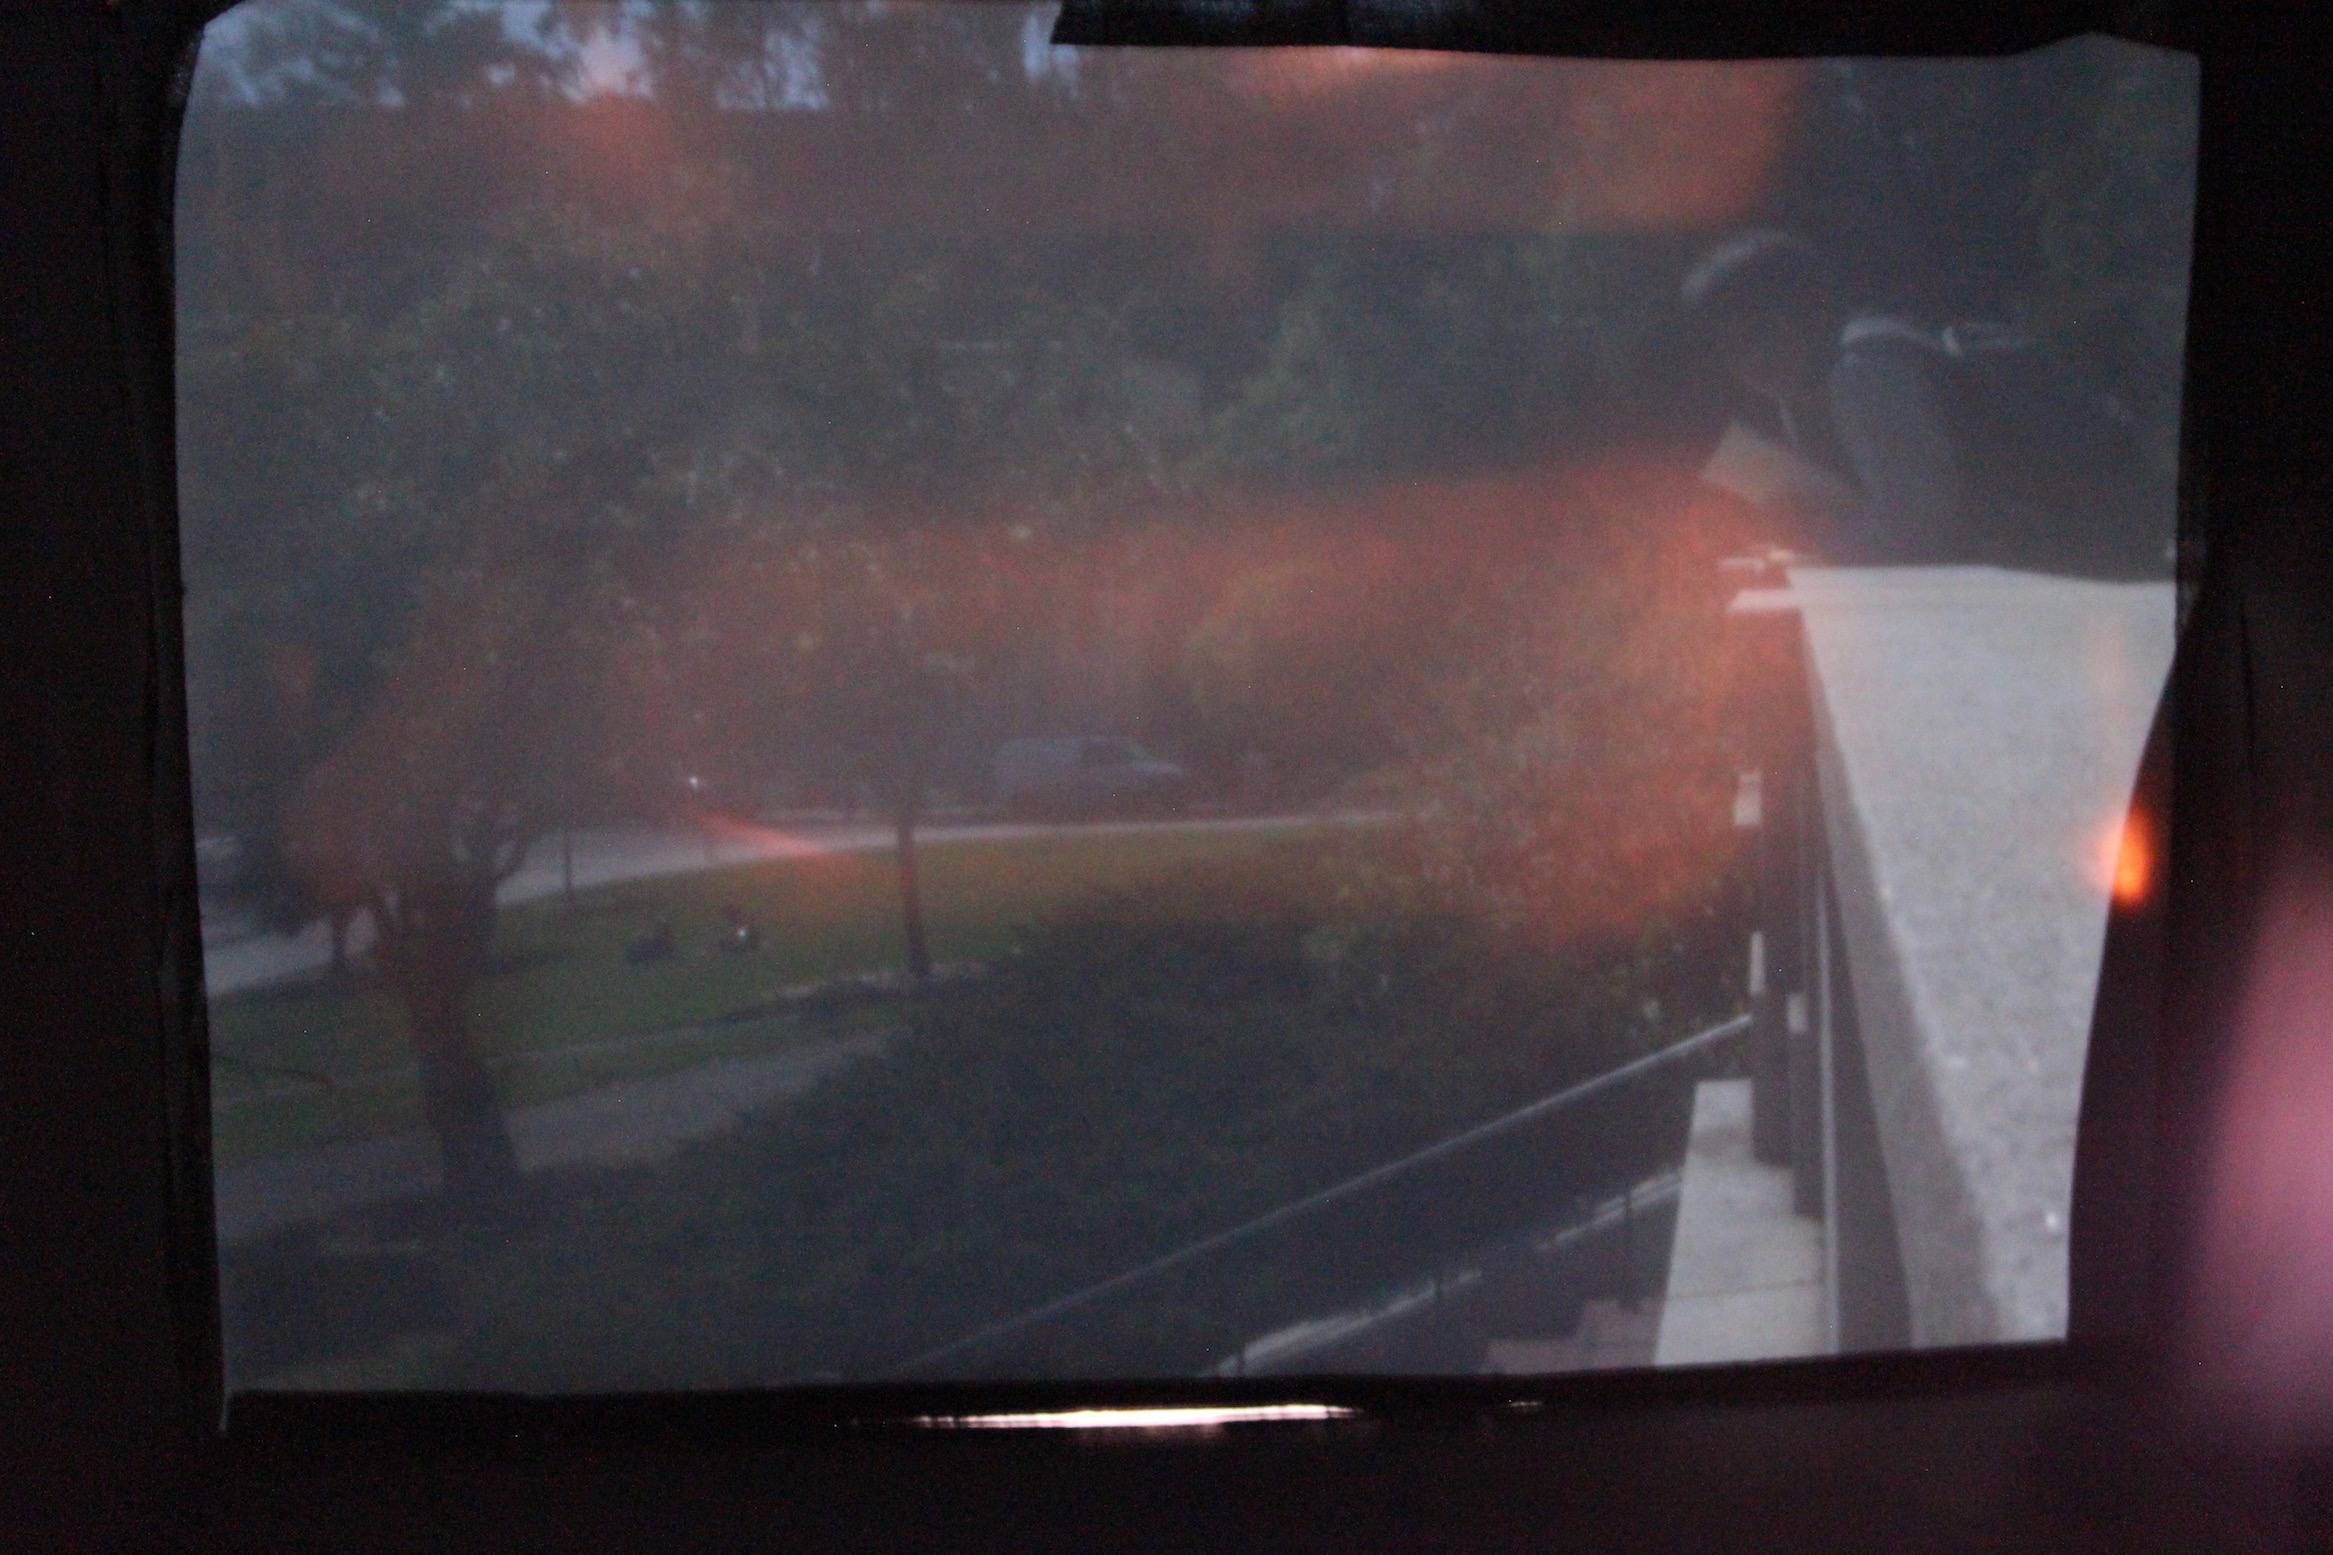
We also faced an issue with colors leaking into our pictures, more visible in the additional images below than the pinhole test images. The end of the shoebox that served as our imaging plane (the end with the white paper) had a round handle cut in the cardboard. We covered many gaps inside the box with black tape, but used a brownish/reddish duct tape to seal up the exterior of the box. After we noticed this effect we also put black tape over the handle, and while largely mitigated the effect it still prevailed in especially sunny spots (the 1mm VLSB image, "On the Edge").
Additional Images
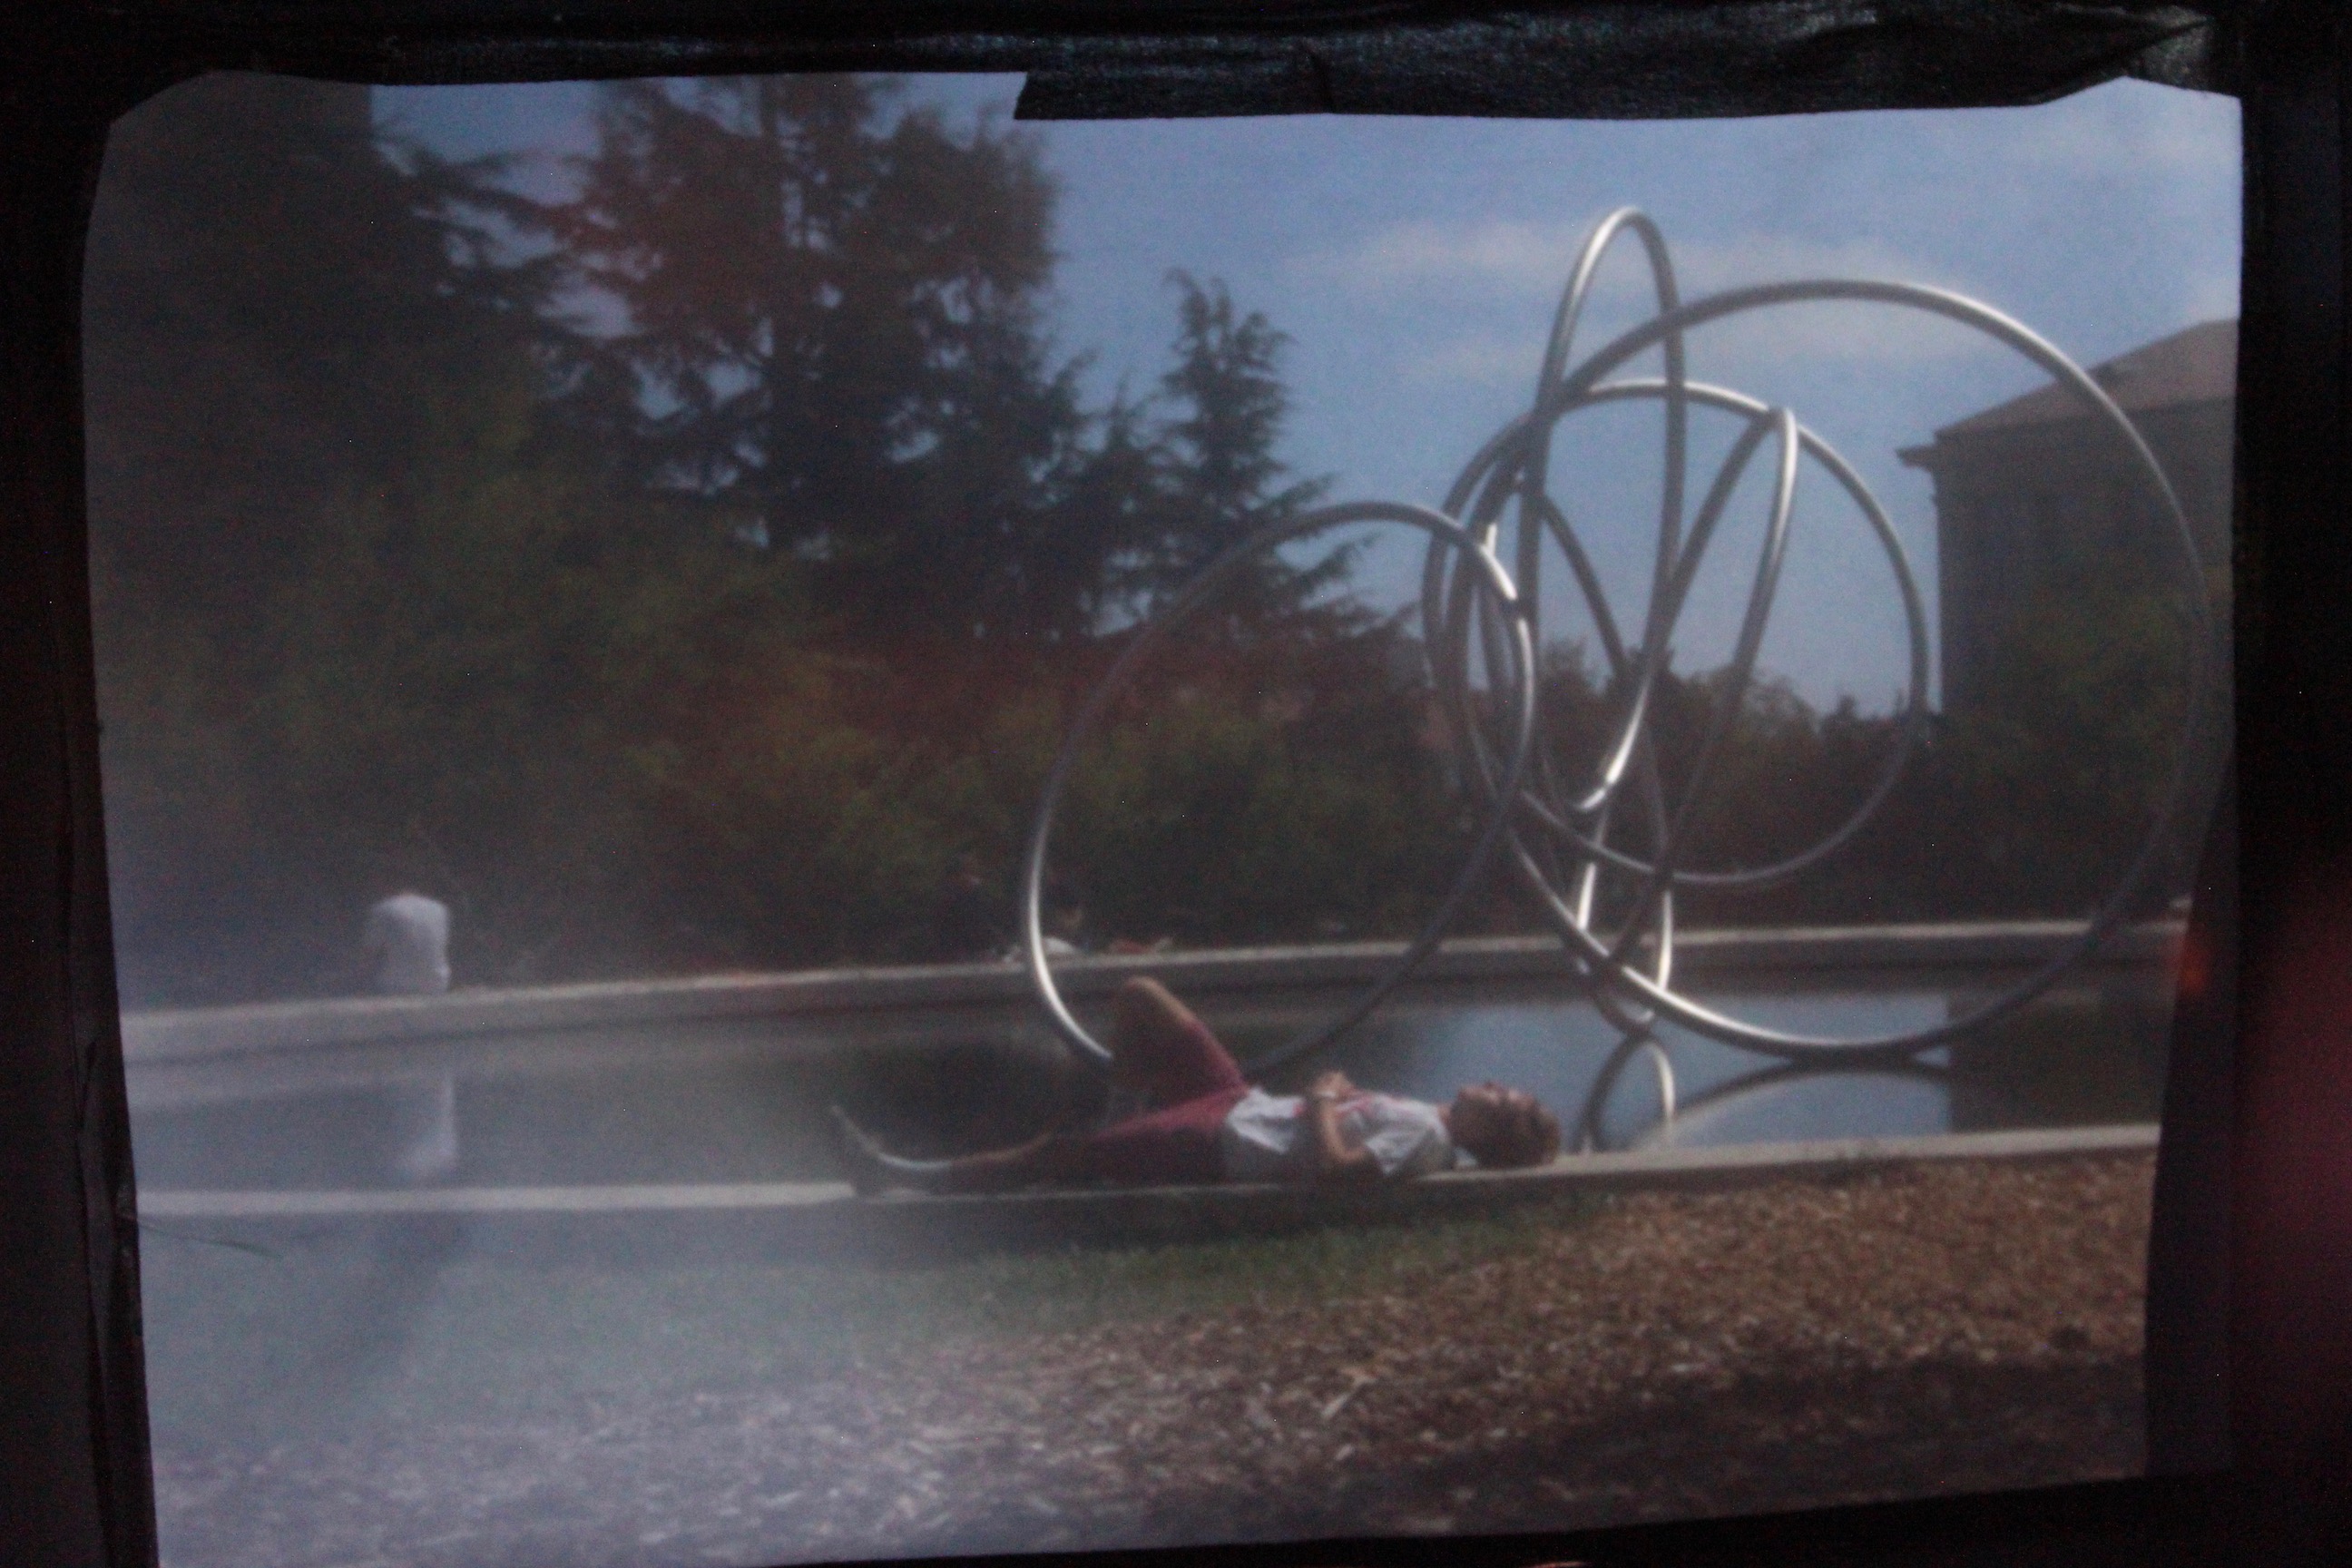
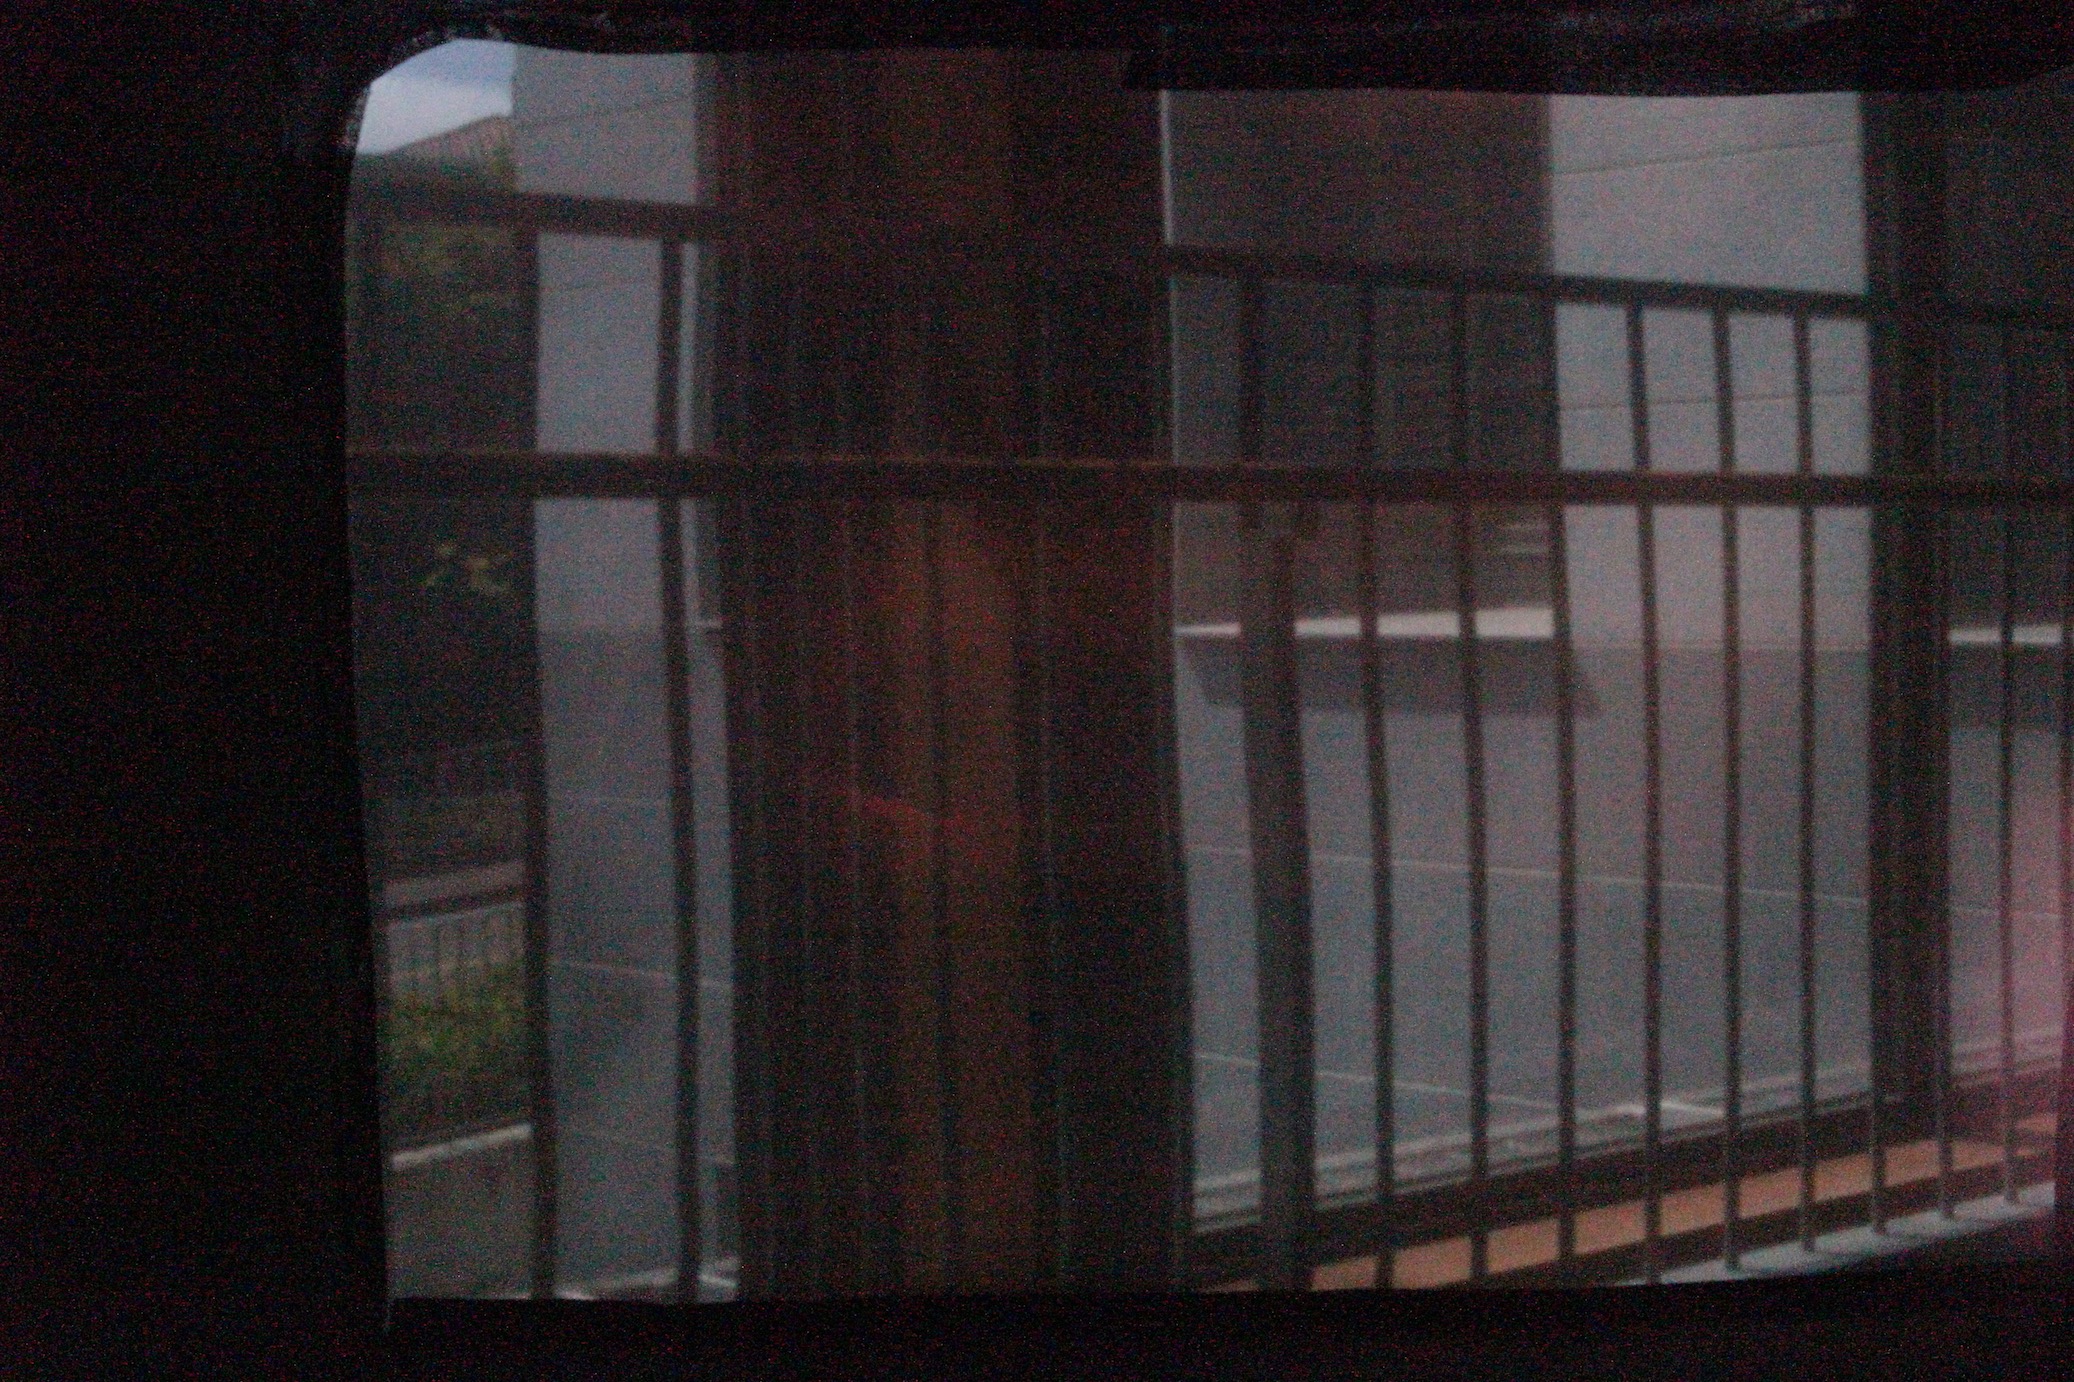
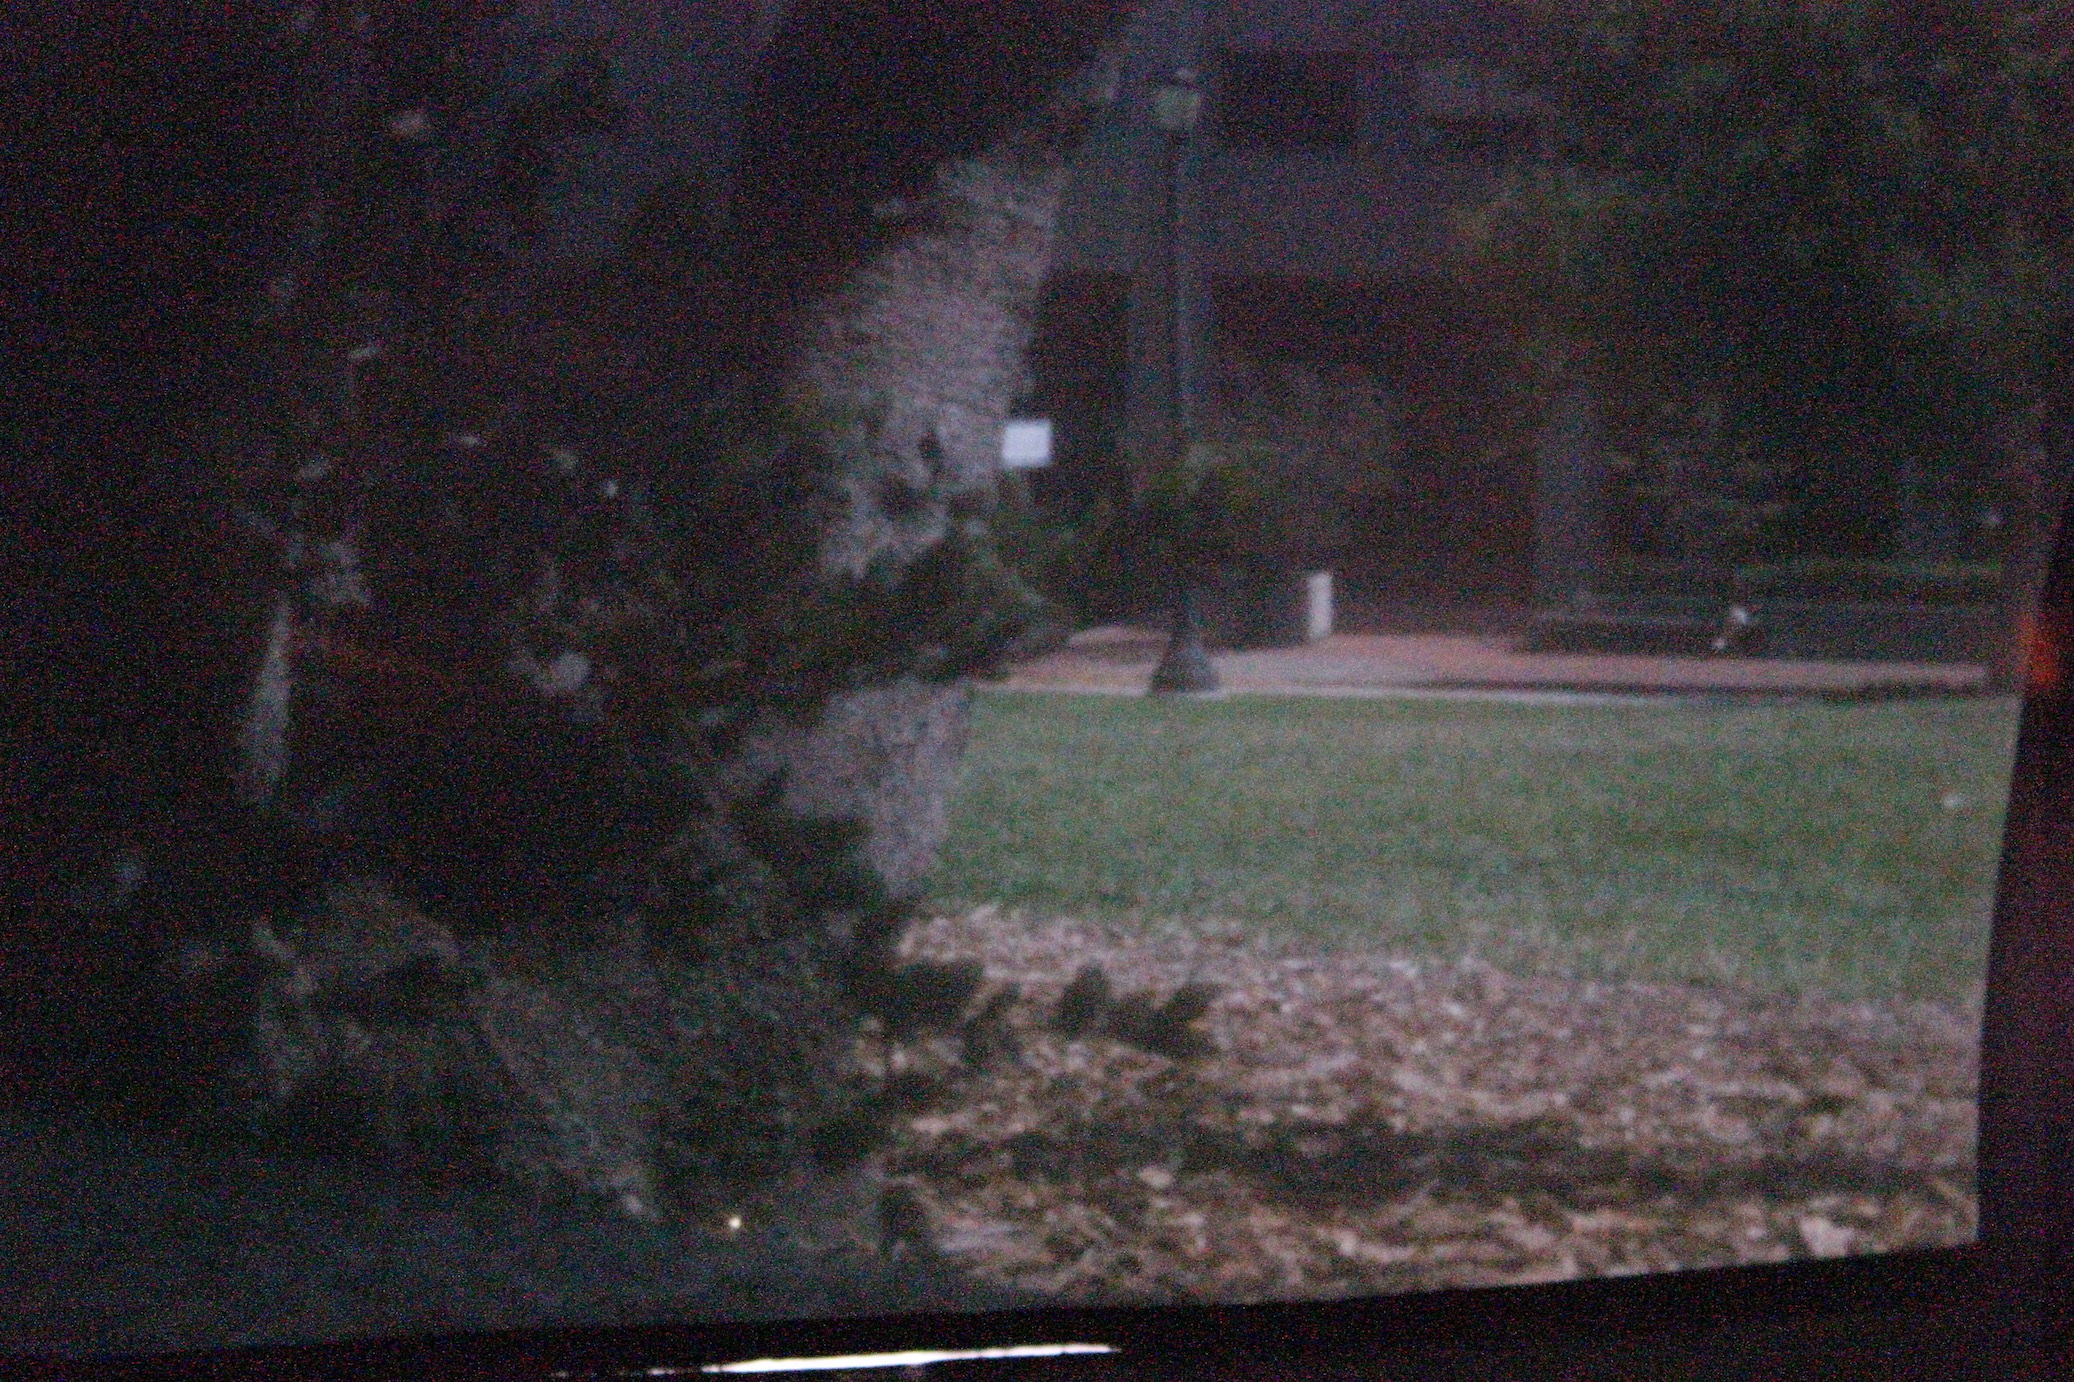
Due to the reasons stated above in the "Image Analysis" section we determined our images retained the most detail and clarity with the 1mm pinhole, so we captured a few extra scenes with just this pinhole. Minus the coloring issues the results turned out very well!
Making My Way Downhill
Shoebox Photoshoot
Always On Edge
Through the Looking Glass
Treeeeeeeees
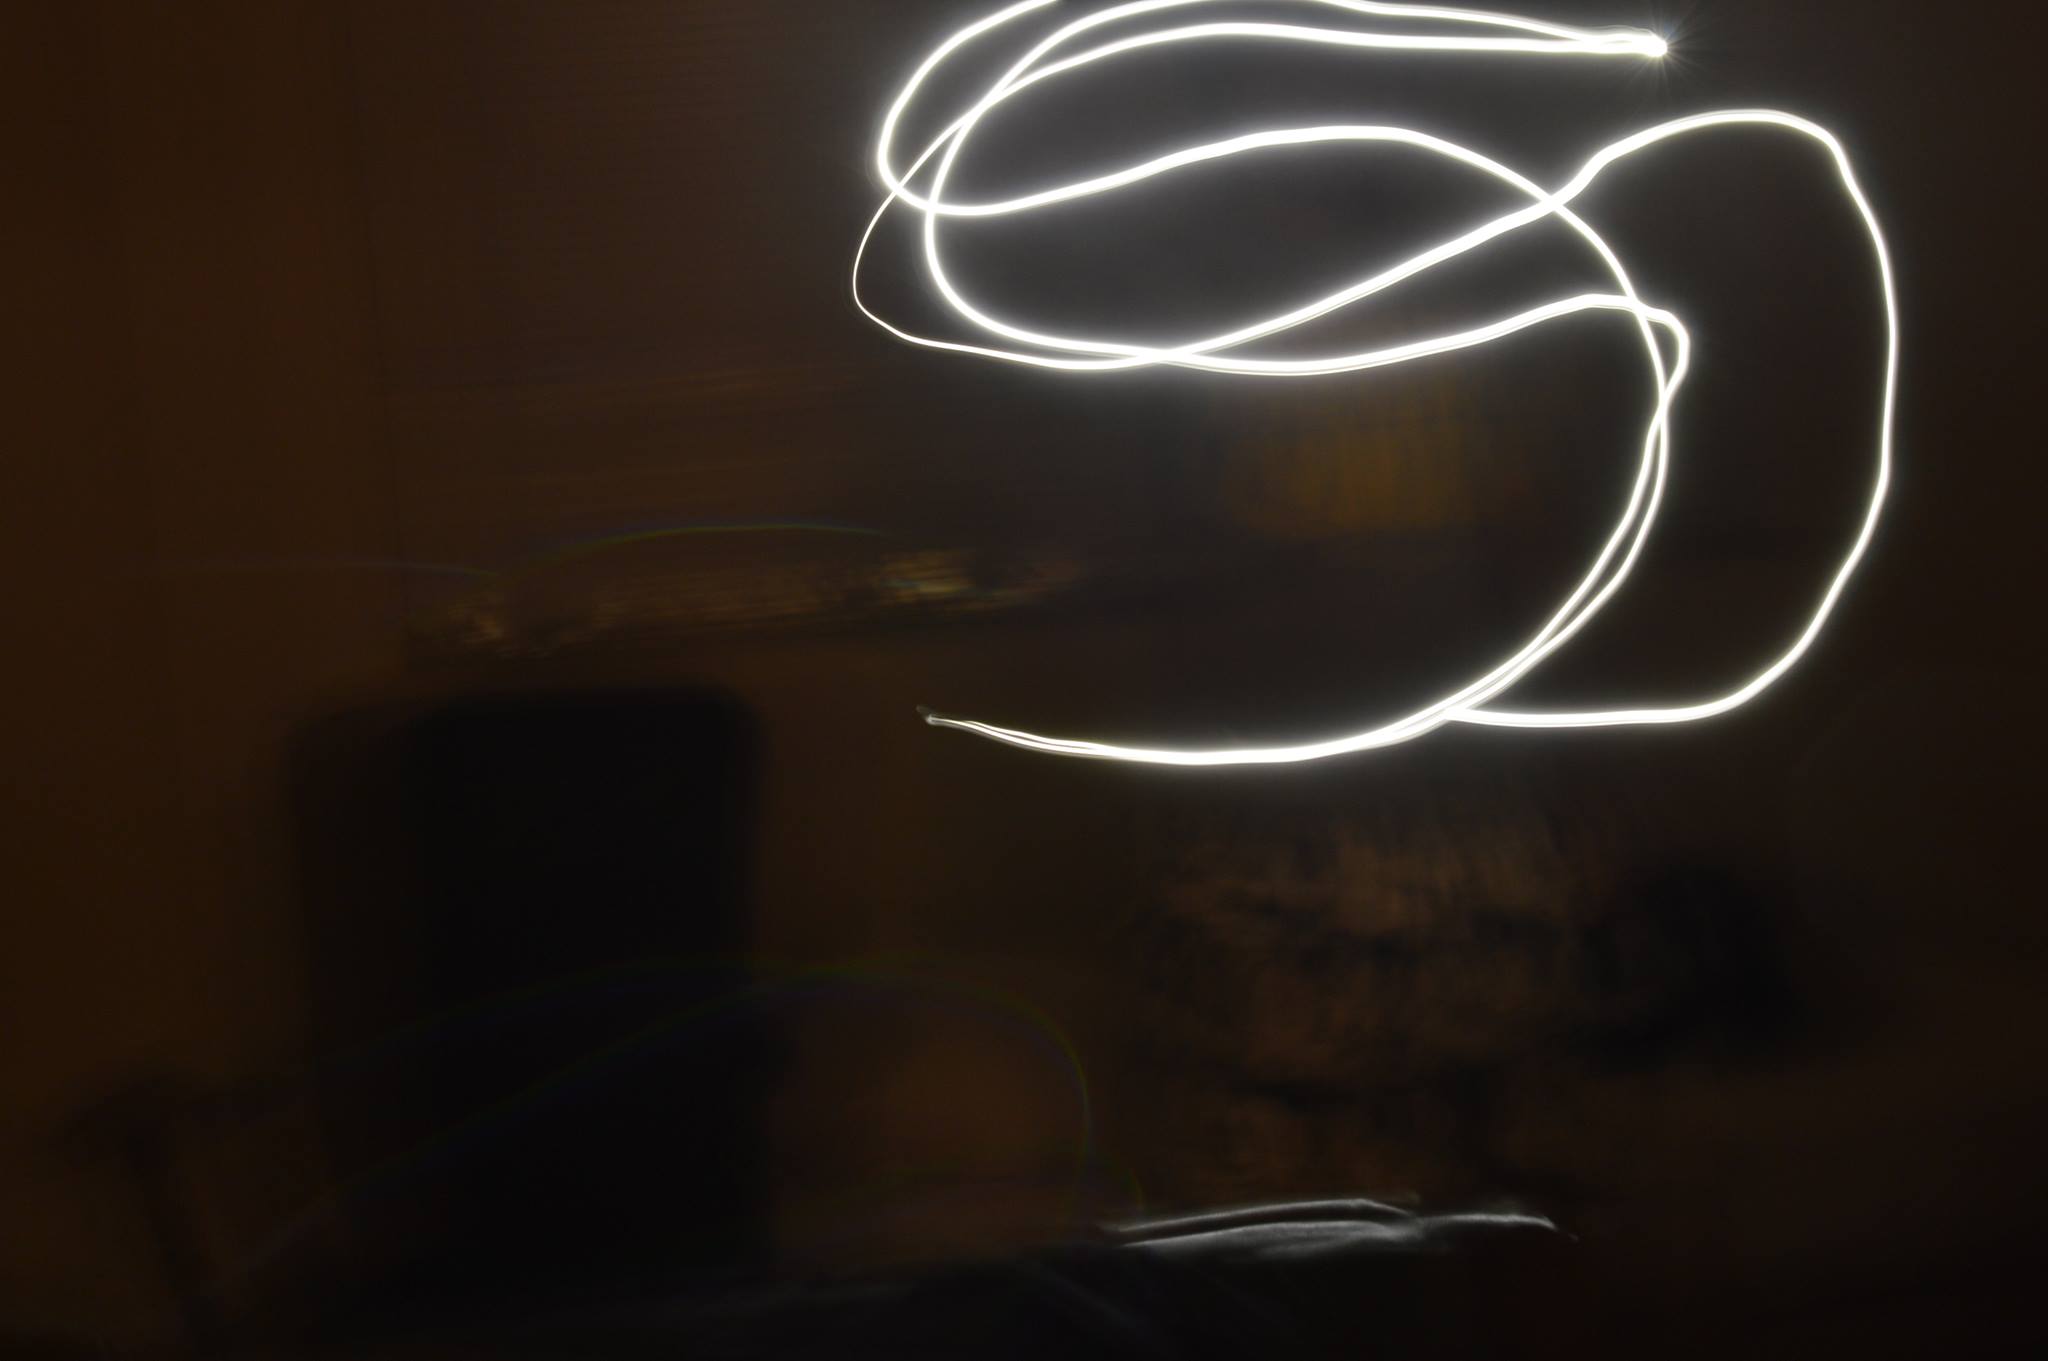
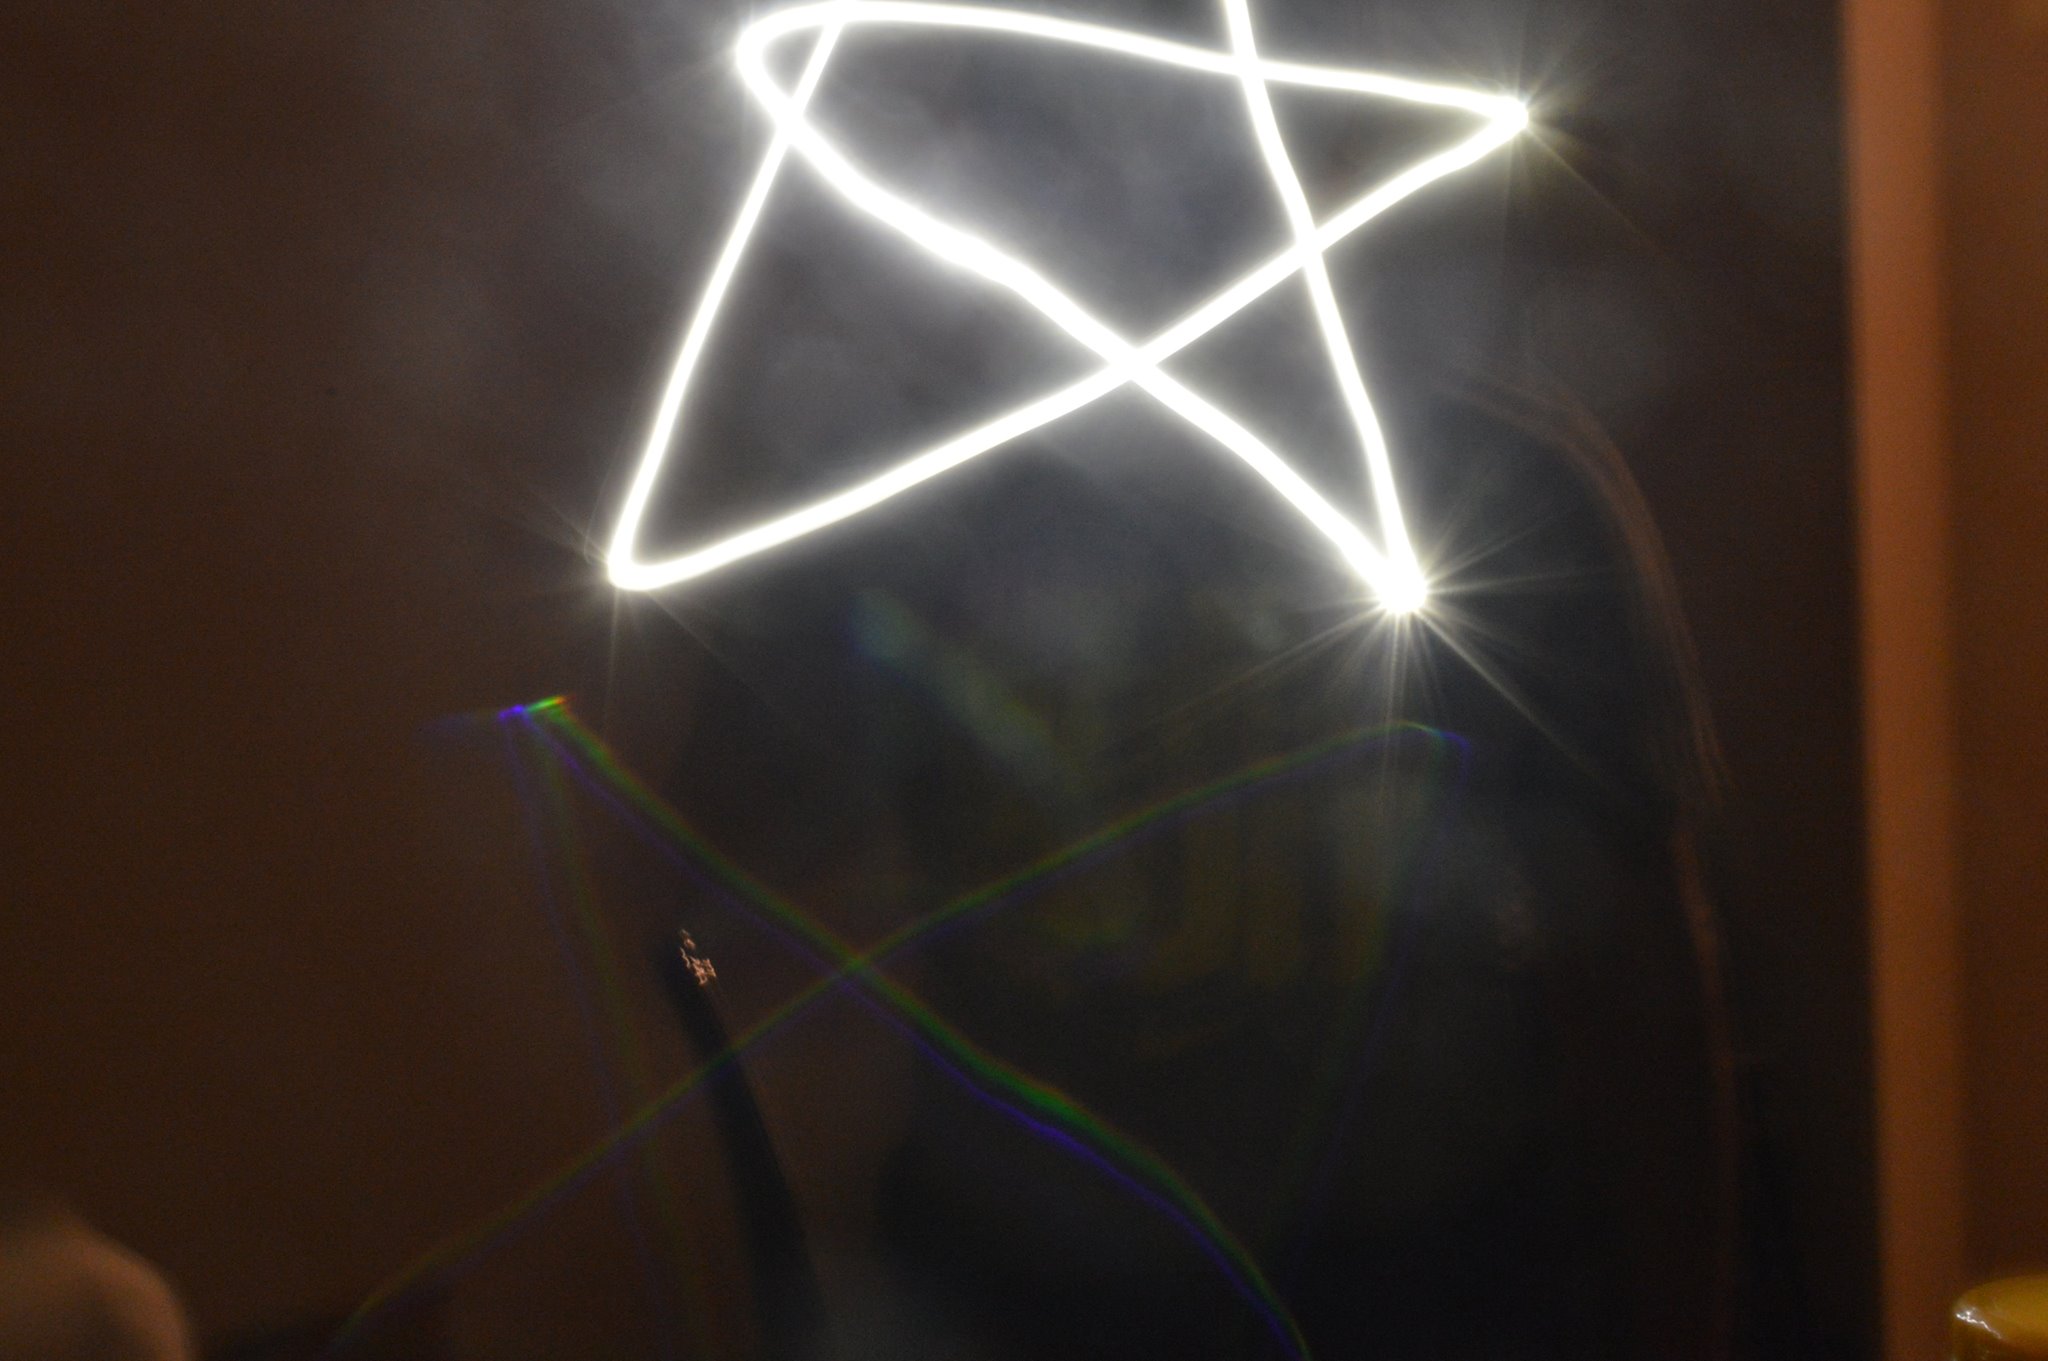
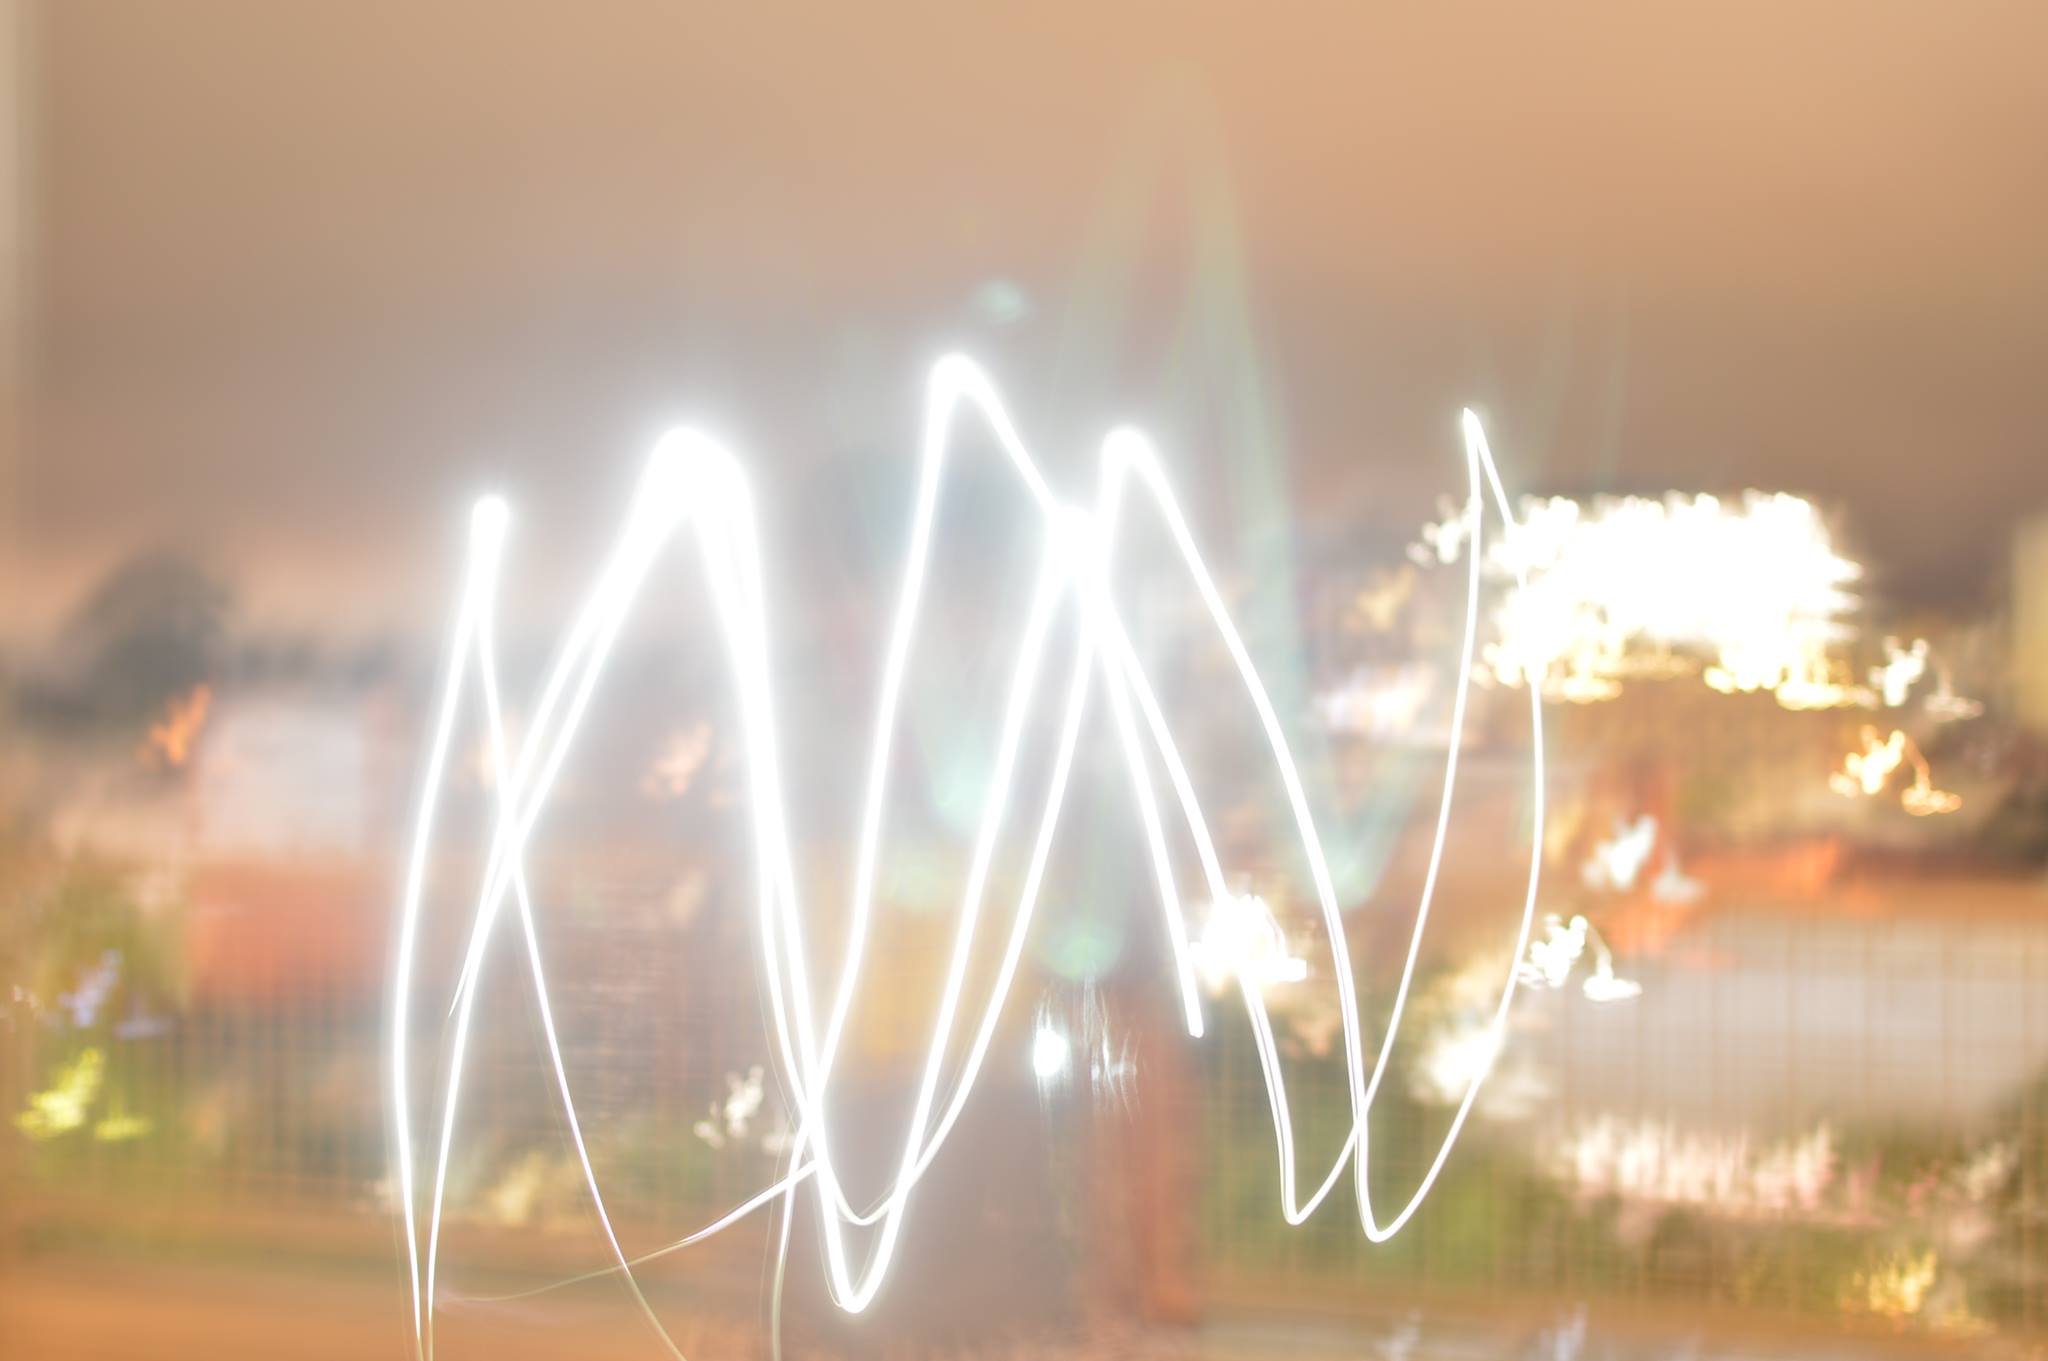
Bells and Whistles: Light Painting
We experimented with light painting with our digital camera and the
flashlights on our smartphones. To capture these images, we set an exposure
time of 15 seconds on our digital camera. Here are the results.
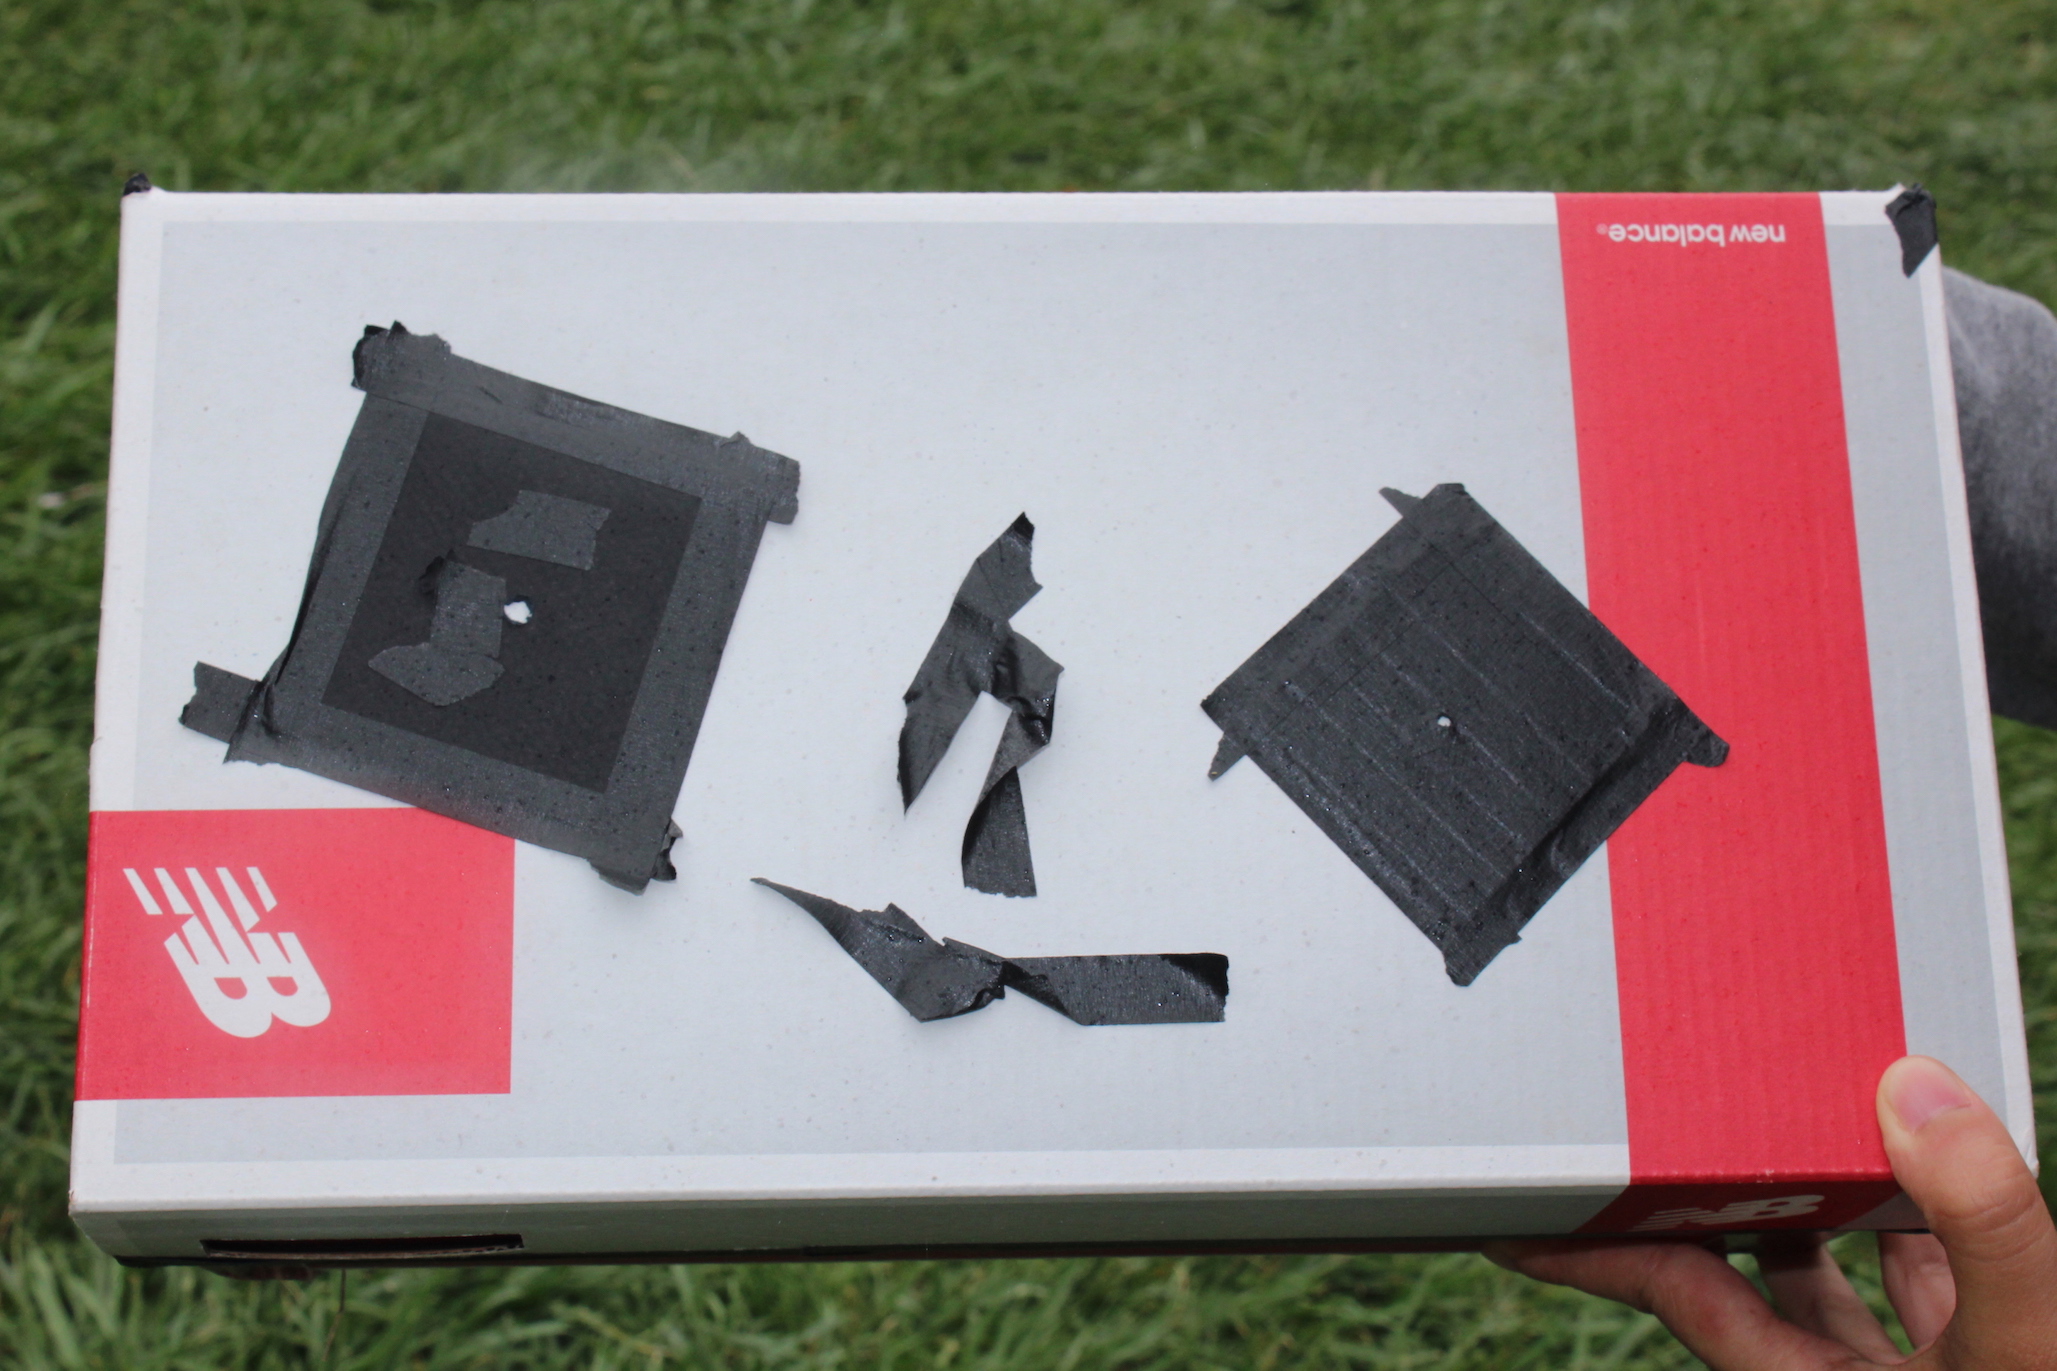
Bonus Image: Panda
While testing one of the pinholes I stuck the other 2 and some spare tape to the top of the box. It just so happened to look like a panda!
Thank you for reading our Camera Obscura presentation.