CS 194-26 Project 2: Building a Pinhole Camera
Edward Fang (cs194-26-adf), Genevieve Tran (cs194-26-aeo), Jeffrey Wang (cs194-26-acl)Overview
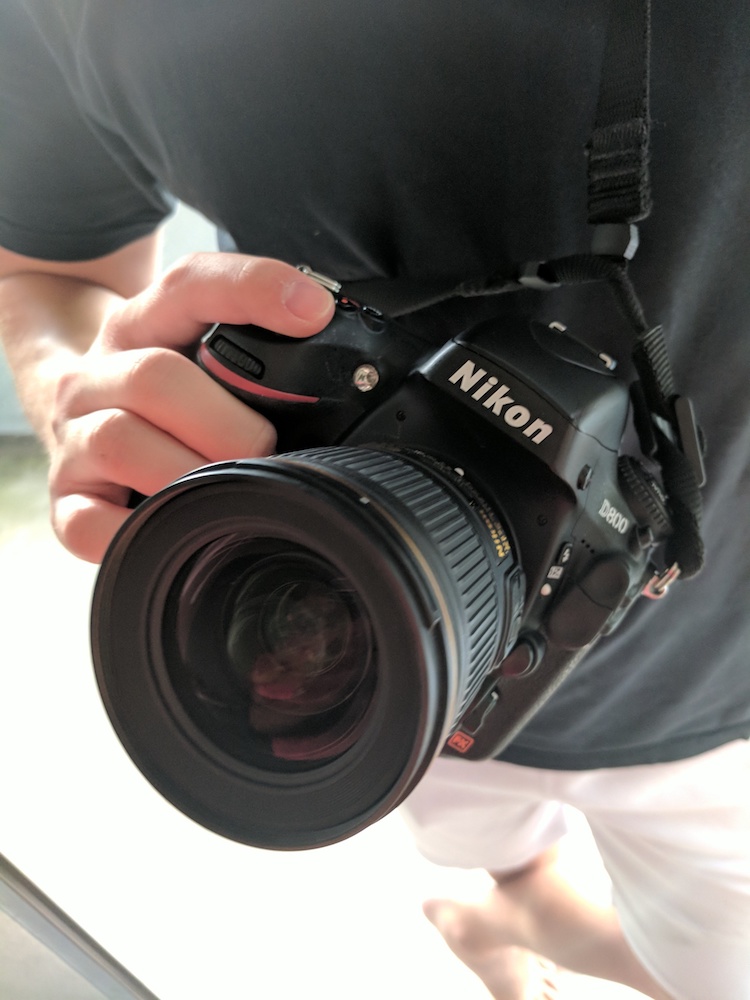
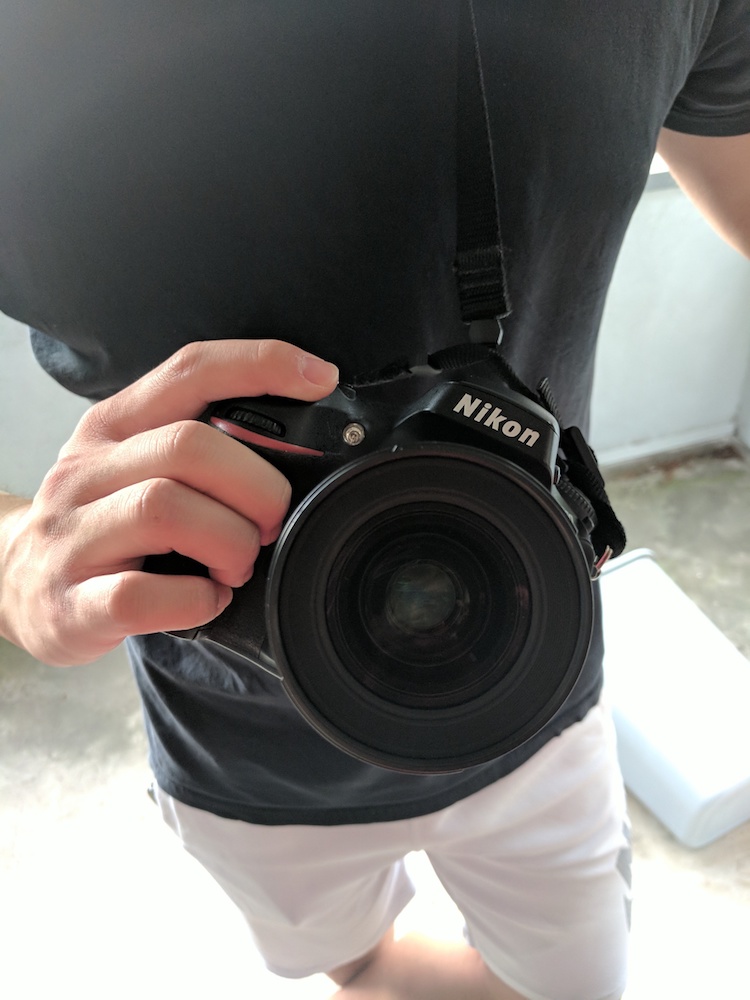
In this project, we created a simple camera obscura through the use of a shoebox and cardstock paper. The idea is to create an enclosed compartment in which light may only enter through a small hole (the pinhole). Any light entering the hole shall project over a white "backdrop" resulting in a display of an inverted image of wherever the whole was facing.
Bells and Whistles: Light Painting
Box-Building

1mm: 30sec, f1.8, L1.0 ISO;
3mm: 30sec, f2.8, L1.0 ISO;
5mm: 30sec, f4, L1.0 ISO;
Approach:
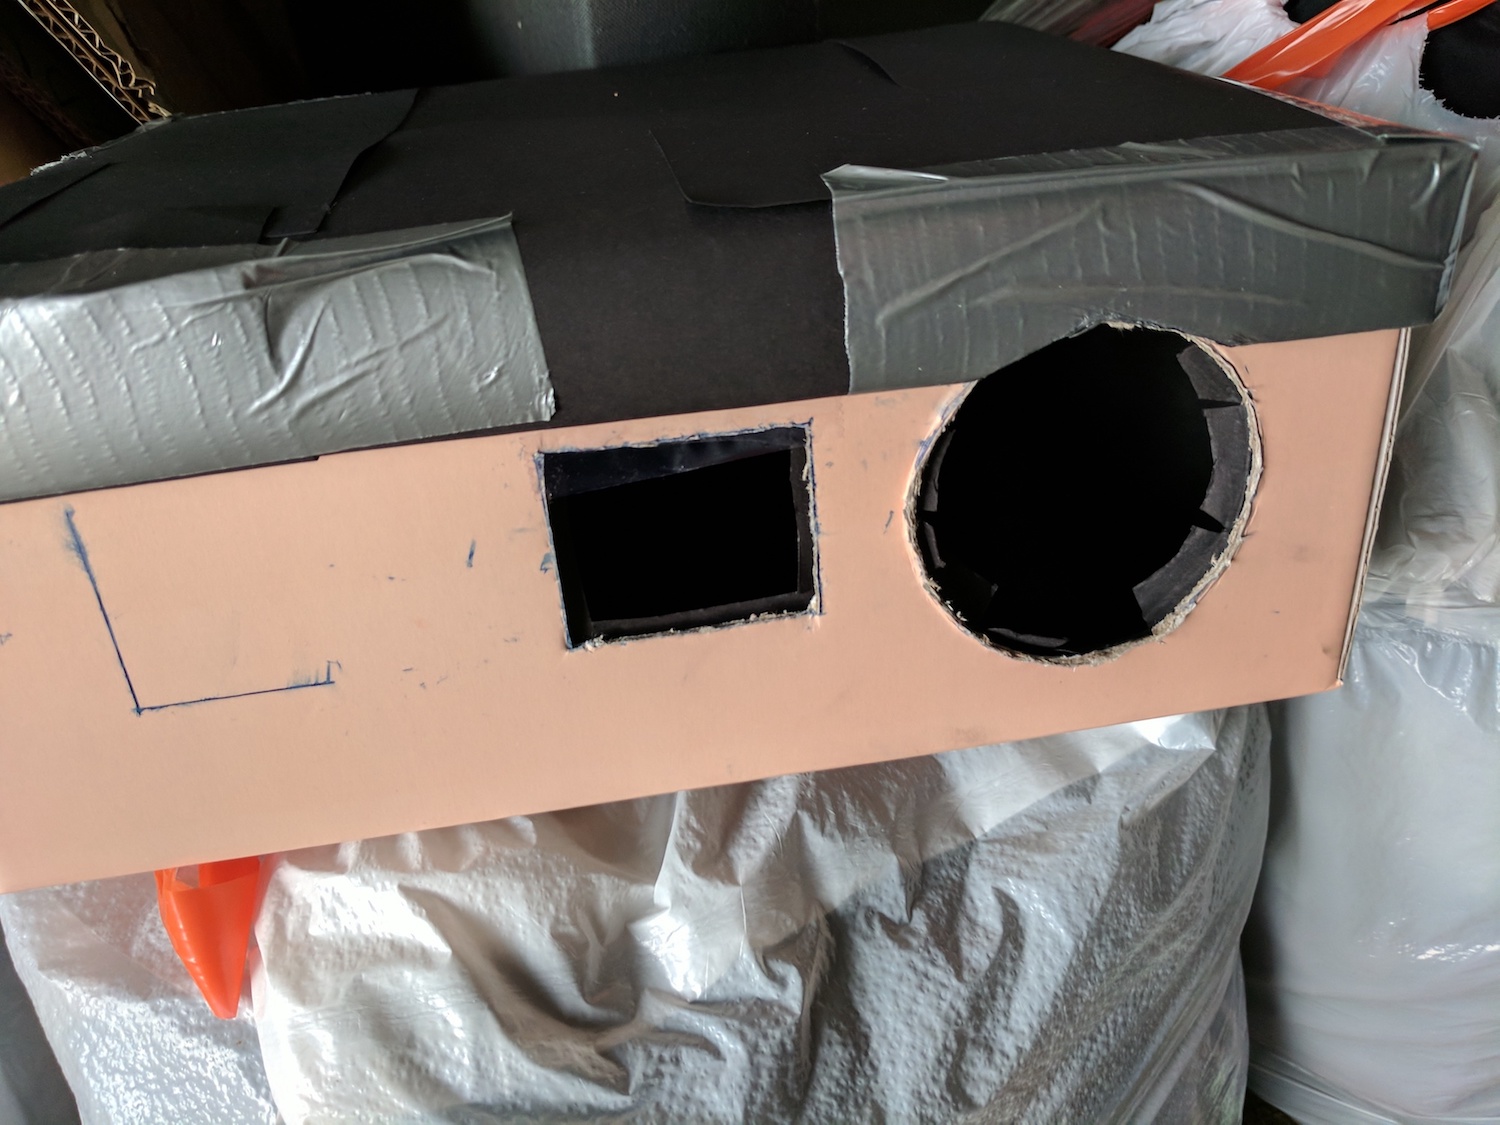
We first attempted building the camera obscura through the use of a shoebox, layering the insides with black cardstock, and creating pinholes of size 1mm, 3mm, and 5mm. We used white printer paper on the inside as a screen. We also lined the outsides with black paper and taped them down, too. Creating holes sizeable enough for the pinholes and the camera lens.
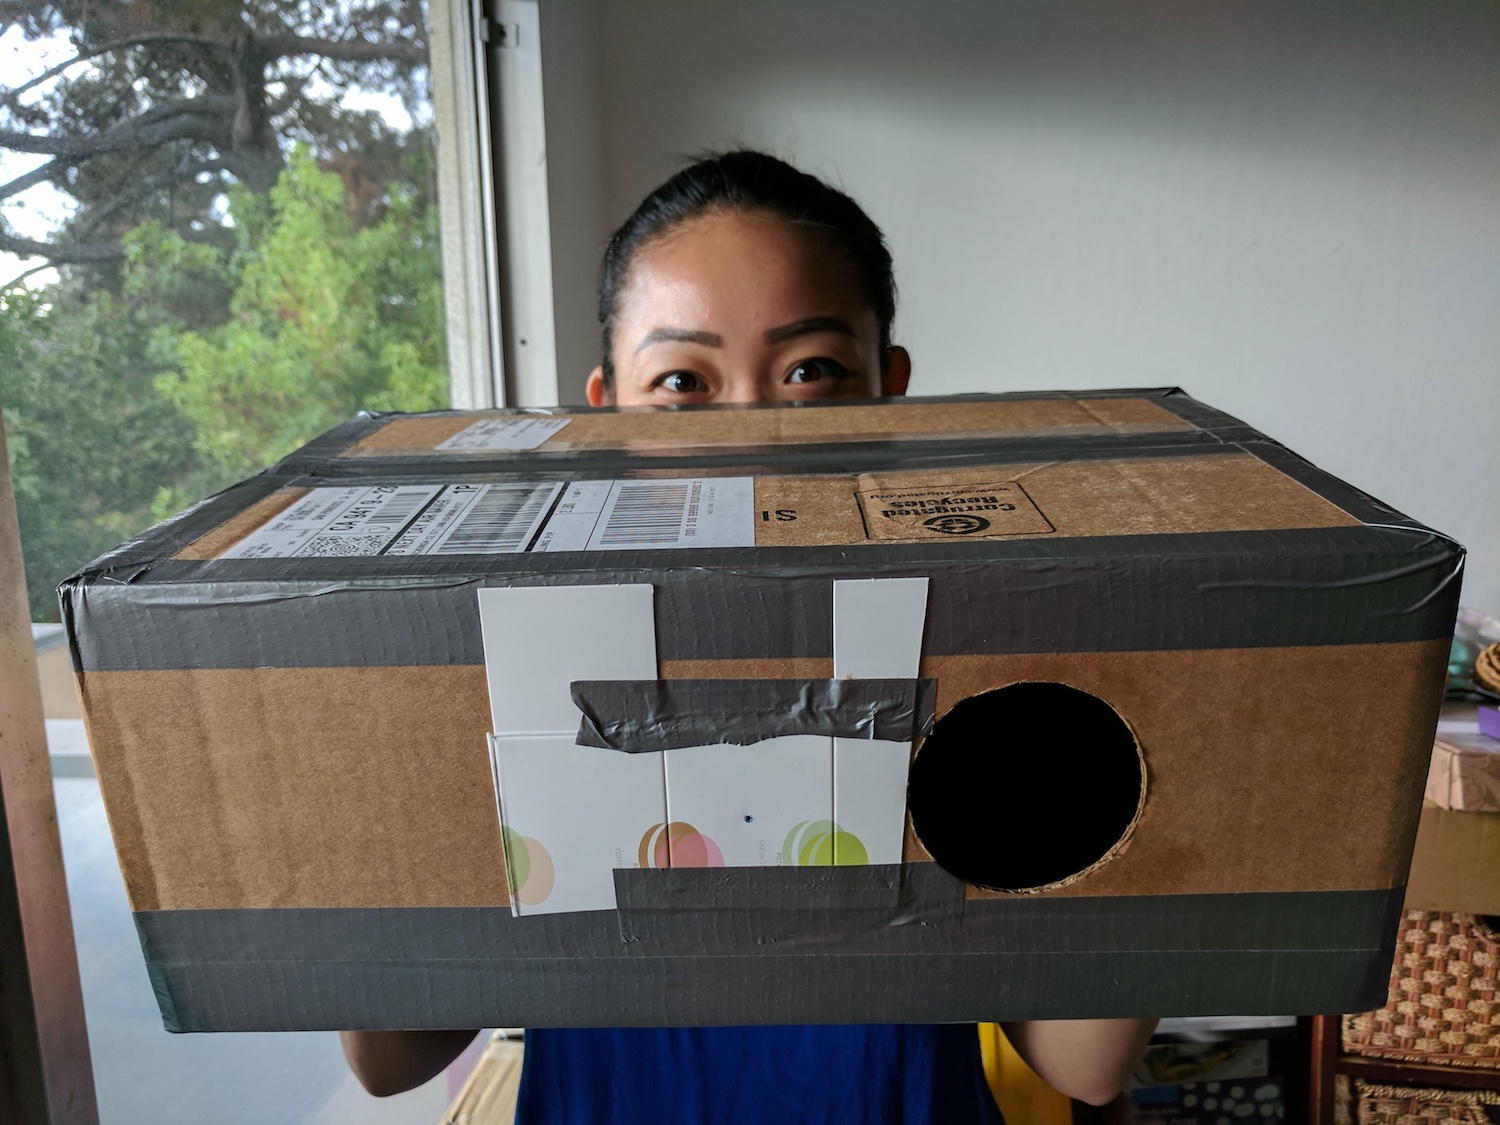
Our initial images didn't turn out too well, and left us with a strong purple hue. We had suspected several possible reasons as to why this occurred, one of which was the fact that the shoebox we had used was of a pastel pink colour. For this reason, we decided to switch to a cardboard Amazon box instead, and remade our camera obscura.
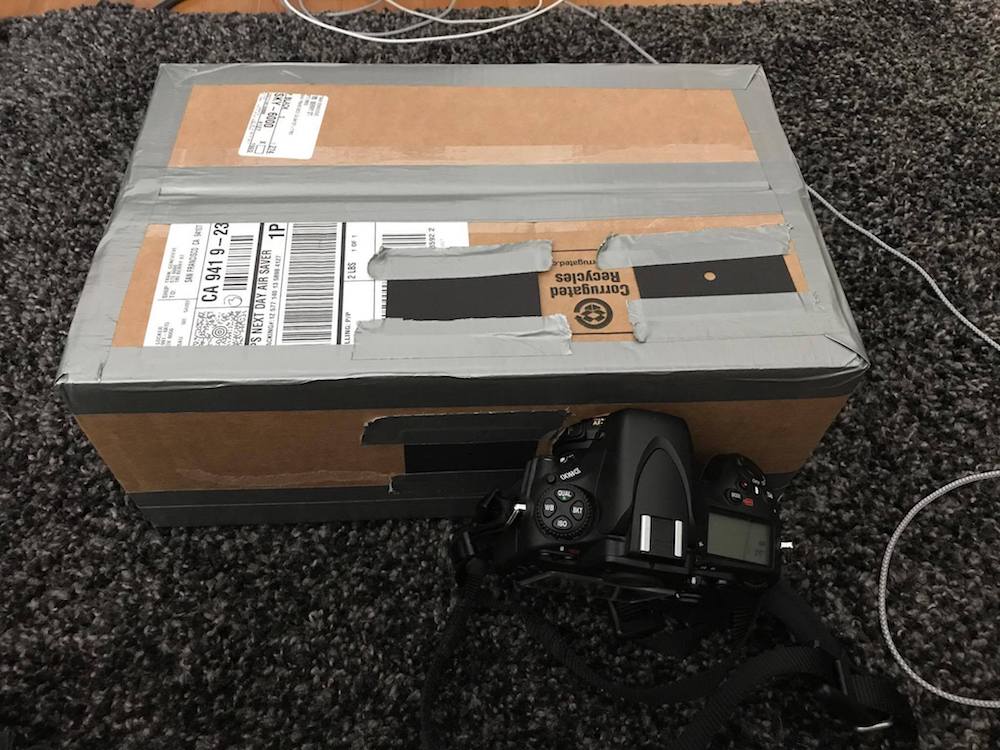
Unfortunately, the pictures on our newly designed Camera Obscura V2 didn't turn out so well, either, and still maintained a purple hue. We tried several different things to ensure our result would not have the purple hue. This including taping down the black paper even more, double layering the white printer paper, and switching our pinhole card with white cardstock from a used macaron container instead of the black cardstock we originally had. Our understanding was that, as light entered through the black pinhole, some of the light rays were being absorbed by the black card paper, thereby reducing the resultant image's colouration, leaving it with a purple hue. We assumed that the purple hue was the result of light of the purple wavelength managing to pass through the paper while other light did not.
The results from doing the combination of improvements did seem to decrease the hue a significant amount, although by then our resulting images still didn't seem to be catching the scenery of interest. We played around a bit more with the camera, and it turned out our ISO was set a bit too high. After tweaking that, we were able to get more solid images.


Bells and Whistles 1:
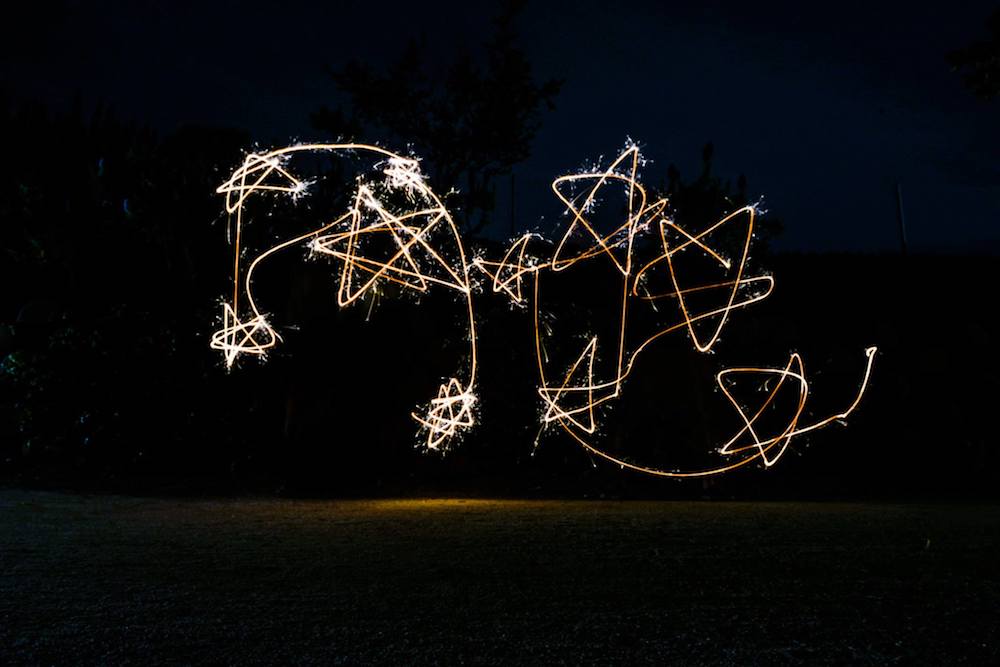
Stars
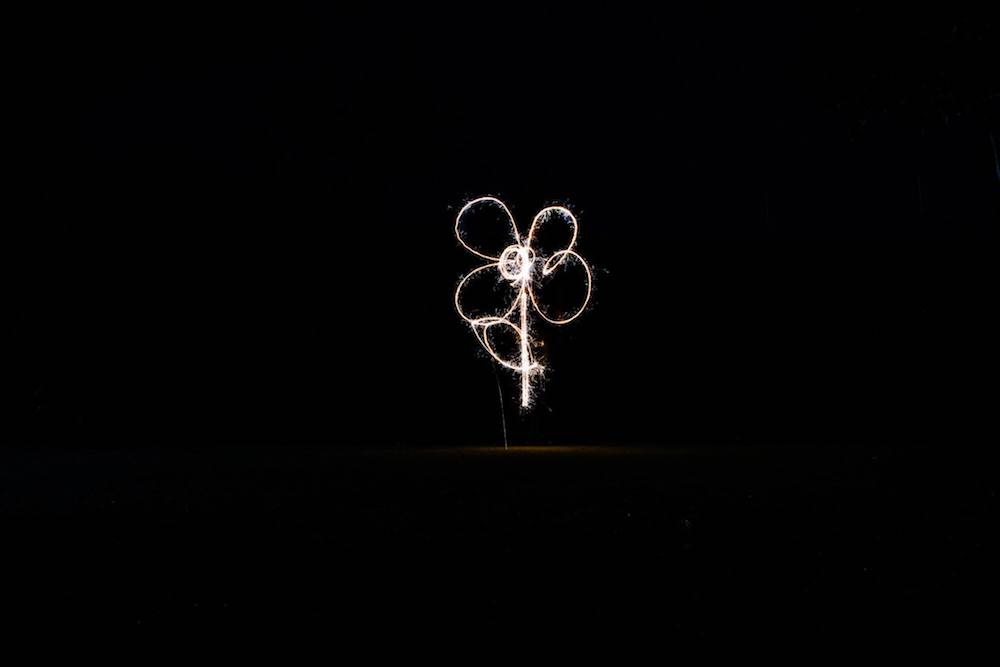
Flowers
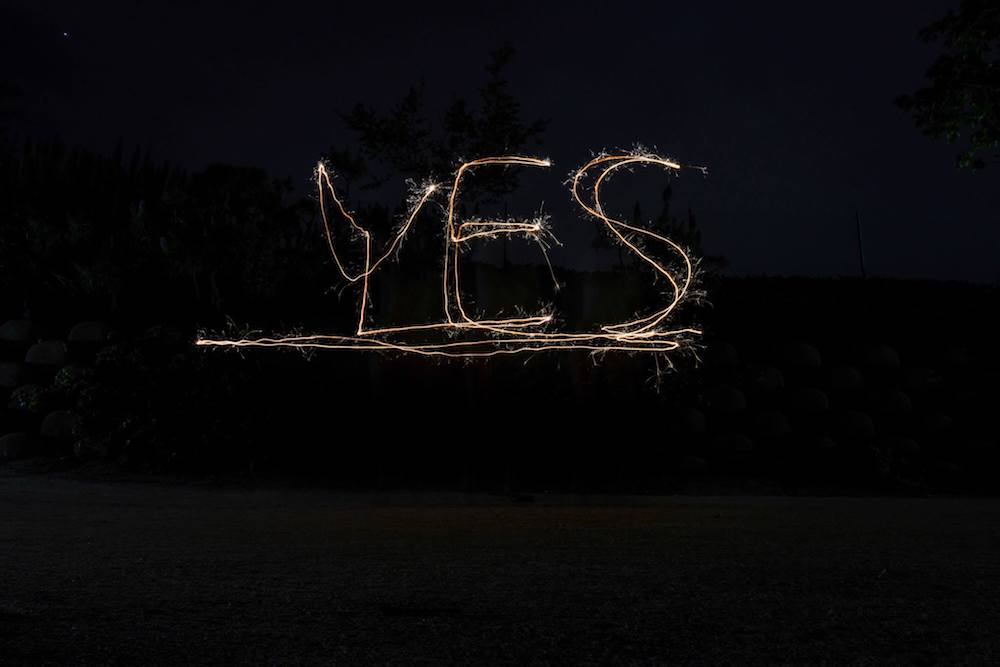
Yes
We used sparklers as our light pen as they are relatively cheap and generate a decently concentrated source of light. They also last long enough for an entire painting. Shutter speed was set to around 10-20 seconds depending on the complexity of the painting being attempted. Aperature was held higher (above f4.0) in order to generate sharper paintings and detail. Iso was kept low as the shutter speed was long enough to capture sufficient lighting. Additionally, we didn't need to bump up the iso because our main focus in these paintings are the light and not the background. These photos were taken at night in order to increase the contrast between the "light paint" and "backdrop".