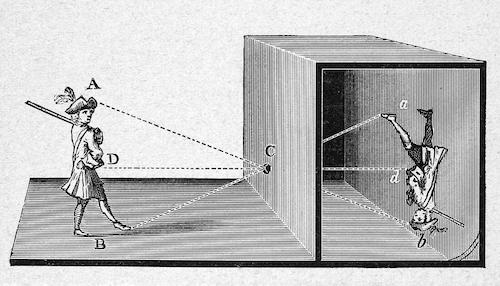
The goal of this project was to build a camera obscura (pinhole camera). A camera obscura allows light to pass through a hole to recreate the image (inverted) on the other side. With a smaller hole, less light is passed through and scattered, creating a sharper image.
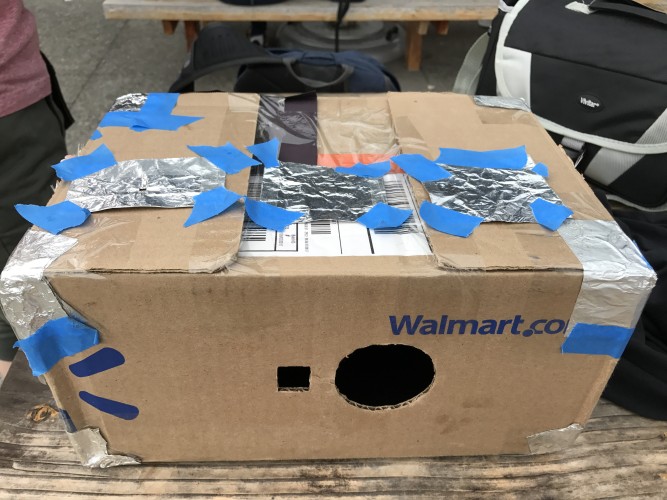
The approximate box dimensions are 12in × 8in × 6in.
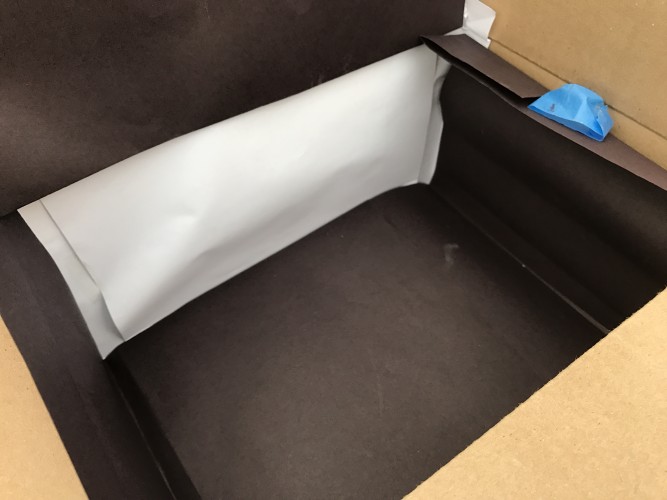
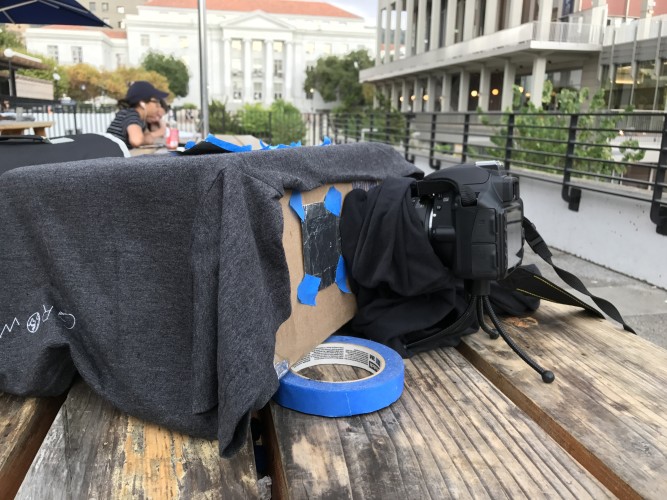
| Inside |
 |
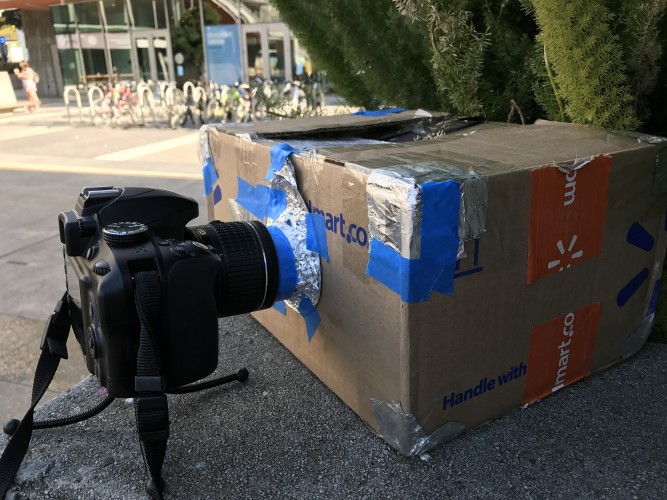
| Outside |
 |
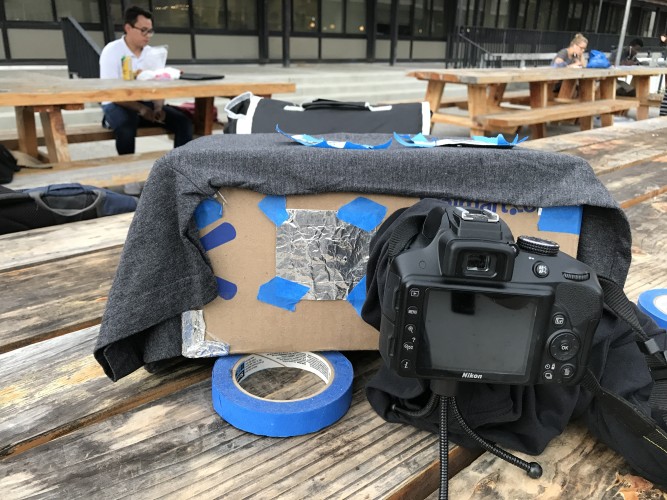
| Camera Box Setup |
 |
 |
 |
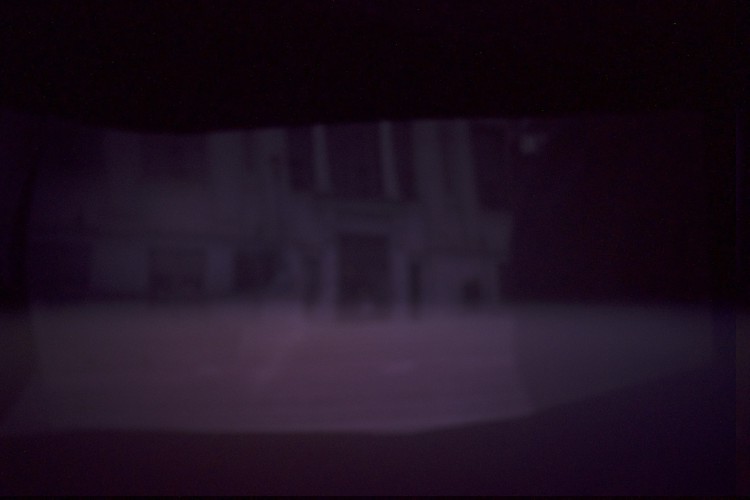
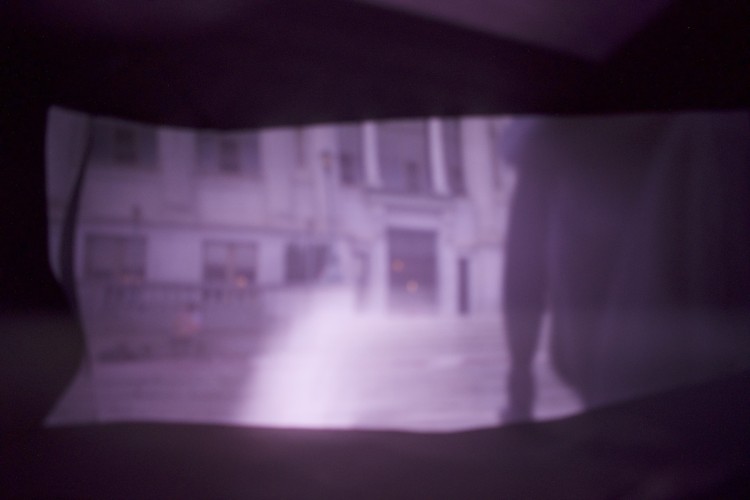
Our smallest pinhole size wasn't actually .1mm in diameter, but was approximate, smaller than 1mm (as small as we could get). The general trend for the pinholes was that as we started taking pictures with a smaller pinhole, the pictures would get sharper, but darker. In other words, the larger pinholes would produce blurrier images, but would let more light to produce the image. The smaller pinholes would produce sharper images (because rays of light would be more restricted and less spread for each point of the image), but would let in significantly less light to see the image with.
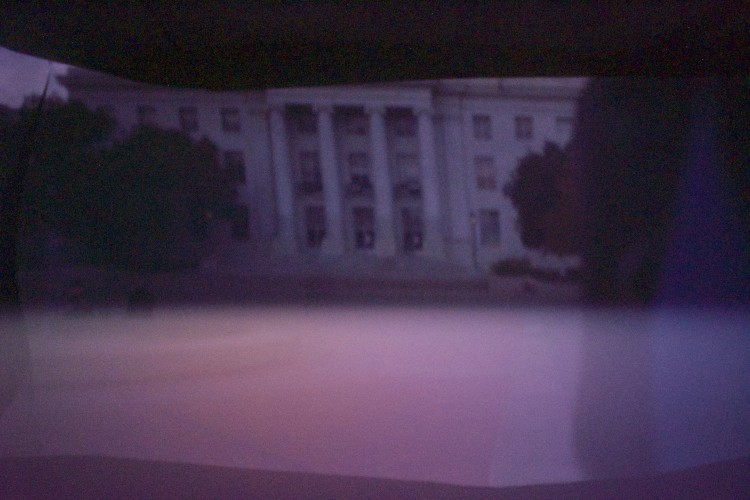
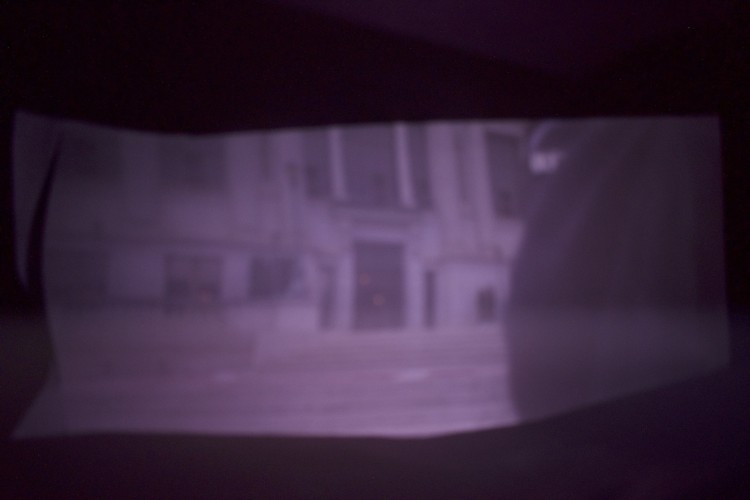
We found that the middle pinhole size, 3mm diameter, was the best for us: it produced clear images that we could see, with enough light like the 5mm pinhole, and with a less blurry image like the .1mm pinhole.
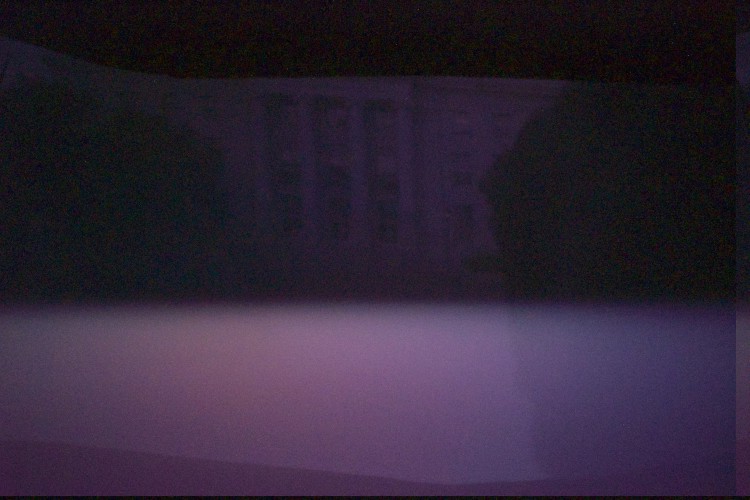
The images below contain a purple hue because of a filter placed on the camera lens, not because of the camera obscura. In addition, some images seem distorted due to the white paper being uneven against the box. Nevertheless, we were able to capture some buildings and landscapes around Berkeley!
The pictures werre taken with 30s of exposure with an ISO of 1600.
| 0.1mm pinhole |
 |
| 3mm pinhole |
 |
| 5mm pinhole |
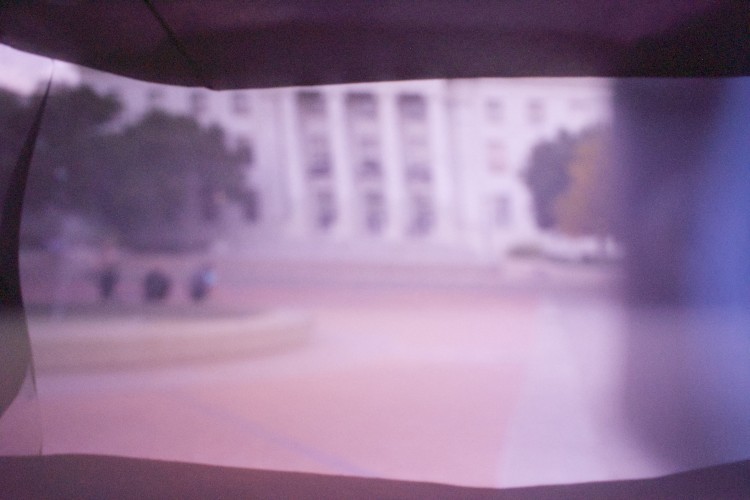 |
| 0.1mm pinhole |
 |
| 3mm pinhole |
 |
| 5mm pinhole |
 |
| Backpack |
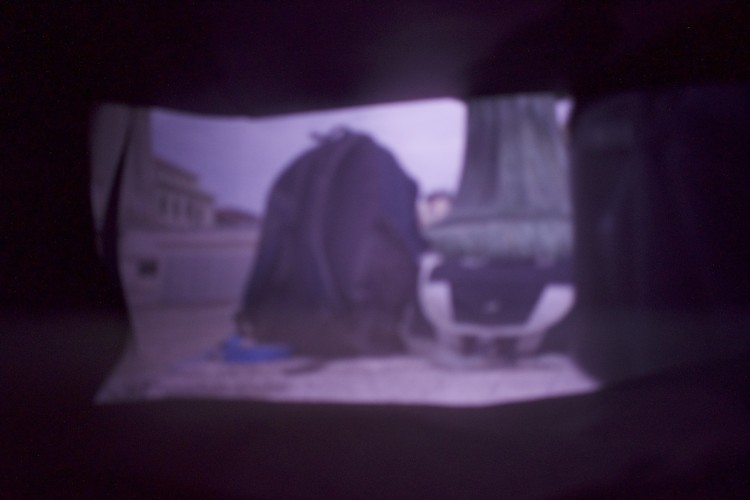 |
| Evans Hall |
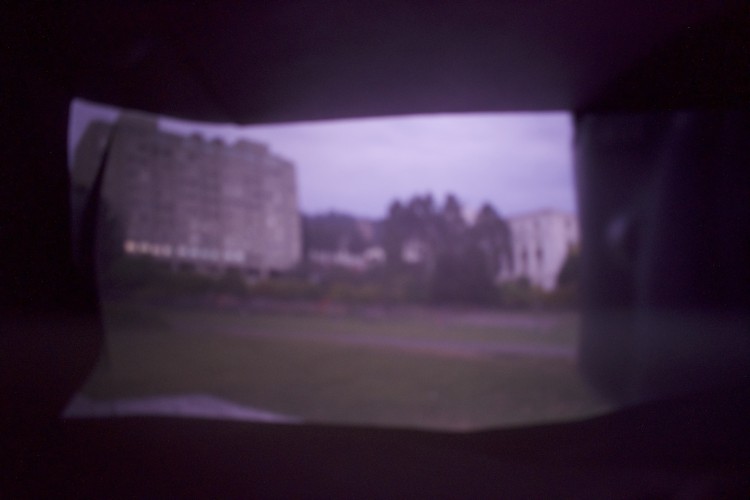 |
| Zellerbach Hall |
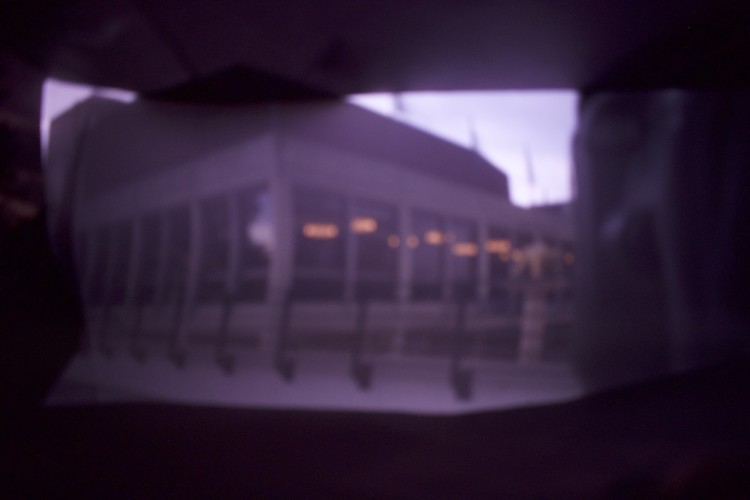 |
For bells and whistles, we did some light painting!
| A box from tic-tac-toe |
 |
| "OCF" mirrored |
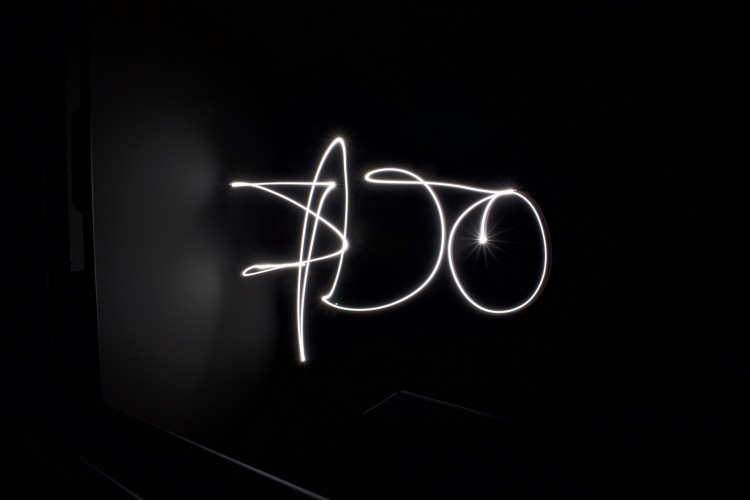 |
| A butterfly |
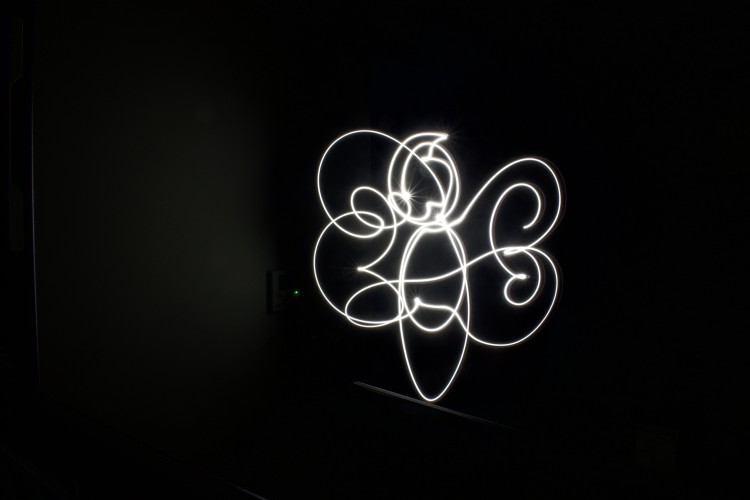 |