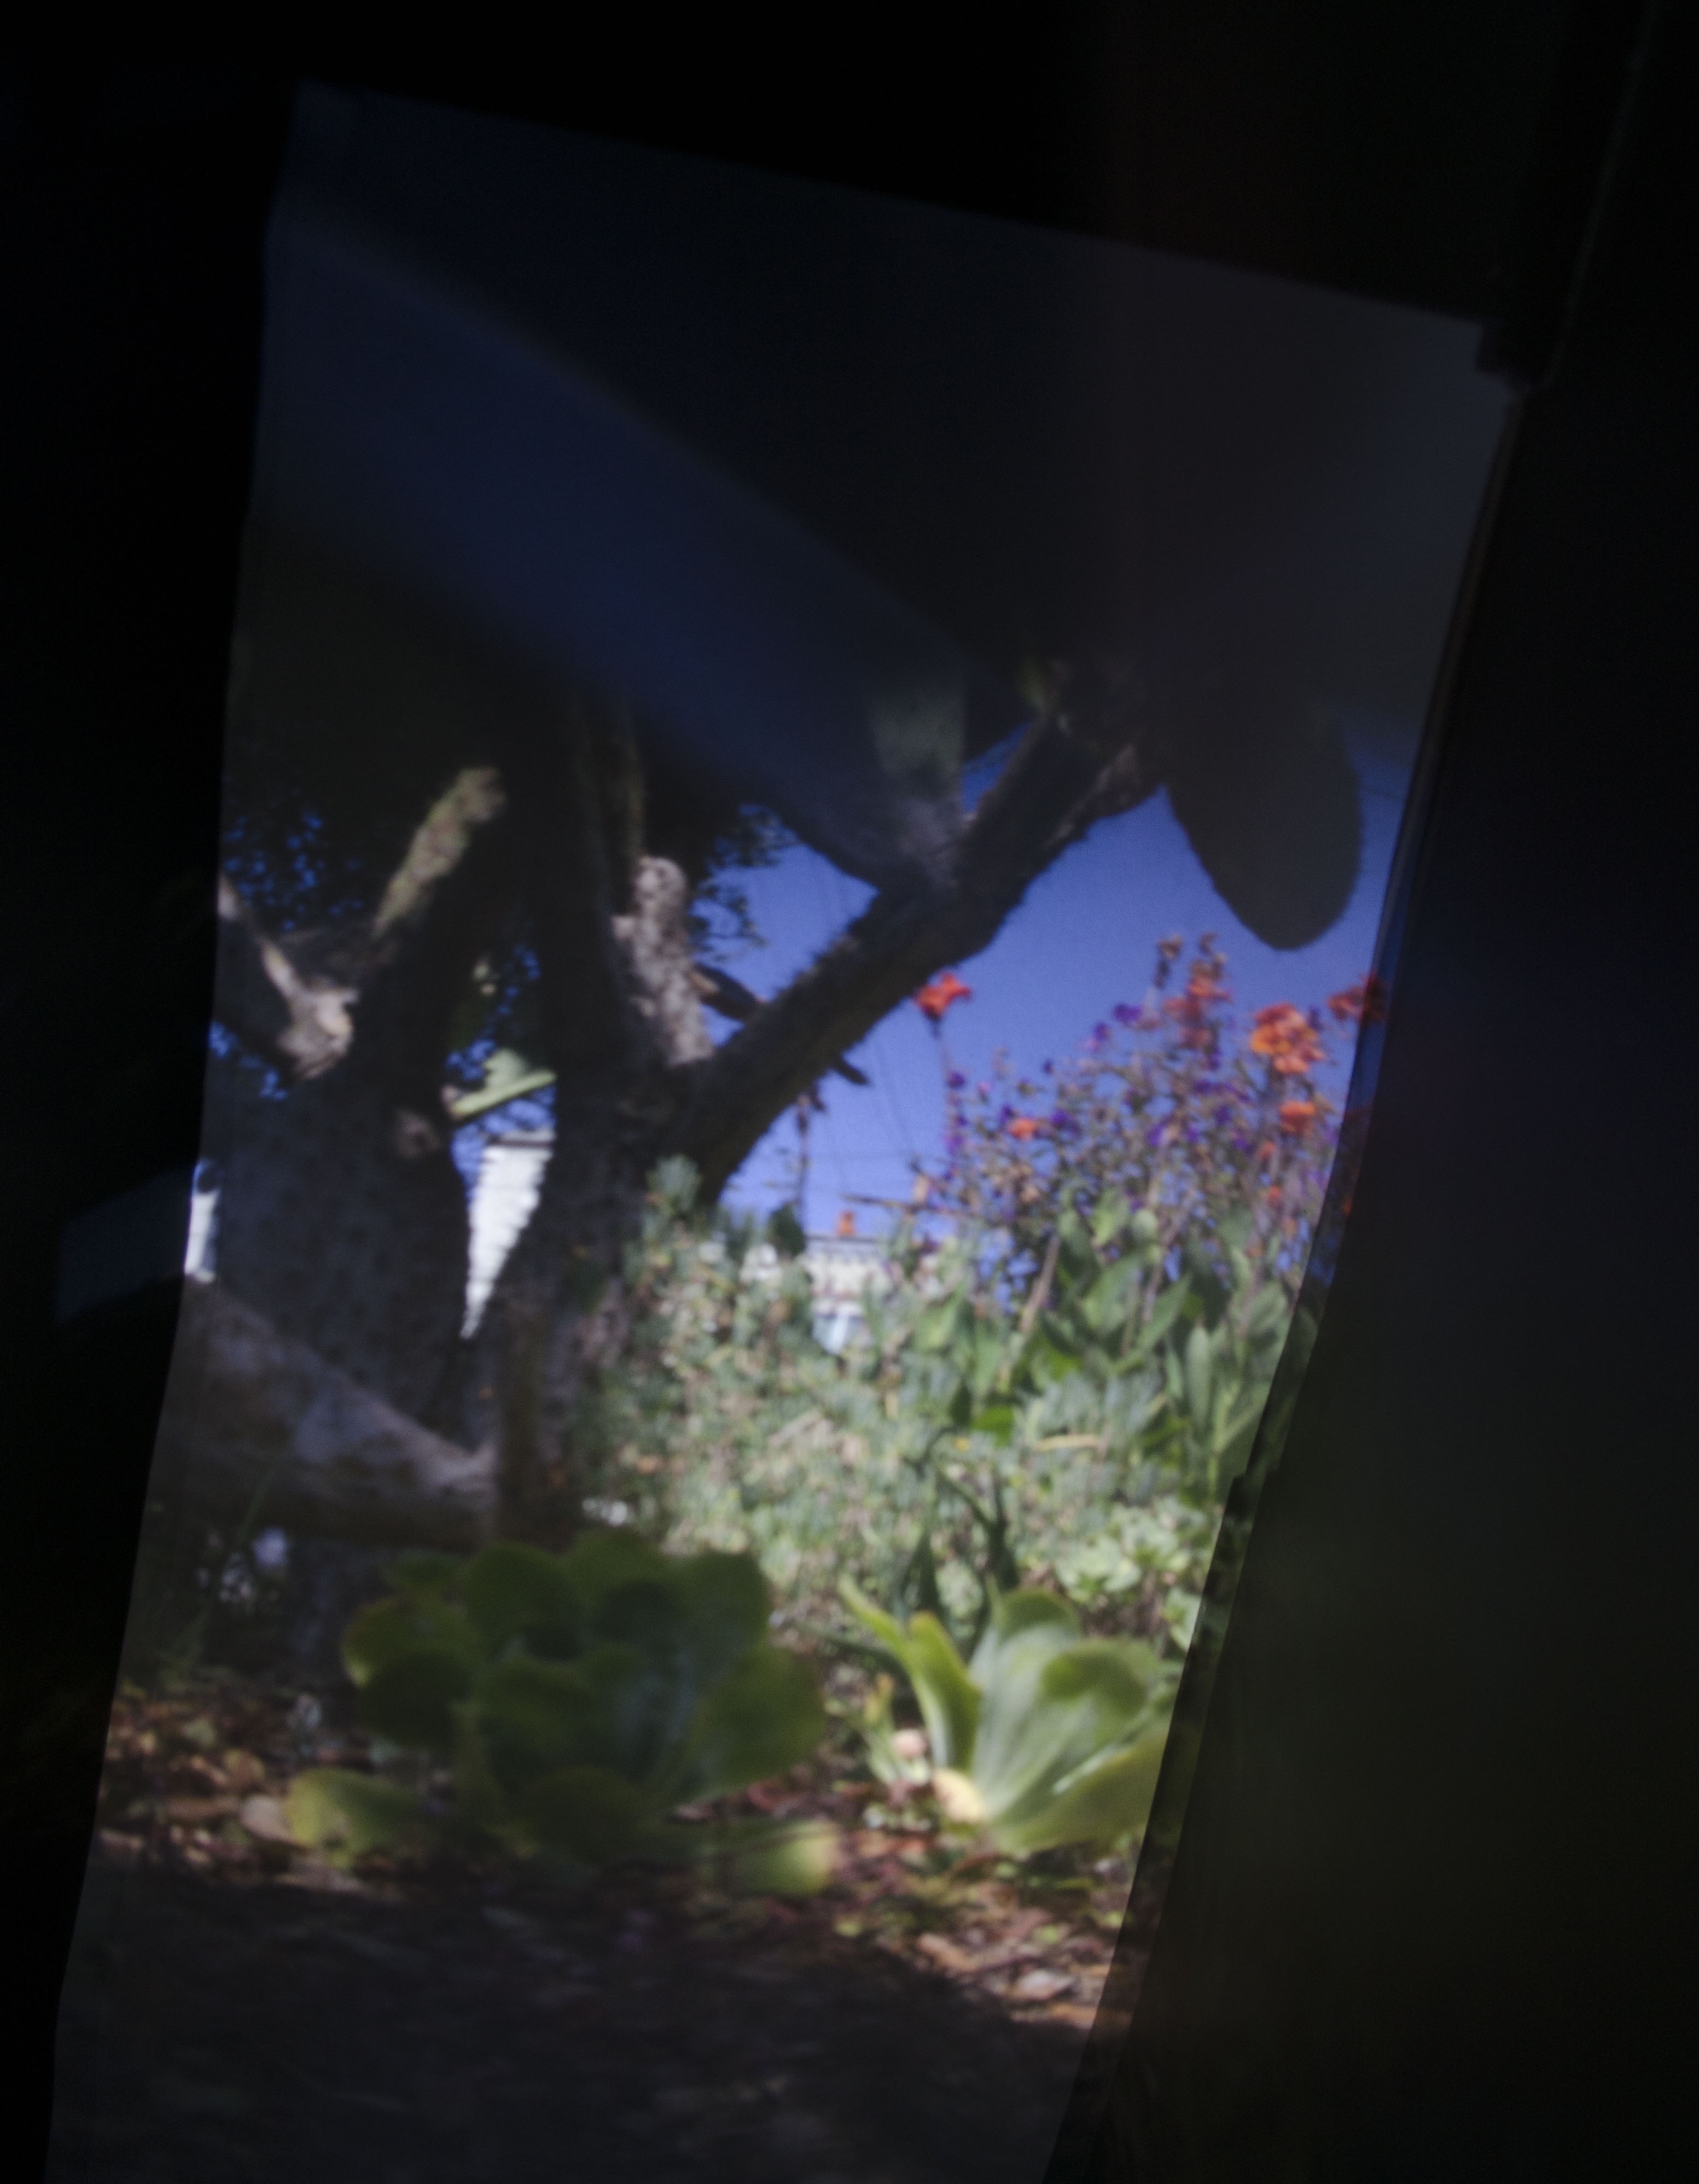
In this project, we built a camera obscura - one of the first contraptions that humans used to photograph the world. The concept of a pinhole camera is simple: Create a small hole in an opaque sheet and place that in front of your recording device. Because the hole is so small, it only allows a few rays of light from every point on the image plane, and therefore creates a real image on the recording screen behind it. Using our pinhole camera, we took images of various scenes. To test what pinhole size worked best for our camera, we imaged with 3 pinhole diameters: 0.5 mm, 1.5 mm, and 3.18 mm at 2 different locations. We found that the quality of the images was highest at 1.5 mm.
Verticle alignment
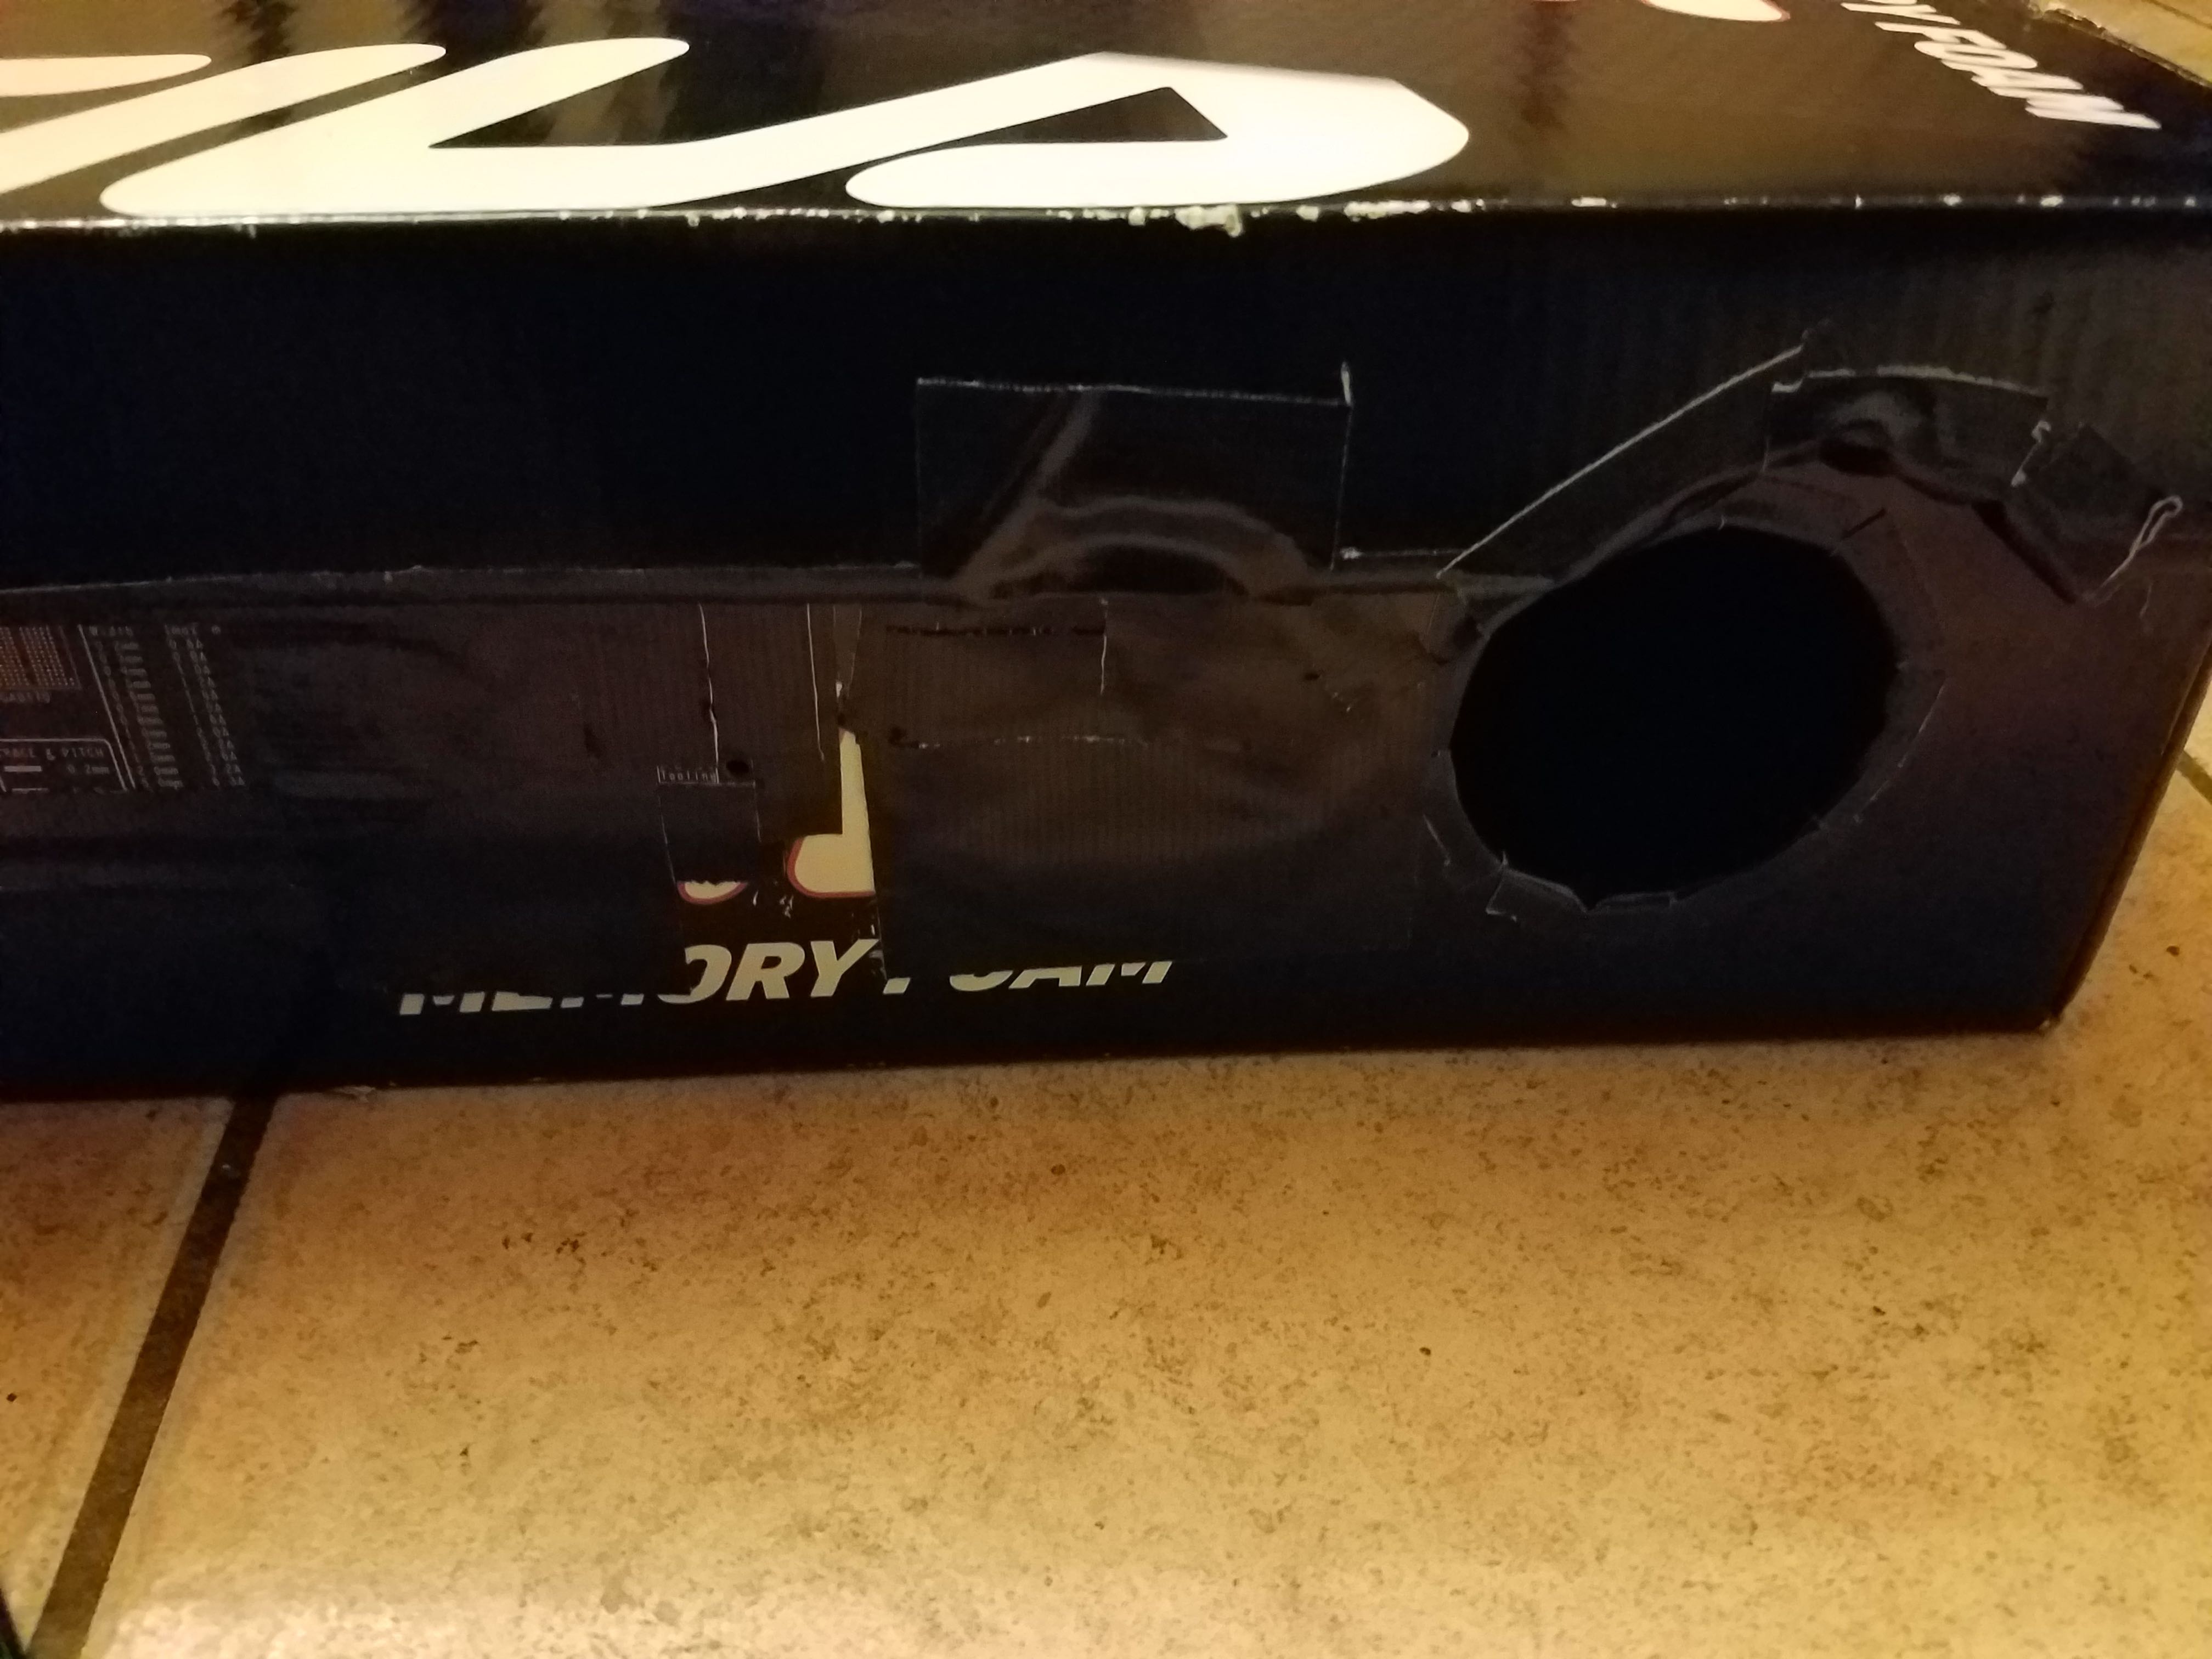
Close-up
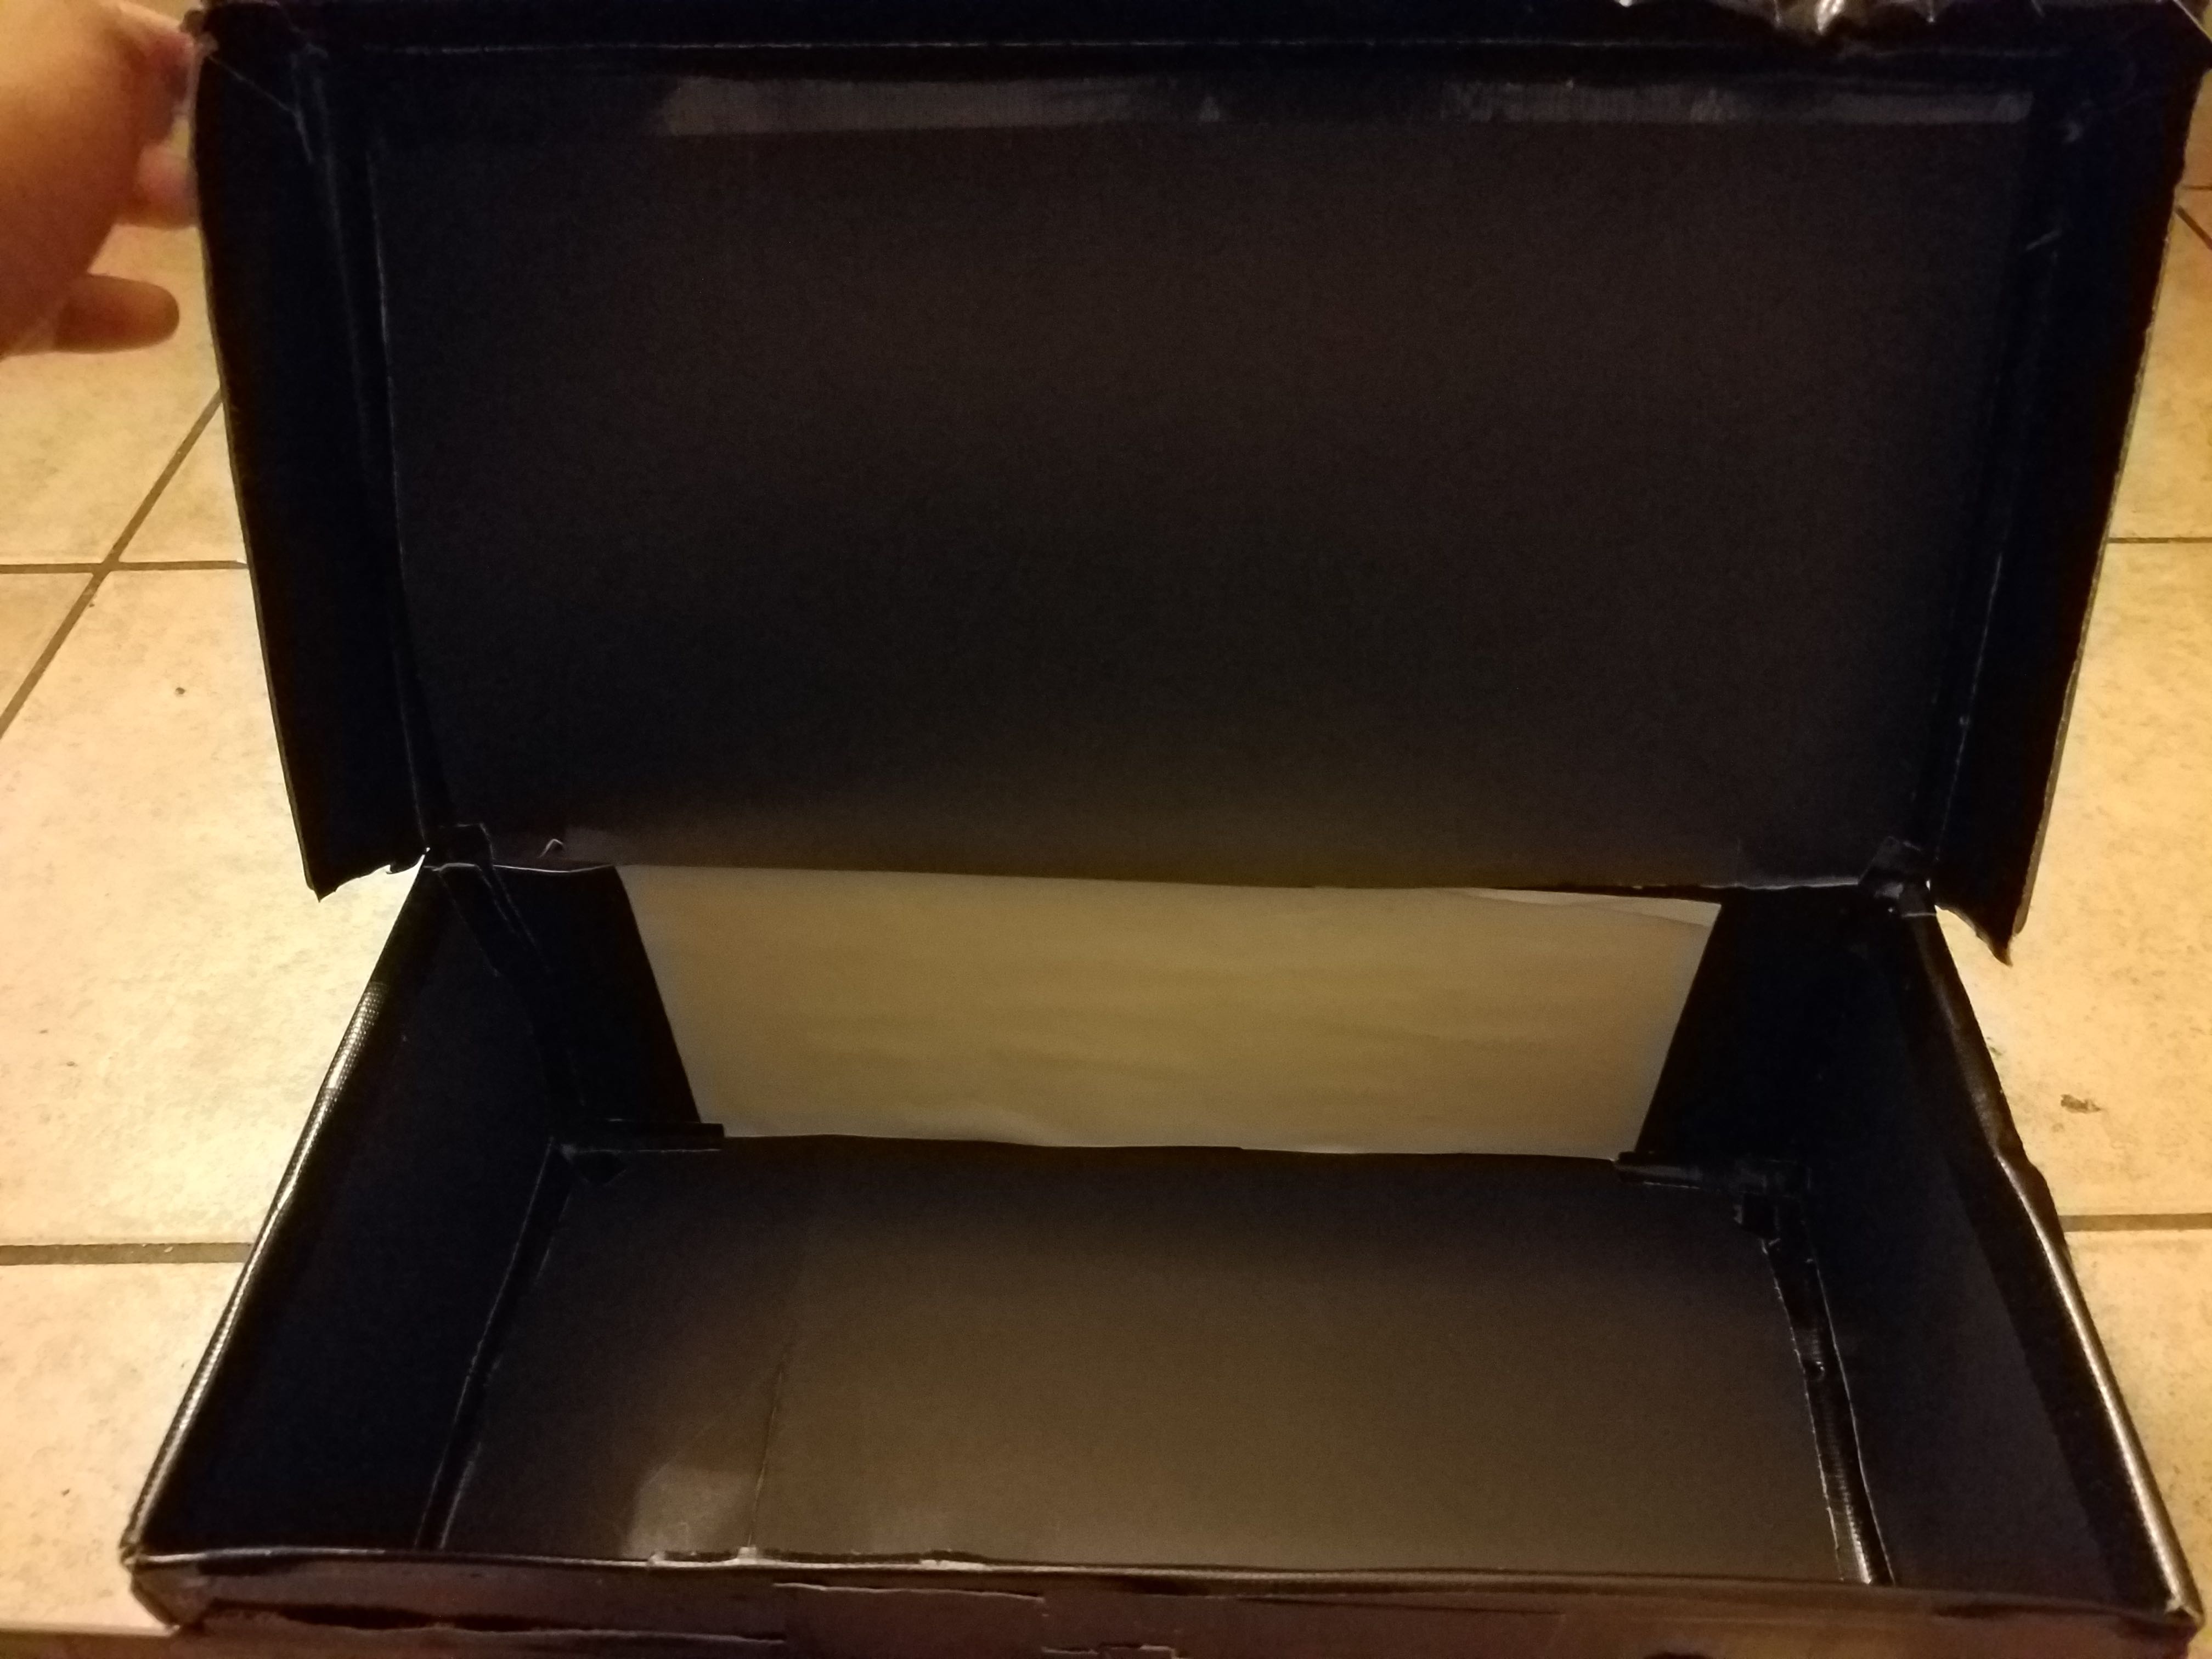
Inside
Process
We took a shoebox and covered the insides completely with black construction paper. The recording screen on the back of the box was a white sheet to allow an image to form. The rest of the box was duct taped with black tape to eliminate any light leakage froma source other than the pinhole. To make the pinhole, we used a ruler that had pre-measured holes of different sizes on it. When adjusting the size that we wanted, we simply covered the other pinholes with black tape. To record the image on the back screen of the camera obscura, we made a hole for a digital camera to image it. By using a long exposure setting, we were able to record the image that the camera obscura captured.
Pinhole Comparison
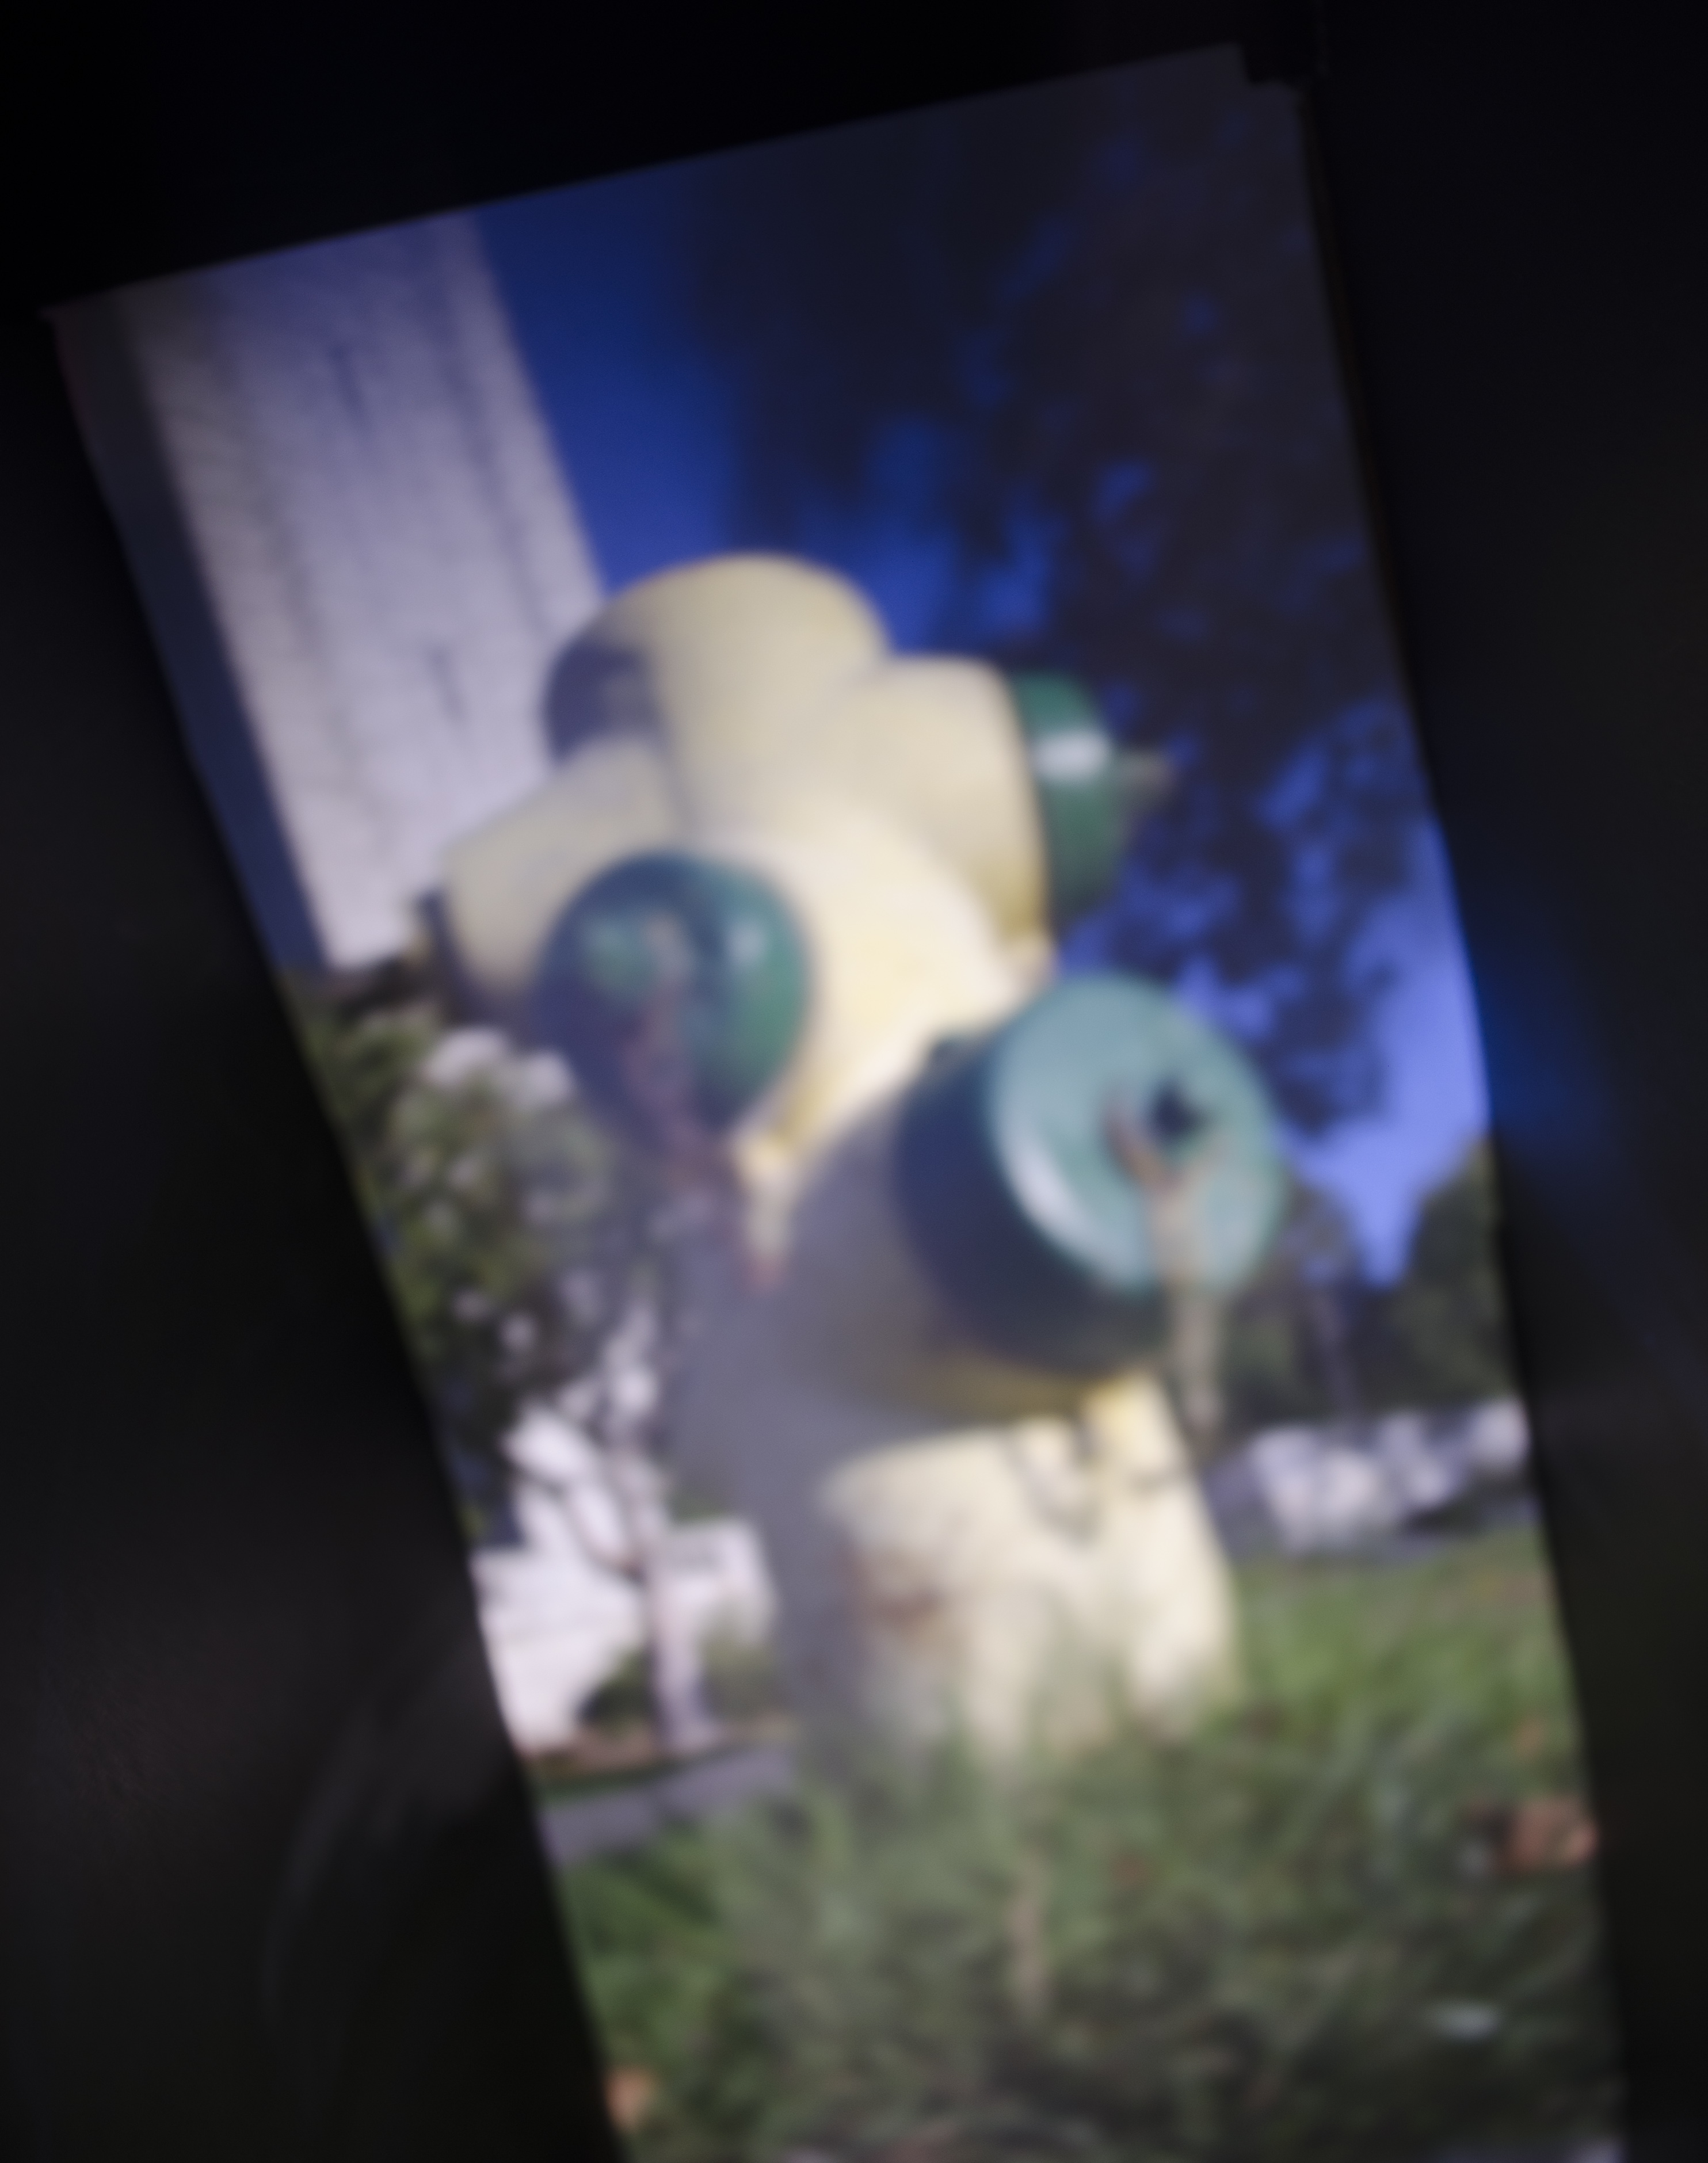
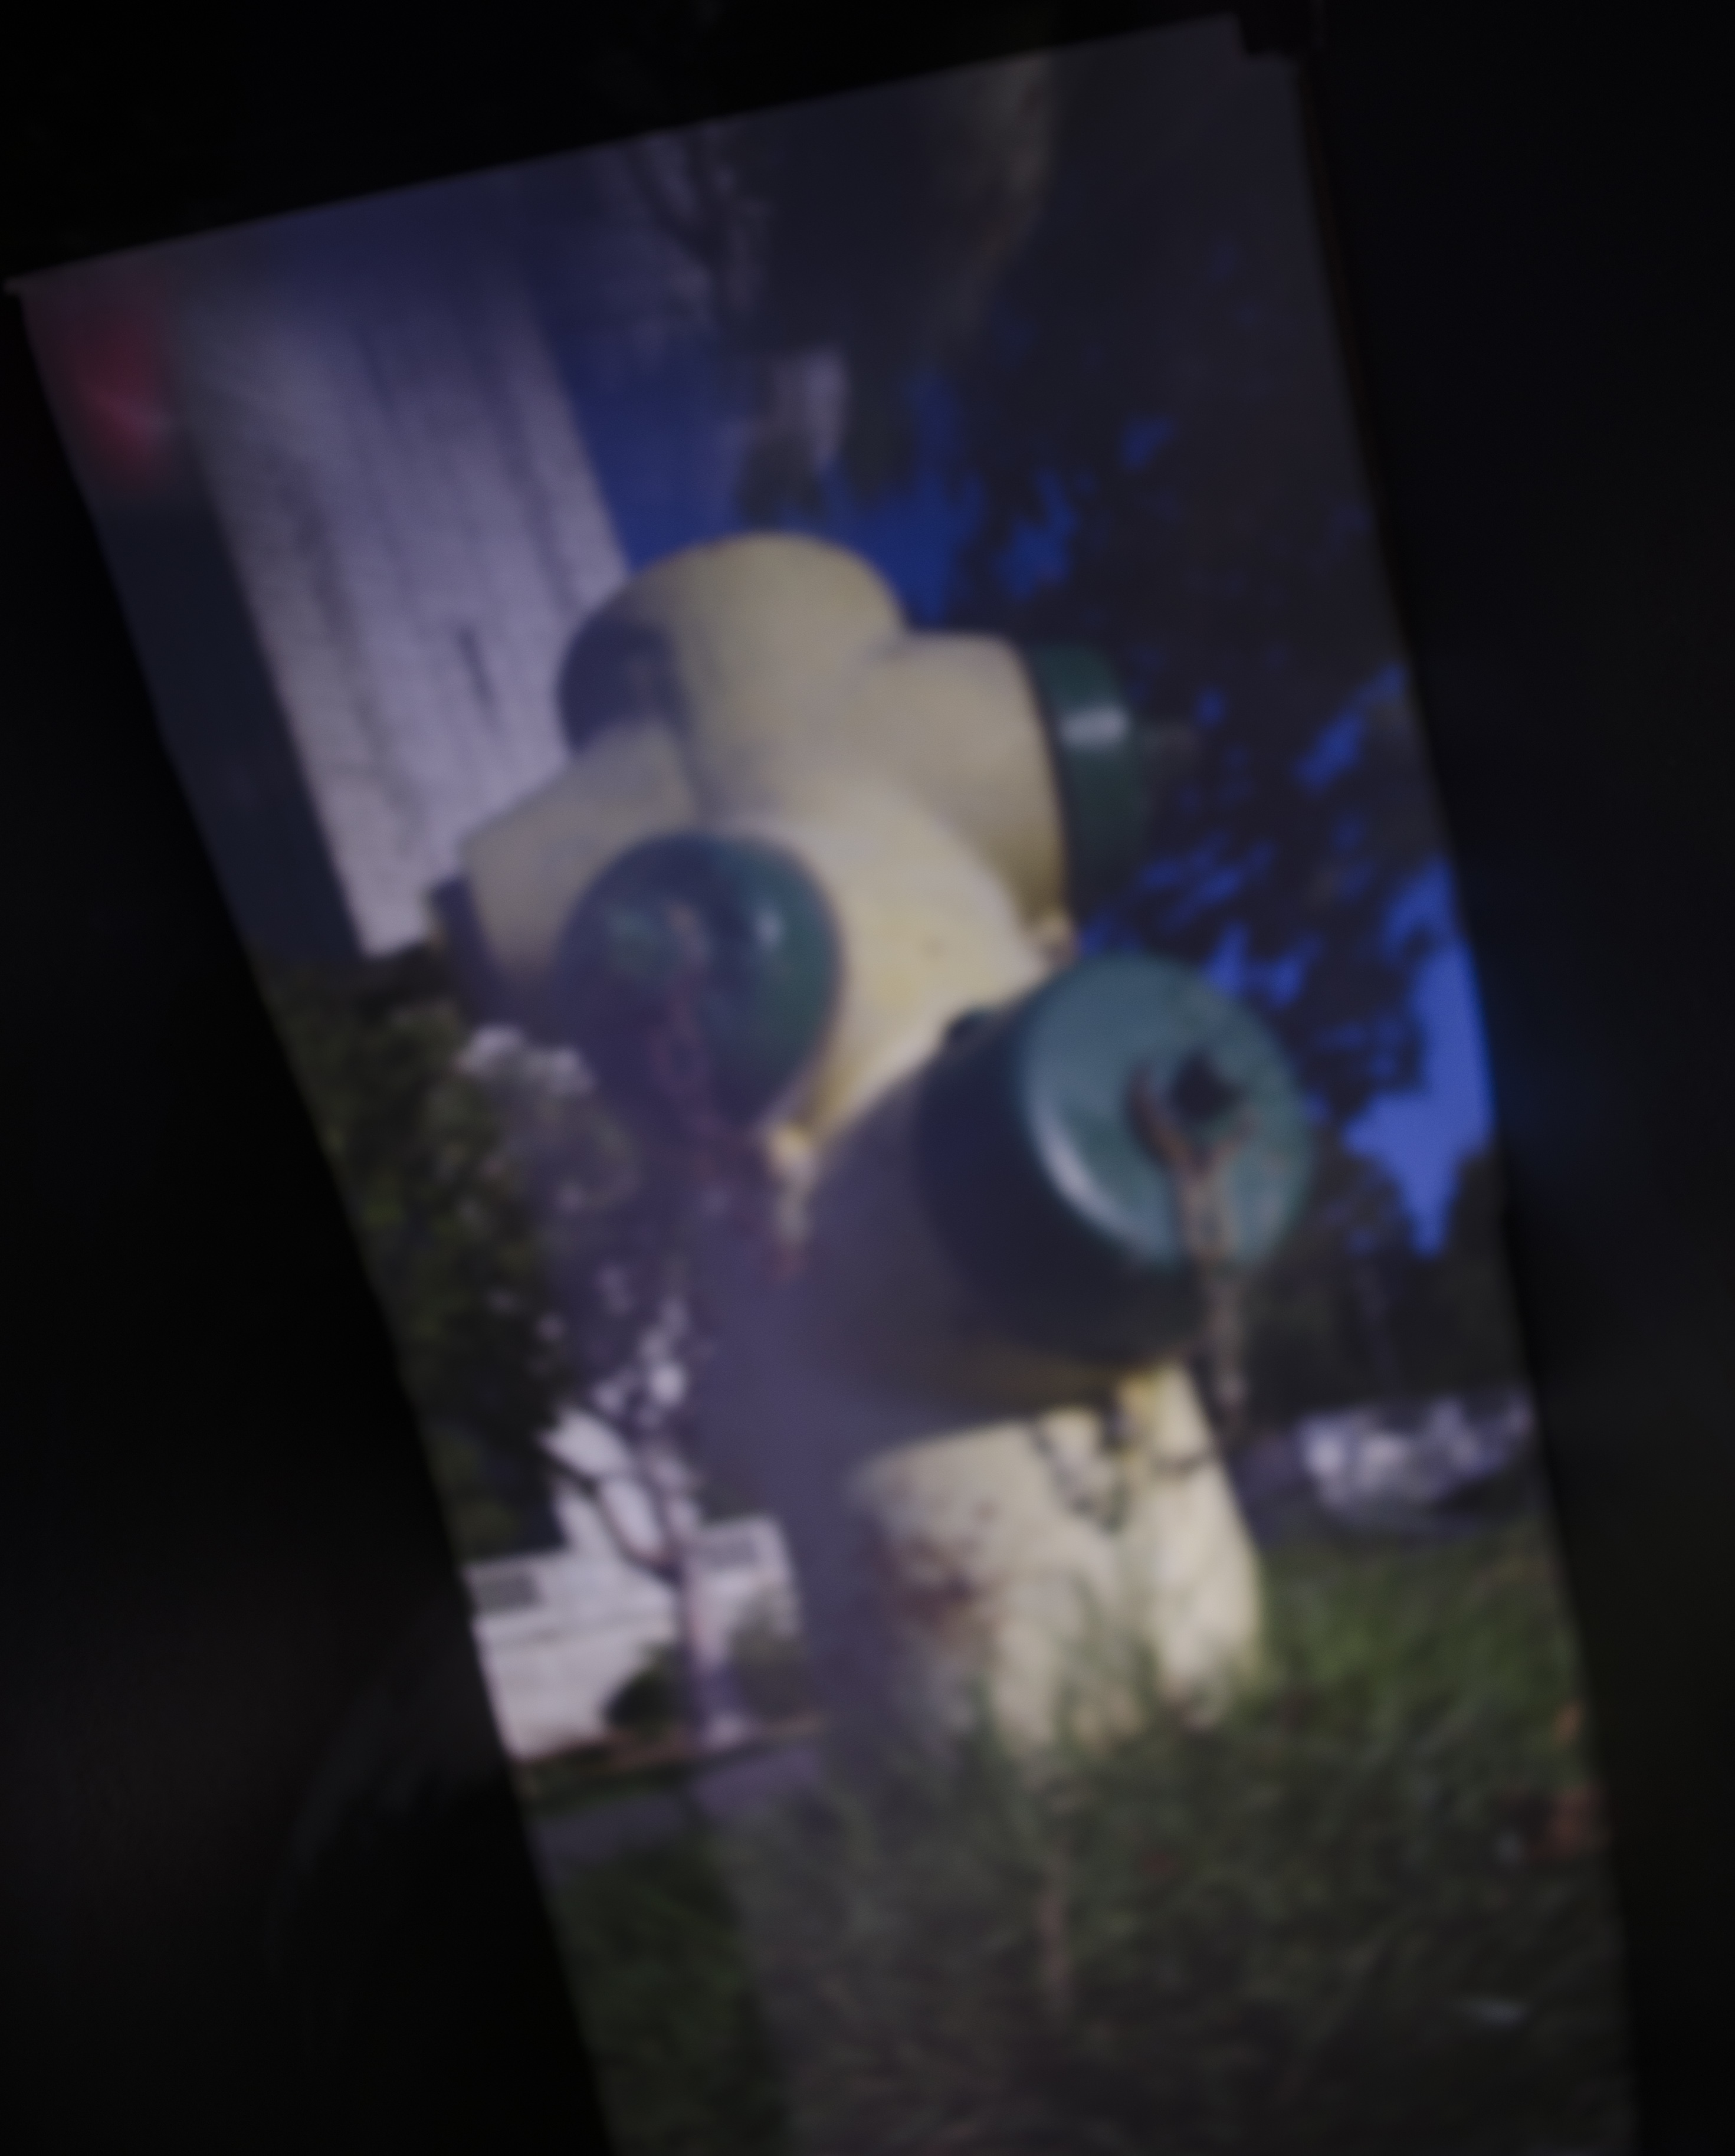
Pinhole diameter: 3.18mm
Pinhole diameter: 3.18mm
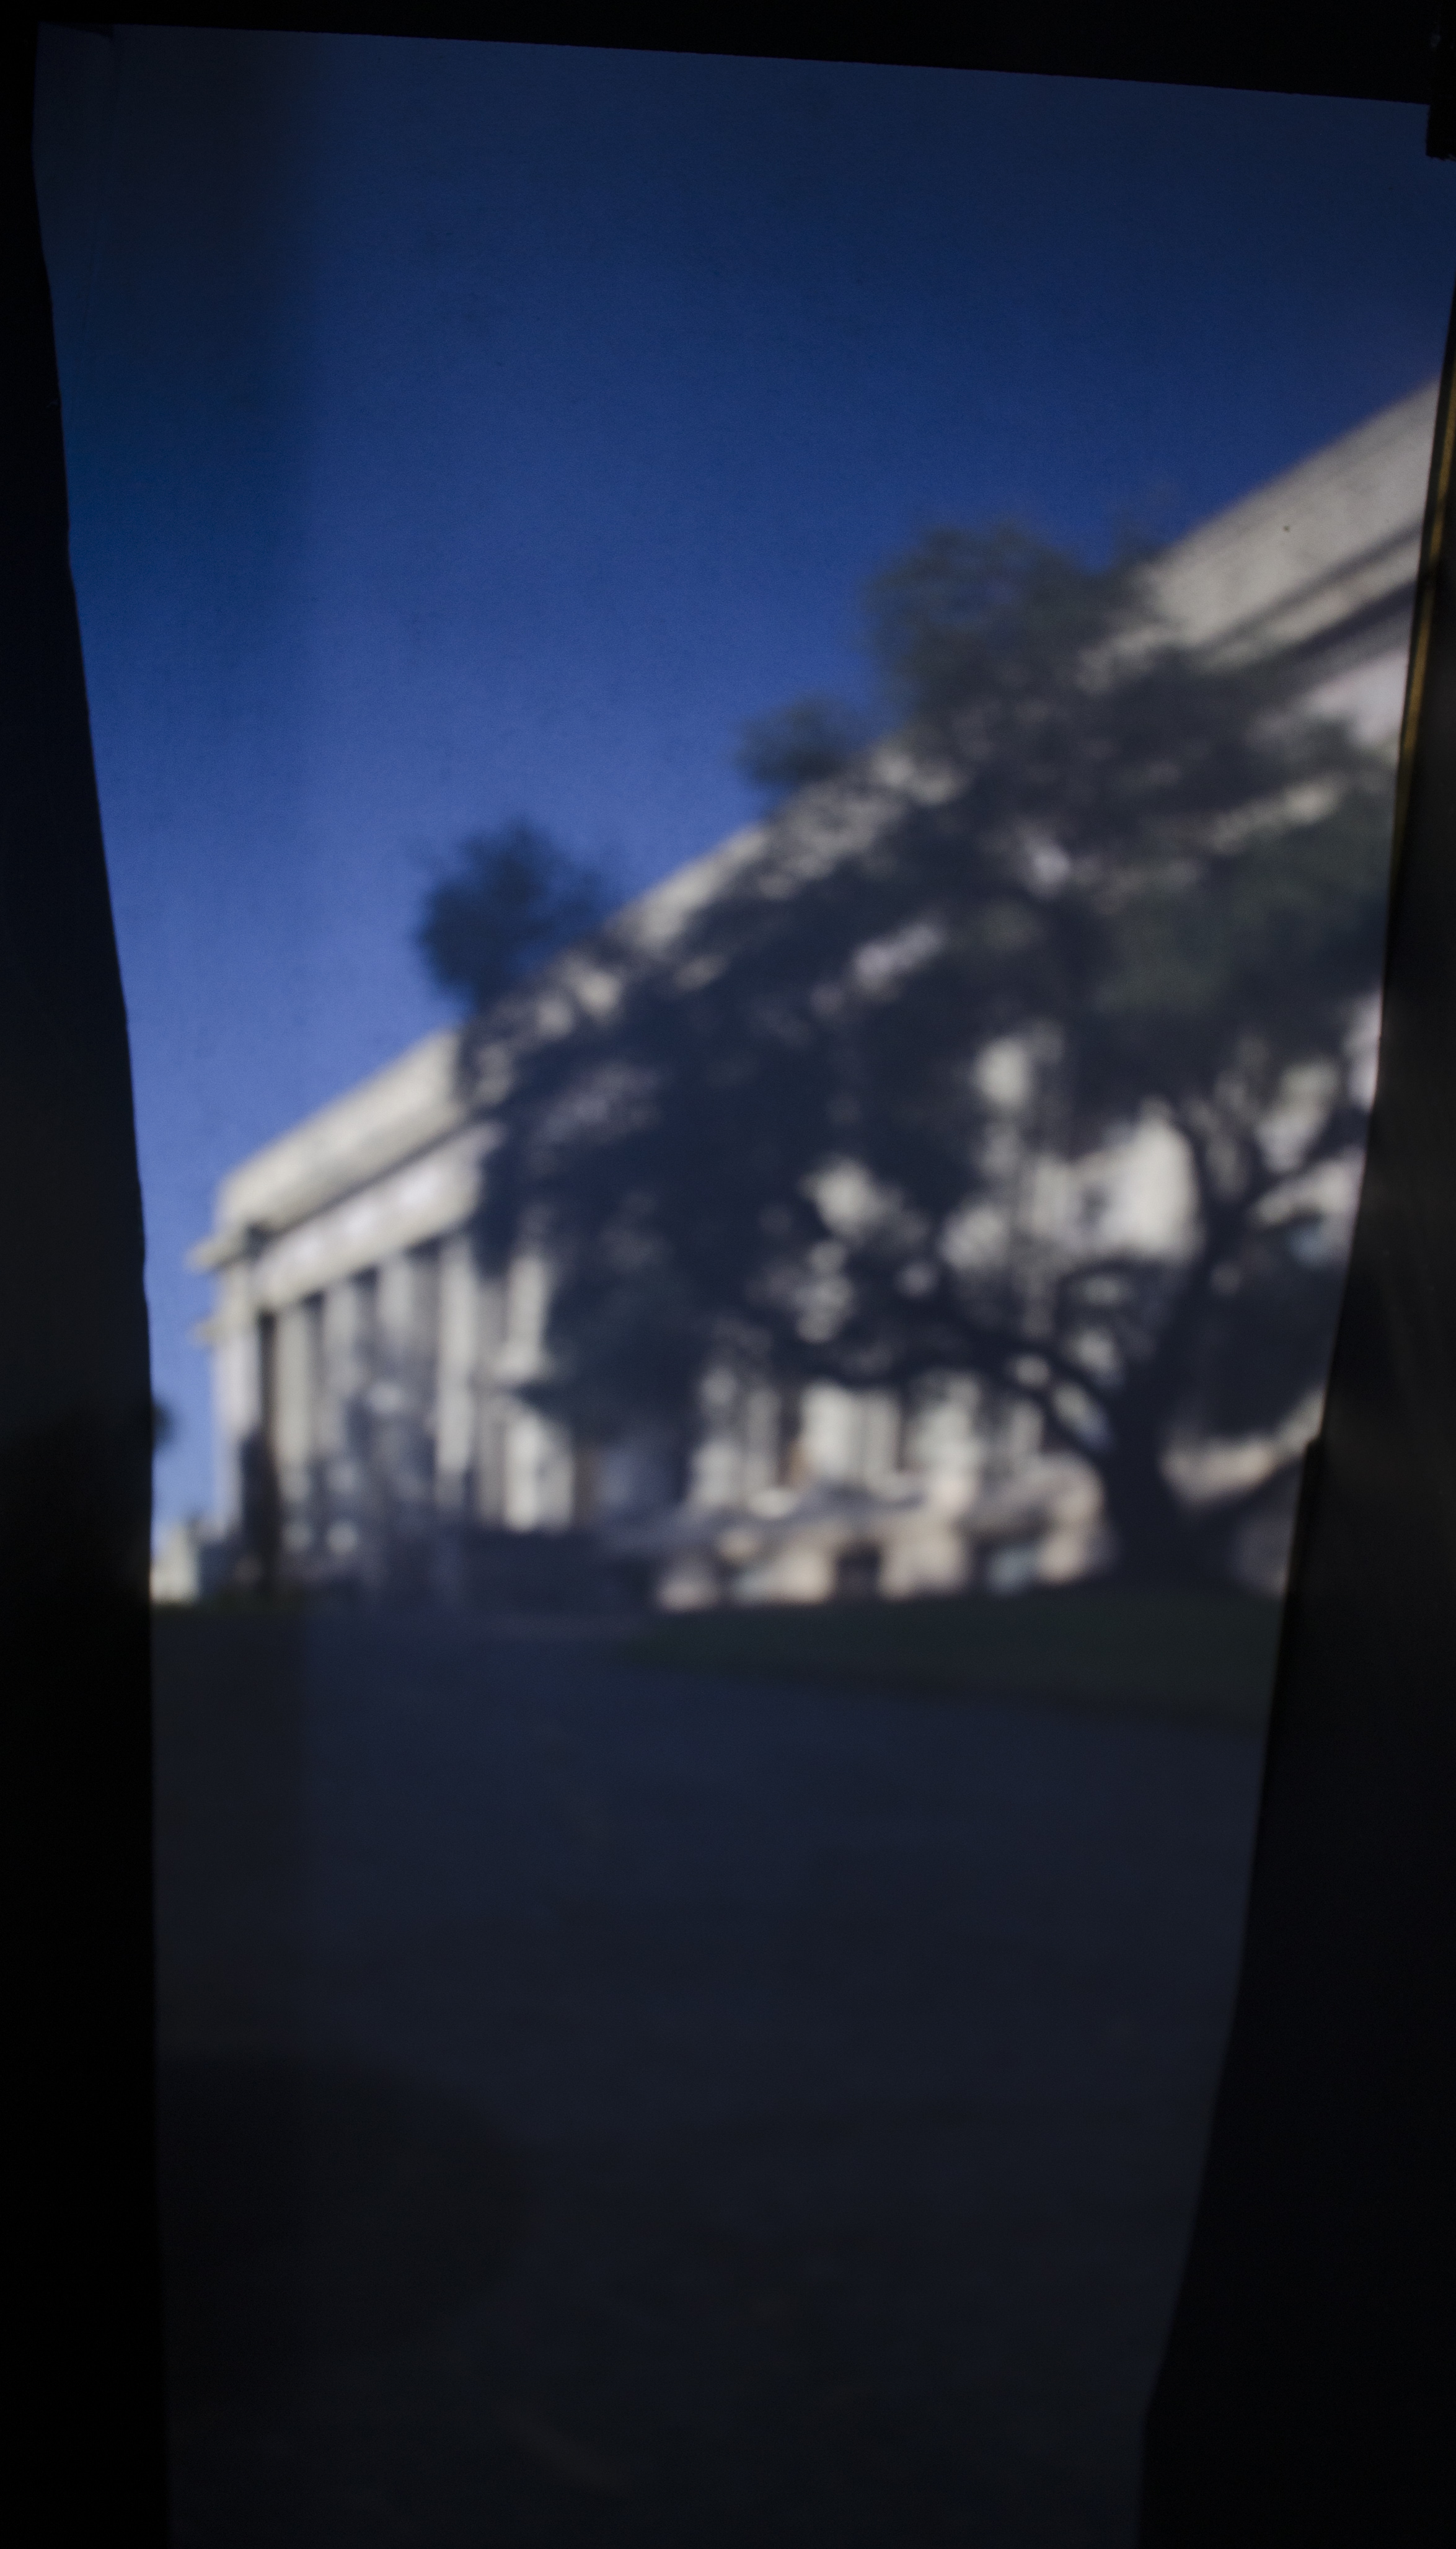
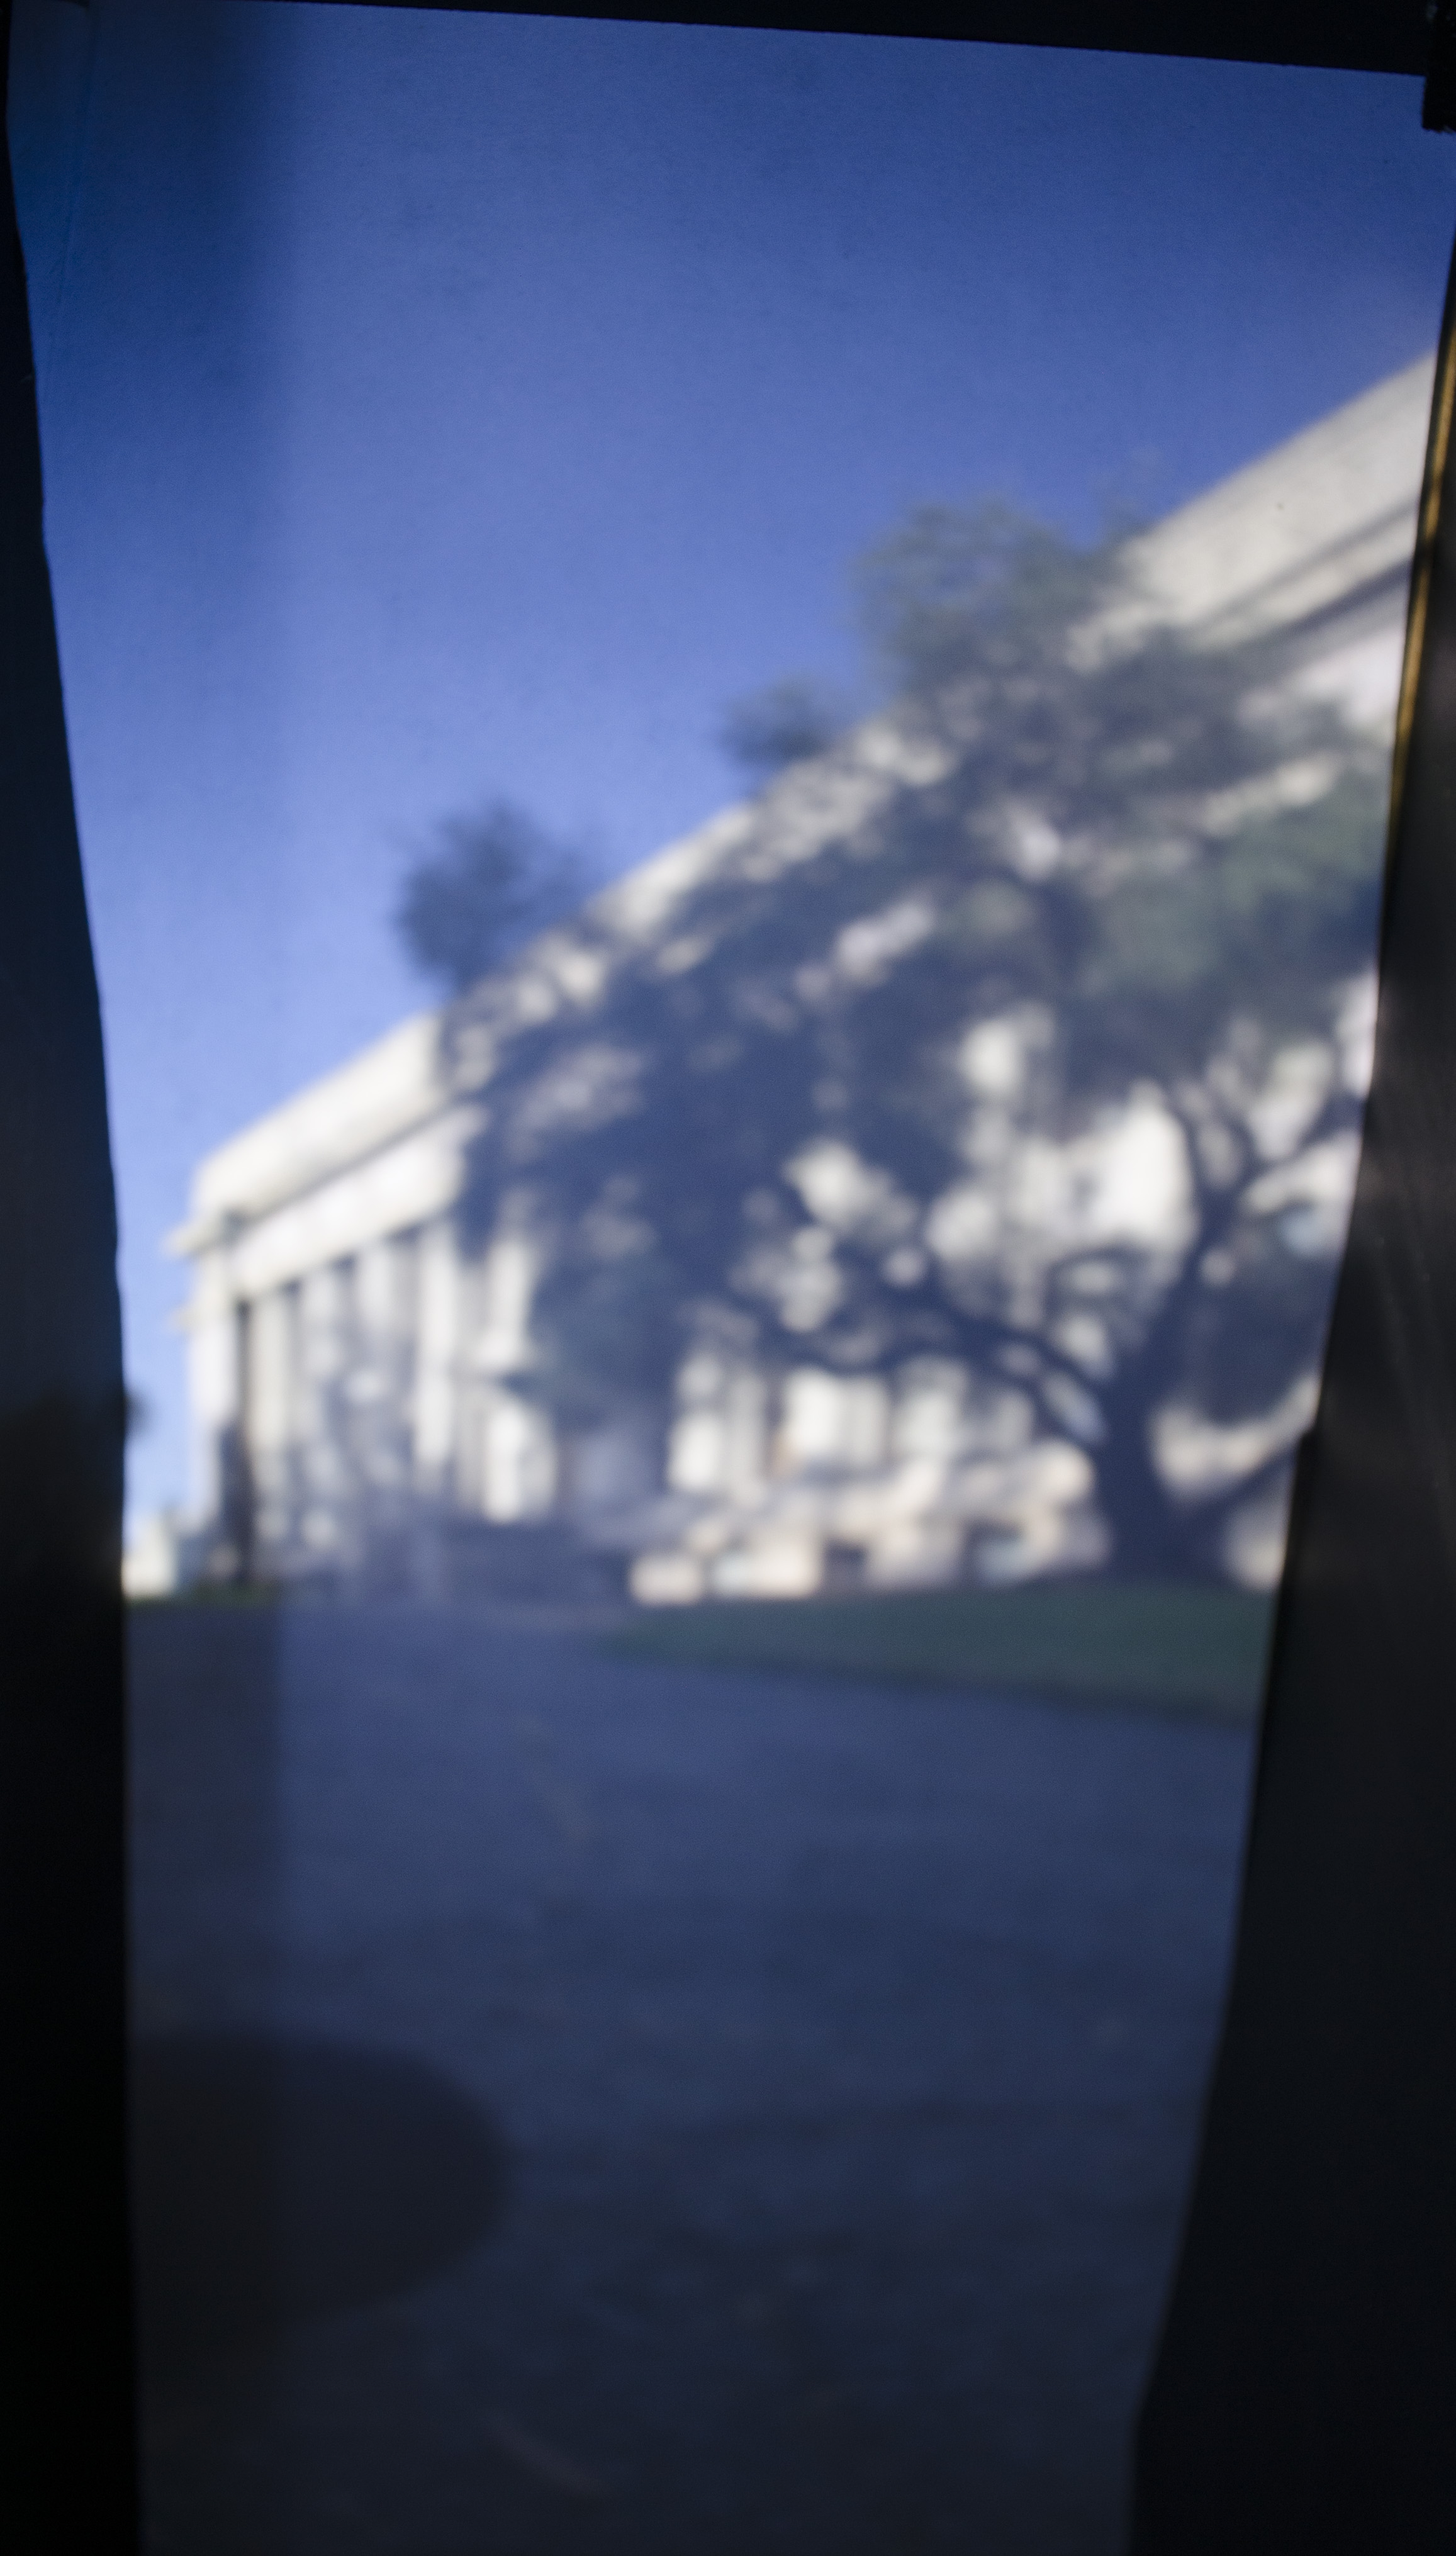
Pinhole diameter: 1.5mm
Pinhole diameter: 1.5mm
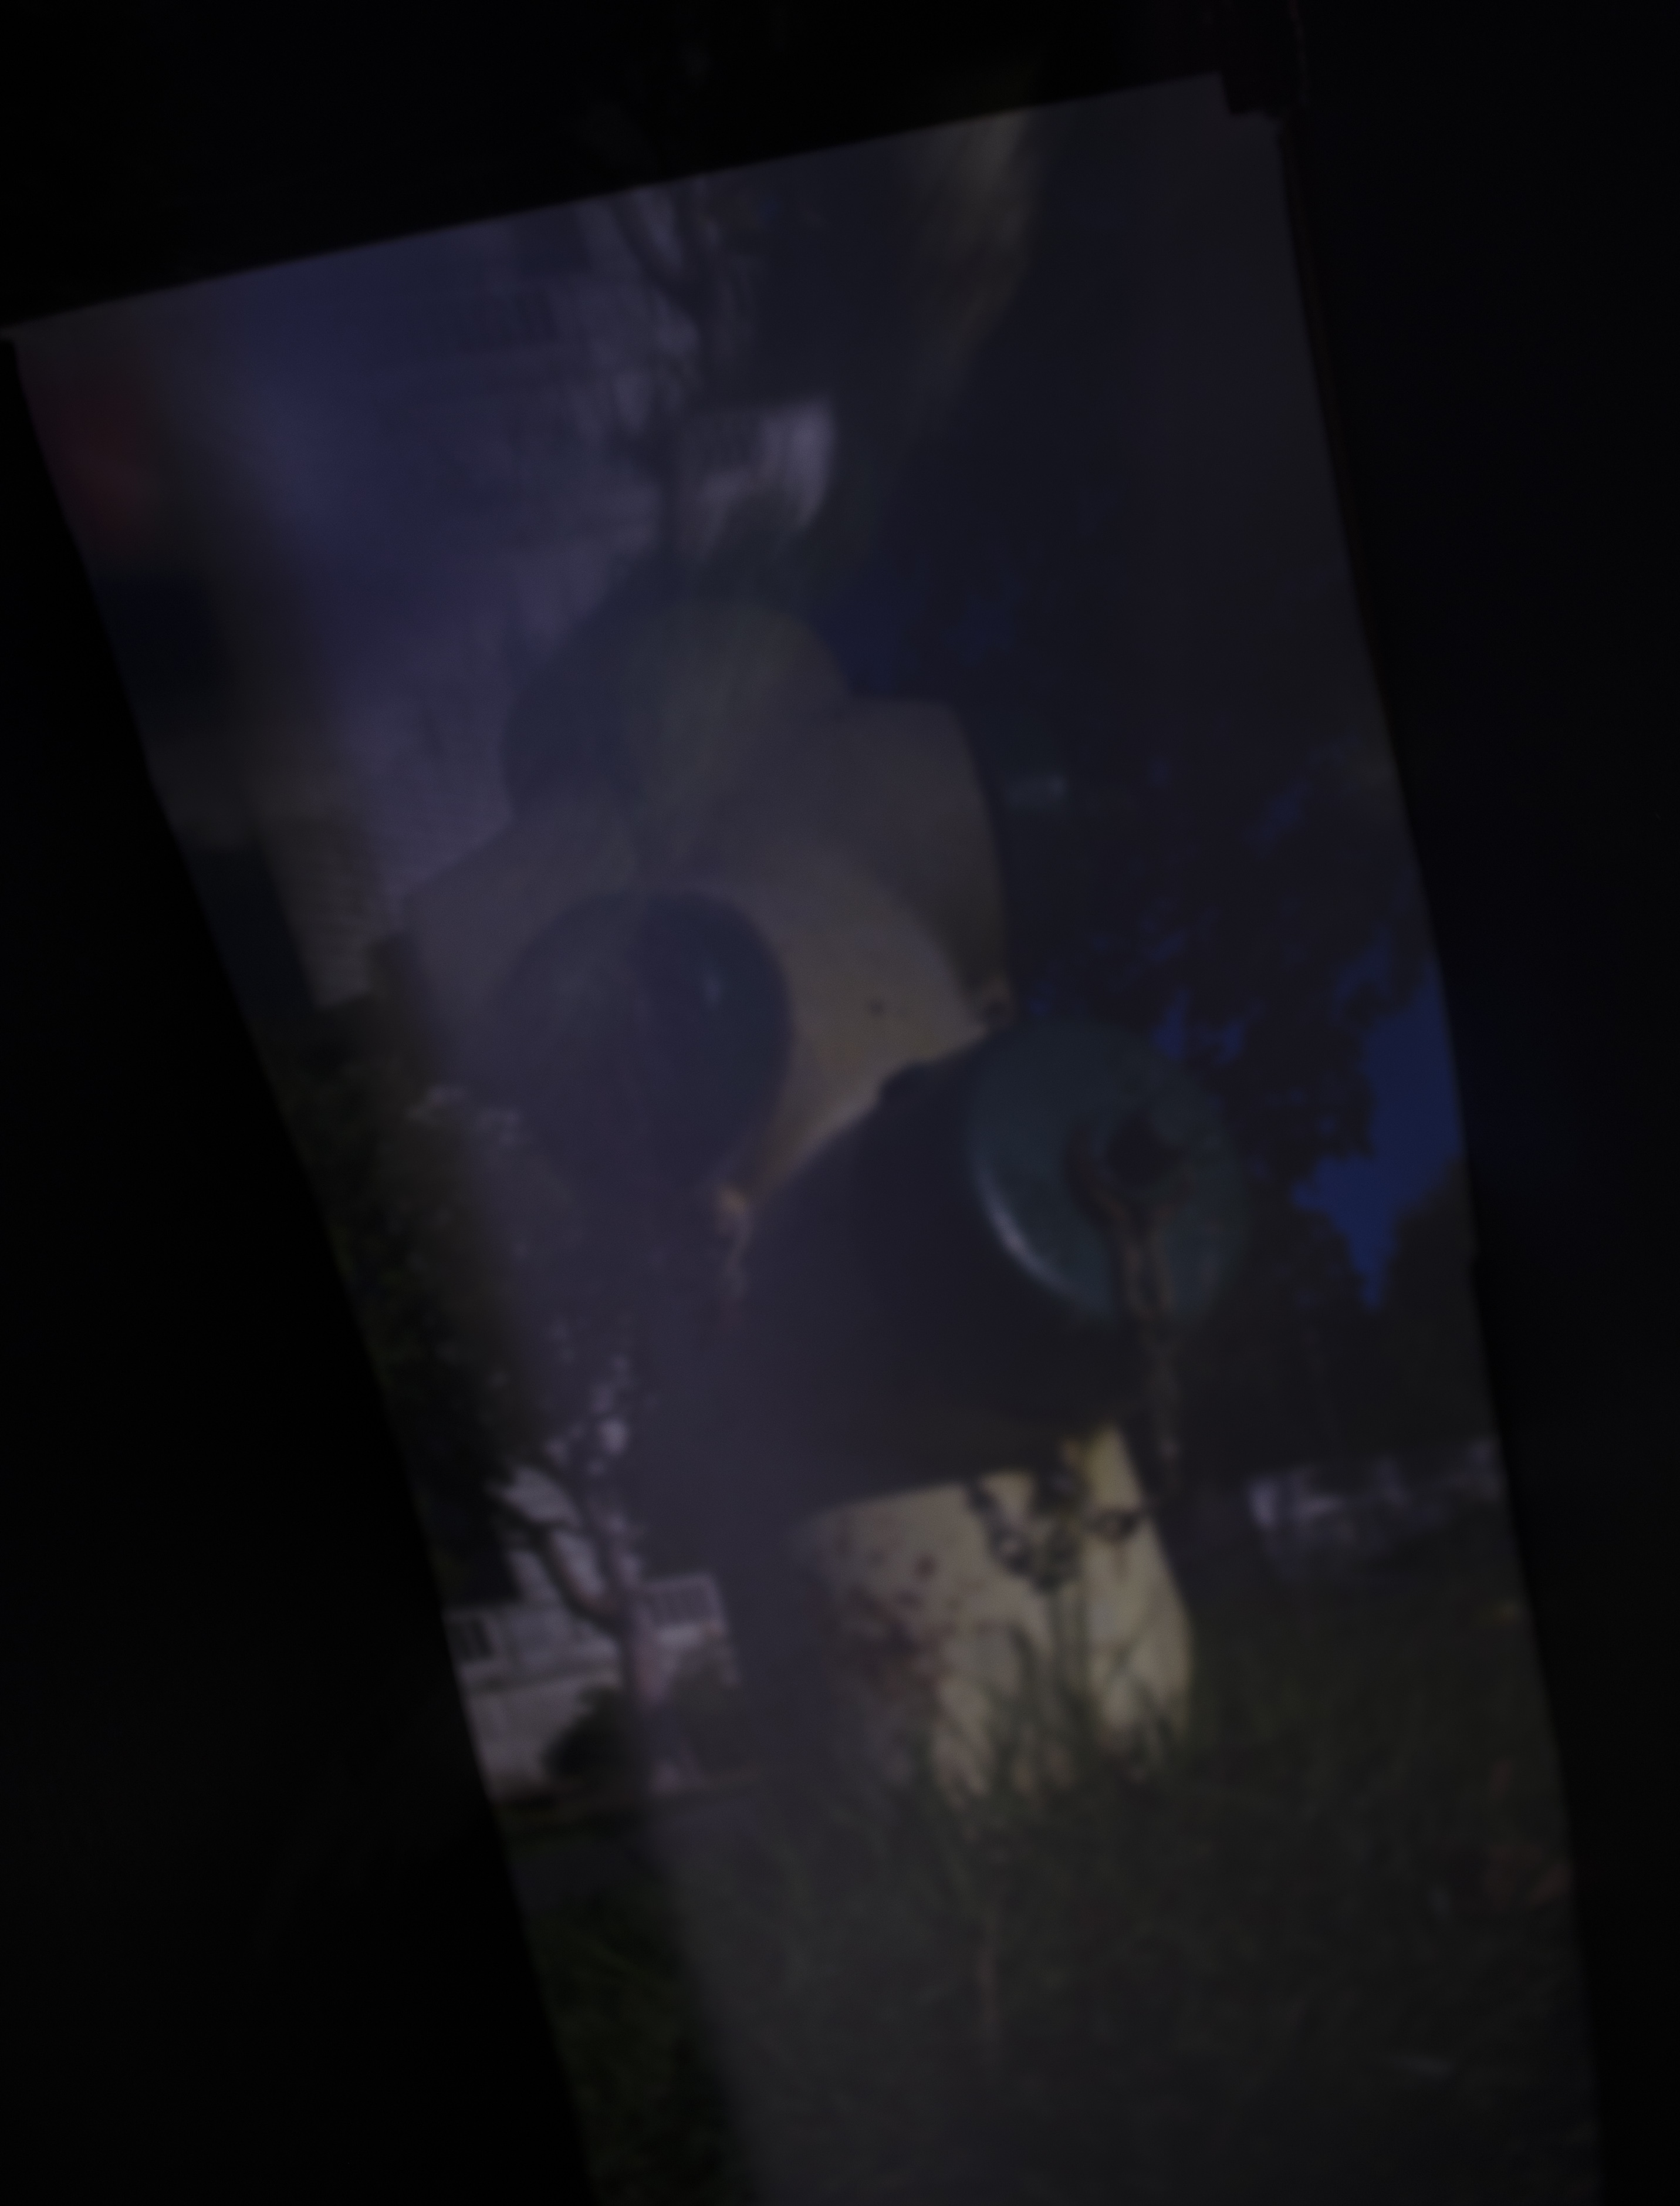
Pinhole diameter: 0.5mm
Pinhole diameter: 0.5mm
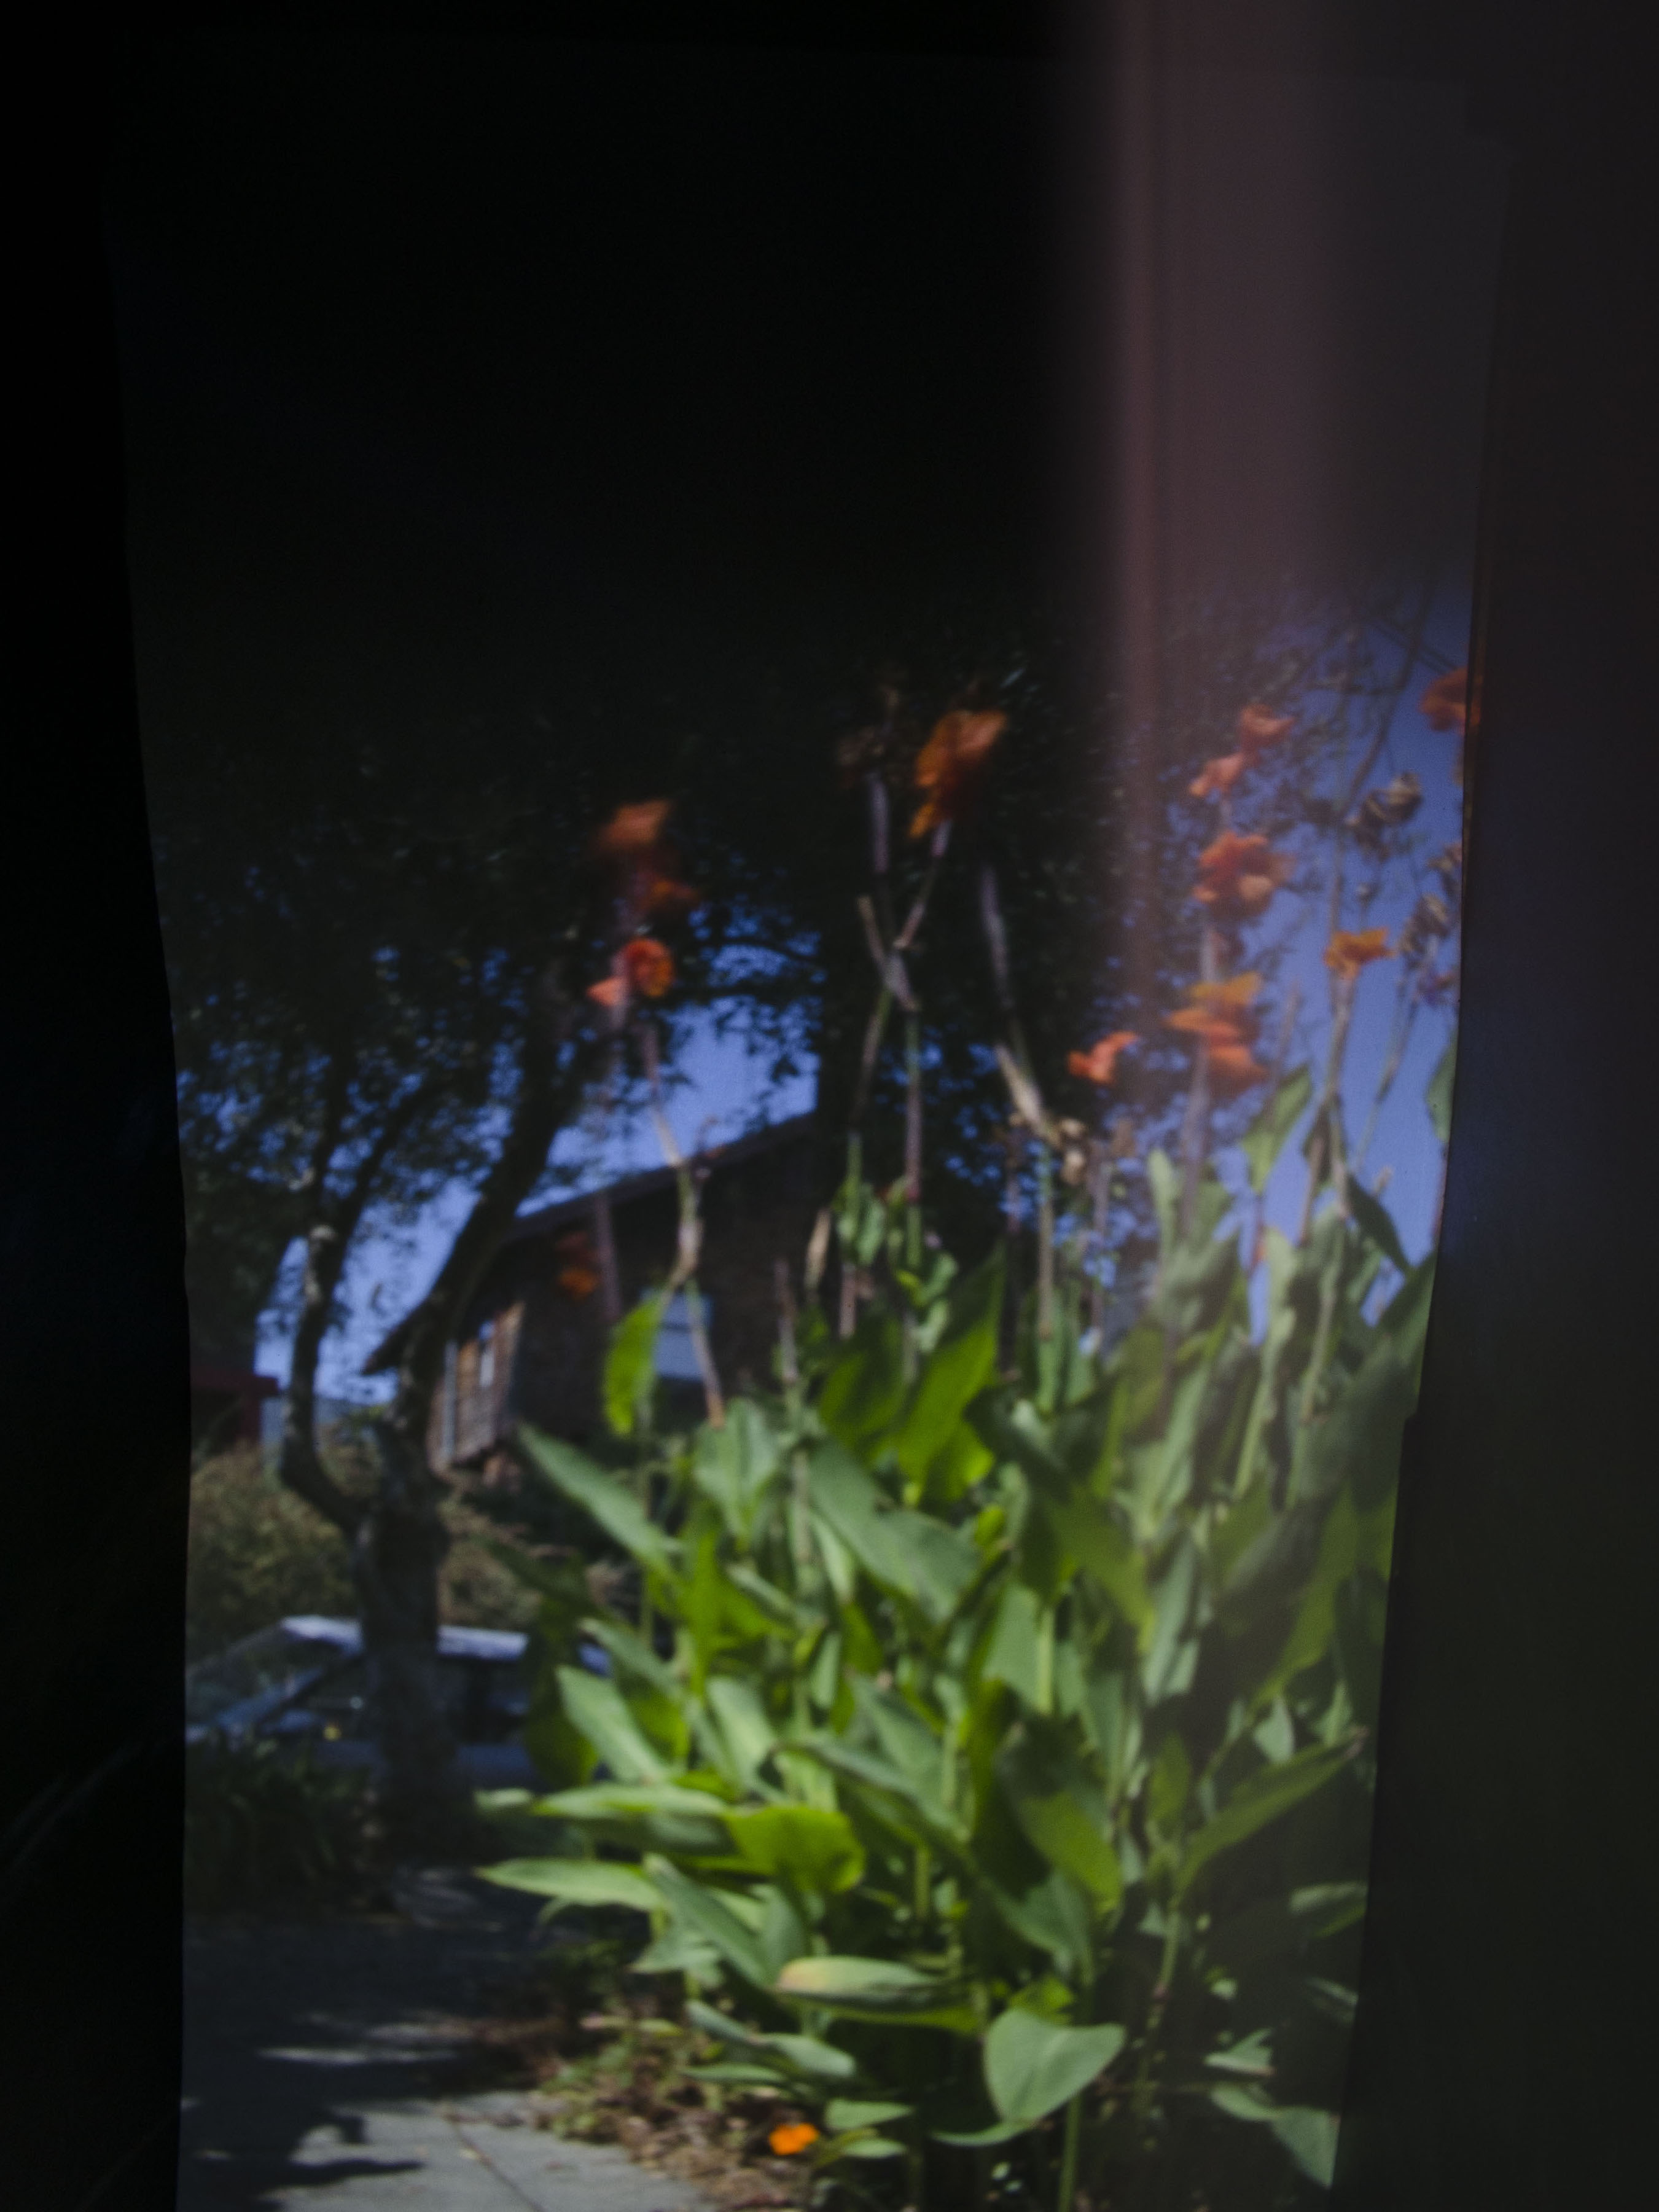
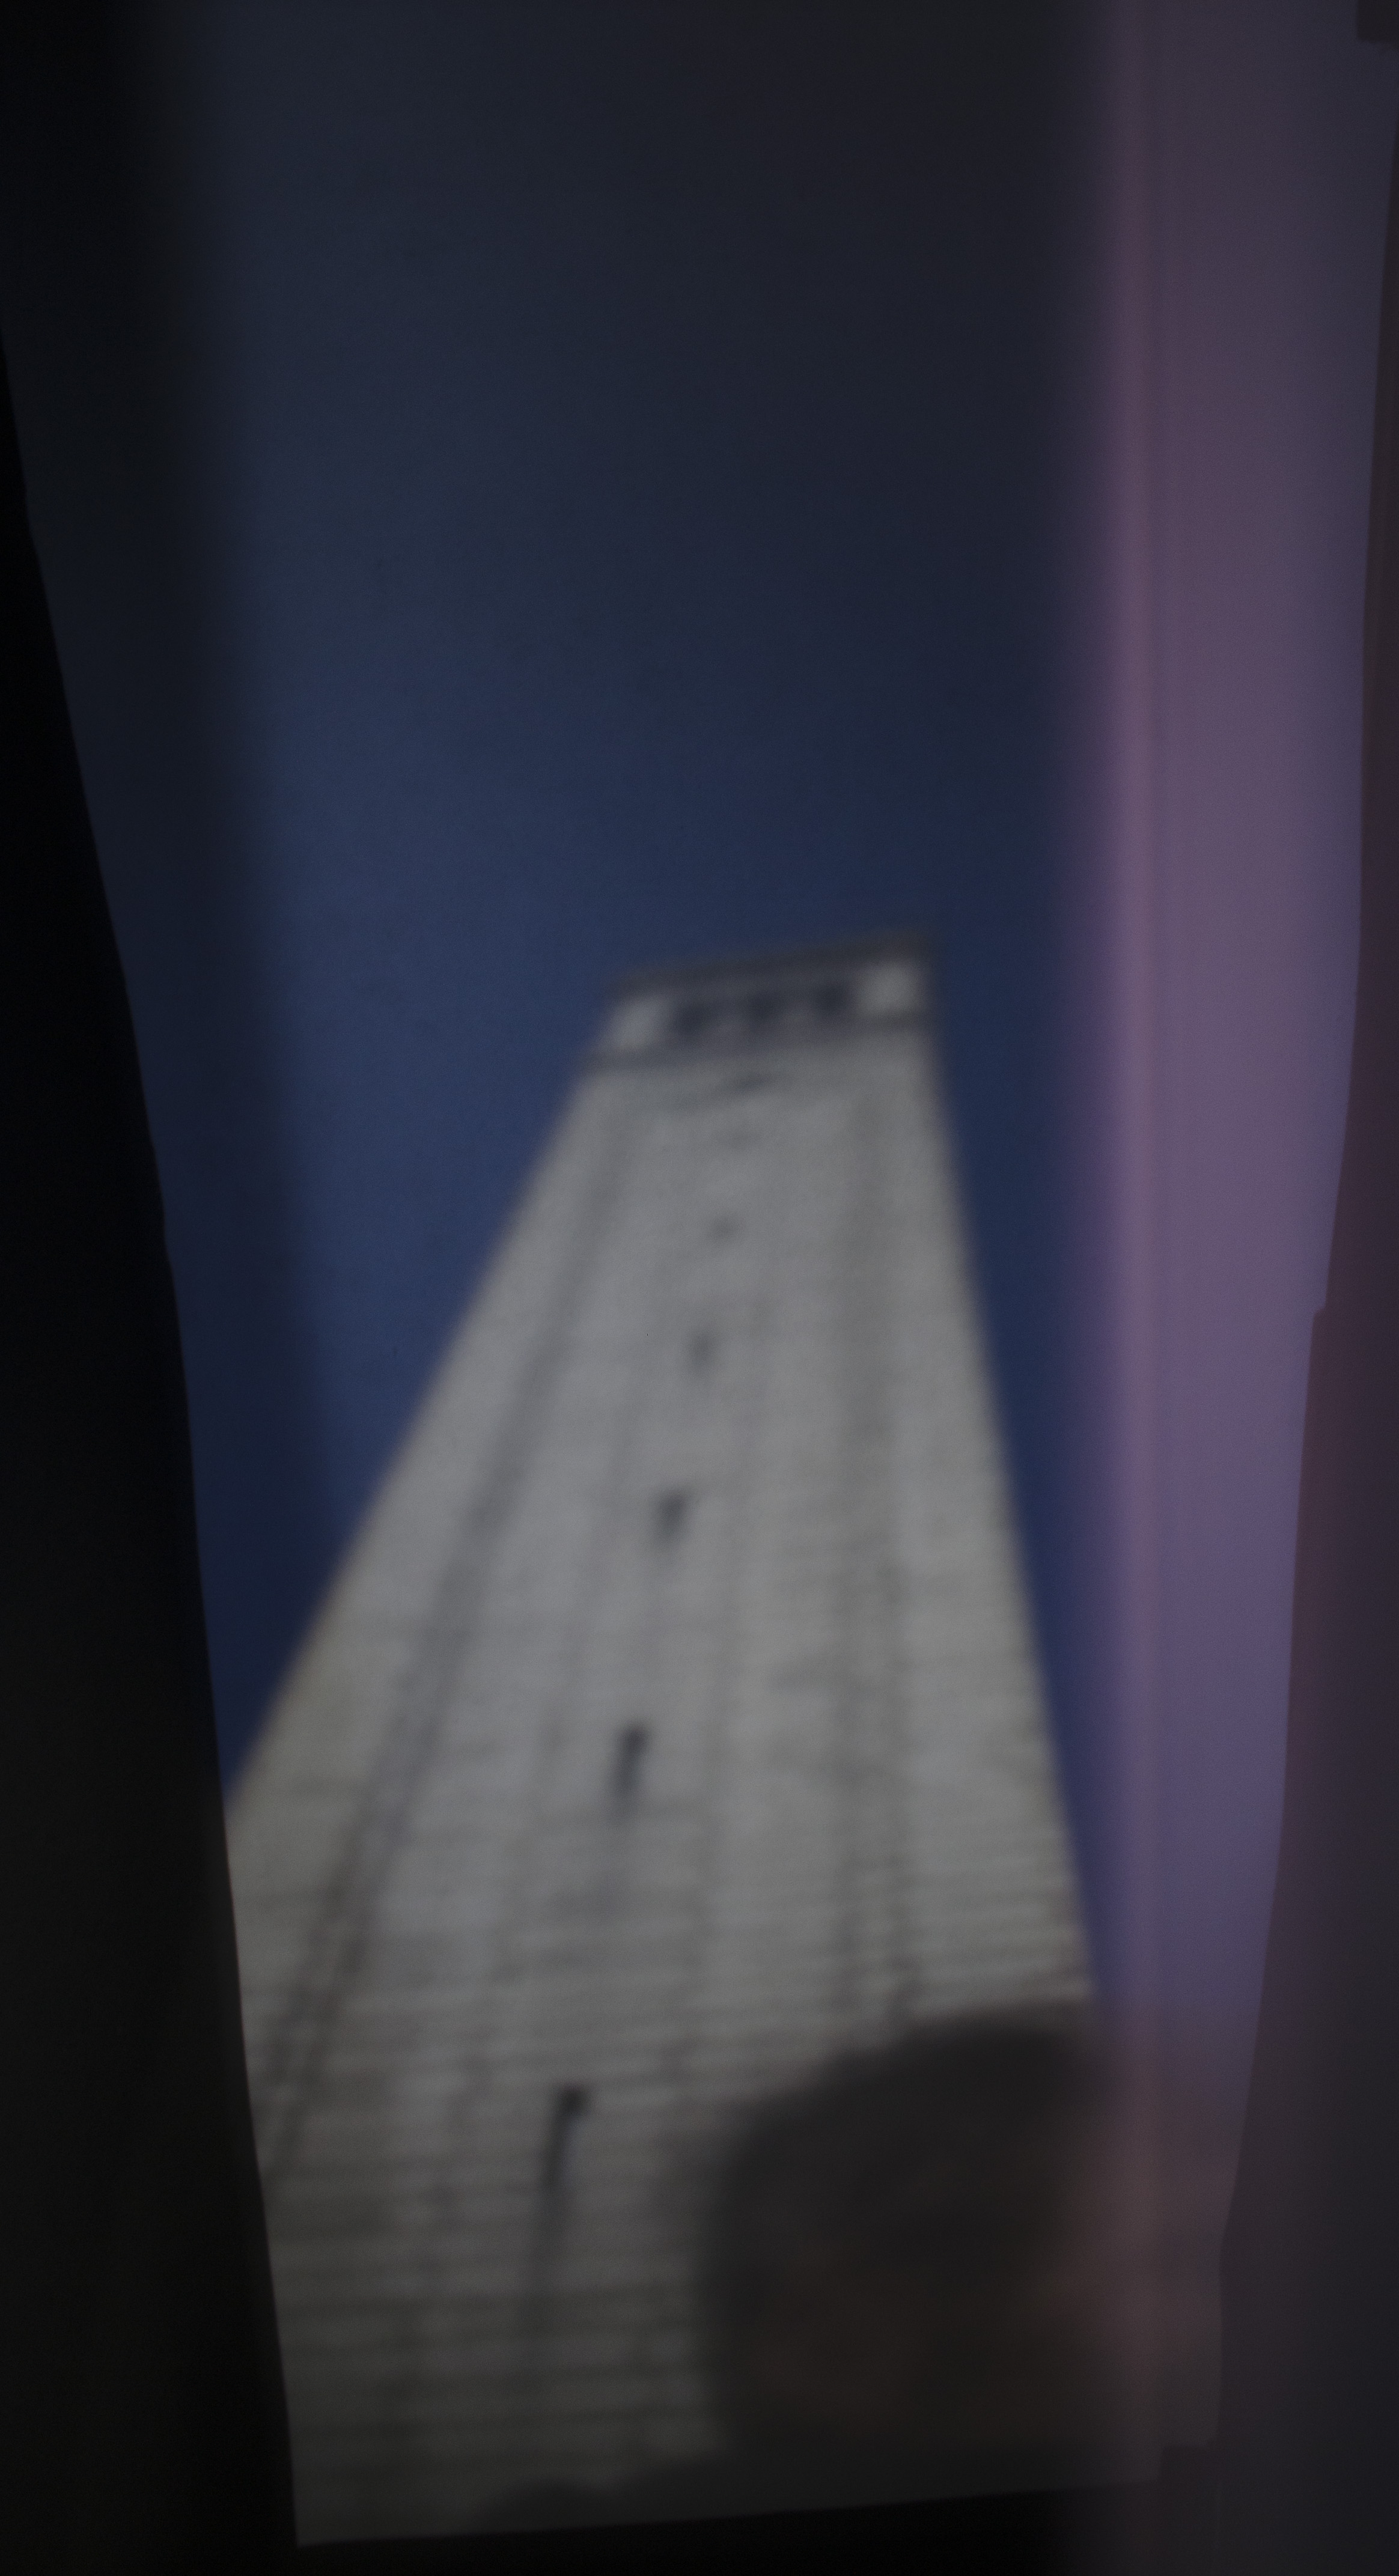
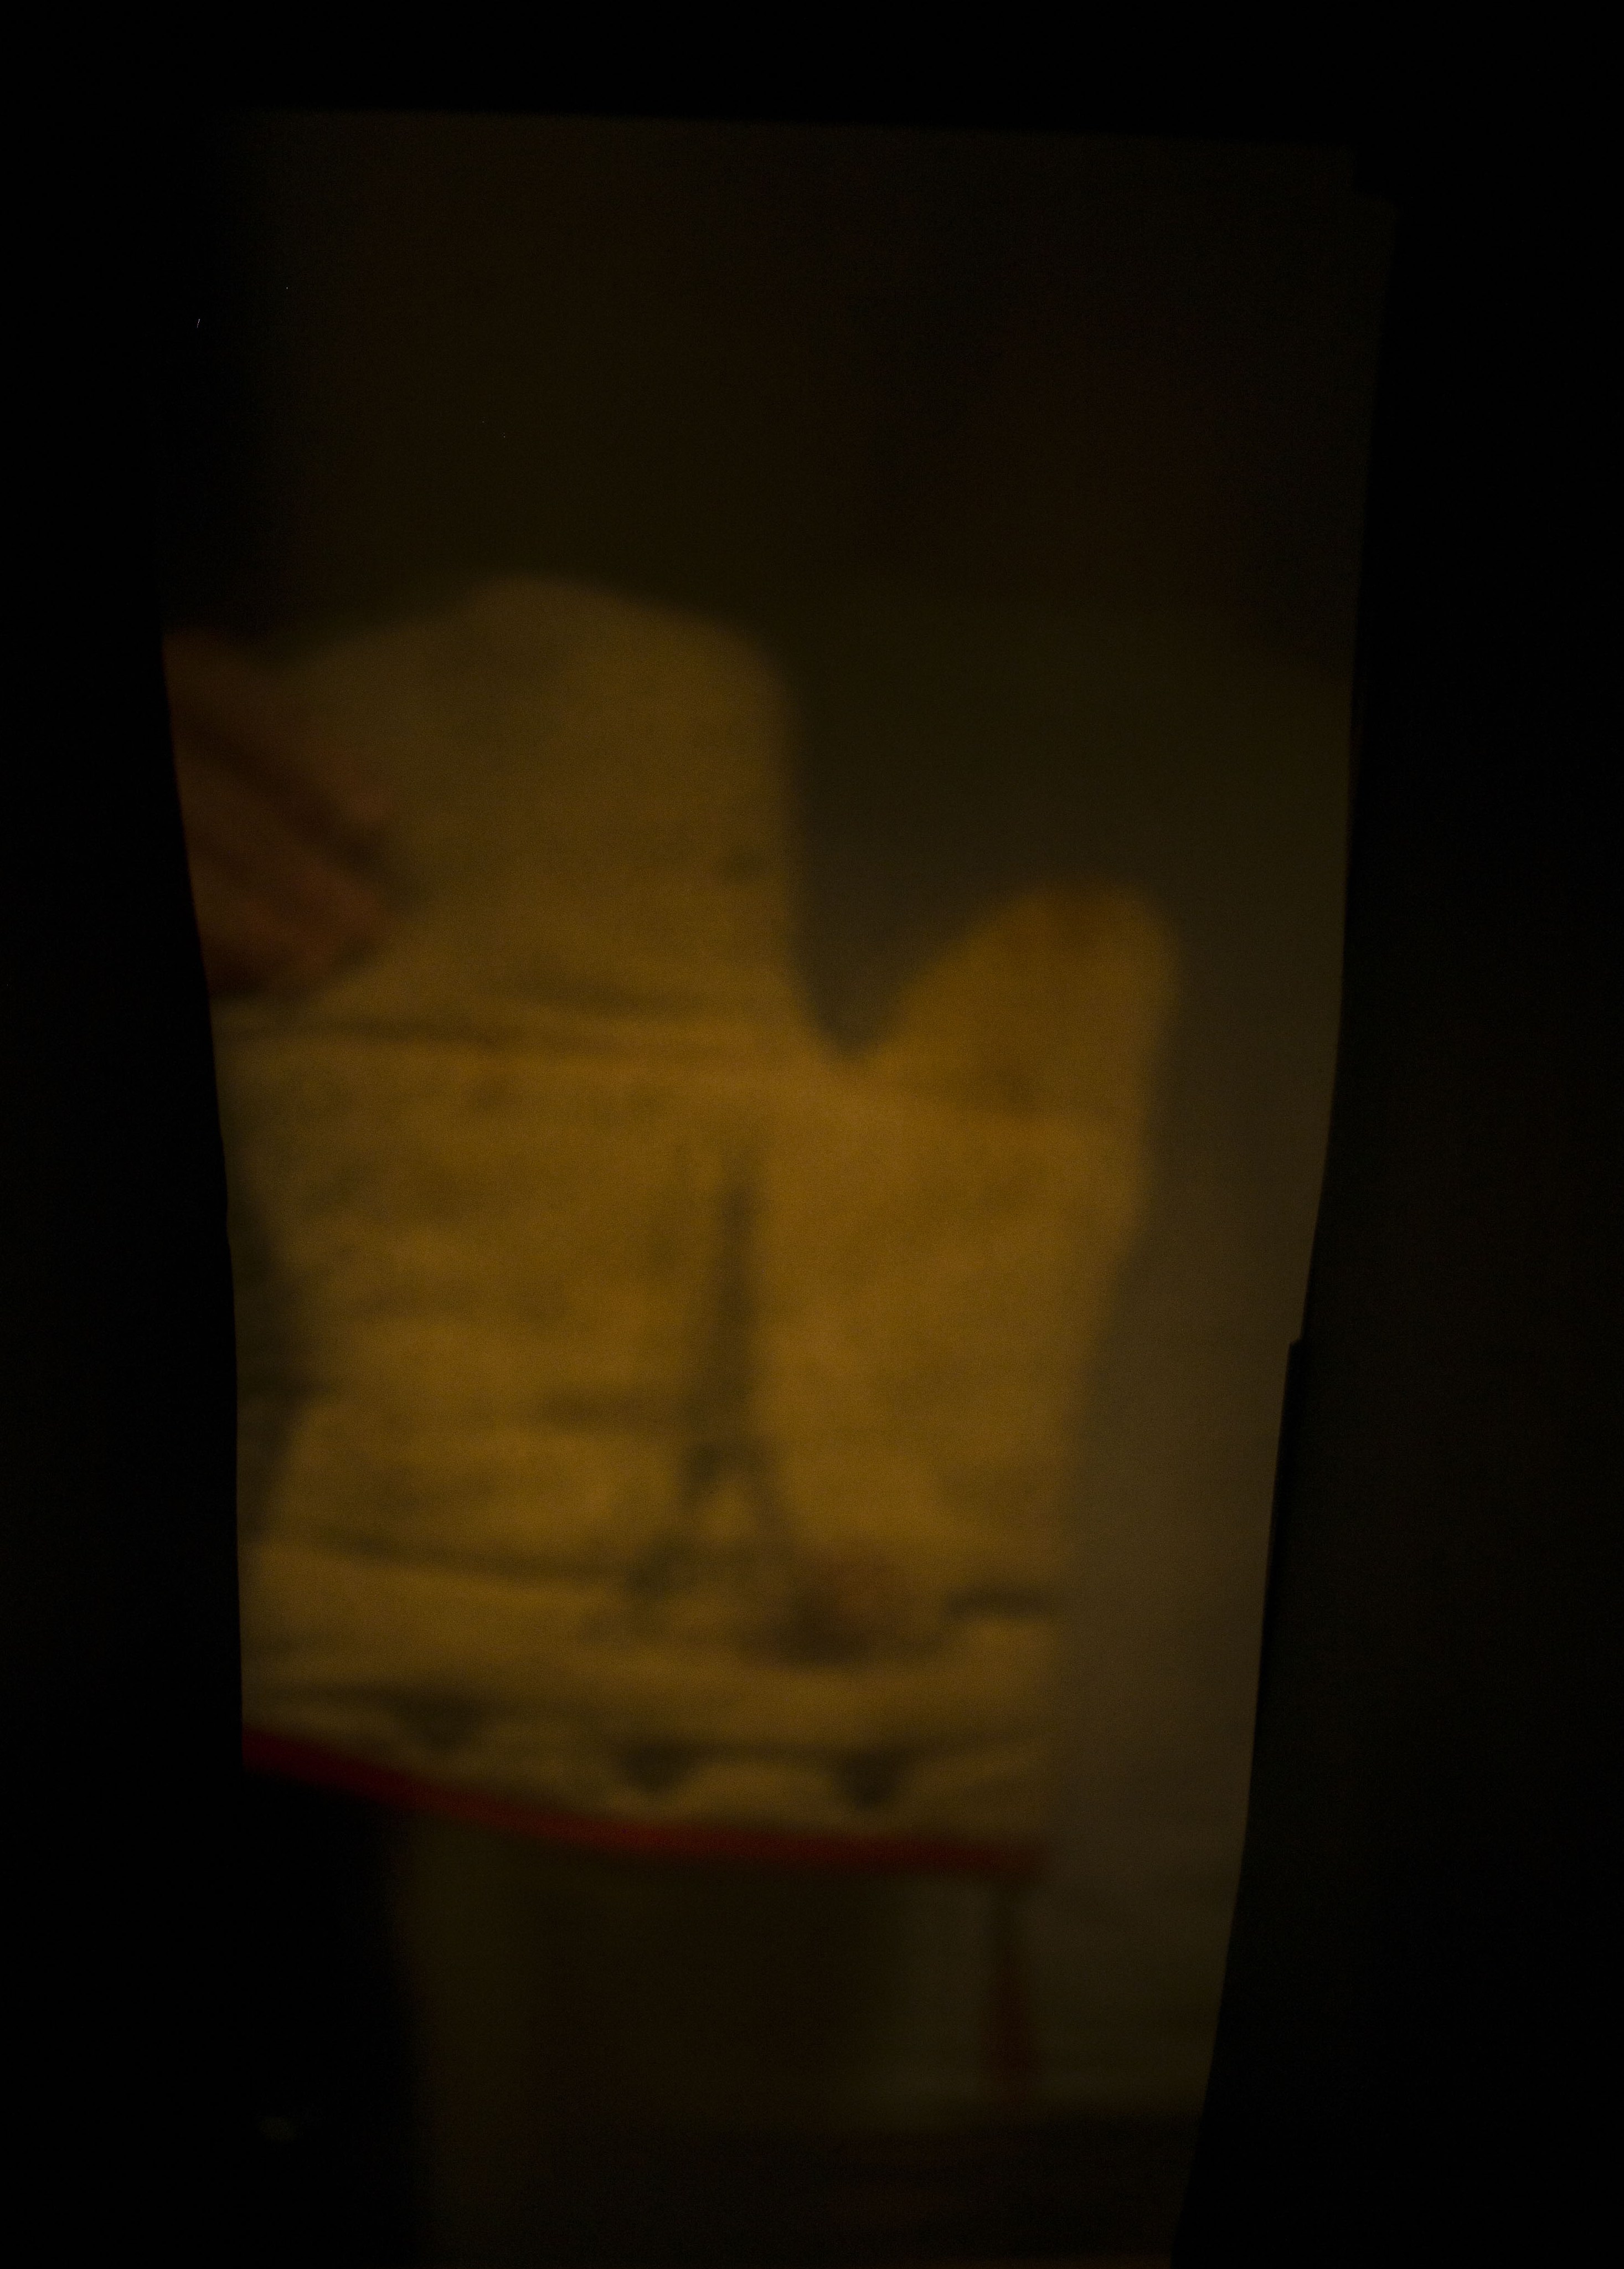
More pictures
Captured with Nikon D5100: 1.5mm diameter, F6, 30s exposure, 16000 ISO