"Hello"
For this project, we are trying to capture the pinhole imaging by creating a blackbox with a pinhole. The pinhole serves as a aperture that blocks most undesired scattered lights so that an image can form on the projection plane. Aside: note that the pinhole size cannot be too small; that is, it should not reach the limit where any diffractions or interferences take place. However, it is generally hard to reach the limit with hand designs.
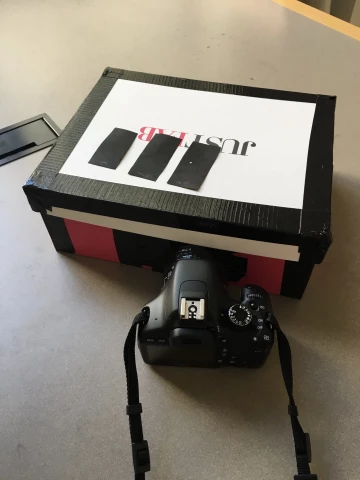
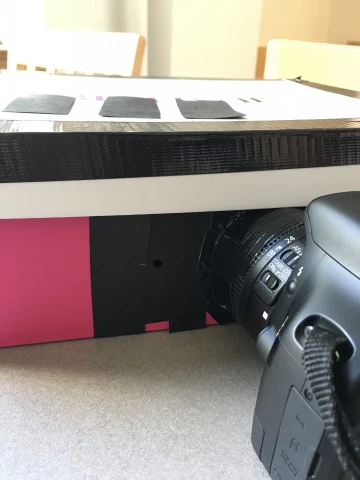
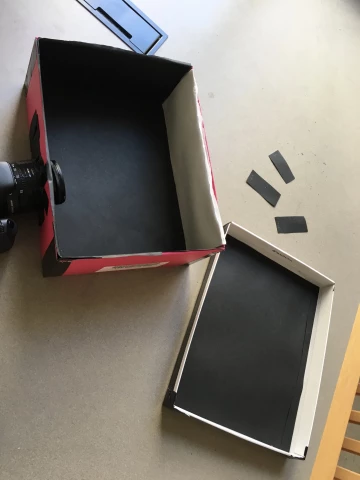
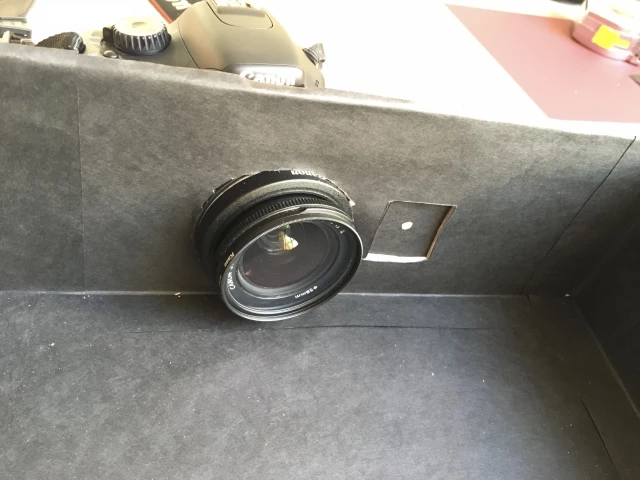
We used a shoebox and a digital camera for the setup. Everything except the projecting plane is designed to be light-proof, which means all other sides are covered with black paper and edges of the box is duct-taped. We have tested out 4 pinhole sizes--0.5, 1, 3, 5 mm. We made the design such that we could slide and exchange small card papers to switch between pinhole sizes. A hole is cutted out for the camera, and we duct-taped the gap between the hole and the camera to block undesired light. Note that the camera is angled to face towards the pinhole so that we could capture most of the image projected. Since we don't have a tripod, we could only place the pinhole camera on flat surfaces for steady shots.
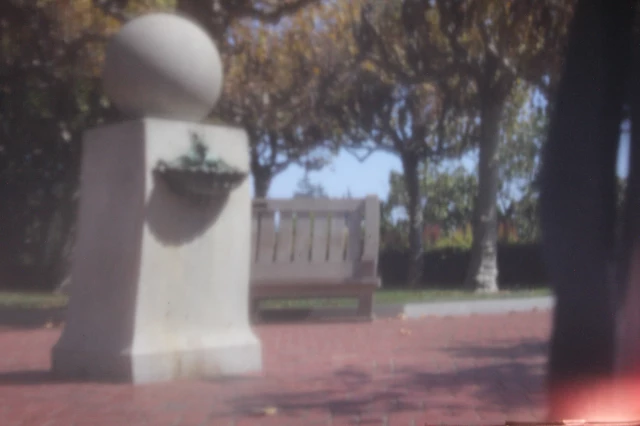
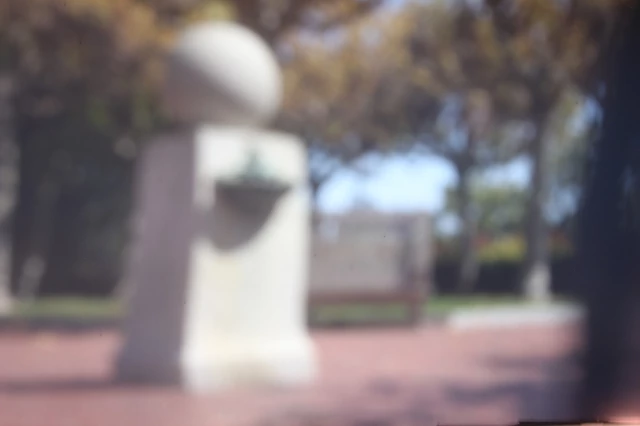
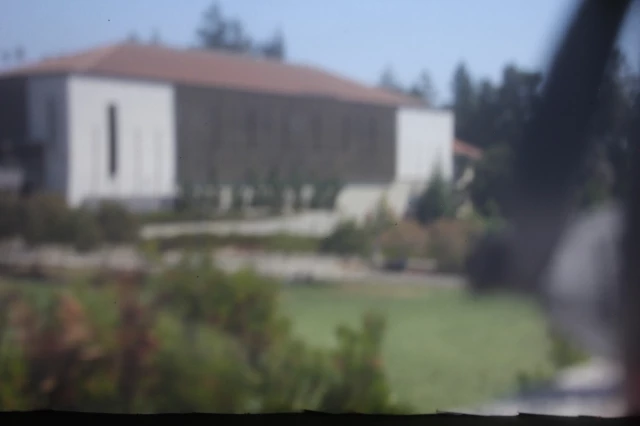
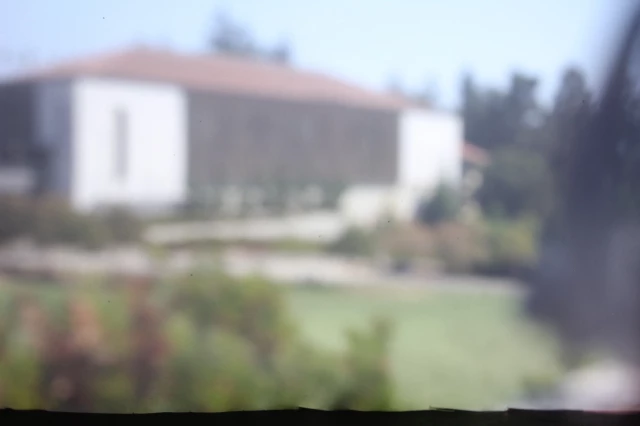
Scene 1
|
|

|
|
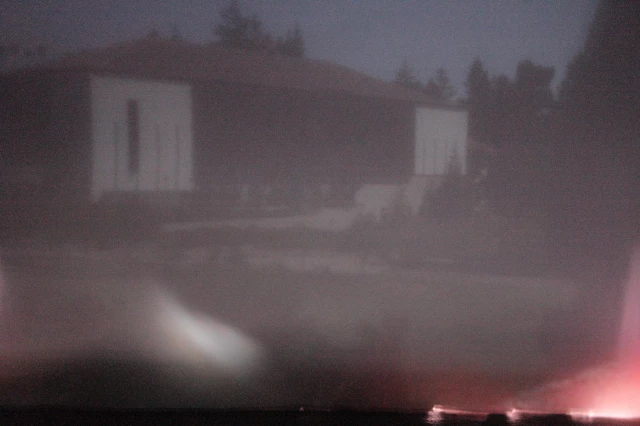
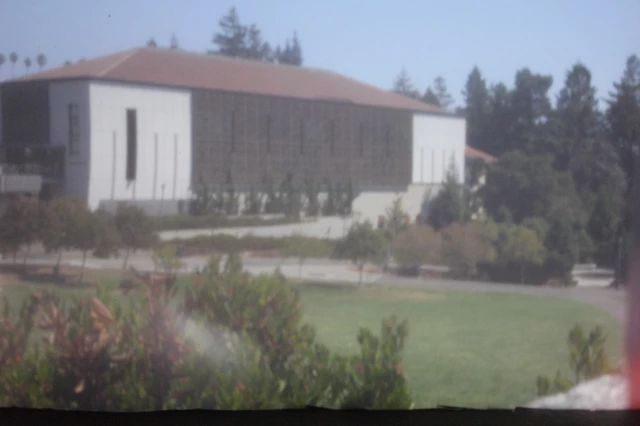
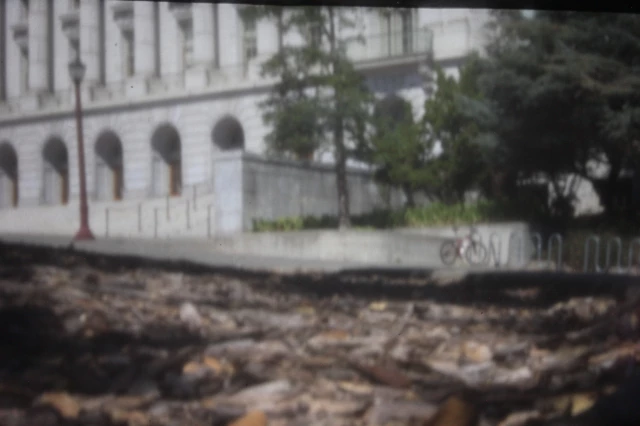
Scene 2
|
|
|
|
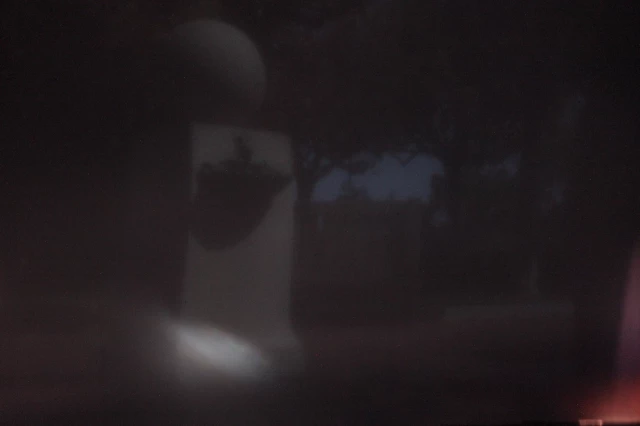
Based on the formula 1.9 * sqrt(f * lambda), we found out in theory the ideal pinhole diameter should be roughly 0.66 mm. Since it is technically difficult to make a pinhole wiht high precision of ~0.1 mm, we tried out 0.5, 1, 3, and 5 mm. Note that we set the exposure time to 30 sec and the aperture to be as large as possible. In addition, we found that if we set ISO to 1600, 800, AUTO for 0.5 mm, 1 mm, the rest, respectively, we could get better photos. The result pretty much coincides with our prediction. As the pinhole size gets too small, although the edges seem to be clear, the intensity is too low to be considered as a good image. On the other hand, as the aperture size are too large (3, 5 mm), the image will not be as sharp since the pinhole allowed light source to project onto the image plane within a angle which is too large to preserve a clear image. We found that the pinhole size of 1 mm worked the best, as it produces sharp enough images and sufficient brightness.
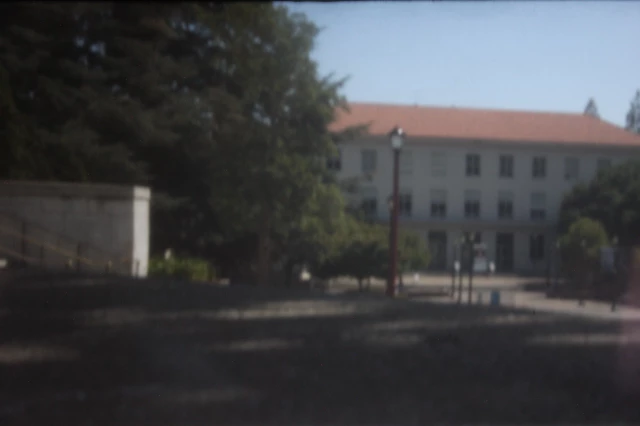

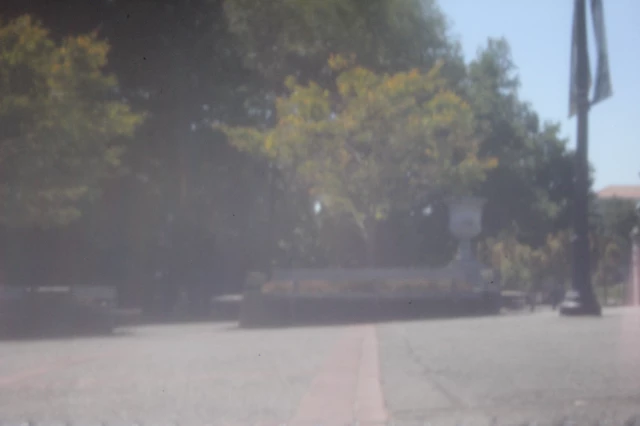
Note: The pinhole camera could not capture the image of walking people, which makes intuitive sense because the camera needs sufficient exposure to create the image. However, obviously, a standing person can be captured in the image, which is shown in the third image.
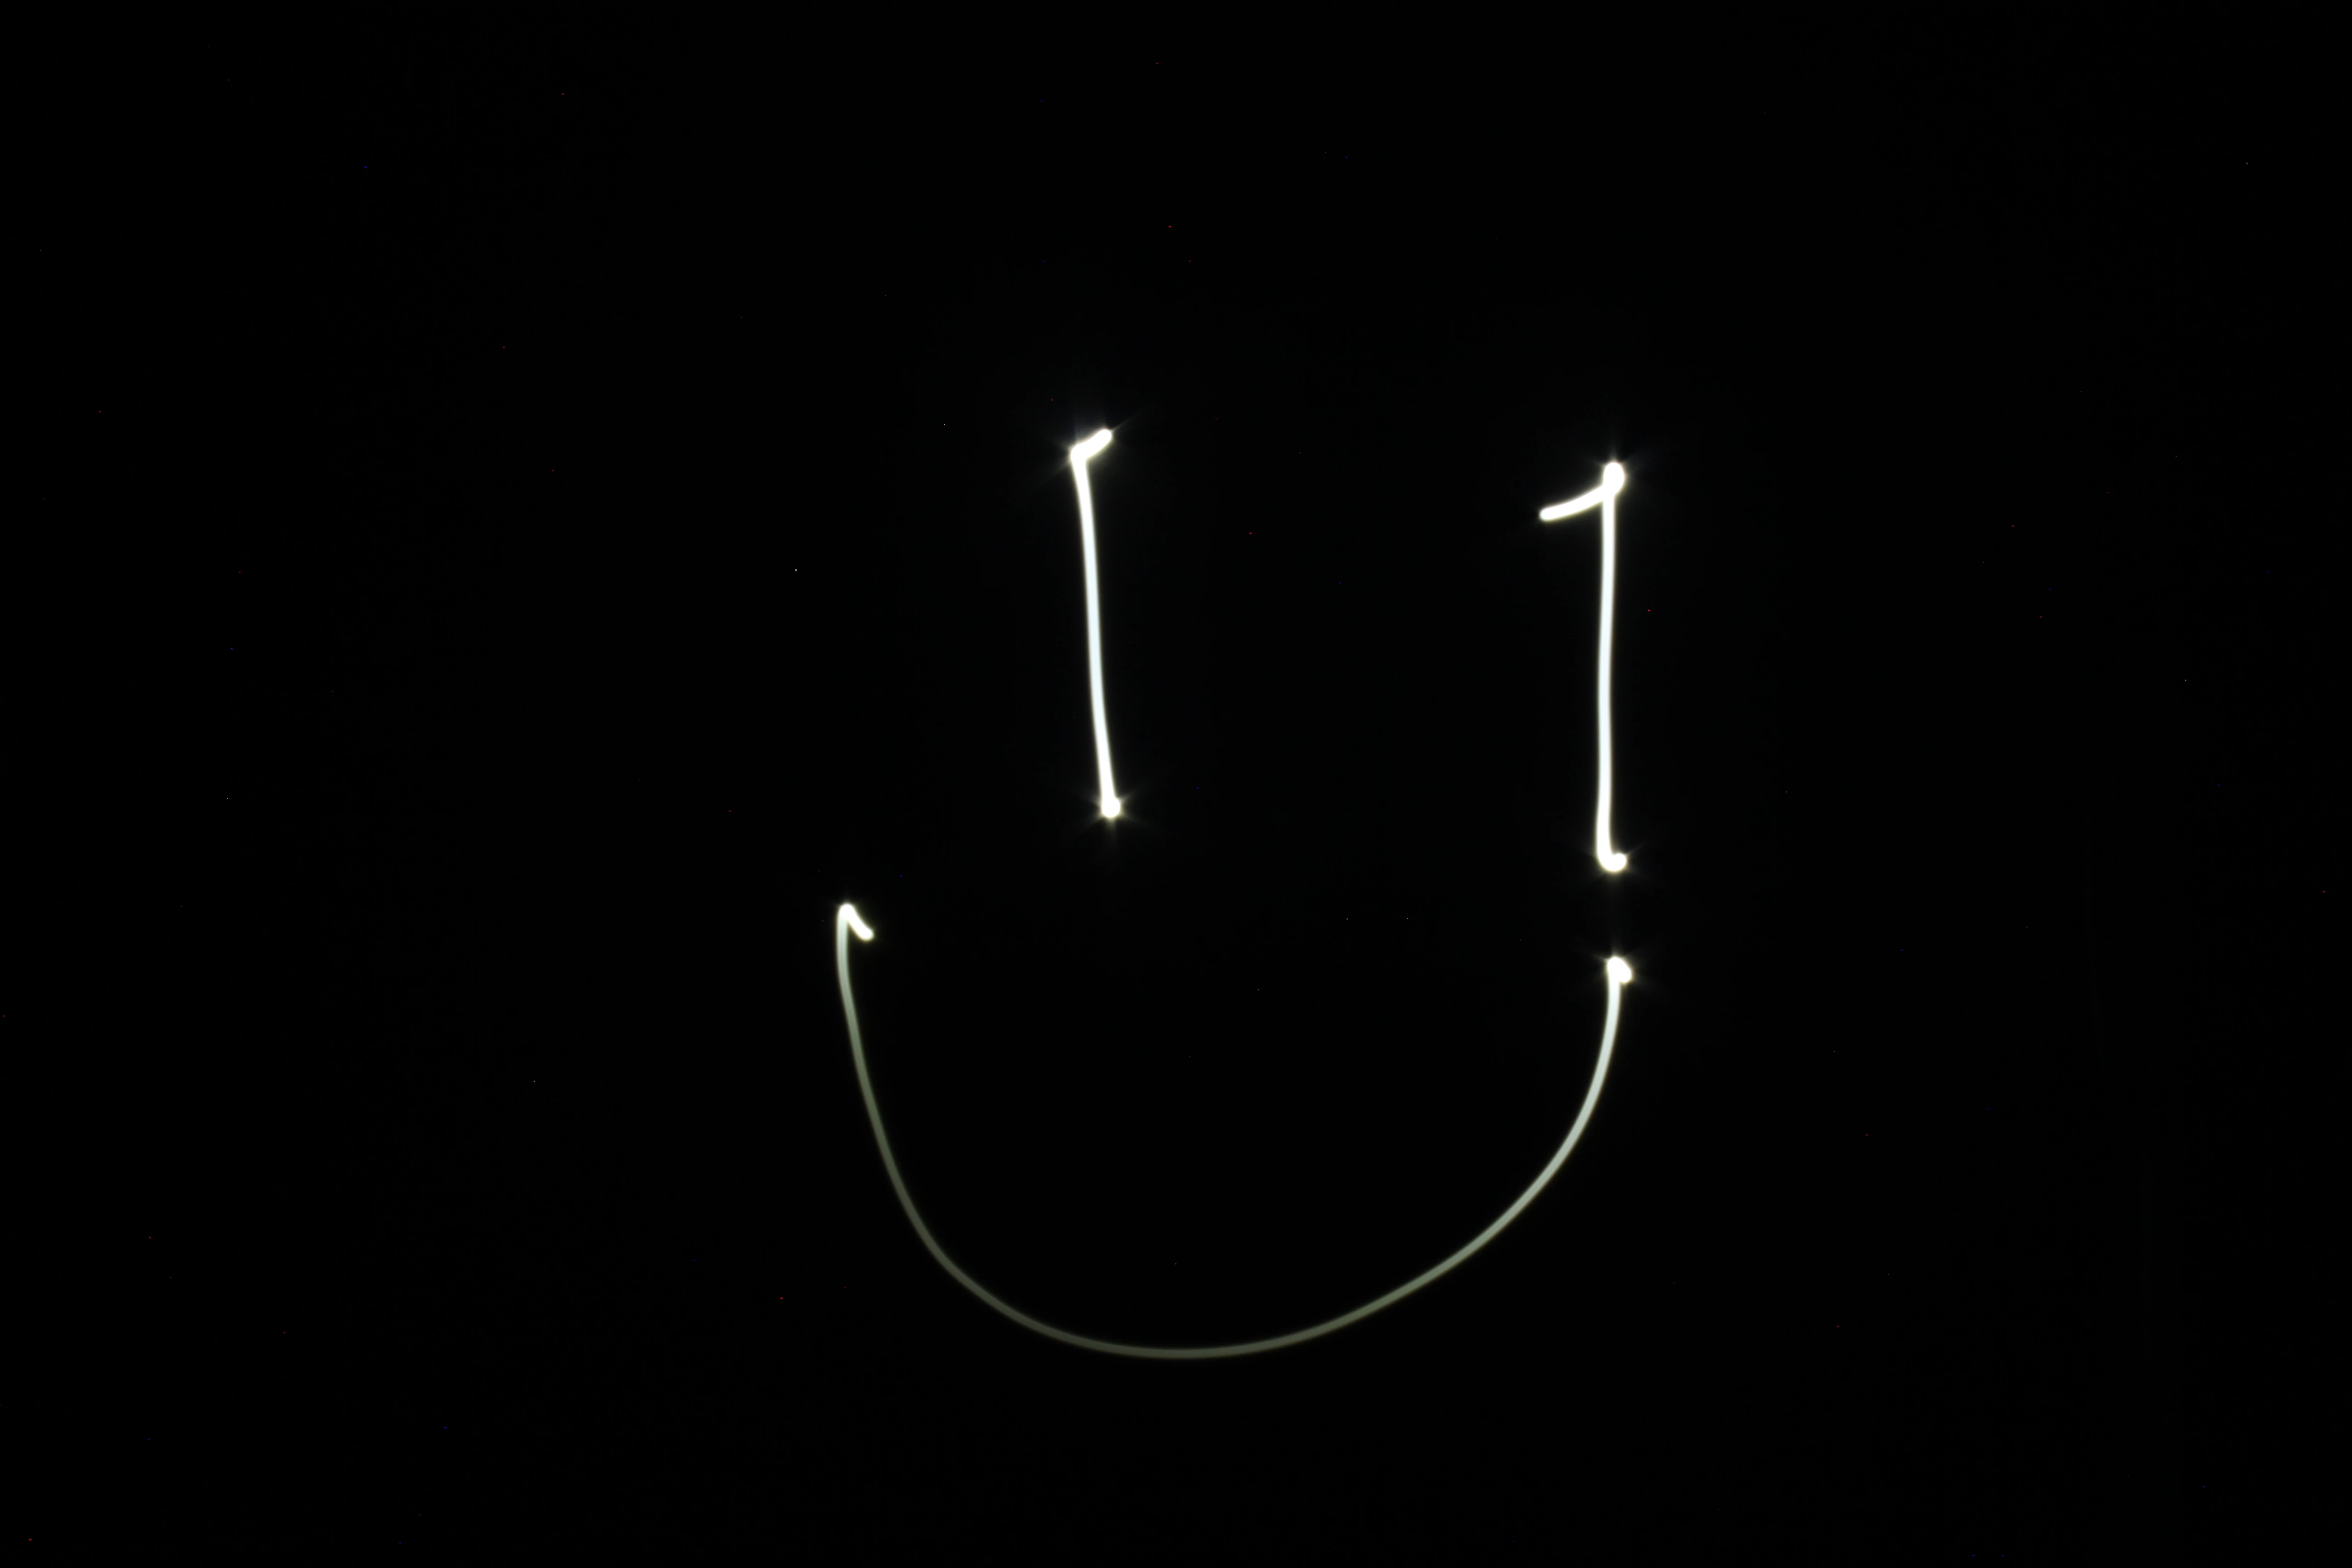
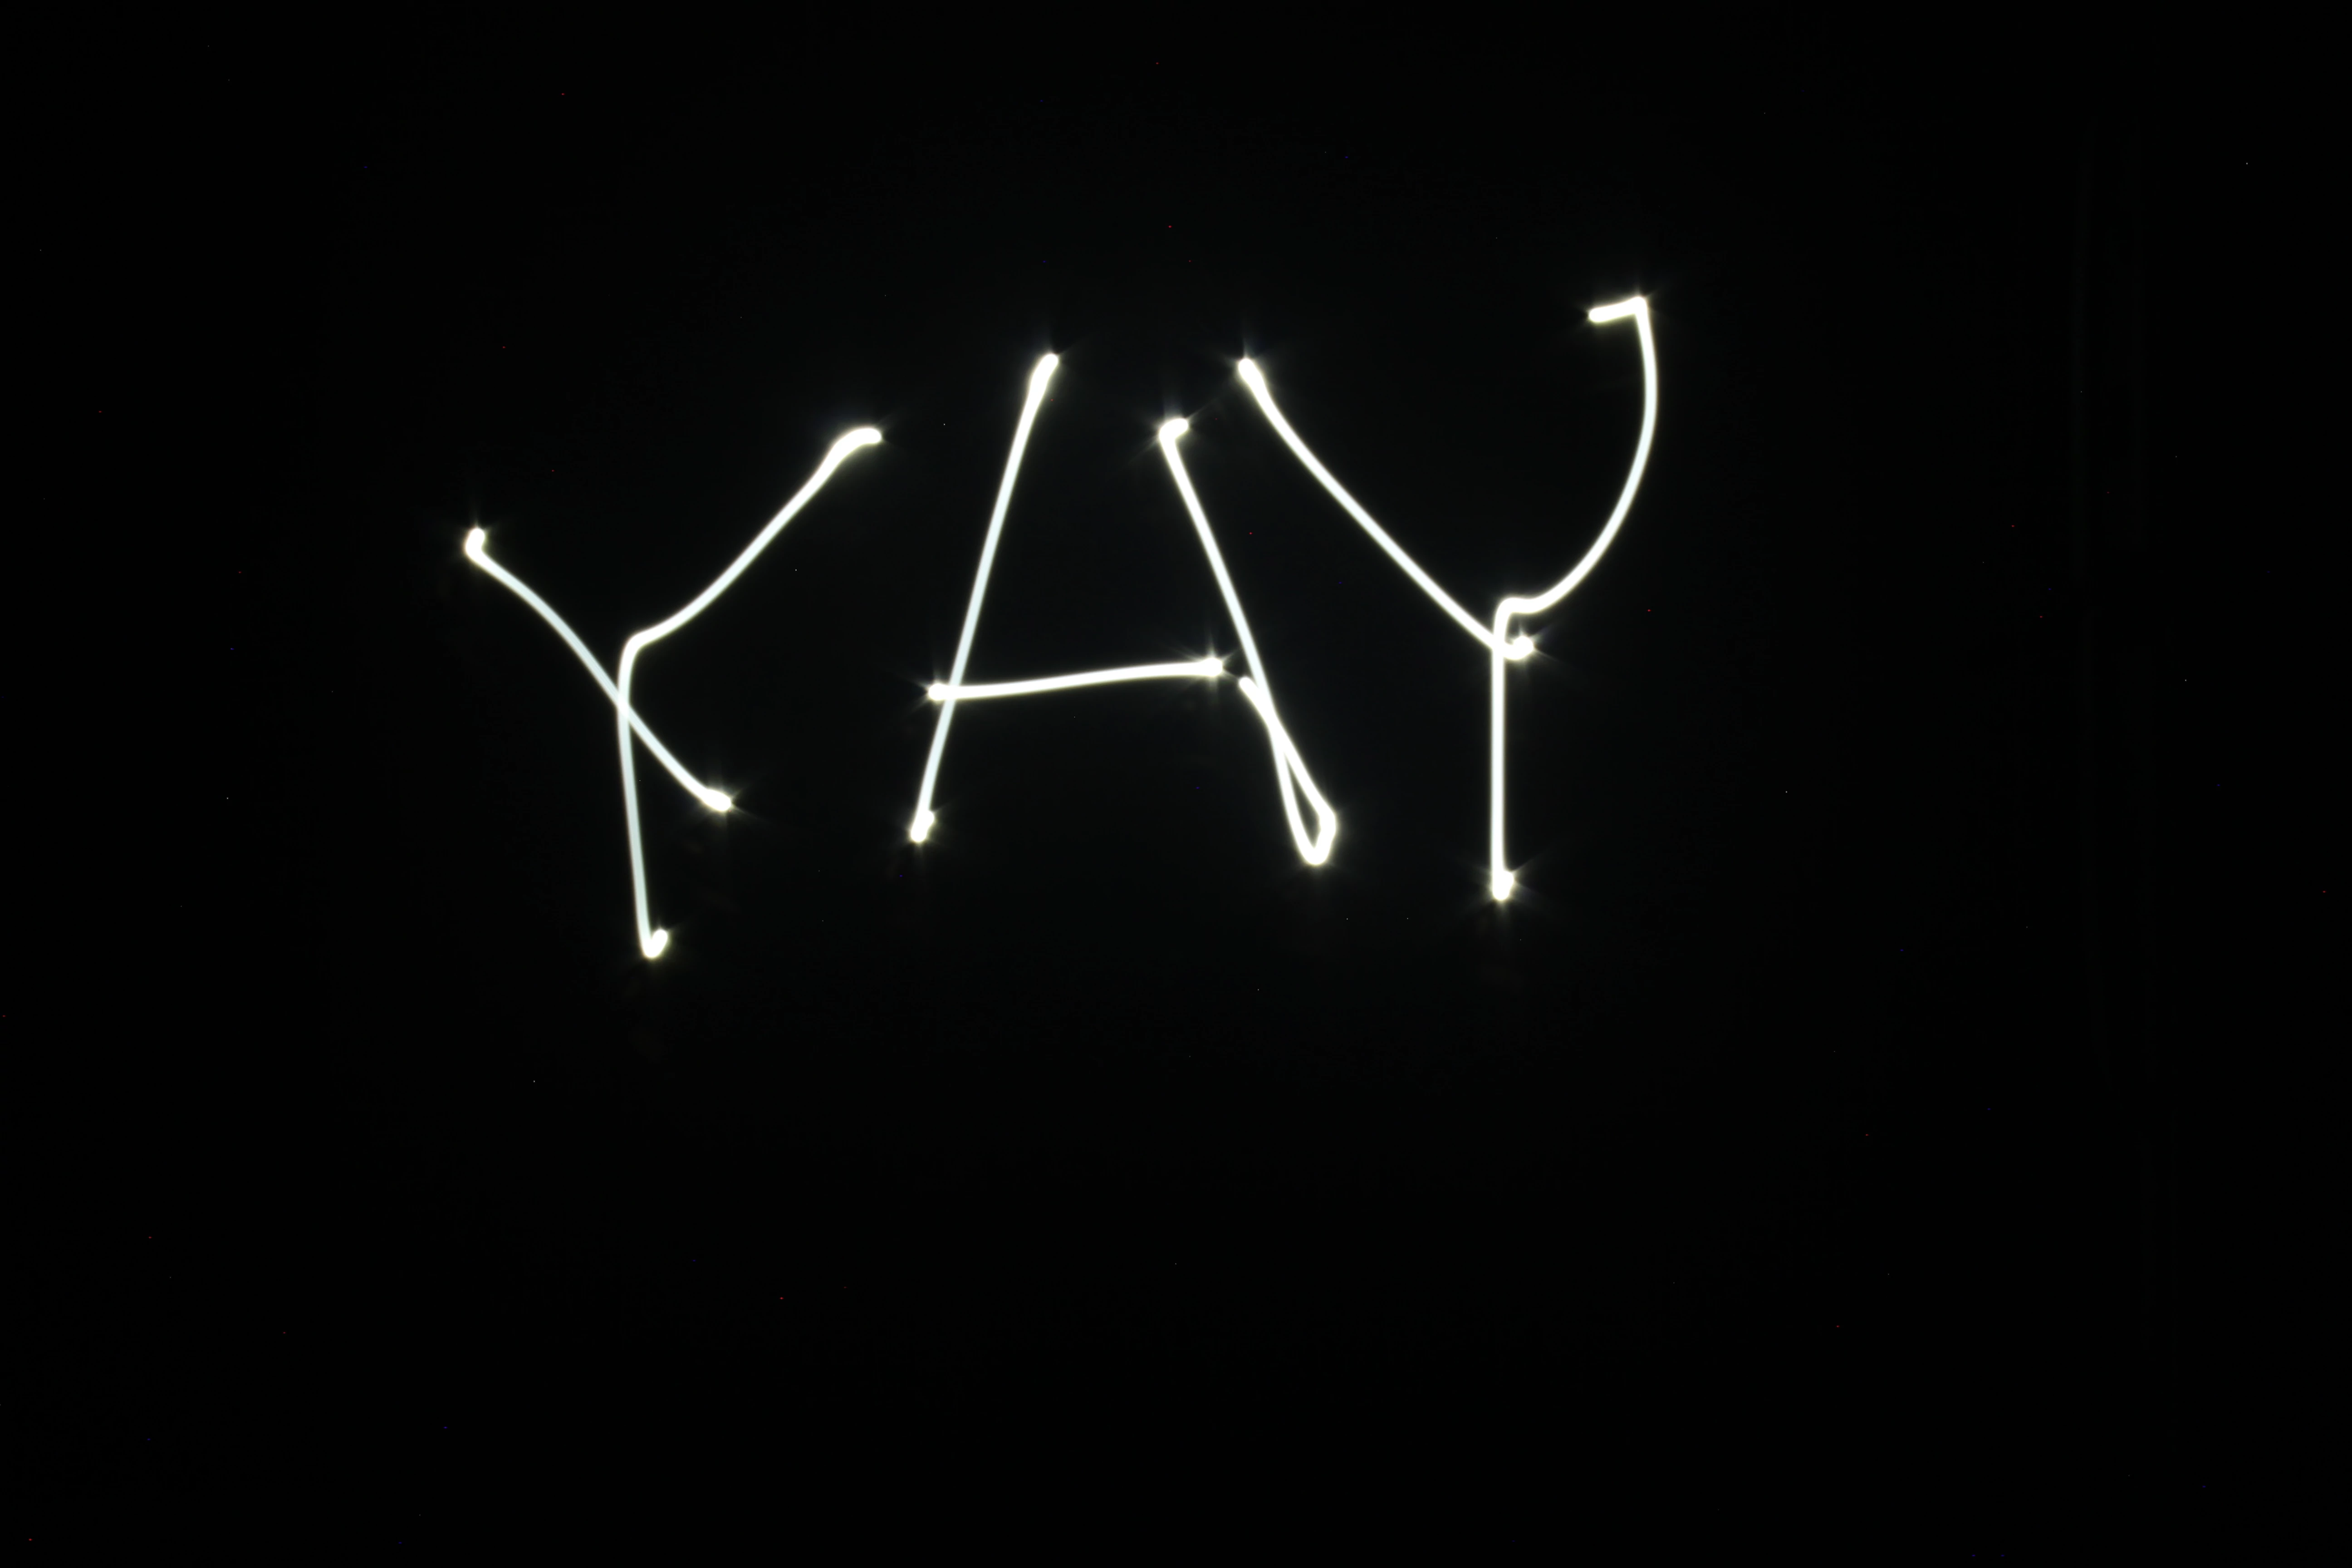
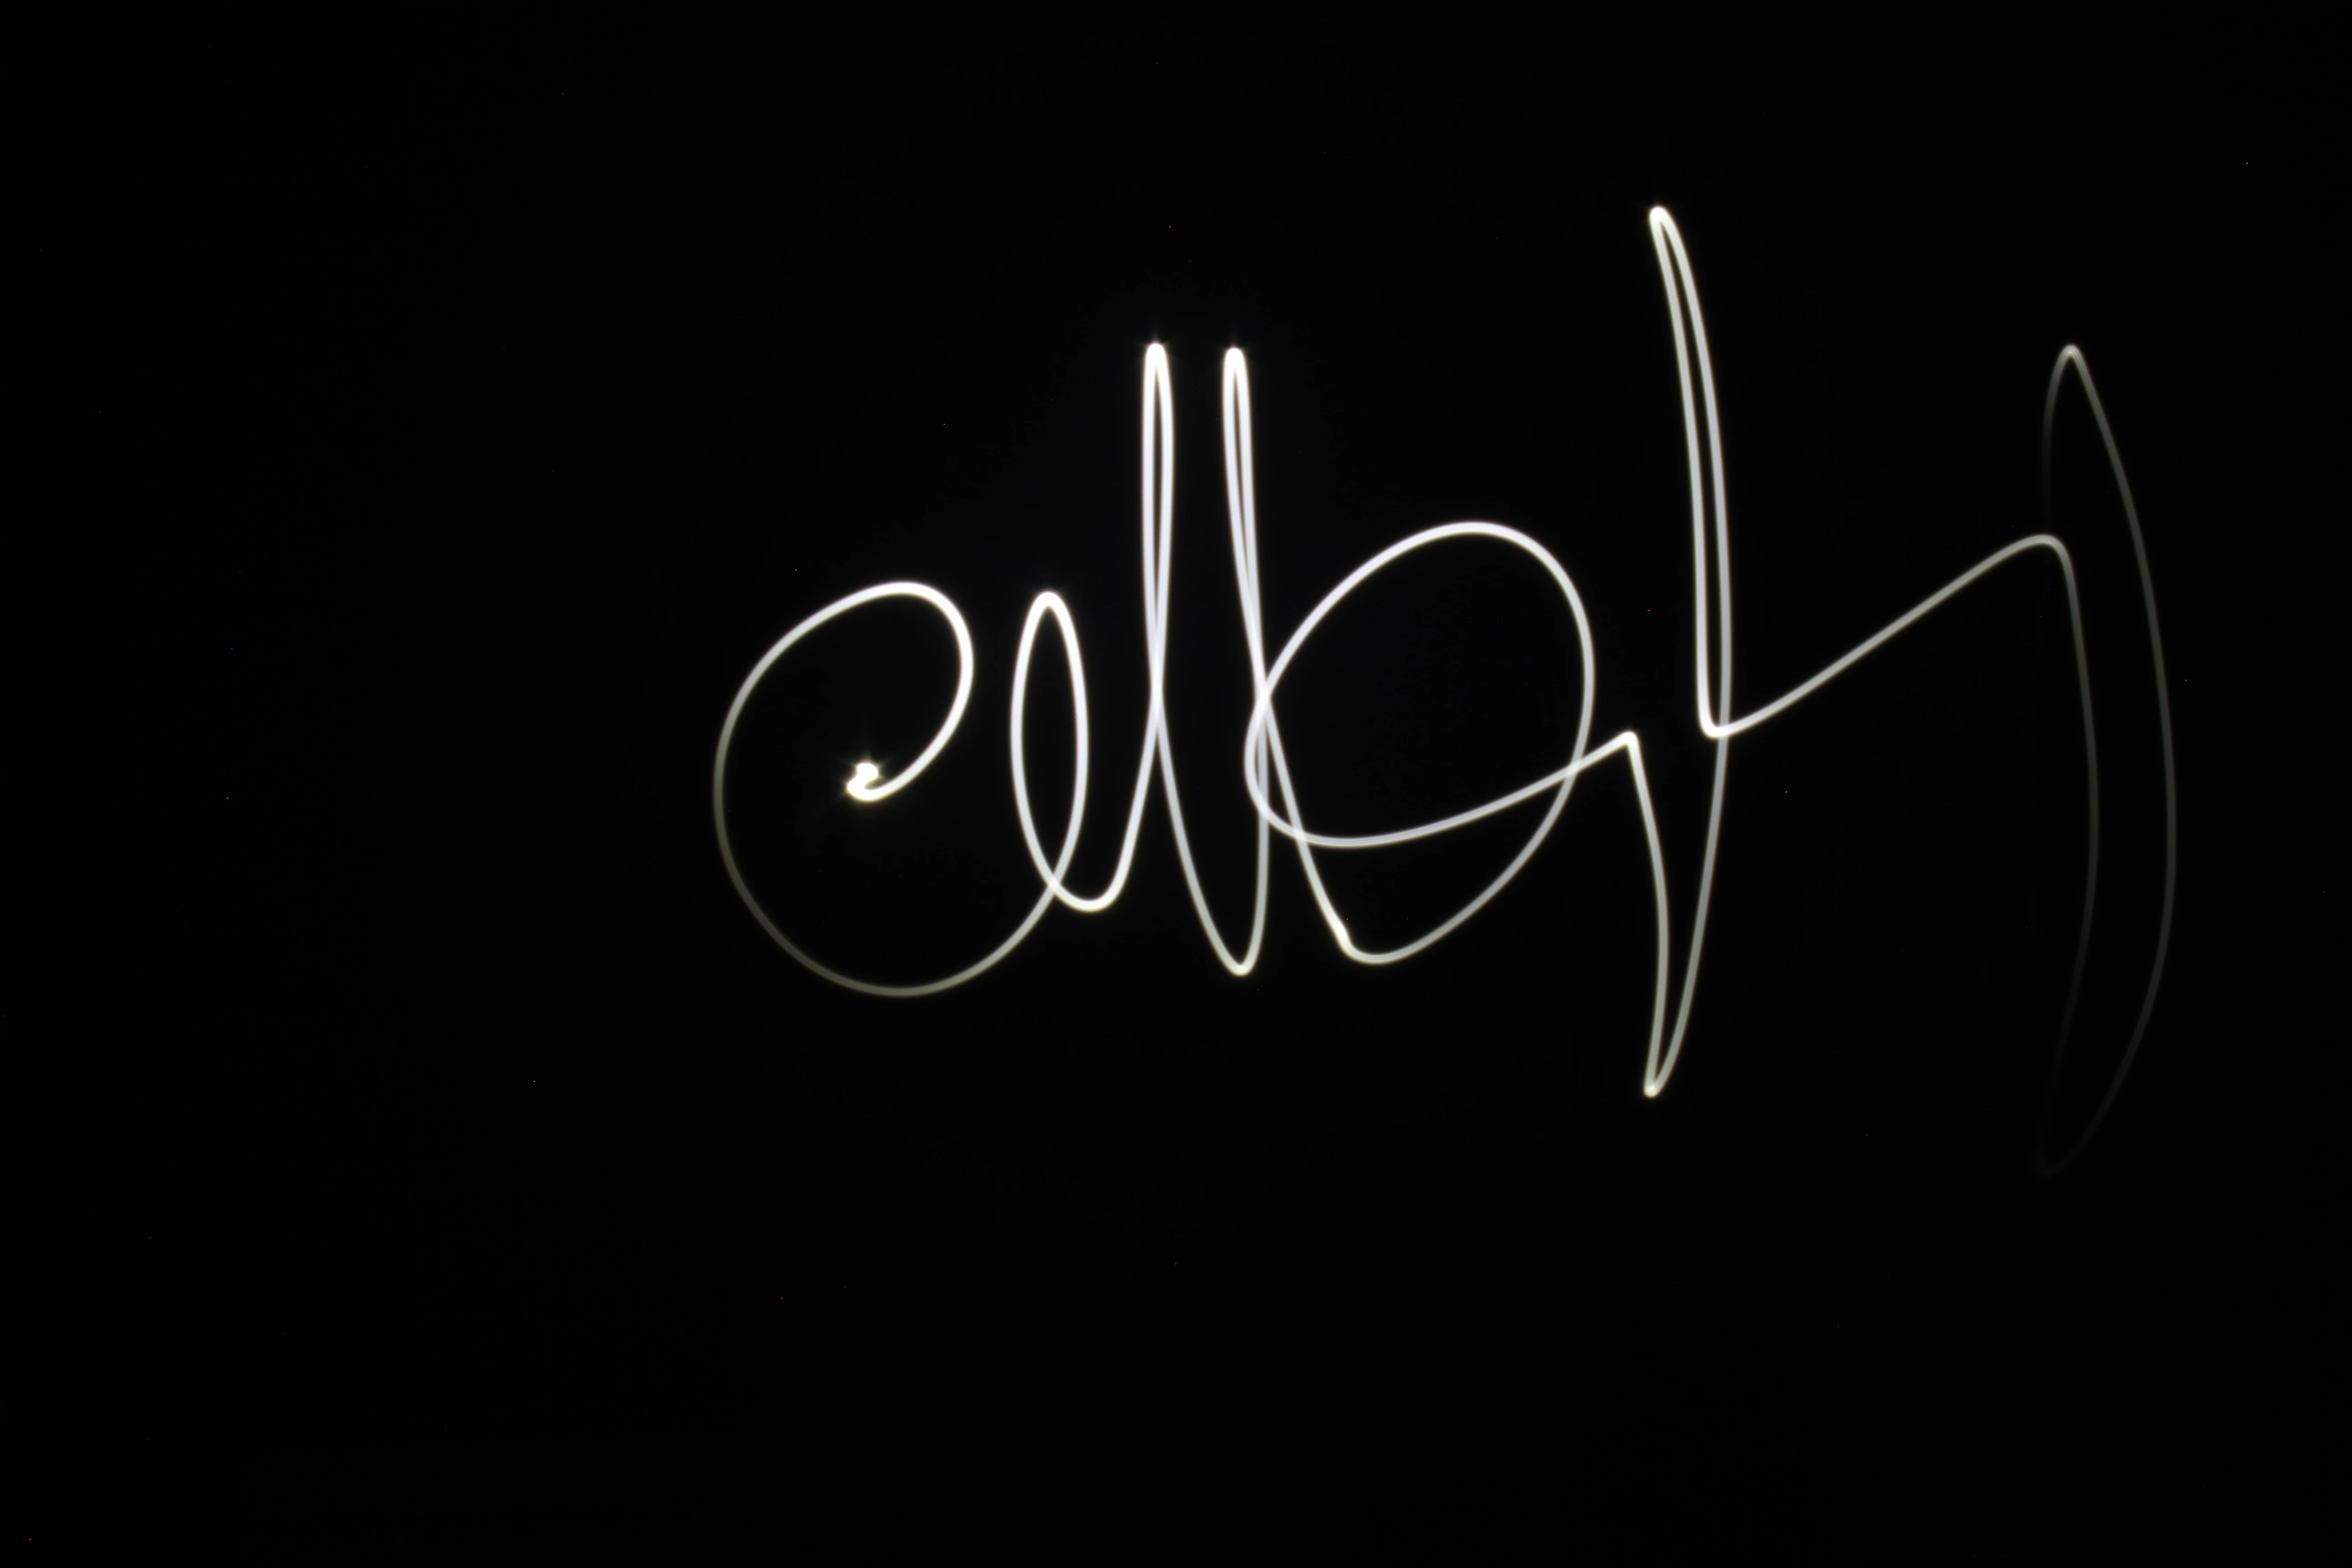
We experimented with light painting using a digital camera and the flashlight on iPhone. We set the camera on a flat surface, set the shutter time to 8~15 seconds depending on the complexity of the painting, and adjusted the aperture size and ISO value to minimize capturing other light.