CS194-26: Image Manipulation and Computational Photography, Fall 2017
Project #2
Building a Pinhole Camera
Isabel Zhang, cs194-26-adi
Kaiwen Zhou, cs194-26-afc
Vi Le, CS194-26-abj
Overview
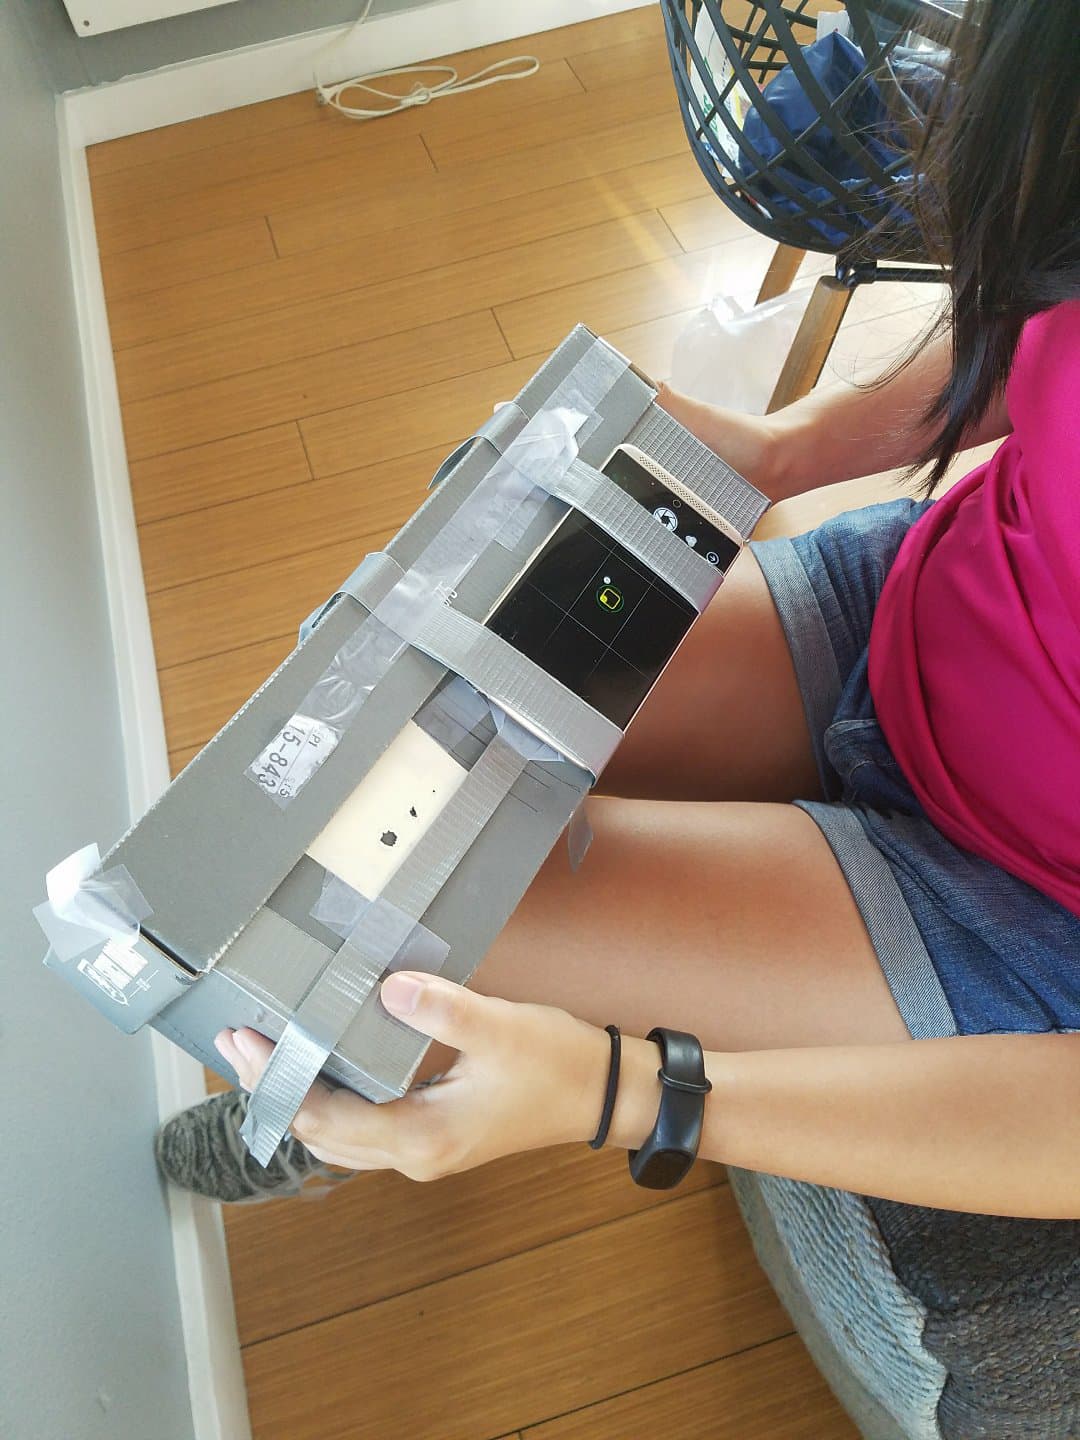
The goal of this assignment was to work in a group of three to design and build a pinhole camera. We used a shoebox to build our camera and several adjustments to perfect the lighting conditions. To measure the differences in image quality in between aperture sizes, we tested 3 different sized holes, 1mm, 3mm, and 5mm. We then used a cellphone camera to capture the image projected onto the back of the pinhole camera.
|
![]()
|
Actual Pinhole Camera Build
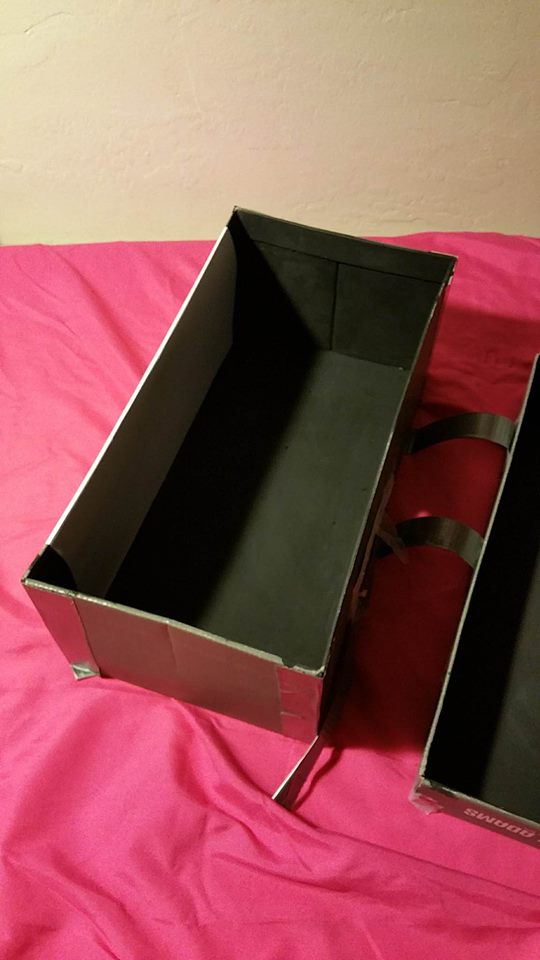
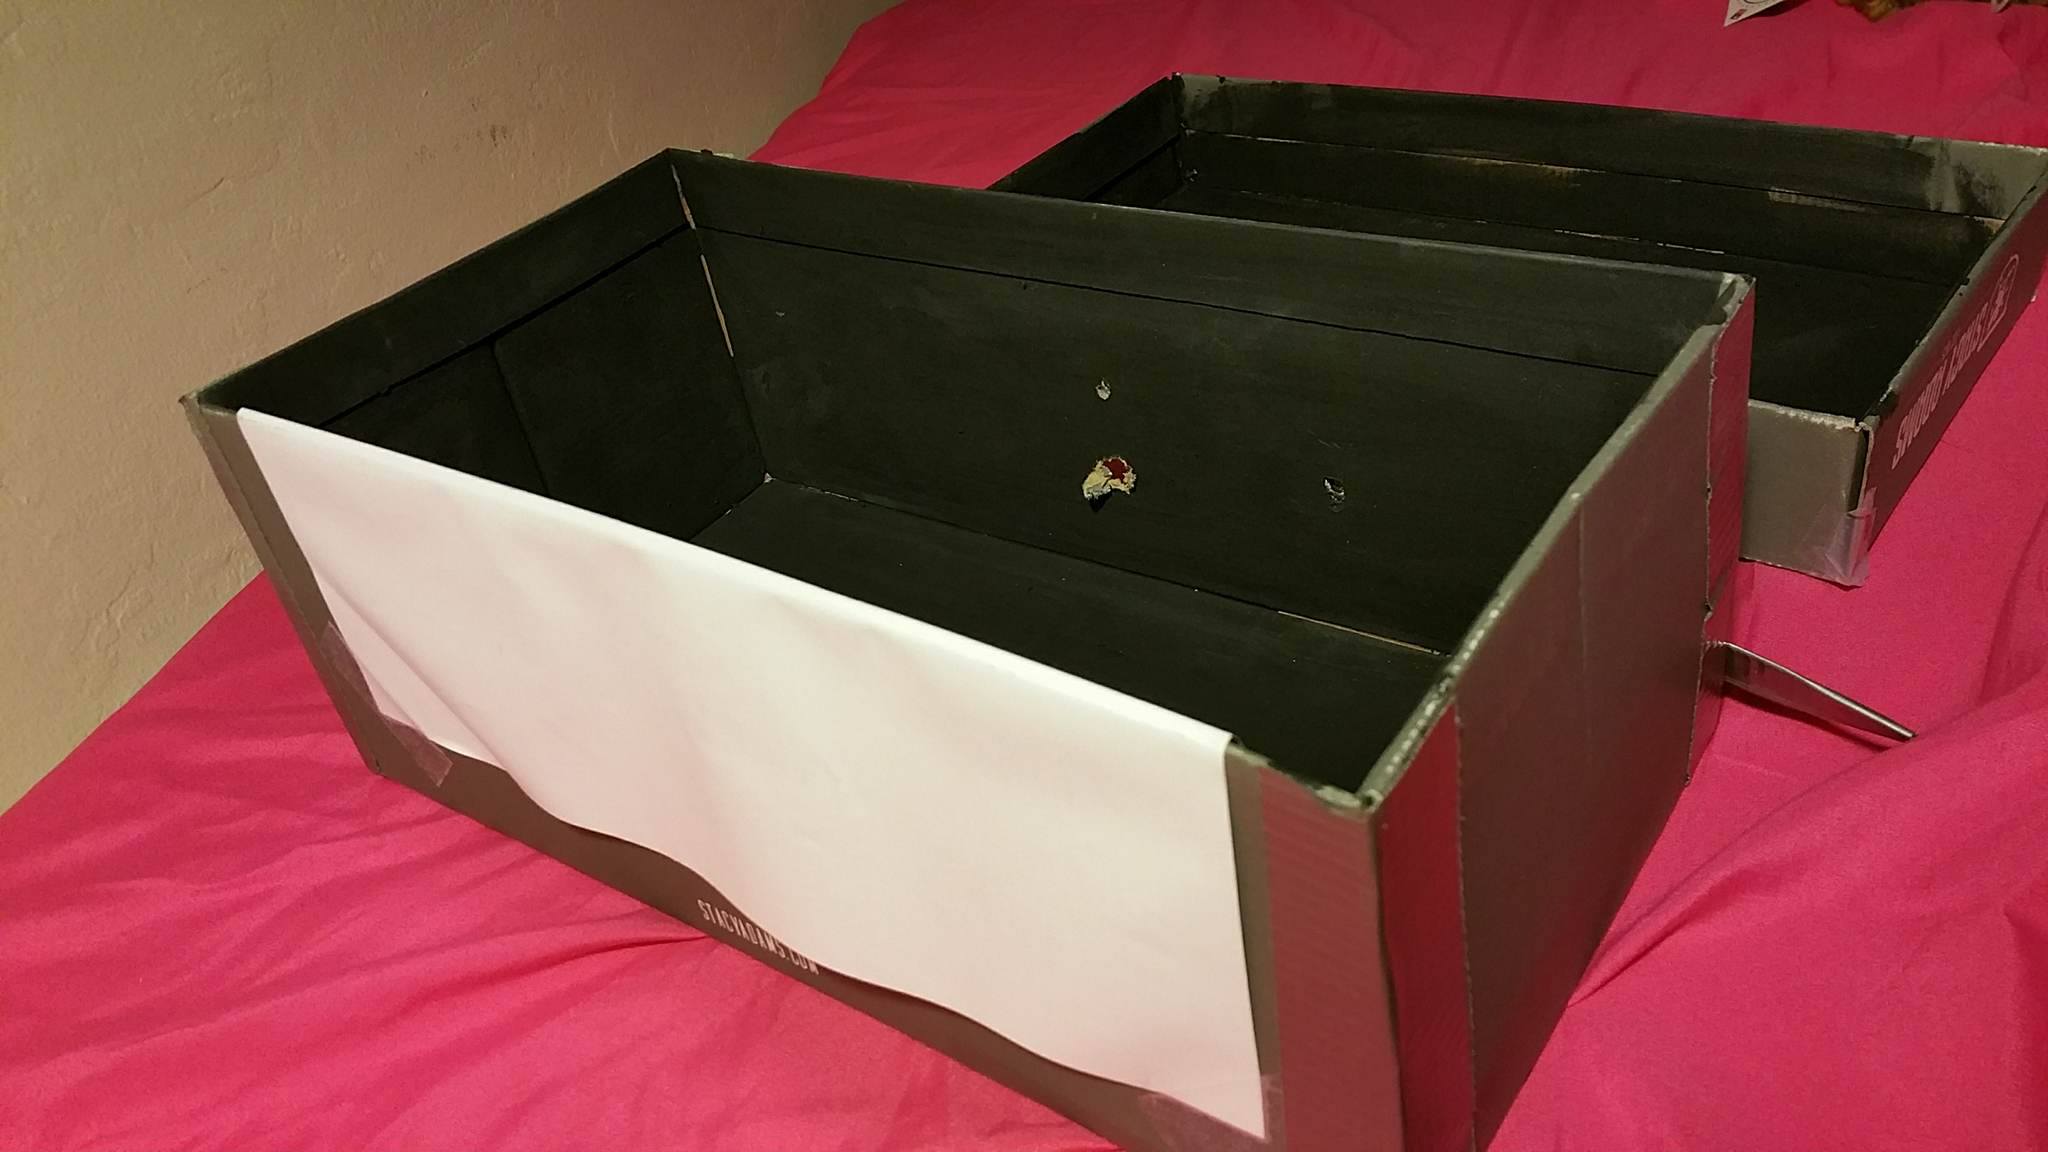
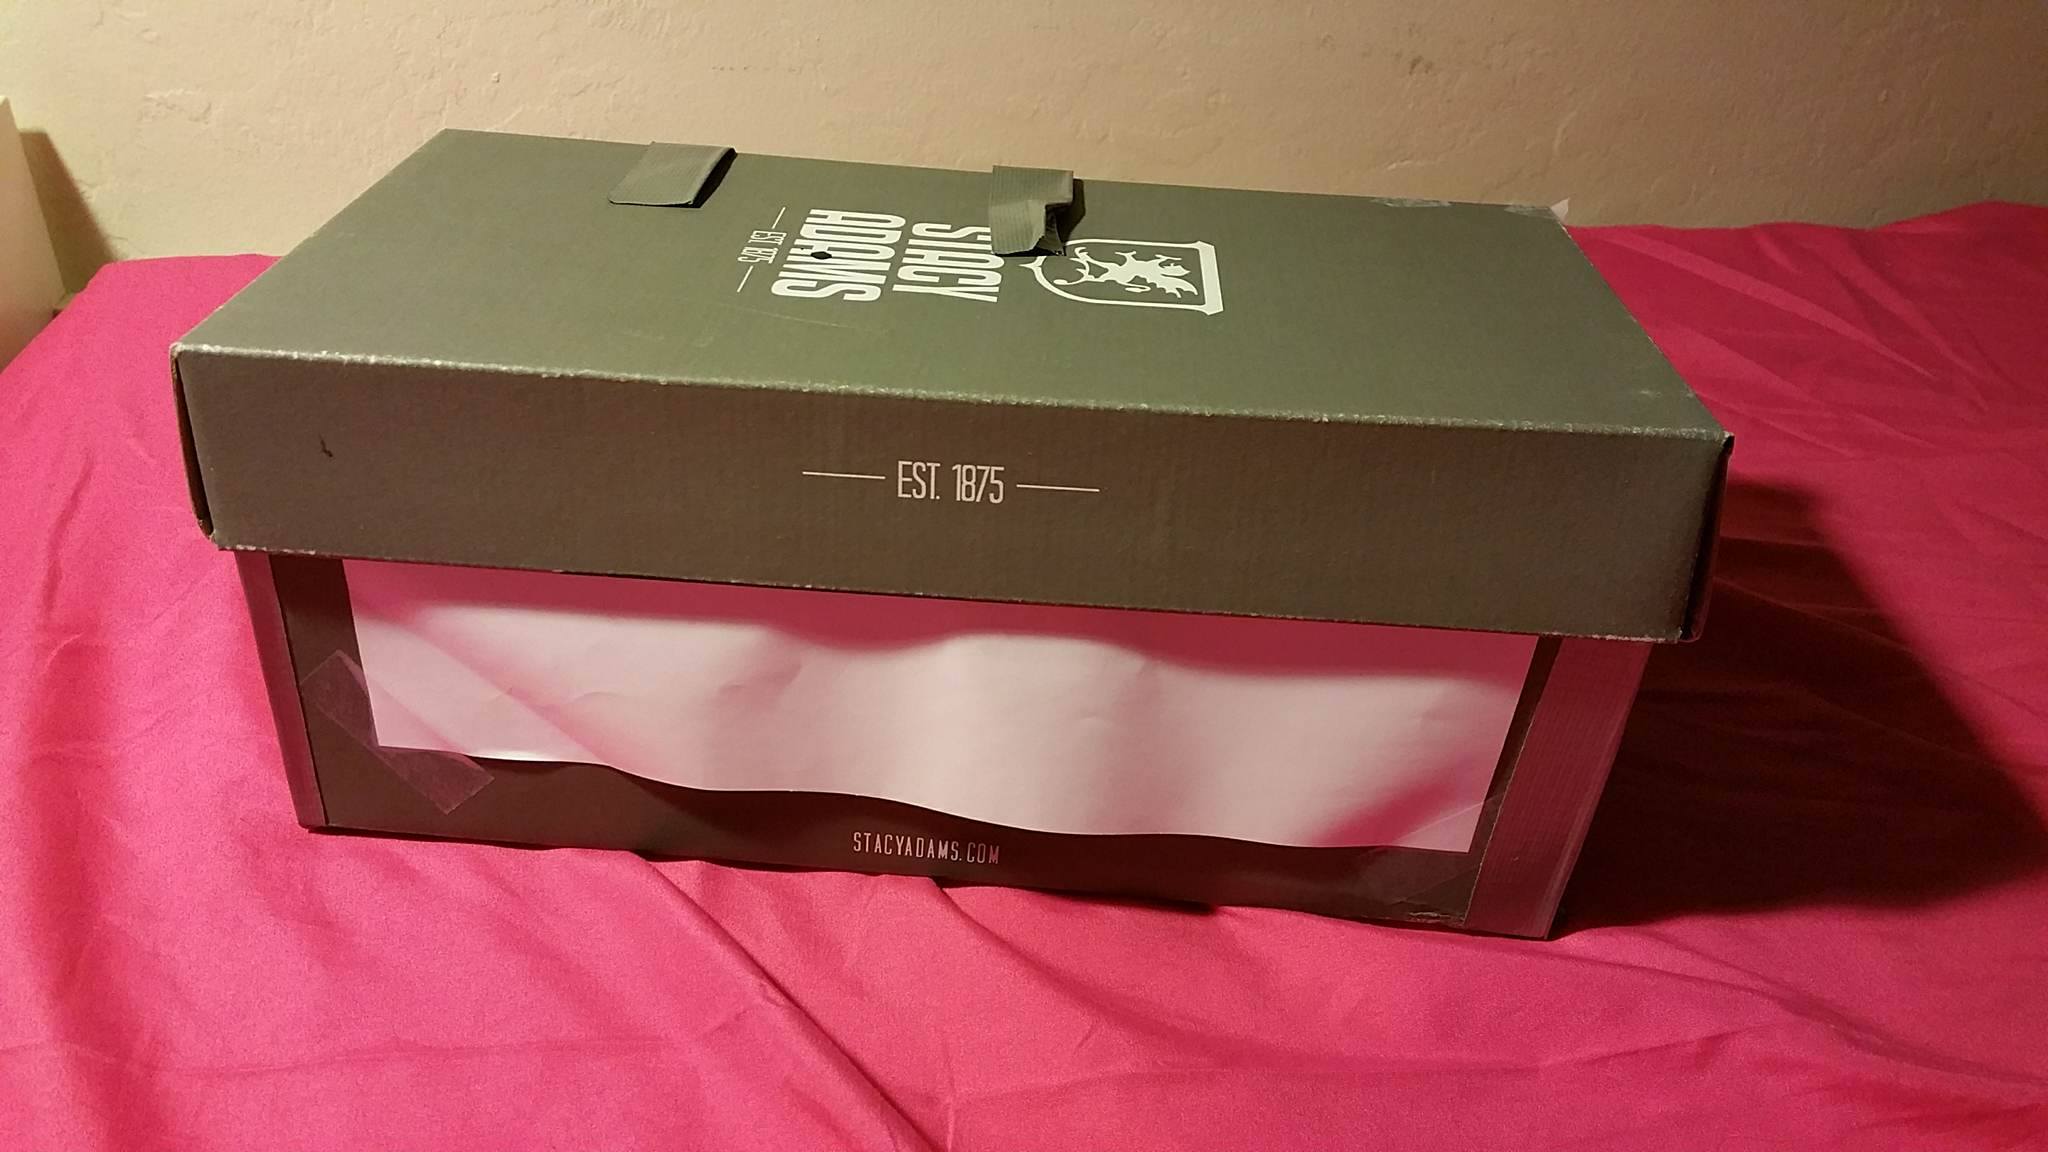
With our build, we painted over the entirety of the inside of a shoebox with black acrylic paint, resulting in a matte black surface, in order to prevent any light from reflecting in the box. We duct taped the sides of the box to keep any unwanted light from entering our camera. To measure the differences between aperture sizes, we poked 3 different sized holes (1mm, 3mm, 5mm) into cardstock and placed it over a larger opening. On the side of the box opposing the pinhole, we placed a white paper for the image to be projected on. Then we made another hole on the side with the pinholes for the camera we would use to capture the image projected into the shoebox. In lieu of a digital camera, we used a cellphone camera and set the shutter speed to 23.5 seconds and decreased ISO to 100 in order to decrease image noise.
Subjects & Analysis
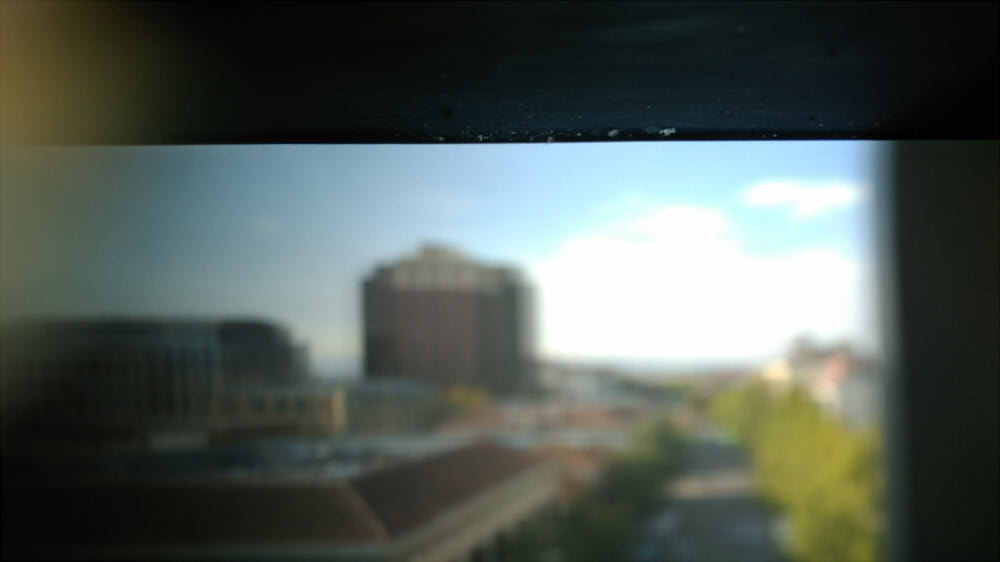
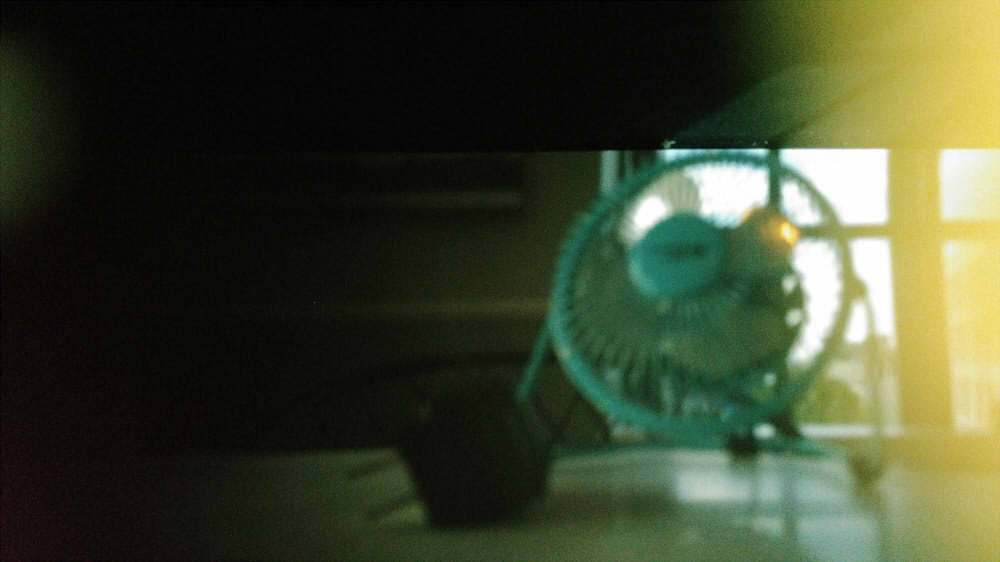
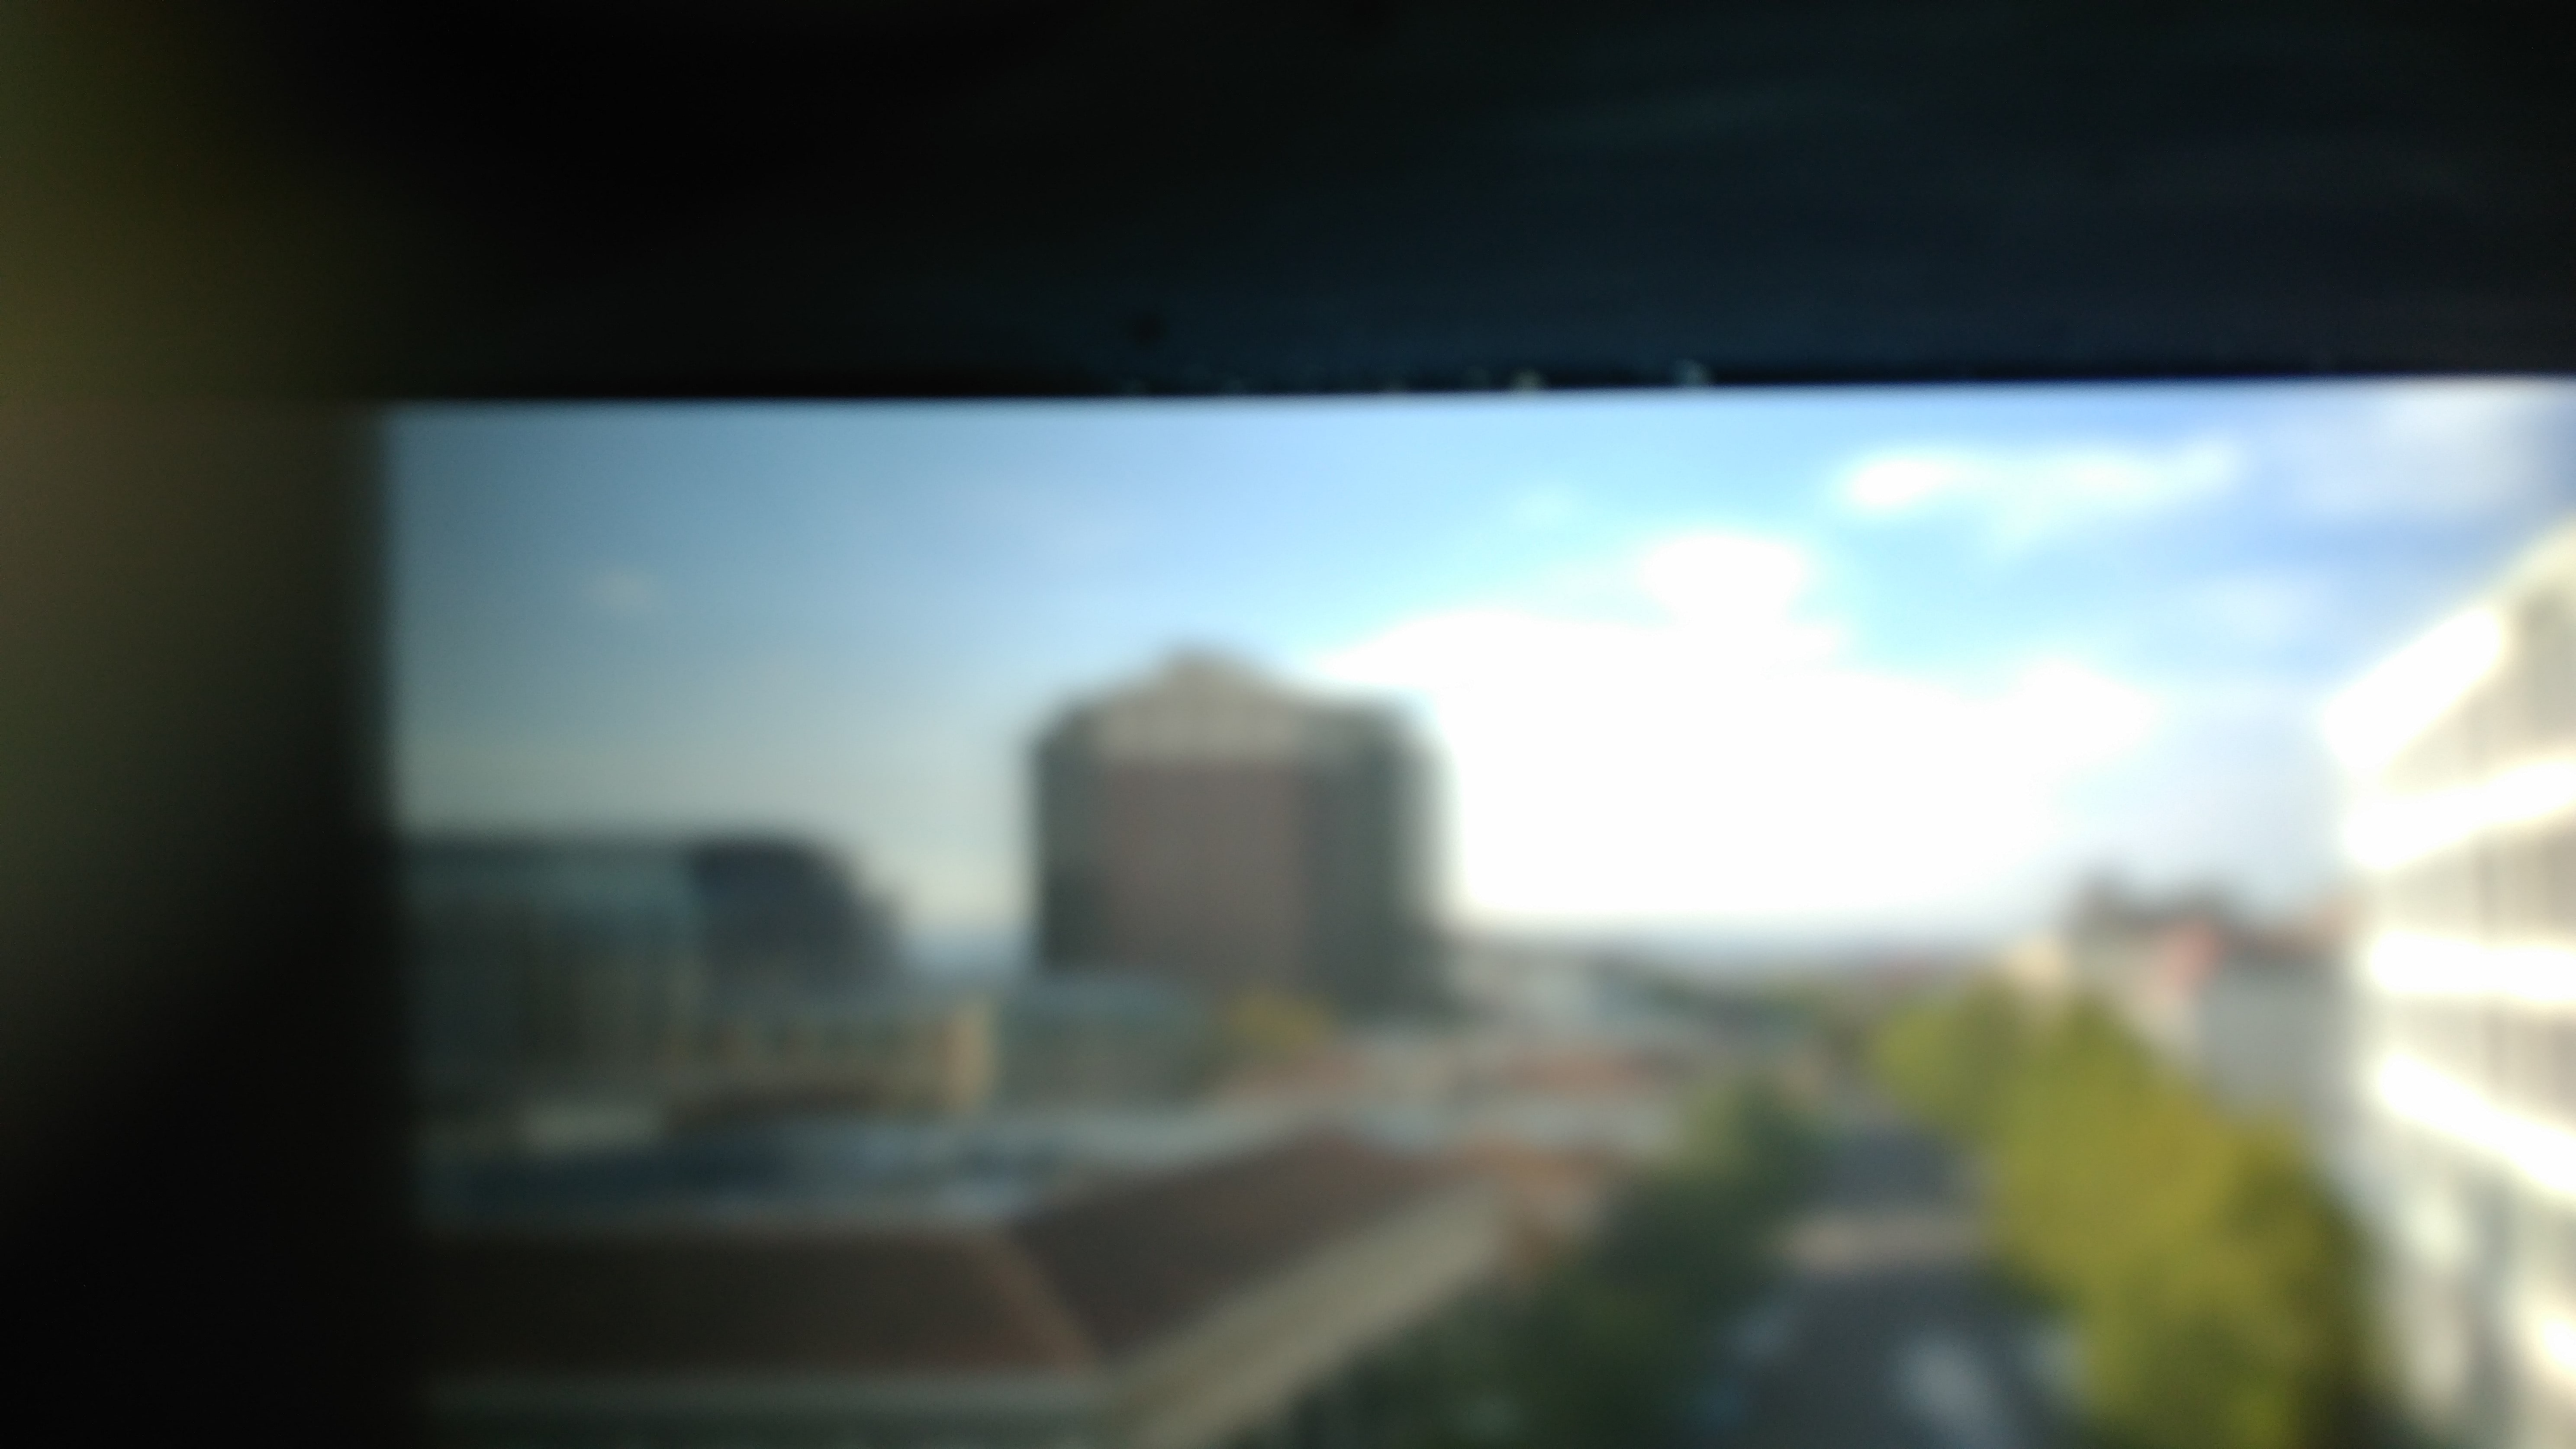
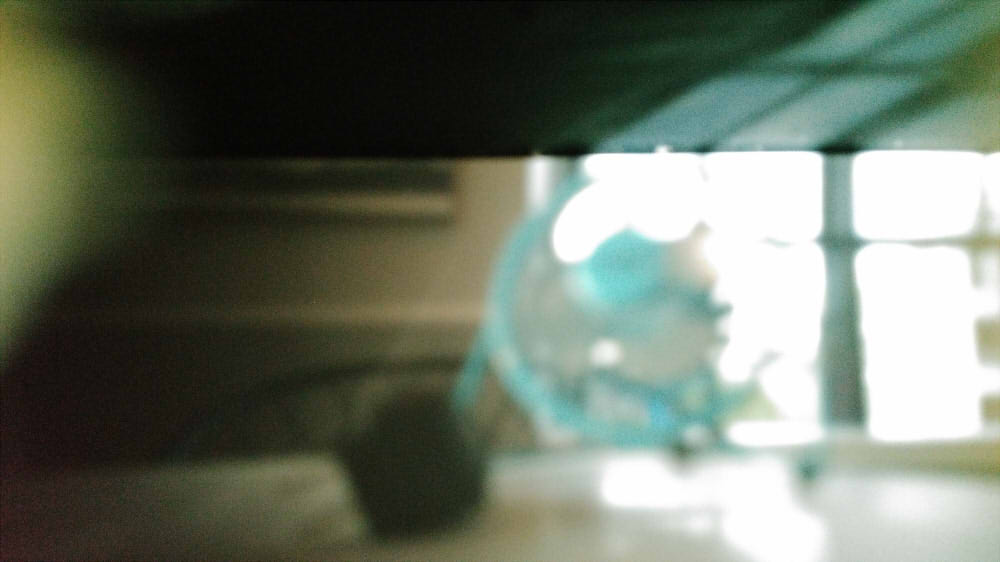
For our subjects to test different apertures on, we decided on scenery outside of Vi's apartment rooftop. In addition, we also chose to take a picture of a fan (it was very hot that day). With larger pinholes, our images were blurrier and brighter. Because of the wider aperture, more light is allowed into the pinhole camera (as less light is blocked), and the image is brighter. However, the tradeoff is that the image is significantly blurrier. Multiple light rays from the same point can now enter the hole at different angles, which end up hitting the plane at different areas, basically projecting the same image in multiple areas and resulting in a blurry image. When we used smaller pinholes, our images were clearer and more detailed because the pinhole limits the light rays from one point to those from virtually the same angle (ideally one angle if we had an infinitesimally small pinhole).
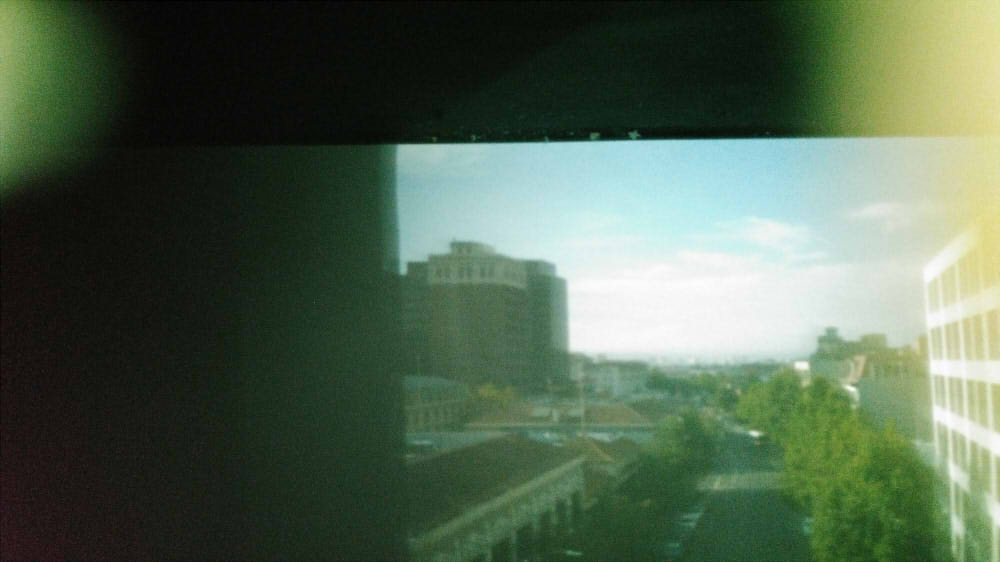 scenery aperture 1 mm
|
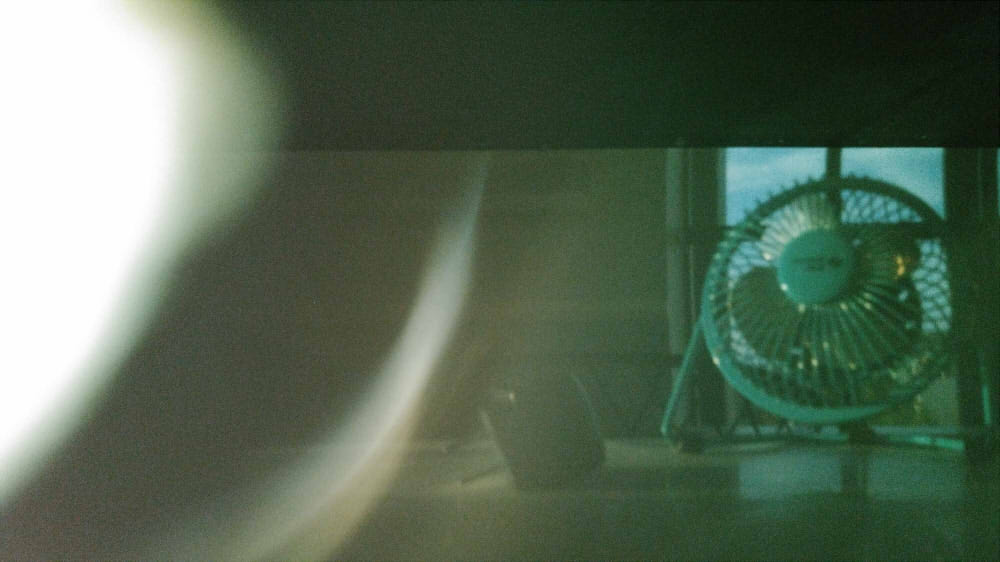 fan aperture 1 mm
|
 scenery aperture 3 mm
|
 fan aperture 3 mm
|
 scenery aperture 5 mm
|
 fan aperture 5 mm
|
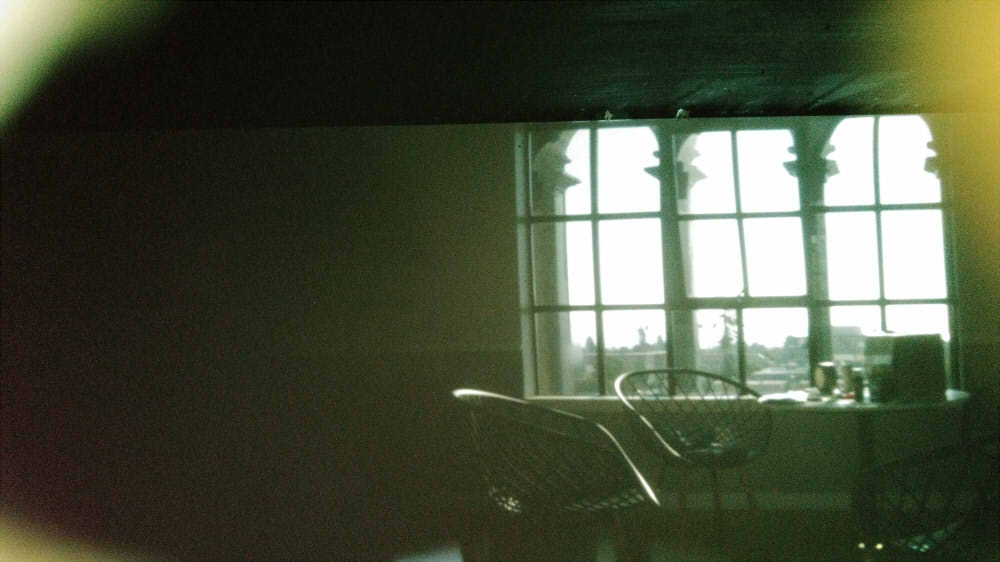 reading room window and furniture aperture 1 mm
|
 picture of Kai aperture 1 mm
|
 Isabel and Kai selfie aperture 1 mm
|
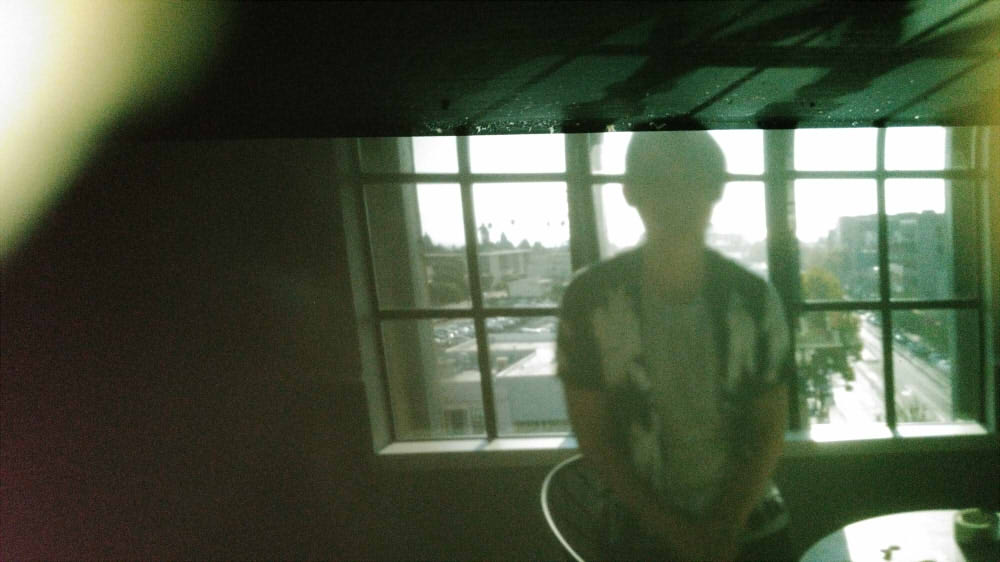
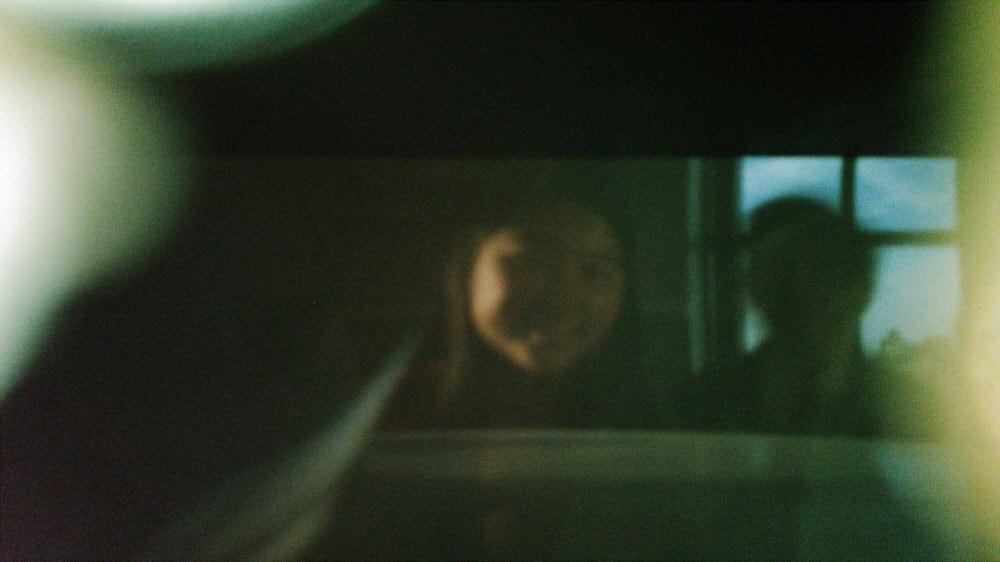
 Kai with window frame shadows and reflections aperture 1 mm
|
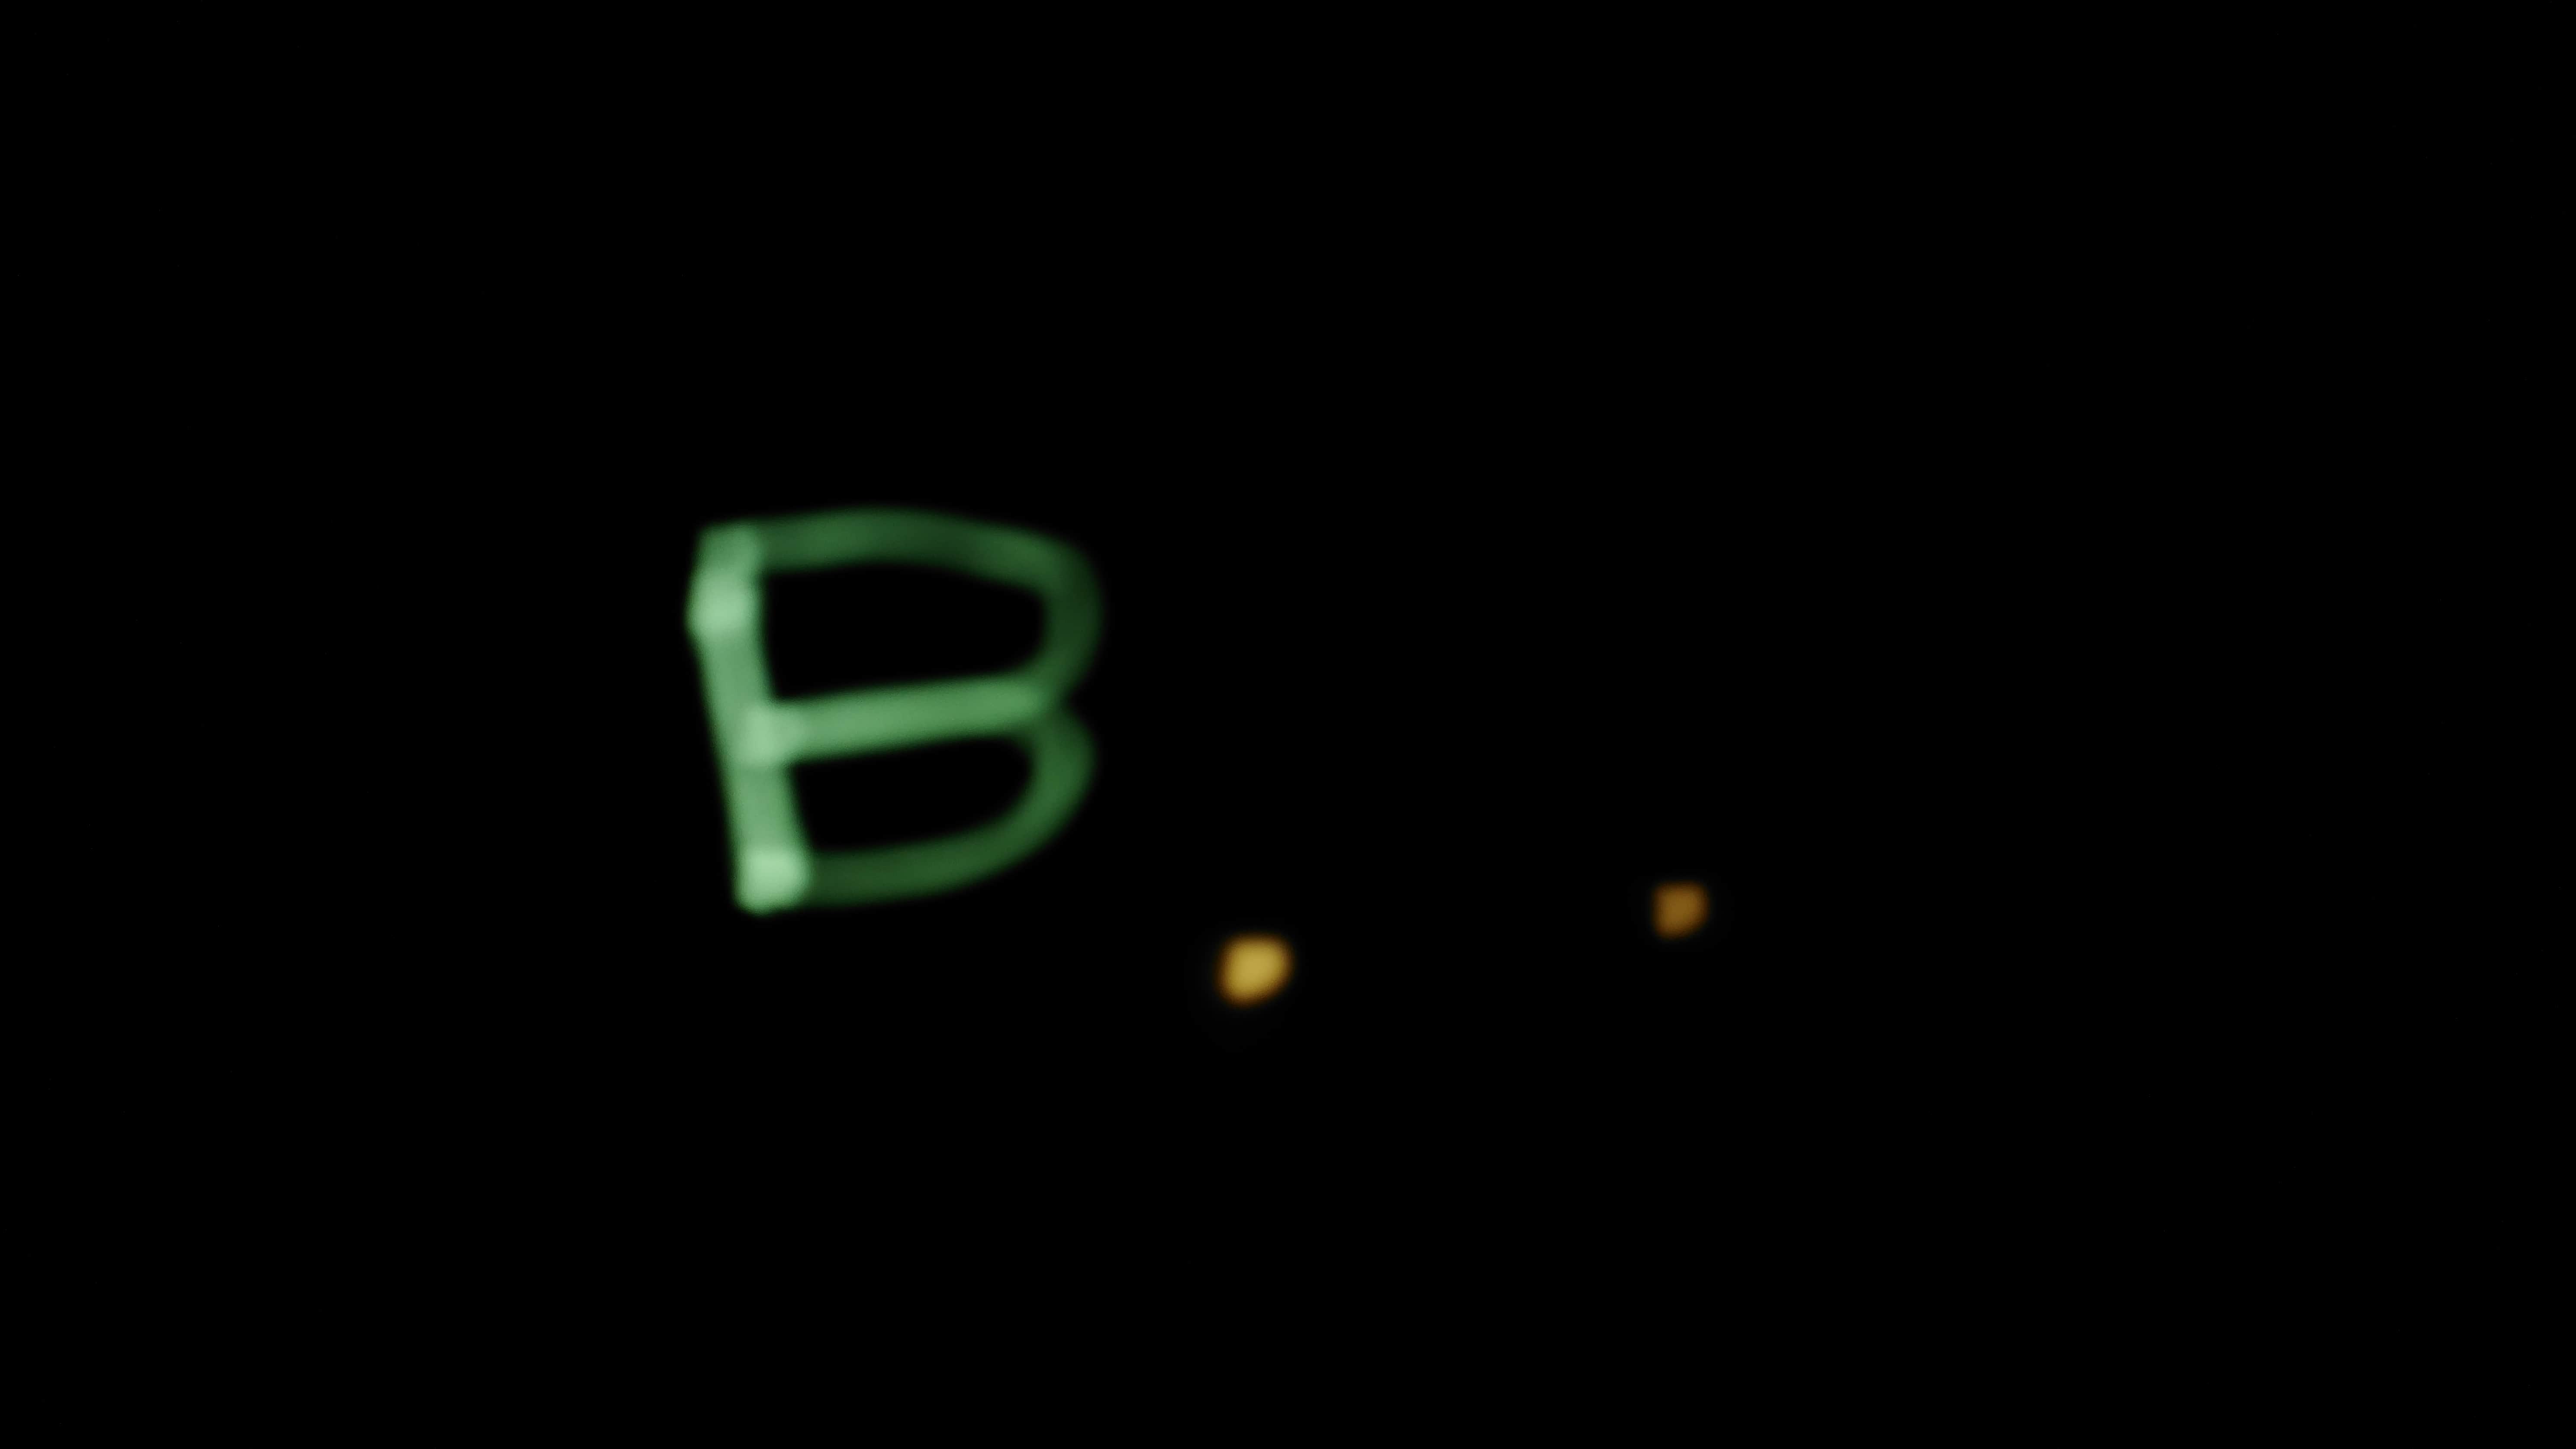
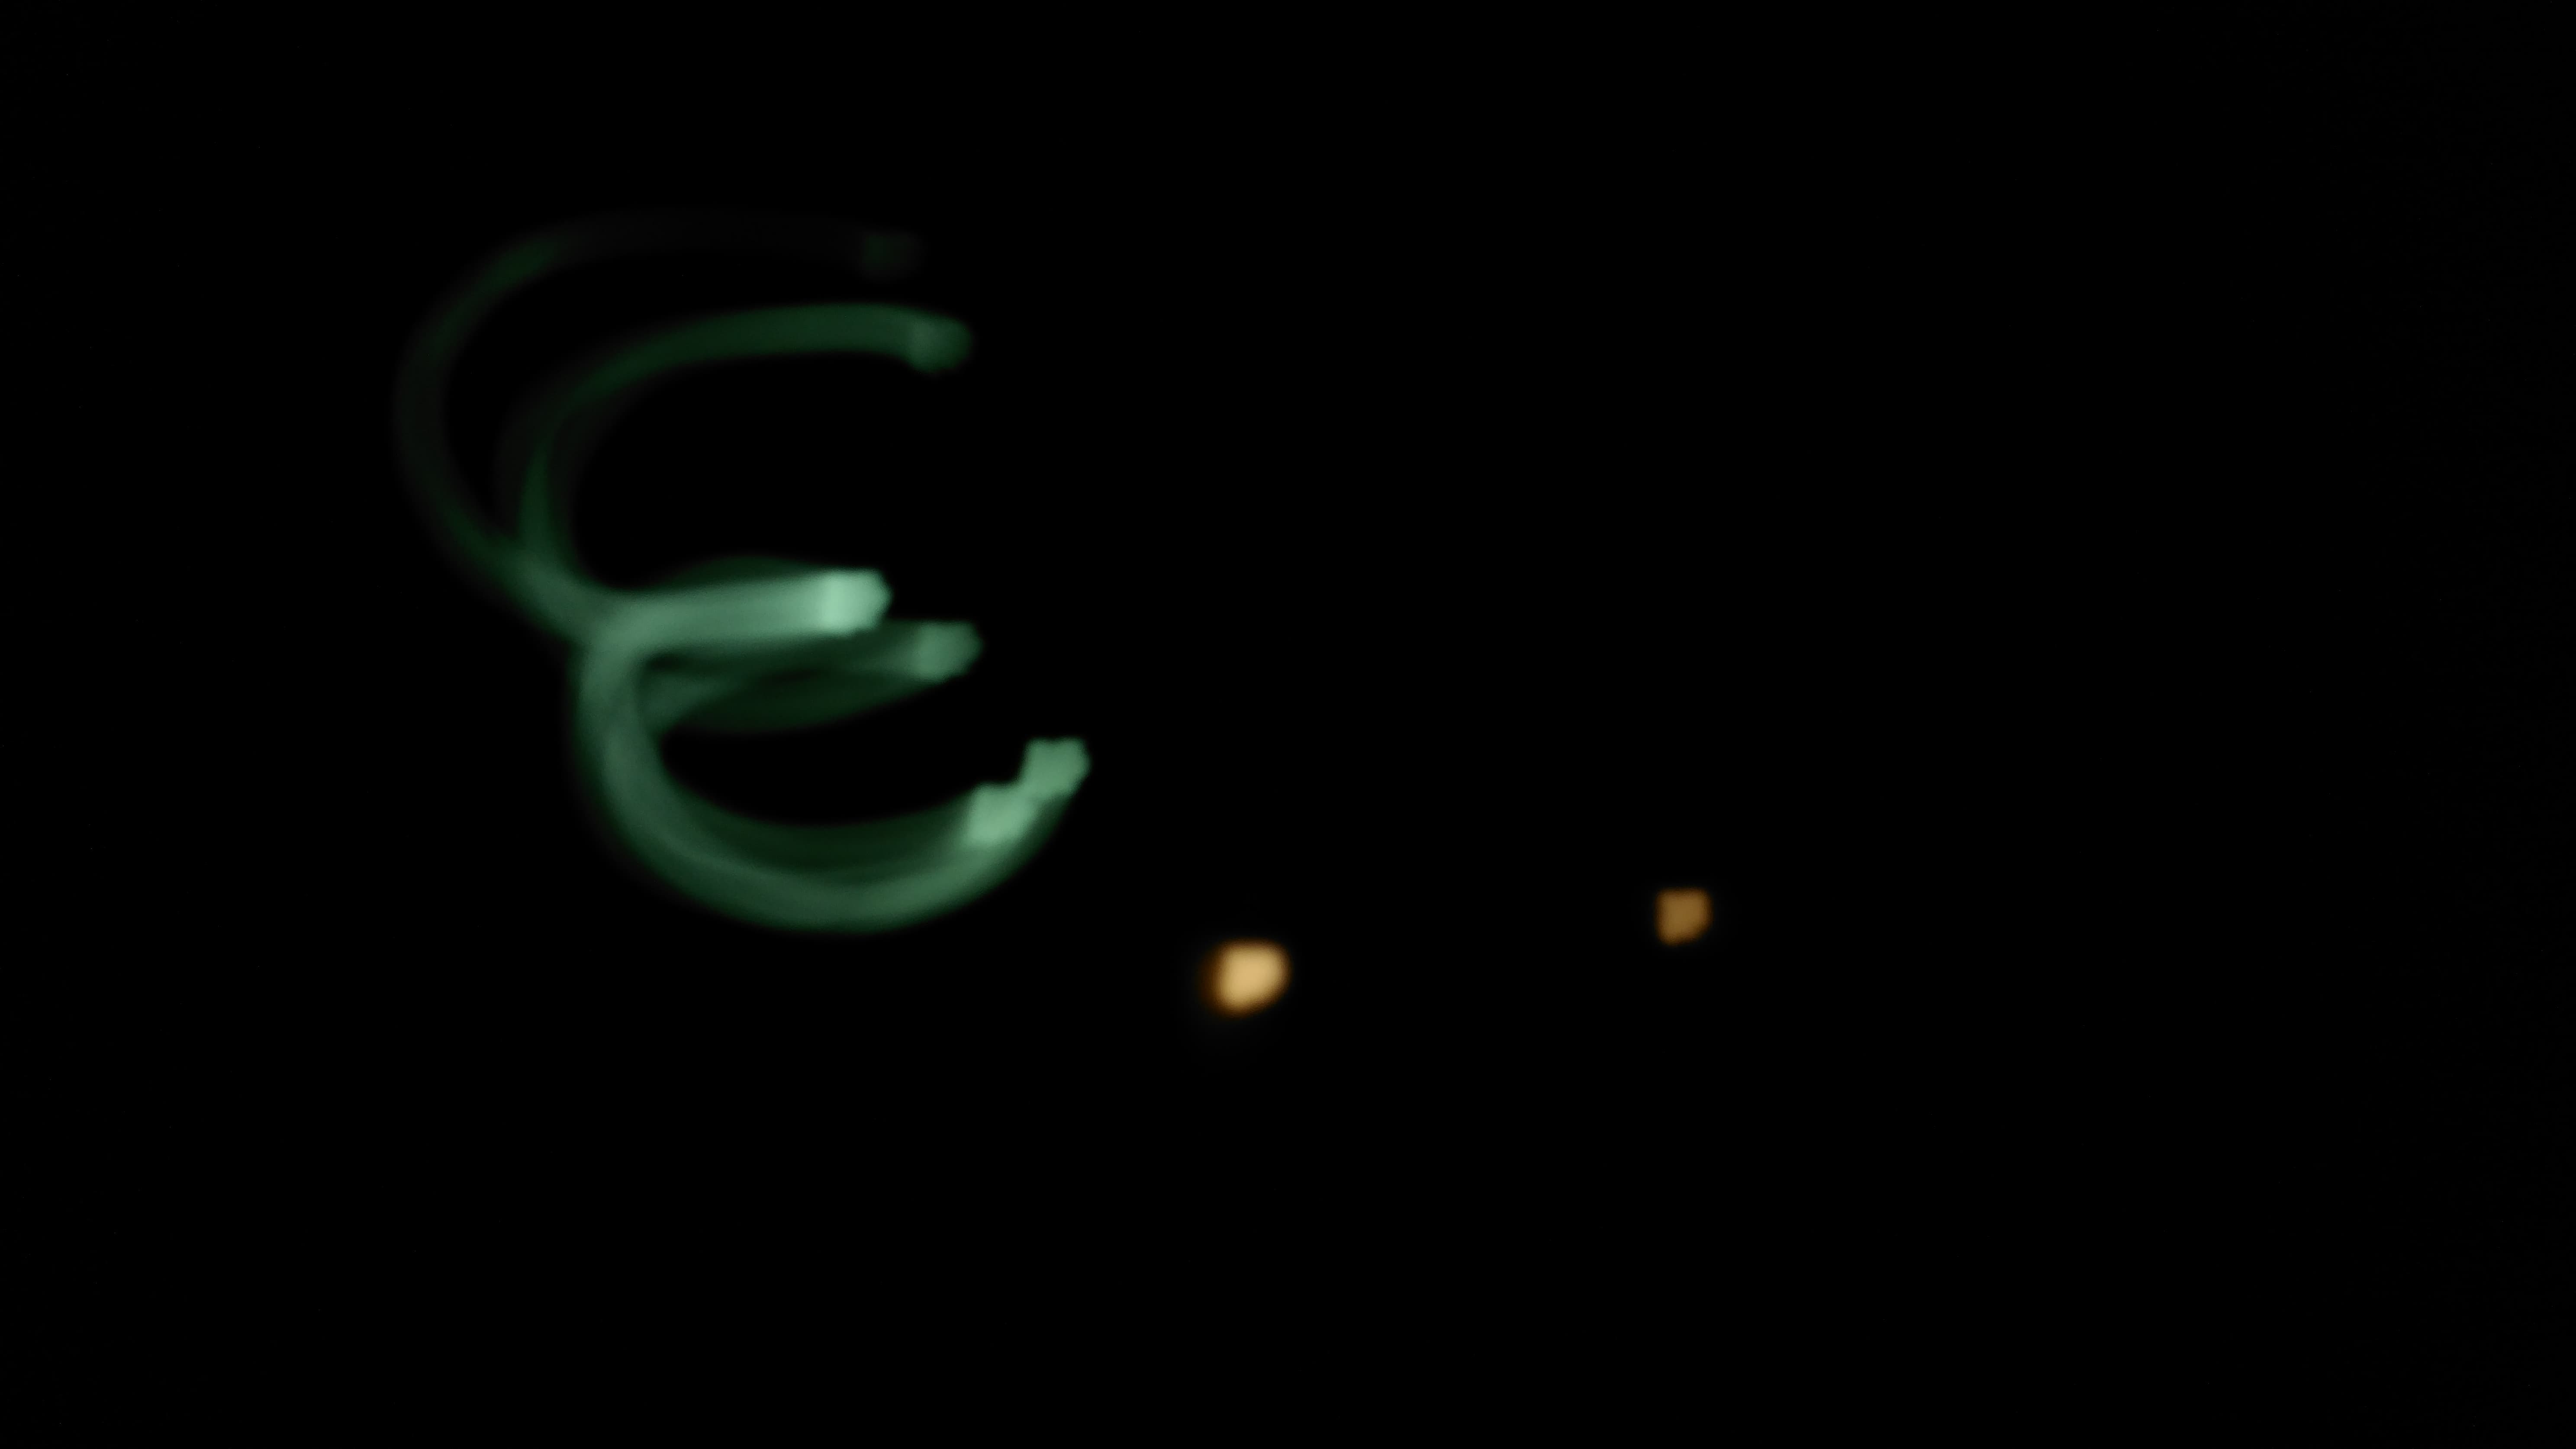
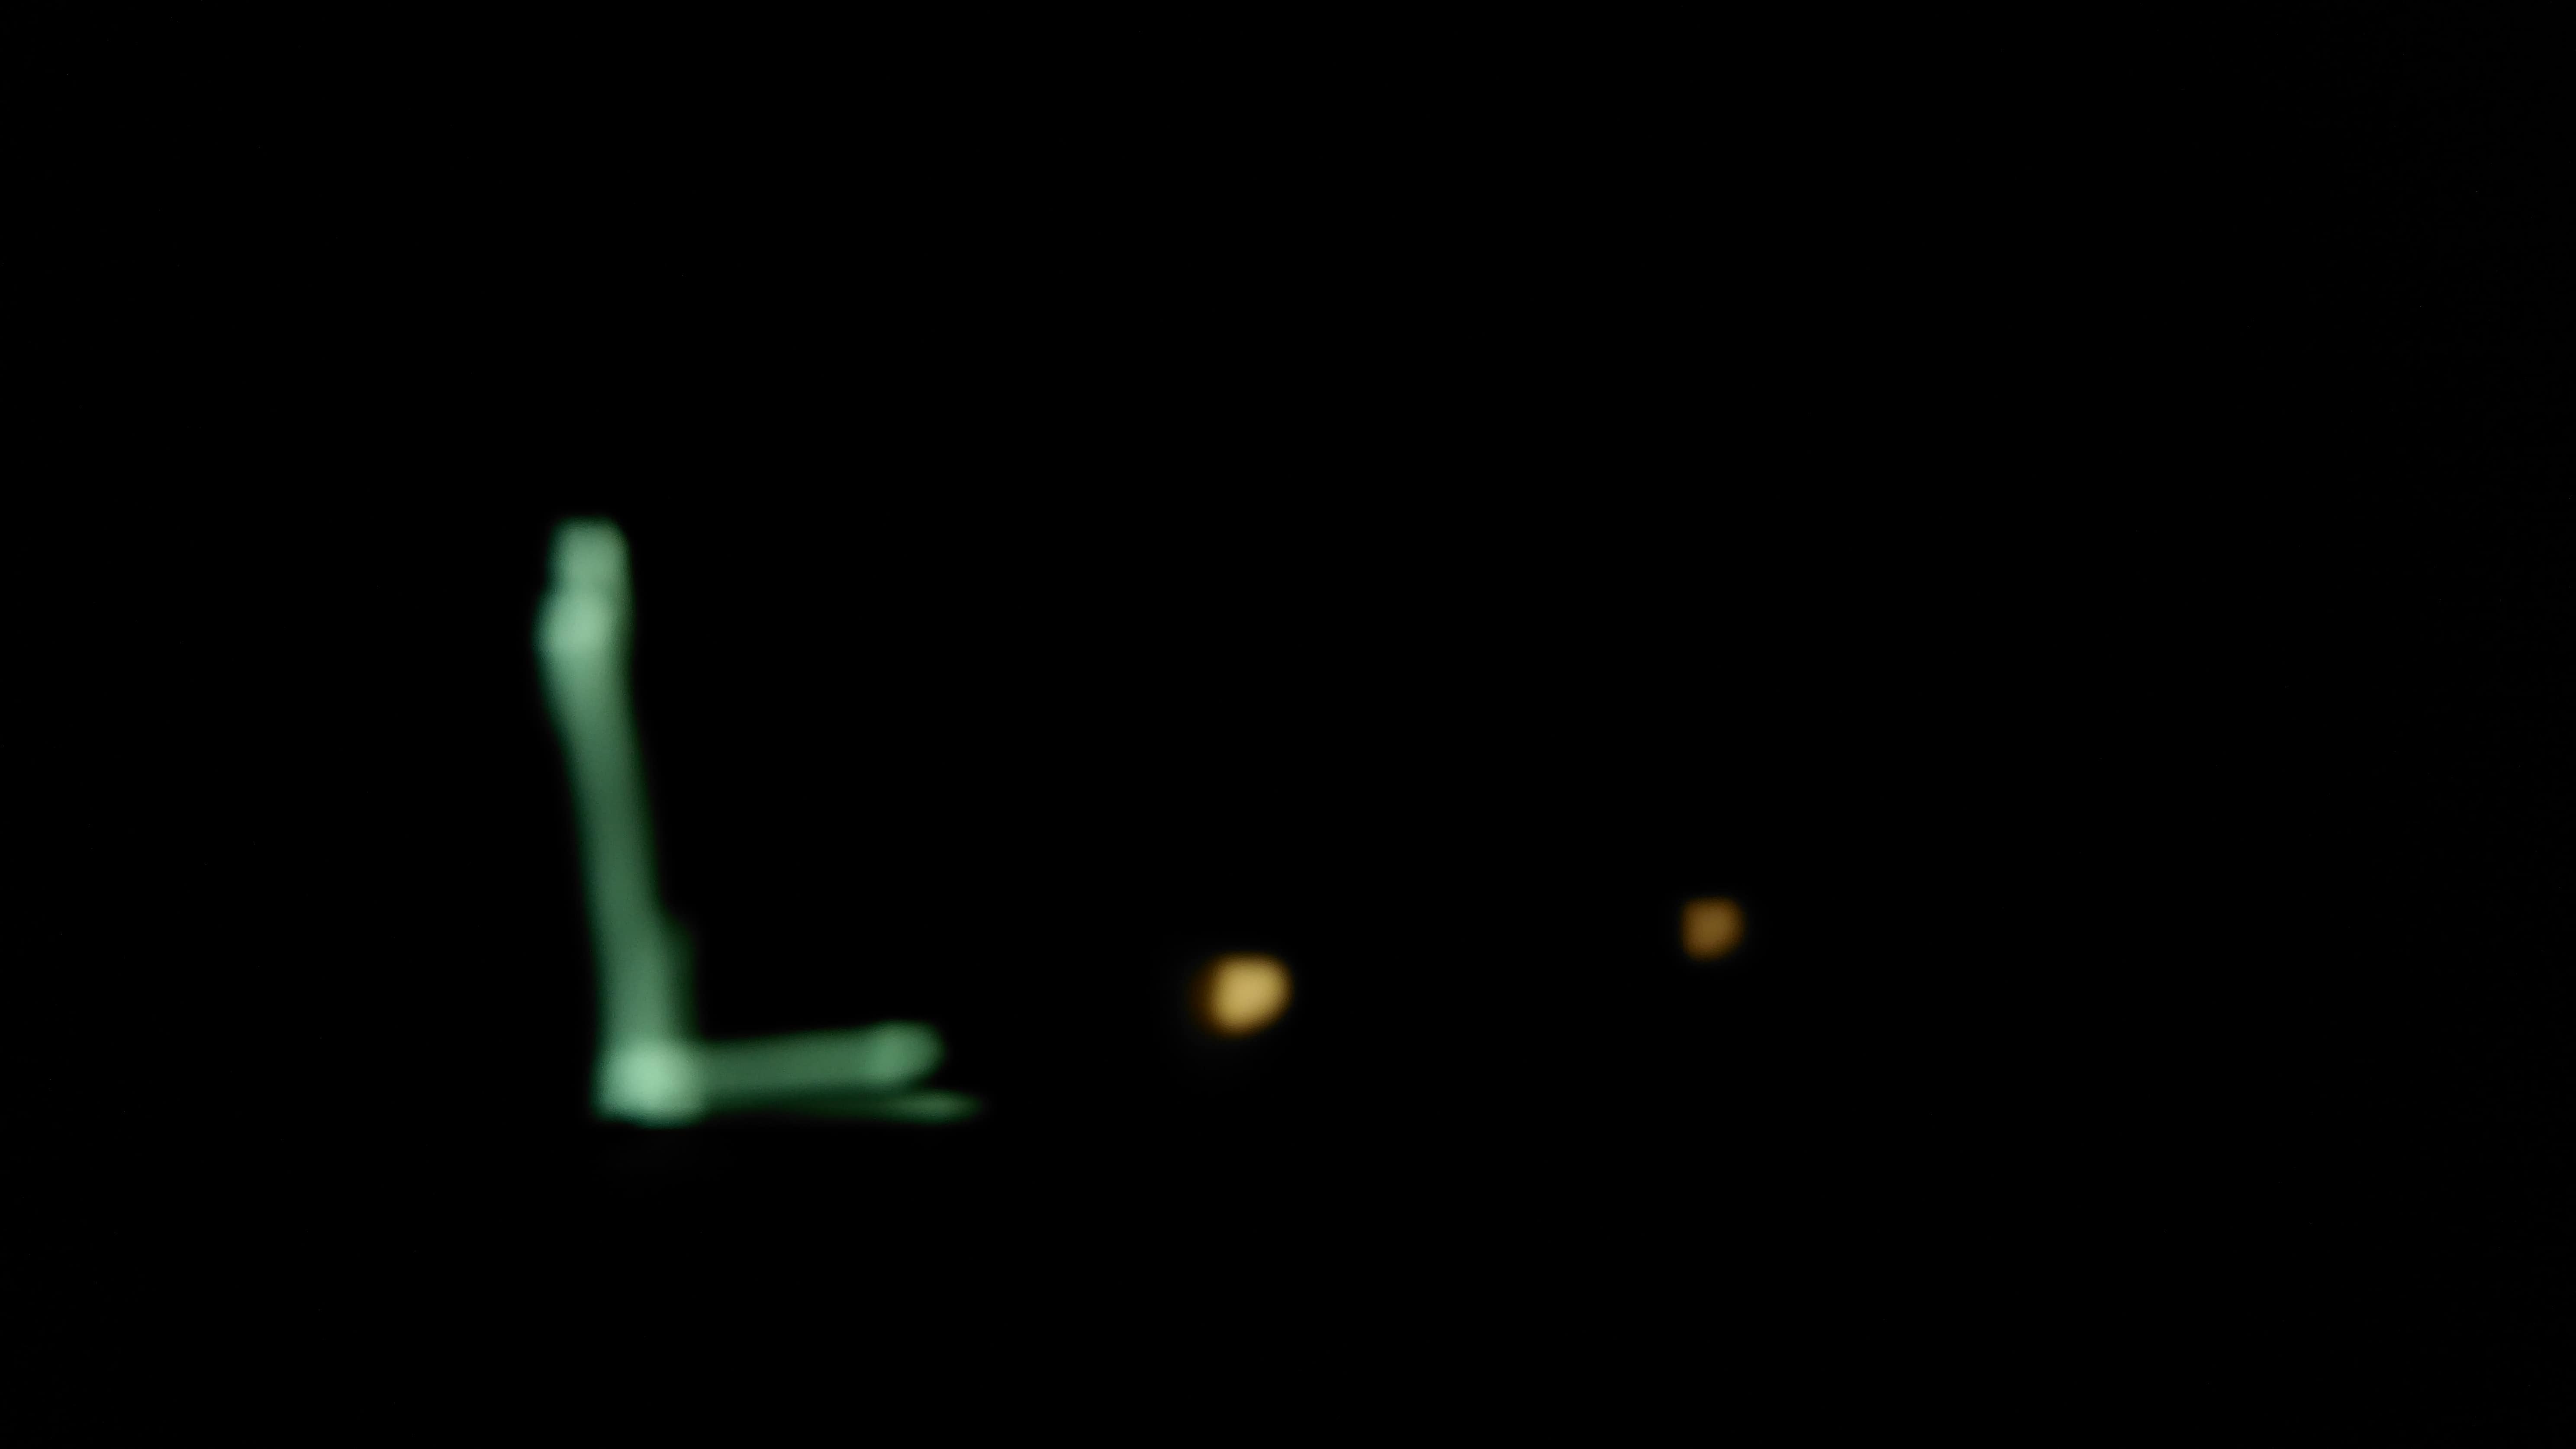
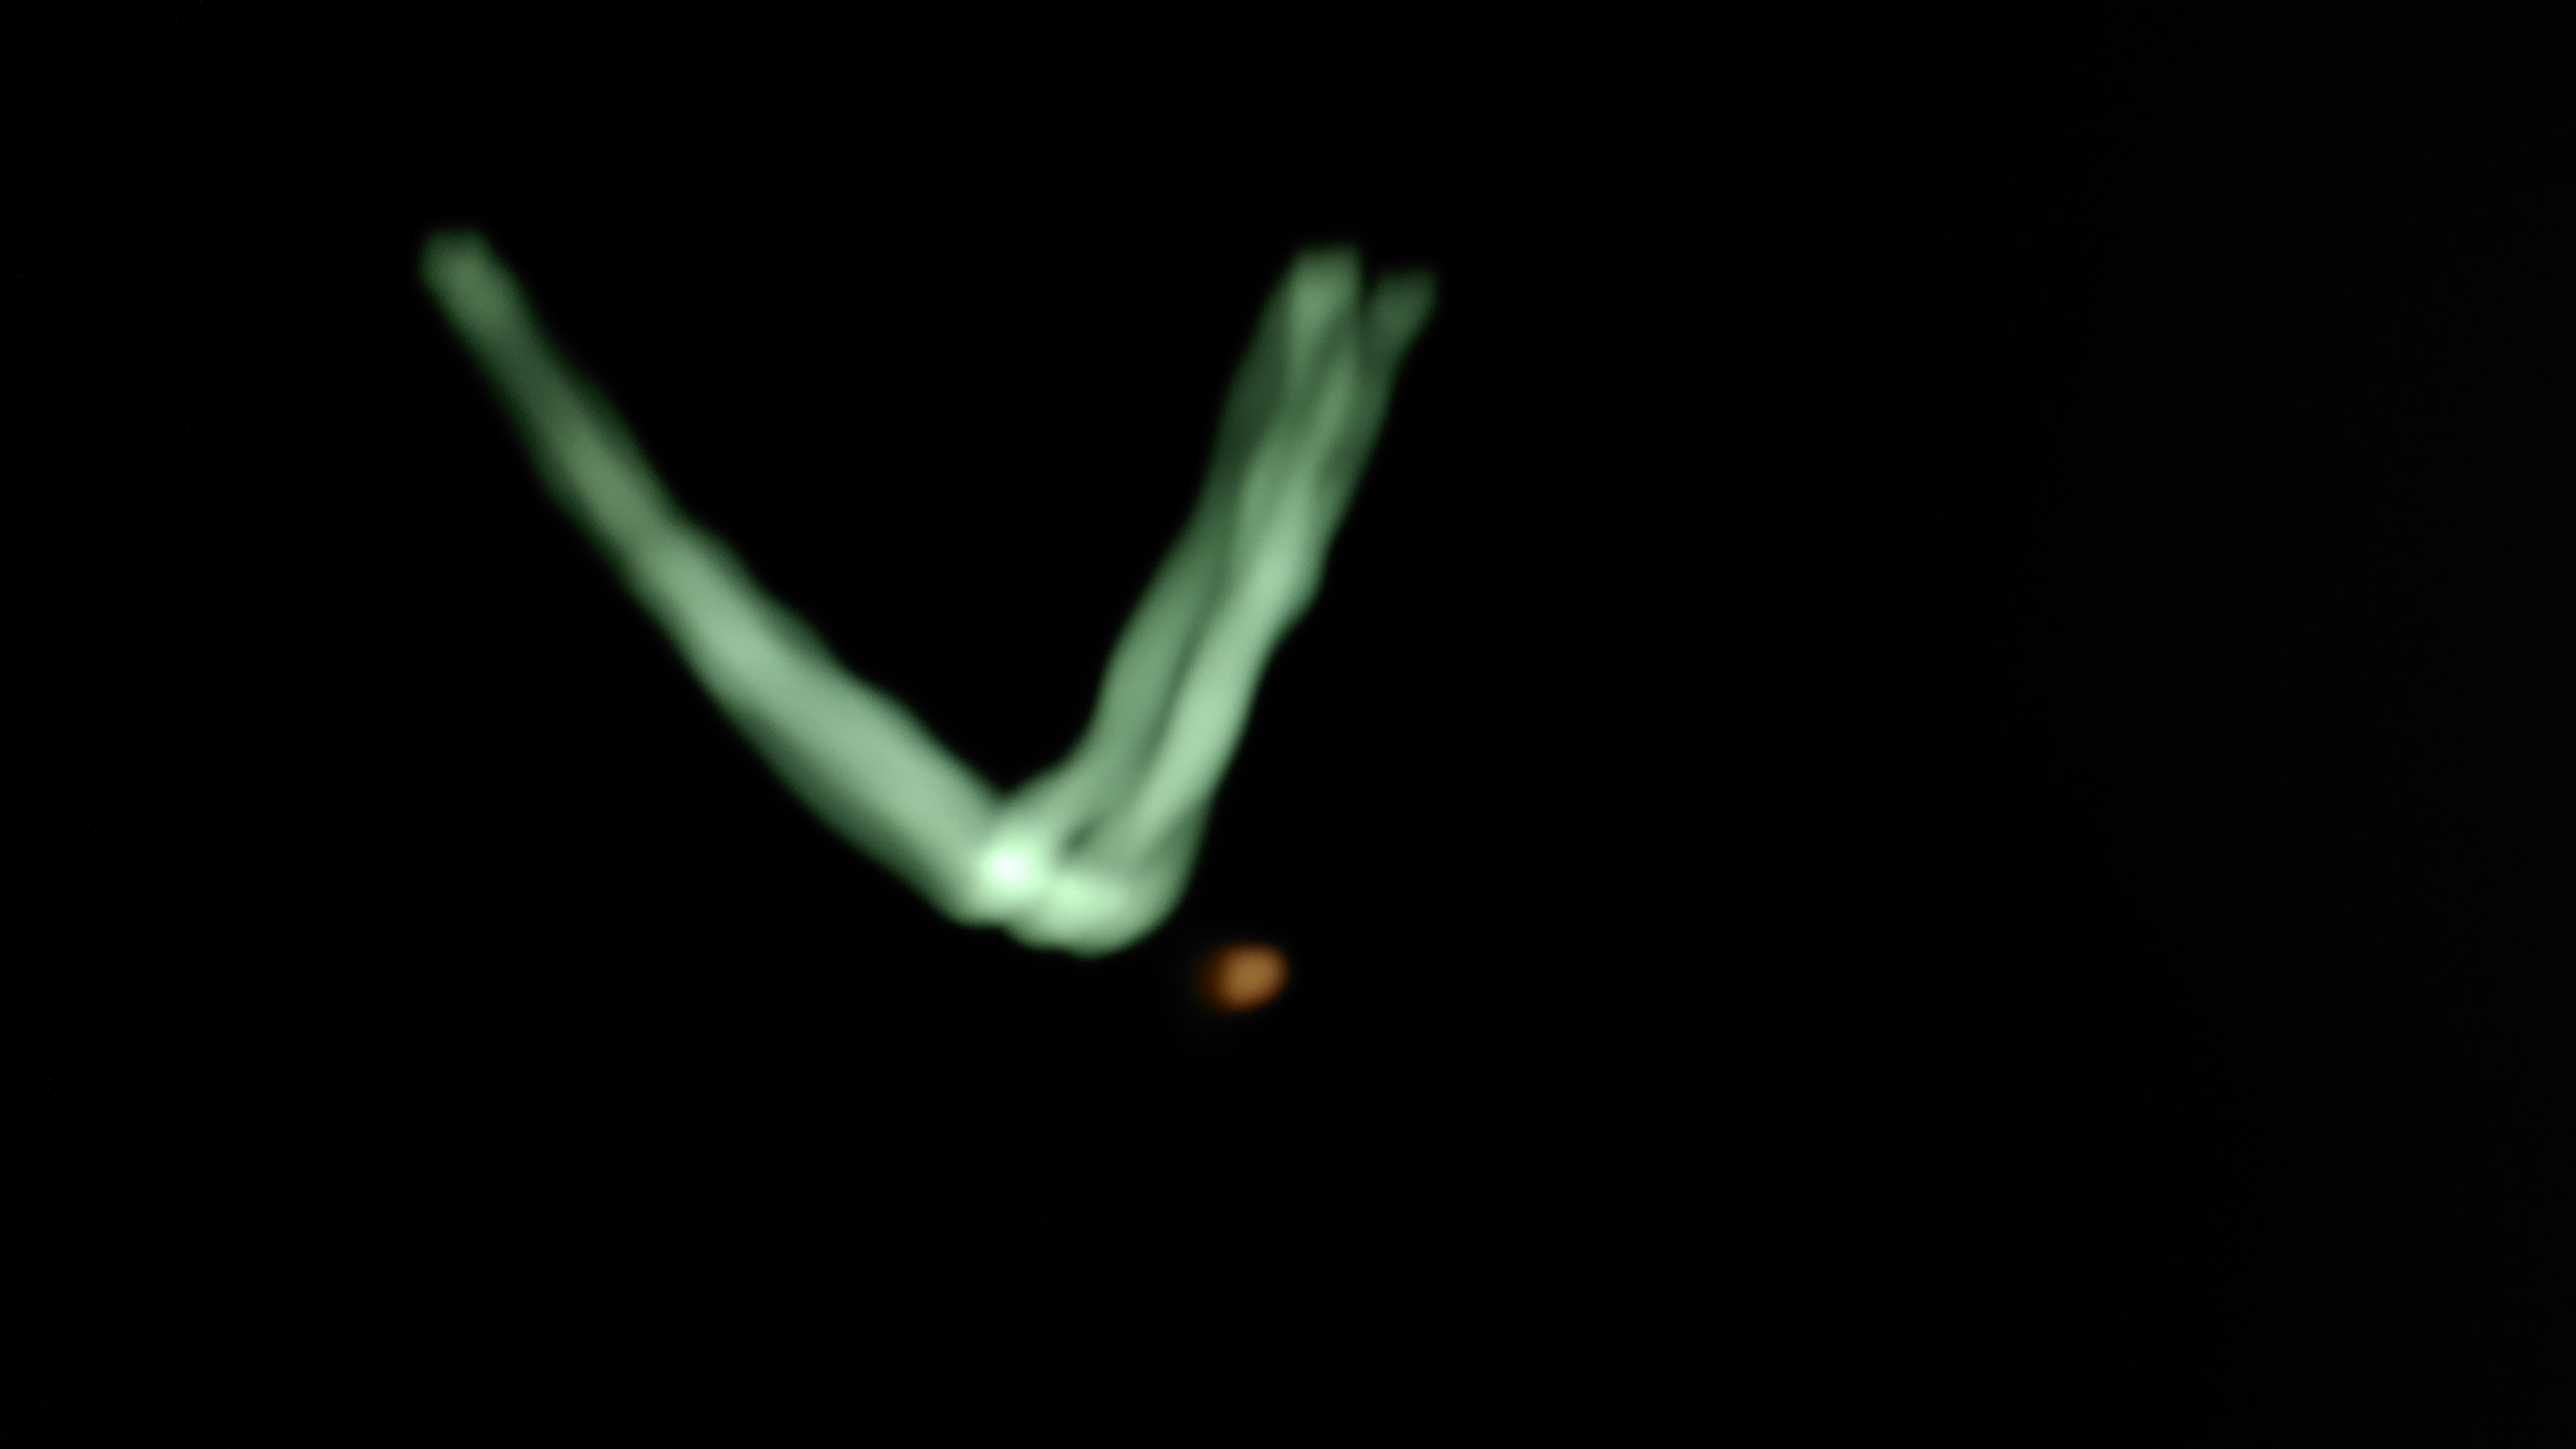
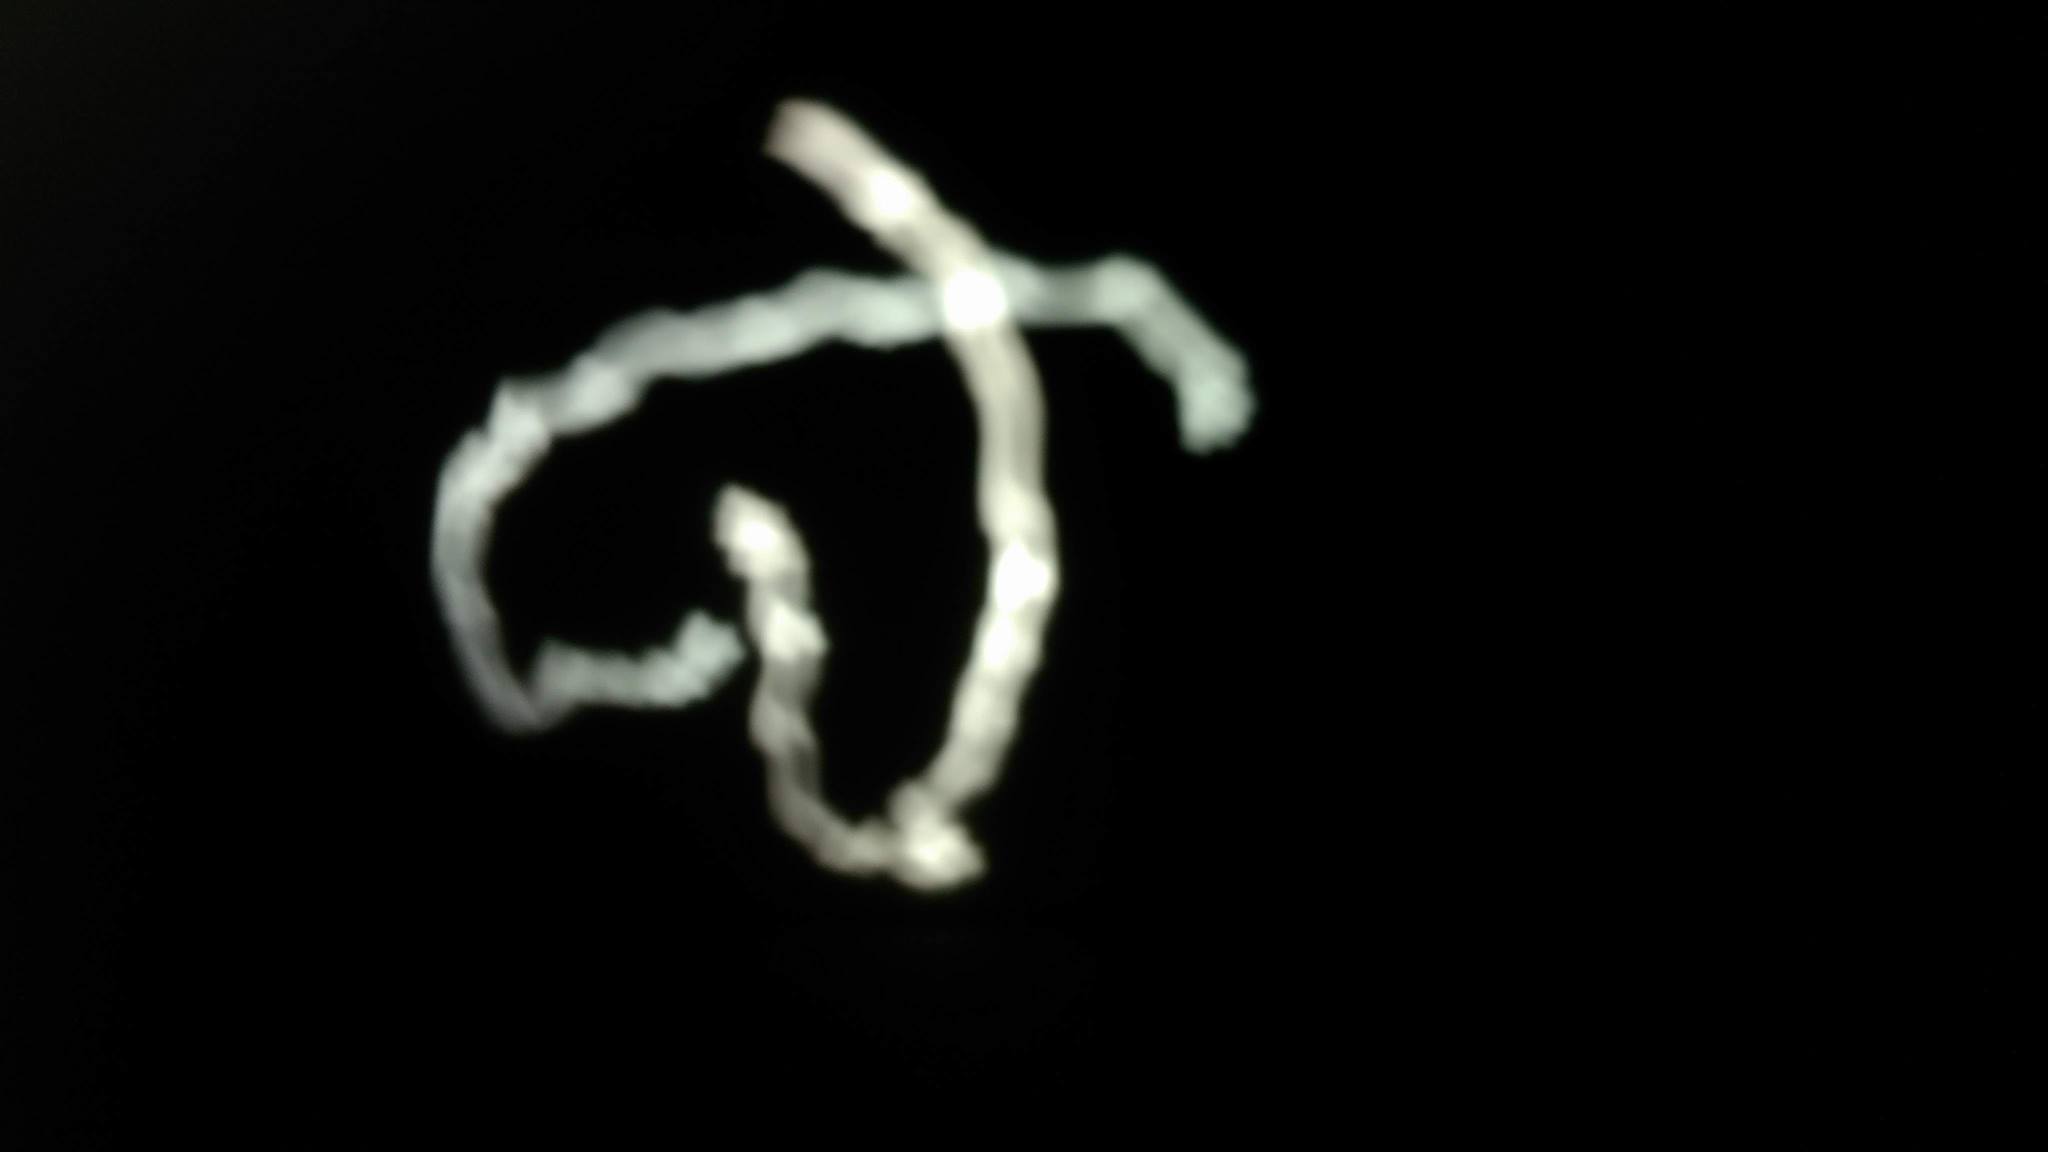
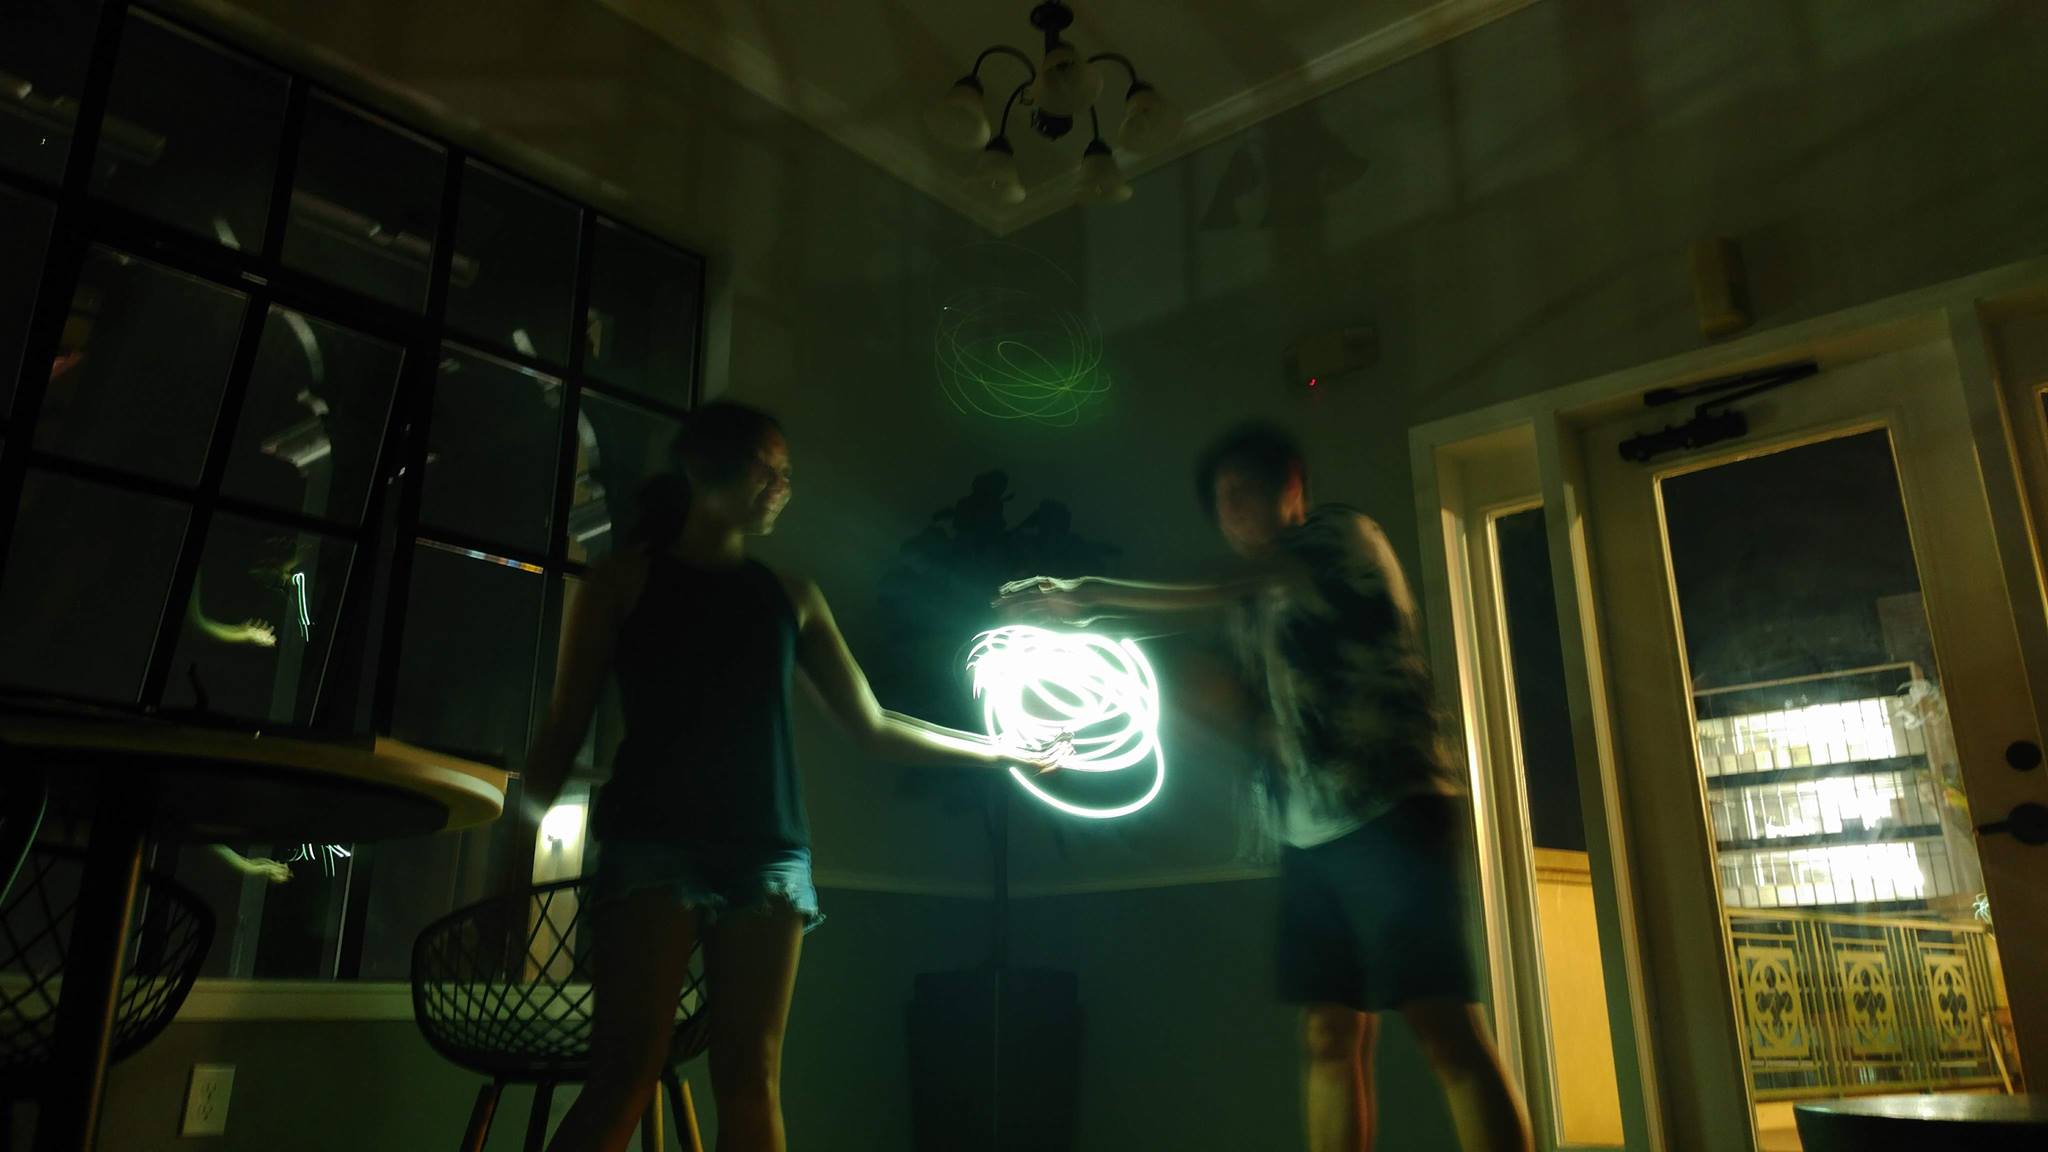
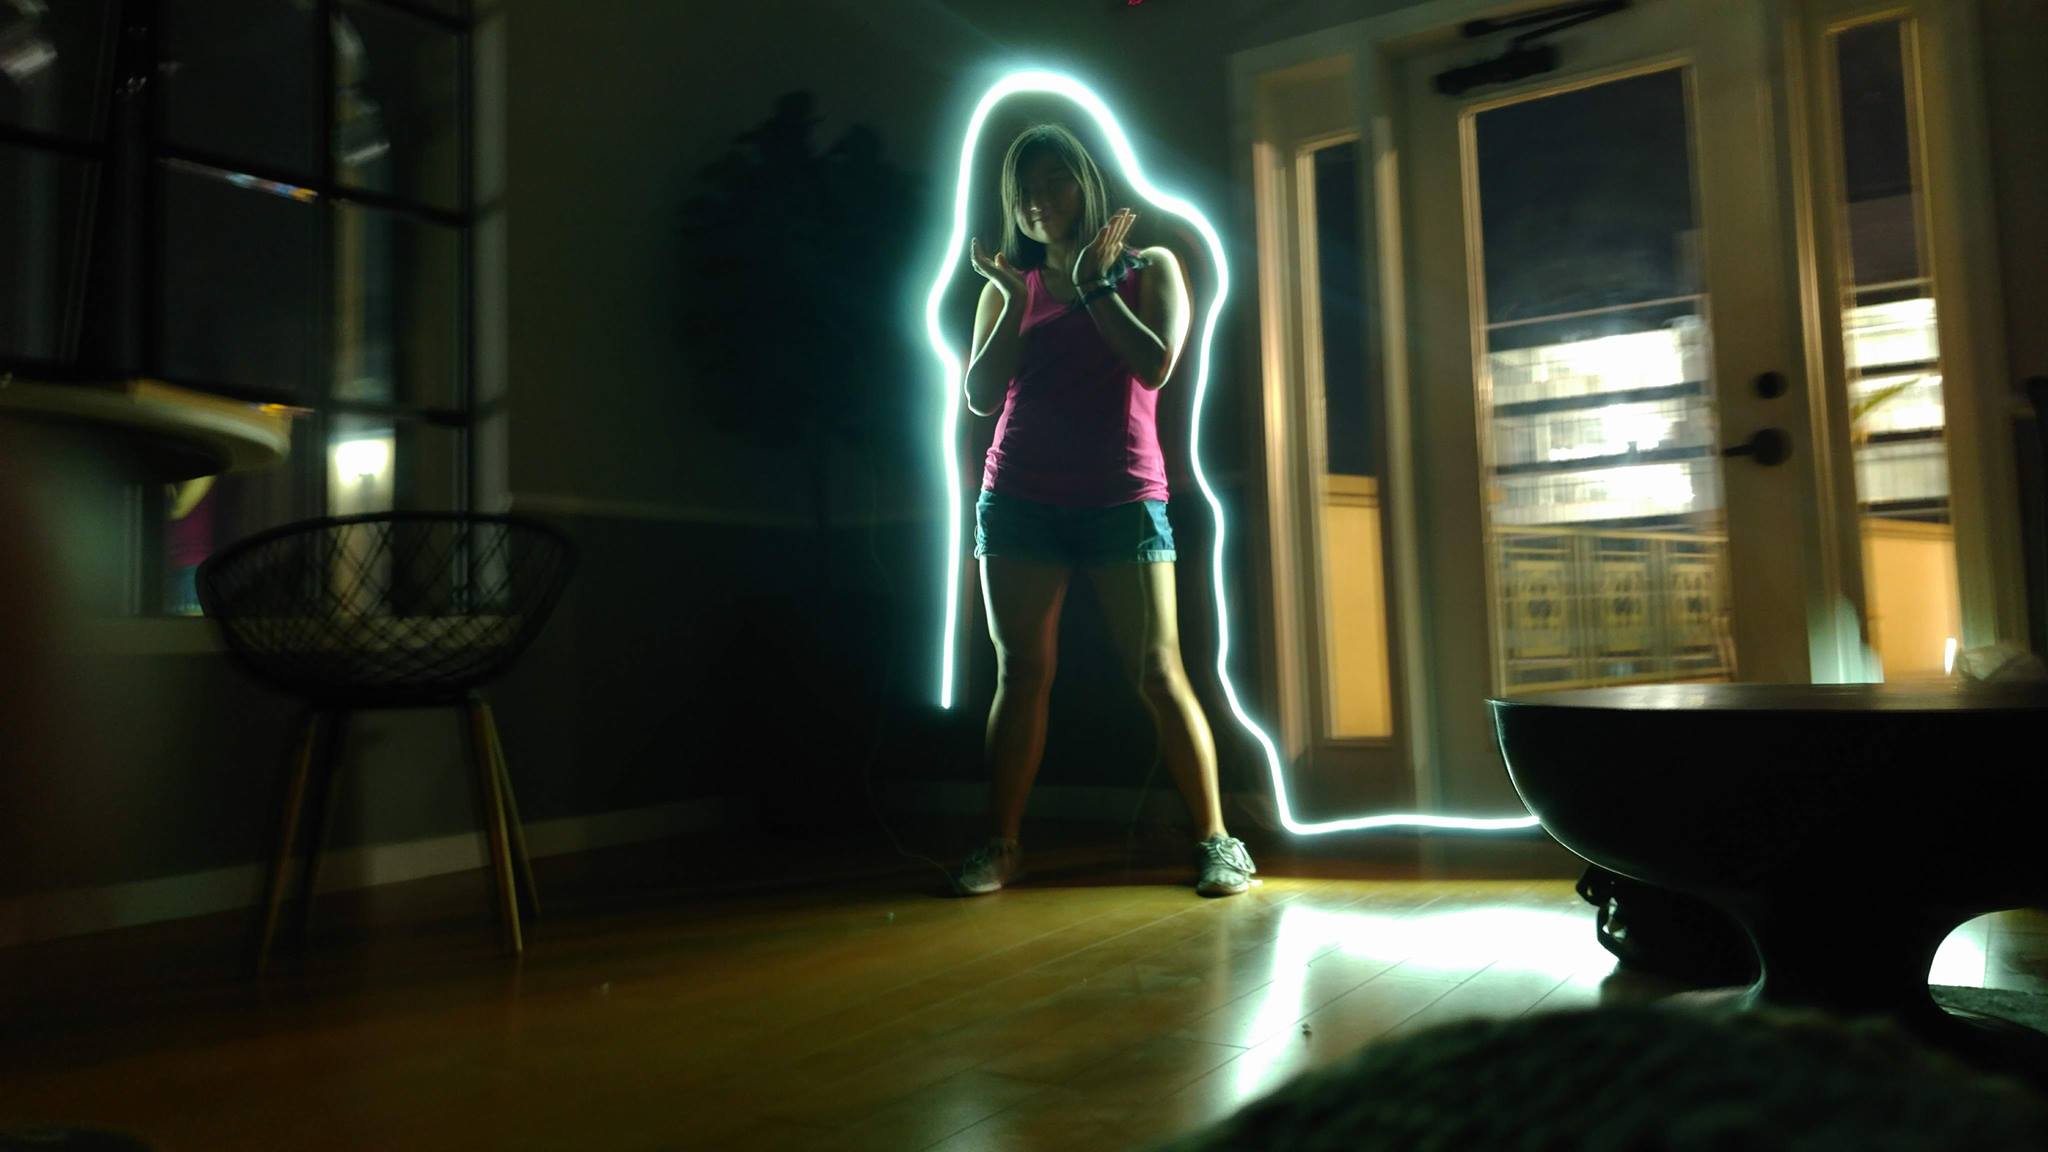
Bells and Whistles: Light Painting
We used our pinhole camera with a 5mm aperture to capture long exposures (23.5 s) of an iPhone flashlight, resulting in these images. The 5mm aperture was necessary as the lower aperture sizes blocked out too much of the flashlight's light rays.
Kai
Isabel
Vi
Thanks for reading!