The purpose of this project was to design and test a homemade pinhole camera and to use it to capture images of Berkeley's campus.
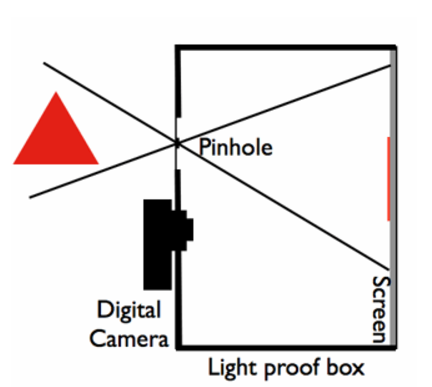
The pinhole camera is a dark box with a small hole which lets light in and projects it on the opposite end of the box. In order to capture enough light, we attached a digital camera to the box and set it to a long exposure time (15-30 seconds) to camputure the images better than the naked eye would.
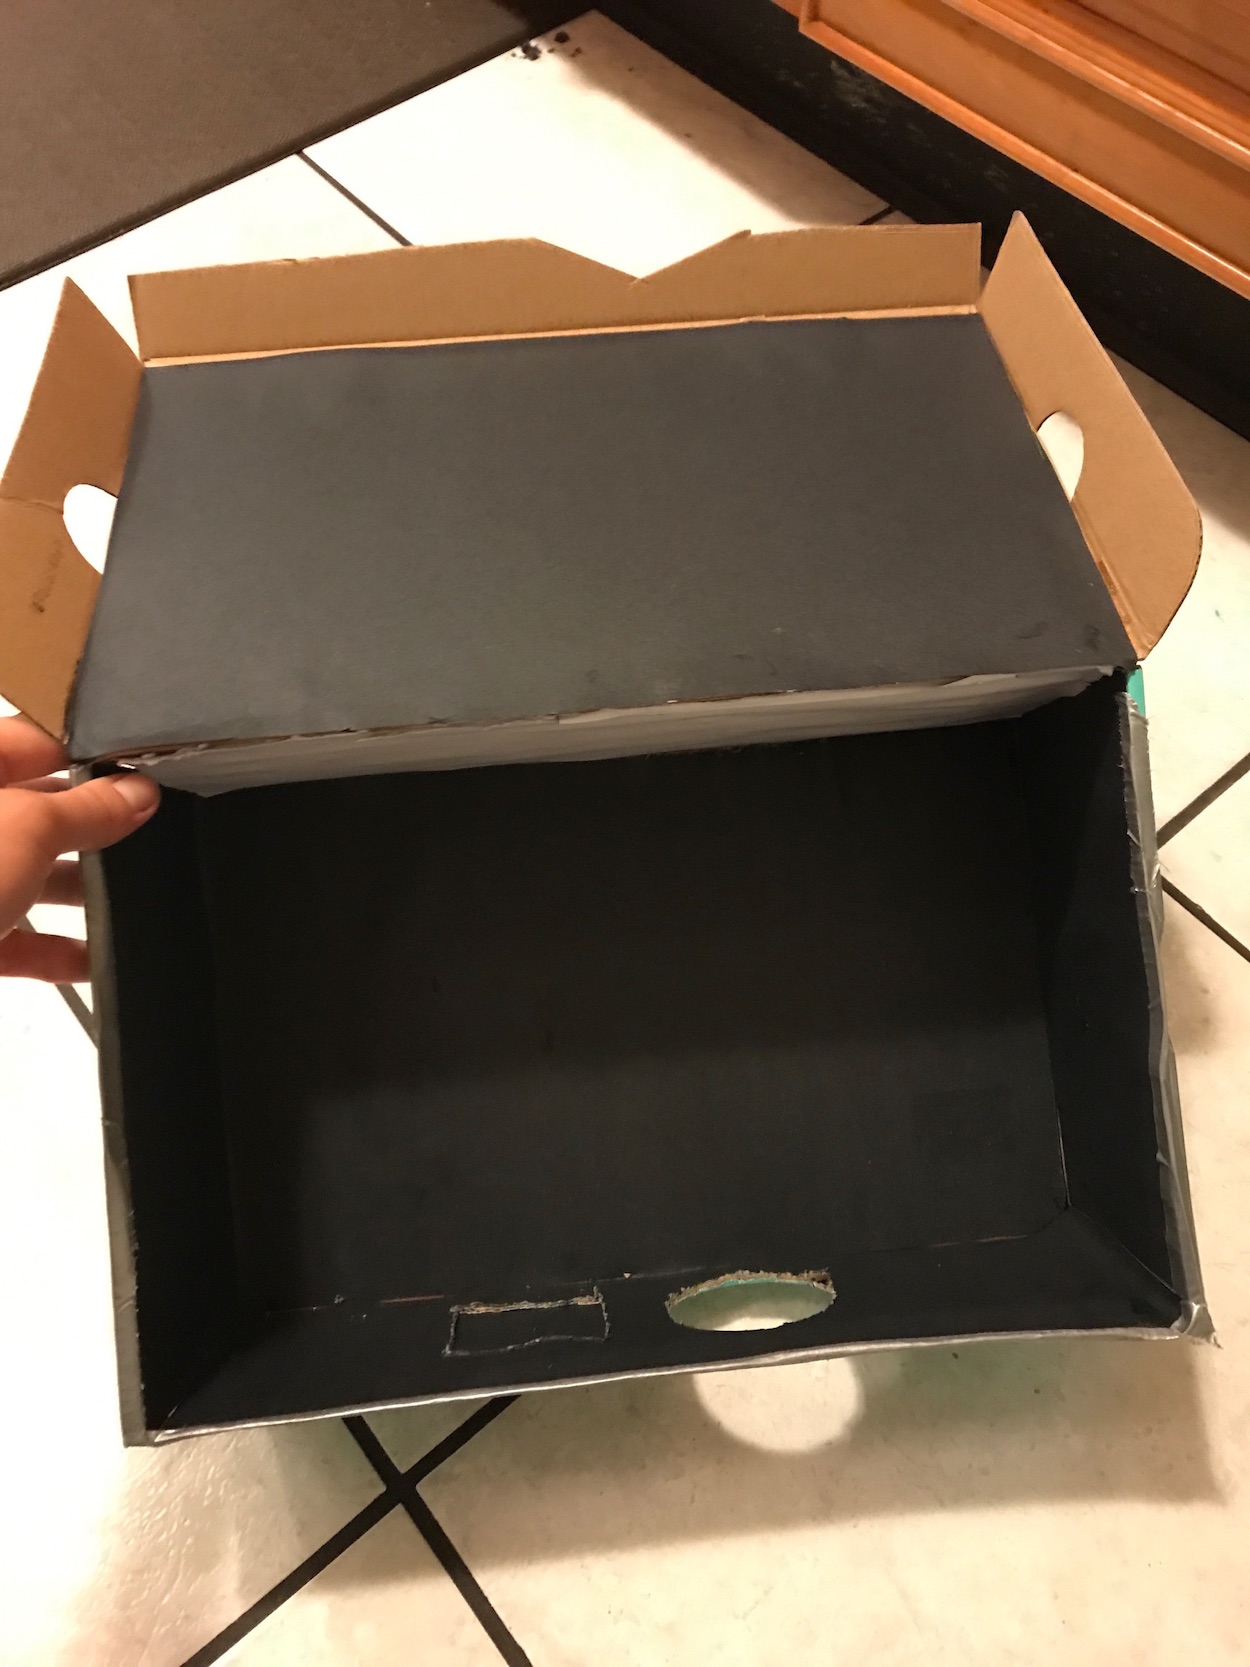
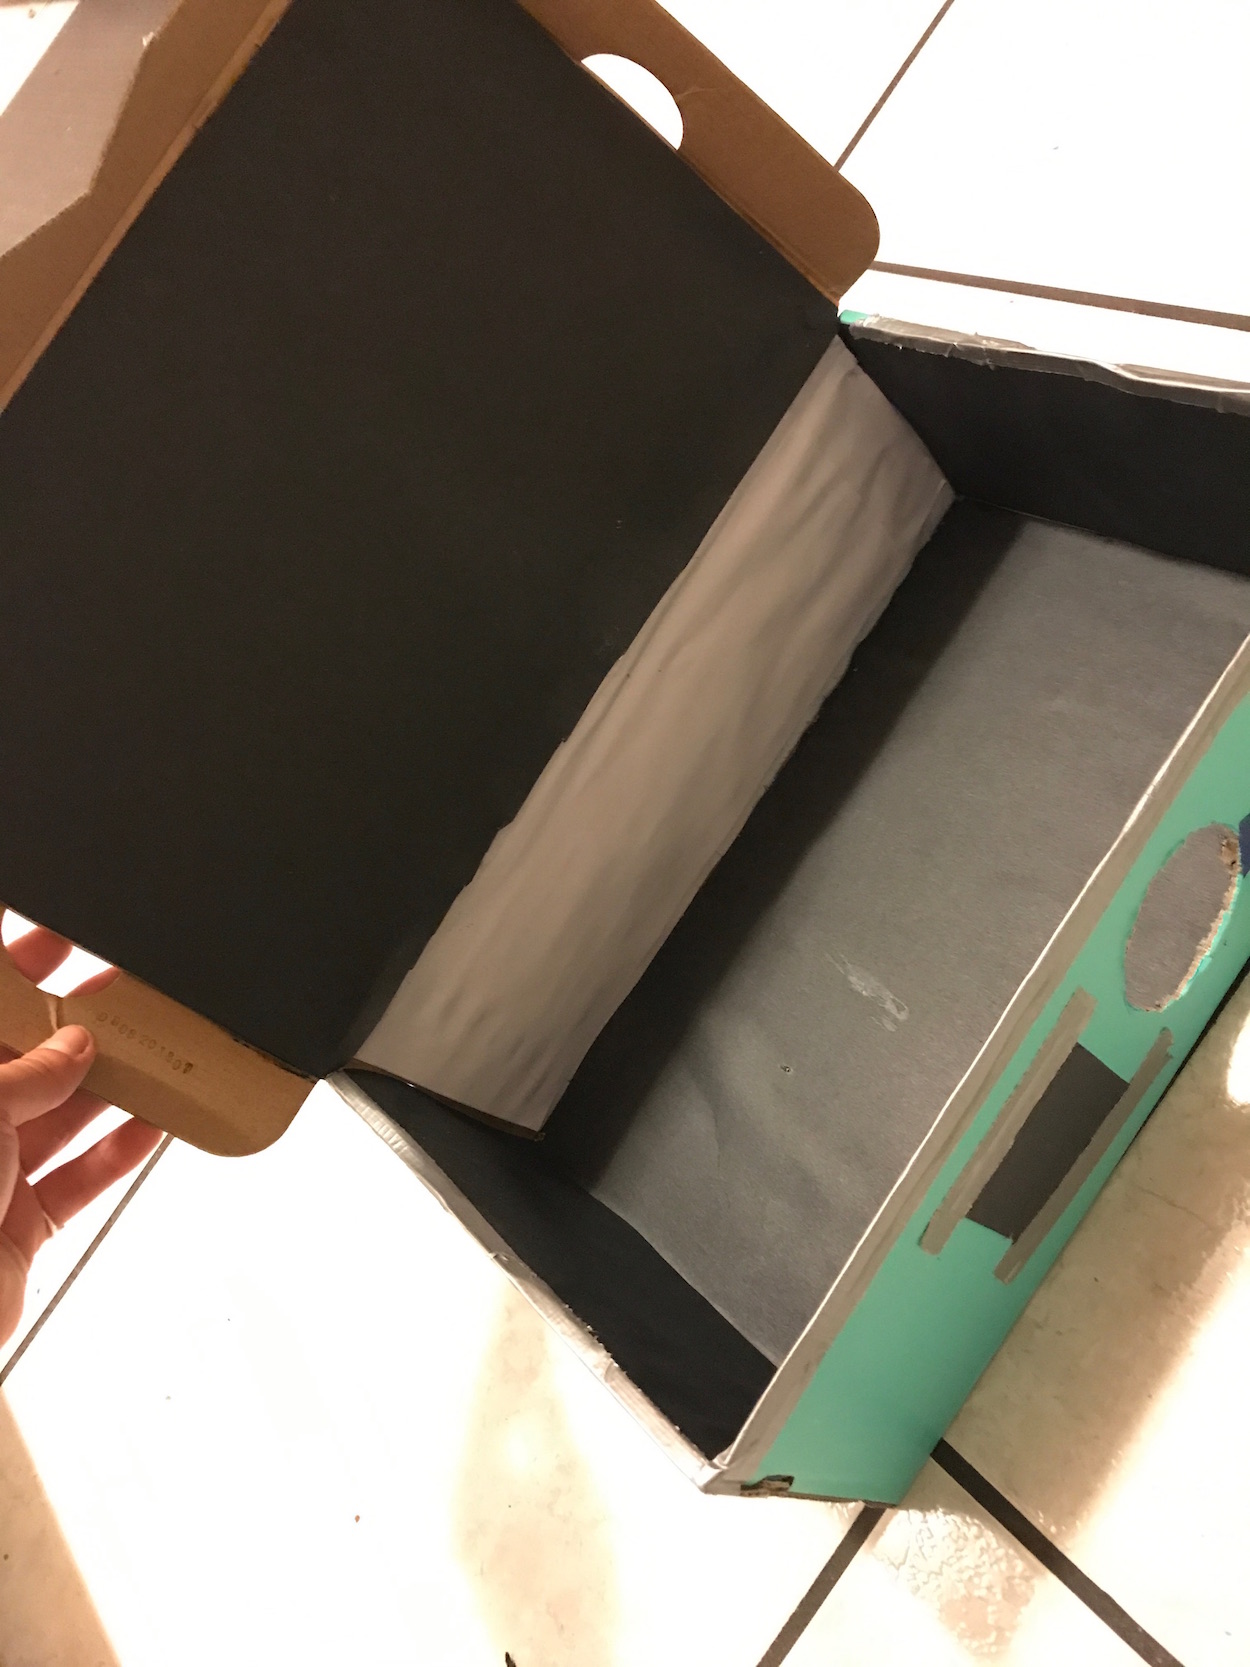
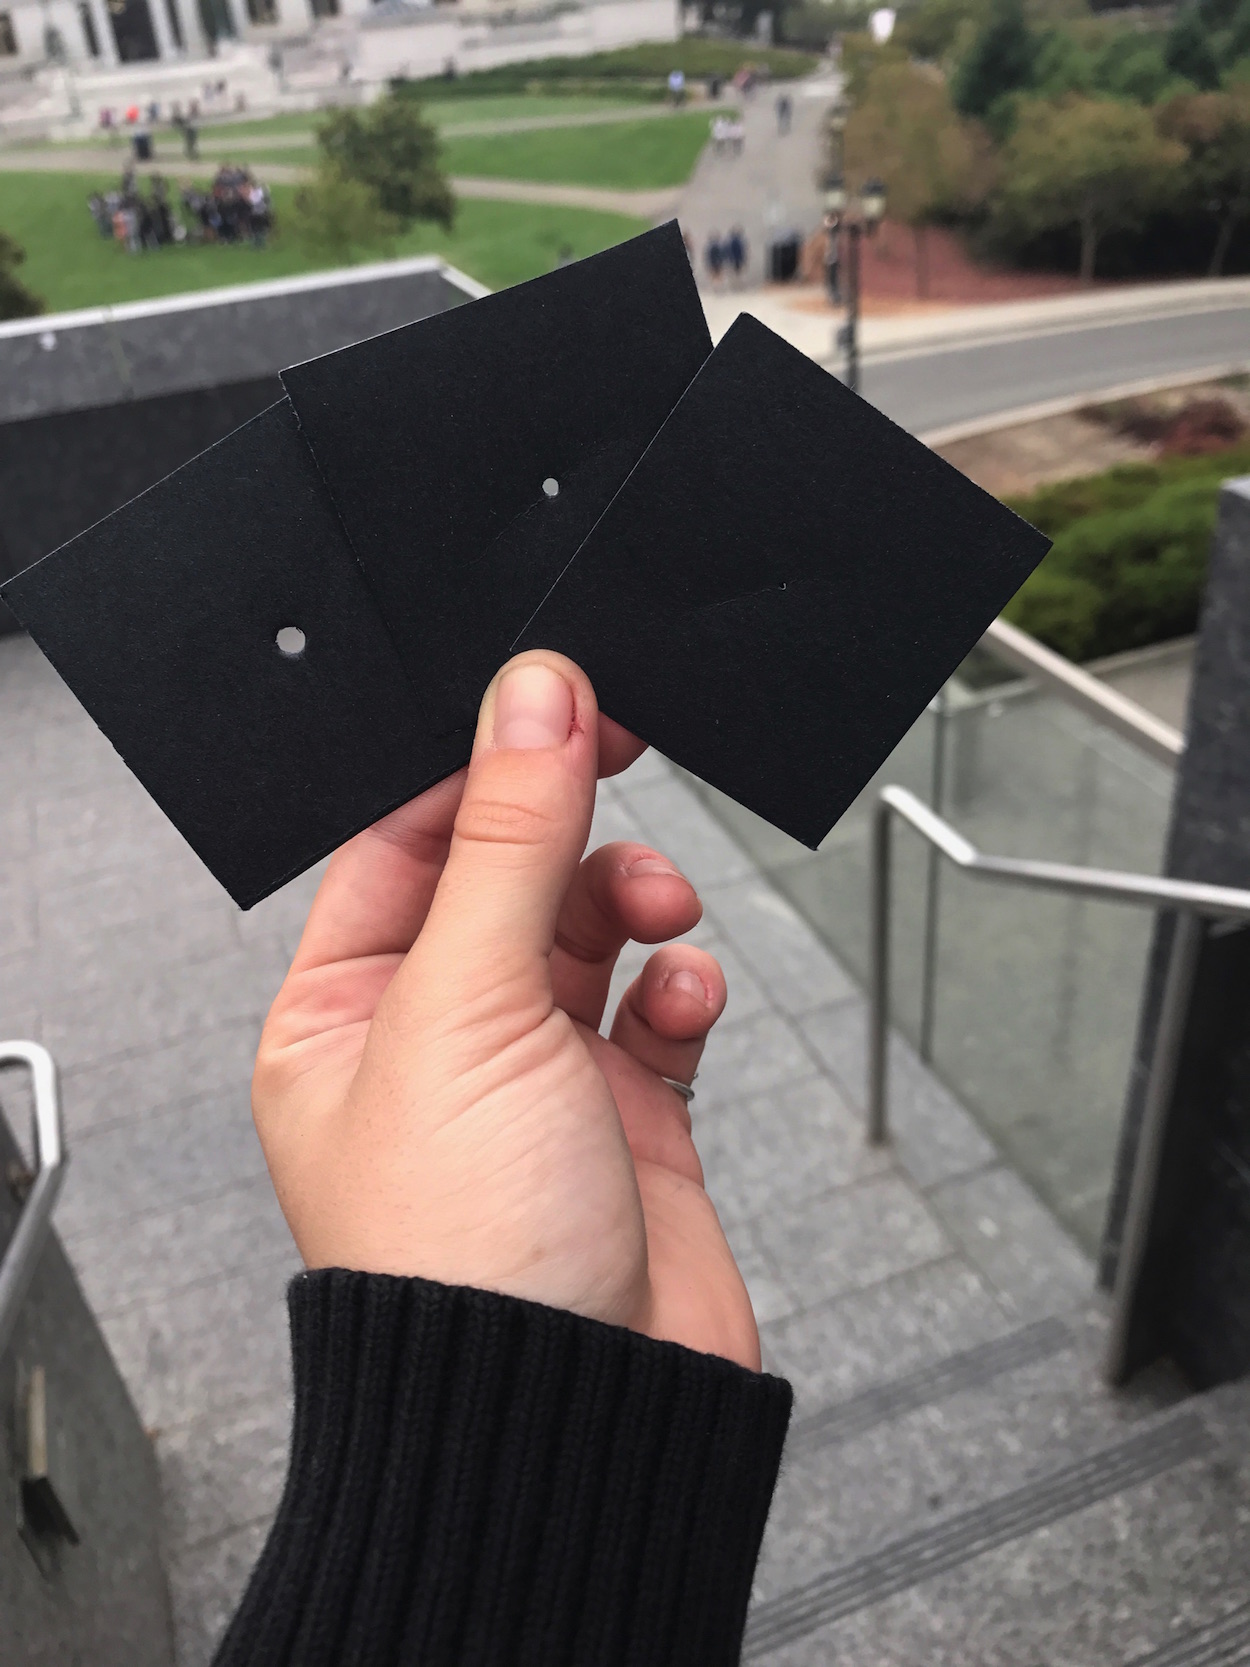
We followed the recomended design specified and ended up with a box that looked like this:
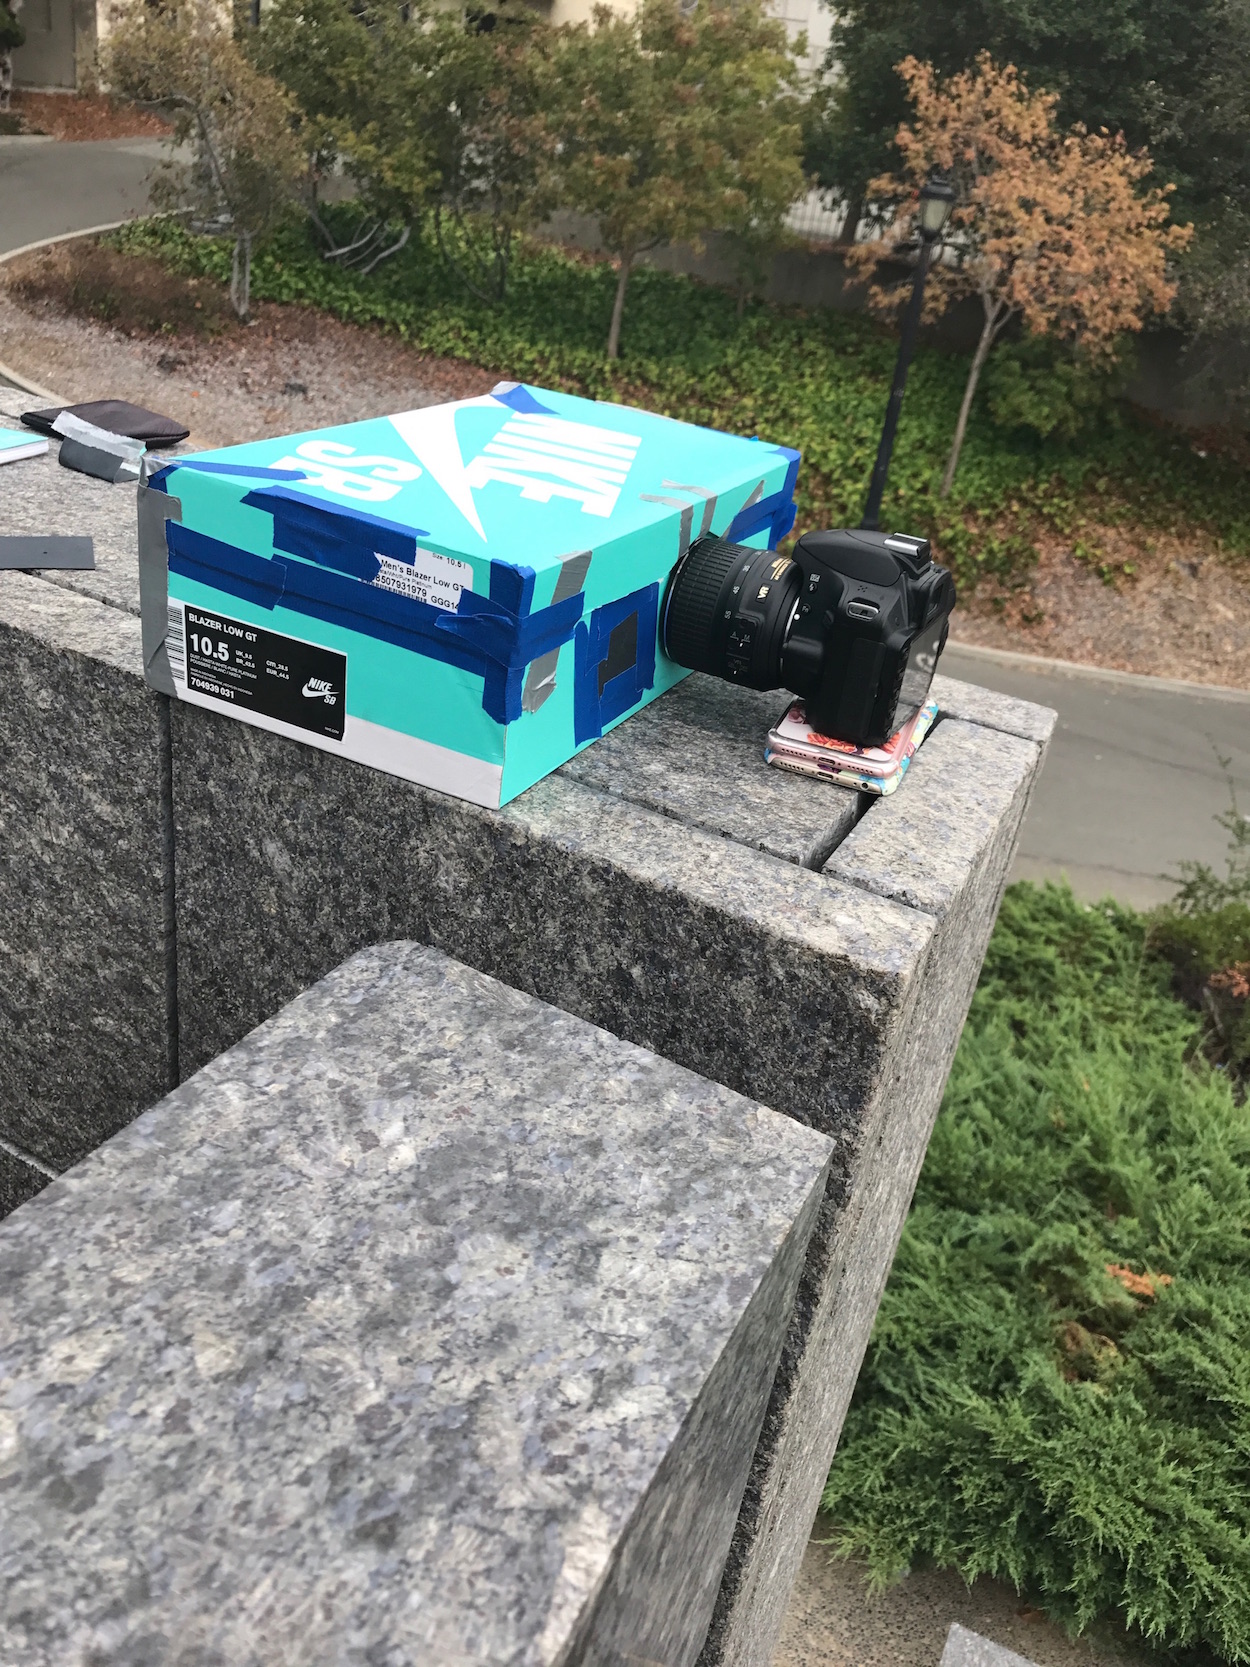
With the camera attached to our box, our set up looked like this:
It was fun playing with the camera settings to try and identify the ideal aperture, exposure times and ISO settings to achieve the best results. From some initial experimentation, we setteled on exposure time of 25 seconds and ISO set to 6400. We then proceeded to change the aperture setting for each scene we captured taking photos using 5f, 8f, 13f and 25f. As the aperture number increased, the amount of light being let into the camera decreased and it had interesting affects on the outcome of our photos.
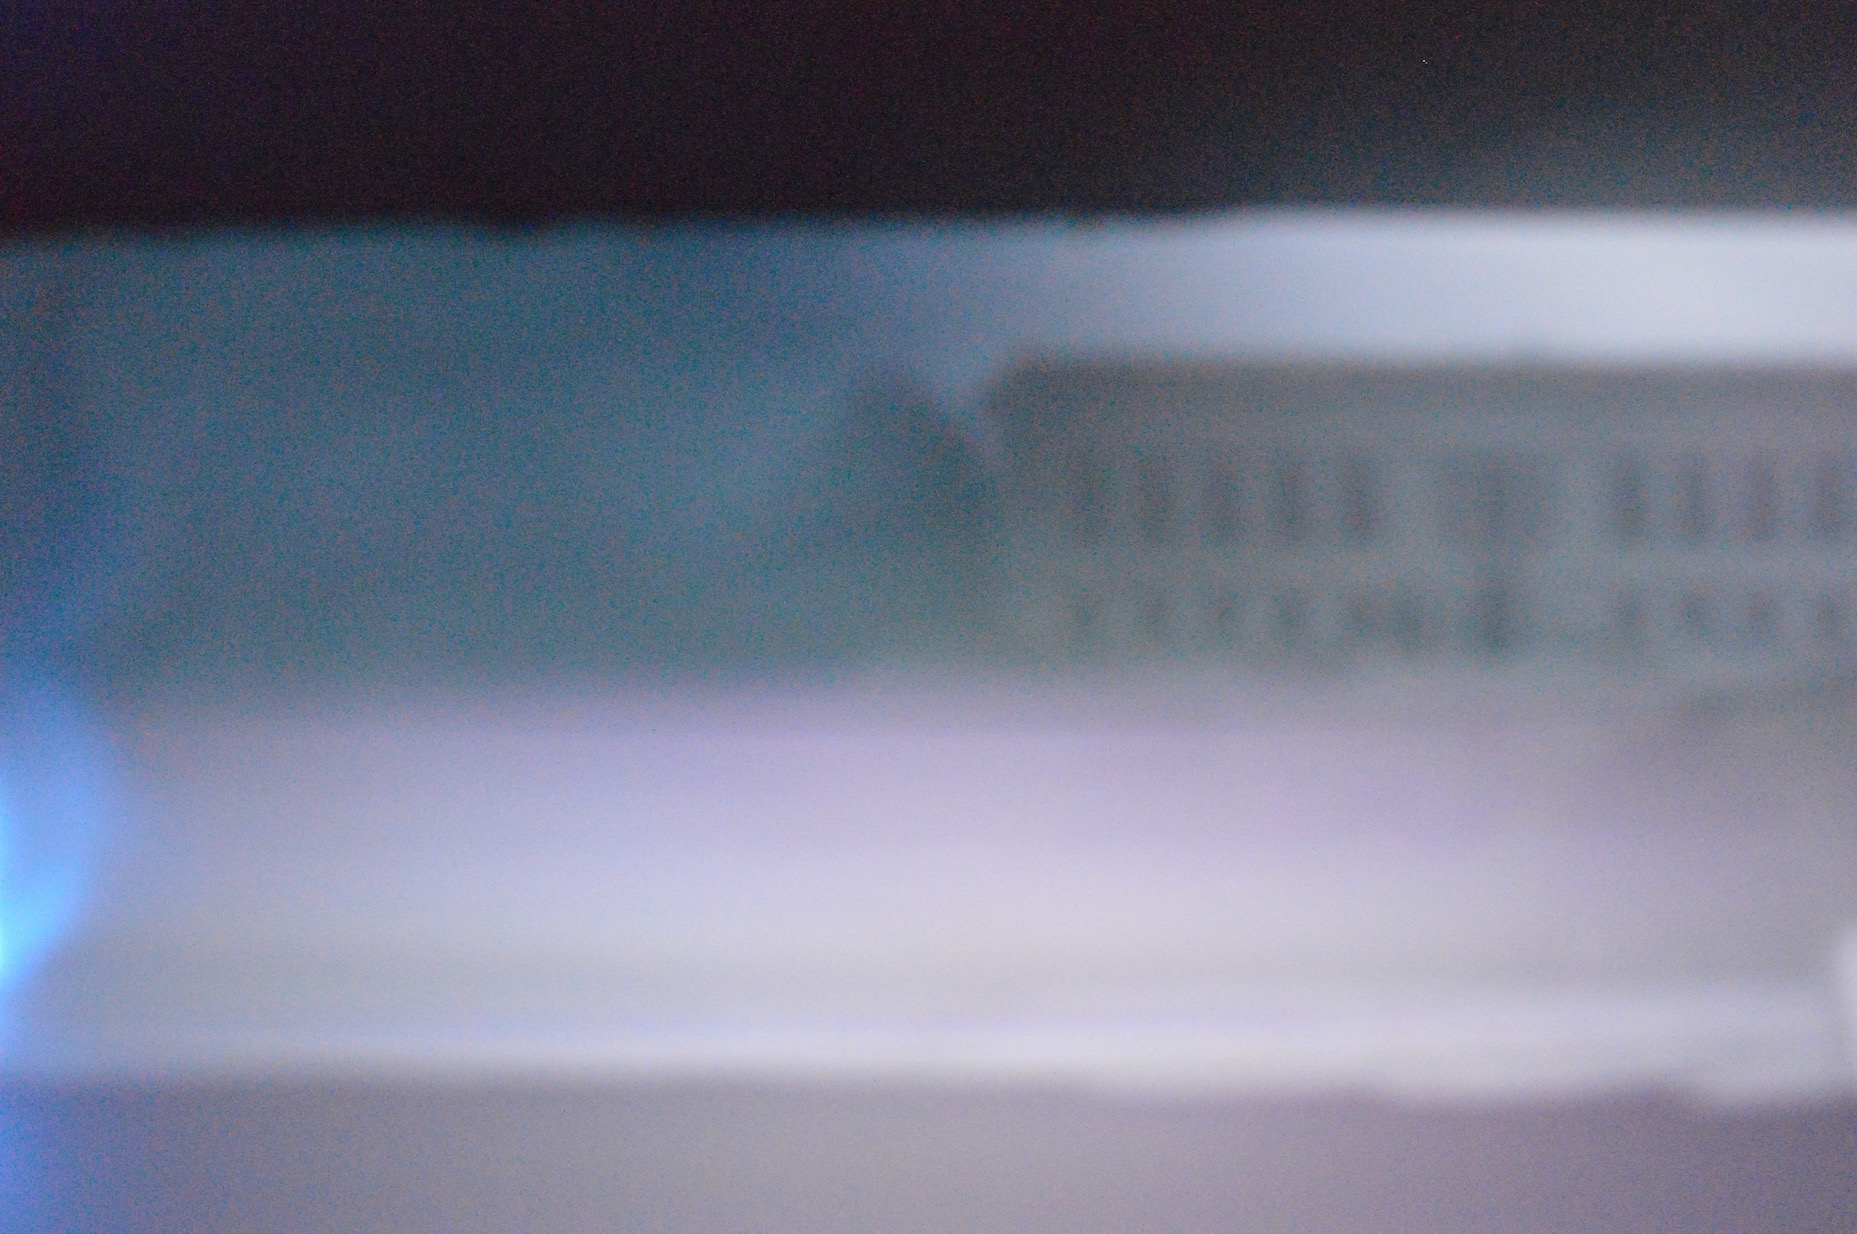
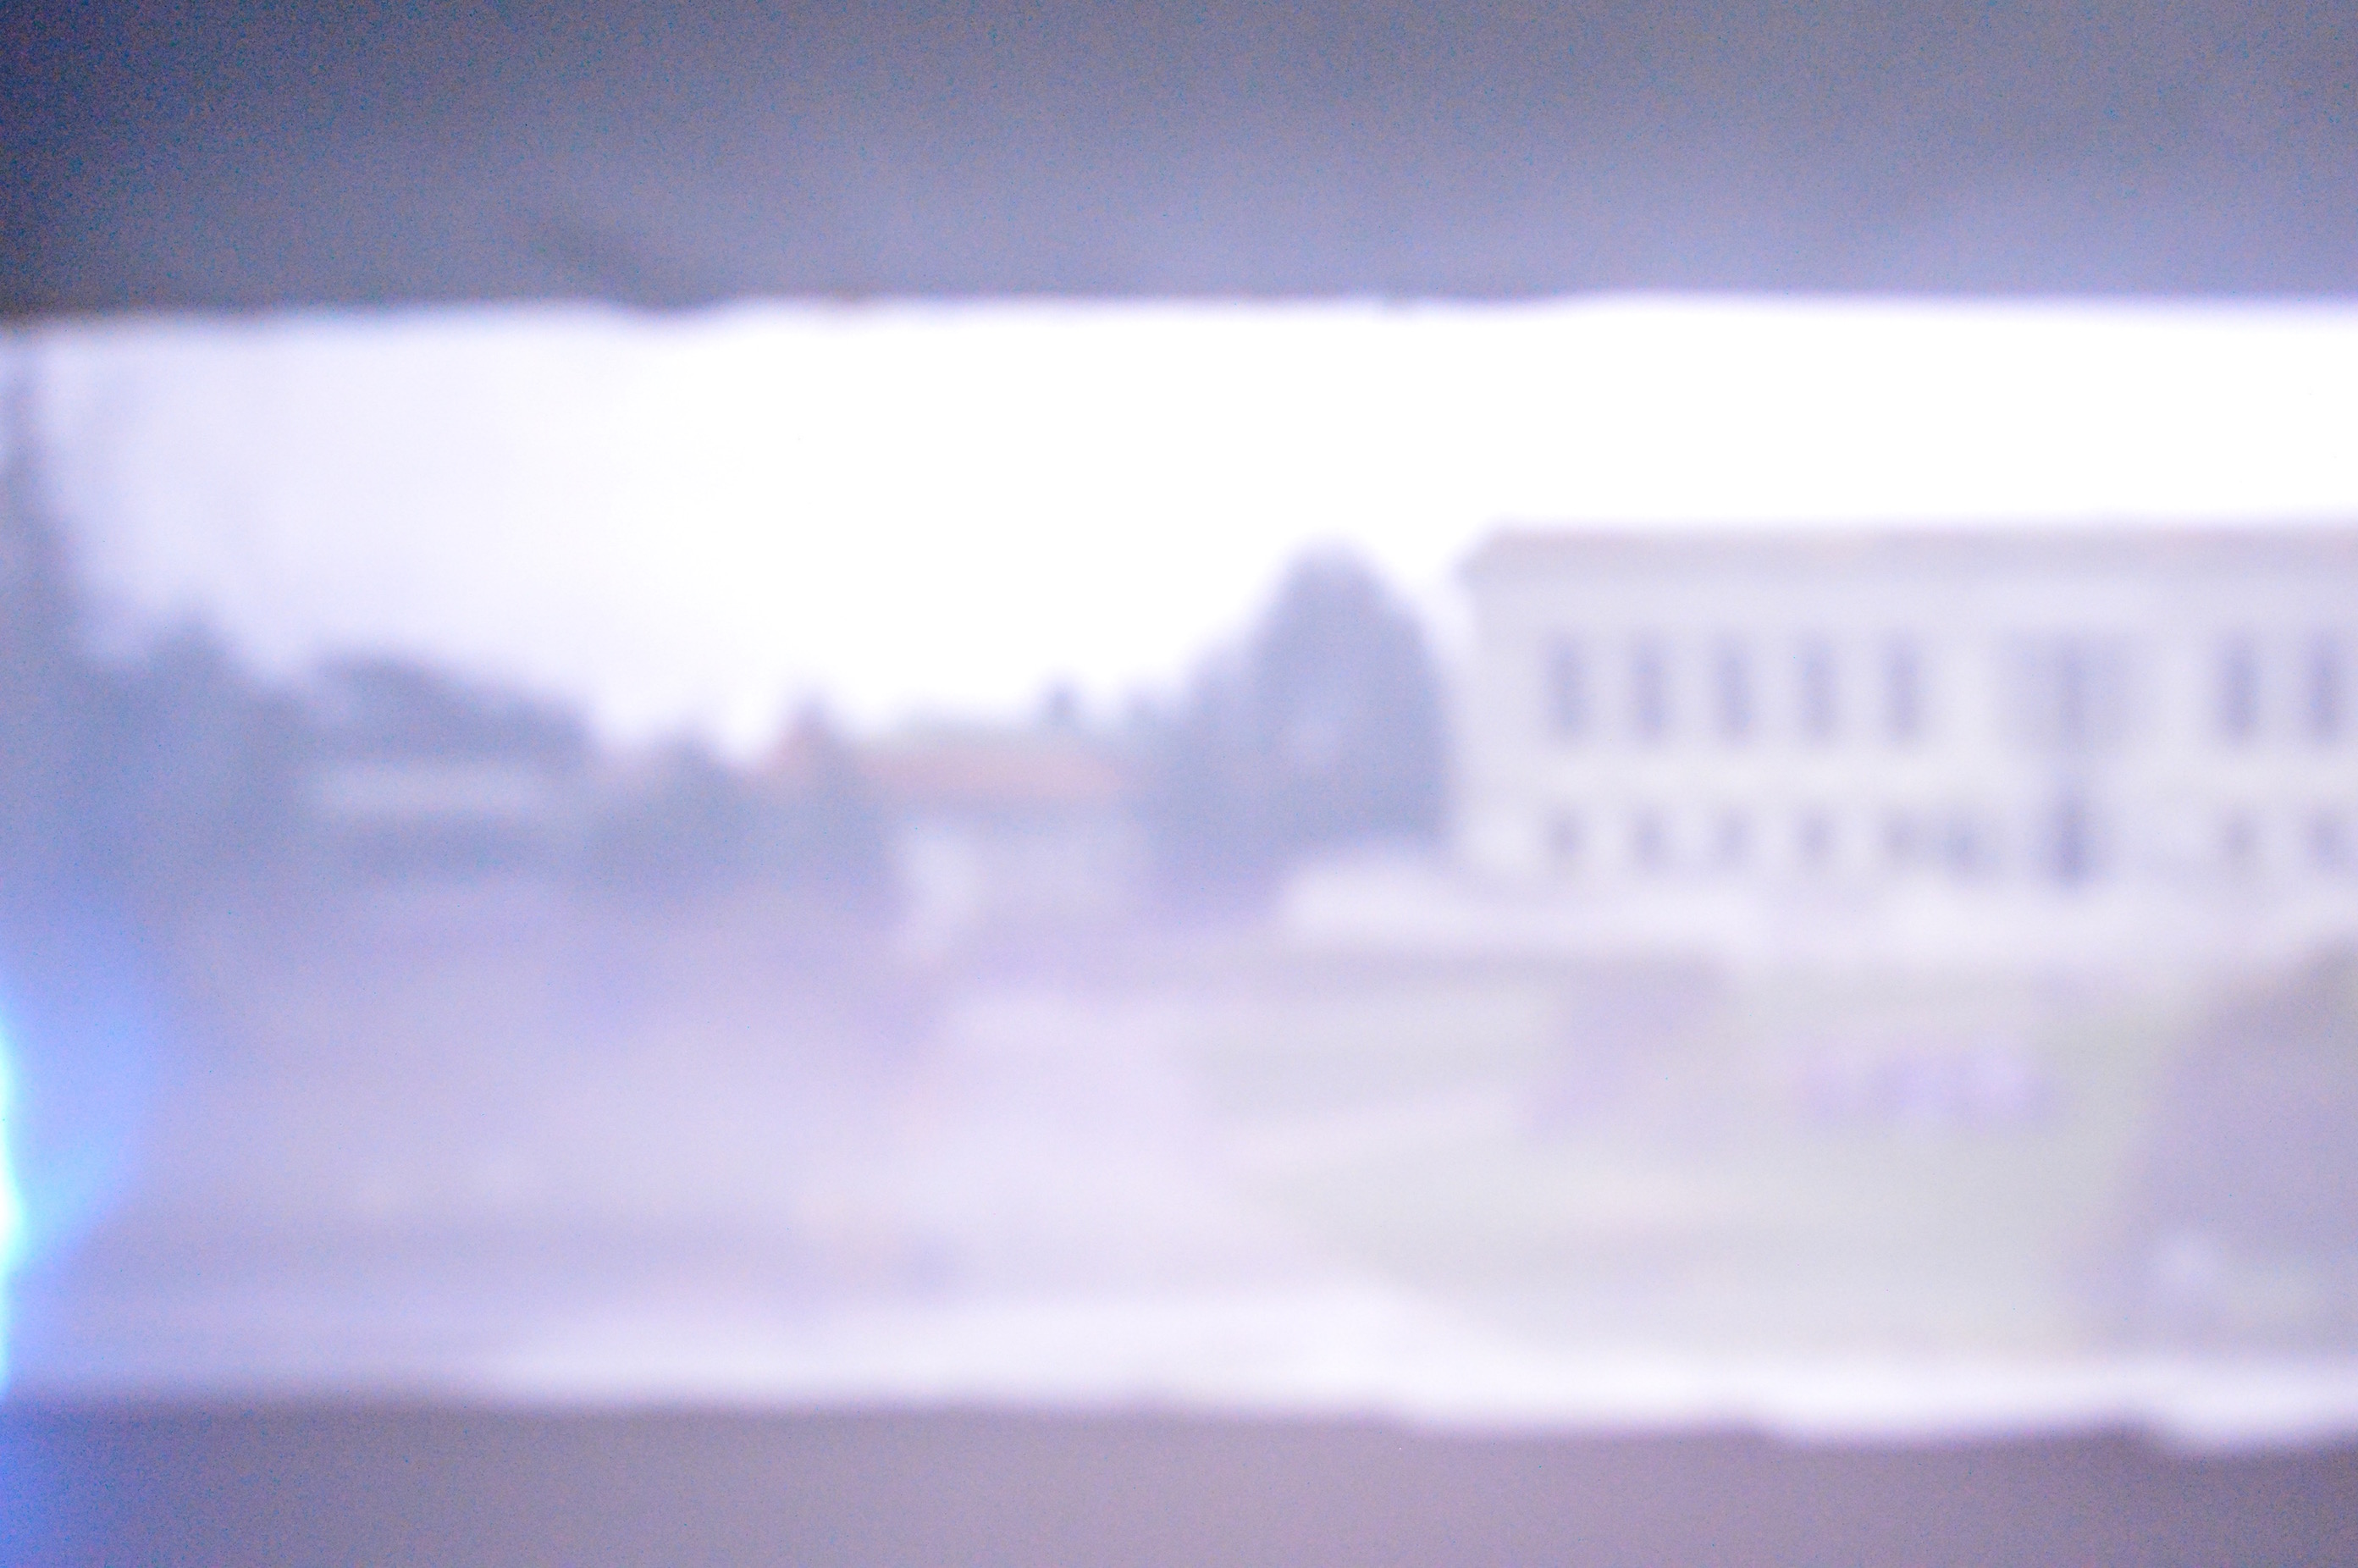
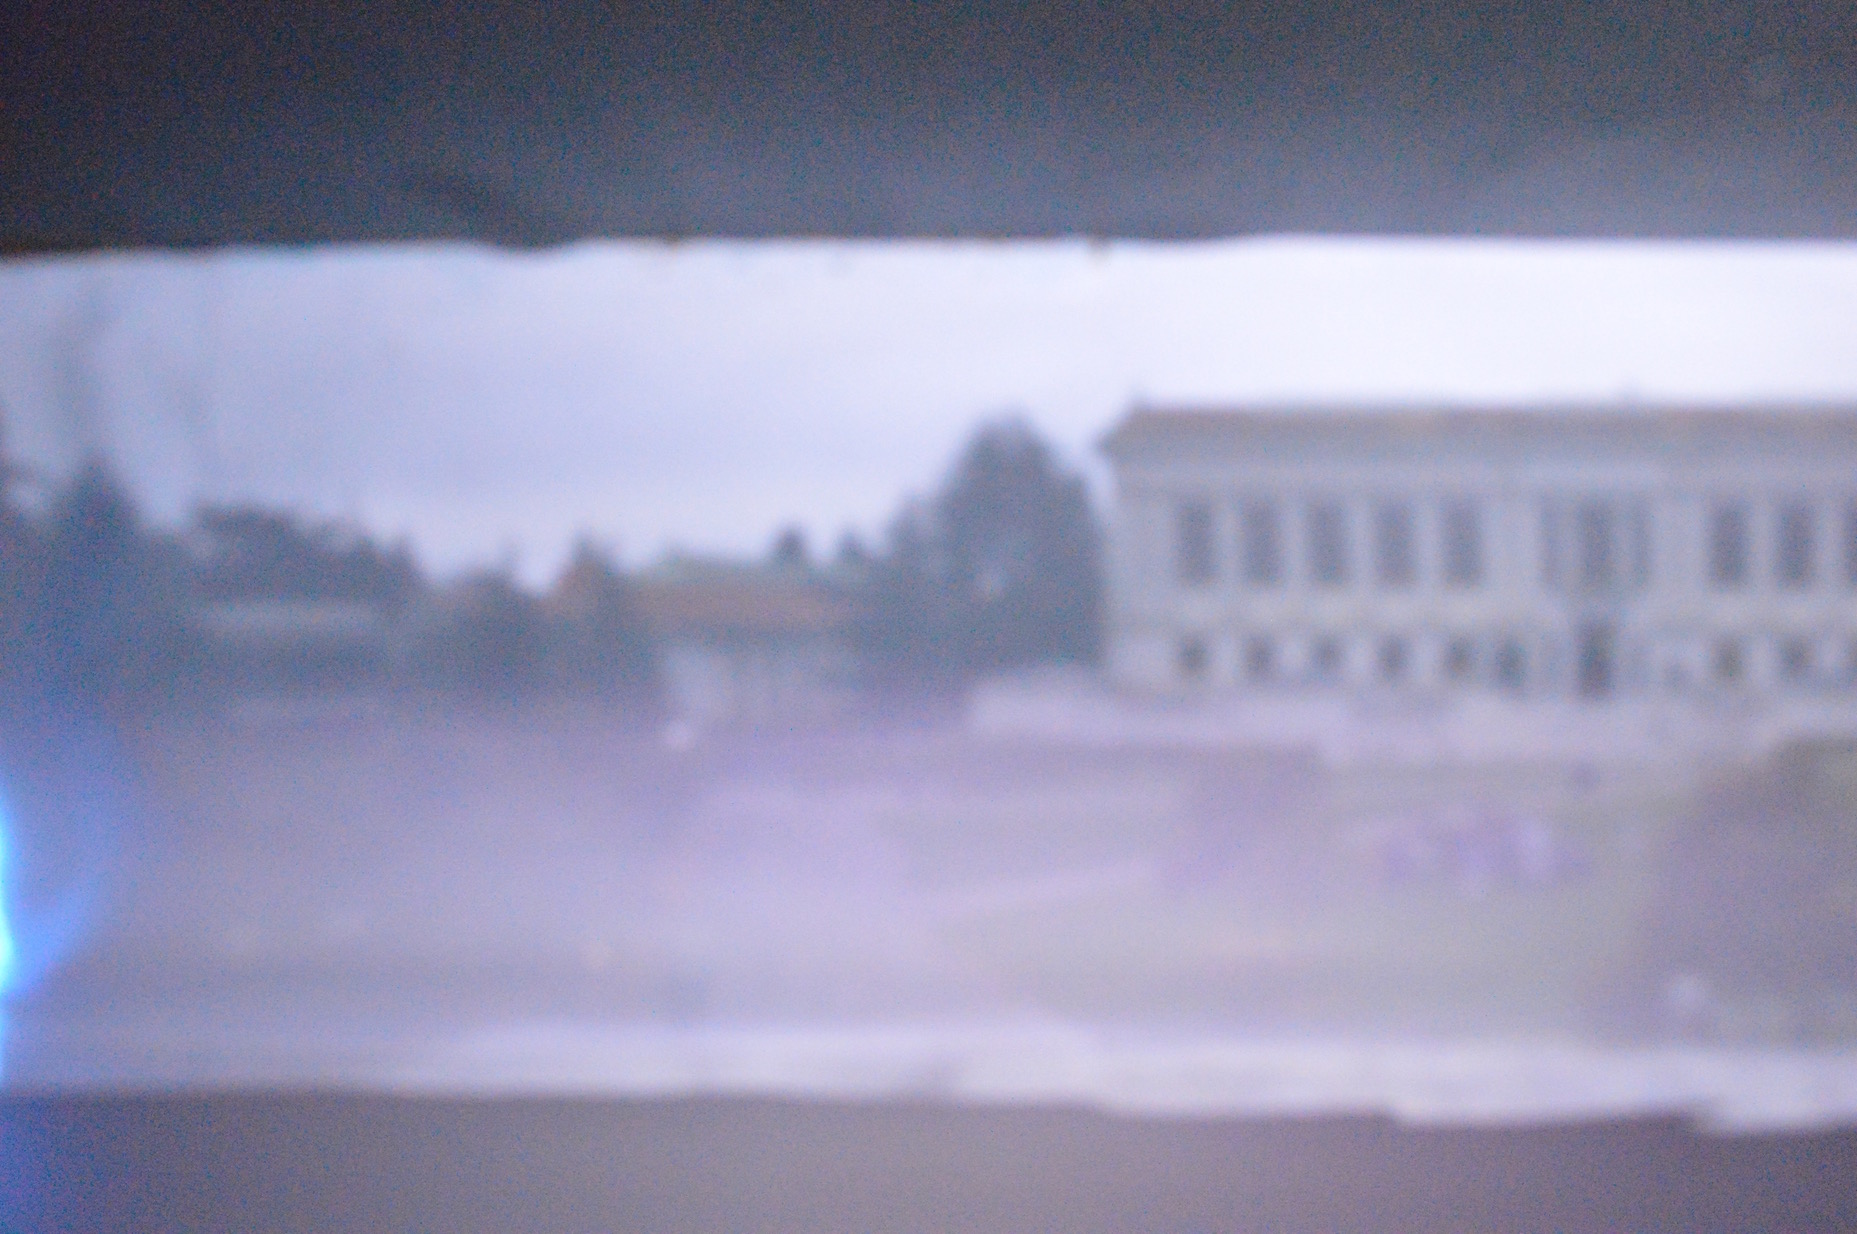
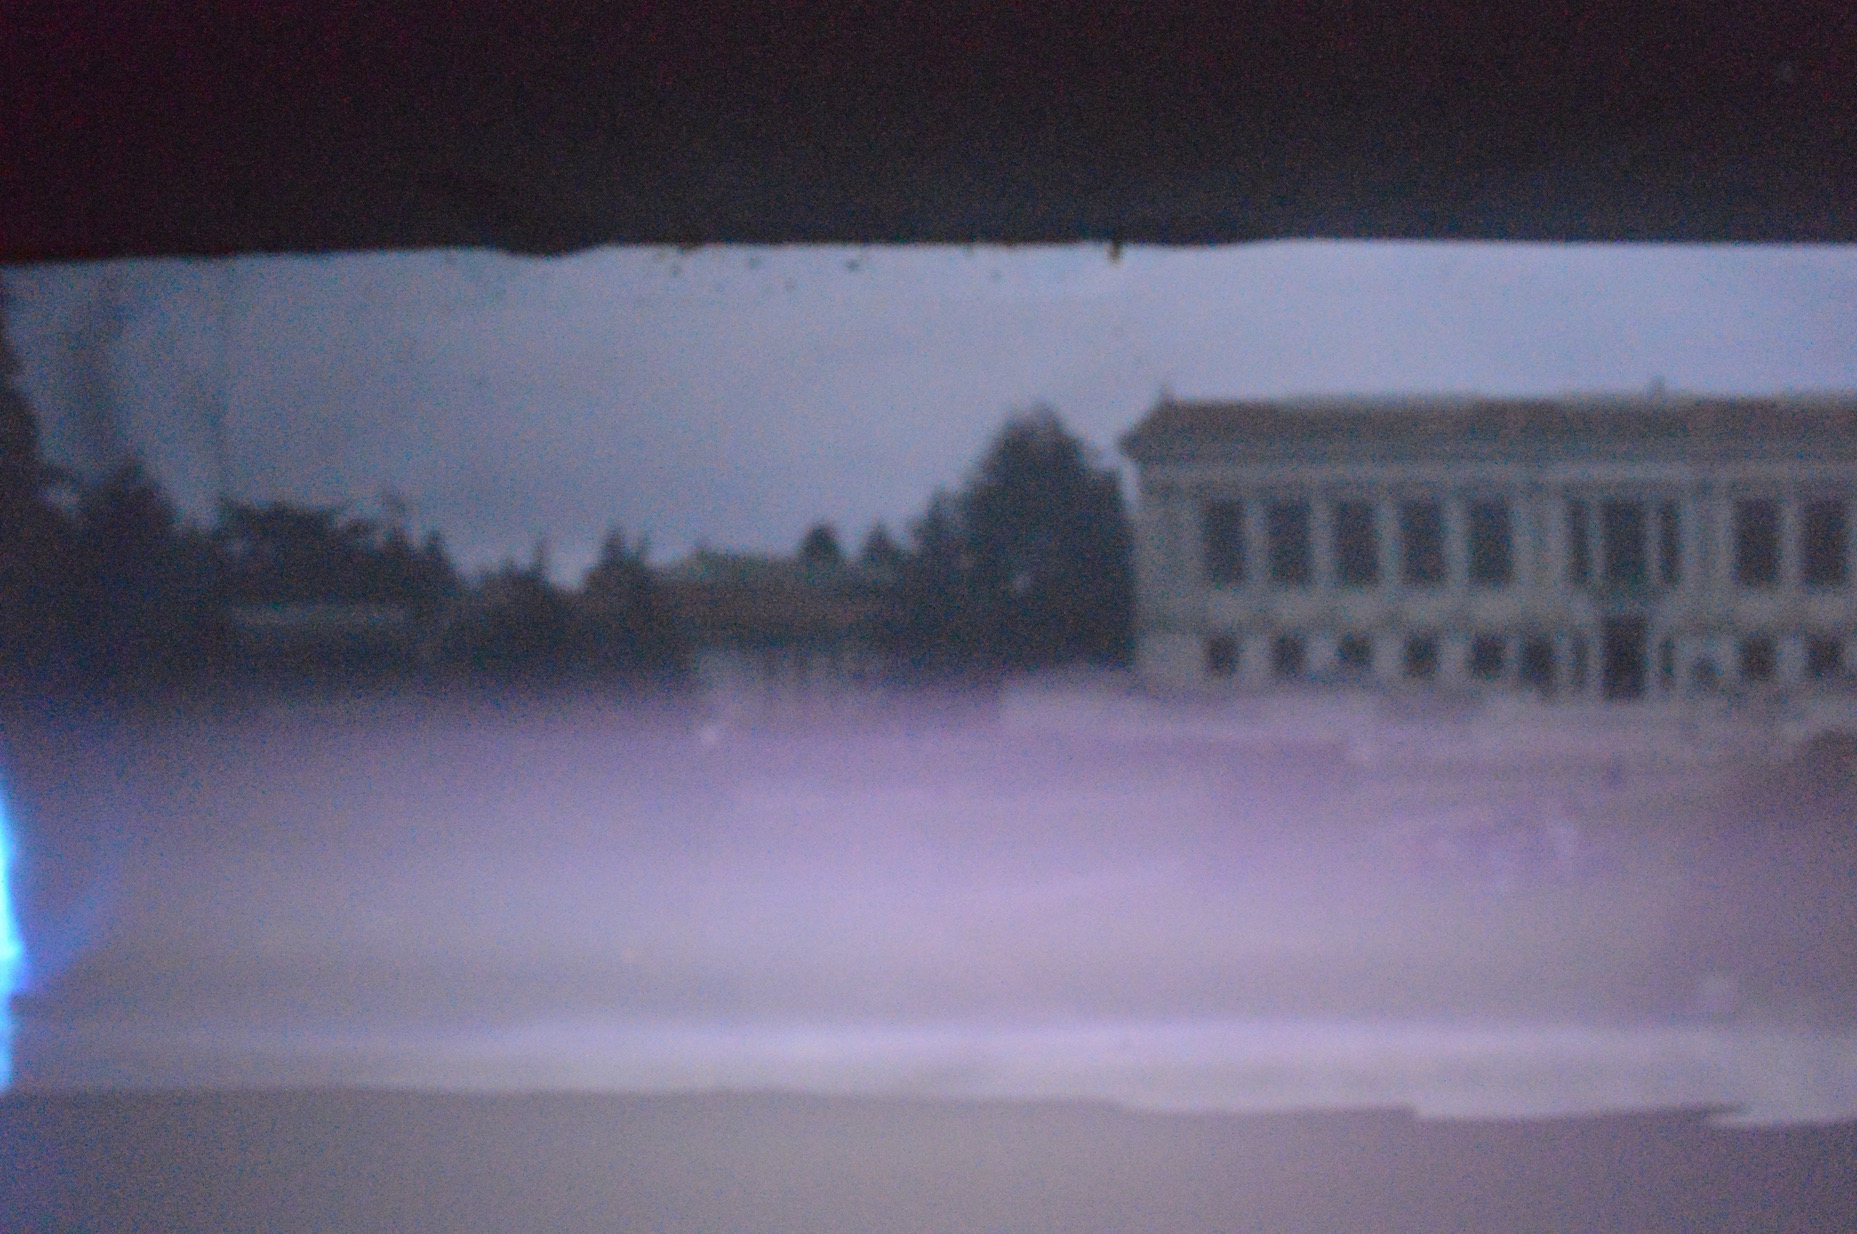
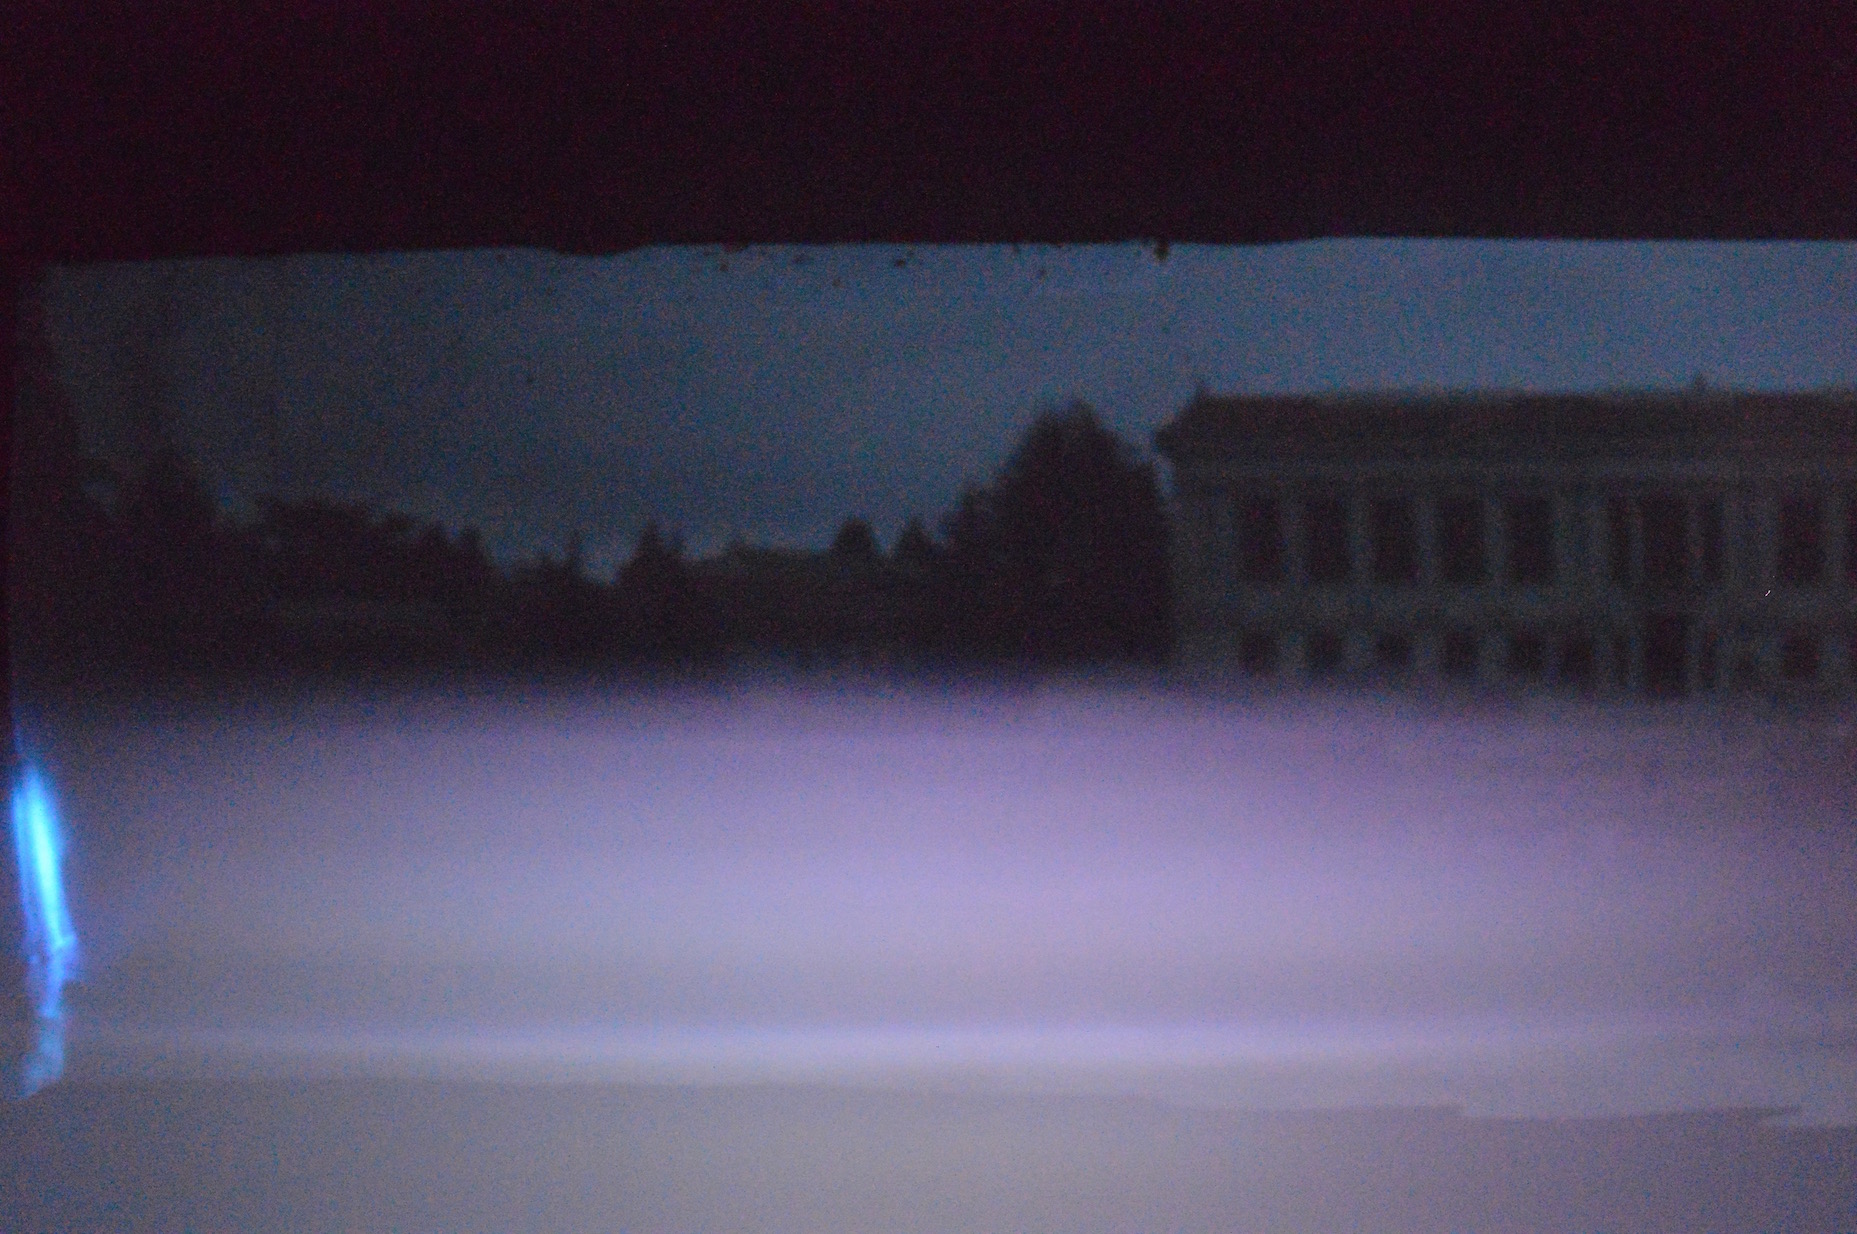
A lower 'f' value means a larger aperture, which in turn means that there was more light let through the lens. That is why regardless of the size of the pinhole, a lower 'f' usually brings a lighter image.
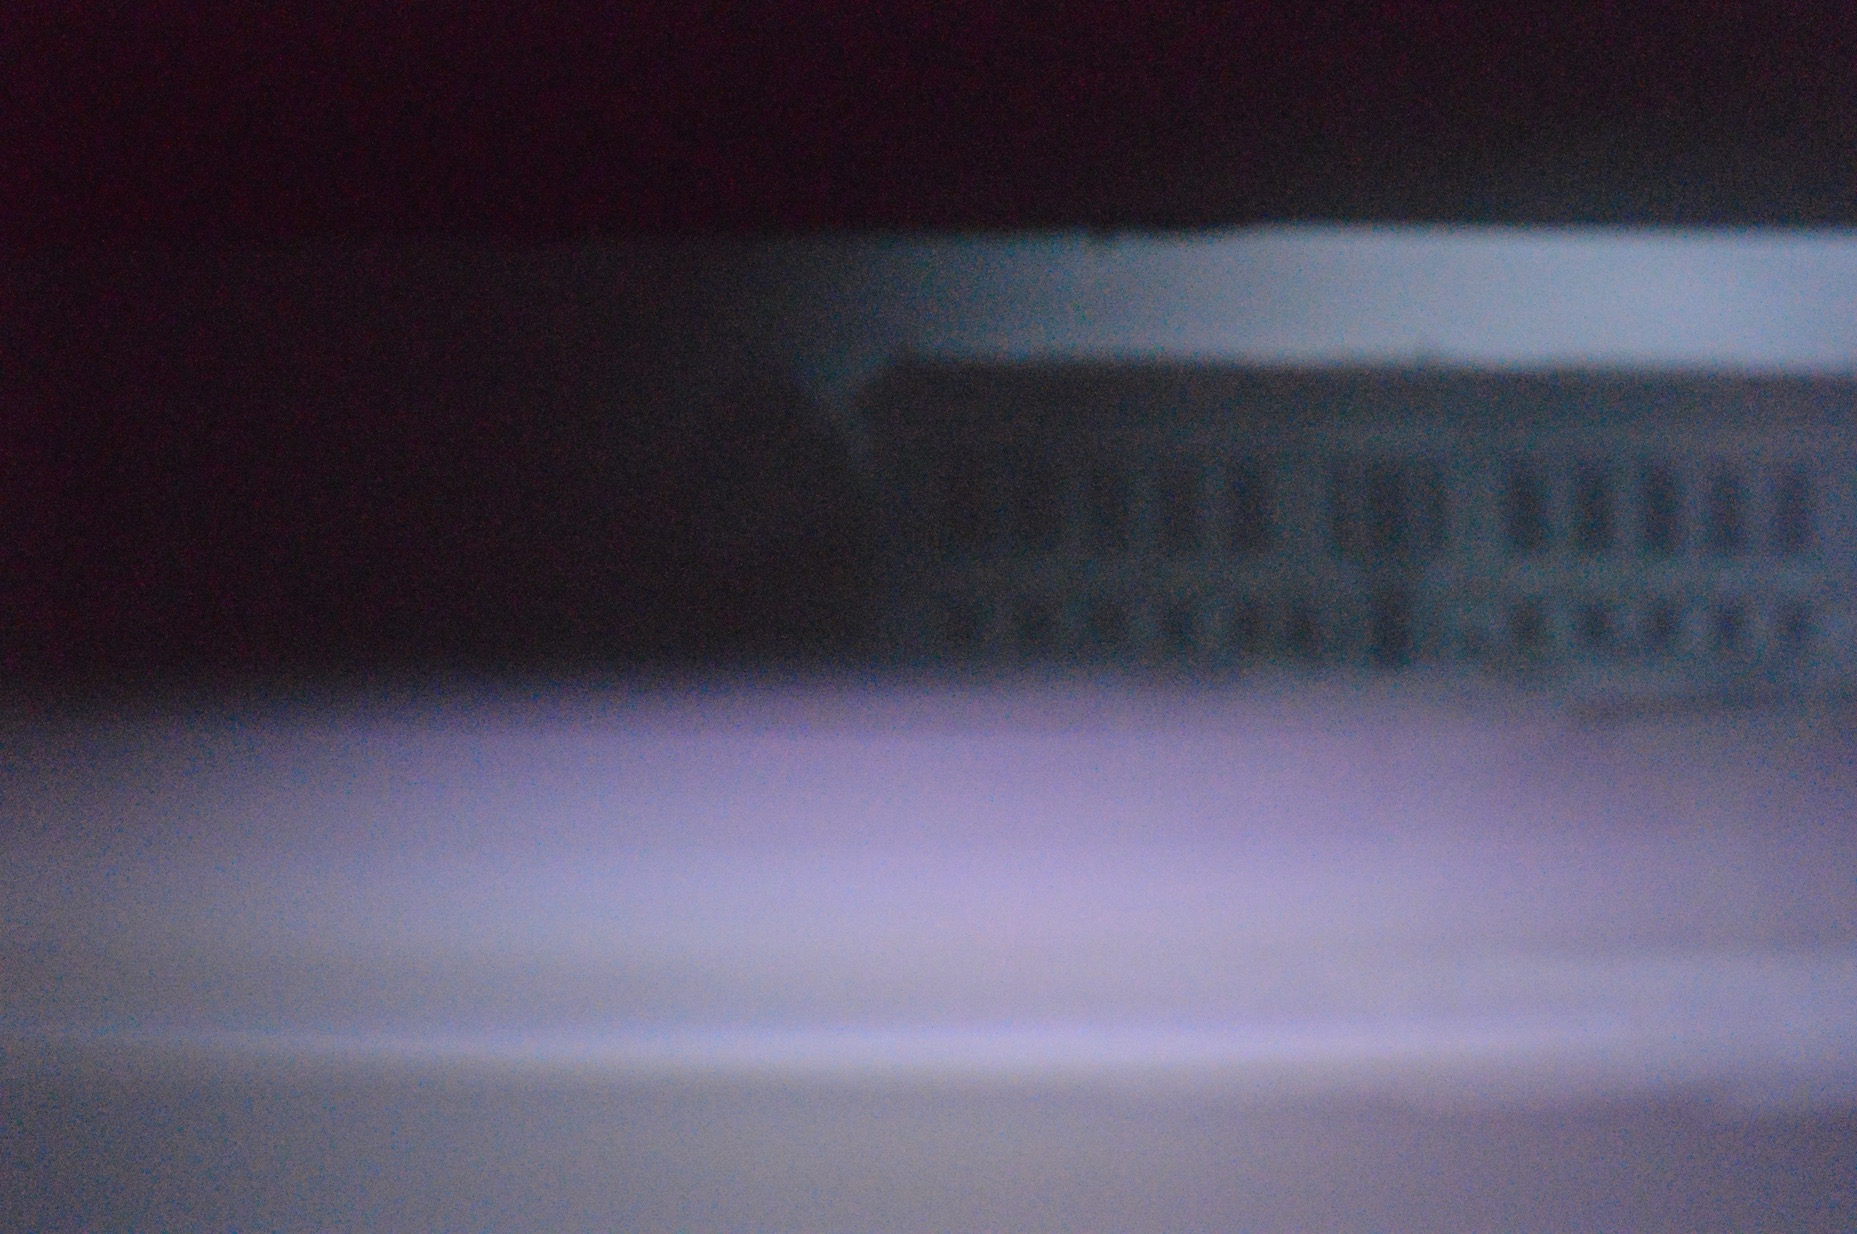
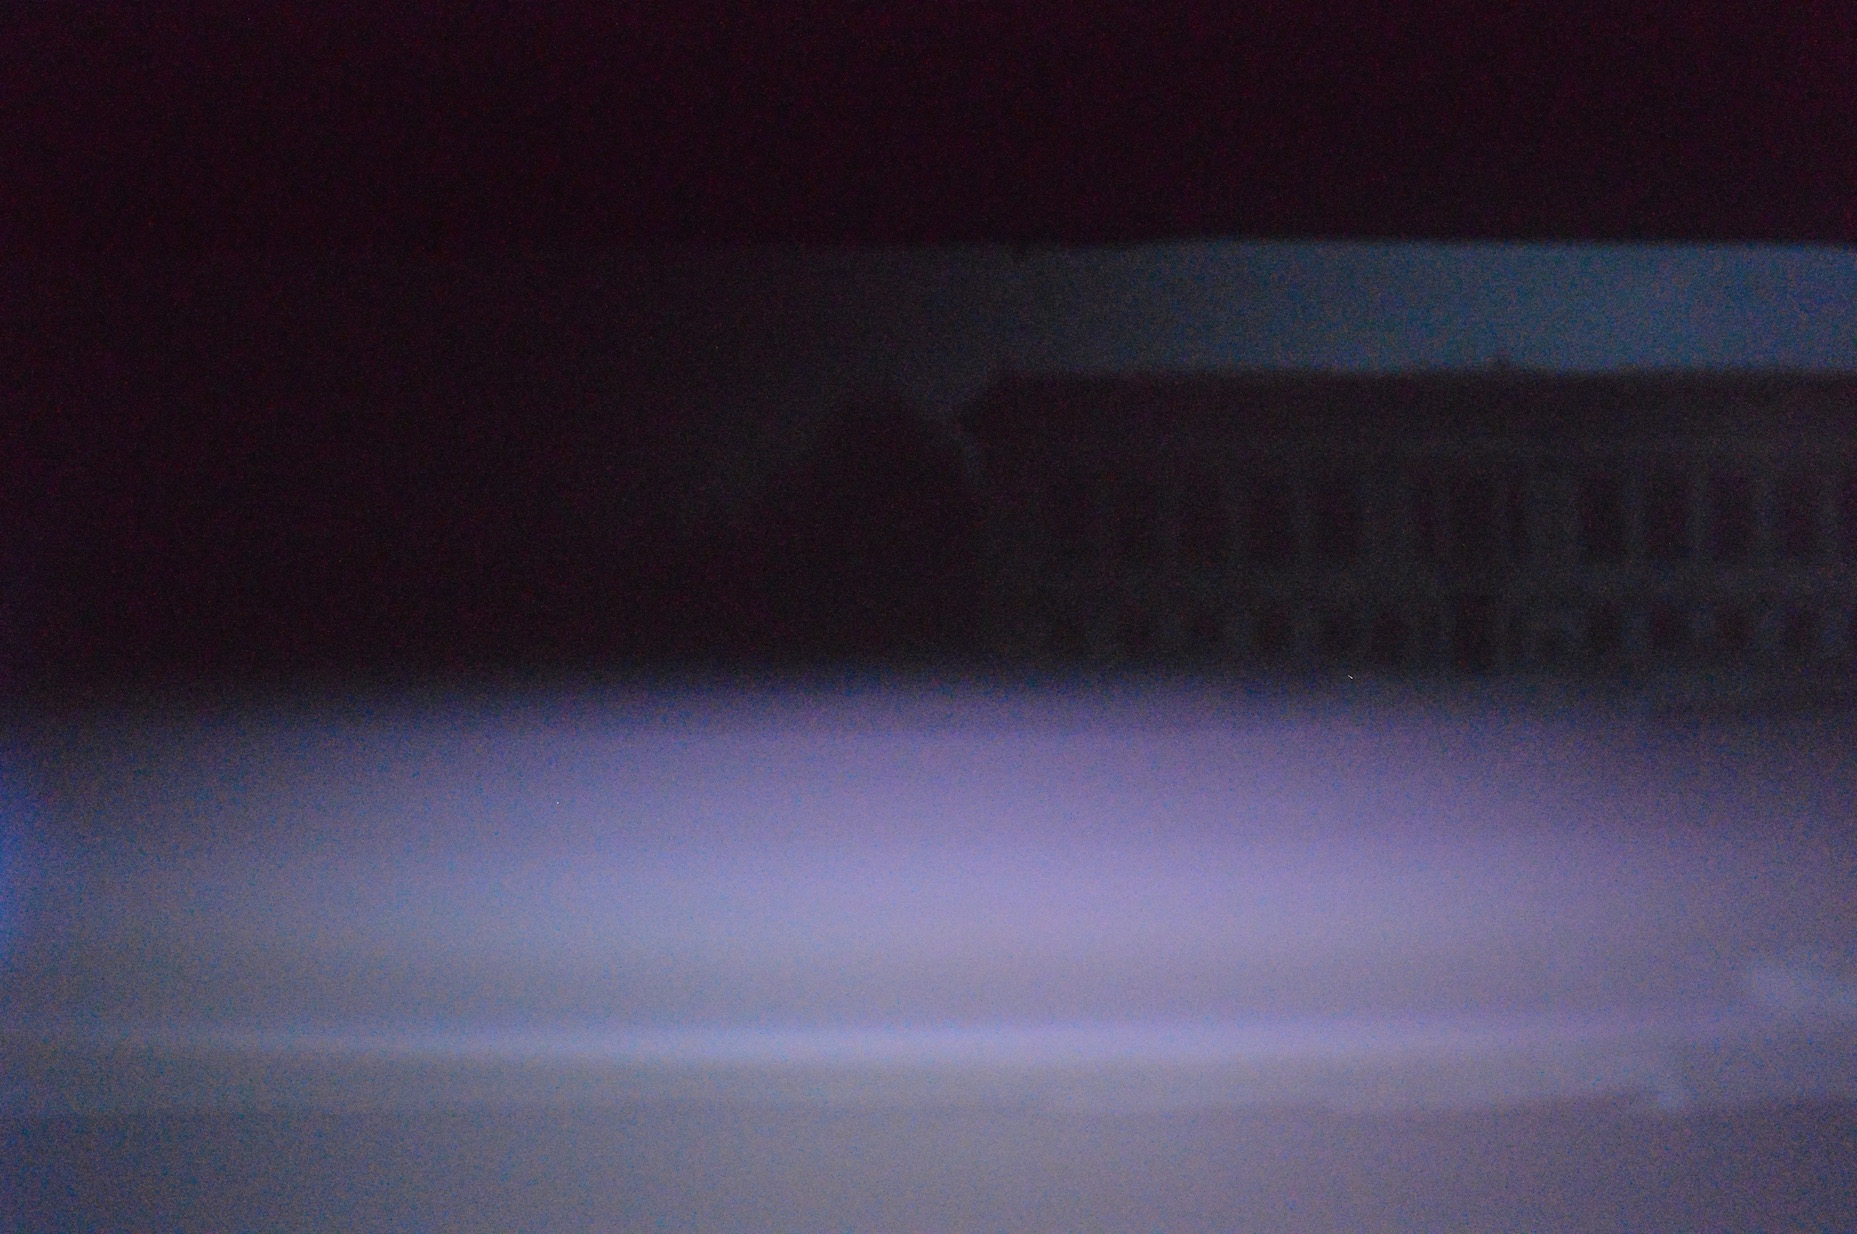
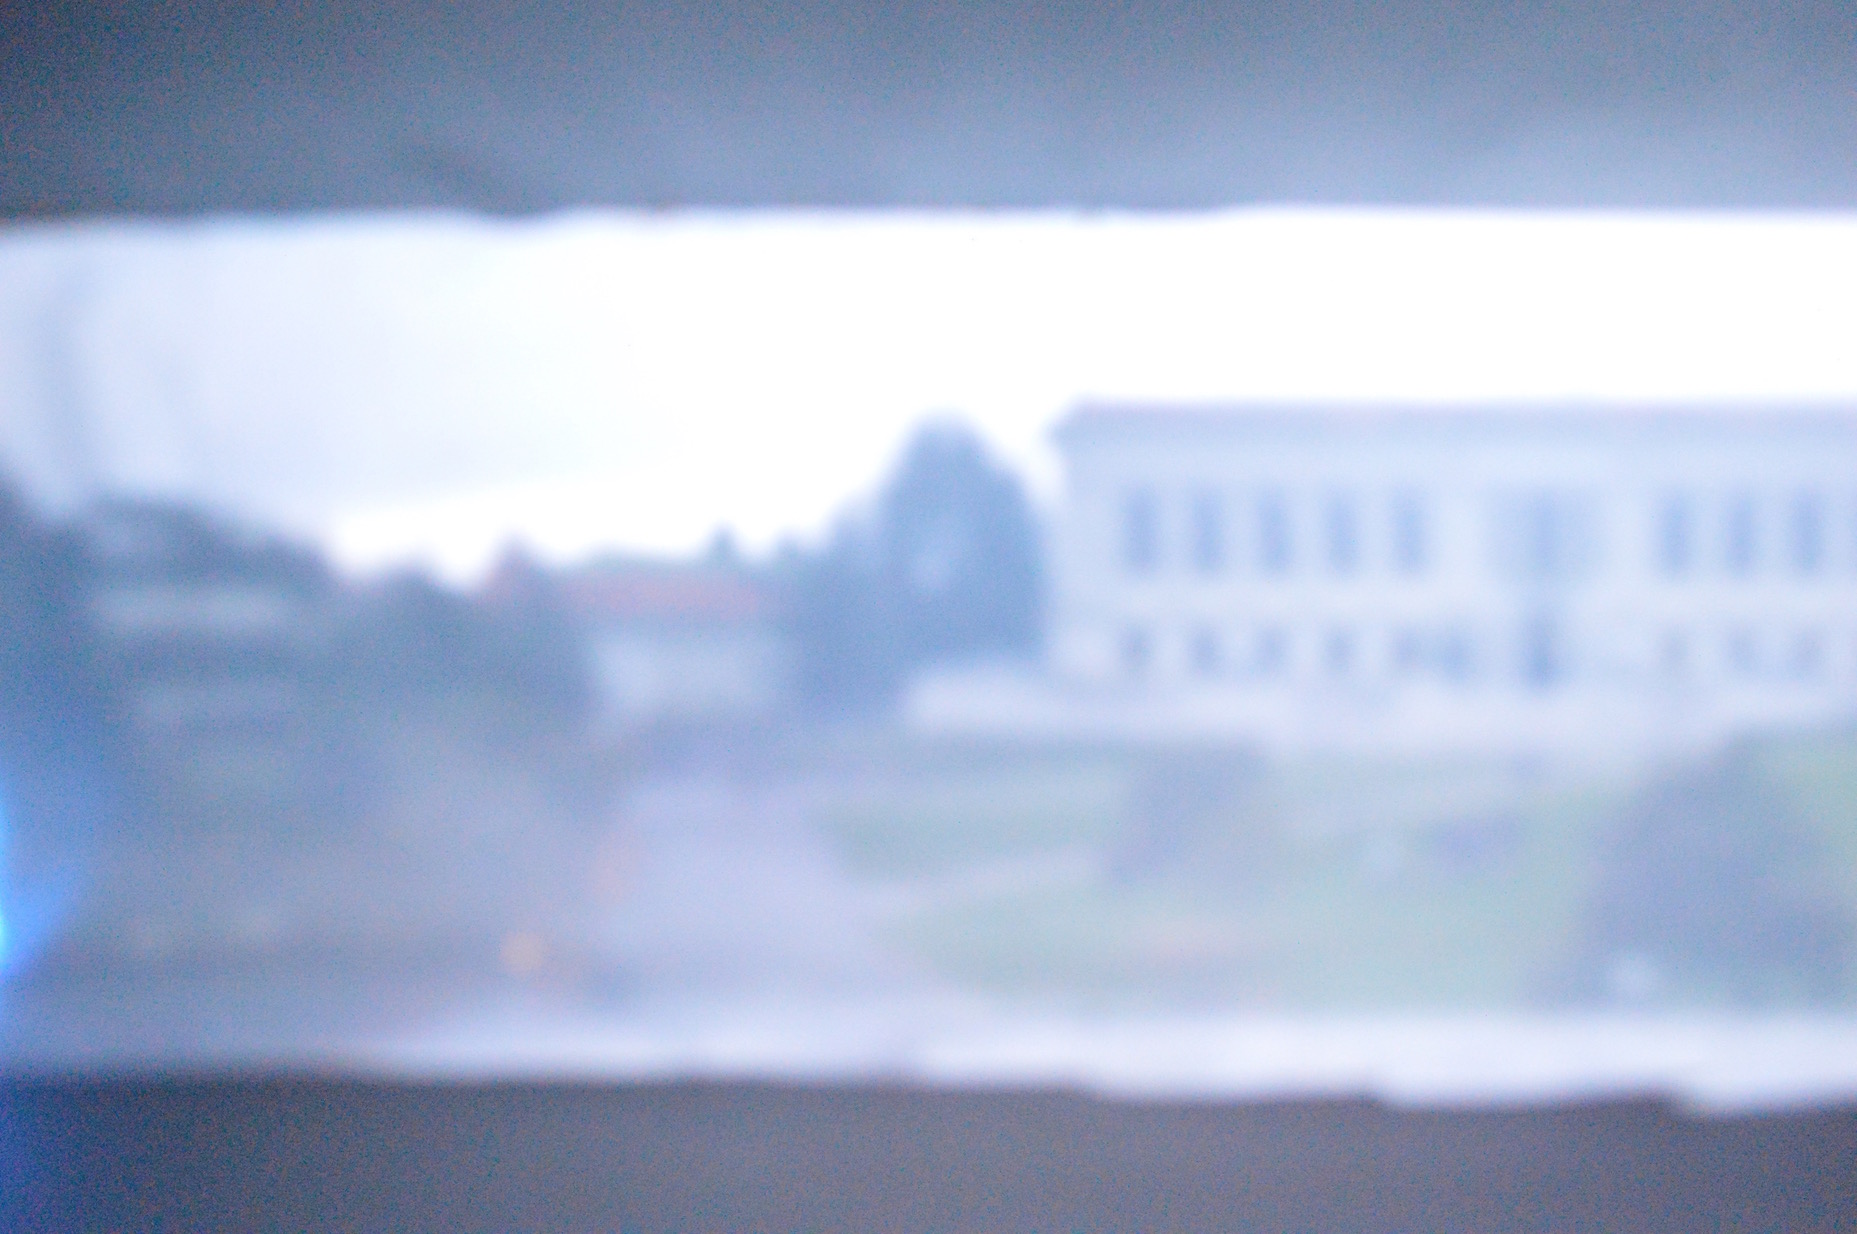
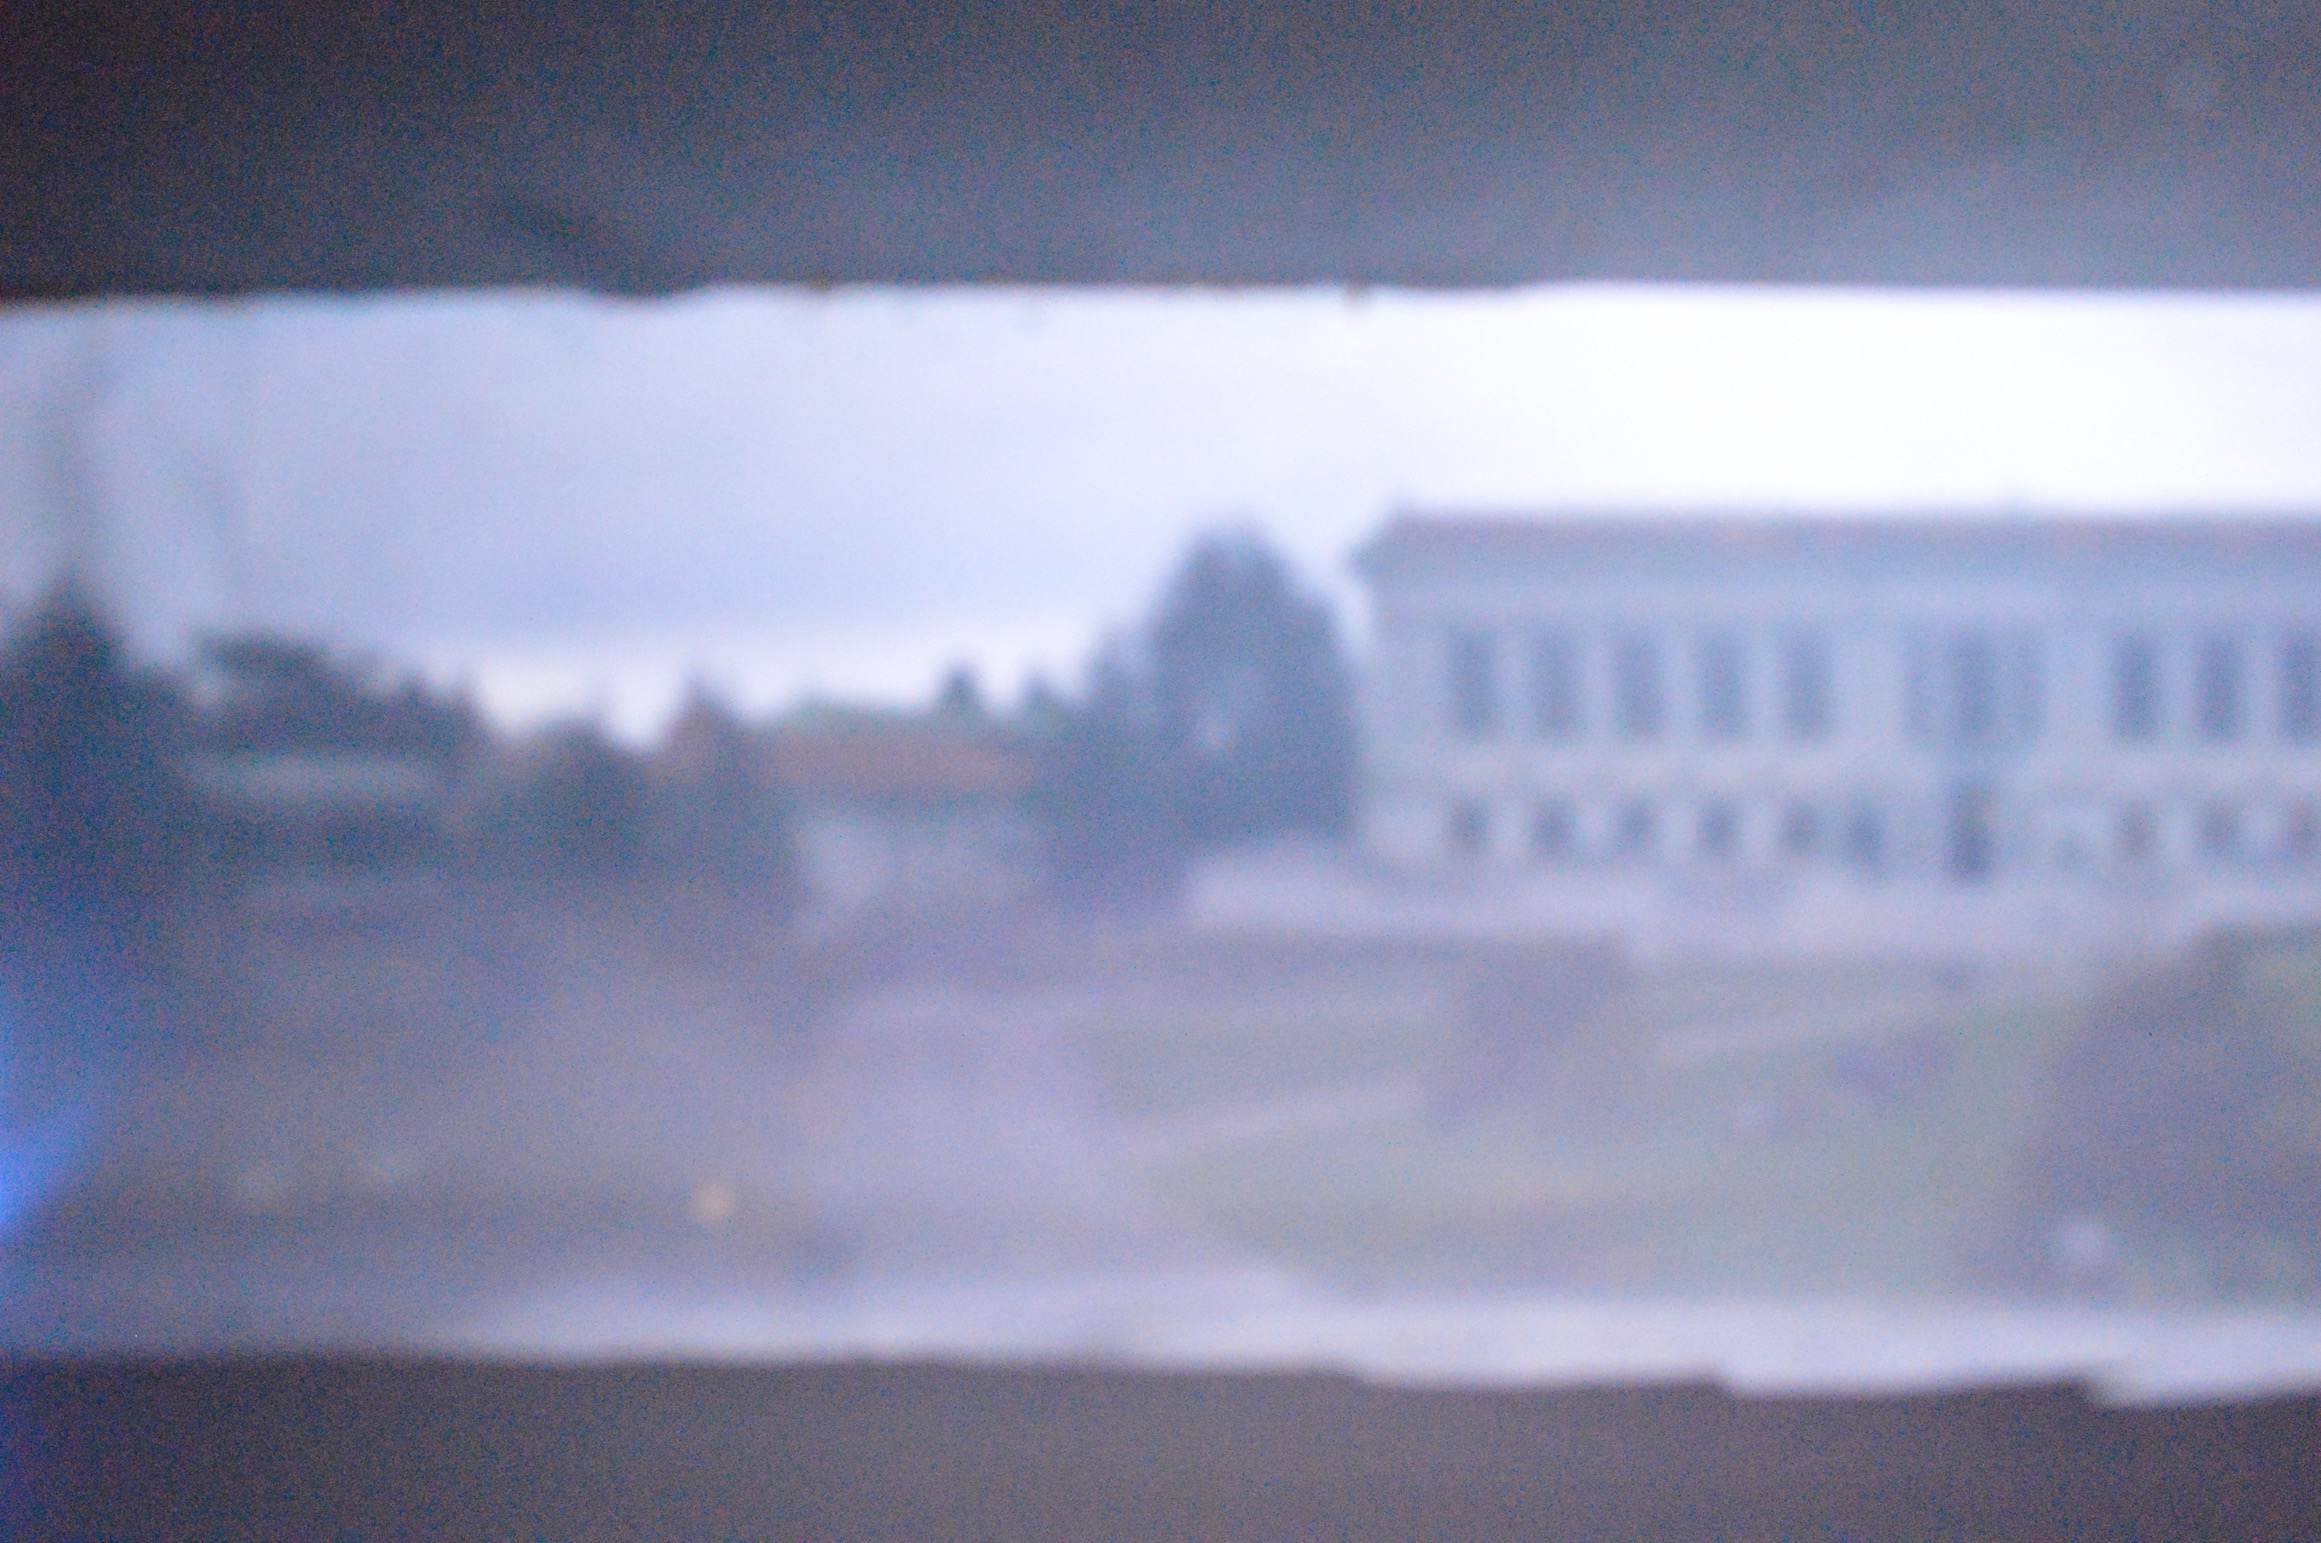
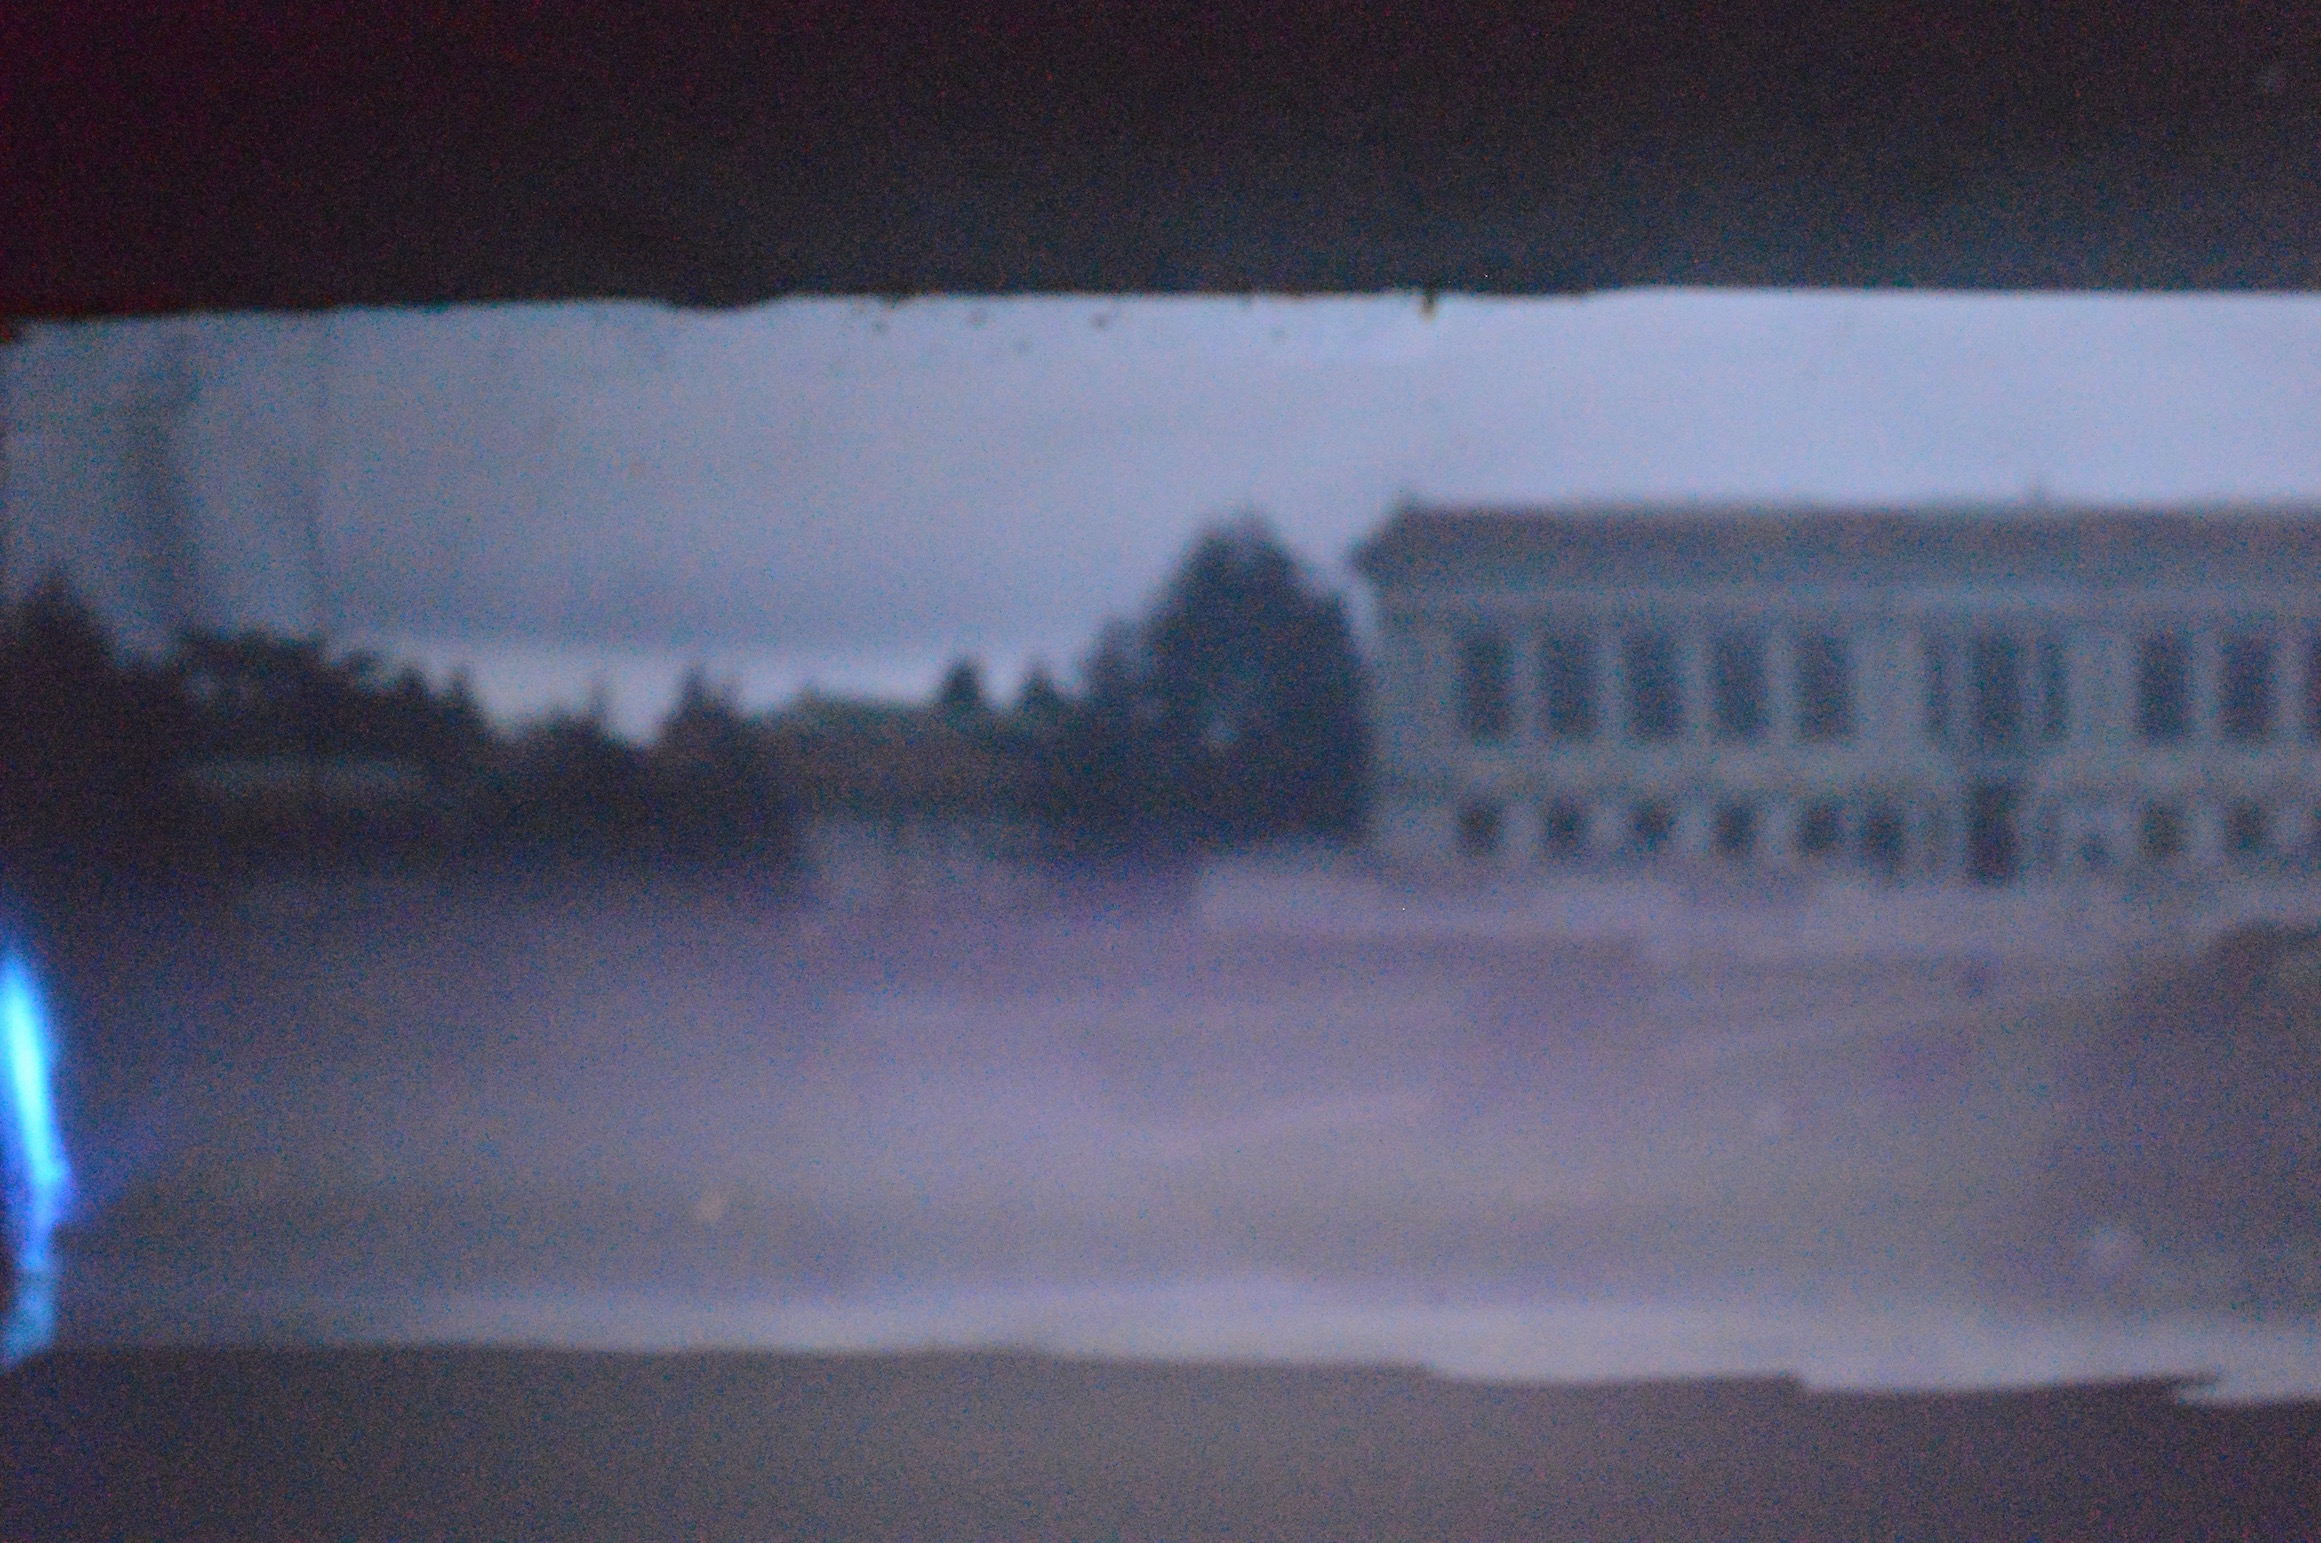
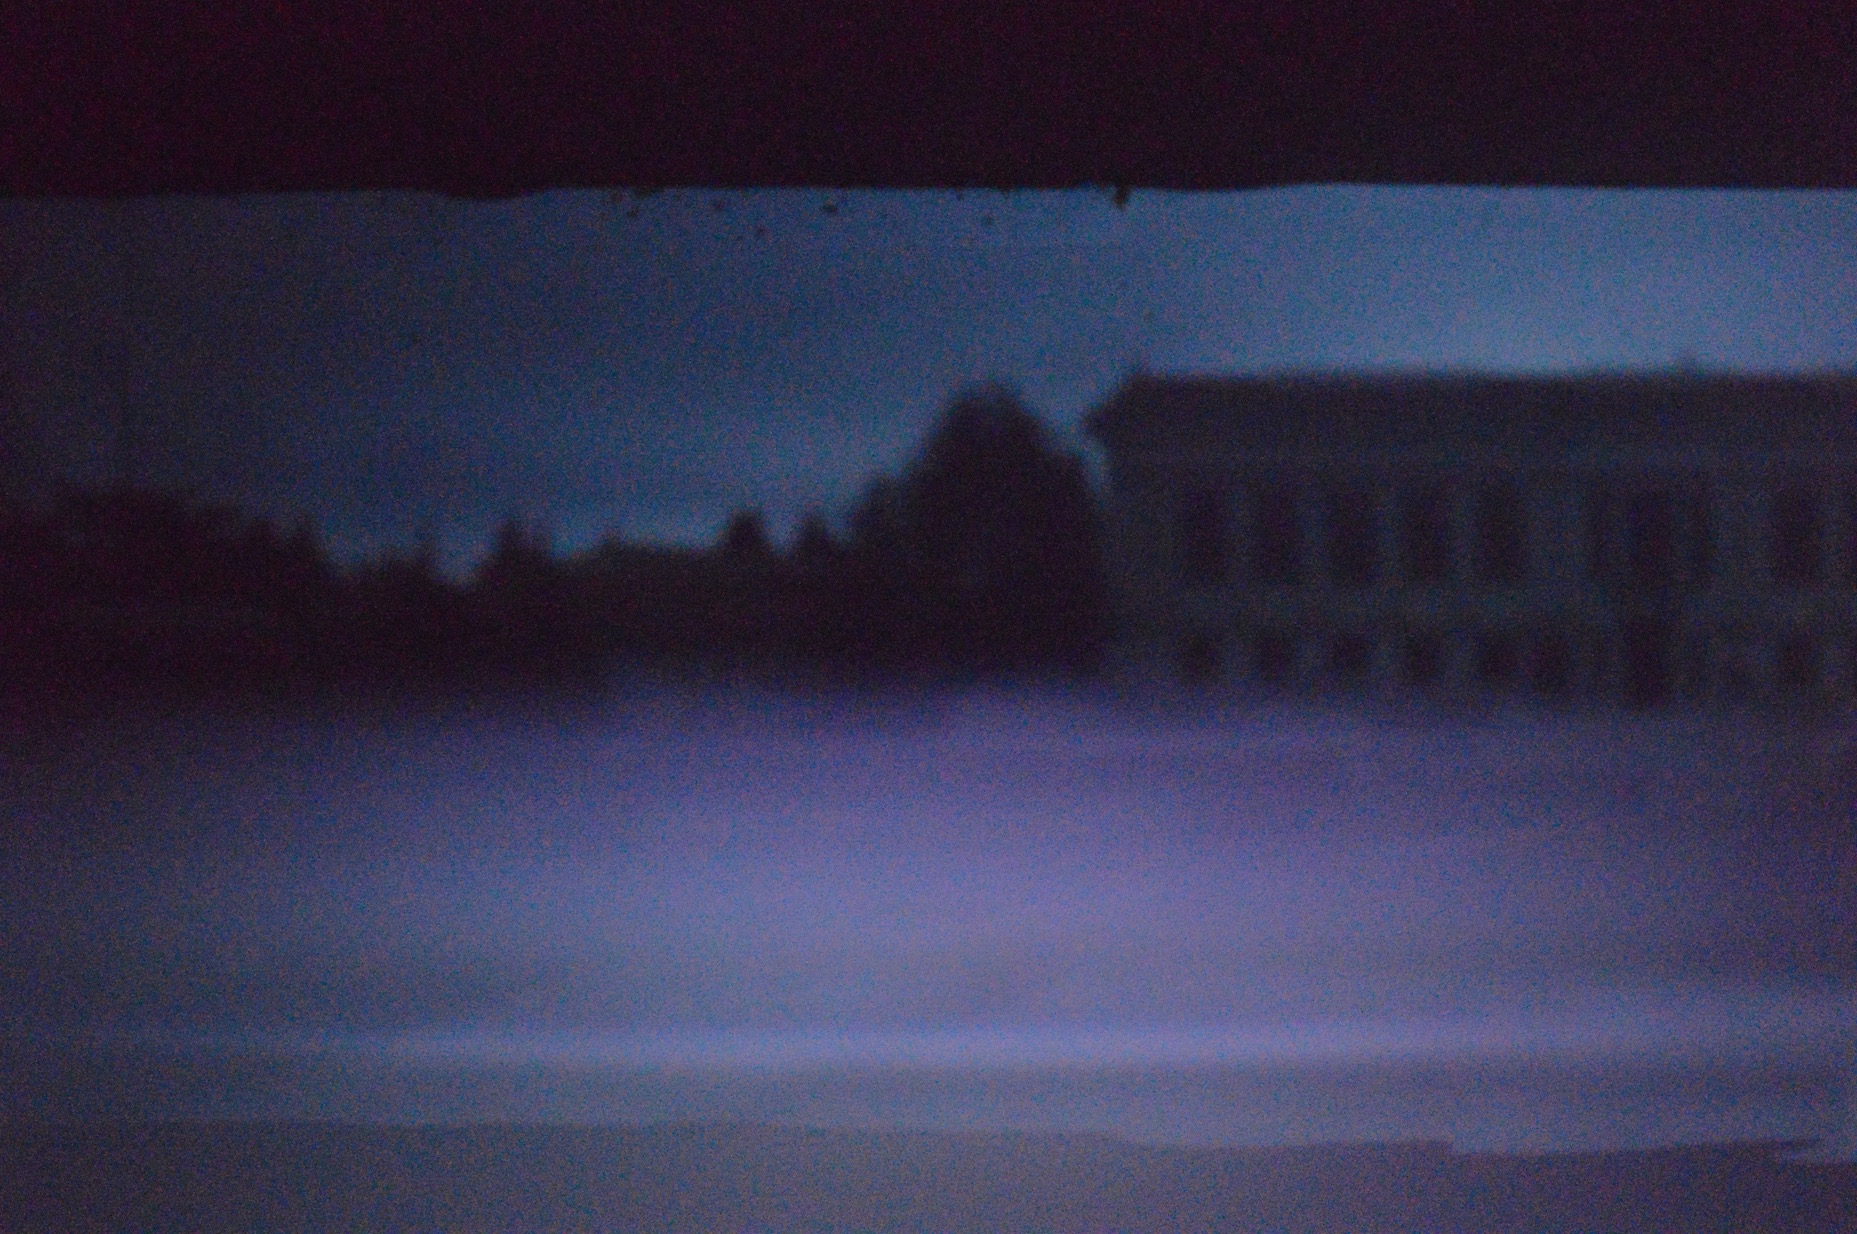
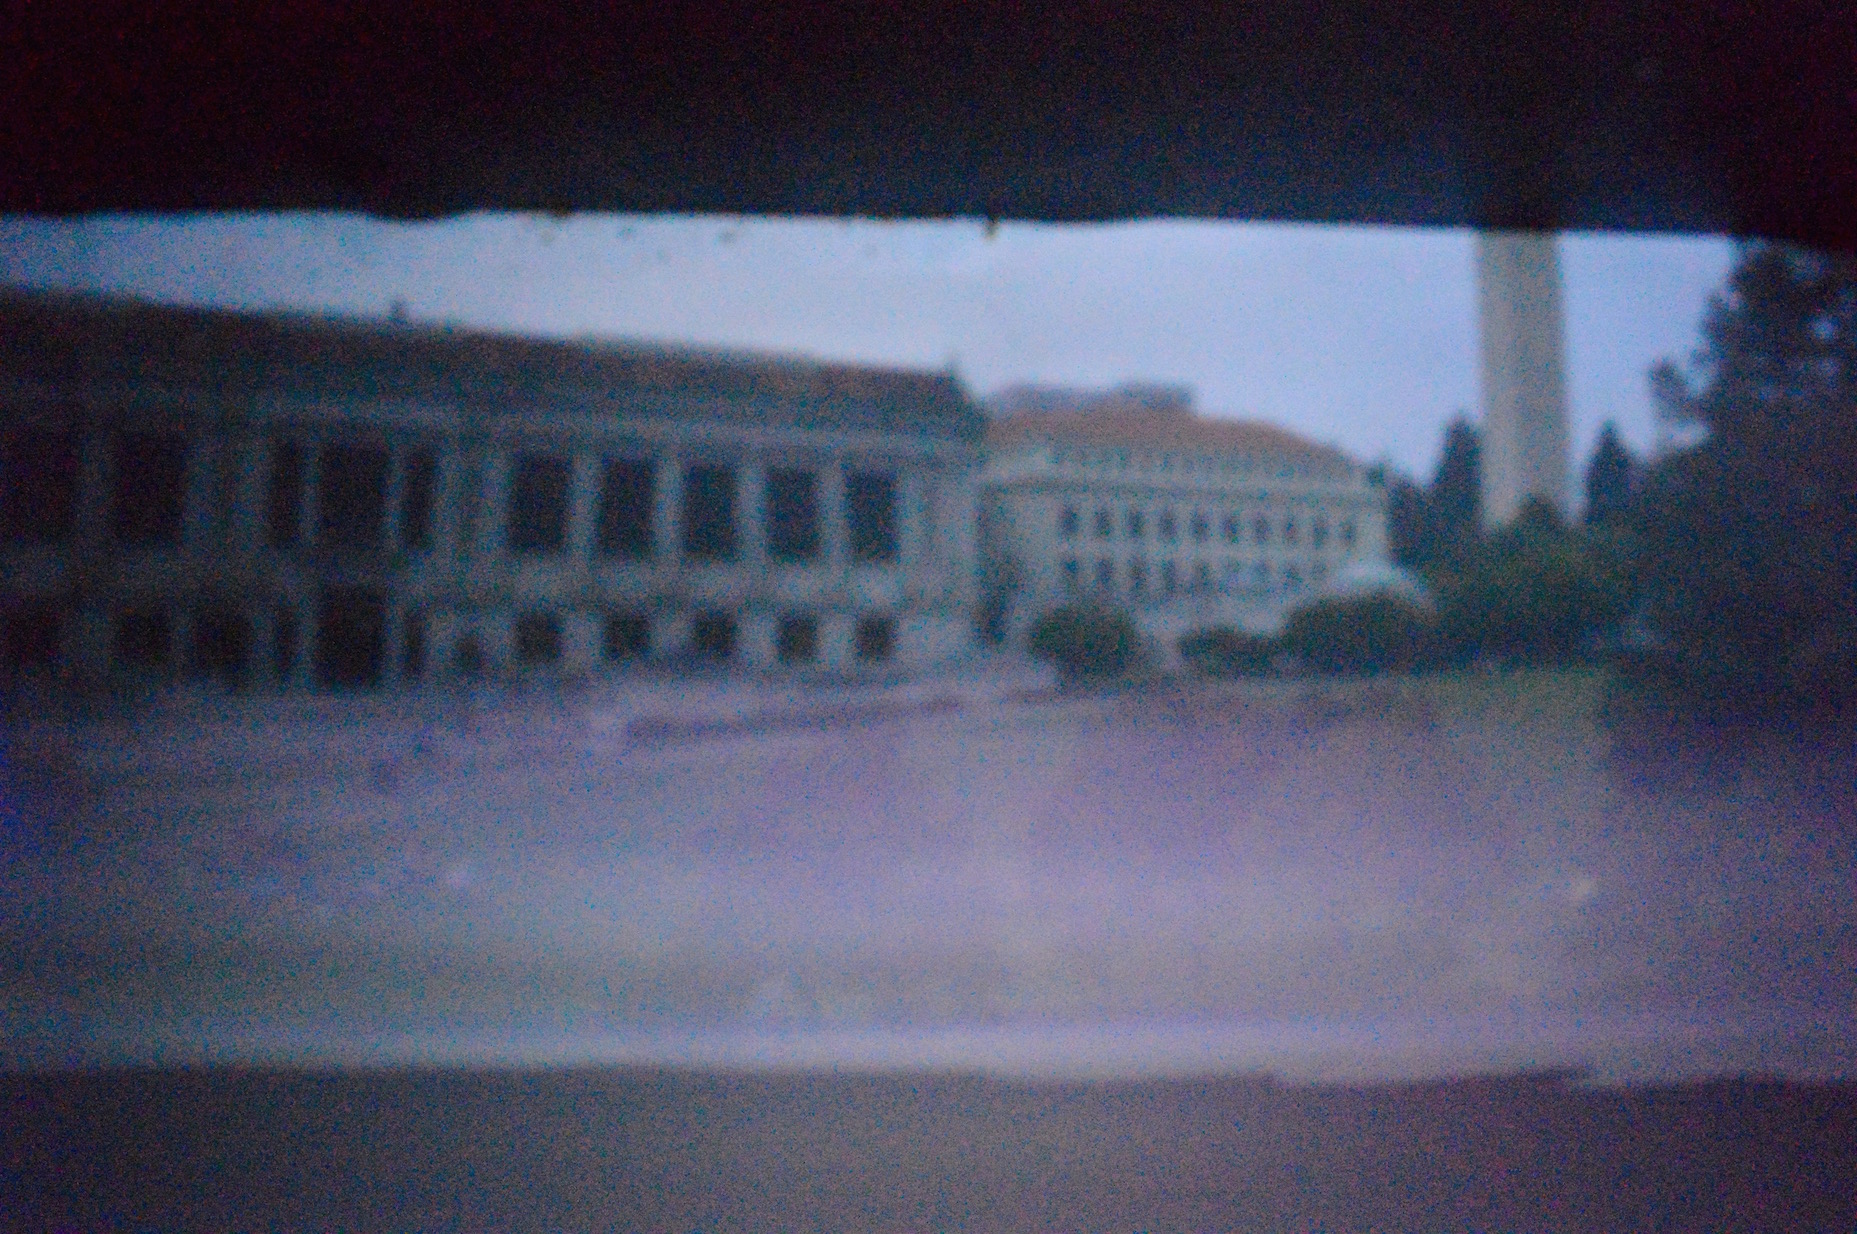
Similarly, a larger pinhole also brings in more light. This is why all of our 1mm photos are extremeley dark, some not even being visible depending on the aperture settings. On the other hand, because our 5mm pinhole was already letting in enough light, we had to make sure not to increase the aperture too much. Therefore, our best photo came from 5mm 8f. It was a good balance of letting in enough light while also not setting our camera's aperture too high so that we would get a blaringly white image.
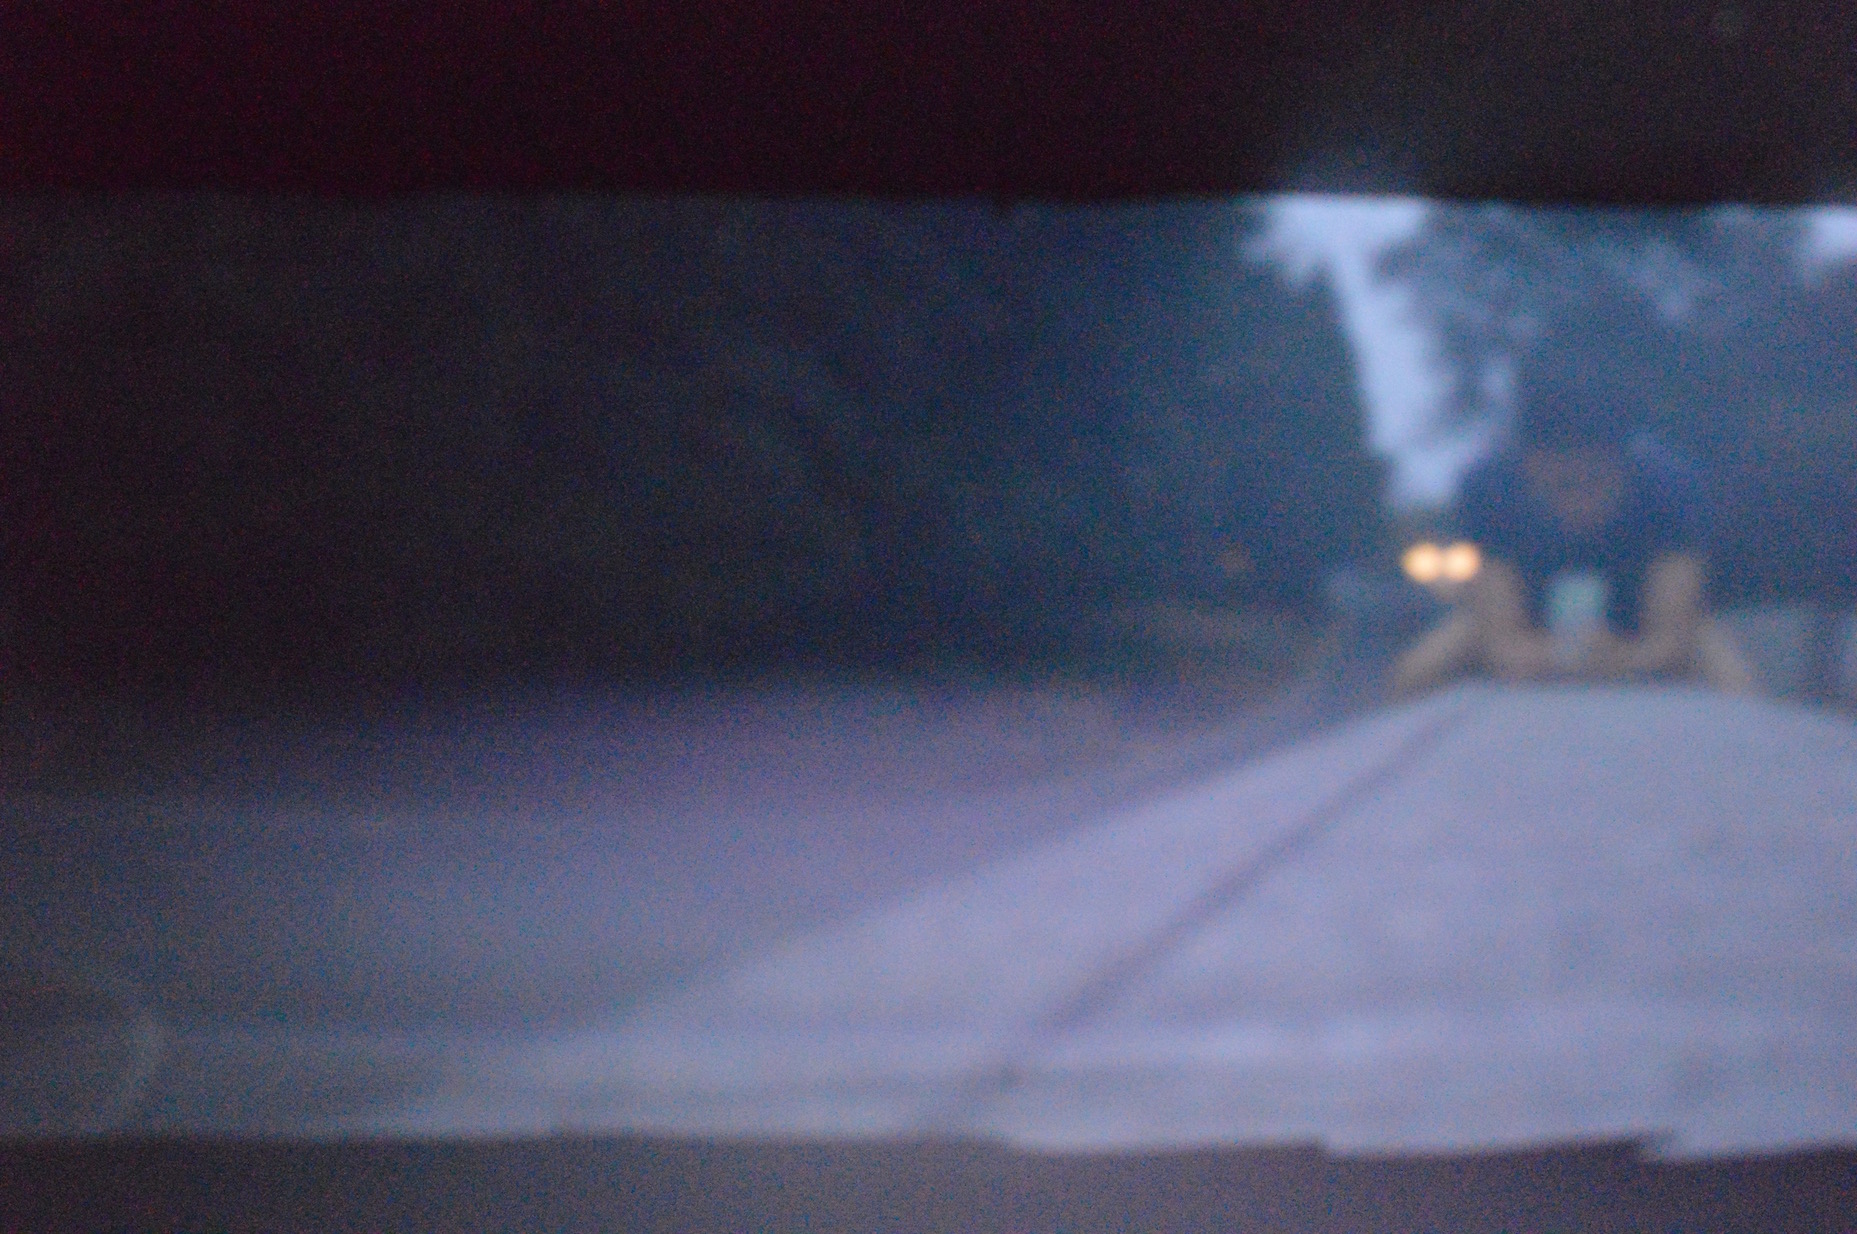
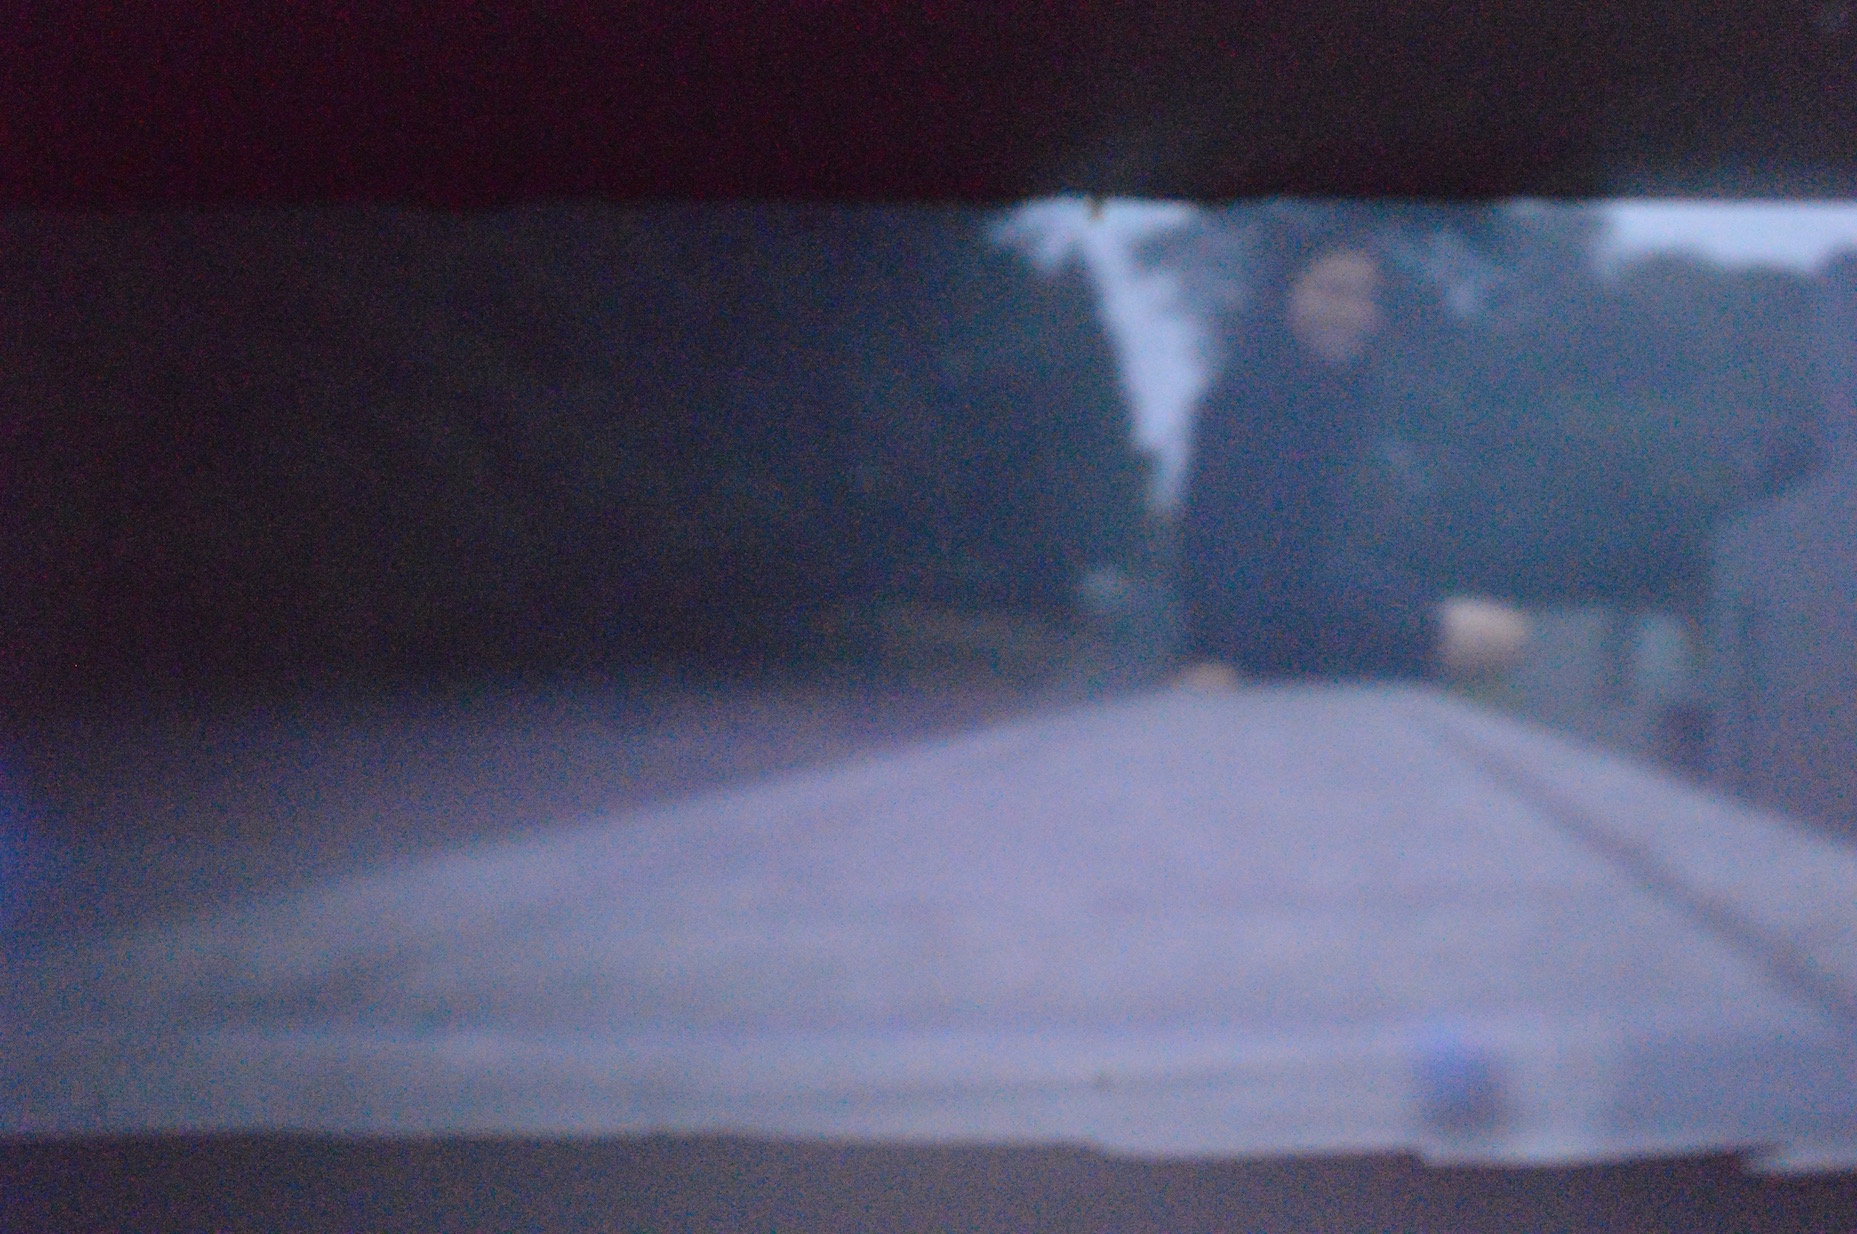
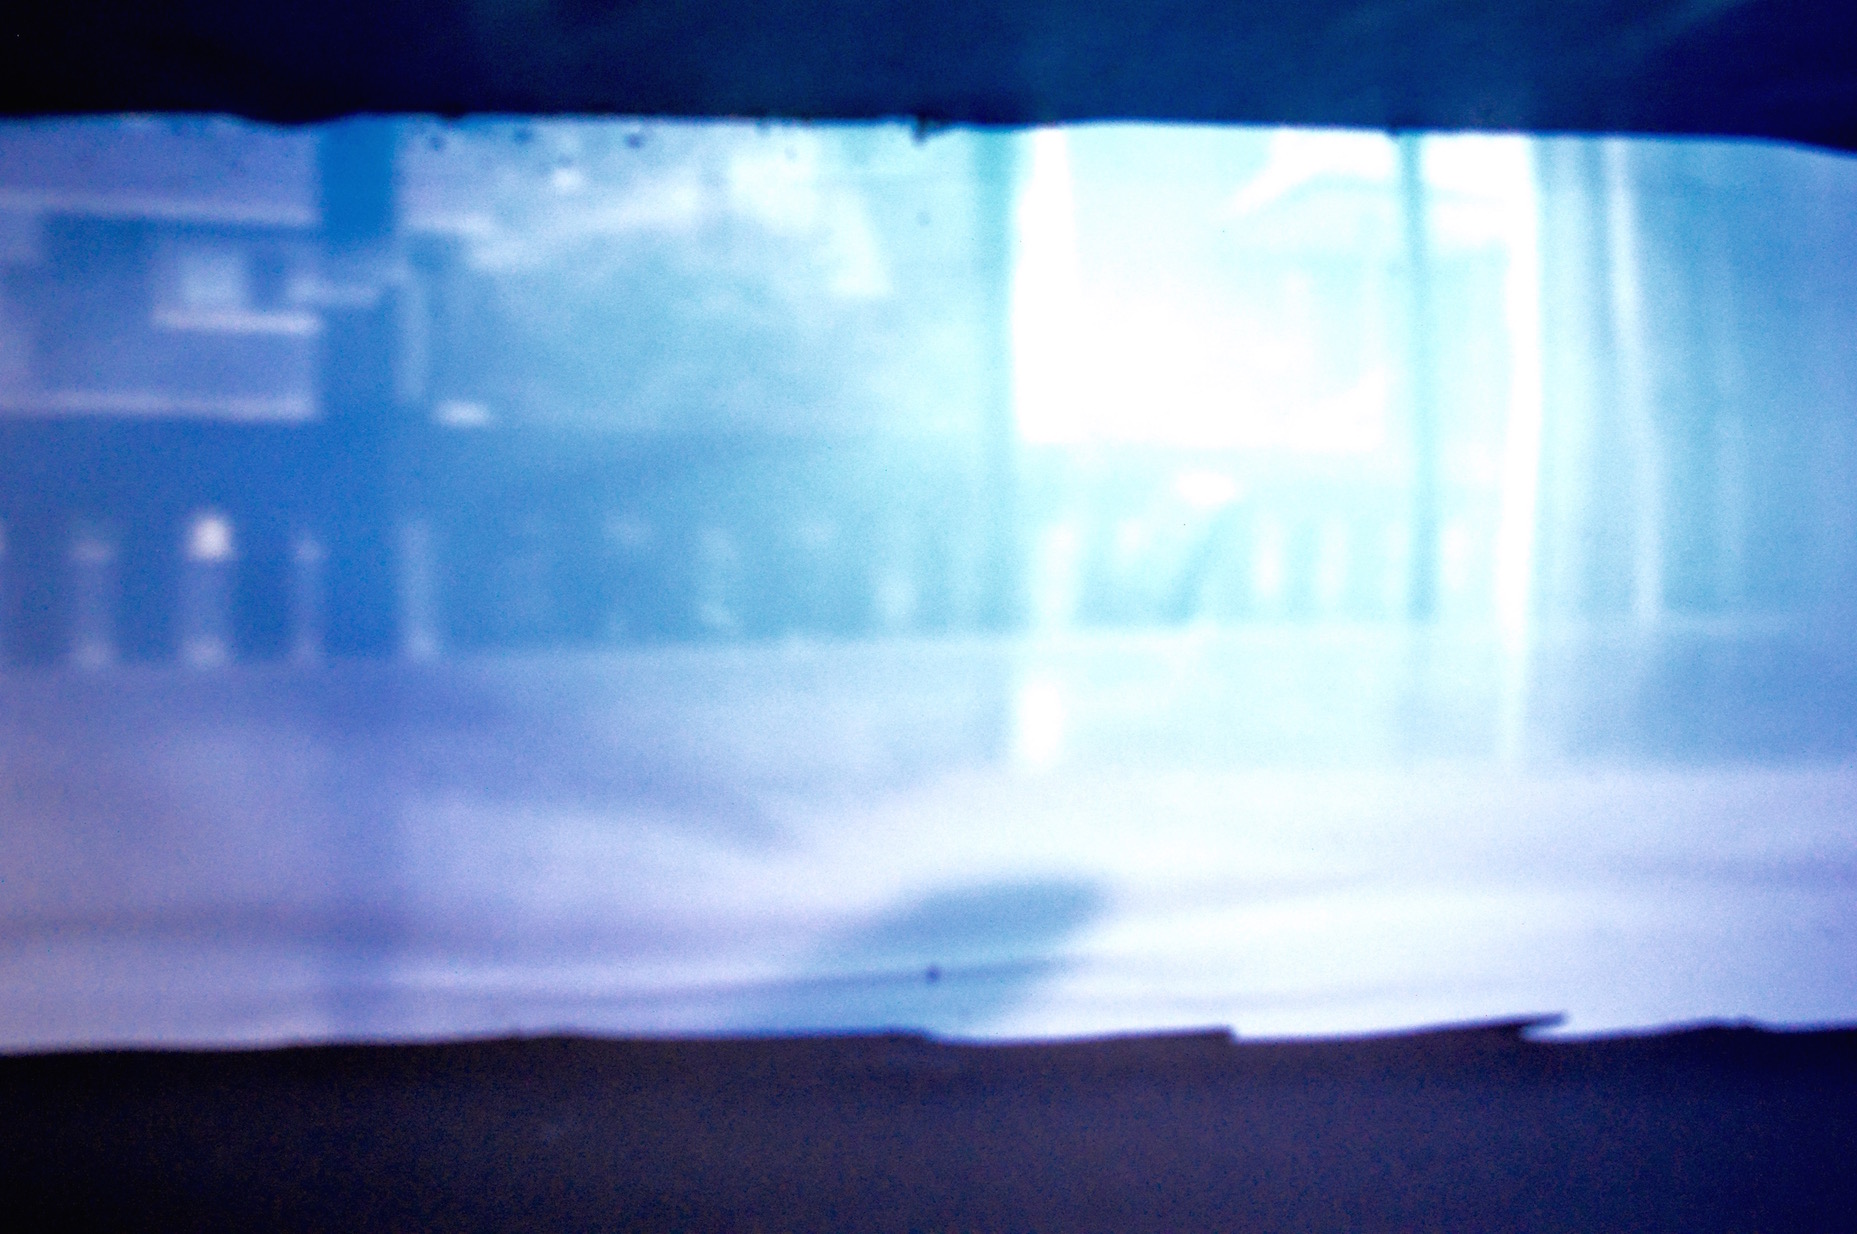
We decided to try taking some additional photos to see how the camera would behave in different settings. We tried taking indoor photos of fruit on a table which actually turned out pretty well as well as aiming the camera towards a bright window which didn't turn out as well as we would have expected. In addition, we continuing capturing other photos around the campanile which was really fun.

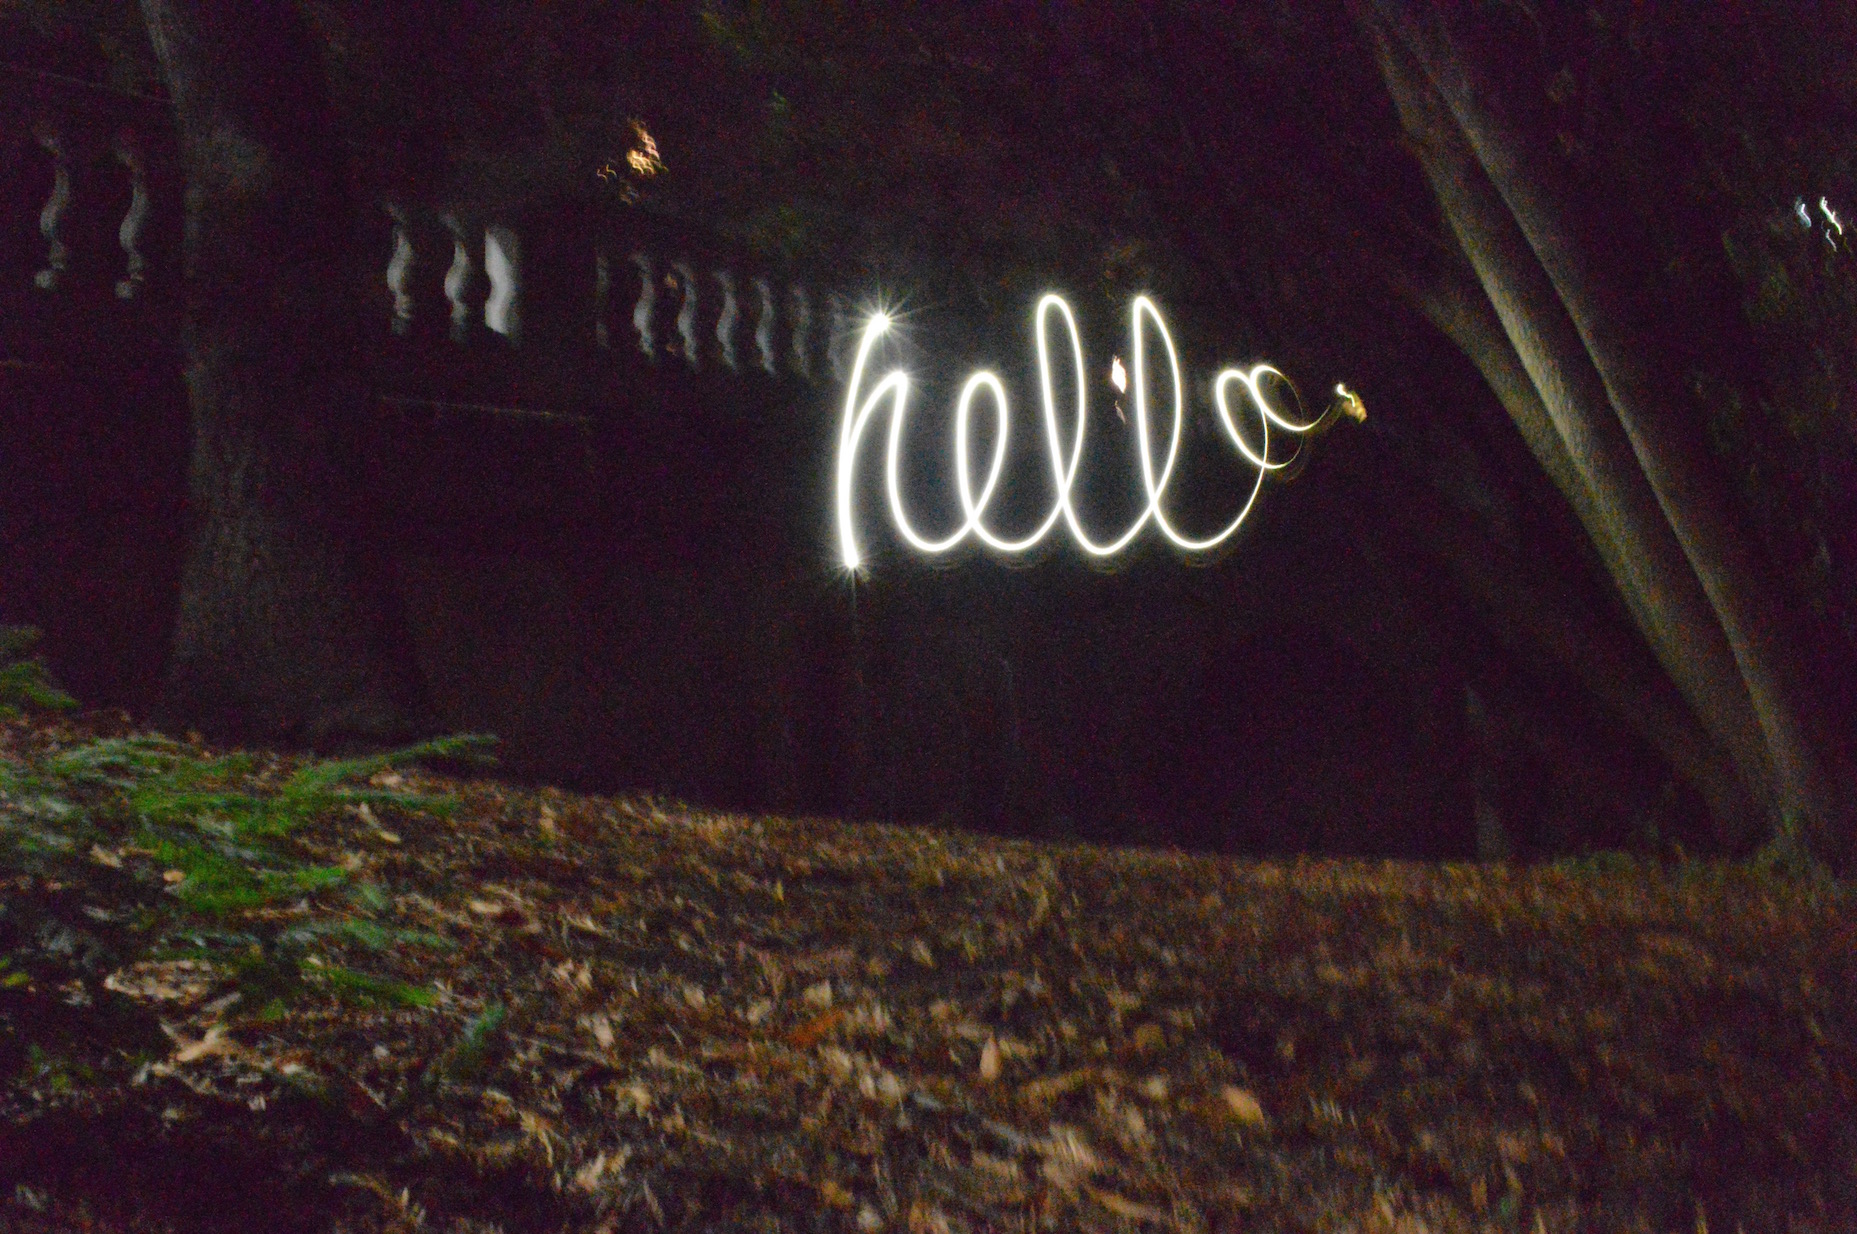
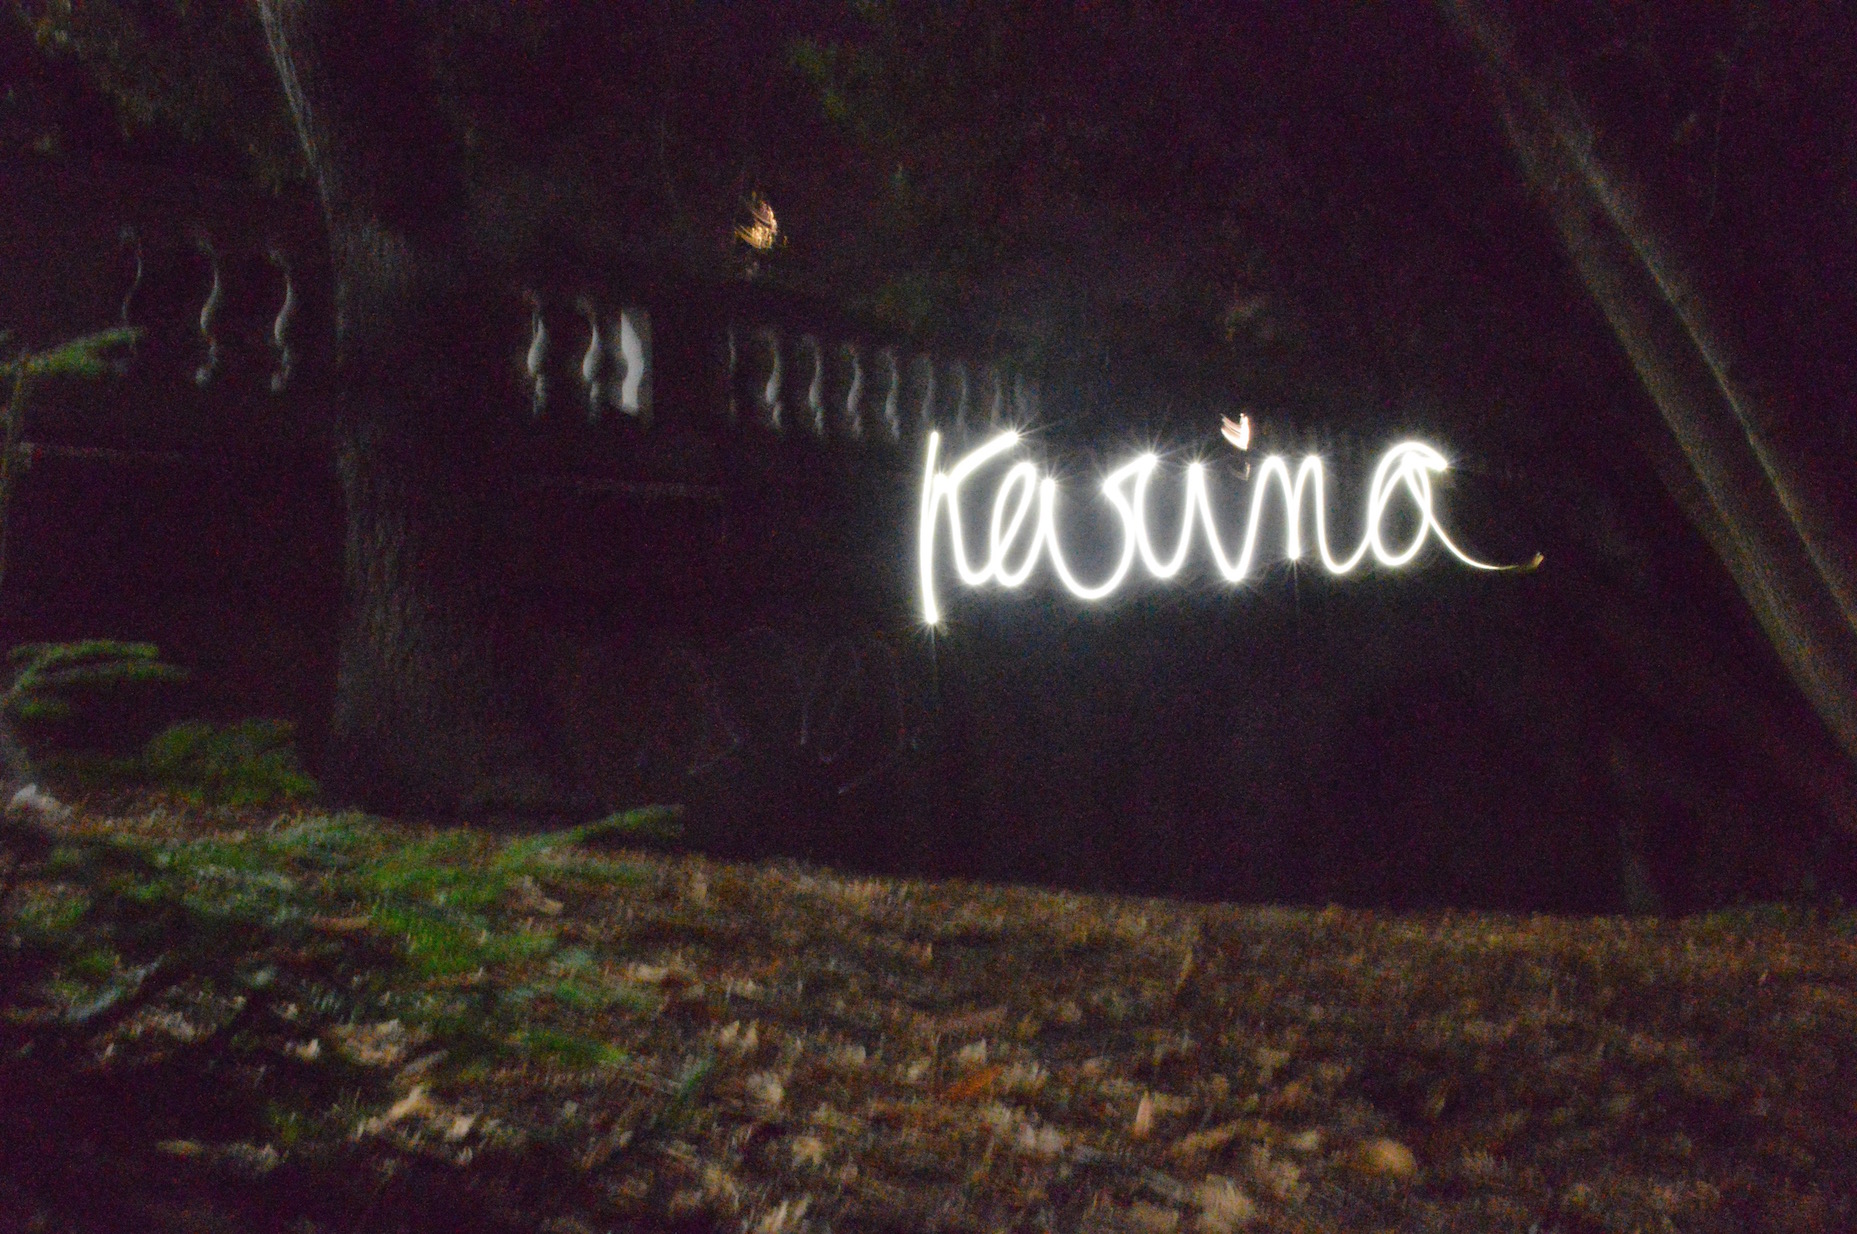
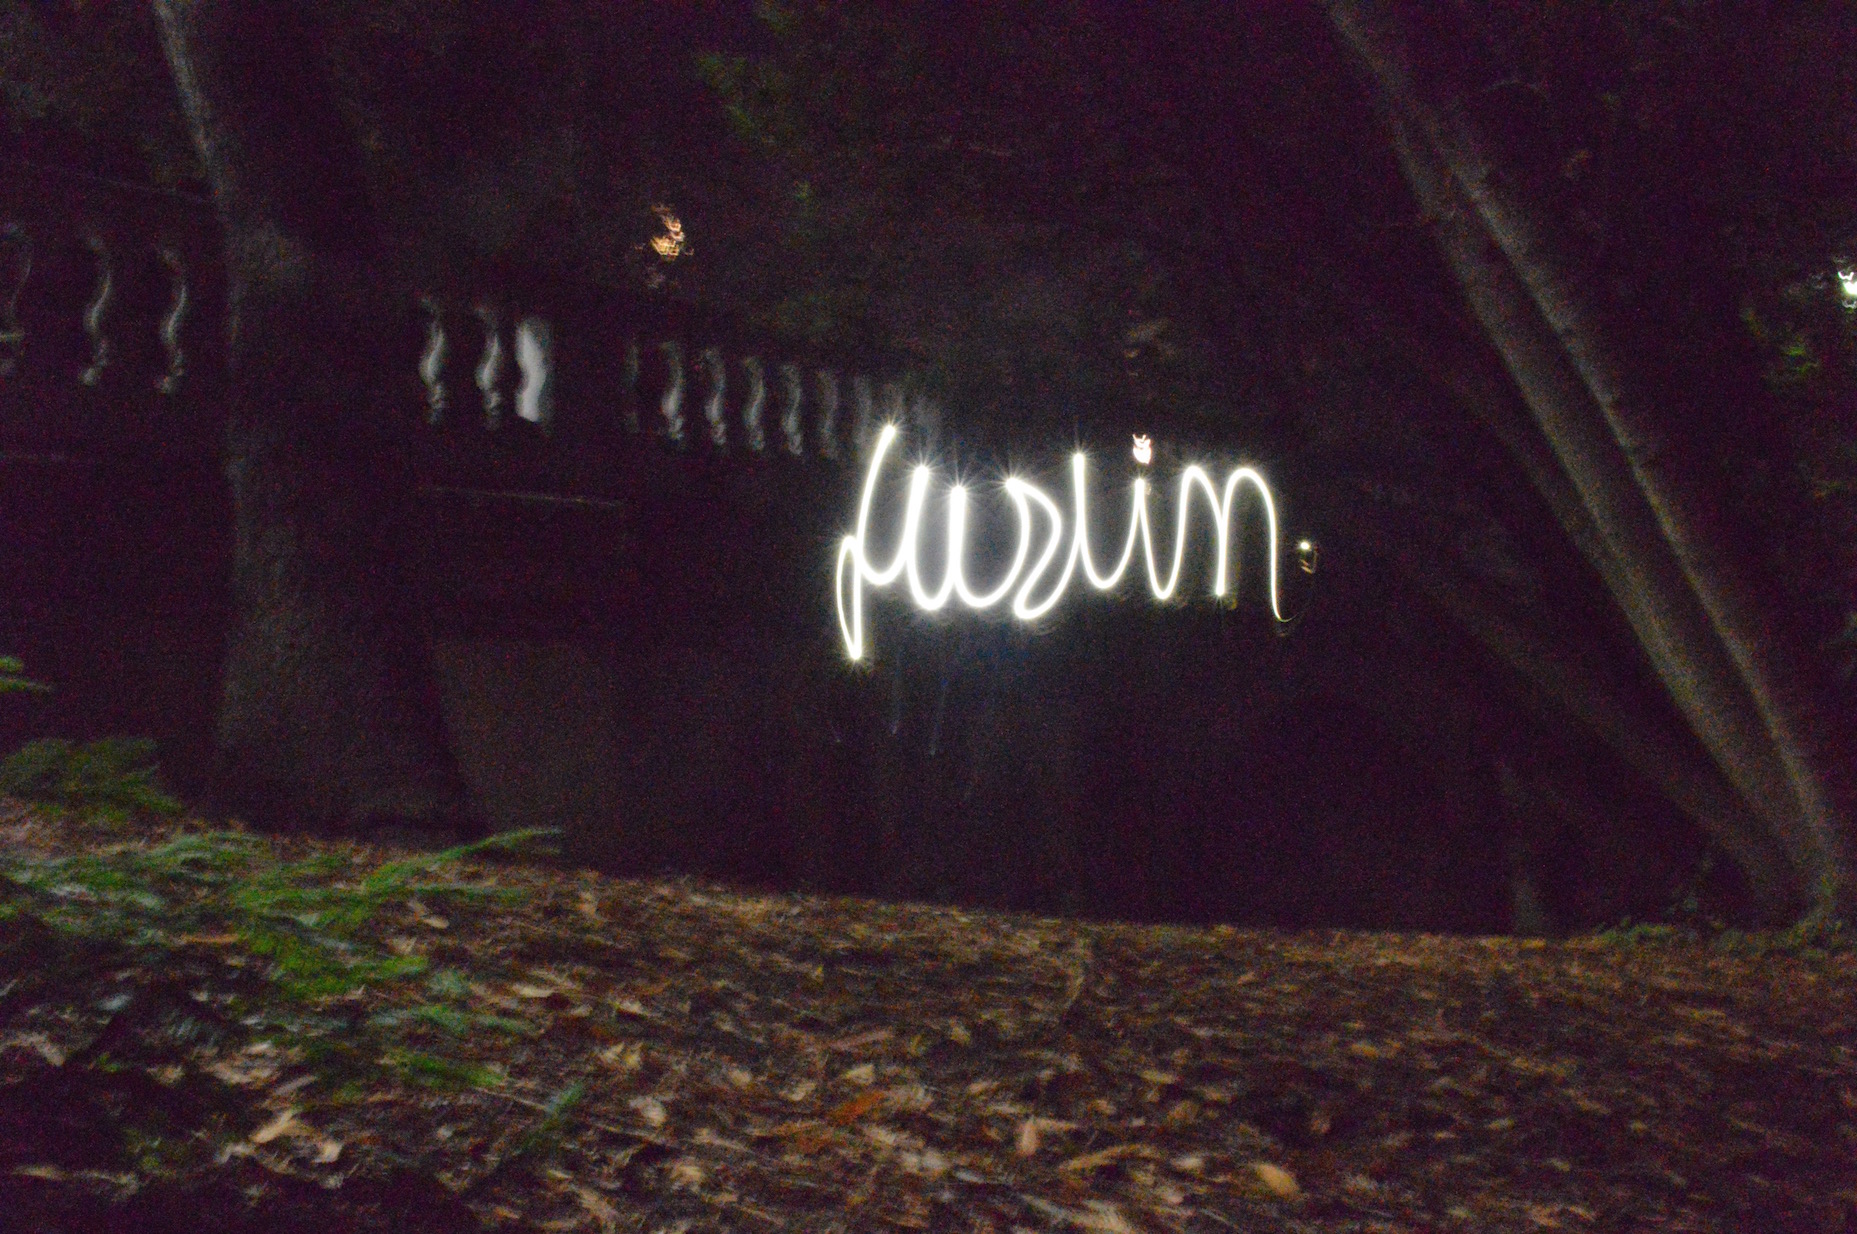
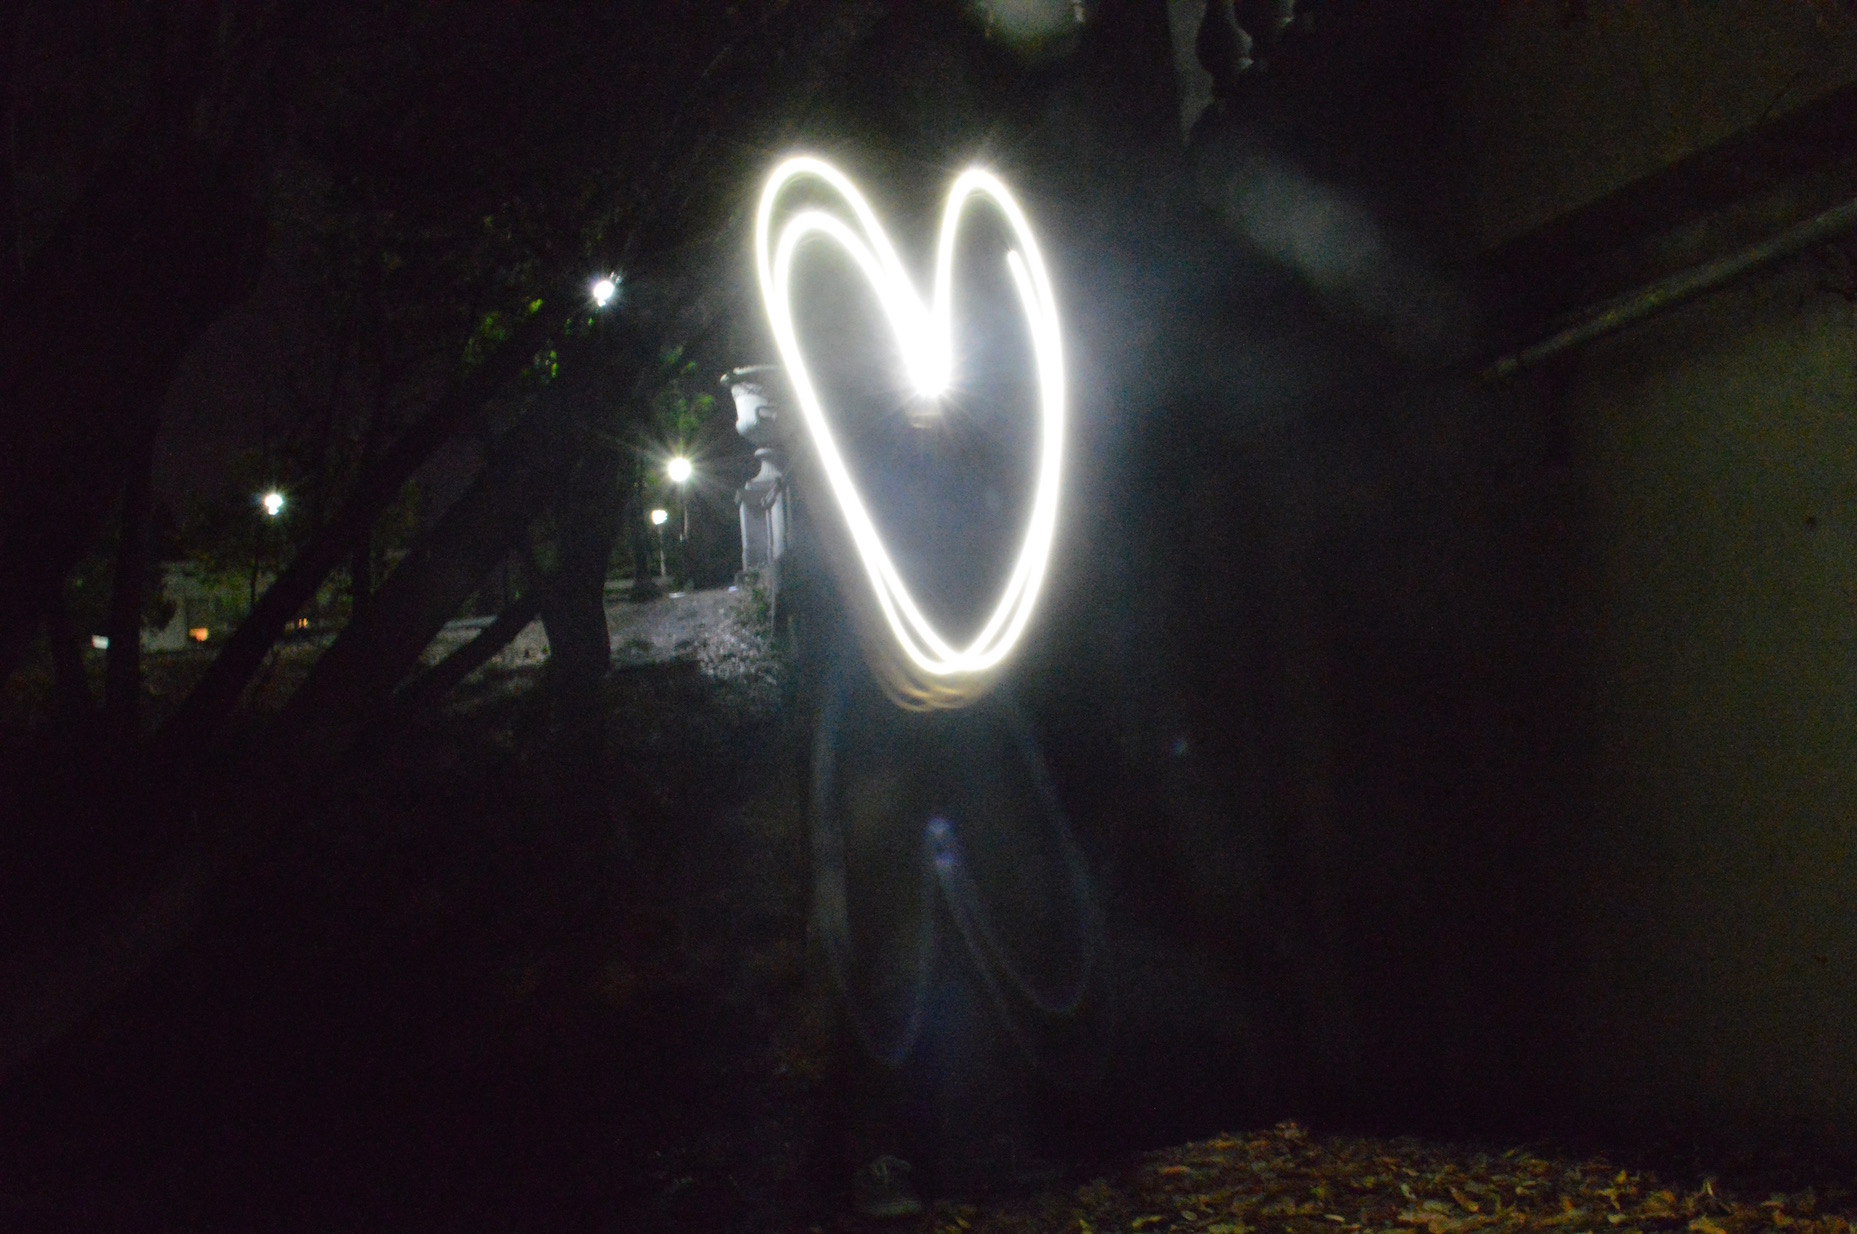
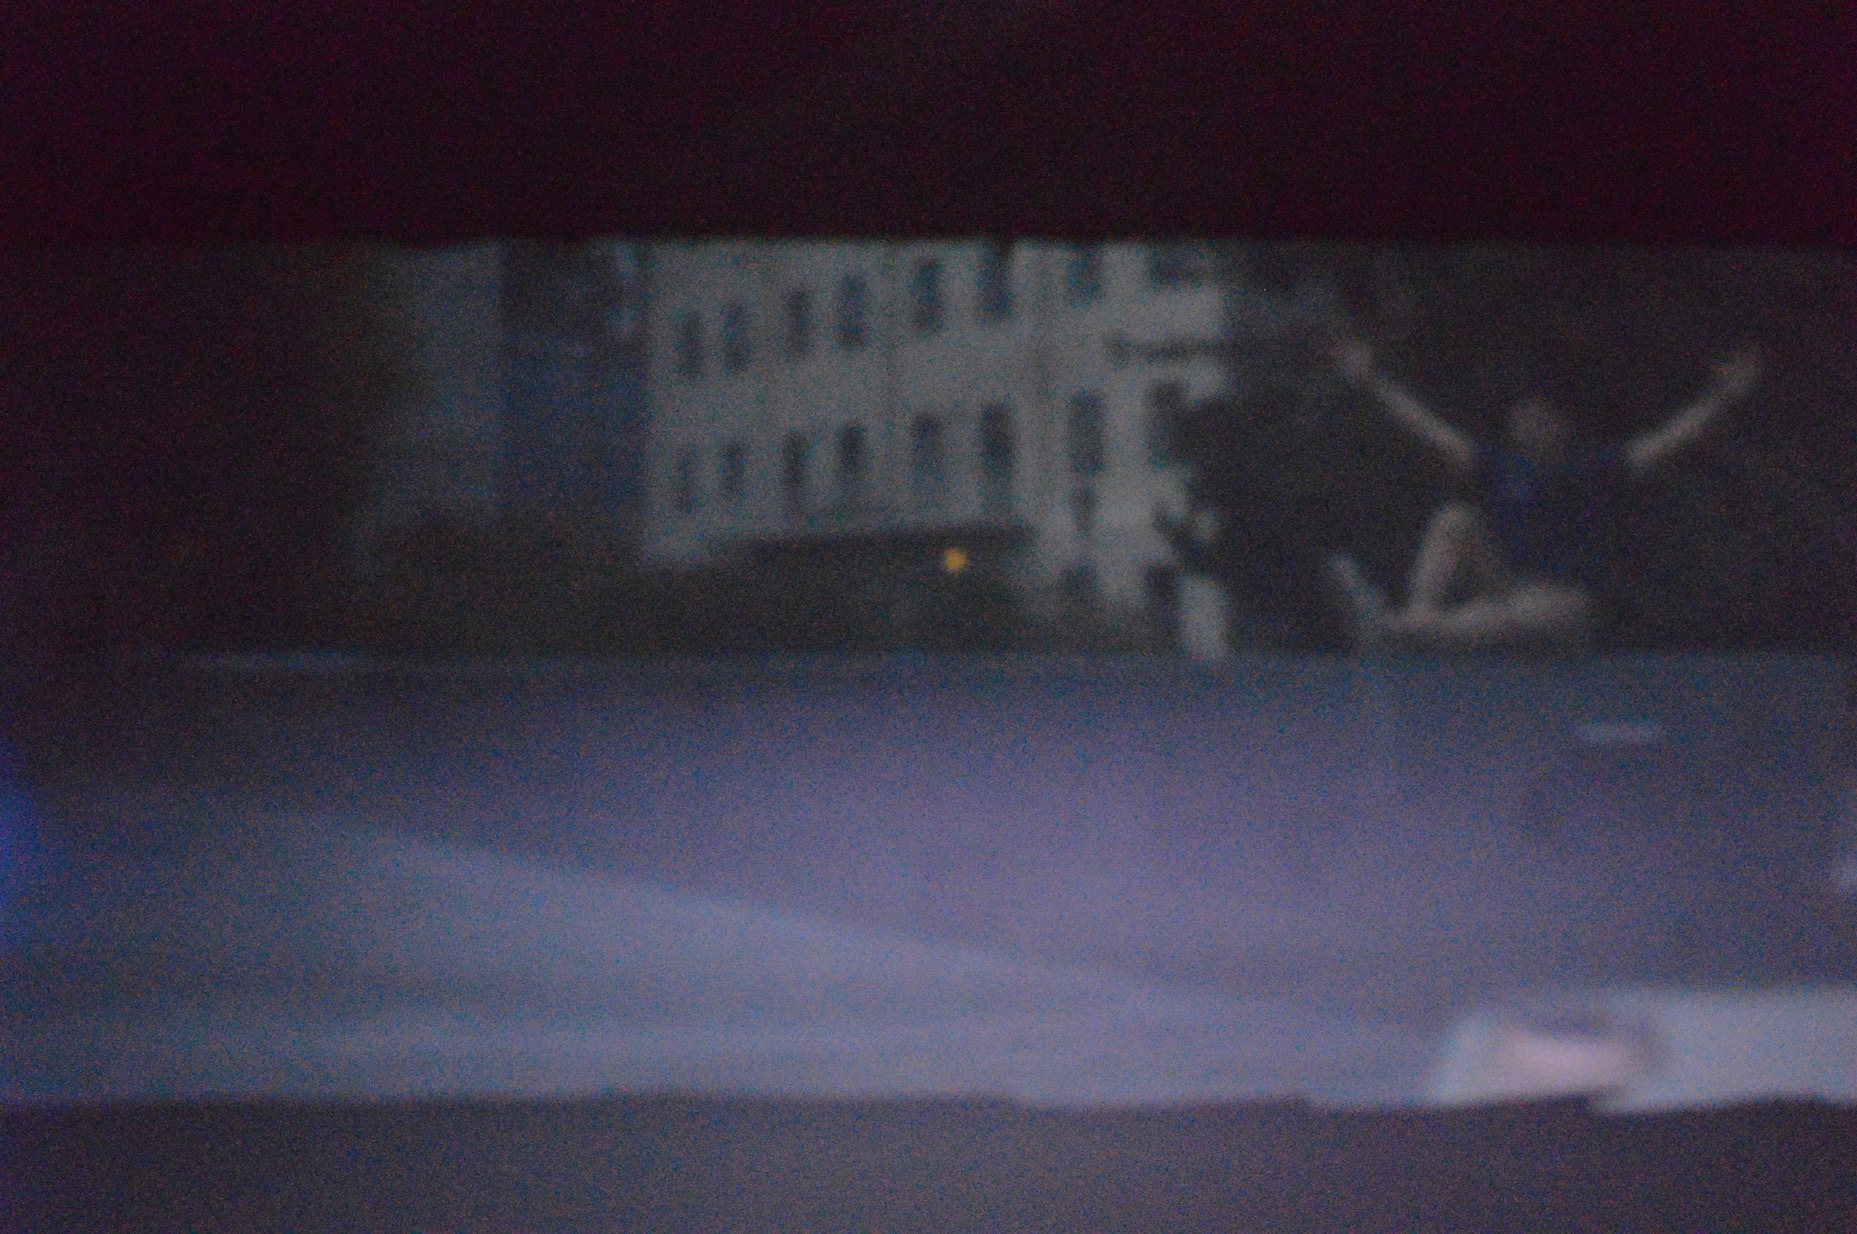
We also experimented with playing with light and long exposure times (light painintings). We tried a bunch of different stuff including spelling out our names and drawing shapes. Some of our best results are included here: