Project 2 Camera Obscura
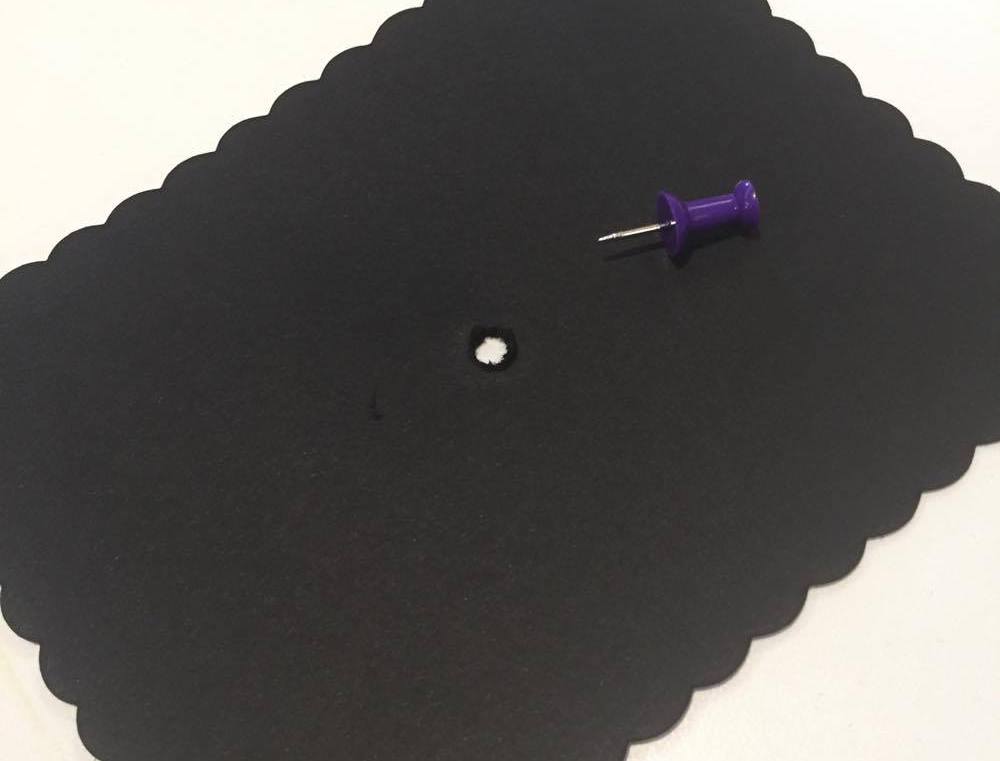
In this project we build a primitive camera by taking advantage of the pinhole. By puncturing a miniscule hole and facing it towards a scene that you wish to capture, light rays that pass through the pinhole form an opposite image on far interior surface of the camera box (the screen).
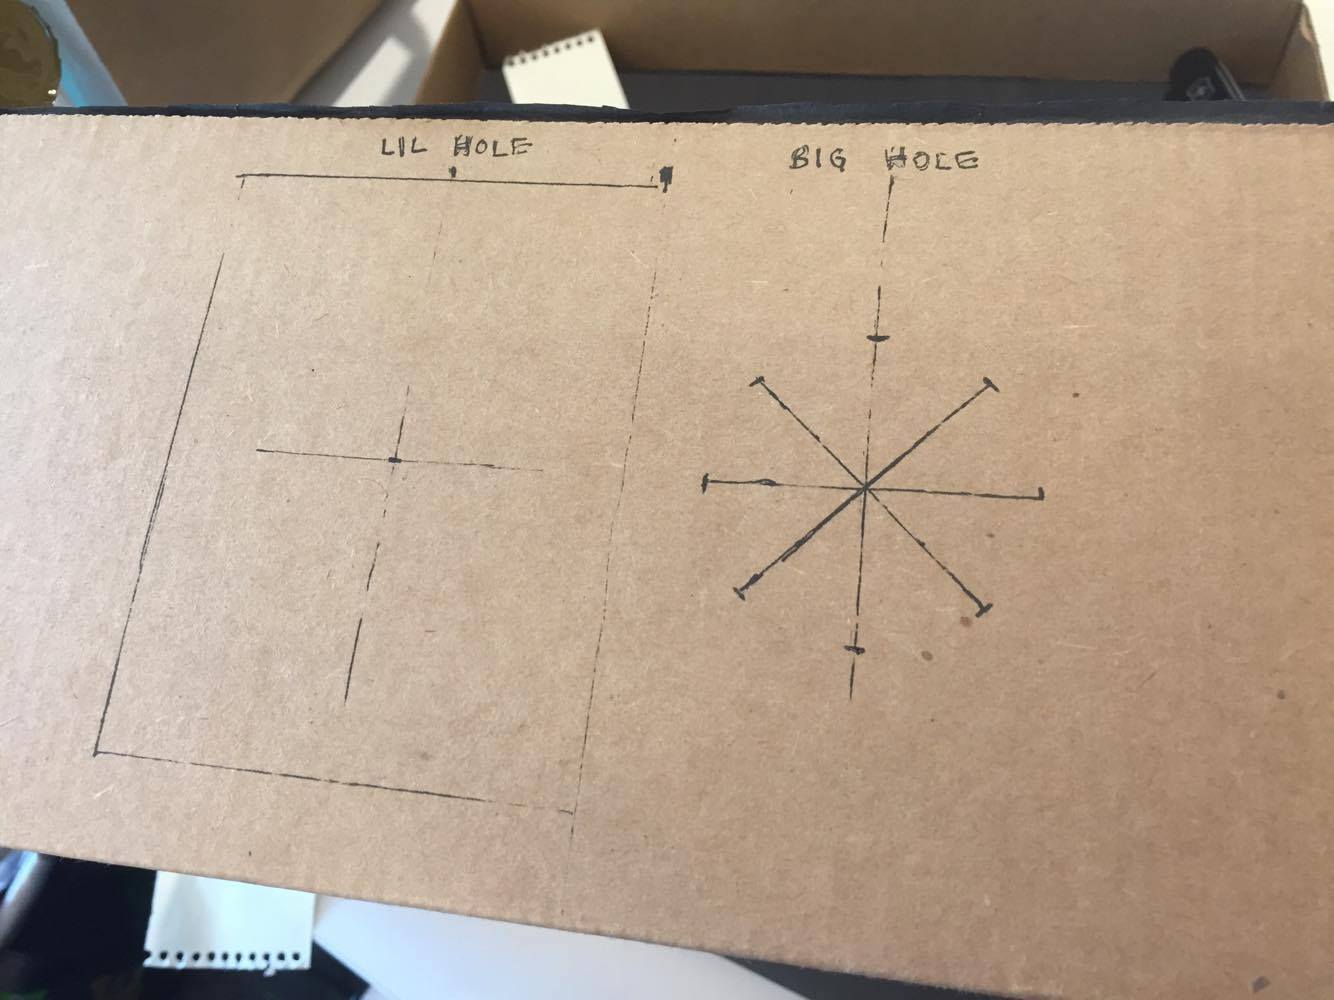
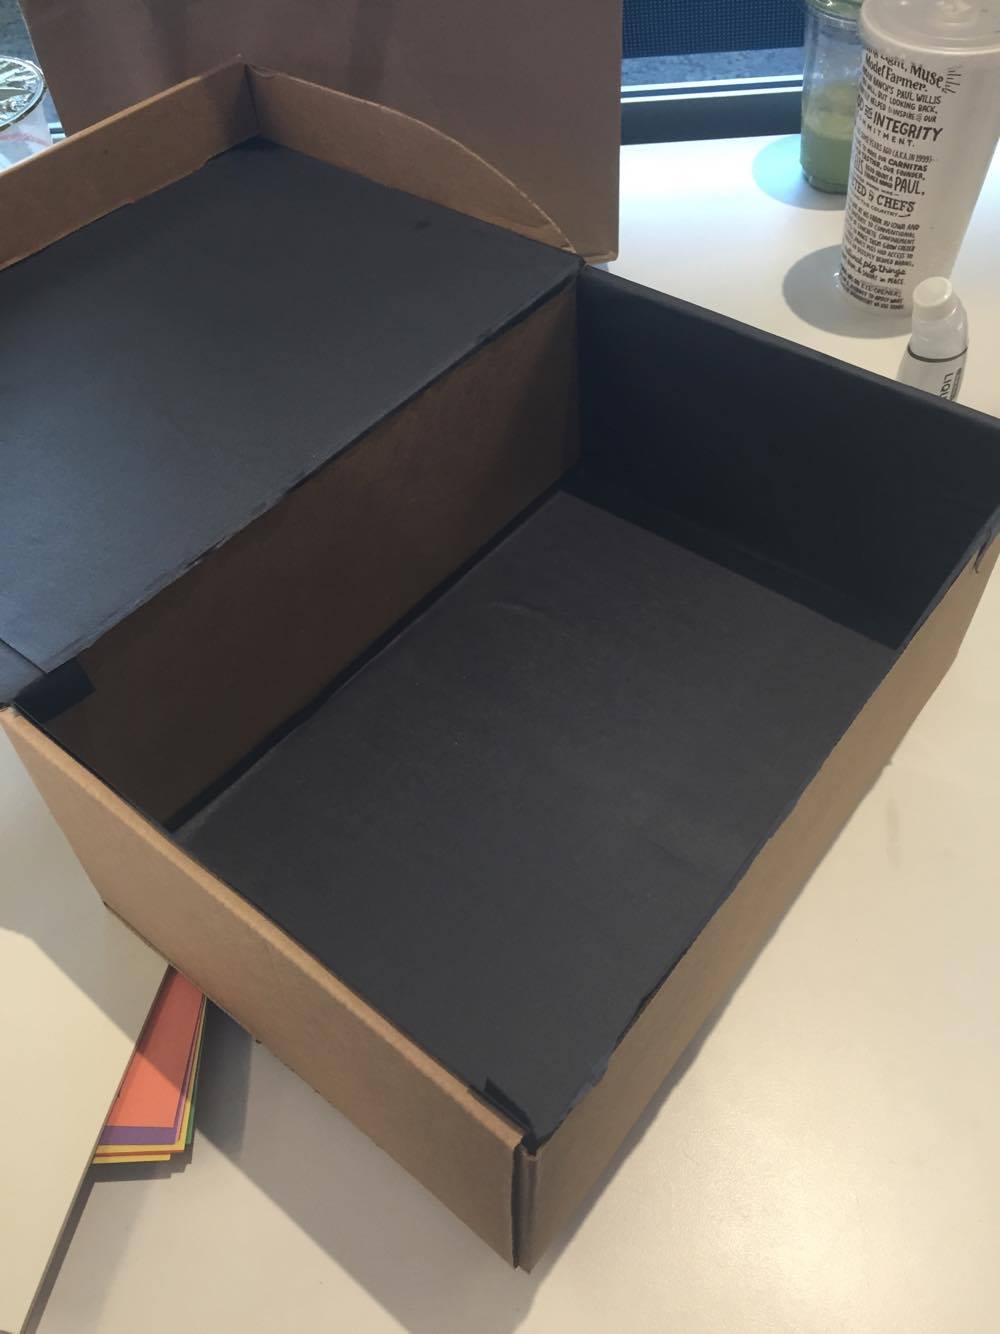
First, I constructed a camera box making sure that the interior, except for the screen, was as dark as possible. This means gluing black construction paper to all interior sides, as well as duct taping any slits along the edges of the box. I used a red duct tape, which I noticed while taking the smallest pinhole pictures actually let in enough red light to dominate the image. I doubled up on the tape and also put additional black paper over the slits to resolve this issue.
Here are some pictures of my camera and camera box.
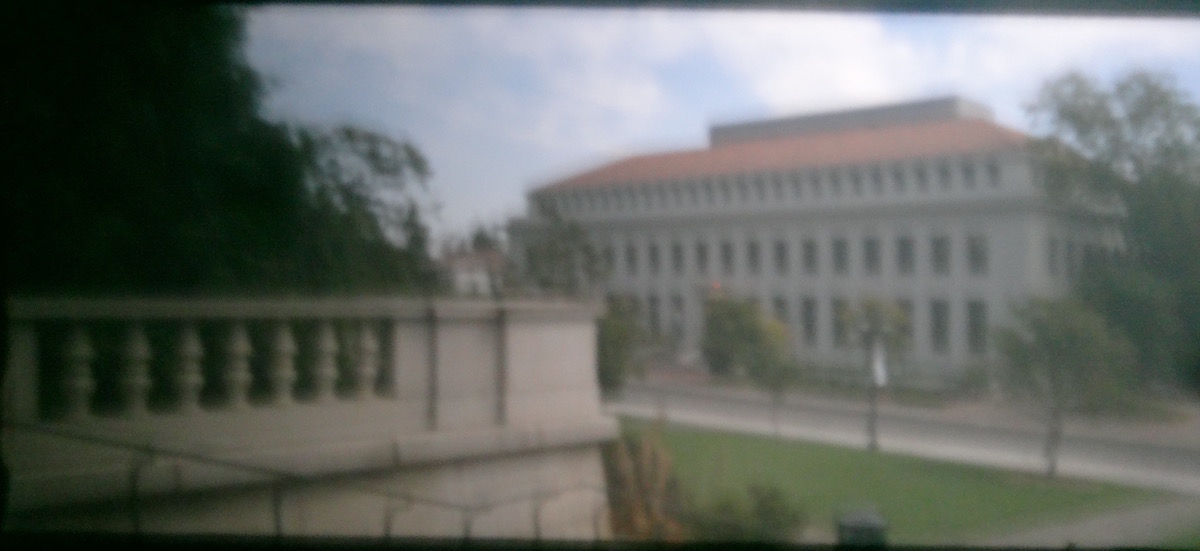
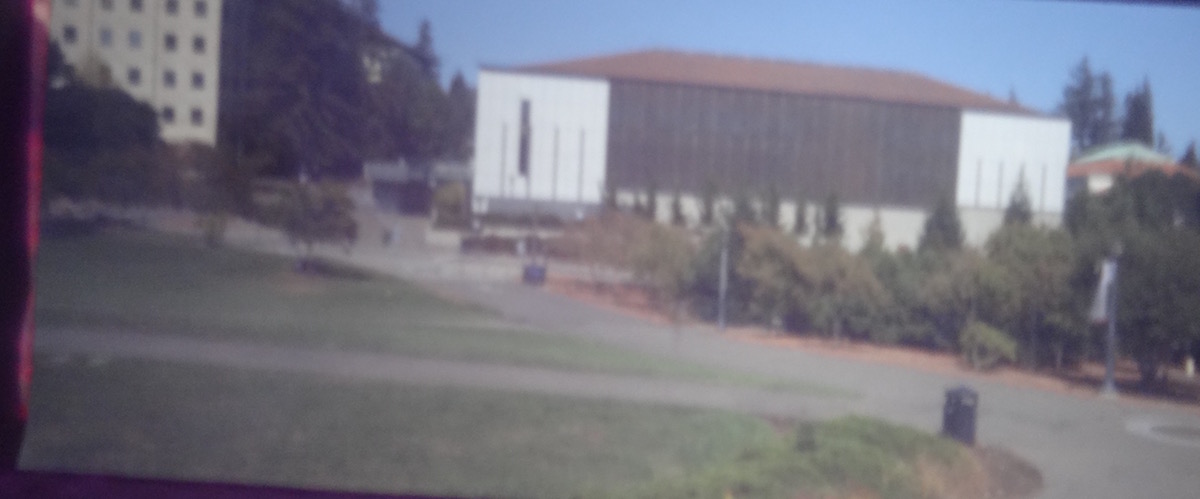
The following is a gallery of the photos I took.
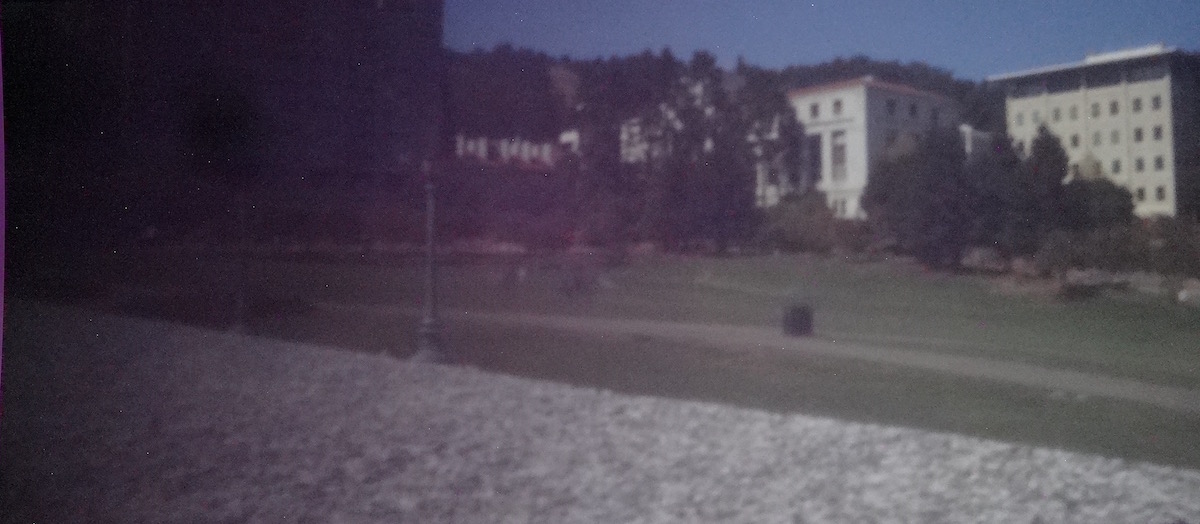
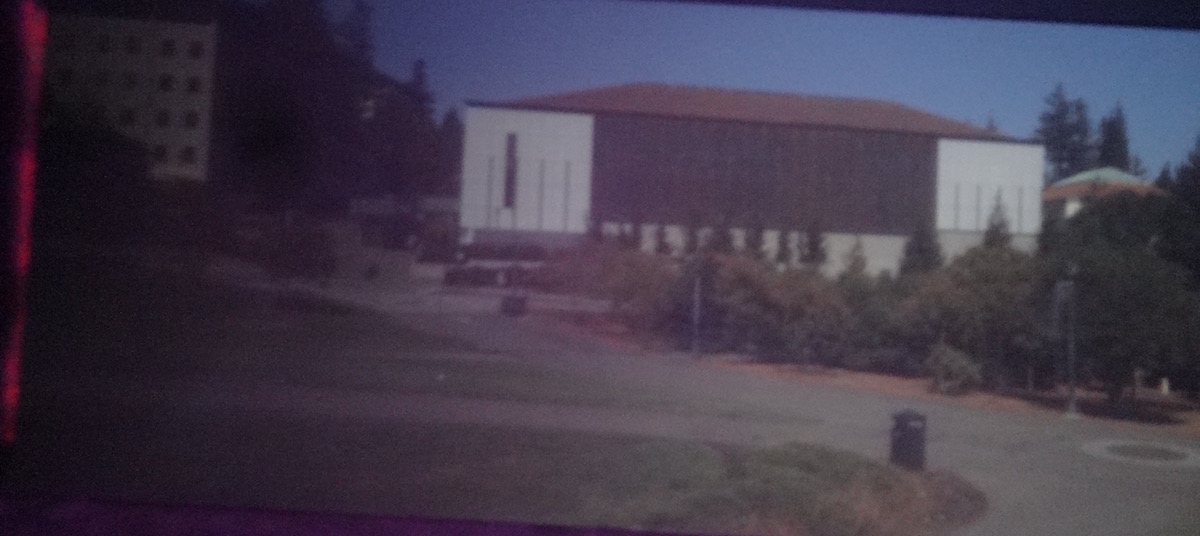
5mm Pinhole
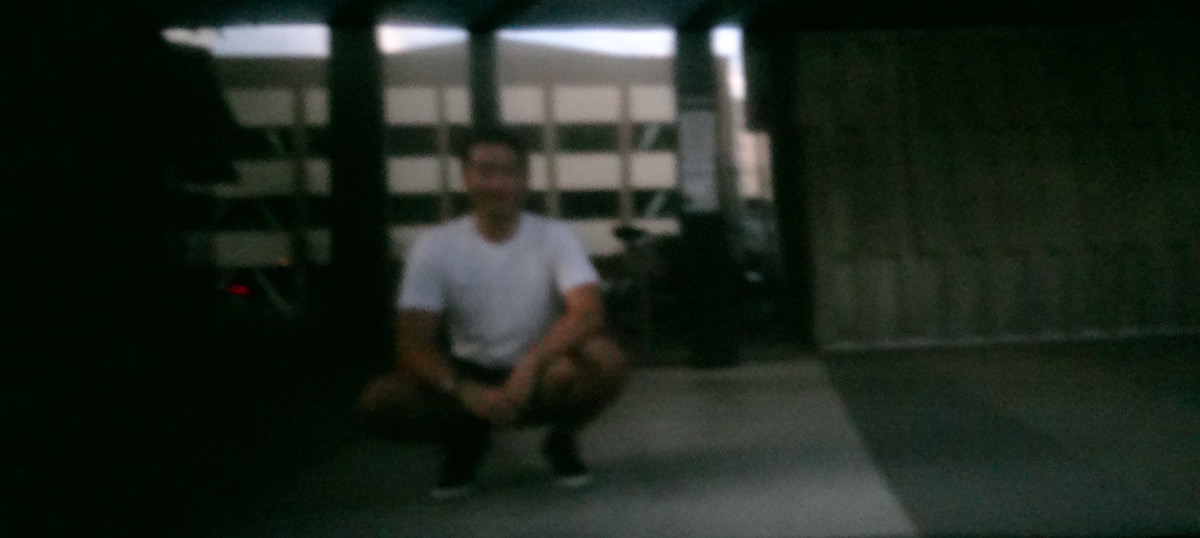
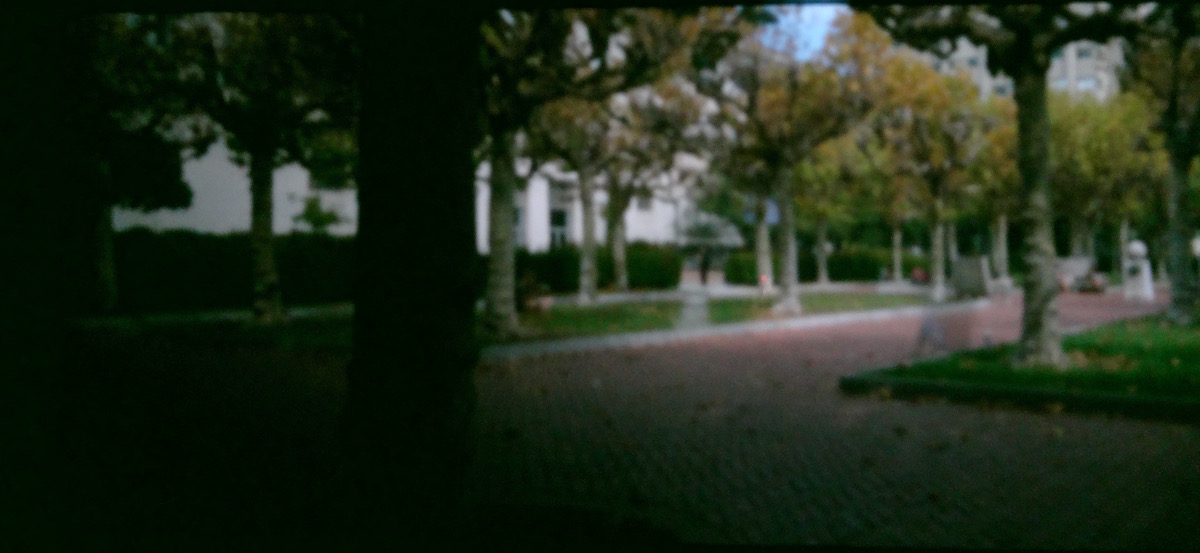
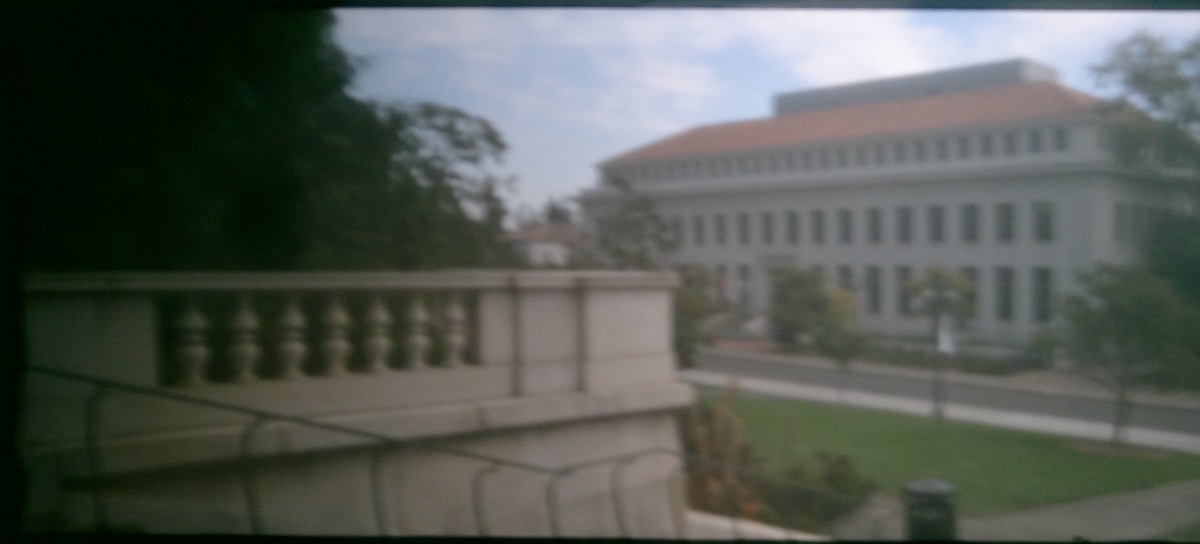
3mm Pinhole
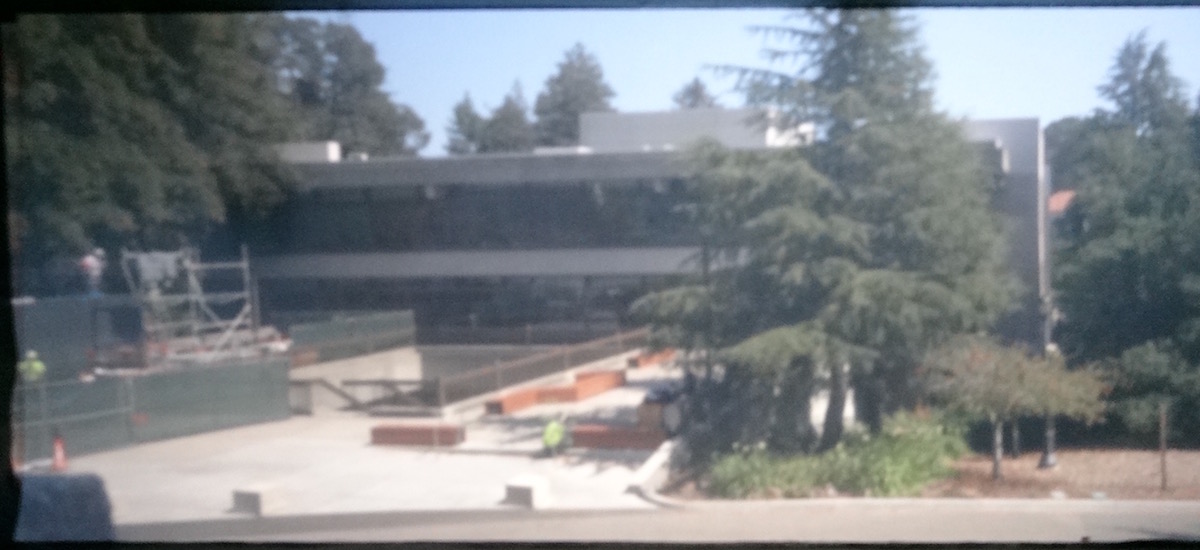
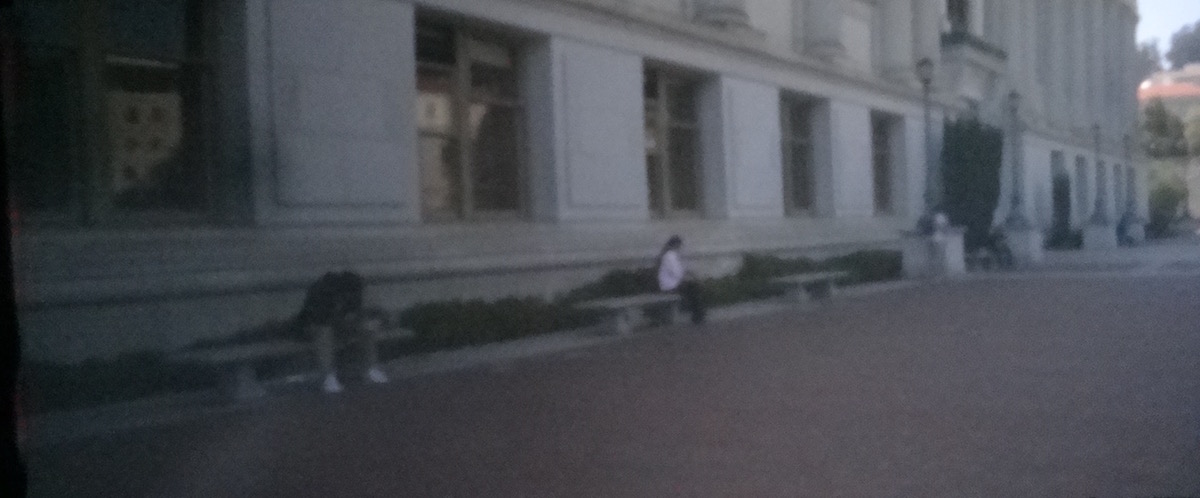
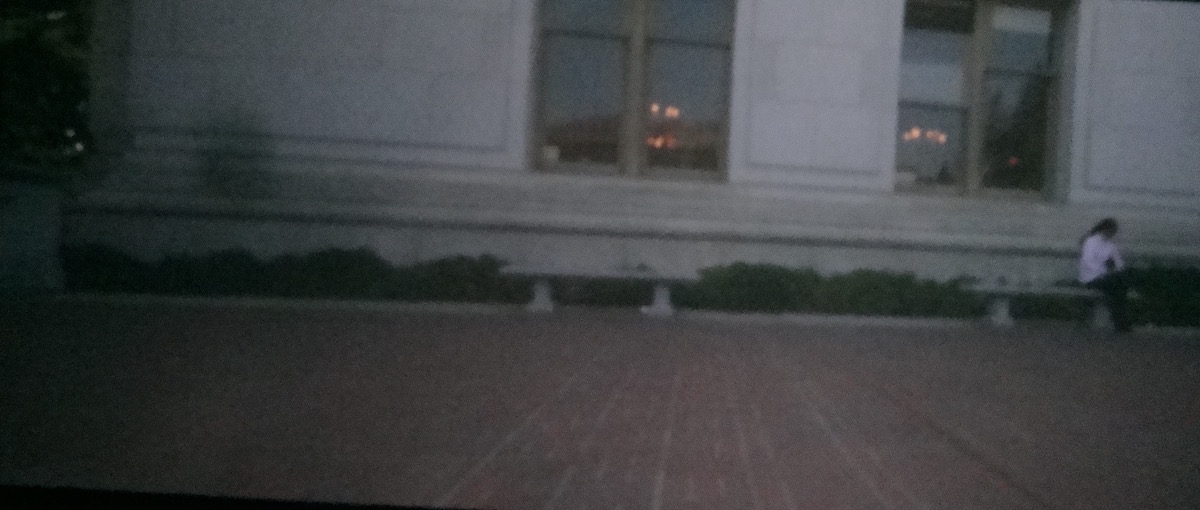
0.5mm Pinhole
Analysis
I started with the largest pinhole at 5 mm, and observed that no matter what I tried to do, adjust focal settings and such, I was not able to take a clear picture. This is because of the fact that many light rays from a single point can enter the pinhole and project onto multiple points of the image, effectively causing a Gaussian blur. The smaller the pinhole, the smaller this interference effect becomes.
Throughout the picture taking, I found that the best images were actually taken with the ~3 mm holes. While it was true that the smallest 0.5 mm hole had the best overall resolution, the light balance was extremely hard to achieve due to the minimal amount of light that was able to enter the pinhole. It was difficult for me to adjust ISO and exposure settings in order to compensate for the reduced amount of light, so overall the pictures had less brilliance and overall looked less impressive.
I did a 15s exposure for both the 5mm and the 3mm hole, but because the 0.5mm hole was 6x smaller in radius and thus 36x smaller overall, I made some rough calculations to try and increase the amount of light sensed overall by 36 times. This involved increasing the ISO scale from 800 to 3200, and also increasing the exposure time to 30s. The overall effect, however, still didn't yield enough light as my camera couldn't do any higher exposures, so I settled with the 3 mm holes giving the best pictures.