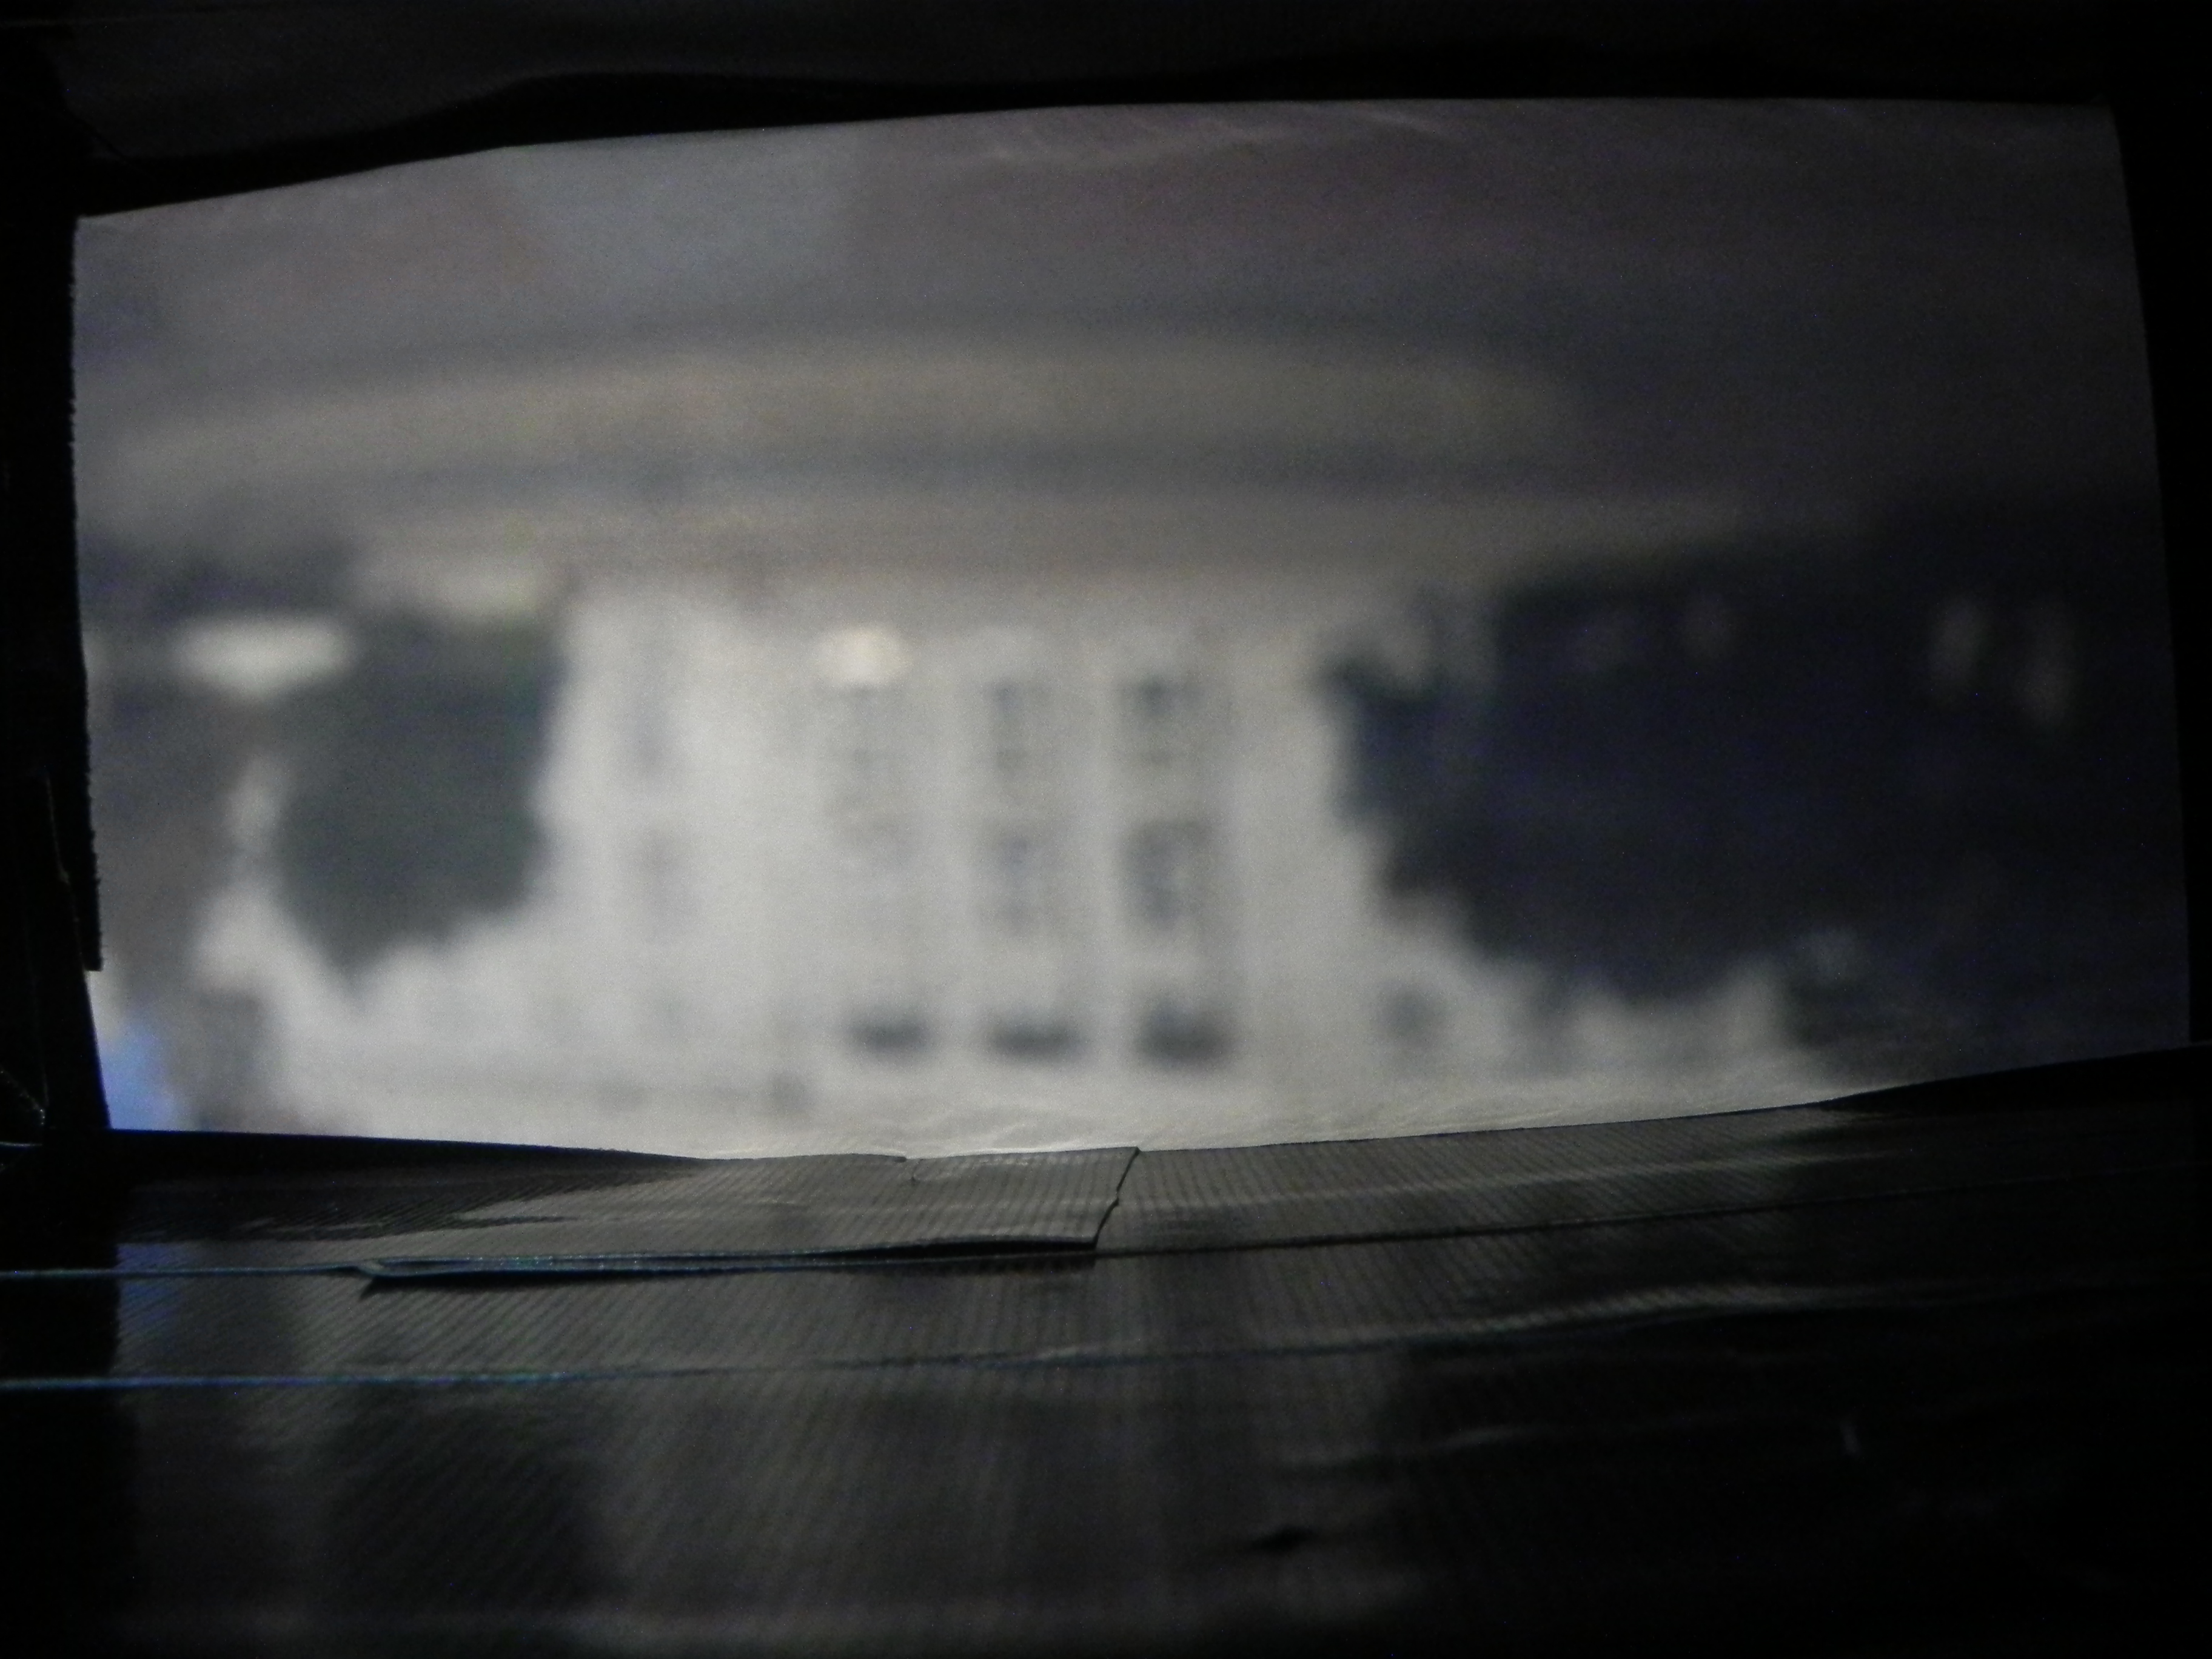
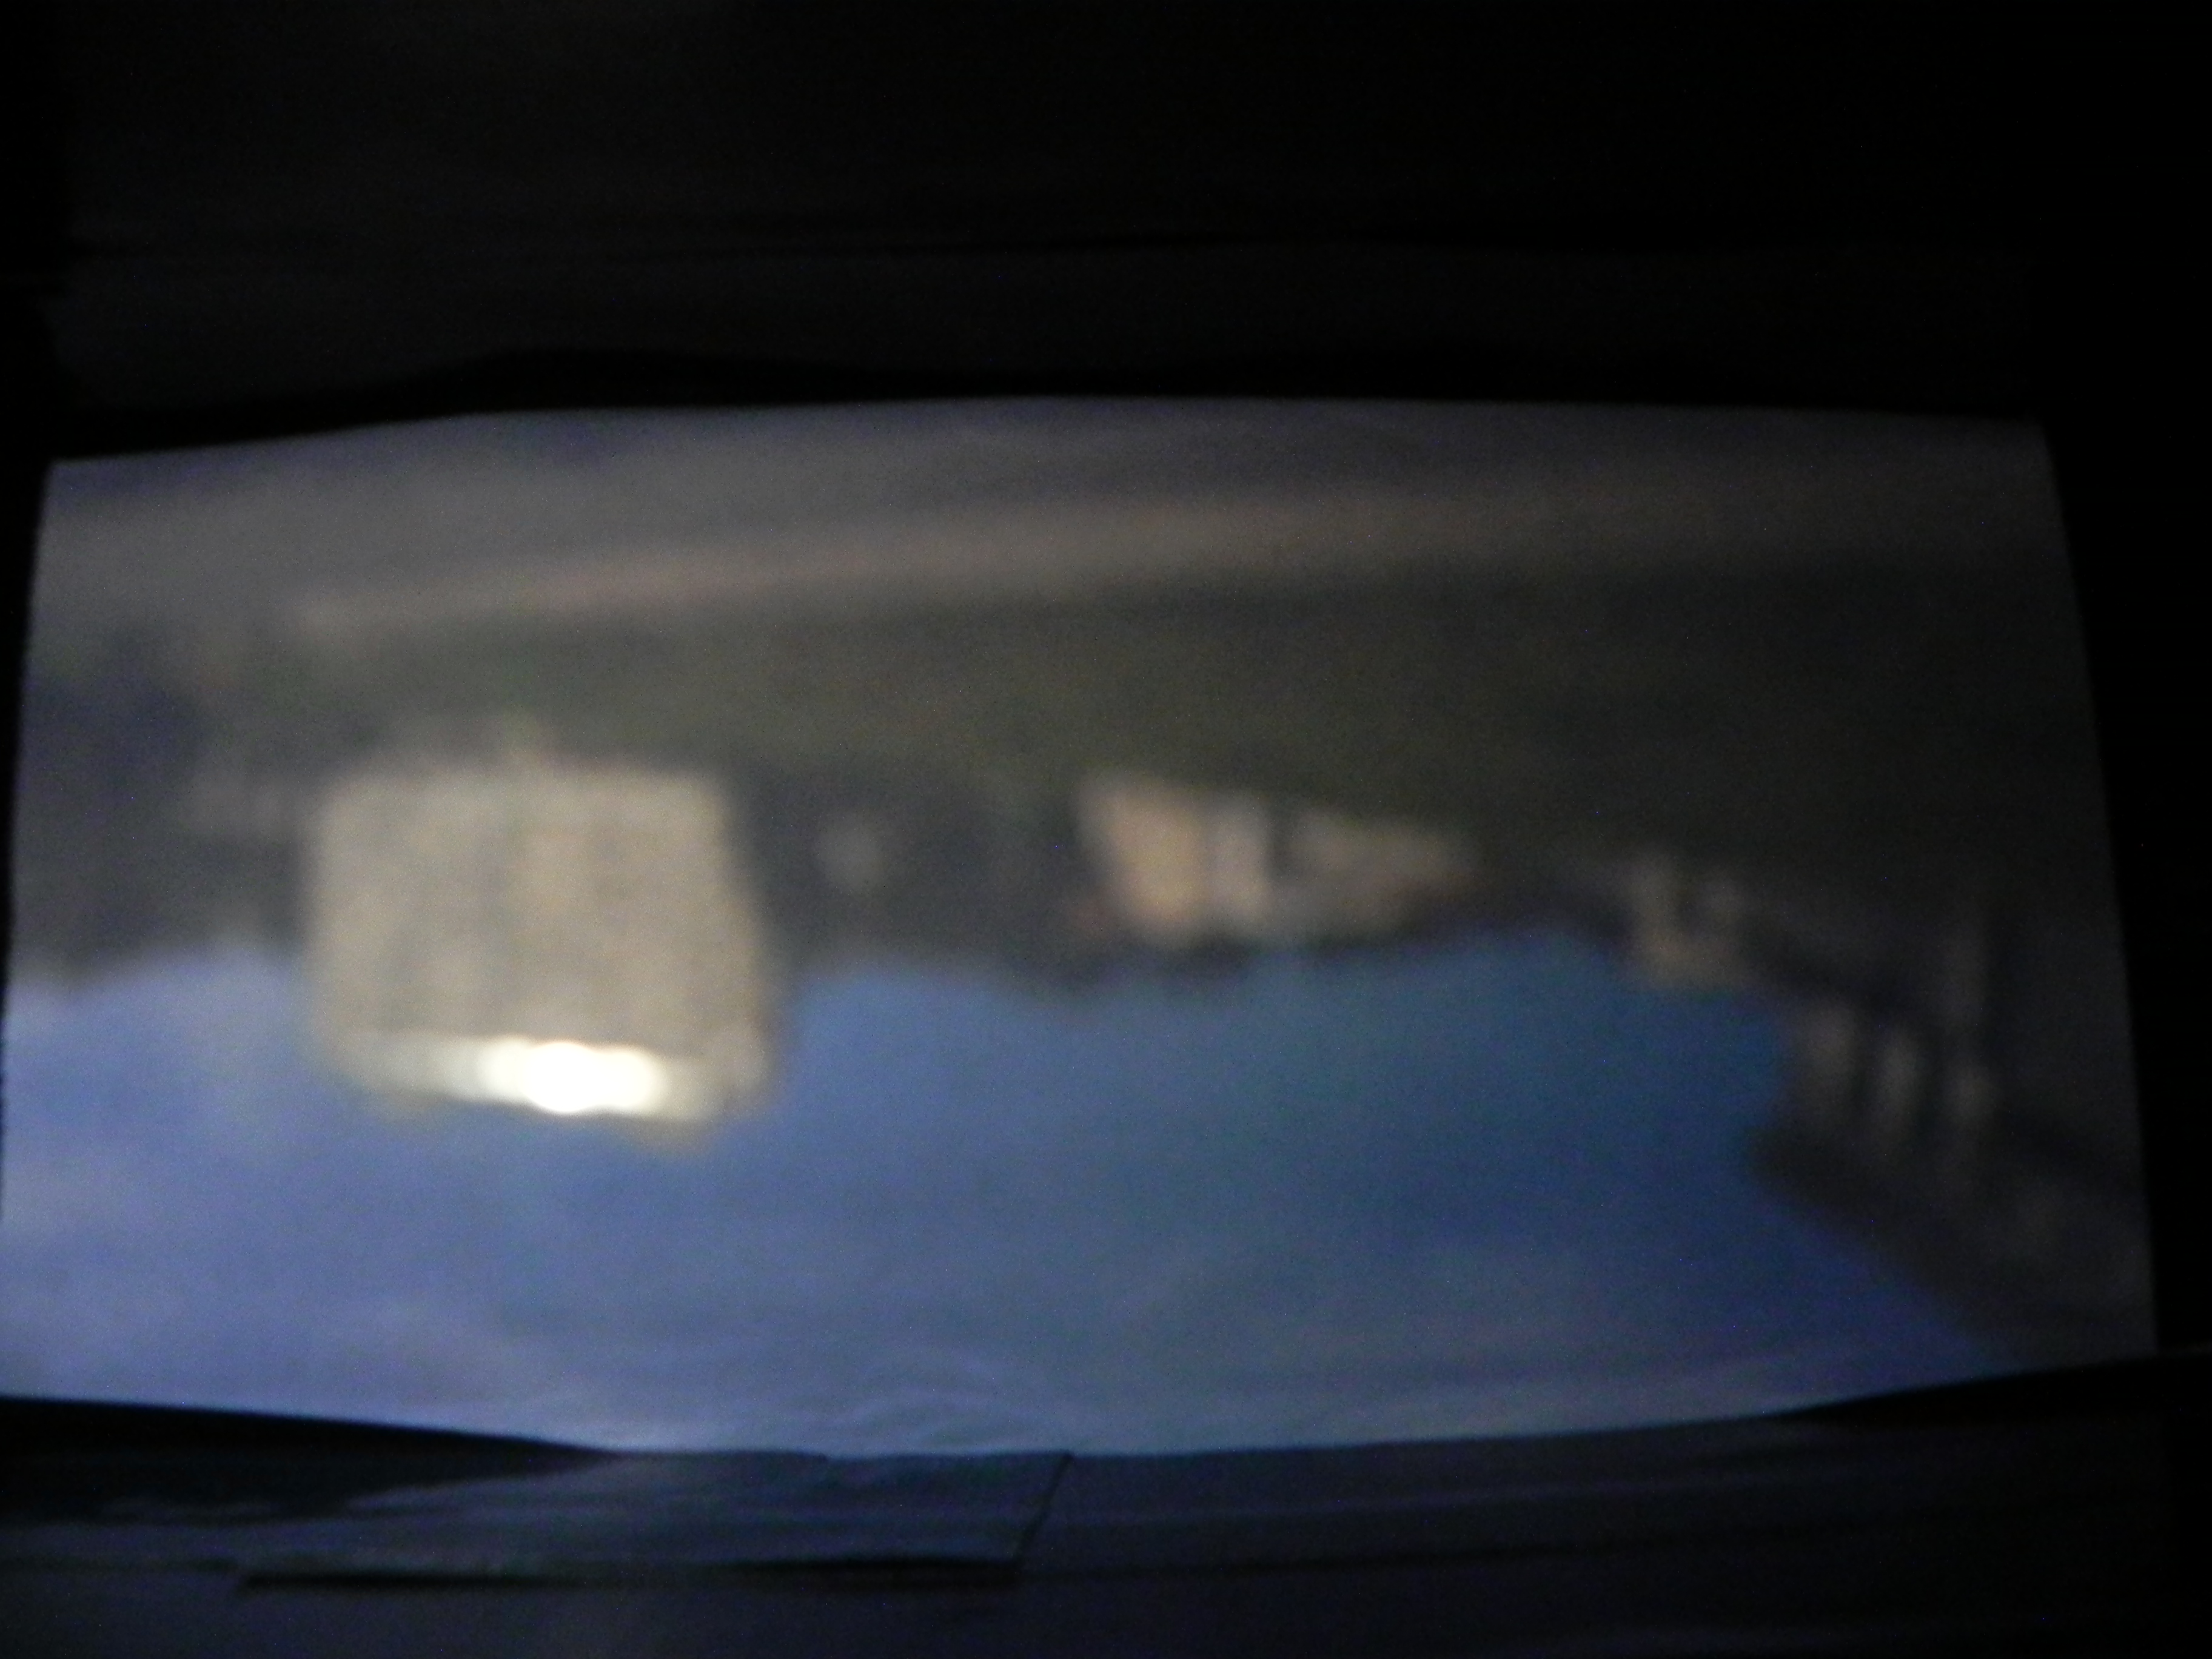
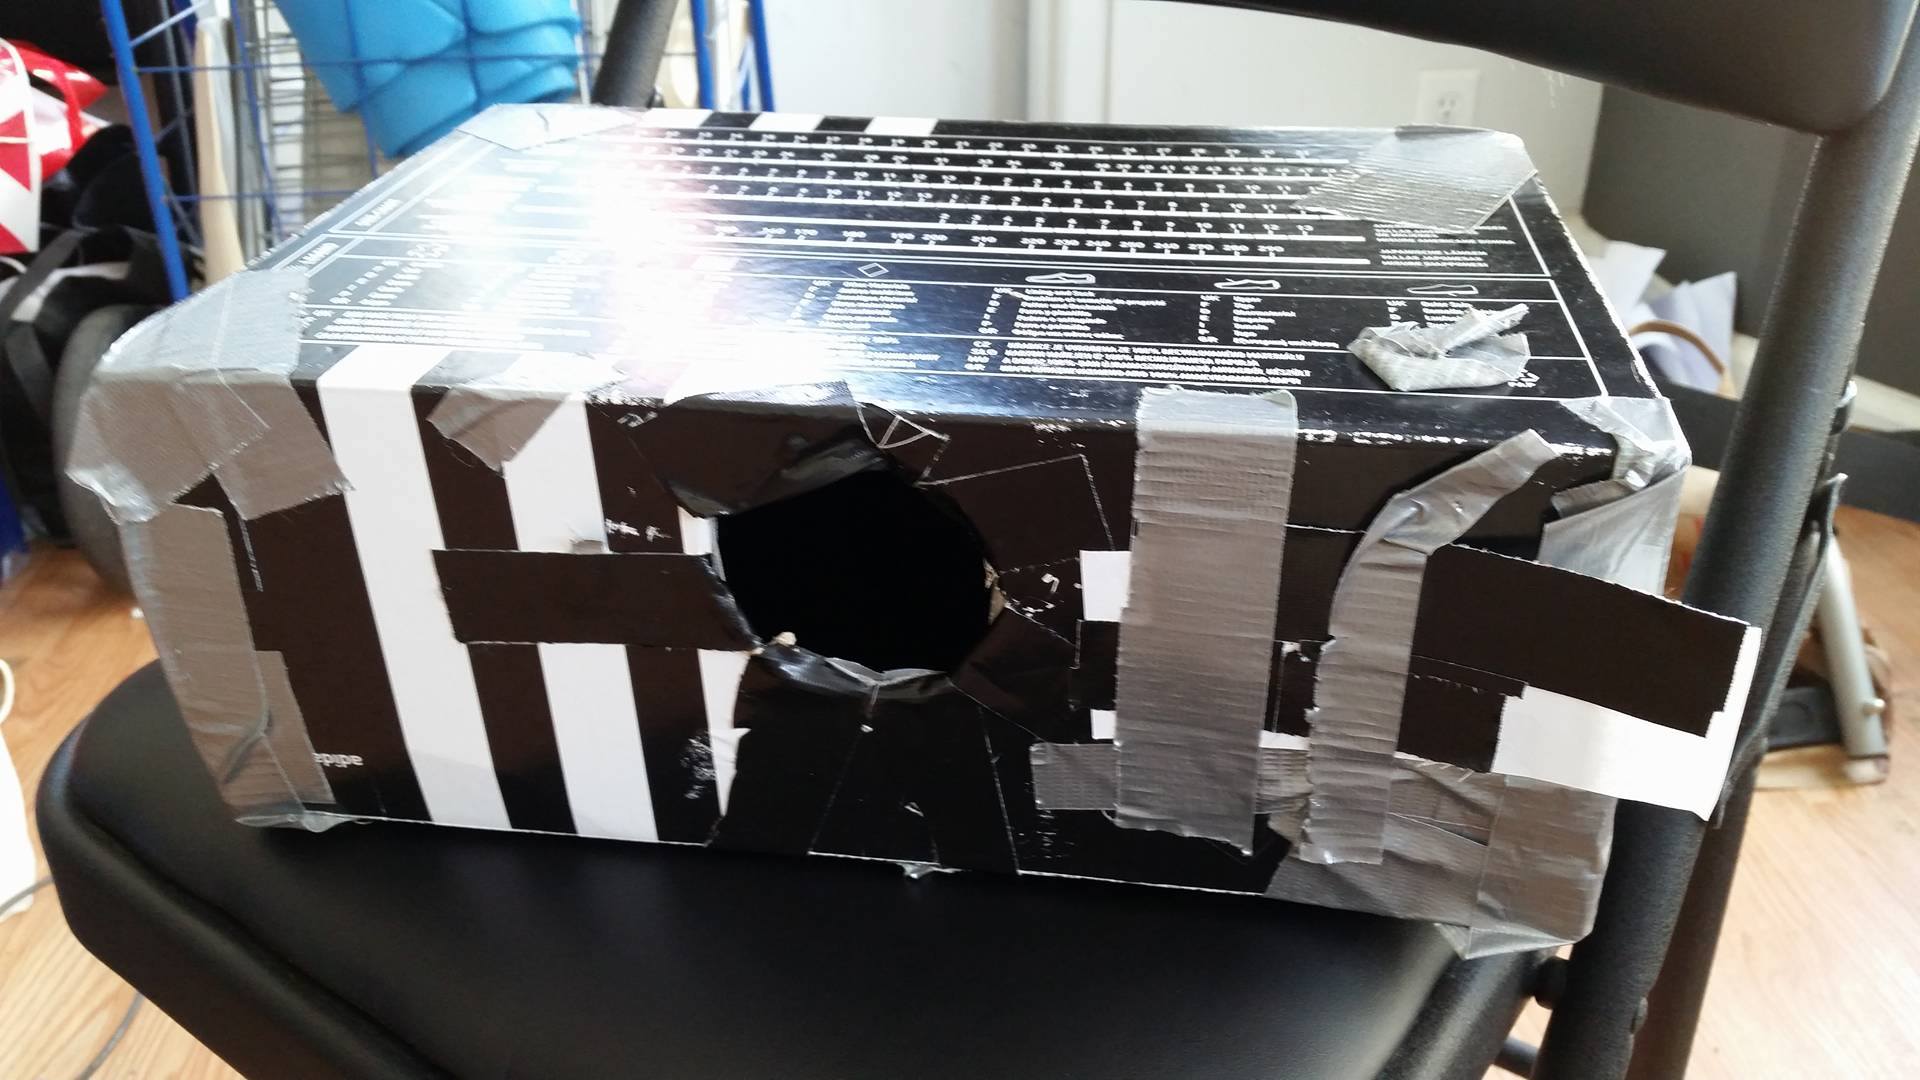
To create the pinhole camera, first a large hole for the camera was cut into the shoebox. On the opposite side of the shoebox, a piece of white printer paper was placed to form the screen. Next to the camera, a small window was cut to allow light to enter through pinholes of various diameters--we chose 0.5mm, 3.5mm, and 7mm. The larger the aperture, the more light from different objects can reach the same point on the back screen, producing a blurry but bright image. Conversely, small diameters create dim but well-focused images. The screen needed to be white in order to reflect light from the pinhole back to the camera, and the rest of the inside of the box was covered with black tape to minimize reflections and keep the interior as dark as possible. More tape was added to the outside to keep it lightproof everywhere except for the pinhole. All light needed to stem from the tiny hole created.
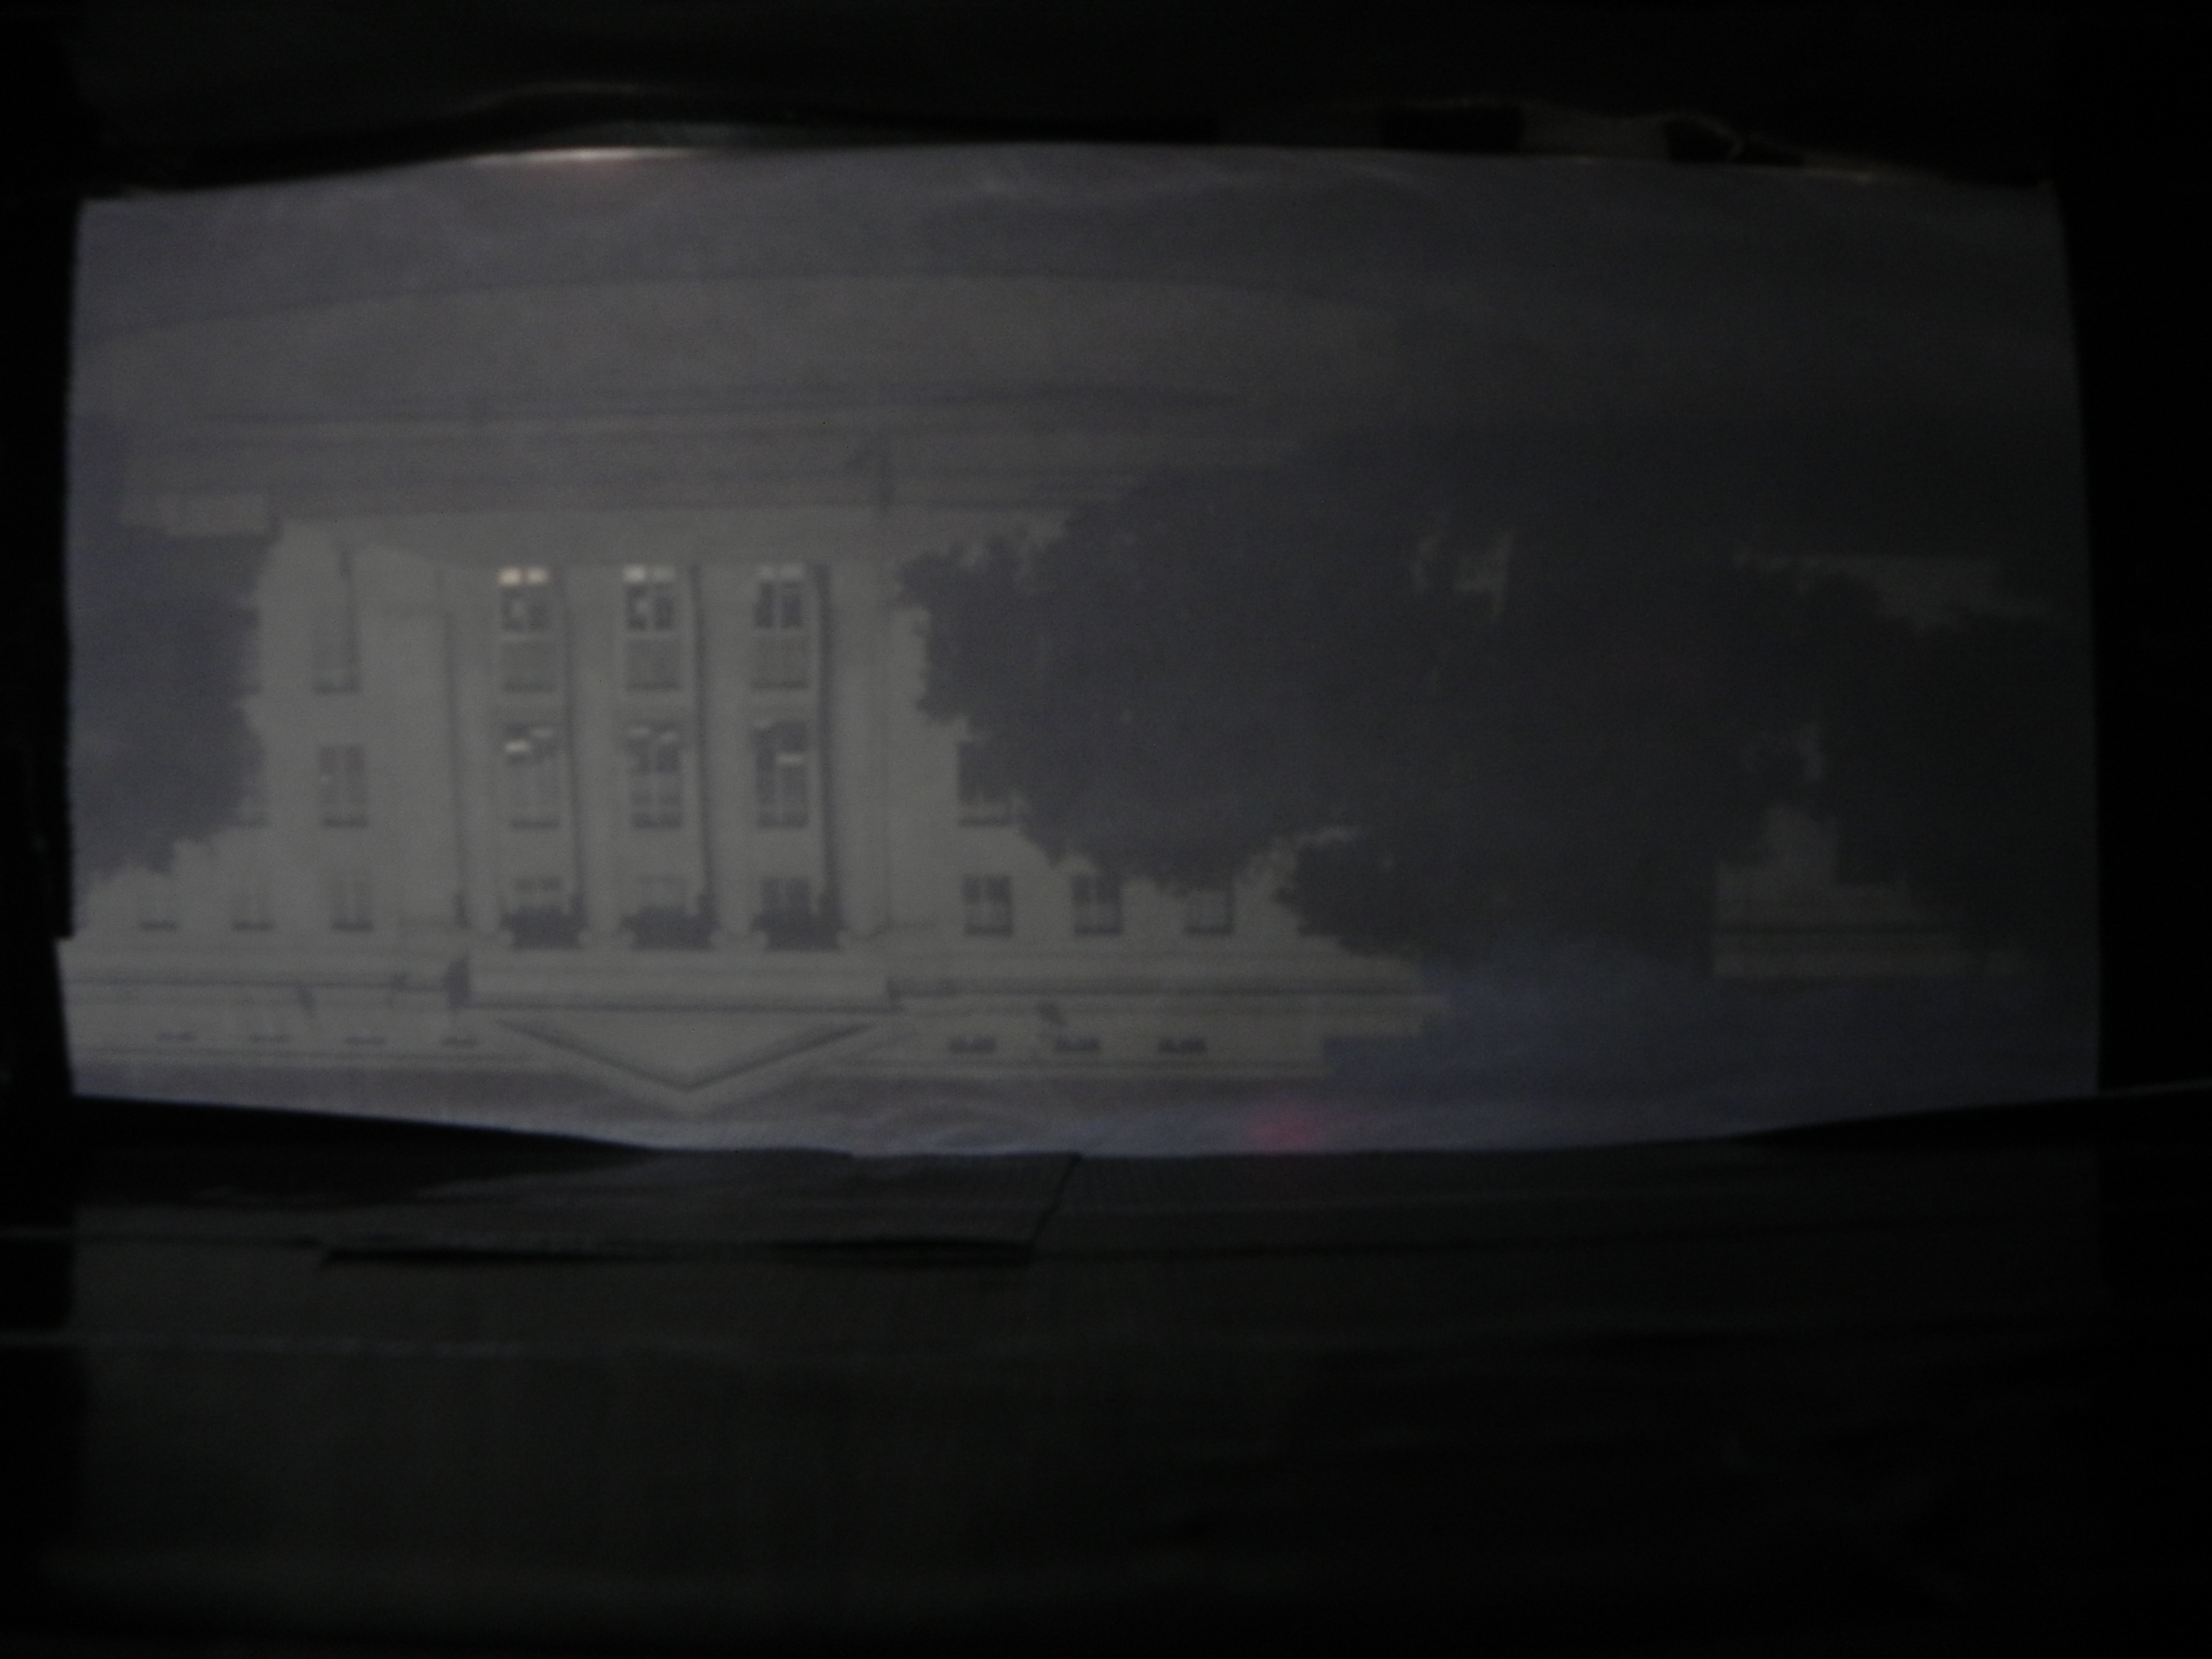
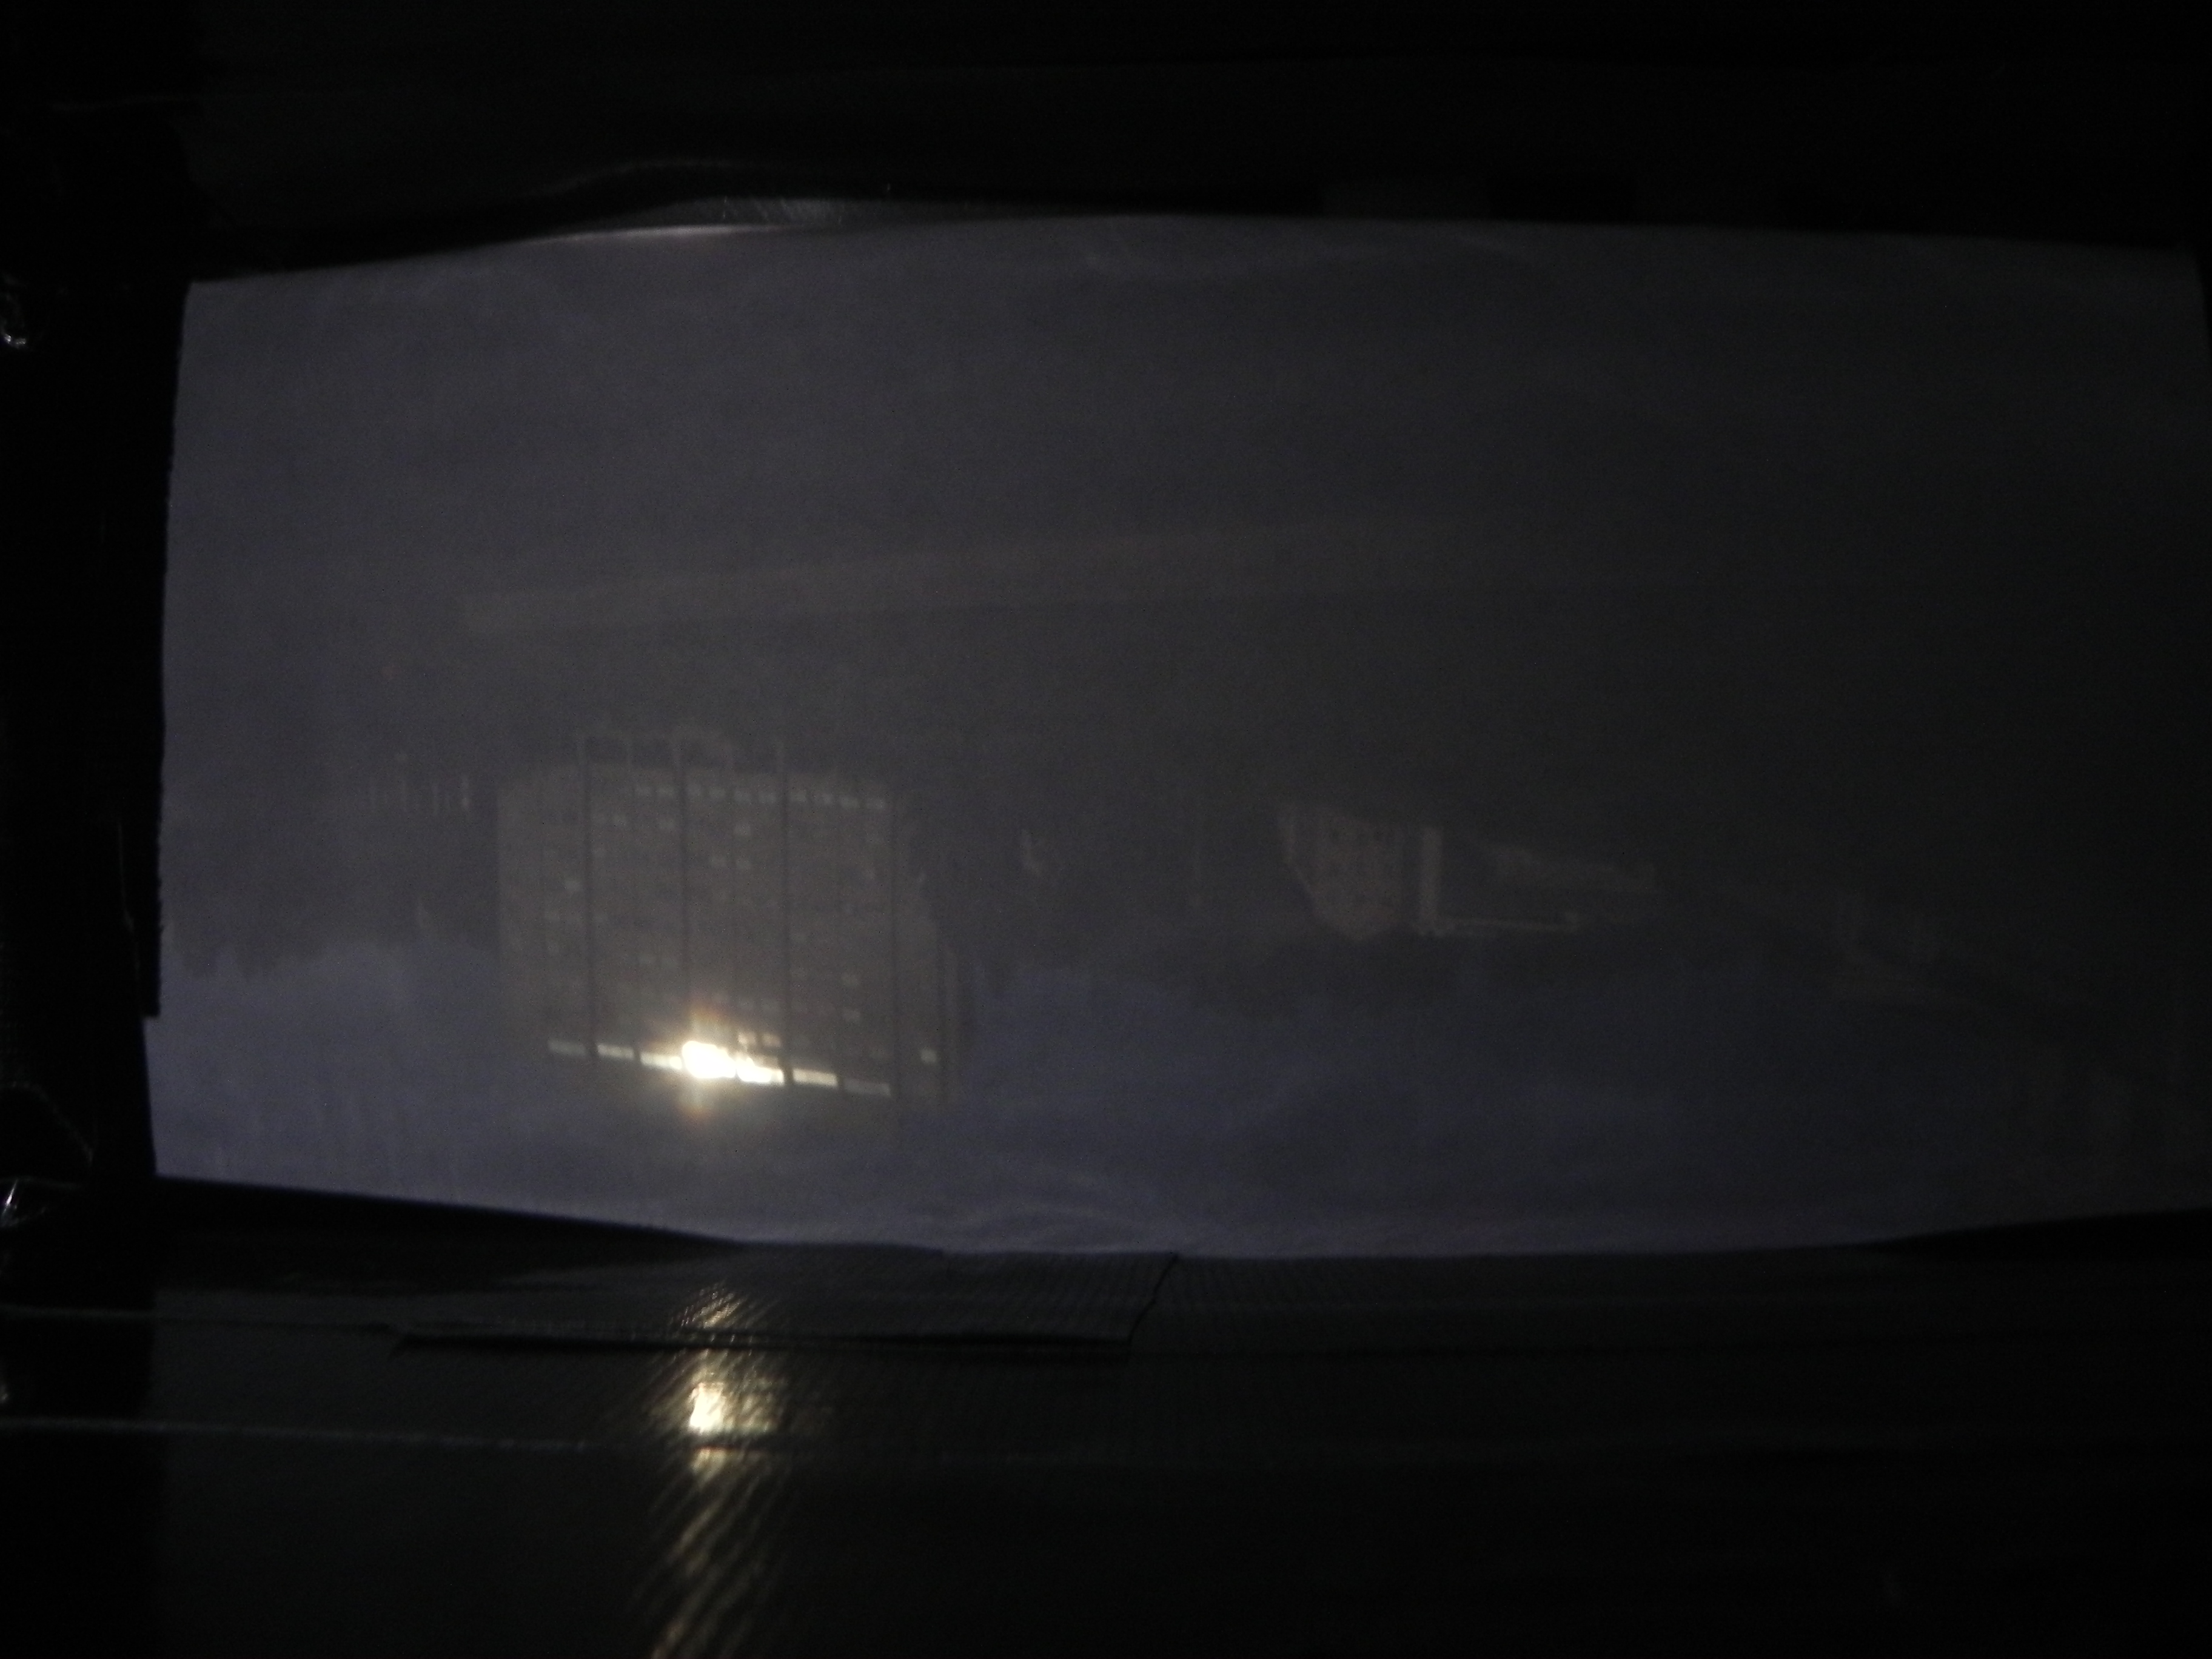
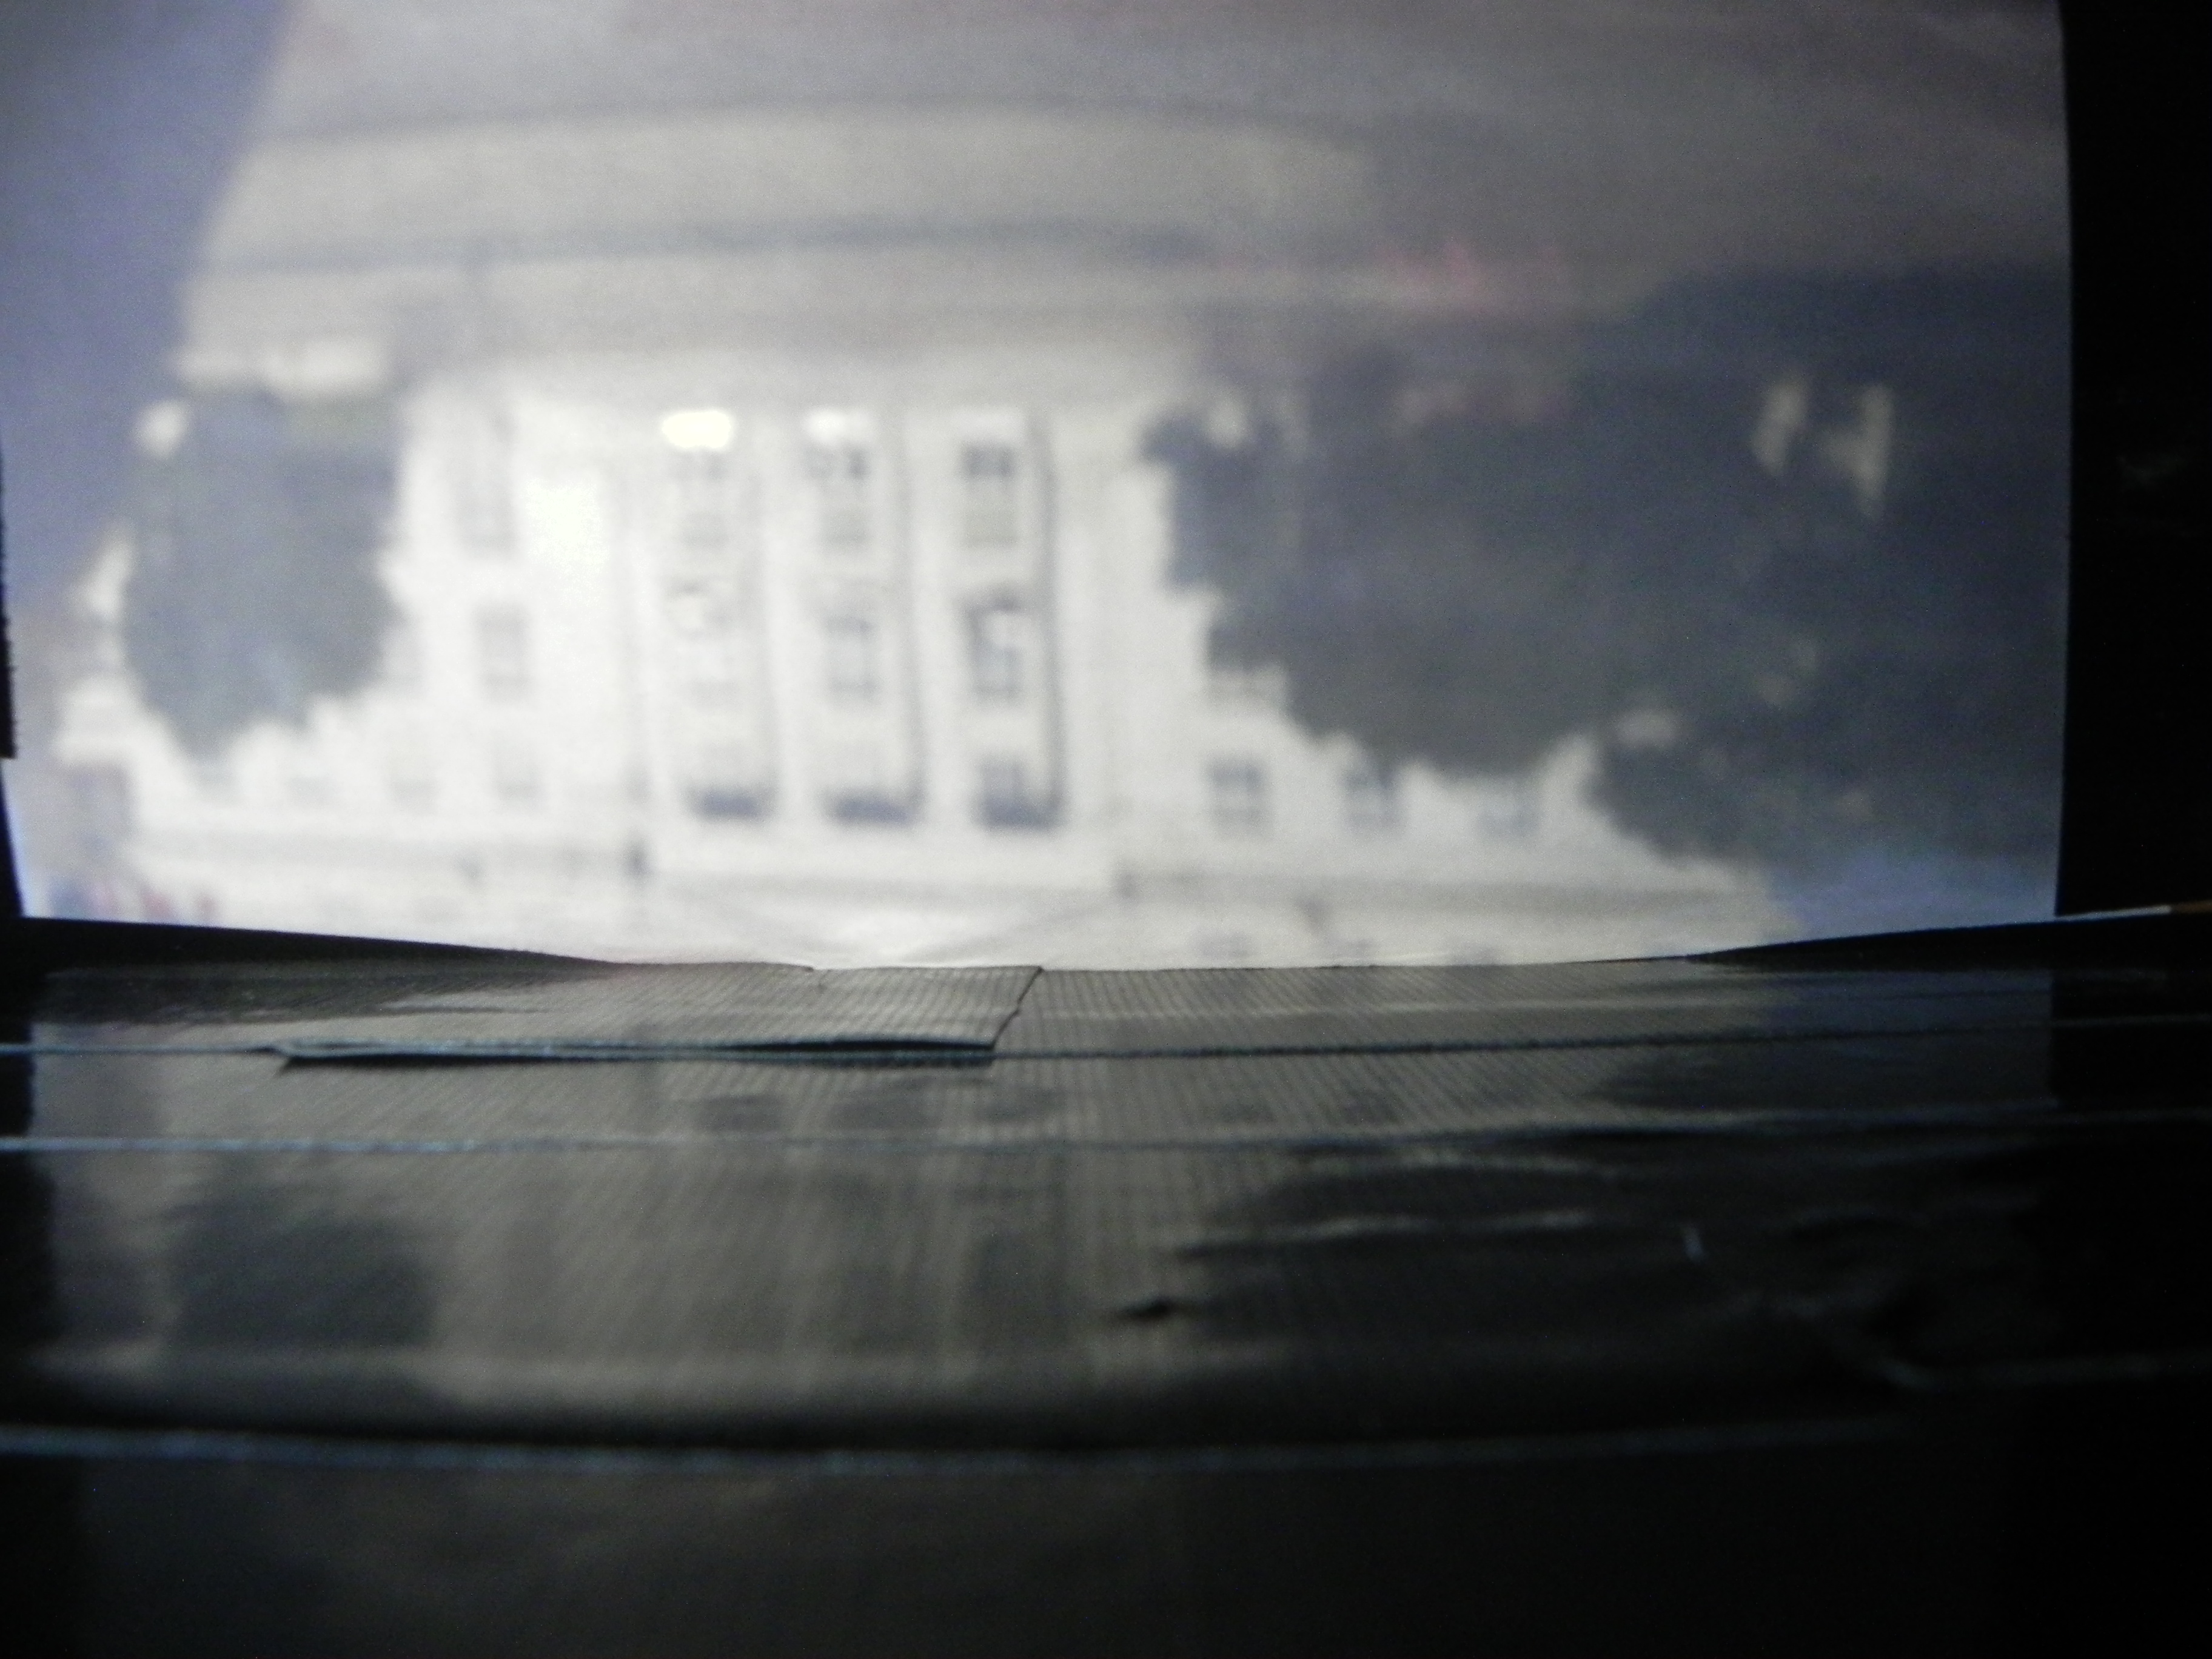
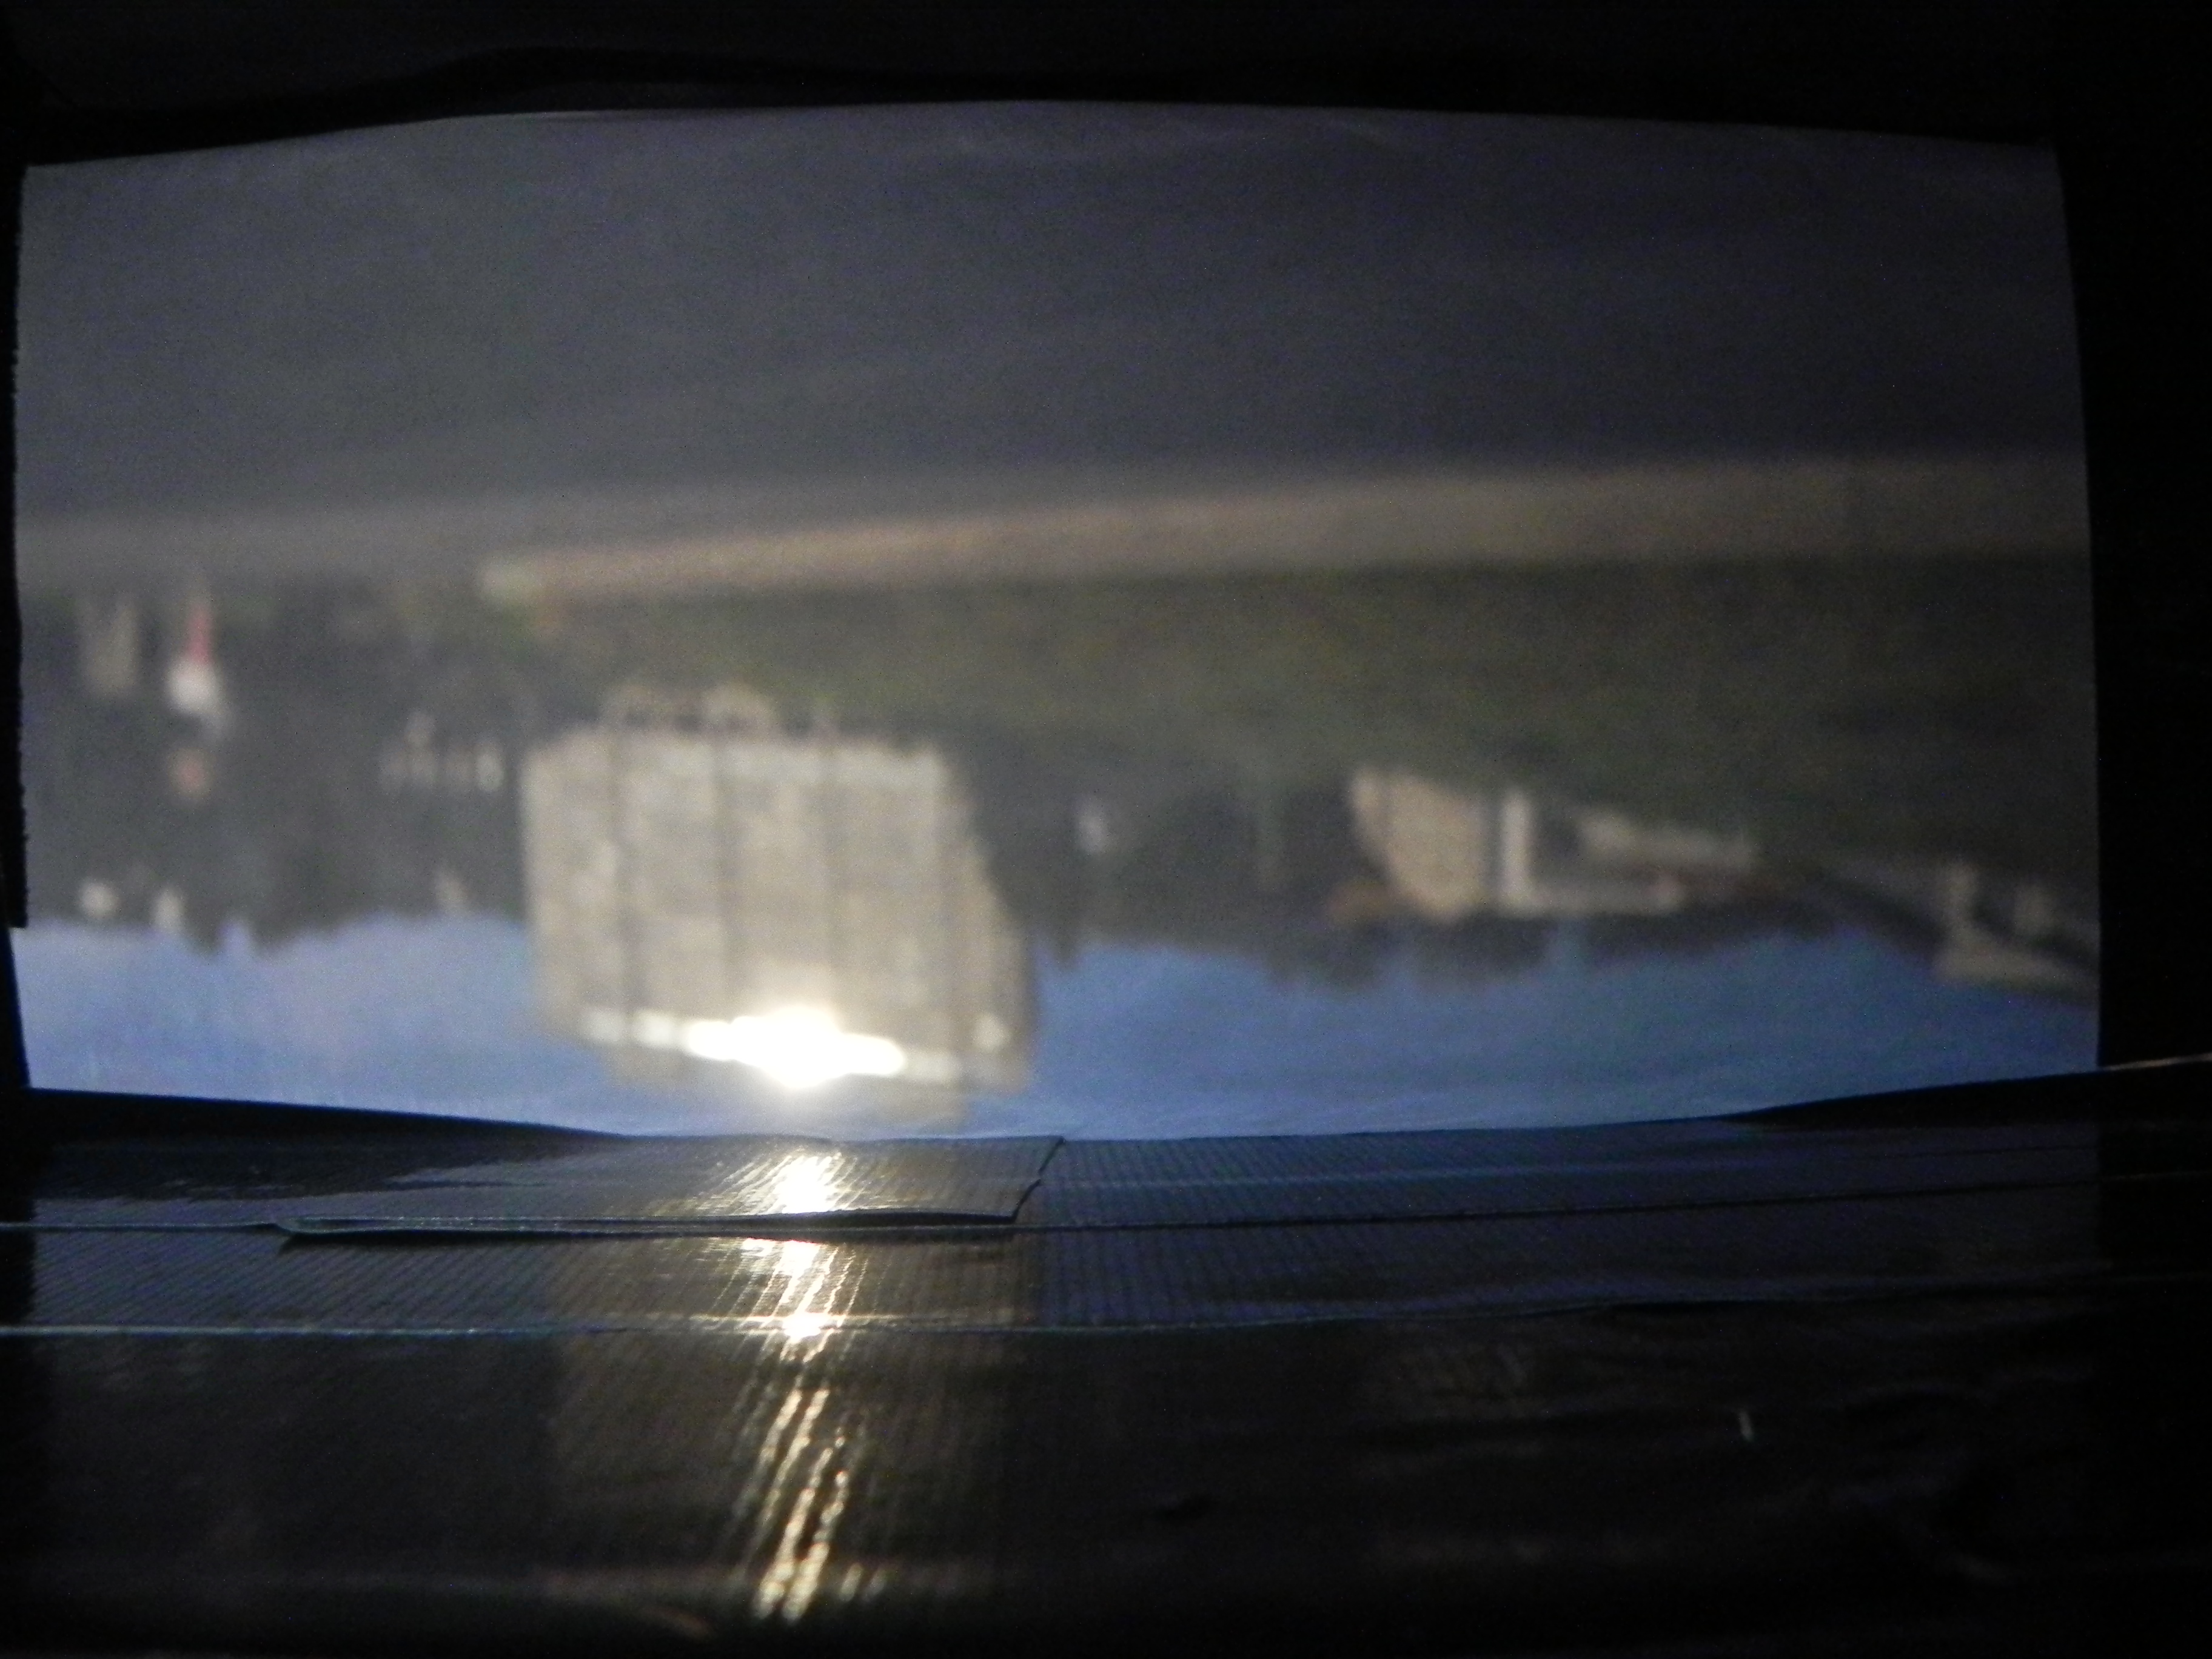
All images were taken with an 8-second exposure because that was the longest possible with our digital camera. Limited to bright scenes, we opted for large buildings that would reflect a lot of light like Sproul and Evans. We also calculated the optimal pinhole diamater to be about 0.2mm with the provided formula, but with the tools on hand the smallest we could produce was 0.5mm. Seeing as even that was quite dark, anything less would have been infeasible given our 8-second limit. 3.5mm and 7mm happened to be larger sizes that we could produce easily. We found that pictures taken with 0.5 mm were quite hard to see but did seem to be in good focus. Those taken with 7mm came out much brighter but were also much blurrier due to the large size of the aperture. The 3.5mm images as expected are somewhere in between in focus, but actually appear to be brighter than our 7mm images. This discrepancy must be due to the camera automatically adjusting for the brightness of the scene by using a darker part of the image for the 3.5mm shots than for the 7mm shots.
| Aperture Size (mm) | Sproul | Evans |
|---|---|---|
| 0.5 | |
|
| 3.5 | |
|
| 7 | |
|