CS 194-26 Project 2
Building a Pinhole Camera
Team members: cs194-26-aek
Overview
For this project, I built a pinhole camera using a cardboard box and a DSLR to capture the image projected onto the screen. A pinhole camera, or camera obscura, works by letting light reflected from objects through the small pinhole opening. Because the image is projected on a screen on the interior of the cardboard box, we must use an external camera to capture this image.
Approach
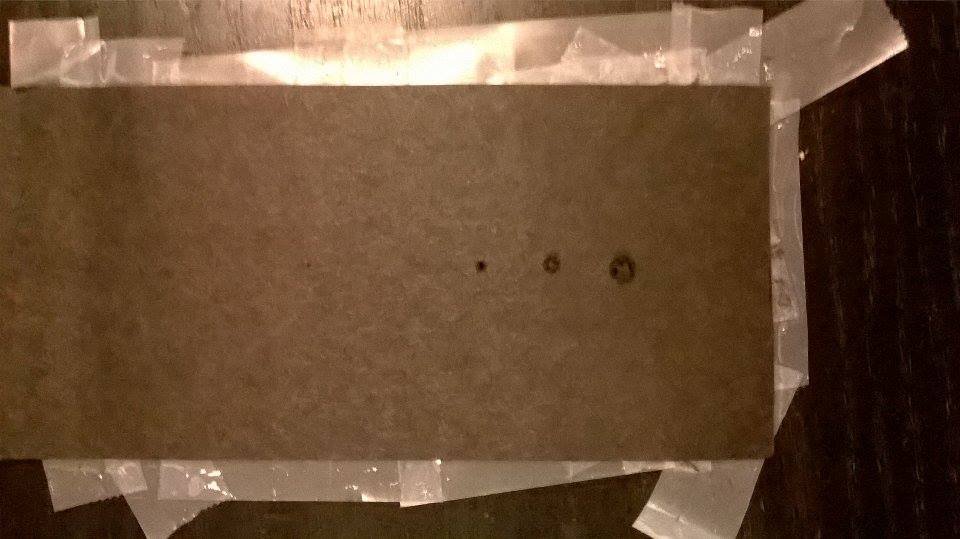
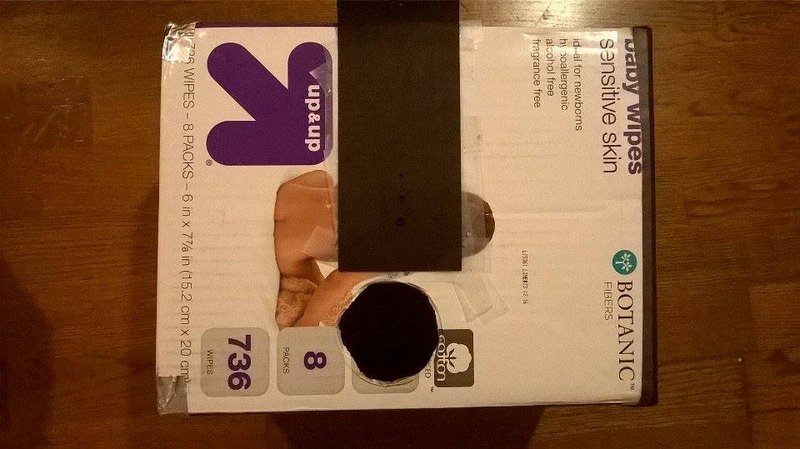
I chose to use a cardboard box I was able to find that seemed to have the right dimensions for a pinhole camera. I sealed the box with duct tape so that light wouldn't leak into the image, and then cut two holes in the front of the box: one for the pinhole slots, and one for the camera. Then, I punched three differently sized holes in a piece of black paper and laid this paper over the pinhole slot. To use a pinhole size, I would cover up the other two pinholes with black paper. When taking a picture, I found that the best results were achieved when I set the camera on a tripod or on another steady surface like the floor. Below is an image of my final setup:

For my pinholes, I used a .6mm pinhole, a 2mm pinhole, and a 5mm pinhole. According to the equation provided for us, the optimal pinhole length was 1.9 * sqrt(f * lambda), which for us worked out to be about 0.6 mm. We chose the 2mm and 5mm pinholes after experimenting a lot with other sizes. We found that any smaller than 0.6 led to results that were too dark, and any pinholes larger than 5mm led to results that were too blurry.
Results
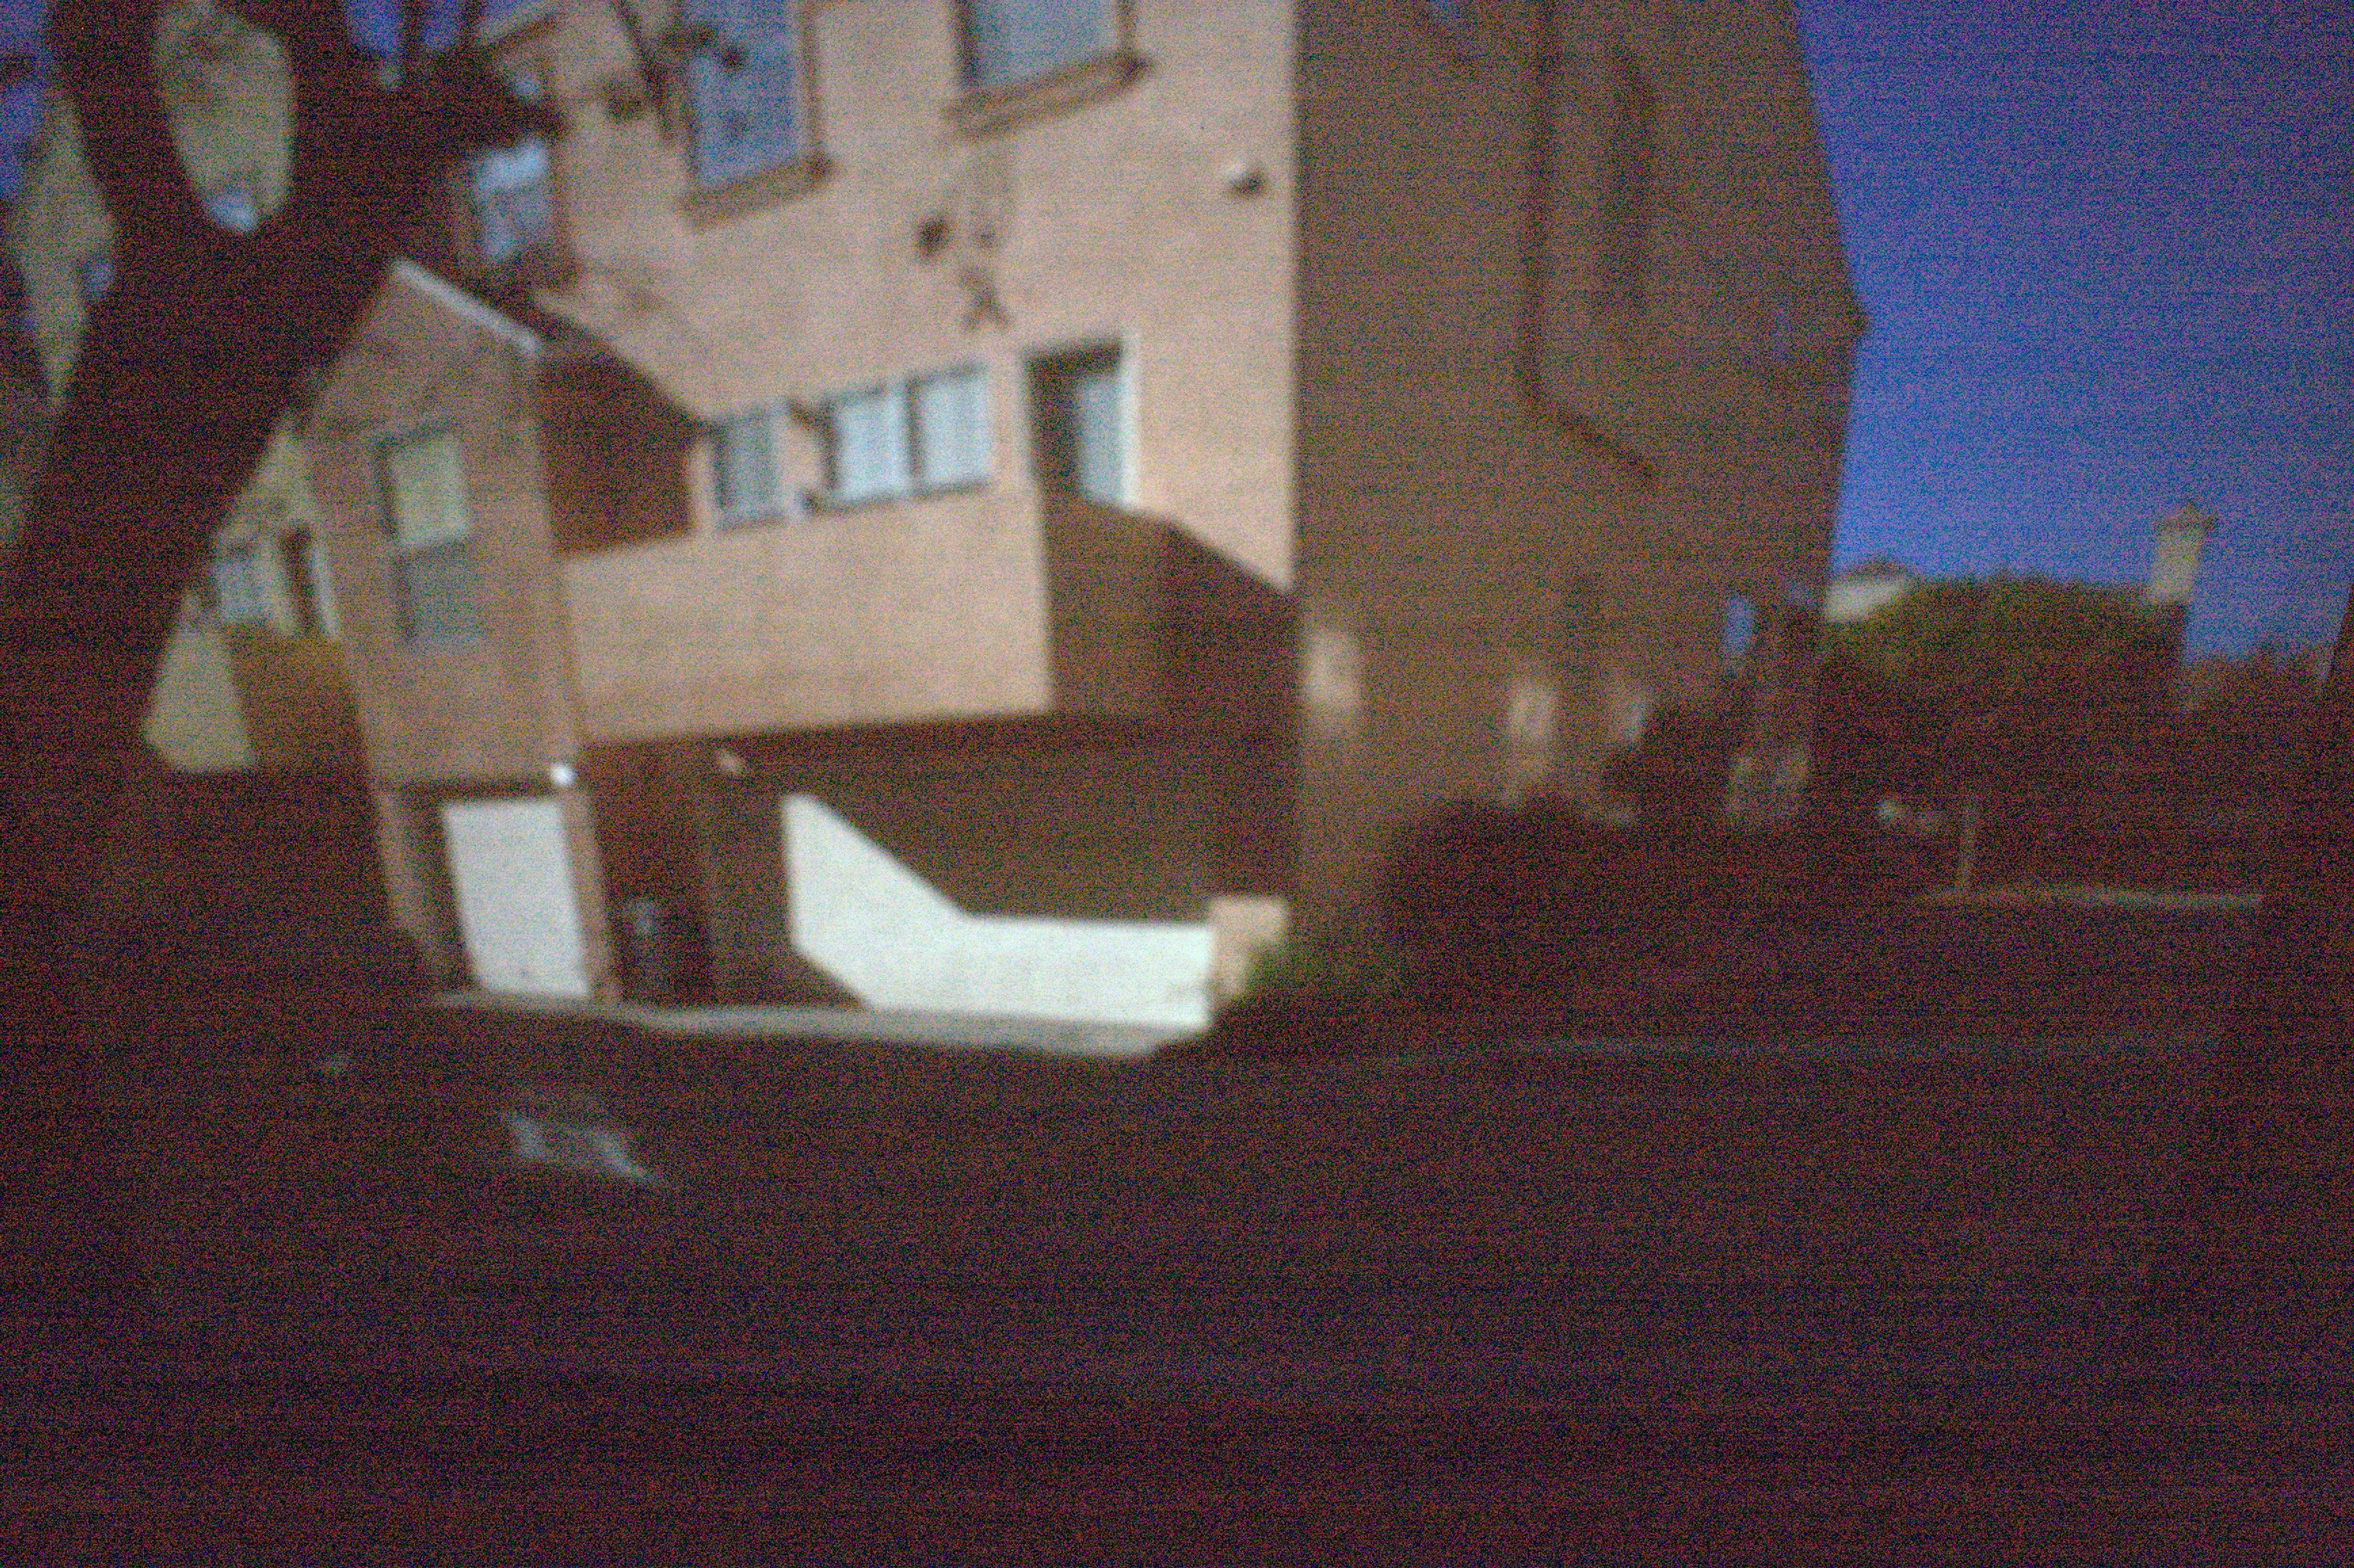
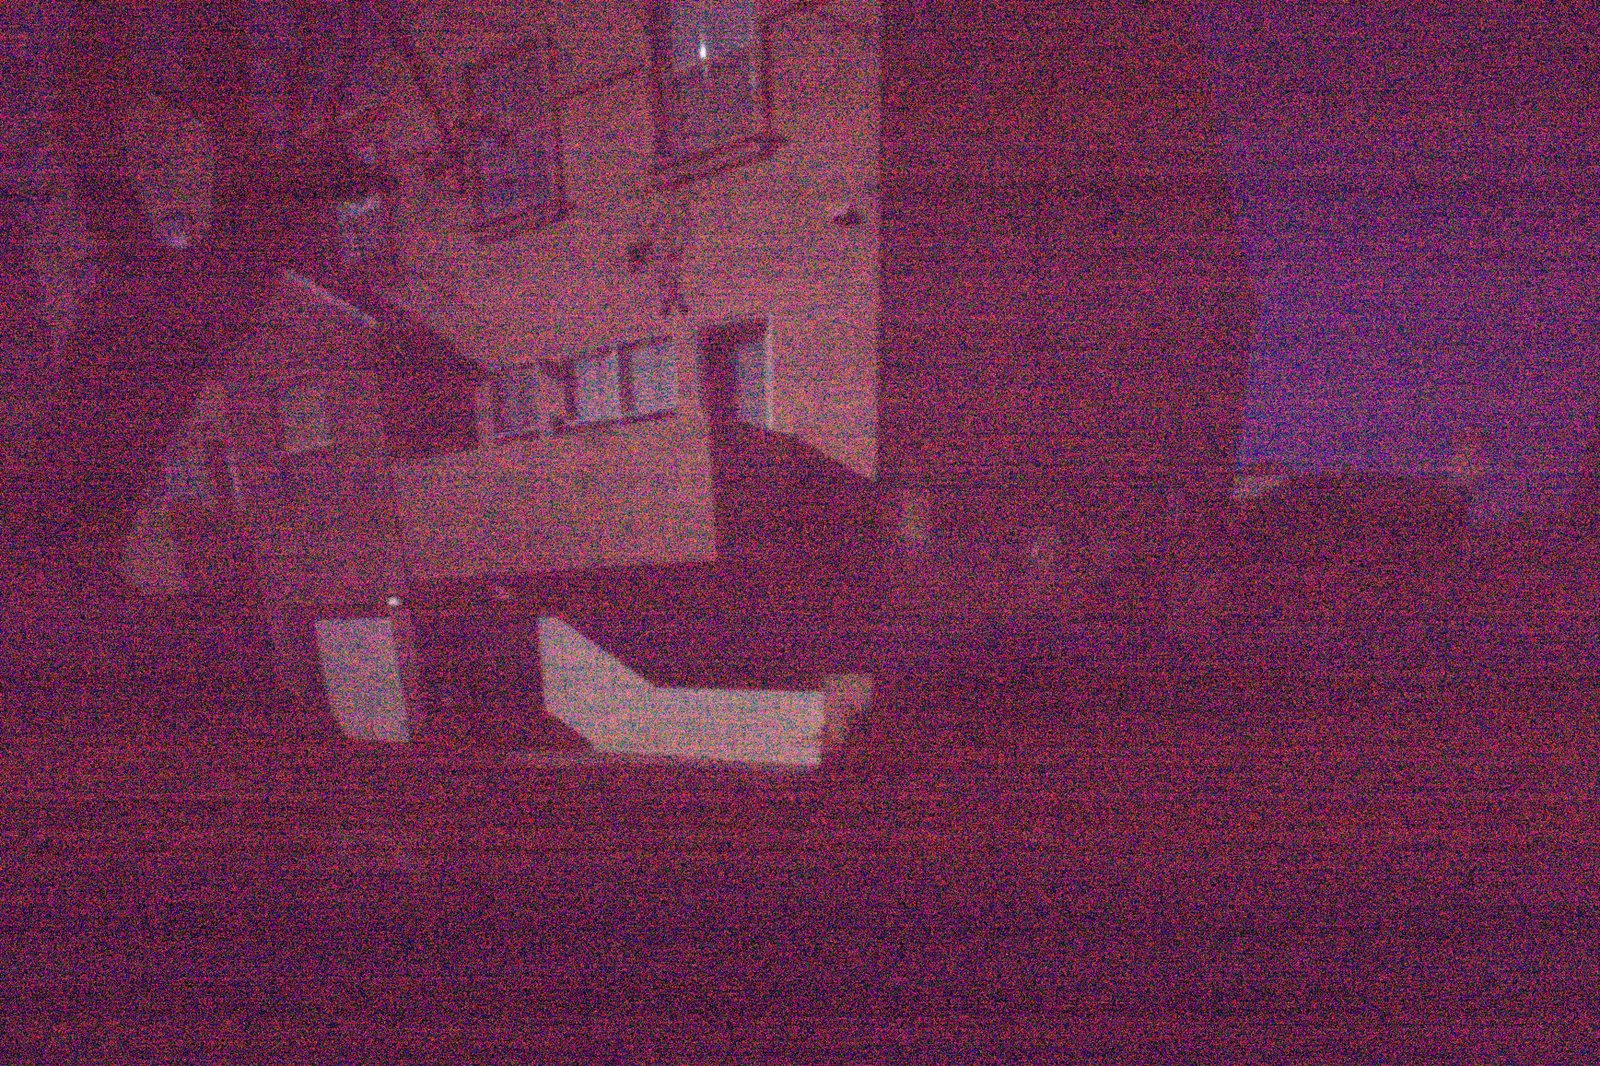
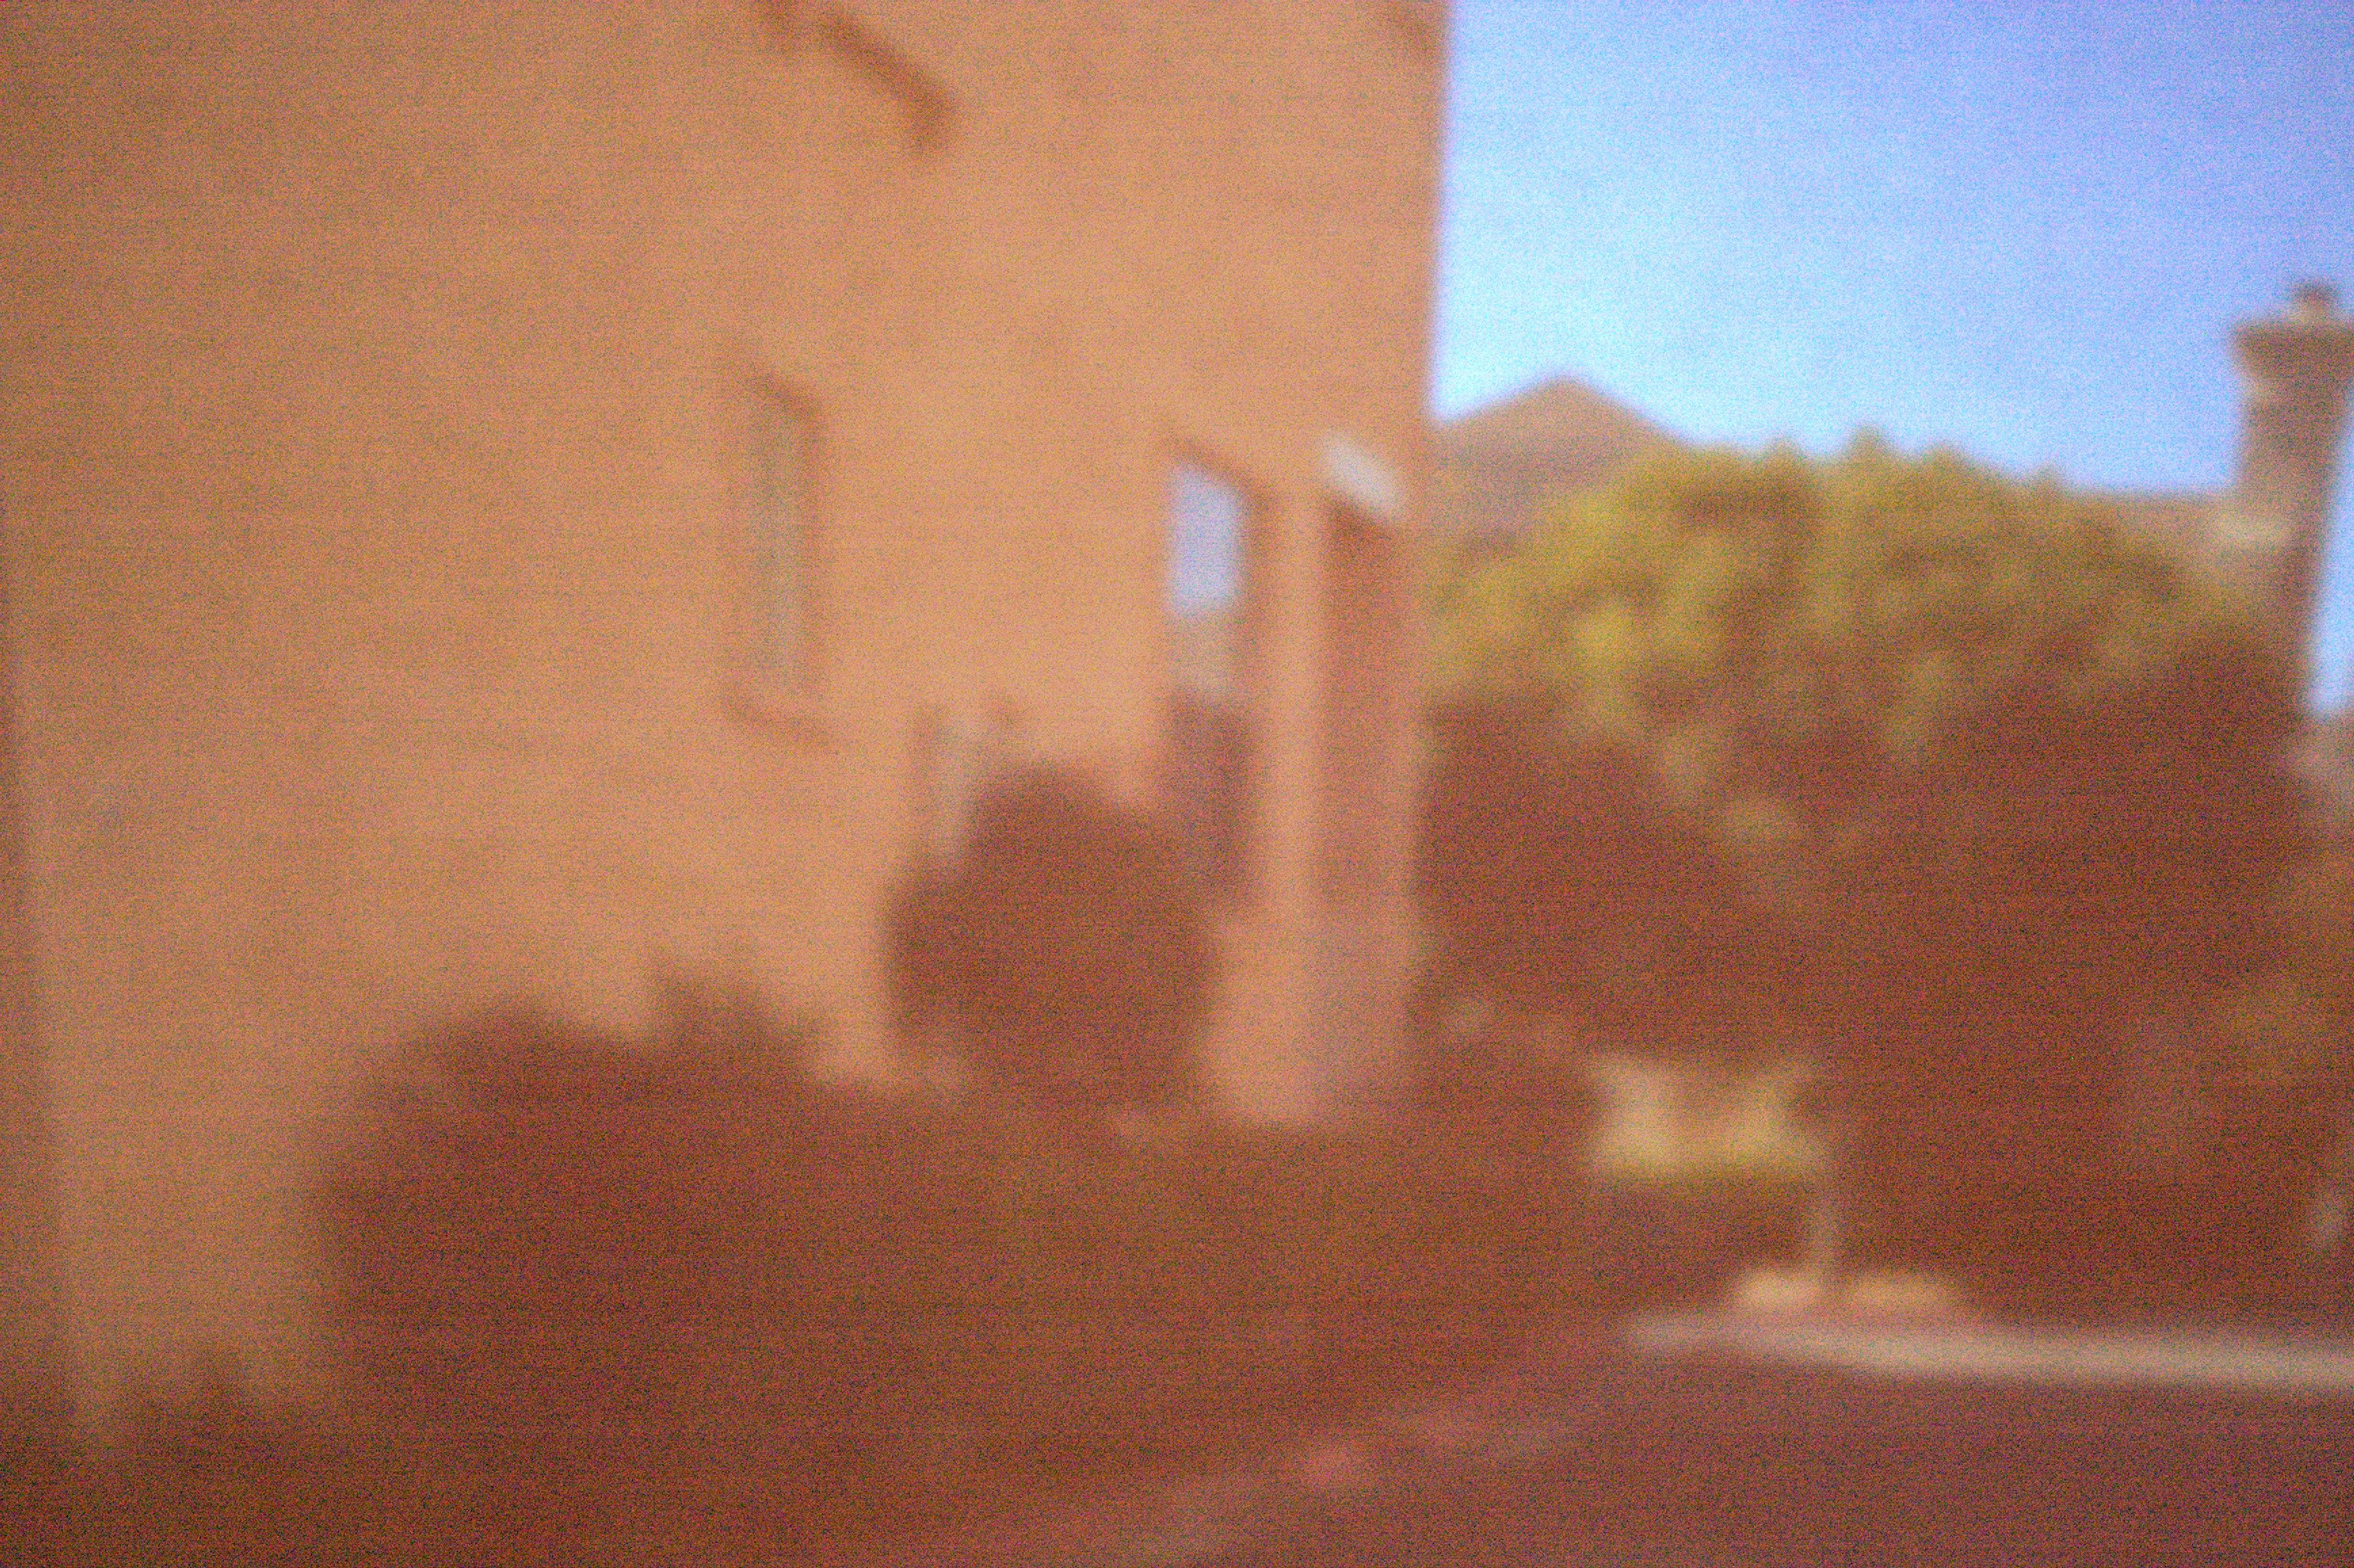
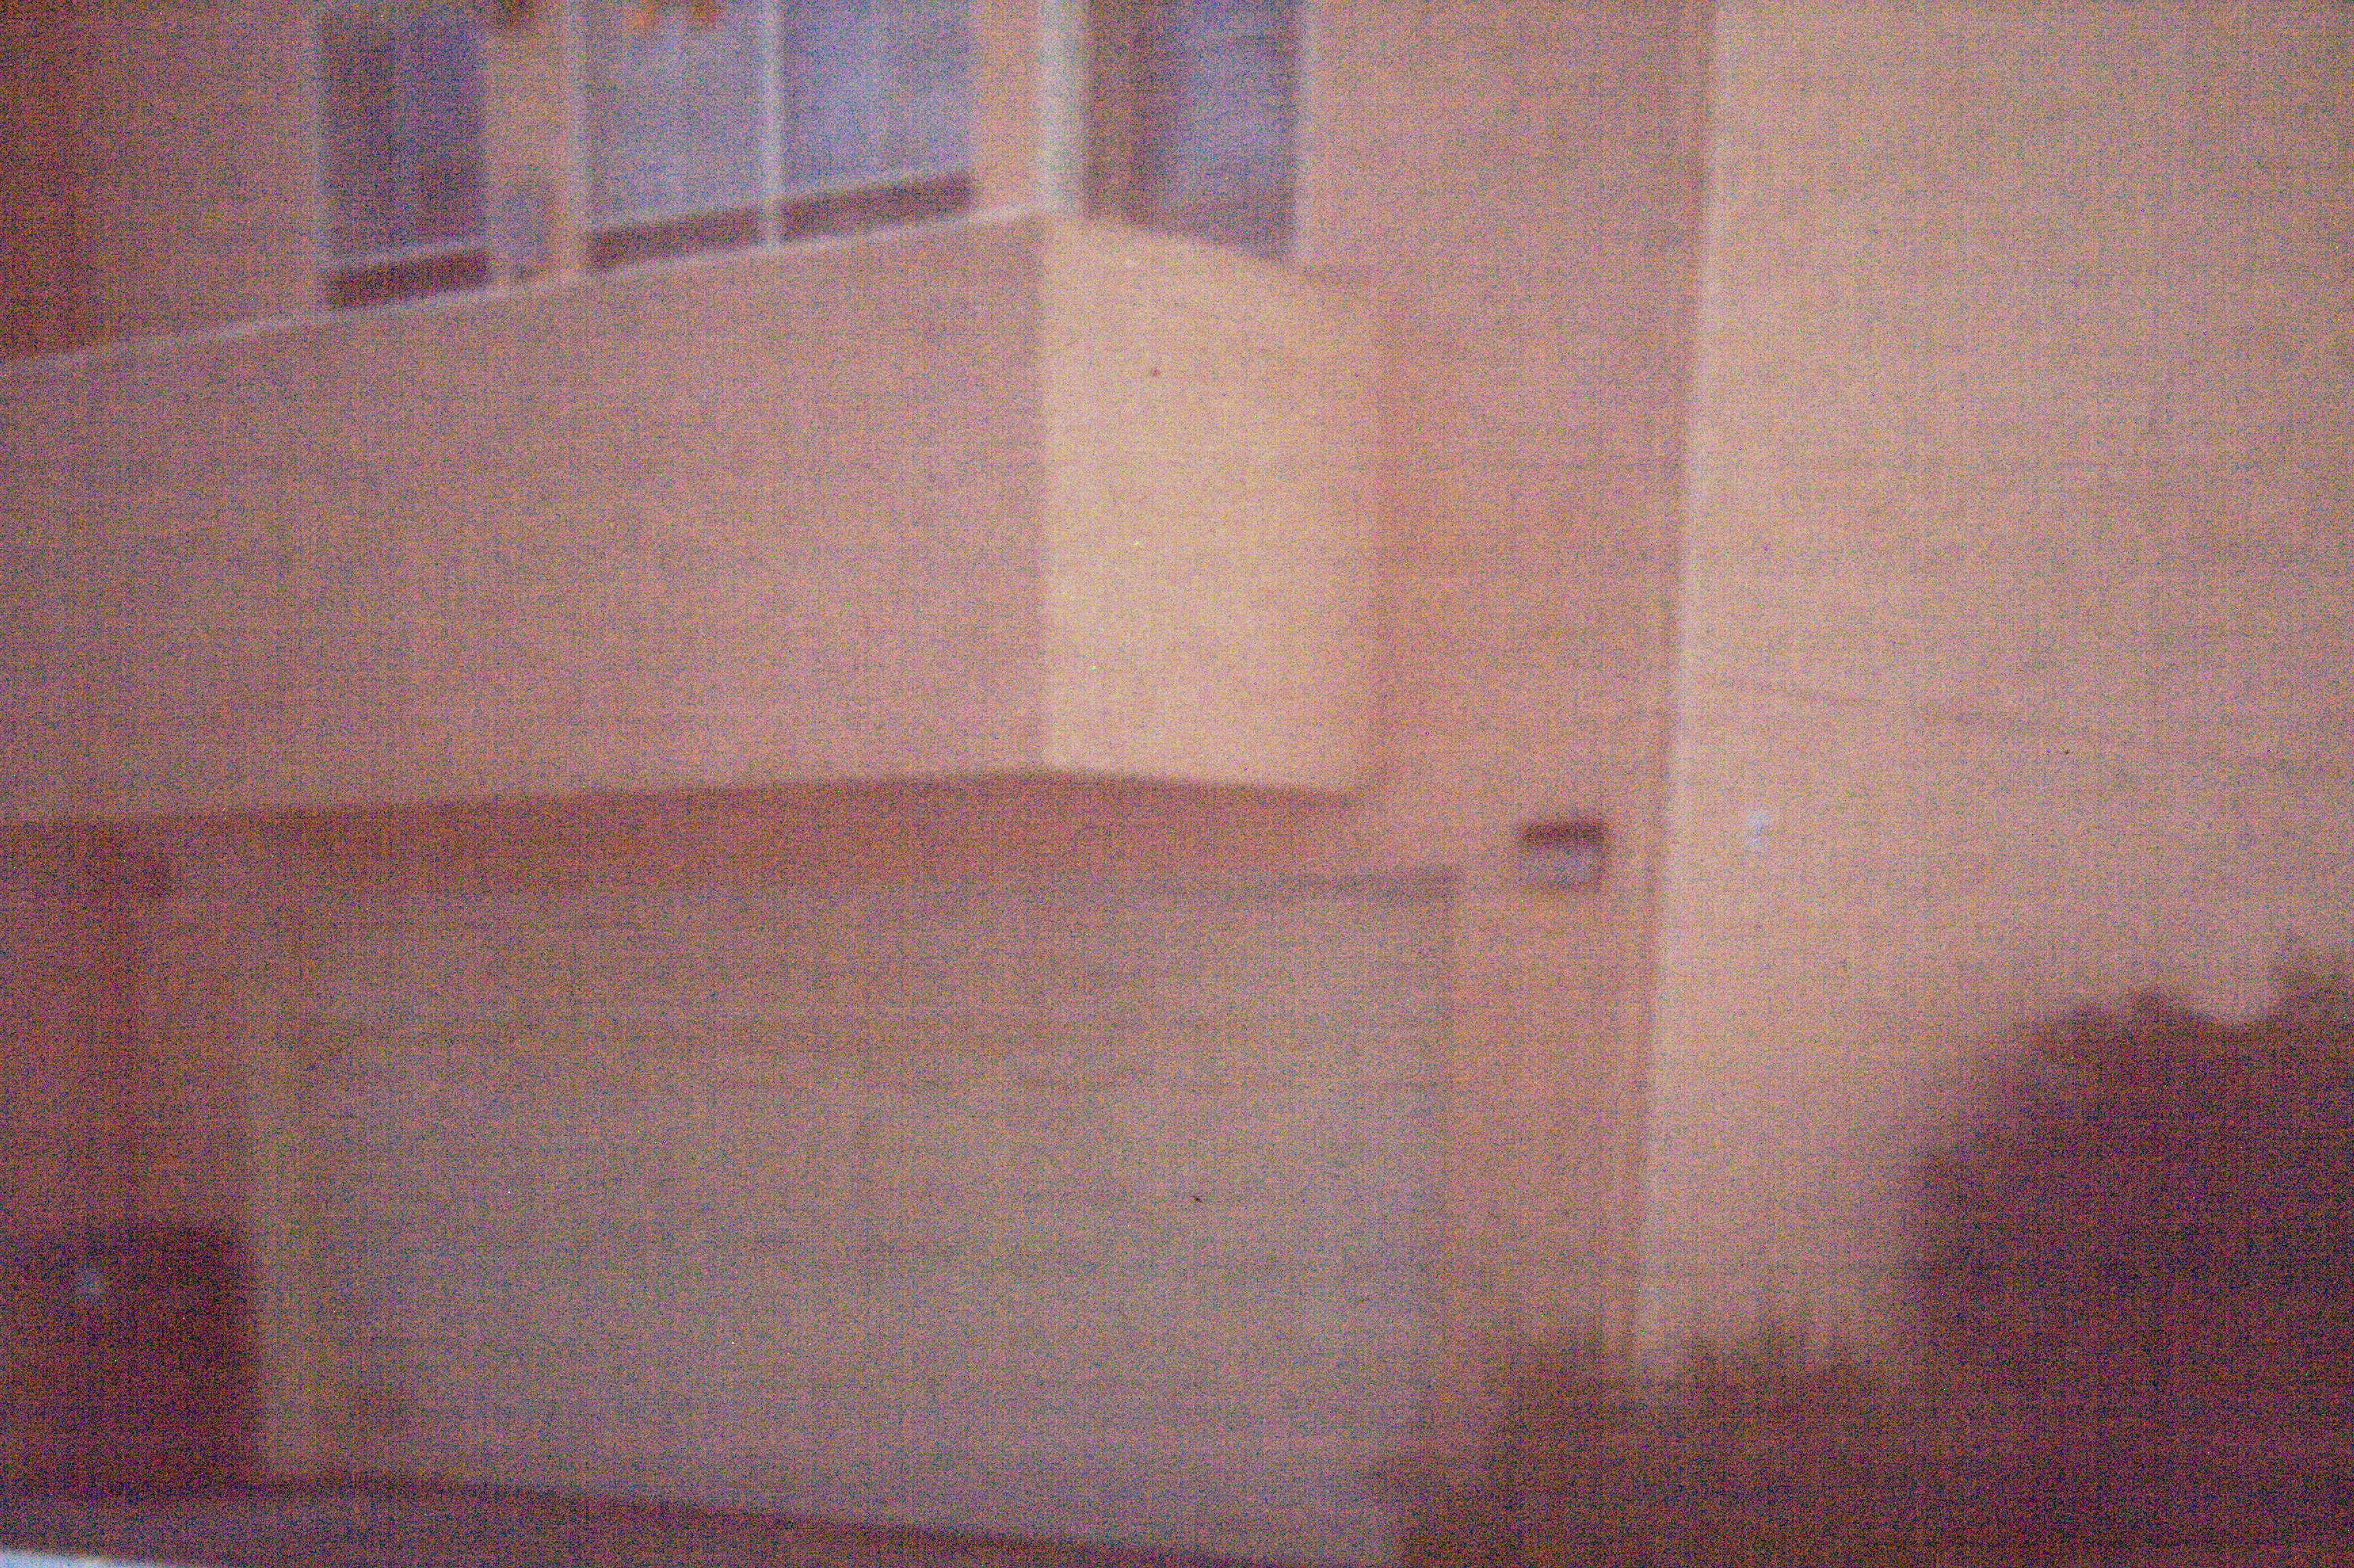
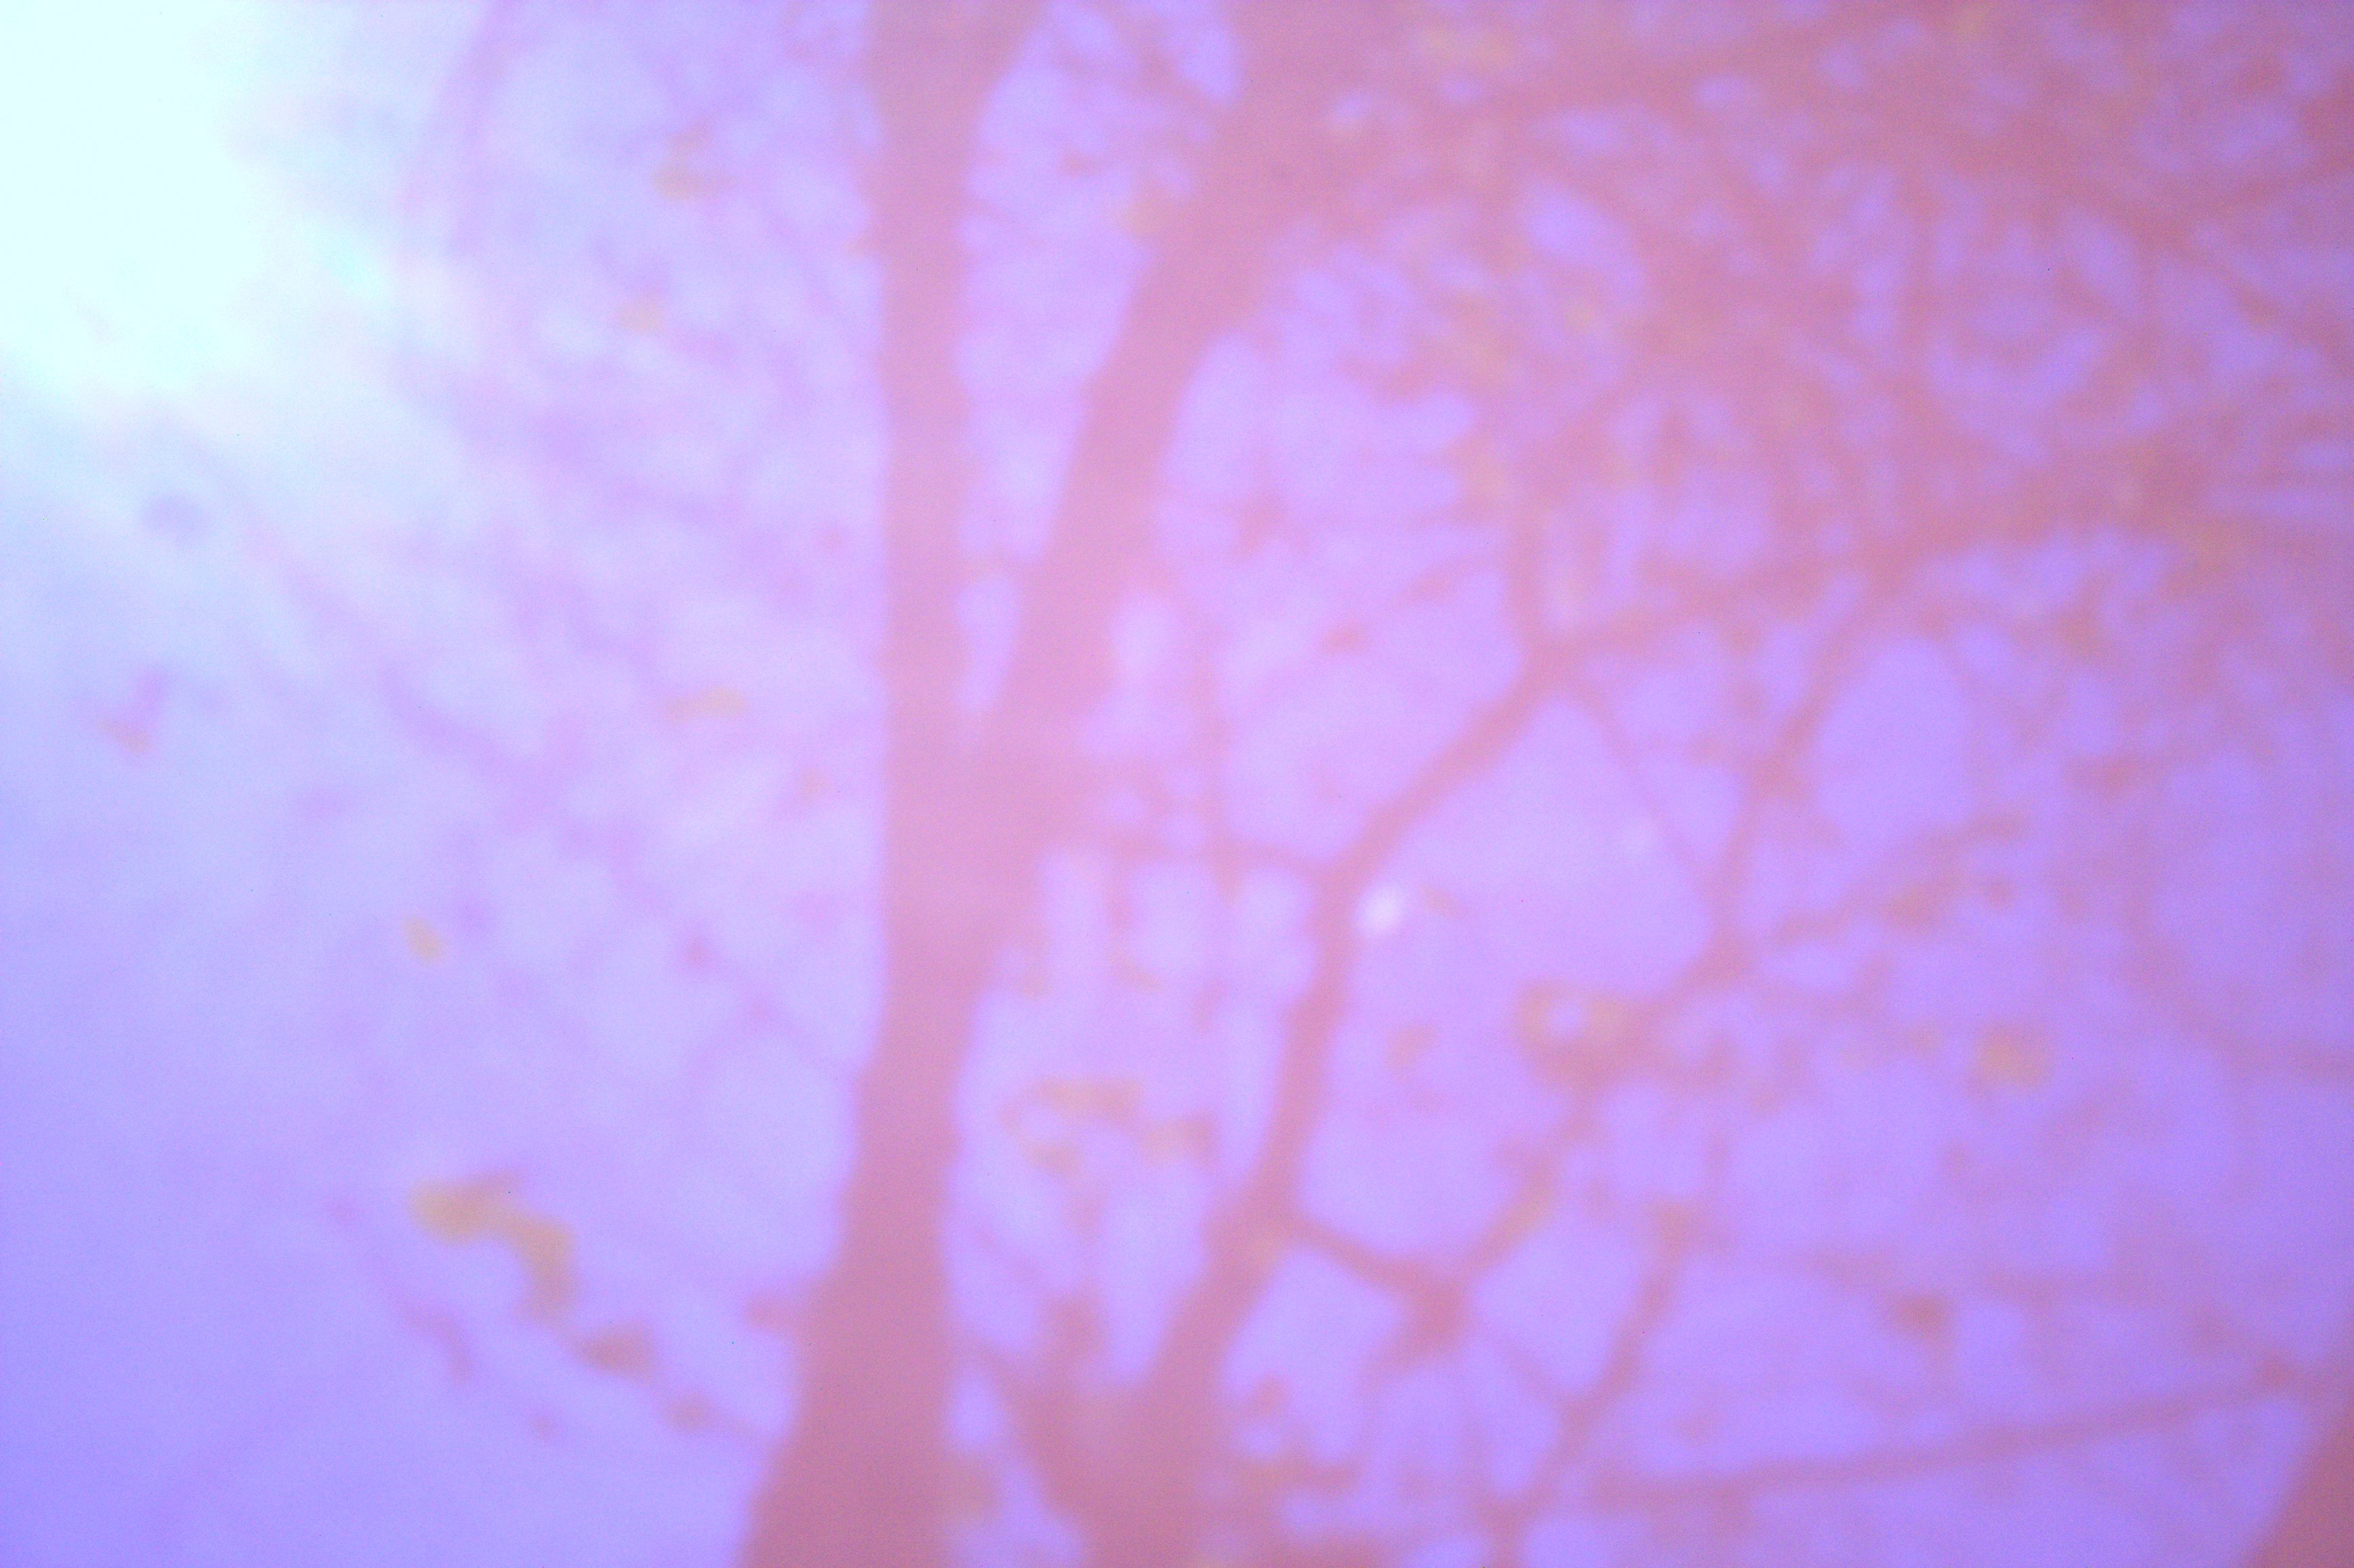
Below are the pictures I took of the area behind an apartment complex using the different pinhole sizes.
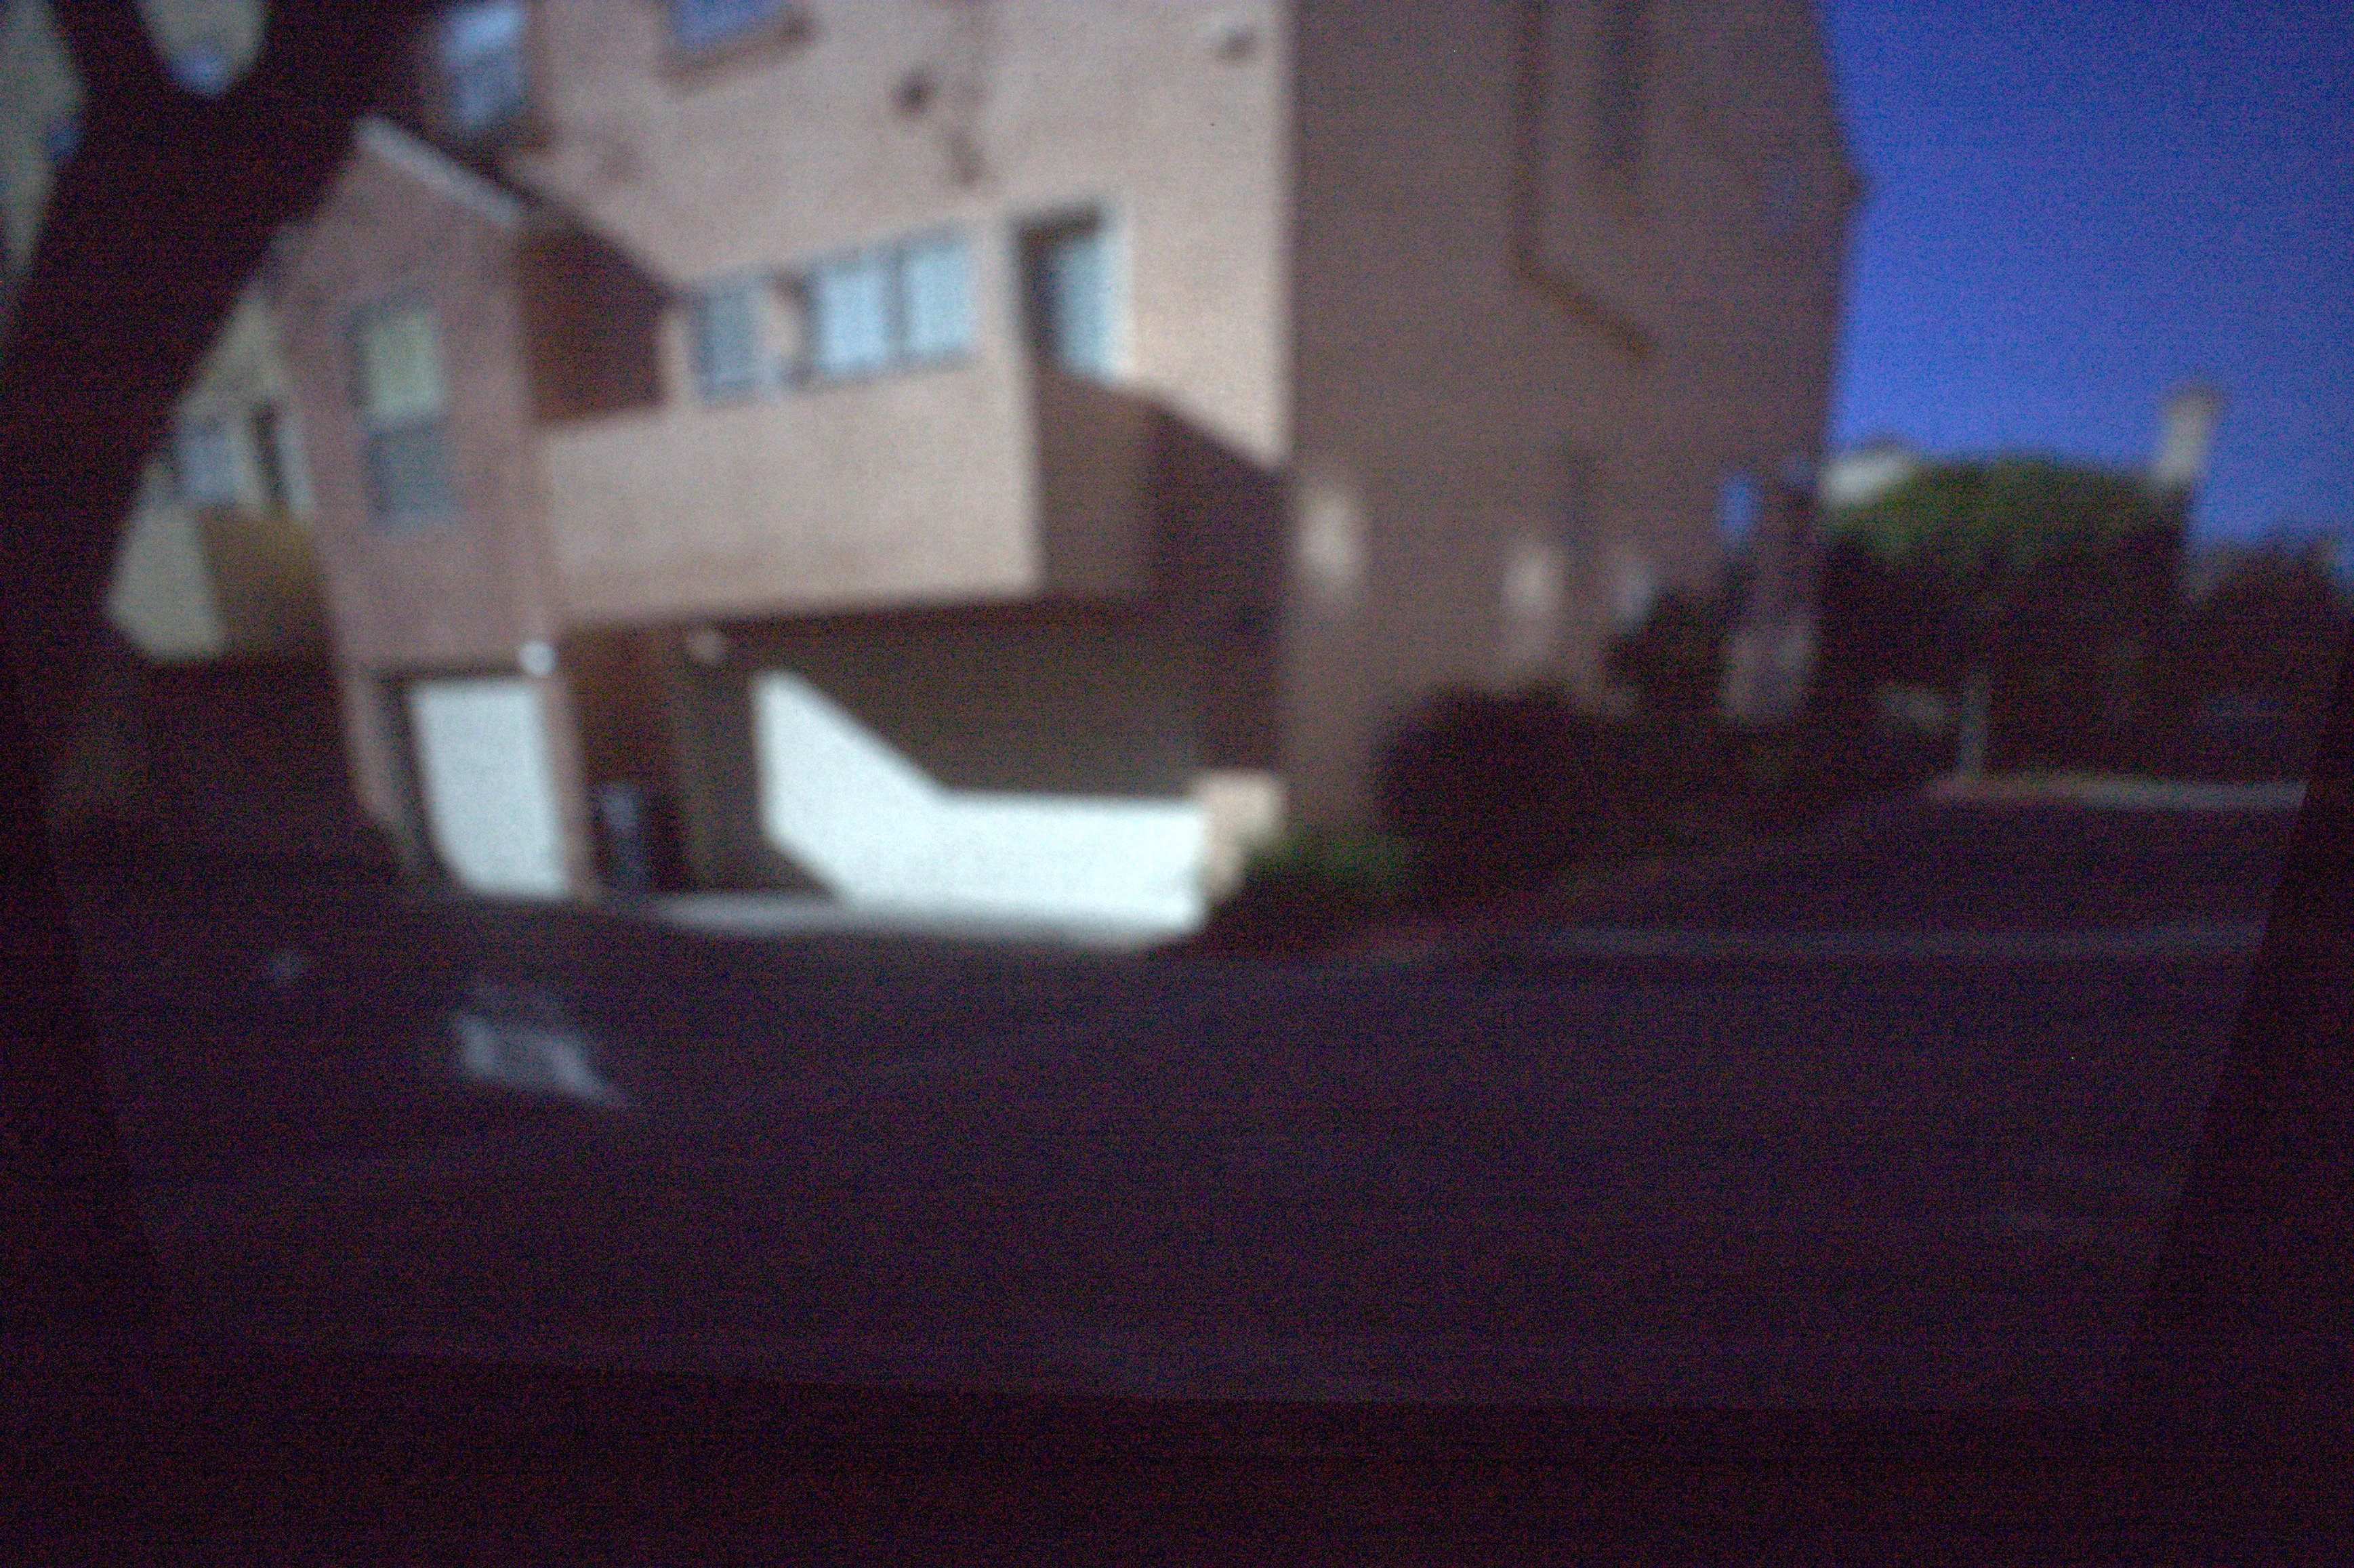
5mm pinhole
2mm pinhole
0.6mm pinhole
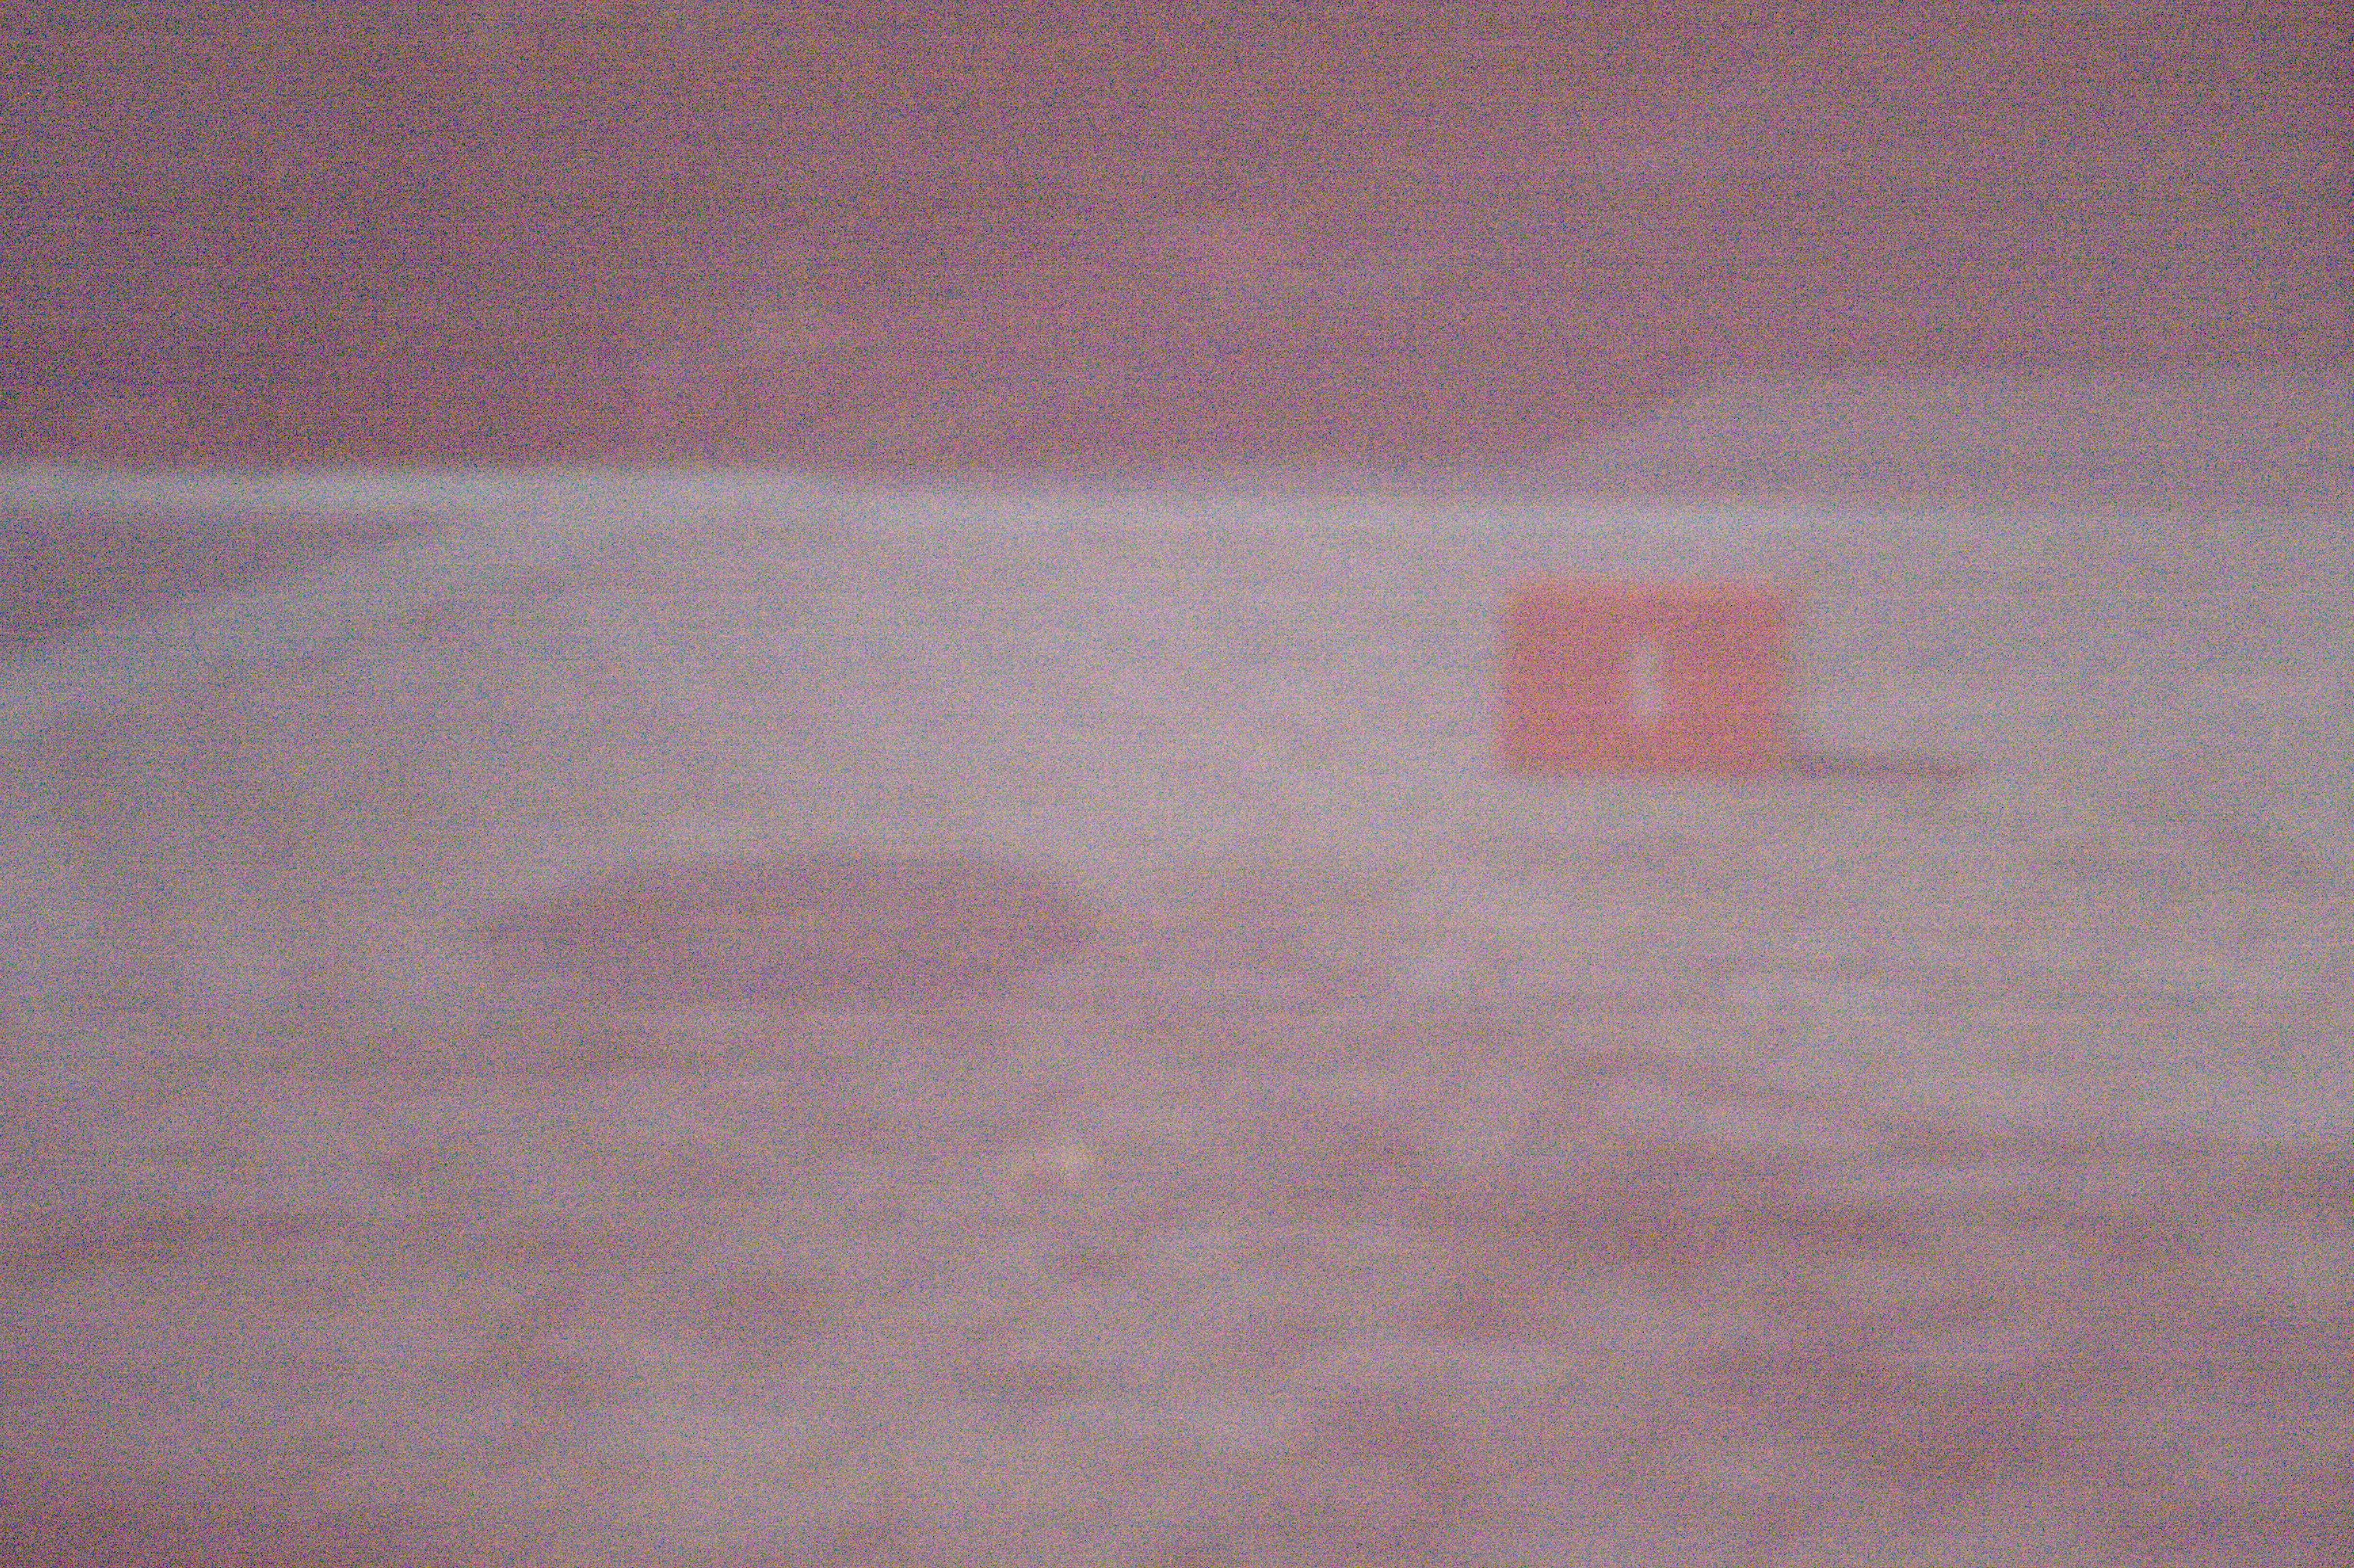
I also took pictures of a red shoebox with my pinhole camera using the different pinhole sizes. These images are brighter because the camera was facing the sun at the time they were taken. I suspect that there might have been some glare effects due to the direct sun.
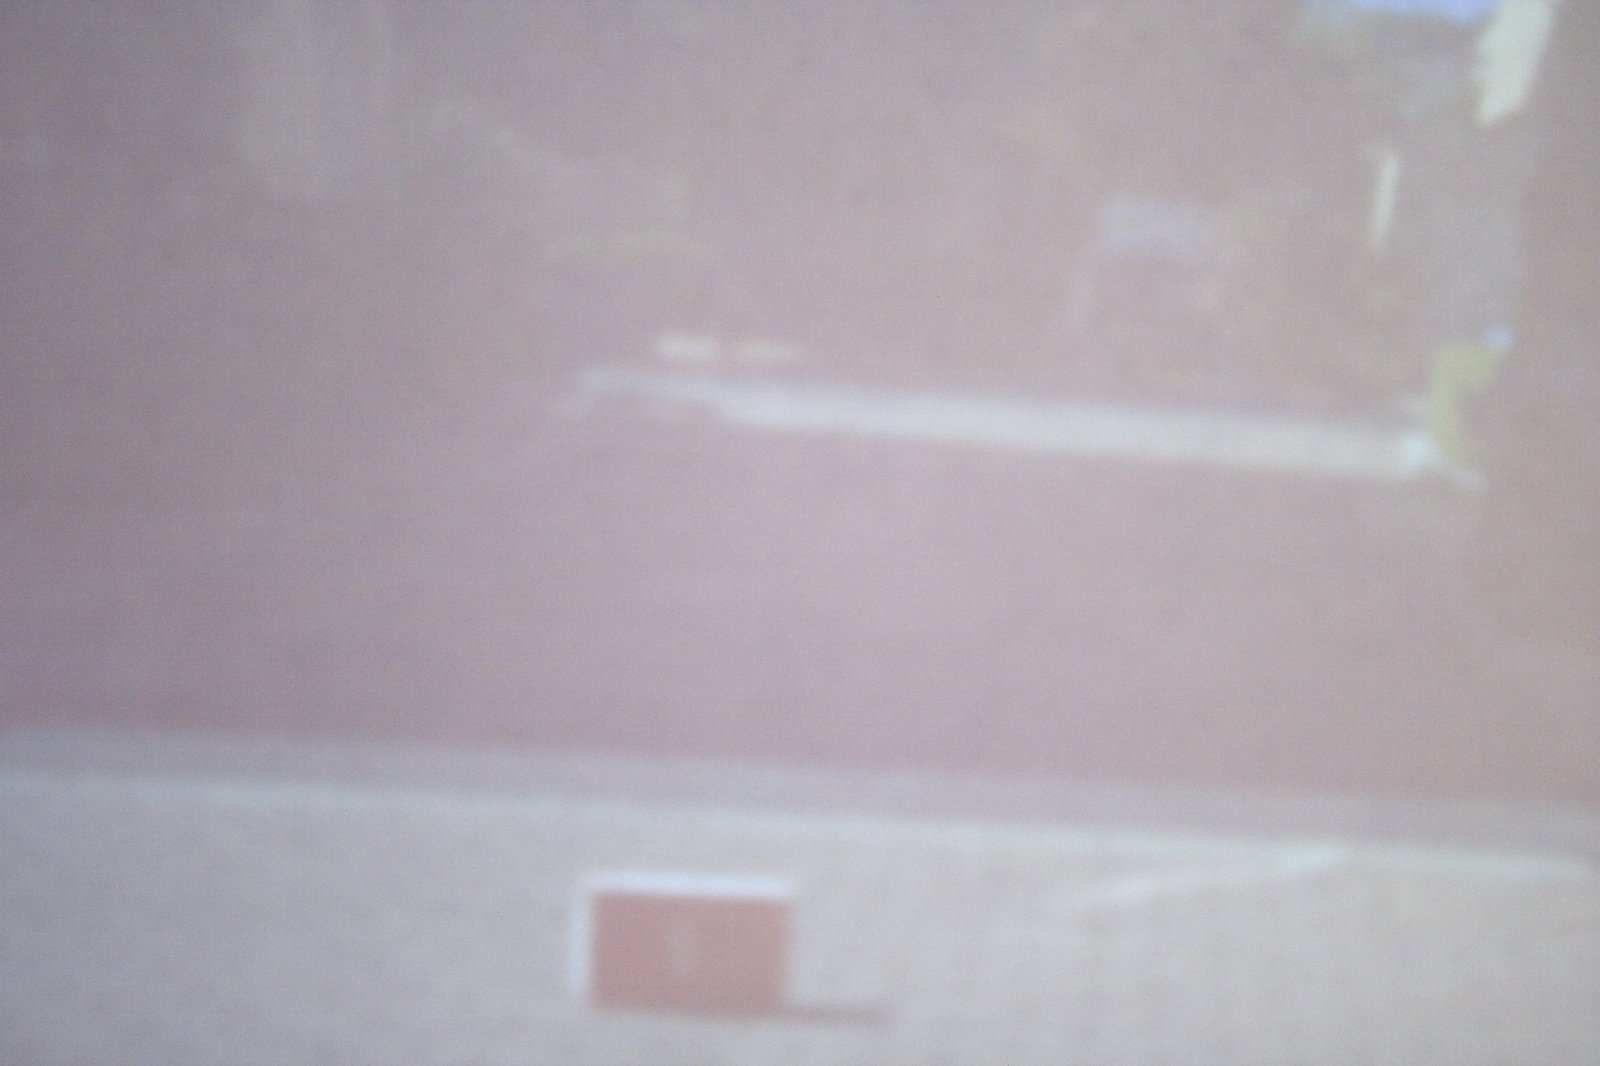
5mm pinhole
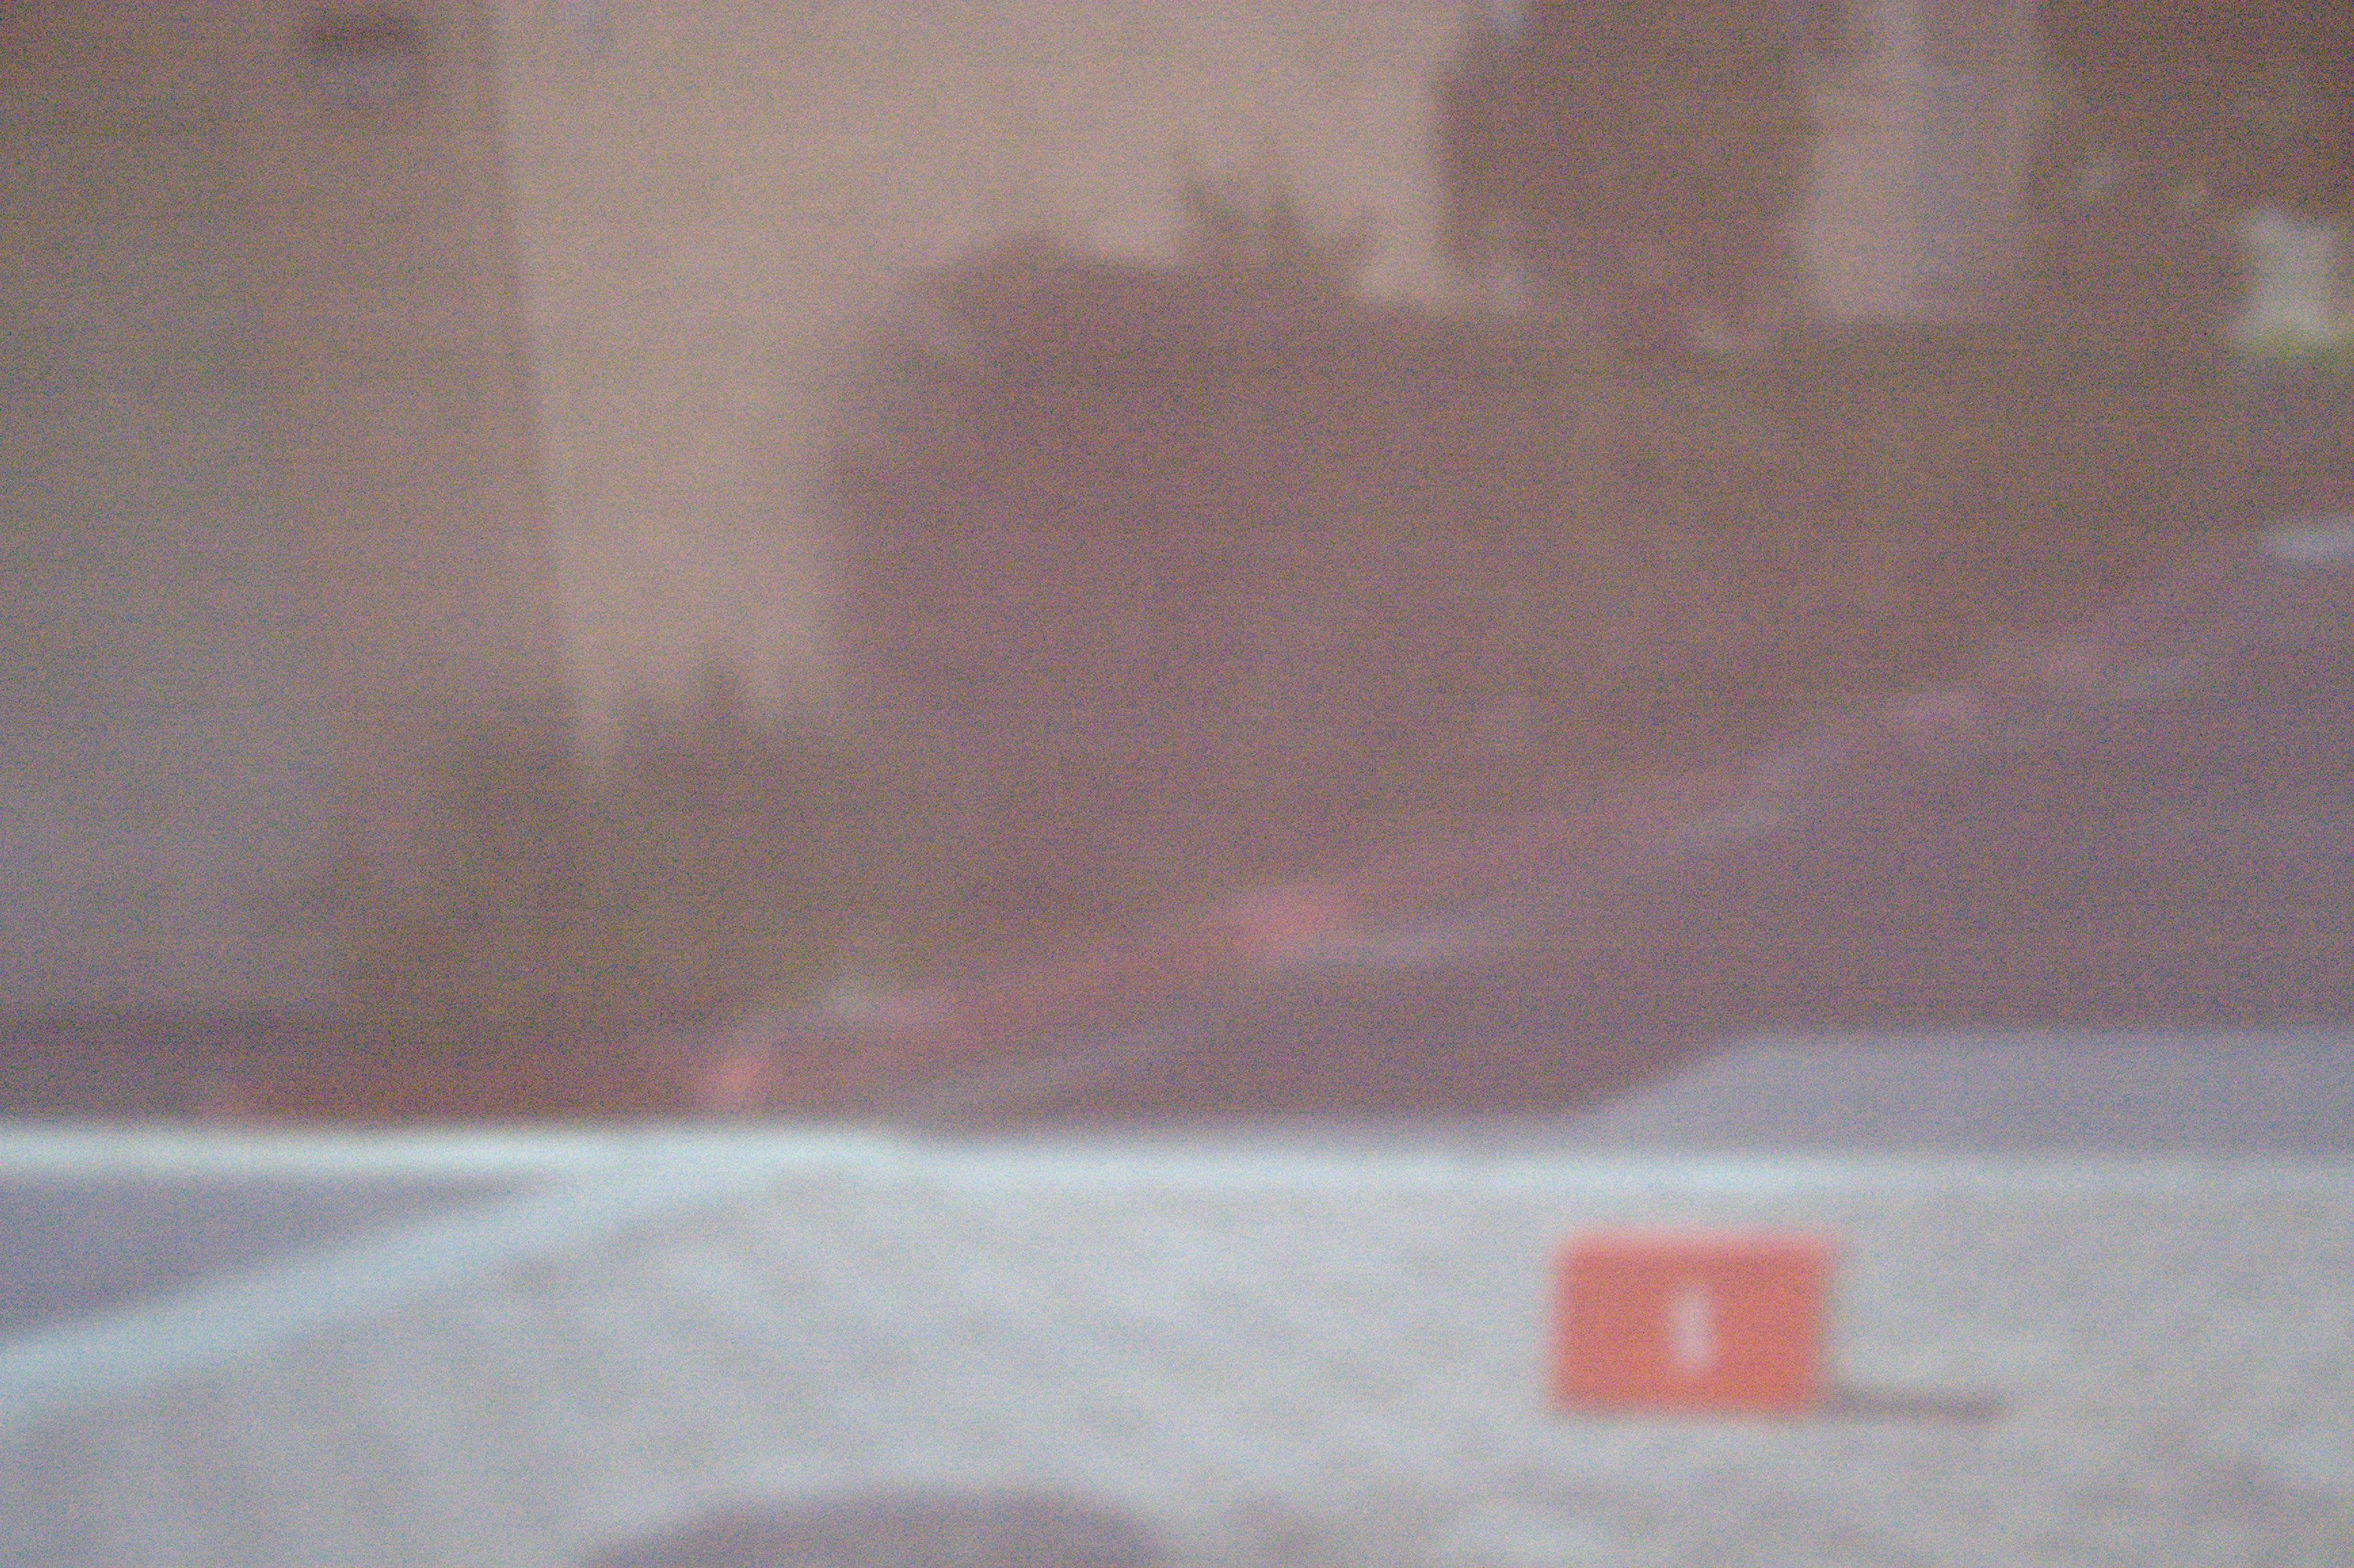
2mm pinhole
0.6mm pinhole
Analysis
We can see that as the pinhole size increases, the brightness of the projected image increases. However, the image also becomes blurrier. This is because the "circle of confusion" becomes larger as the pinhole becomes larger. In digital cameras, larger apertures (analogous to pinholes) translate to cool blurring effects such as bokeh and shallow depth of field. Conversely, a smaller pinhole leads to a crisper image which is much darker. The challenge then is finding the correct balance between clarity and brightness. I decided that the 2mm pinhole balanced these two traits the best, giving us an image that was not too blurry and not too dark.
Other Images
Here are some other images I took using the 2mm pinhole, which I determined to be the best size.
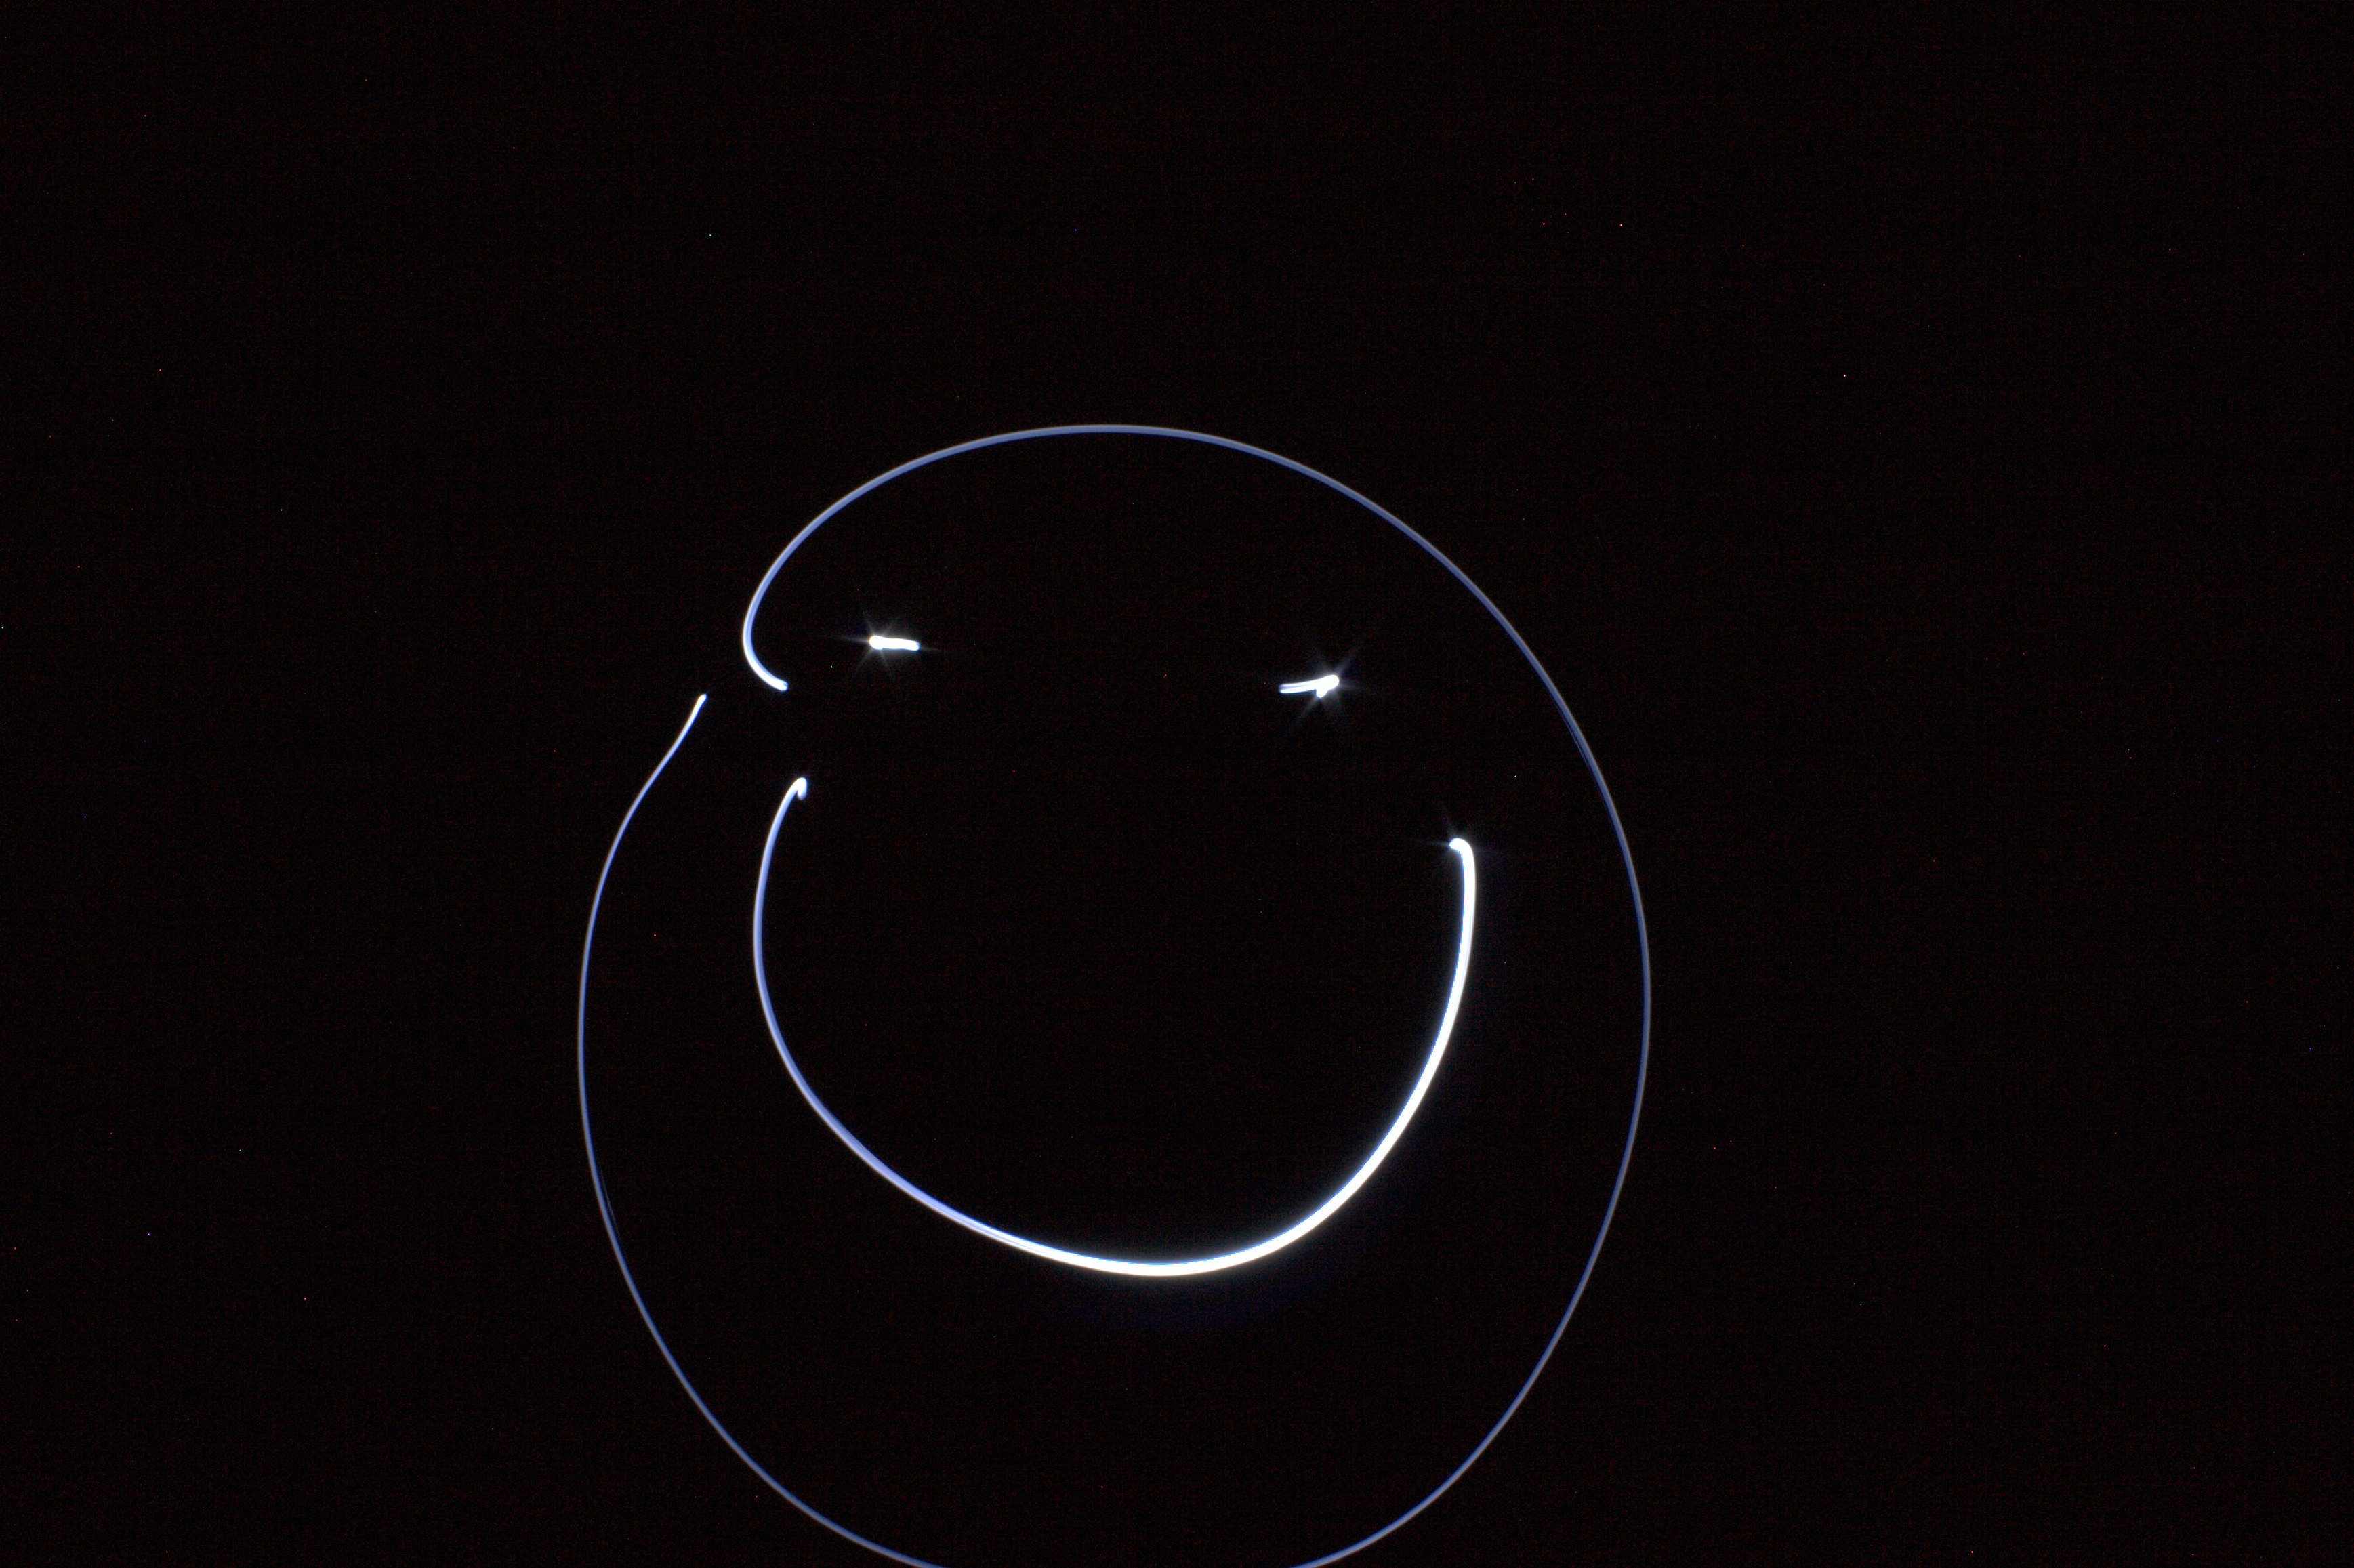
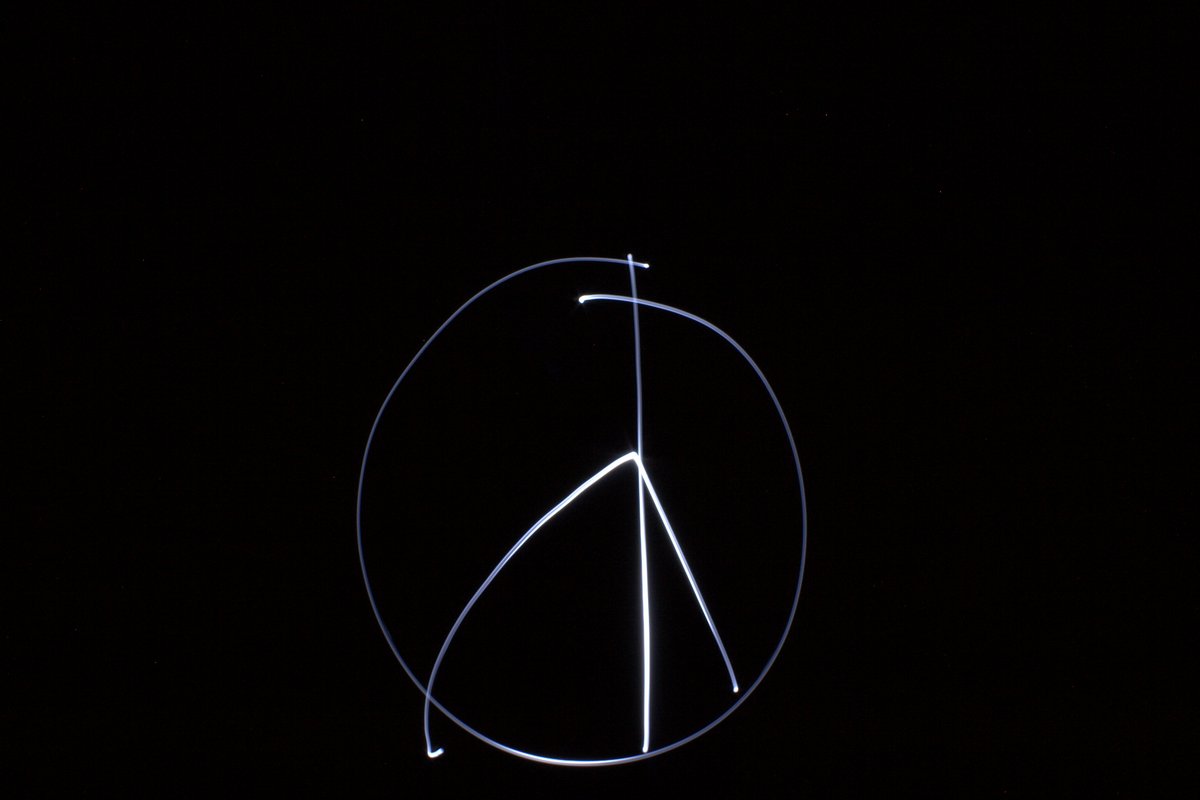
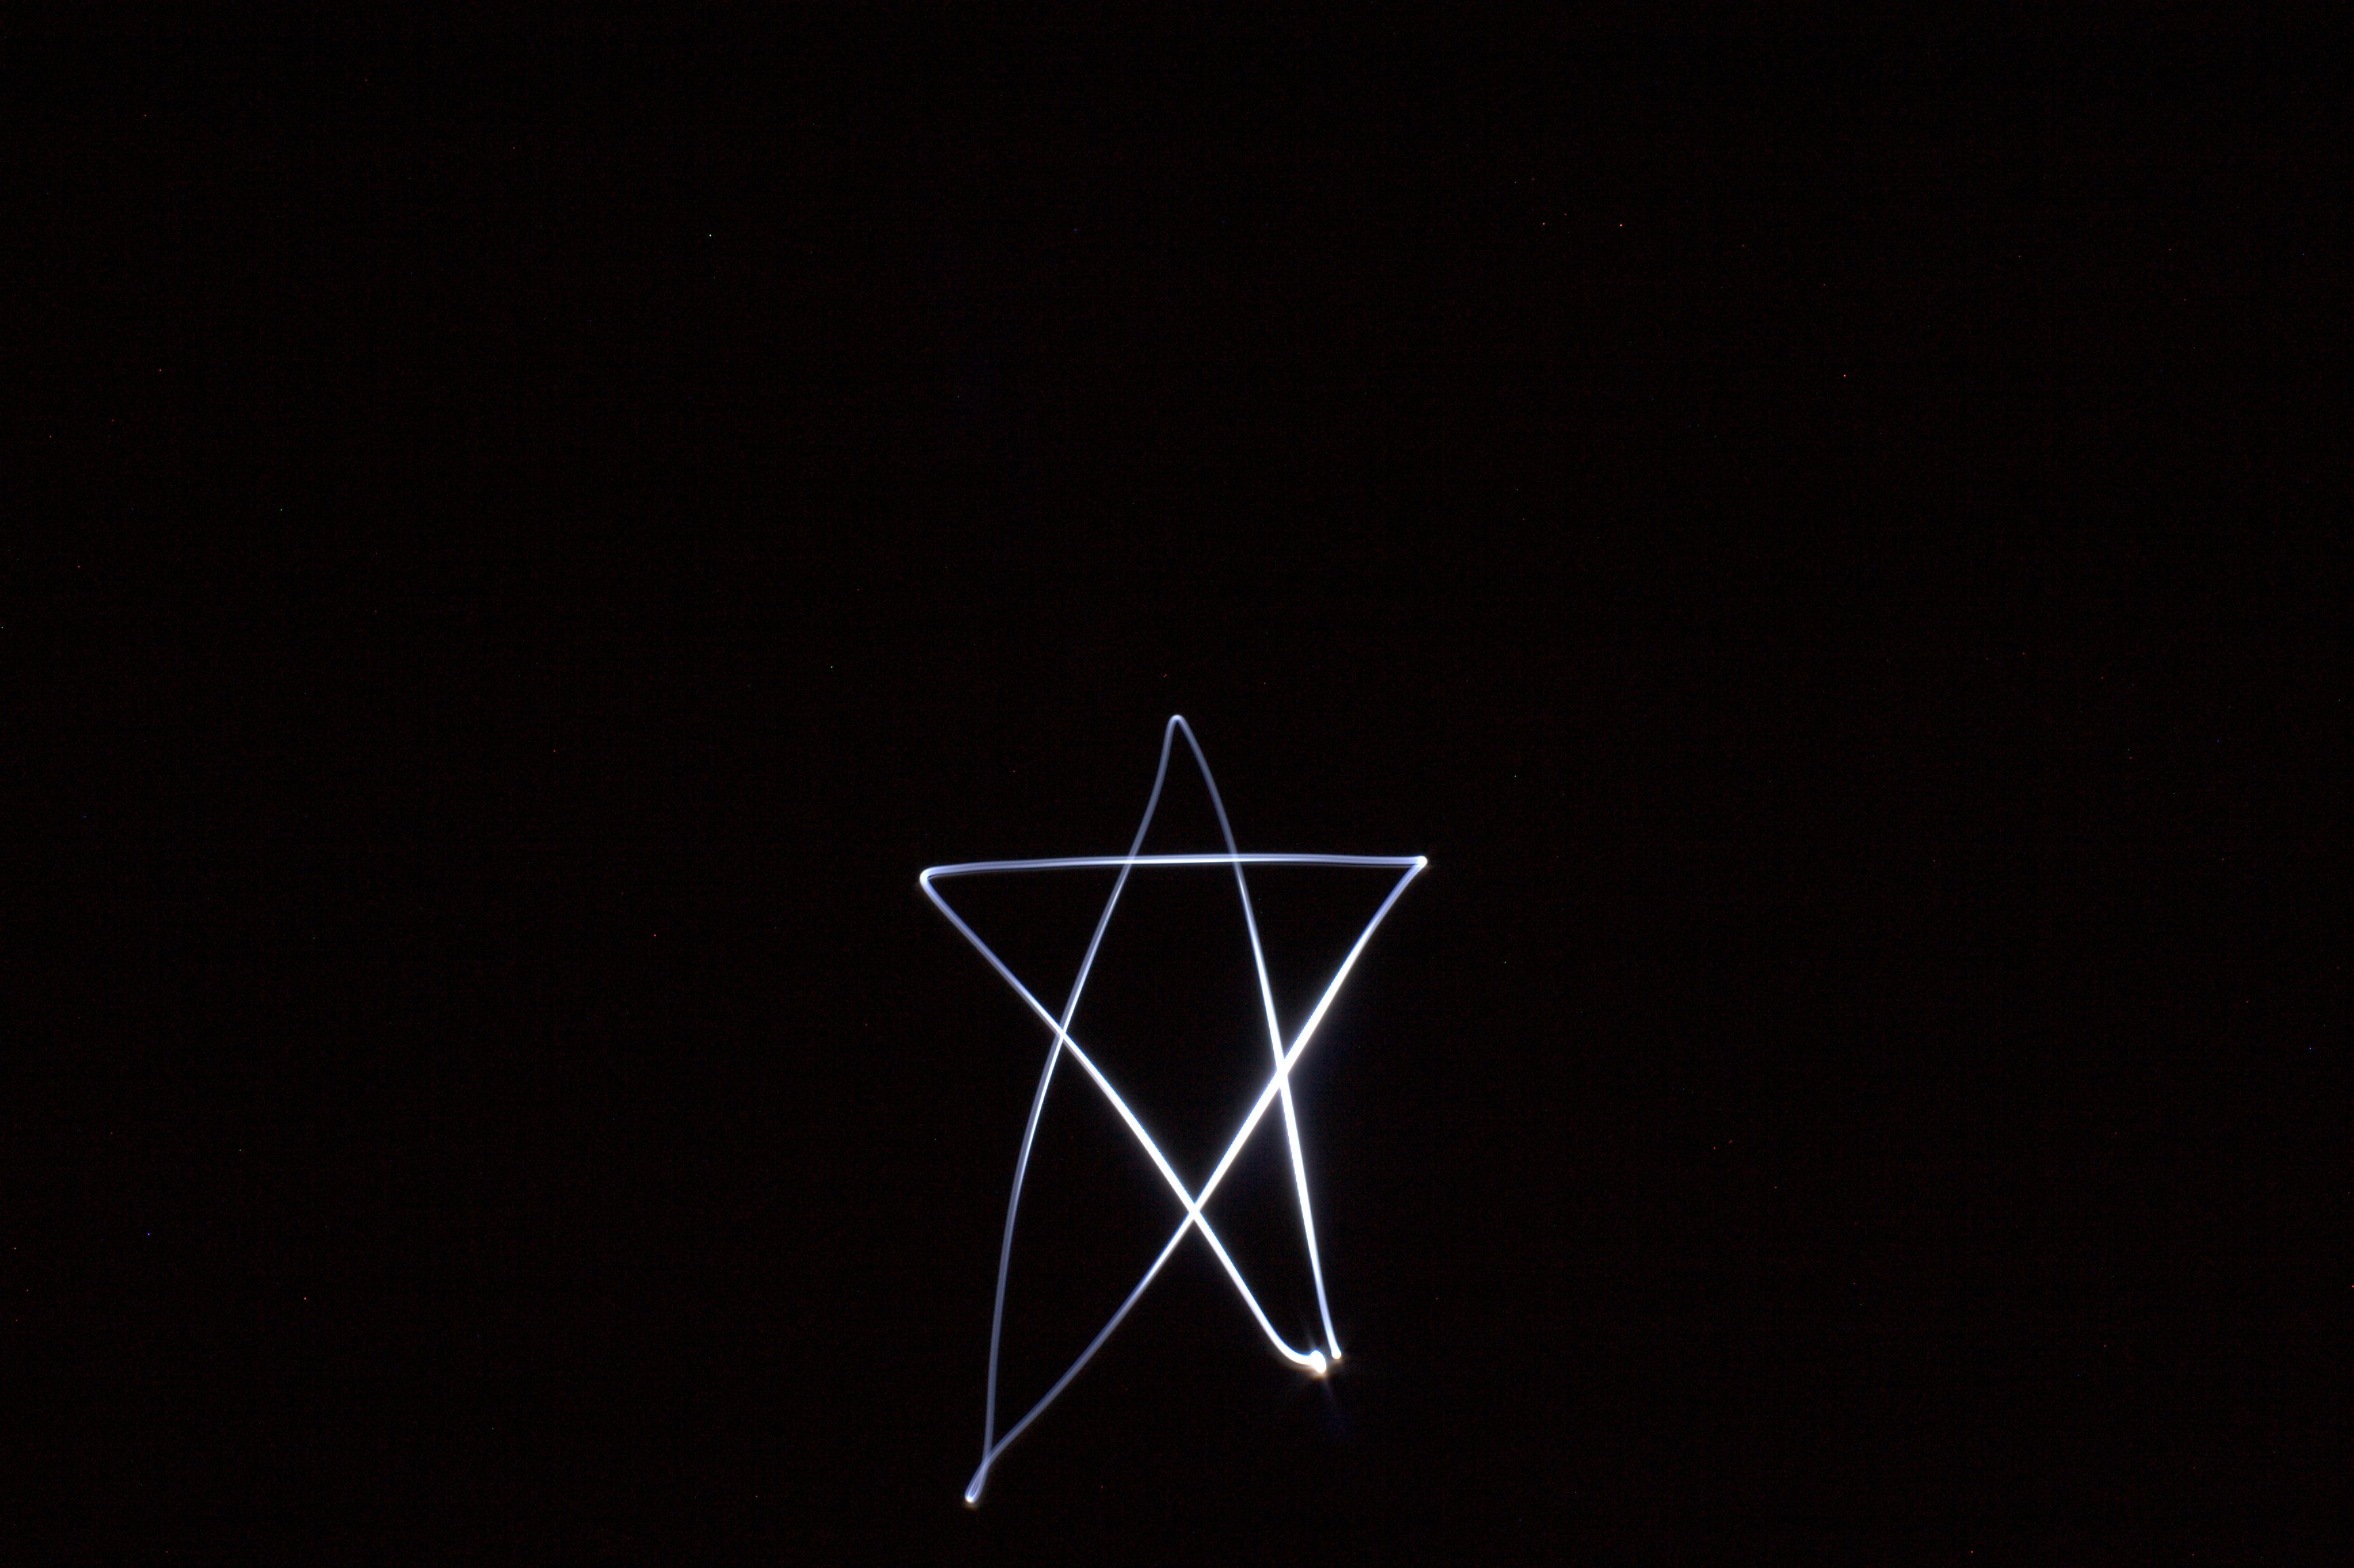
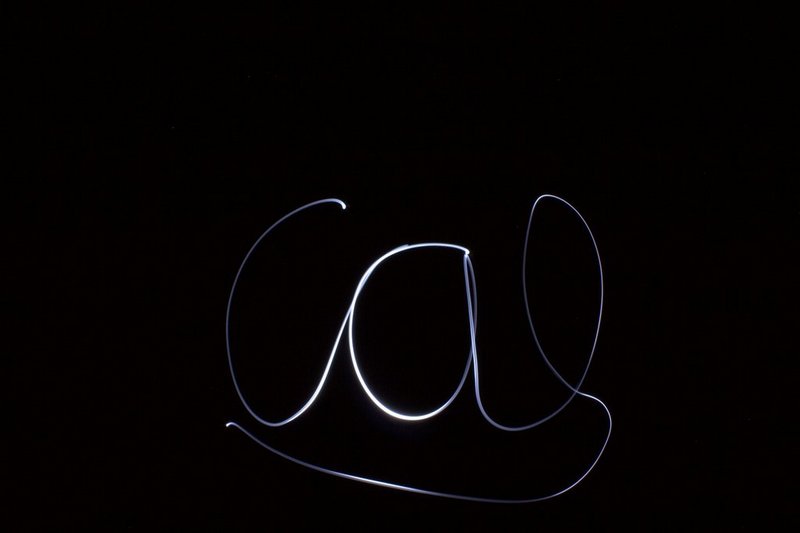
Bells and Whistles
I also decided to do some light painting art by setting my camera to a very long exposure and waving a flashlight. Here are my results: