Overview
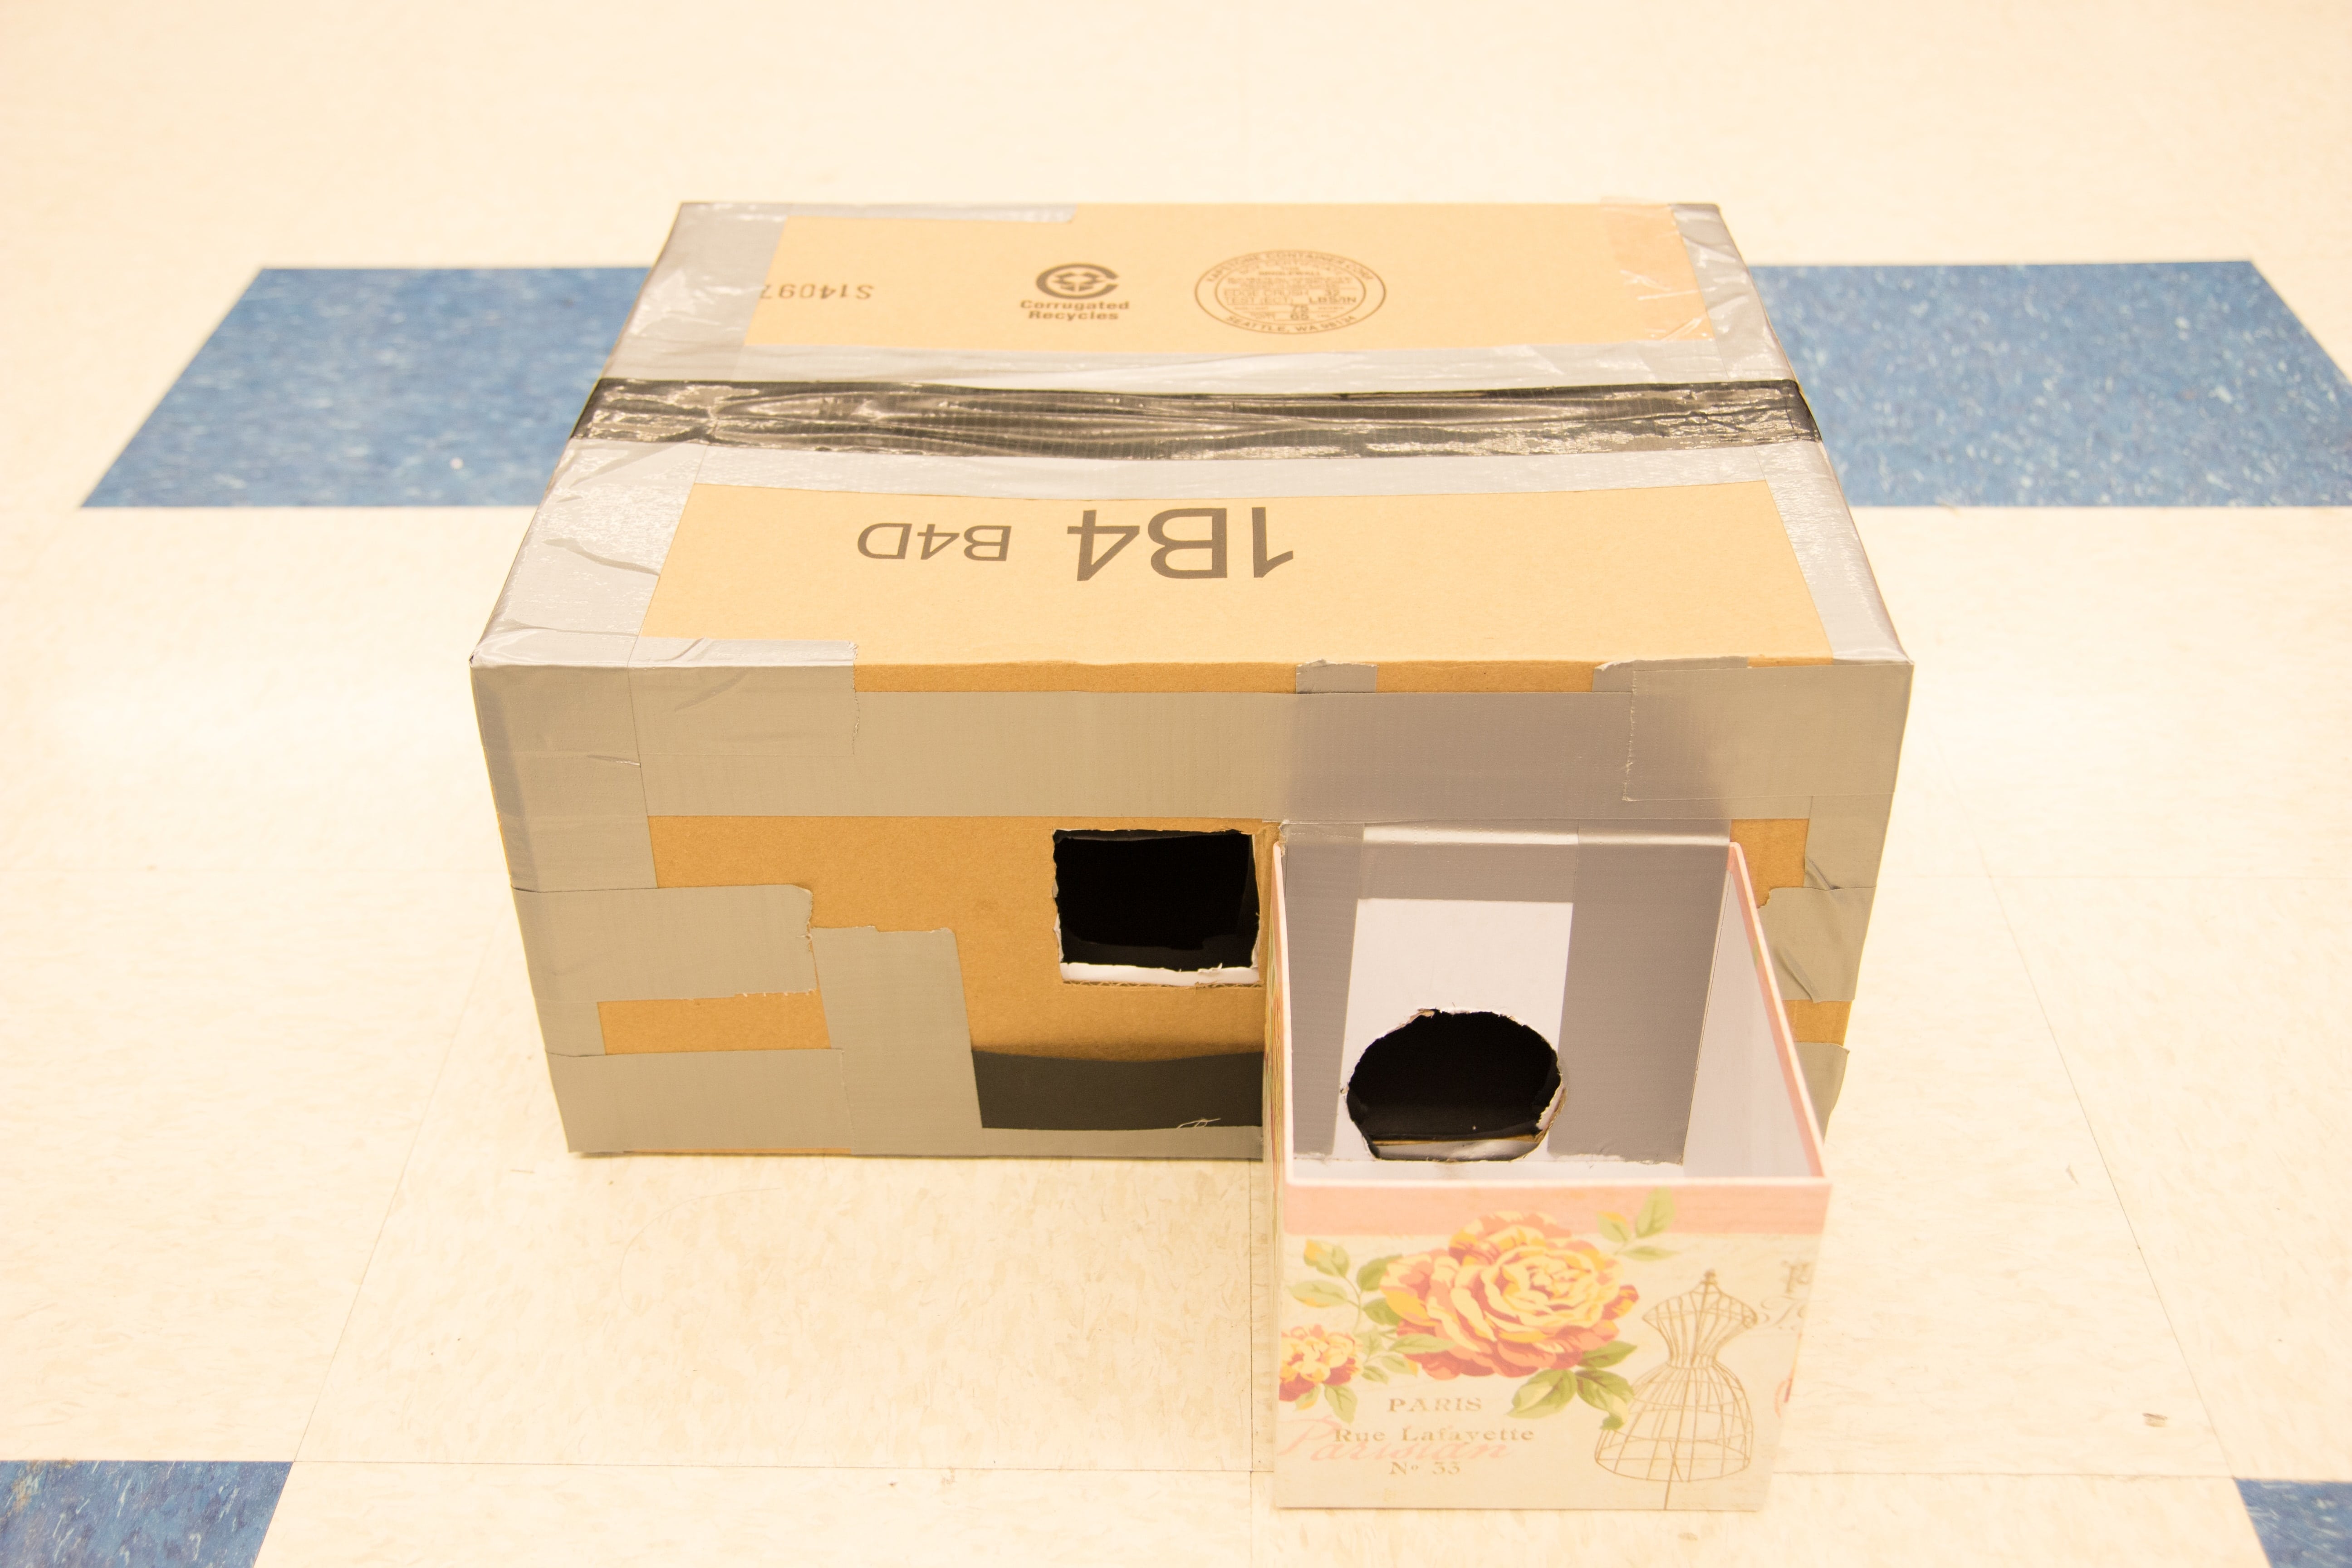
A pinhole camera is essentially a dark box with a pinhole, rather than lenses, on one face and a screen on the opposite face. The light being reflected all around us eventually finds its way (directed) through the pinhole and an image forms on the screen. In this project, we were tasked with designing a pinhole camera.
Our Approach
We basically followed the directions given on the project spec when creating our pinhole camera. The two modifications we added were:
- Since we were using a DSLR, we actually attached a box onto our pinhole camera to safely house and transport our DSLR.
- In addition, we also created a "pouch" right below our pinhole cutout, so we can easily swap between aperture sizes. It also helped hold our aperture inserts in place while we were taking photos.
We've attached some pictures of our camera below.
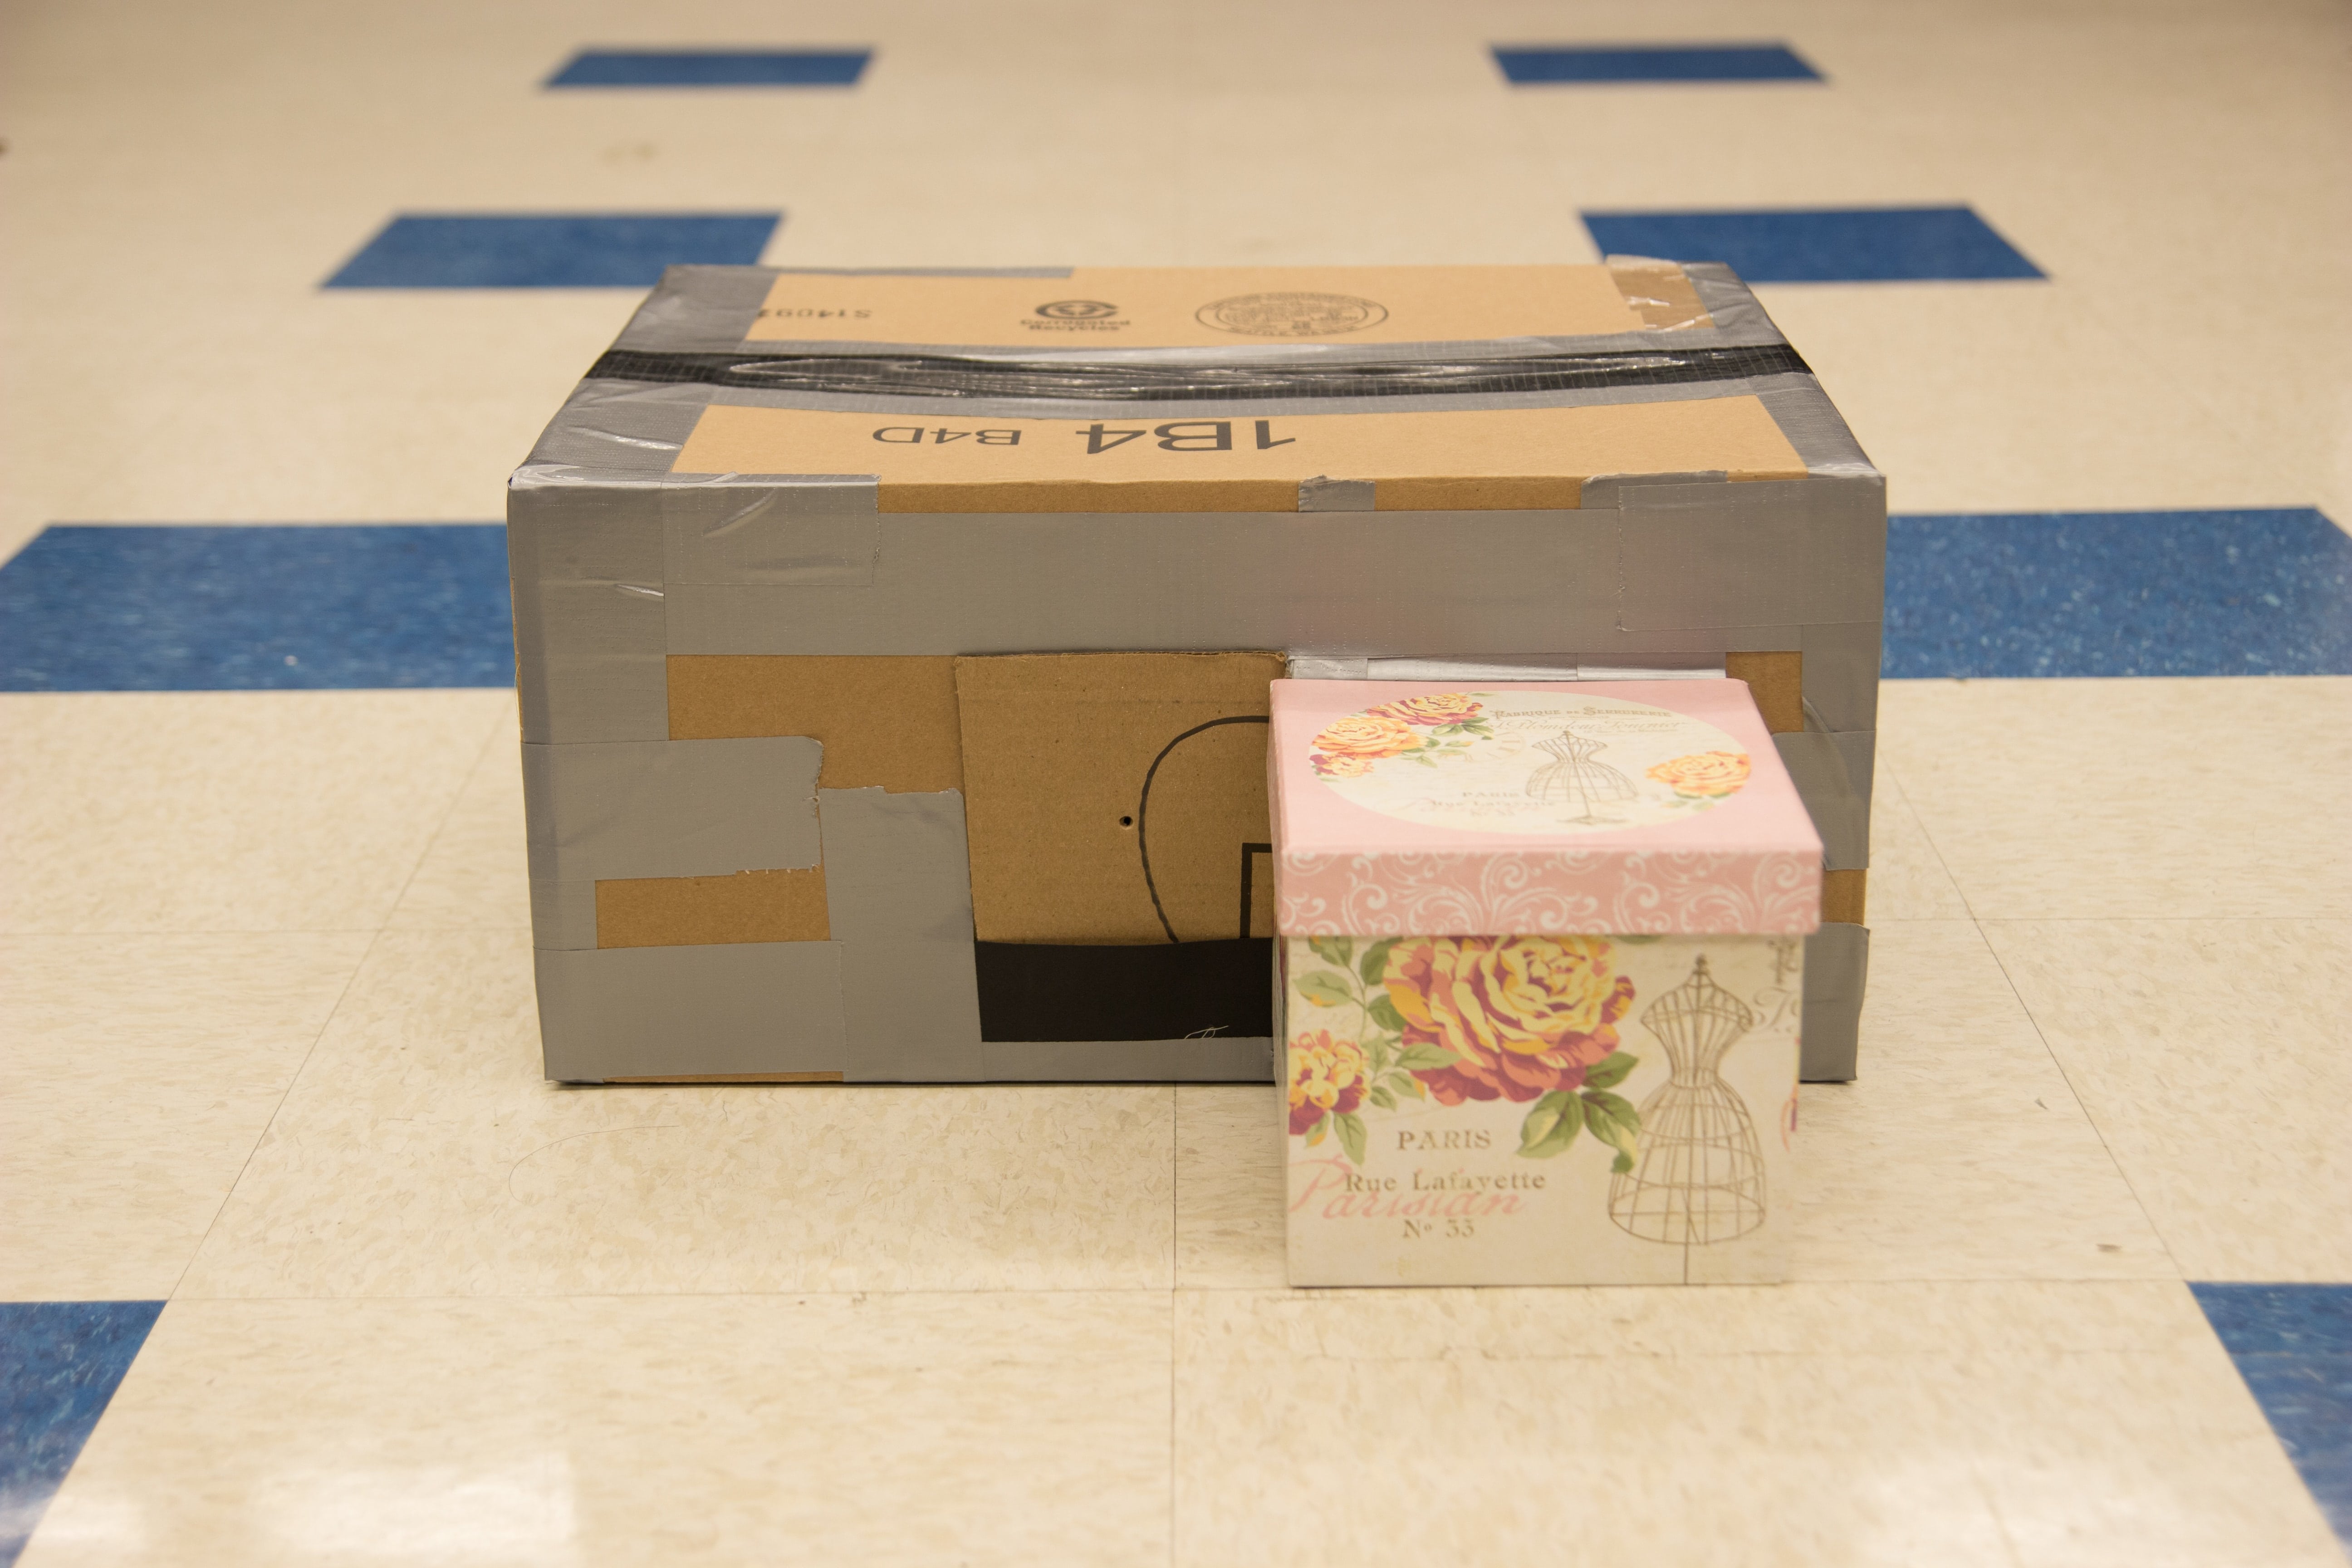
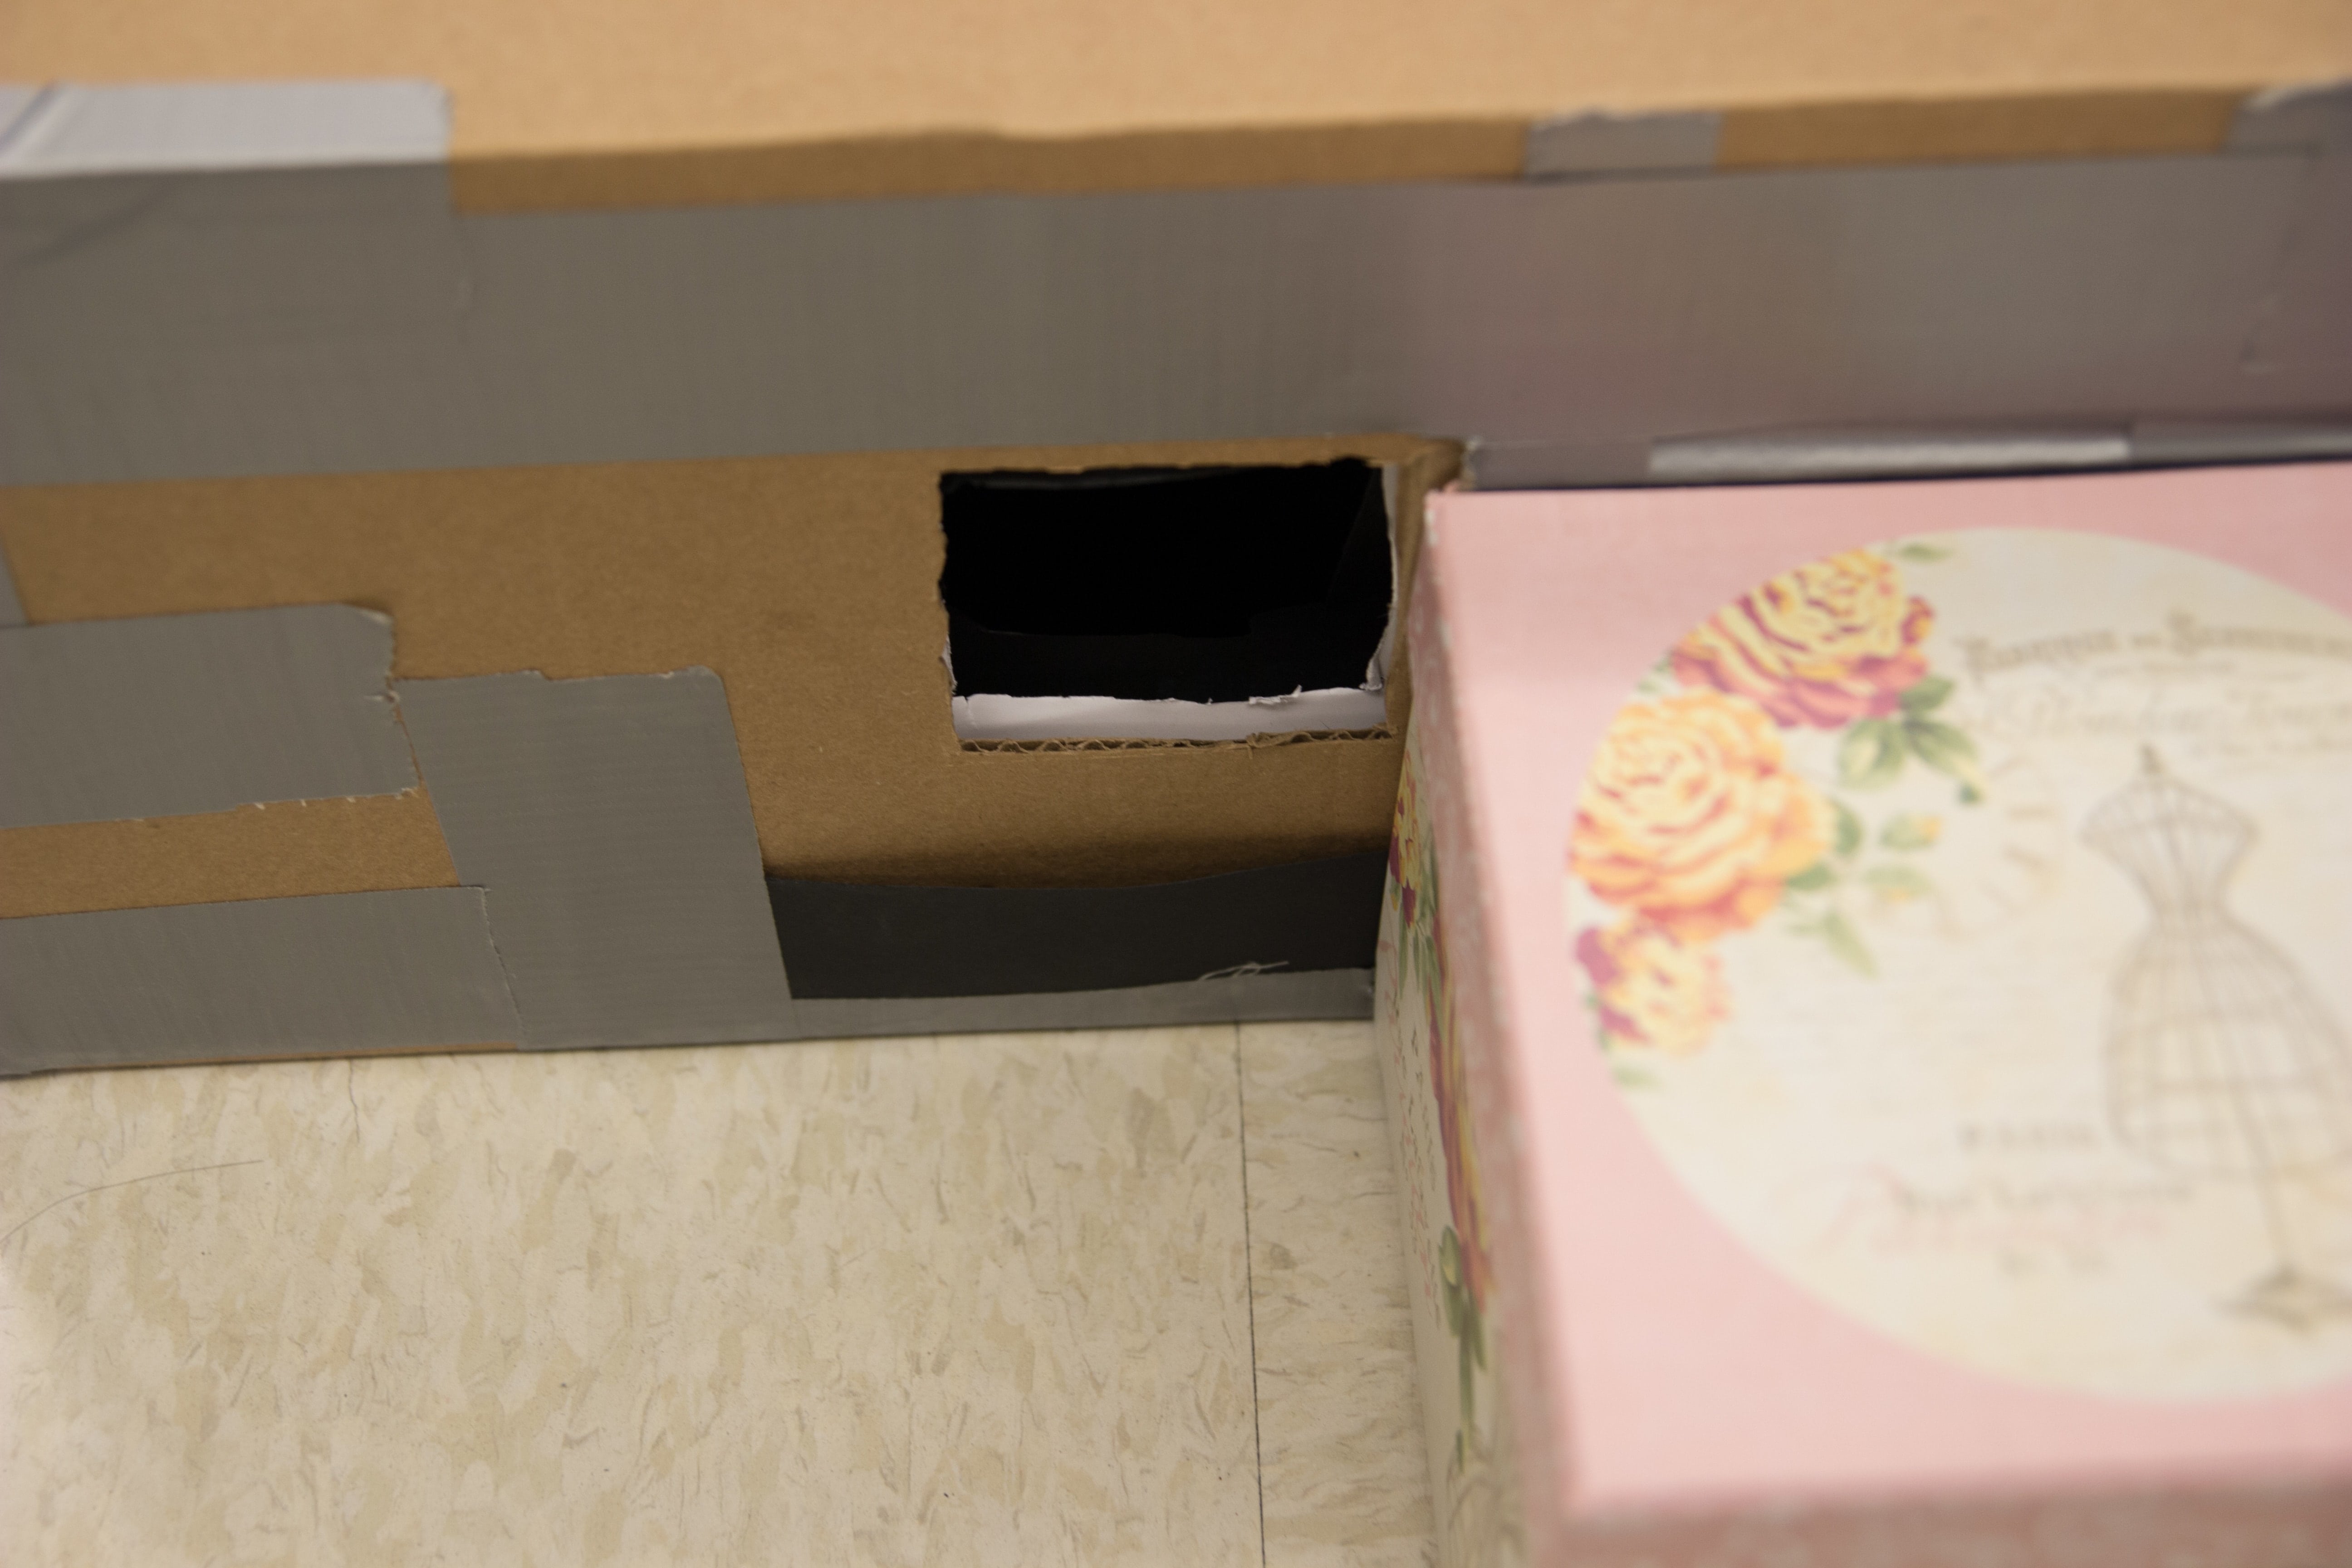
 Front View without Aperture Inserts
|
 Front View with Aperture Inserts
|
 Camera Holder
|
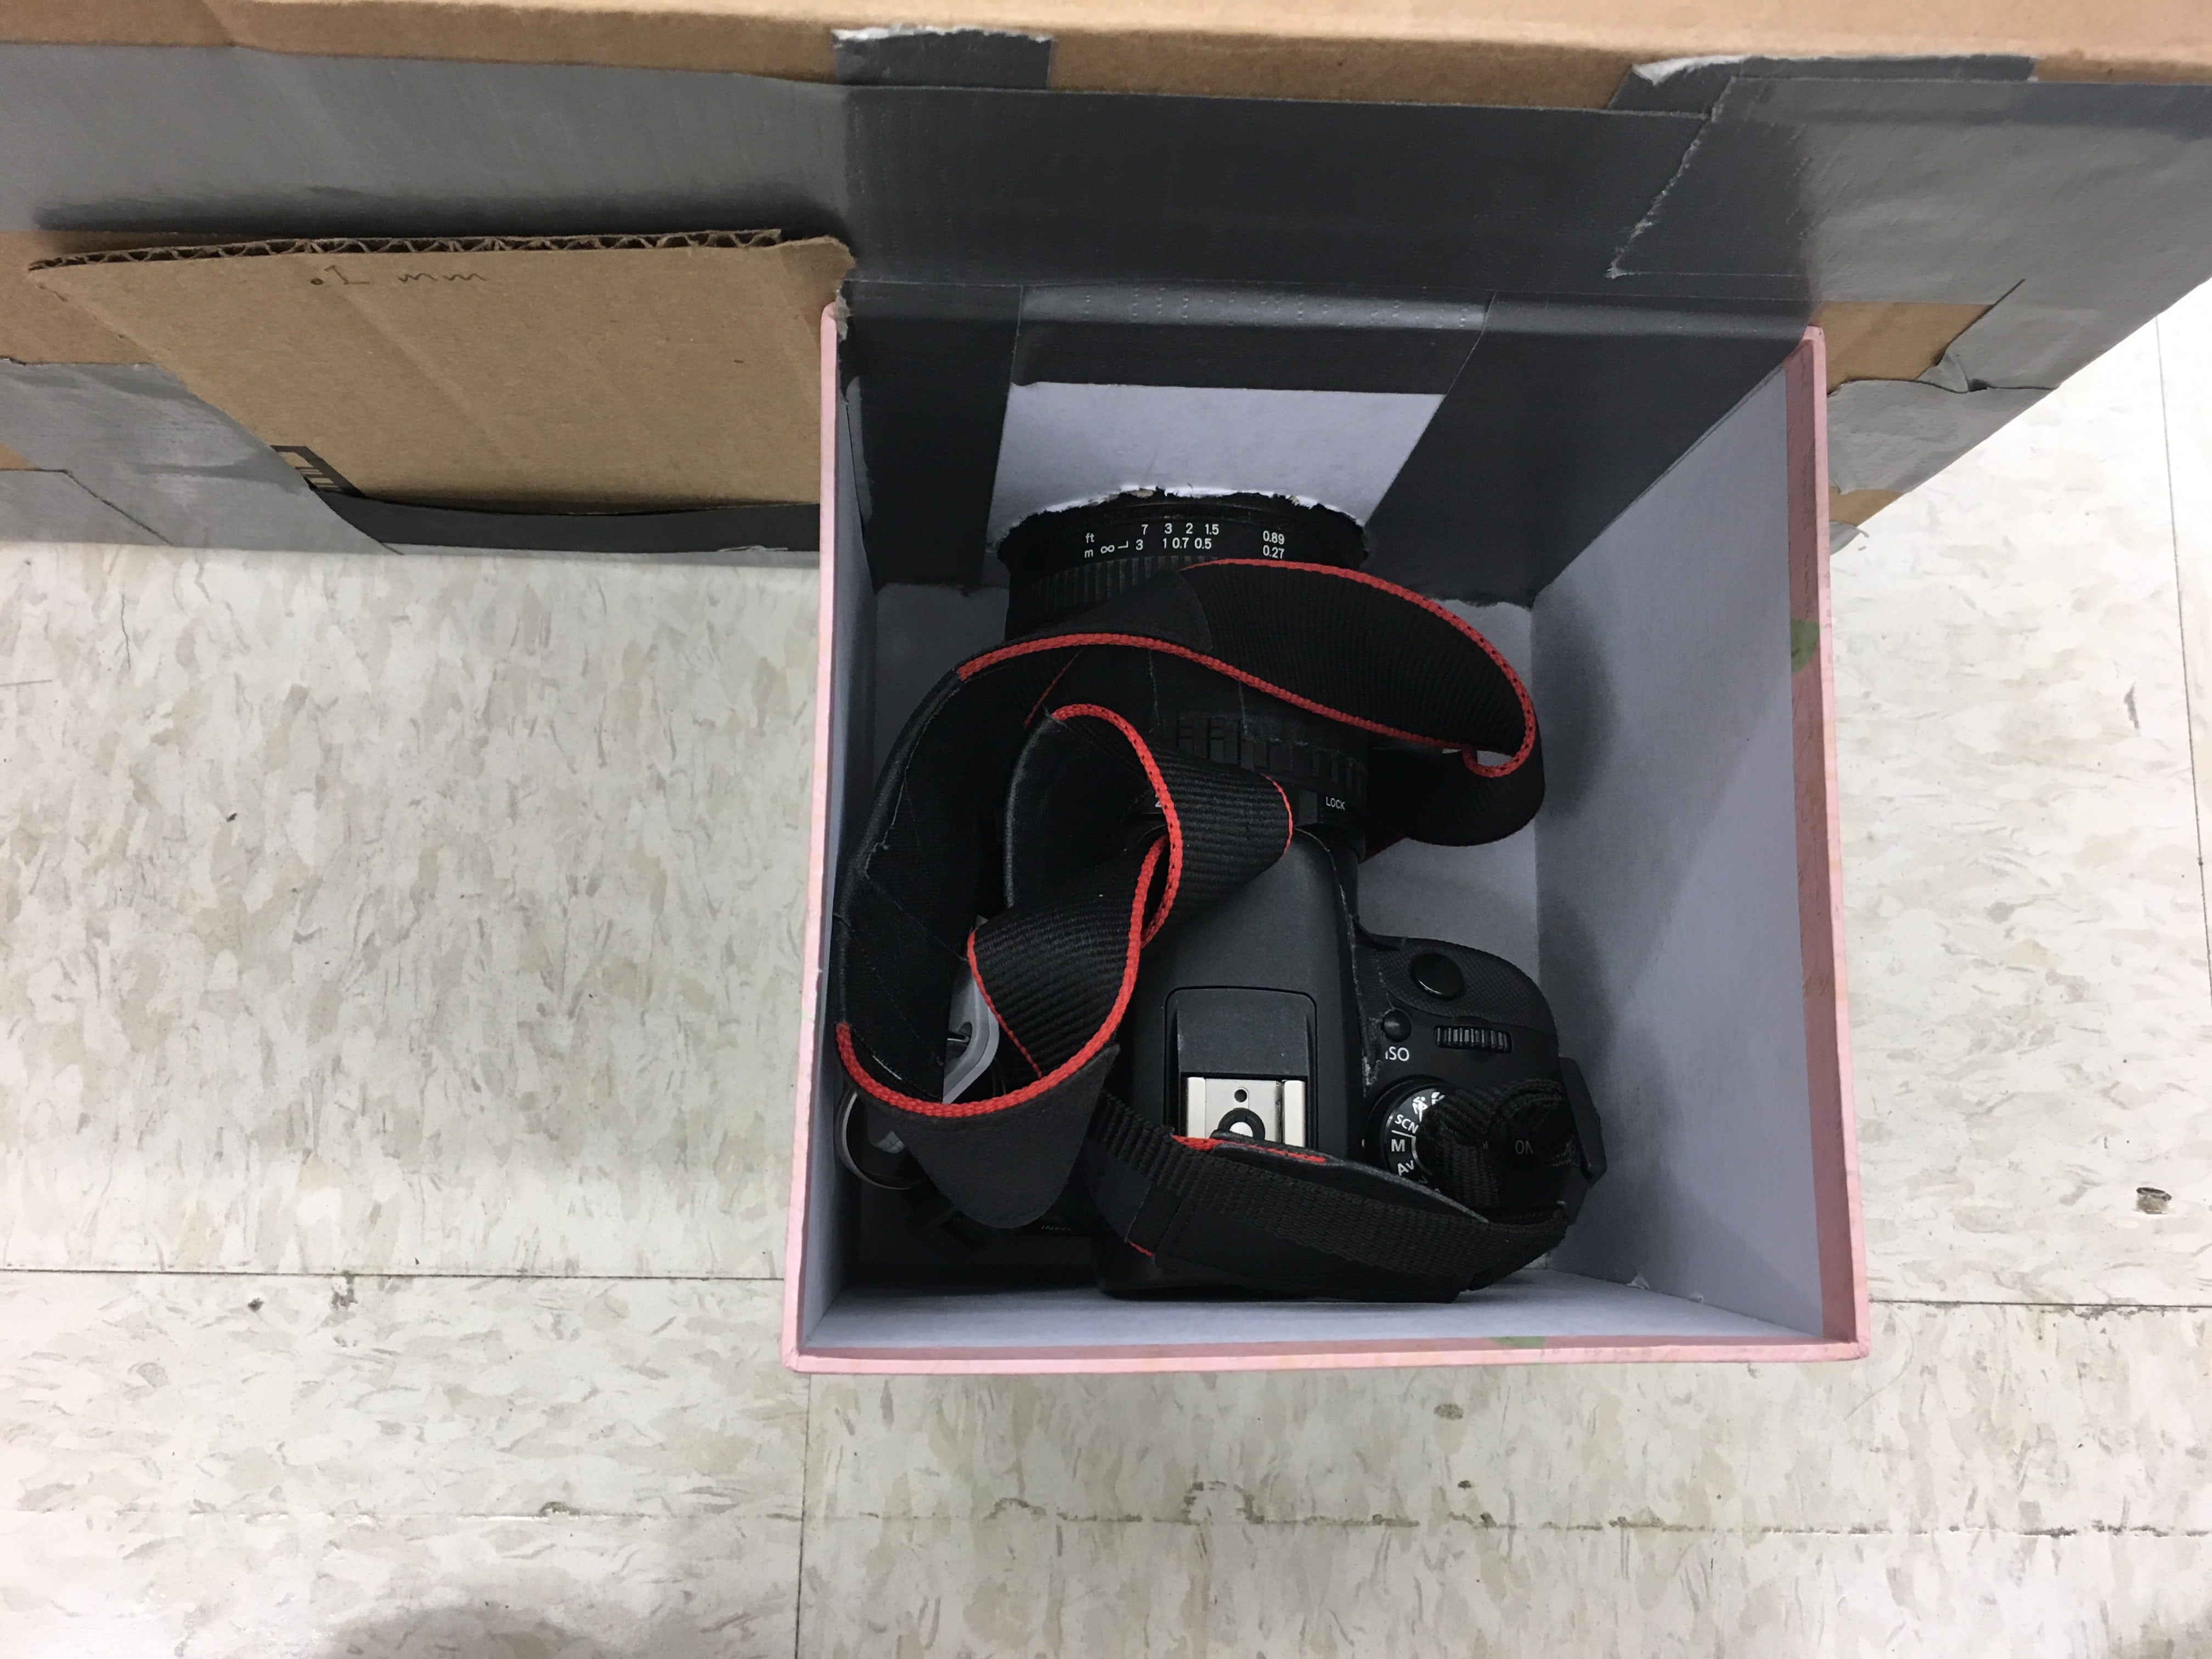 Camera Holder with Camera in There
|
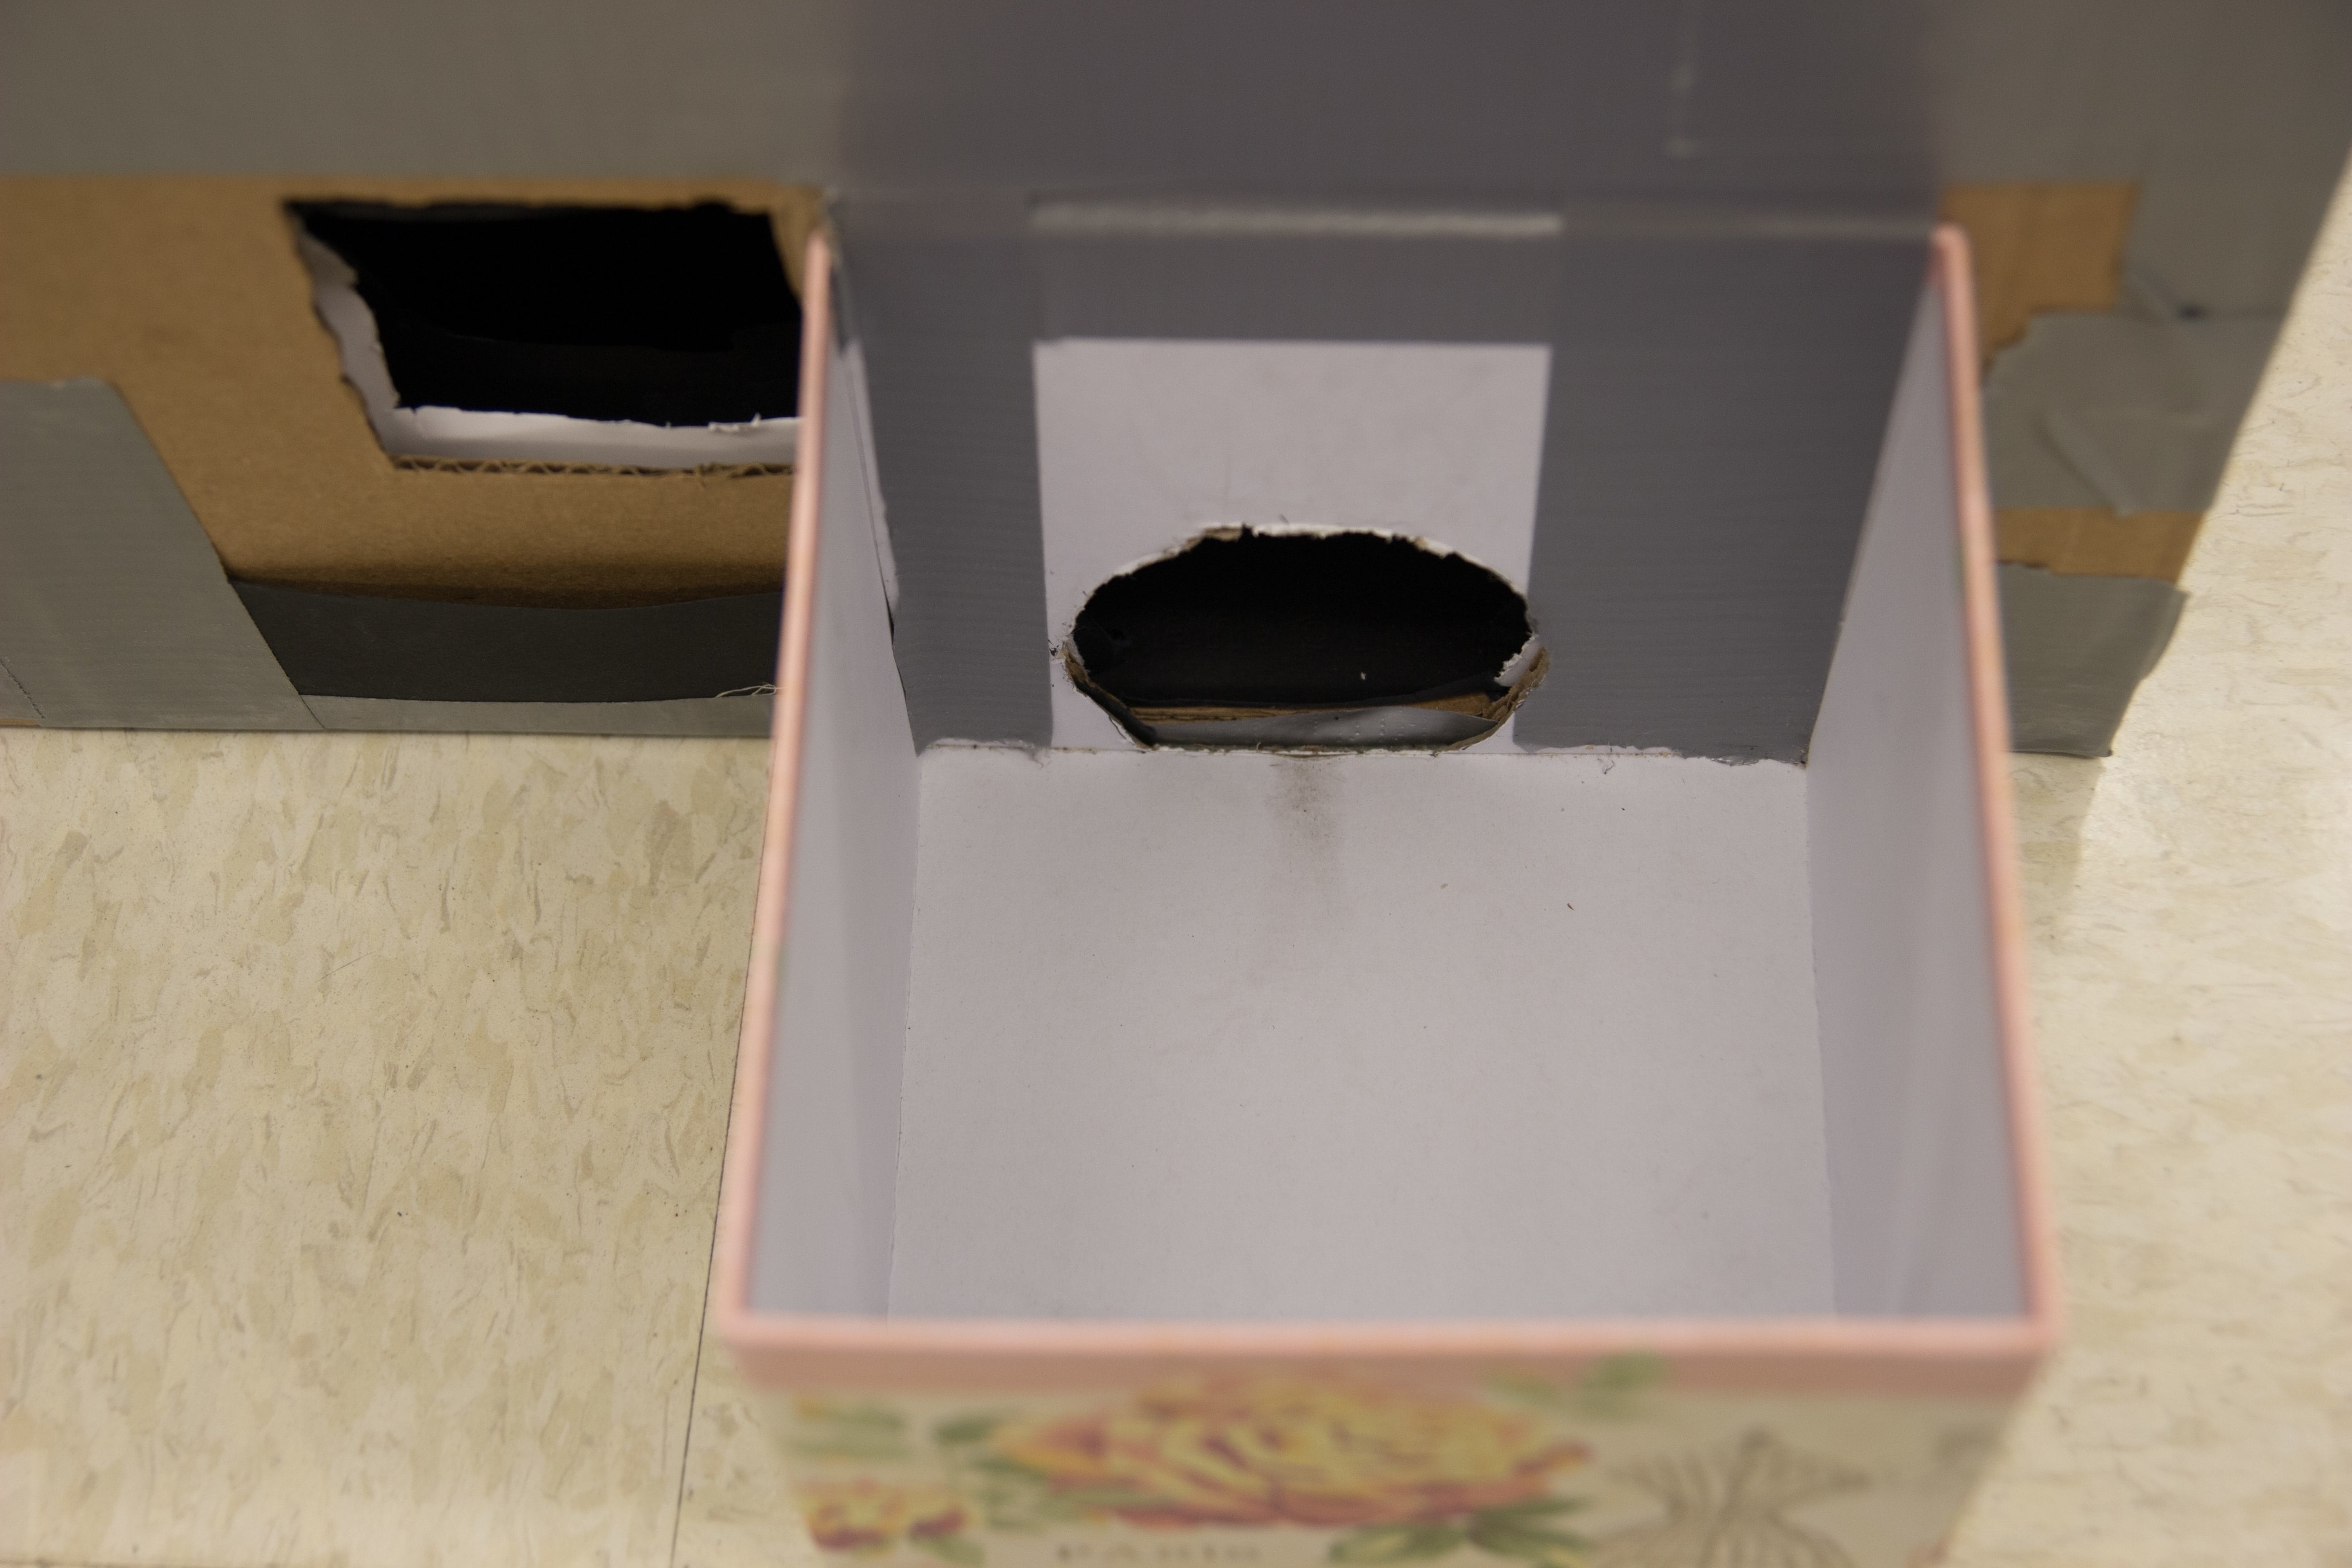
 Pouch for Aperture Inserts
|
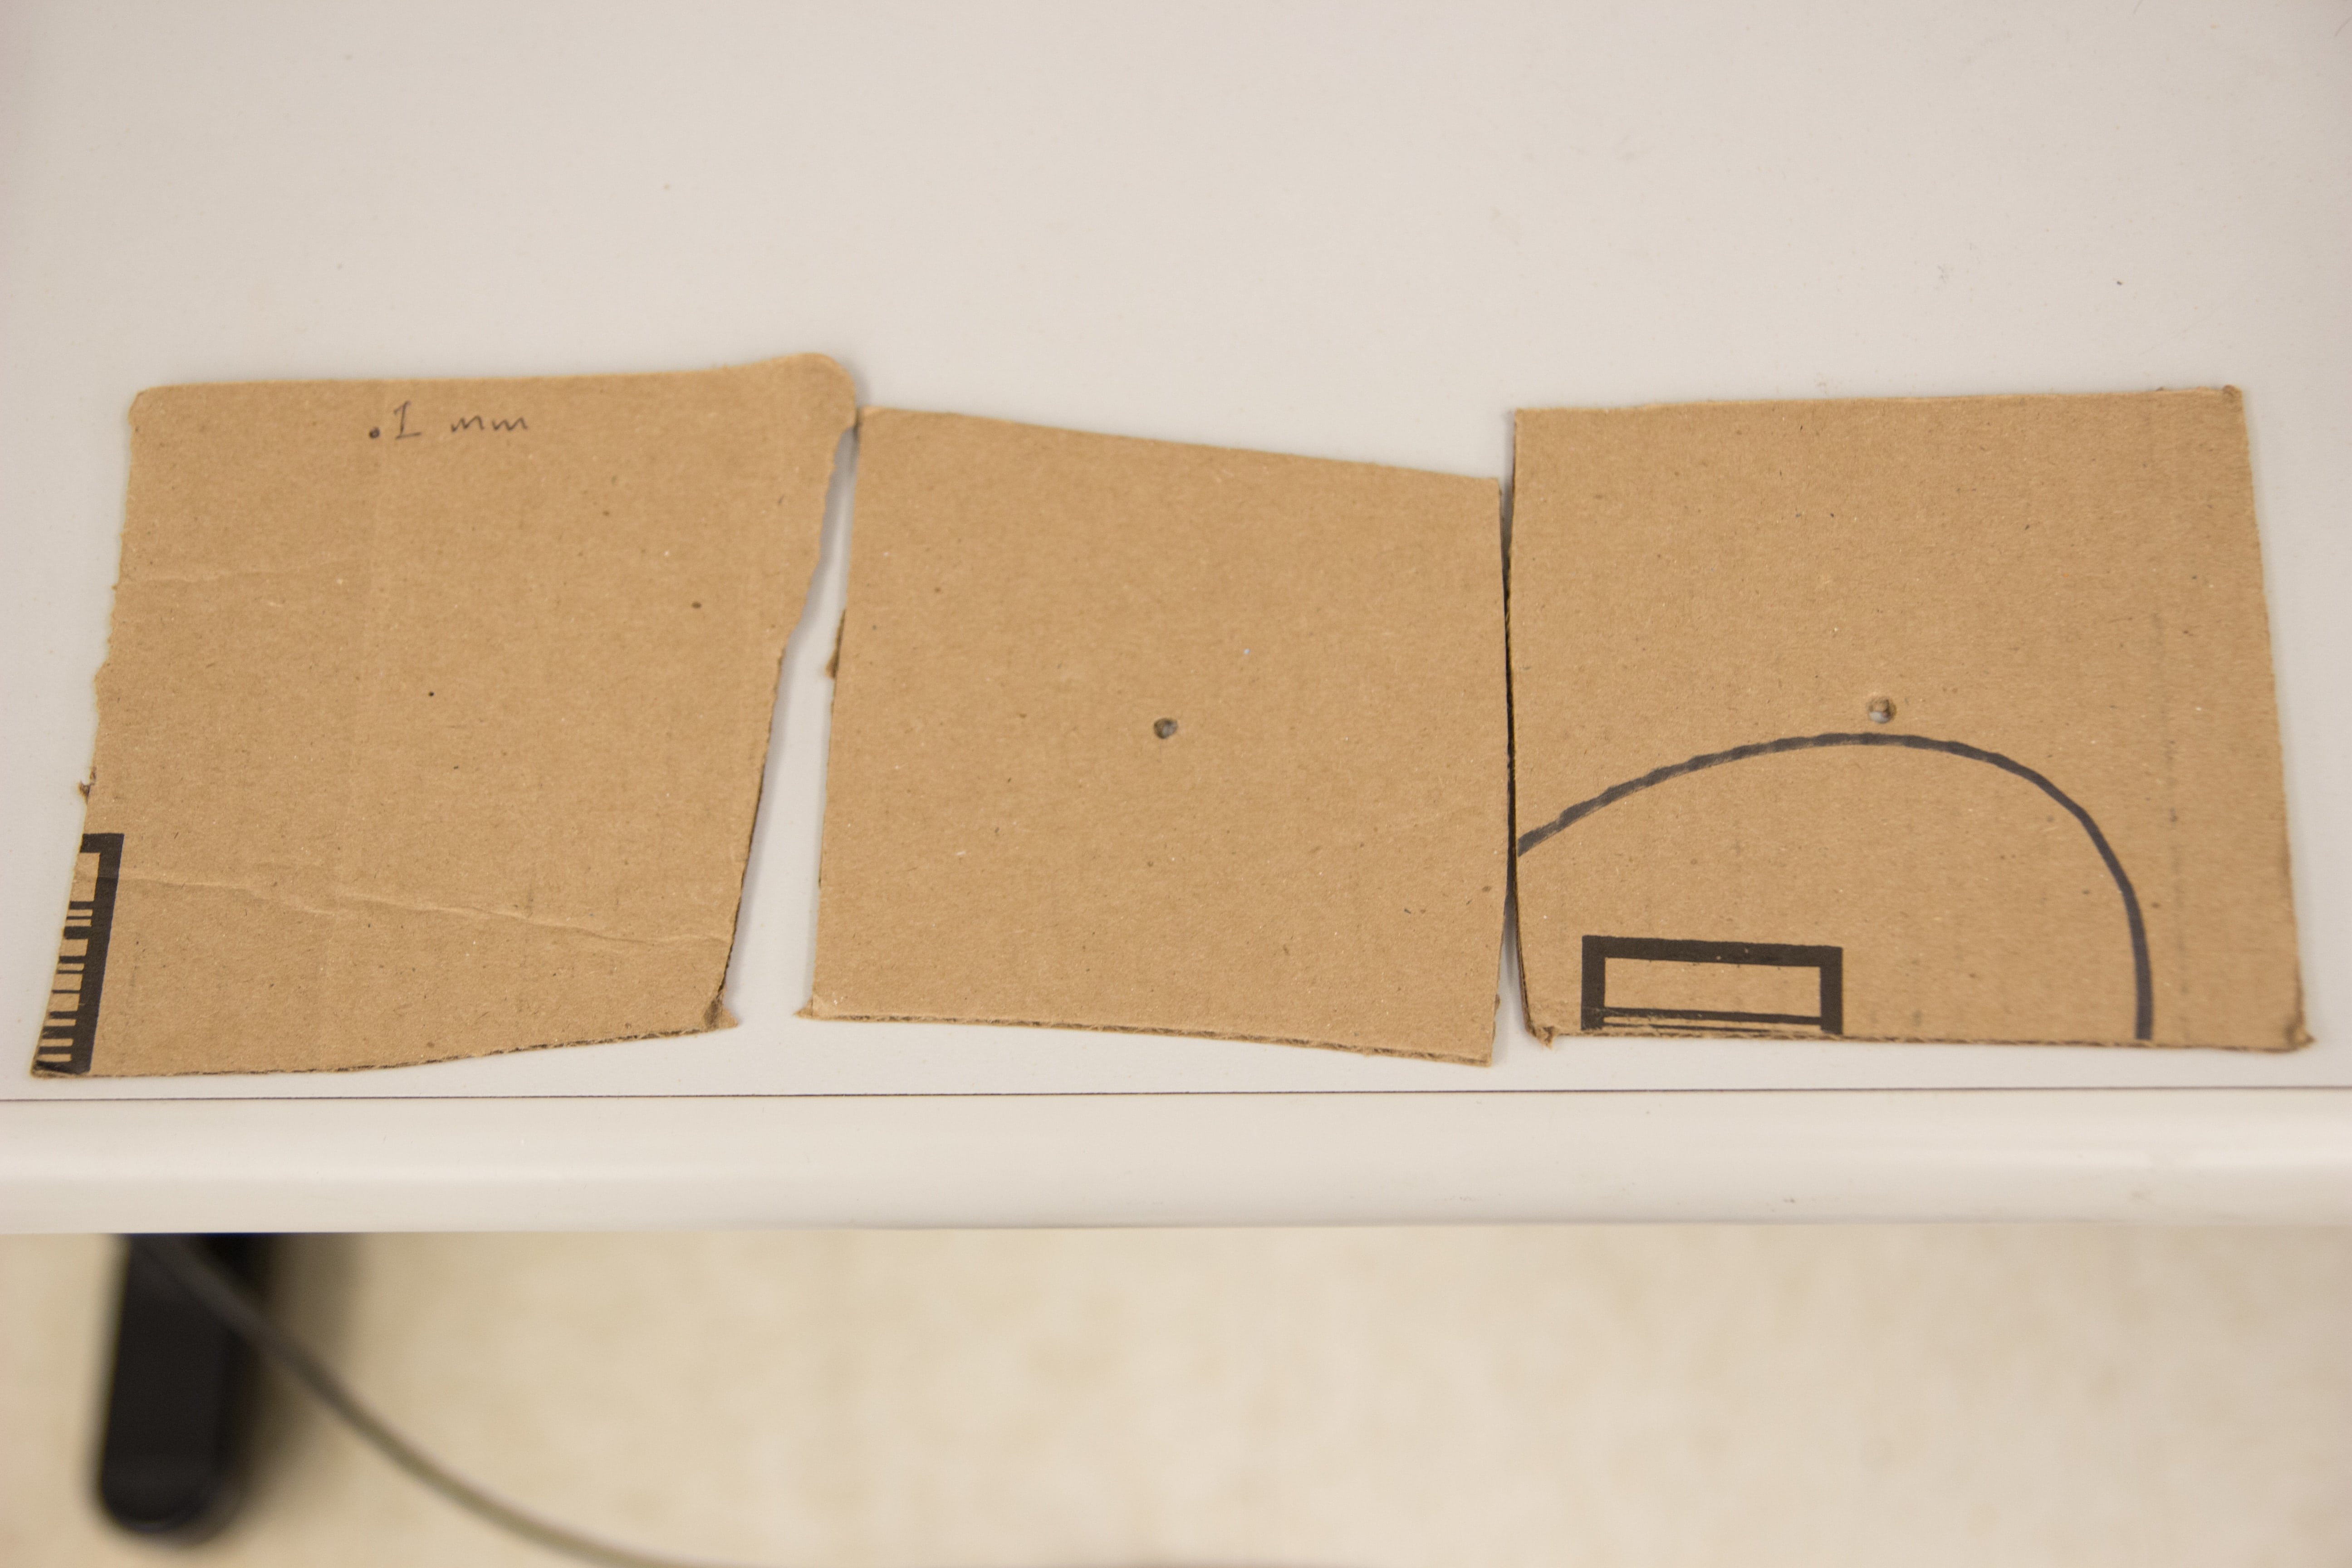 Aperture Inserts (1, 3, 5 mm)
|
Observations
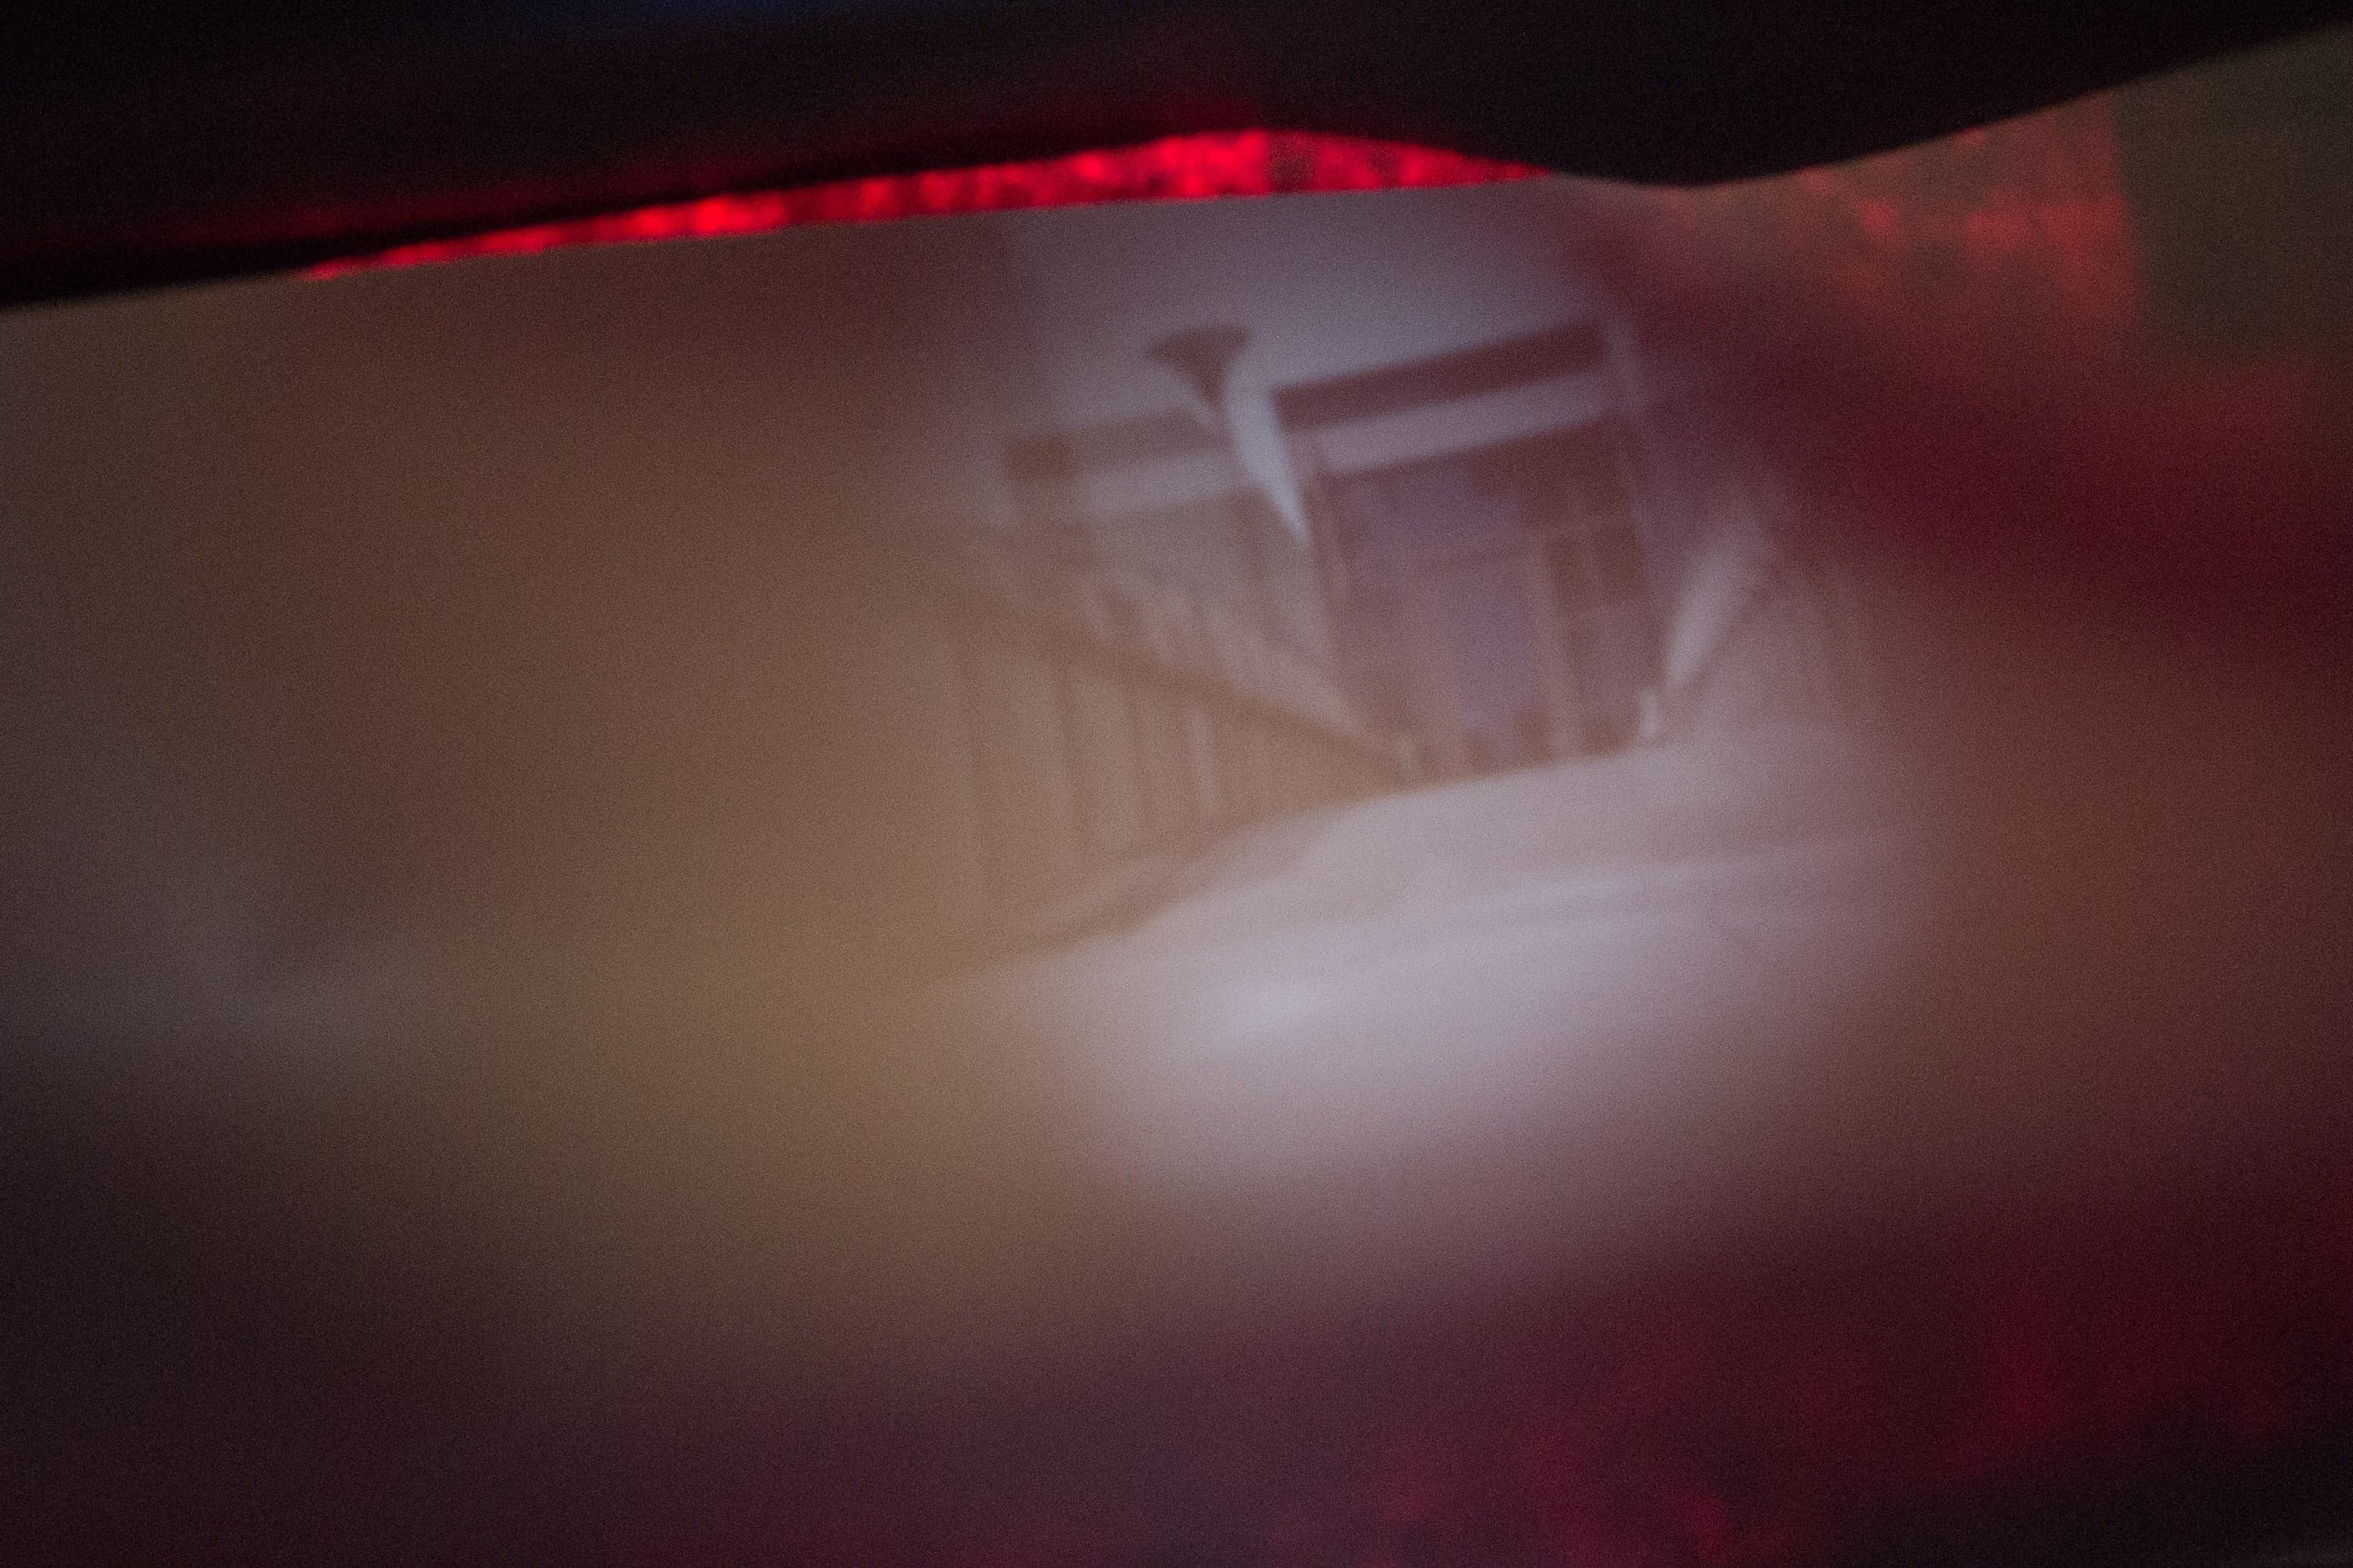
When you use a smaller aperture/hole, the image (theoretically) gets sharper. For our pinhole camera, light starts to do funny things at a certain point if the aperture gets smaller. In these photos, the 1 mm photos started showing refracted red light on the edges of the pictures. In addition, the picture gets darker when you use a smaller aperture. To account for this and to still get good pictures, we had to change the exposure settings on the digital camera (like shutter speed, aperture, and ISO) to get the same exposure on a smaller pinhole aperture. For larger apertures, the picture gets blurrier and brighter. We adjusted our digital camera to have a shorter exposure time to account for the increase in light from having a larger pinhole aperture.
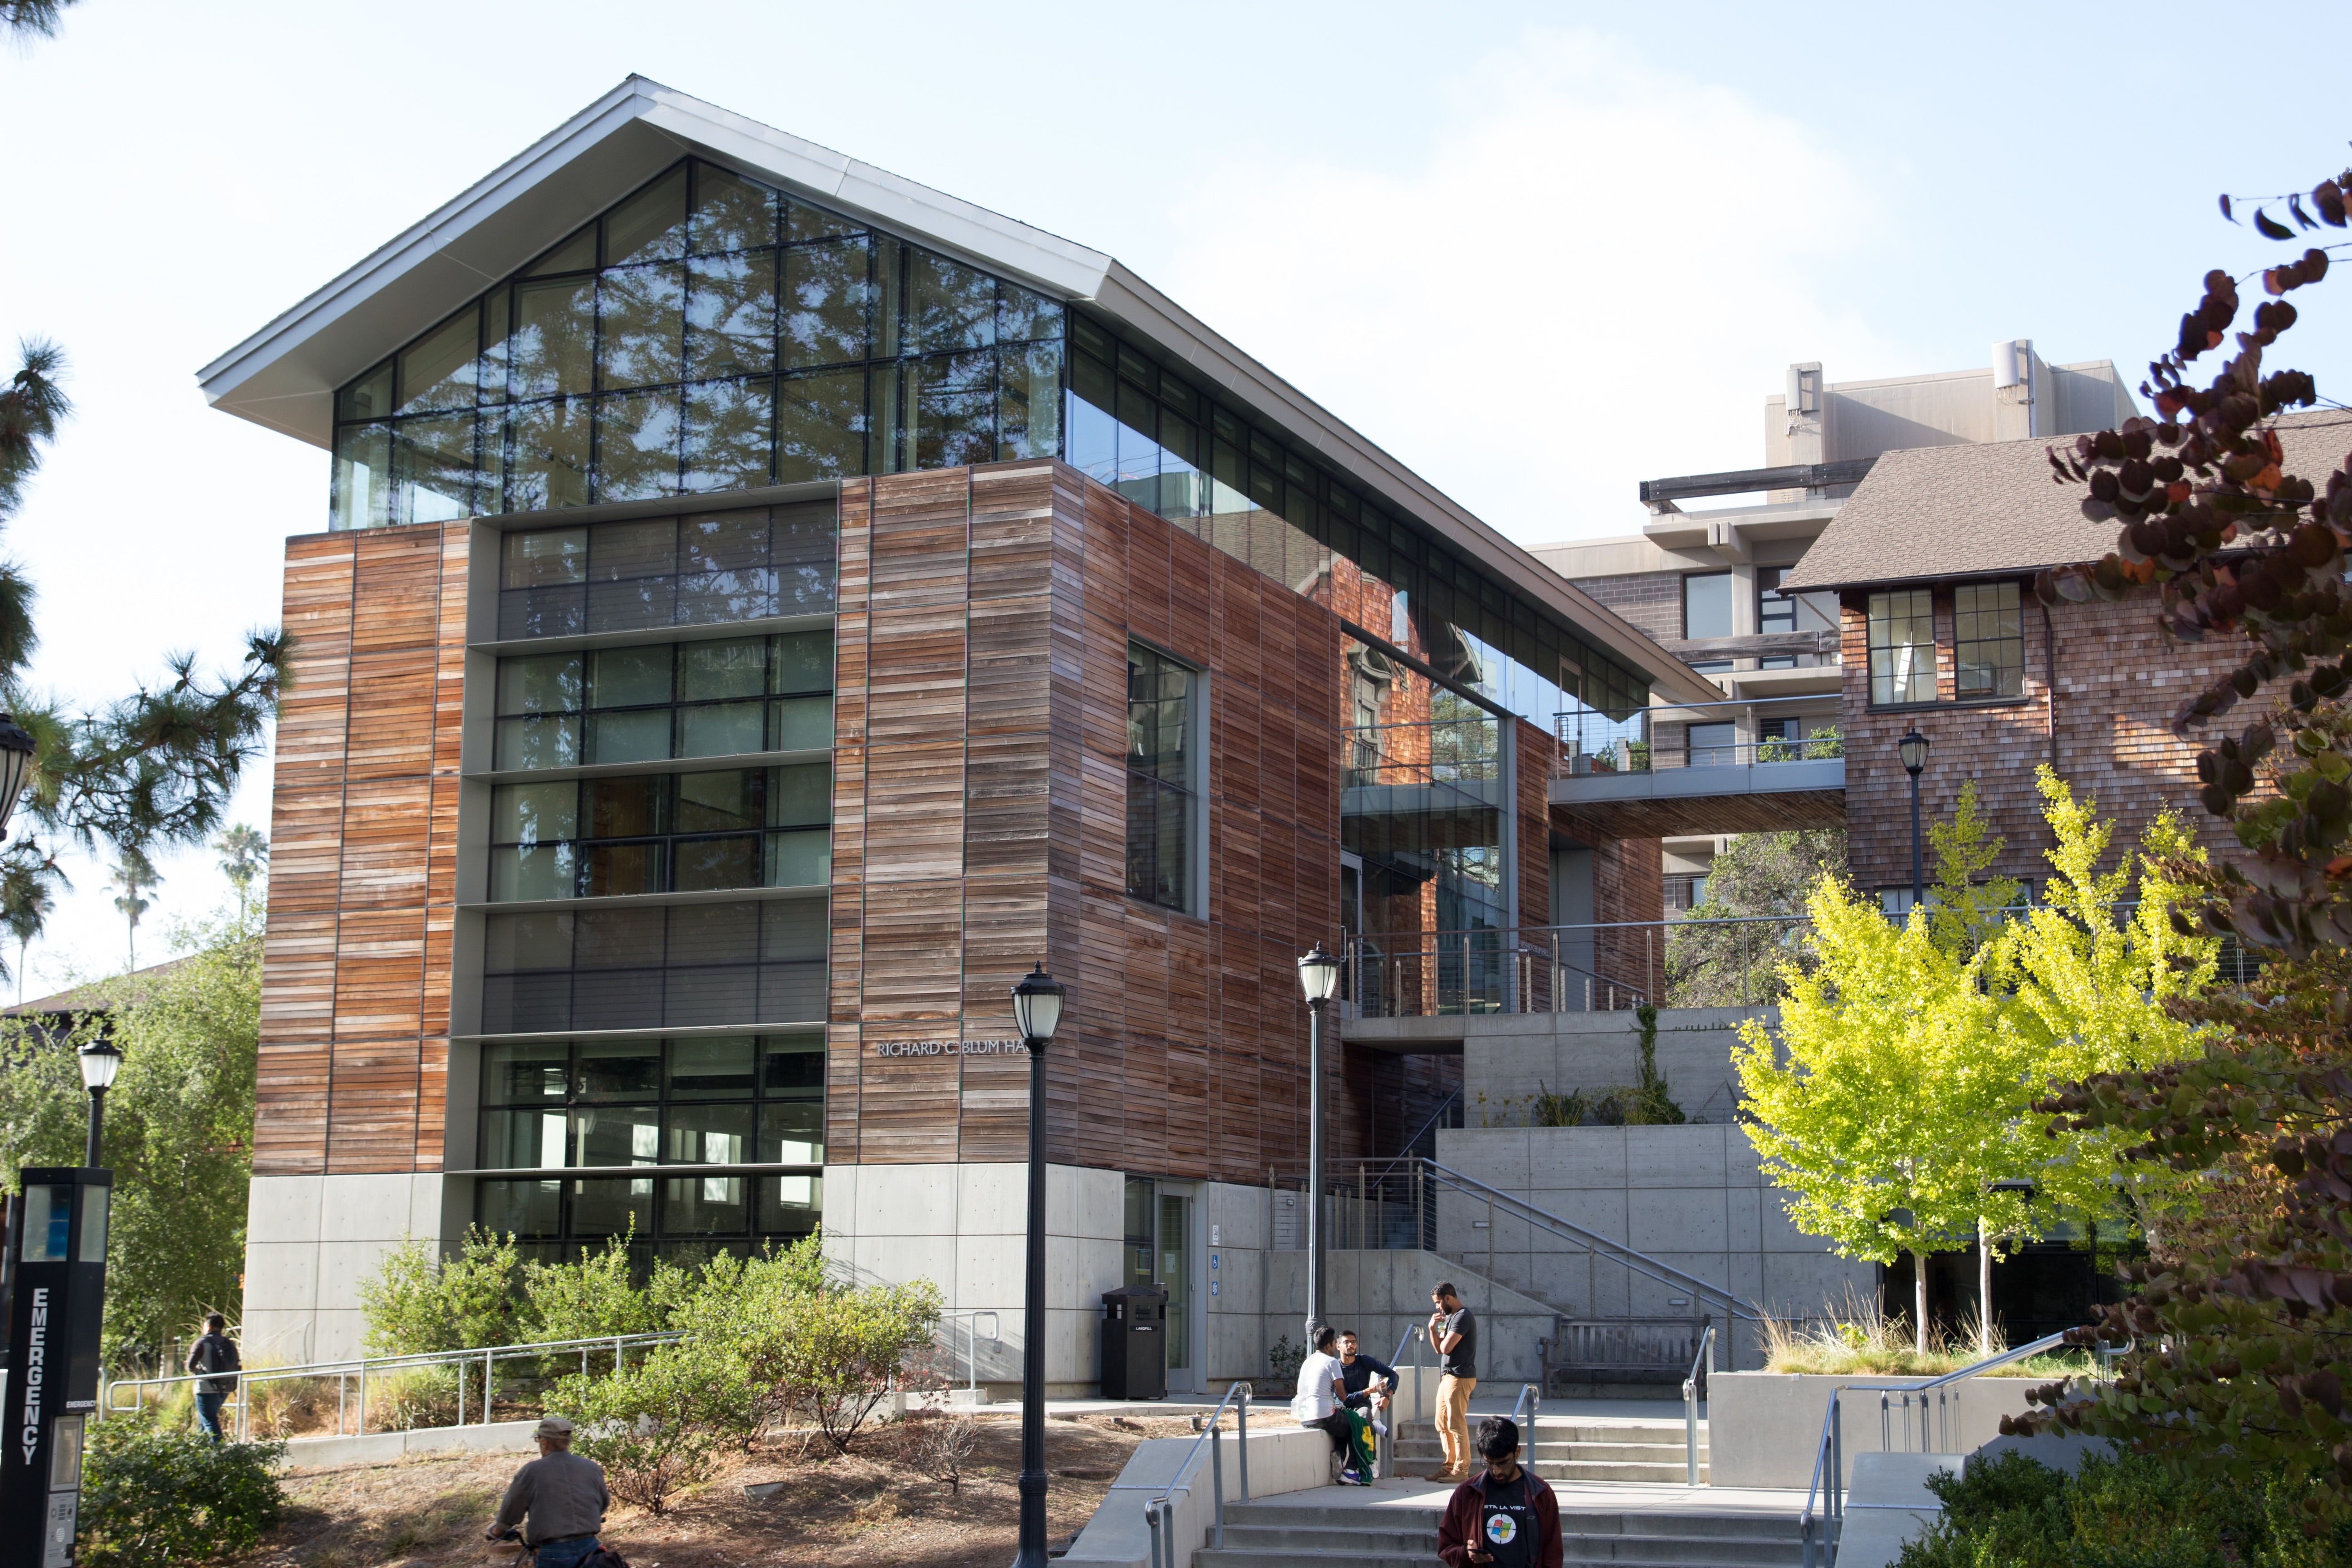
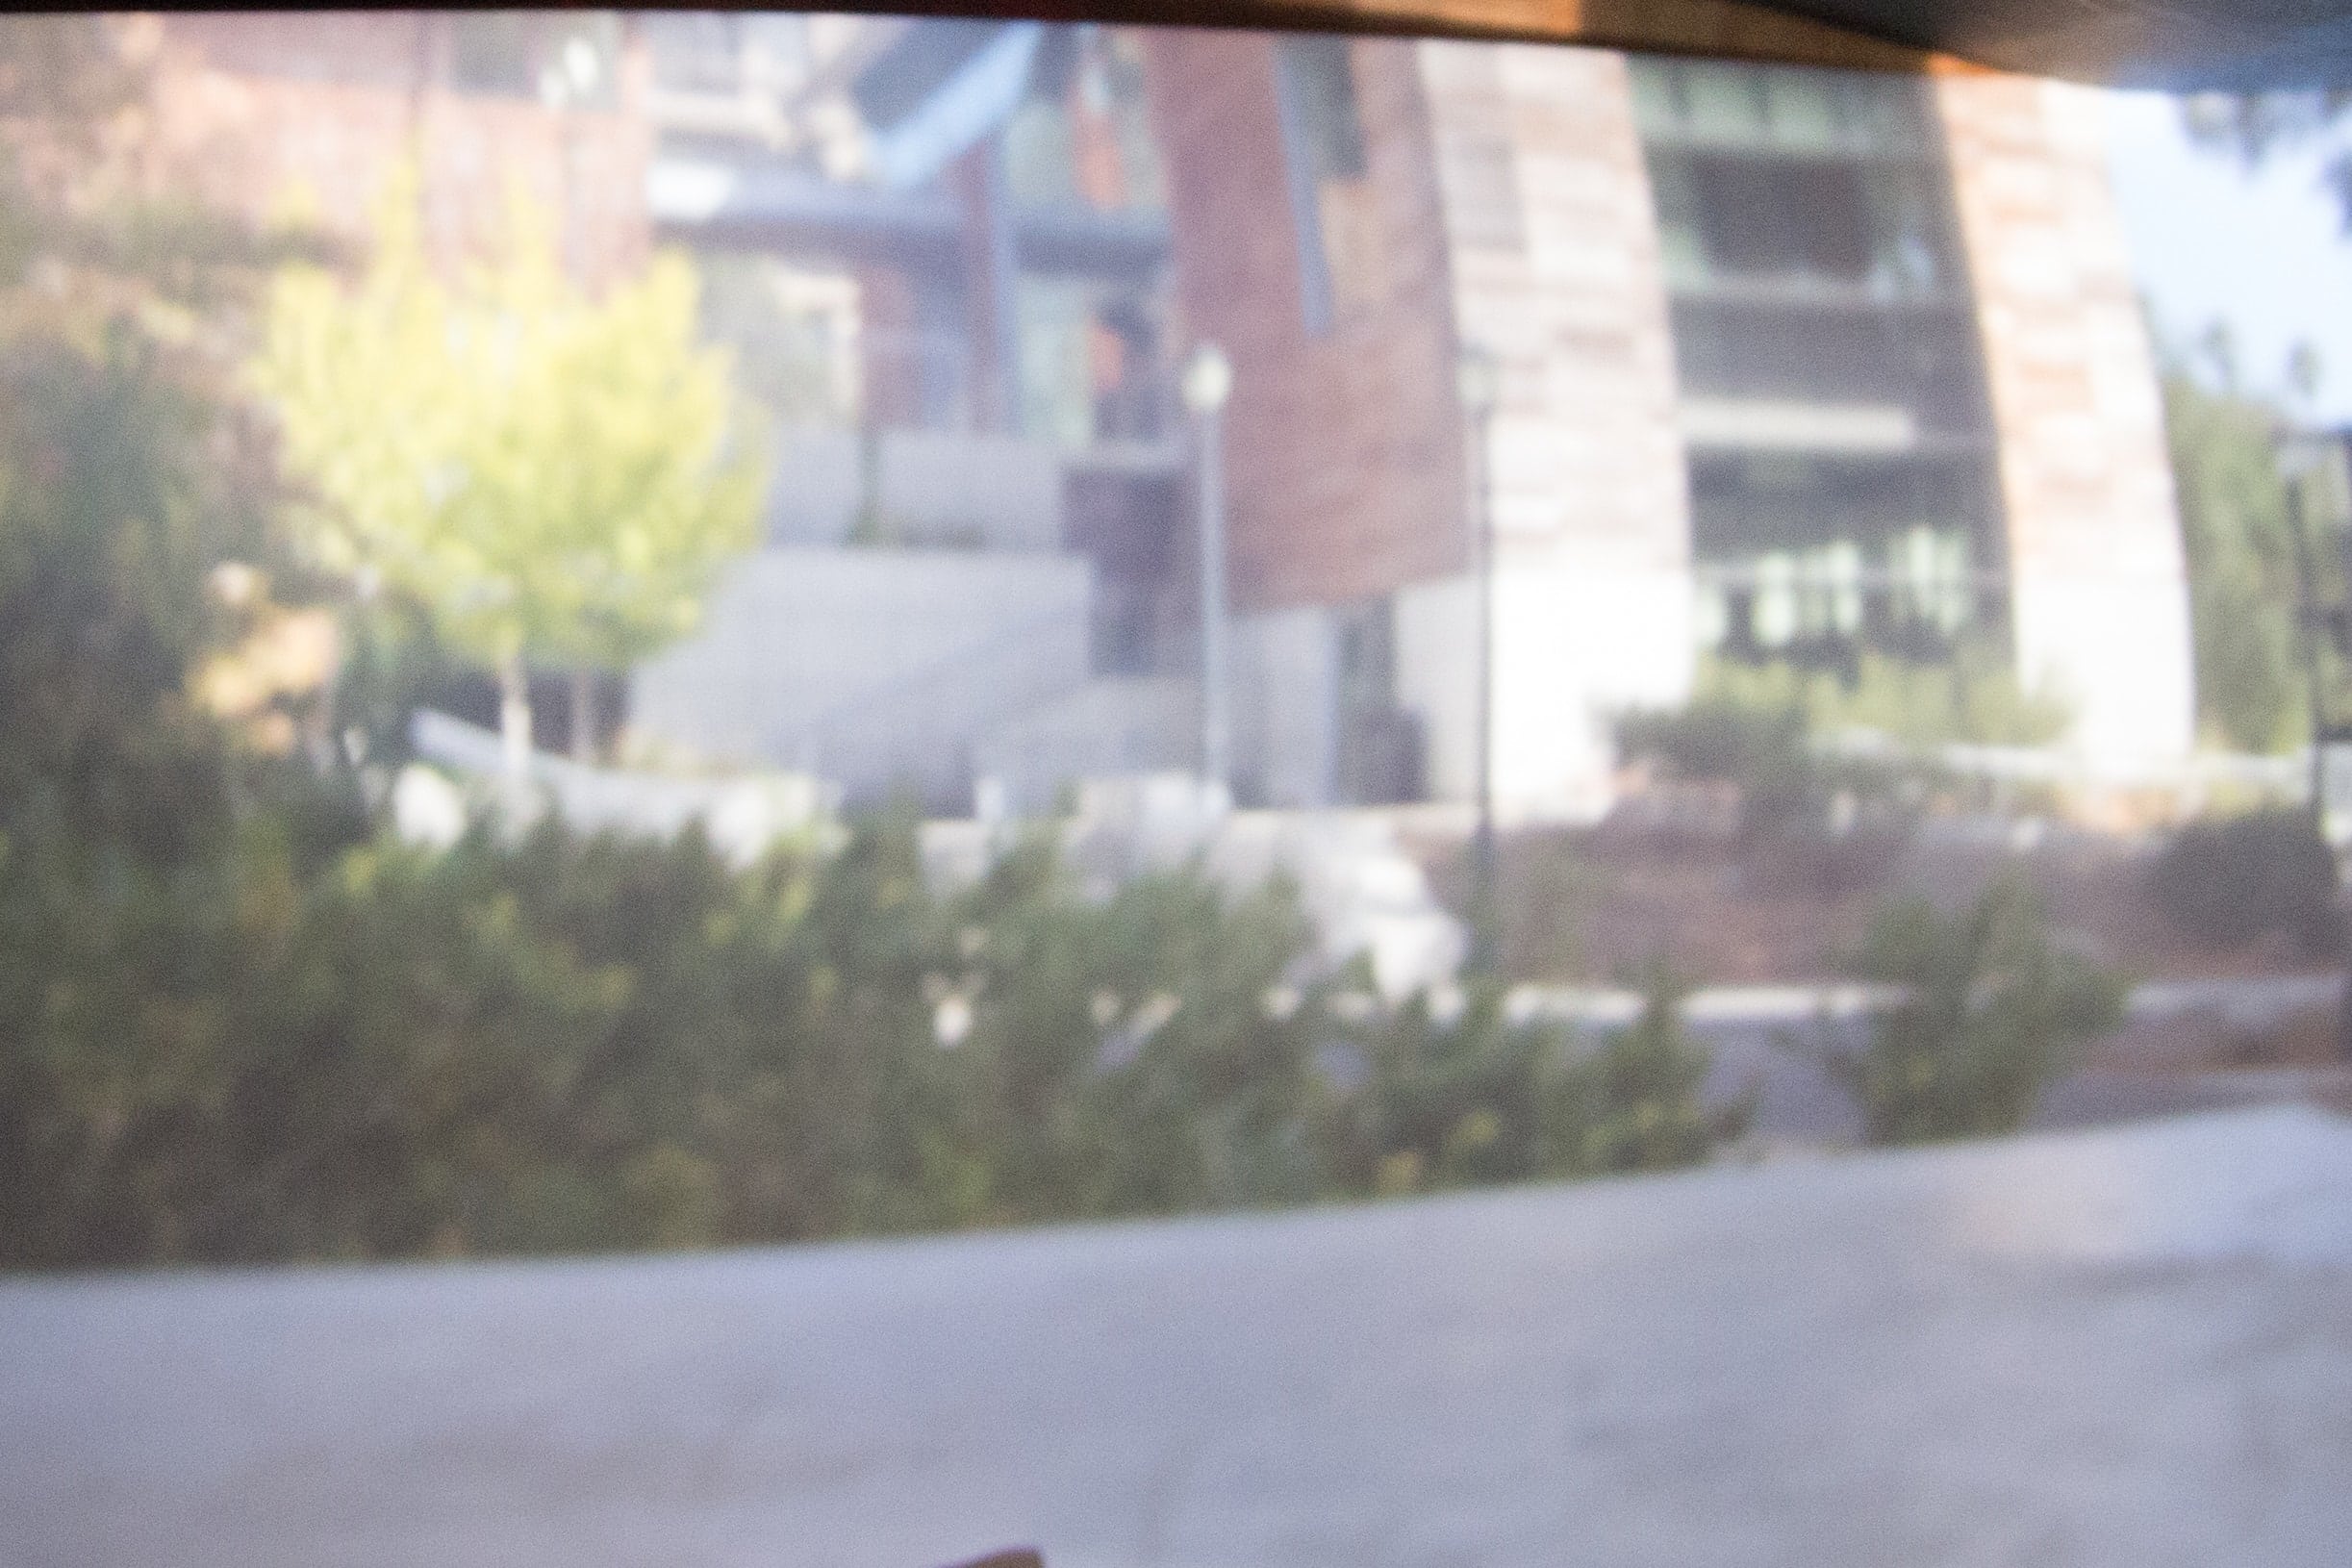
Scene 1: View of Blum Center from Sutardja Dai
Original:
Shots from Pinhole Camera:
 Aperture: 1 mm
|
 Aperture: 3 mm
|
 Aperture: 5 mm
|
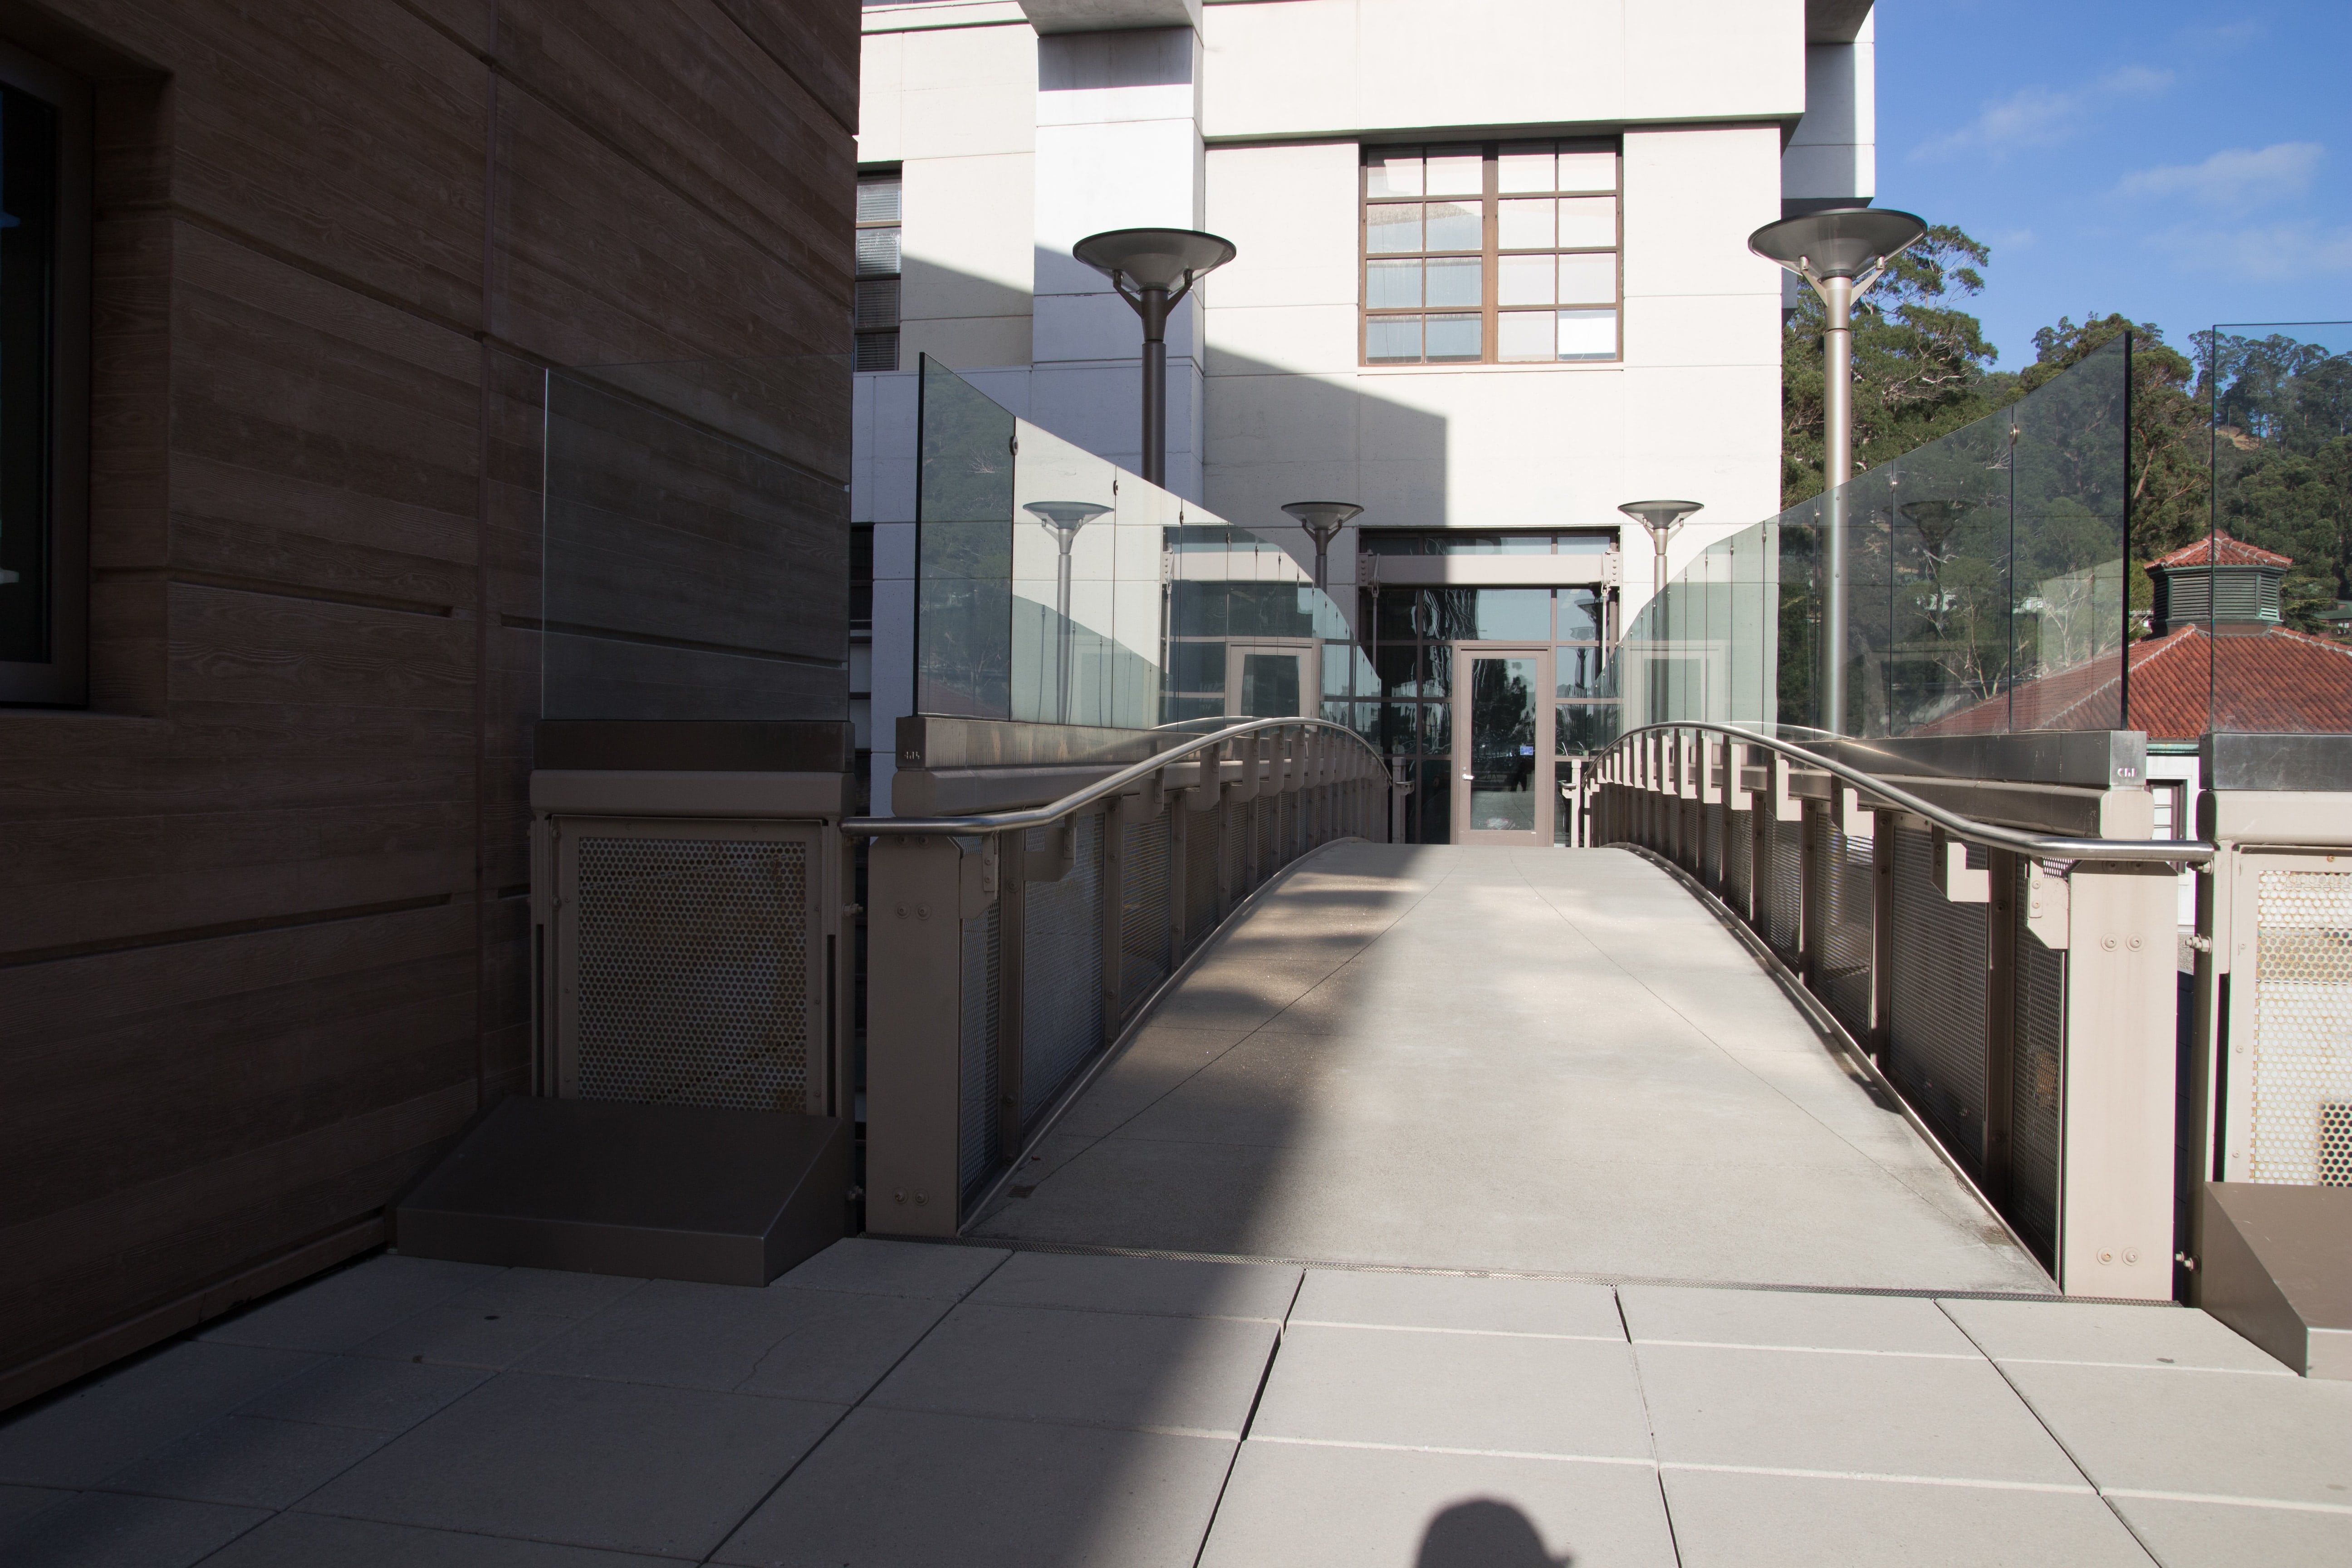
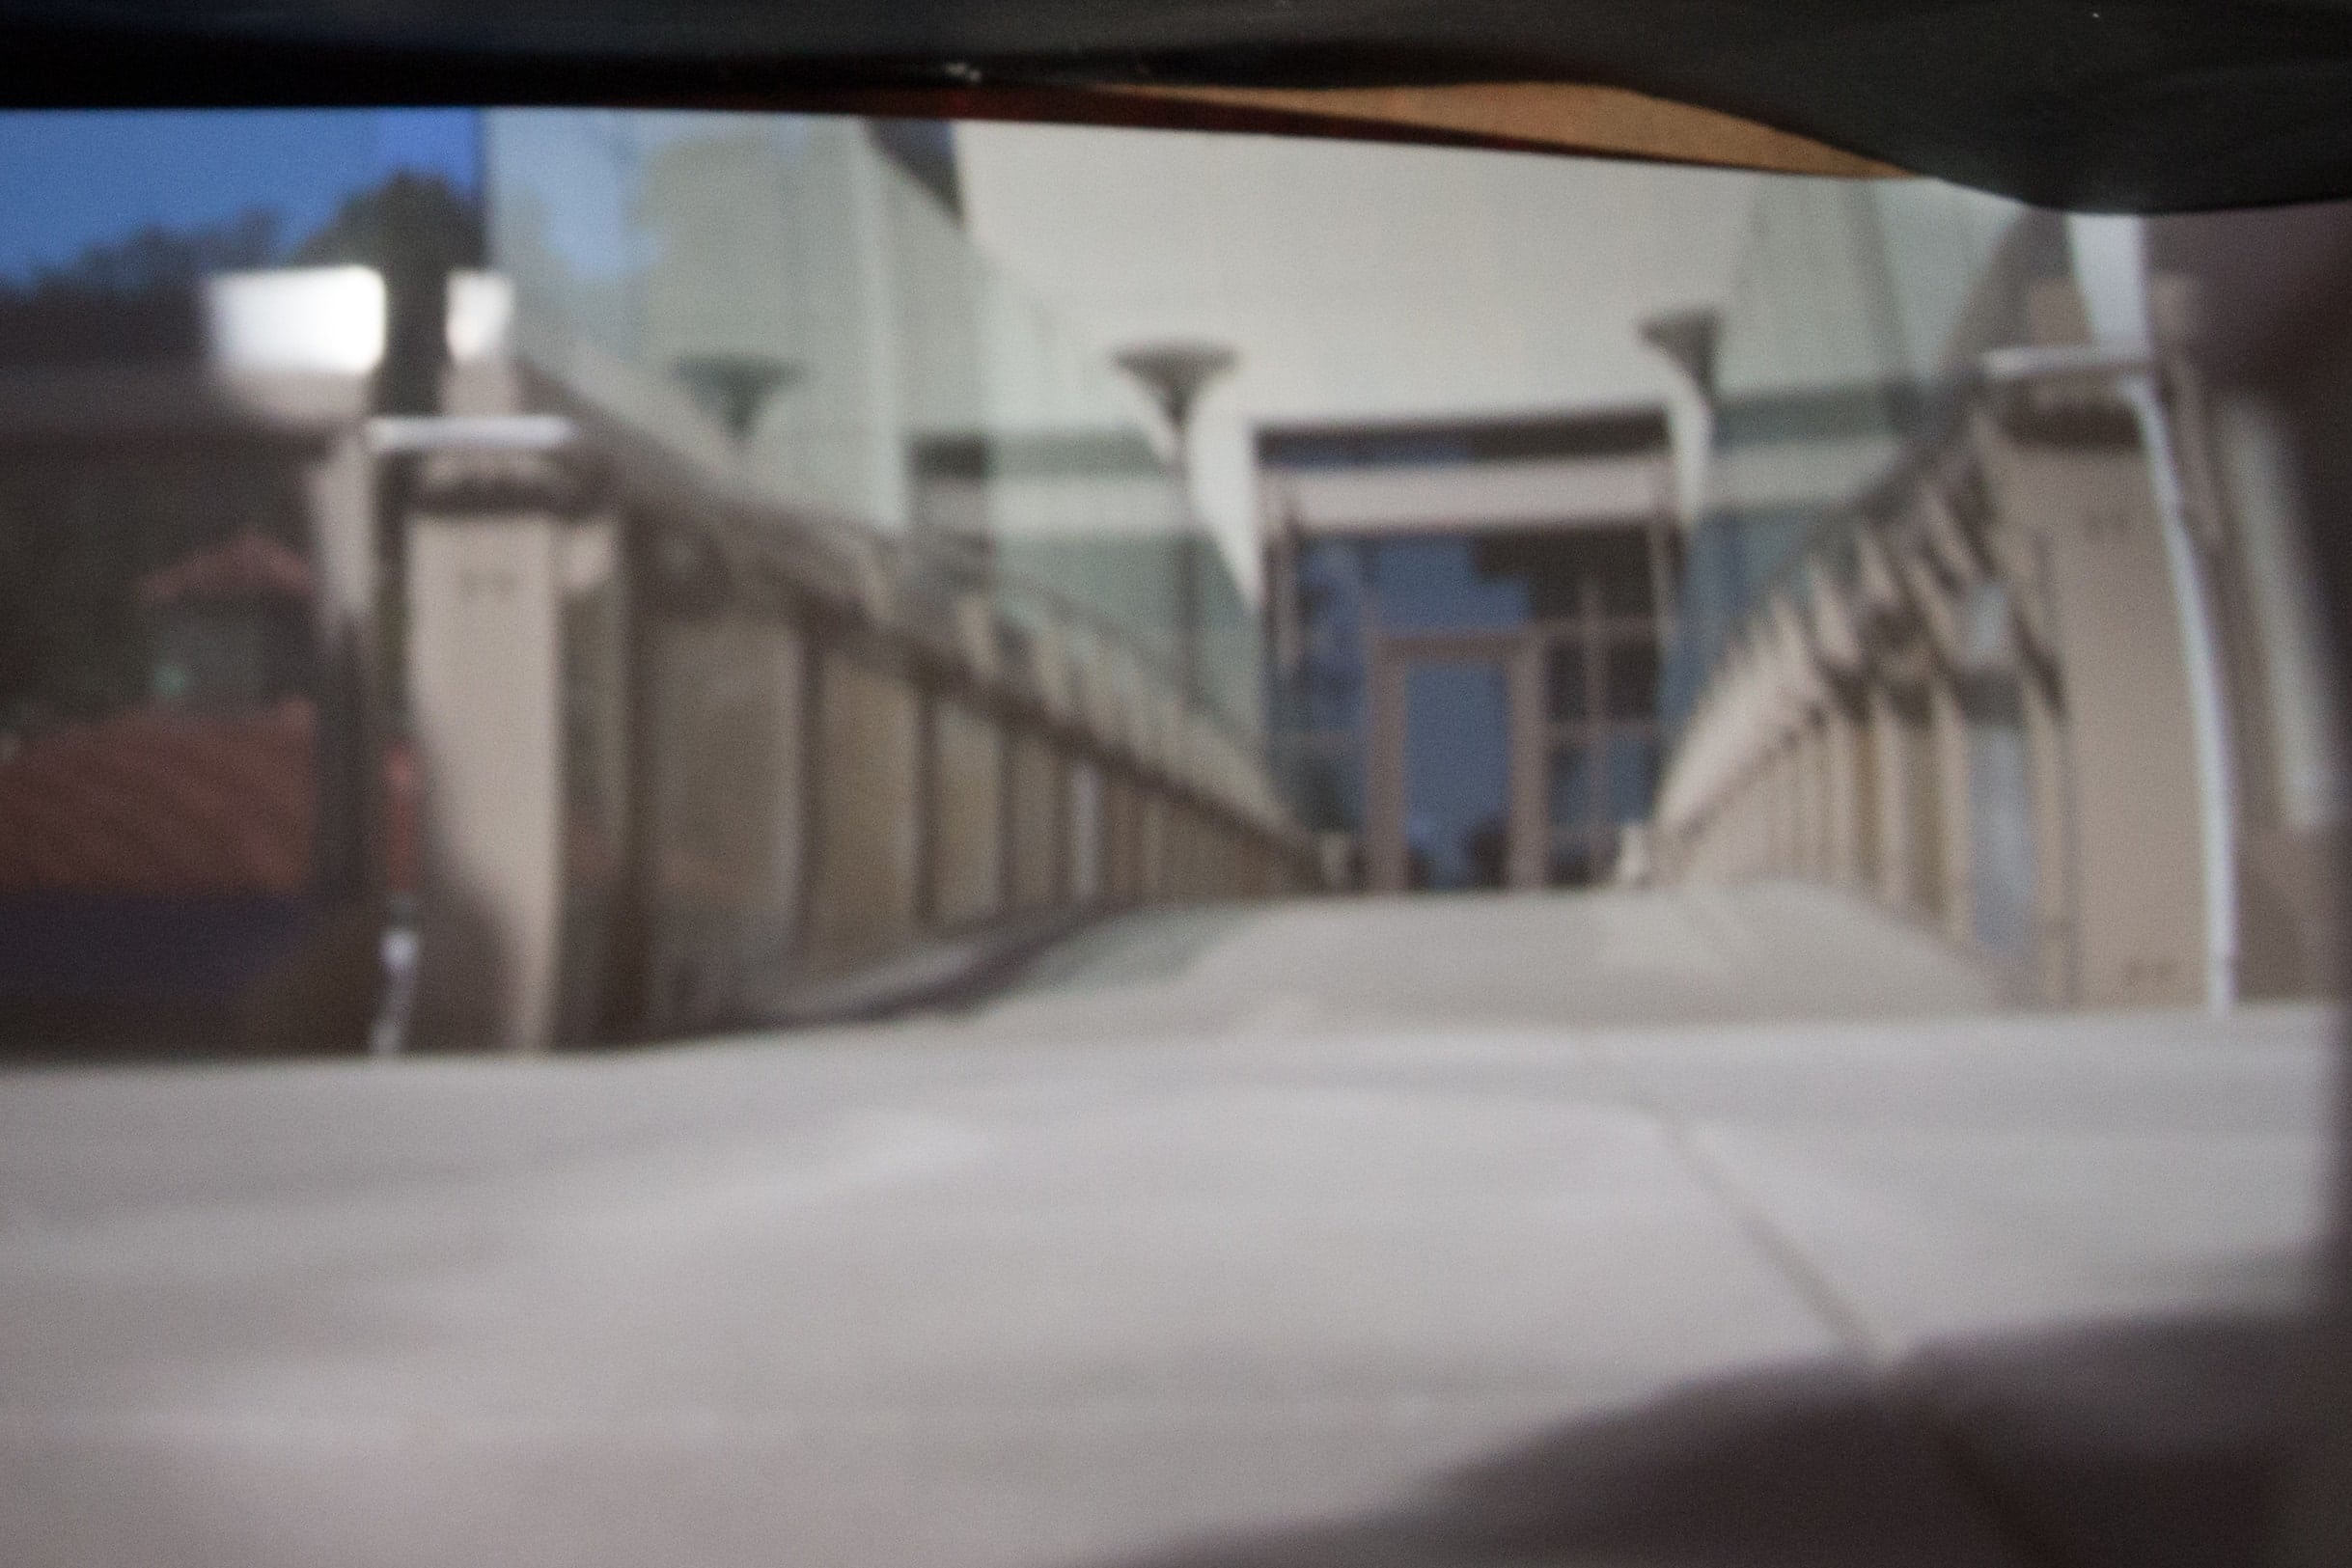
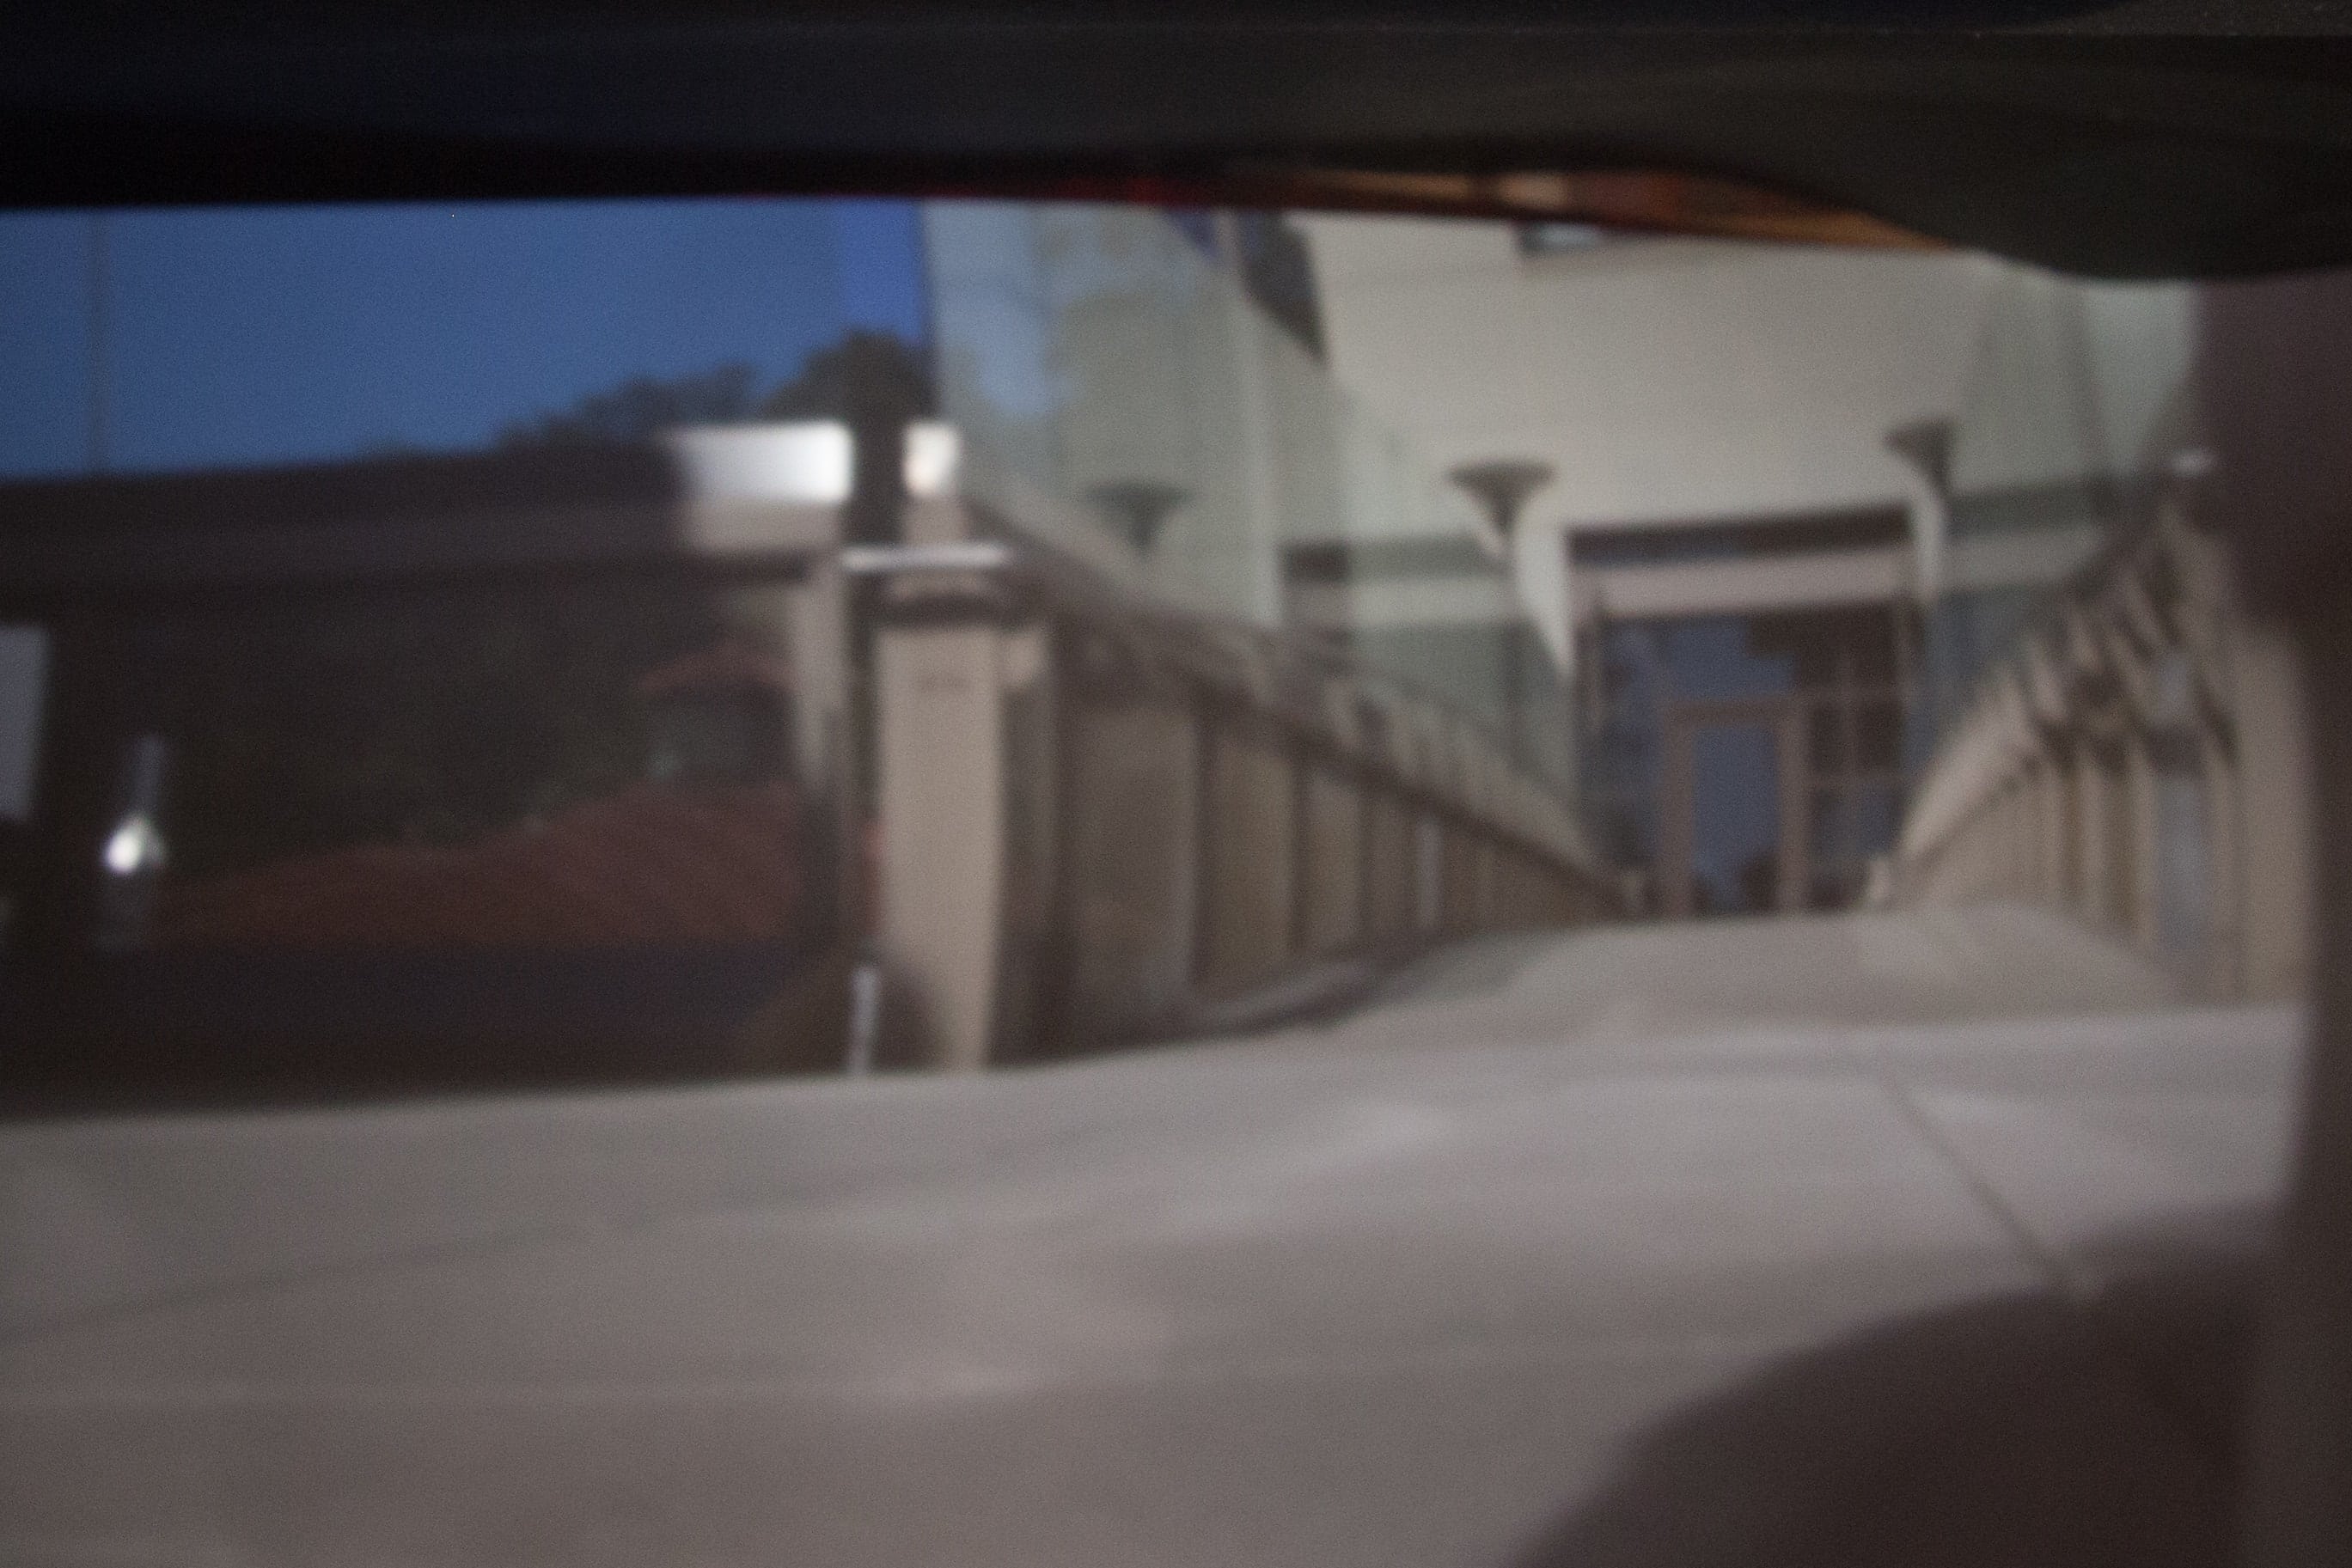
Scene 2: Skybridge Connecting Cory to Sutardja Dai
Original:
Shots from Pinhole Camera:
 Aperture: 1 mm
|
 Aperture: 3 mm
|
 Aperture: 5 mm
|
Other Images
For our four other images, we took it with the 3 mm because we thought it performed the best.
Statue in Breezeway Between Davis and Sutardja Dai
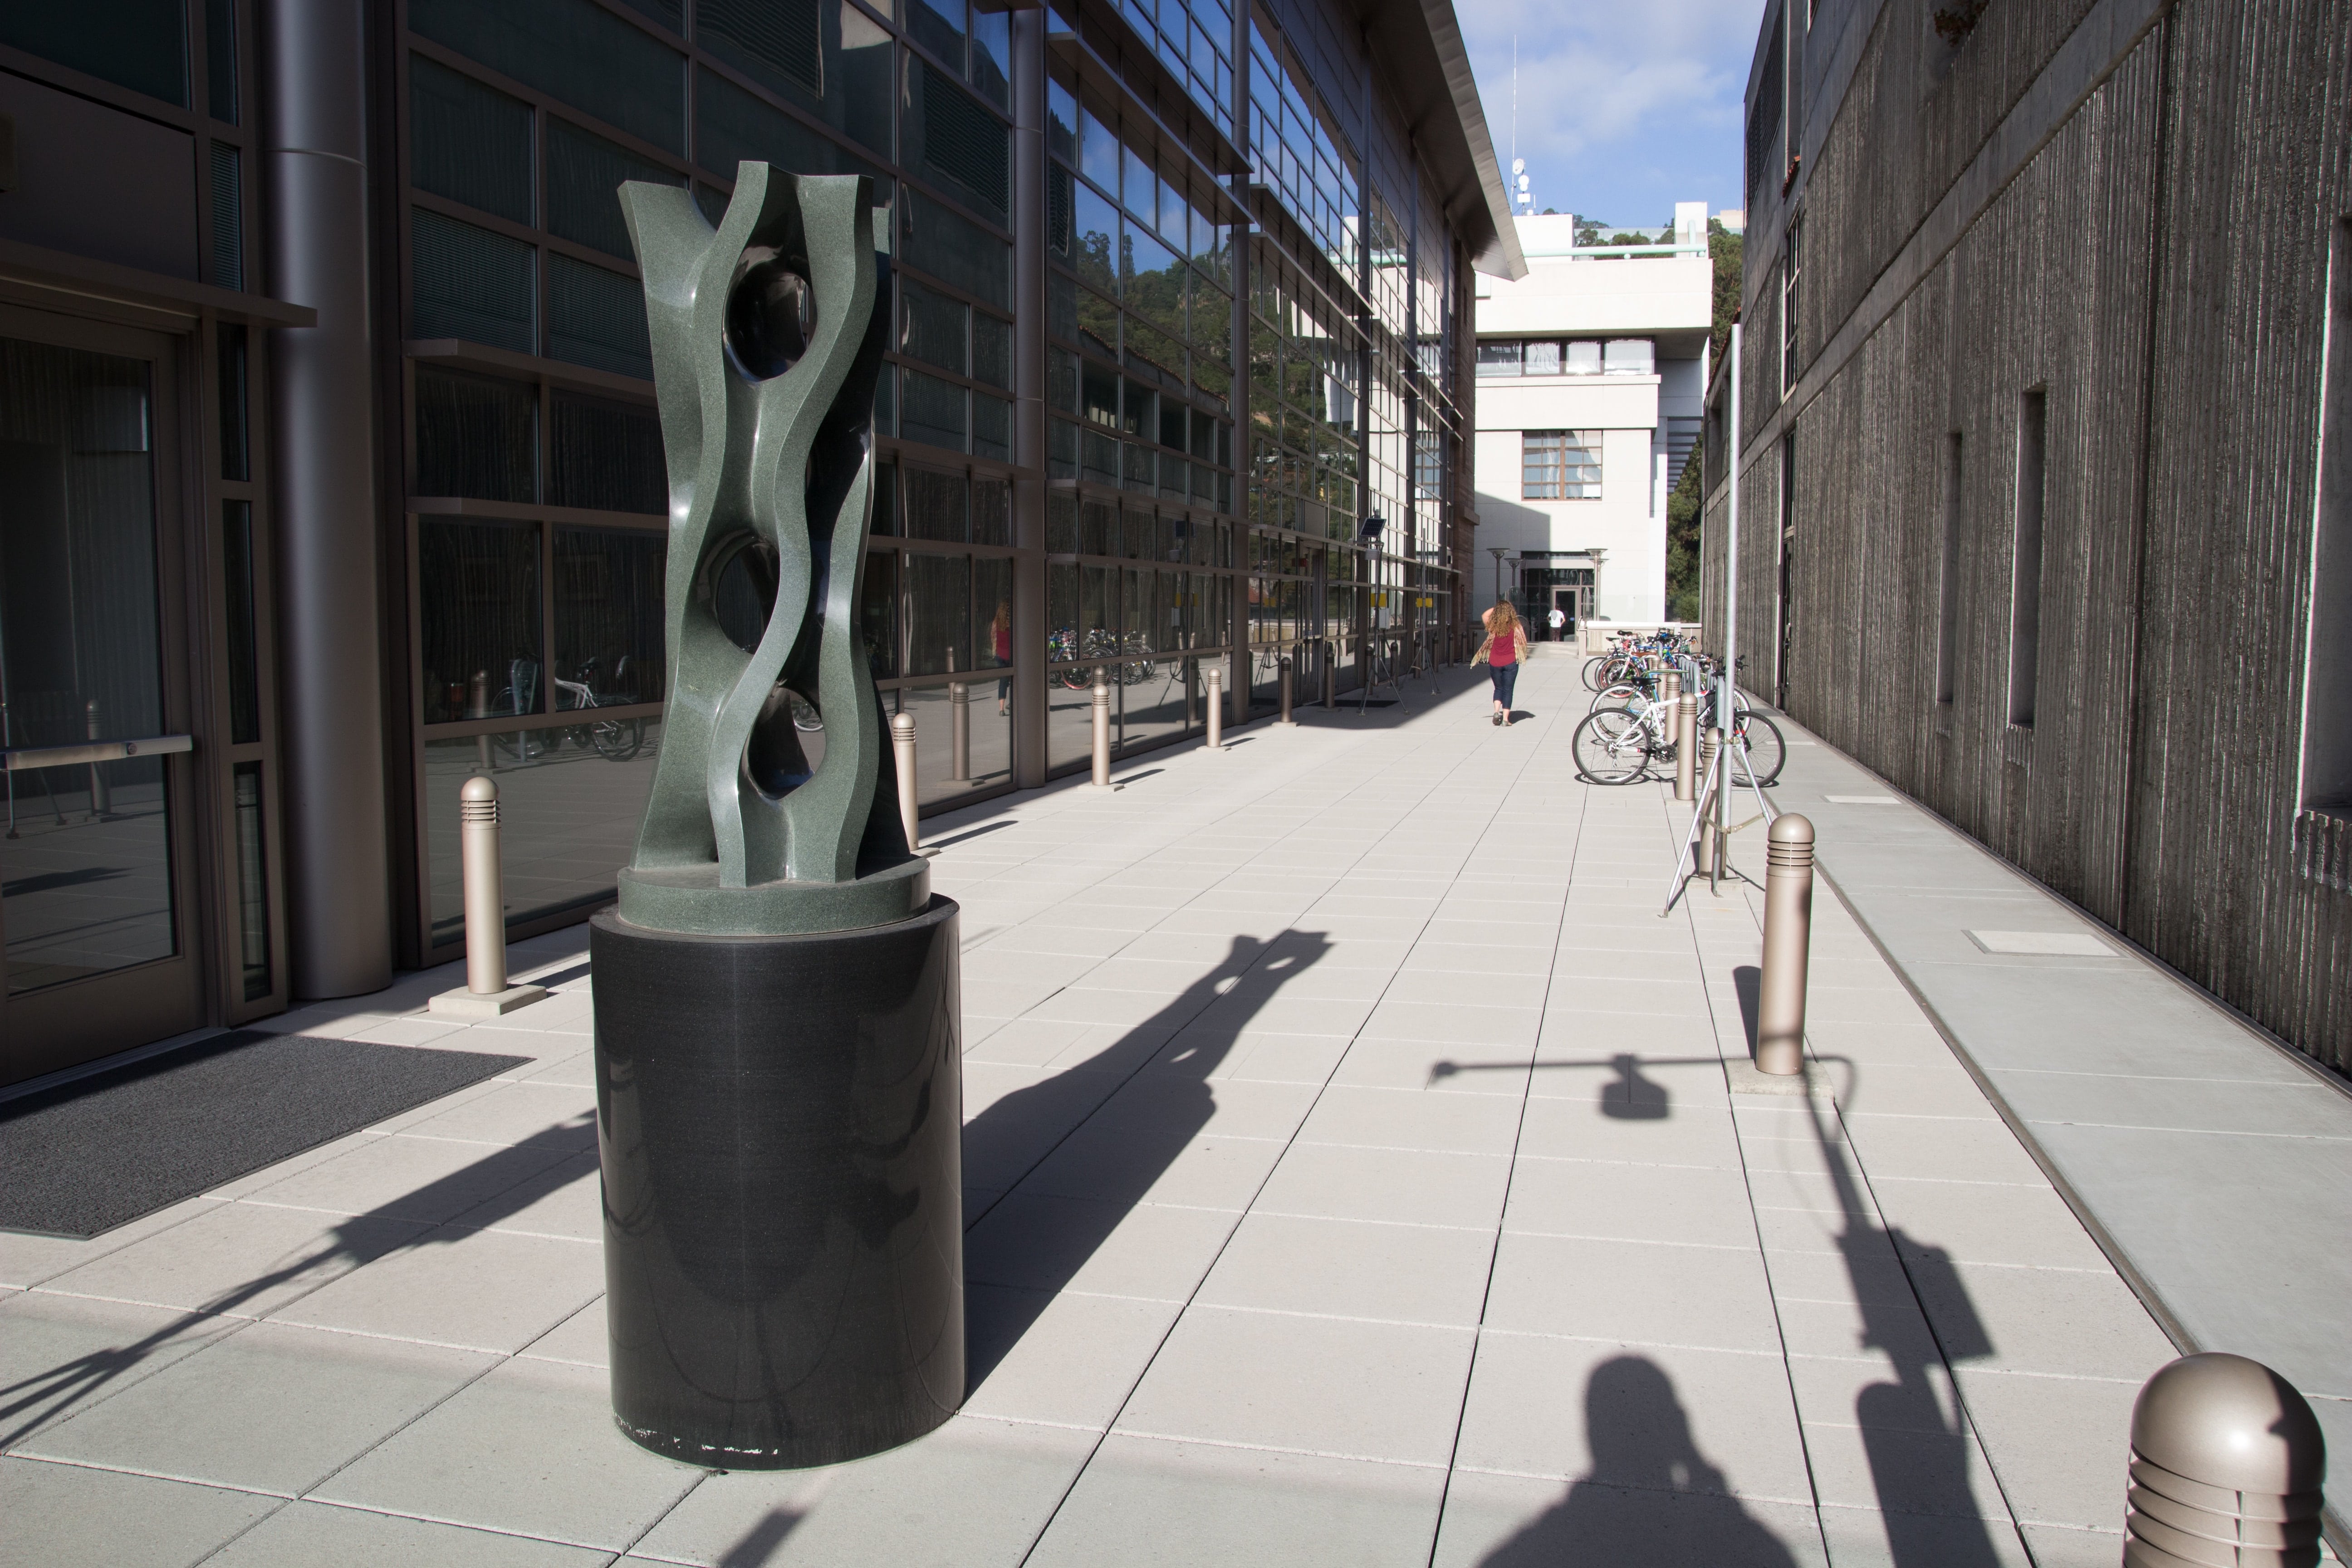 Original
|
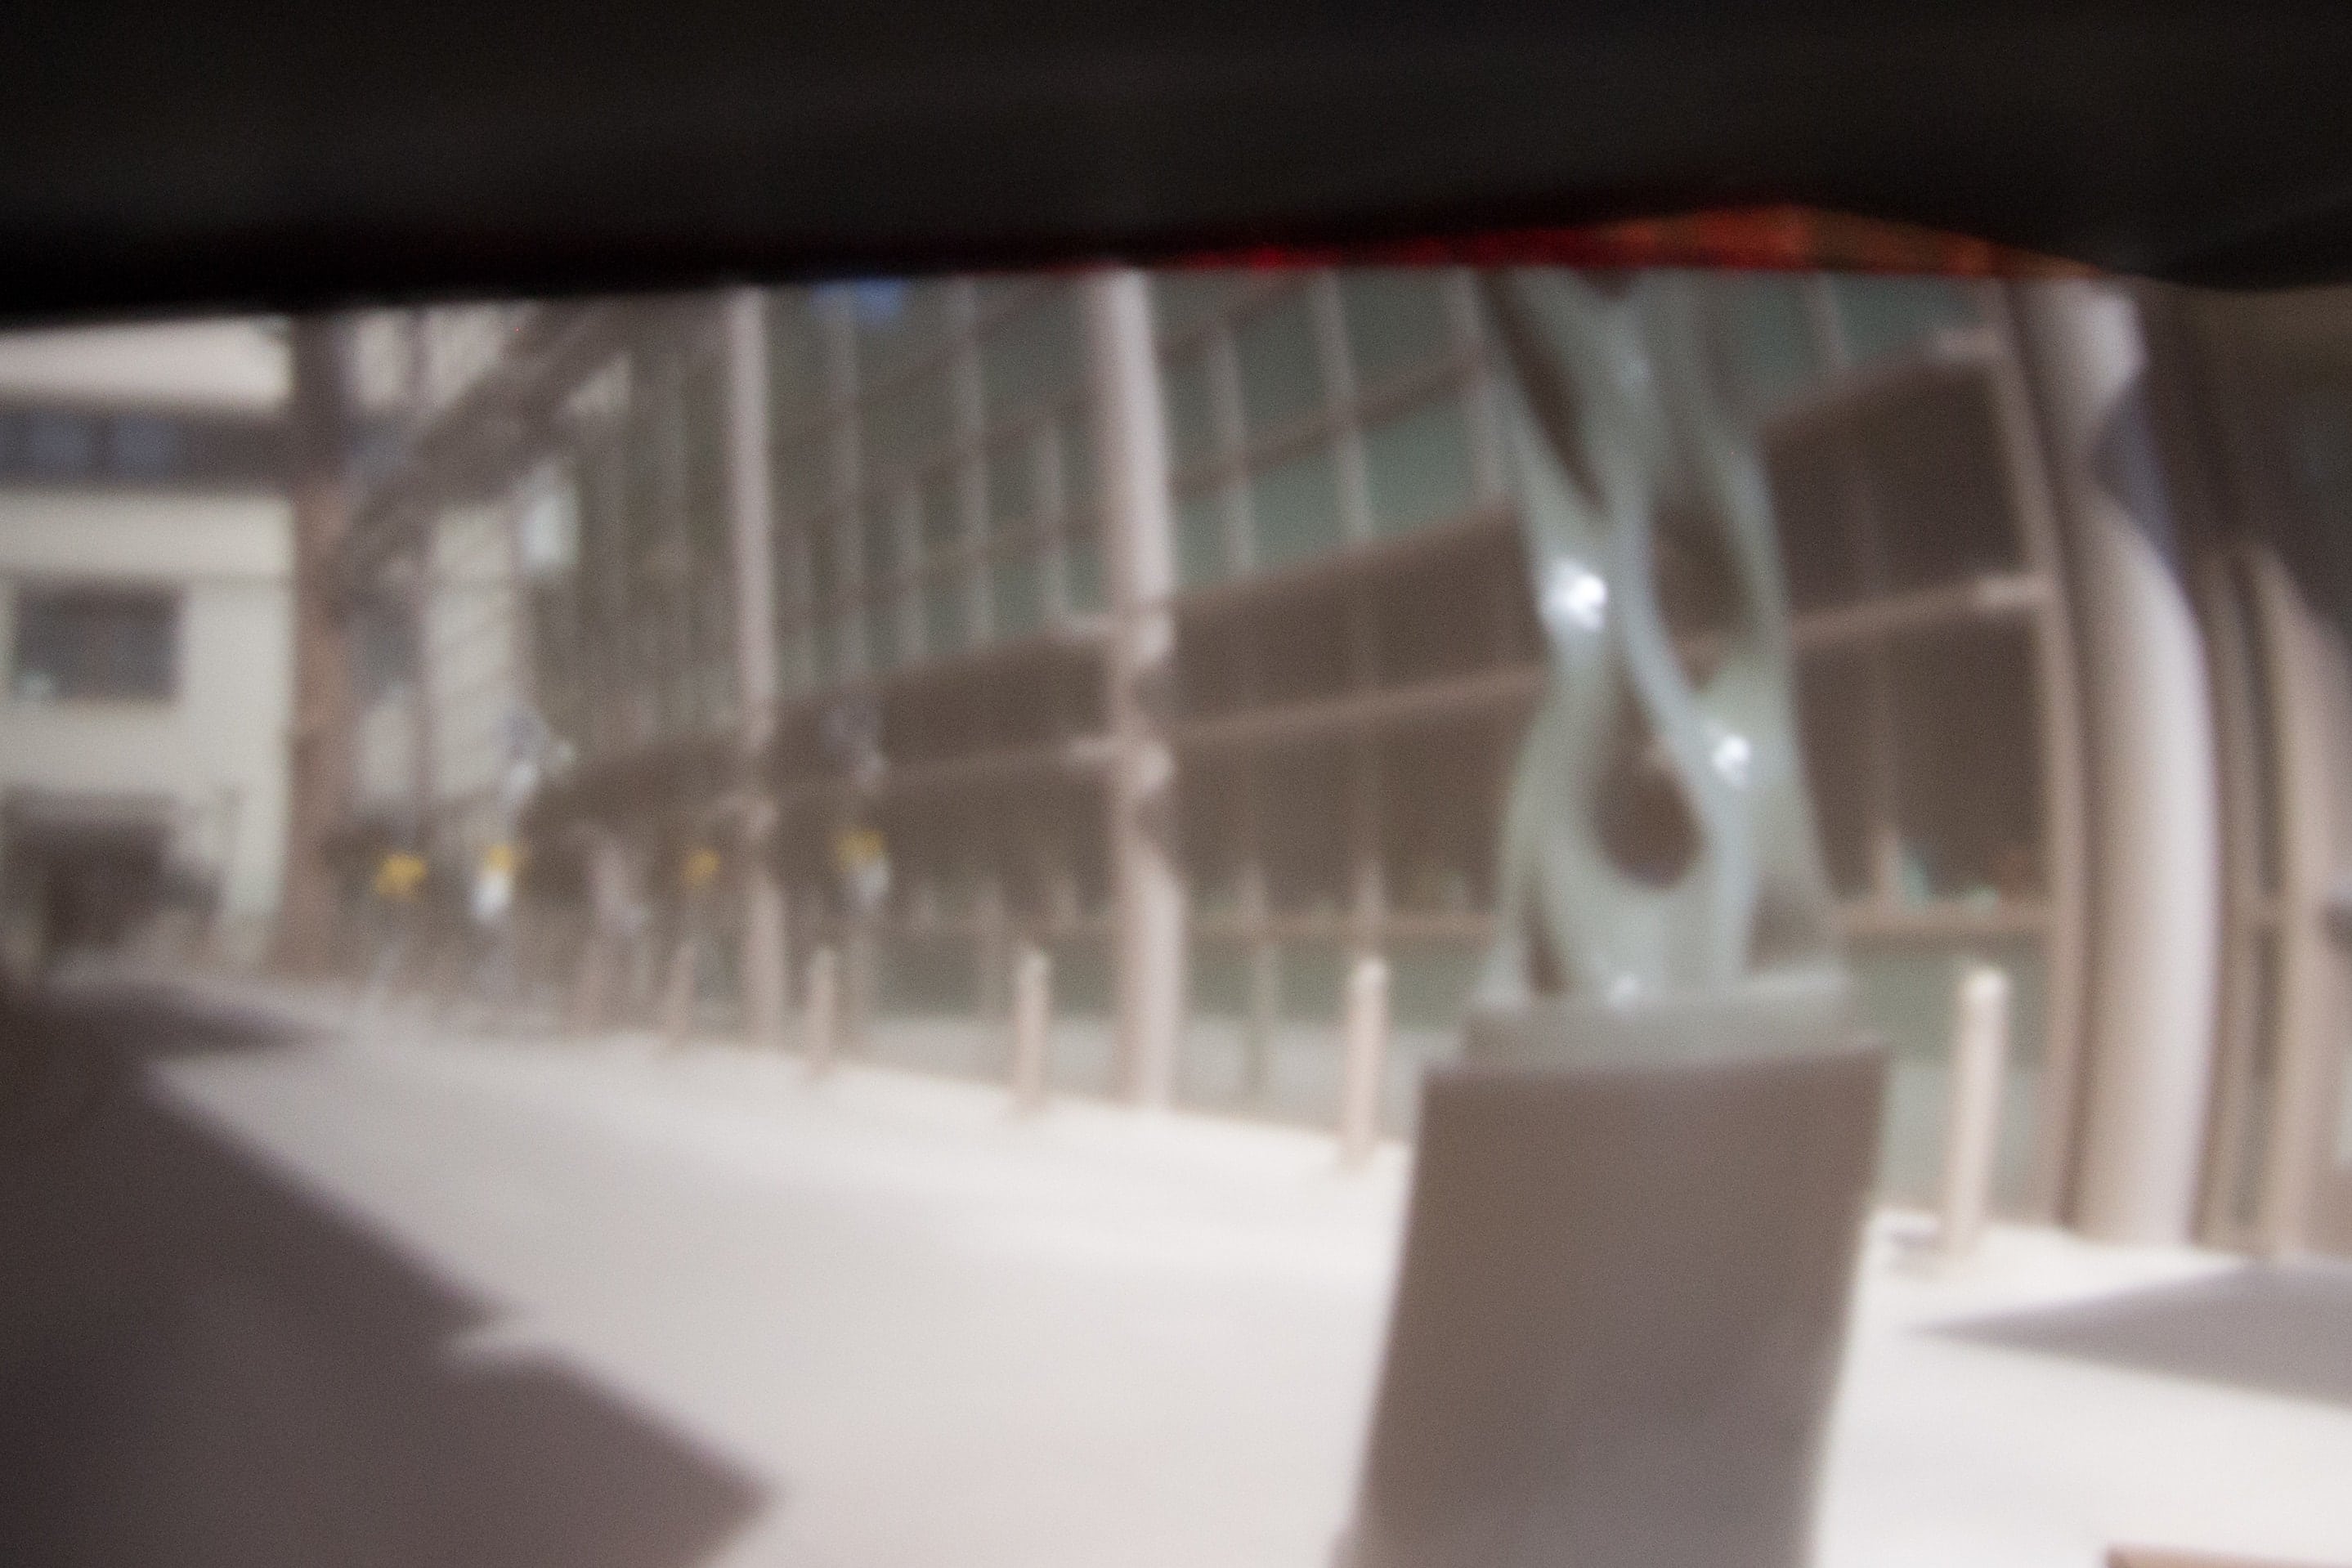 Pinhole Camera
|
Campanile as Viewed from McLaughlin Hall
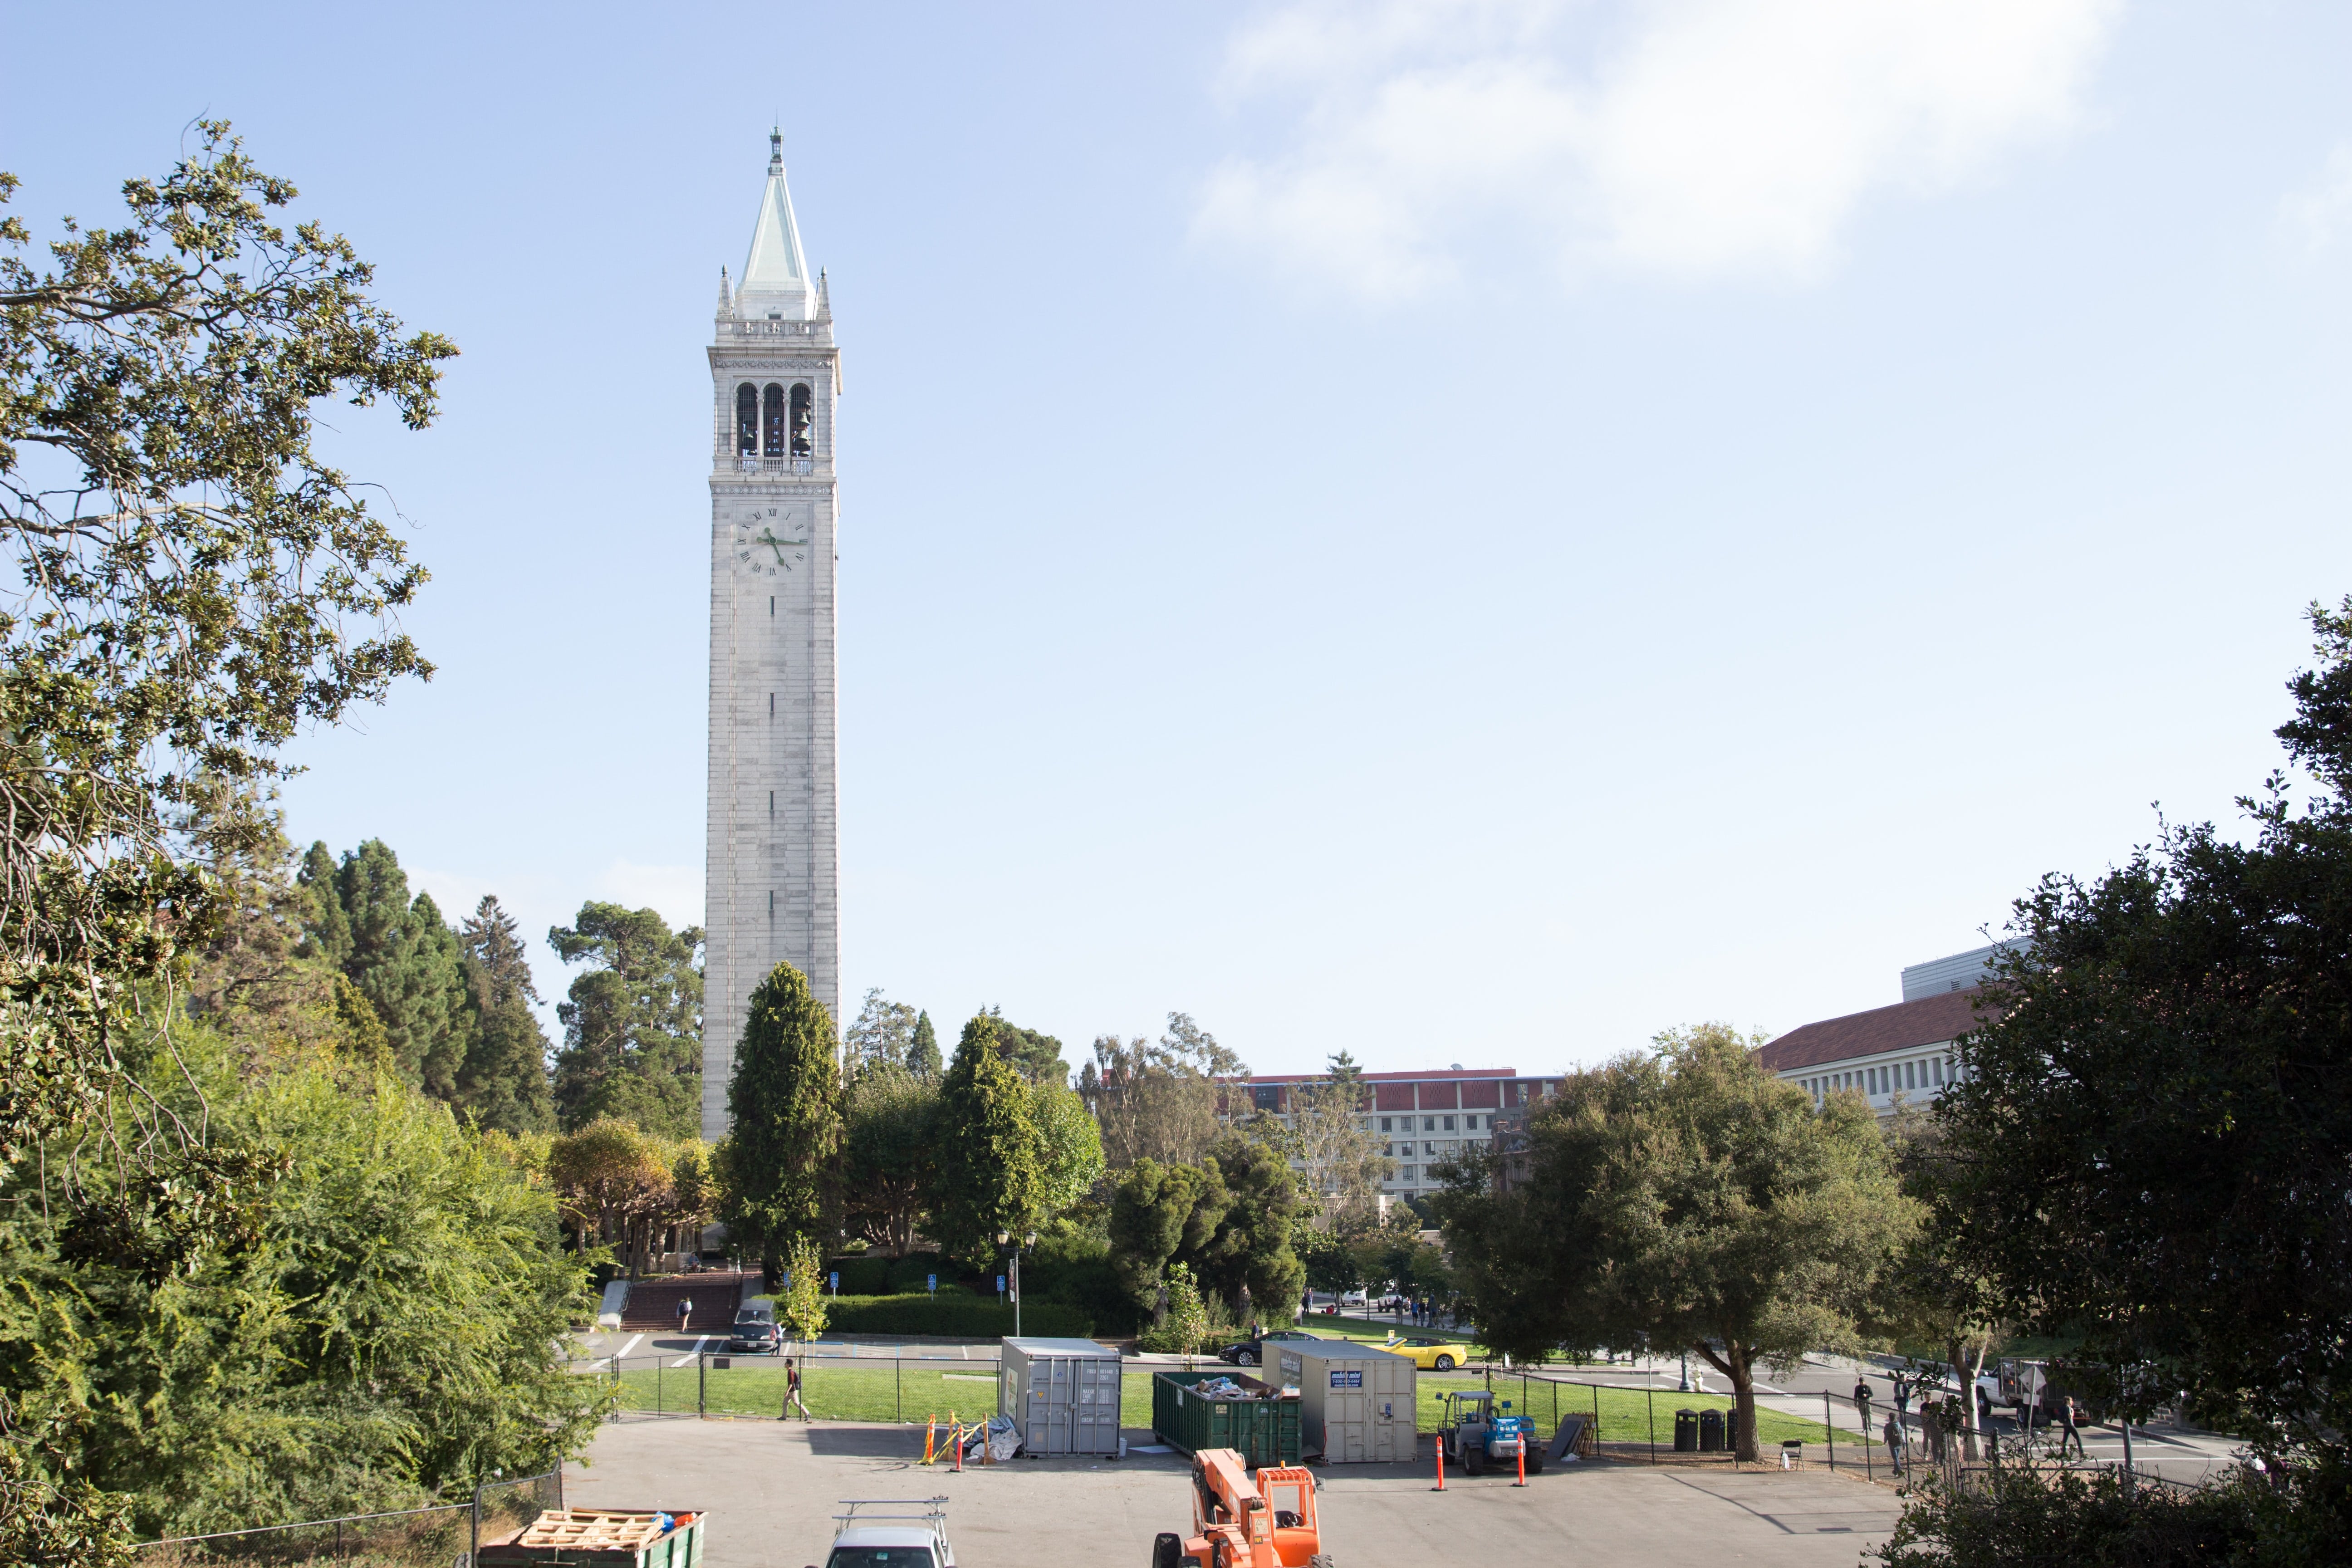 Original
|
 Pinhole Camera
|
Self-Portraits
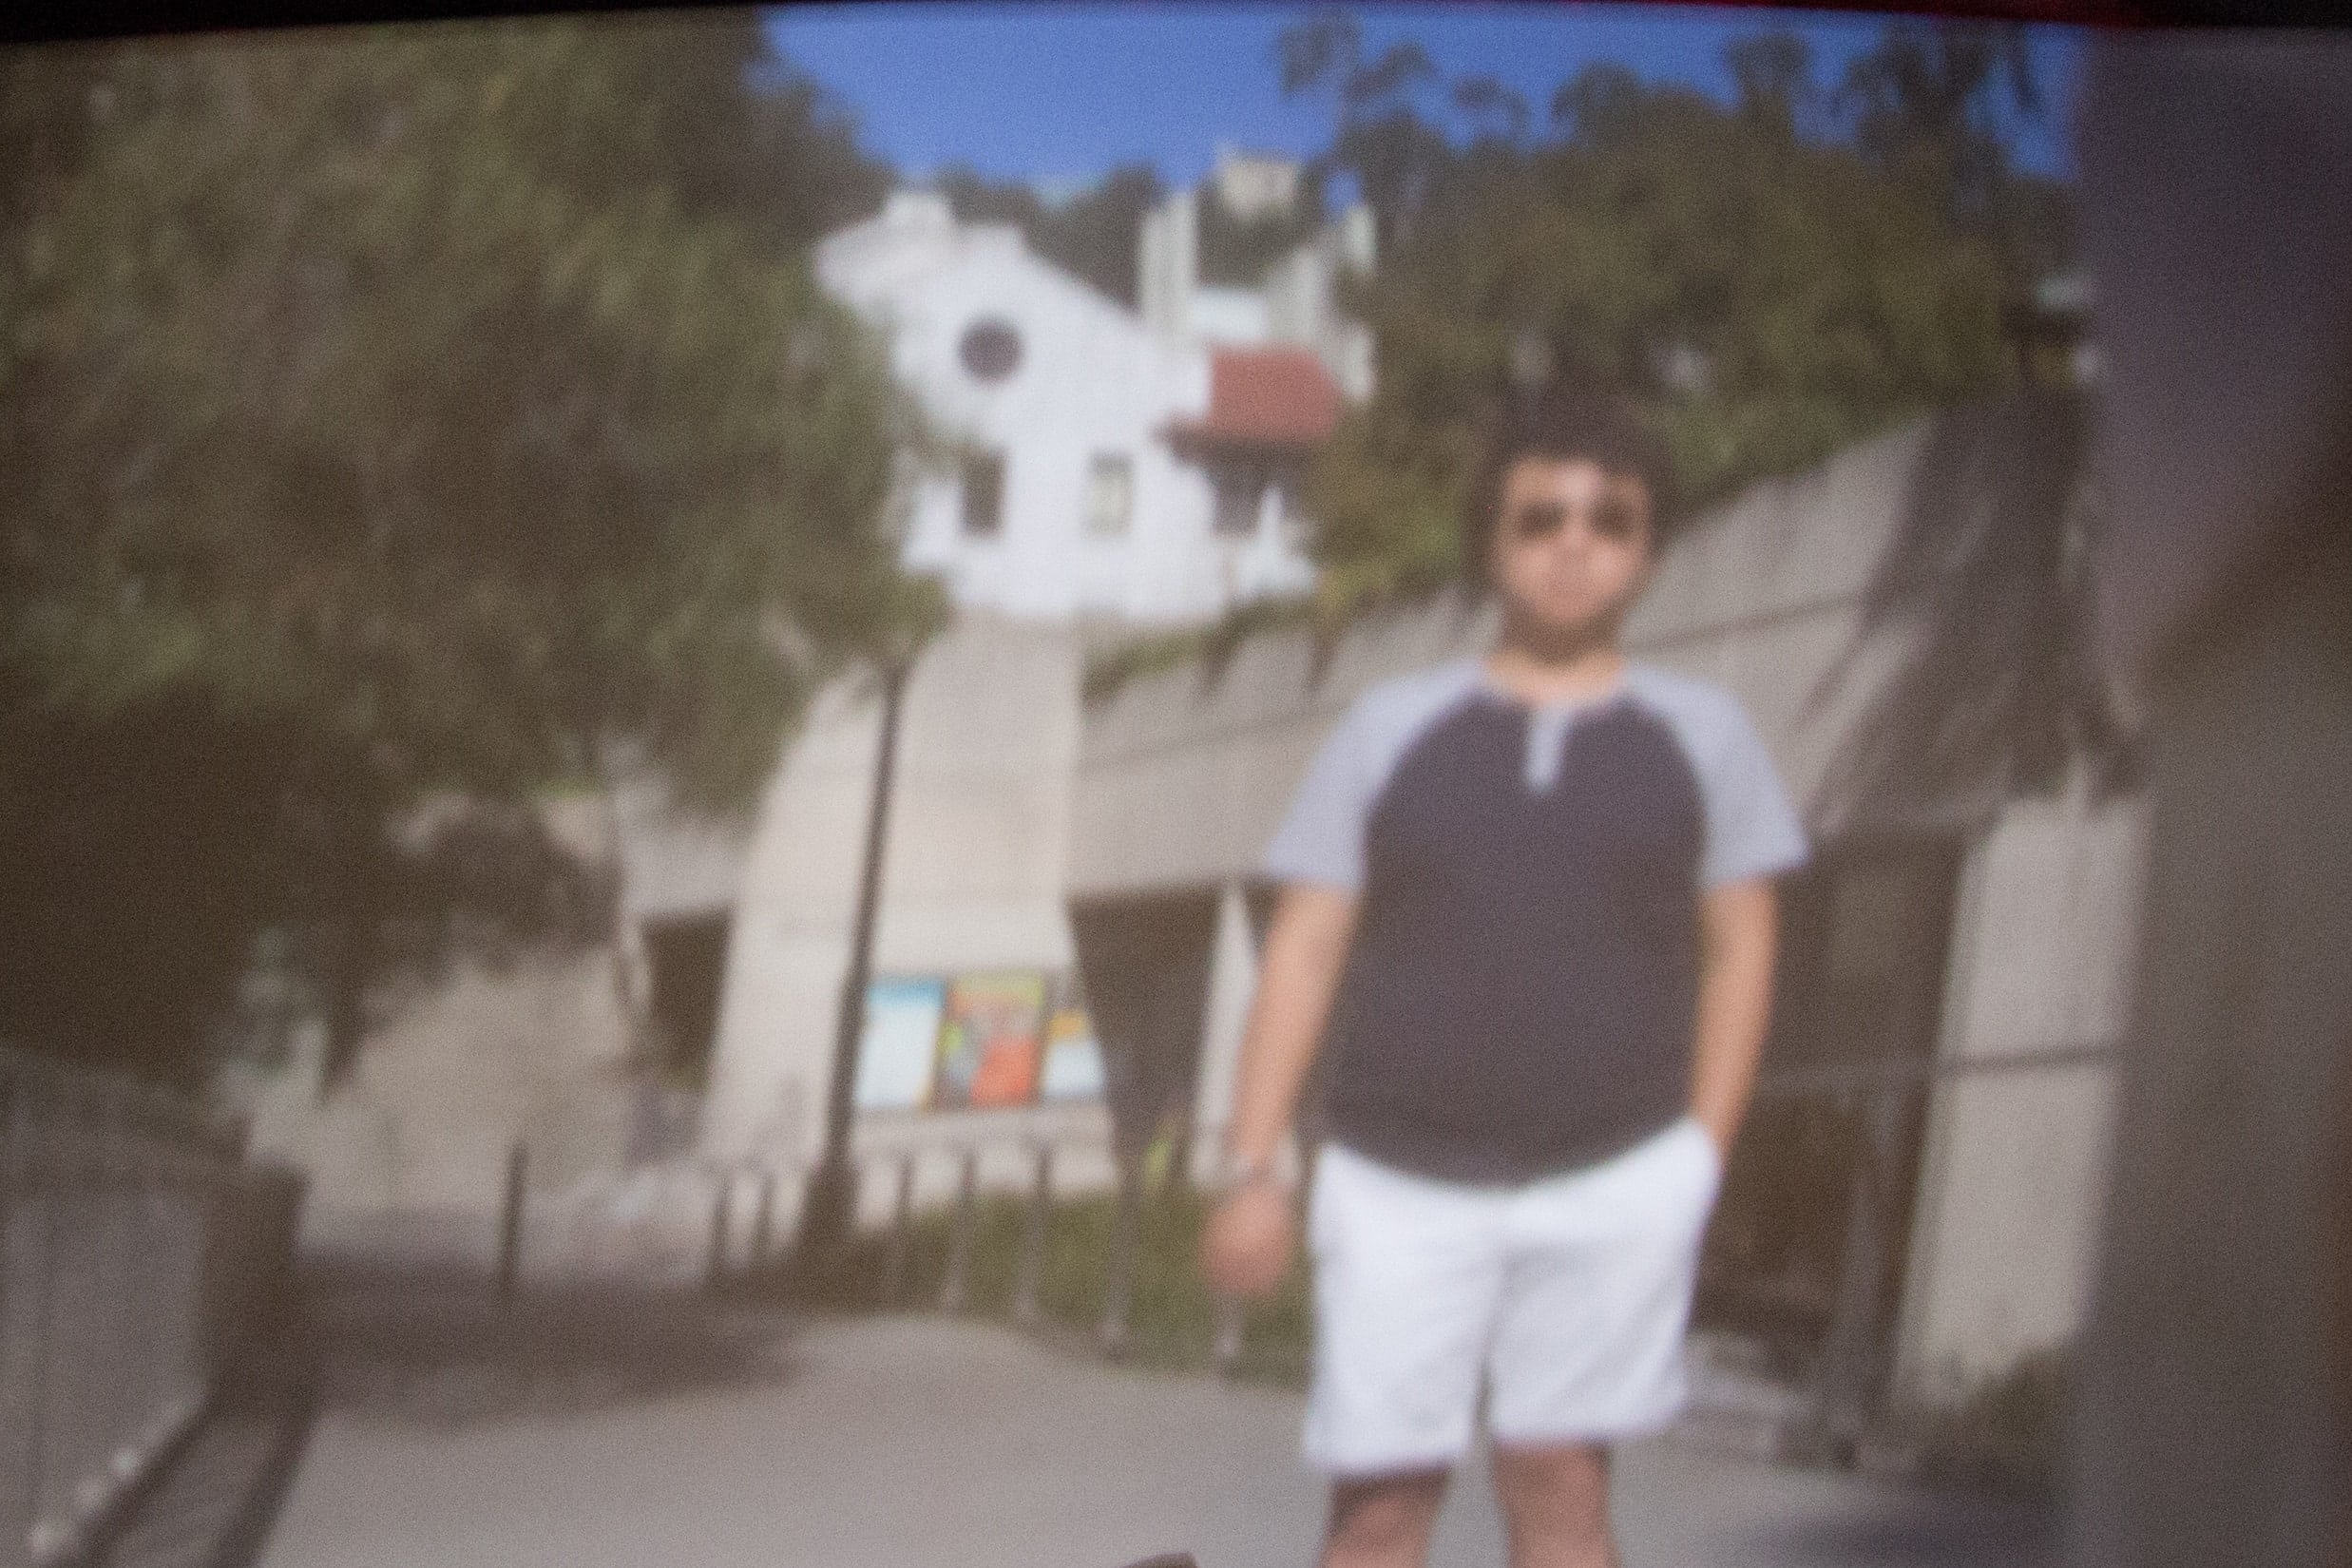 Tom
Tom
|
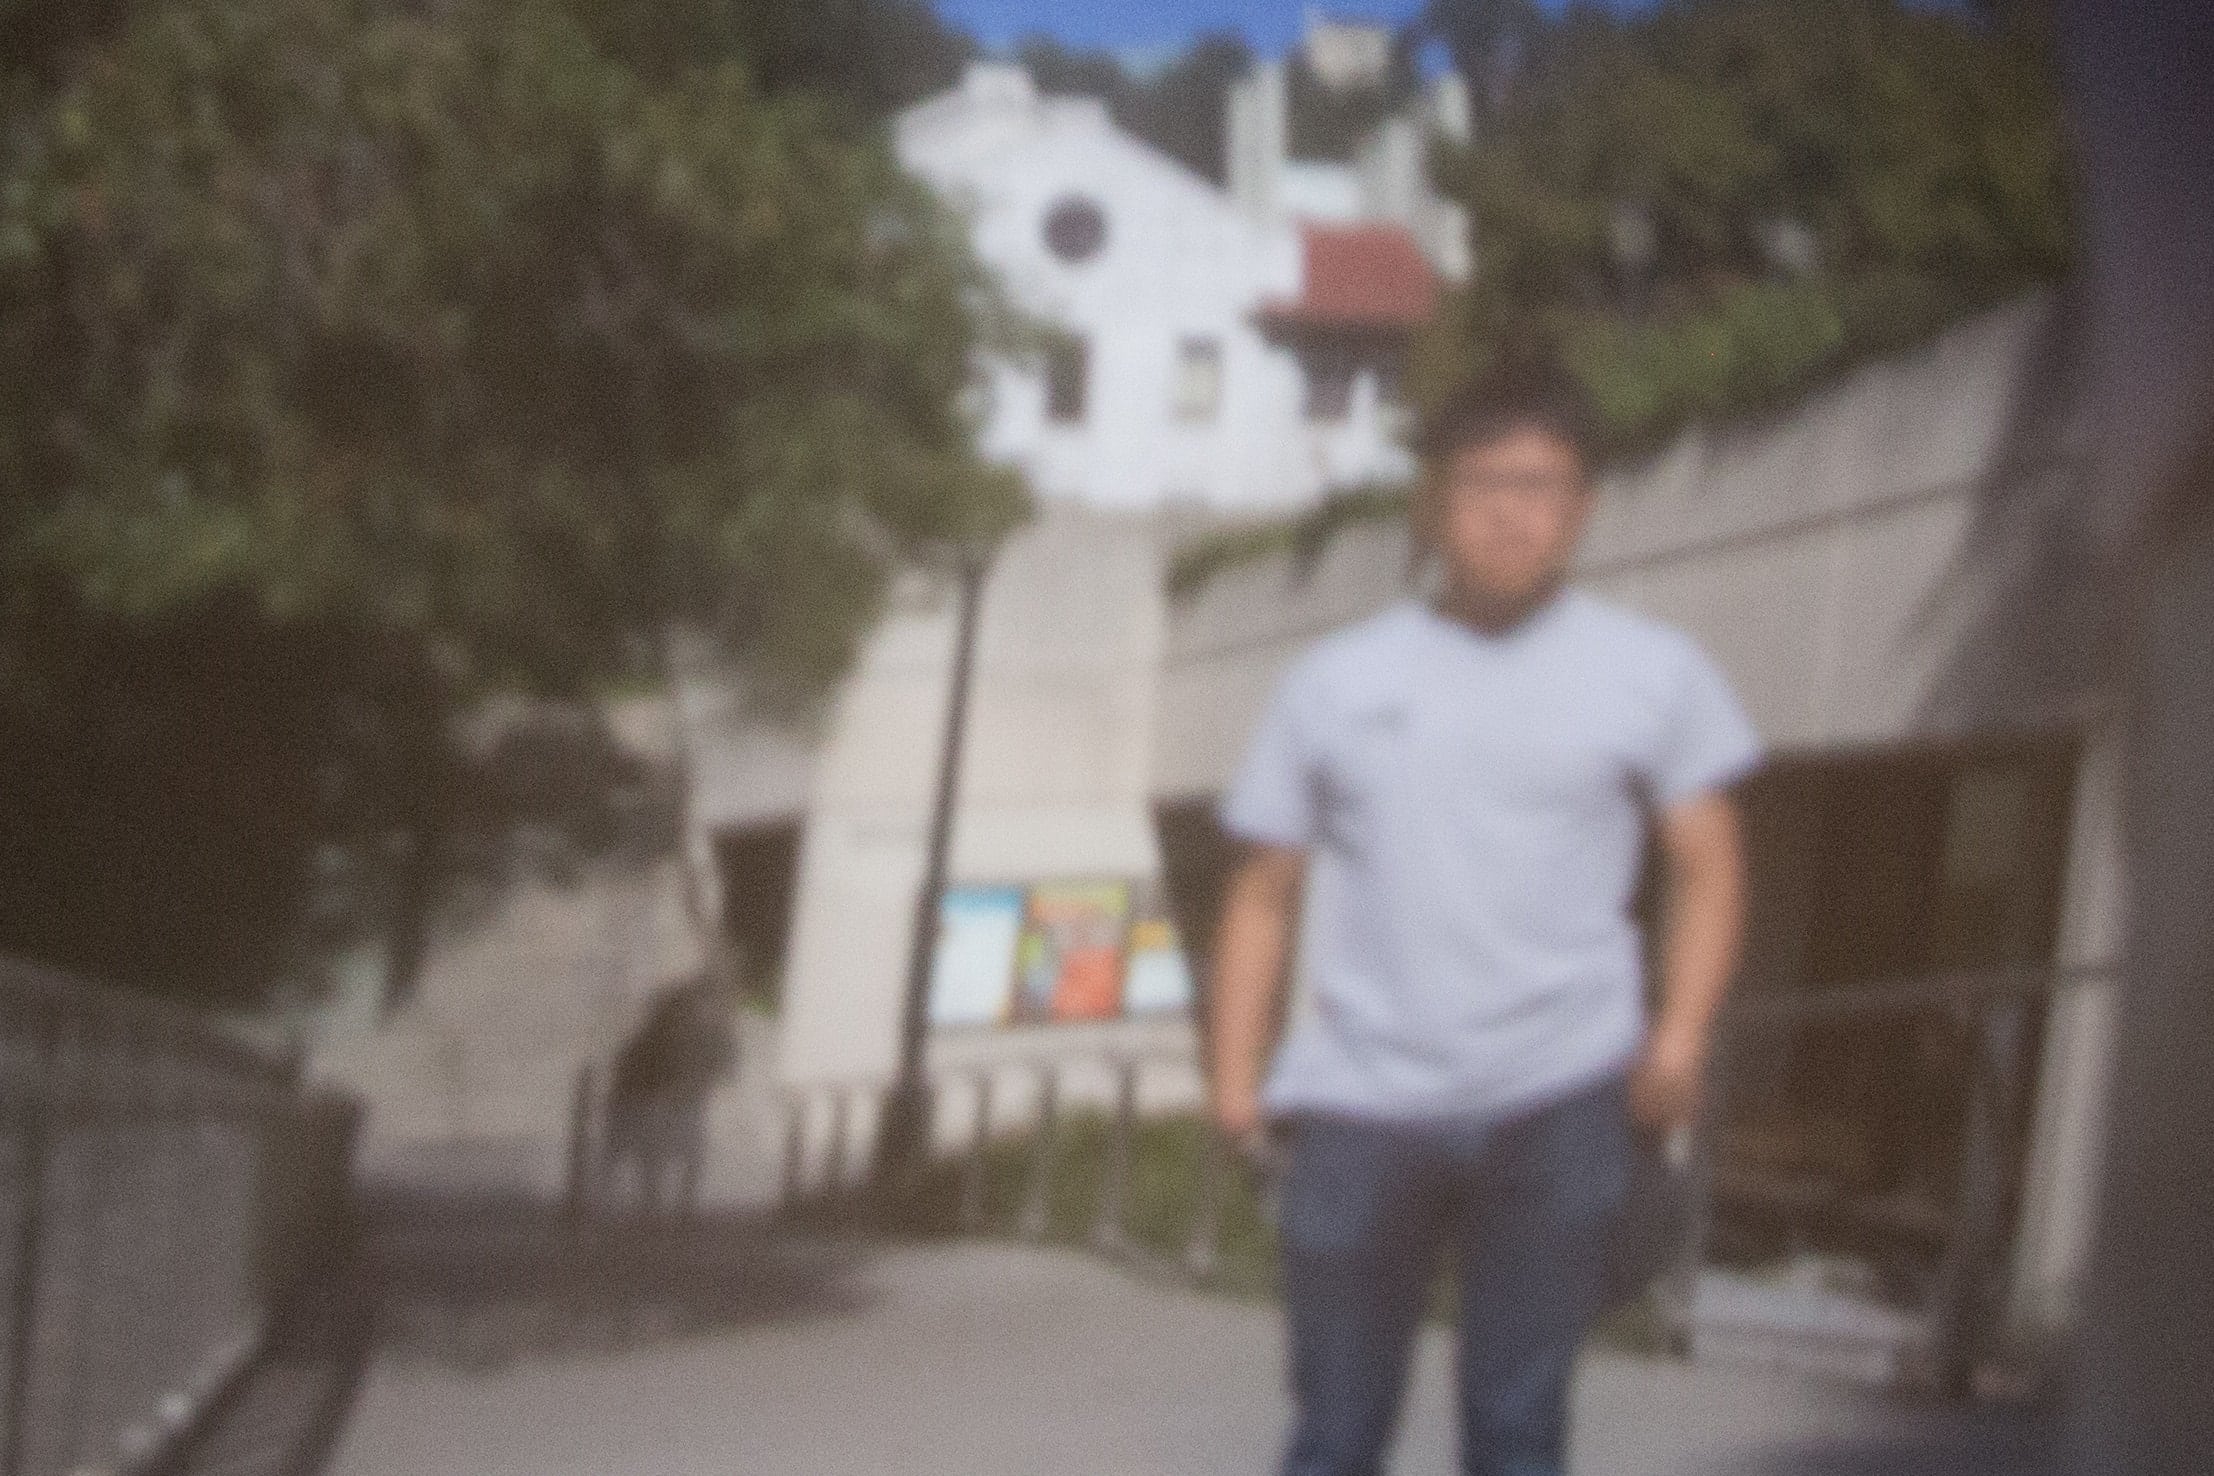 Eric
Eric
|
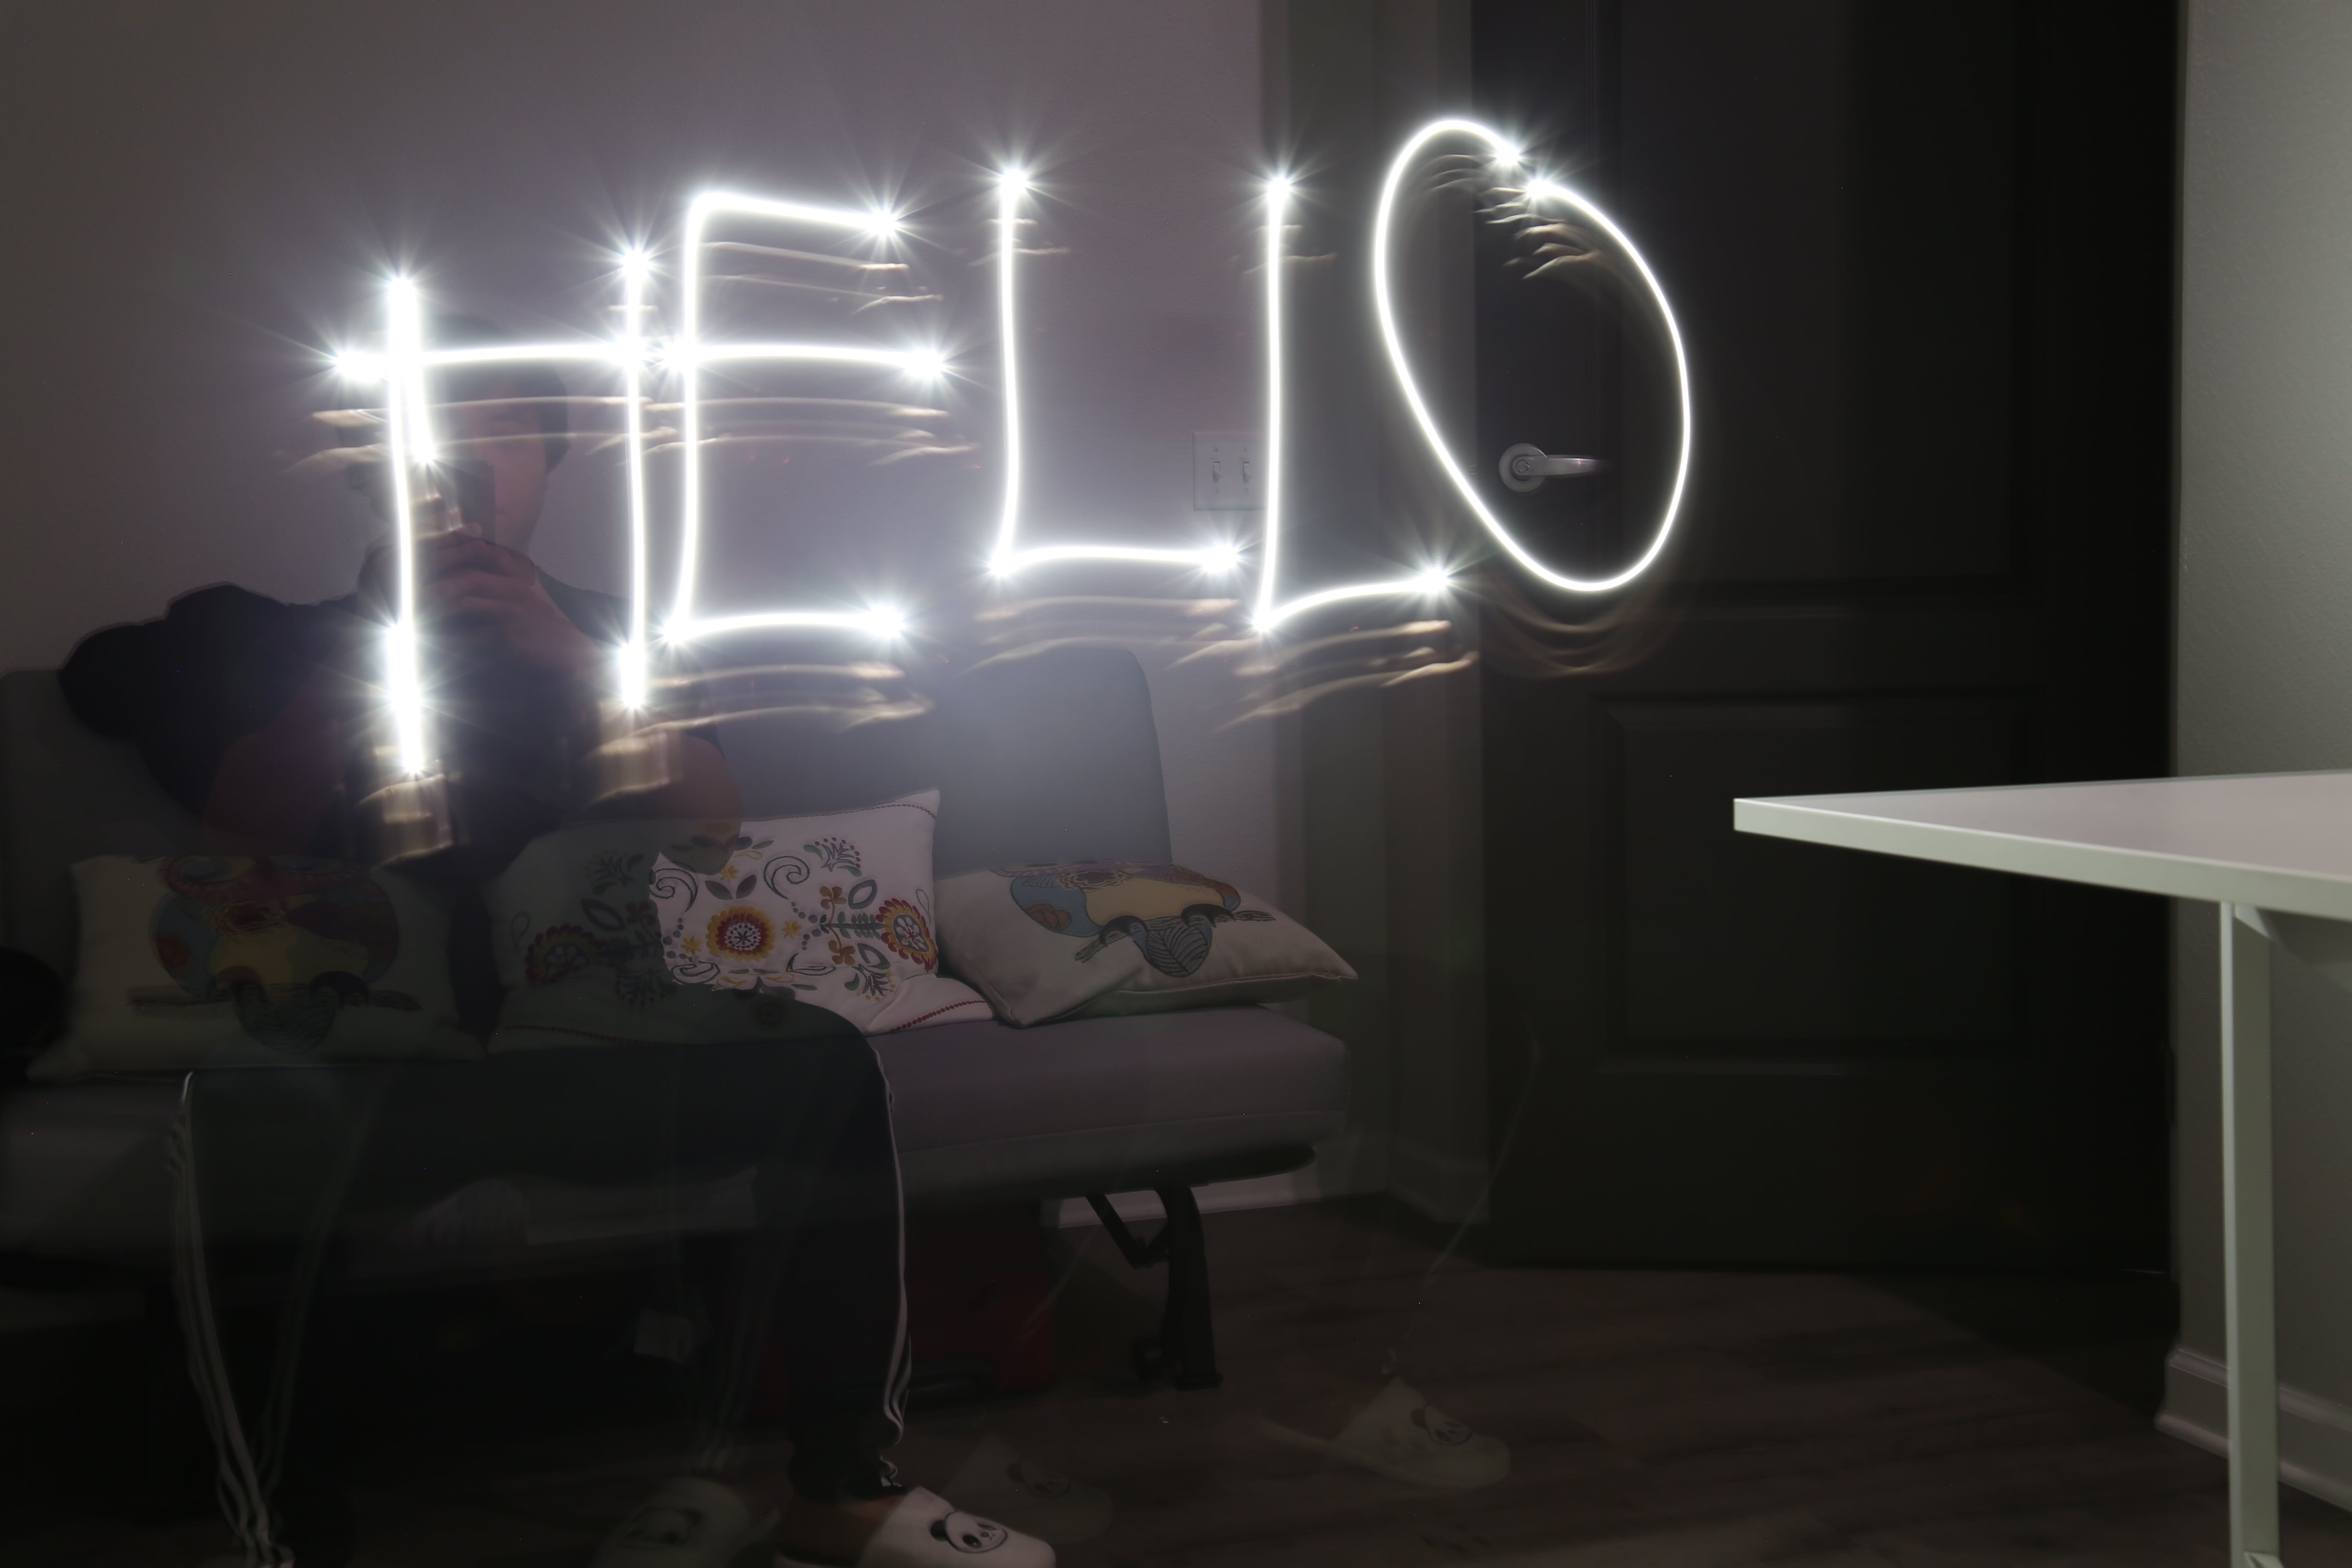
Bells and Whistles: Light Painting
This was both our first time doing light painting, so we were excited to give it a shot. Here are our results:
A Fail
Accidentally wrote a particular word because I didn't finish writing "Hello" on time before the camera snapped.
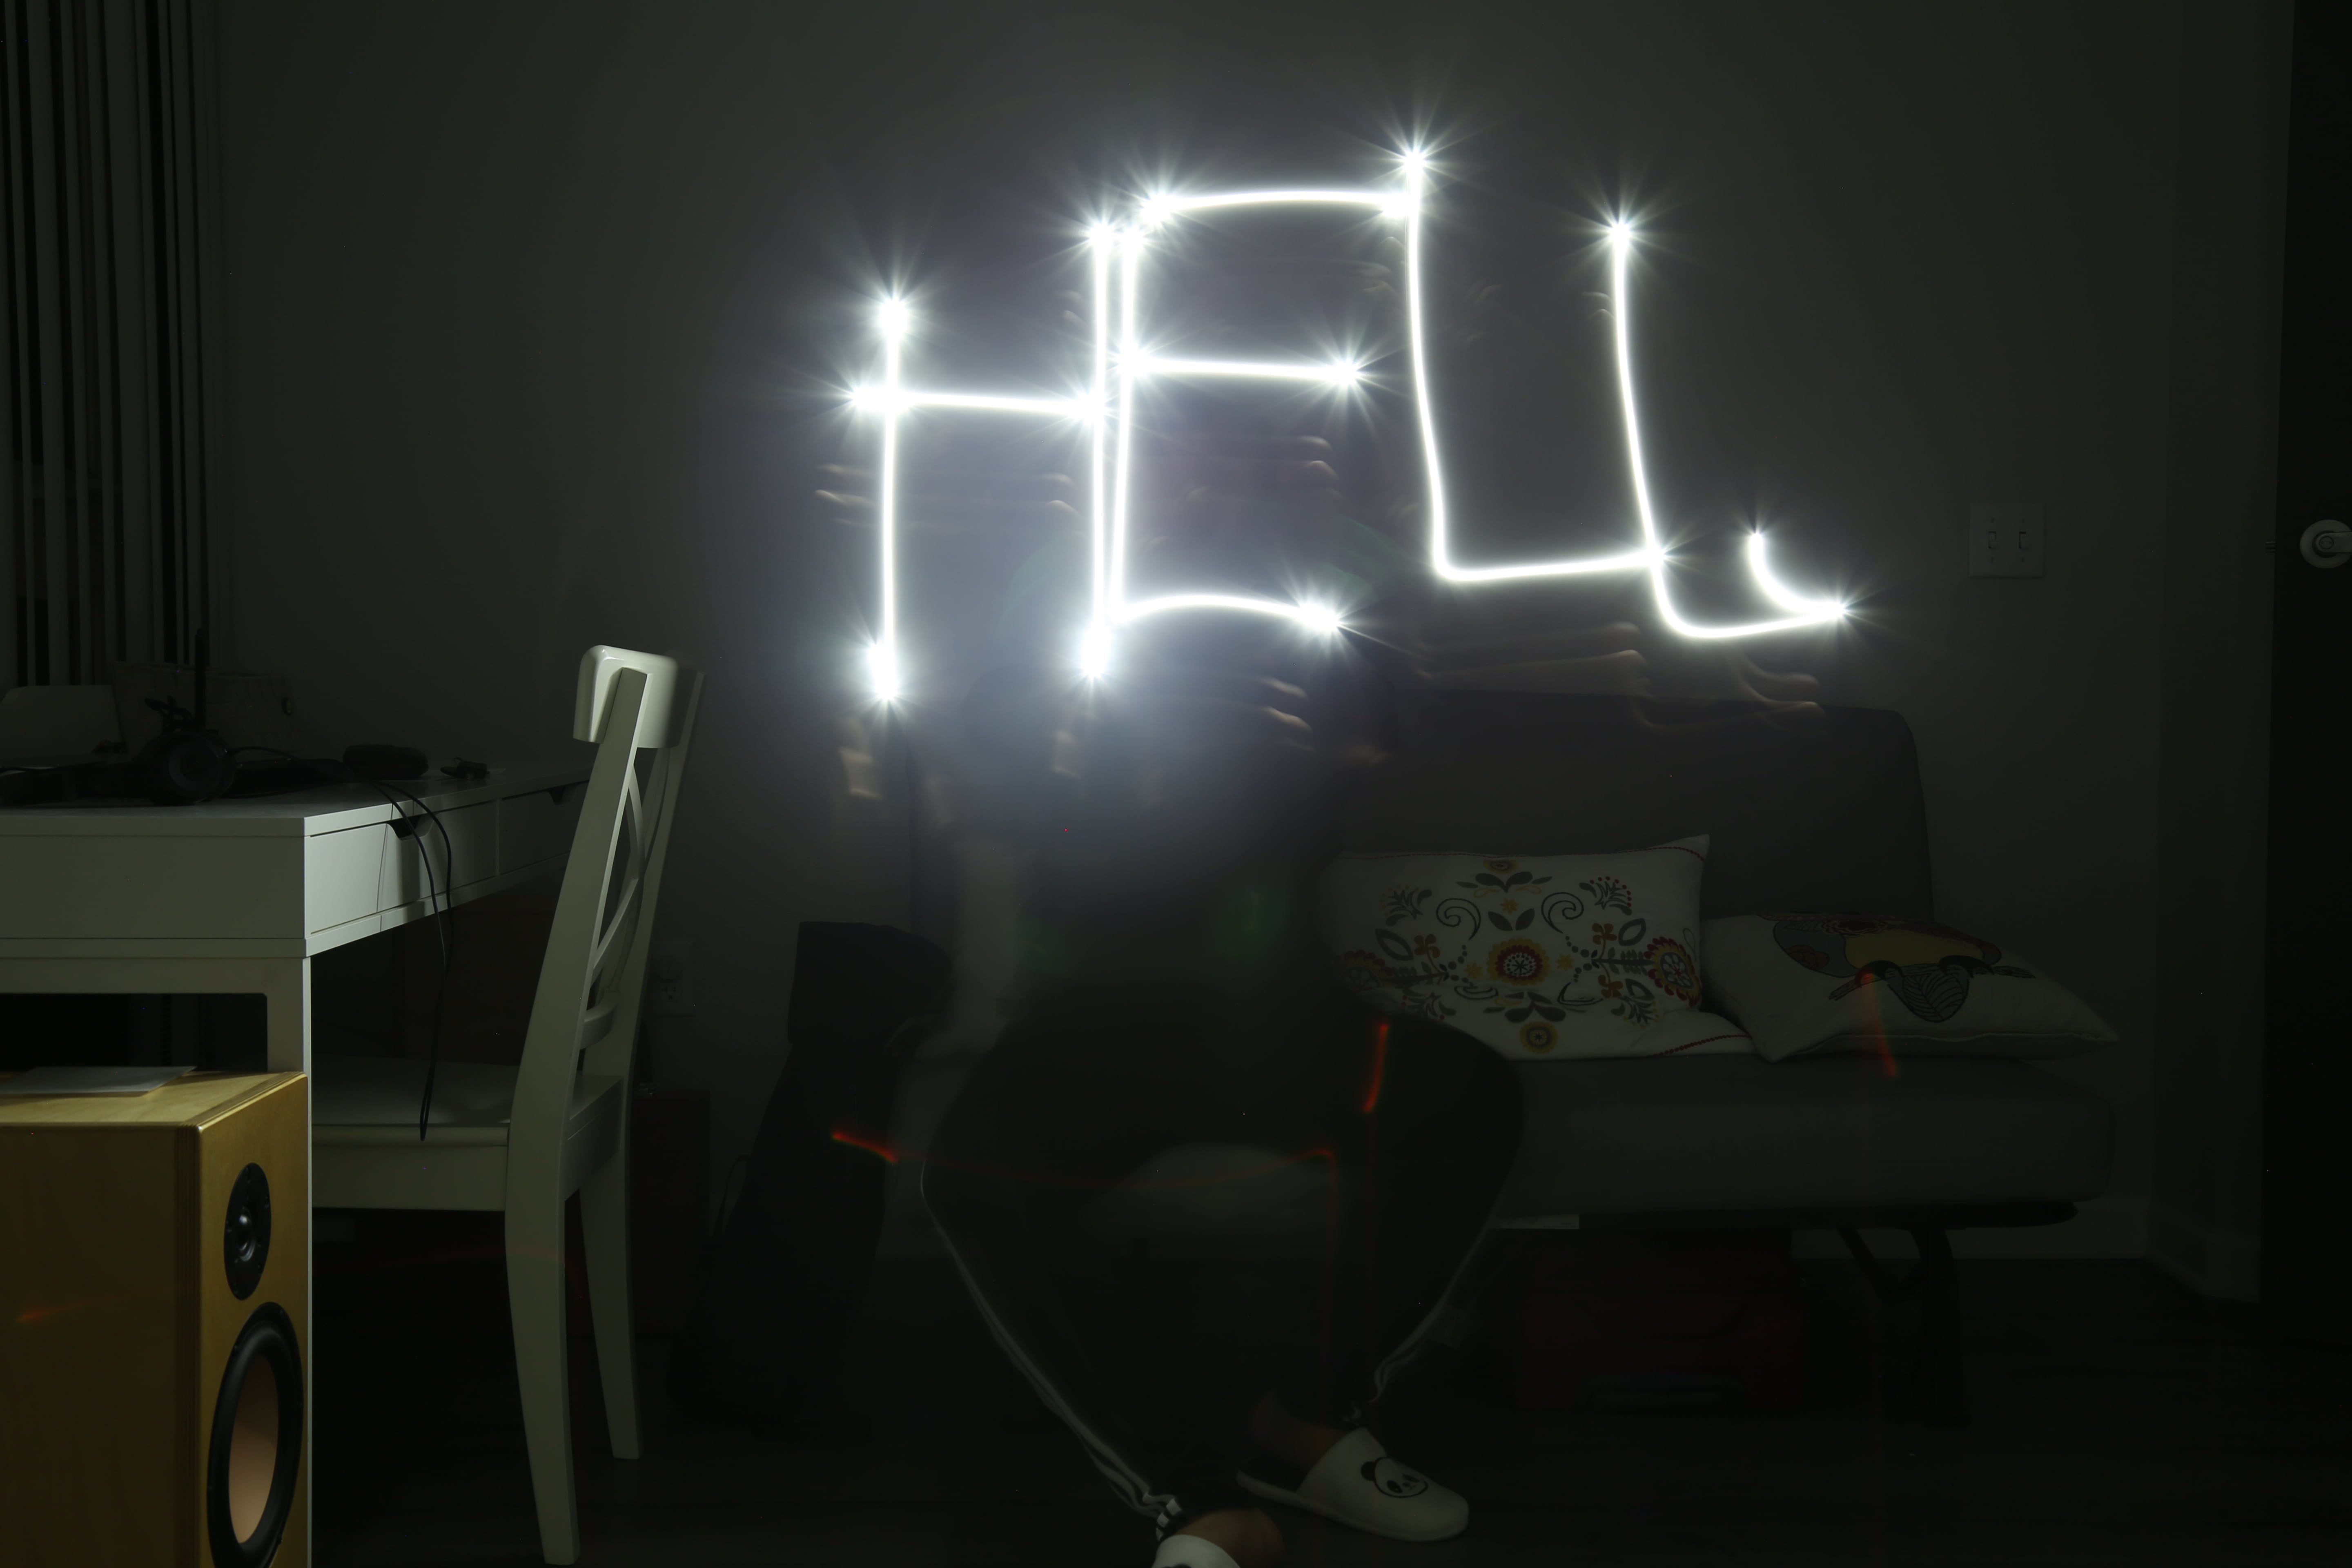 Hope this doesn't foreshadow anything...
|
The End.
Thanks so much for reading!