Allen Cao (cs194-26-afj) and Xin Yu Tan (cs194-26-aee)
Overview
For this project, we built a simple pinhole camera that captures long exposure images. The camera is a light-proofed box that is completely dark except for one end which serves as a white screen, while the pinhole and actual camera are on the other side. As the light enters the pinhole from outside and projects on the screen, it reflects back to a long-exposure camera, and by selecting correct apertures and exposure settings we can capture this light over long periods of time and generate a pinhole picture.
This picture is inverted, so all images shown later are flipped 180 degrees for easier viewing.
Design
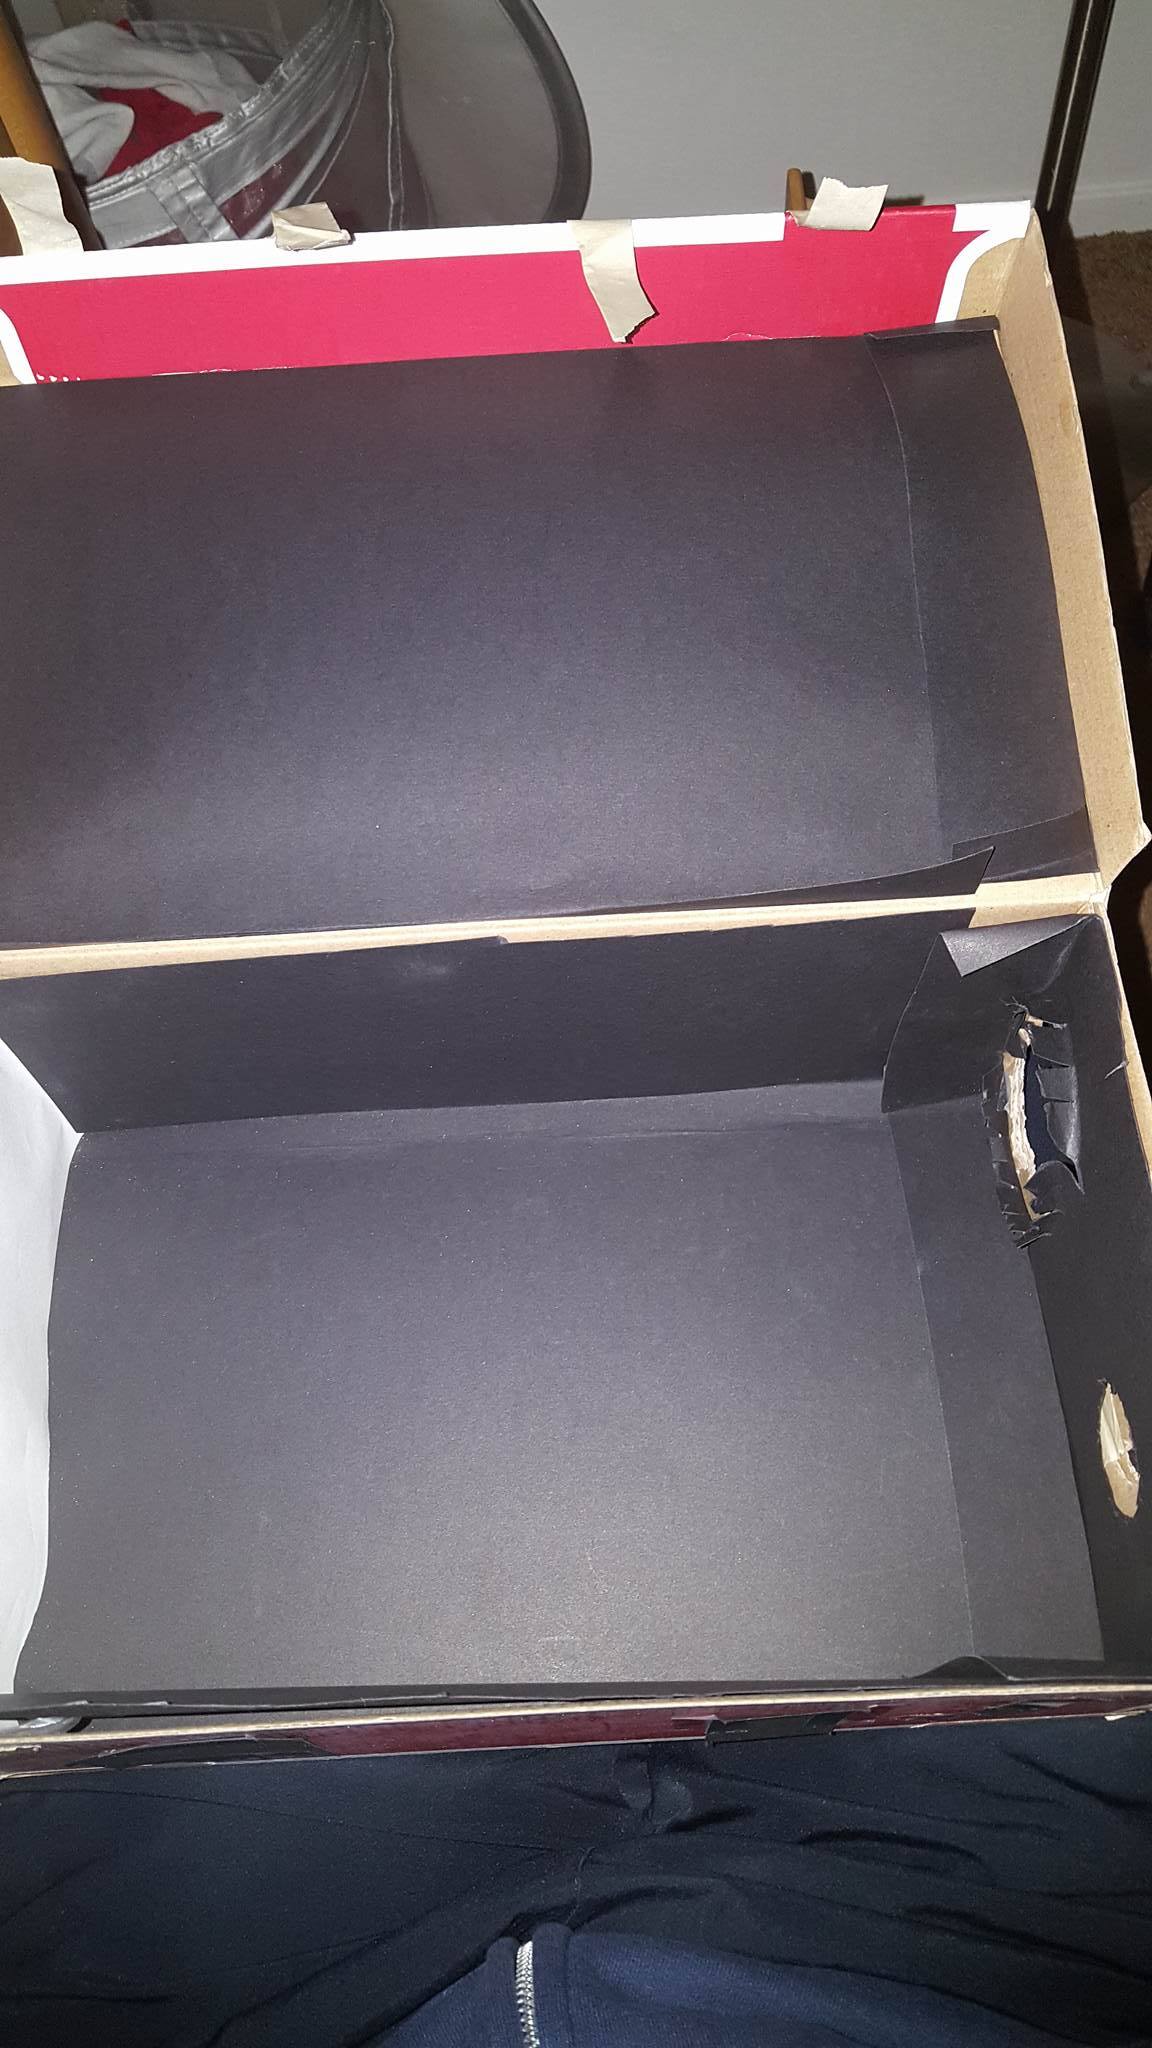
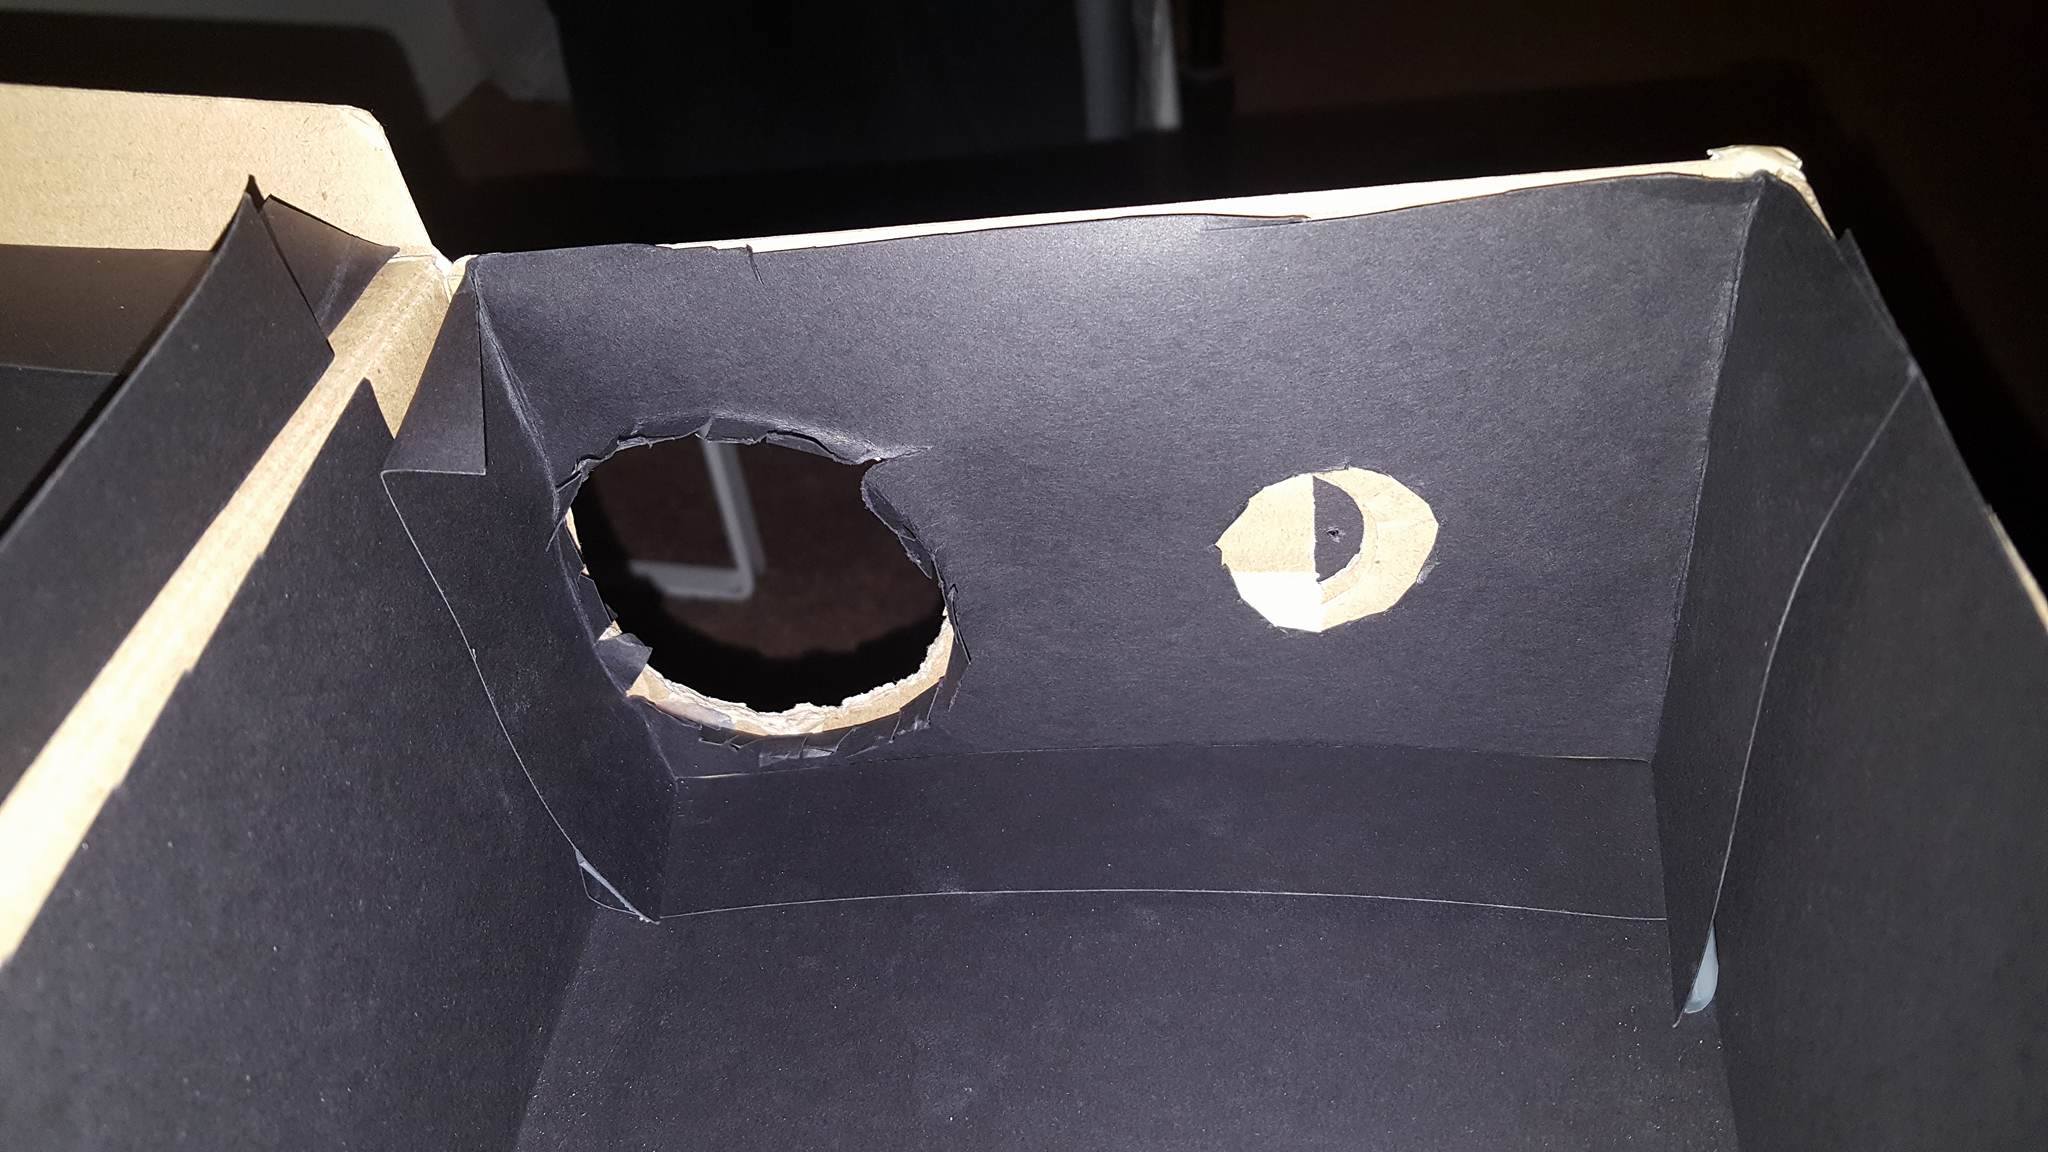
To build this project, we used a shoebox to as the "pinhole" camera. On one side of the box, there is a small piece of black construction paper with a pinhole in it to let in light, while the large hole snugly fits our Nikon D3400 camera. The rest of the shoebox is covered with masking tape to reduce light bleed. In some areas on the outside, additional black construction paper was added to reduce some bleeds we couldn't cover enough.
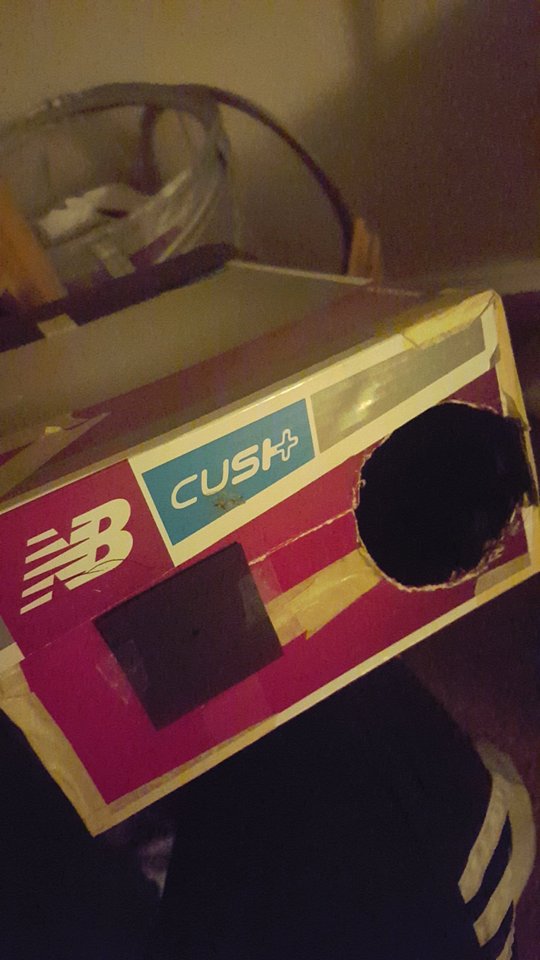
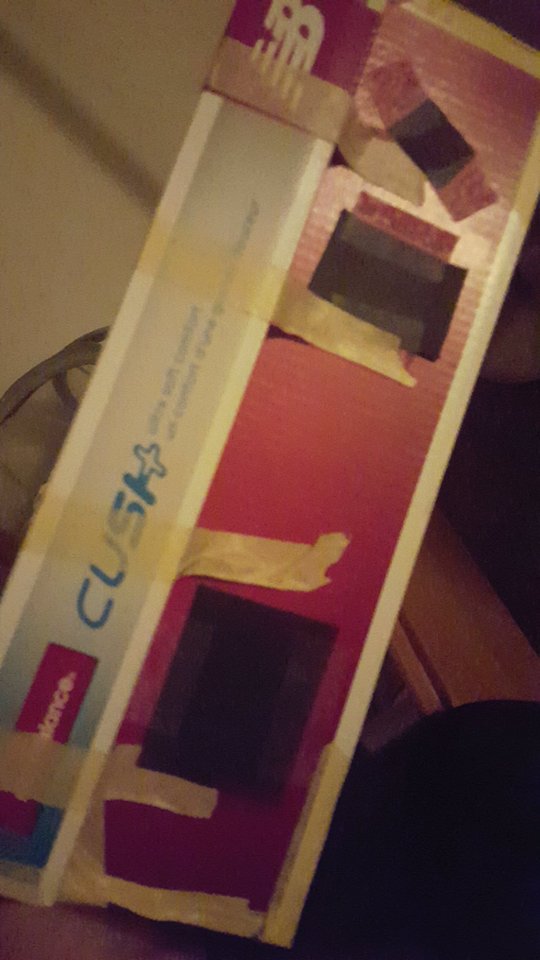
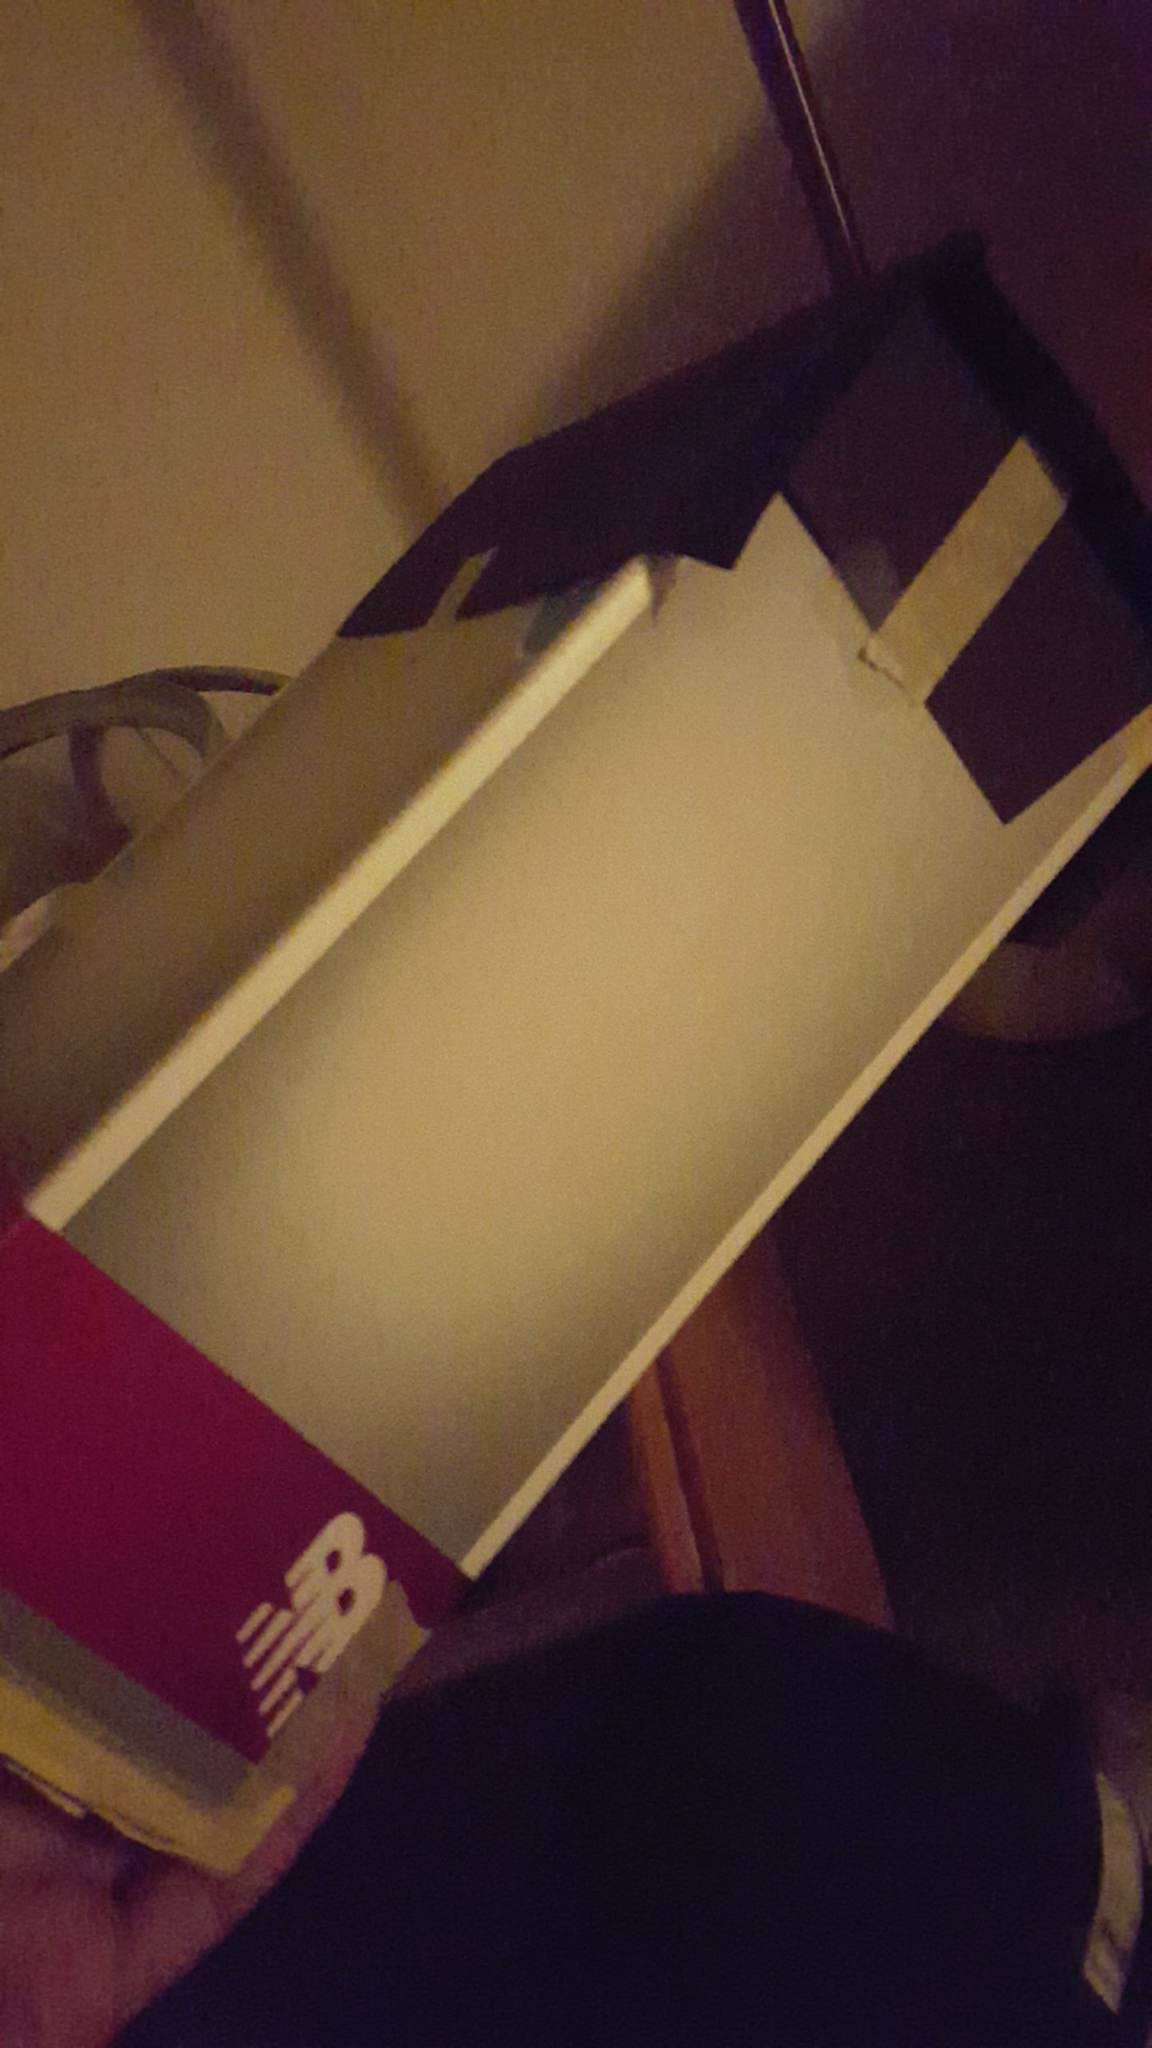
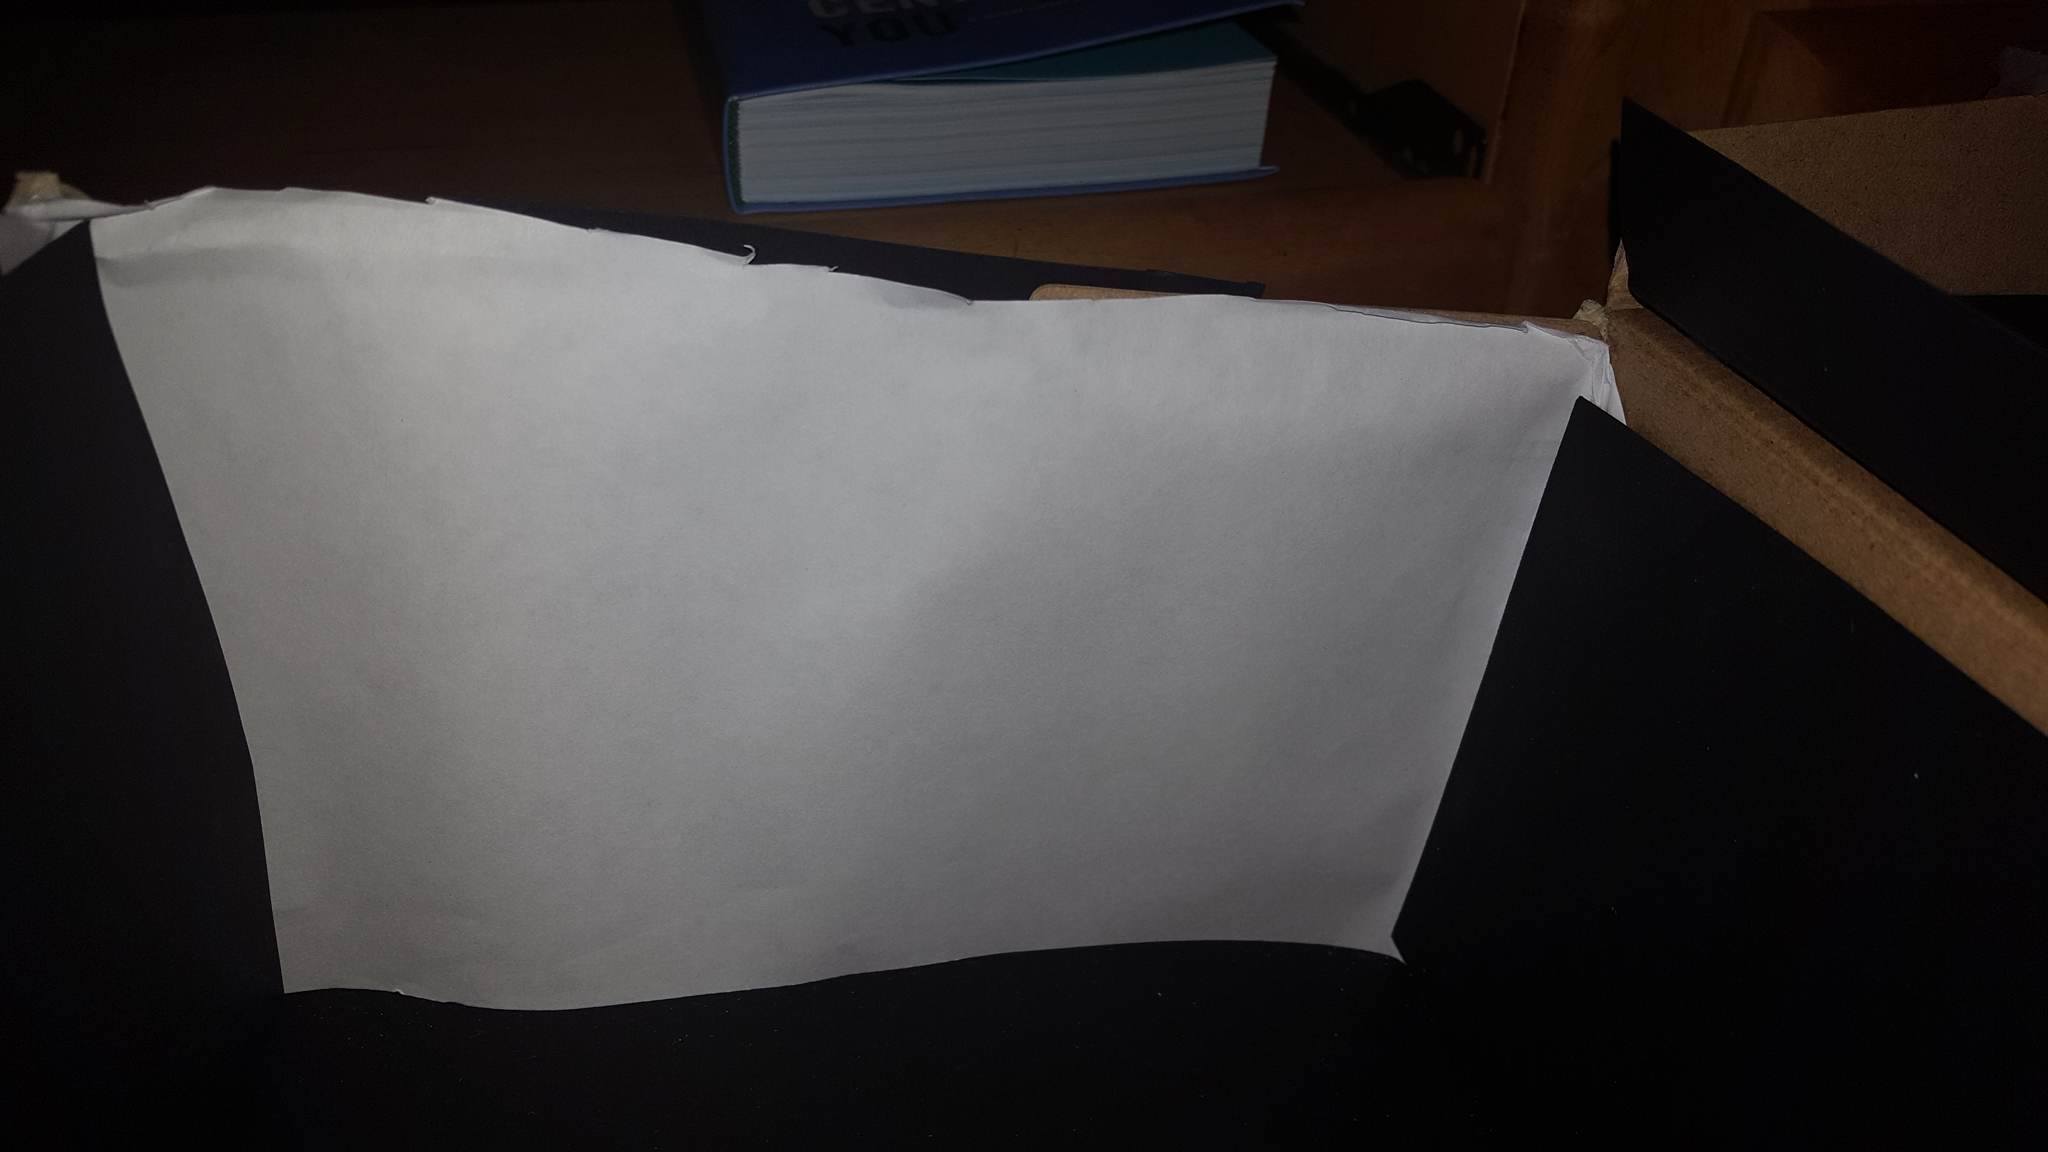
The inside is completely covereed with black paper except for the side opposite to the pinhole/lense hole, which forms the "screen". This screen is made of white printer paper, and was glued down (but came loose when taking this picture).
Results
Our best results took a very, very long time tinkering with the camera settings, and varied with each picture. The exposure times, aperture settings, and ISO settings are listed below each shot.
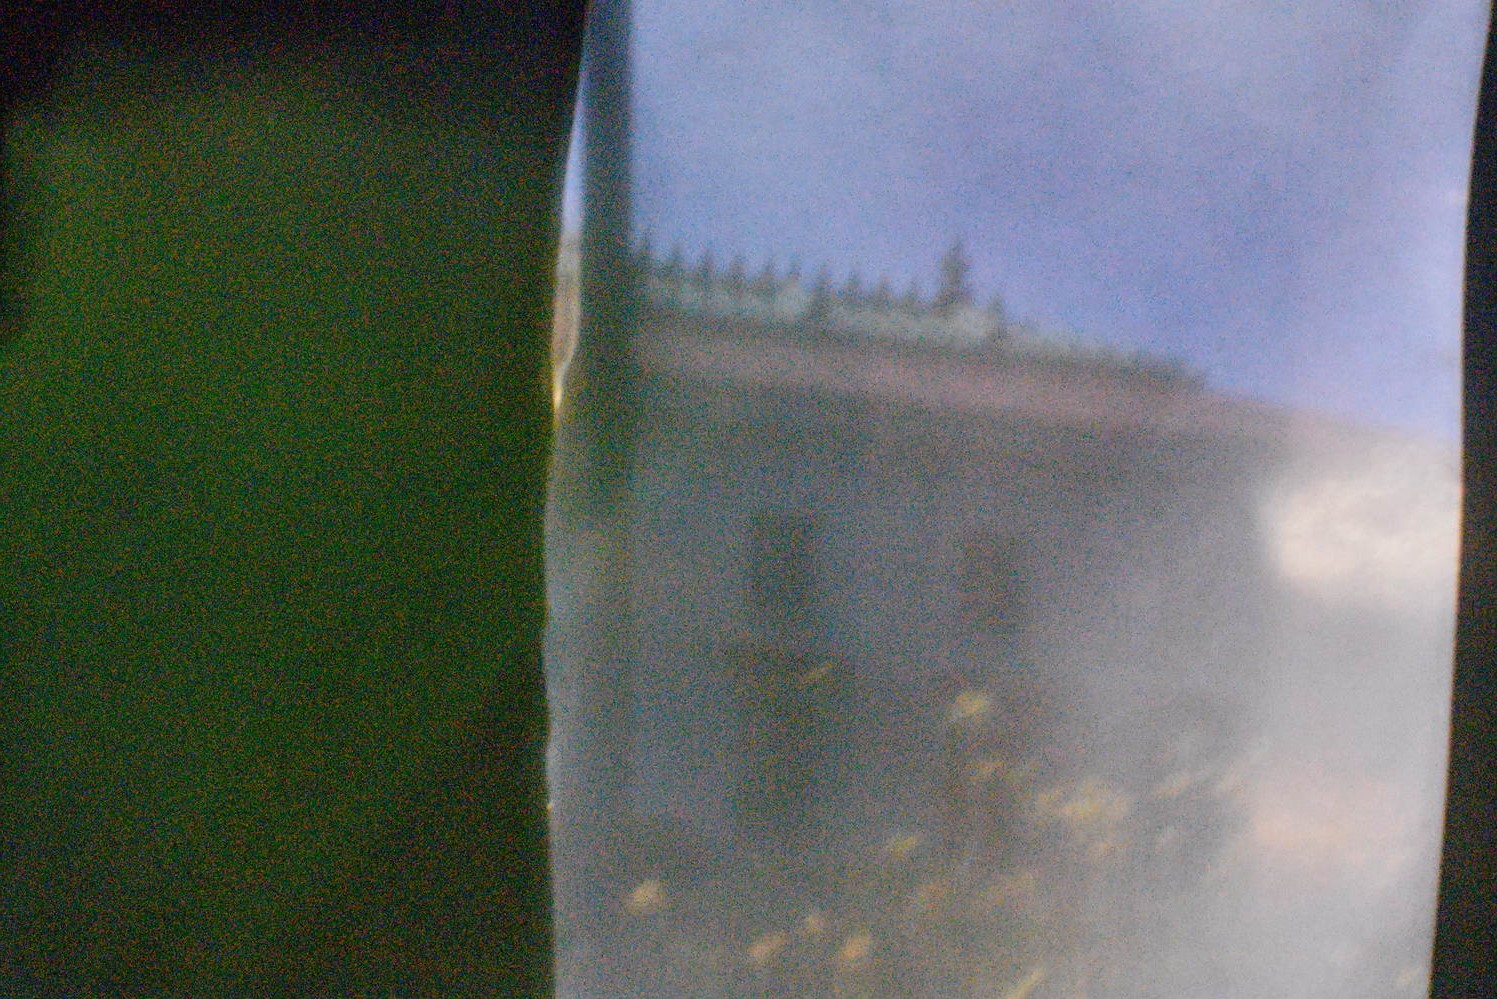
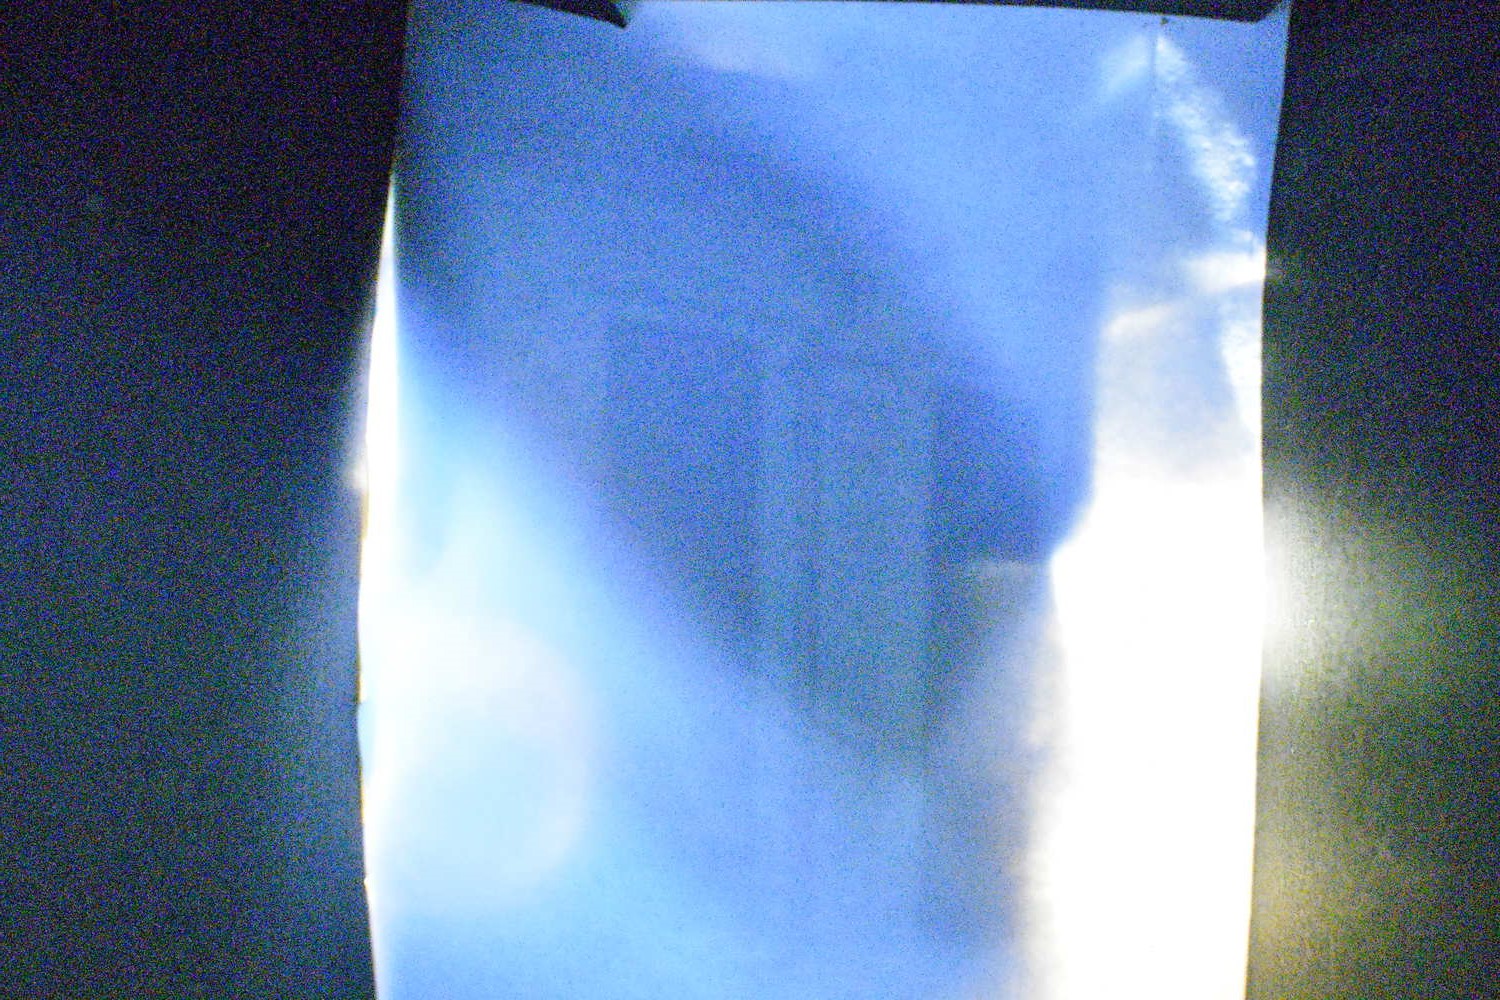
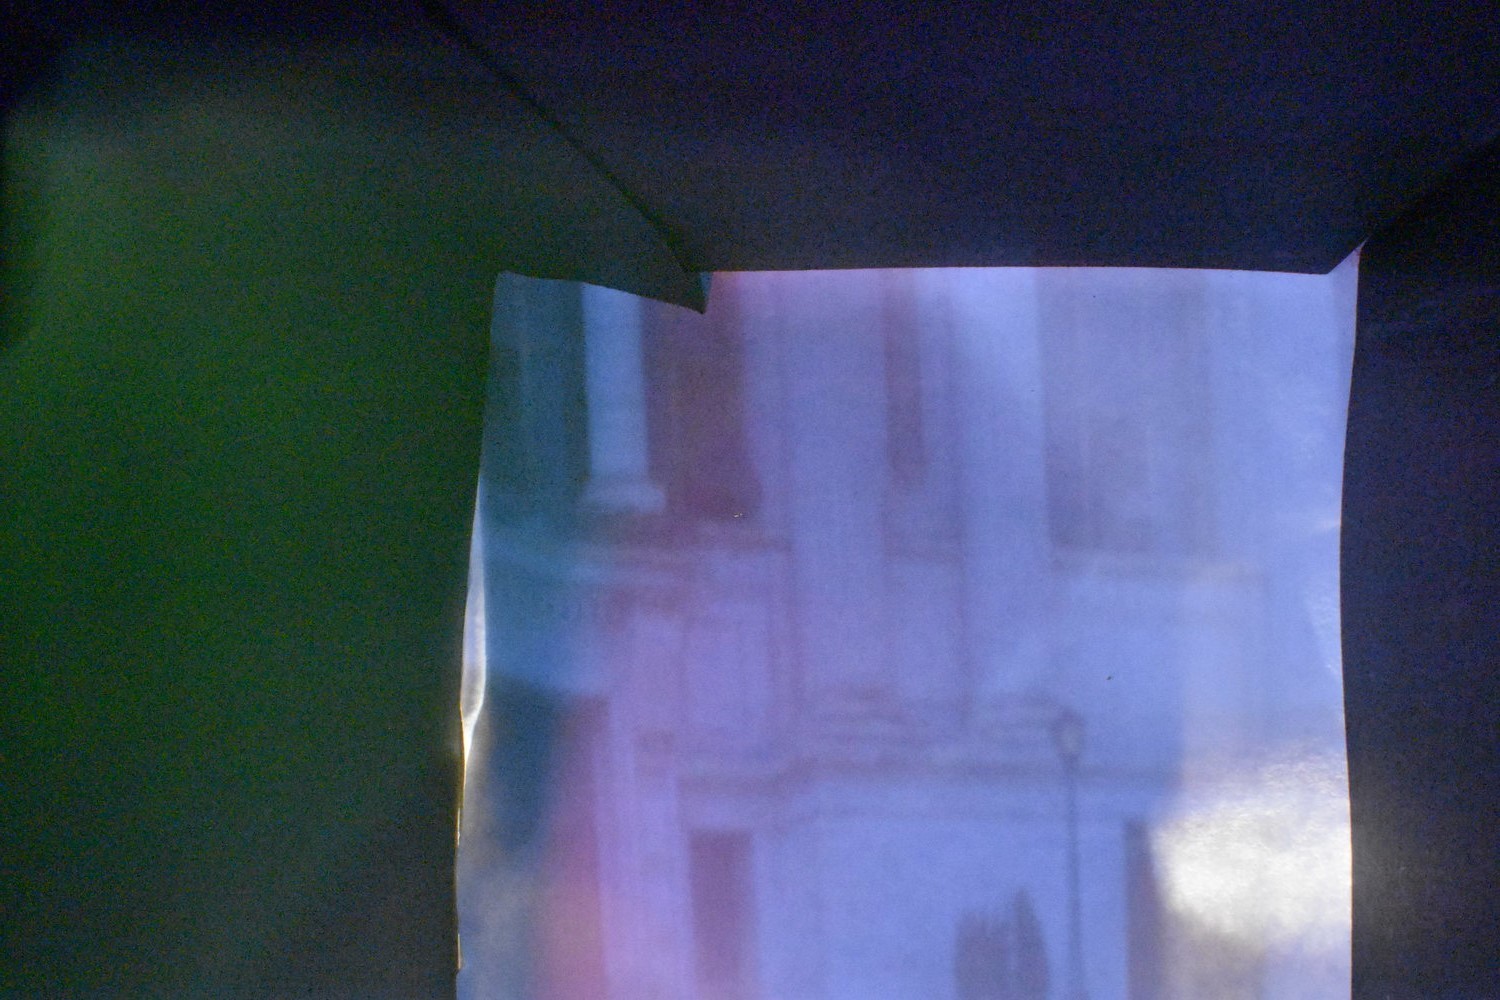
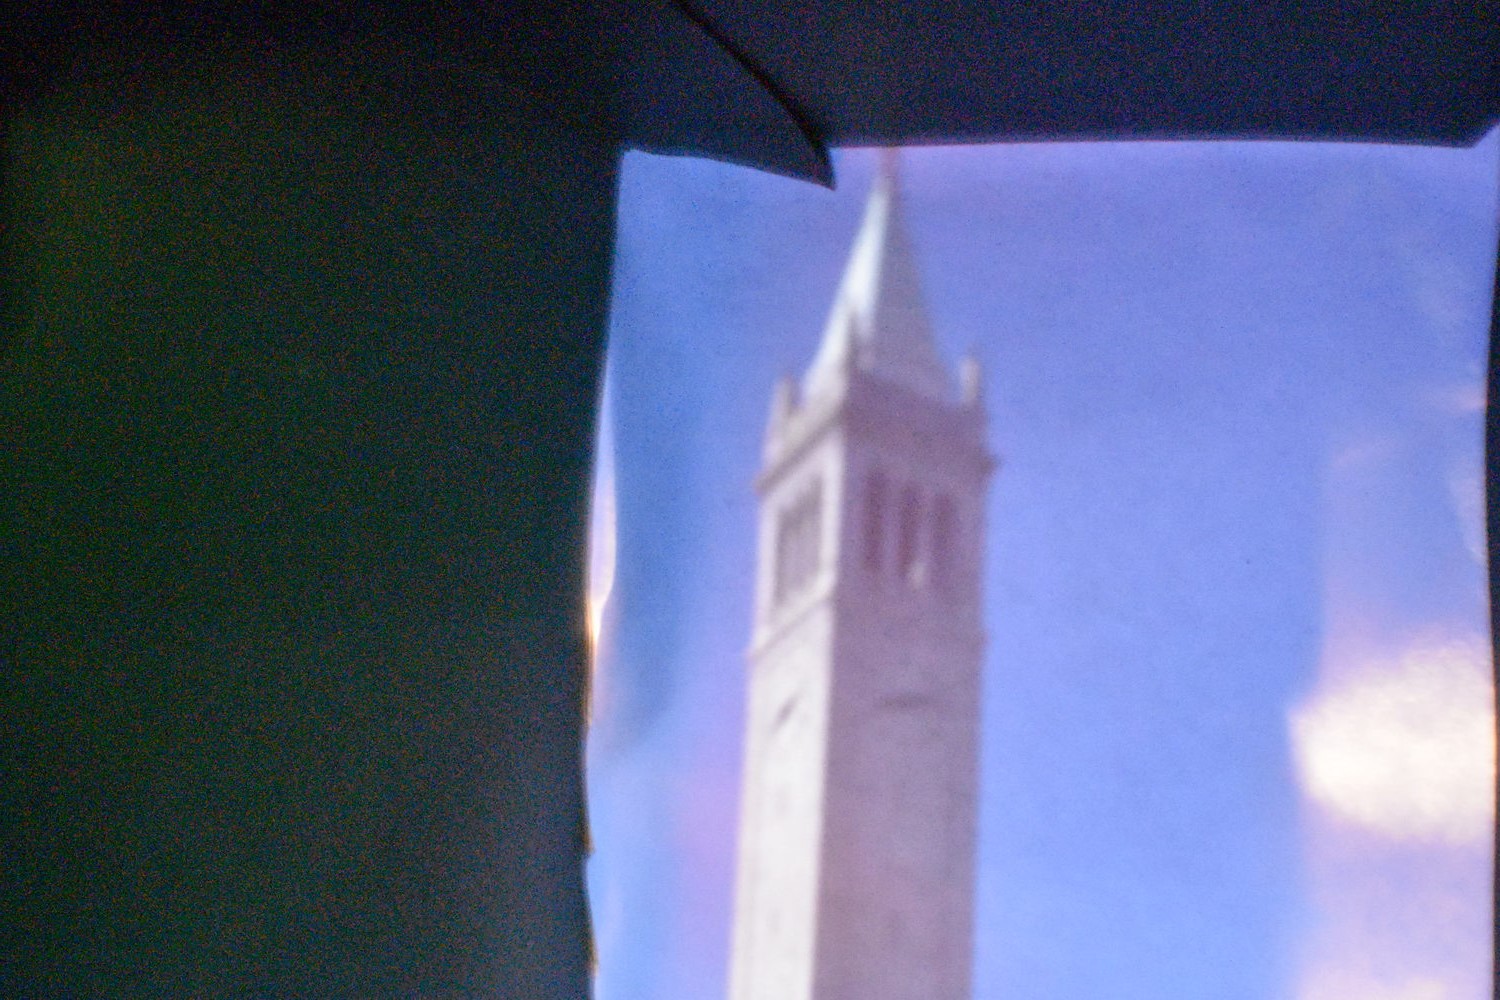
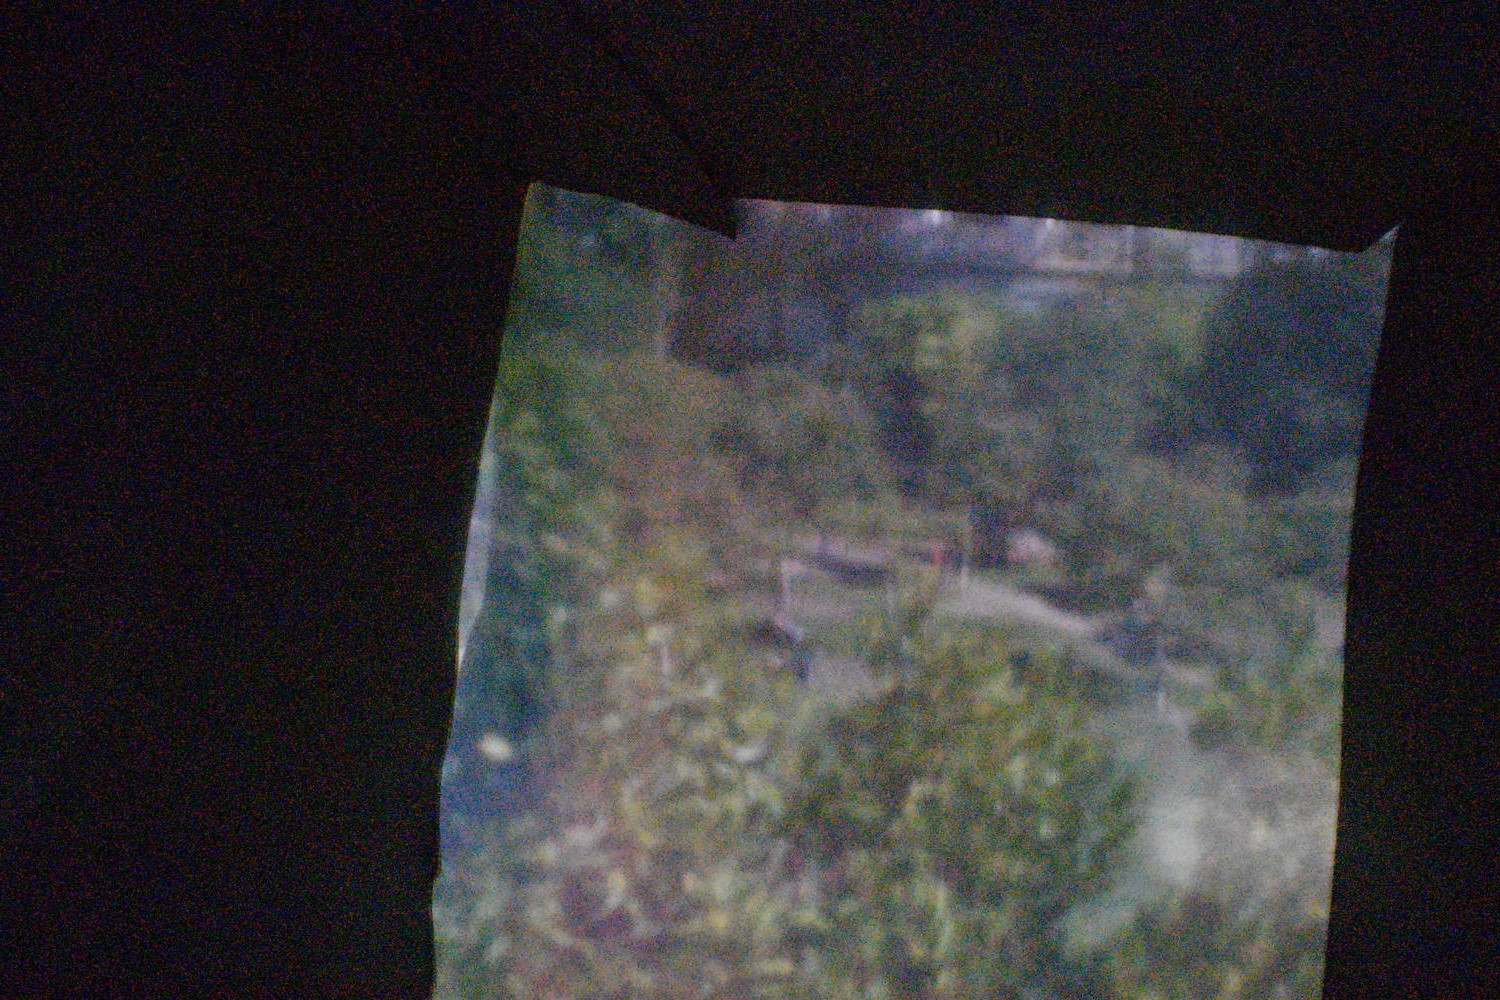
There seems to be significant blurring in the .1 mm shots, which is probably becuase there was not enough light let into the box. Our .1mm hole was very, very small and was created by pricking a hole. The paper part that was supposed to pricked out may have covered the hole a little bit, blurring the picture.
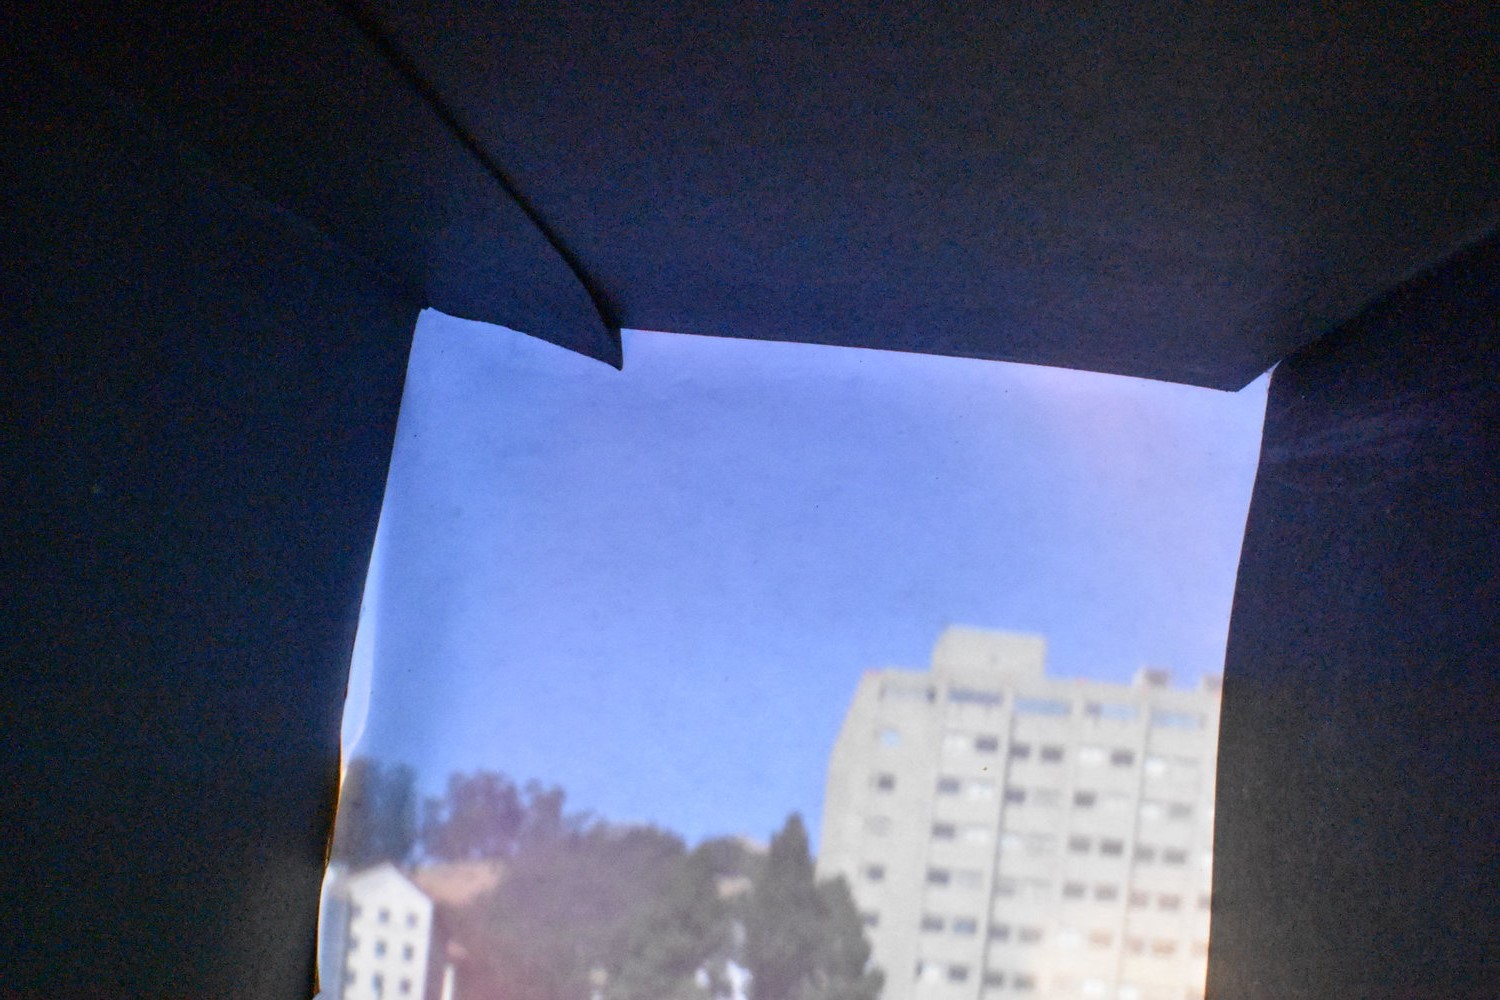
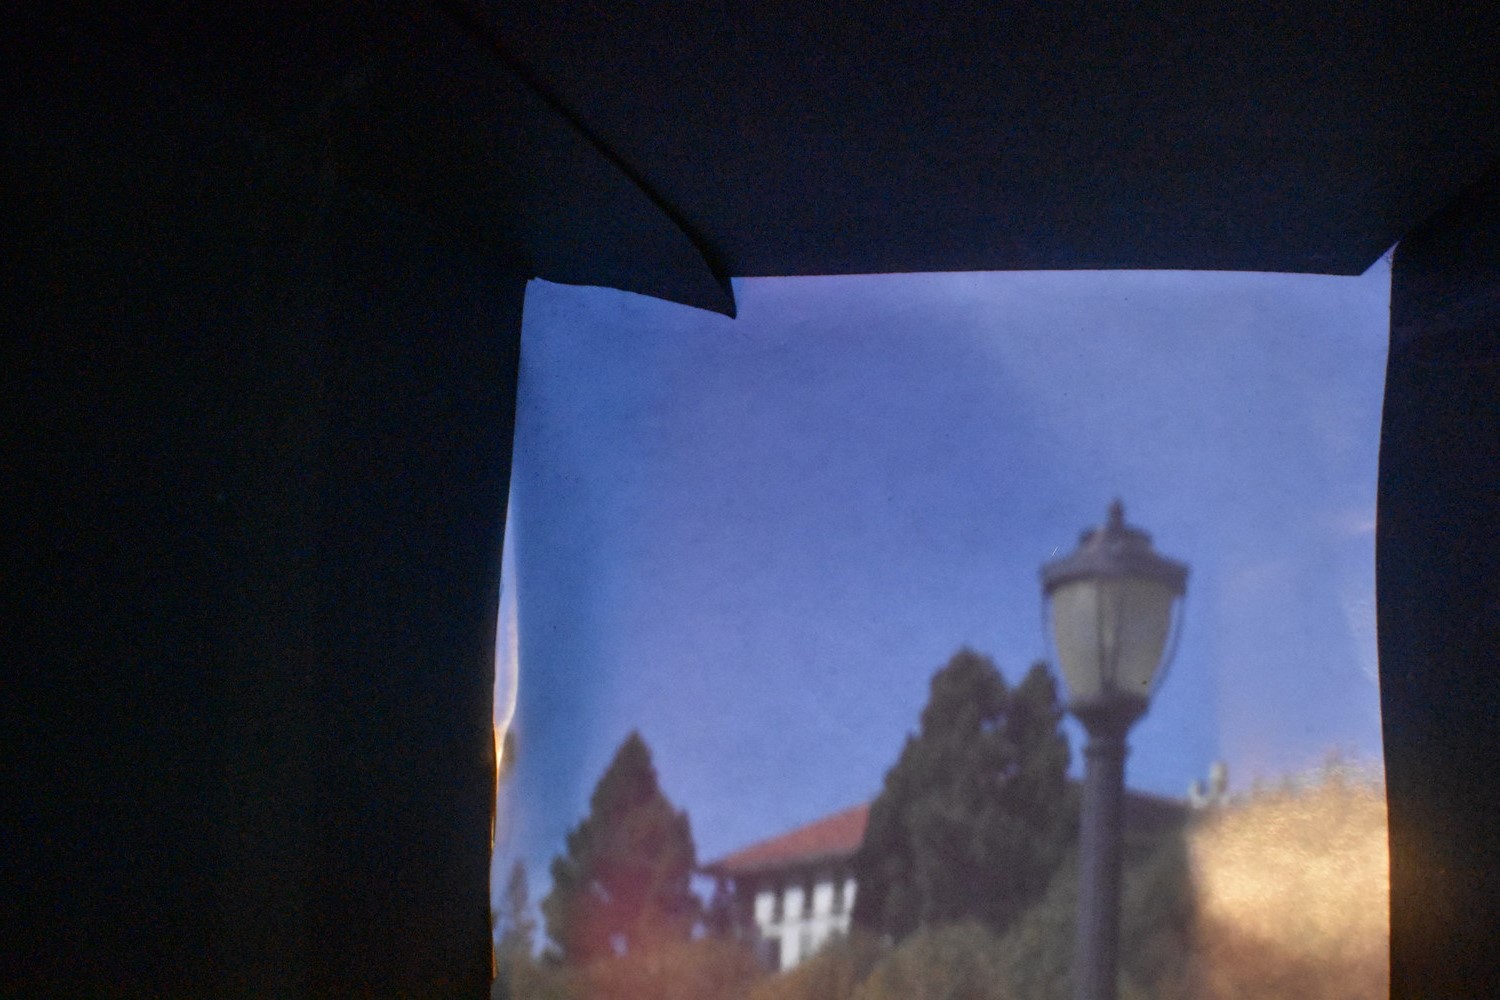
The screen is not fully in the frame, resulting in a black border around the picture. In addition, there seems to be some light bleed which may have resulted from the lighter-colored masking tape that insufficiently blocked some parts of the box.
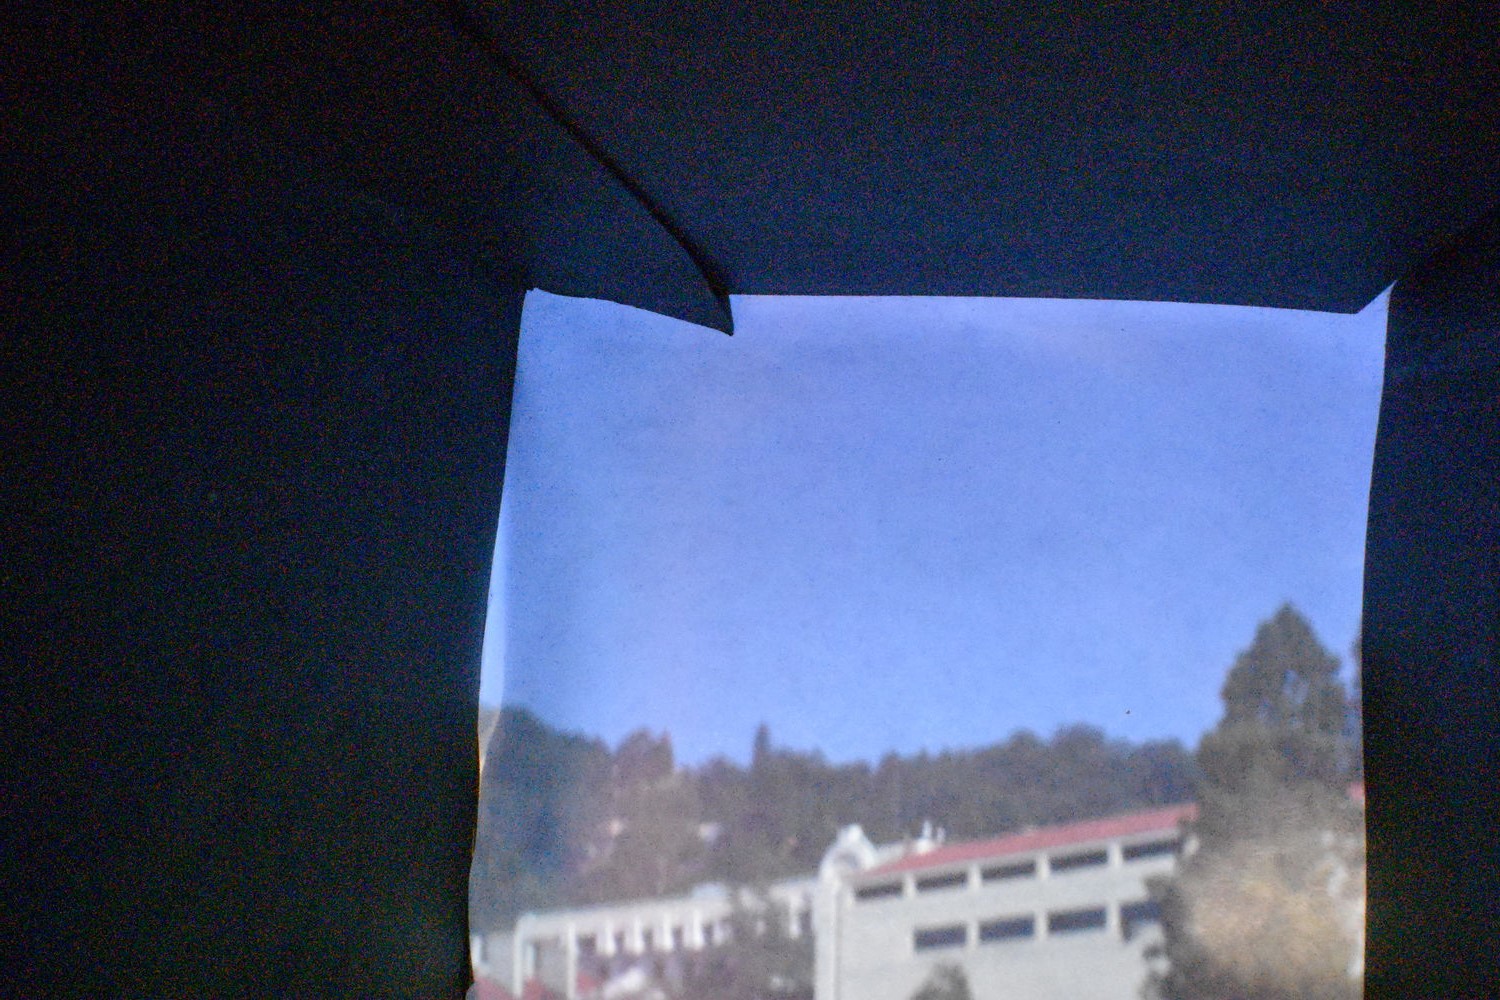
California Hall
.1 mm - 30s exposure, f5 aperture, ISO 12800
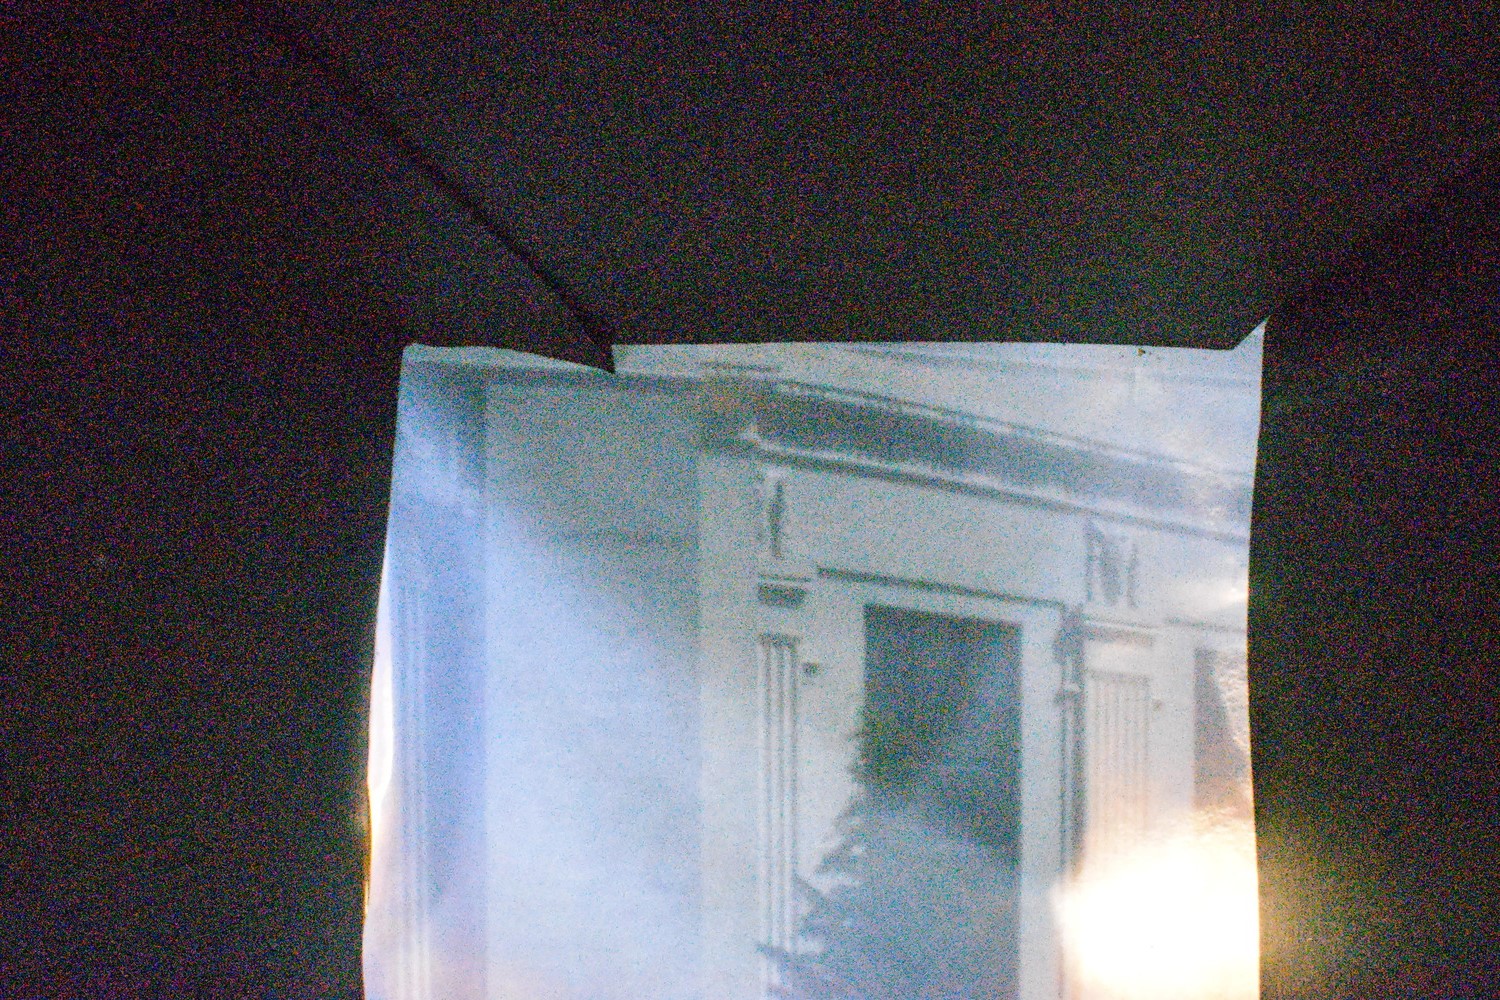
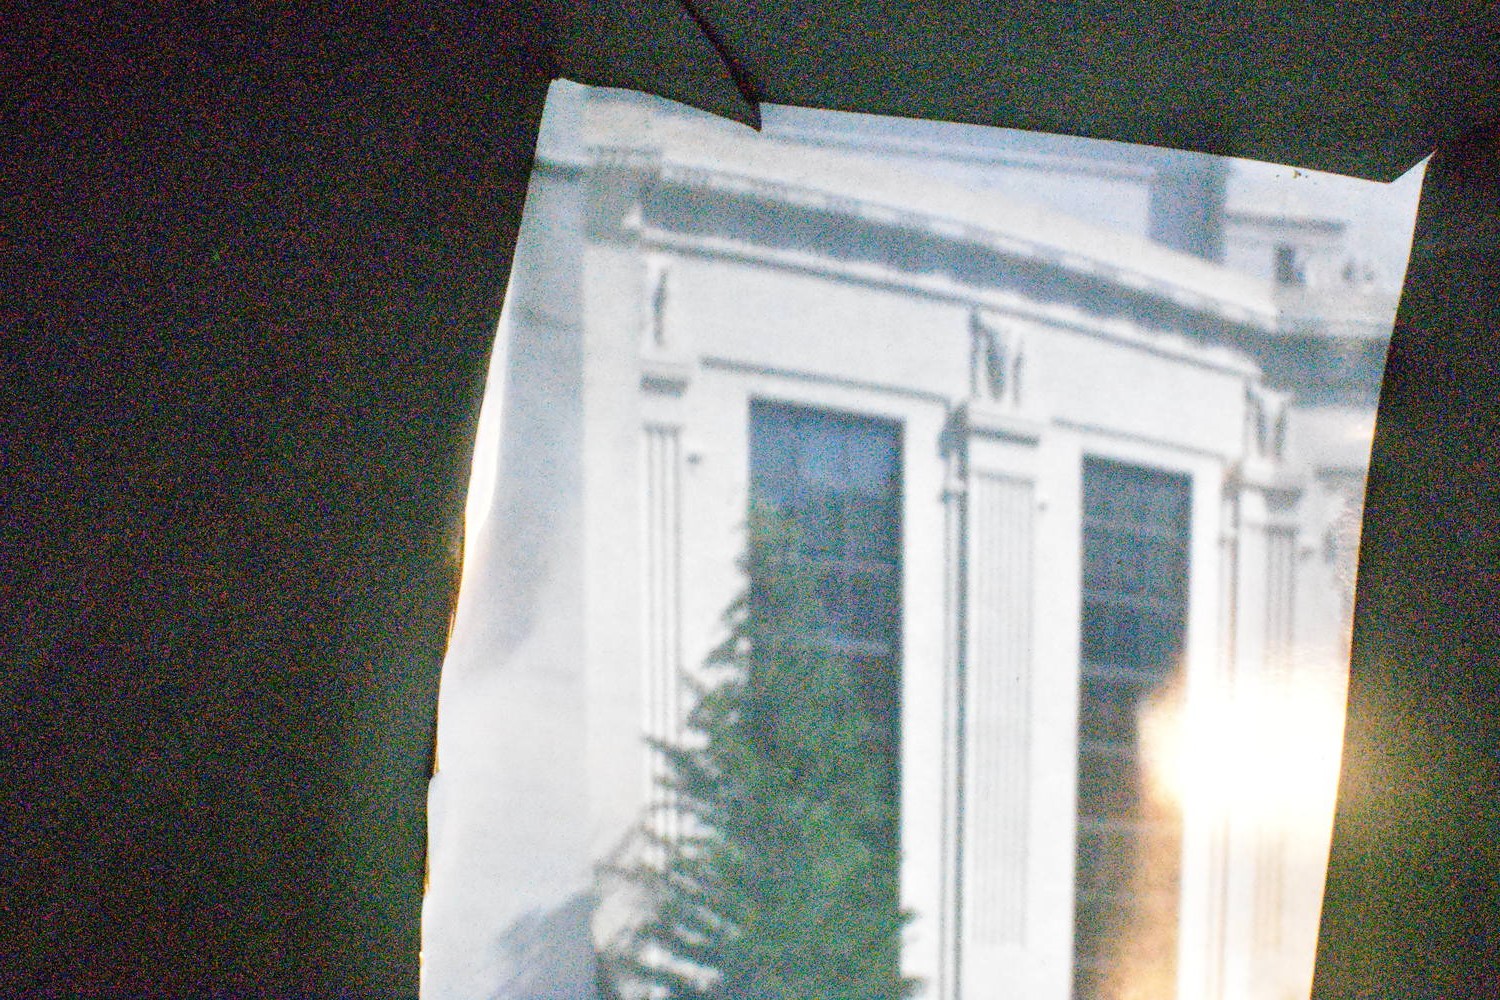
3 mm - 30s exposure, f11 aperture, ISO 12800

5 mm - 25s exposure, f16 aperture, ISO 6400
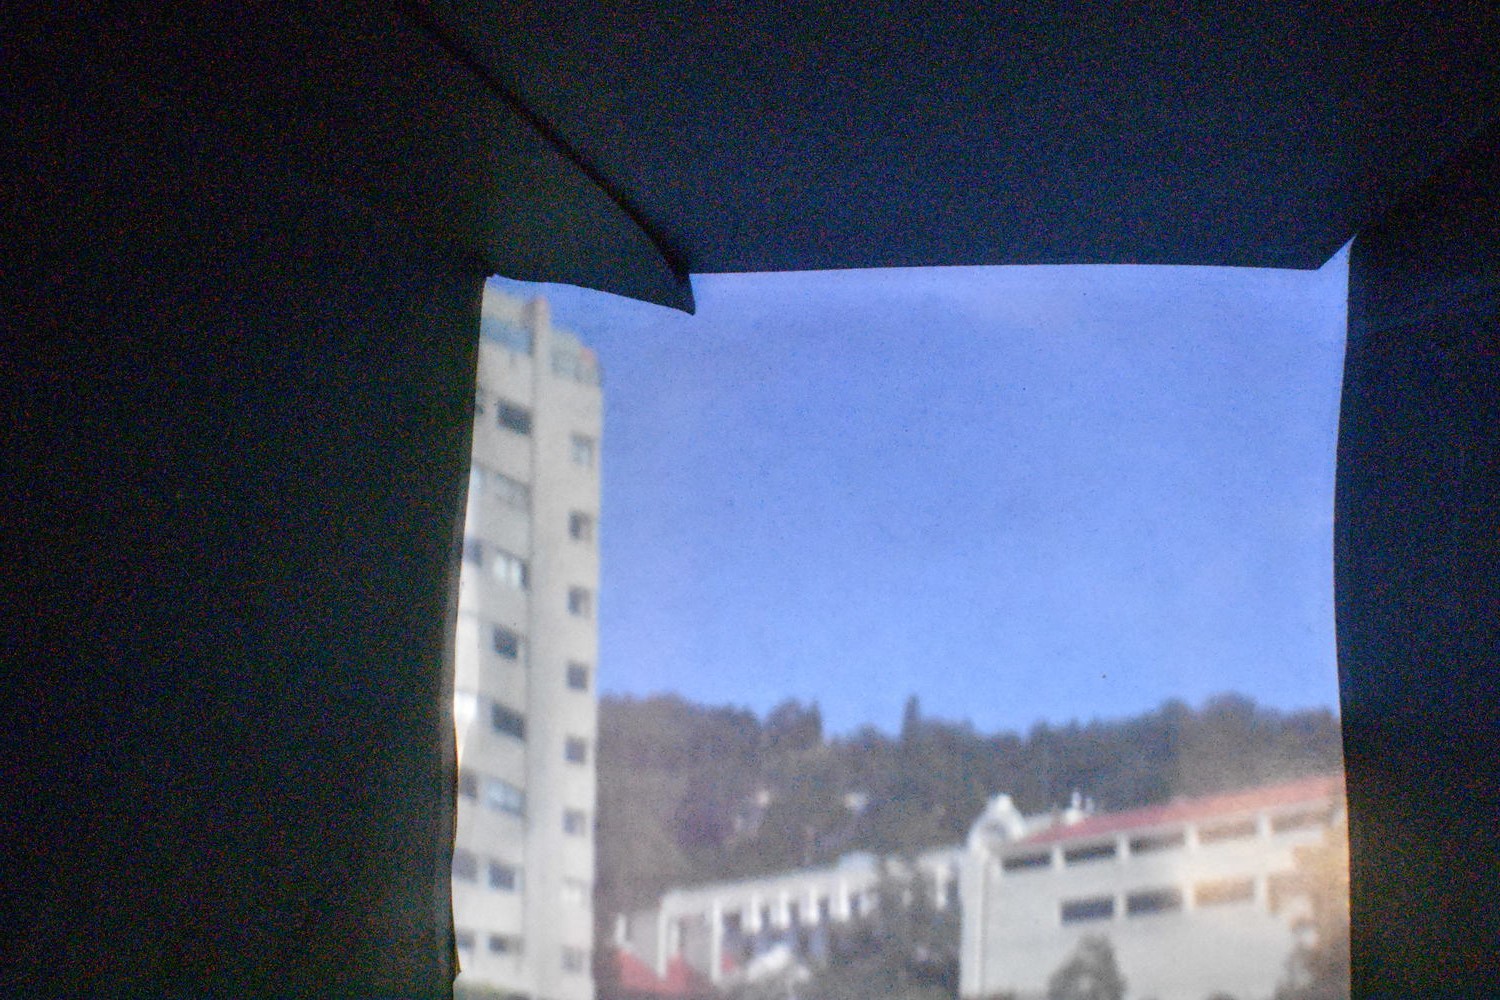
VLSB
.1 mm - 30s exposure, f4.5 aperture, ISO 12800
3 mm - 30s exposure, f9 aperture, ISO 12800
5 mm - 20s exposure, f13 aperture, ISO 6400
Our best shots were close between the 3mm and 5mm, but surprisingly might fall a little towards the 5mm. This is in part due to our novice experience with the camera, which took us a ridiculous amount of time to configure. Eventually, in order to take semi-decent pictures we had to go full manual mode and set the exposure, aperture, and ISO ourselves, which gave inconsistent results (and was particularly impossible to adjust for the .1mm hole).
Ideally, if we kept exposure and aperture and ISO constant and only changed the pinhole diameter, the larger pinhole size would result in more light being let in and a blurrier, but brighter picture. This is because with a larger pinhole, light rays come from more angles and as a result each point on the screen is exposed to many different neighboring rays, resulting in blurriness but also increased brightness.
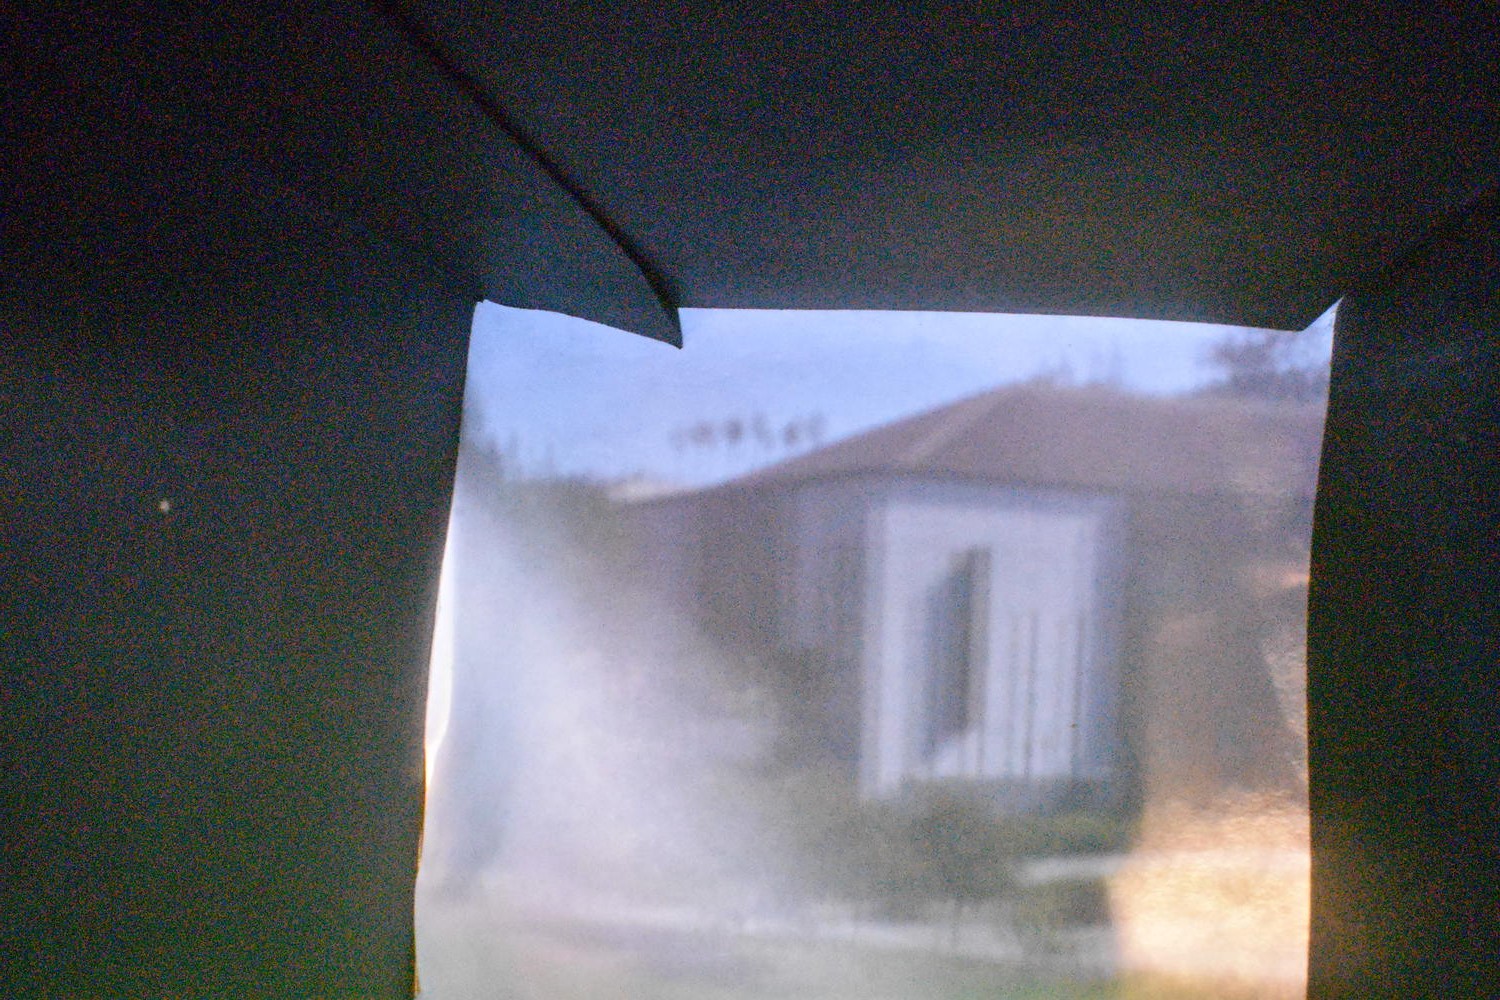
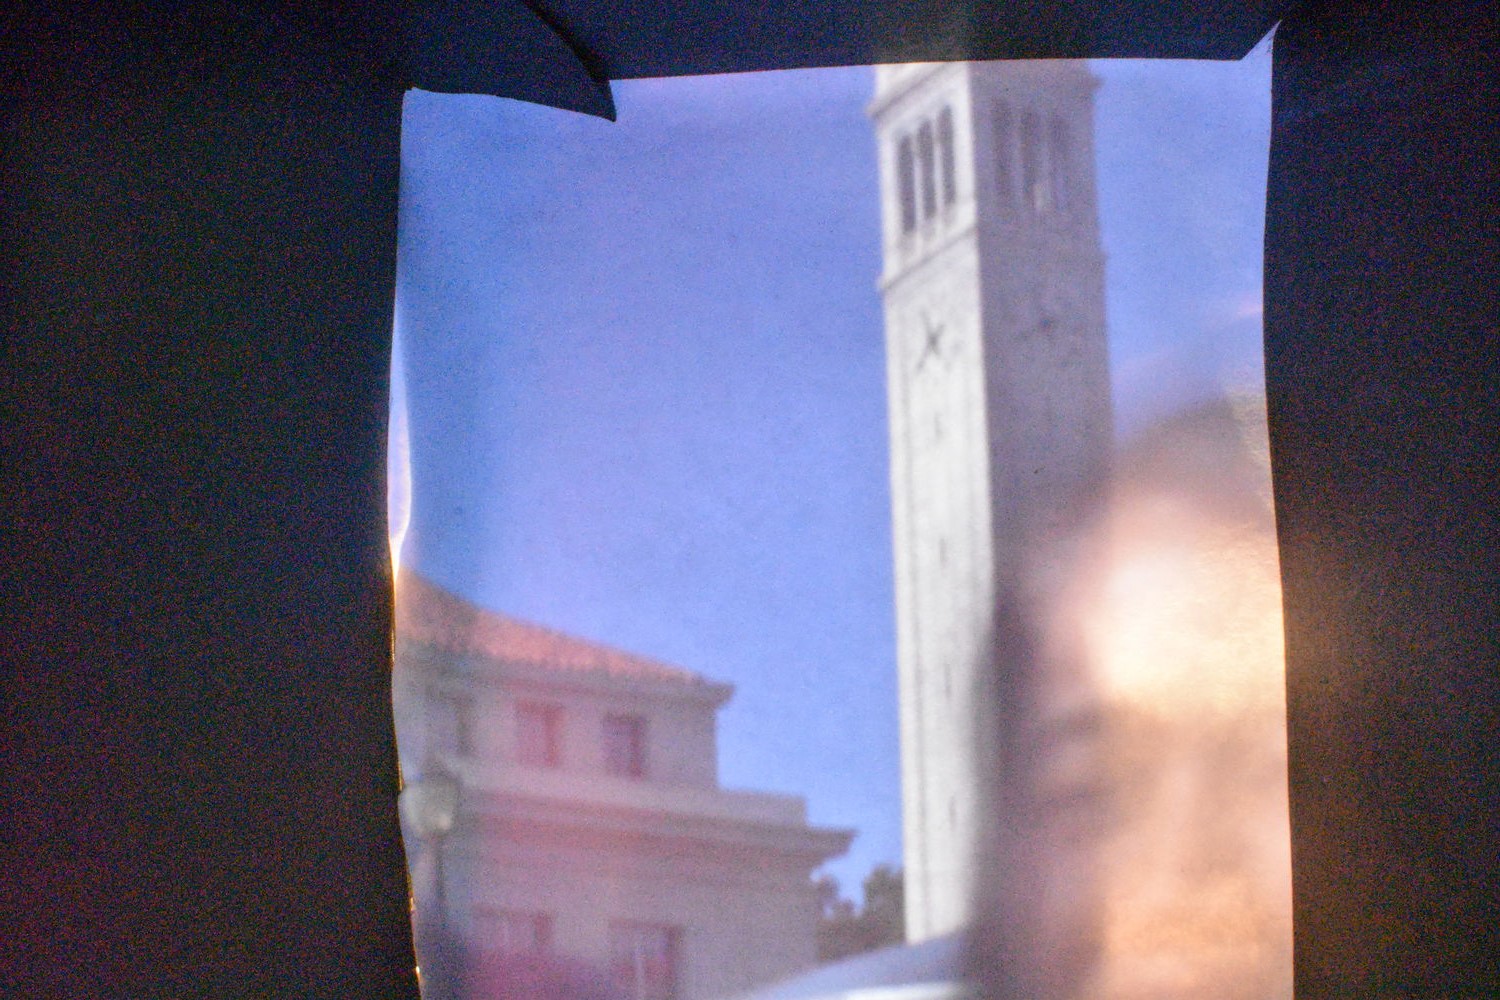
More Pictures
Here are some more pictures with the .5mm pinhole!

Overview
For this project, we built a simple pinhole camera that captures long exposure images. The camera is a light-proofed box that is completely dark except for one end which serves as a white screen, while the pinhole and actual camera are on the other side. As the light enters the pinhole from outside and projects on the screen, it reflects back to a long-exposure camera, and by selecting correct apertures and exposure settings we can capture this light over long periods of time and generate a pinhole picture.
This picture is inverted, so all images shown later are flipped 180 degrees for easier viewing.
Design
To build this project, we used a shoebox to as the "pinhole" camera. On one side of the box, there is a small piece of black construction paper with a pinhole in it to let in light, while the large hole snugly fits our Nikon D3400 camera. The rest of the shoebox is covered with masking tape to reduce light bleed. In some areas on the outside, additional black construction paper was added to reduce some bleeds we couldn't cover enough.
|
|
|
|
|
The inside is completely covereed with black paper except for the side opposite to the pinhole/lense hole, which forms the "screen". This screen is made of white printer paper, and was glued down (but came loose when taking this picture).
|
|
|
Results
Our best results took a very, very long time tinkering with the camera settings, and varied with each picture. The exposure times, aperture settings, and ISO settings are listed below each shot.
There seems to be significant blurring in the .1 mm shots, which is probably becuase there was not enough light let into the box. Our .1mm hole was very, very small and was created by pricking a hole. The paper part that was supposed to pricked out may have covered the hole a little bit, blurring the picture.
The screen is not fully in the frame, resulting in a black border around the picture. In addition, there seems to be some light bleed which may have resulted from the lighter-colored masking tape that insufficiently blocked some parts of the box.
| California Hall |
|
|
|
|---|---|---|---|
| VLSB |
|
|
|
Our best shots were close between the 3mm and 5mm, but surprisingly might fall a little towards the 5mm. This is in part due to our novice experience with the camera, which took us a ridiculous amount of time to configure. Eventually, in order to take semi-decent pictures we had to go full manual mode and set the exposure, aperture, and ISO ourselves, which gave inconsistent results (and was particularly impossible to adjust for the .1mm hole).
Ideally, if we kept exposure and aperture and ISO constant and only changed the pinhole diameter, the larger pinhole size would result in more light being let in and a blurrier, but brighter picture. This is because with a larger pinhole, light rays come from more angles and as a result each point on the screen is exposed to many different neighboring rays, resulting in blurriness but also increased brightness.
More Pictures
Here are some more pictures with the .5mm pinhole!
|
|
|
|
|
|
|
|
|
|
|
|
|
|