CS194 Project 2
Building a Pinhole Camera
by Calvin Dong, Helen Che, Vanessa Ng
Goal: Build a pinhole camera and capture images with it.
Camera Model
The camera was constructed using a shoebox. Using black paper, we lined the inside faces of the box. One face was being lined with white paper to act as the screen where images would be projected on.
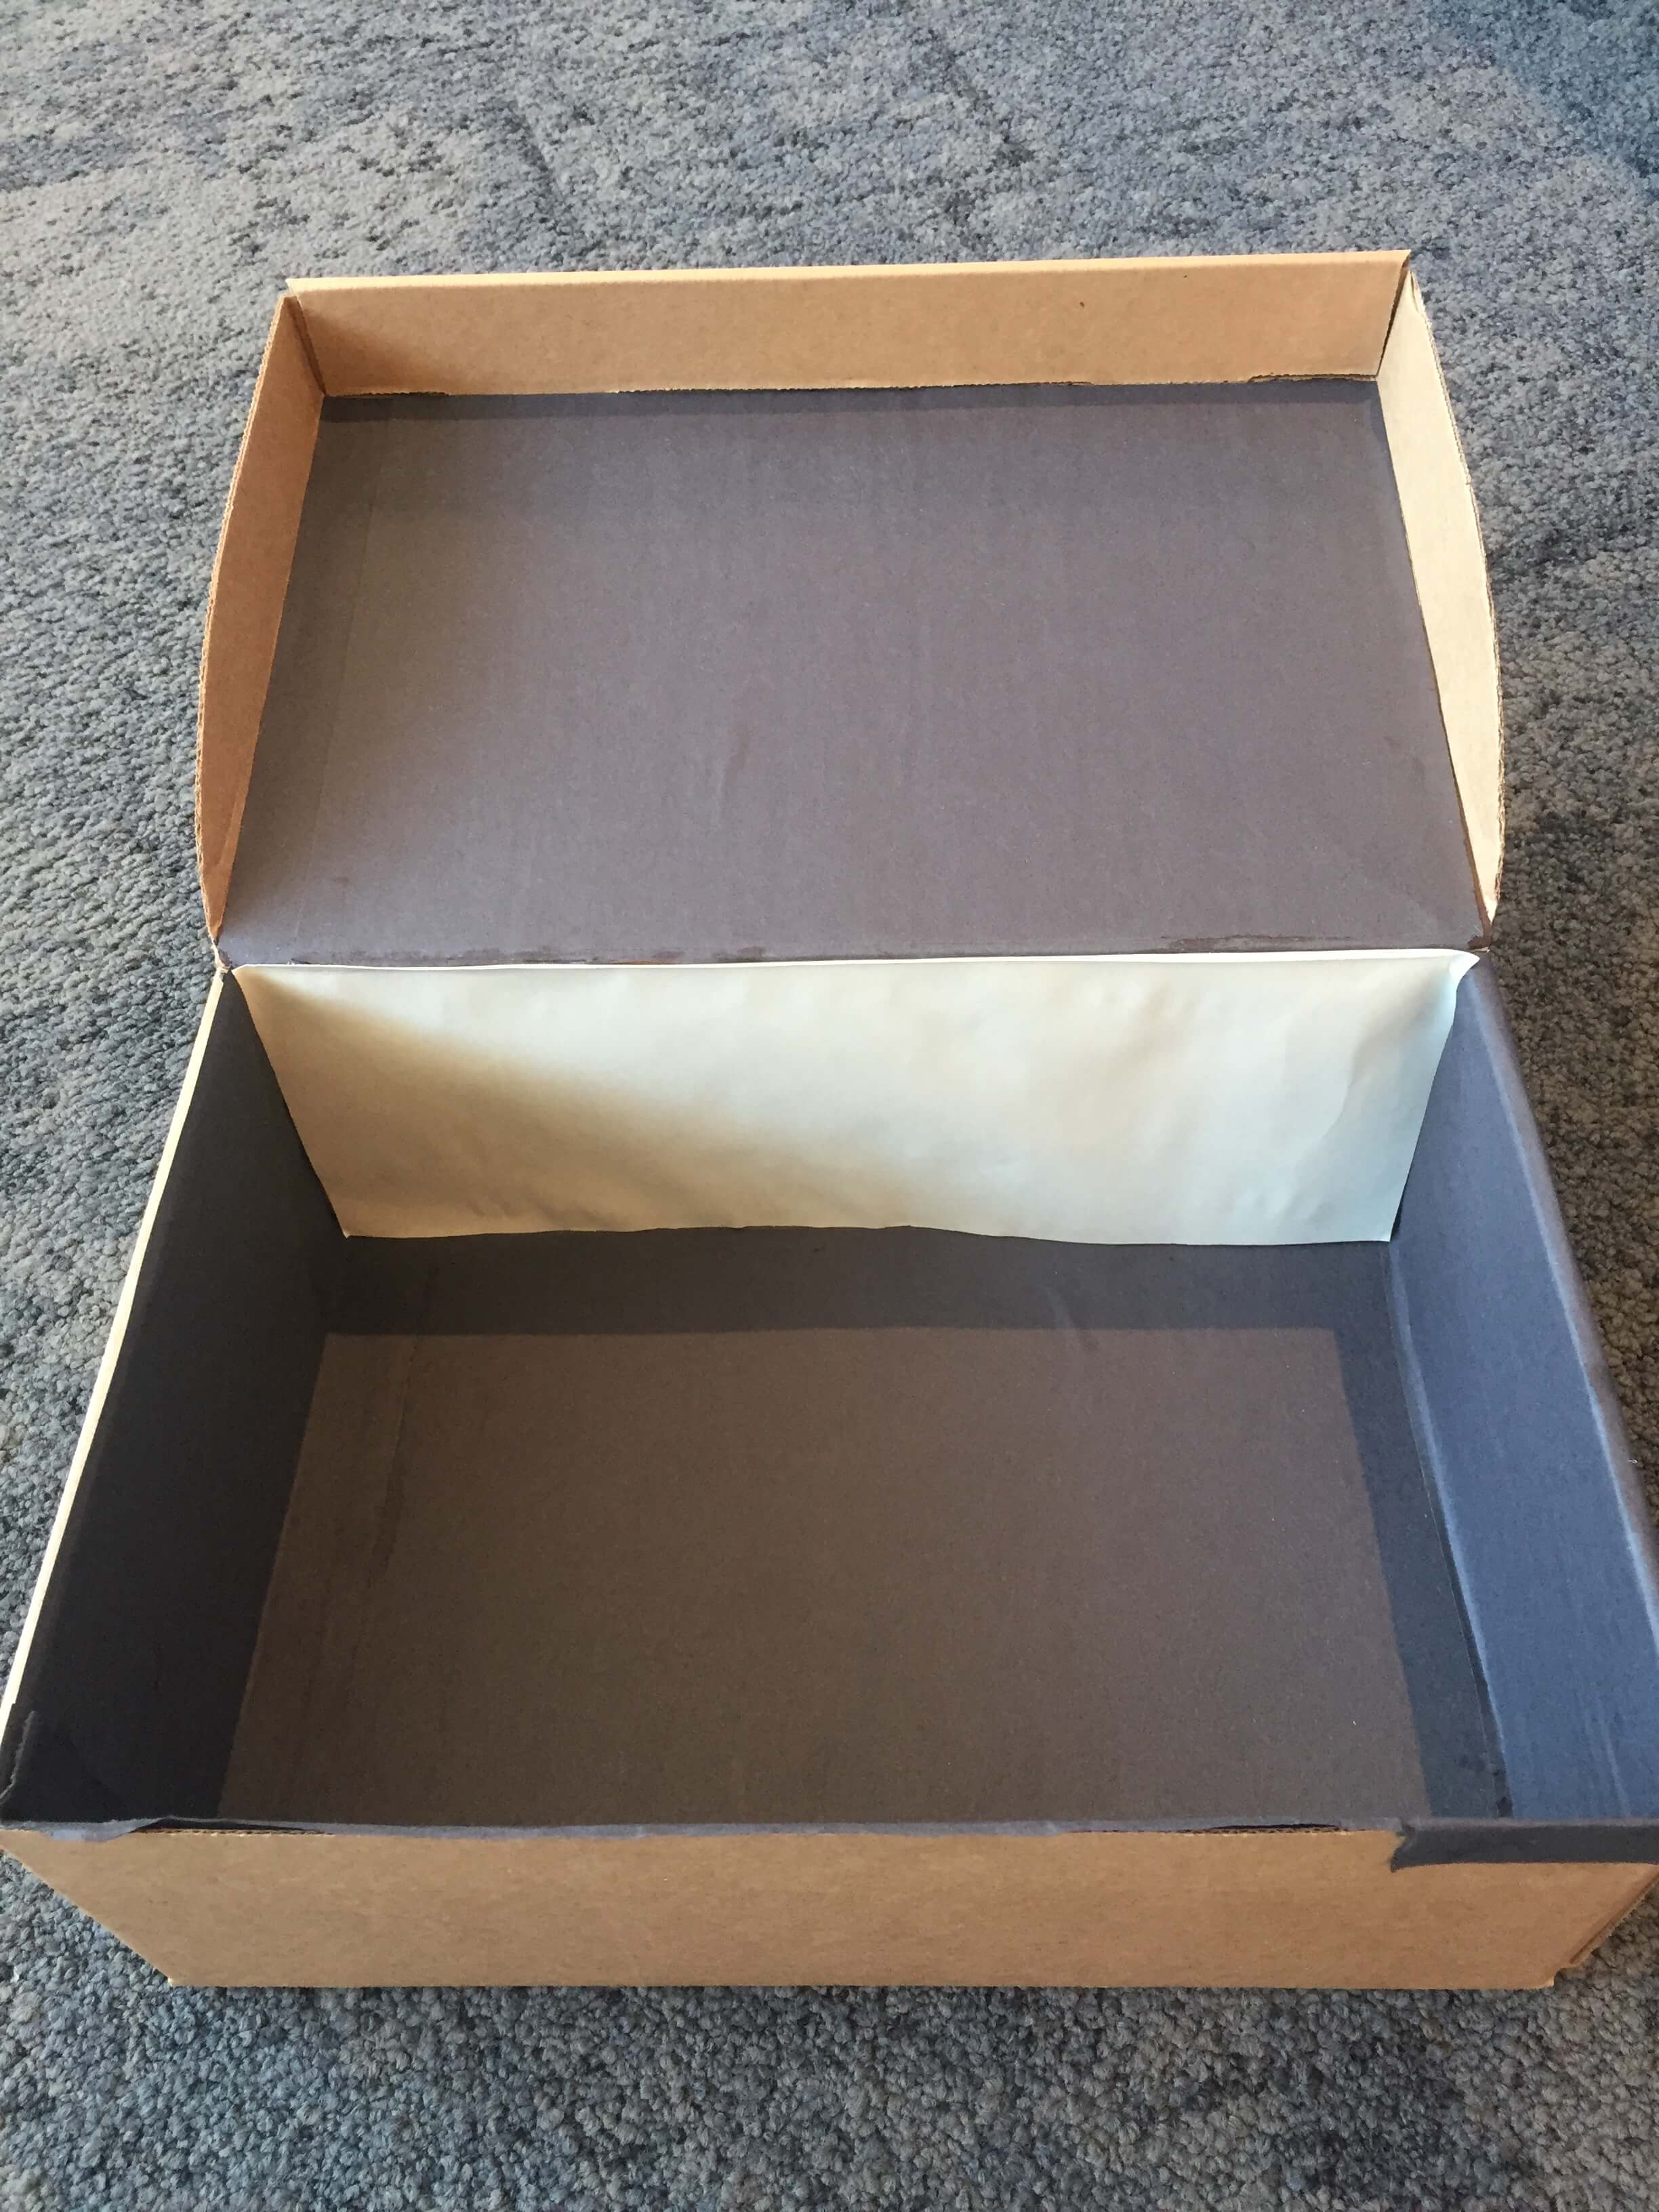
Pinhole camera made out of a shoebox
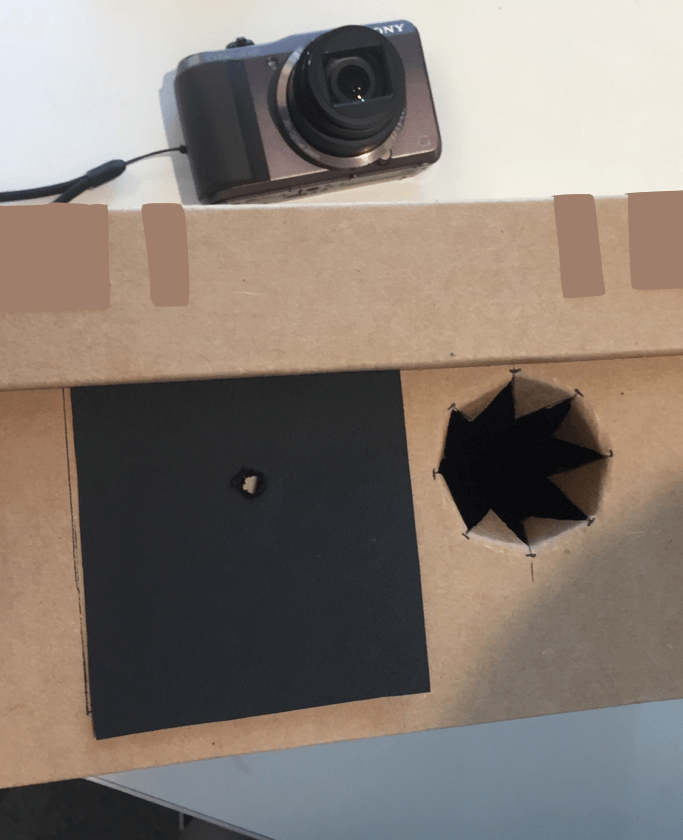
Camera lens and pinhole filters go here
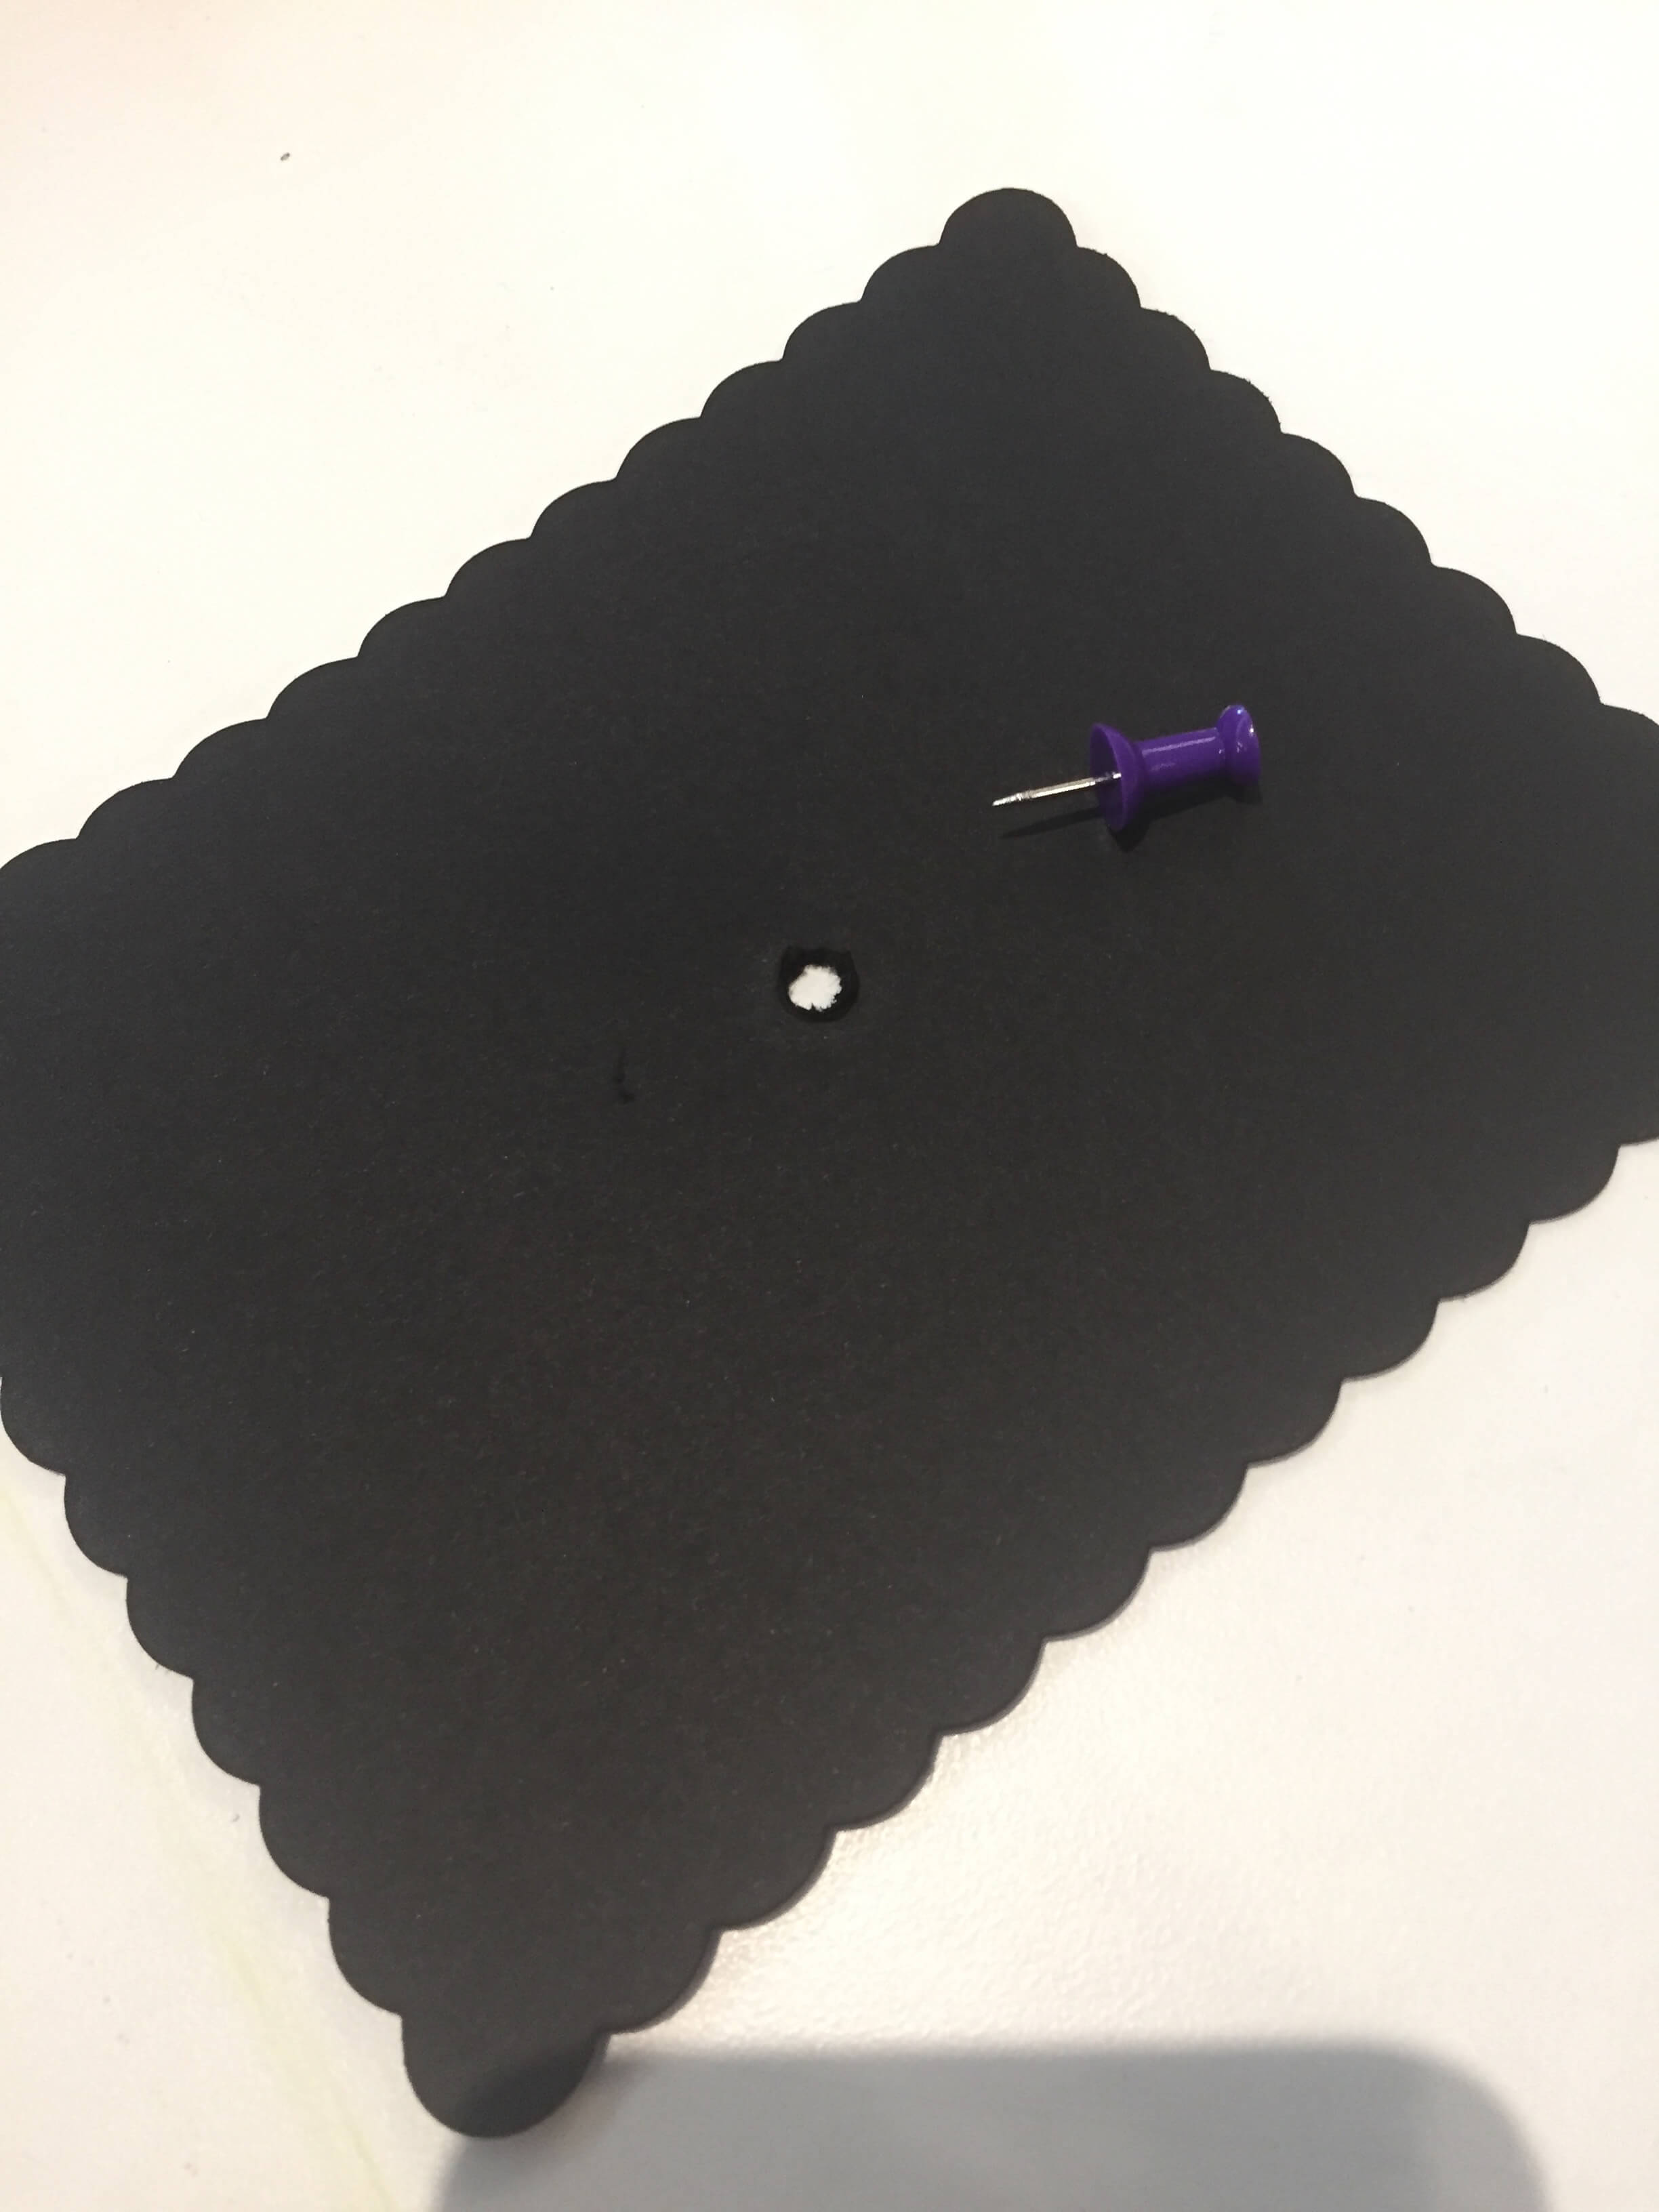
Pinhole filters
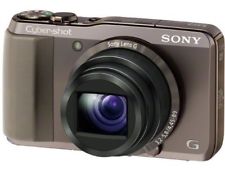
Our camera model: Sony Cybershot DSC-HX30V
To attach the camera, we cut a hole in the box, just enough for the lens to peak through. An area next to the camera hole was also designated for the pinhole filters (made of black paper). We used magic/removable tape to allow easy switching between pinhole filters as they also hold the pinhole down firmly to prevent any stray light from entering. We created the 0.1mm pinhole using a pin, and the 3mm and 5mm pinholes with a pencil
The camera we used is a Sony Cybershot DSC-HX30V that has a manual/long exposure setting. We were able to modify shooting according to 3 parameters:
1. Focal length: Focal length was consistently set to the lowest setting the camera could afford.
f-number, N = f/D = 3.2, where where f is the focal length, and D is the diameter of the effective aperture.
2. ISO: ISO measures the sensitivity of the image sensor to light. Our camera's ISO had a range of 100 (lowest sensitivity) to 3200 (highest sensitivity) for long exposure settings
3. Shutter speed: Up to 30 seconds.
Captured Images
We shot these images on campus across three different days.
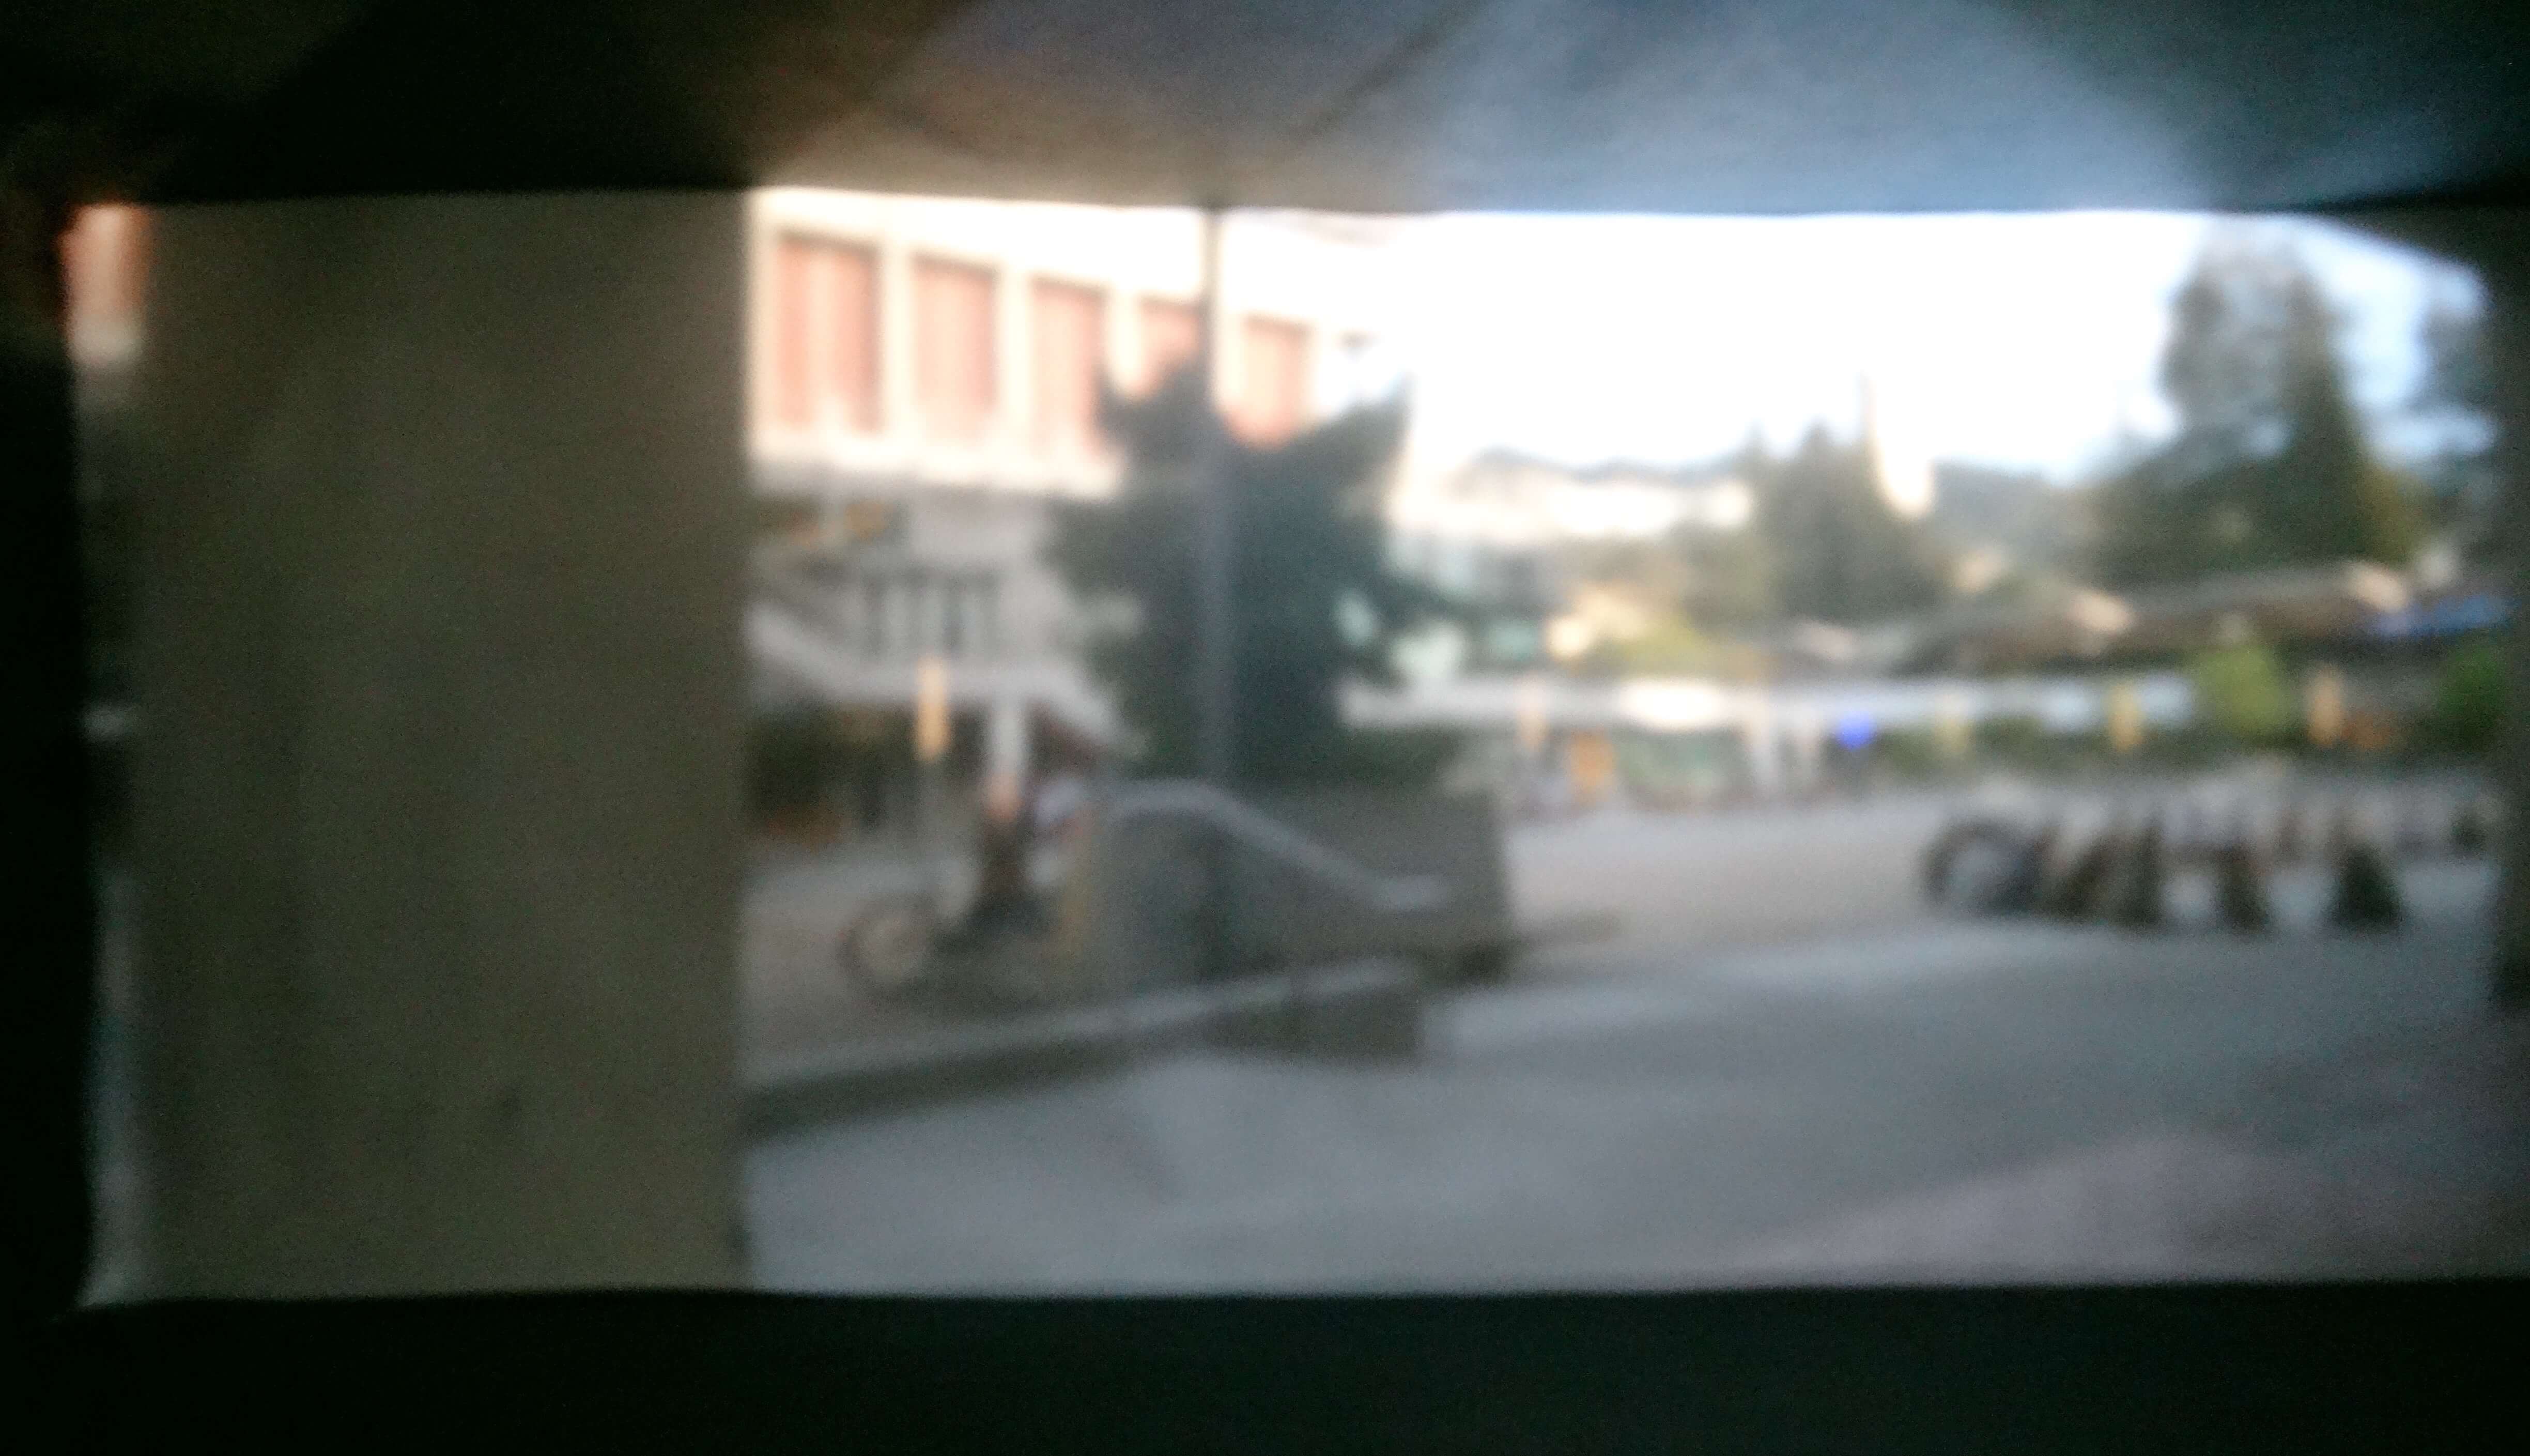
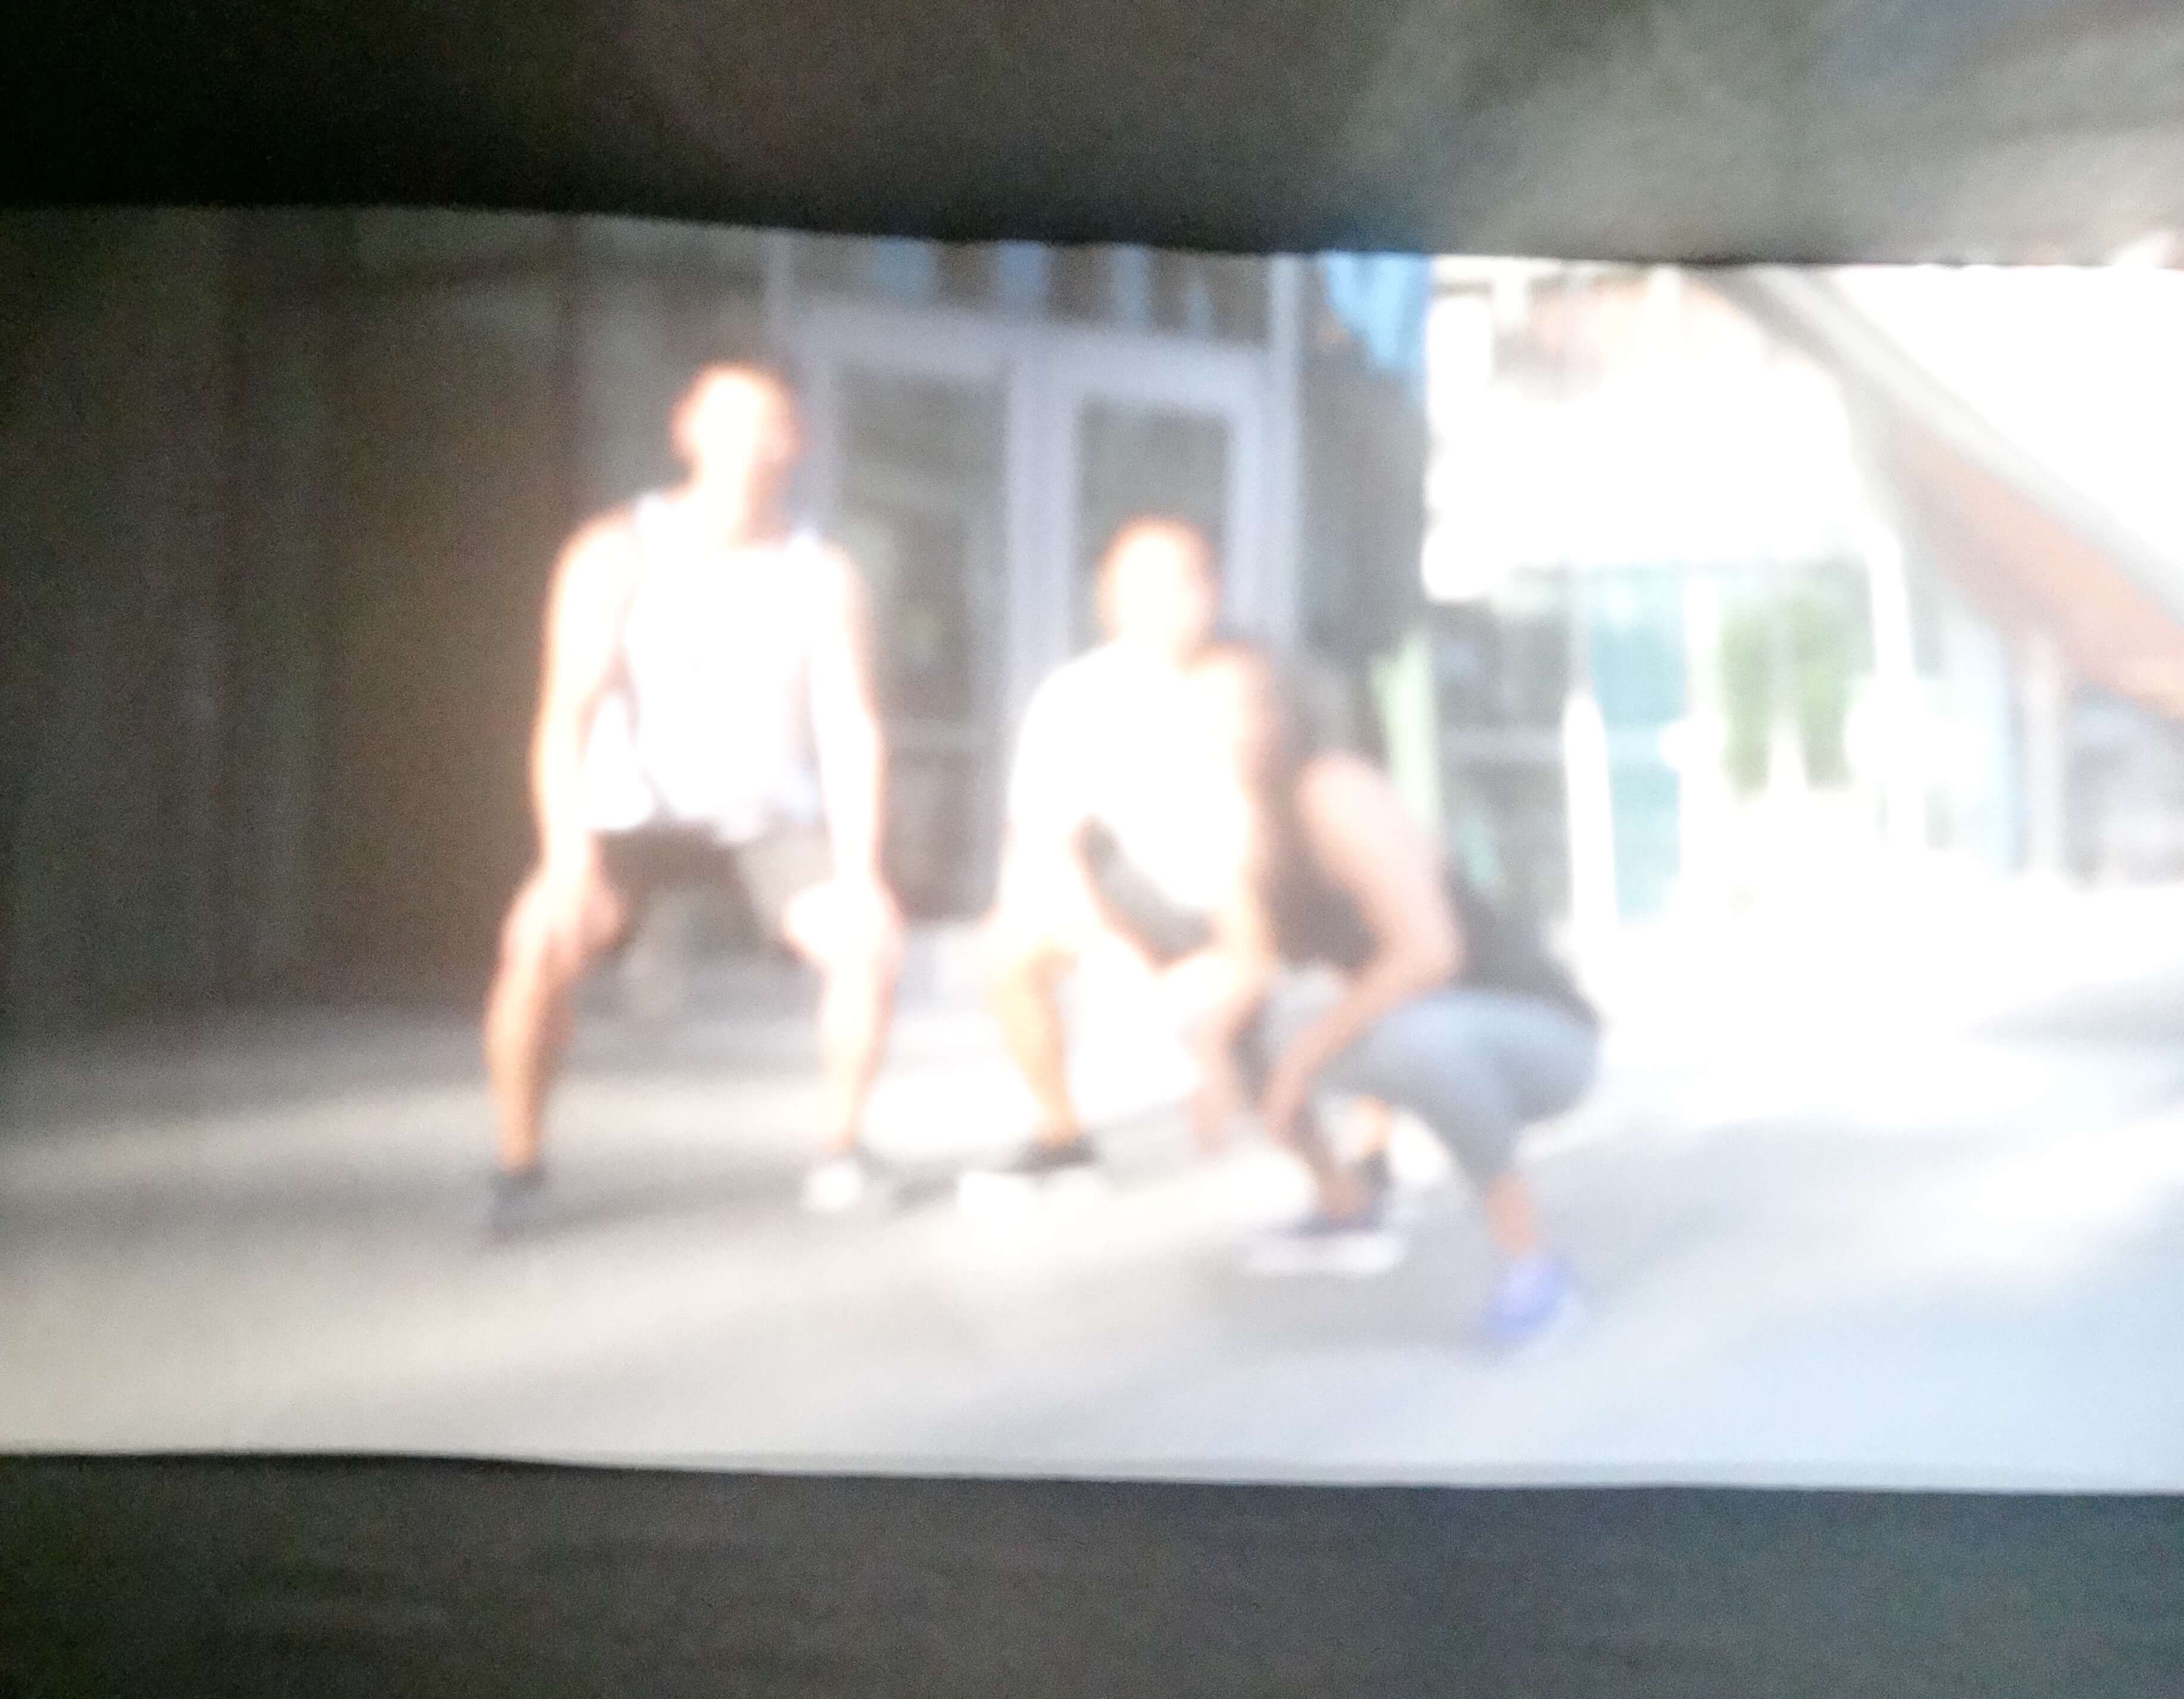
5mm Pinhole
Time: 5:30pm - 6:30pm on Sunday
Weather: Sunny
Location: Lower Sproul
Images
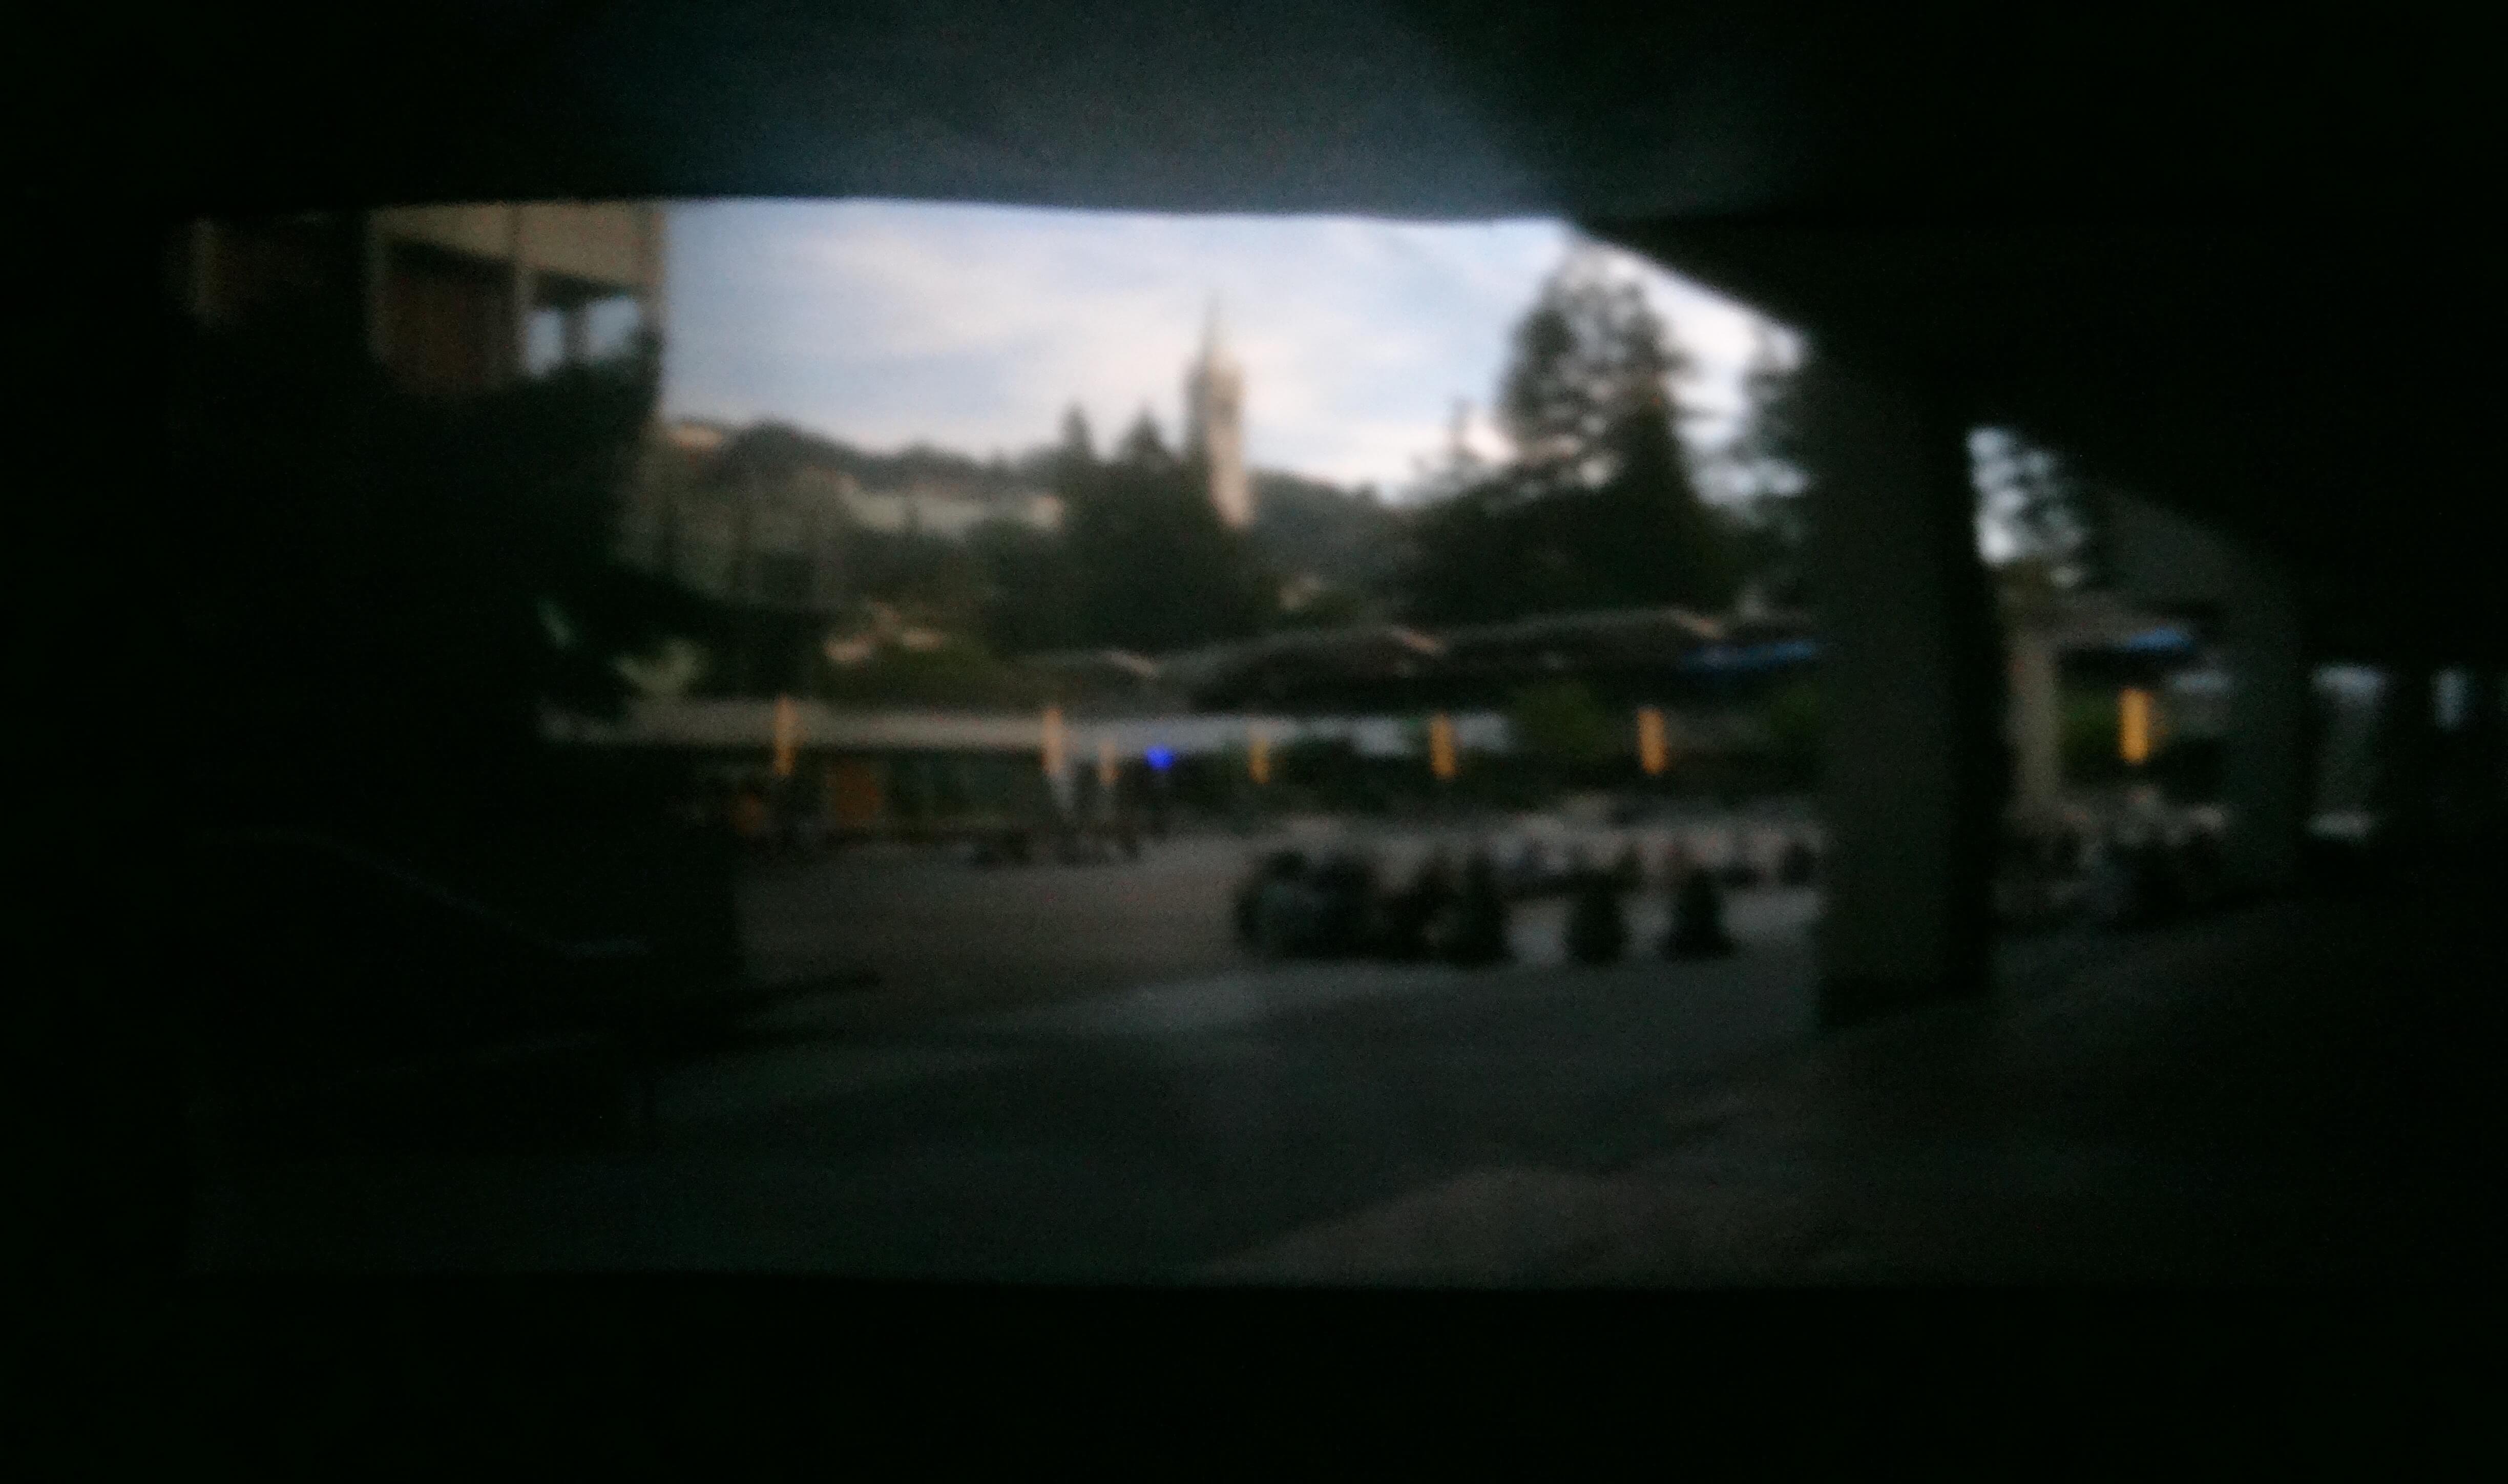
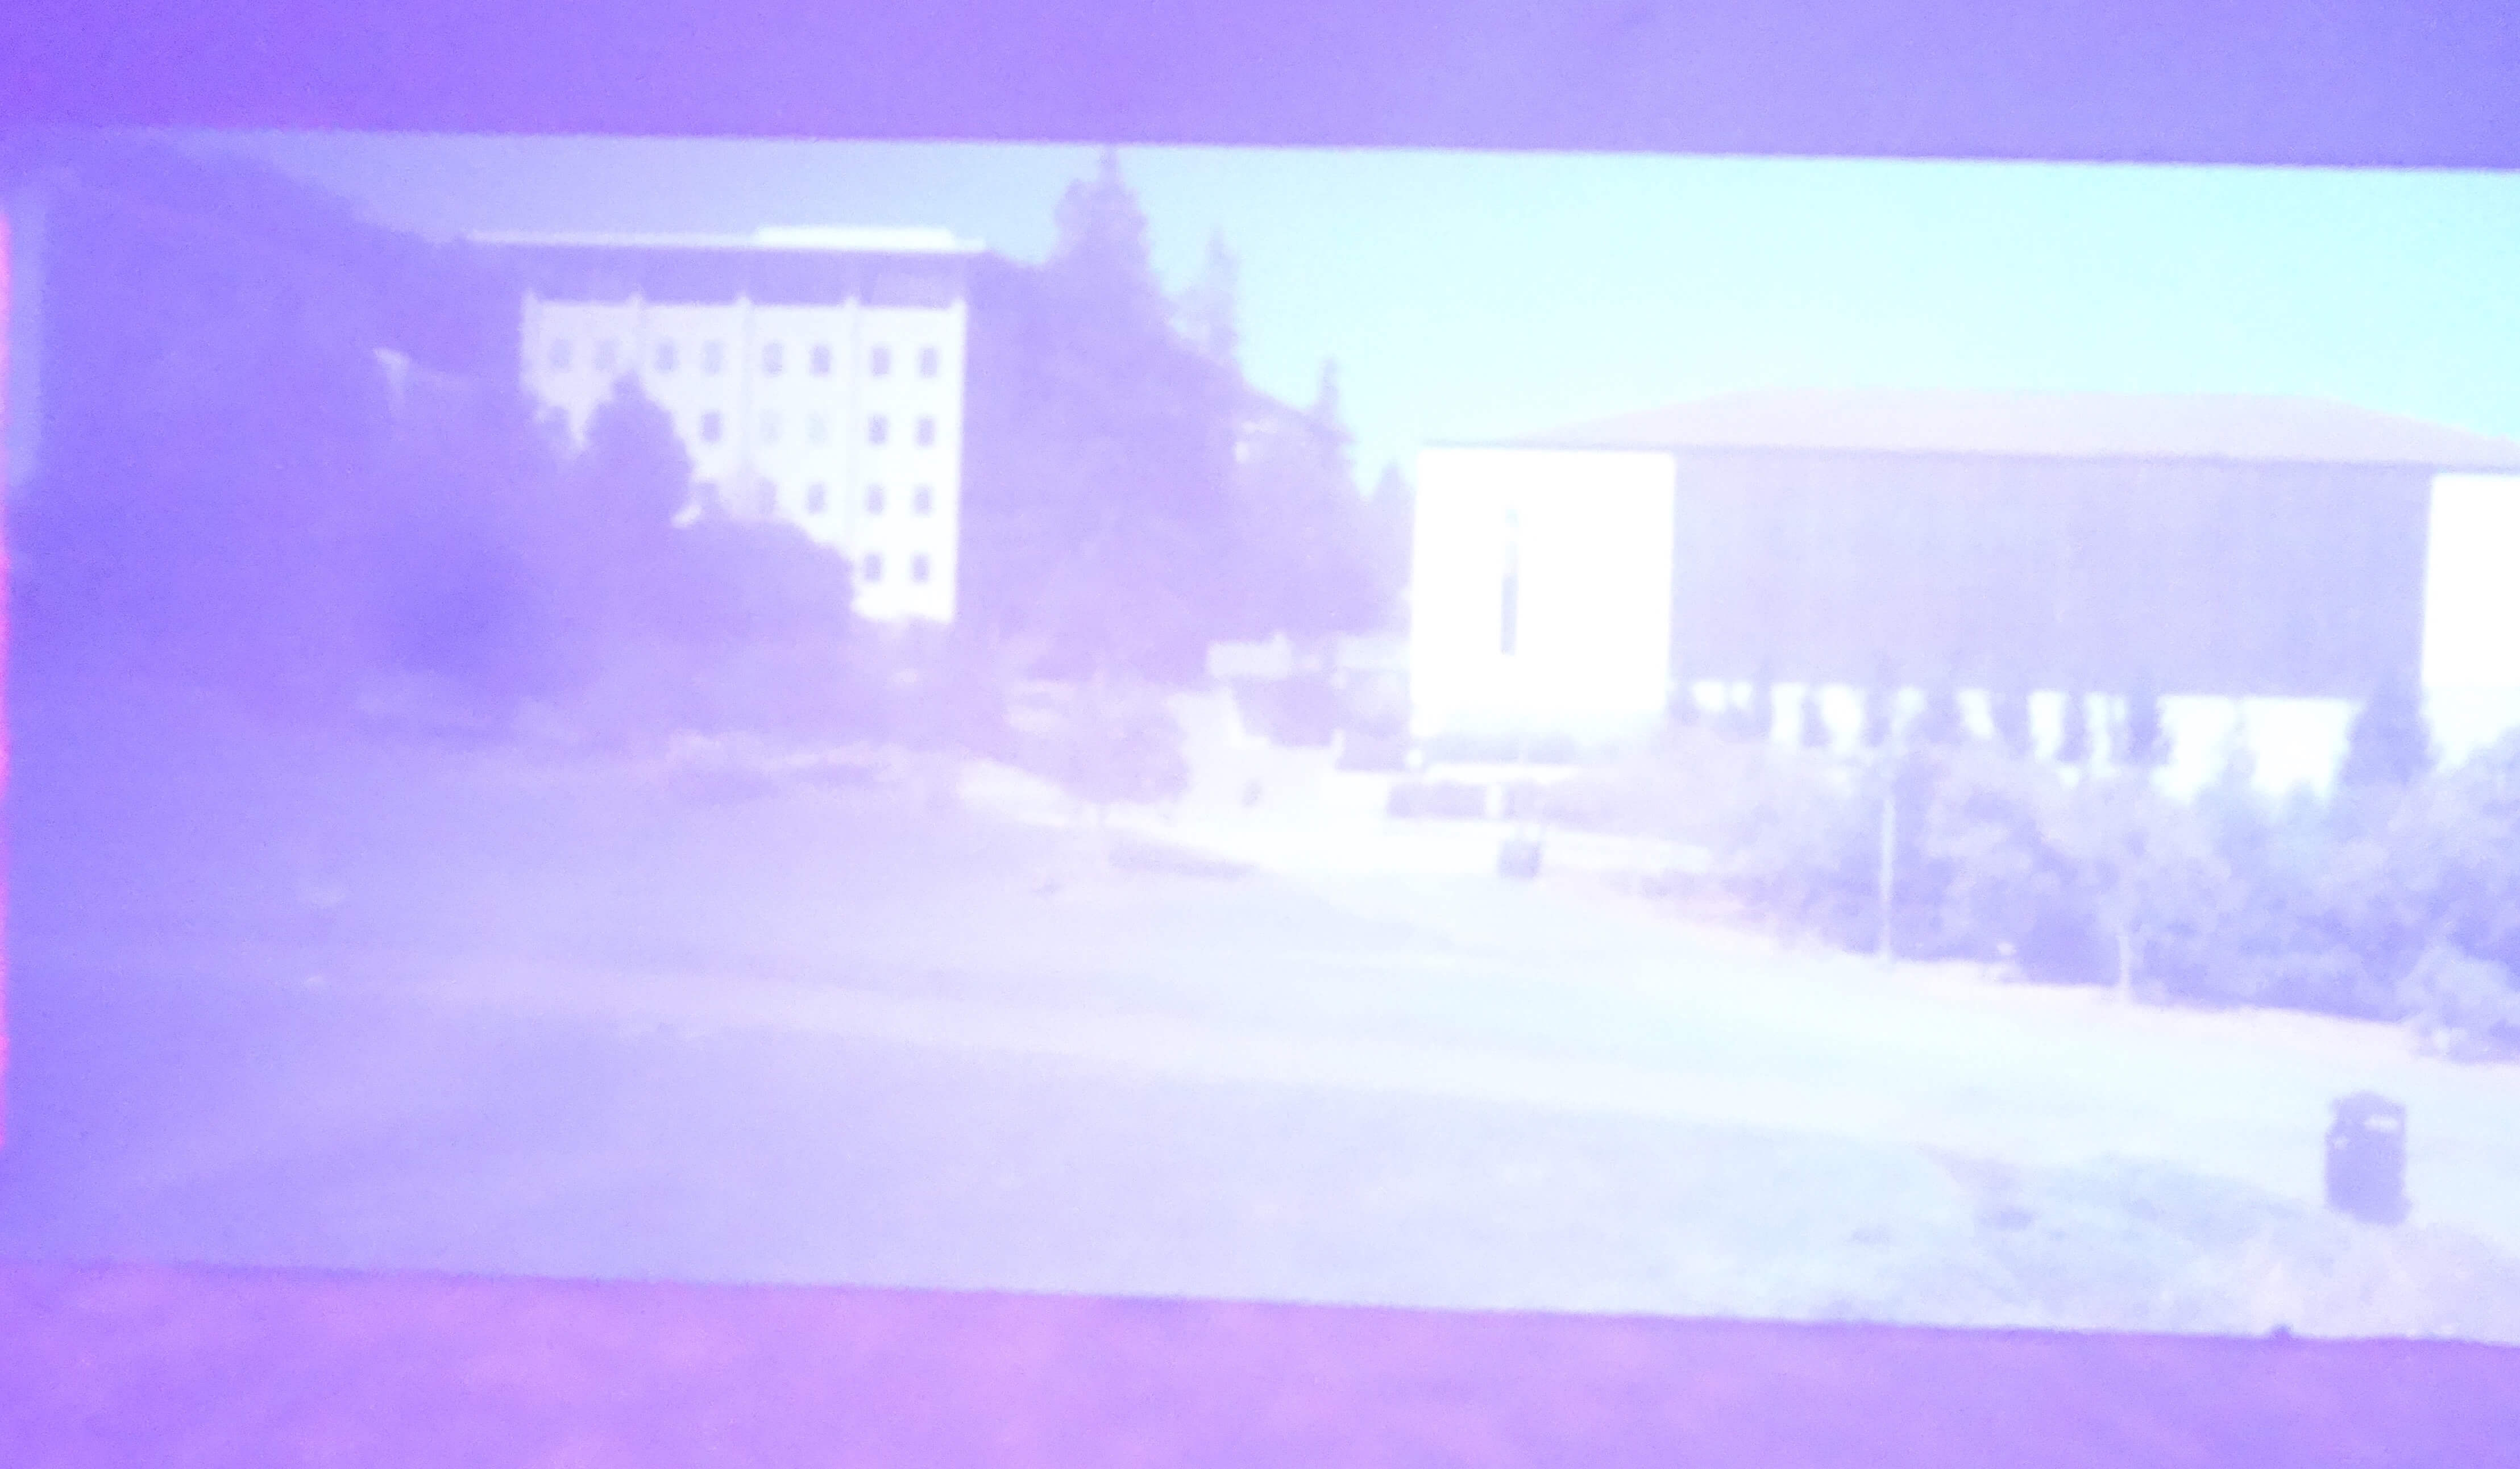
Shot of Lower Sproul and Campanile
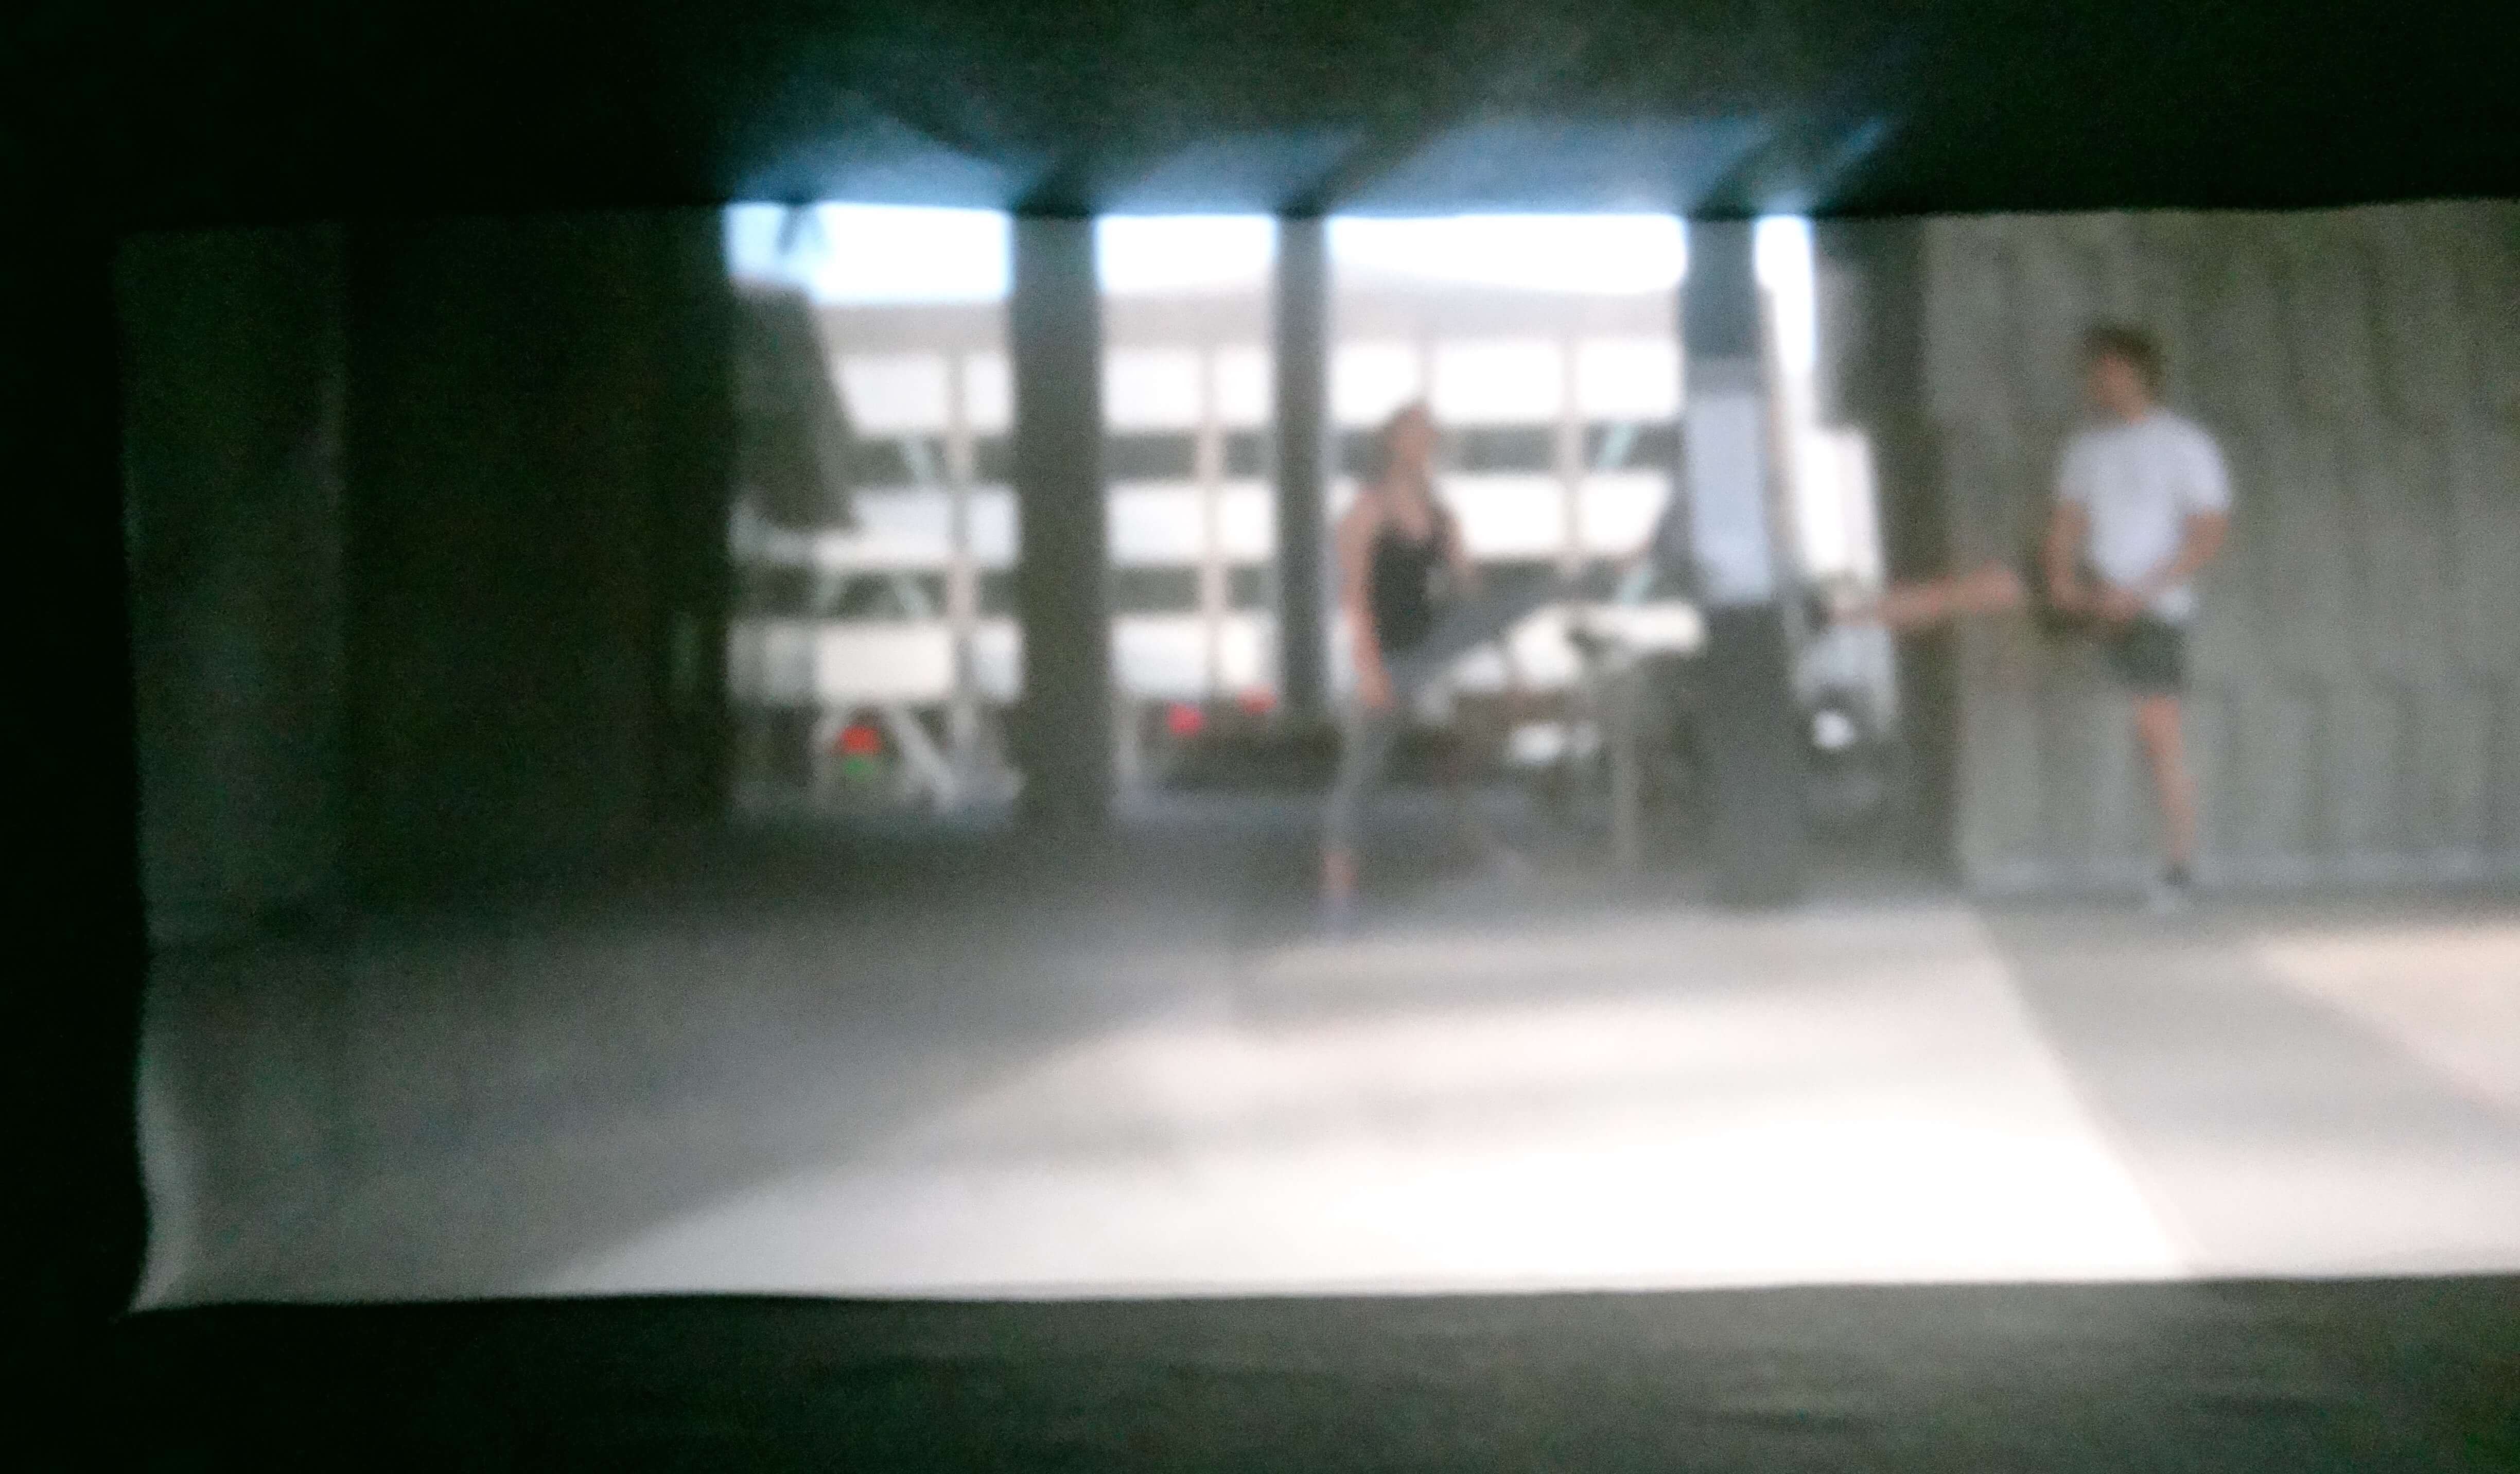
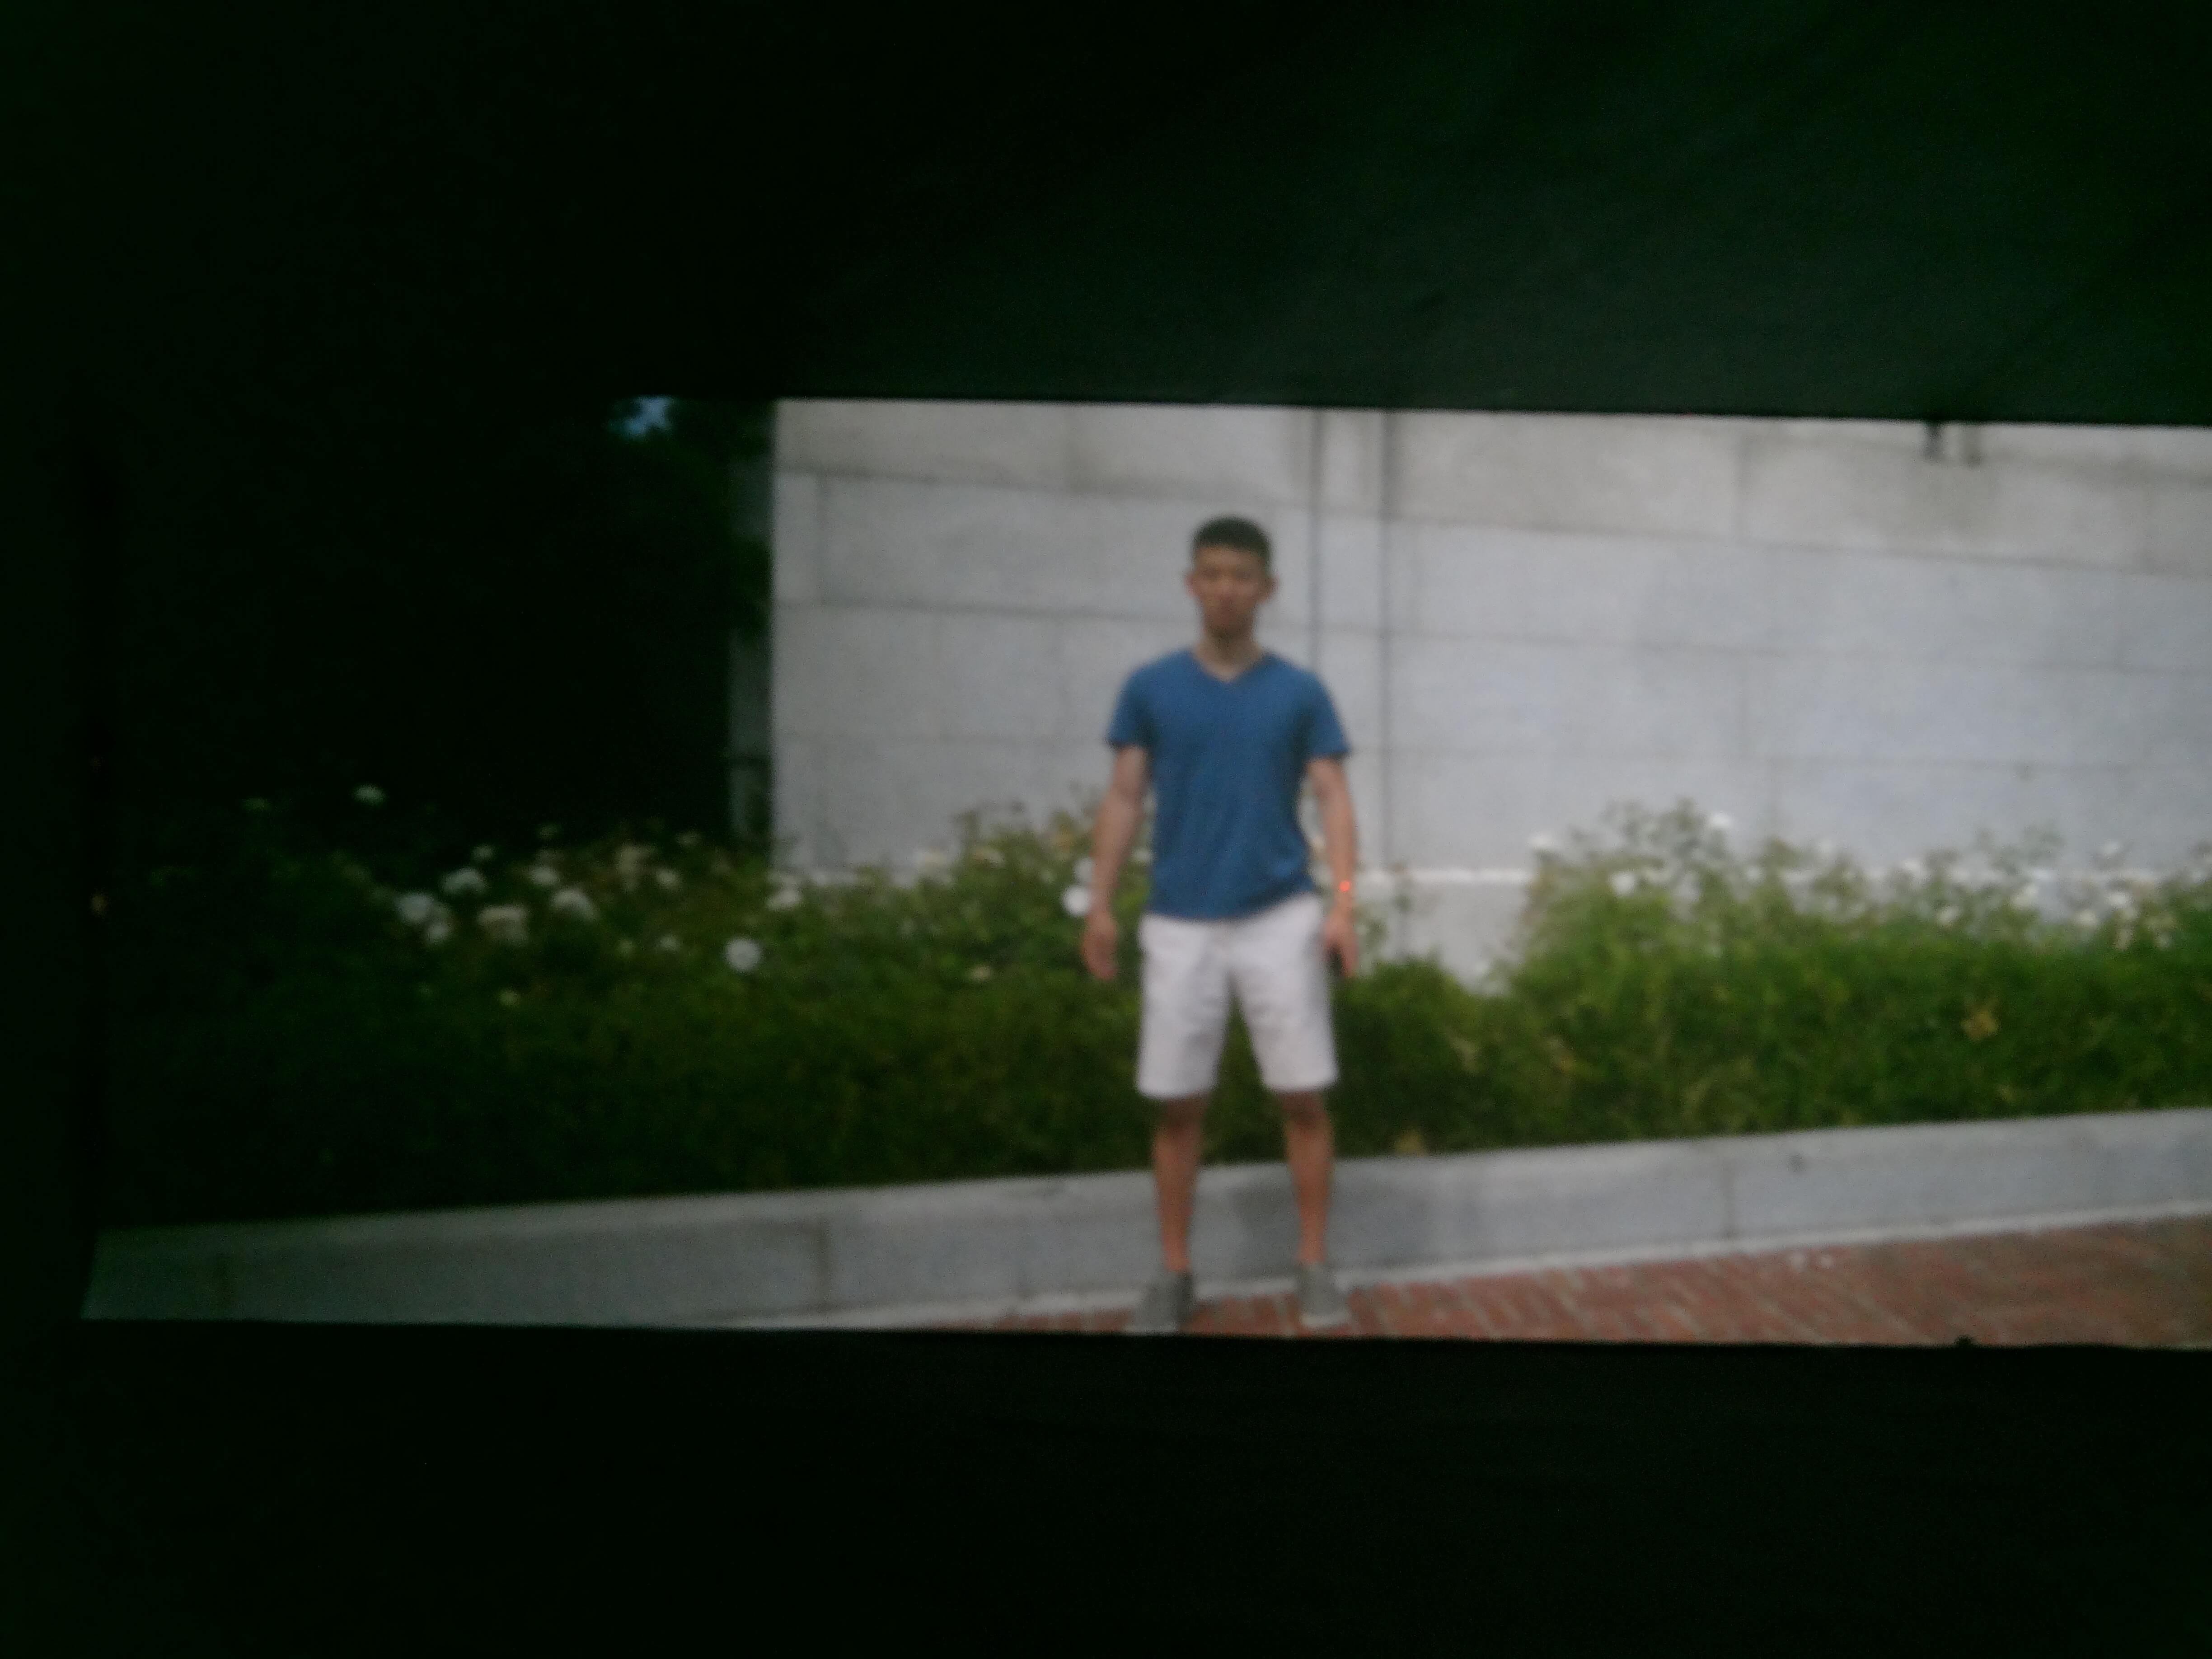
Shot of Helen and Calvin by Eschelman Hall
Above images were shot with the following camera settings:
- ISO: 800
- Duration: 15 seconds
- F: 3.2
Overall, the pictures turned out better than we had expected on our first try. The colors were rather vibrant. However, the images were blurry.
Problems
We did not obtain the above images on the first try. Here are some of the images that did not turn out as well.
Above images were shot with the following camera settings:
- ISO: 1600
- Duration: 30 seconds
- F: 3.2
During the first few tries, our images would appear too bright, as seen above. We did several things to fix this:
1. Modifications to Camera Model: When we realised, via a control shot, that our box was actually letting stray light in, we added black paper to the hinges and also wrapped tissue paper around the lens of the camera. This correction helped our images be less exposed by stray light entering the box.
2. ISO and Shutter Speed: We decreased shutter speed from 30 seconds to 15 seconds, and decreased ISO from 1600 to 800. This results in a shorter duration shot and lower light sensitivity by the camera. Our images turned out less exposed with light.
3mm Pinhole
Time: 2:30pm - 4:00pm on Monday
Weather: Sunny
Location: Campanile Courtyard
Images
Shot of Calvin by the Campanile
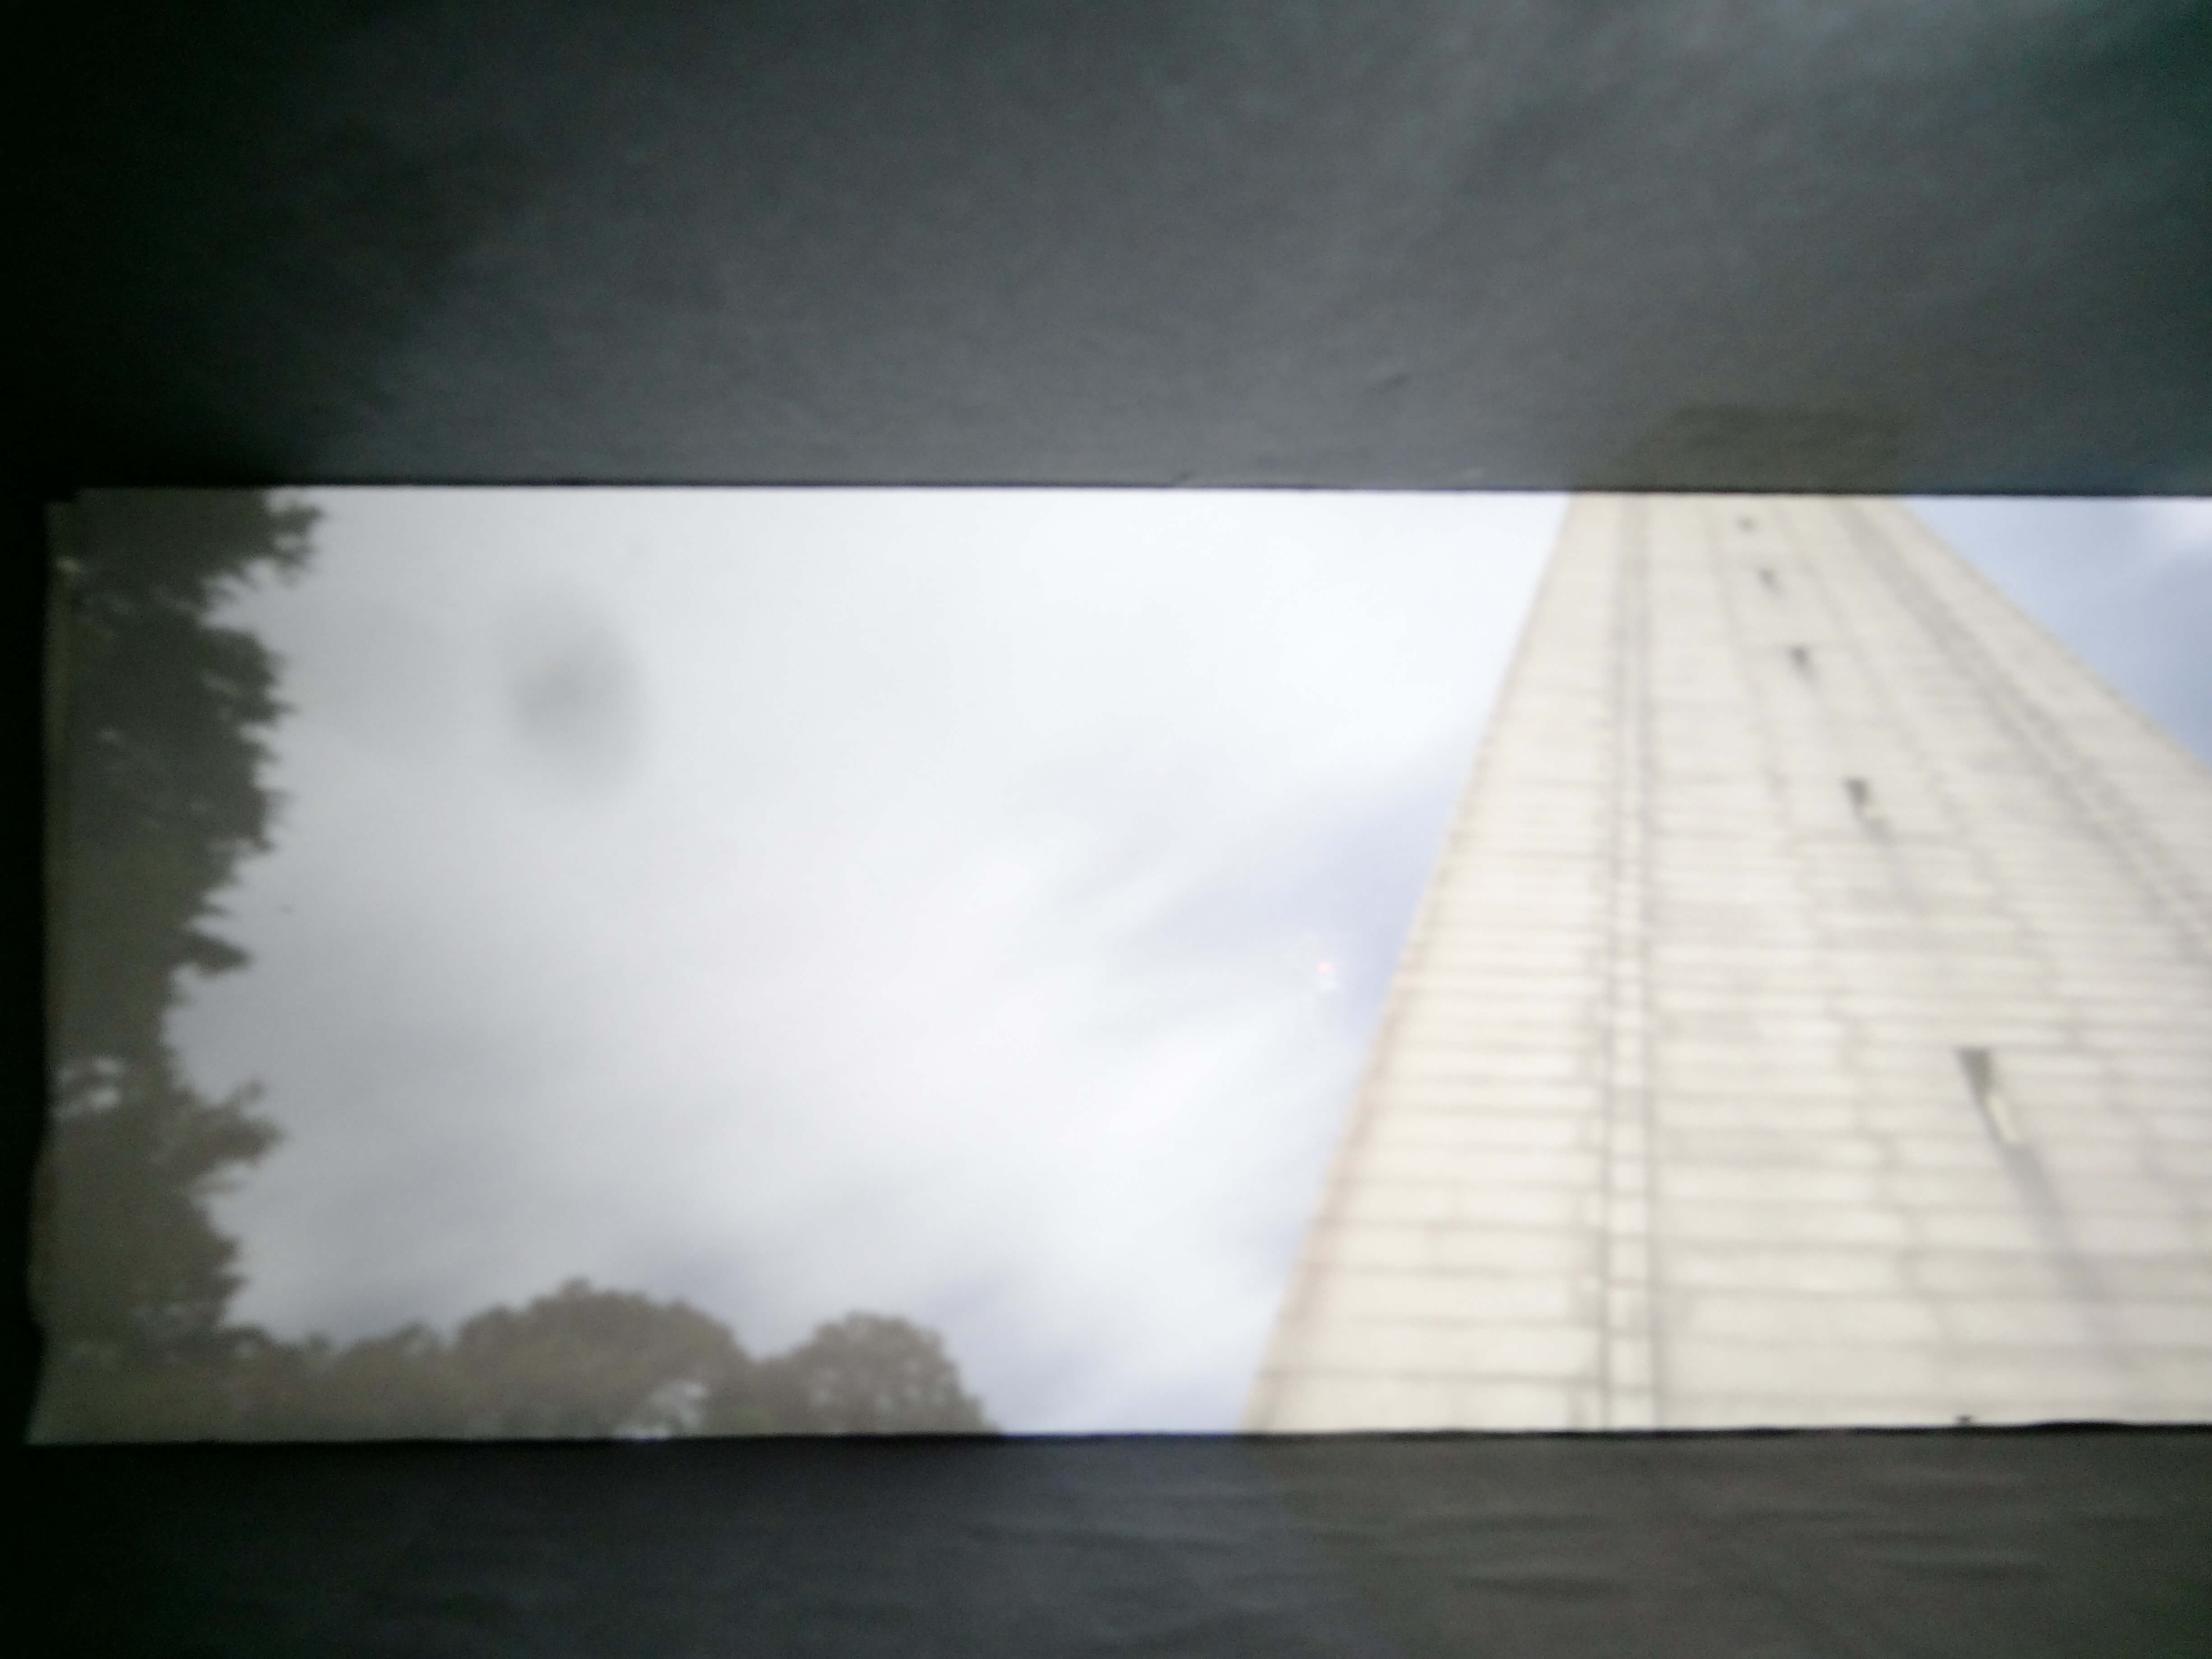
Shot of (most of) the Campanile against the sky
Above images were shot with the following camera settings:
- ISO: 200
- Duration: 30 seconds
- F: 3.2
These images, taken with the 3mm pinhole, turned out much clearer than the ones taken with the 5mm pinhole. We kept ISO rather low at 200, and increased duration of shutter speed to 30 second with hopes that a sharper image would be produced.
0.1mm Pinhole
Time: 11:30am - 1:00pm on Friday
Weather: Sunny
Location: Outside Doe Library / Memorial Glade
Images
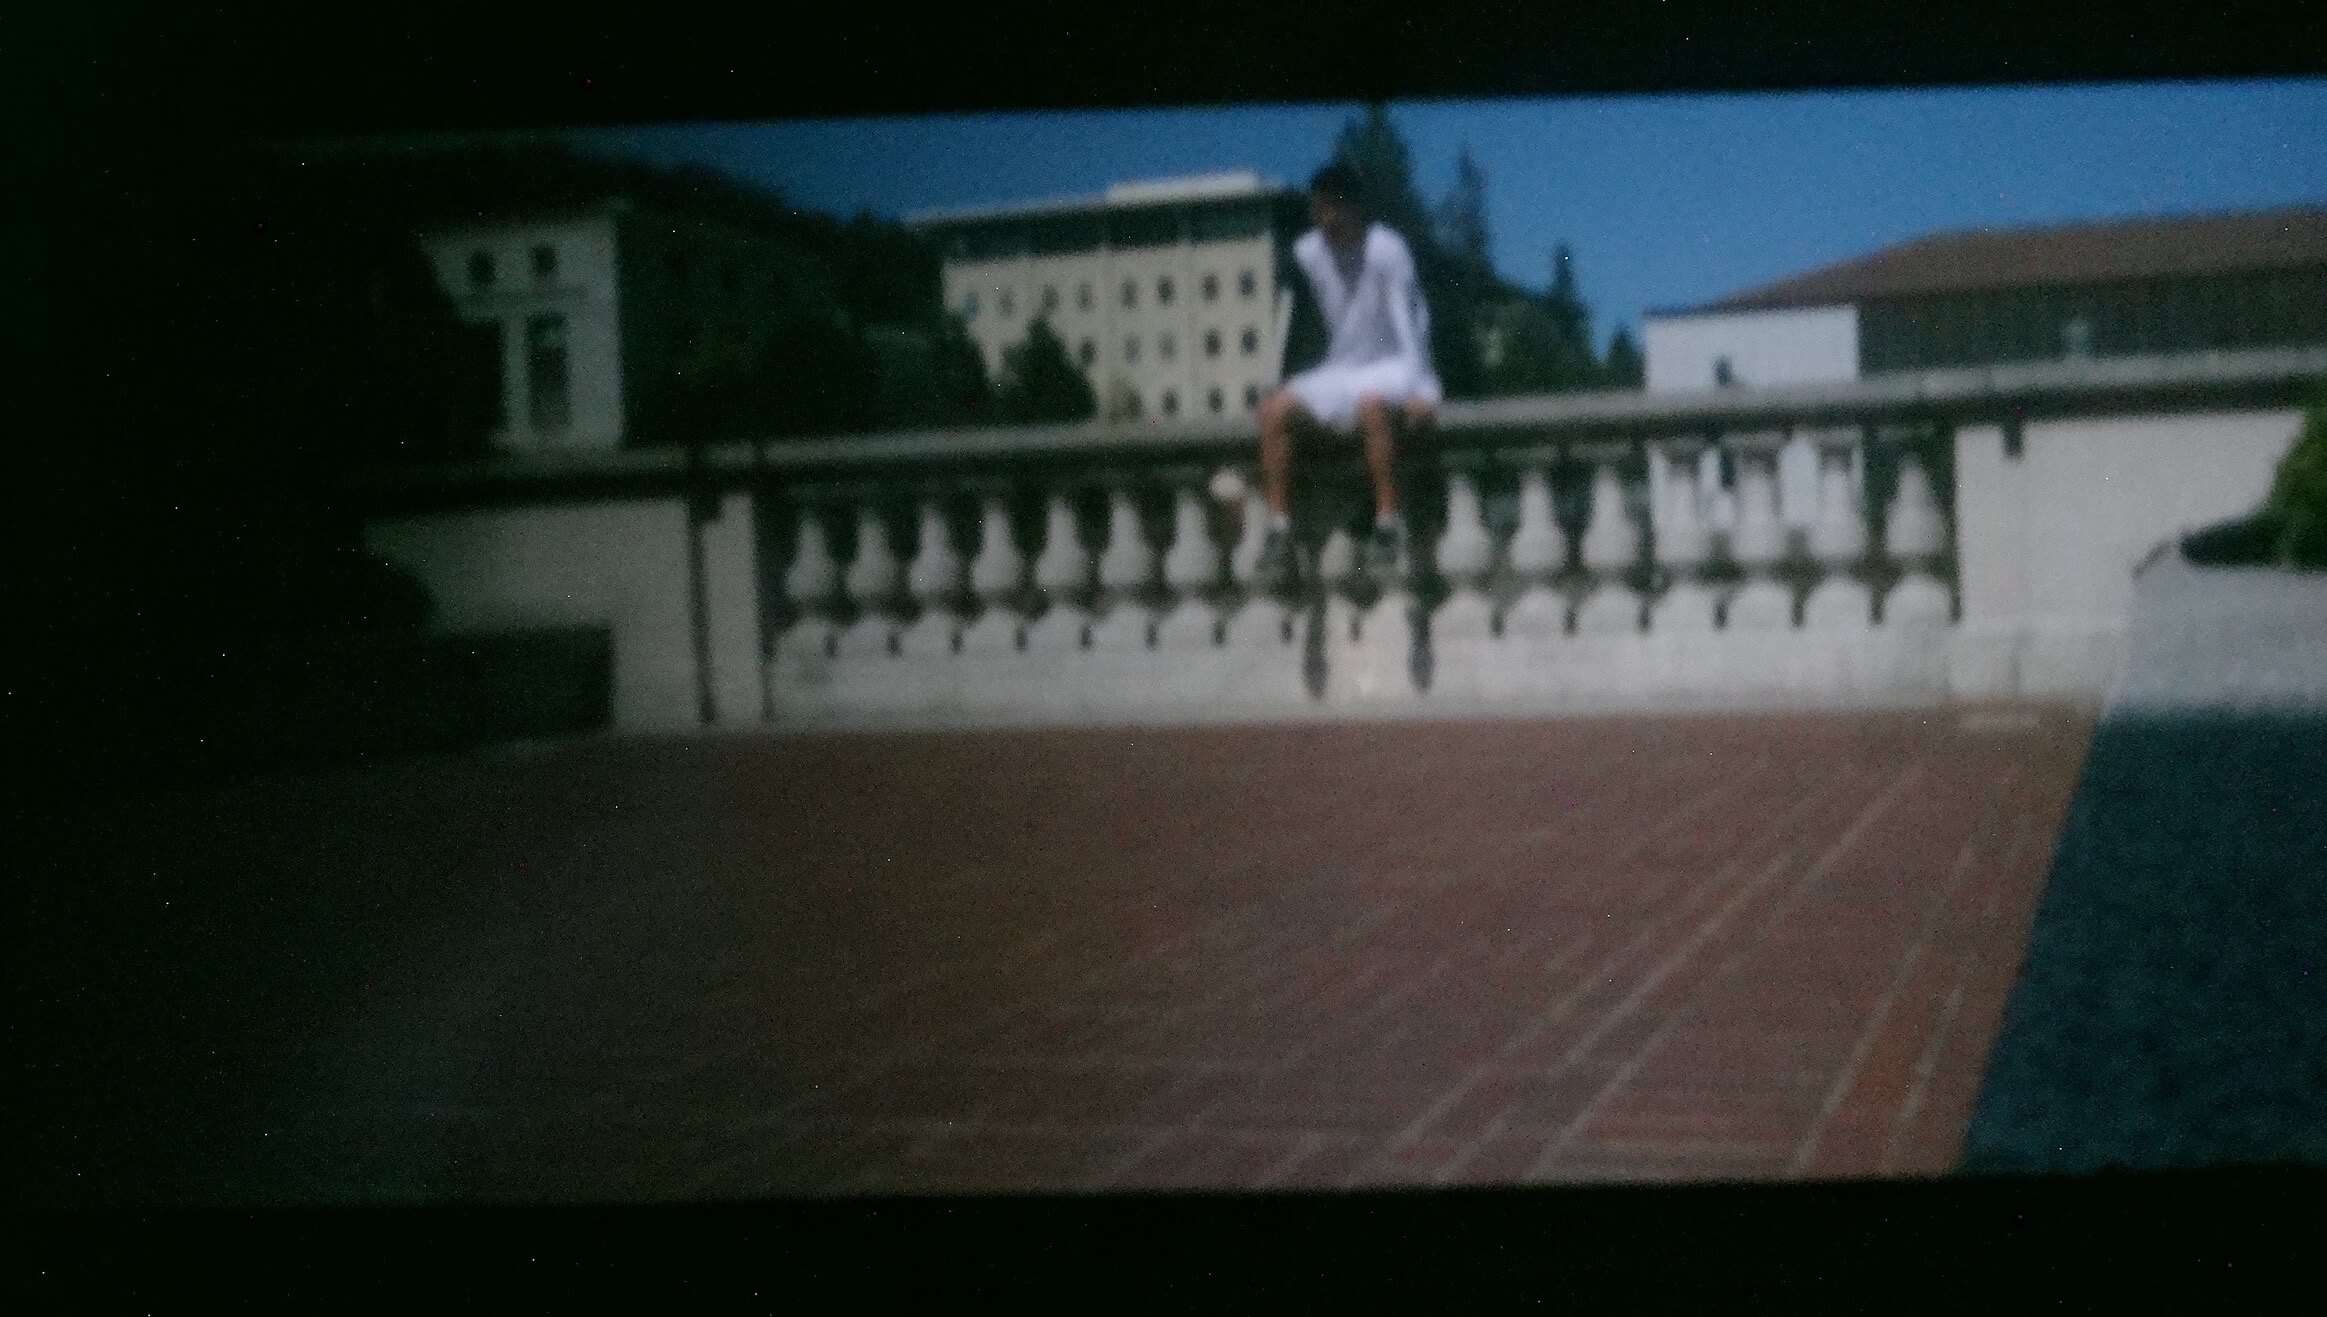
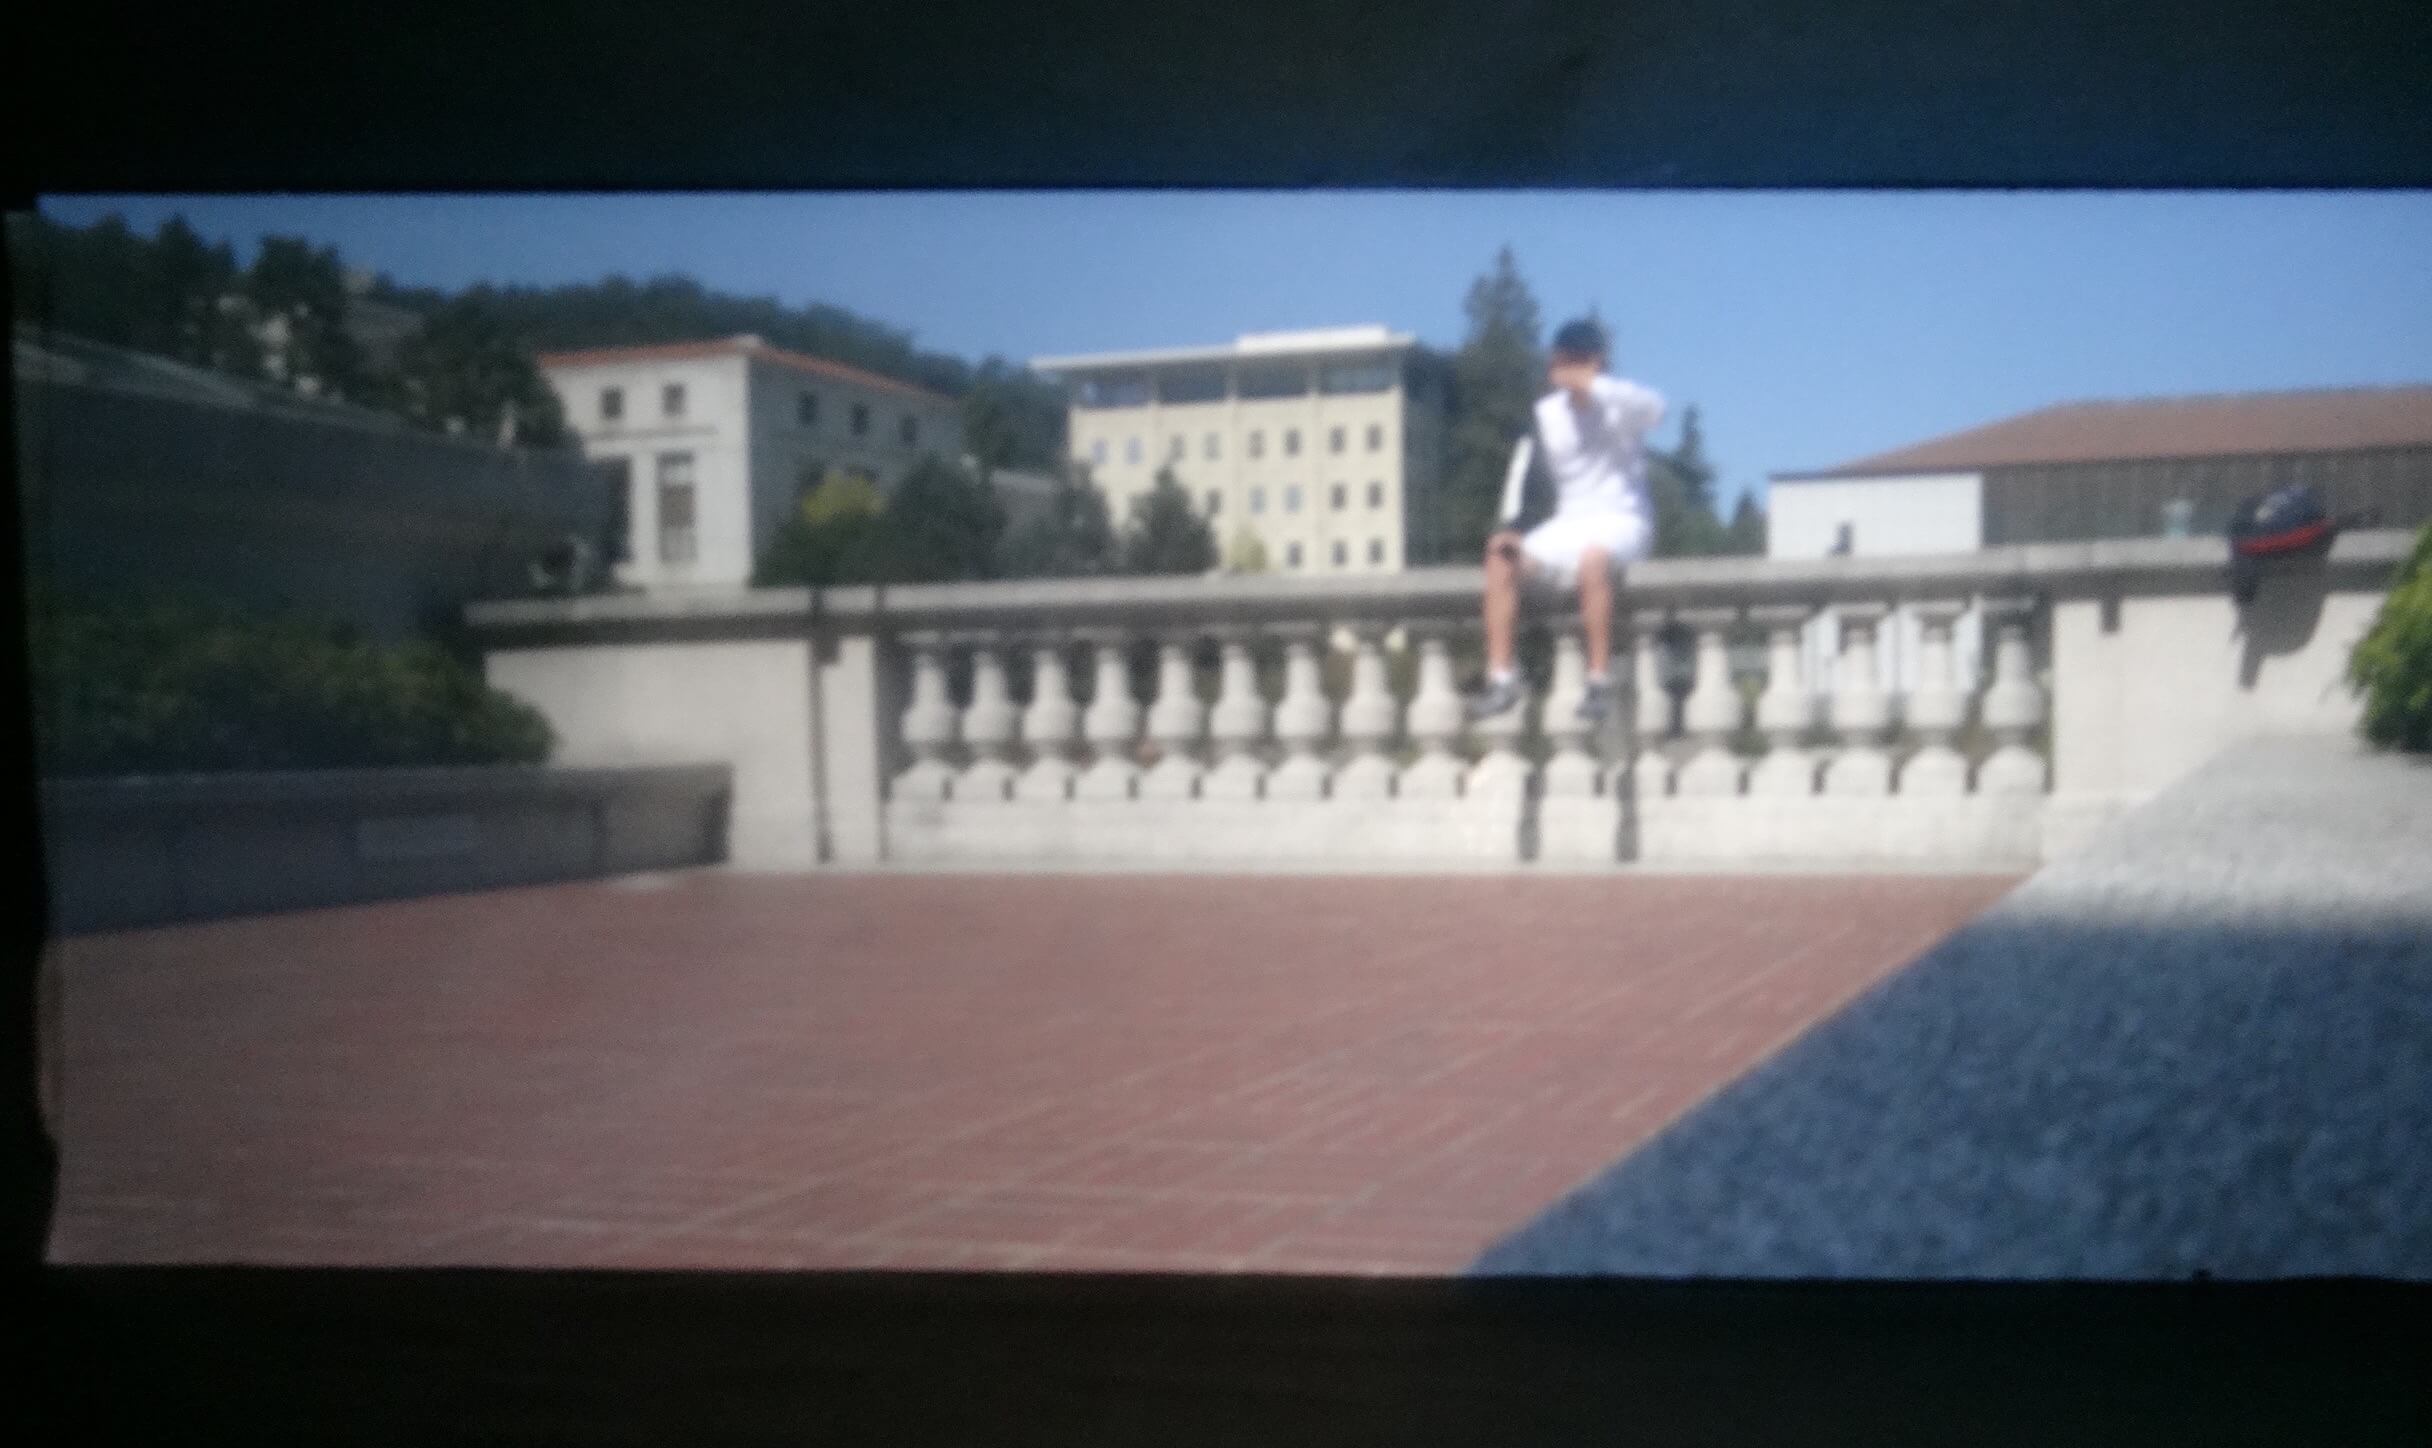
Shot of Calvin sitting on the railings outside Doe
Shot of Evans
Above images were shot with the following camera settings:
- ISO: 400
- Duration: 30 seconds
- F: 3.2
Although the images were somewhat sharper, it was harder for us to achieve images that were as good as the ones taken with 3mm pinhole. Attributing to a smaller pinhole, ISO had to be doubled. We also exposed the image for 30 seconds for stability. However, some of the images still turned out to be rather dark. We tried increasing up a notch to 800, however, the images became too overexposed as seen below.
Overexposed image with ISO 800
Best Pinhole: 3mm
Time: 11:30am - 1:00pm on Friday
Weather: Sunny
Location: Outside Doe Library / Memorial Glade
Images
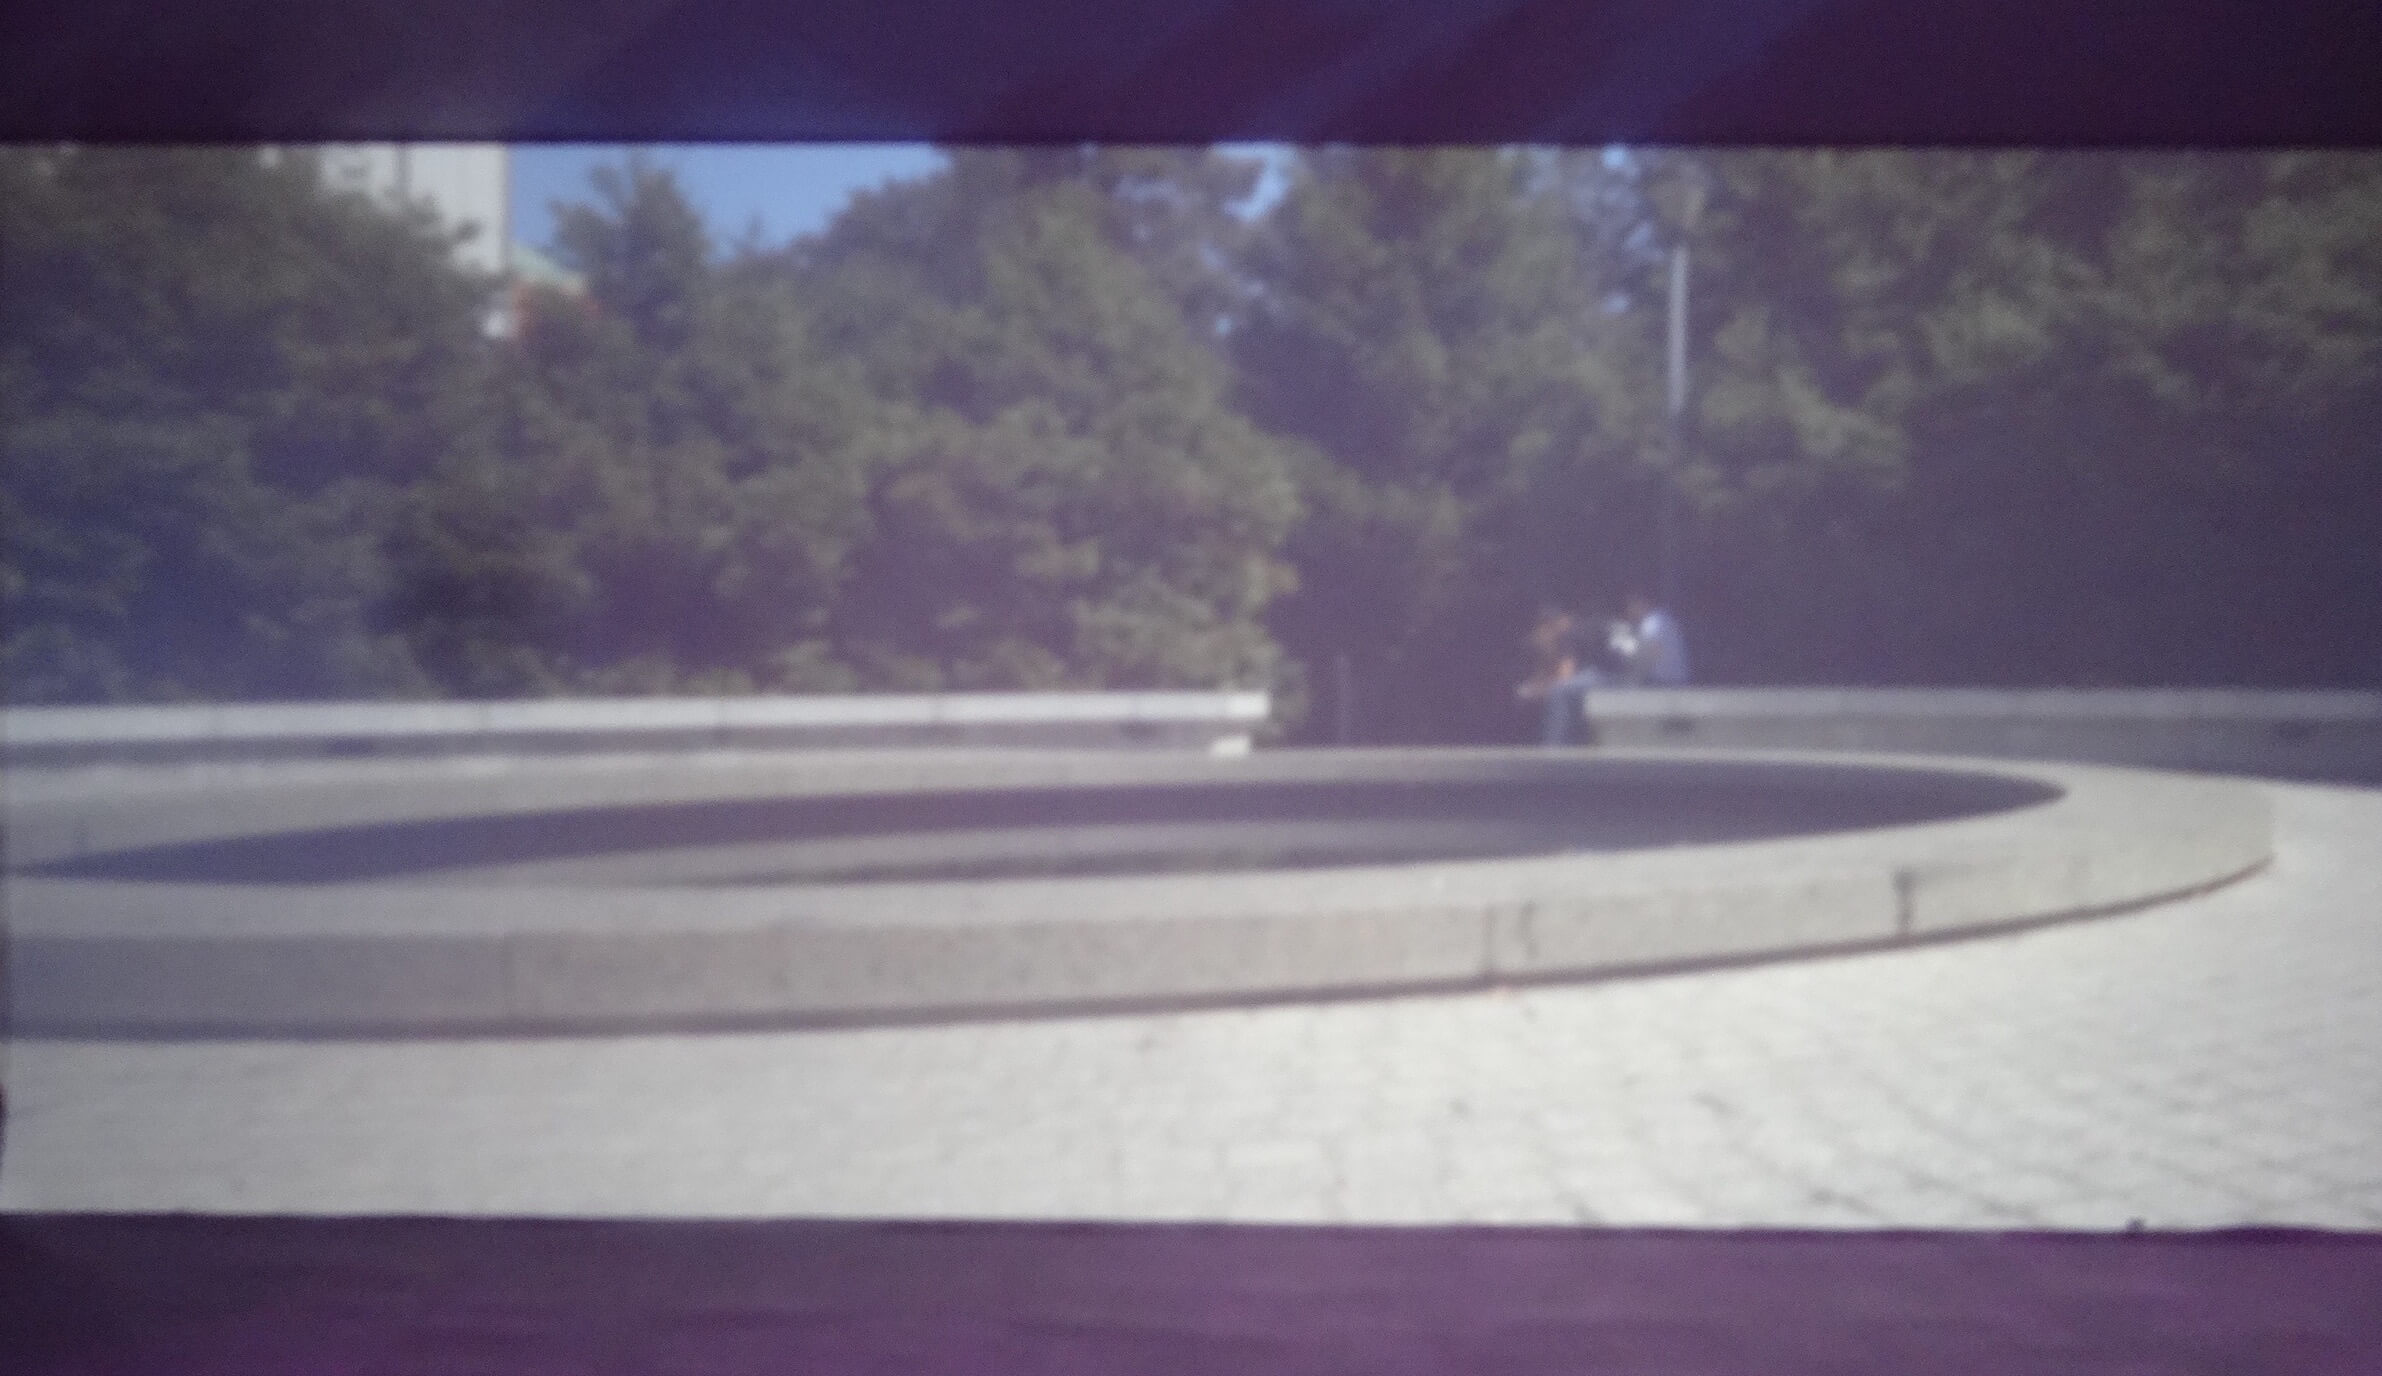
Shot of Calvin with 0.1mm
Shot of Calvin with 3mm
Look at how the images taken with the 3mm pinhole turned out better than the 0.1mm pinhole. The larger pinhole allowed for better exposure of the image, according to our camera's ISO/shutter speeds capability.
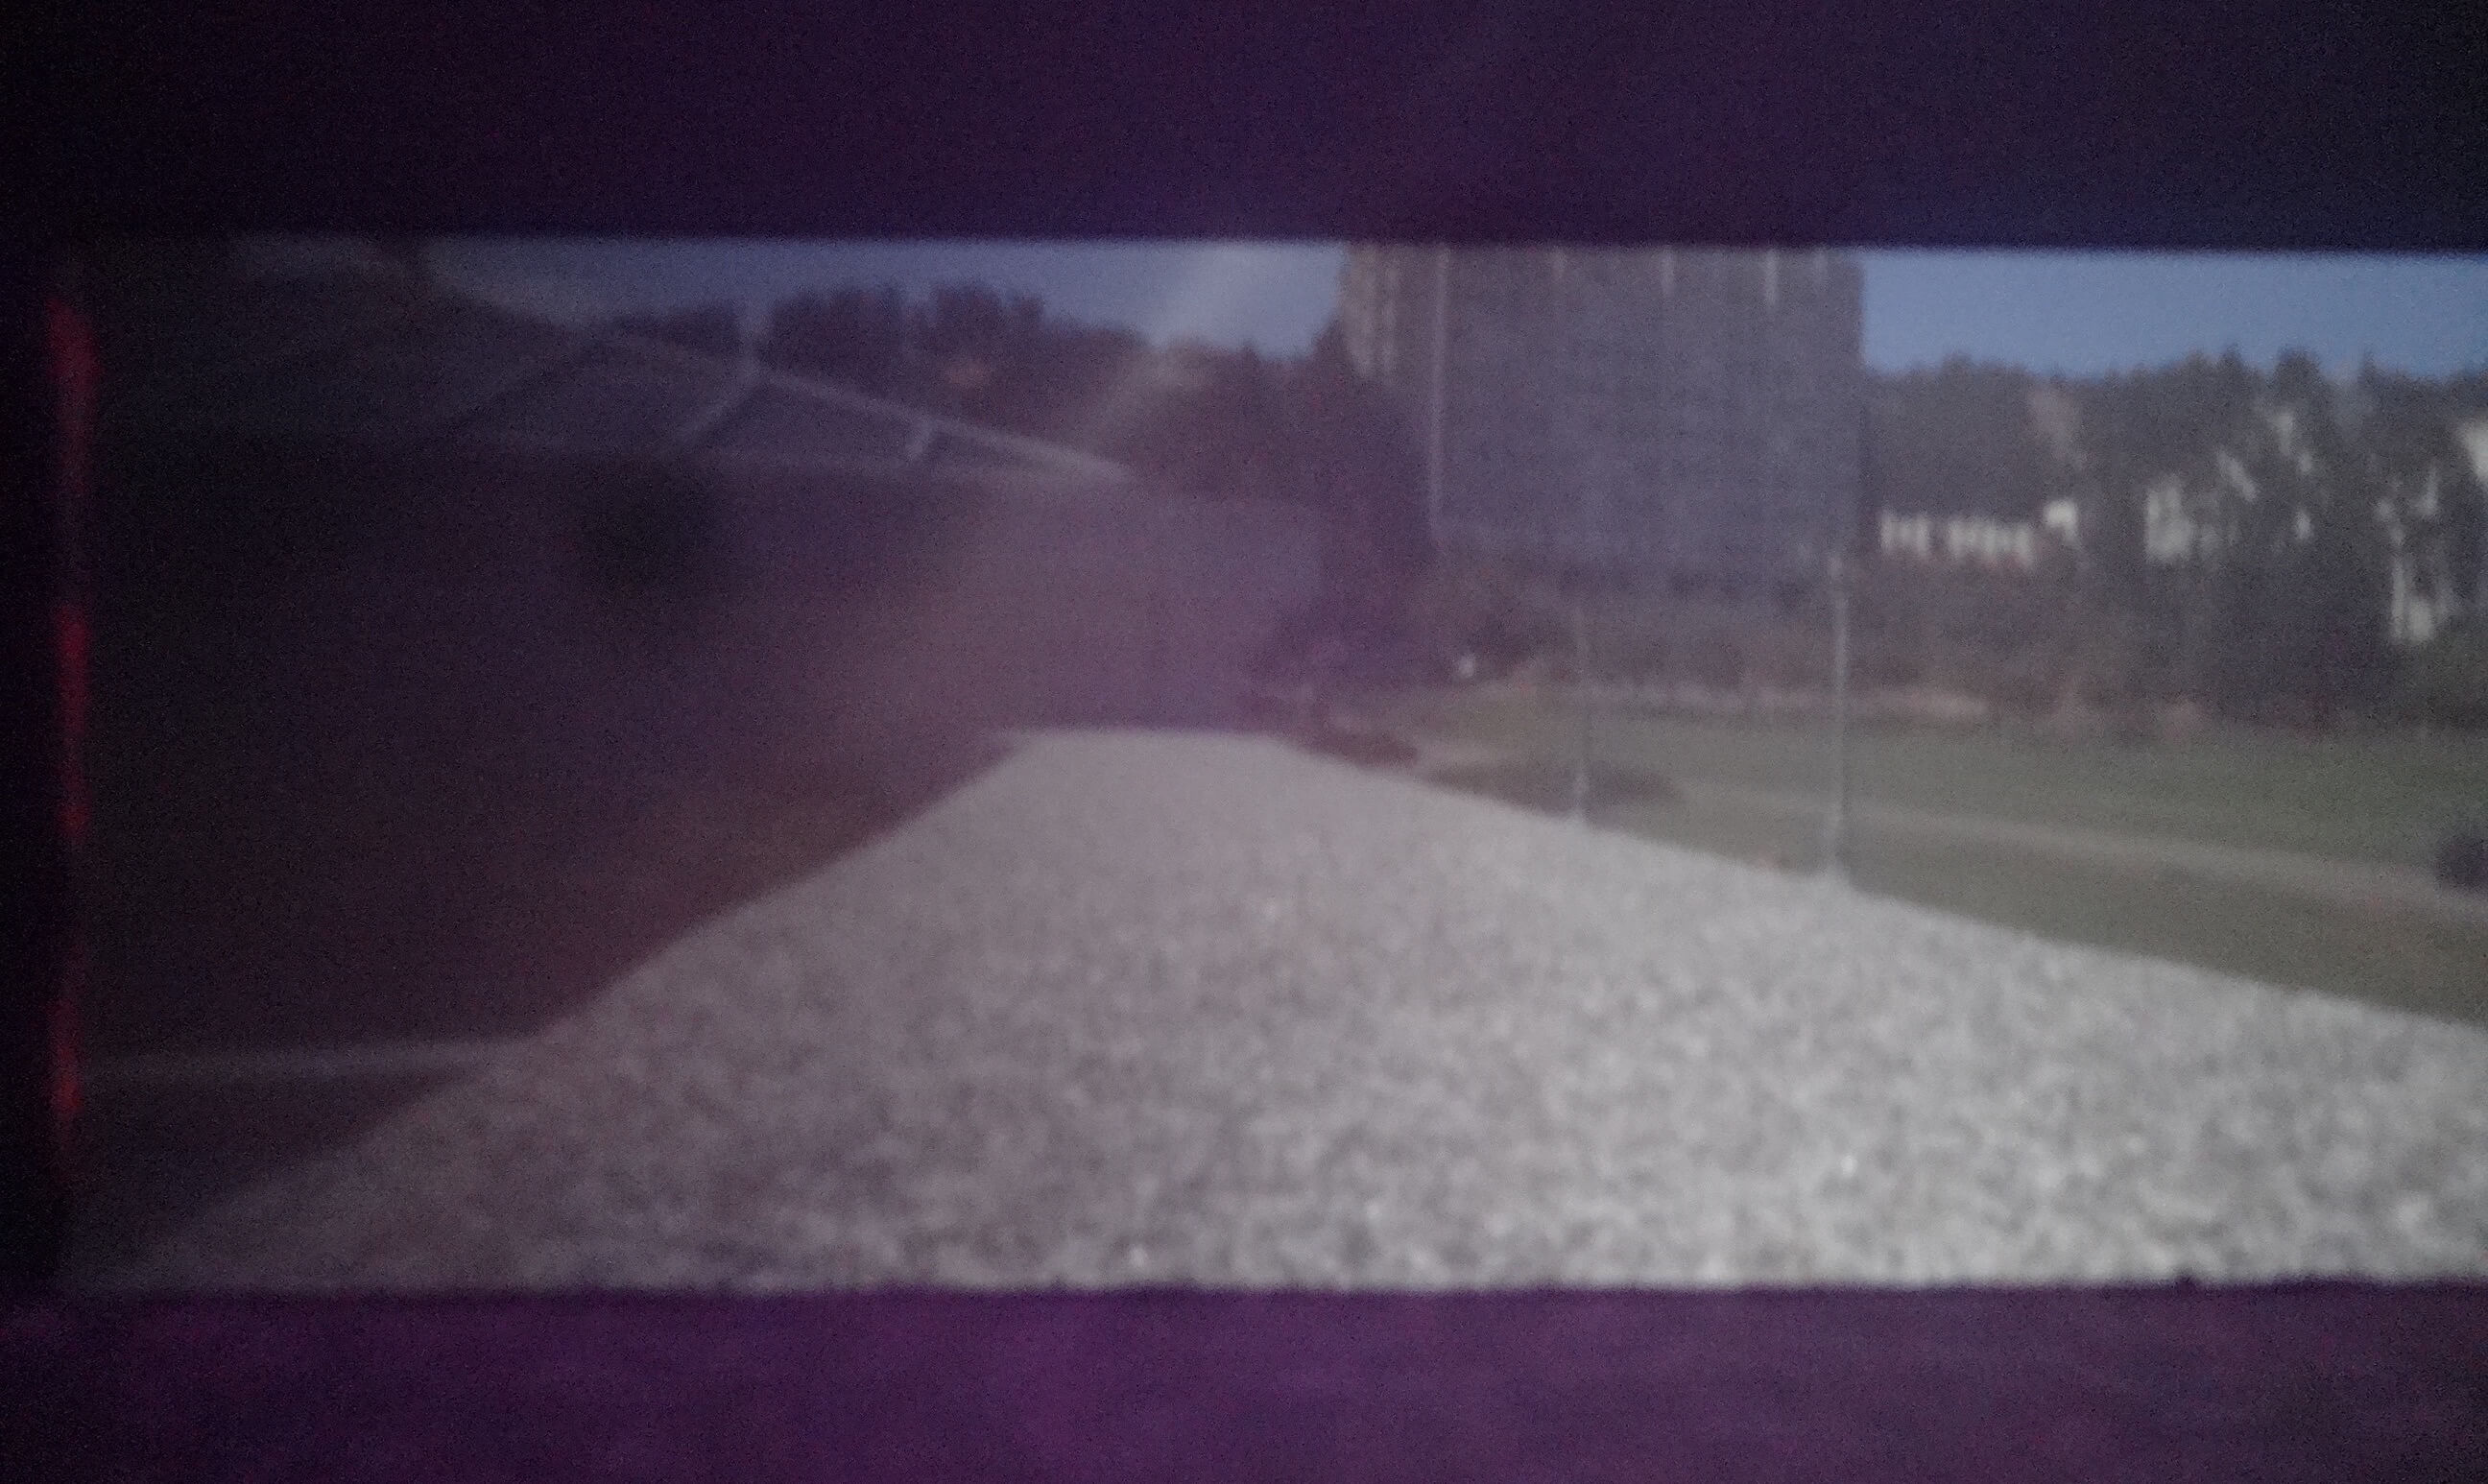
Shot of Fountain
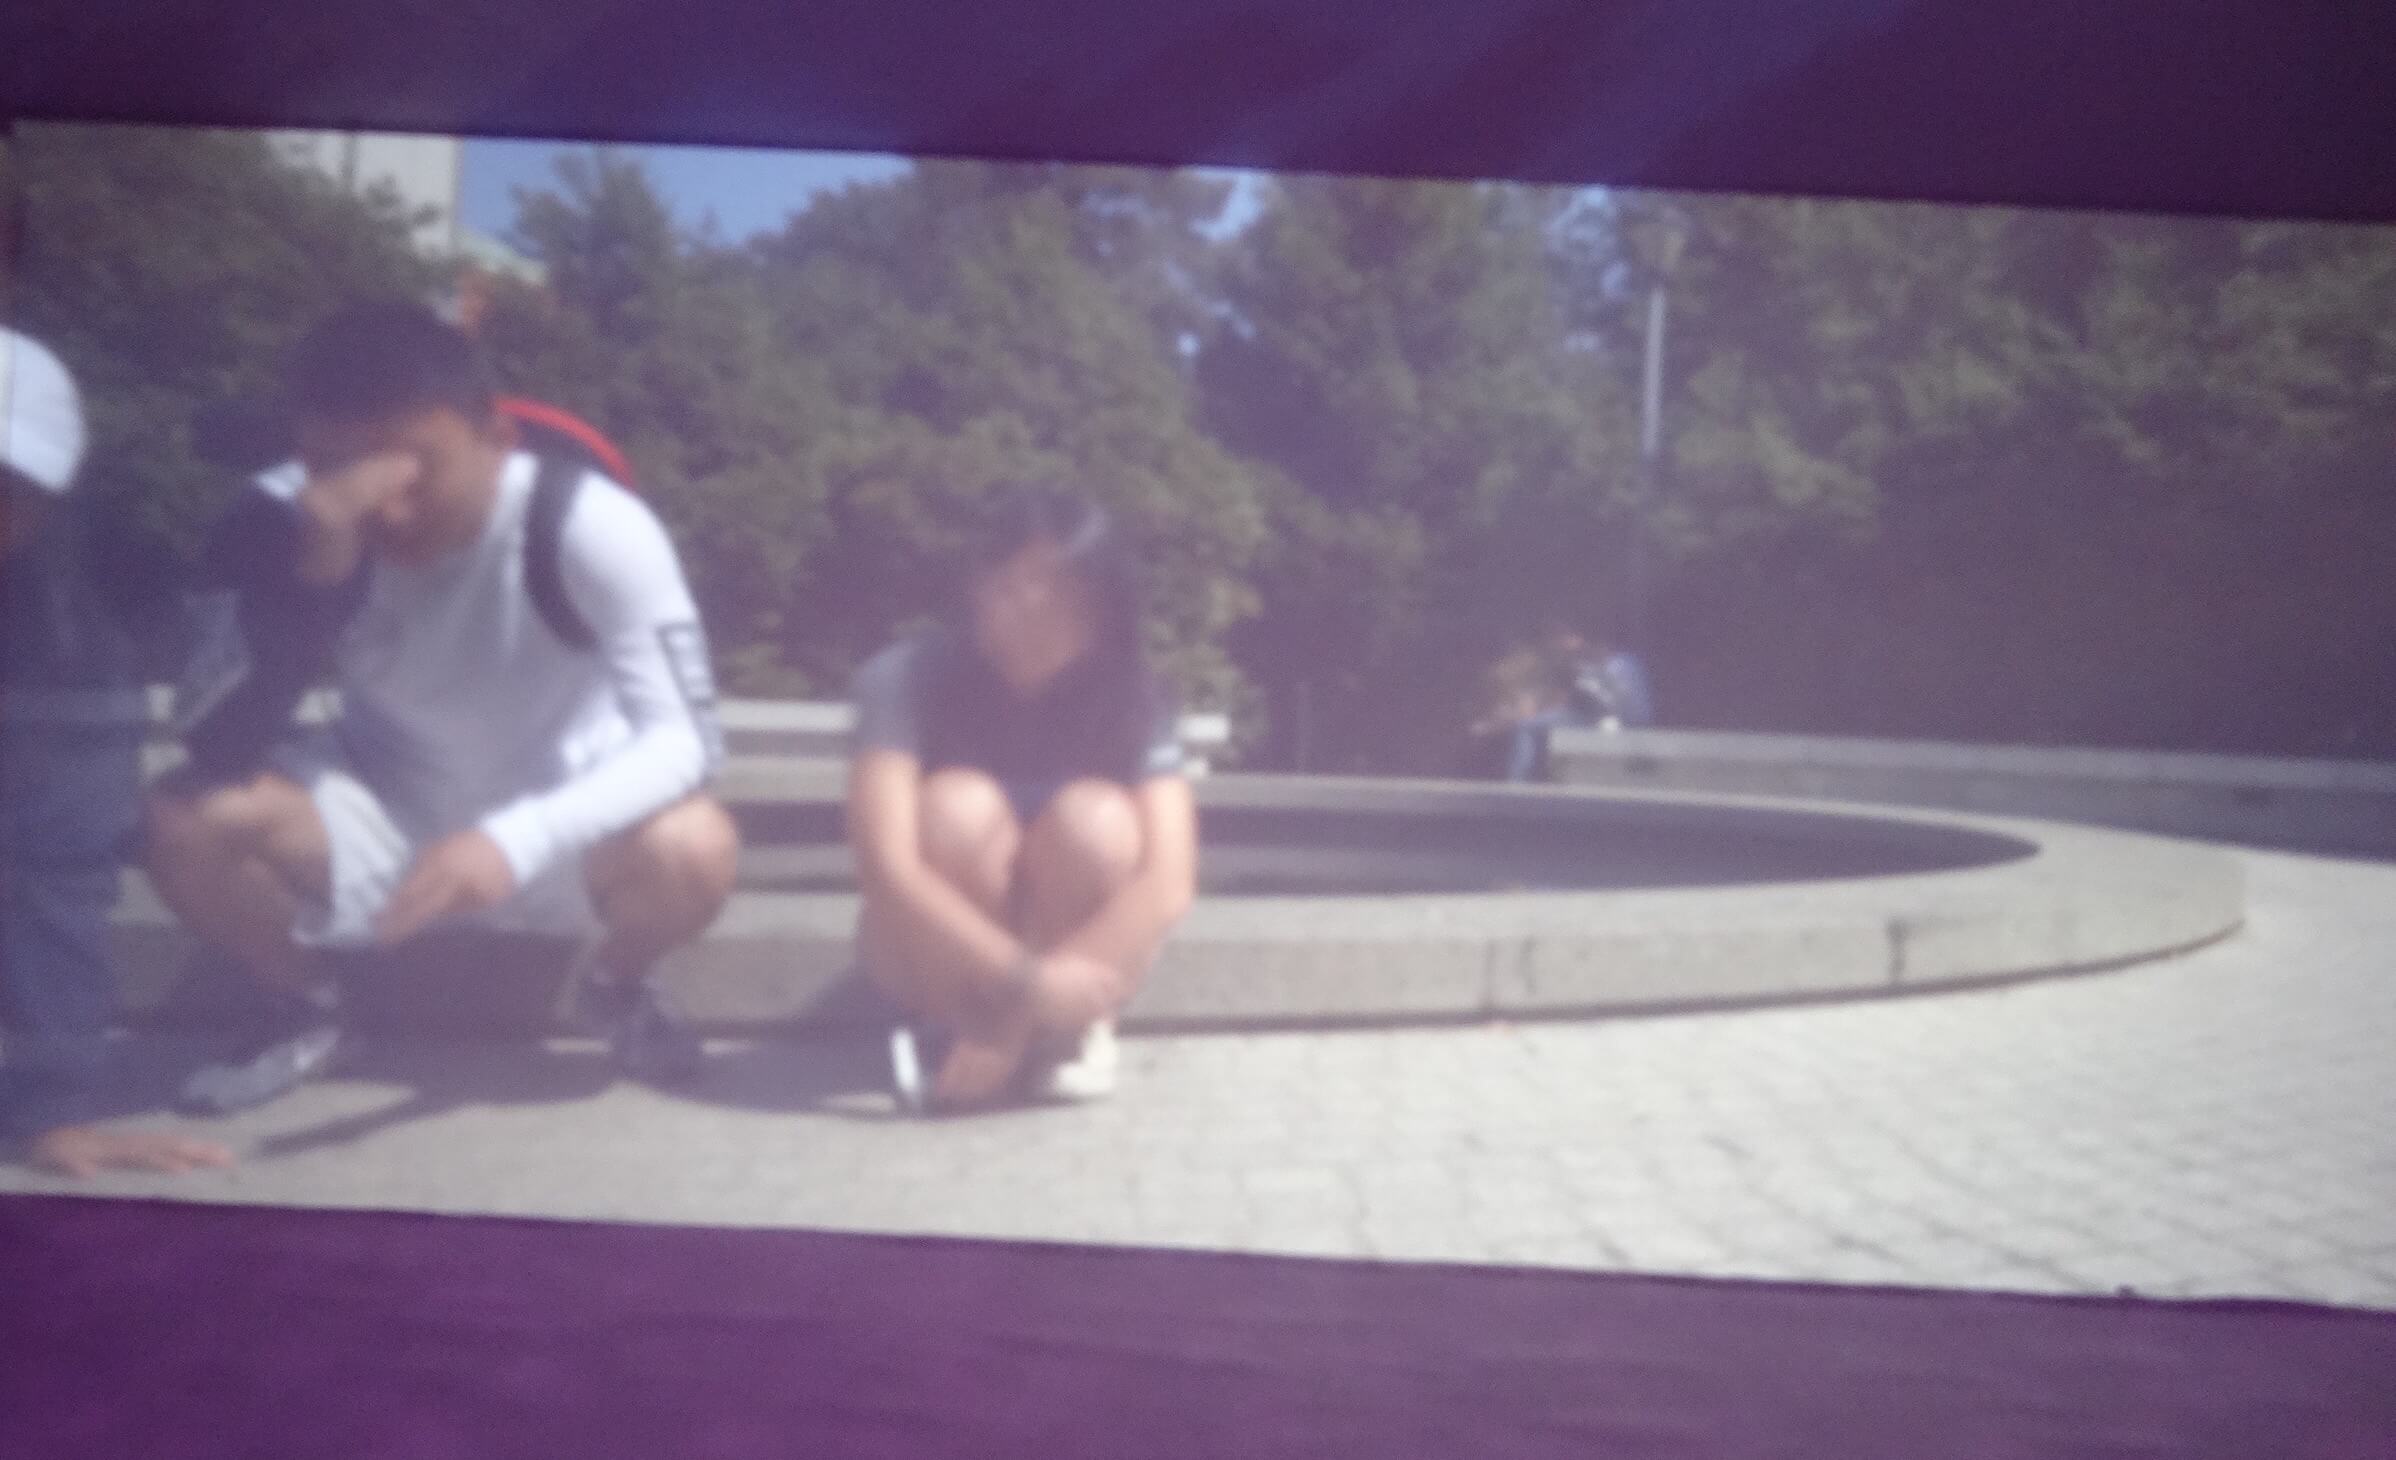
Shot of Vanessa and Calvin by the Fountain
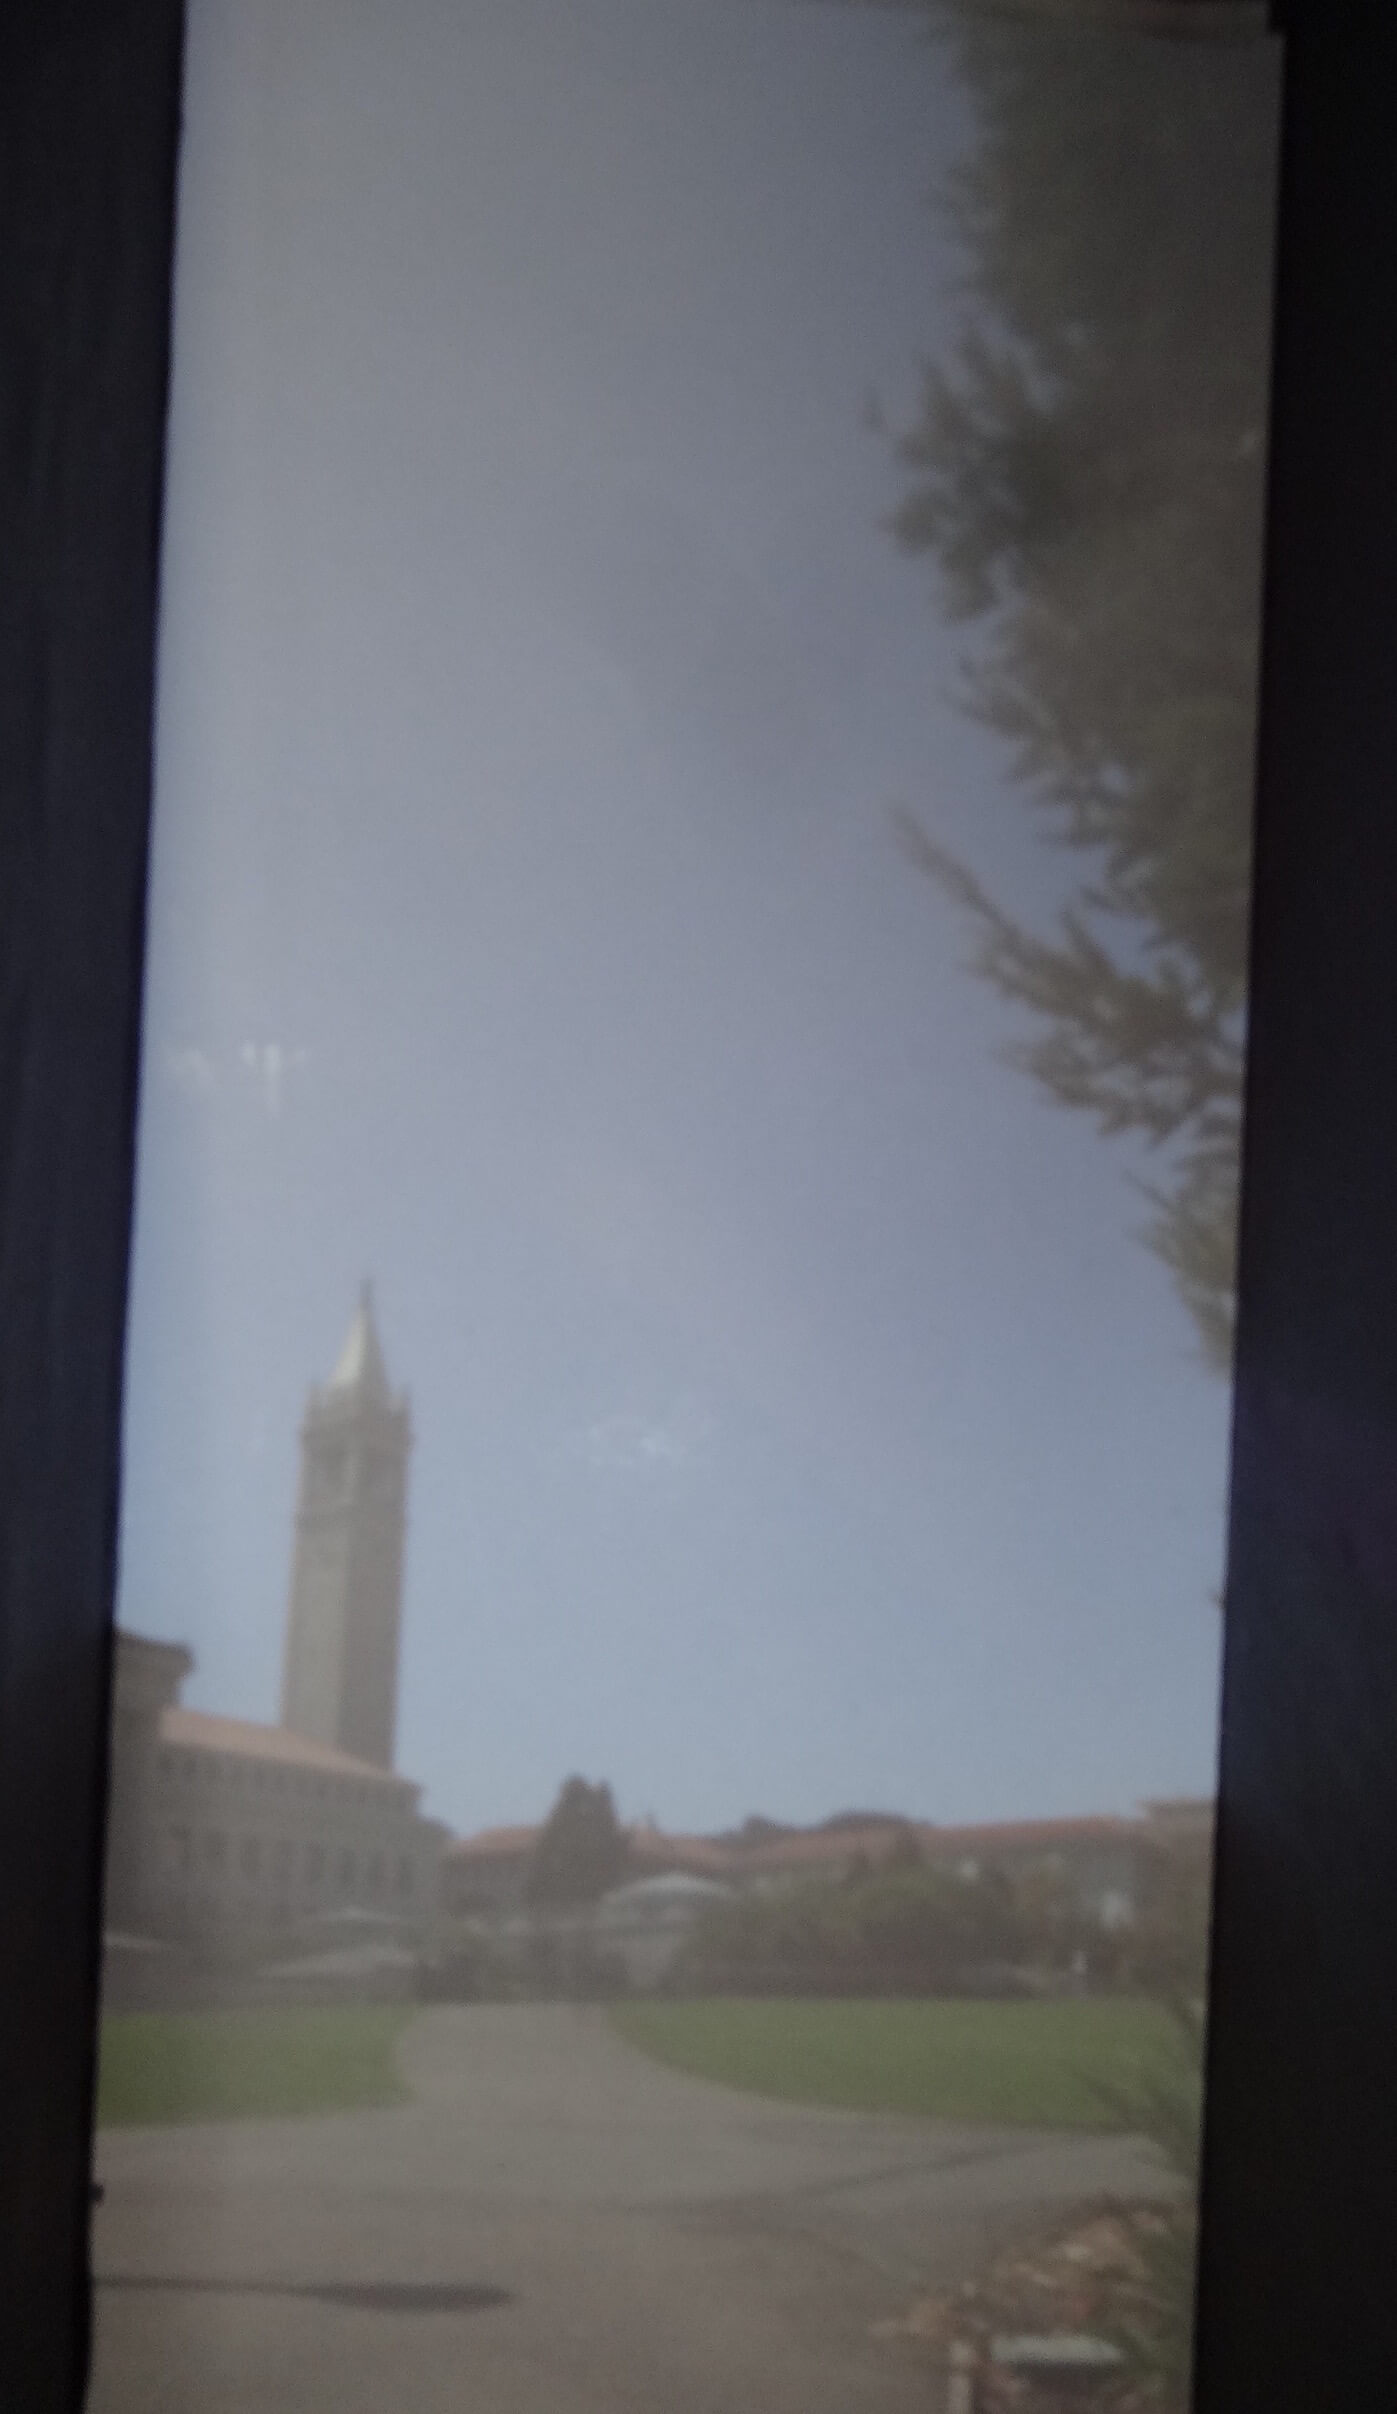
Shot of Campanile
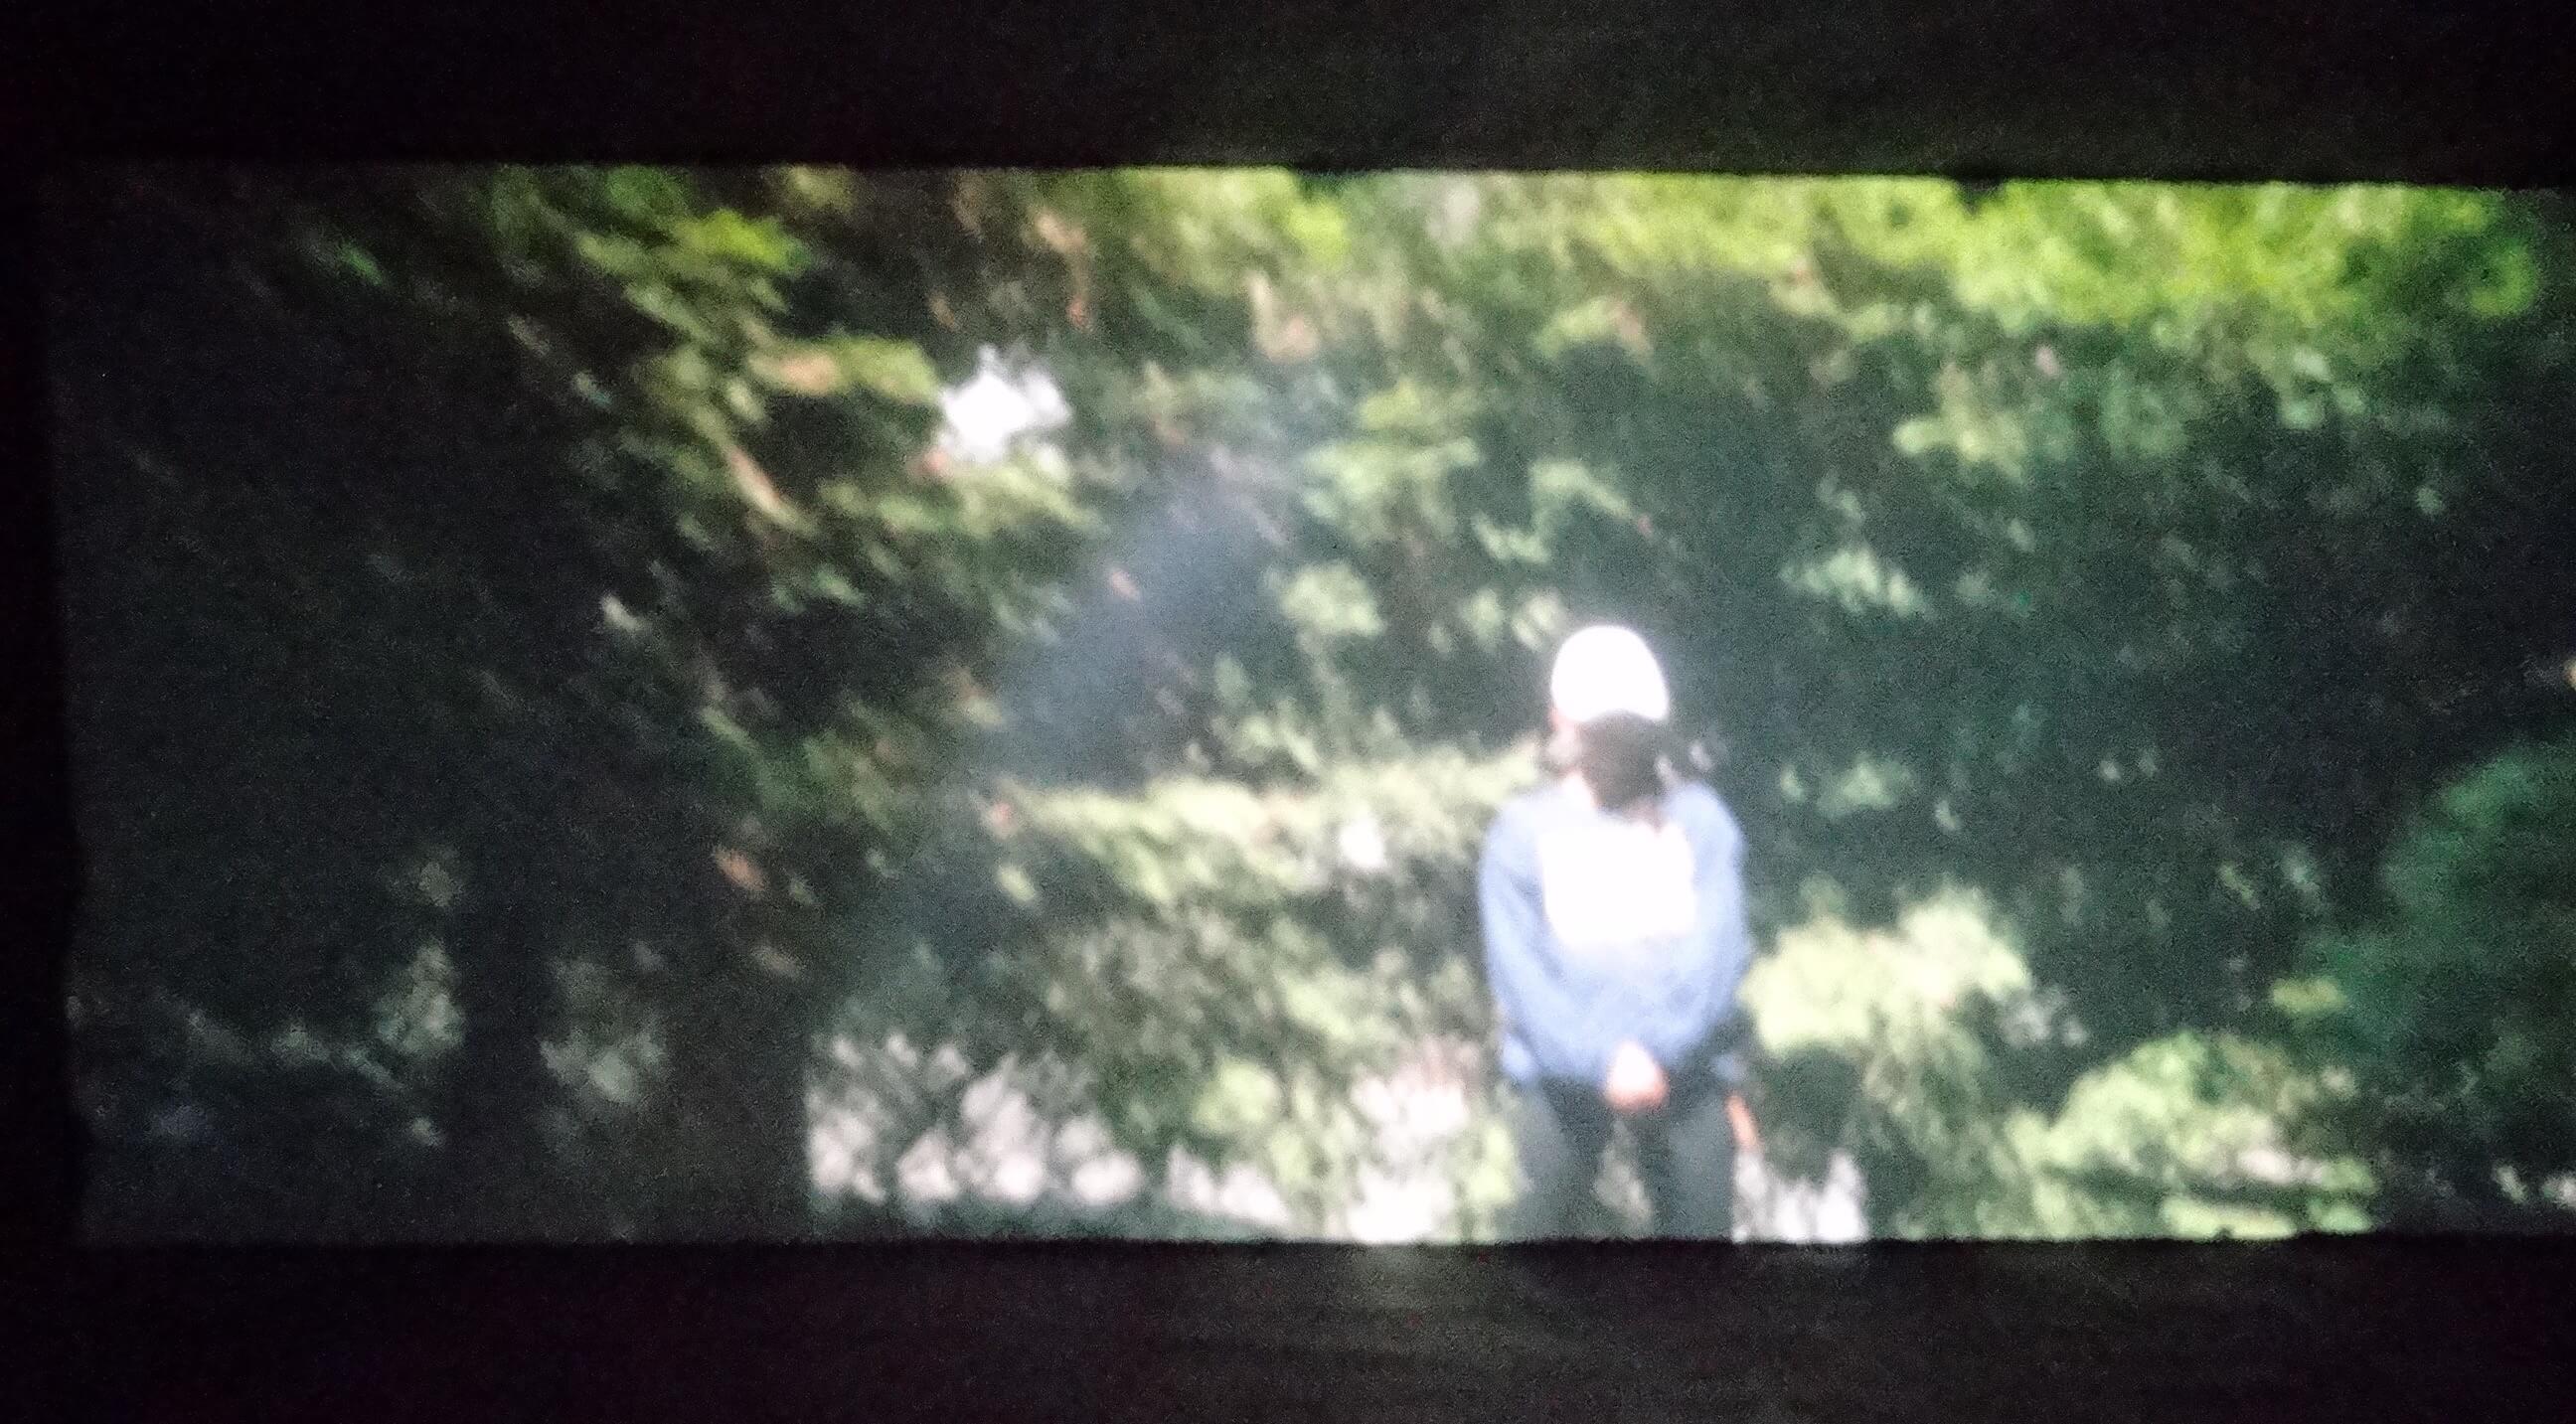
Shot of Helen against leaves
The above 3mm images were taken with the following settings:
- ISO: 200
- Duration: 30 seconds
- F: 3.2
We tried a vertical shot to capture the entire length of the campanile. The image of Helen was captured using much higher ISO of 1600, and shutter speed of 15 seconds. The settings were tweaked because the area she was standing in was mostly shaded except for some light filtering through the leaves.
Conclusion
In conclusion, the smaller the pinhole, the sharper the projected image is. A larger pinhole results in a larger 'circle of confusion' -- This means that a single point of the image can be projected on multiple points (a wider range) on the screen. The diagram below can help in explaining this. However, at the same time, with a smaller pinhole, less light is able to pass through, projecting a darker image.
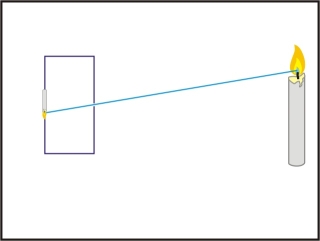
Light passes through the small pinhole as a single point source
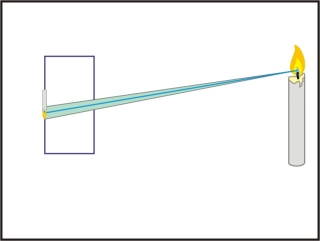
Light passes through a large pinhole creating a range of points on the screen