
The camera obscura, colloquially referred to as a pinhole camera, is essentially a glorified box into which light can enter the through only a single small hole on its exterior. This single entry point prevents extraneous light interference, and so any light that is reflected off of real-world objects and through the pinhole is directed to a screen opposite the pinhole, forming an inverted image. It is difficult to see this image with the naked eye, but using a digital camera with long exposure time allows it to be captured. In this project, we built such a camera and experimented with different pinhole sizes; keep reading to view our showcased results.
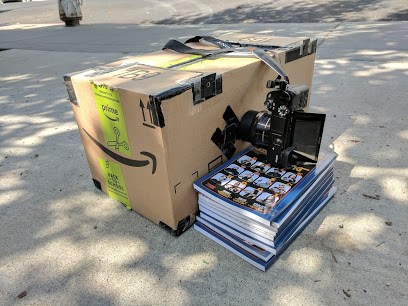
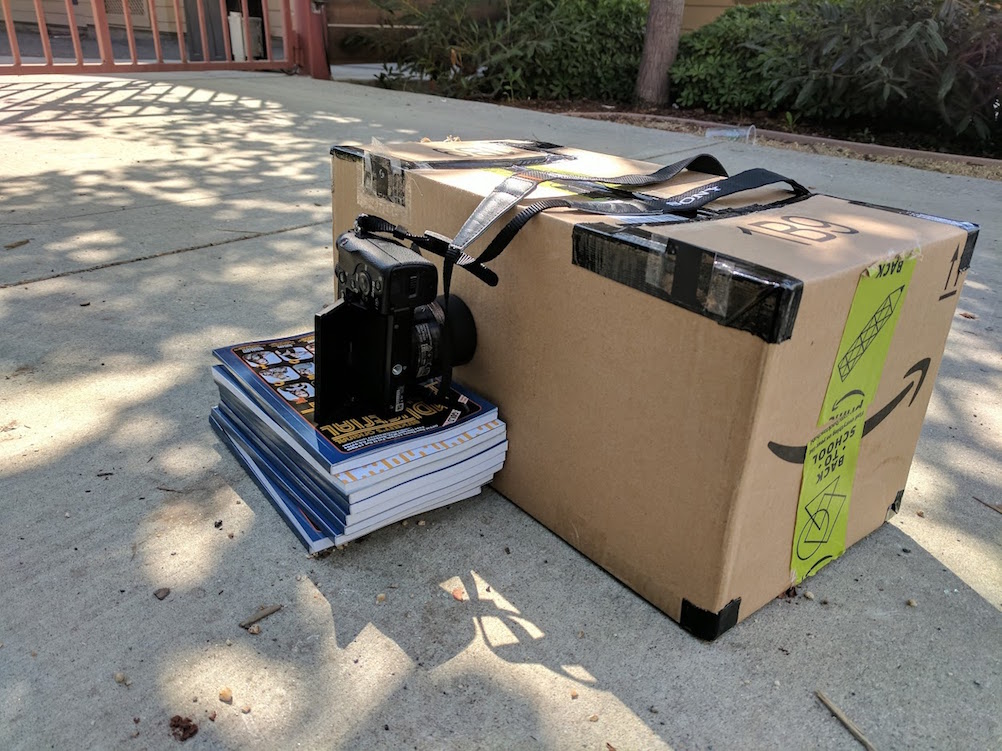
To construct our pinhole camera, we began with a cardboard Amazon box. We lined the walls of the interior with black poster paper and using black duct tape as an adhesive. Then, we cut a small hole and filled it with interchangeable black paper containing the pinholes of various sizes. For our screen, we attached two standard sheets of white paper to a size that covered the side of the box opposite the pinhole, and sealed all of the seams on the box with more opaque black tape. Finally, we cut a circular hole into which to insert the camera for capturing images. We ended up not having to tape the camera to the box since the hole for the camera was cut in such a way to be a very snug fit; it didn't allow in any extraneous light. To support the camera and make it level with the hole in the box, we used a stack of books. The result of our creation in action taking pictures is shown below:

We experimented with various pinhole sizes: 0.1mm, 3mm, and 5mm, pictured below: Note that if we follow Jose Petval's formula for computing the optimal pinhole size, we get the following optimal pinhole diameter:

Above, f refers to focal length, the distance between the pinhole and the screen (measured to be 230 mm) and λ refers to the wavelength of visible light (known to be around 550 nm). We didn't try using this diameter, but as you'll observe below, the 0.1 mm pinhole seems to perform quite well indeed.
For each photograph, we had an exposure time of 30 seconds. For the 3 mm and 5 mm pinholes, we left the ISO setting on auto, whereas for the 0.1 mm pinhole, we set the ISO to 12800.
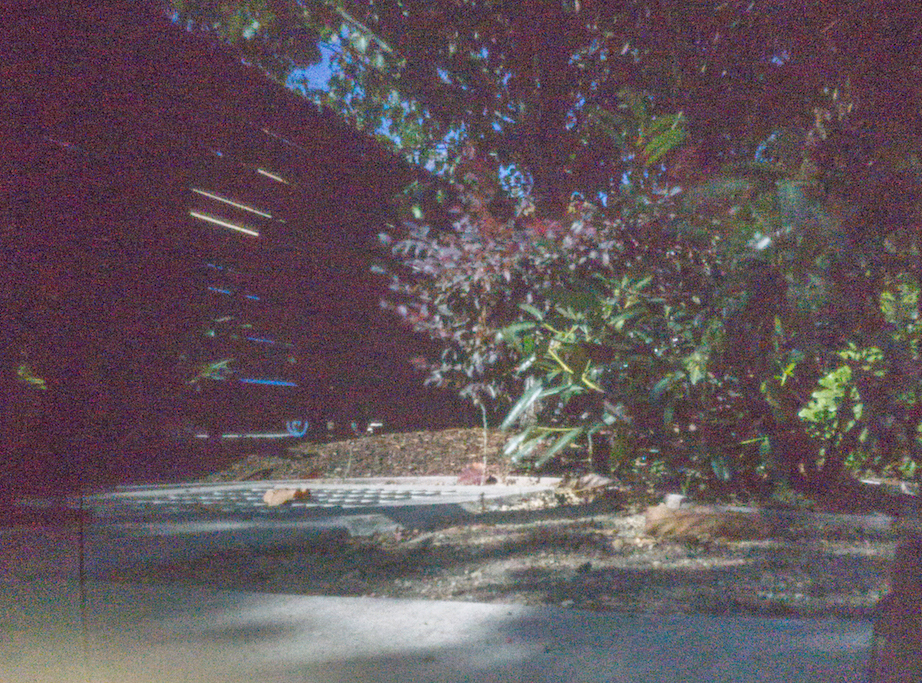
Below are photographs taken using our "camera obscura", sorted by the different pinhole sizes we used.
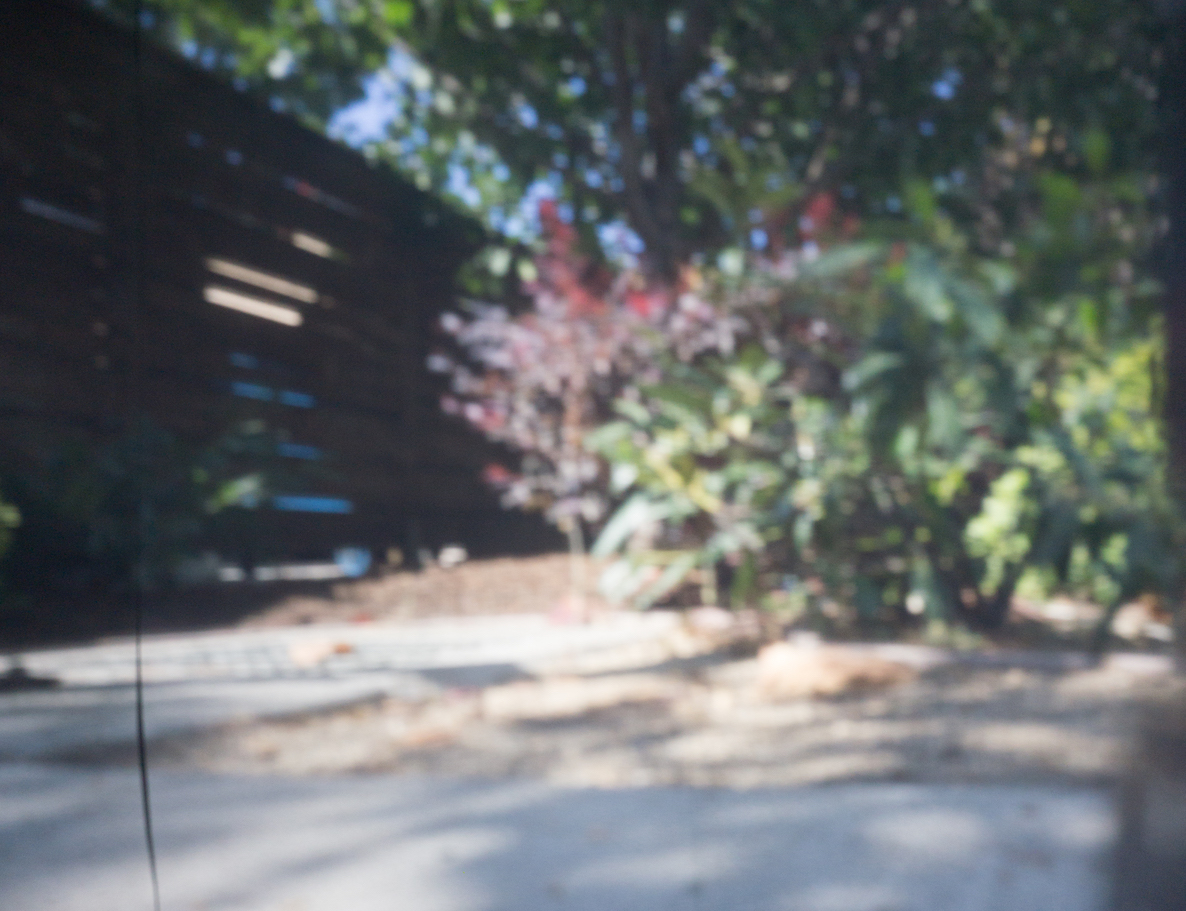
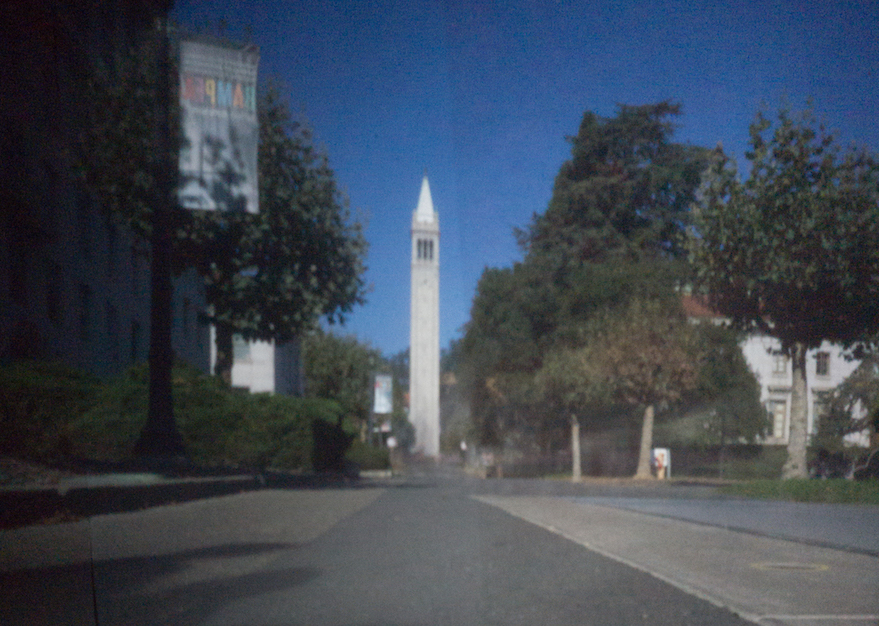
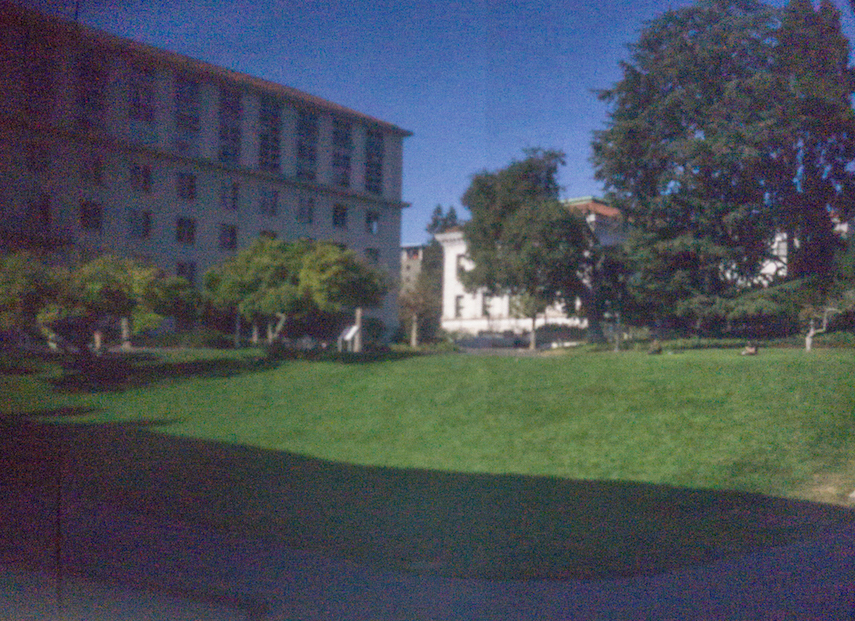
0.1 mm diameter:

3 mm diameter:
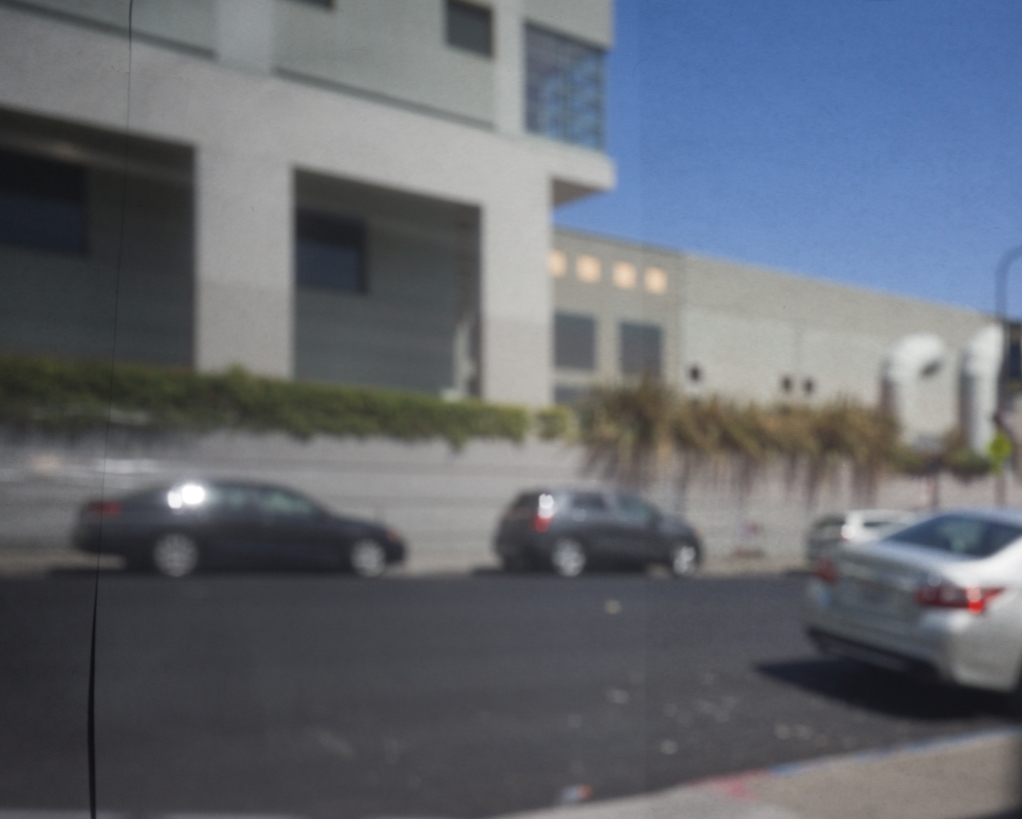
5 mm diameter:

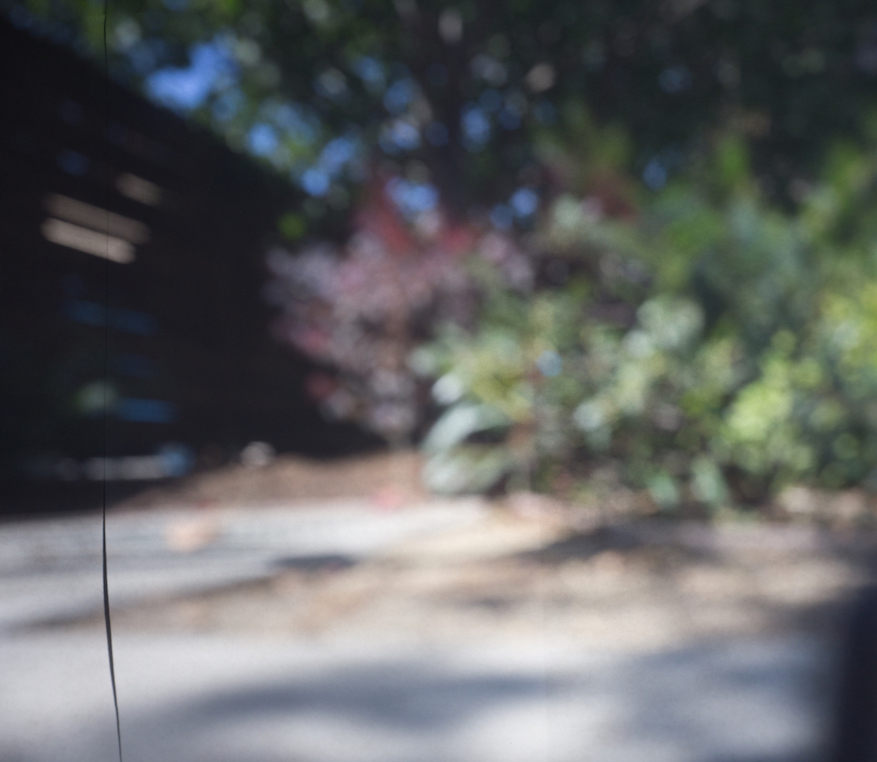
The image quality for the pictures taken with the 0.1 mm pinhole are clearly markedly better than those of the other two. This makes intuitive sense, as this size is much closer to the optimal diameter computed above than either 3 mm or 5 mm. Notice how as we increase the pinhole size, the image focus worsens. This is because the larger pinhole size allows the entering light to spread out over a wider distance, hence worsening the image quality.
Here are four additional photographs, taken with the best of our three pinhole sizes (0.1 mm):


Aren't they aesthetic?
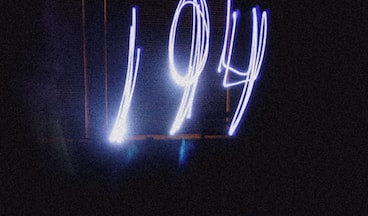
We also experimented with light painting, done by moving a light source during a long exposure photograph. Our (awesome-looking) results are displayed below:


Overall, this project was a really fun learning experience, providing a first-hand way to learn about how even the smallest perturbations can severely affect image quality and that light interference is a really difficult thing to avoid. The project was really fun, and we're both excited to say we've now built our very own functional camera!