Overview
This project is broken up into two parts. The first part is to combine two images together, by filtering the images into their high and low frequency components. The second part is to splice part of one image into the other, an using regression to make the transition as seamless as possible.
Part 1.1 Warmup
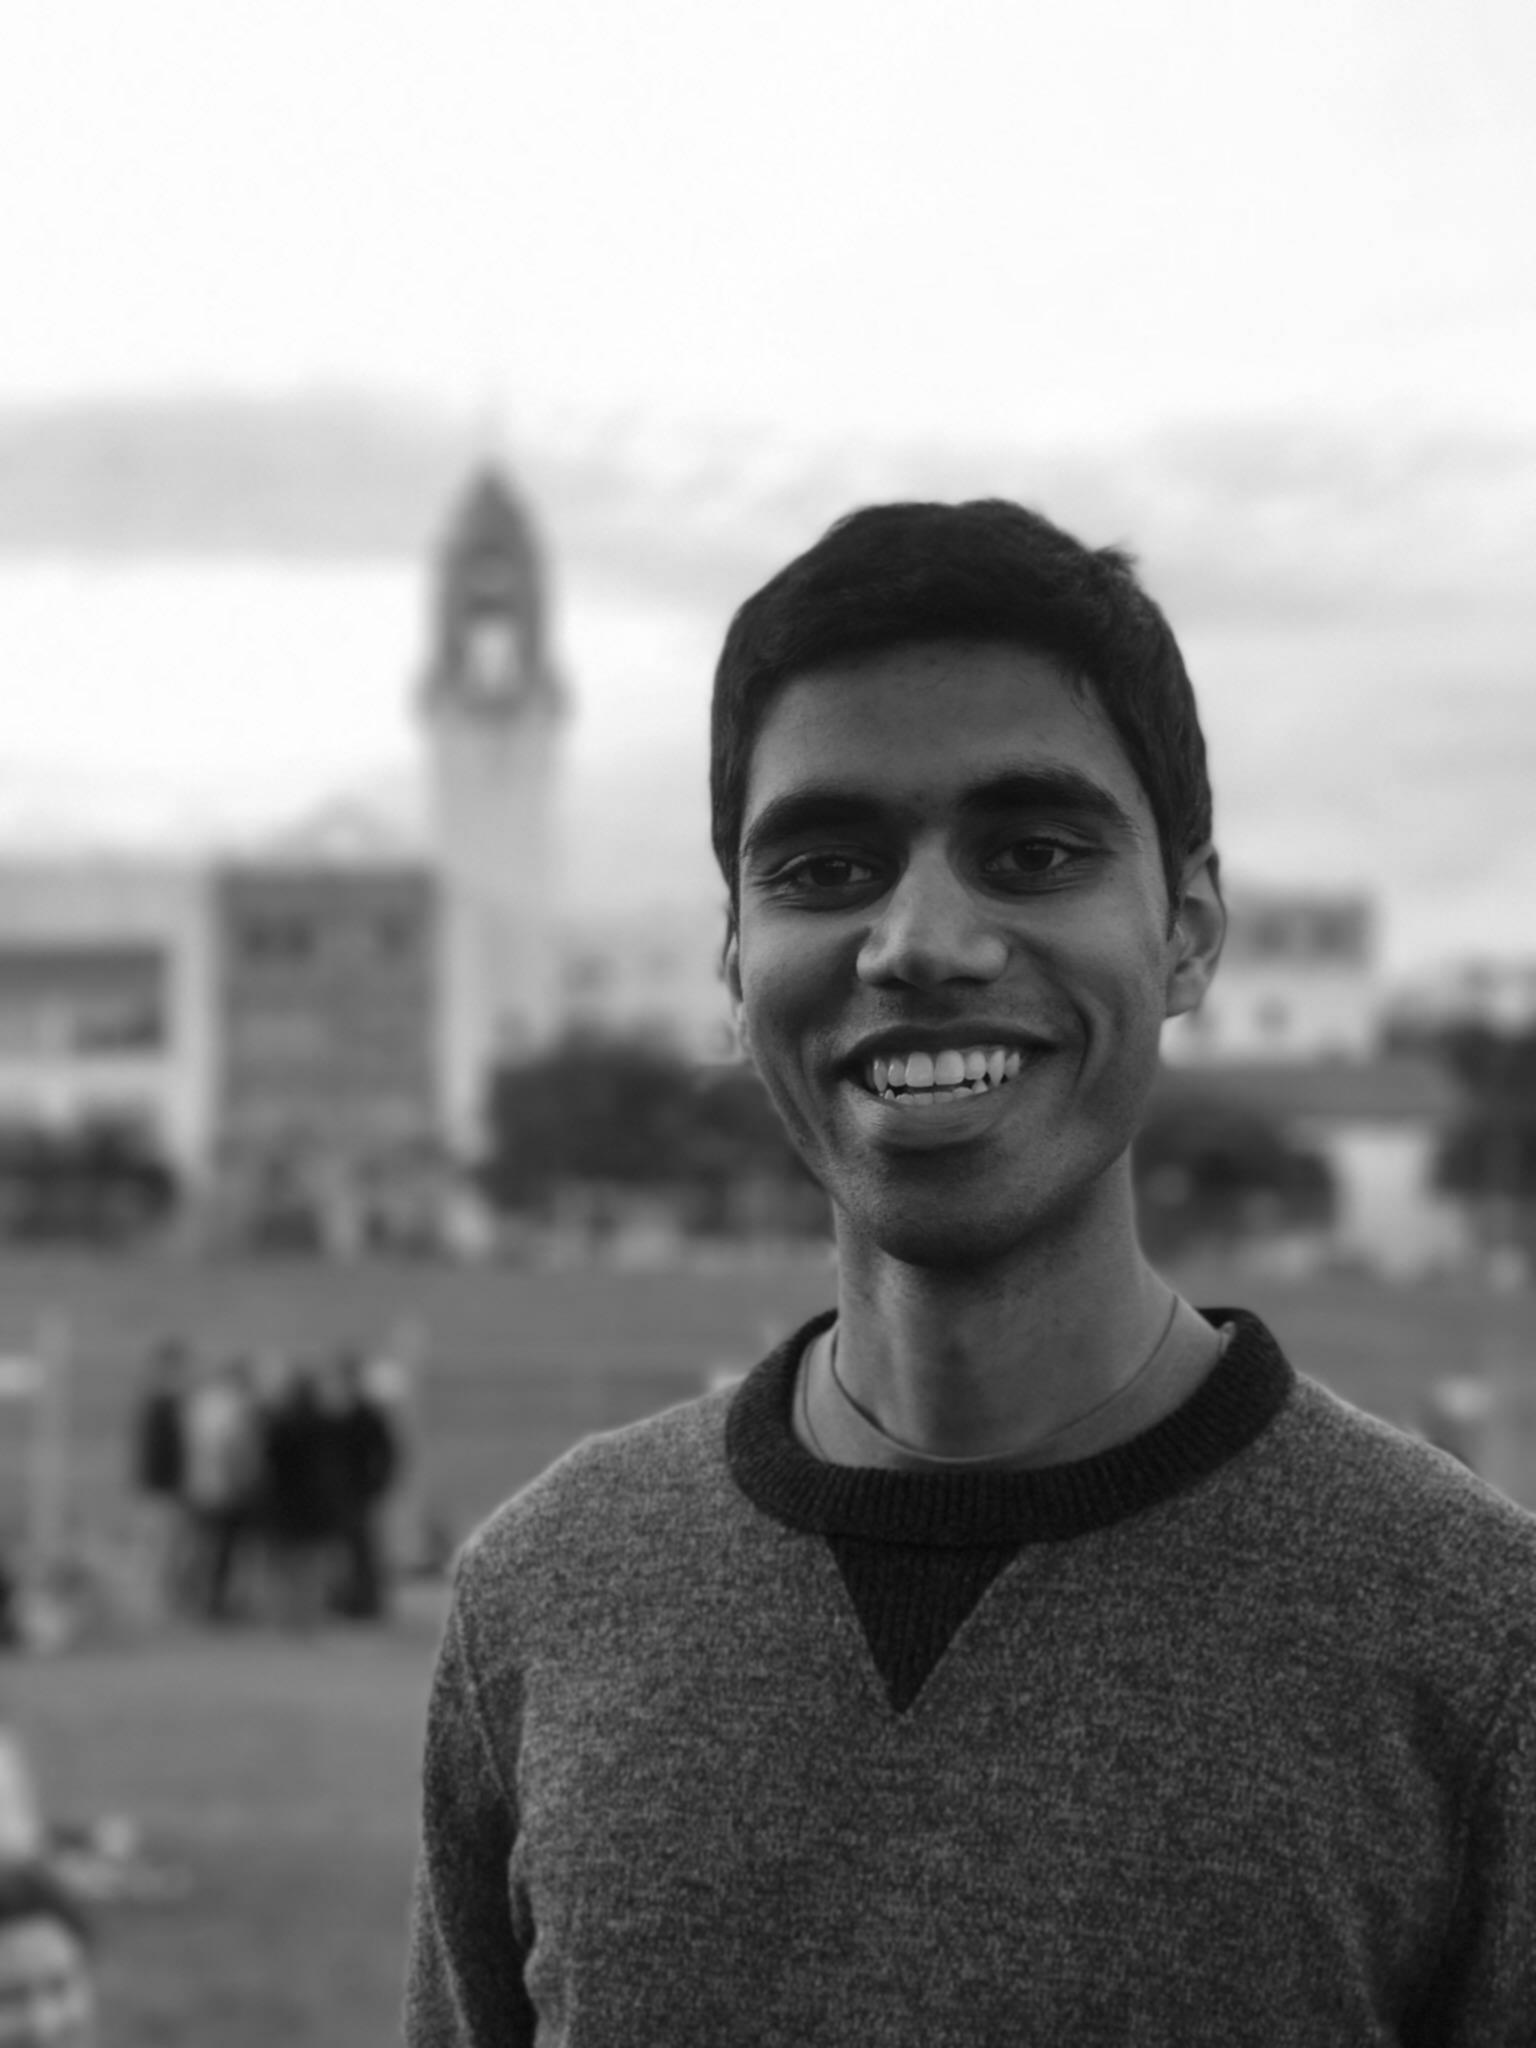
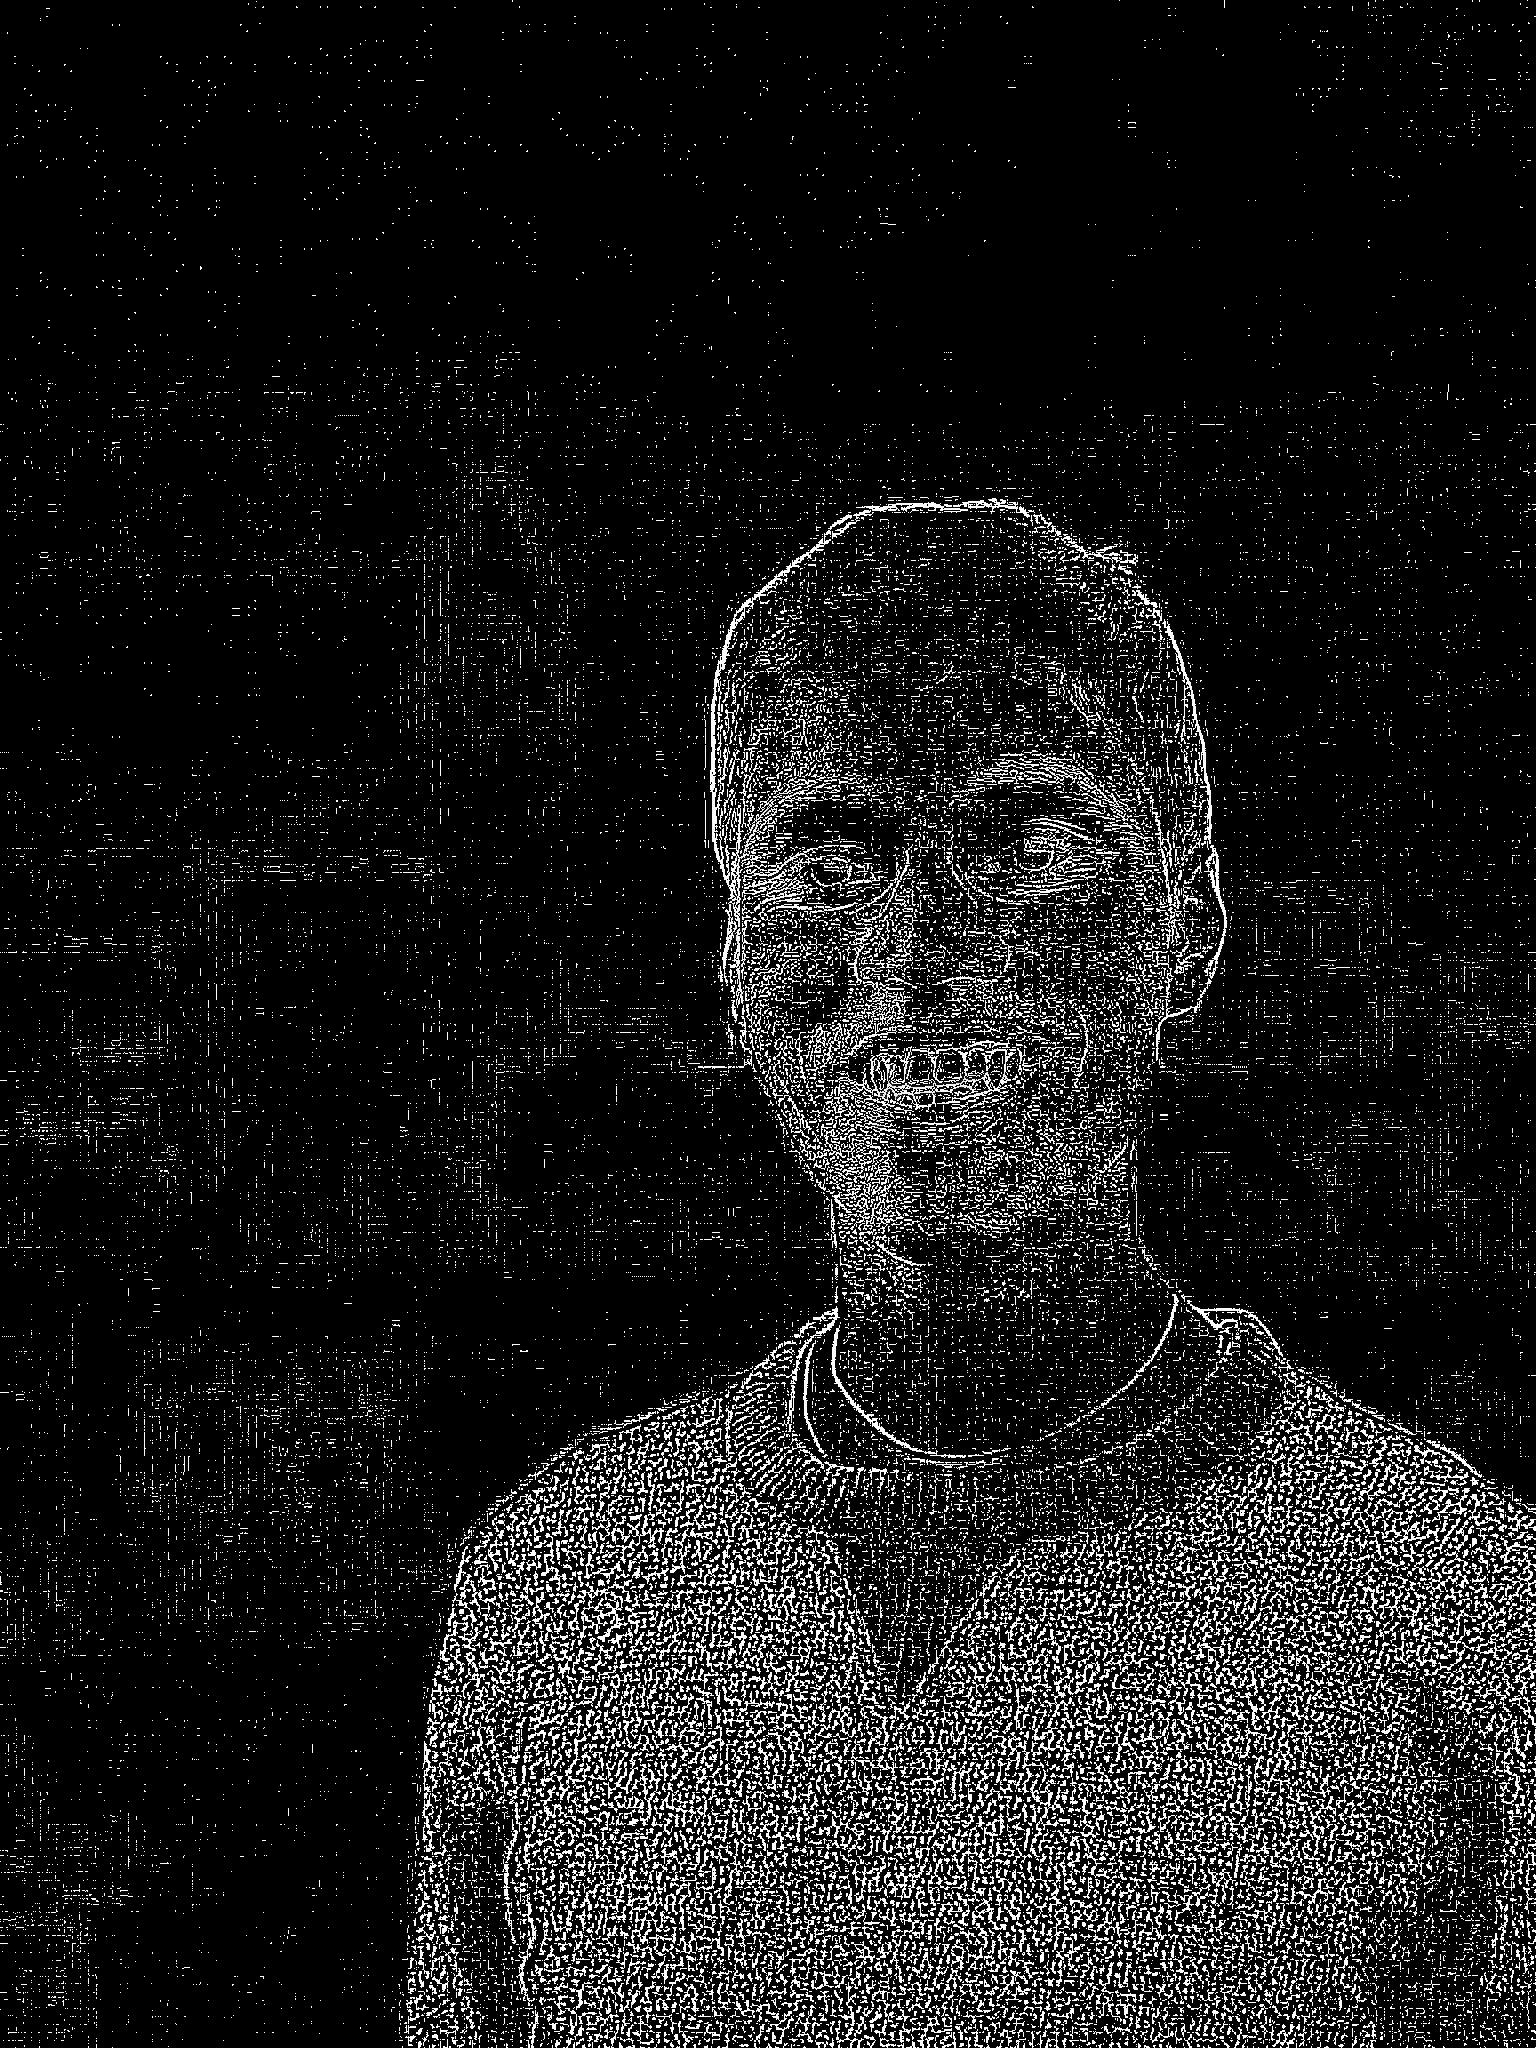
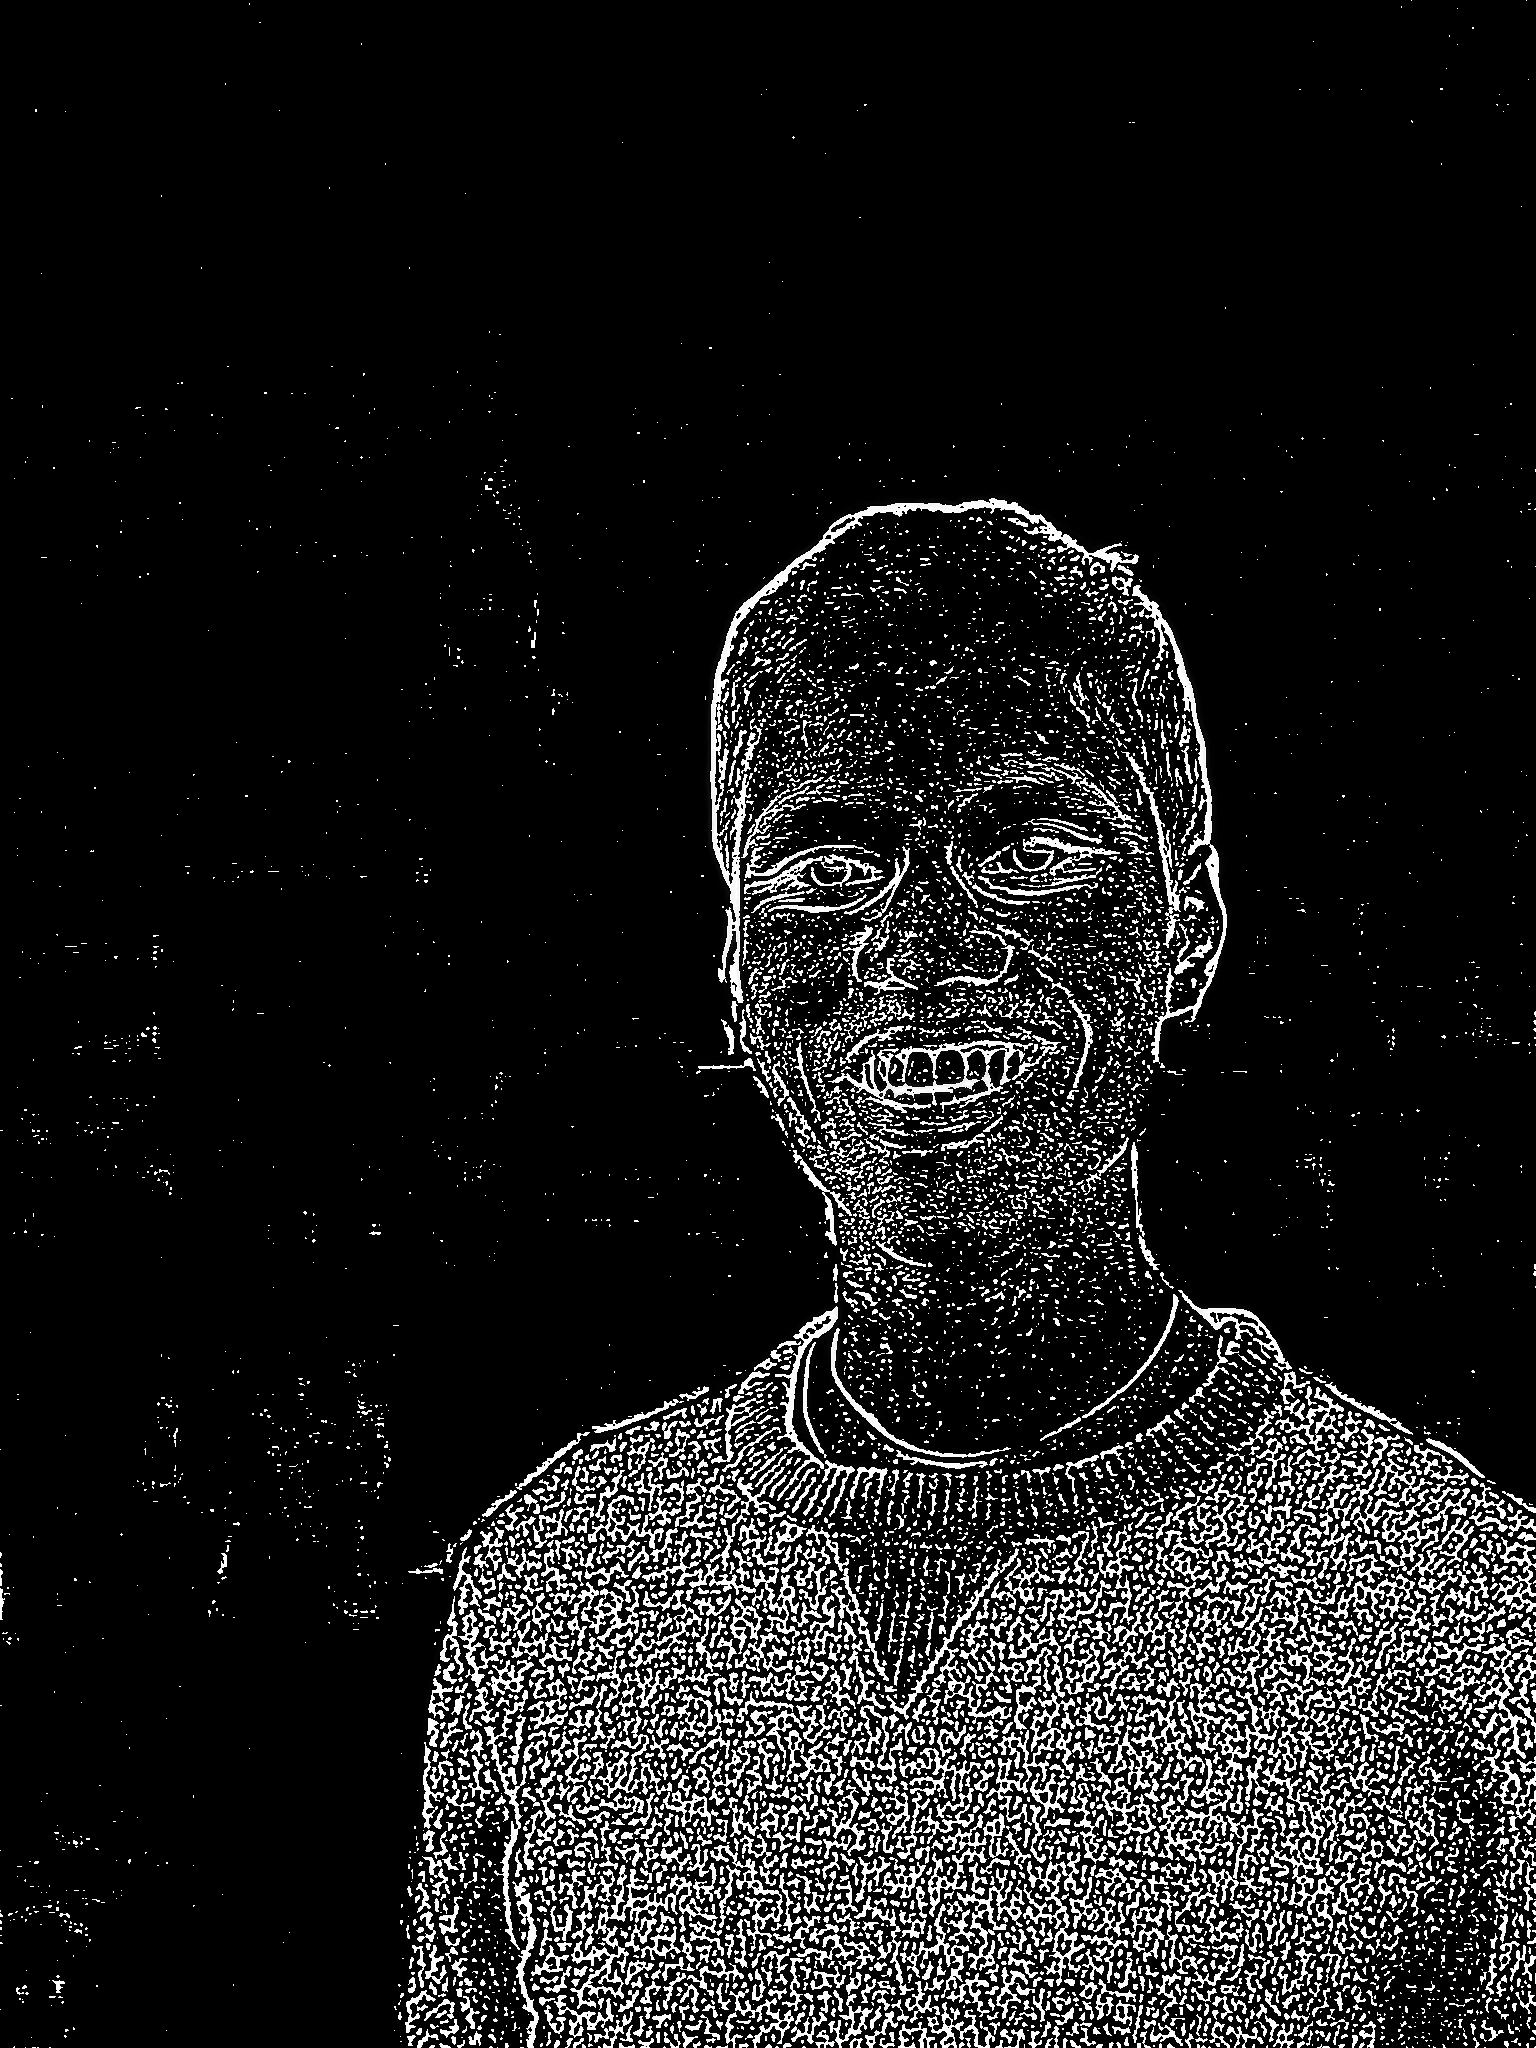
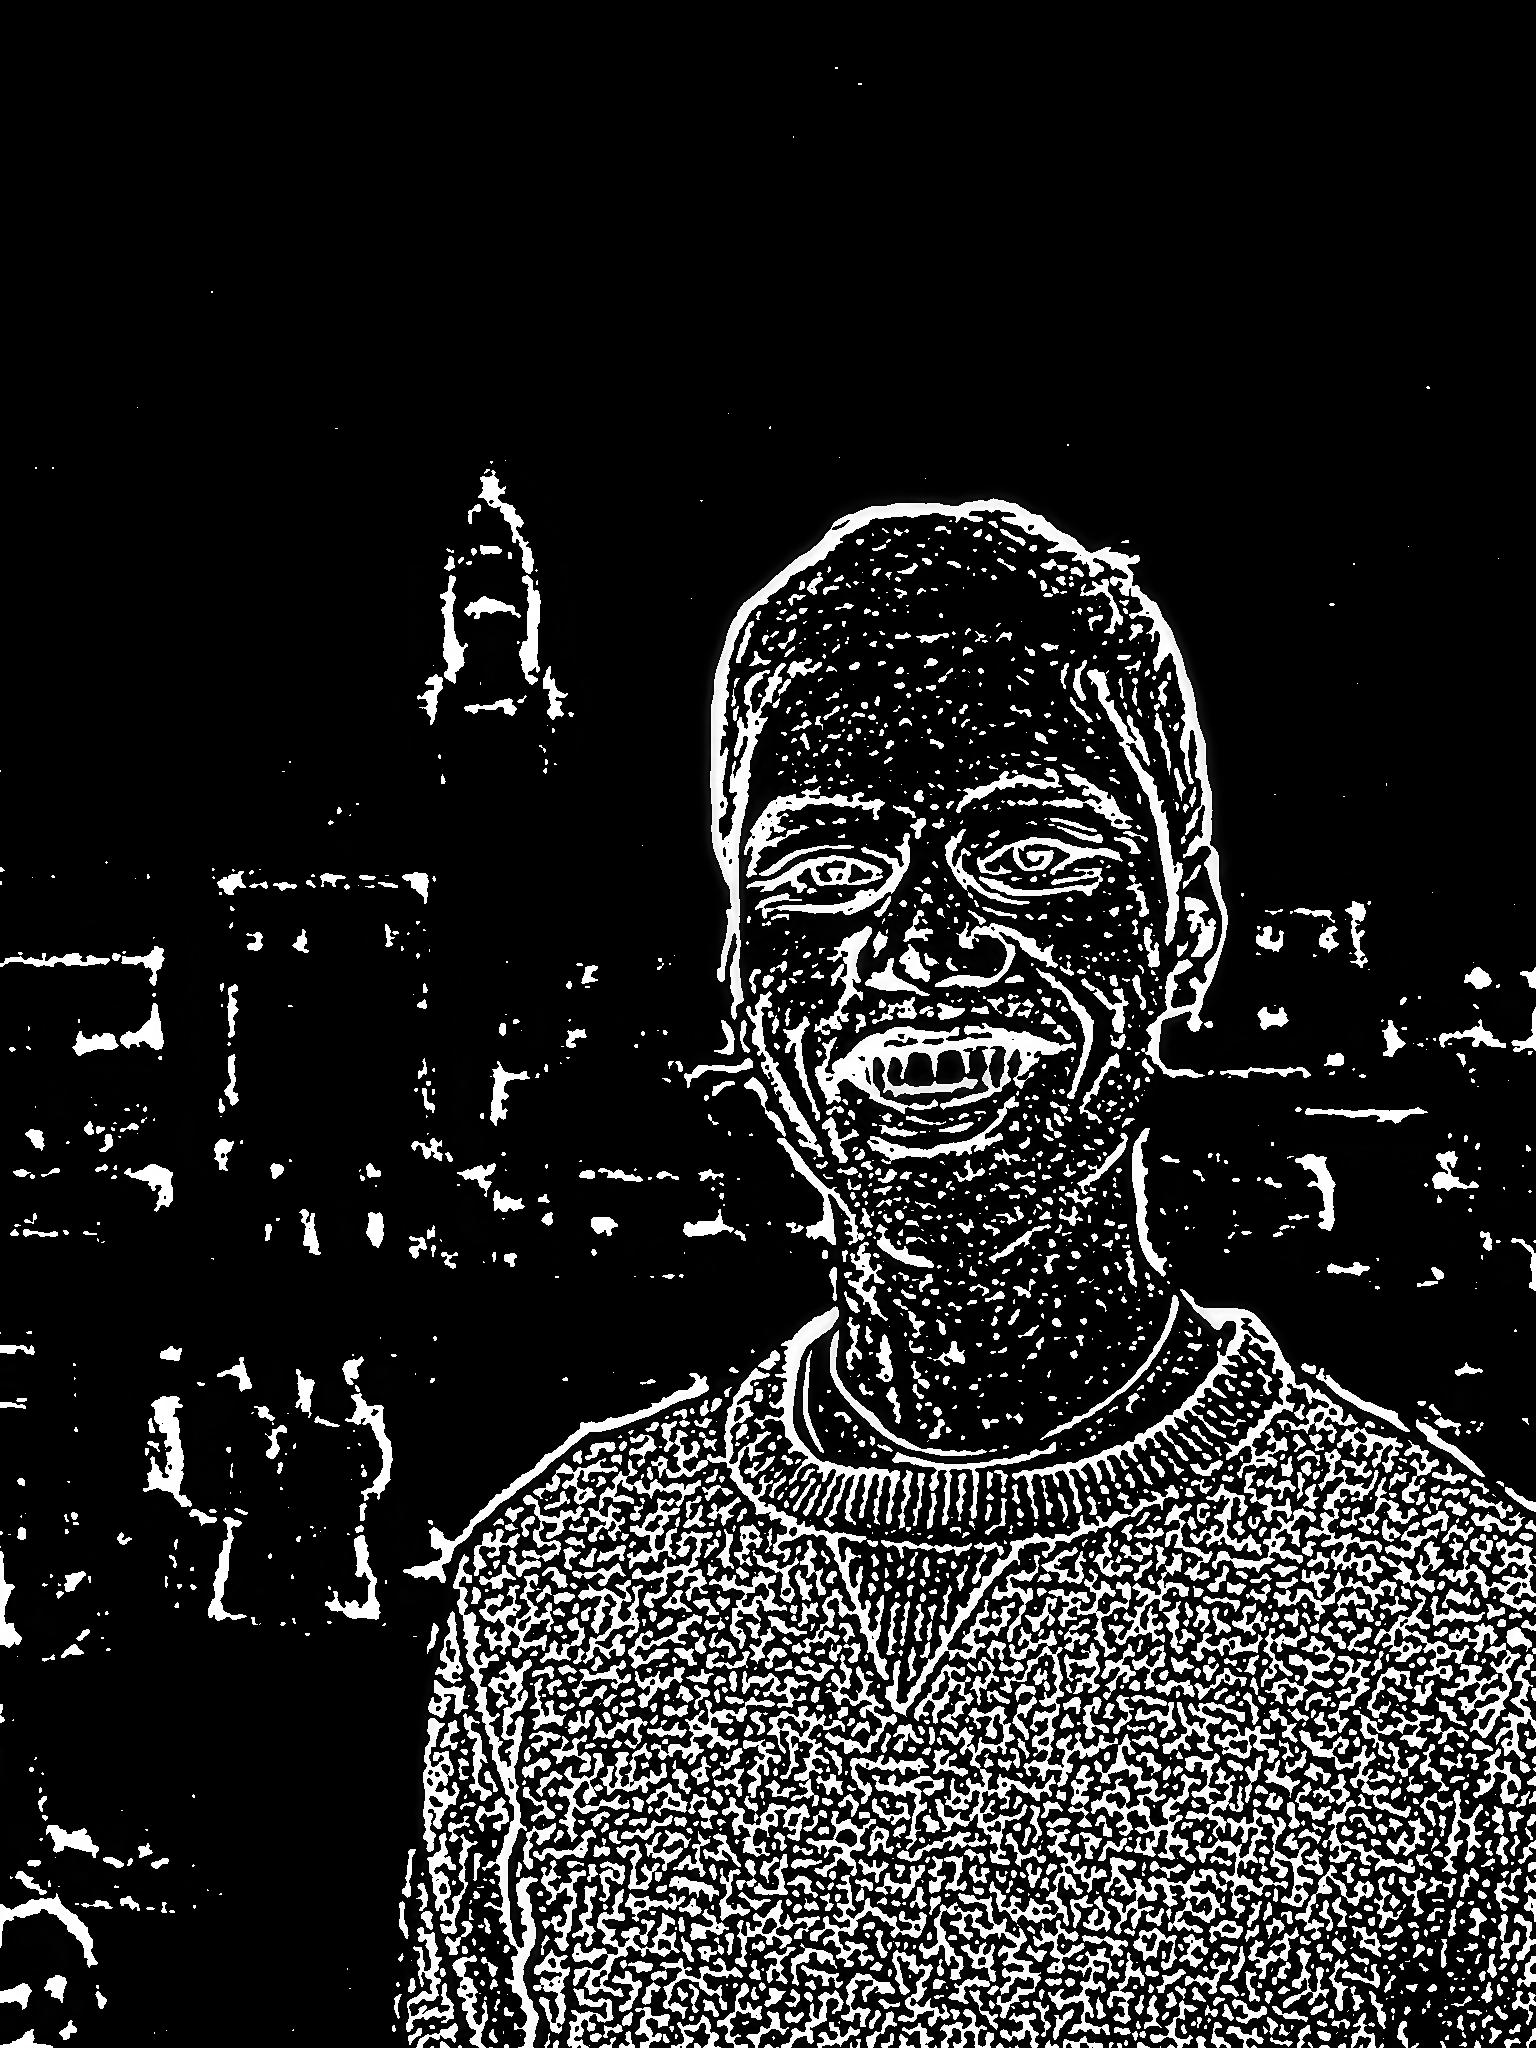
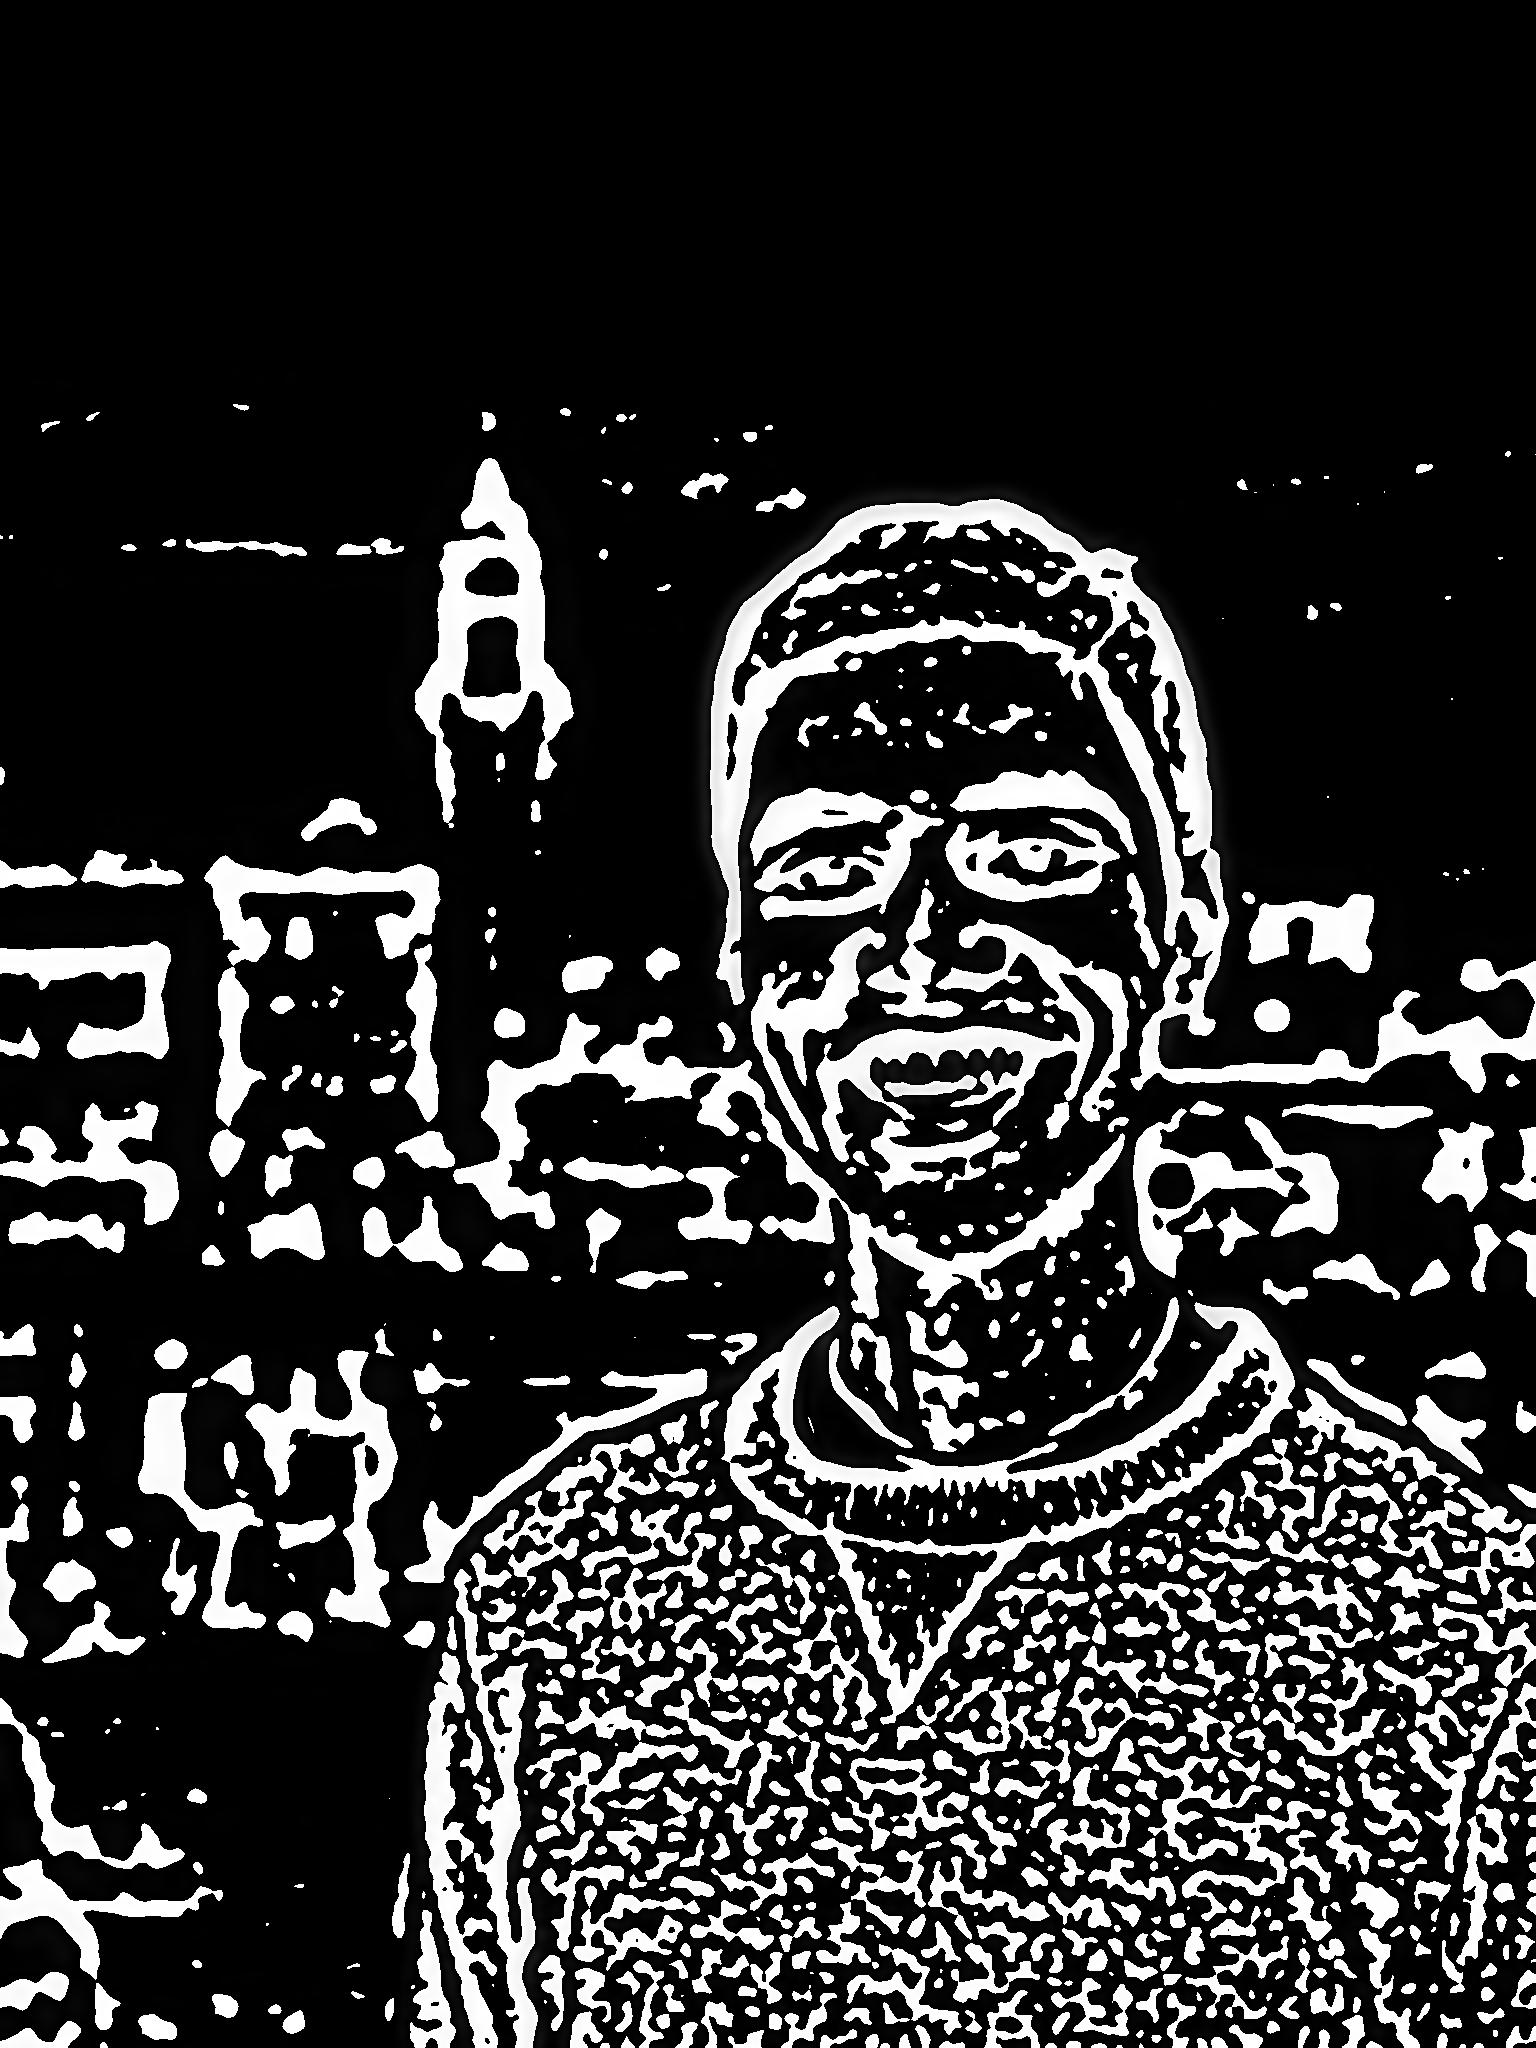
The warmup involved sharpening an image by taking the high frequency components and adding it back to the original image.
high_freq = image - convolve(gaussian, image)
sharpened = image += alpha * high_freq
Bells and Whistles: I sharpened the image in color as an extra touch
|
|
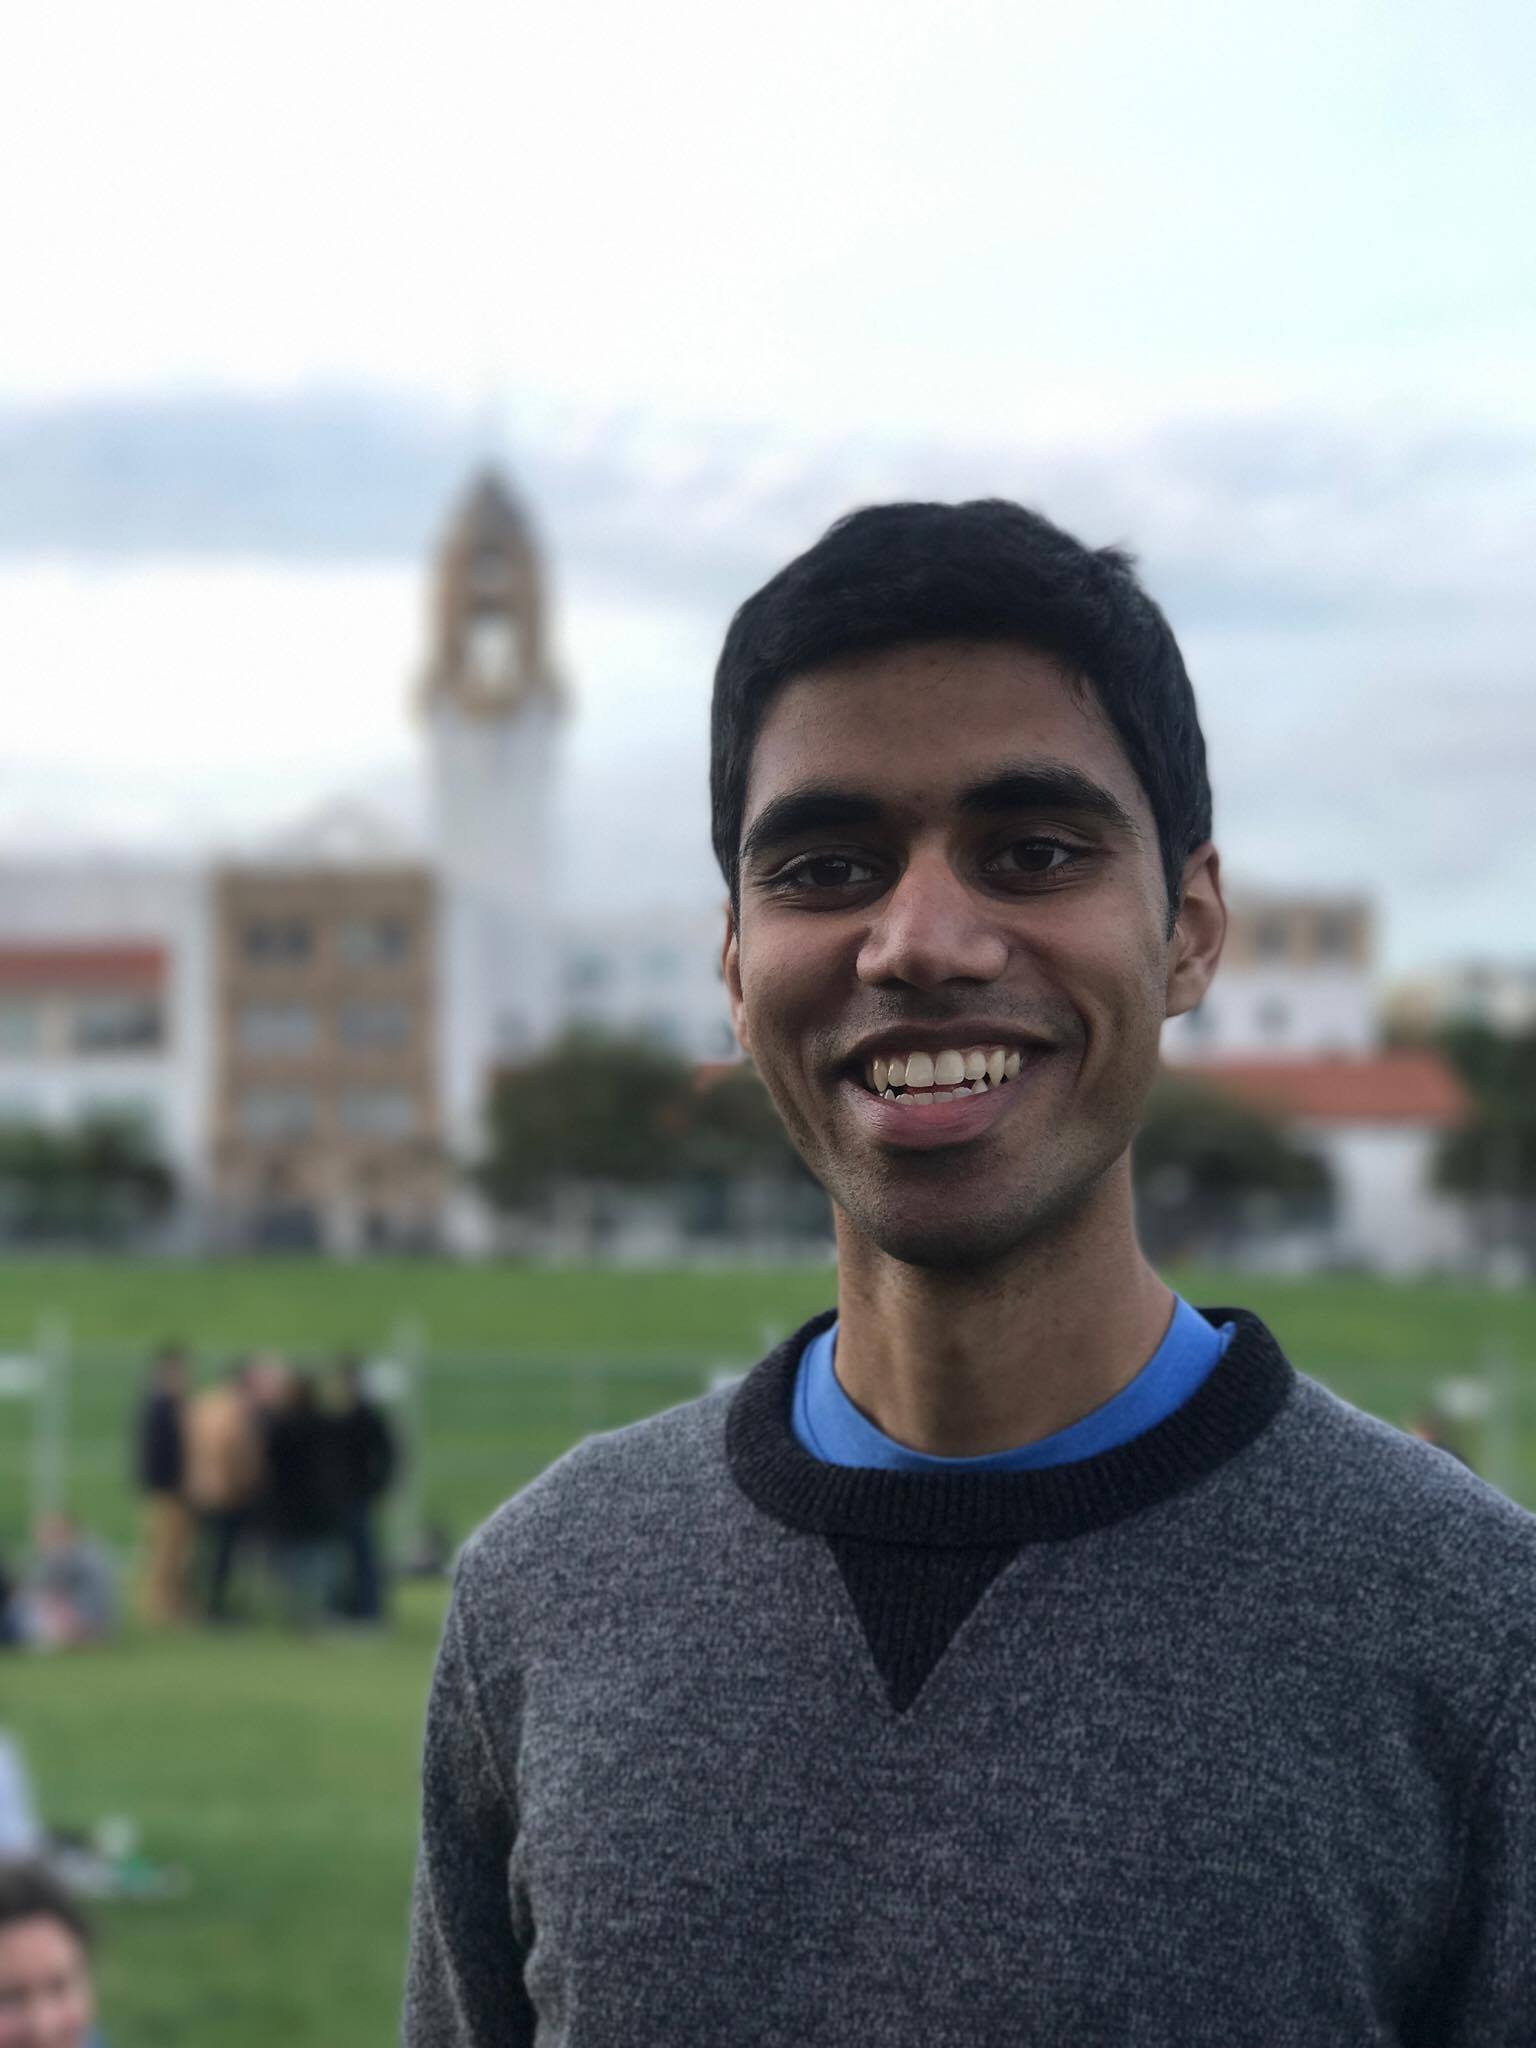
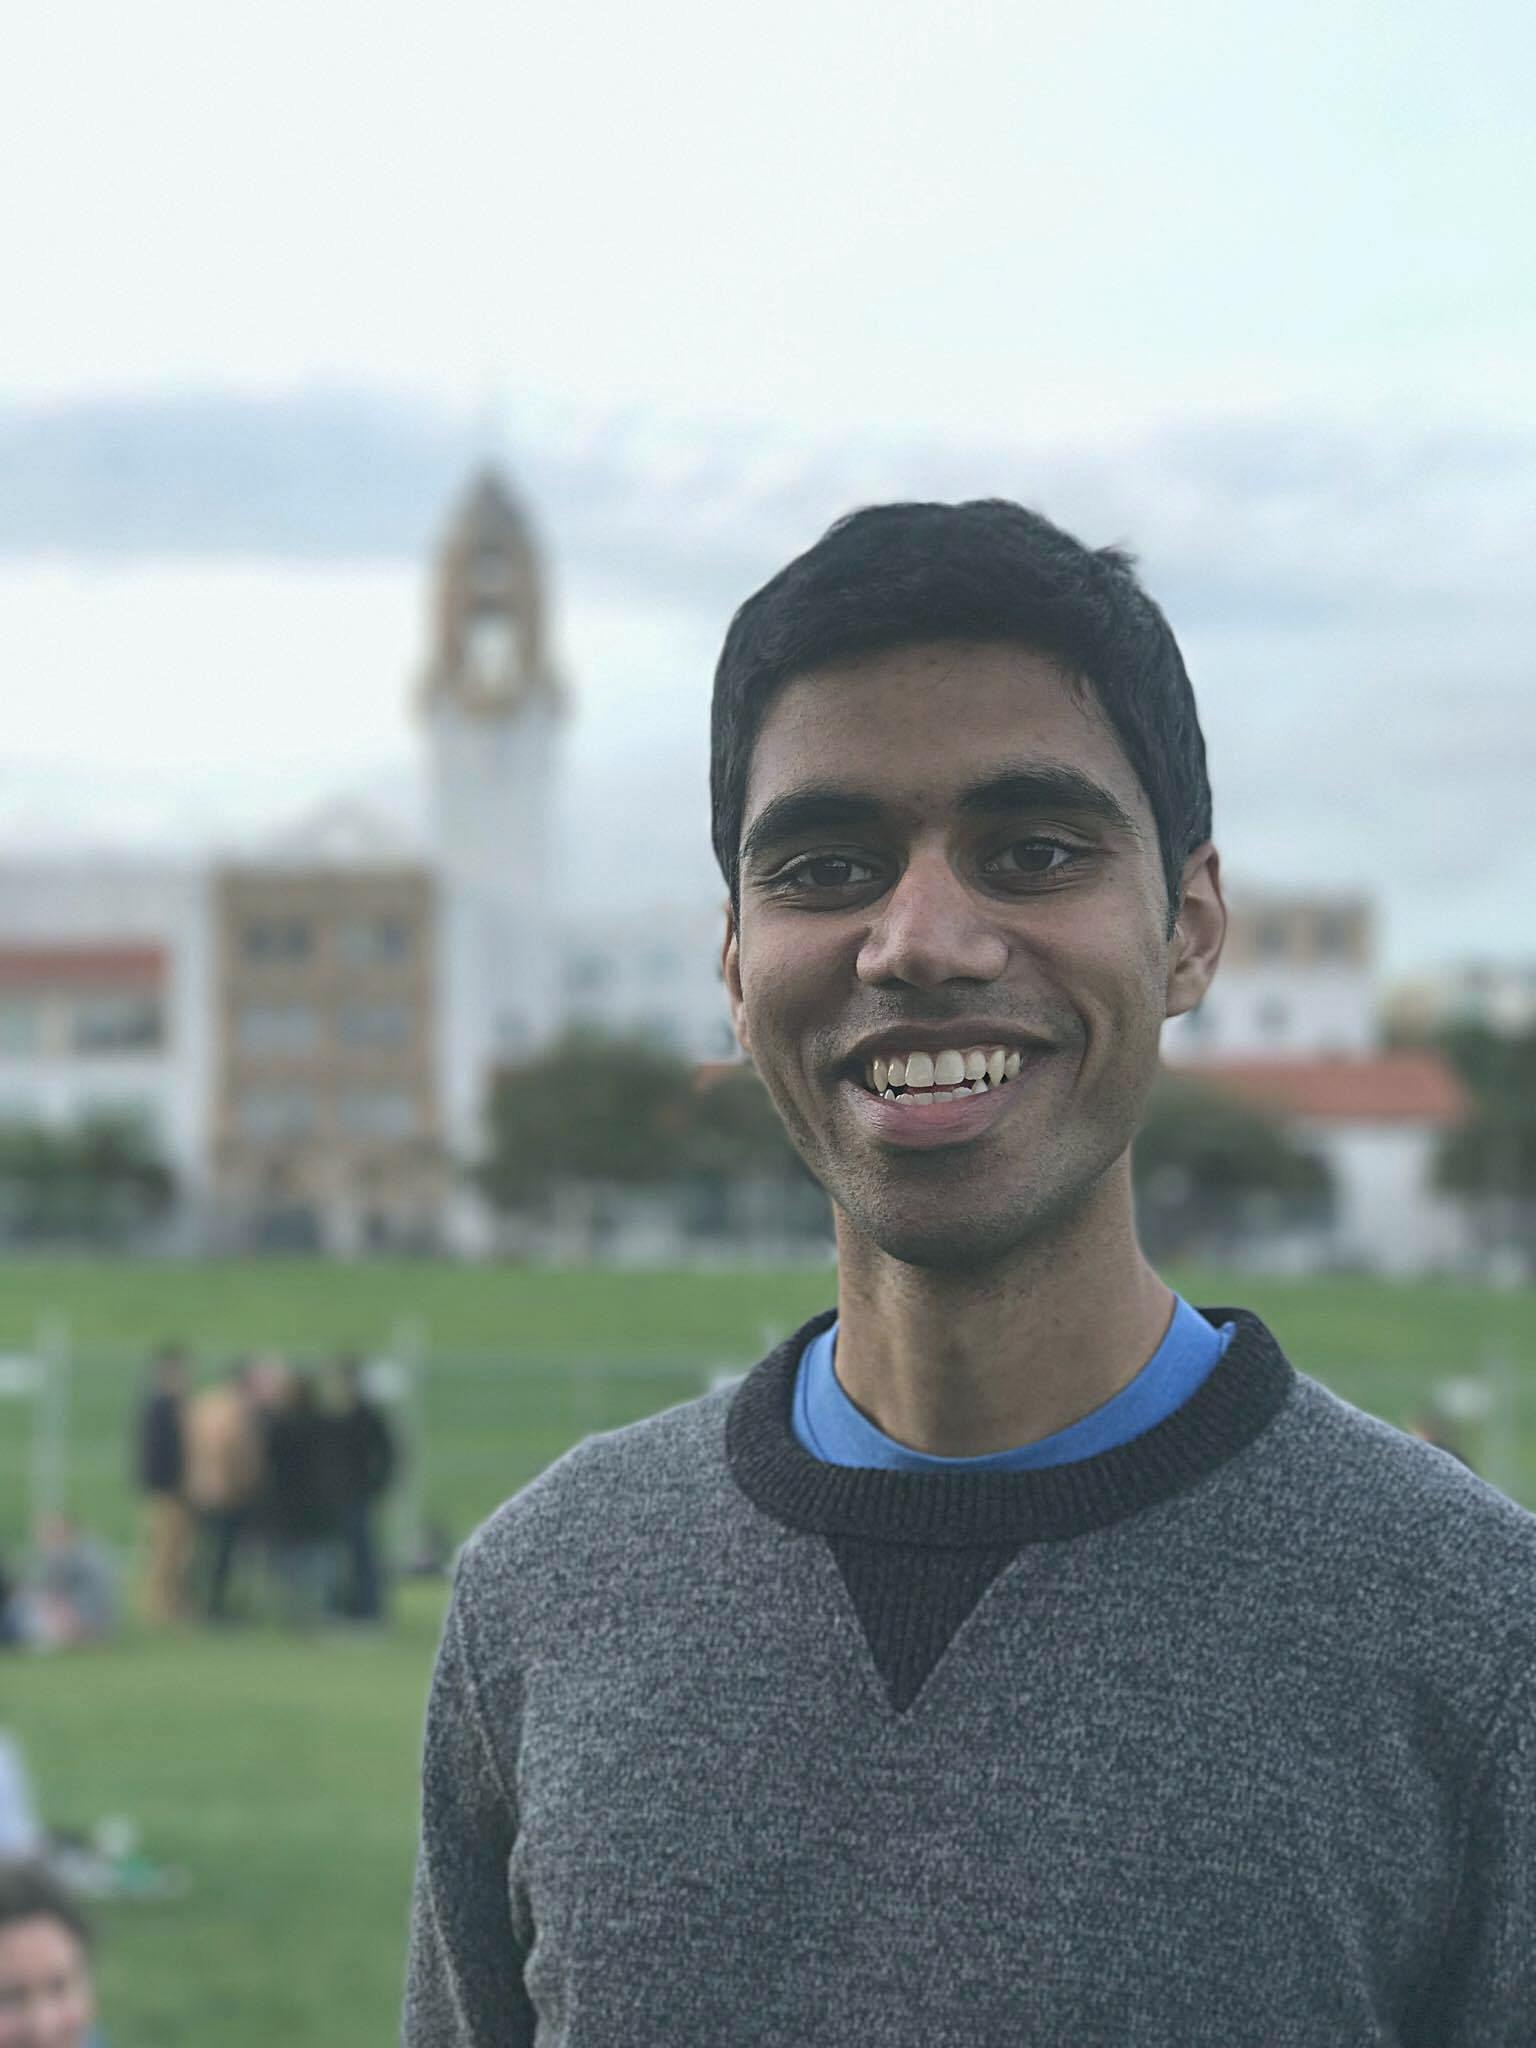
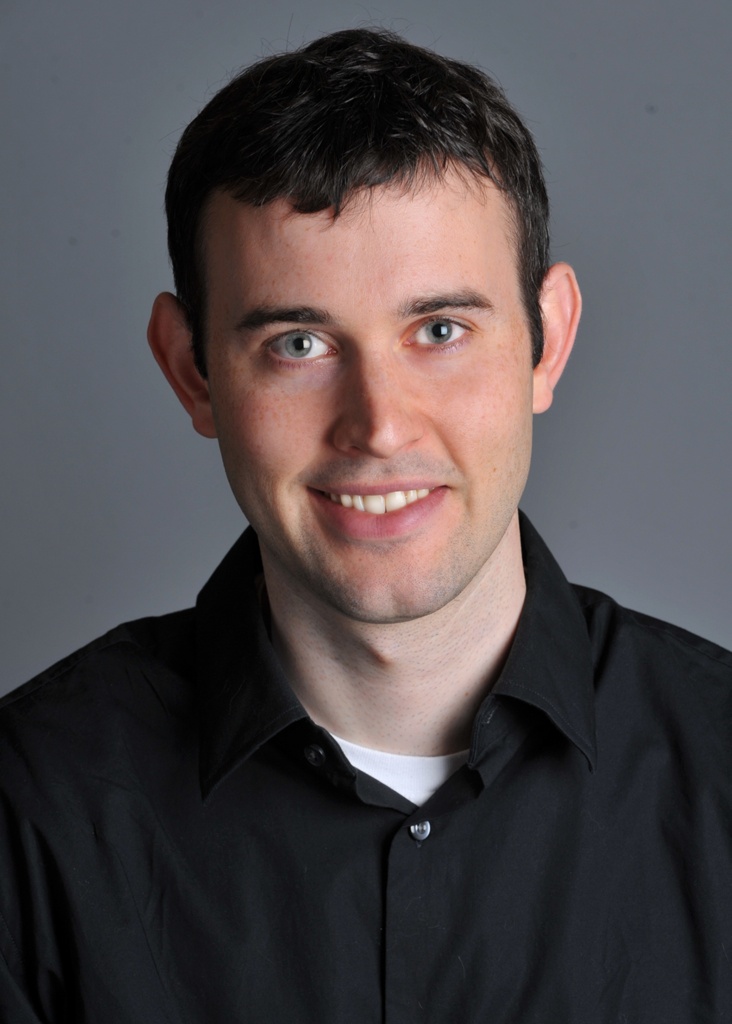
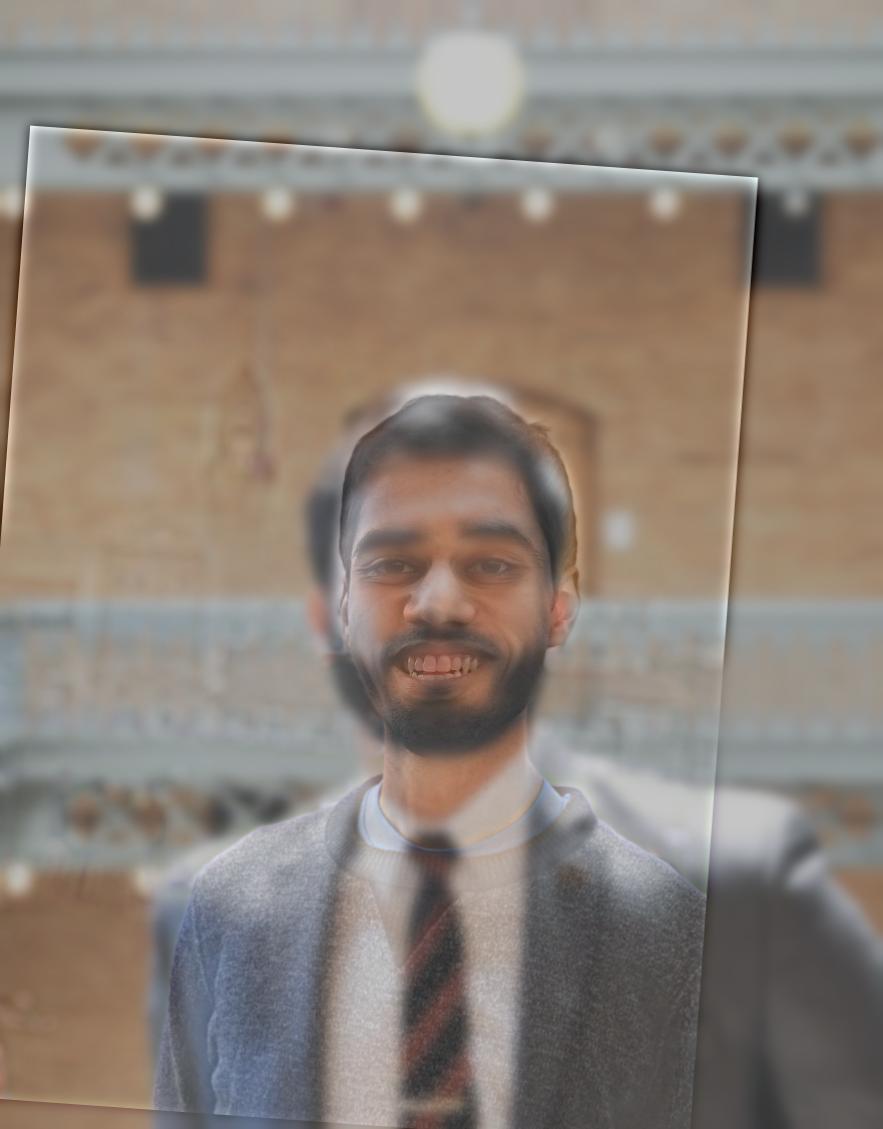
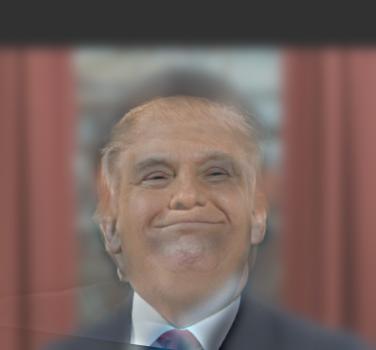
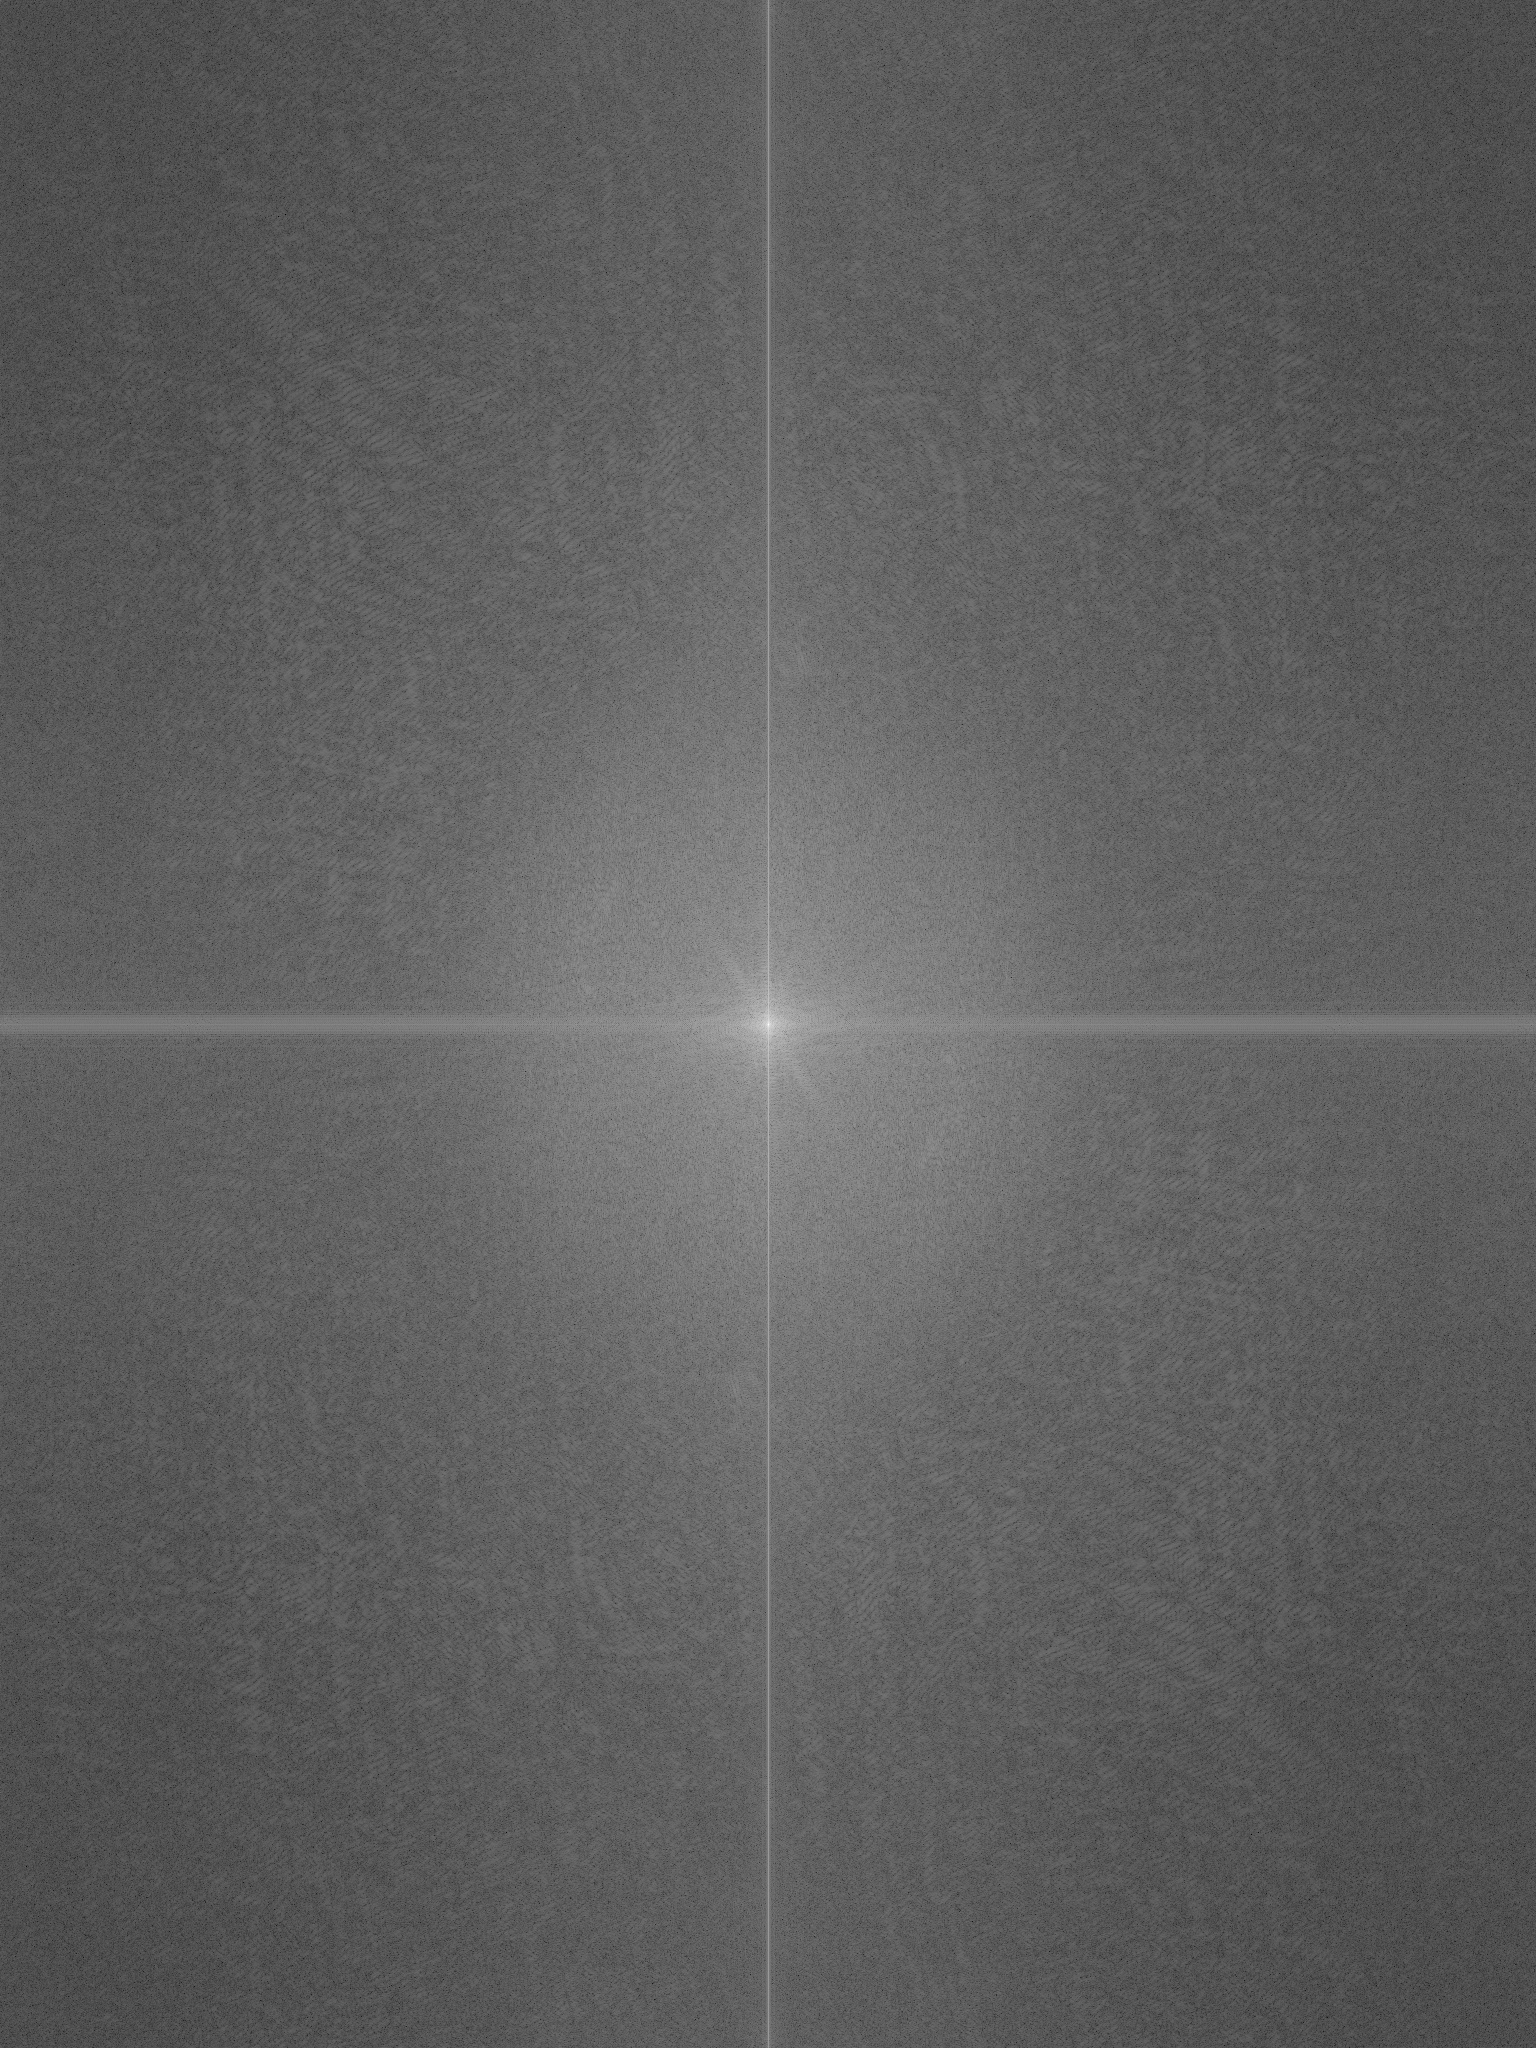
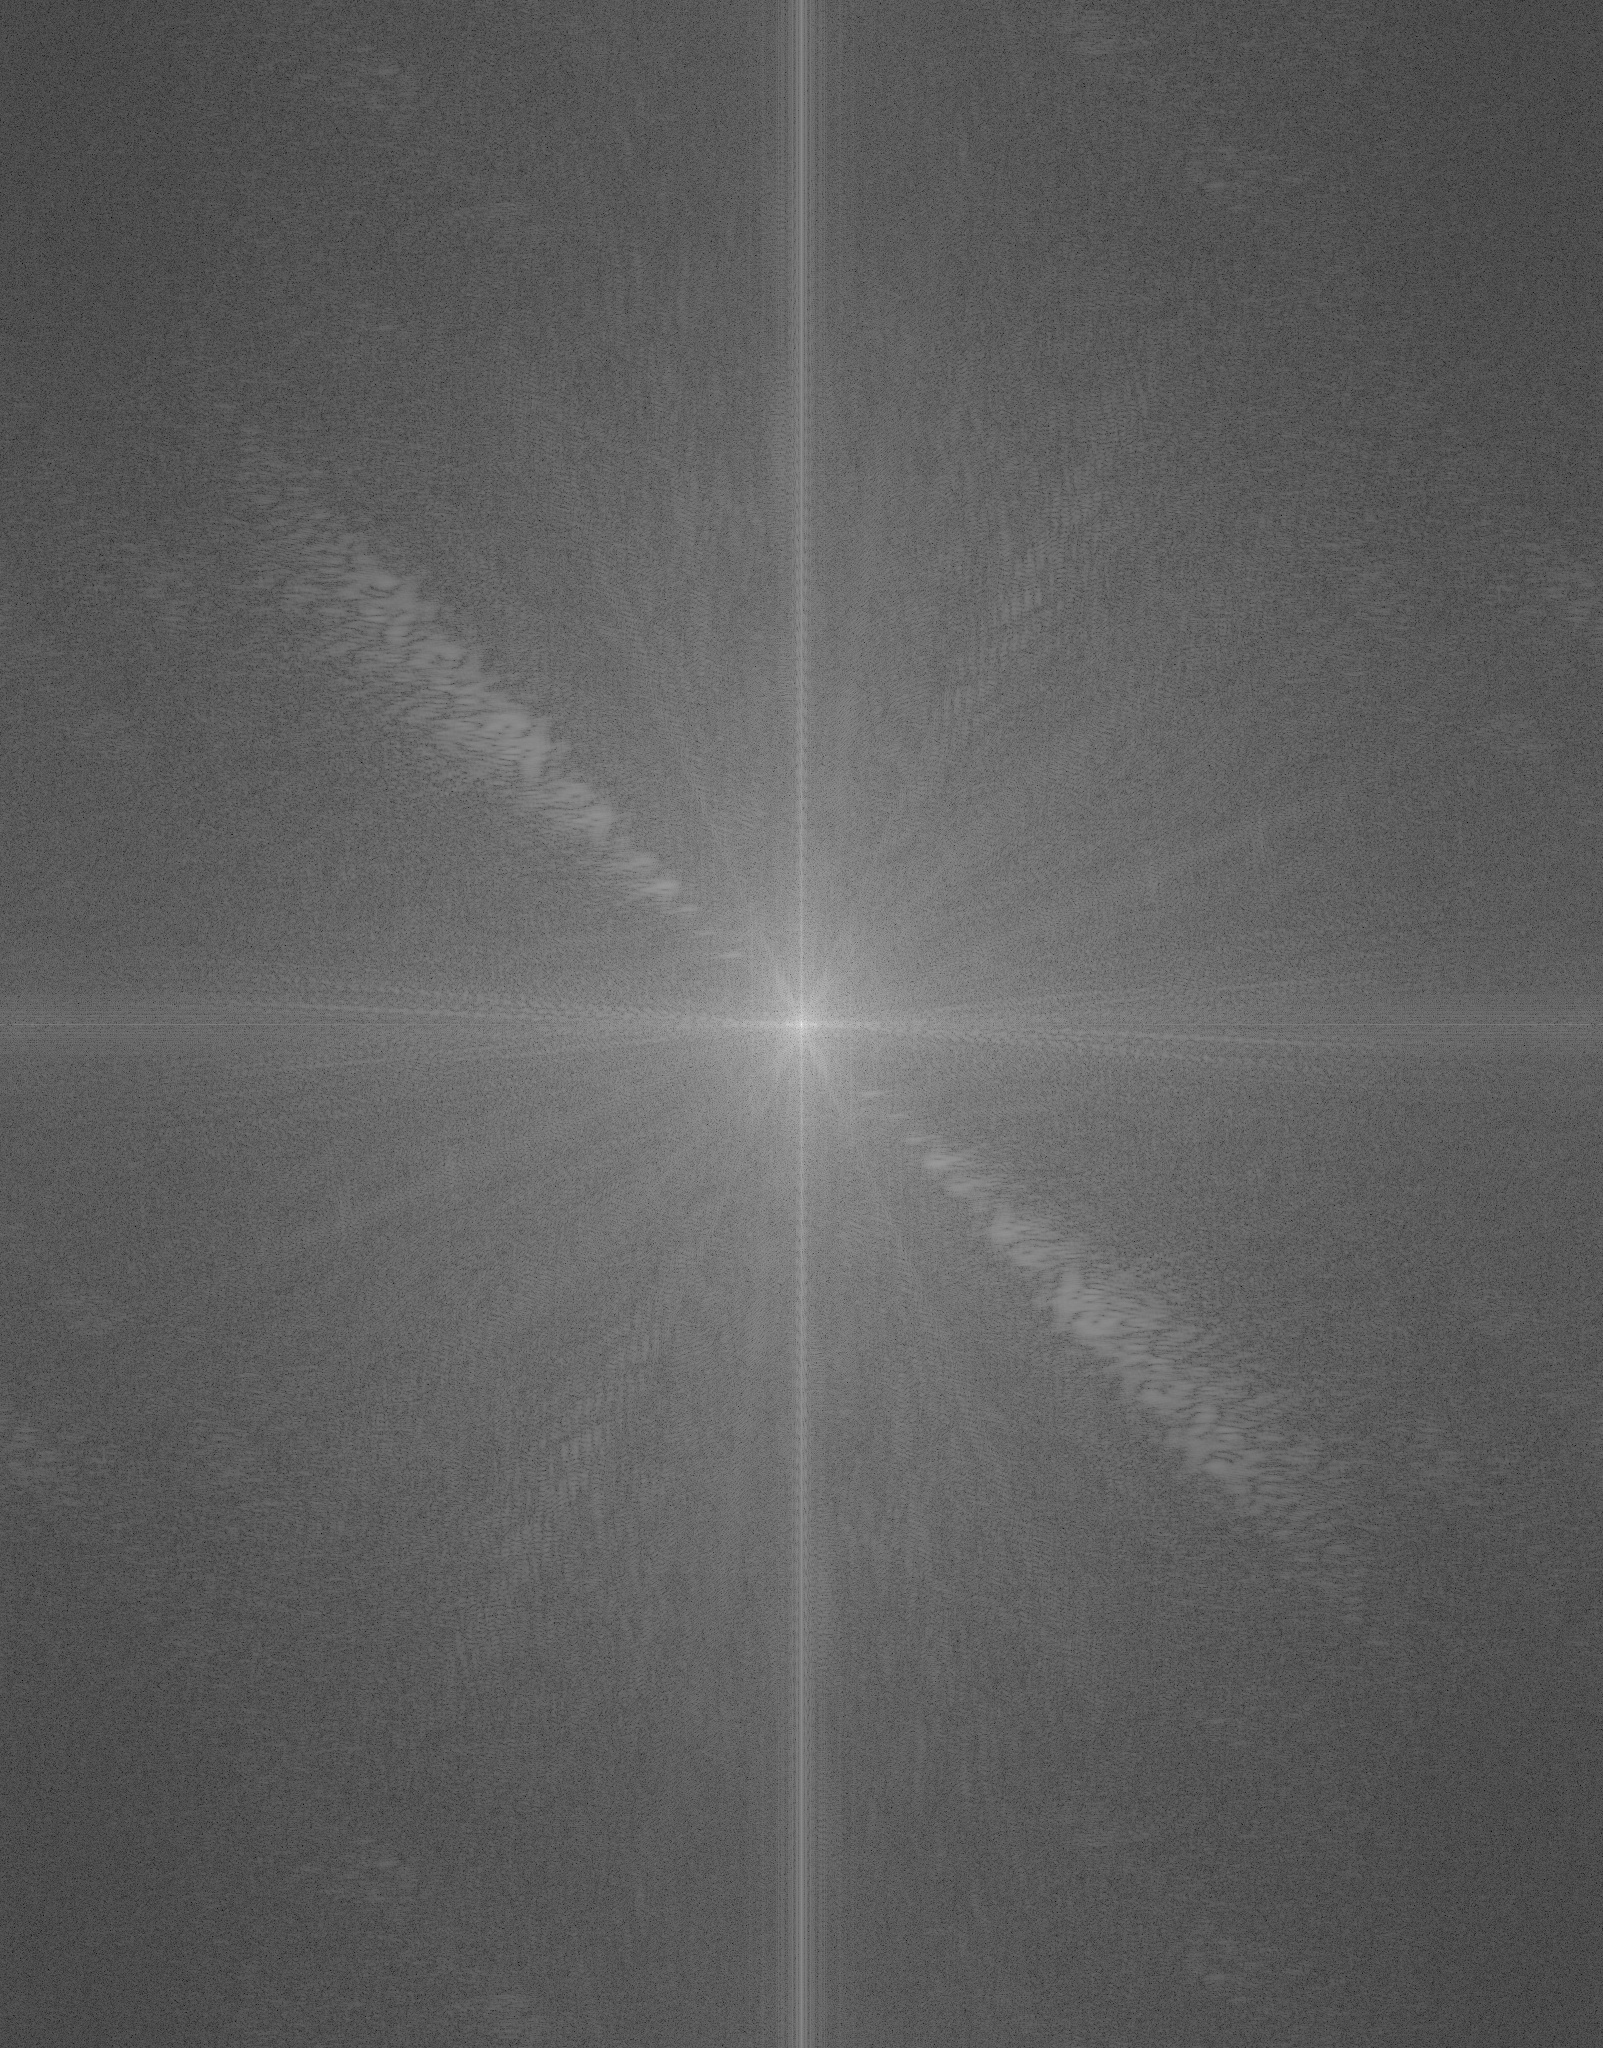
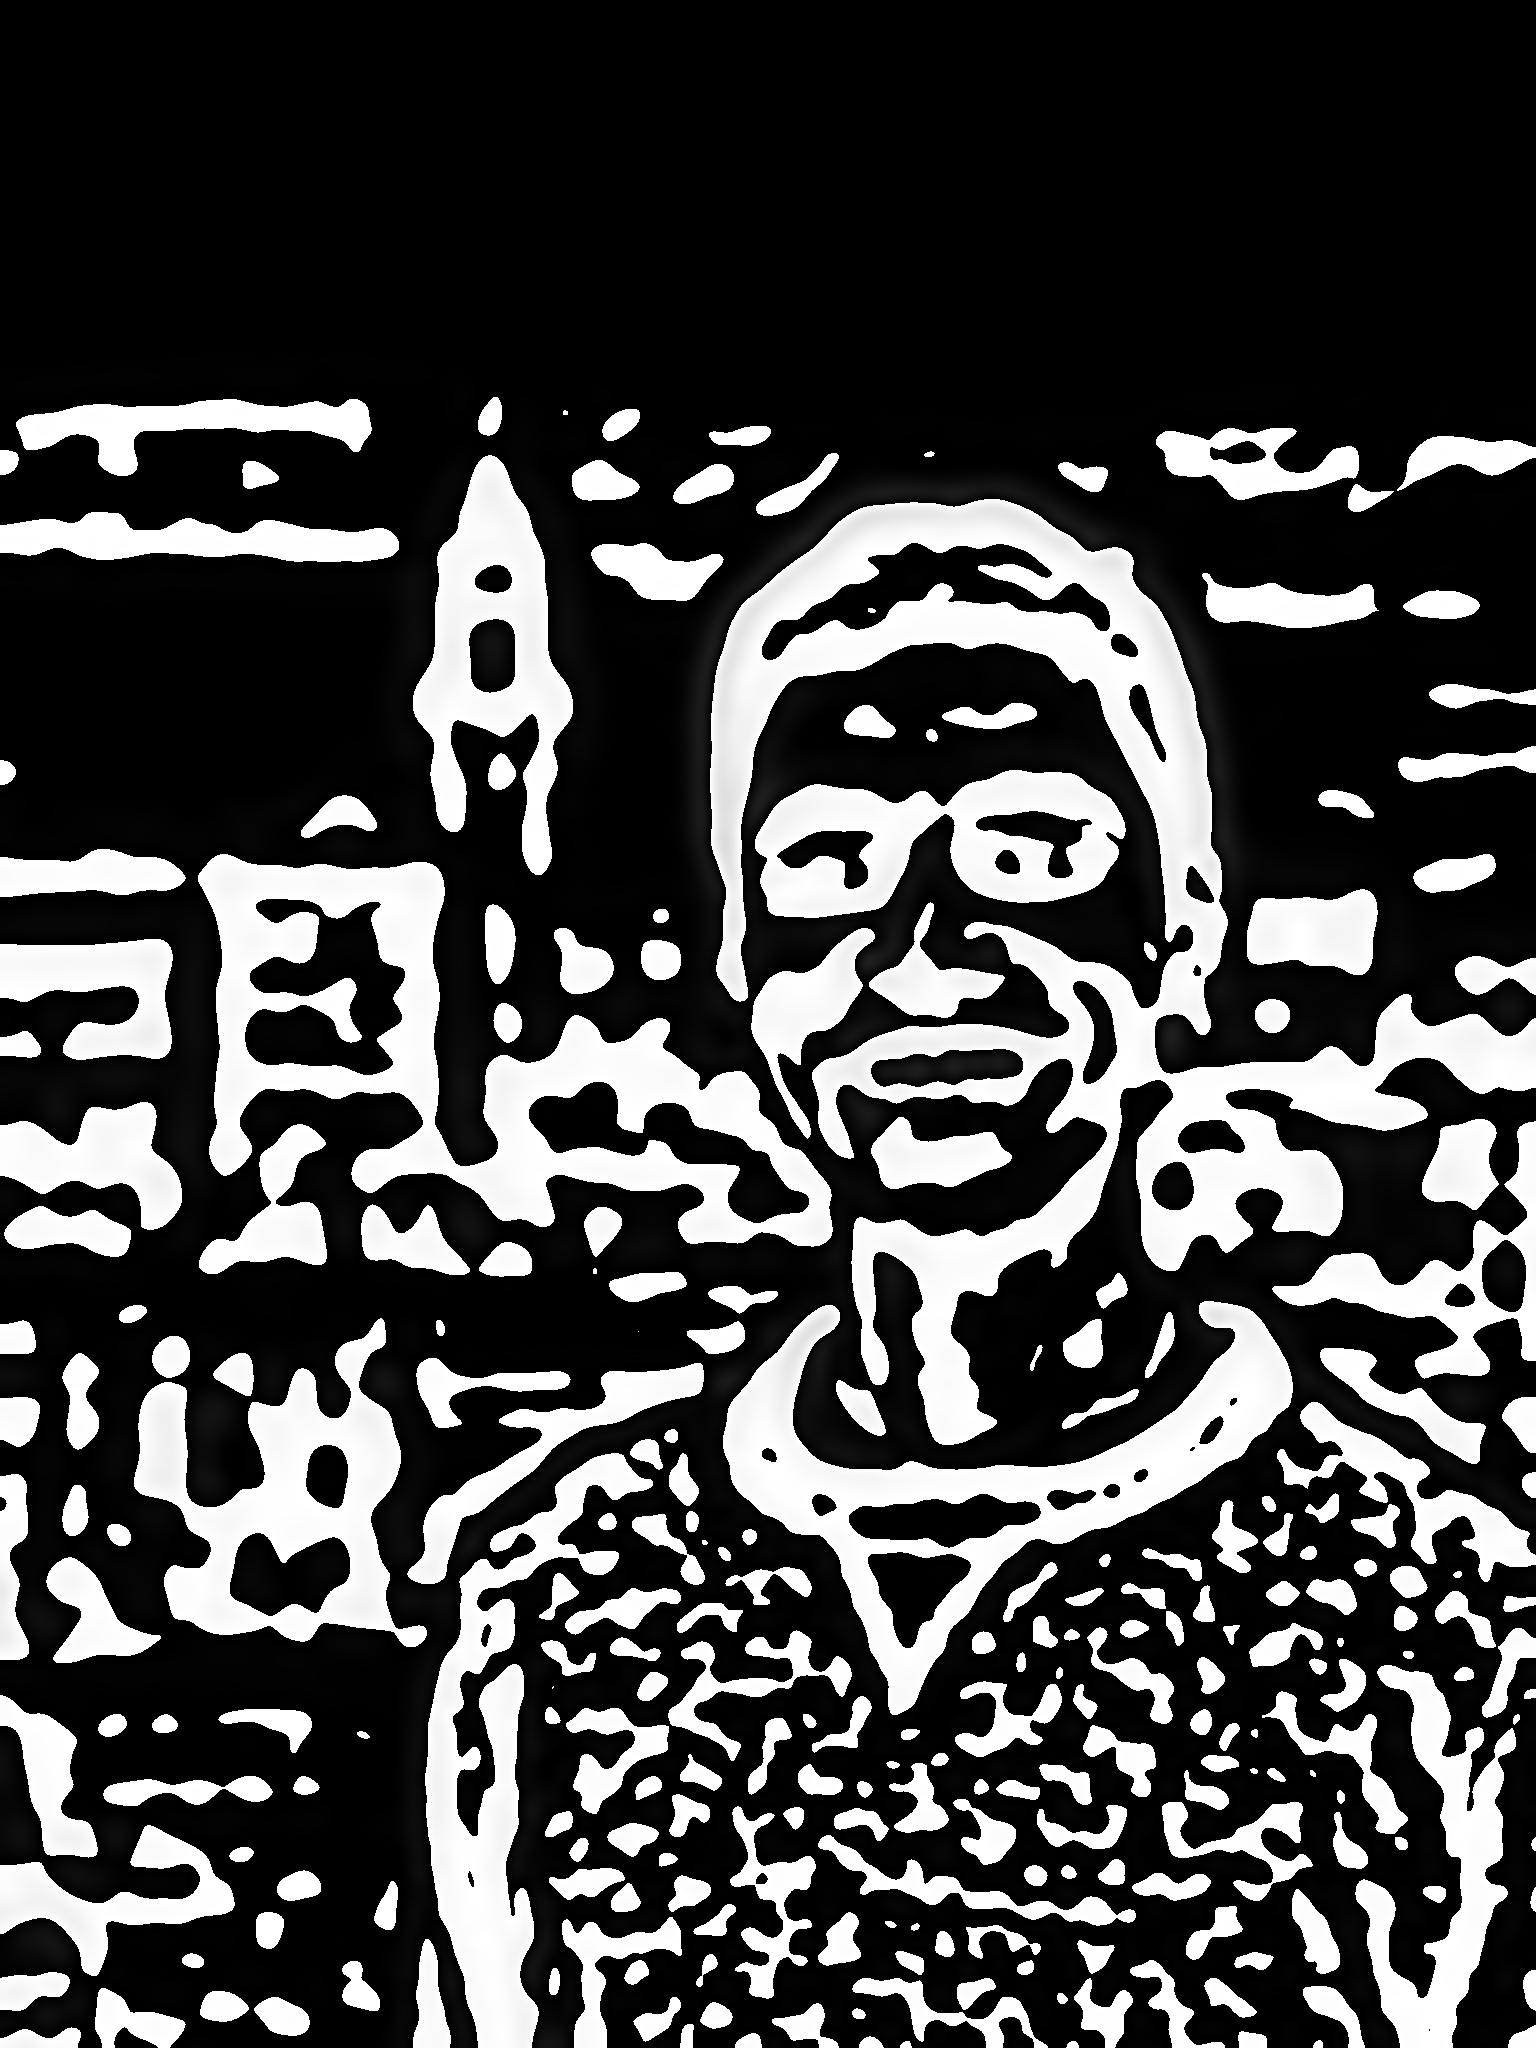
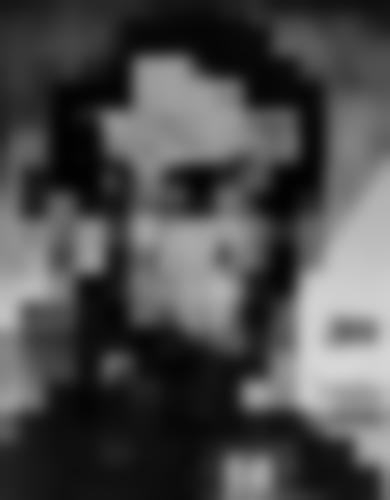
Part 1.2 Hybrid Images
This part involved combining two images by taking the high frequencies of one image and the low frequencies of the other and combining the results. If you look at the combination from up close you see the image which was passed through the high pass filter. If you look at the combination from far away you see the image which was passed through the low pass filter
Bells and Whistles: I made a hybrid image in color as an extra touch.
|
|

|
Here are a couple of my own personal images. Unfortunately, the Obama and Trump one didn't turn out as good as the others.
|
|
|
|
|
|
|
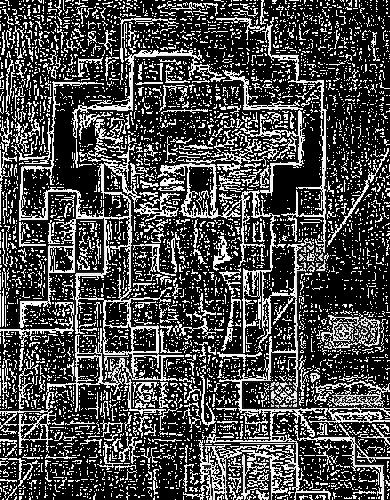
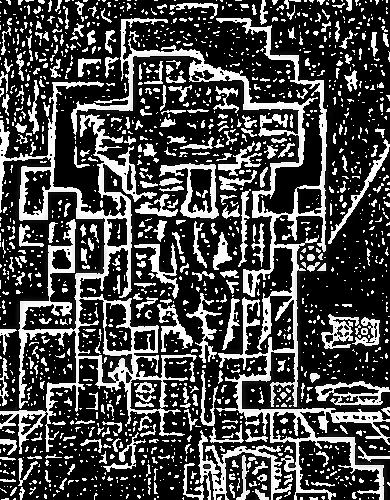
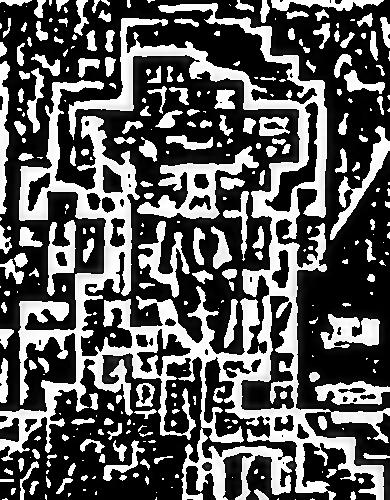
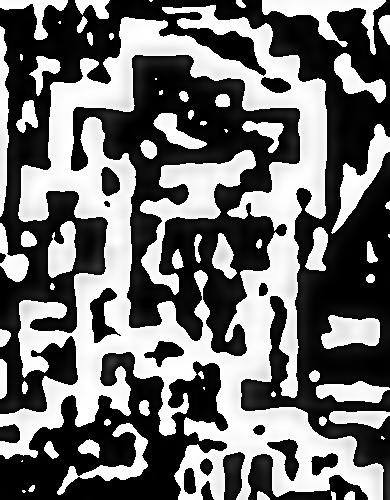
Part 1.3: Gaussian and Laplacian Stacks
 |
 |
 |
 |
 |
 |
 |
 |
 |
 |
 |
 |
 |
 |
 |
 |
 |
 |
 |
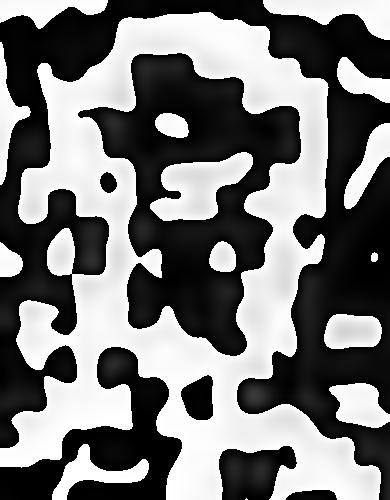 |
In this part of the project, I convolve the image with gaussian filters of increasing size to get more and more blurry images. By subtracting one level from the next, we recover the laplacian stack, which is the frequencies of each specific band. This will be used to merge the orange and the apple in the next section.
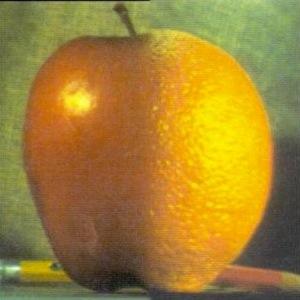
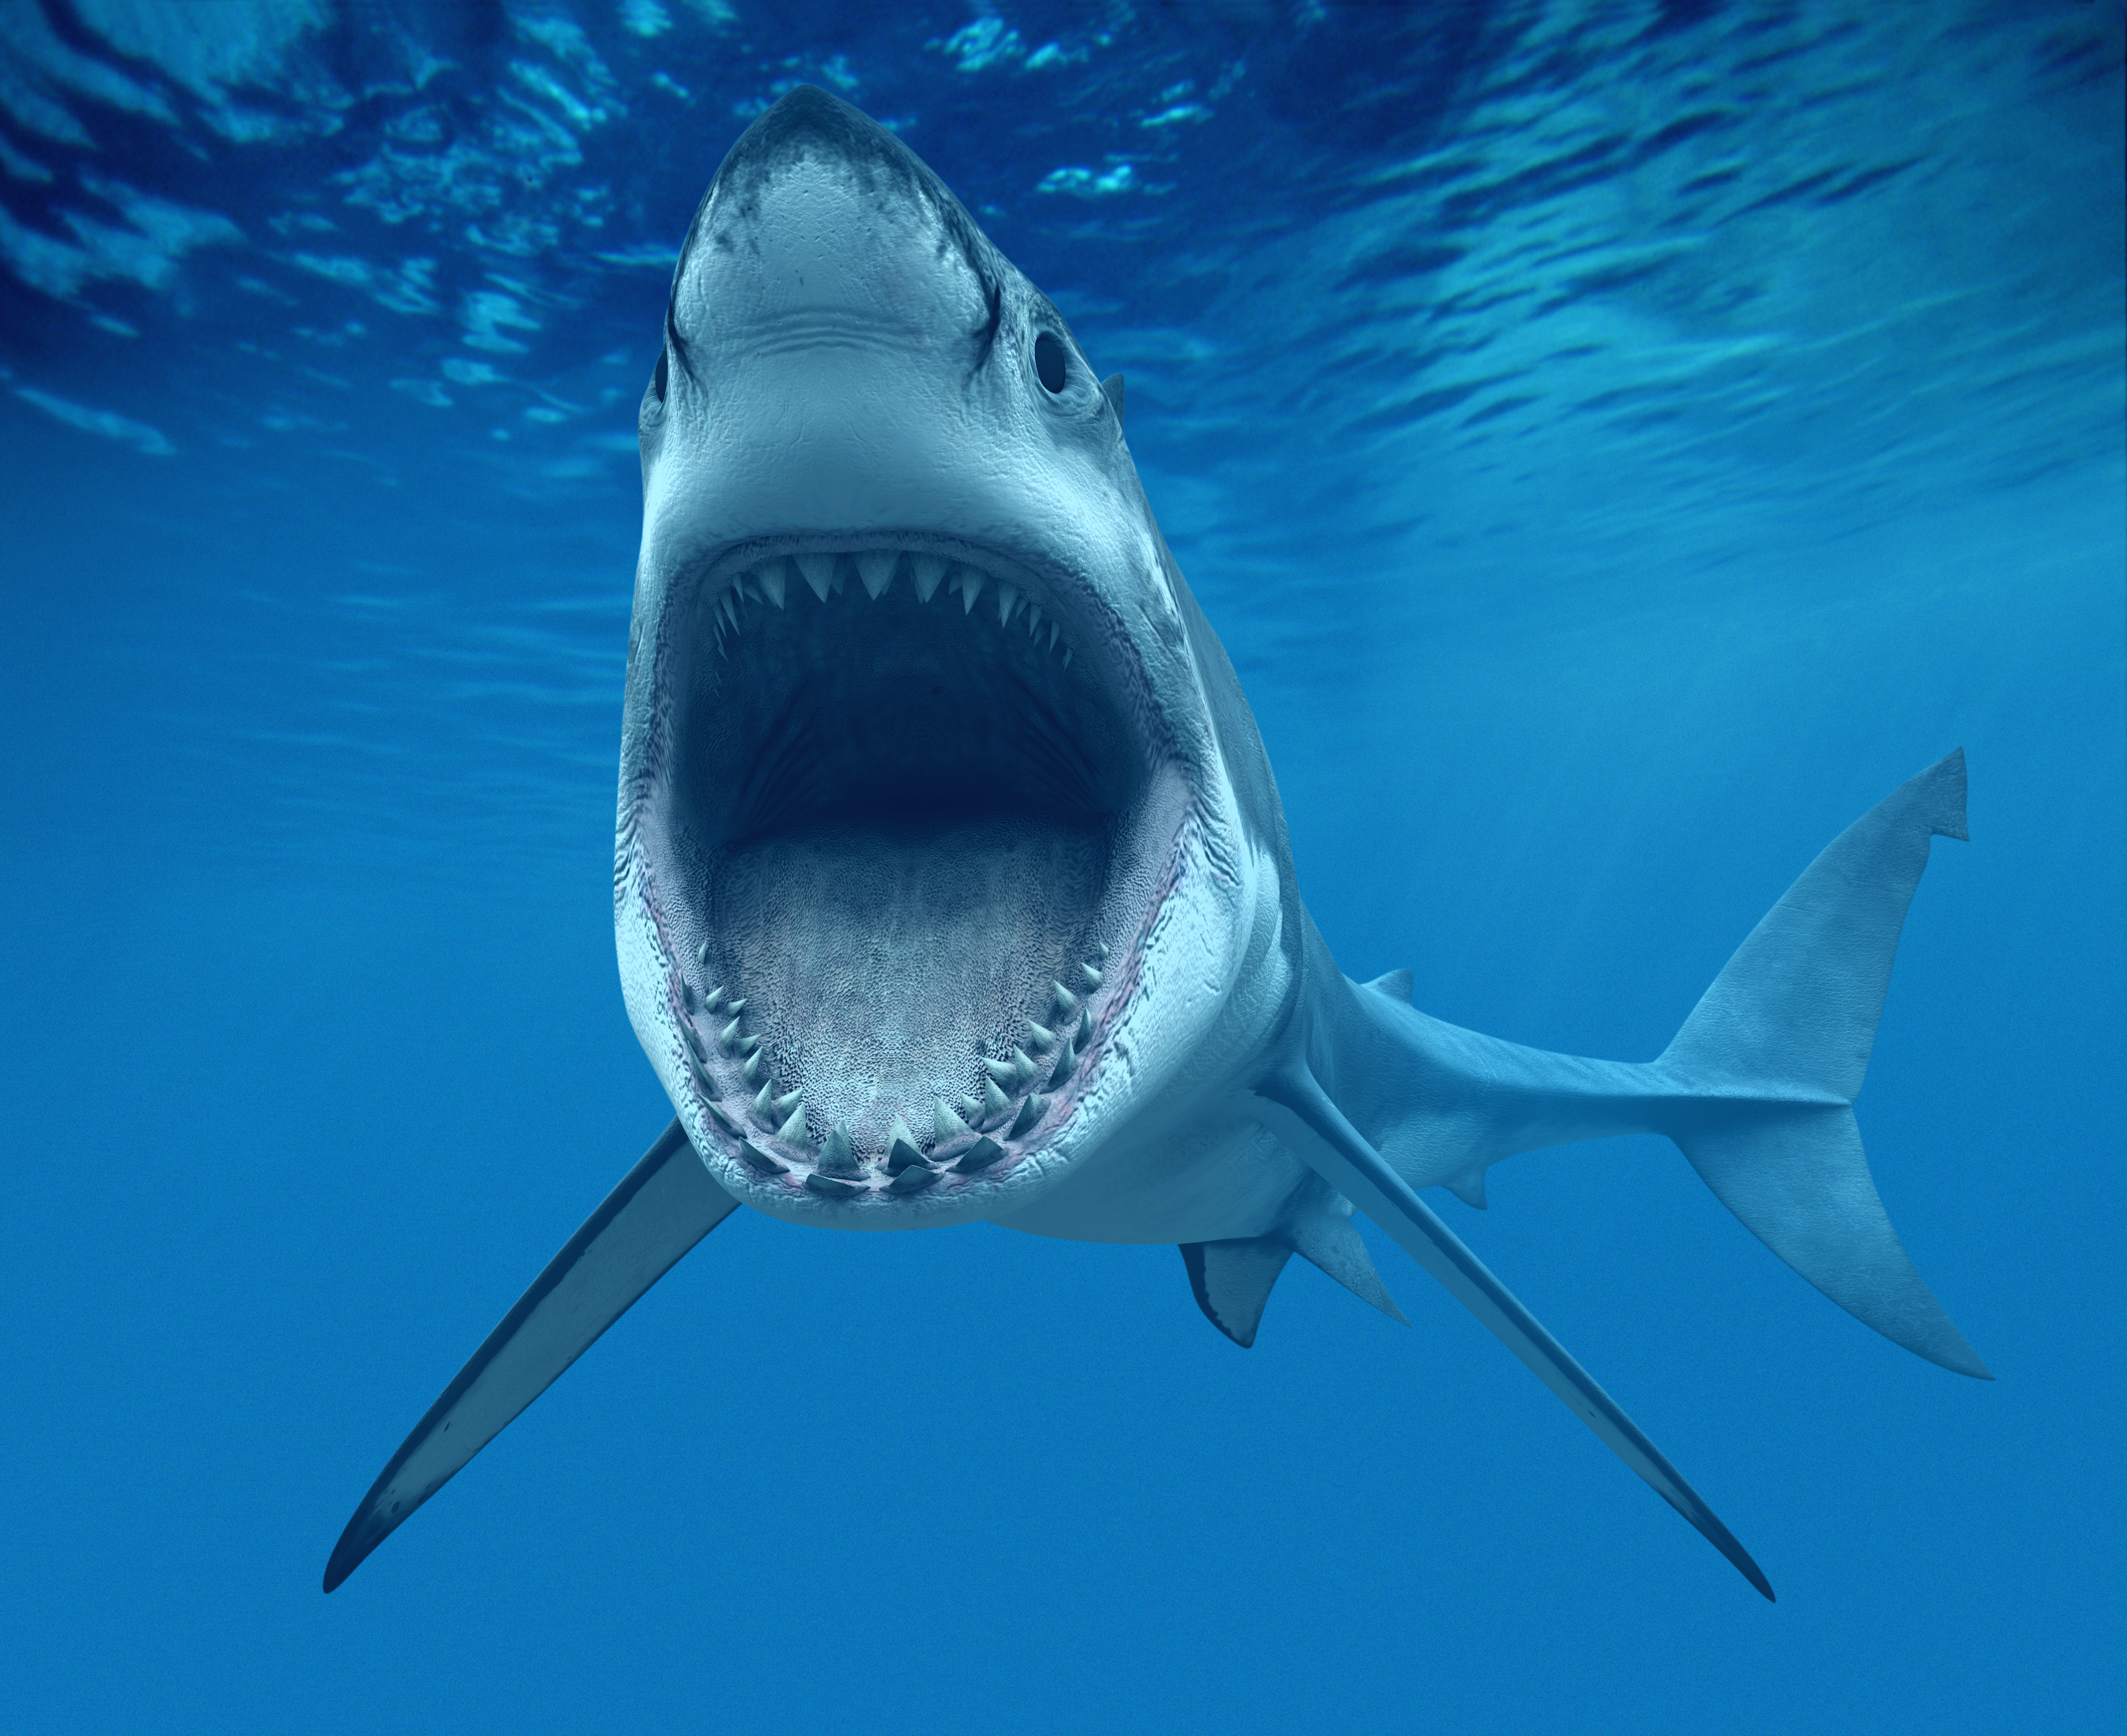
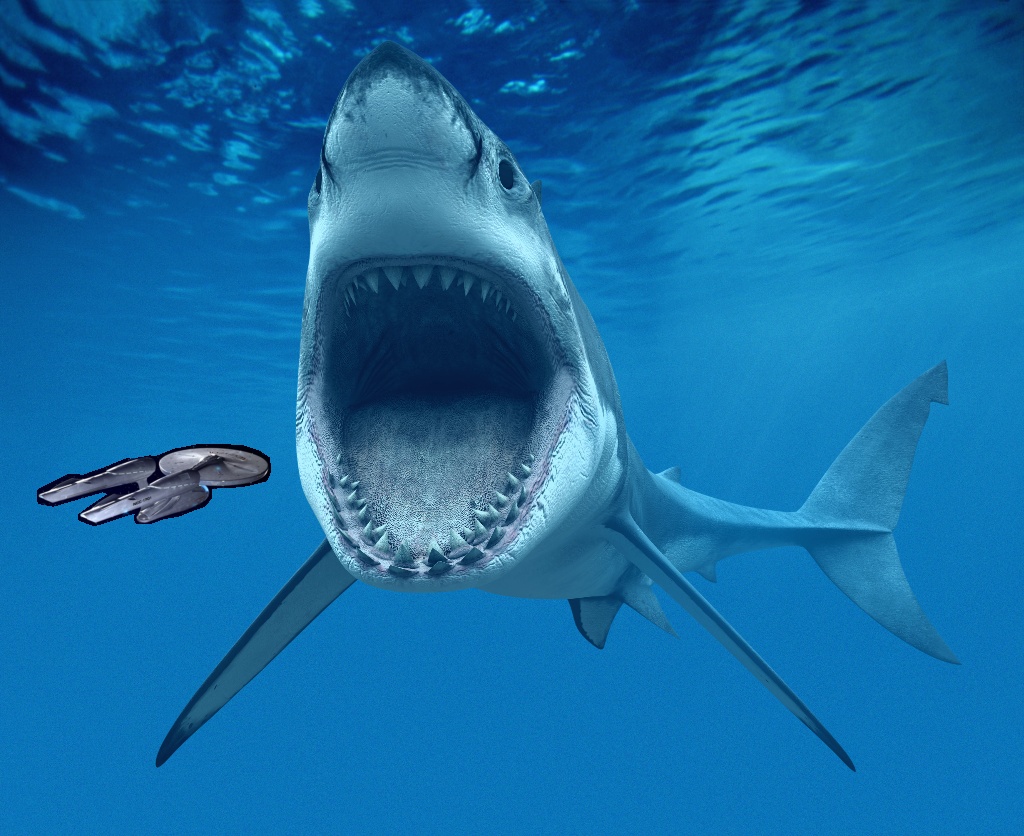
Part 1.4: Multiresolution Blending
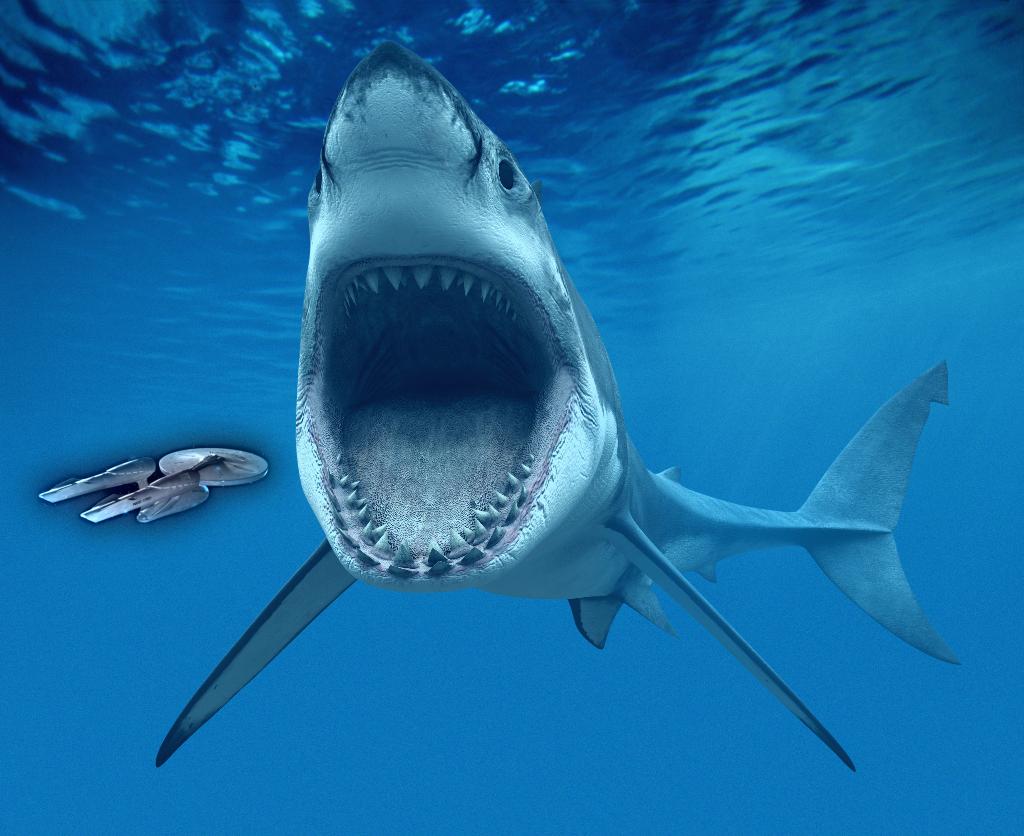
In this part, I blended a picture of an apple and orange. To do this, I created a laplacian stack of each color channel. I created a mask of all 1's on the left, and all 0's on the right, and created a laplacian stack of that mask. I multiplied the stacks together, and summed them, resulting in the image below. The last picture with the Enterprise entering the shark's mouth, uses an irregular mask. The other two blend the images down the middle, but the Enterprise mask encircles the Enterprise, and nothing else.
Bells and Whistles: I was able to blend the images in color as an extra touch.
|
|
|
Part 2
In part 2, we learned how to splice one part of an image onto another image. To make the transition seamless from one image to the other, we had to implement poisson blending. To do this, I defined a mask around the source image. I then created a minimization problem to set the gradients from pixel to pixel of the new image to be as close to the source image. Finally, I set some constraints for the value of the boundary pixels to be equal to the target image, so that the transition would not be jagged.
Part 2.1 Toy Problem
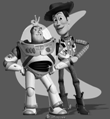
For Gradient Domain Processing, I reconstructed the toy story image by anchoring the top left pixel from the source image to the new image. Since there are no "boundary" pixels as defined above, the new image should exactly match the source image.
|

|
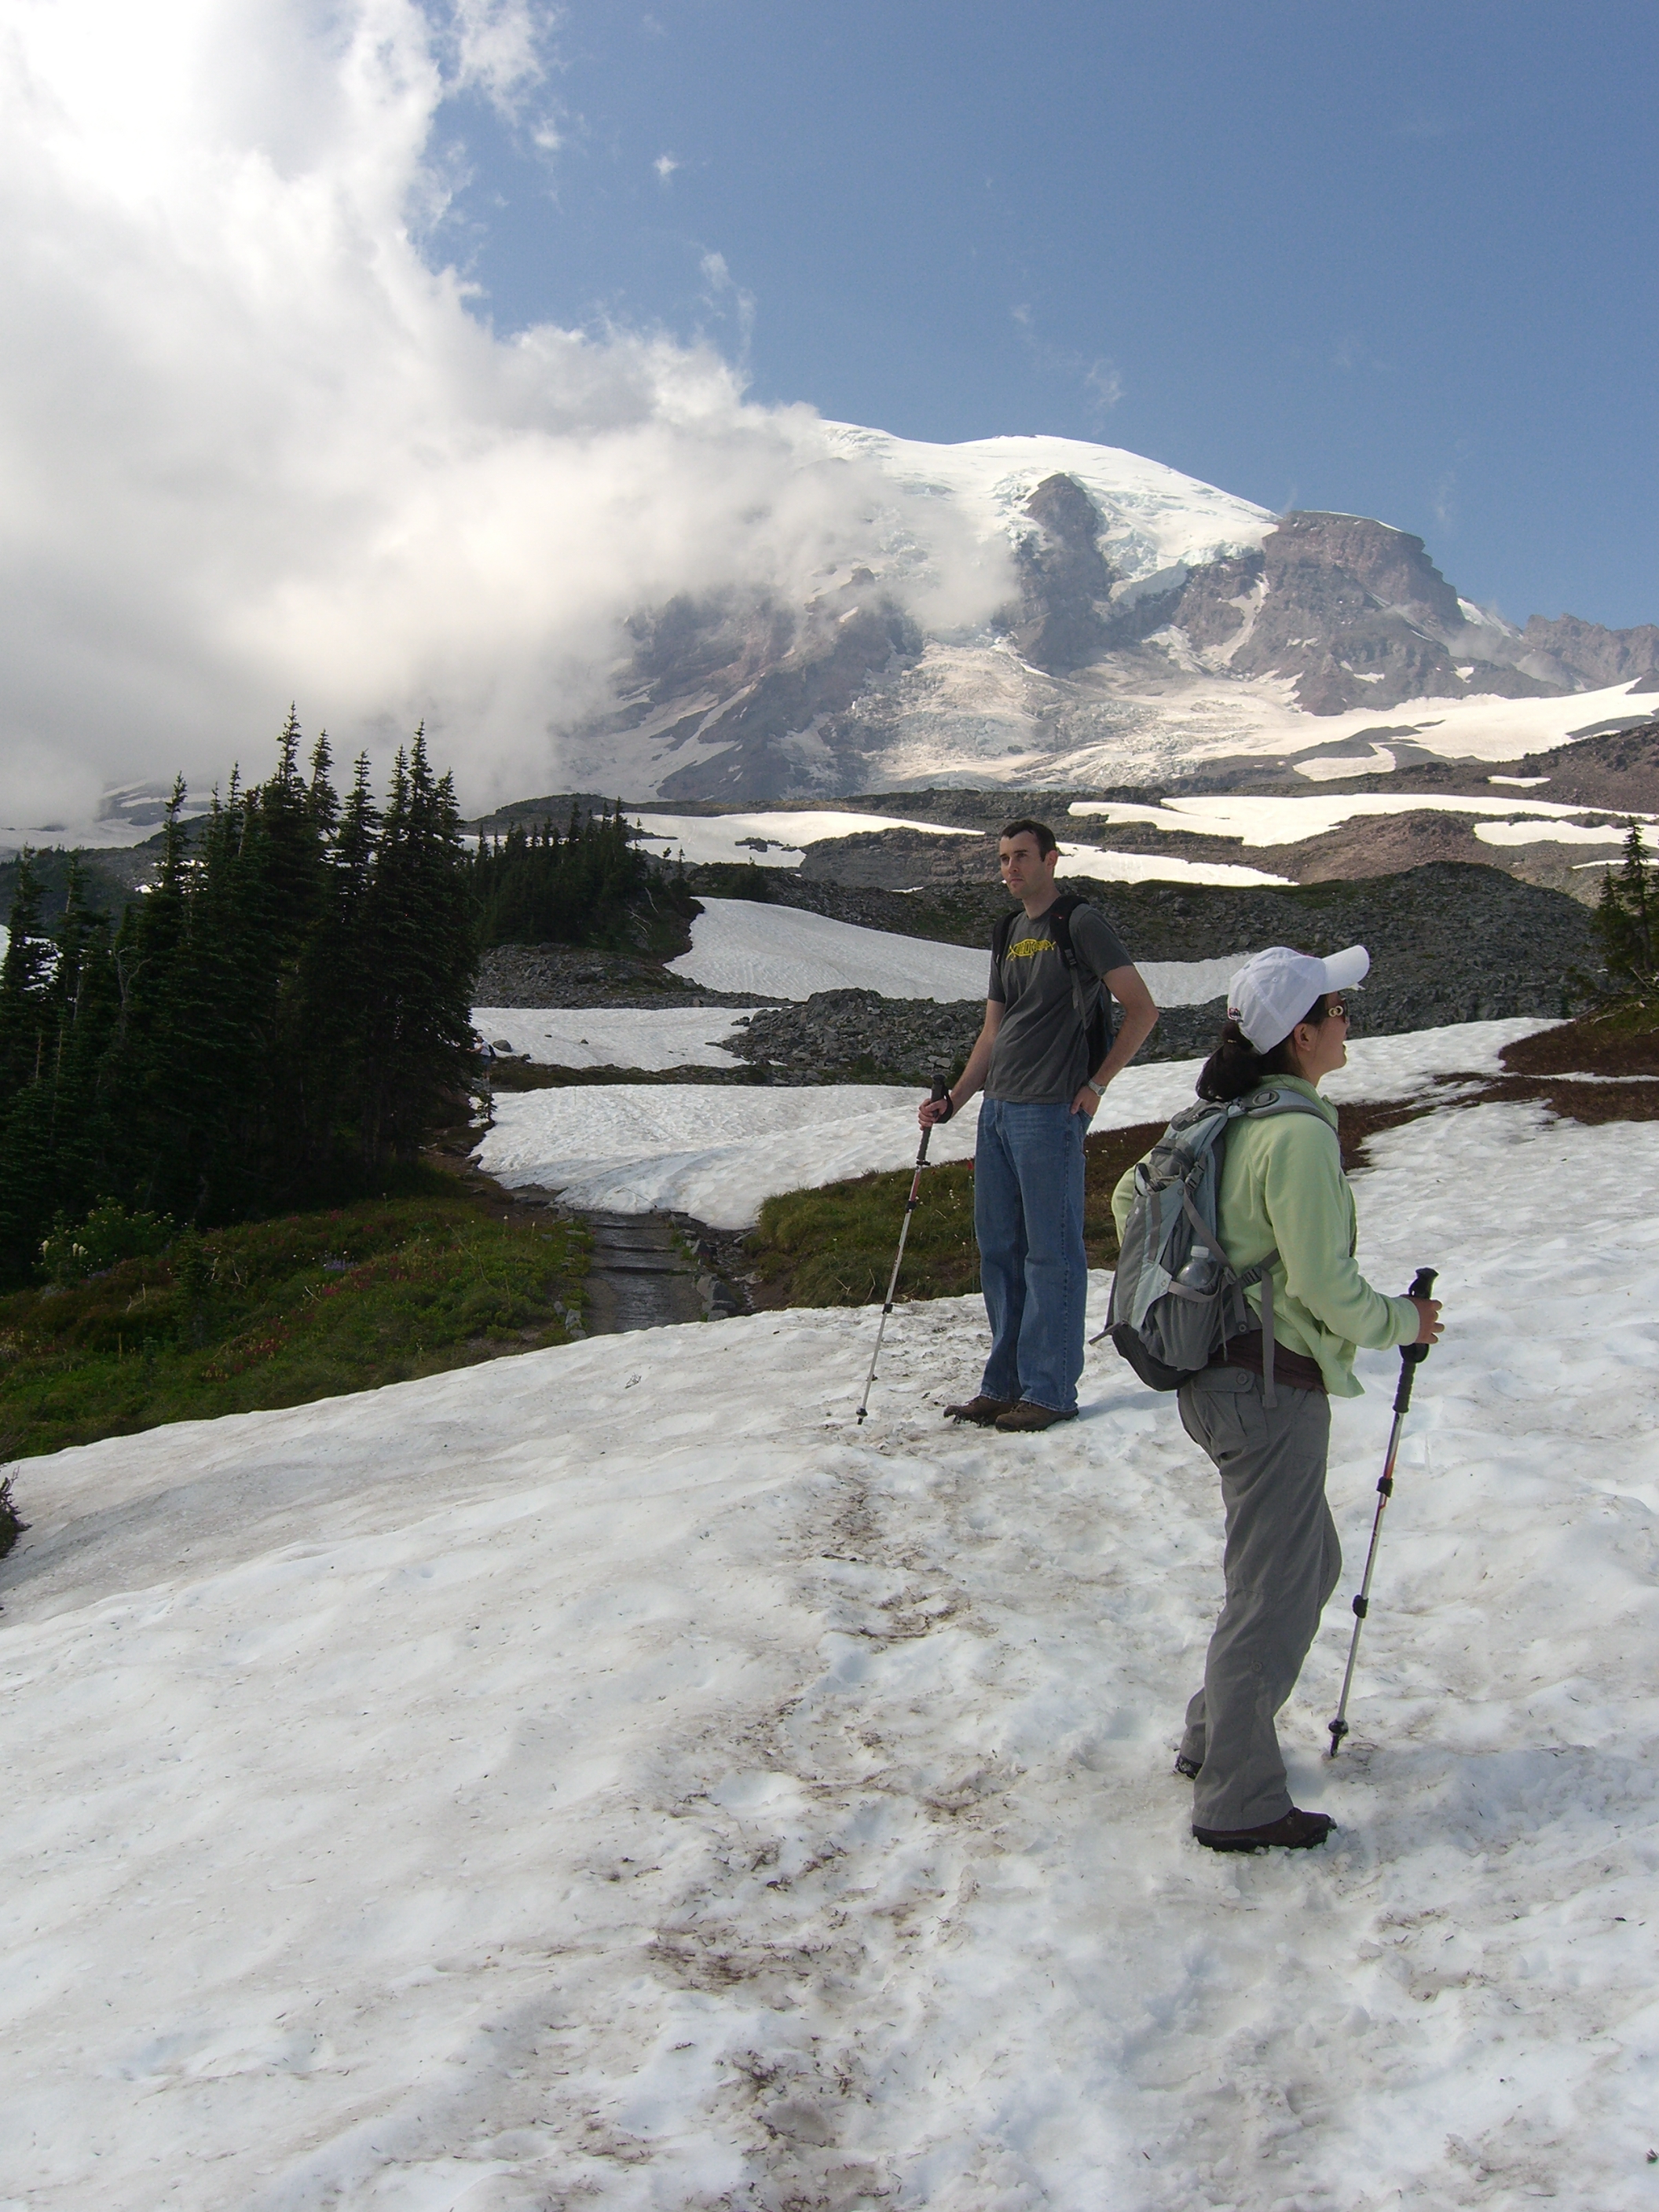
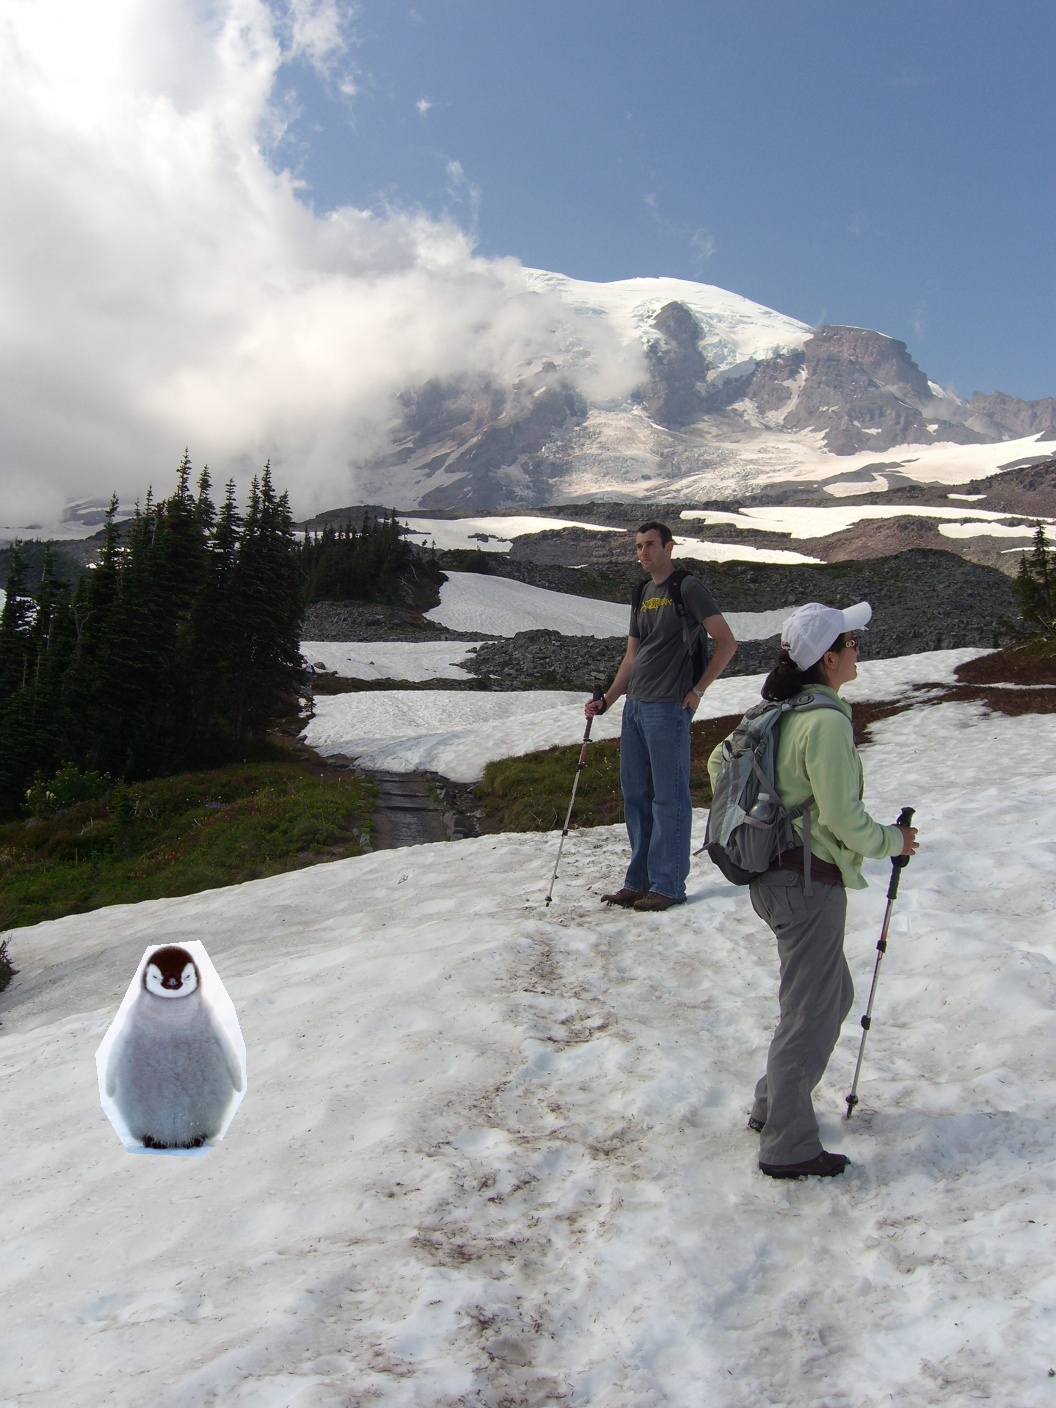
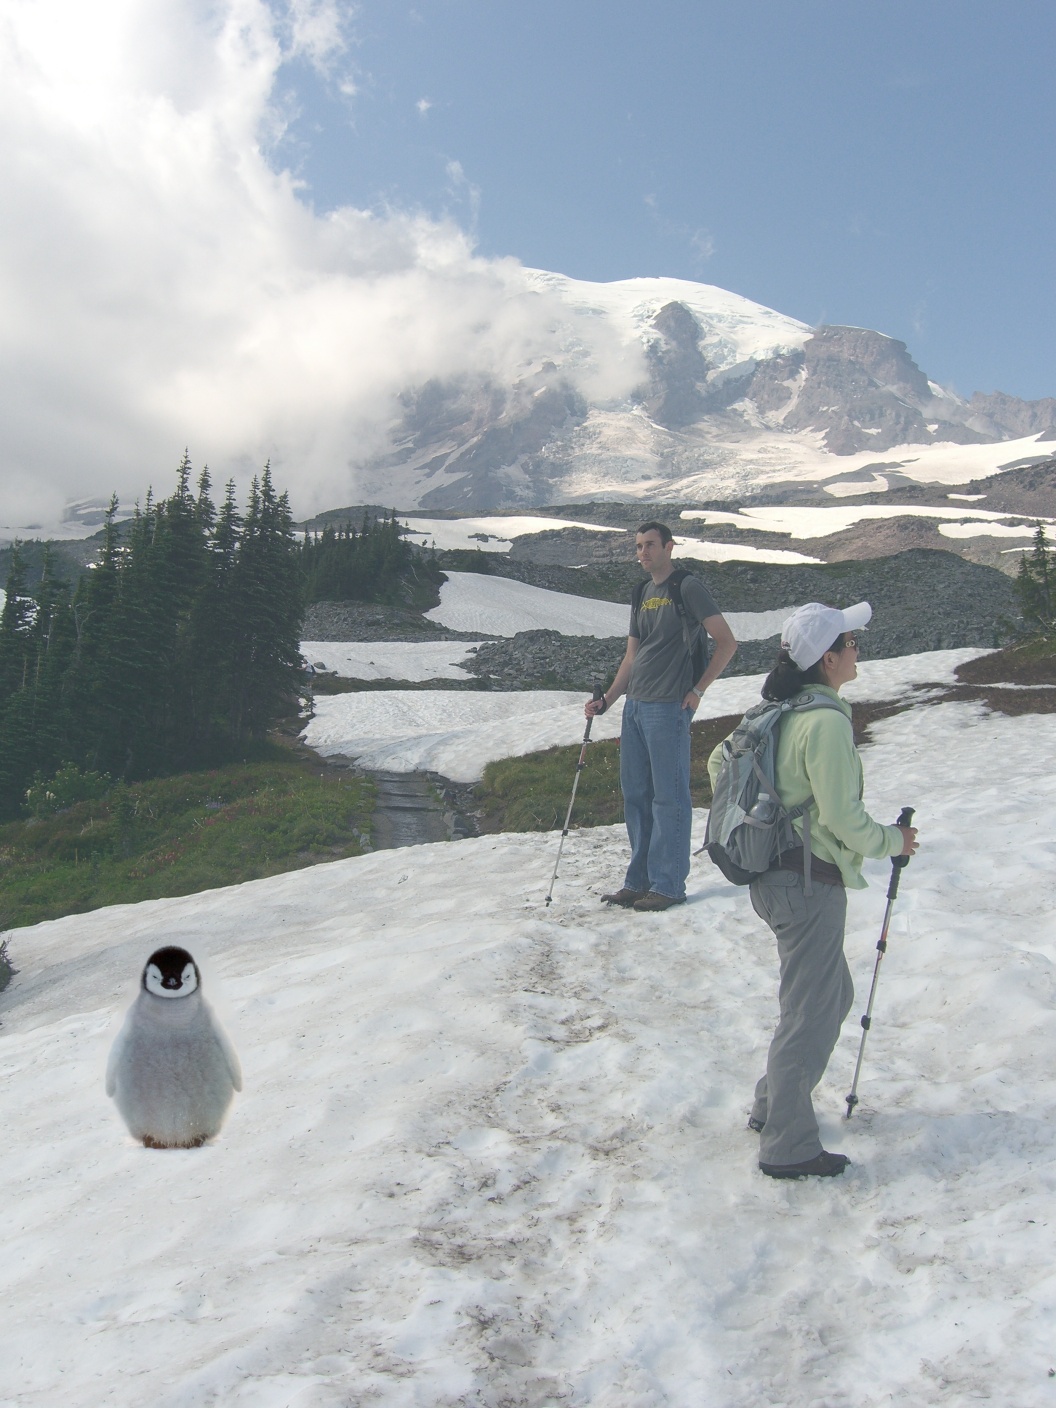
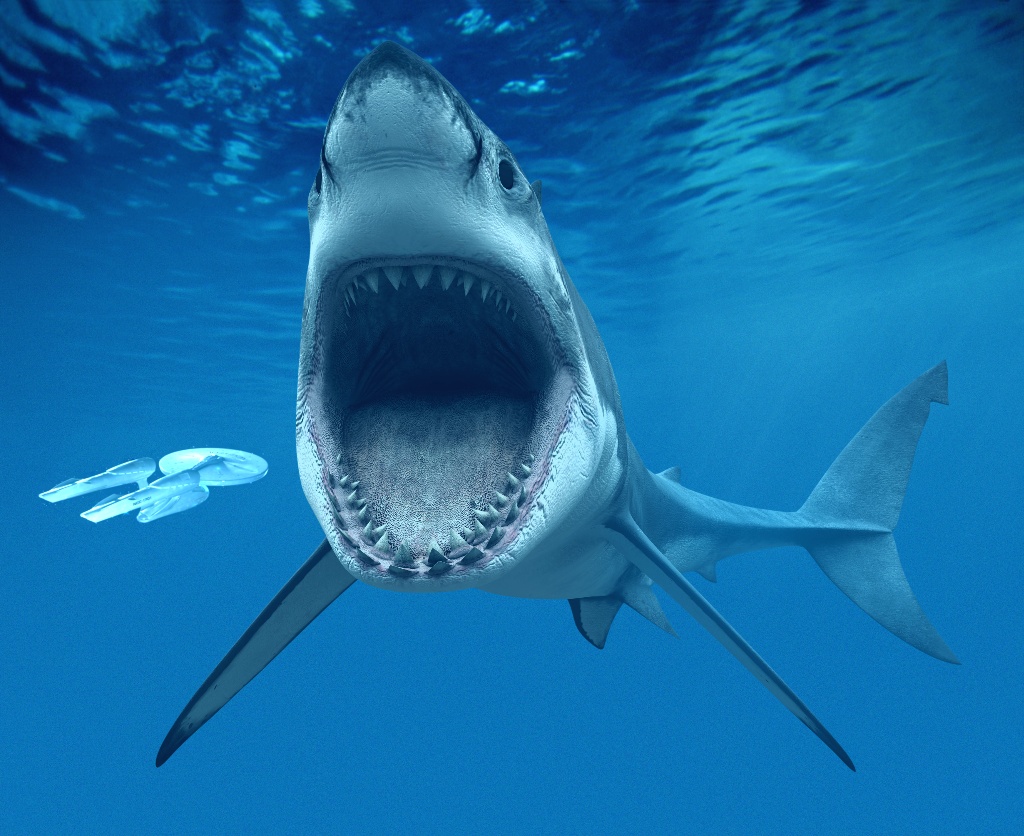
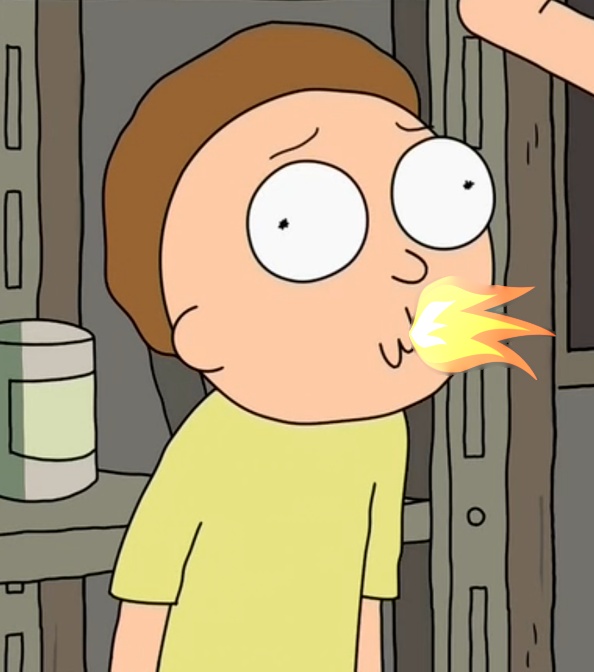
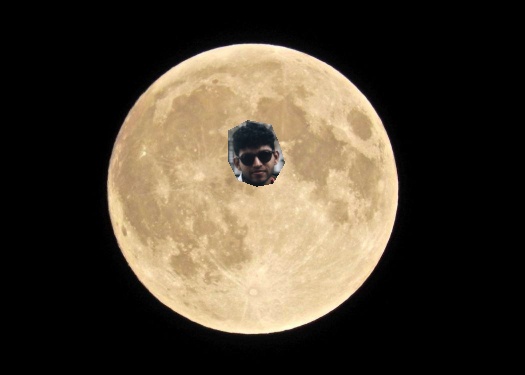
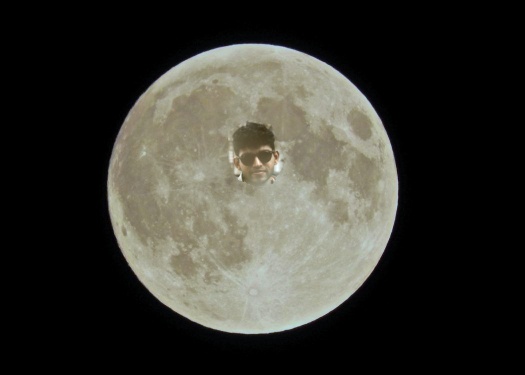
Part 2.2 Poisson Blending
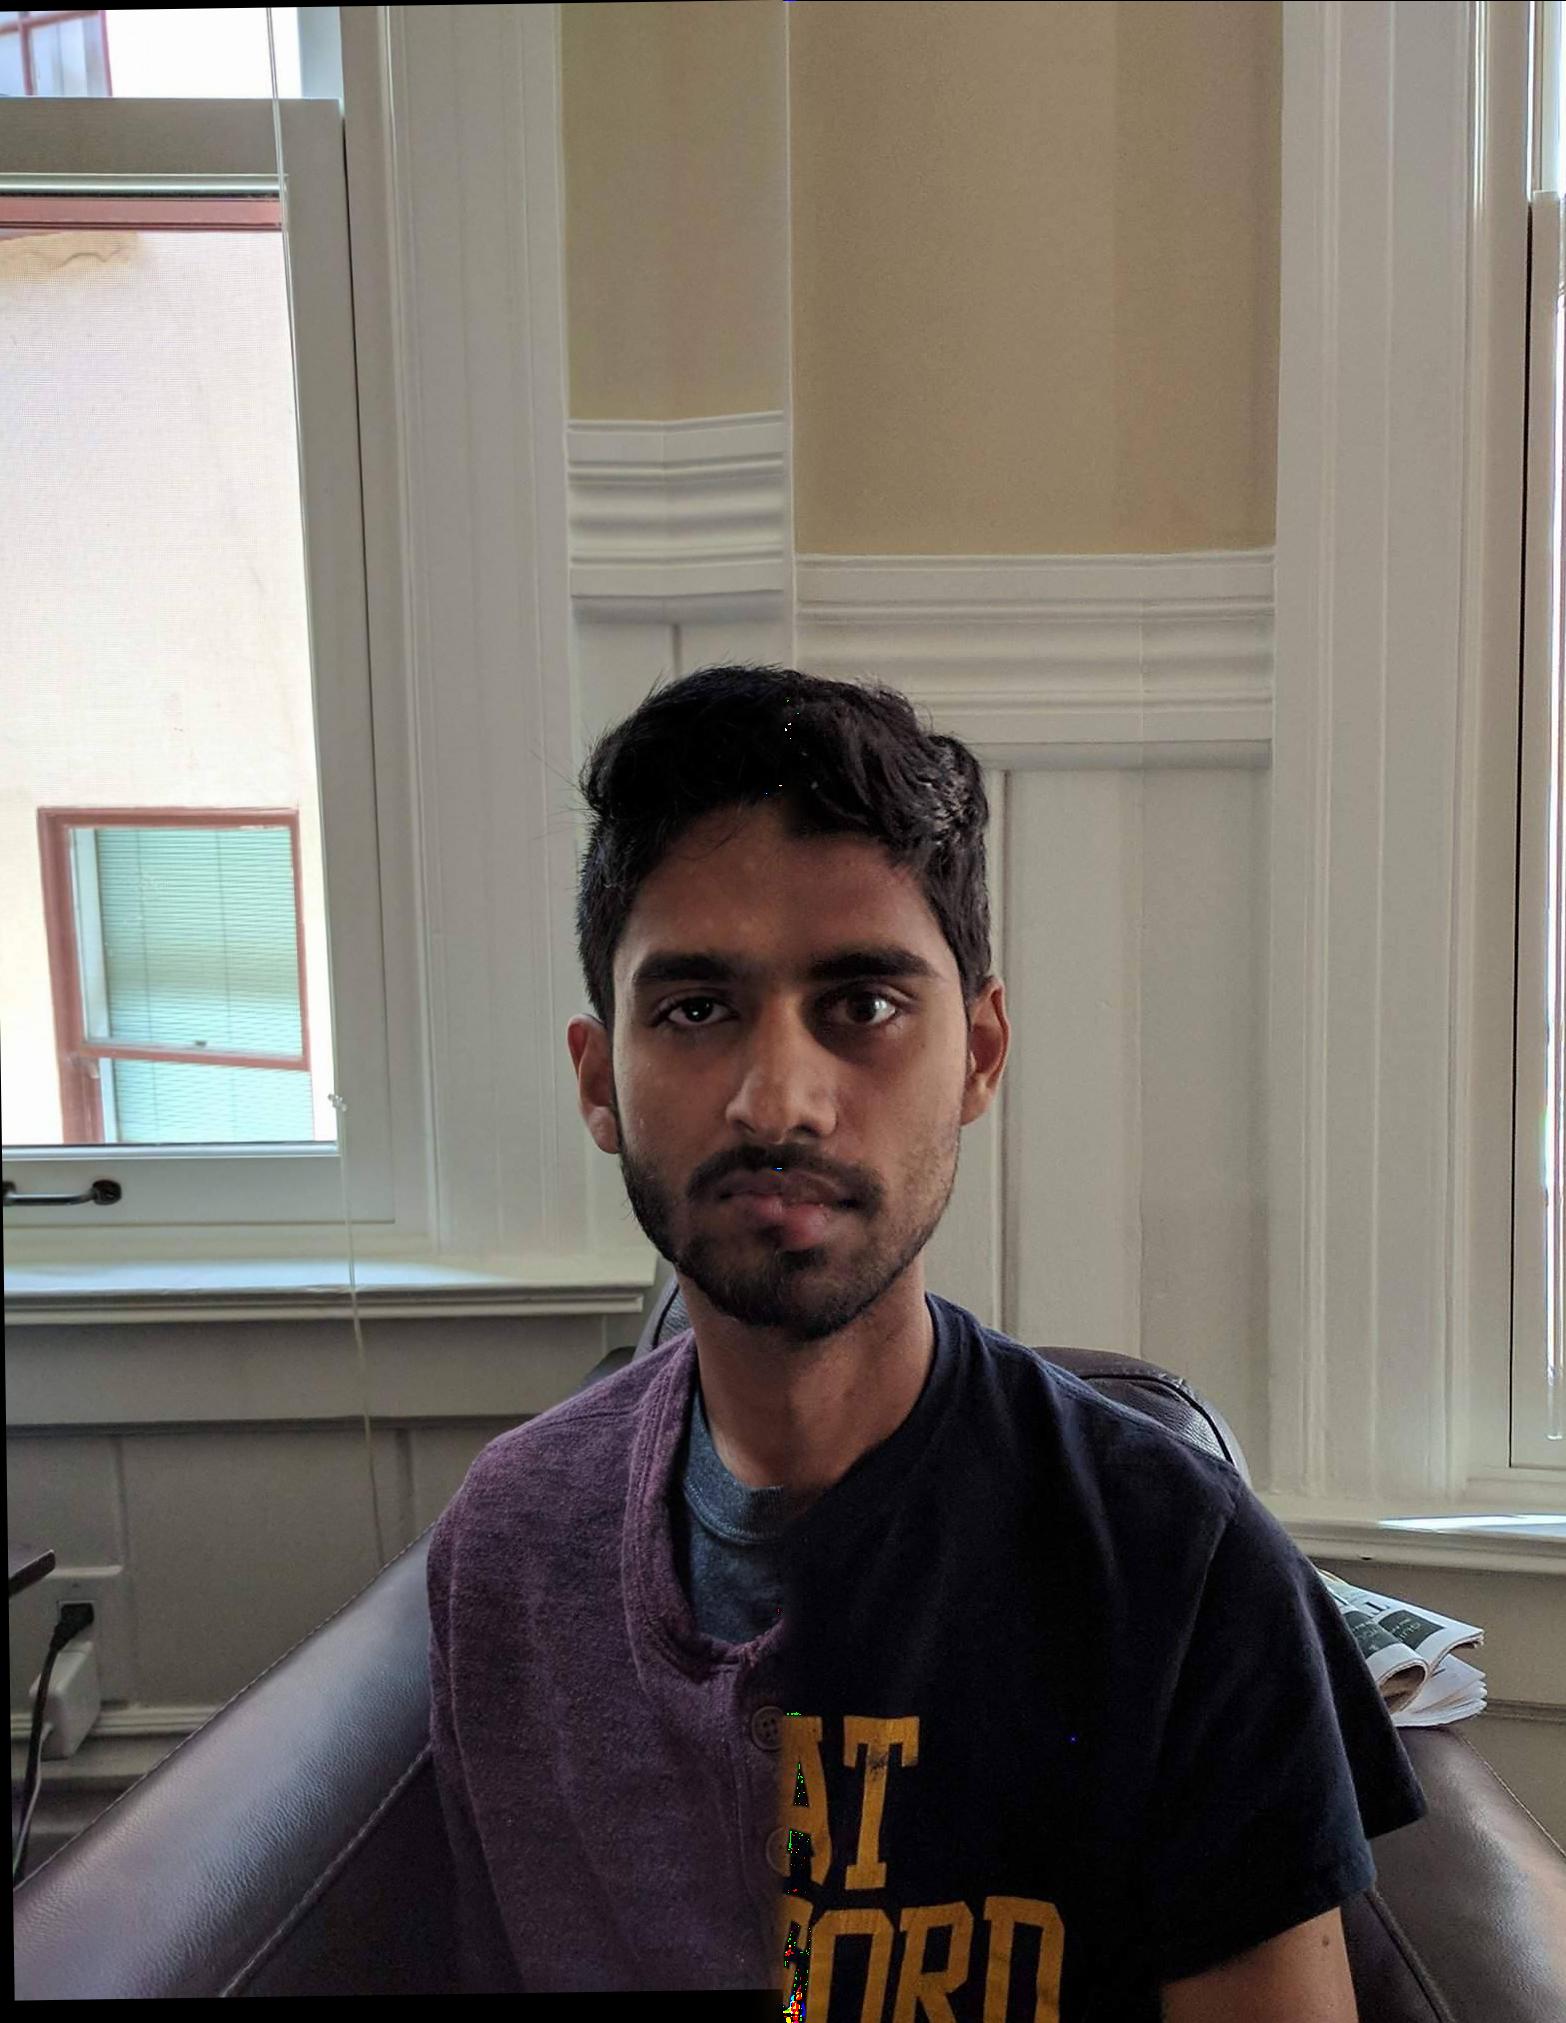
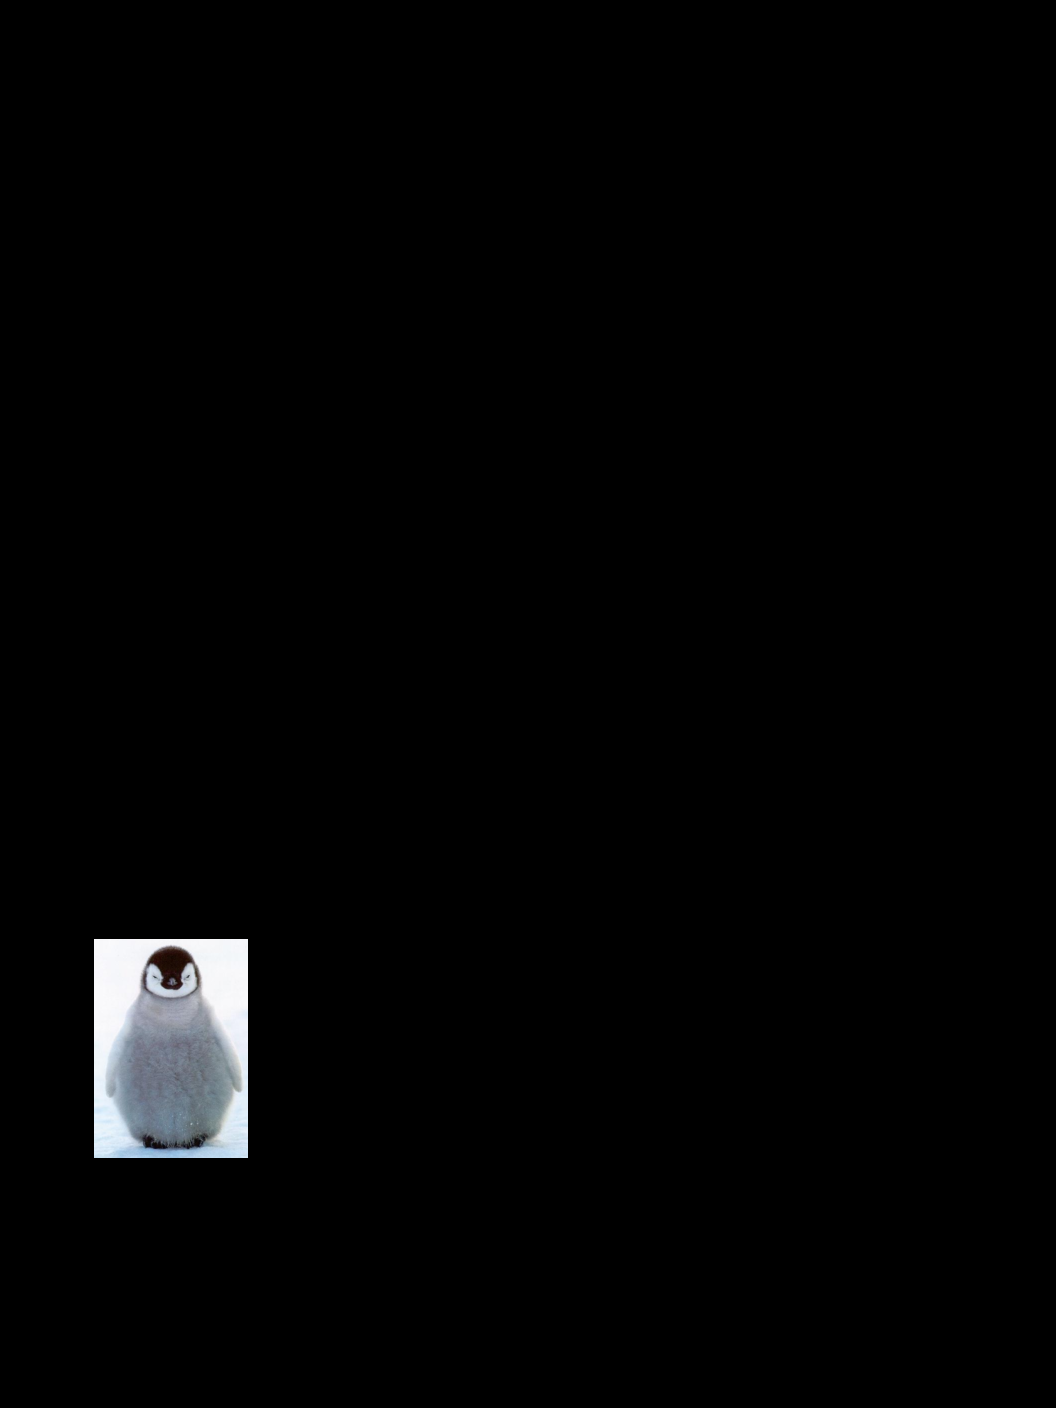
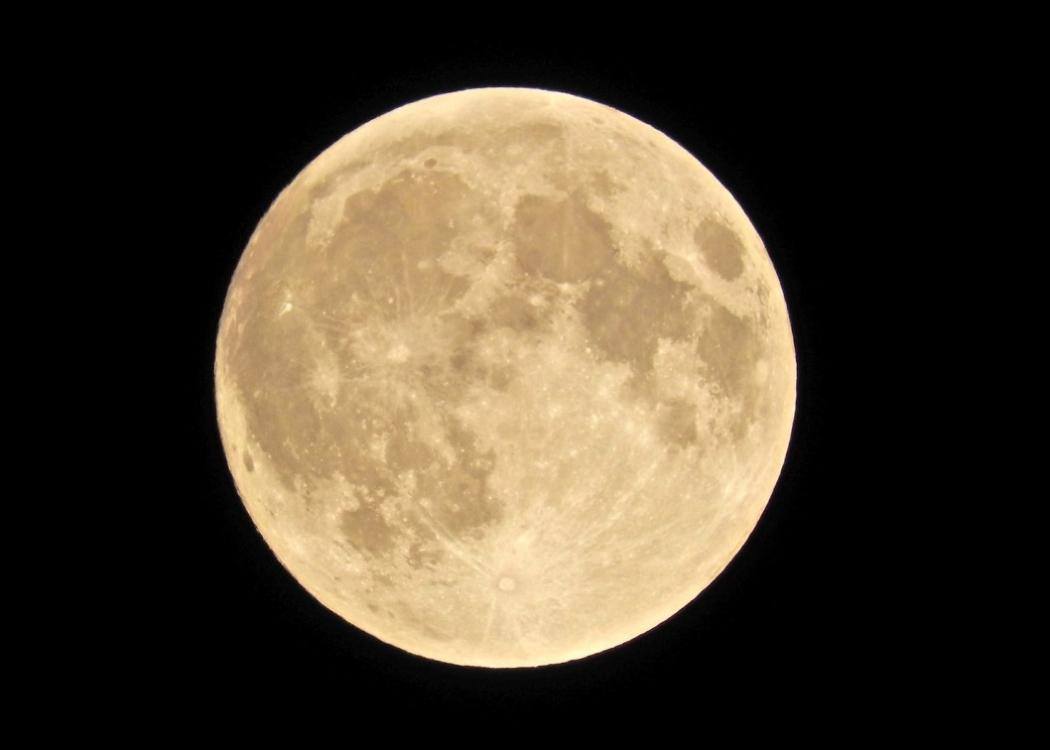
In this part of the project I basically had to implement what I described above in the part 2 description. The results are below. As you can see, it works well for the penguin in the snow, the enterprise entering the shark's mouth, and the flames coming out of Morty's mouth. However, it doesn't work as well on my roommate's face on the moon. This is because some of the pixels around his face are very dark, and some are very bright, and some are dark.
|
|
|
|
|
|
|
|
|

|

|
|
|
|
|
|
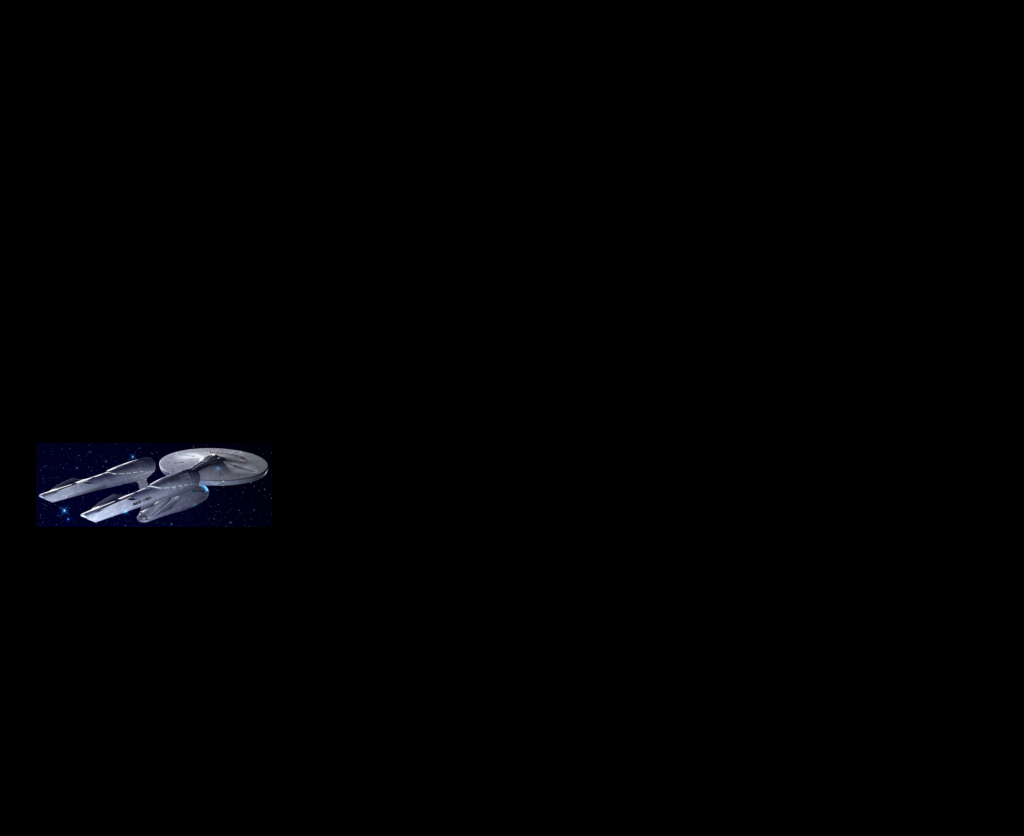
You can see that the enterprise is much better after using poisson blending rather than the multi-resolution blending. This is because the background of the Enterprise is black. You can blend it into the blue, but it still looks off because of a black haze around the Enterprise.
|
|
|