Gradient Domain Blending
George Geng
Sharpening an Image
First off, we can use gradients to sharpen an image! To find the "details" of an image, simply subtract the a gaussian-filtered version of an image from the original image. Then, we can add the detail back, scaled by a multiplier alpha, to retrieve a sharpened image. The algorithm is used to sharpen a picture of my sweet pup, Belle, here.
Blurred
|

Sharpened
|
Hybrid Images
We can also create hybrid images, which look different from closeup and far away based on how our eyes respond more to lower frequencies at a distance and higher frequencies up close. By overlaying a low-frequency image with a high frequency one we can create a picture that looks like one thing from close up and another from far away. To create the low frequency image, our low pass filter is simply the Gaussian filter. We create the high pass filter by subtracting a Gaussian filtered image from the impulse (original) image. Some results are shown here.
Here we have a picture of Derek and his cat Nutmeg. By applying a lowpass filter to Derek with a σ of 6 and a highpass to Nutmeg with a σ of 8, we get the following hybrid image!
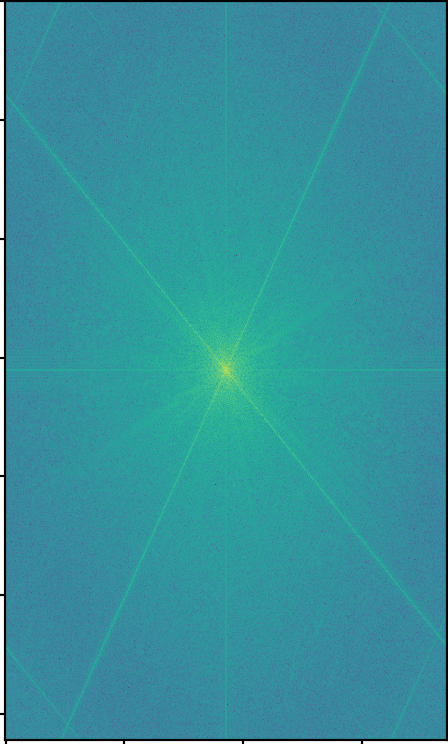
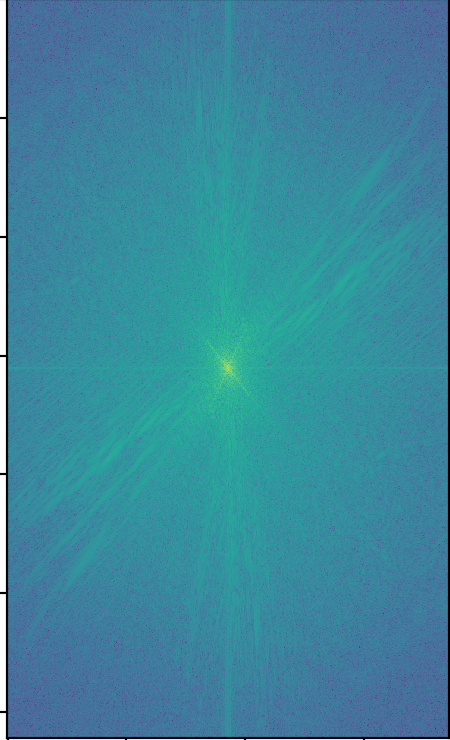
One thing is that in the Frequency Domain, the final image should have its center from the low frequency image and the borders of the high frequency image. Here are the Fouriers of Derek and Nutmeg and the final image.
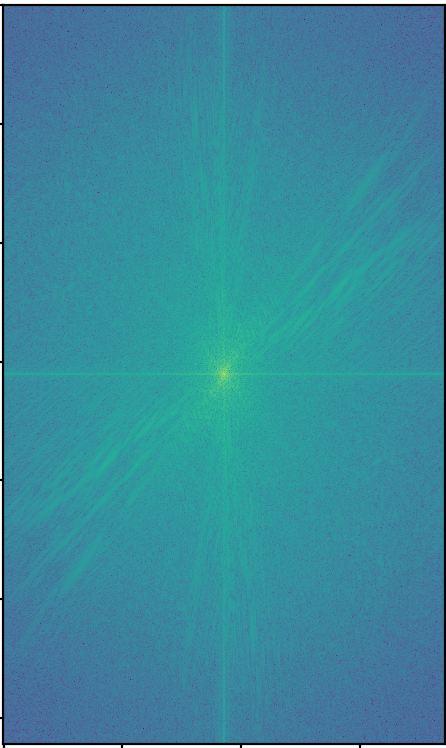 Derek Fourier
 |
 Nutmeg Fourier
 |
 Combined Fourier
 |
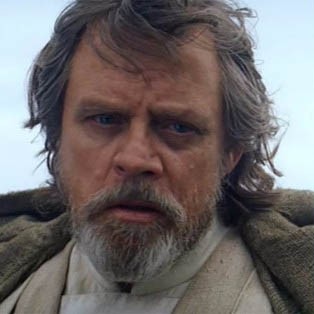
This approach was used to blend some other fun images, with color. There's the theory that Rey from the new Star Wars theory could be related to Luke.
Does the Rey Skywalker theory hold water? This is what their hybrid looks like, with a lowpass on Rey with 3 σ and a highpass on Luke at 4 σ. See how it looks like Rey when zoomed out and more like Luke when zoomed in!
 Rey Skywalker
|
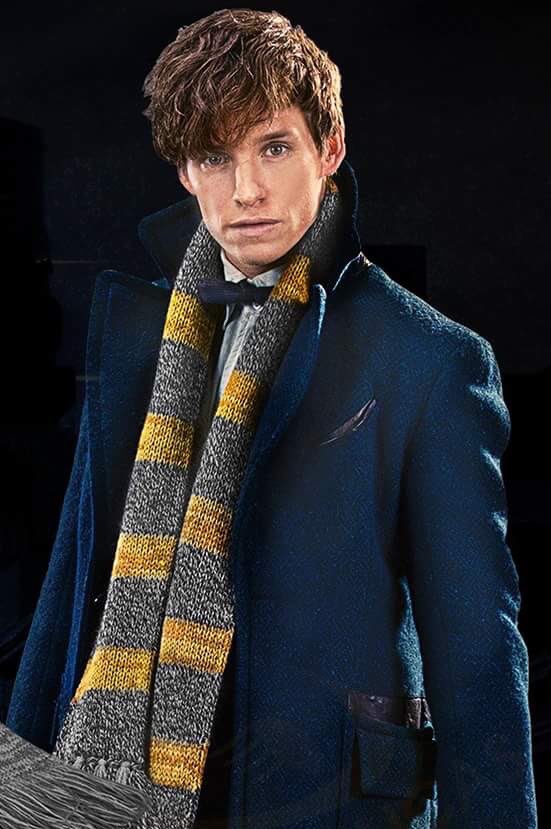
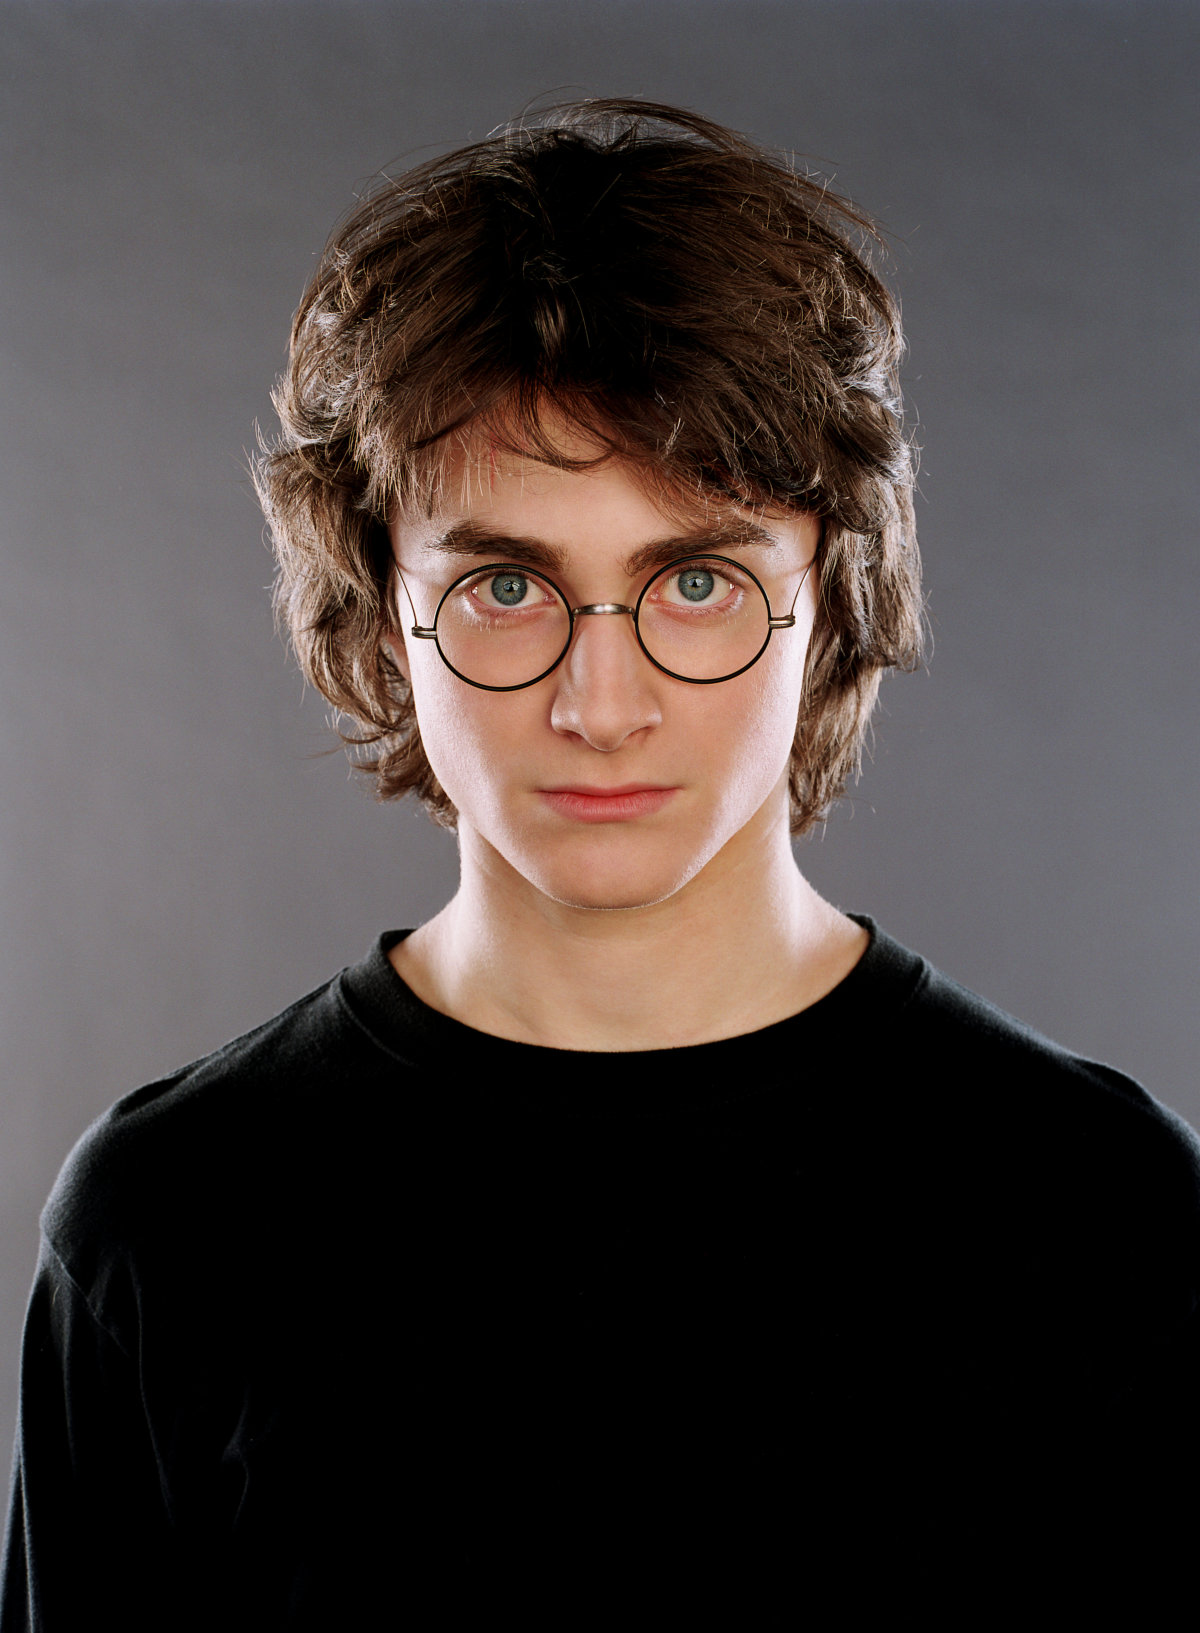
What happens if we combine two of our favorite heros from J.K. Rowling's universe?
A Harry-Newt hybrid, with a lowpass on Newt with σ = 3 and a highpass on Harry at σ = 4=. Again, this looks like the boy who lived and conquered Voldemort from closeup, and an especially soft boy who likes animals from far away!
 Newt Potter
|
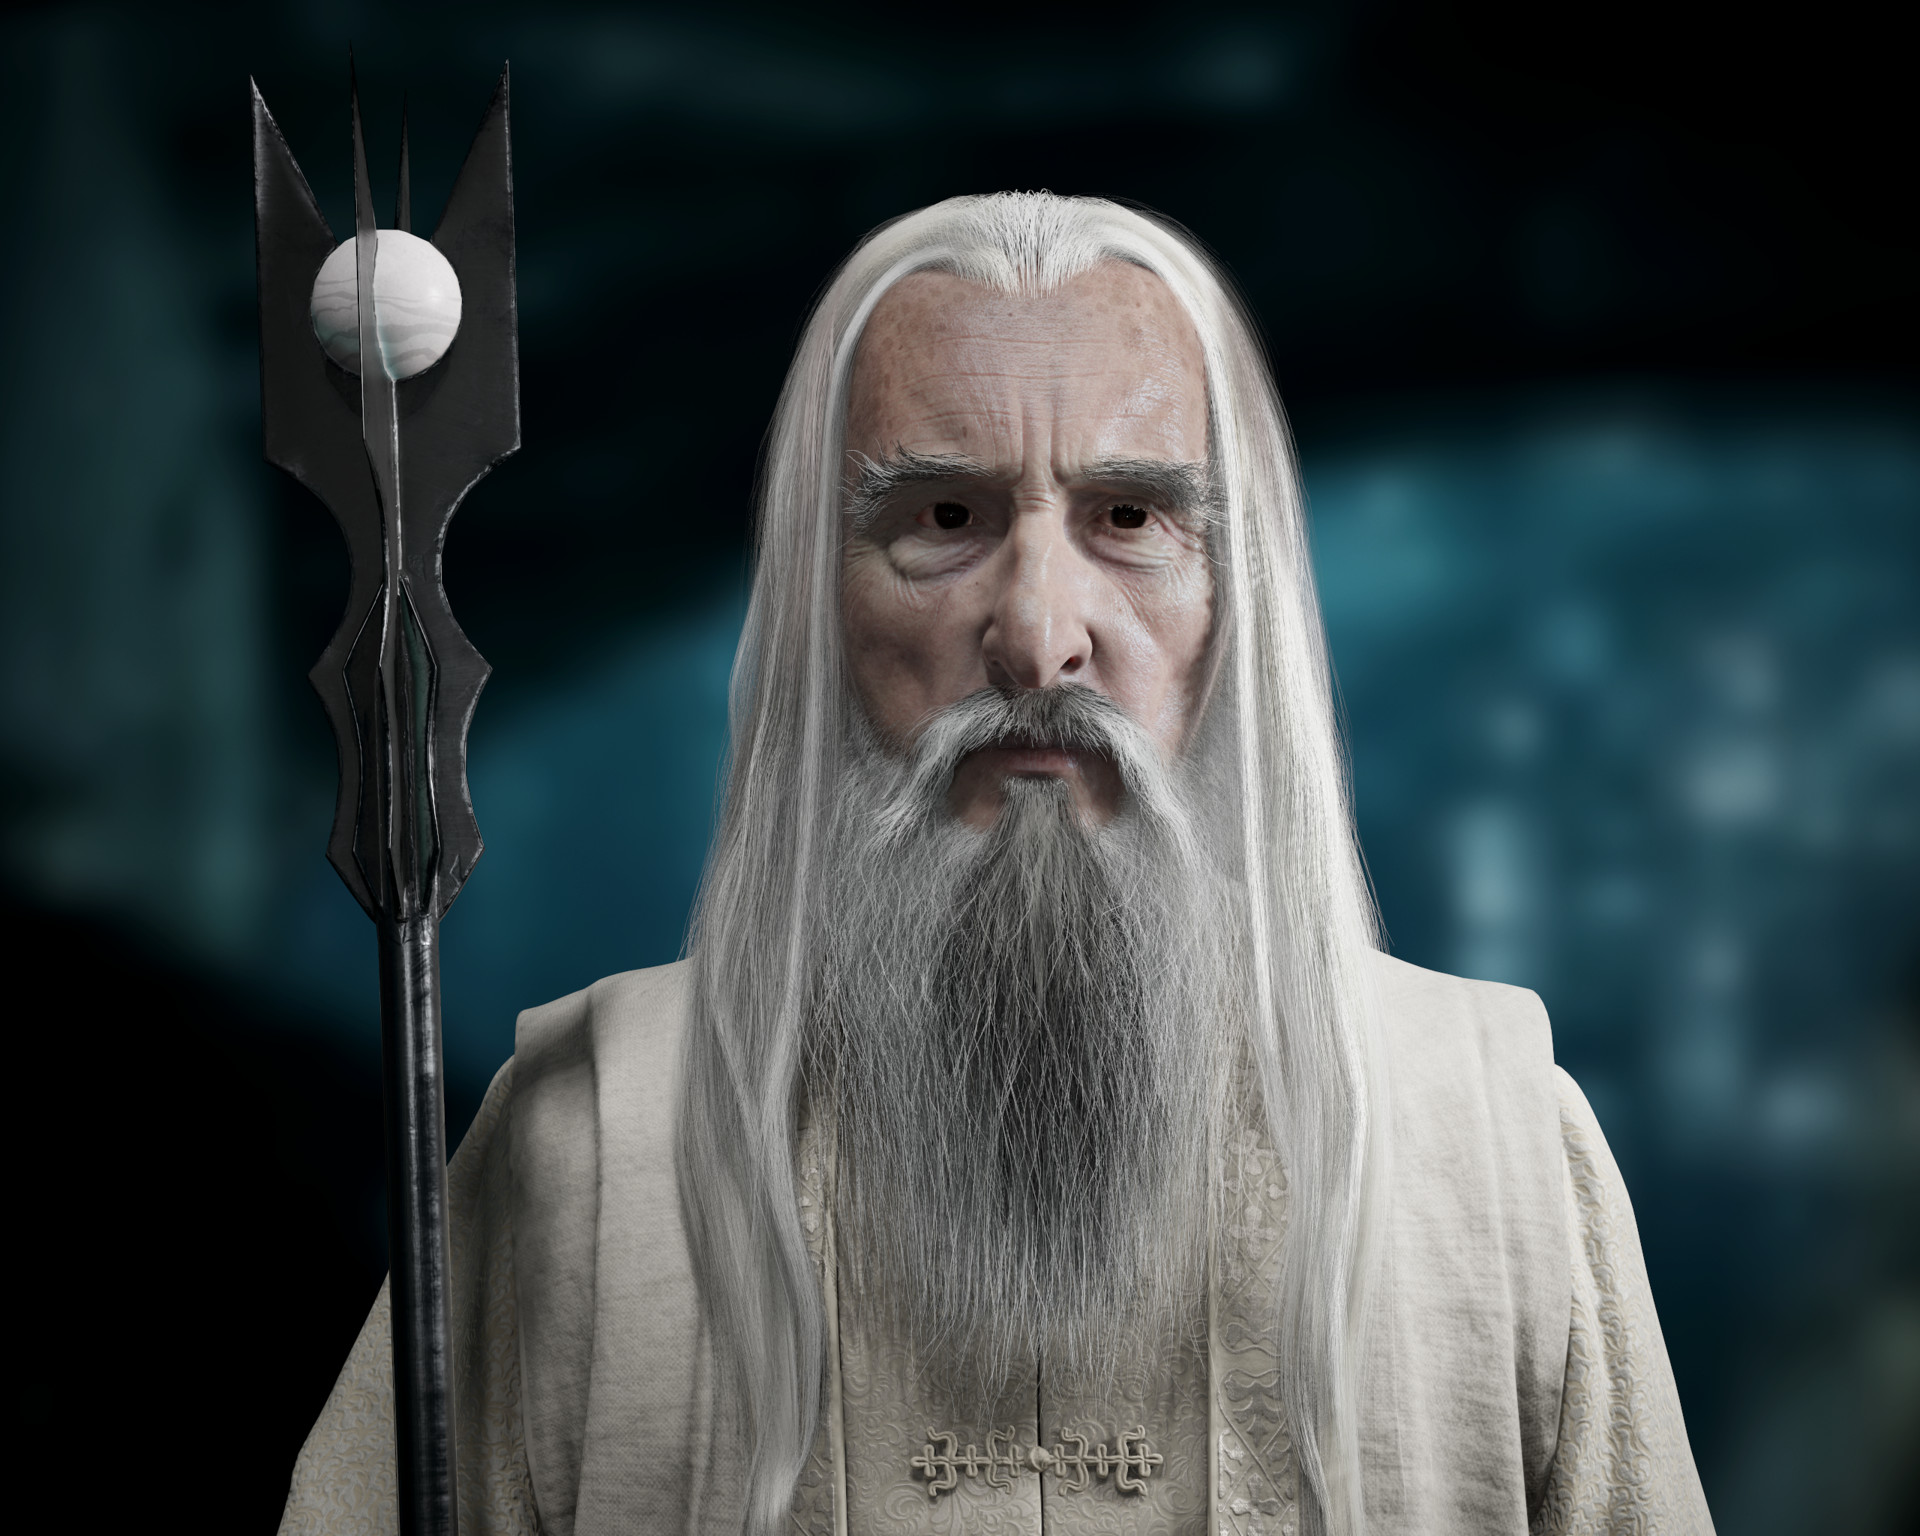
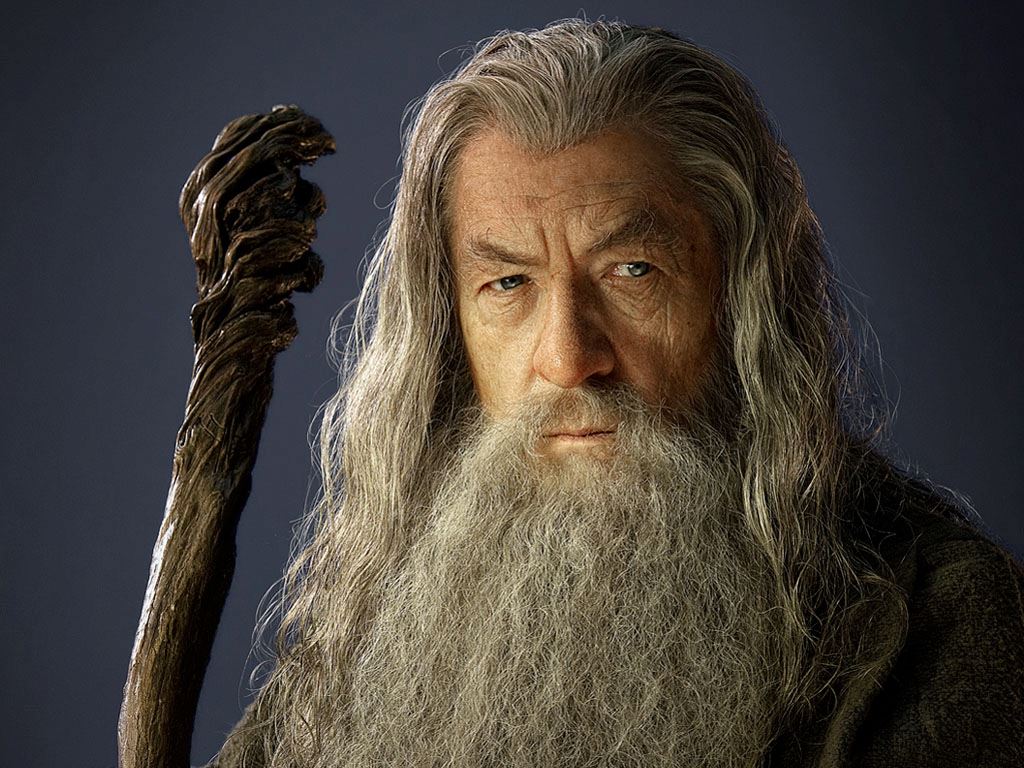
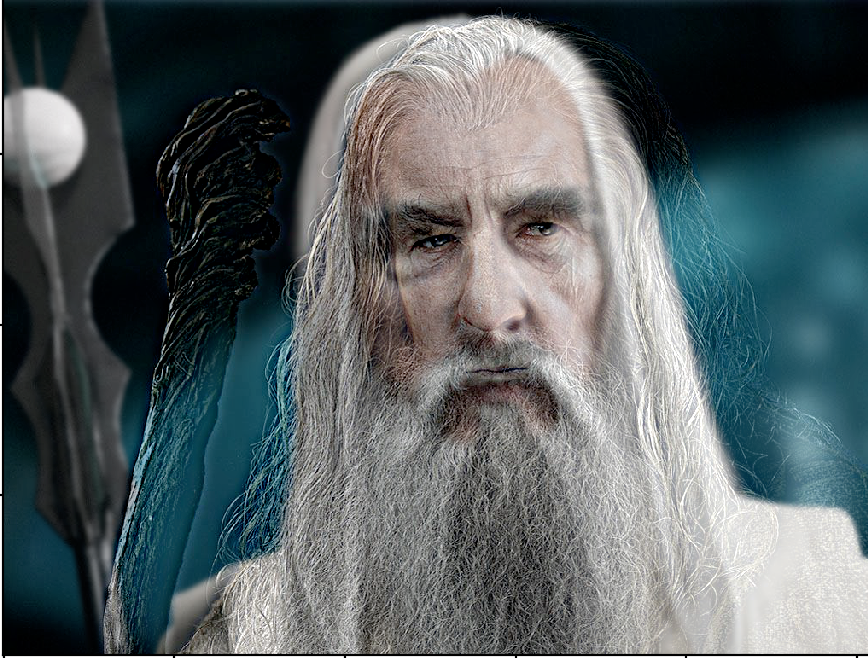
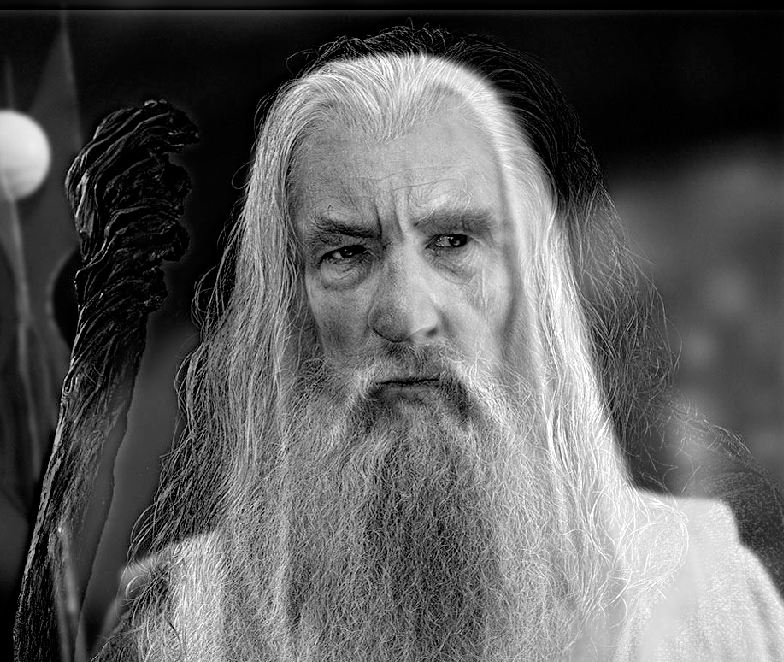
Now we can finish off the holy trinity of fantasy stories with Lord of the Rings. We combine Saruman (lowpass, σ = 6) and Gandalf (highpass, σ = 3).
Again, from closeup it looks like Gandalf and from far away, it looks like Saruman. The blending for this image, while it might have looked better in black and white, looks a bit off in color due to the contrasting hue values between the original images (Saruman's image is far more saturated and eyecatching than Gandalf's.) I combated this issue slightly but using a larger blur radius on Saruman, but the overall best blend out of the 3 goes to Rey and Luke, which had both characters in similar poses and in similar lighting conditions.
 Two Wizards
|
But, see how satisfying the results are when we blend the black and white versions of Gandalf and Saruman instead!
 Lord of the Rings BW
|
Gaussian and Laplacian Stacks
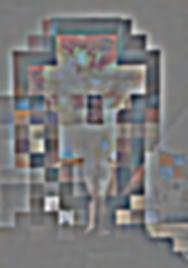
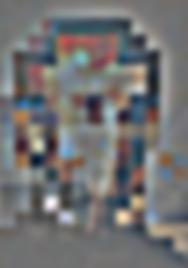
We can use Gaussian and Laplacian stacks to create even better blended images. The Laplacian stack is created by take the difference between consecutive levels of the Gaussian stack, and the original image can be recreated the Laplacian stack if we have the image from the lowest level of the Gaussian stack as well. The gaussian stack for Dali's famous painting, Lincoln in Dalivision. is shown below:

n = 1, σ = 2
|
n = 2, σ = 2
|
n = 3, σ = 2
|
n = 4, σ = 2
|

n = 5, σ = 2
|
Lincoln Gaussians
The first image in the Gaussian stack begins with σ of 2, and we simply double the σ at each level to increase the blur radius. From the Gaussian stack, we generate the Laplacian stack below by subtracting adjacent levels, and include the final Gaussian image as well because it is needed to reconstruct the original.
l1 = gauss2 - gauss1
|
l2 = gauss3 - gauss2
|
l3 = gauss4 - gauss3
|

l4 = gauss5 - gauss4
|
Final Gaussian image
|
Lincoln Laplacians
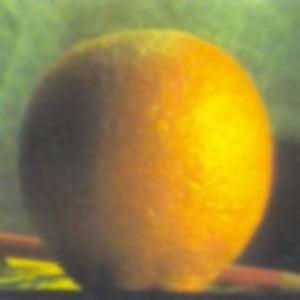
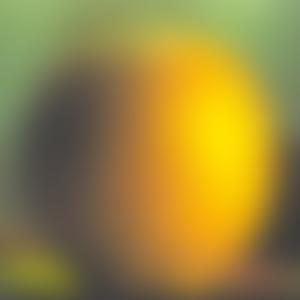
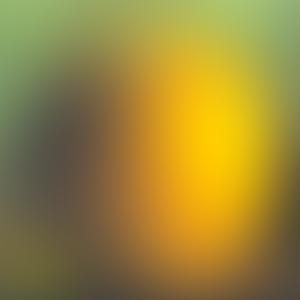
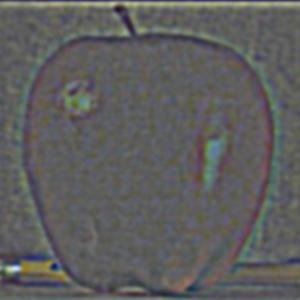
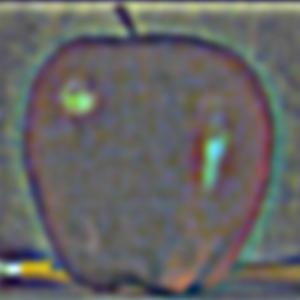
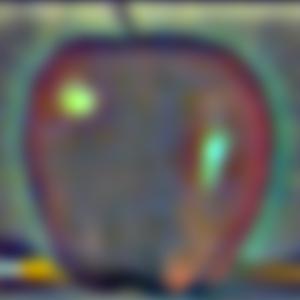
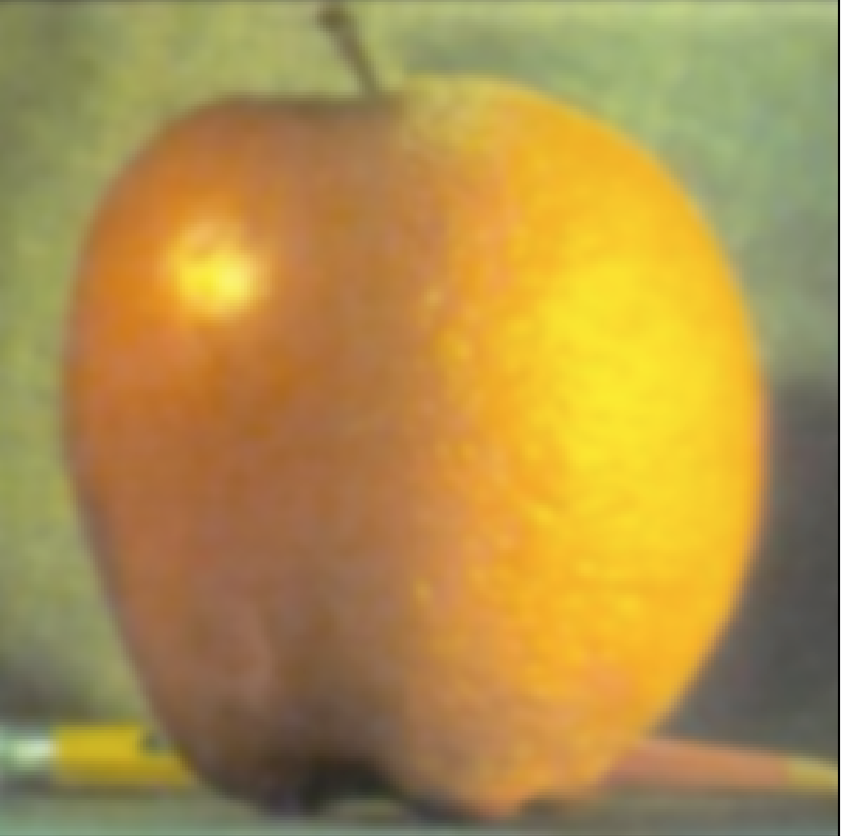
We can also create a Gaussian stack of a mask, and by using the mask from each level as the weight, we can blend every image from each corresponding level of the Gaussian and Laplacian stacks to create a composite image! We do this 3 times, for each color channel and deep stack the images at the end of each channel's run. For example, given the following image of an orange, an apple, the a mask, we can create a Gaussian stack for the orange and a Laplacian stack for the apple.
n = 1
|

n = 2
|

n = 3
|
n = 4
|
n = 5
|
Orange Gaussians
n = 1
|
n = 2
|
n = 3
|
n = 4
|
Final Gaussian image
|
Apple Laplacians
Now, if we allow the following mask as a weight on each layer of our pyramids and sum the resulting images together, we get the blended image on the right, an oraple!

|

|

|
|
Apple + Orange Mask = Oraple
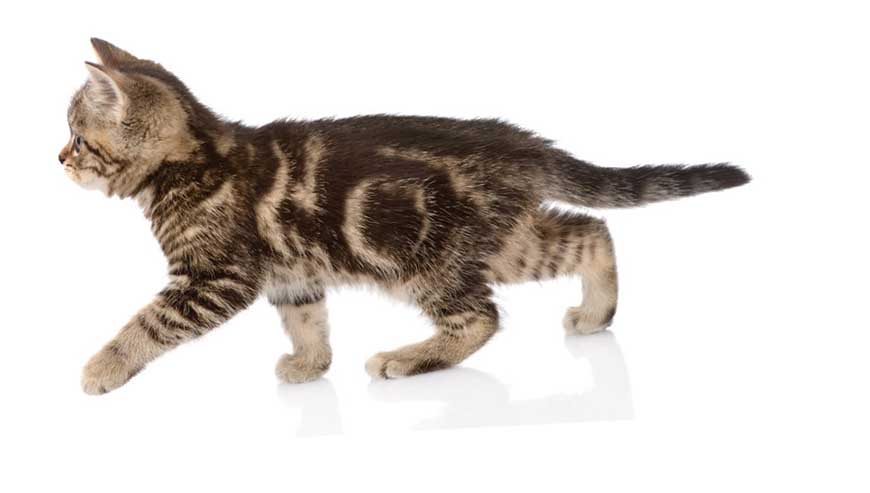
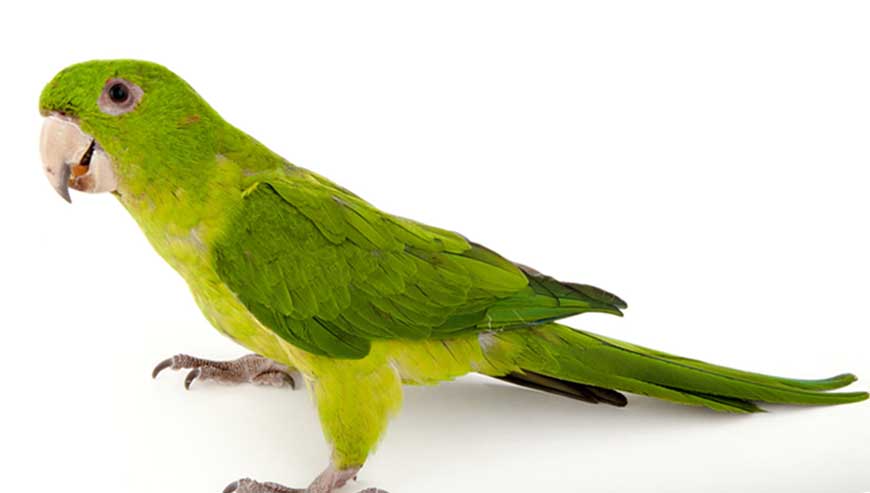
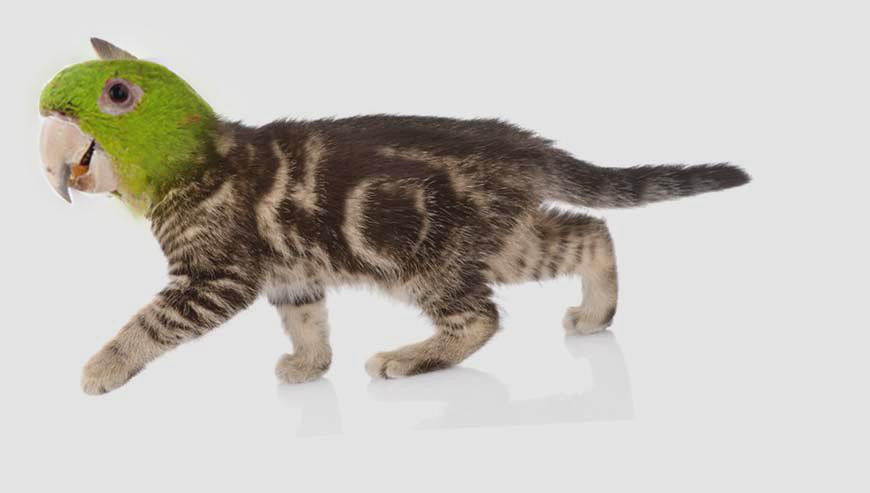
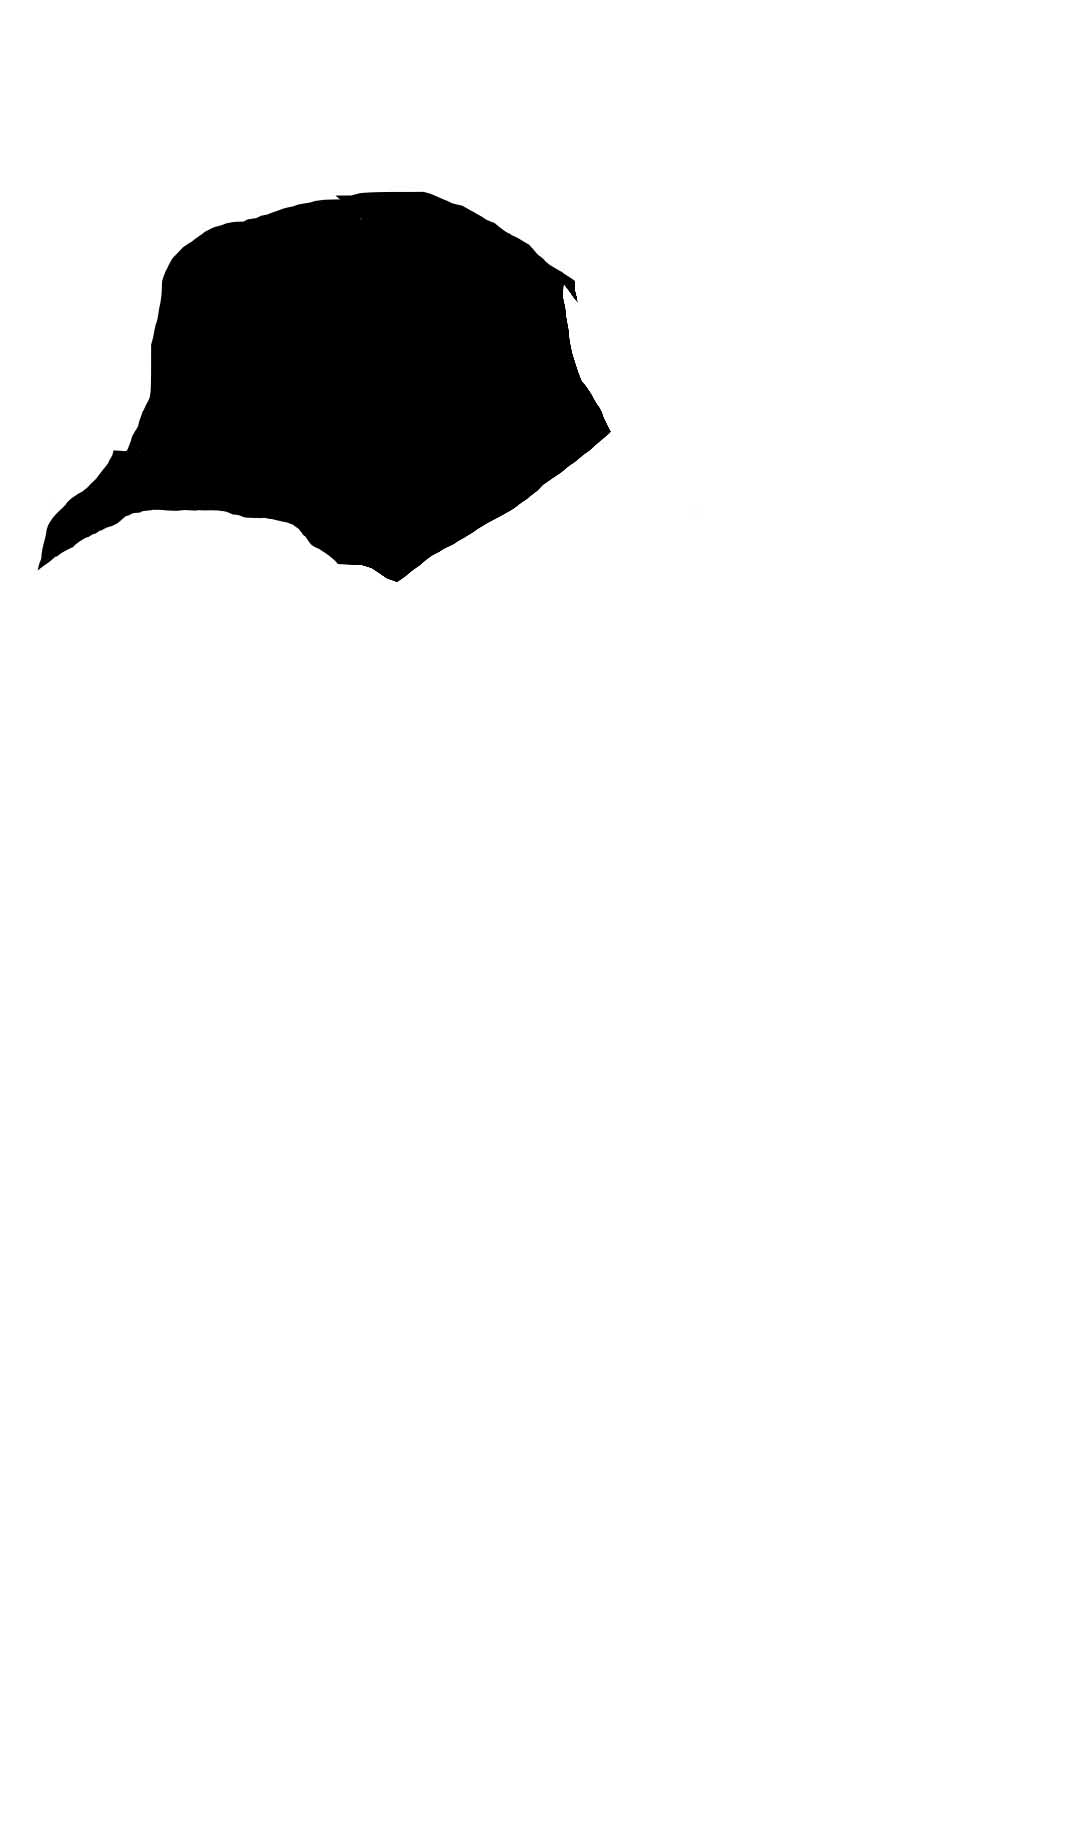
Now, we can combine other images and more complicated masks, which I created in Photoshop with the Lasso selection tool and paintbucket, to generate interesting results. What happens when we combine a cat and a green cheeked conure?
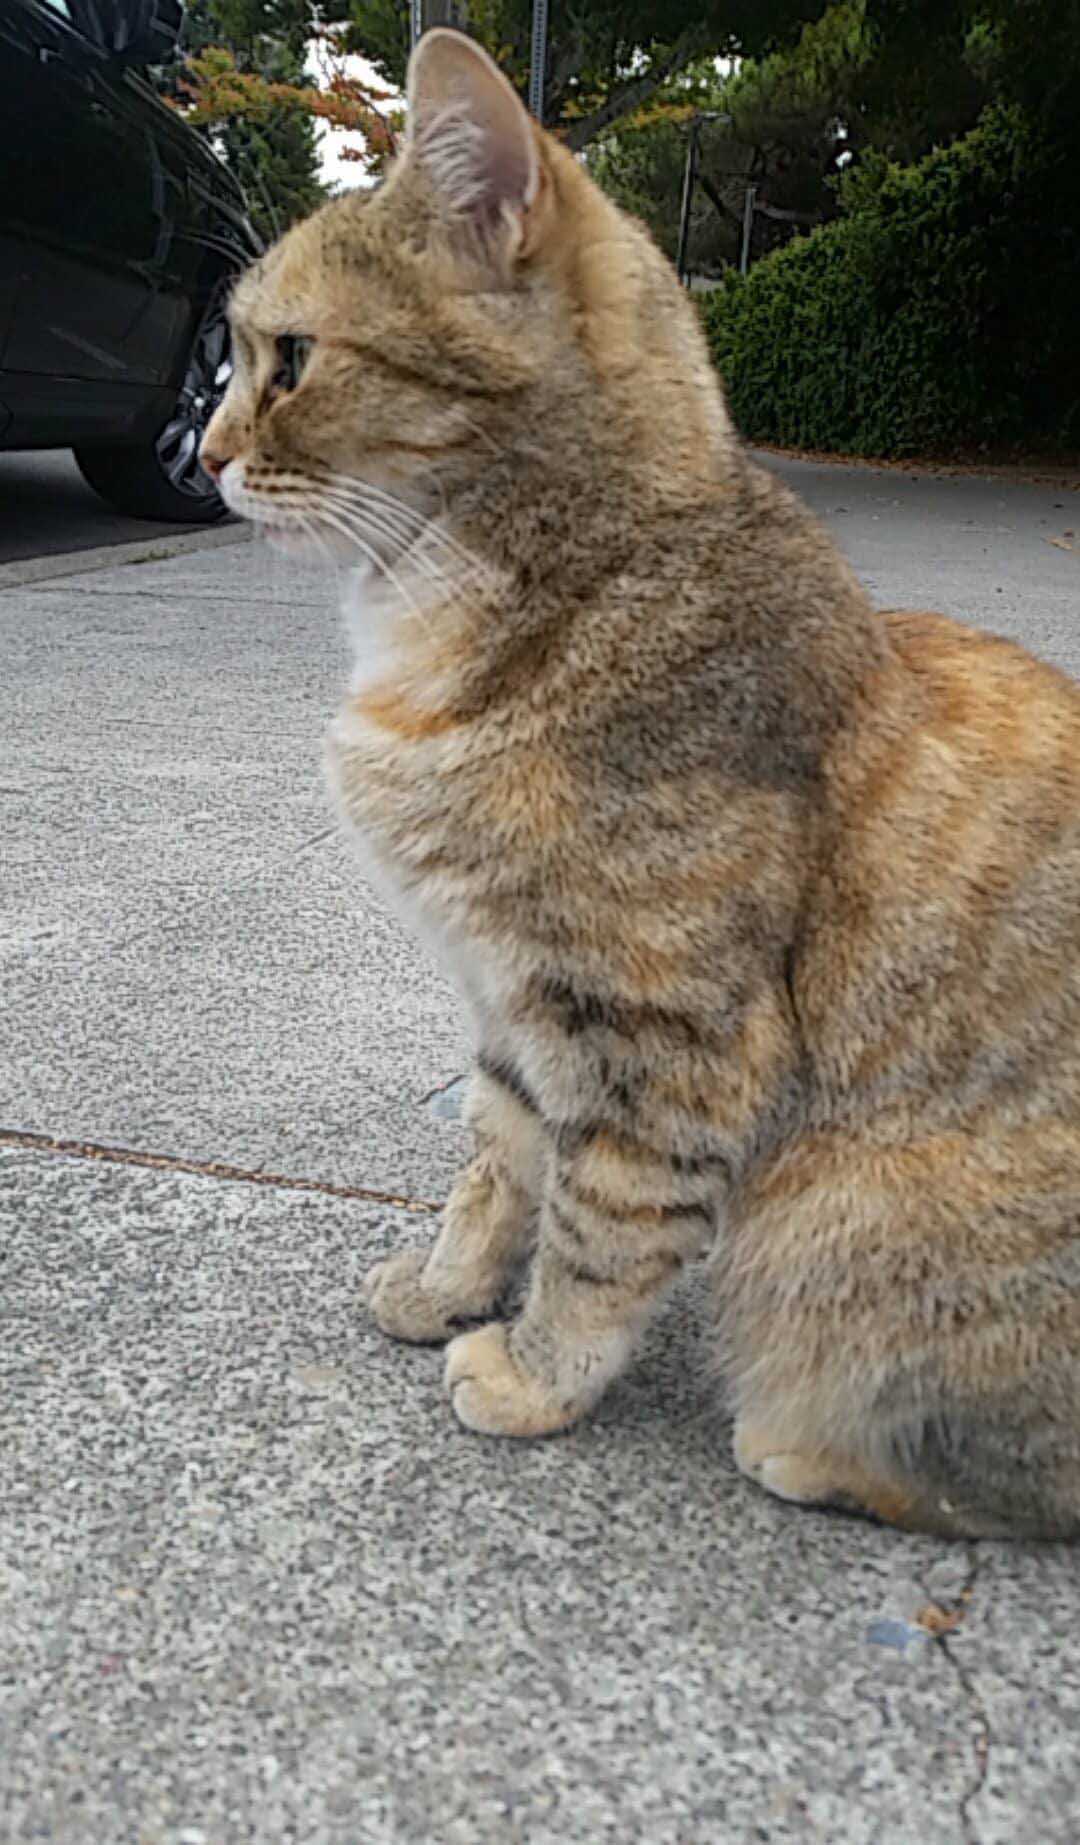
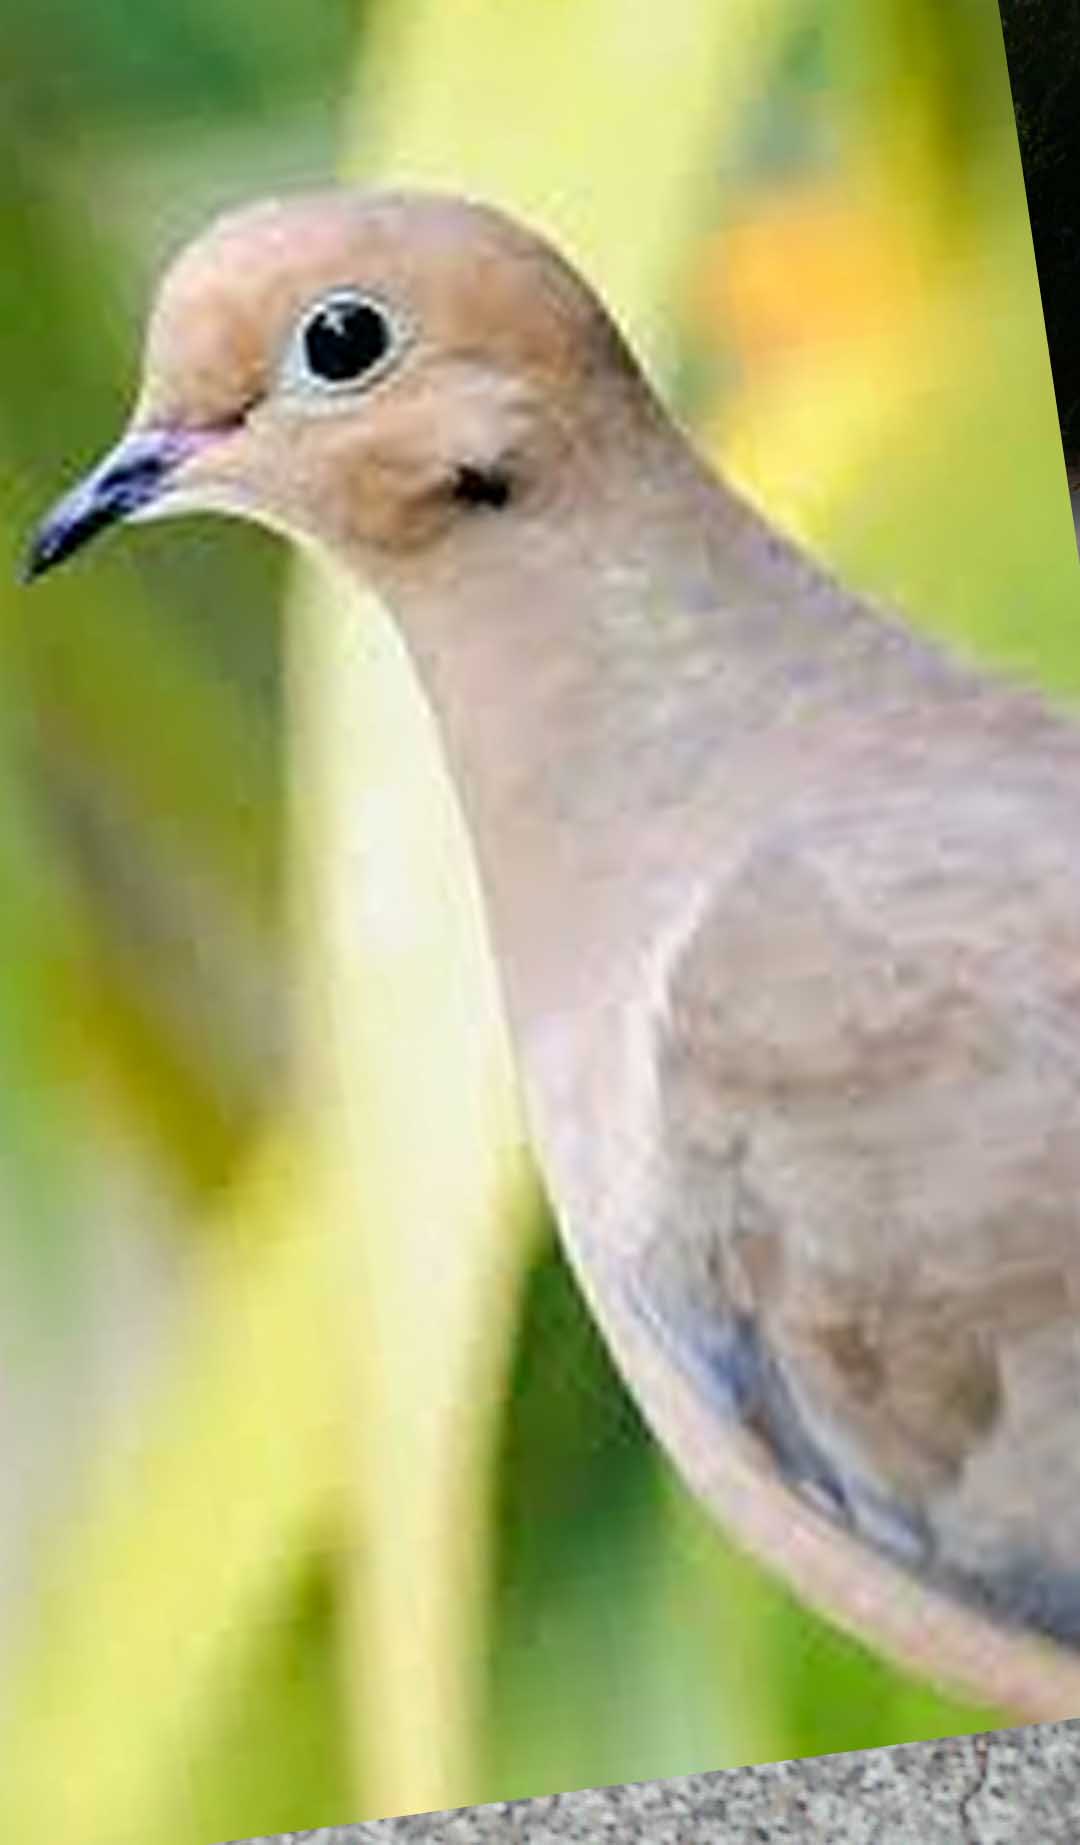
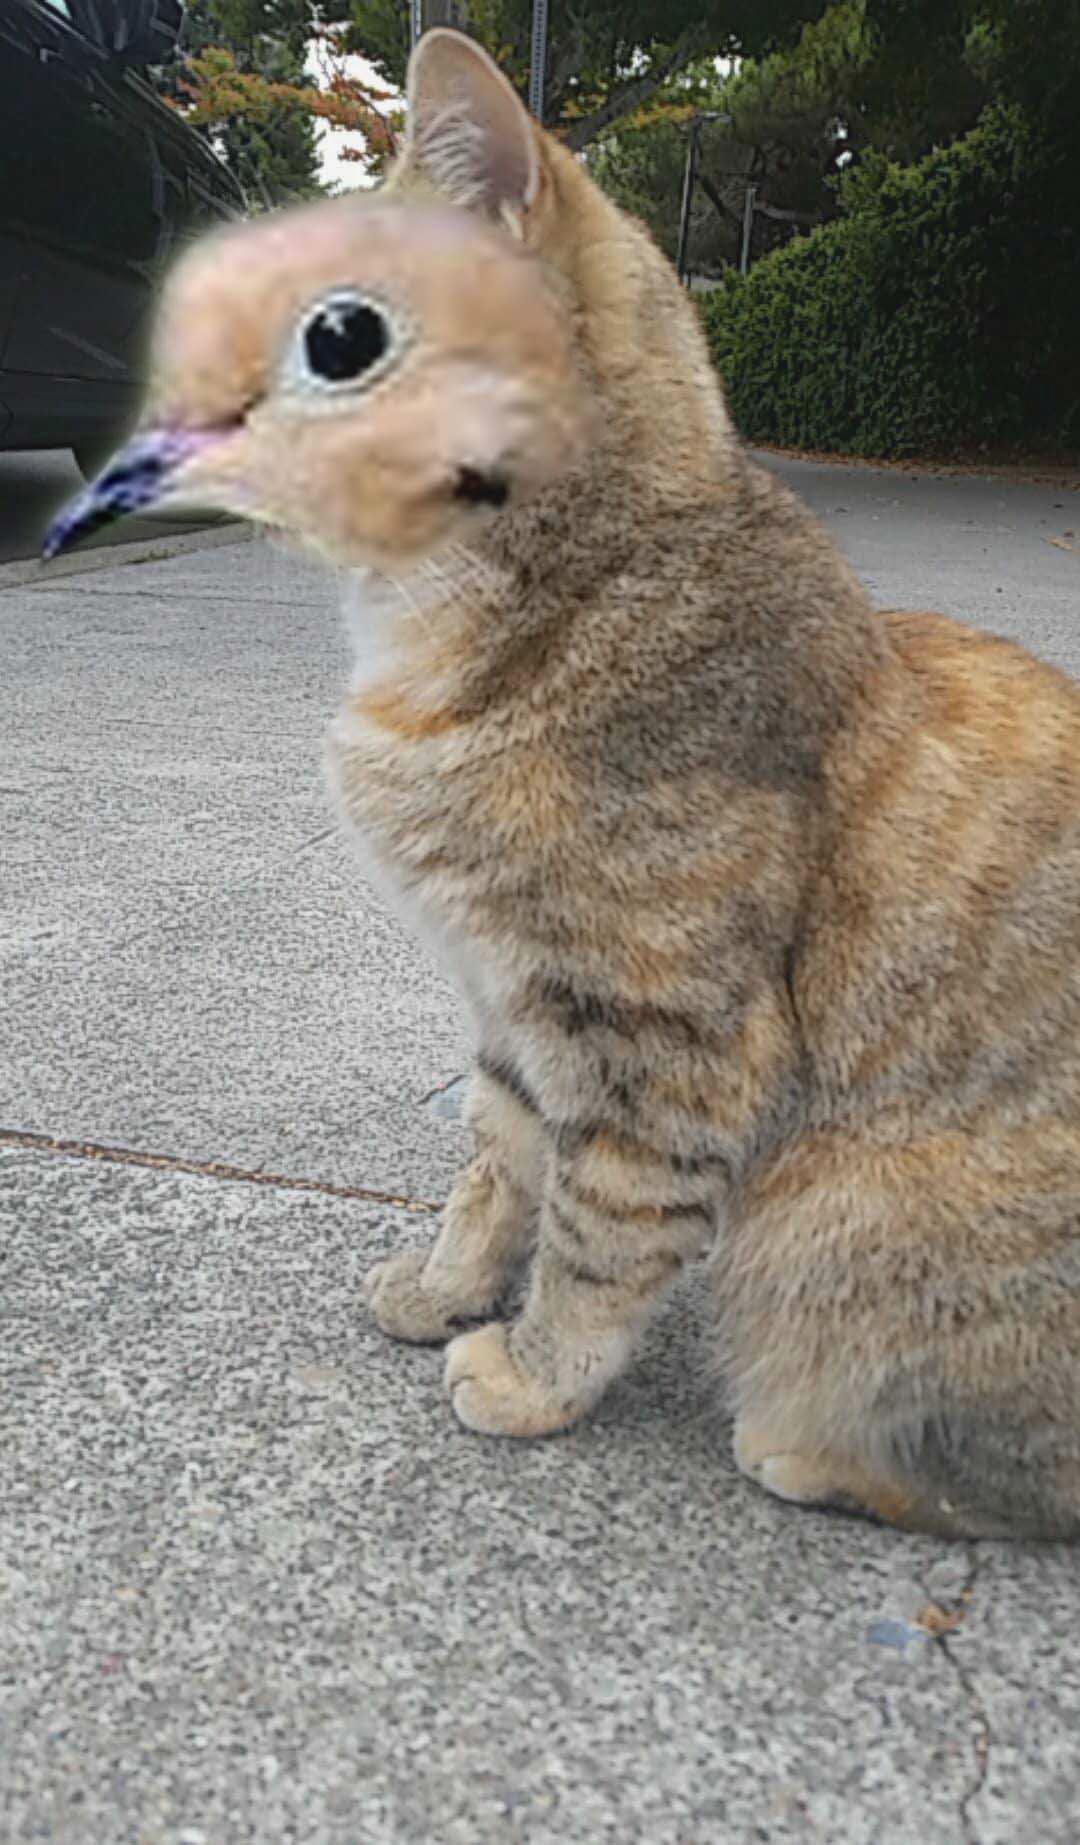
We get catbird! The blending is smooth especailly since both images shared the same background, but the results are not as convincing because of the difference in colors. So, I tried making another catbird with a picture I took of a neighborhood cat and a brown-feathered bird.
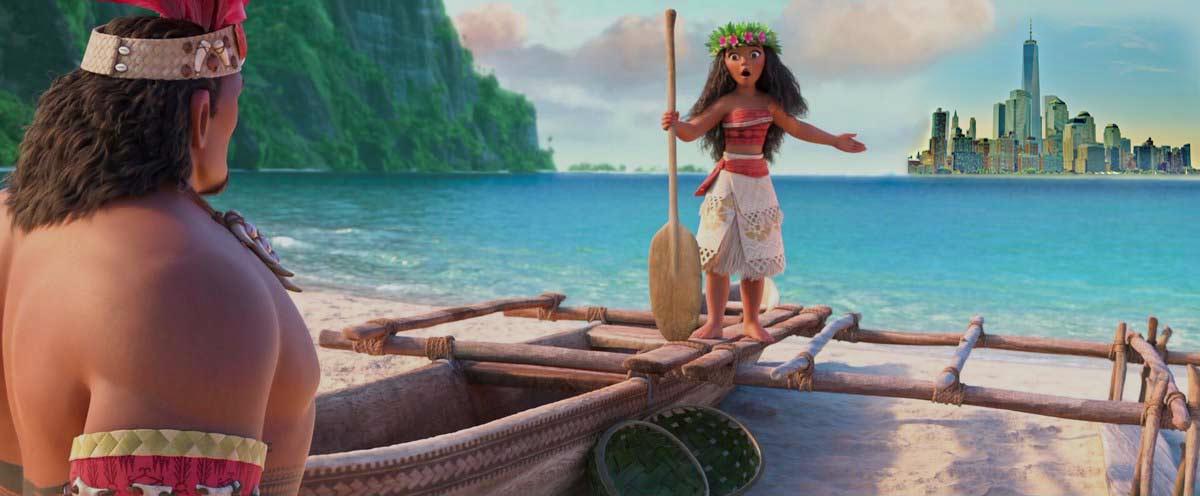
The image looks better in terms of the hues between the two animals, but unfortunately, the background and the differences in resolution still prevents this from being an ideal blend. For the final image, after learning these lessons, I tried to pick images that were similar in background tone, and scaled one (the picture of NYC) down to be of an appropiate resolution. The results are here; Moana really wants to go to NYC but her dad doesn't want to let her go.
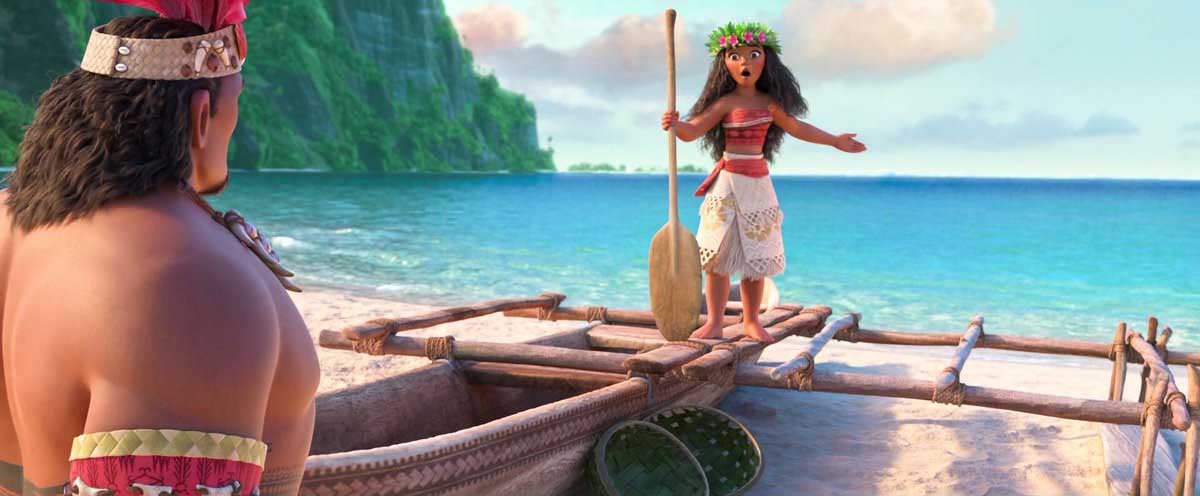 Moana
Moana
|
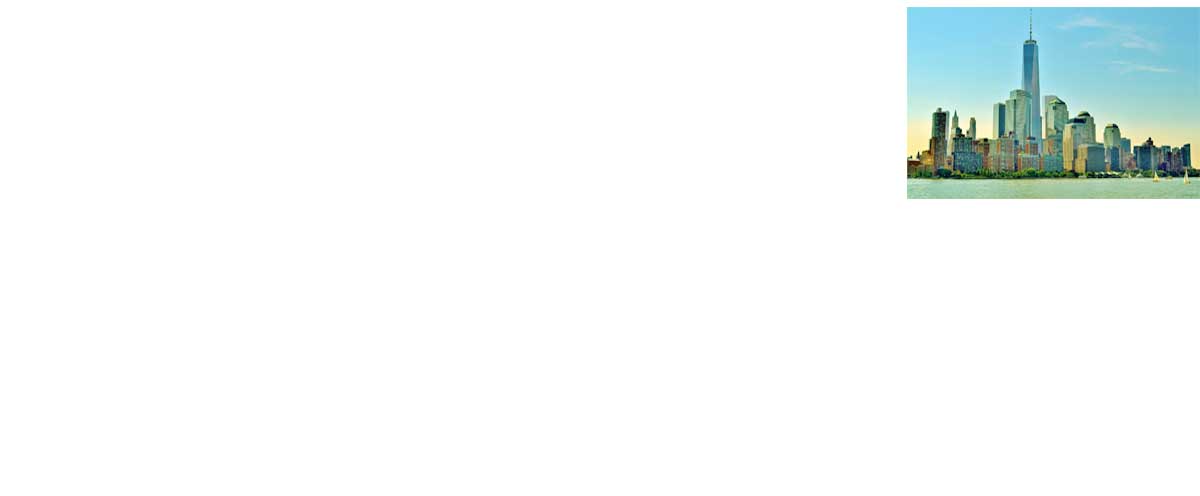 NYC Skyline
|
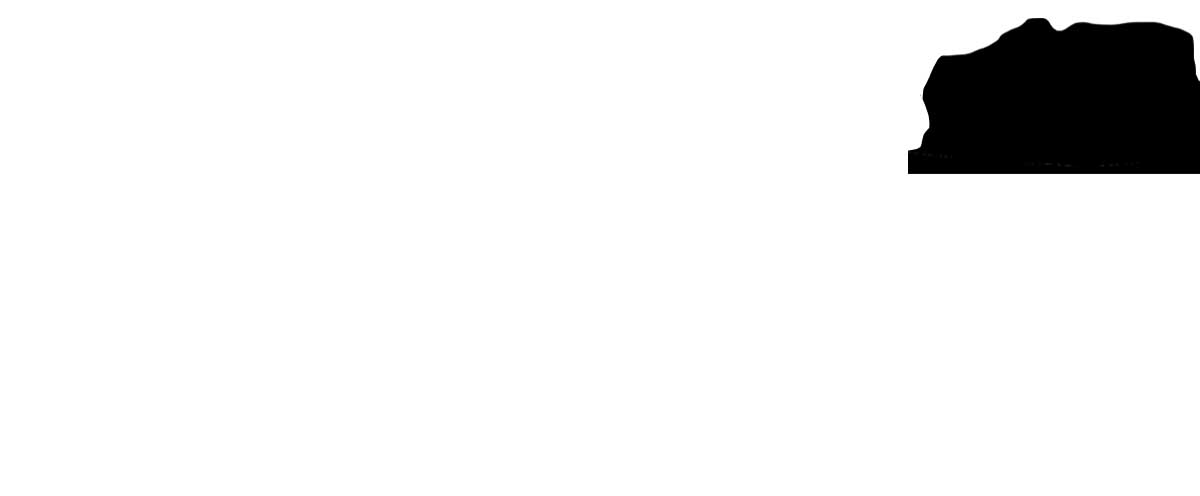 Mask
Mask
|
 Composite
|
The resulting image was one of the most successful ones I did. She already sailed across the ocean, befriended a demigod, and fought a lava monster to restore the heart of Te Fiti; come on, be reasonable Dad!
|
Moana Goes to NY
|
Toy Problem
To dip our toe into gradient domain fusion, we start out with a toy problem. In our toy story imge, we can compute the x and y gradients in order to solve a least squares optimization problem given by the constraints below. With all the gradients and one pixel intensity we can reconstruct our original image. Basically, if we did it right, we should get the same image back---this seems like not a very exciting exercise right now, but will prepare us to make some really cool results!
 Original
|
 Reconstructed
|
Poisson Blending
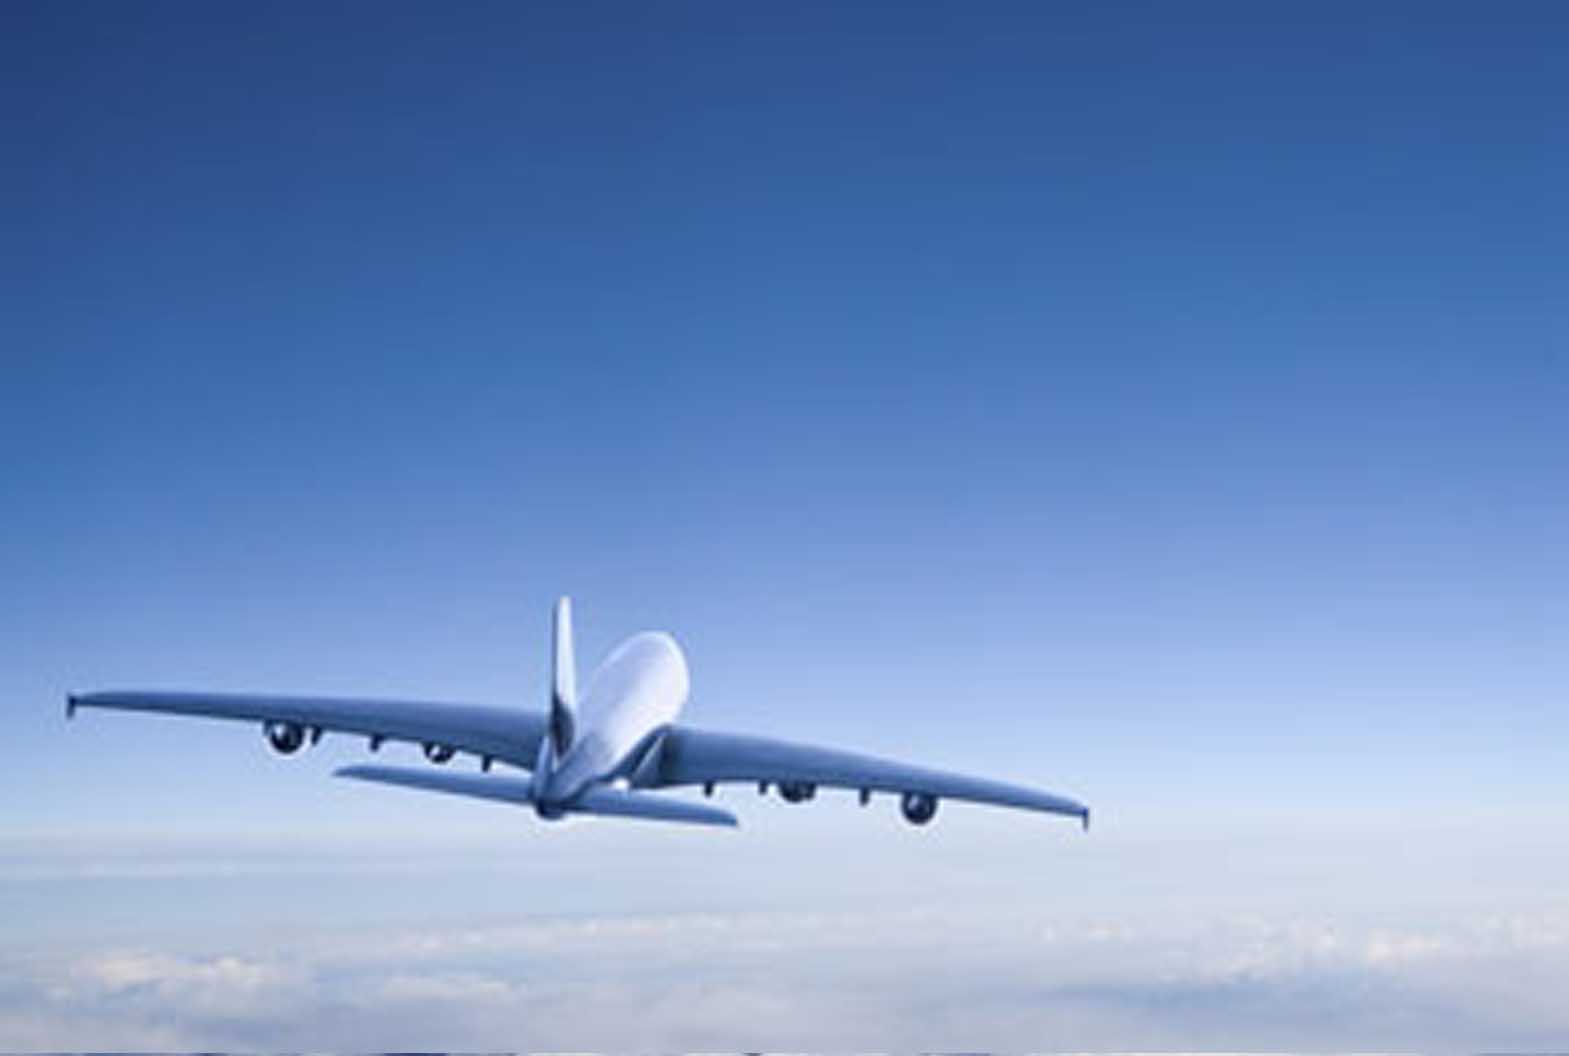
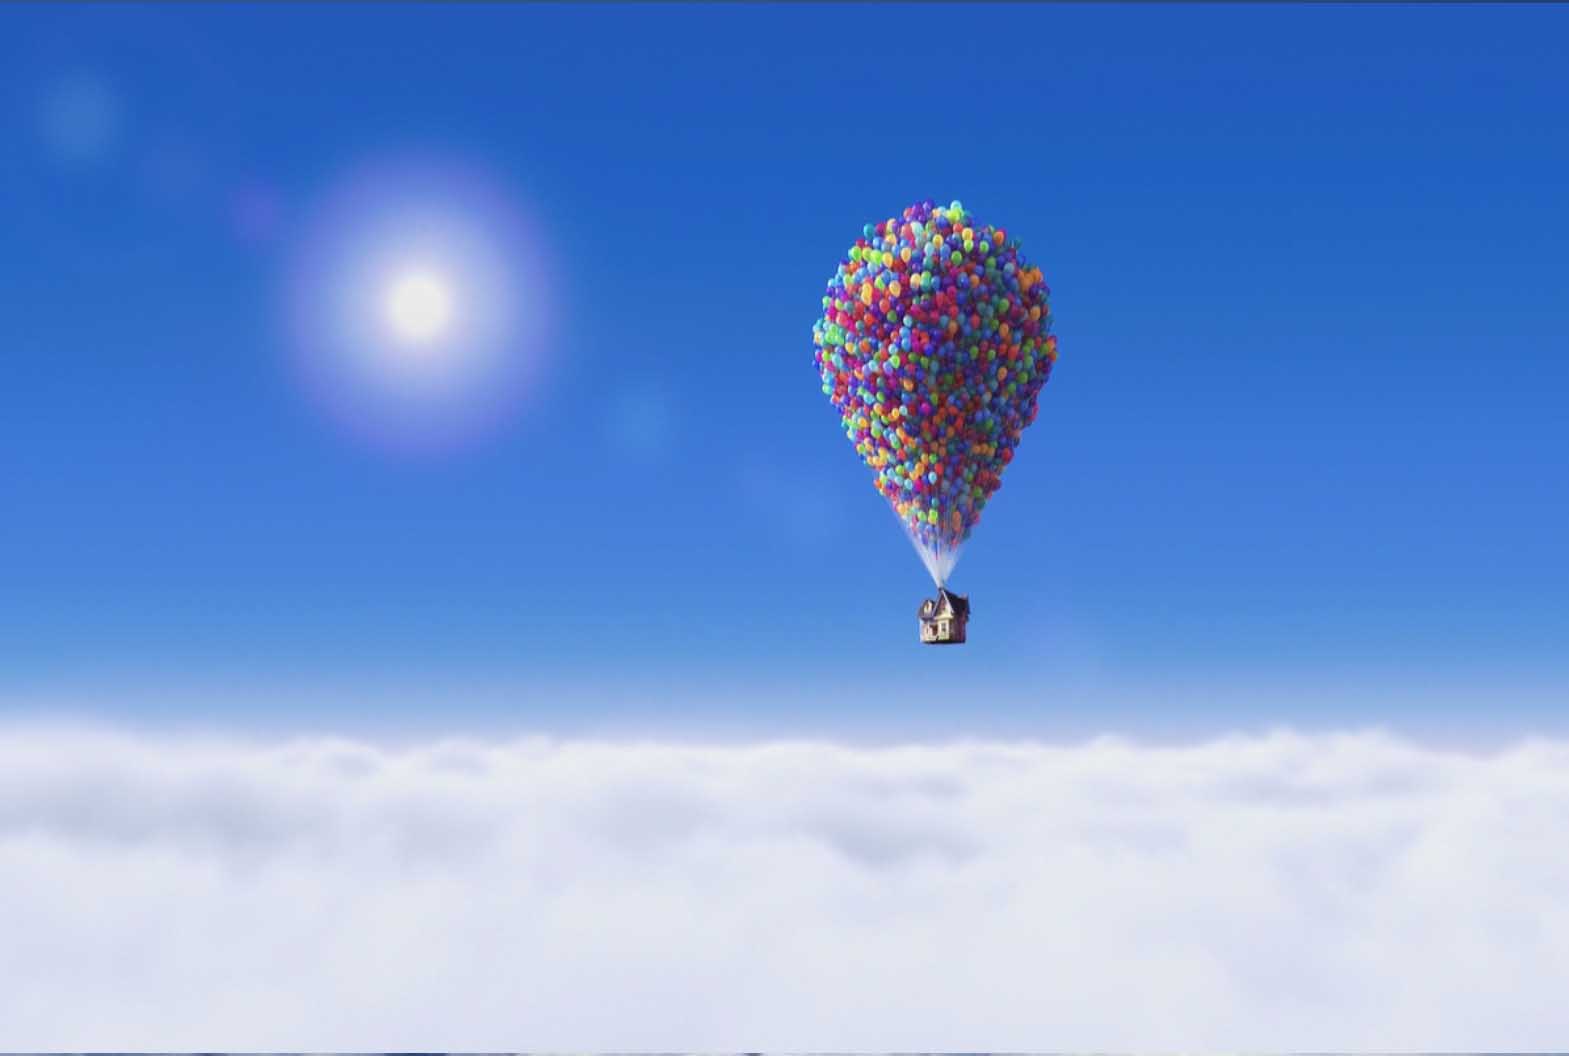
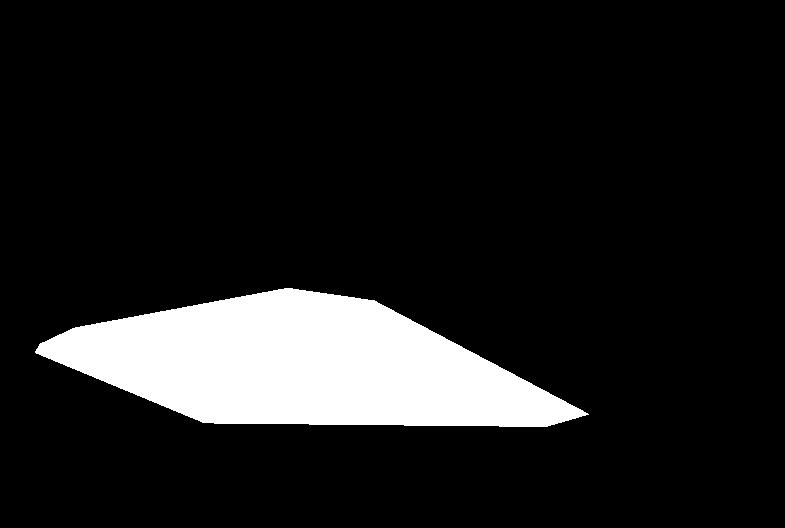
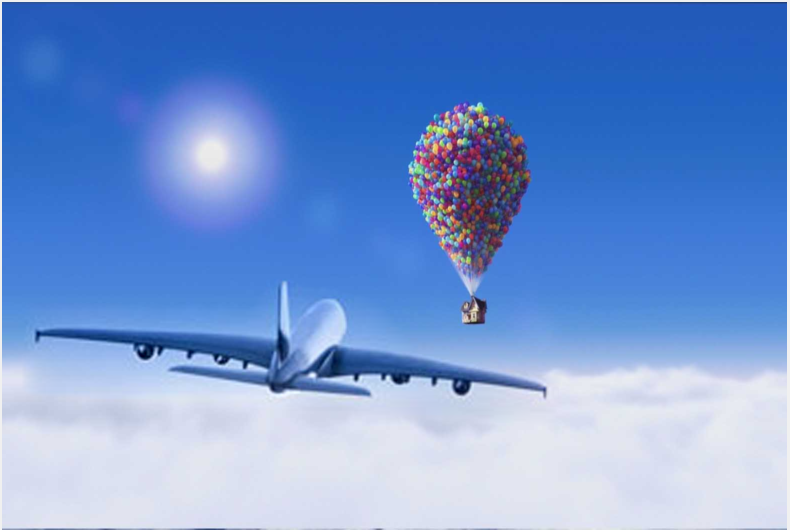
By solving those constraints above on two images, a target image (background), a source image (to be inserted), and a mask, we can also blend images with gradient domain processing. We first iterate over the pixels of the mask; if a pixel is outside a mask, we just take the pixel value from the target. However, if it's inside the mask, then we must ensure that the graident of the source image matches the gradient of the resulting final image. The gradient we will use is the Laplace; in matrix form this is a 4 in the position of the target pixel and -1 on each of its four neighbors. If we want to insert the plane (source) into a scene from UP (target), we create a mask like so, and apply the gradient domain blending algorithm.
Breaking news, flying house tied to a thousand thousand balloons spotted by Southwest Airlines over Paradise Falls!
 Up House Spotted
|
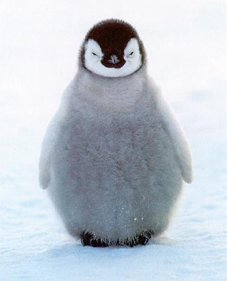
We can also make a picture of a few hikers and a curious penguin chick. For this image, and the previous one, the results work well due to similar colors and frequencies between the boundaries of both the source and target images.
 Penguin Chick
|
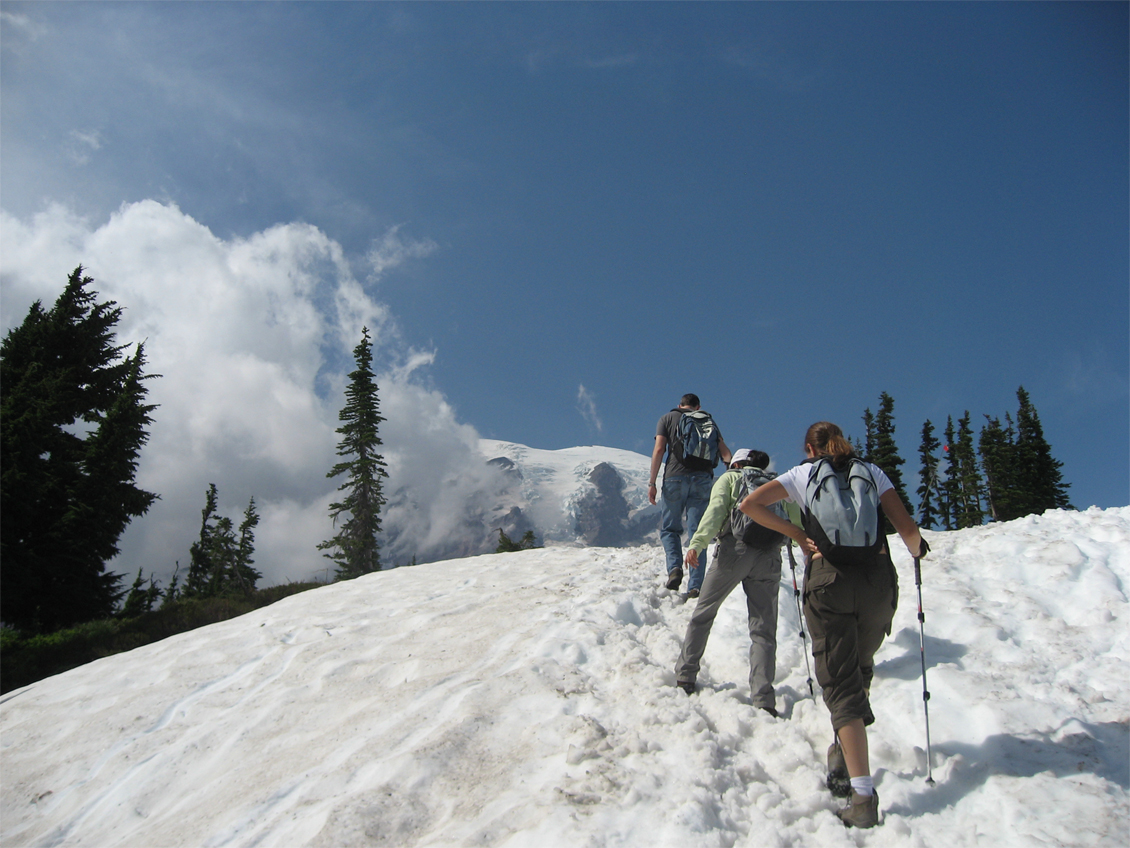 Snowy Terrain
|
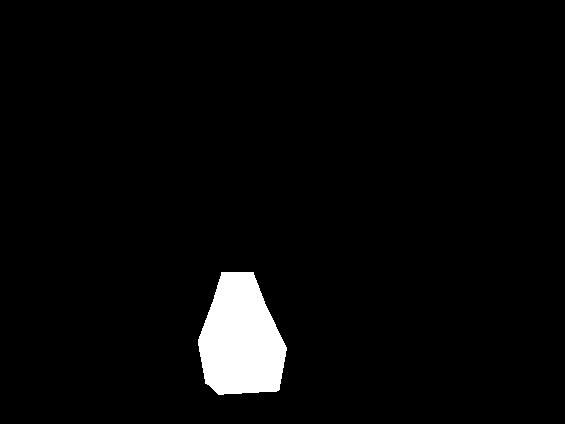 Mask
Mask
|
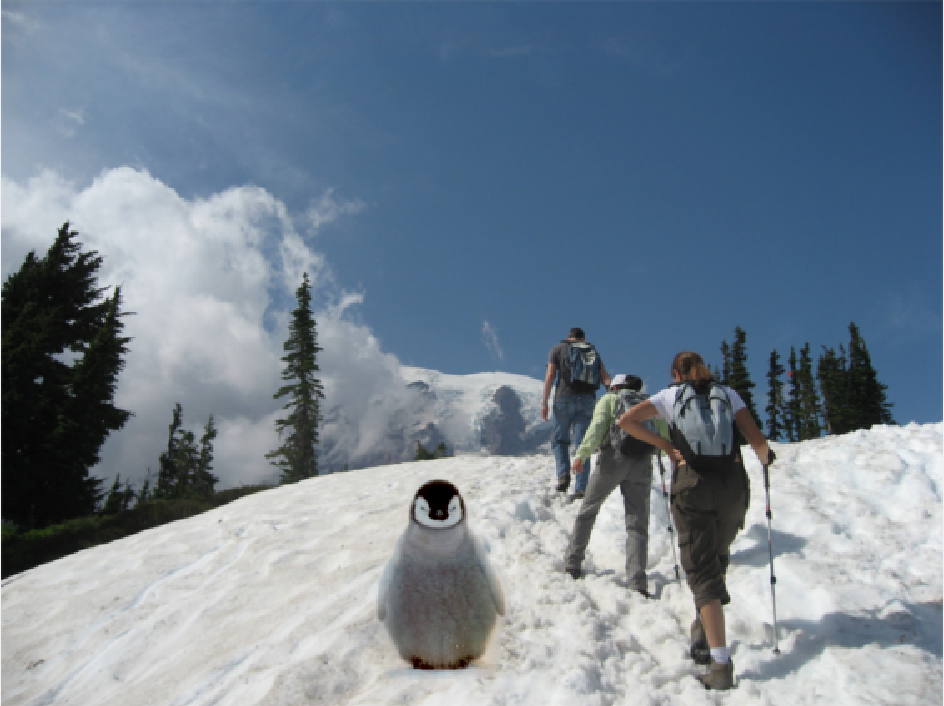 Possoin
|
Here, I tried to turn a date on the Lake in Central Park, NY into a date in the Canadian wilderness instead. Notice how the transition between the edges are less smooth at some points (mostly due to contrasting frequencies---there ripples in the lake of the source image but the surface of the background lake is smooth--as well as the color difference between the top of the girl's head, part of the sky, and the forest in the background image).
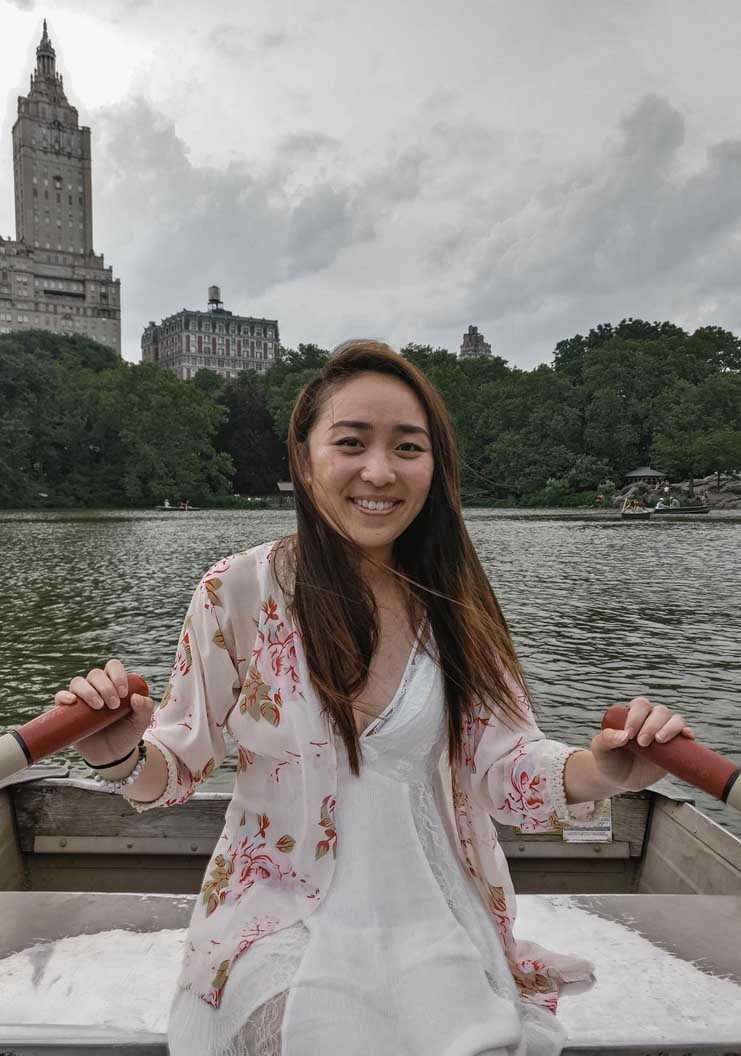 Central Park
|
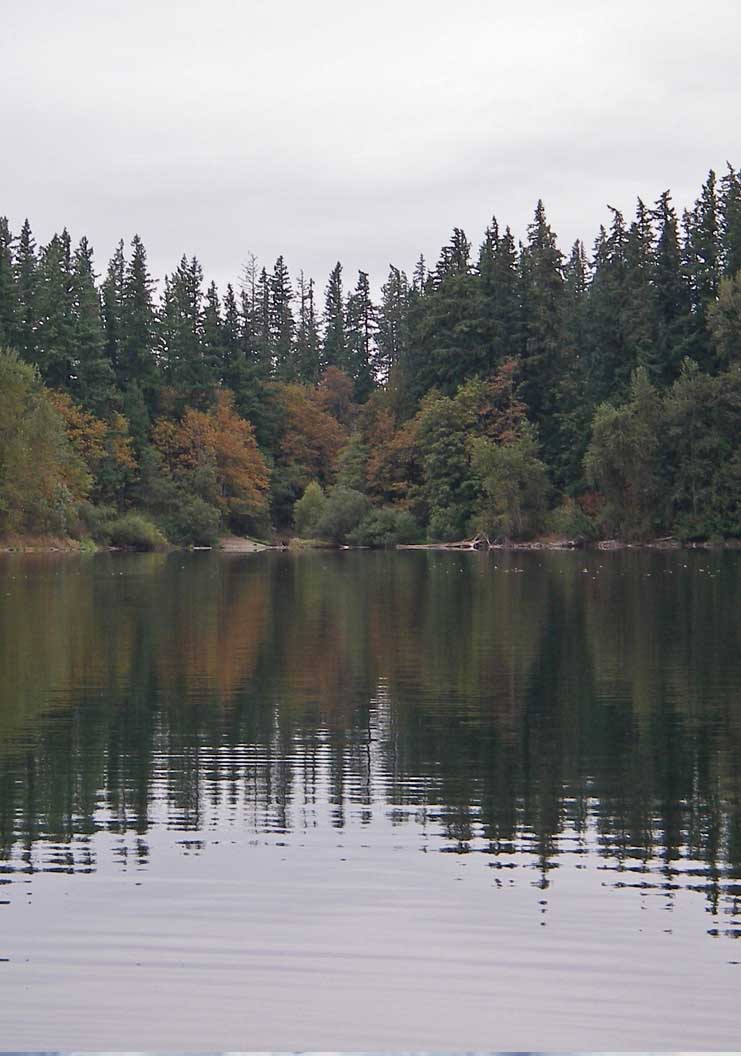 Wilderness
|
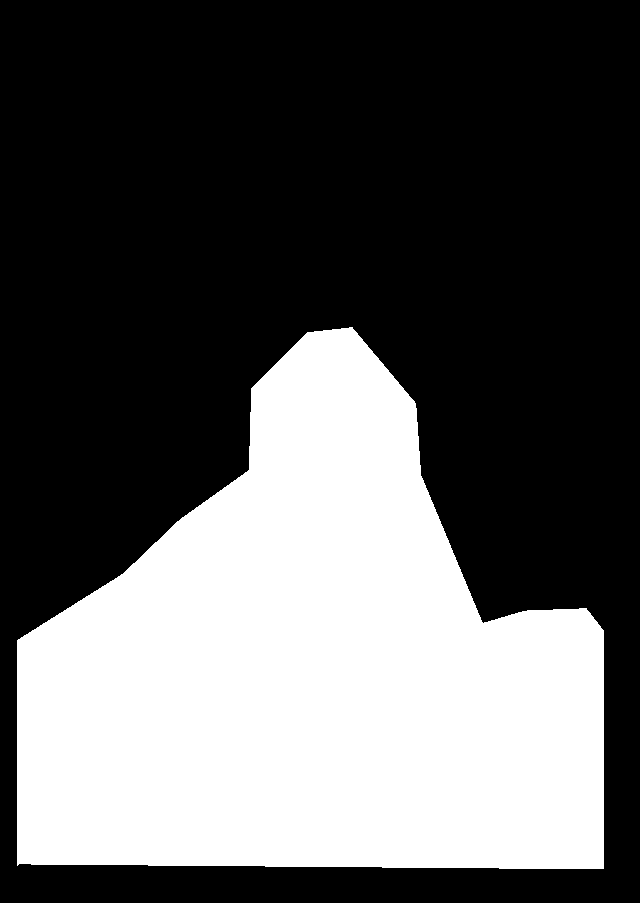 Mask
Mask
|
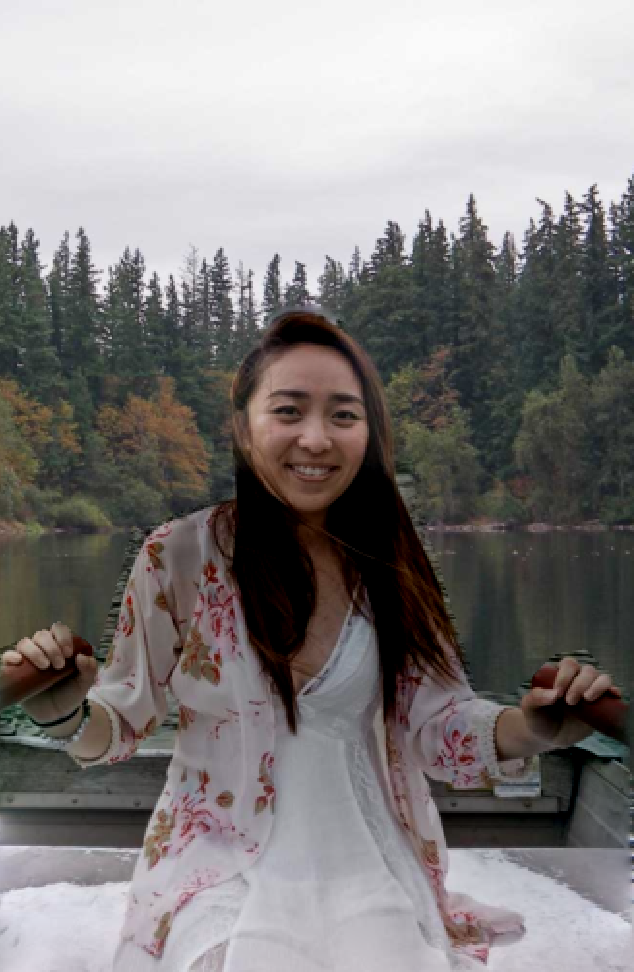 Girl on a Rowboat
|
Despite those small details, out of all the images I made this one was still my favorite.