
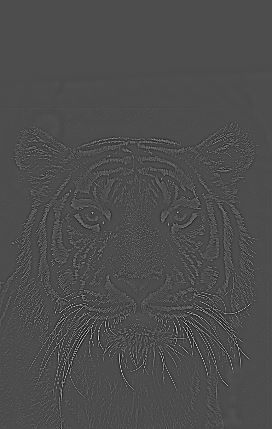
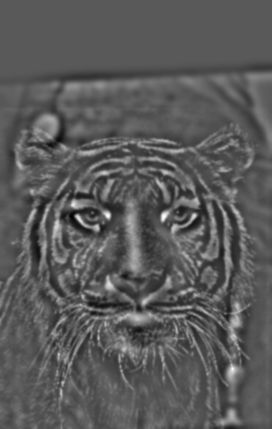
For the warmup, I used the unsharp mask filter we learned about in class in order to sharpen an image. This was achieved following these steps:
1. Apply Gaussian filter to image to blur it, thus giving us the low frequencies of the image.
2. Subtract the image from step 1 from the original image, resulting in the high frequencies of the image.
3. Scale the resulting image by a value (alpha) that determines how "sharp" to make the image
4. Add resultant image back to the original to emphasize the high frequencies of the image.
The images mentioned above are displayed below.
|
|
|---|
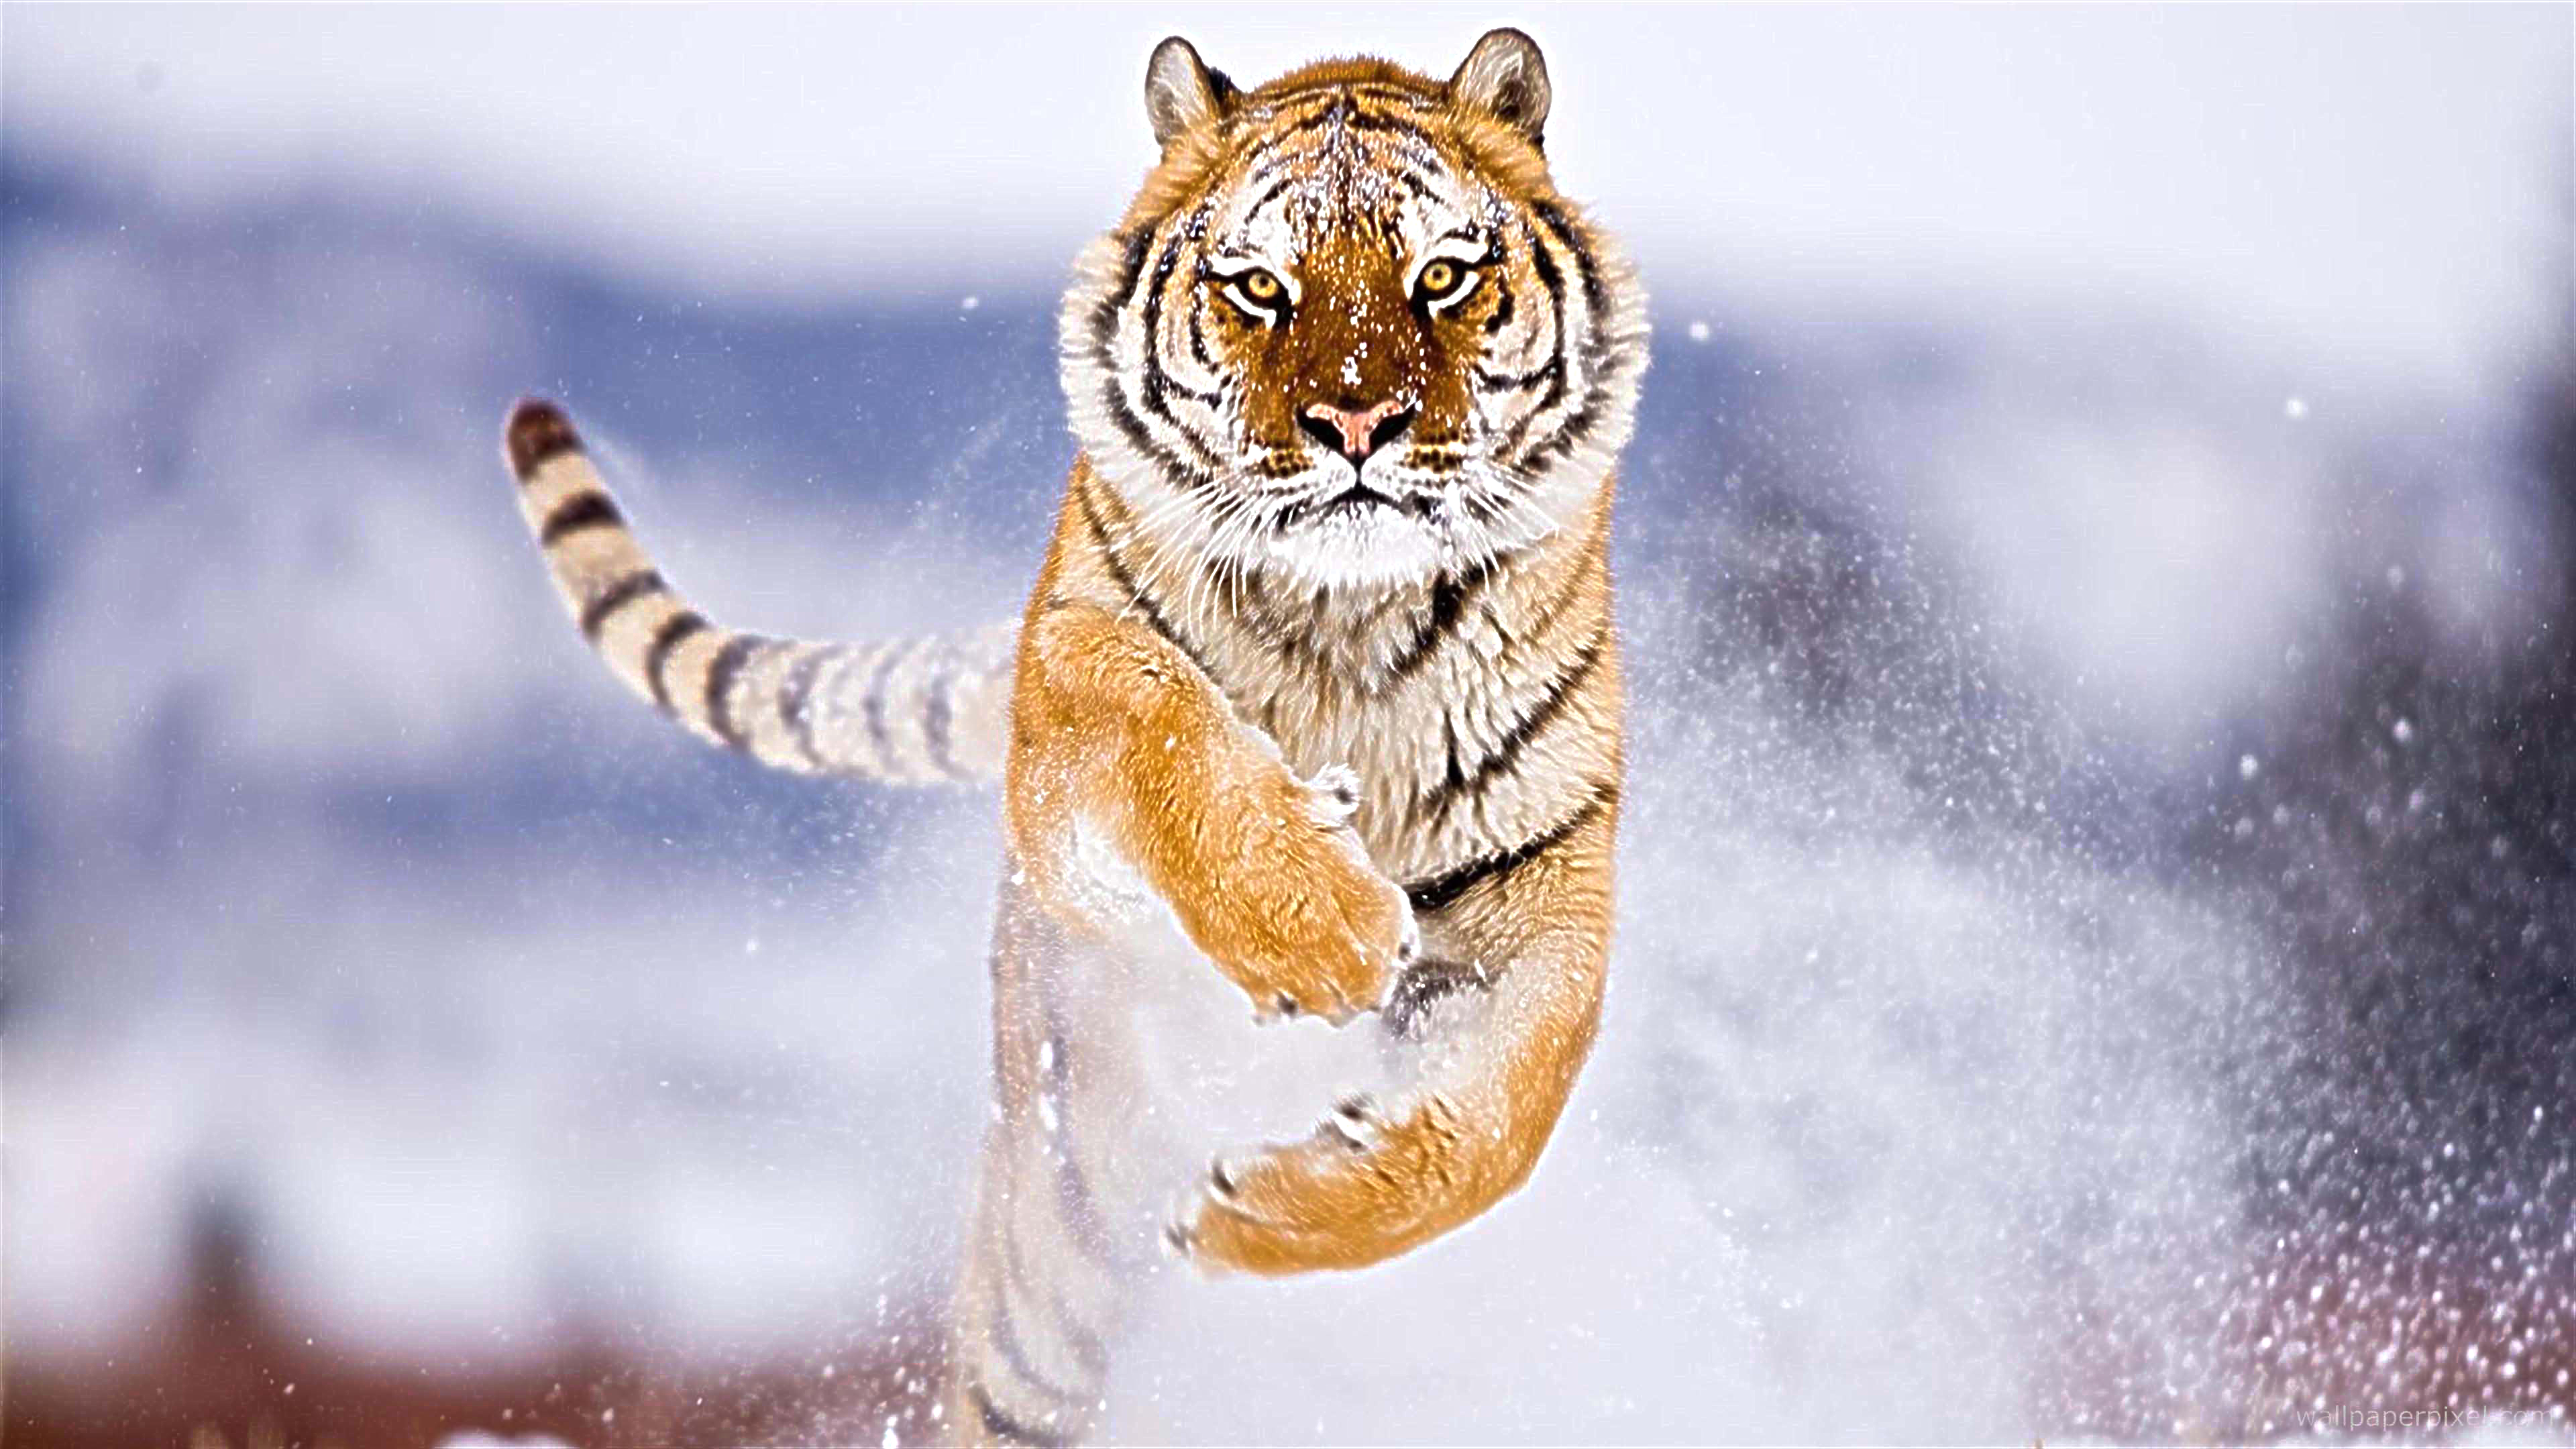
| Original Image |
|
|
|---|---|
| Blurred Image | High Frequency Image |
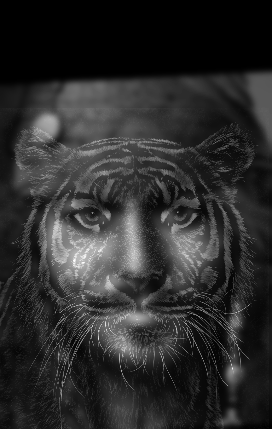
|
|---|
| Sharpened Image |
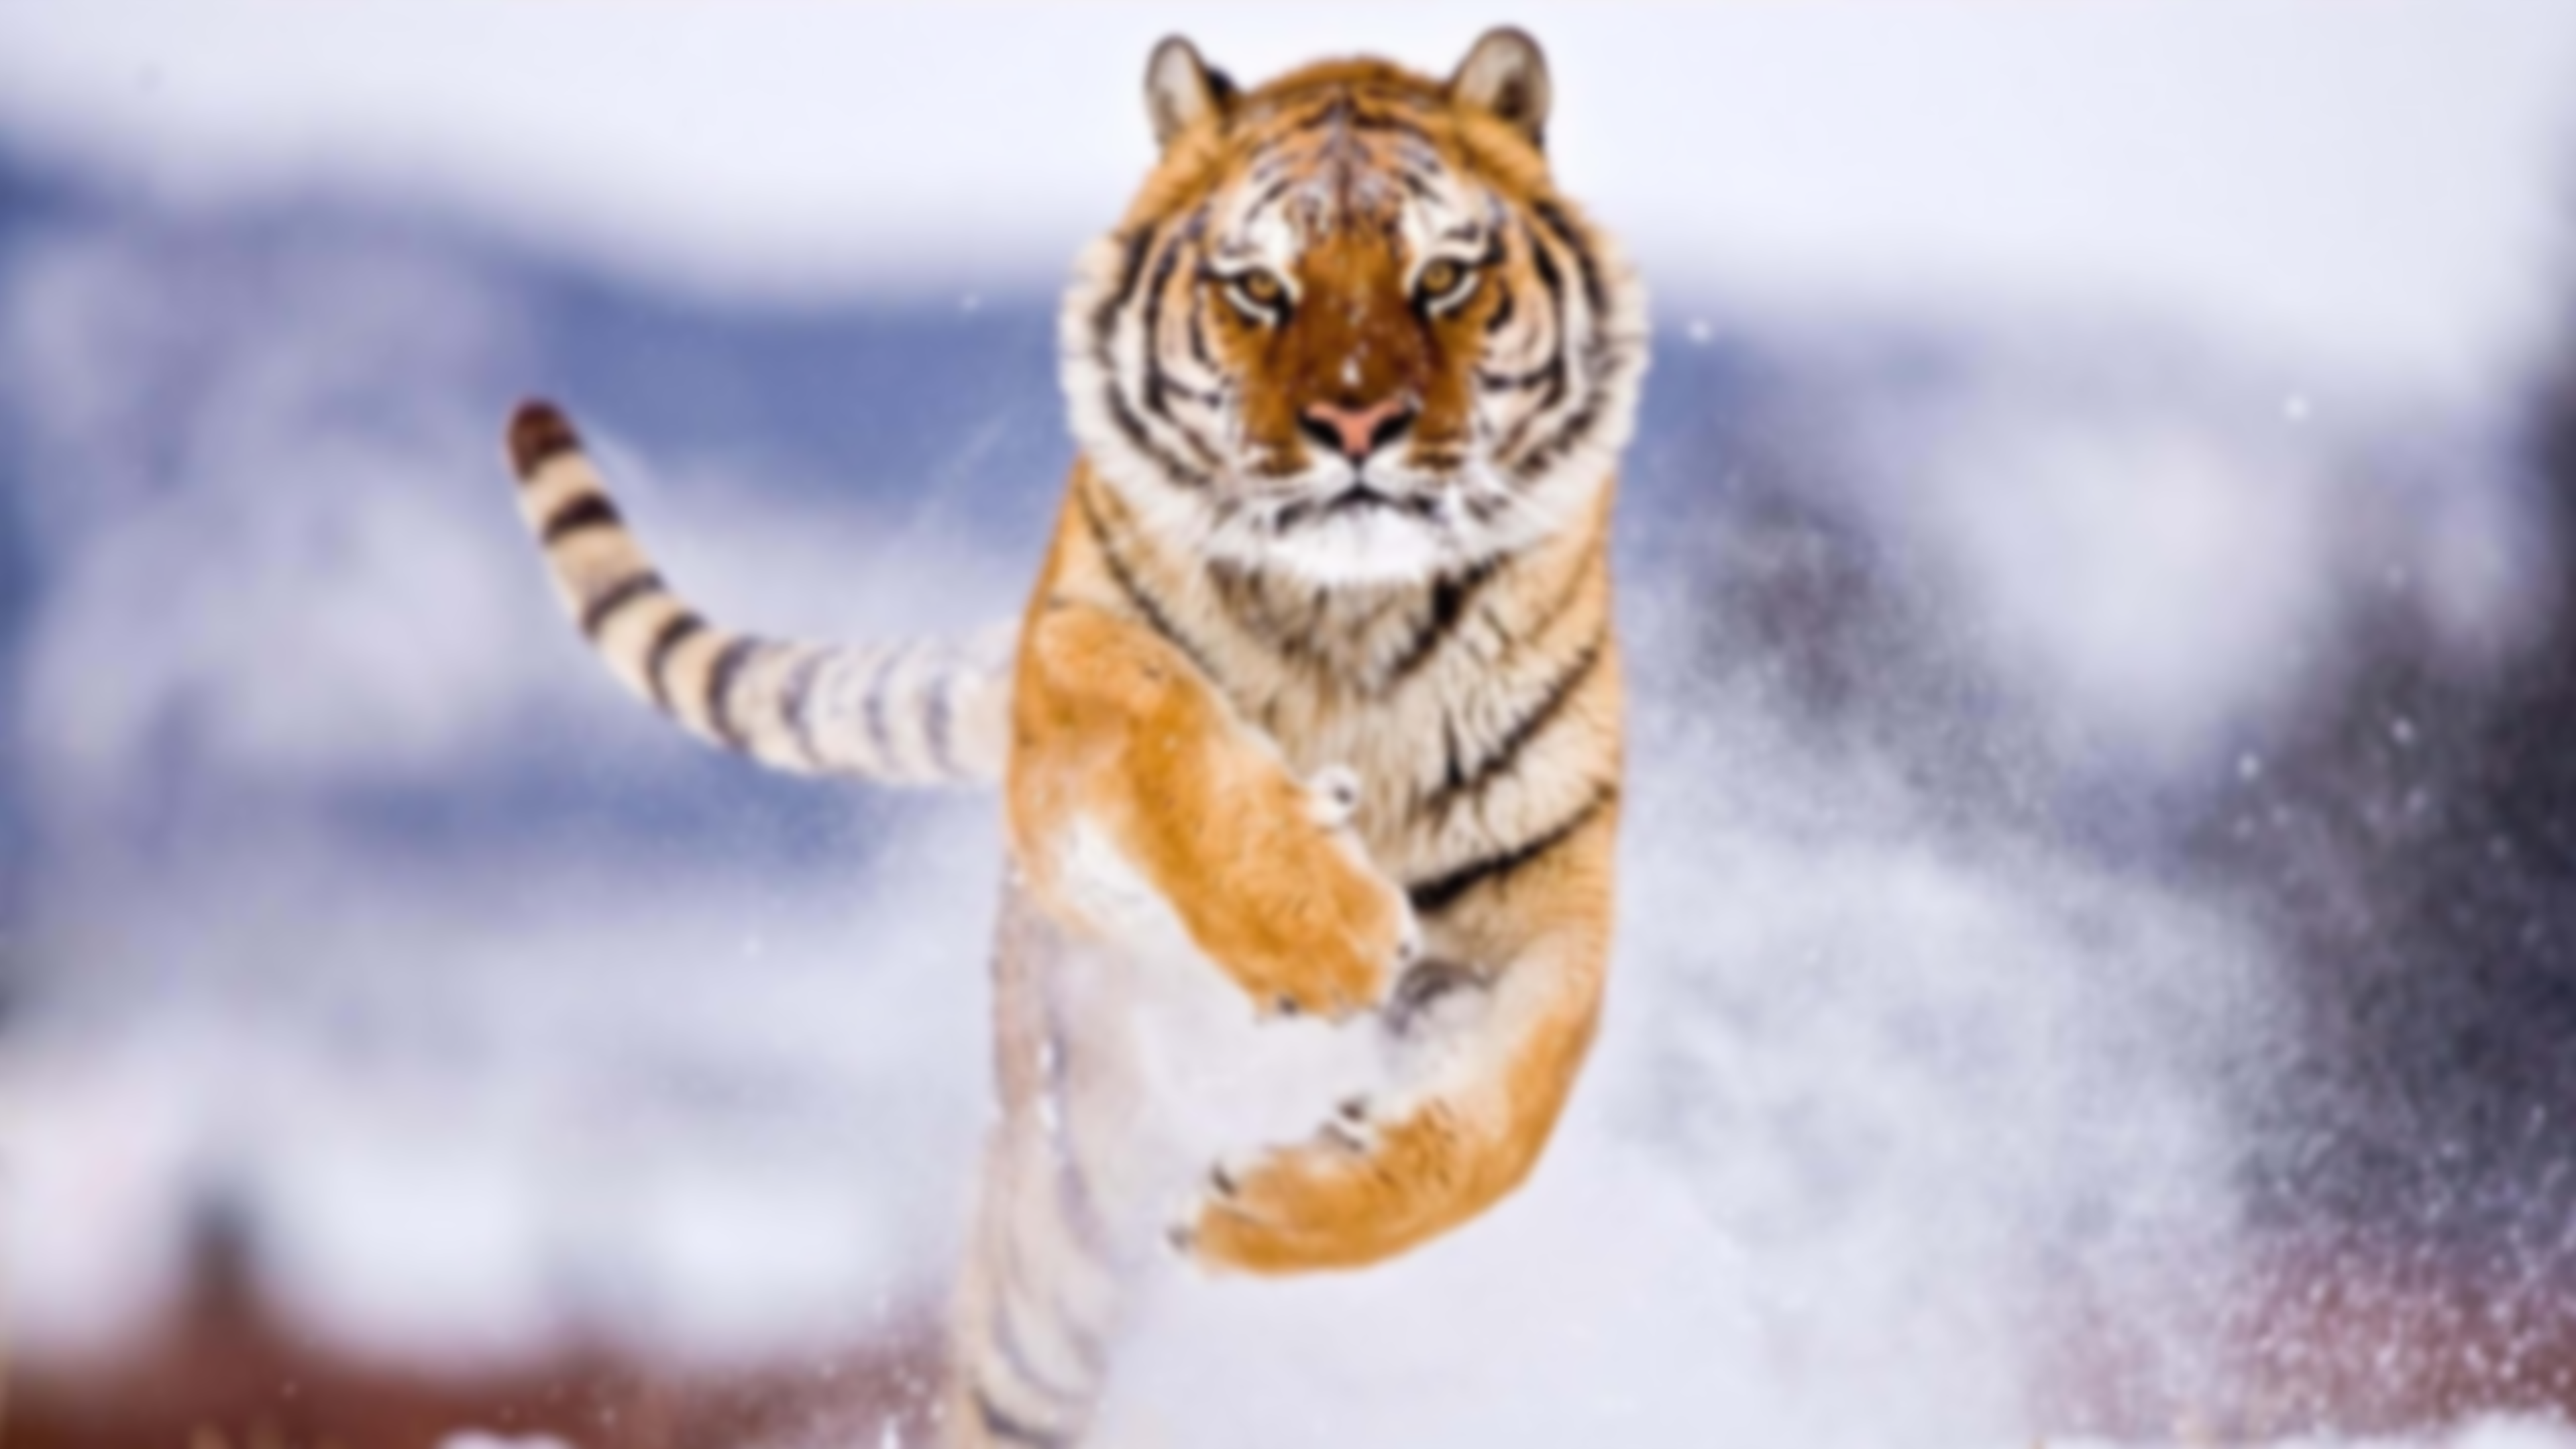
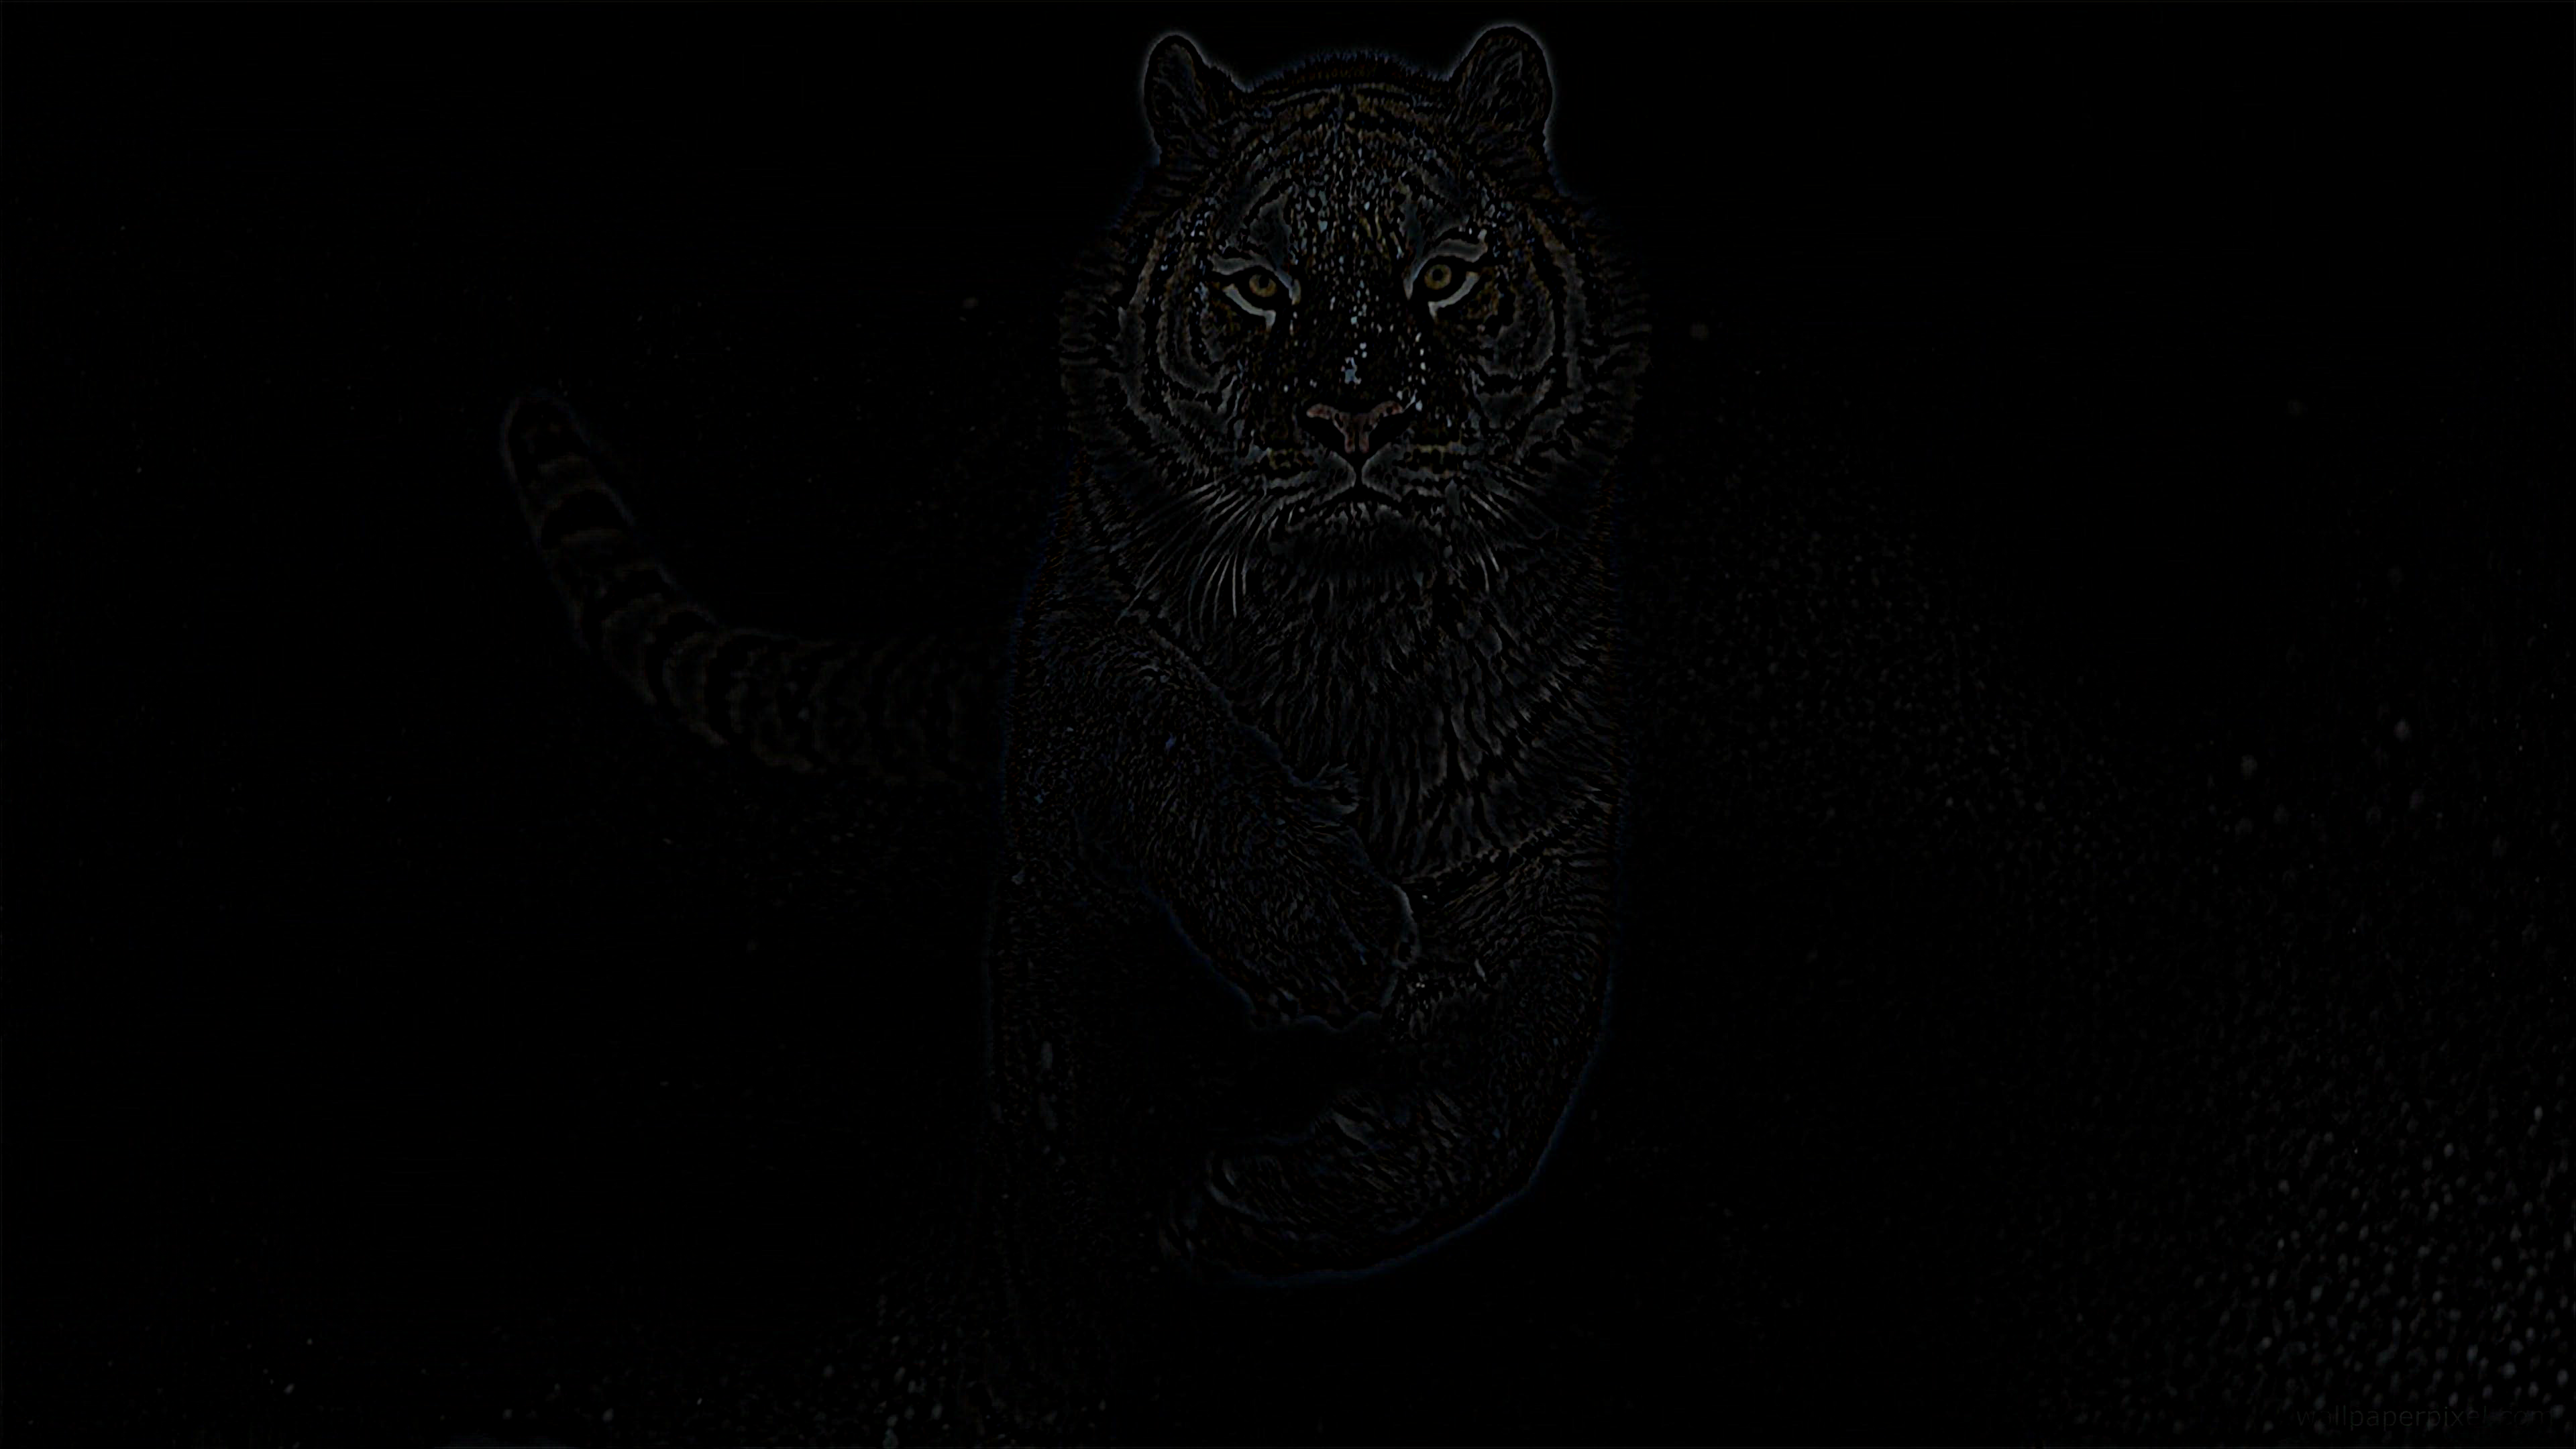
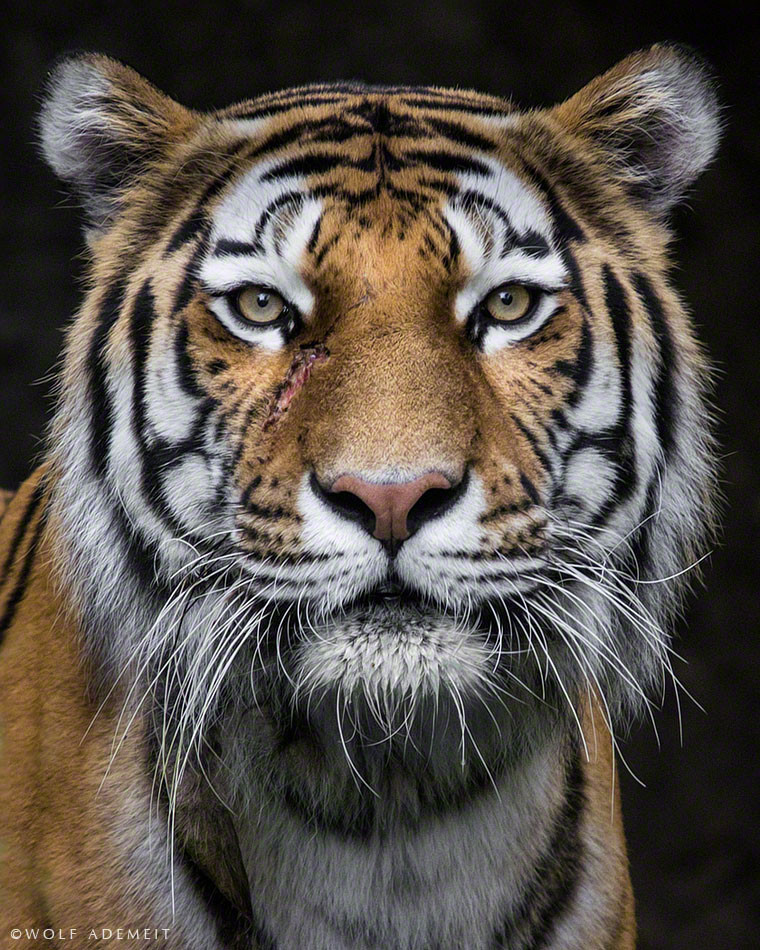
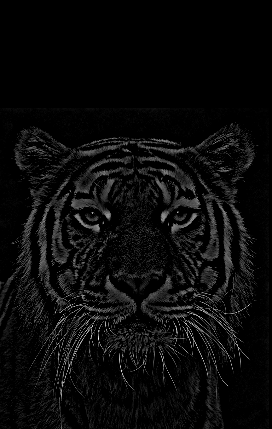
As you can see, the sharpened image has emphasis on all the edges of the Tiger.
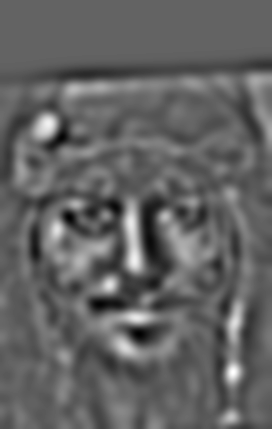
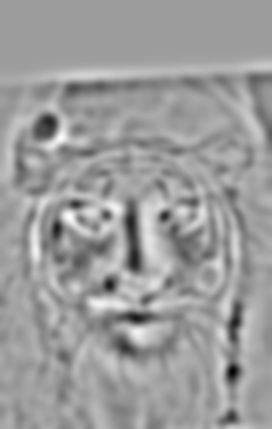
The goal of this part of the project is to create hybrid images by taking the high frequencies of one image and merging them with the low frequencies of another. First, we use the starter code to align the image (provided). Then, we take the aligned images and add the Gaussian convolved image (blurred) with the Laplacian of the other (high frequency), producing a hybrid imgae. \n The specific alpha values for each of the images were determined emperically.
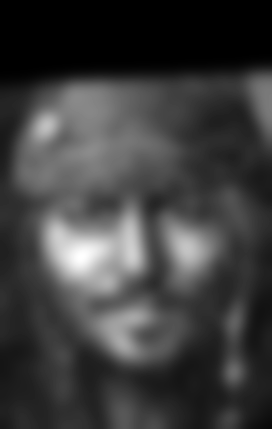
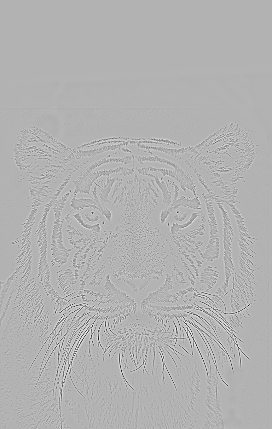
|
|
|
|
|---|---|---|---|
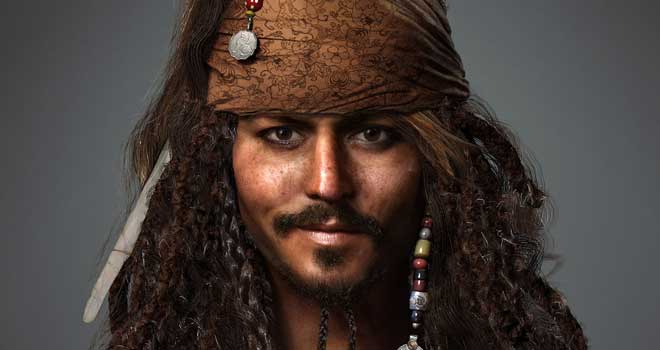
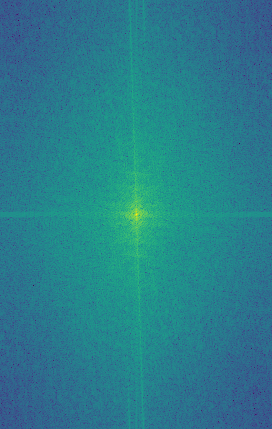
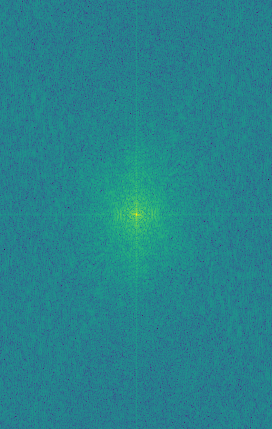
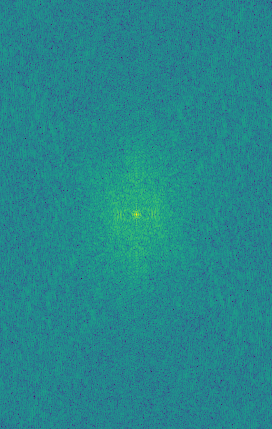
| Captain Jack Sparrow | Jack's FT | Portrait of a Tiger | Tiger's FT |

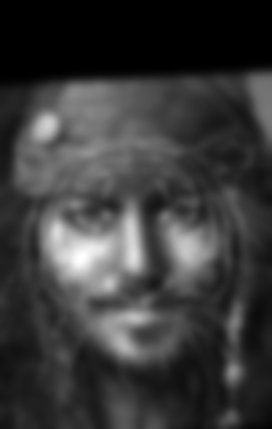
|
|
|
|
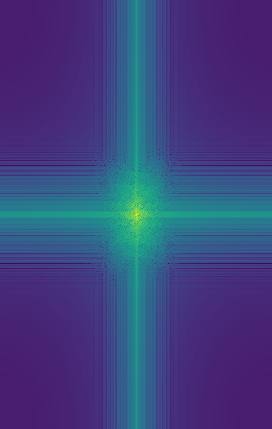
| LPF'ed Captain Jack Sparrow | Filtered Jack's FT | HPF'ed Tiger | Filtered Tiger's FT |

|
|---|
| Resultant Capt Jack Tiger |
|
|
|
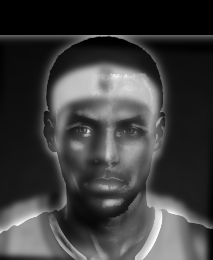
|---|---|---|
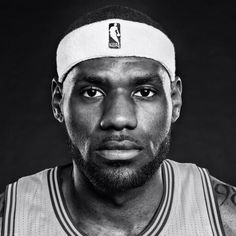
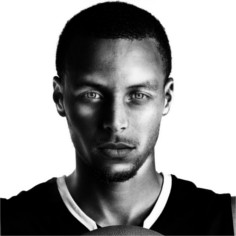
| Lebron James | Steph Curry | Steph James |
|
|
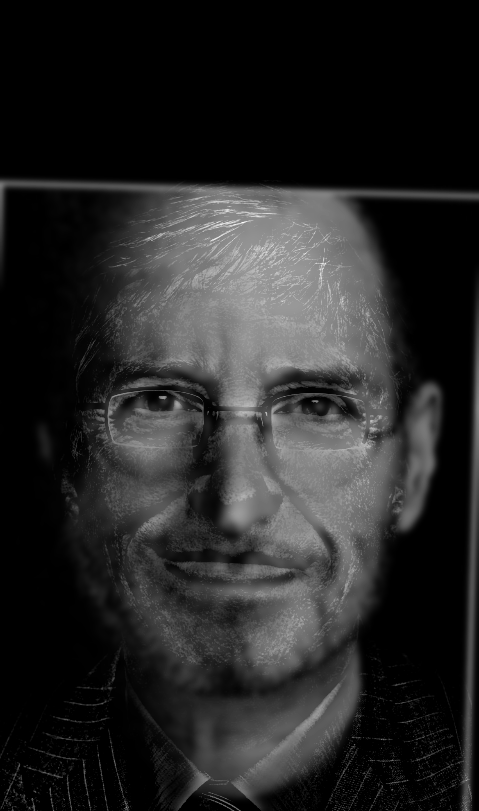
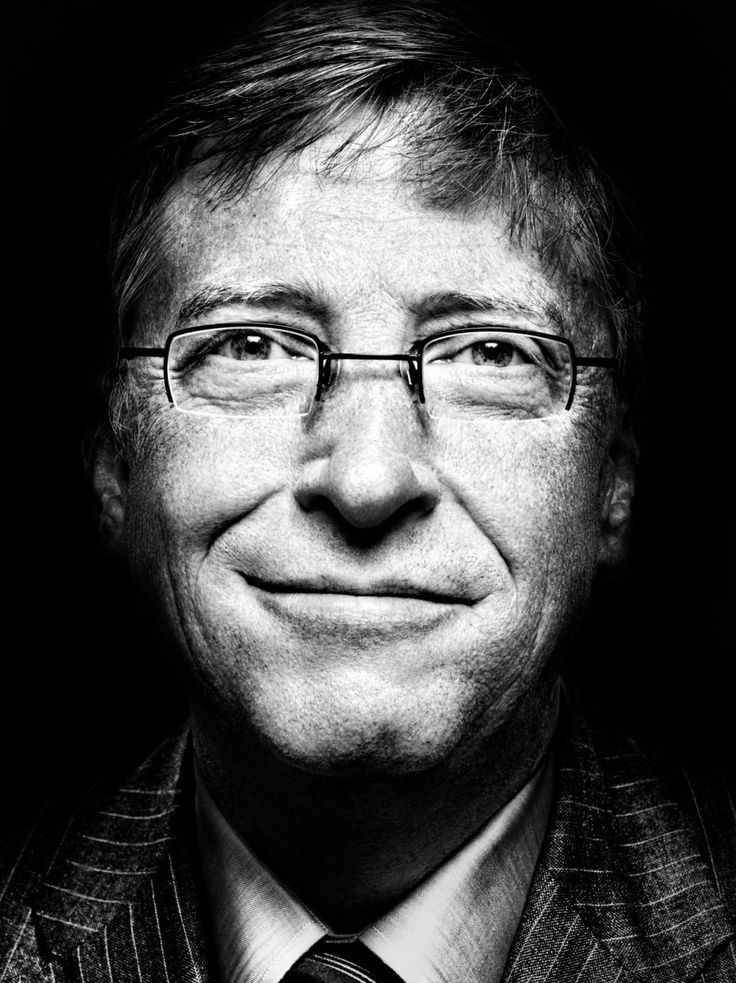
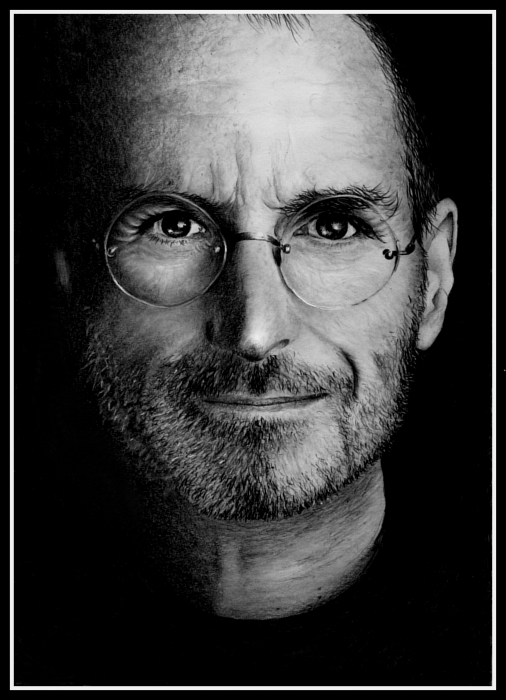
|
| Bill Gates | Steve Jobs | Steve Gates |
I don't think the Steve Gates hybrid works very well due to the fact that that their faces arent really the same size, and Job's beard dominates Gates' face.
The next part of the project was to display the Gaussian and Laplacian Stacks of our hybrid images. To create the Gaussian stack, I simply repeatedly applied a Gaussian filter to the input image with increasing sigma value (doubling at each level). \n For the Laplacian stack, I took the difference between the Gaussian of the current level with the Gaussian of the previous level. \n To create pyramids of the same level, we need to take one more Gaussian level because we subtract n+1th Gaussian with the nth, giving us the nth Laplacian.\n The Captain Jack Tiger Pyramids are displayed below:

|
|

|

|
|
|
|---|---|---|---|---|---|
| Gaussian σ = 1 | Gaussian σ = 2 | Gaussian σ = 4 | Gaussian σ = 8 | Gaussian σ = 16 | Gaussian σ = 32 |
|
|
|
|
|
|
| Laplace 1 | Laplace 2 | Laplace 4 | Laplace 8 | Laplace 16 |
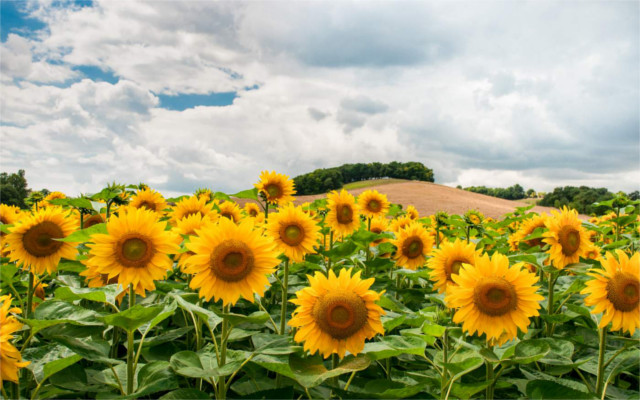
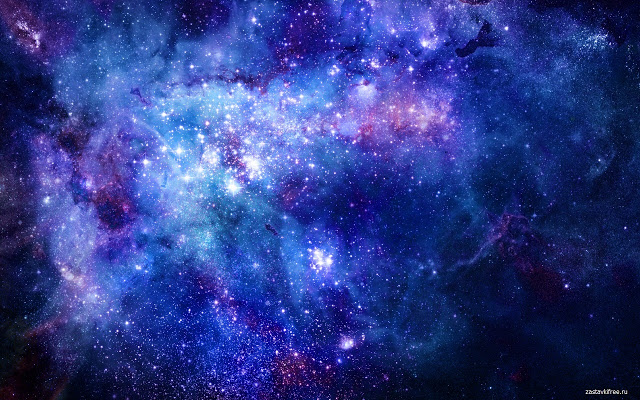
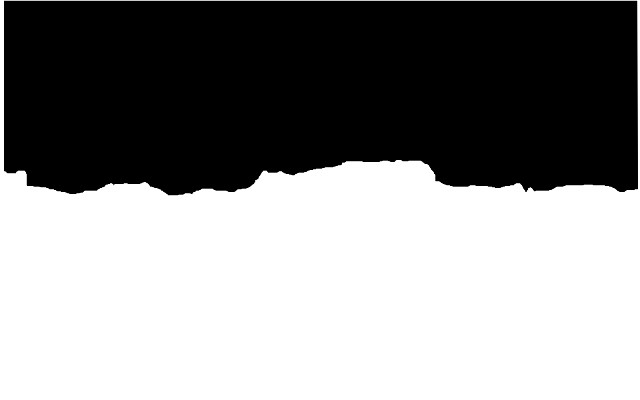
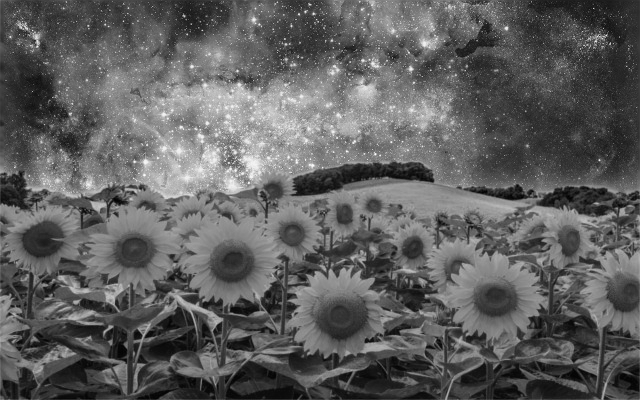
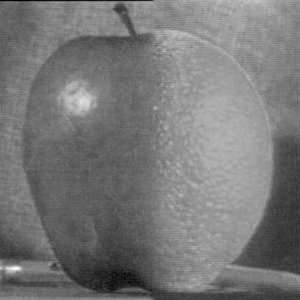
The objective of this part of the project was Multiresolution blending. Essentially, we apply a mask to a pair of photos and blend one photo with the other using the mask, using the following steps: \n 1. Create Gaussian and Laplacian stacks for all 3 images (2 images + mask) \n 2. Weigh each level of the Laplacian stacks by the equivalent entry (or inverse for one of the images) and then sum them, blending the images together at that Laplacian stack elvel. \n 3. Calculate the Gaussian of the (n+1)th level of the output image Gaussian stack, using the same method as step 2, but using the images Gaussians instead. \n 4. Sum the result of step 3 with each of the levels of the output image Laplacian Stack to get the final image. \ Examples of Multiresolution Blending are shown below:
|
|
|
|
|---|---|---|---|
| Sunflower Landscape | Space | Mask | Result Spaceflower Landscape |

|

|
|
|
| Apple | Orange | Mask | Blended Orapple! |
|
|
|
|
| Sunflower Landscape | Space | Mask | Result Spaceflower Landscape |
The point of part 2 is to implement gradient-domain processing for image blending, namely Poisson blending. Part 2 lets us seamlessly blend source image regions into corresponding target image regions
Before tackling poisson blending, we first solve the problem of reconstructing an image from only its gradients and one pixel value. This is described in depth on the project page and I will not go further here. \n The result of this problem reconstructs and image from its gradient, results displayed below:
|
|
|---|---|
| Original Image | Reconstructed Image |
For the Poisson blending method, we have 3 inputs. \n
1. Source image s \n
2. Target Image t \n
3. Binary Mask to specify where to blend s
\n
All 3 of the inputs have the same size. I created the Masks and aligned all images in Gimp. \n
The procedure for Poisson blending is as follows... \n
We solve for new pixel values v, according to the following function: \n
 \n
Where N is the 4 neighbors of the current pixel we're looking at. \n
Thus, we can construct a large sparse matrix A, and [H*W,1] size matrix b which we solve for. \n
Our equation thus becomes Ax = b, where we use a least squares solver to solve for x. \n
Results are displayed below:
\n
Where N is the 4 neighbors of the current pixel we're looking at. \n
Thus, we can construct a large sparse matrix A, and [H*W,1] size matrix b which we solve for. \n
Our equation thus becomes Ax = b, where we use a least squares solver to solve for x. \n
Results are displayed below:
|
|
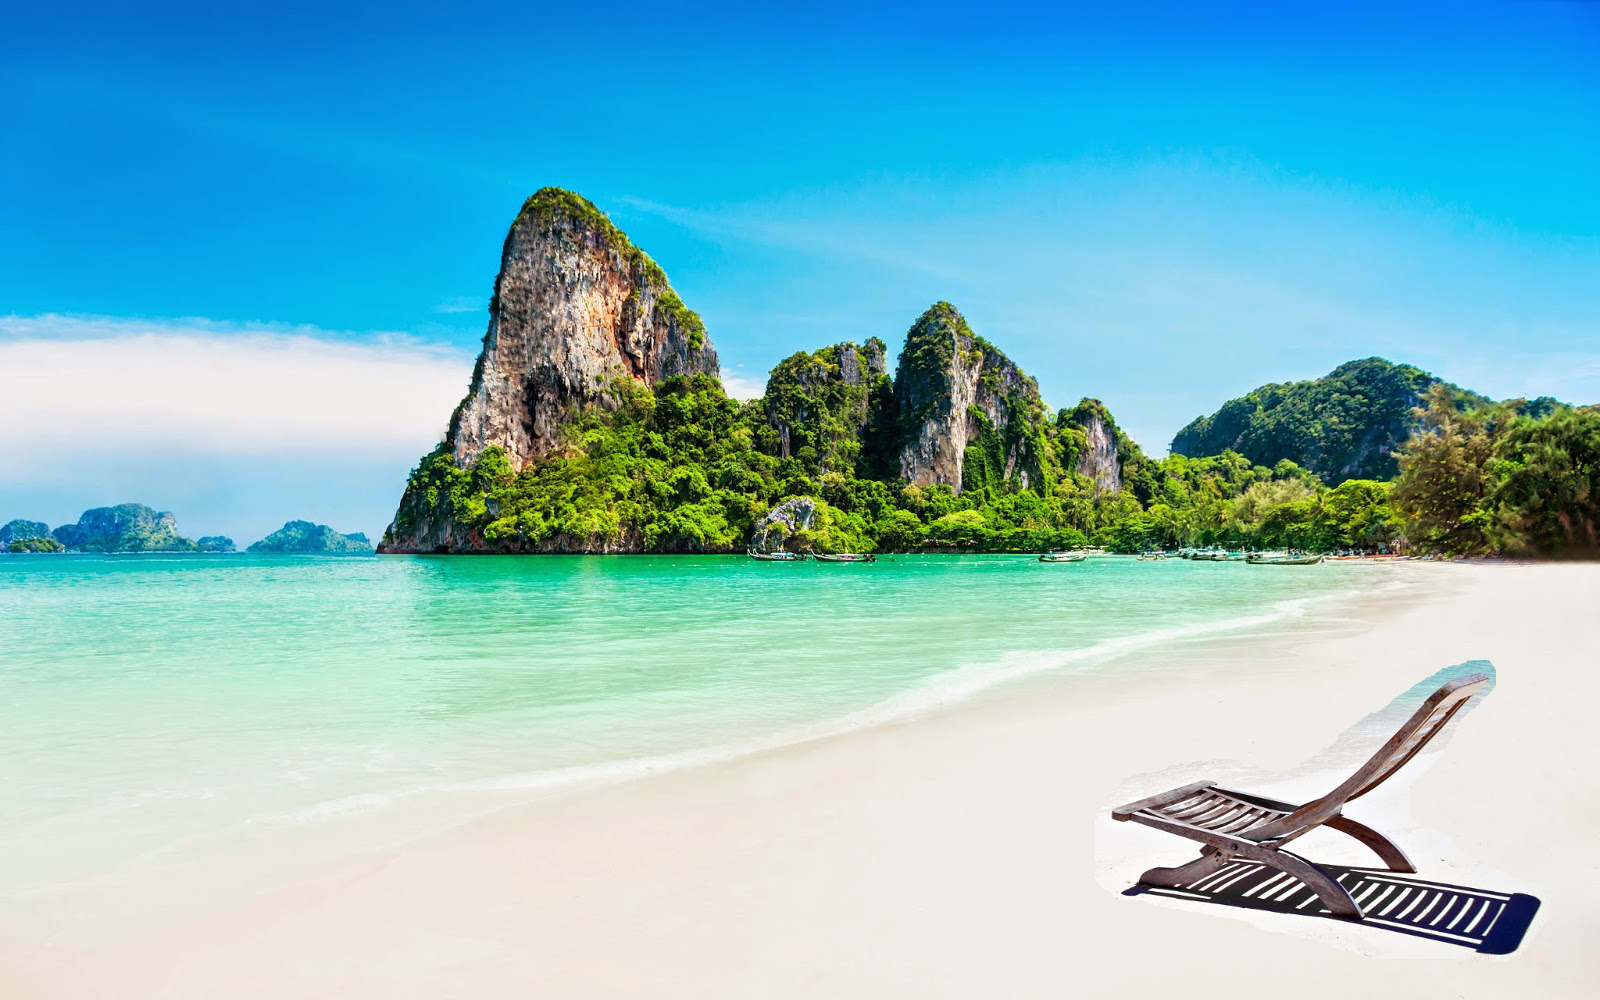
|

|
|---|---|---|---|
| Target Image | Source Image | Raw Pixels directly copy and pasted | Final Blend Result |
We can see that even a pretty crude cutout around the chair blends quite well into the final result. Comparing with the raw pixels directly copied in, we see that Poisson blending adjusts the overall intensities to better match the background.
|
|
|
|
|---|---|---|---|
| Target Image | Source Image | Raw Pixels directly copy and pasted | Final Blend Result |

|
|
|
|
|---|---|---|---|
| Target Image | Source Image | Raw Pixels directly copy and pasted | Final Blend Result |
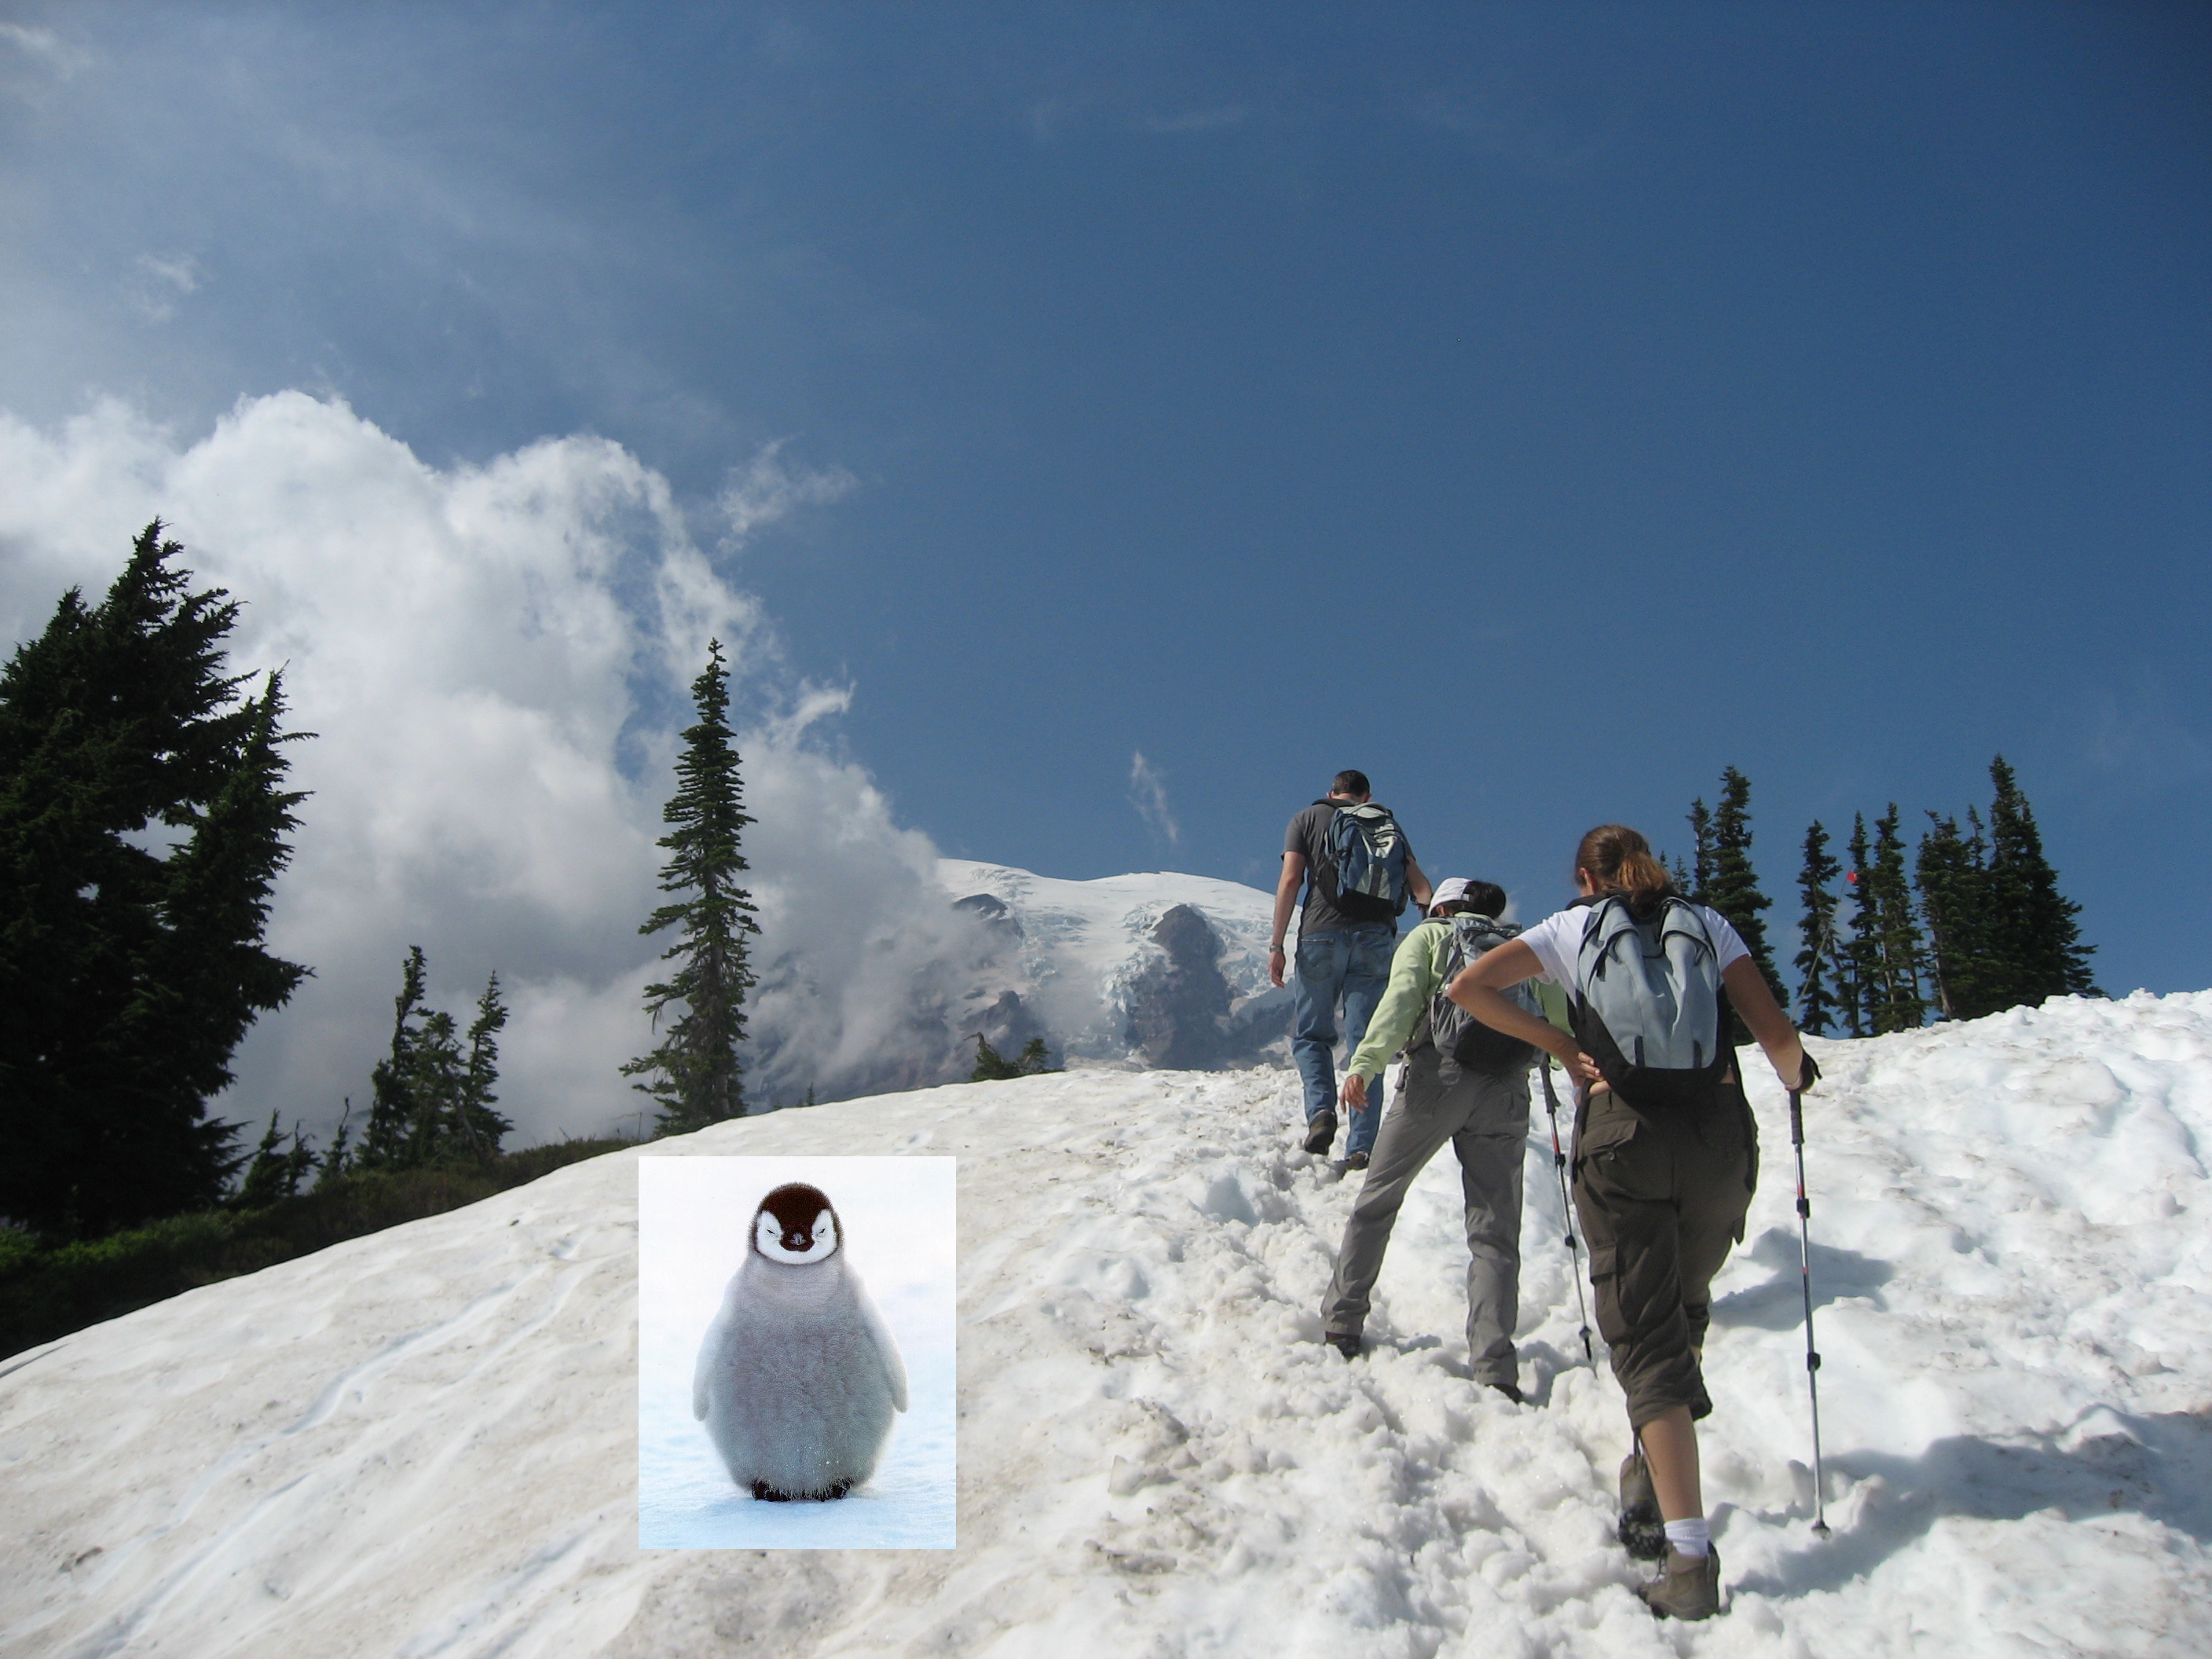
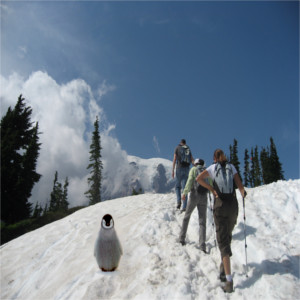
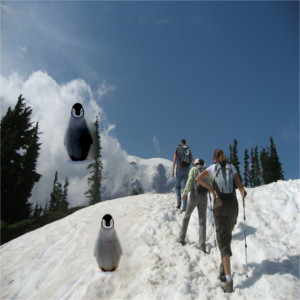
Here's and example of a failed blending:
|
|
|
|
|---|---|---|
| Target Image | Source Image | Final Blend Result |
We can see that the upper penguin is not blended realistically, as the background image is much darker and thus the penguin is darkened as well.
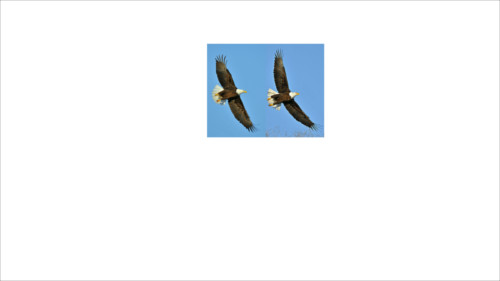
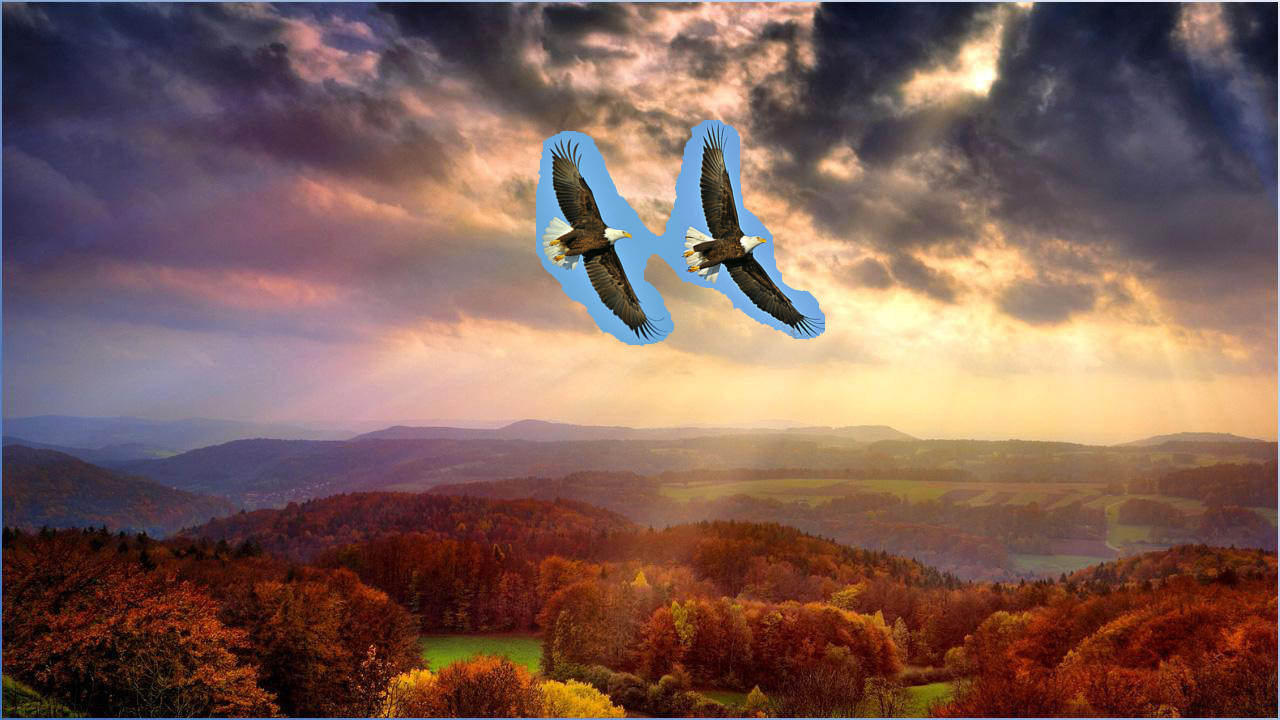
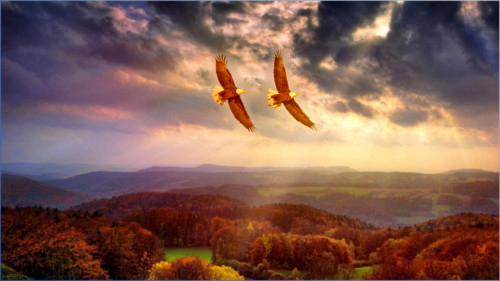
Here's a direct comparison between Laplacian pyramid blending from part 1, and Poisson blending. \n We'll use the bird example from above and use Laplacian Pyramid Blending on it.
|
|
|
|
|---|---|---|
| Target Image | Source Image | Raw Pixels directly copy and pasted |
|
|
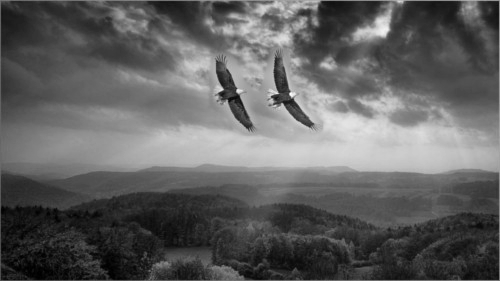
|
|
| Poisson Blending | Laplacian Pyramid Blending |
Though not visible here because the Laplacian version I have implemented only works in grayscale, the resultant color image of Pyramid Blending would still have a central blue color around the birds, as it doesn't adjust the intensities of the image. Thus, for this example, Poission blending works much better. Pyramid blending would work better for cases where the target image and source image have VERY similar background textures and colors.