Overview
This project uses the concept of high and low pass filters to do image editing such as sharpen or blur, and then applies it to how it affects human perception of an image. Using these concepts, we implement ways to blend together images, such as using just the frequencies of the images themsevles or gradually use them with several levels of each filter. Ultimately, we adopt another method to blend images using gradients.
Note:
There are very many intermediate images especially with the stacks. Many of them were not included in the website due to space constraints but can be viewed through Google Drive here.
Part 1.1 Warmup
To sharpen and image, I first blurred it with a gaussian filter with a sigma of 3. I then get the high pass filter by subtracting the blurred image from the original image and add that result to the original image. This results in a sharpened image because of the emphasis on the high pass elements which we percieve as a more defined edge.
 Original
|
 Sharpened
|
 Original
|
 Sharpened
|
 Original
|
 Sharpened
|
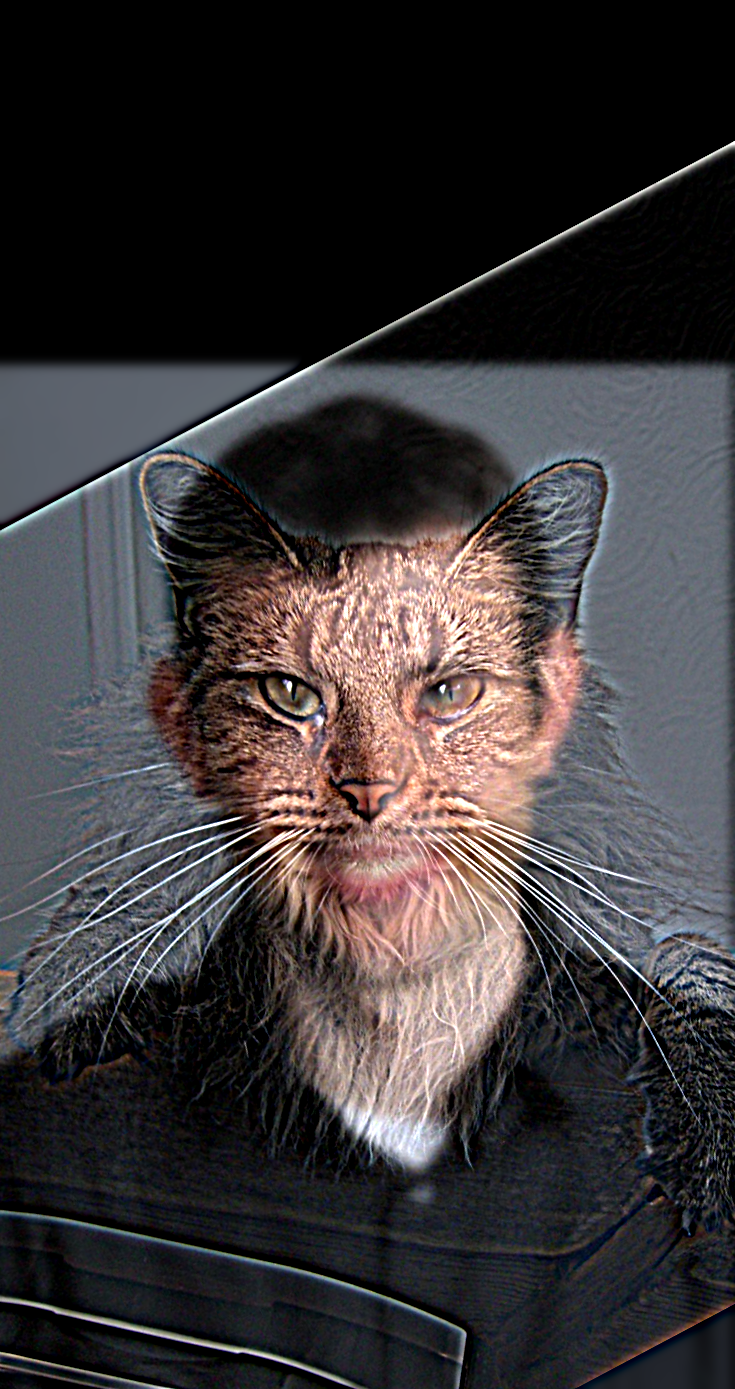
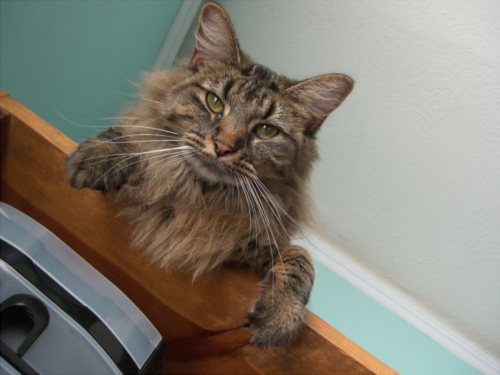
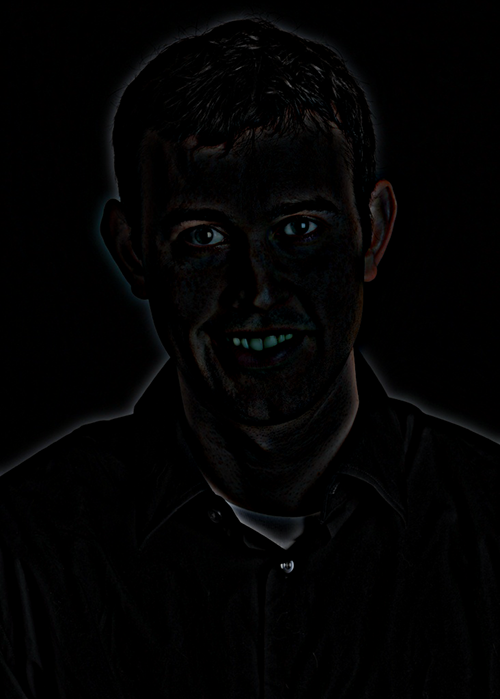
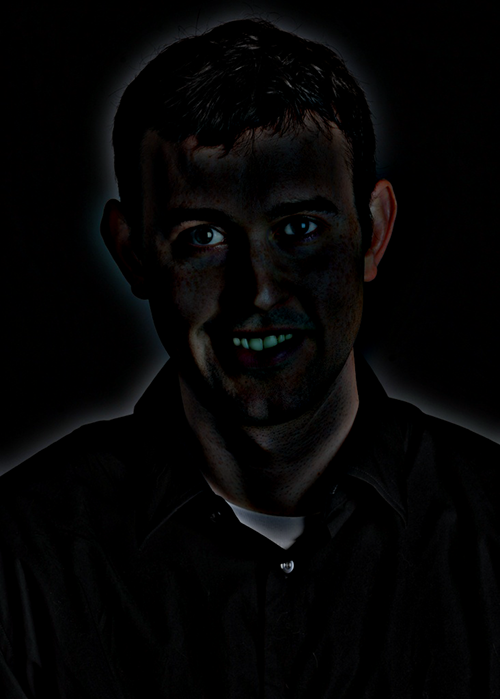
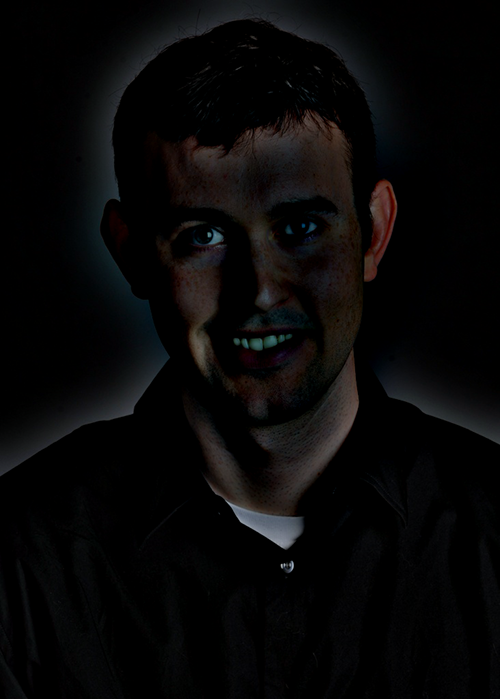
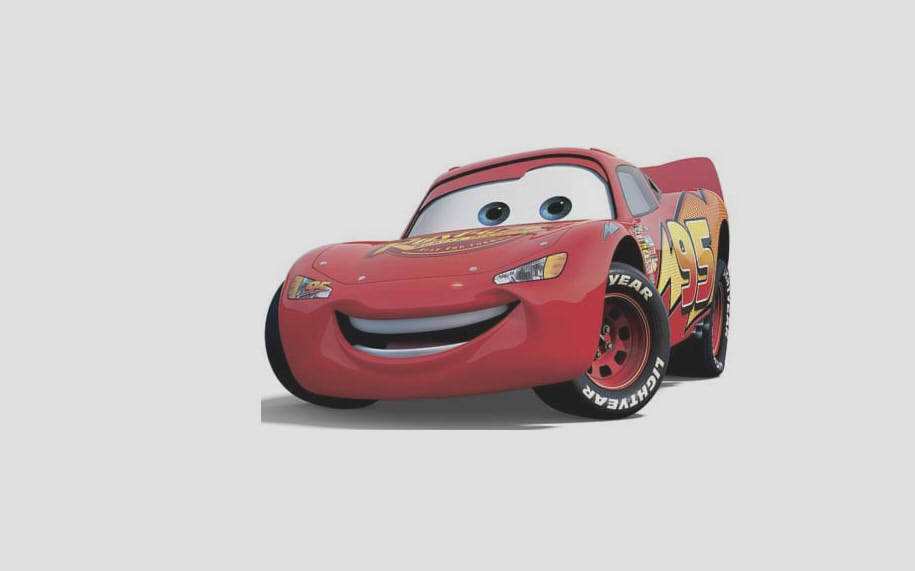
Part 1.2: Hybrid Images
A hybrid image can be created by adding the high pass of one image to the low pass image of another. From afar you can then see the low pass image and from up close, the high pass image.
Failure Case
In this case, the hybrid was a failure since Hank and McQueen don't look remotely similar enough where the high pass would give it enough detail to look anything like just Hank in the image. McQueen's low pass is also unfitting for this hybrid since the general shape of him, which is very defined, is very different from Hank so unless the low pass is blurry enough to make that shape more ambiguous, this will fail. If the low pass is that blurry, McQueen probably can't be seen from afar either, which is also a failure.
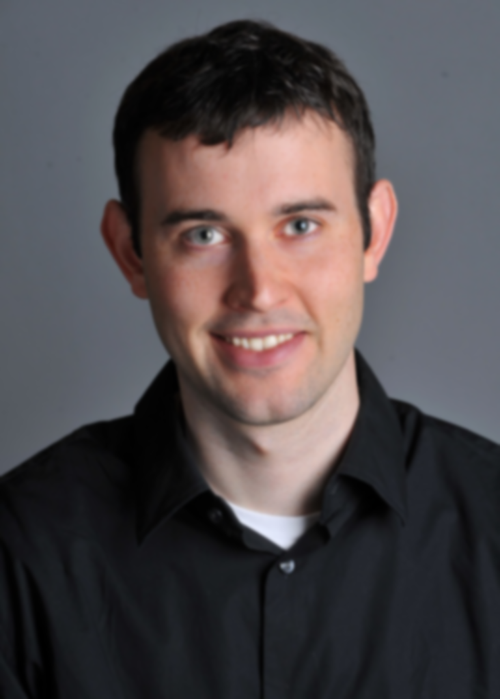
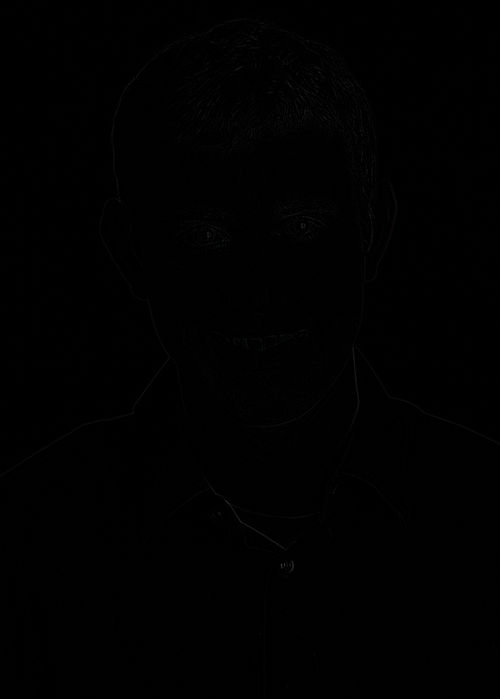
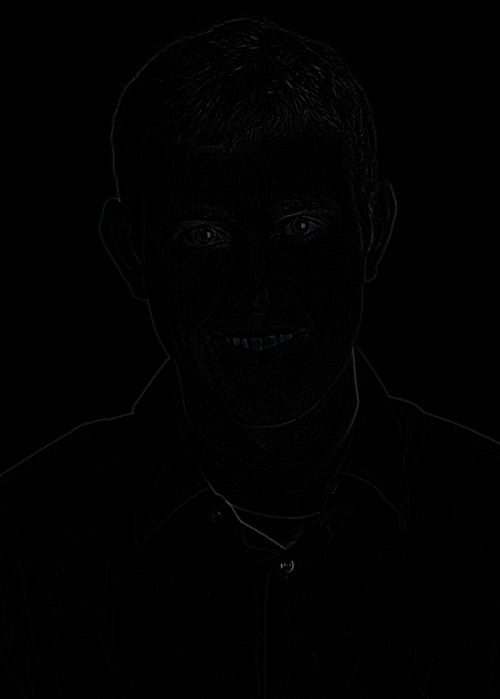
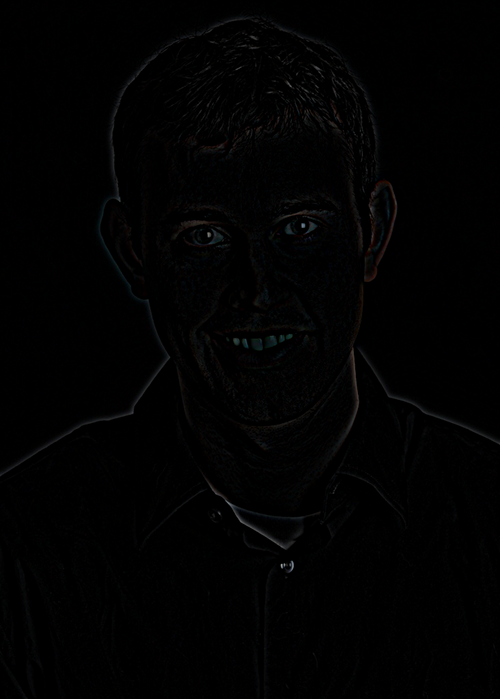
Part 1.3: Gaussian and Laplacian Stacks
Each Laplacian level is created from the difference between the Gaussian levels. In the images below, the sigma values are increasing powers of 2. The Laplacians below are very dark, however the image is more visiable if you view the image in a new tab.
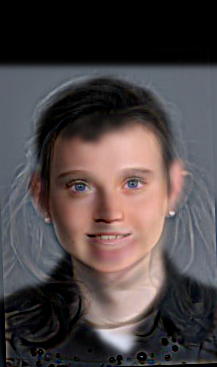
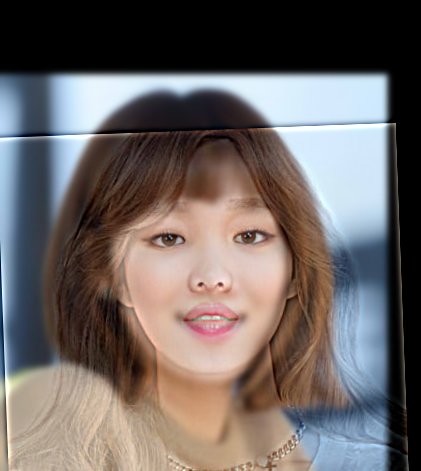
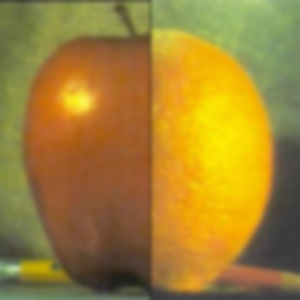
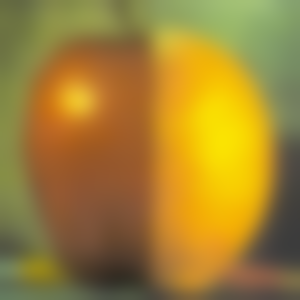
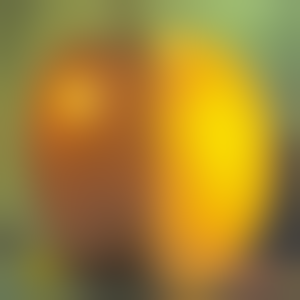
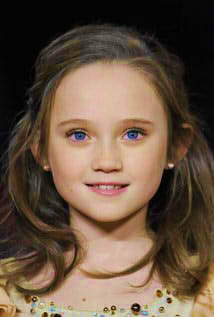
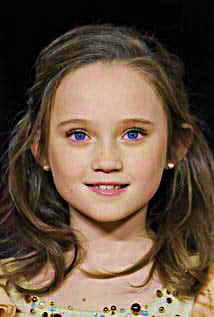
Part 1.4: Multiresolution Blending
For blending two images, we must create a Gaussian and Laplacian stack for each. Then, at each level of the stack, we do a Gaussian filter of the same sigma over the mask and mask it over the Laplacians for that level. We must also create the final image of the two images unblended using the original mask. Finally, we create a Gaussian stack for our final image, take the last image, and sum it all together with the masked Laplacians from both images. Laplacians are the difference between Gaussian blurring levels so adding them back should give a clear image except for where our mask is not completely black, which is the seam. This results in a very well blended seam. Below are some examples. IF you woould like to view more of the stacks than show below, please refer to the Google Drive link in the overview note above.
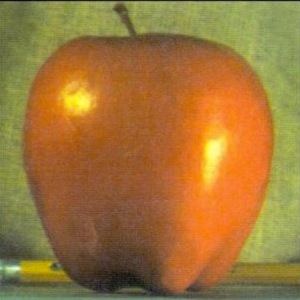 Apple
Apple
|
 Binary Mask
|
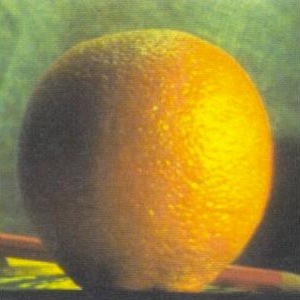 Orange
|
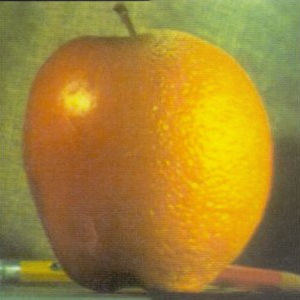 Oraple
|
 McQueen
|
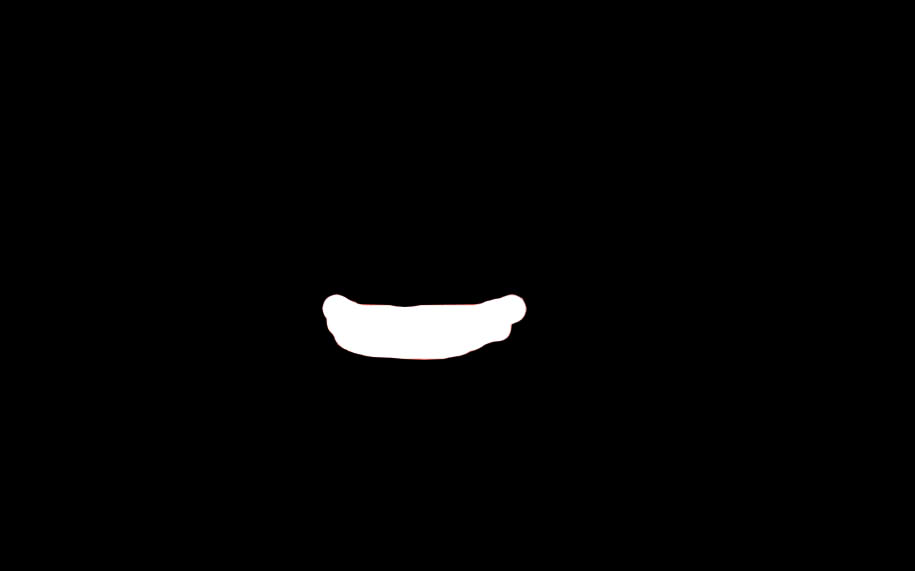 Binary Mask
|
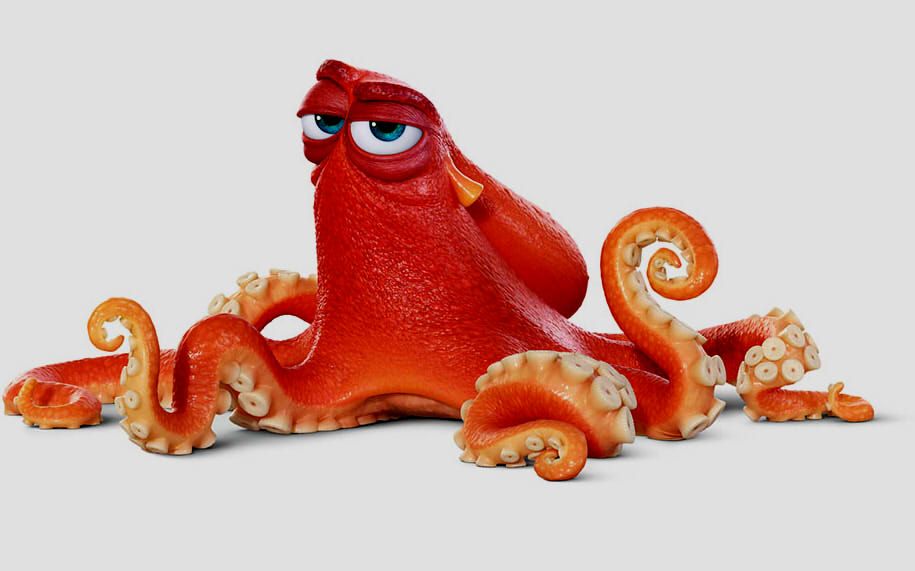 Hank
Hank
|
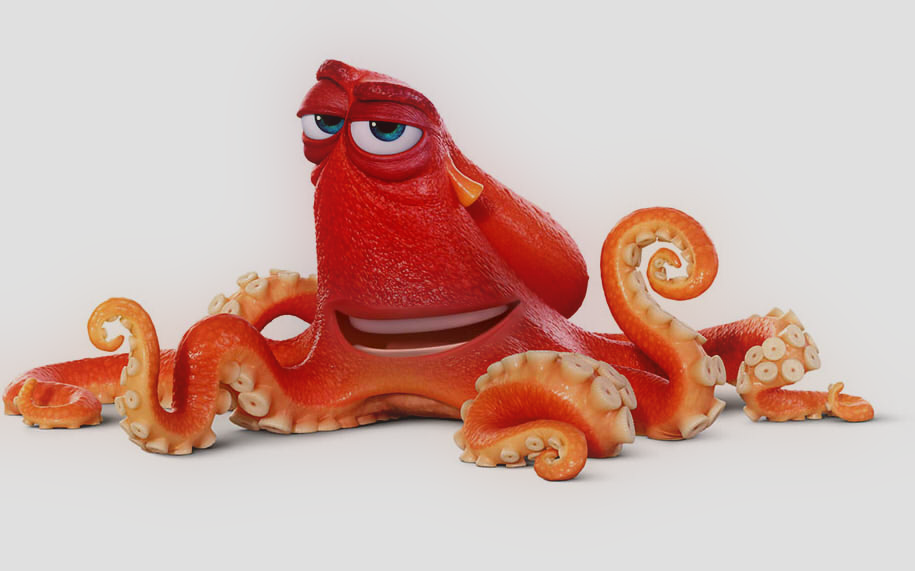 Smiling Hank
|
|
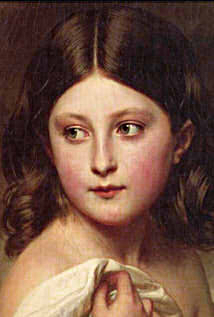
Girl
|
 Binary Mask
|
Painting
|
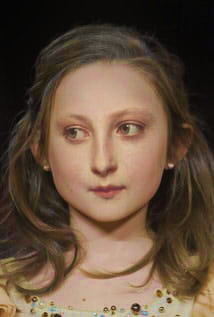 Face Switched
|
Part 2.1 Toy Problem
The constraints for the x-gradients, y-gradients, and match top left pixel resulted in a solution that's the exact same image as seen below. This solution can be found by creating a sparse matrix the size of the number of constraints we have by the number of pixels in the image and one with the number of pixels in the image by one. Then we can fill them with the constraints and solve using a least squares solver.
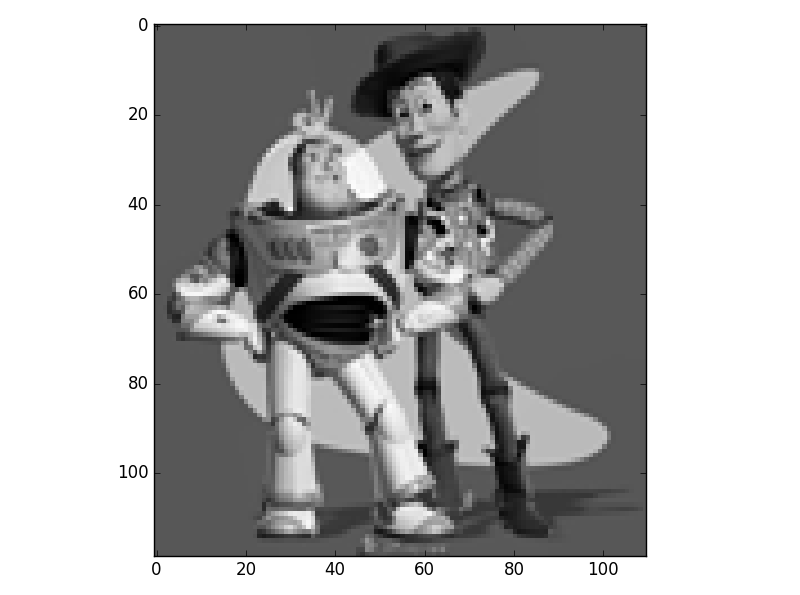 Result
|
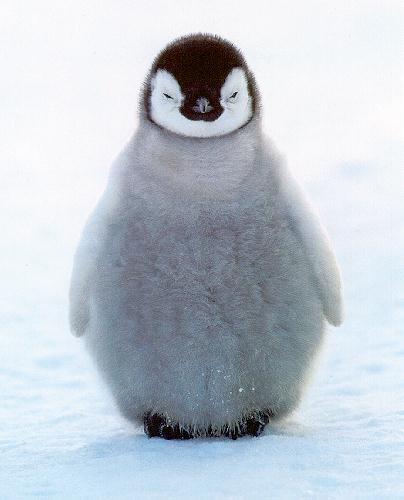
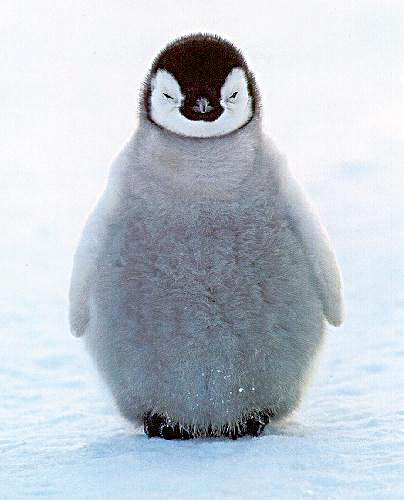
Part 2.2 Poisson Blending
This is done in the exact same way as part 2.1 except with the blending constraints instead of the ones in part 2.1, and for values outside the mask, we just copy the pixel over. This results in the masked image's gradient being adjusted to match the border so that the colors blend better than in part 1. Processing was done on all three channels separately to get these results.
Since I was using Python and didn't want to integrate the Matlab starter code, I transformed by own targets and created my own masks before processing in Photoshop.
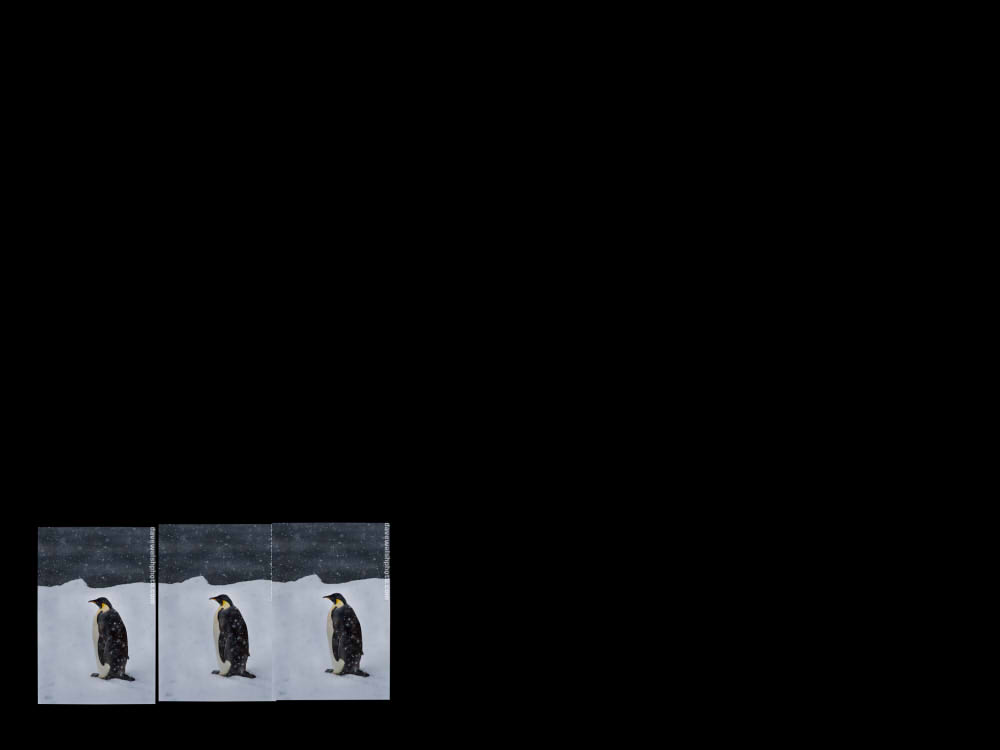 Penguins
|
 Binary Mask
|
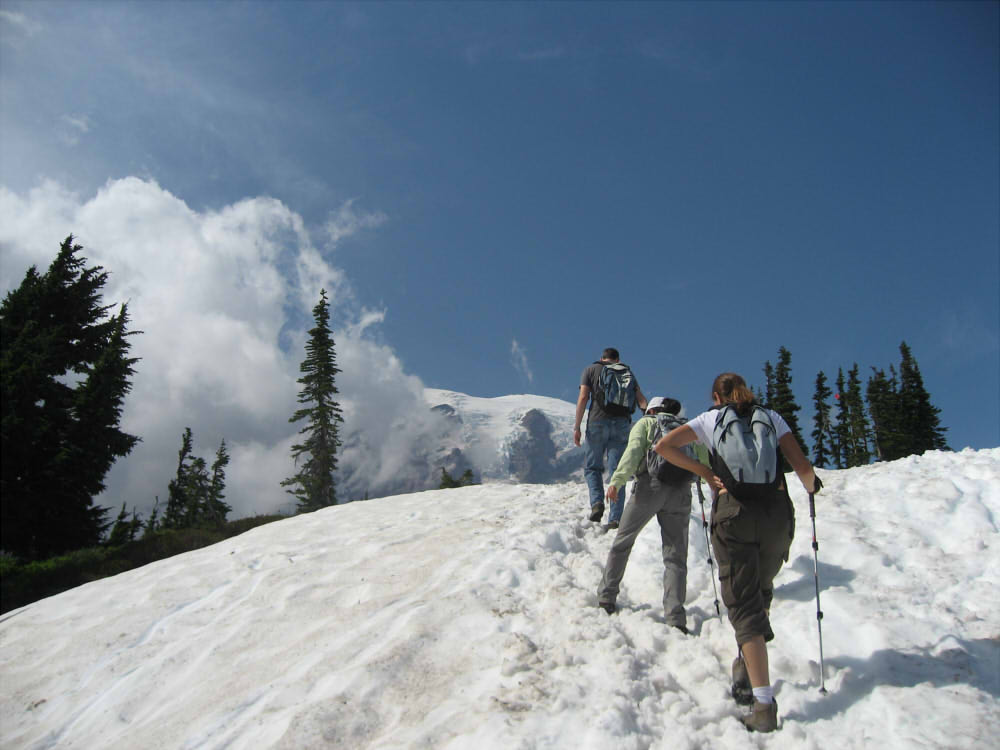 Snow Scene
|
 Combined with Direct Copy
|
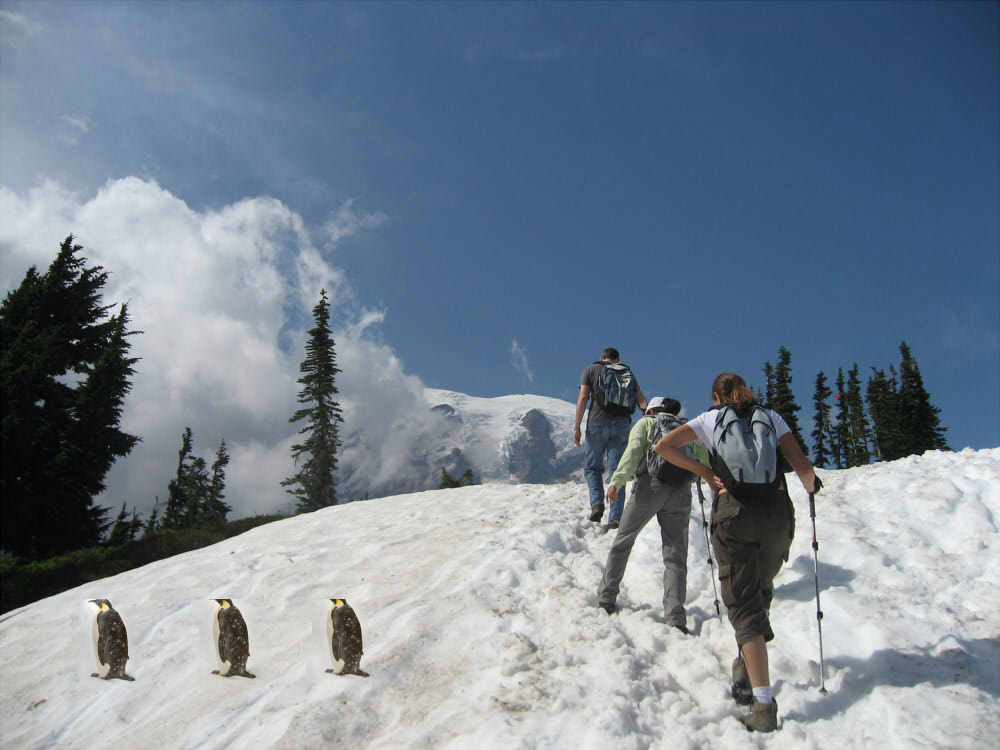 Combined with Poisson Blending
|
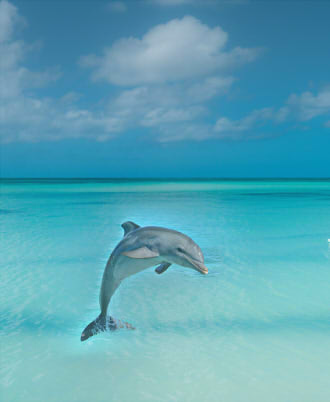
Laplacian Comparison
 Combined with Direct Copy
|
 Combined with Laplacian Blending
|
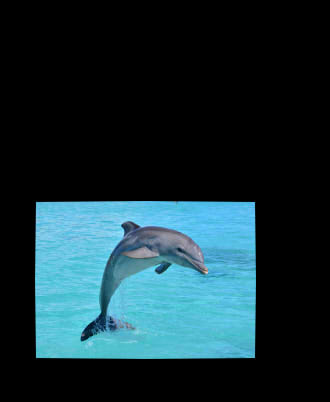
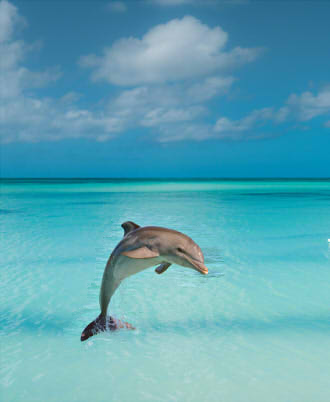 Combined with Poisson Blending
|
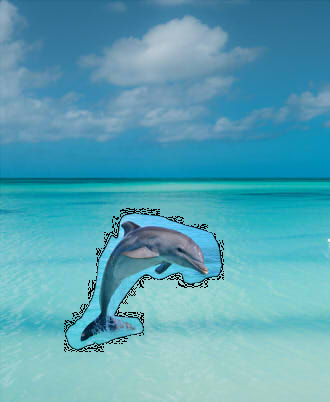
With the Laplacian blending, the dolphin is almost blended into the sea background but the color of the sea near from the targe image is still different from the source. With Poisson blending, the color gradient is adjusted to match so it looks like it has blended seamlessly.
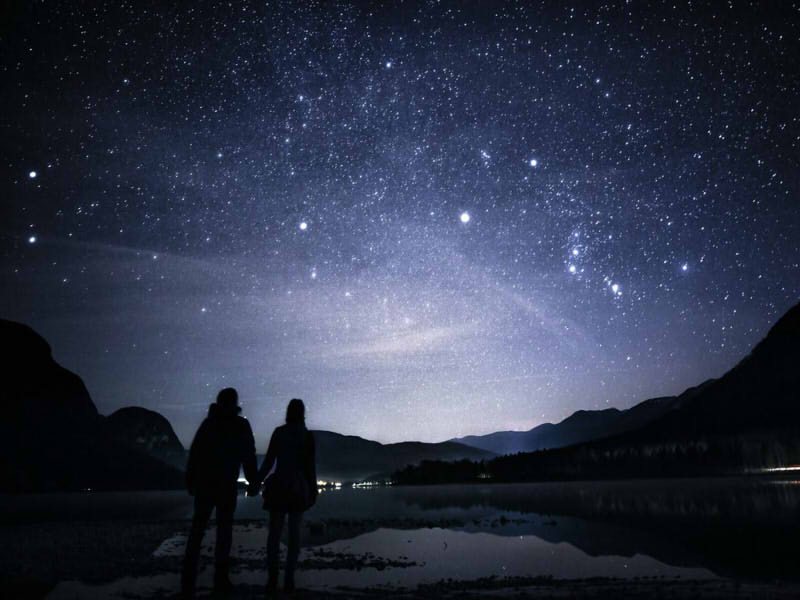 Stars
Stars
|
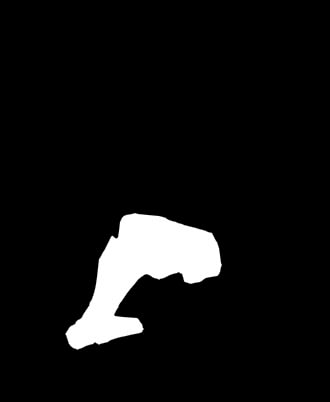
 Binary Mask
|
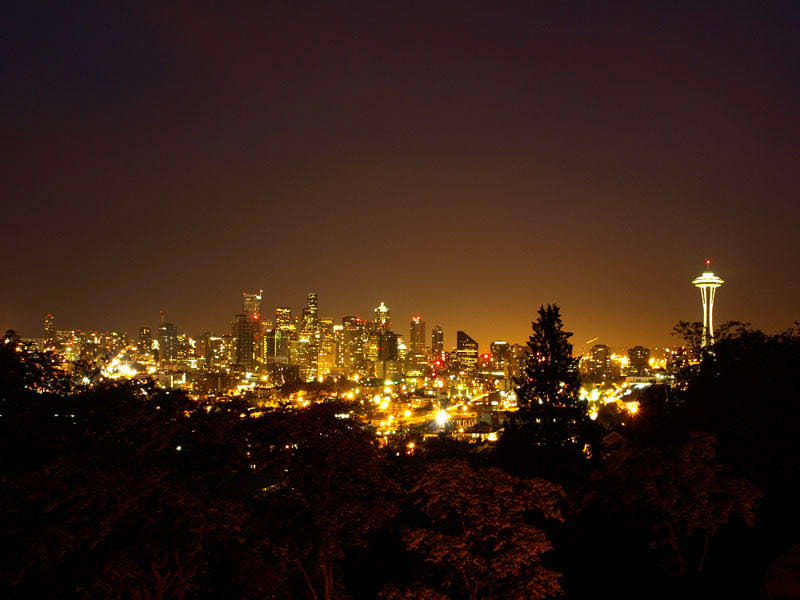 Cityscape
|
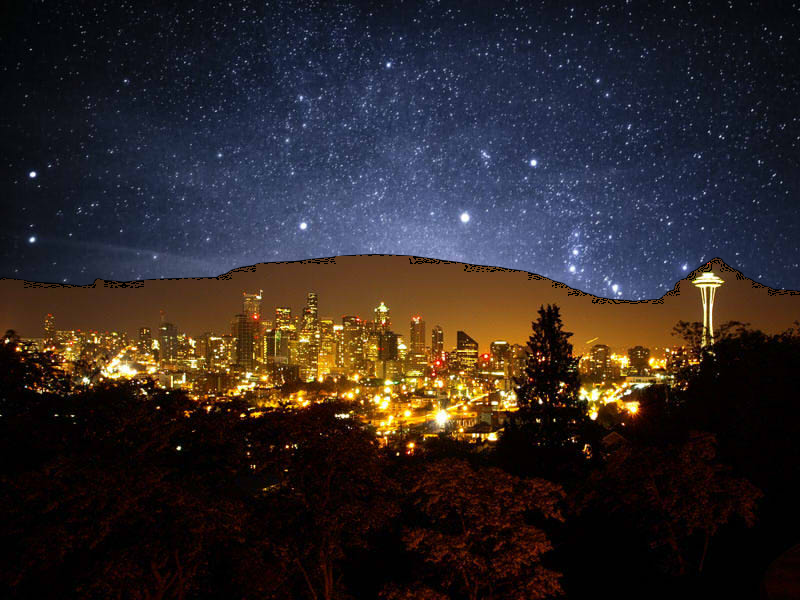 Combined with Direct Copy
|
 Combined with Laplacian Blending
|
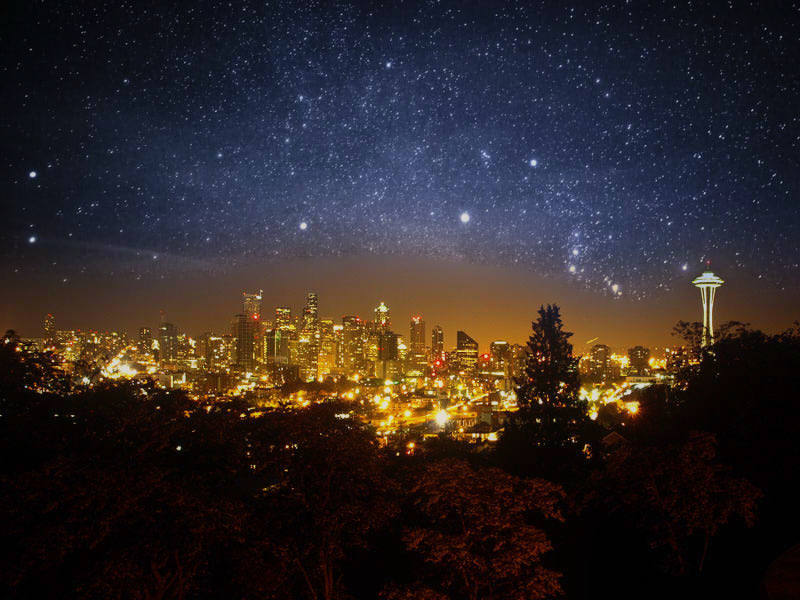
 Combined with Poisson Blending
|
With Laplacian blending, the colors of the city sky and stars are definitely very very different. In fact, they are complete opposites (being complementary colors and all). Using Poisson blending, we get a city with the same colored starry sky. This looks more natural from the average view. However, upon closer inspection, there is a seam between the sky and starry sky because while Poisson blending takes care of the gradient, it doesn't do anything about textures. In this case, the amount of stars from the source image are dense enough that it can be percieved as a texture, which causes a clear seam with the solid color sky in the target image.
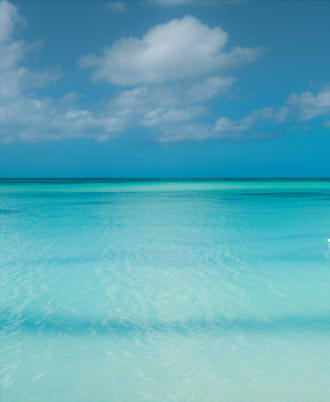
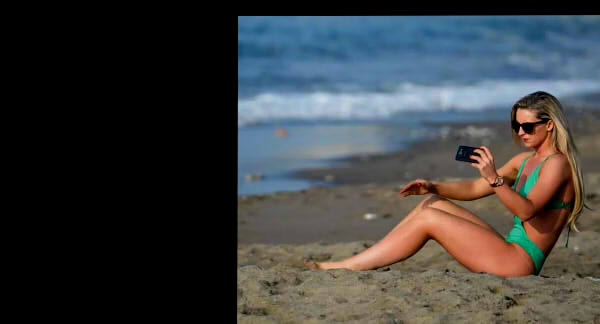
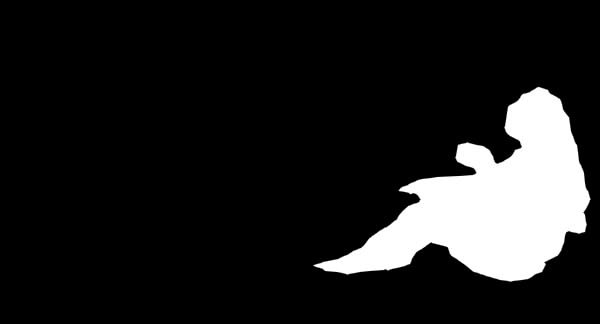
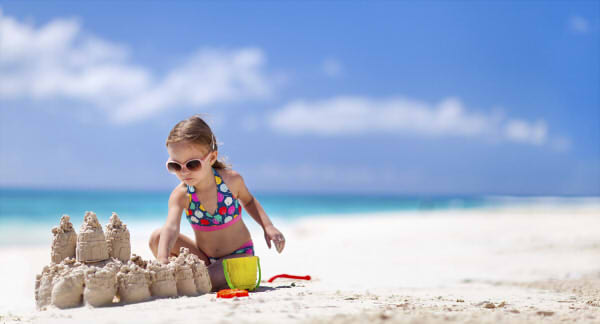
Failure Case
In this case, the background of the lady is far too different from the beach image so when we use Poisson blending, her entrie body is color corrected so that her surrounding background would match that of the target image. This unfortunately makes her look very pale and transparent compared to the other little human in the target image.
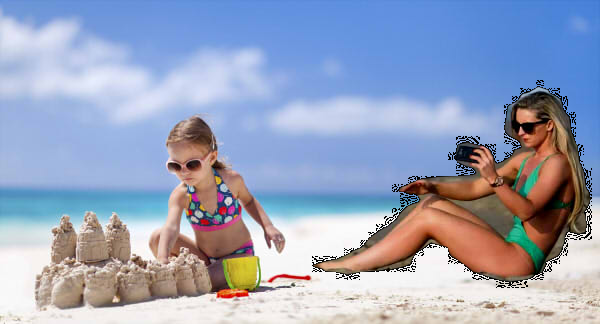 Combined with Direct Copy
|
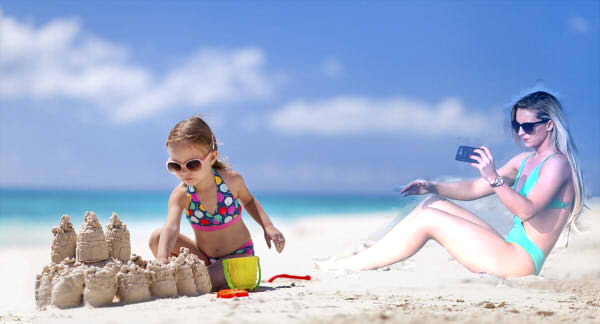 Combined with Poisson Blending
|