CS194-26 Project 3: Fun with Frequencies and Gradients
Part 1.1: Warmup
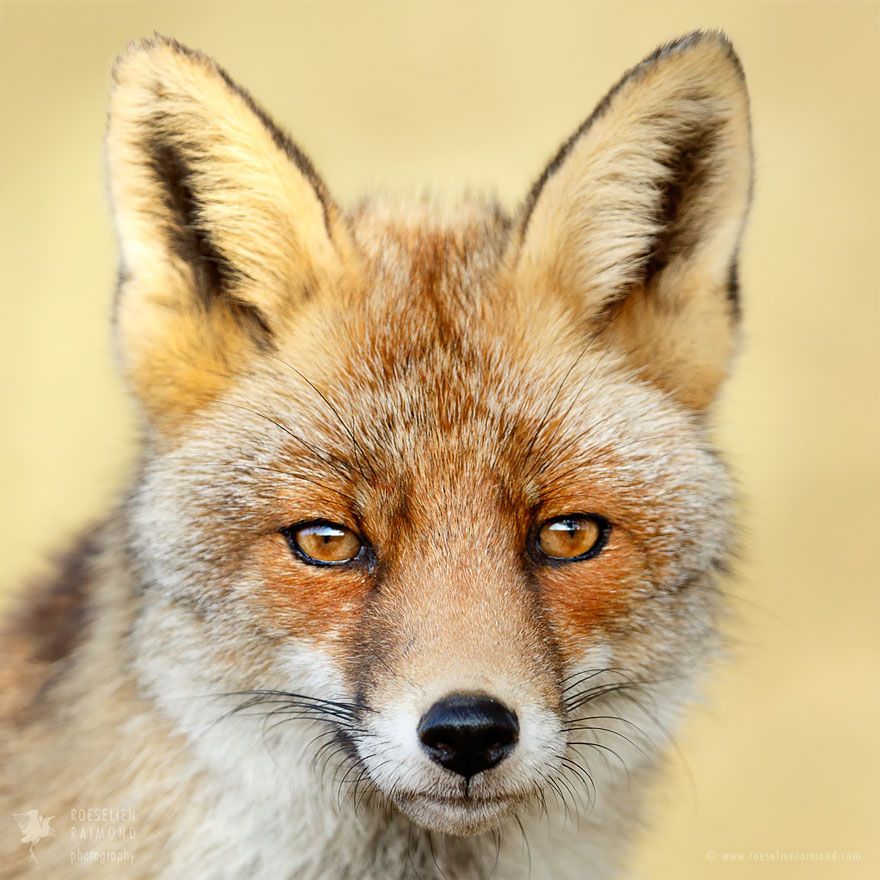
Here, I first ran the image through a gaussian filter to get a blurred version of the image. Then, I used the formula: f * ((1 + alpha) - blur * alpha) to get the sharpened version of the image, with f as the original image. I used an alpha of 0.7 and a sigma of 1.
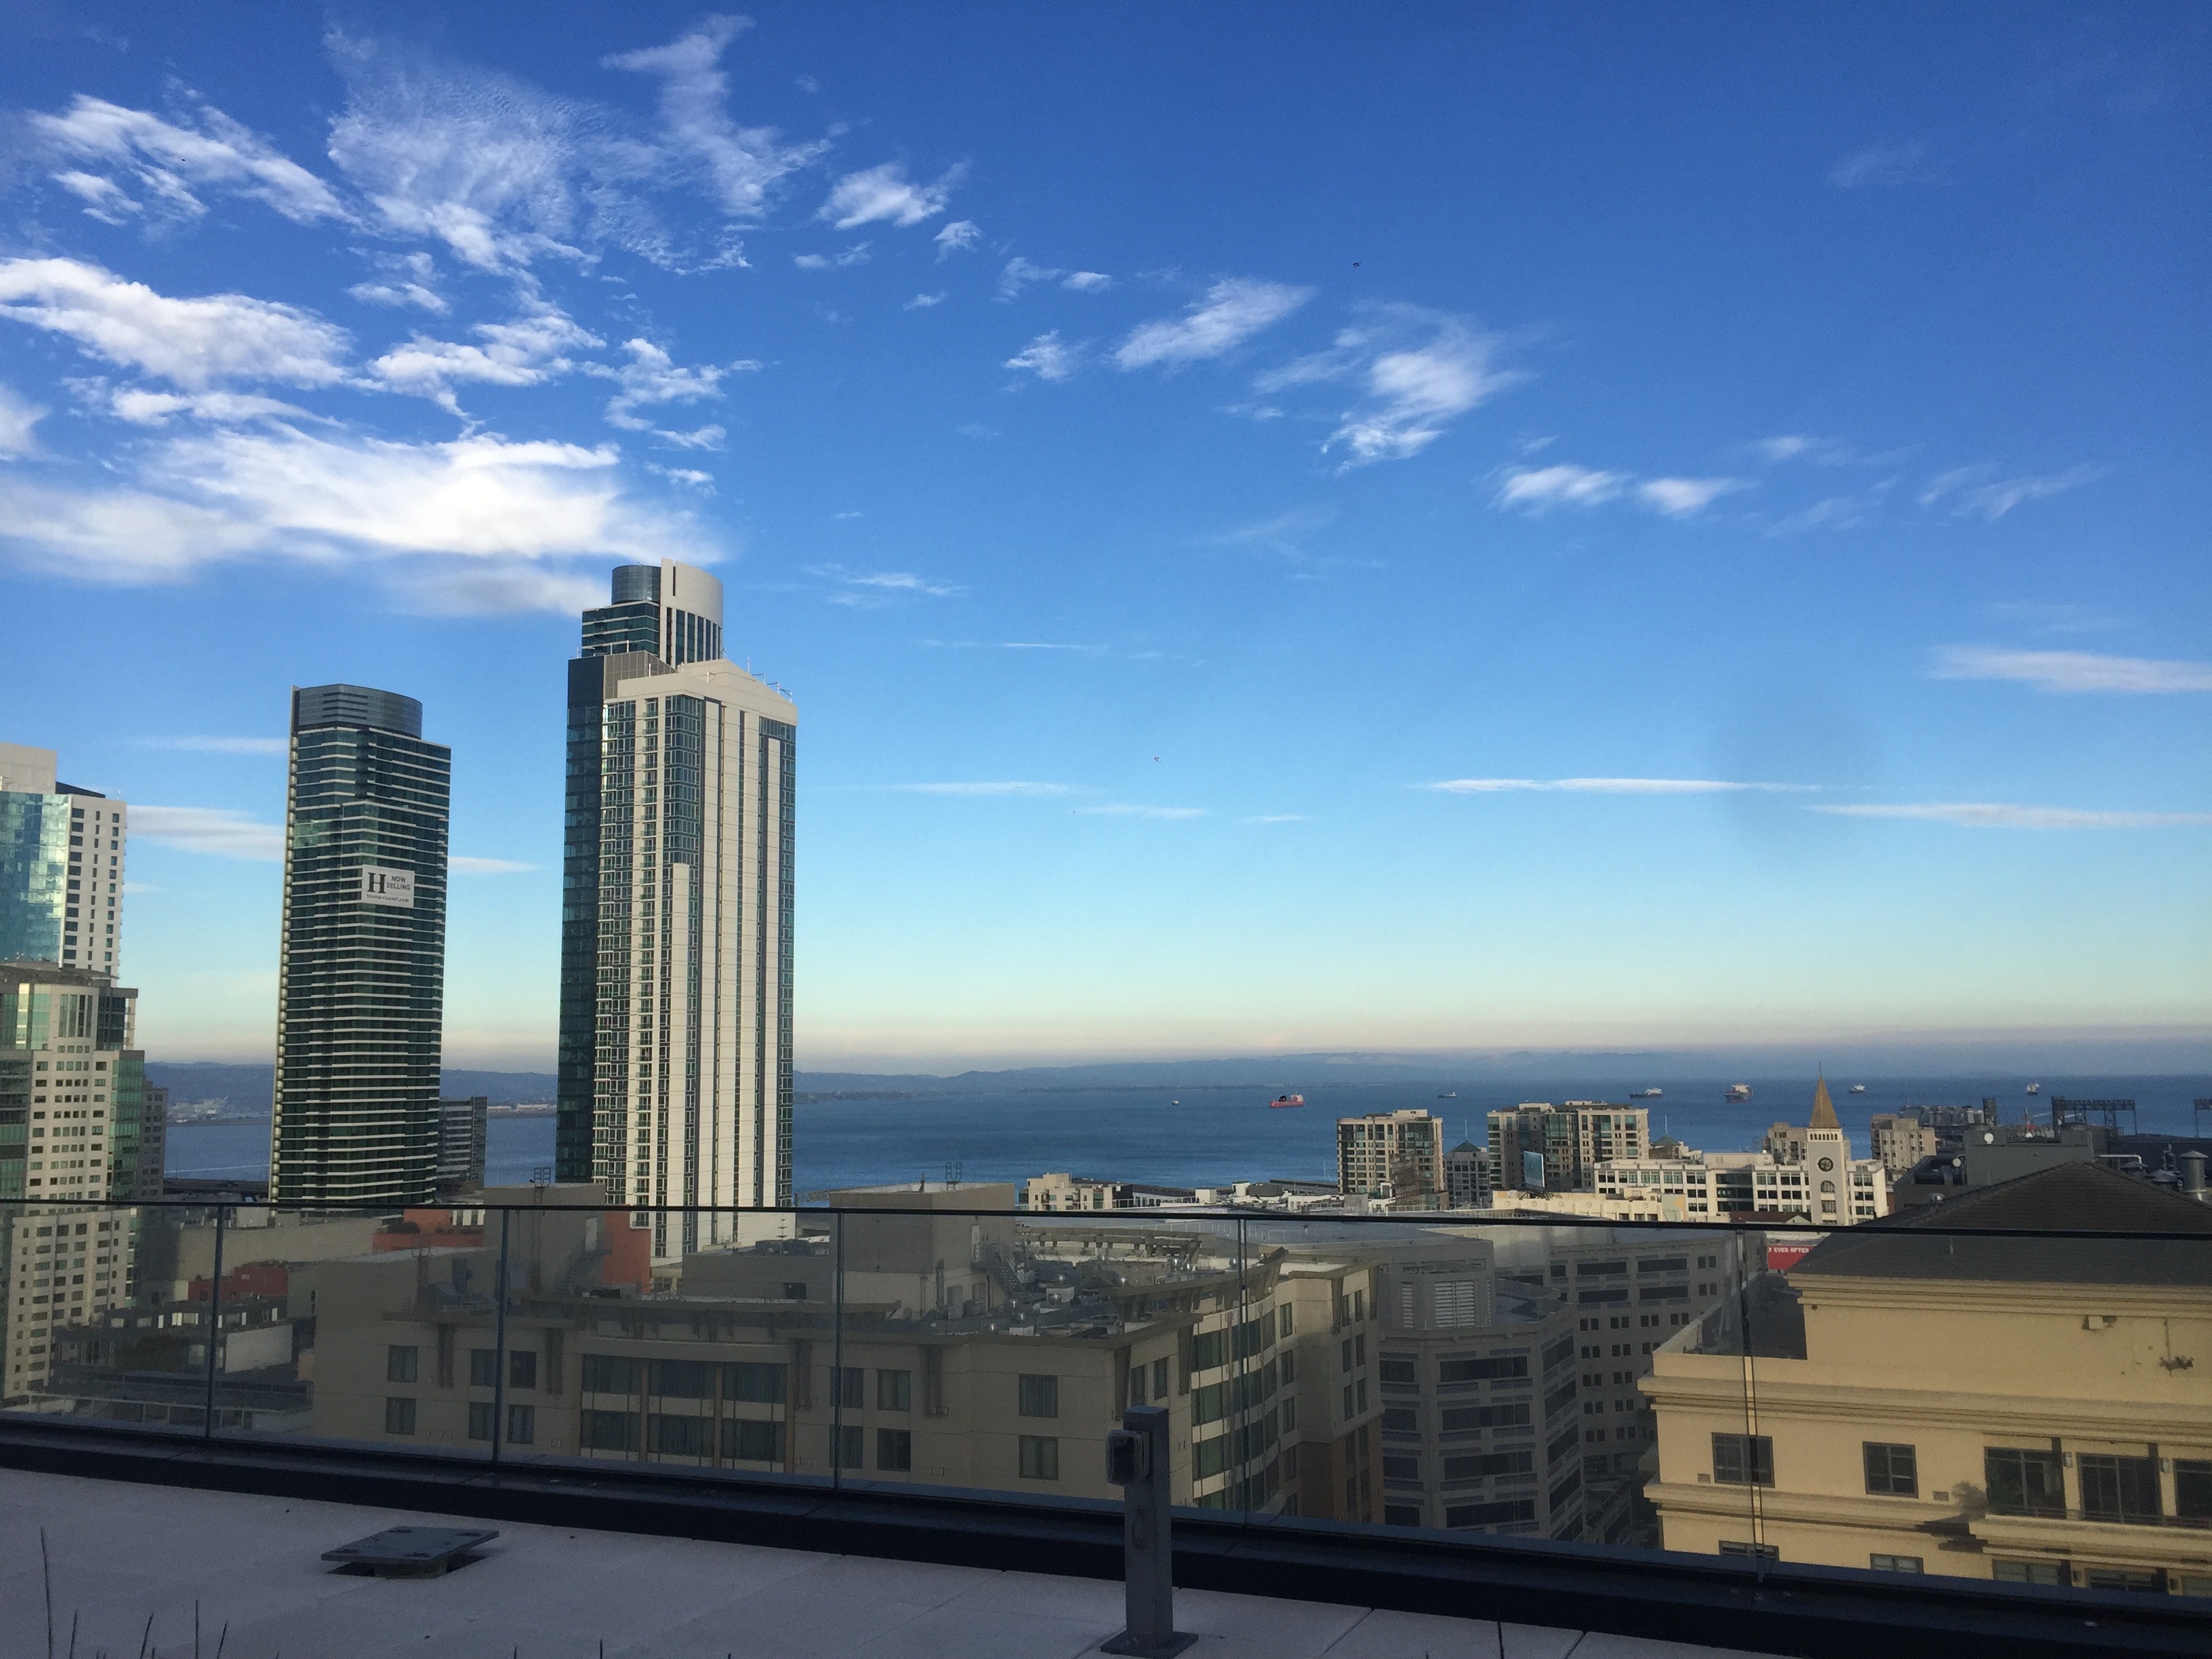 Original
|
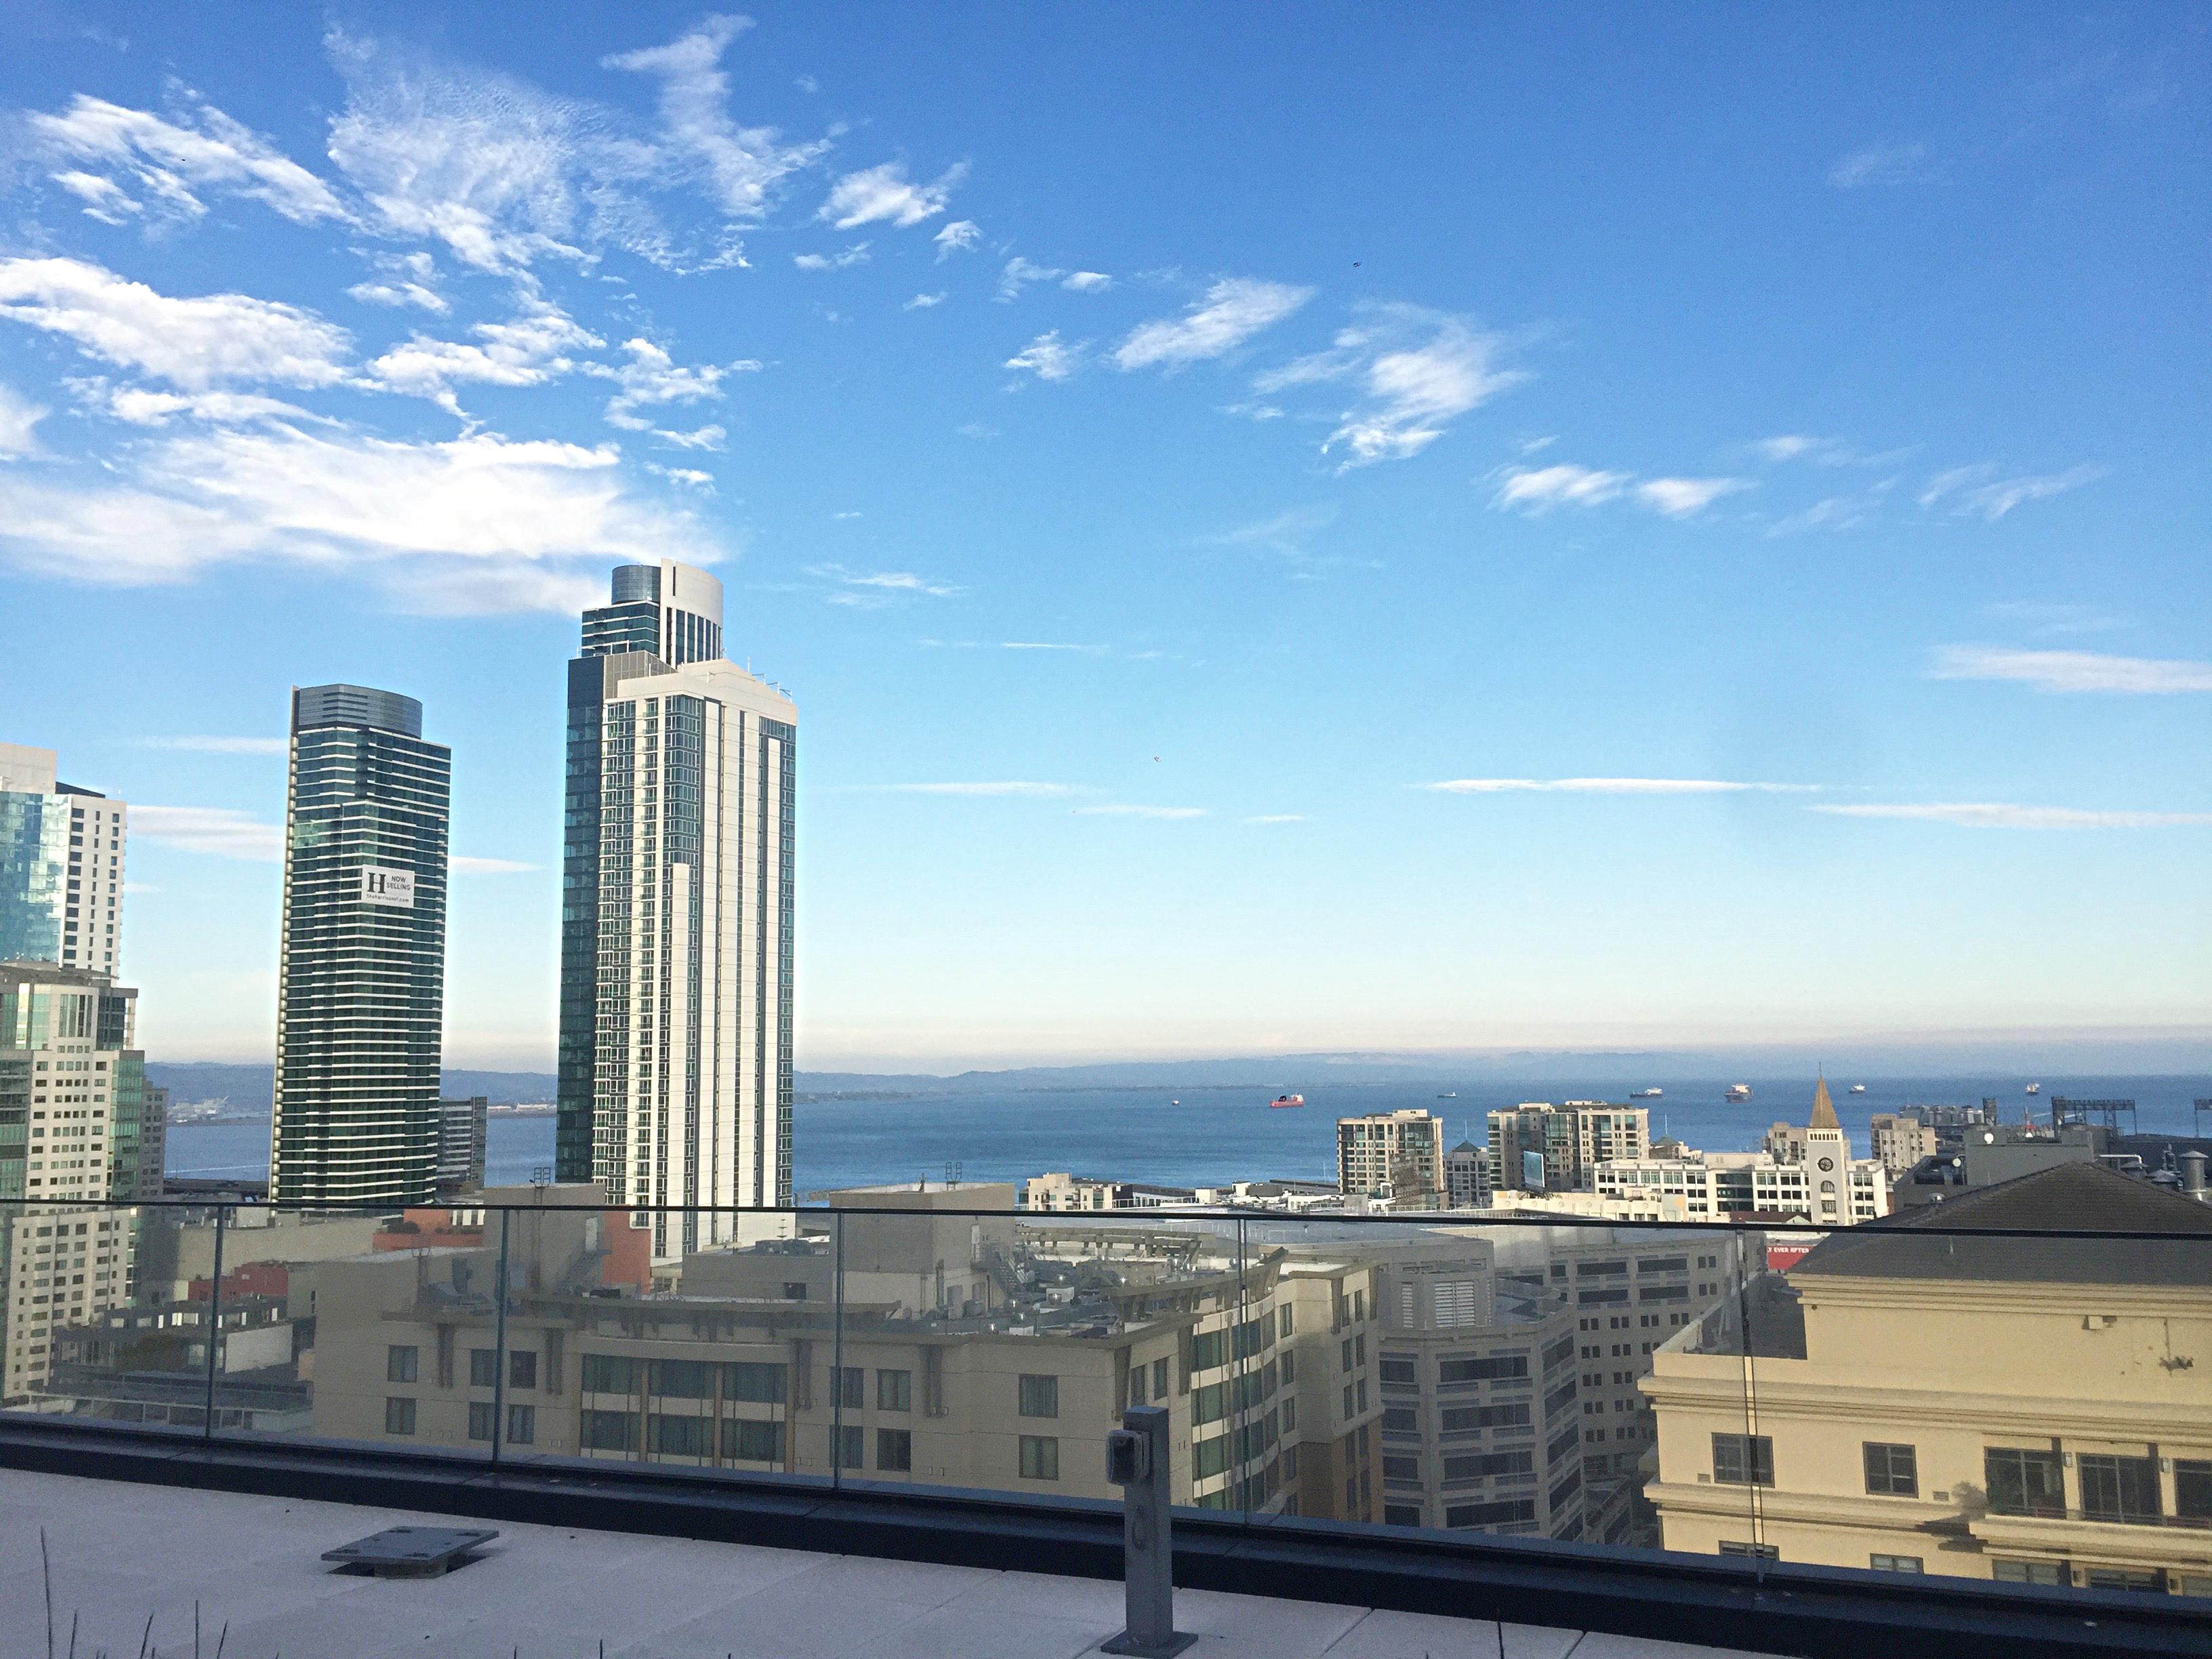 Sharpened
|
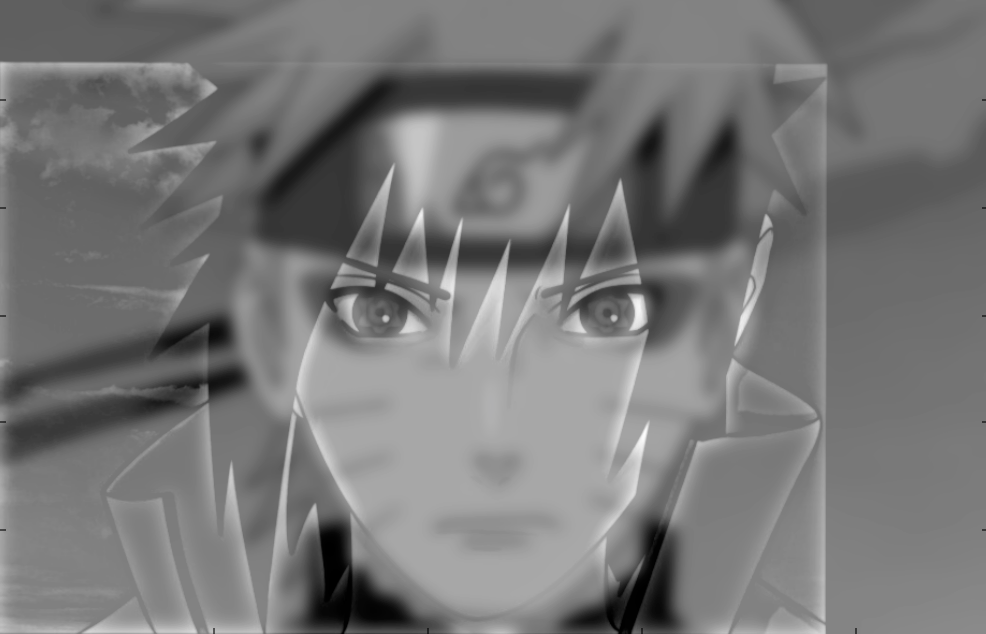
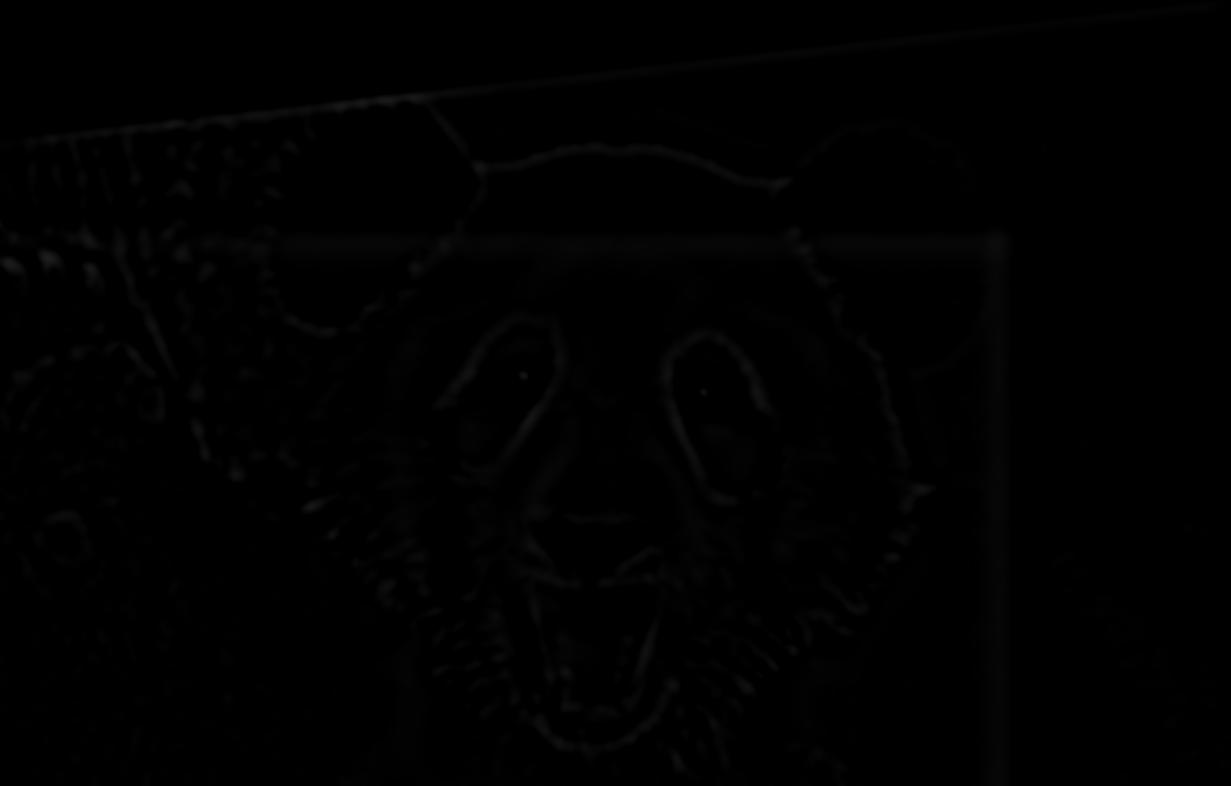
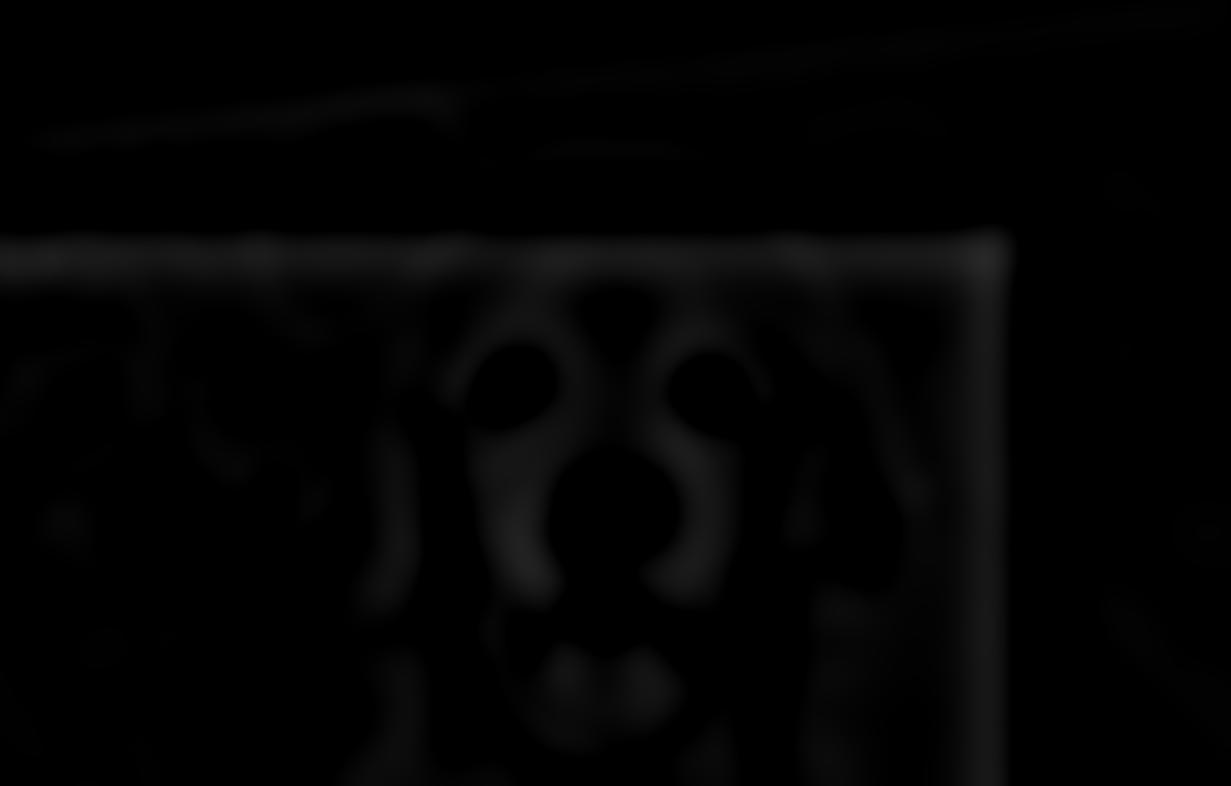
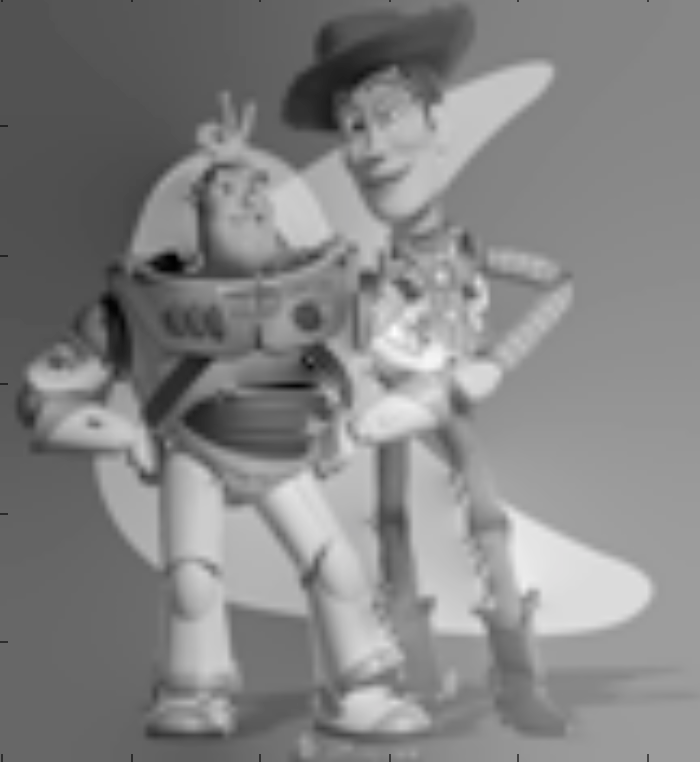
Part 1.2: Hybrid Images
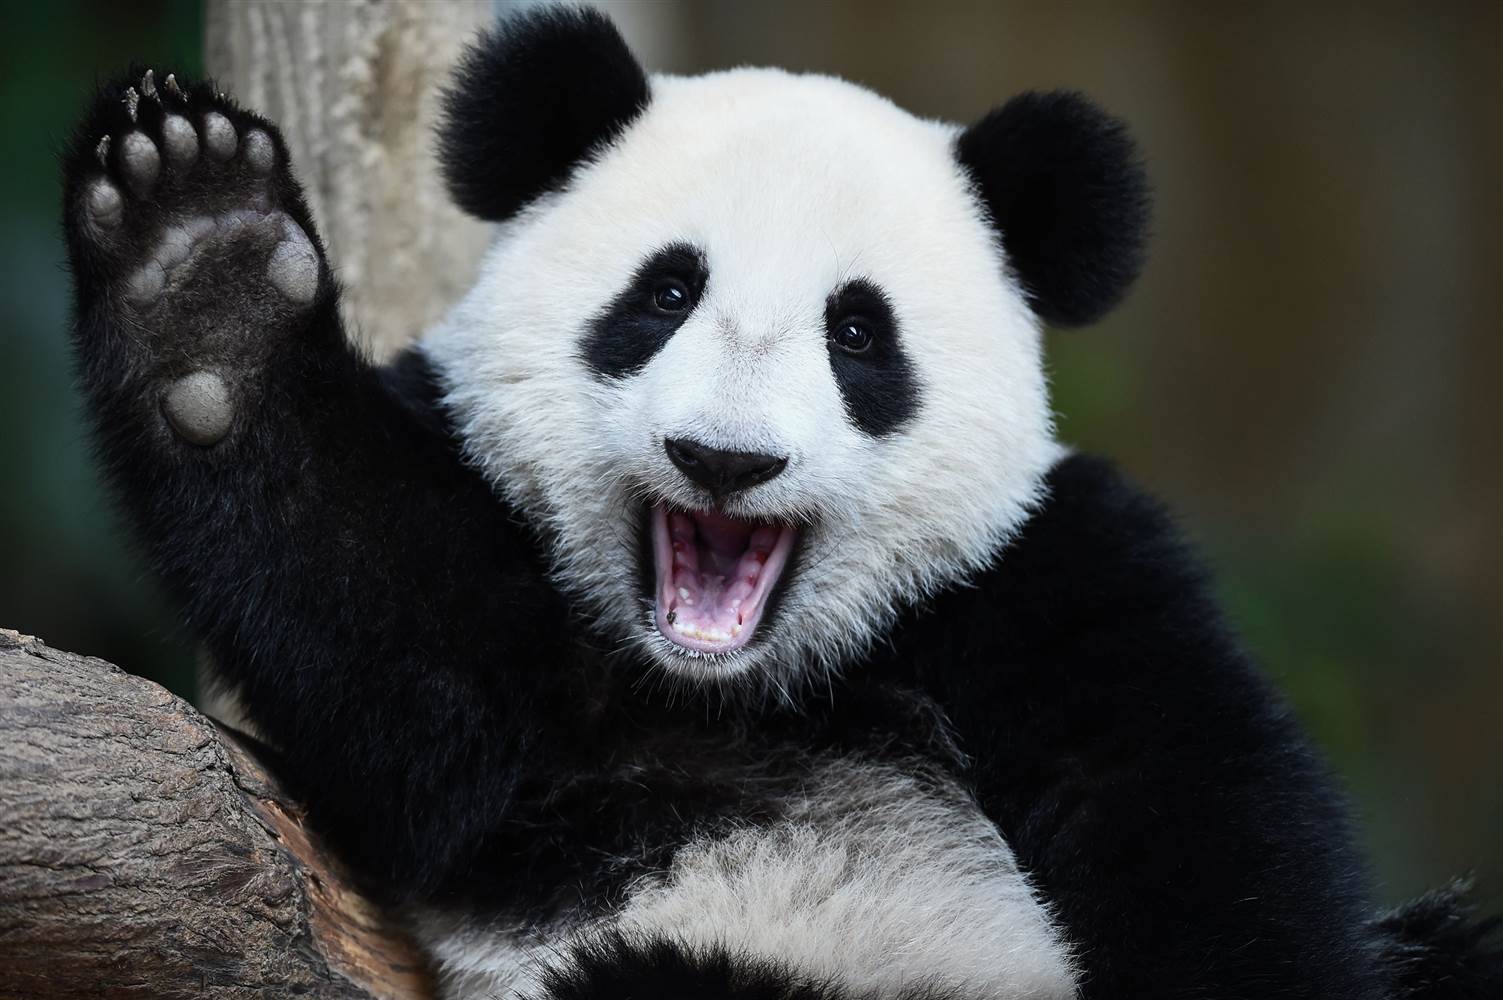
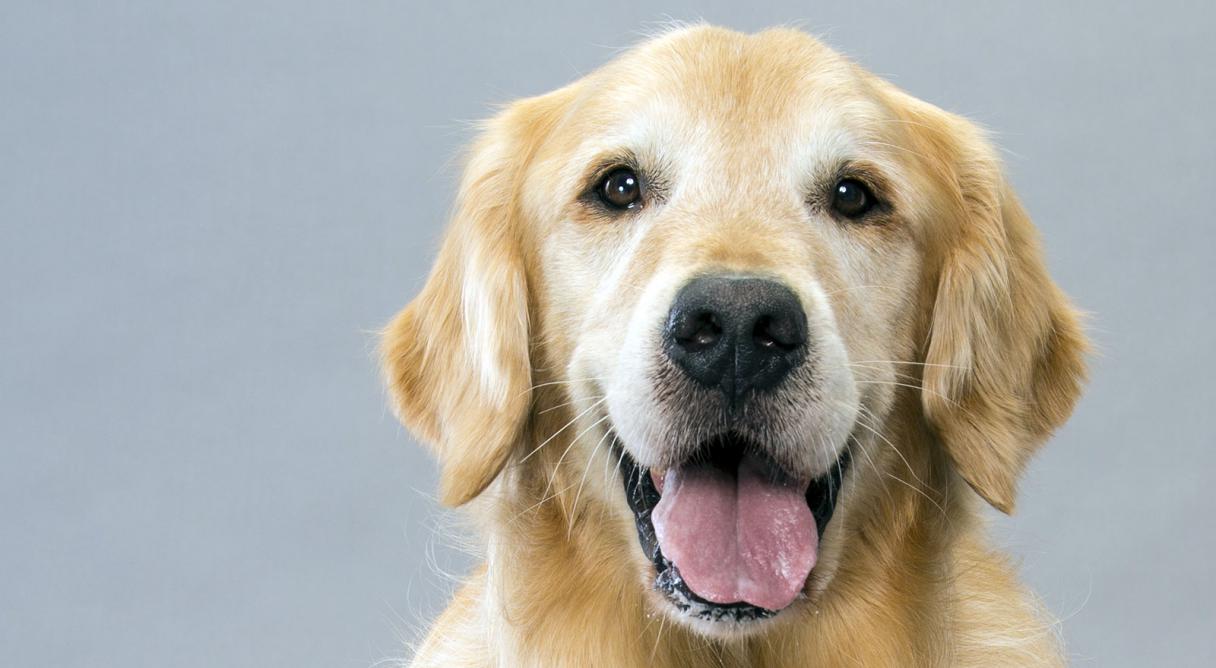
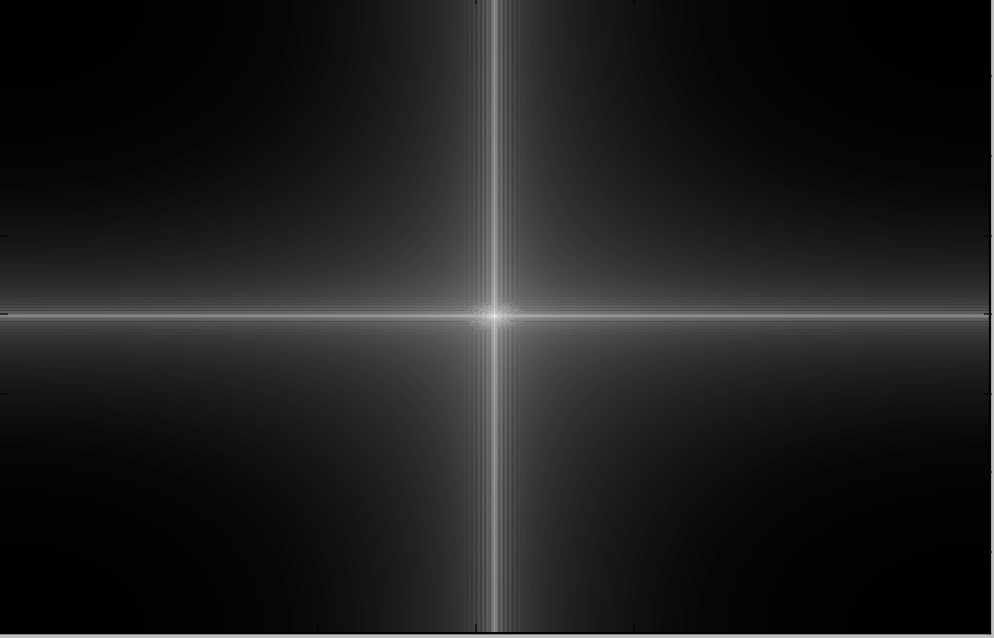
For this part, I first ran one image through the gaussian filter to blur it out. Then, I ran the second image through a high pass filter, which was just the original image minus the gaussian filtered version of that image. To obtain the hybrid, I added those 2 images together. Up close, the high frequencies are more visible. From far away, the low frequency images are more visible.
My favorite one is the panda with its mouth open and the dog with its mouth open. I ran the dog through the gaussian filter and the panda through the high pass filter.
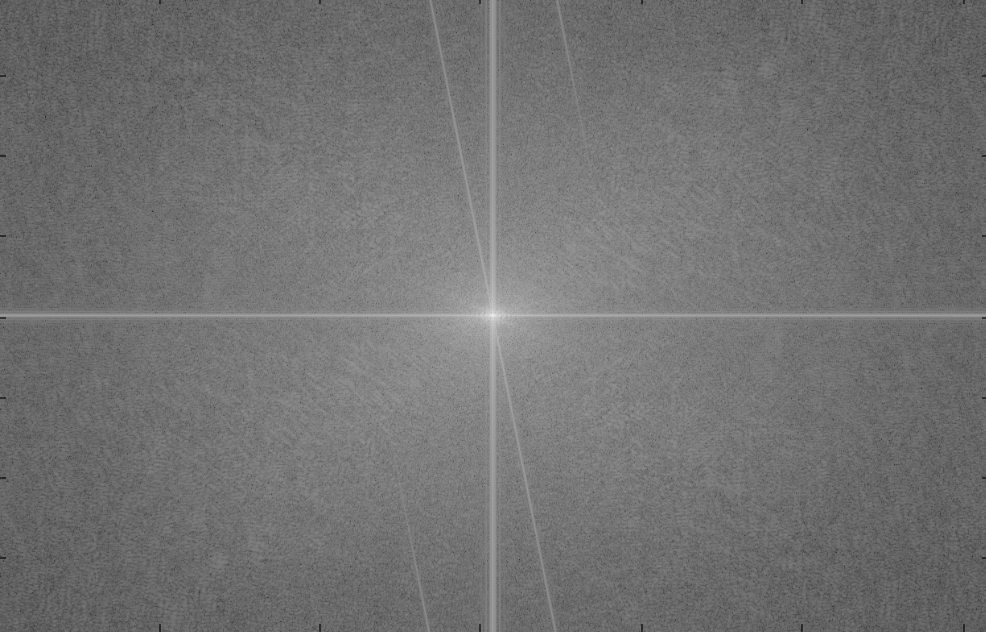
 FFT Panda Original
|
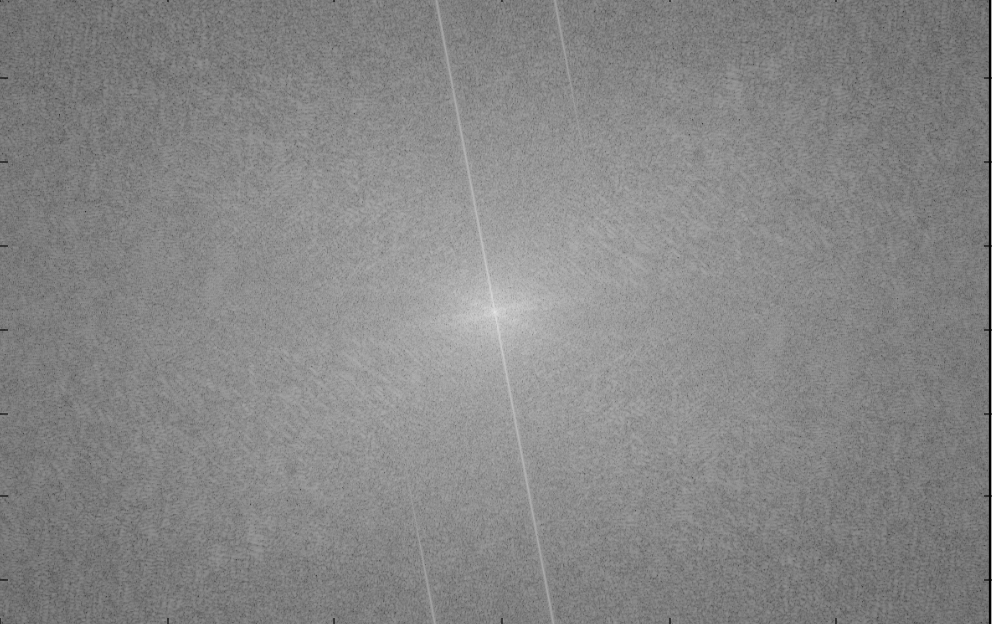
 FFT Dog Original
|
 FFT Hybrid
|
 FFT Dog Low Pass
|
 FFT Panda High Pass
|
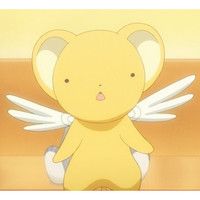
Failure Example
I tried to hybridize my face and Kero's face from Cardcaptor Sakura. It didn't really work out because Kero's features are a lot sharper because the colors are very 2 dimensional. Additionally, Kero's face is more saturated and doesn't align well with mine.
Other Examples
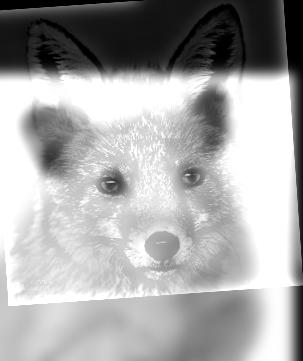
Part 1.3: Gaussian and Laplacian Stacks
We can create a Gaussian stack by iterating through to a depth of N, and for each depth, apply a Gaussian filter of 2^i, with i starting at 0 and incrementing in each iteration. To make the Laplacian stack, we just take the gaussian level i - 1 and subtract the Gaussian at level i. The Gaussian and Laplacian stacks are just like the pyramids except we don't subsample.
Lincoln example - Gaussian Stack
Lincoln example - Laplacian Stack
Hybrid - Gaussian Stack
Hybrid example - Laplacian Stack
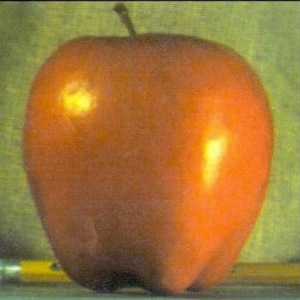
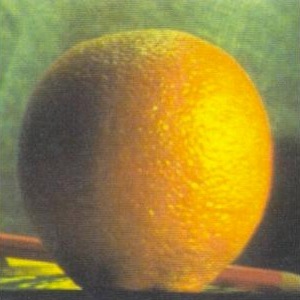
Part 1.4: Multiresolution Blending
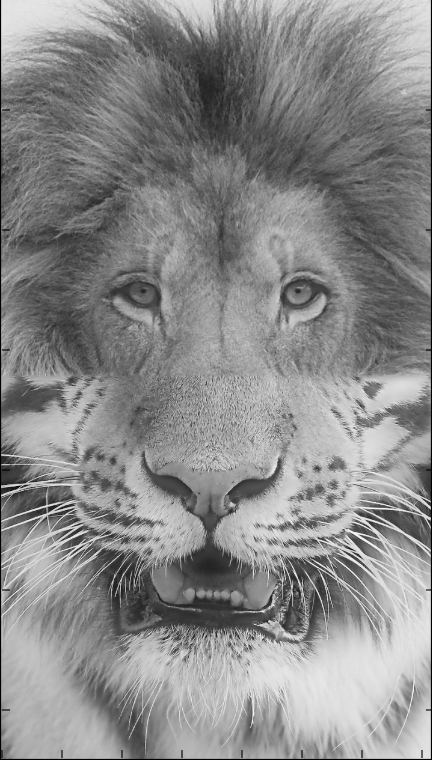
For multiresolution blending, we use a Gaussian stack of the mask, Laplacian stacks of the 2 images, and a mask. We first make a mask and take the gaussian of it. Then, layer by layer we compute gaussian_mask[i] * laplacian_stack_imgA[i] + (1 - gaussian_mask[i]) * laplacian_stack_imgB[i]. Then, we sum it up and we have the blended image.
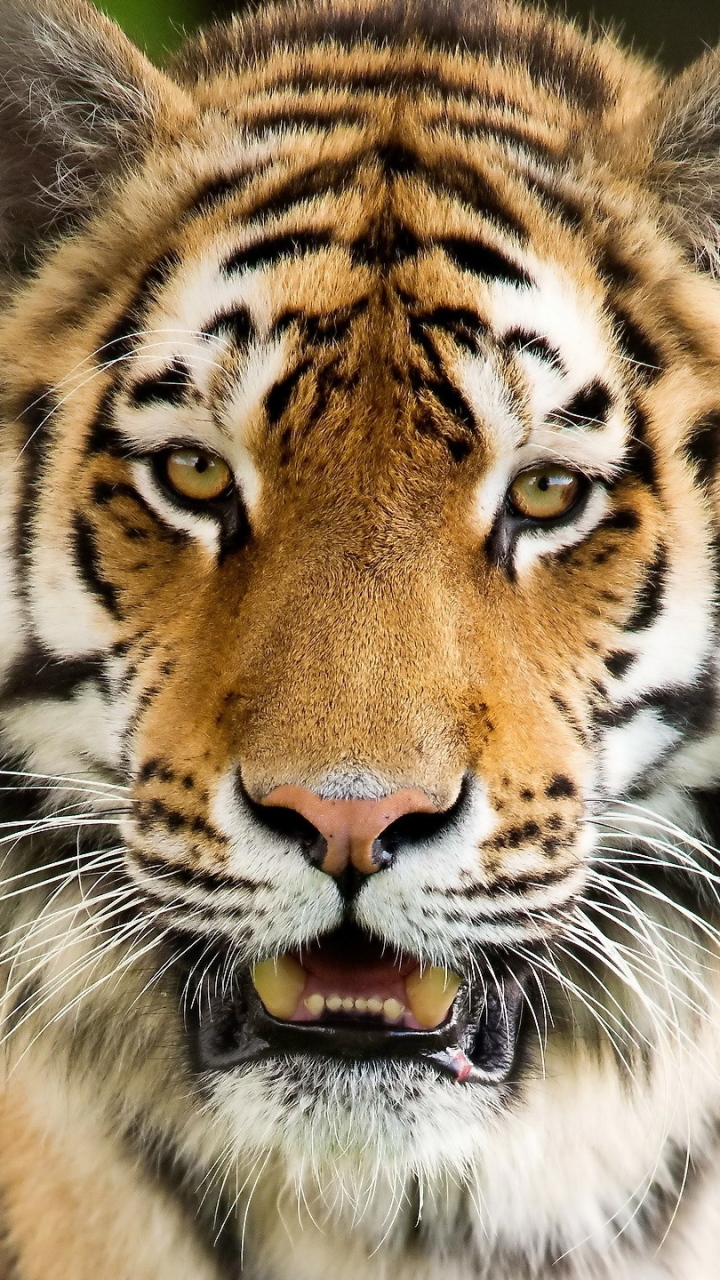
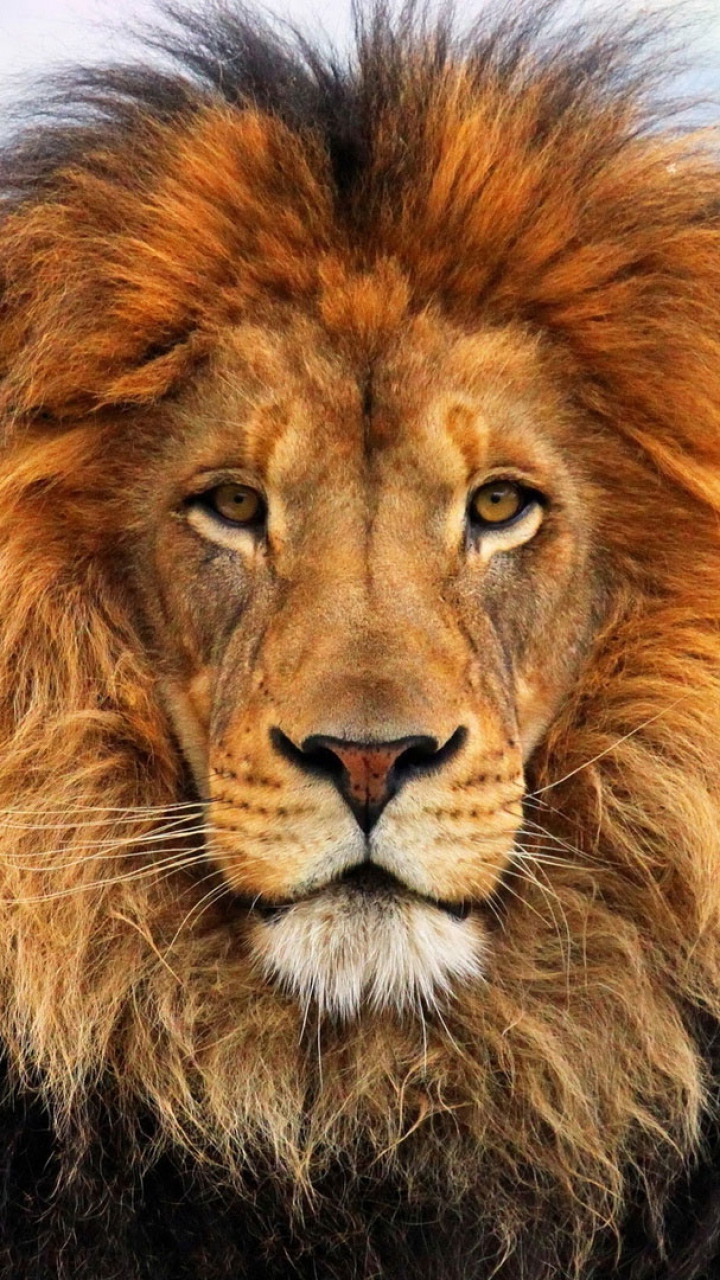
Lion and Tiger with Horizontal Mask
Flower Lemon with Irregular Mask
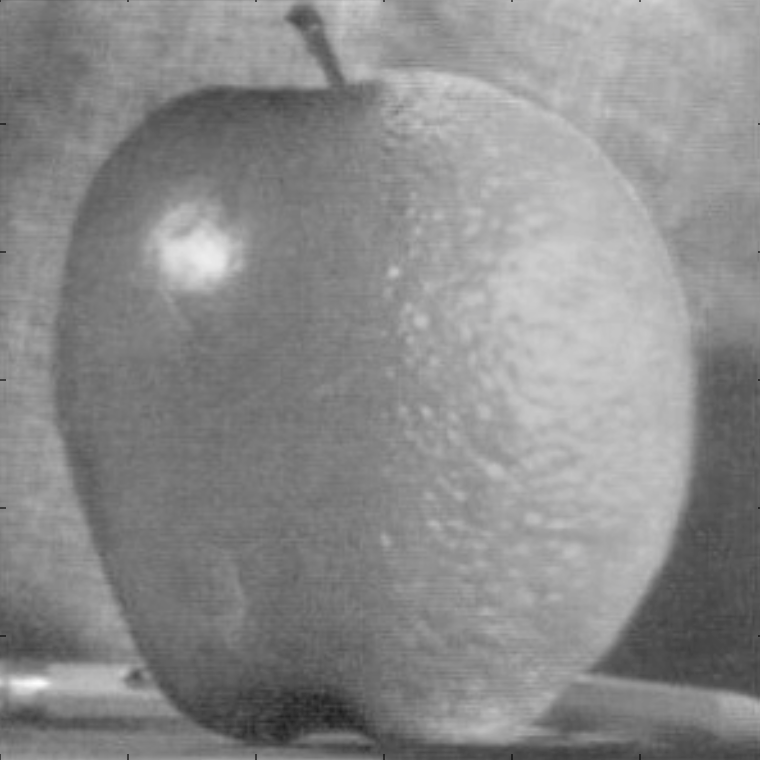
 Lemon
Lemon
|
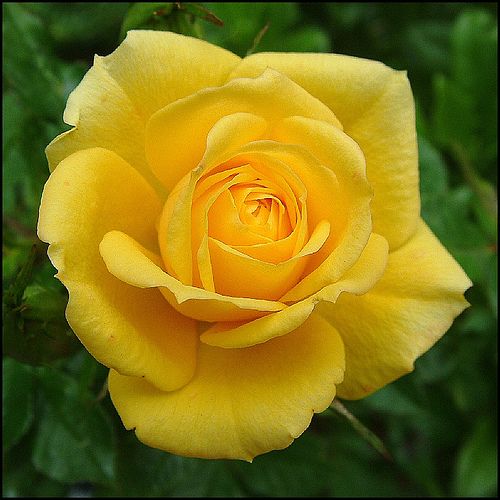 Yellow Rose
|
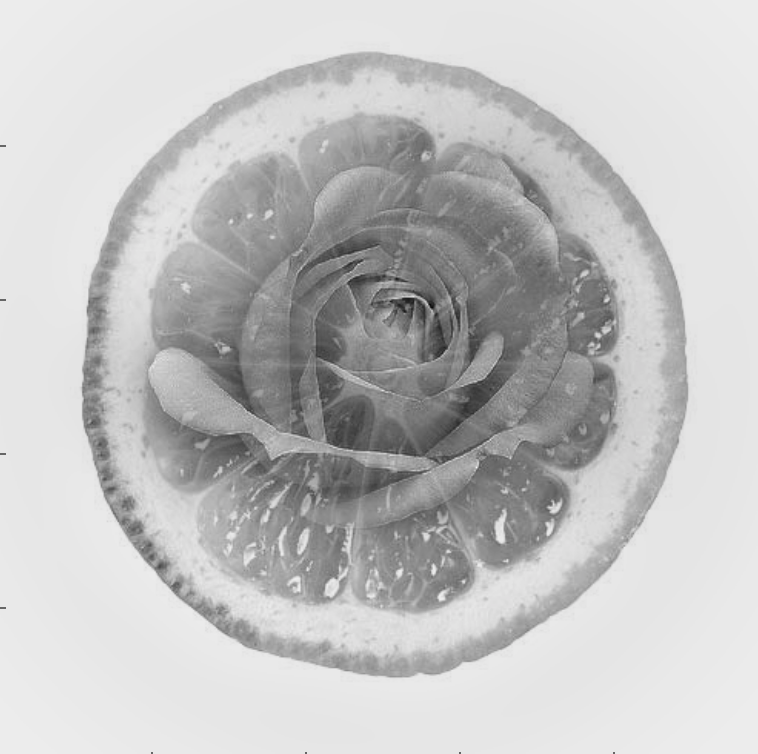 Lemon Flower
|
 Mask
Mask
|
Part 2.1: Toy Problem
The goal here is to reconstruct an image. We were given 3 constraints, which specify the x pixel constraints, the y pixel constraints, and that the top left corners should be the same color. To satisfy these constraints, we create a least squares problem, with the form Av = b. A is a 2 * (h * w) + 1 x 2 * (h * w) + 1 matrix because there are h * w x coordinates and h * w y coordinates, so that will take care of the first 2 constraints. We add one more row because of the last constraint of the top left corners should be the same color. We construct A based on the constraints and b based on the source image, and we solve for v in Av = b.
 Original
|
 Reconstructed
|
Part 2.2: Poisson Blending
In this section, we want to blend images seamelessly together. We first get 2 images- a target (background), and a source (what you want to blend in the background). We then make a mask of the source. We want to minimize these blending constraints:

Again, we construct an Av = b problem, so we construct A and b and solve for v. We construct A based on the mask. A is a h * w by h * w matrix because there are h * w coordinates. The vector b is size h * w x 1. If the mask at a certain point is not equal to 1 (white part of my mask which is the target), then we use the Laplacian mask to compute gradients and populate A. This is so the gradients match as closely as possible so the images seem to blend together. Otherwise, we just copy the pixel from the background target image to A and populate b accordingly.
Favorite Blending Result - Rainbow Milky Way
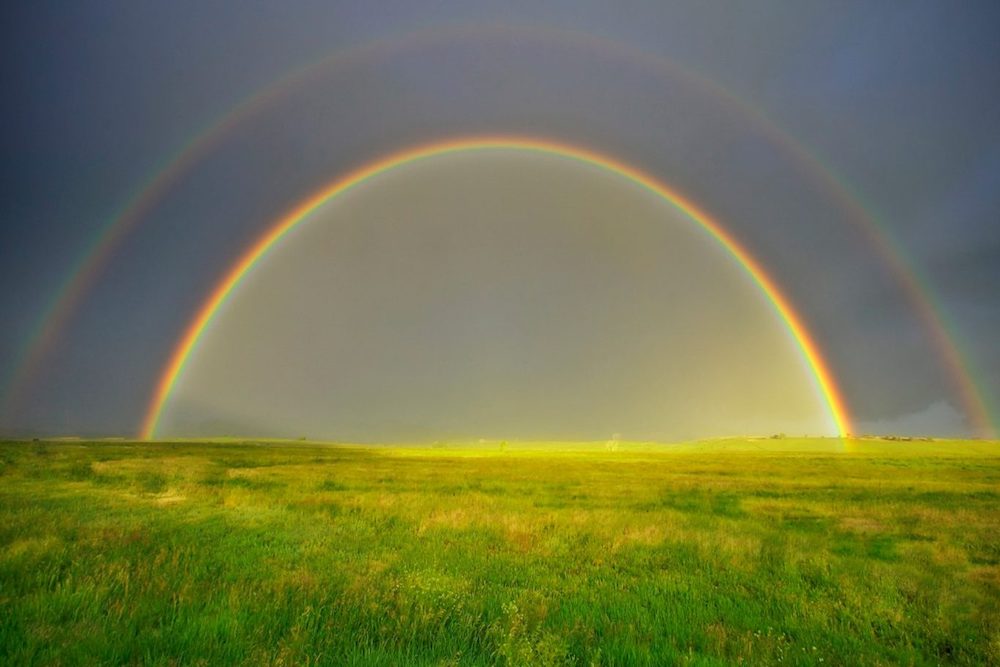 Rainbow
|
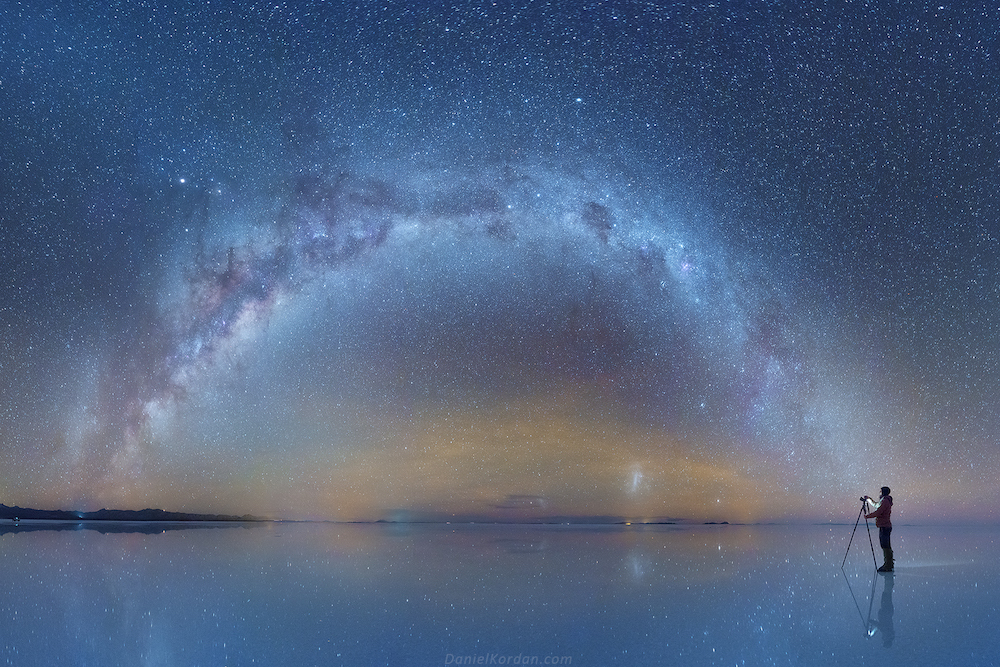 Milky Way
|
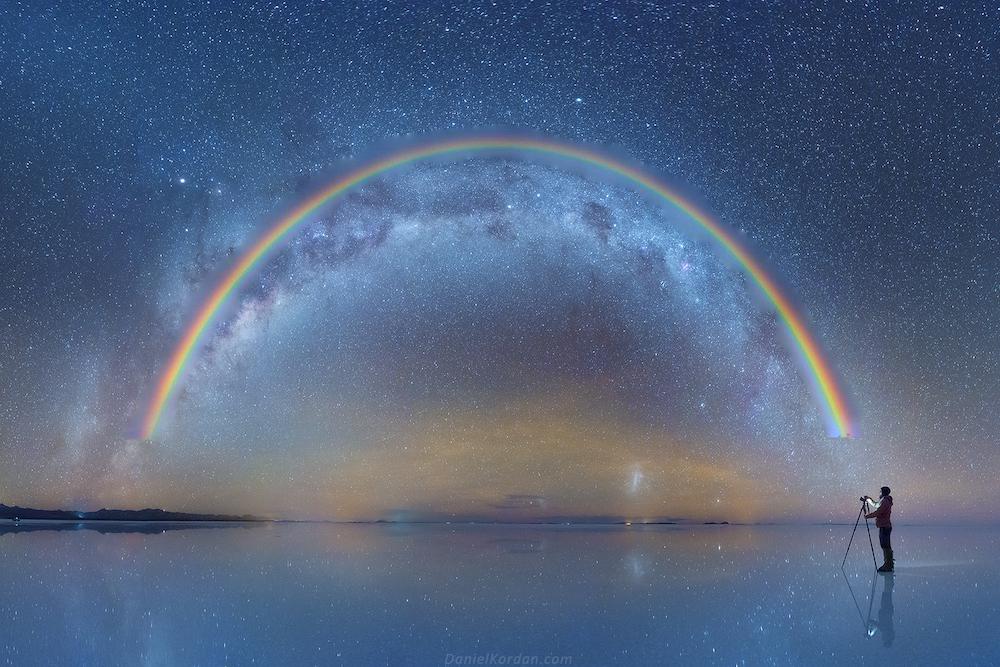 Poisson Blended Rainbow Milky Way
|
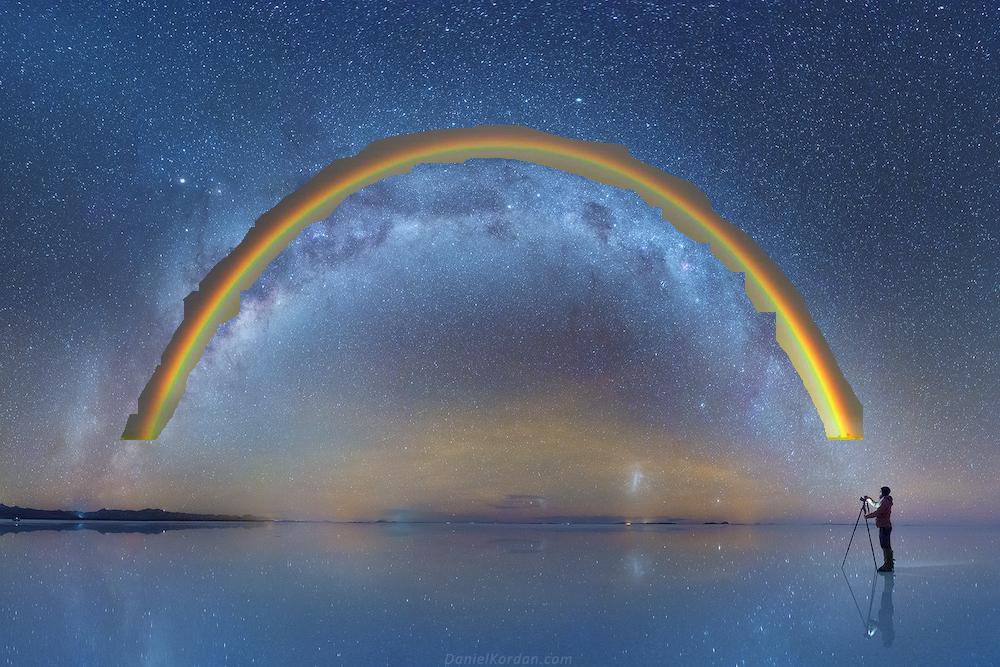 Naive Blended Rainbow Milky Way
|
Failure Case
This particular case of a whale jumping in the sky failed because the contrast was too different between the color of the whale and the color of the sky. The whale is really dark, while the sky is pretty light. So, the whale in the blended version is a bit washed out.
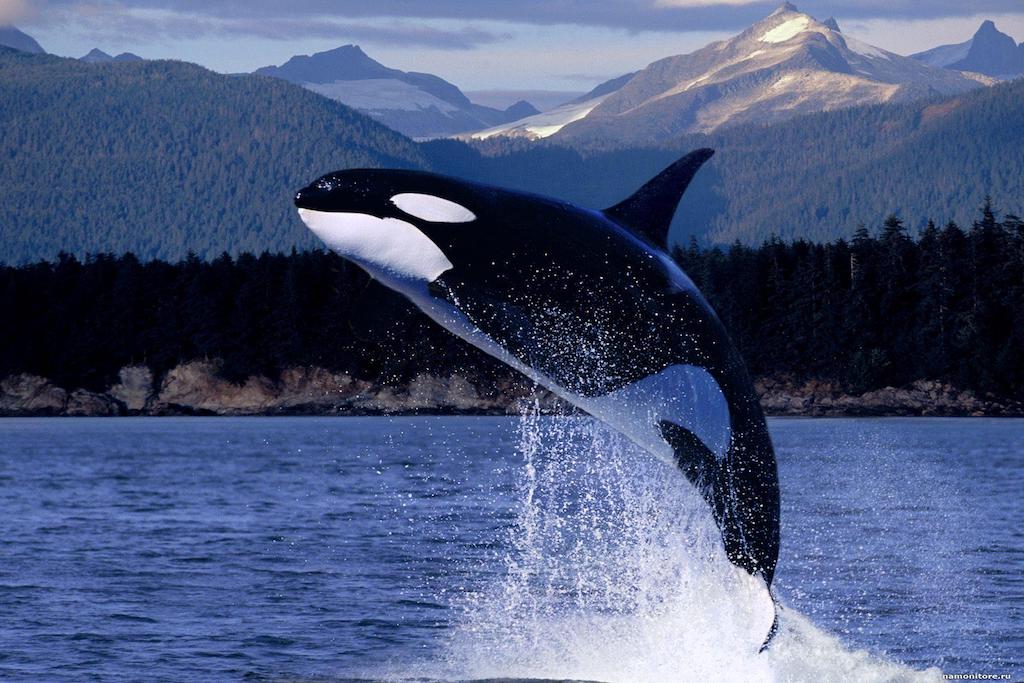 Killer Whale
|
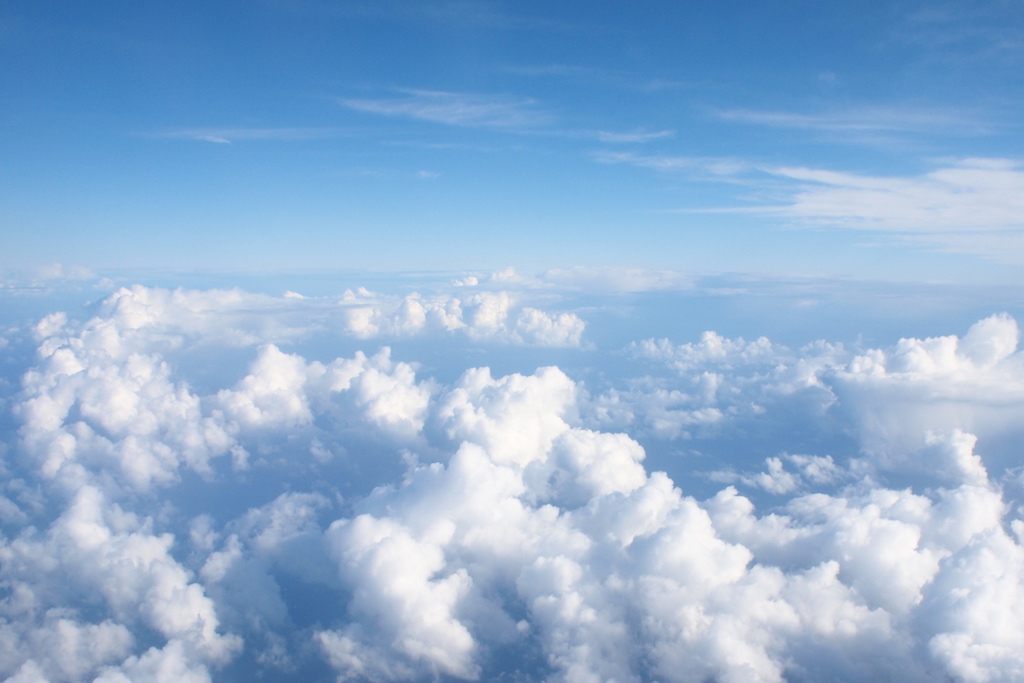 Sky
Sky
|
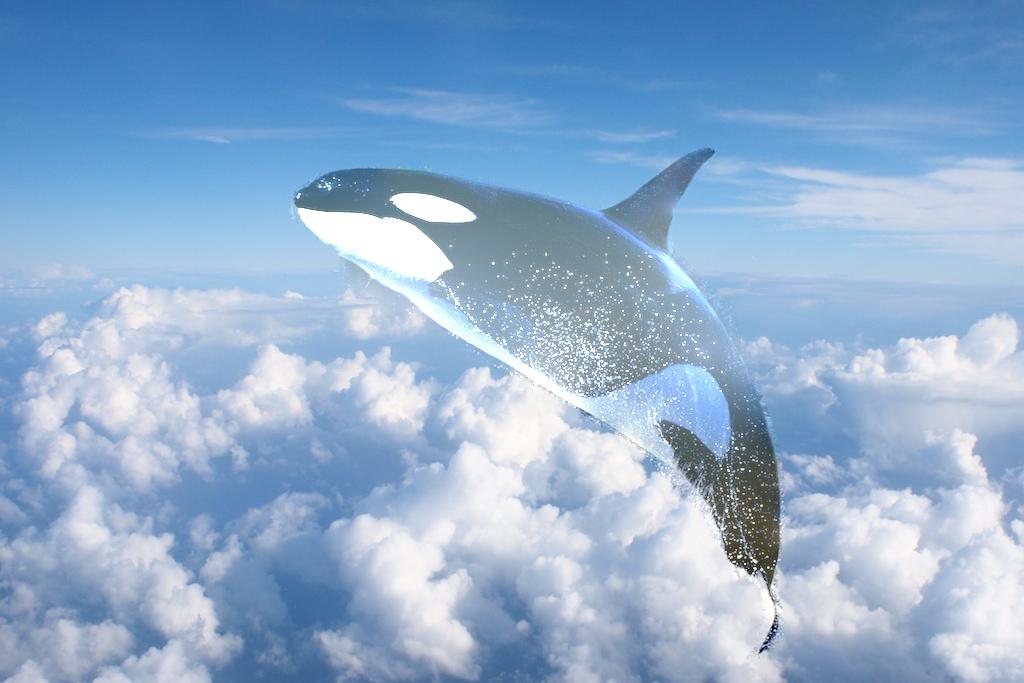 Poisson Blended Killer Whale in the Sky
|
Other Examples
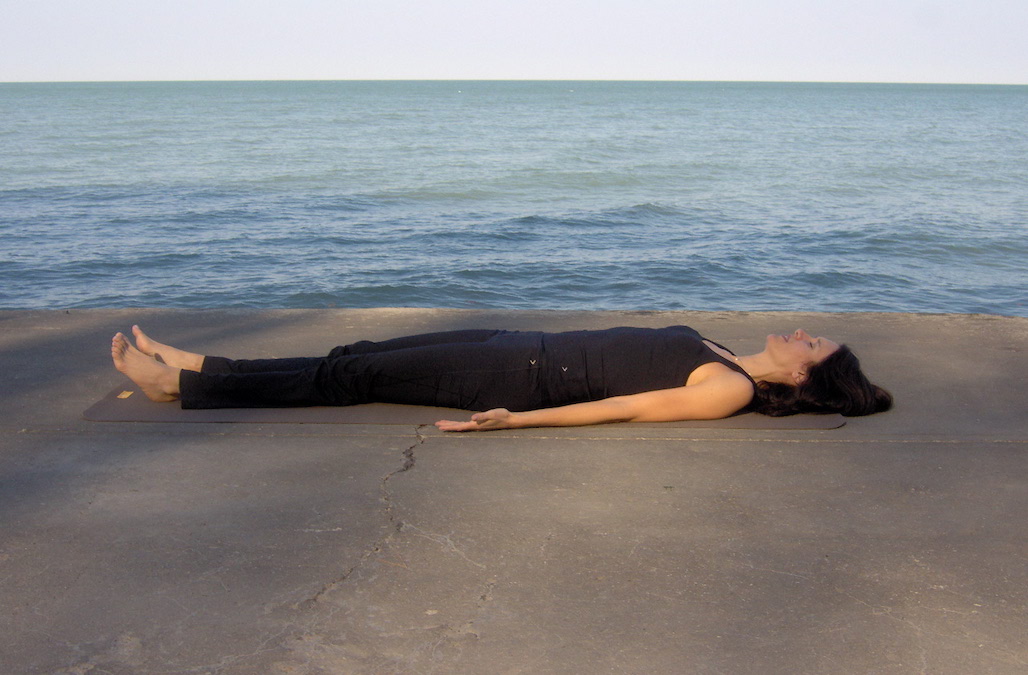 Woman
Woman
|
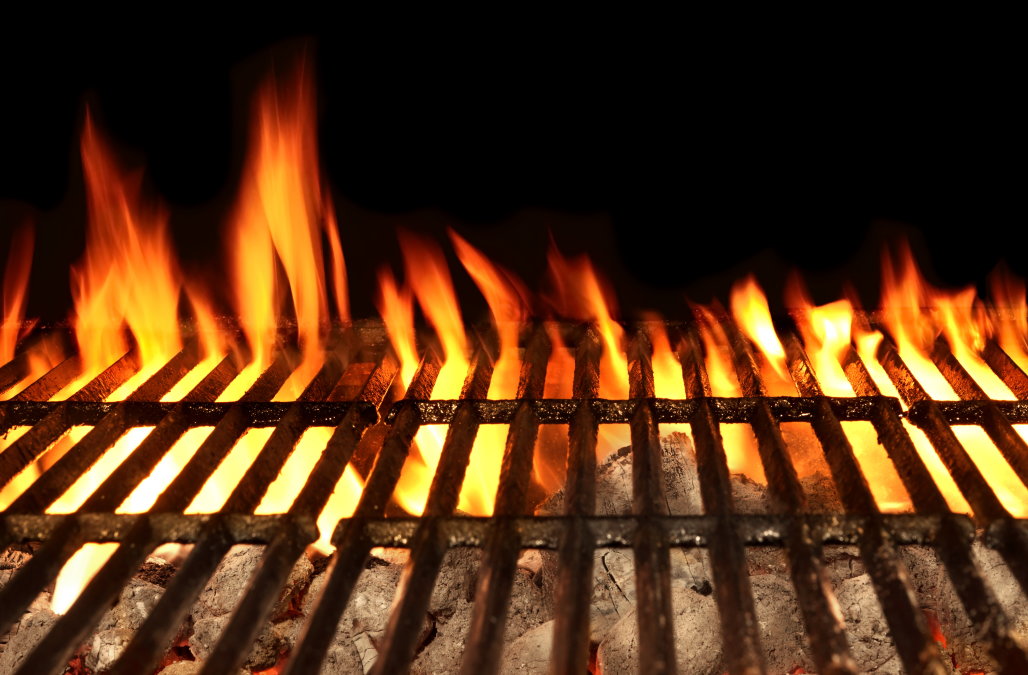 Grill
Grill
|
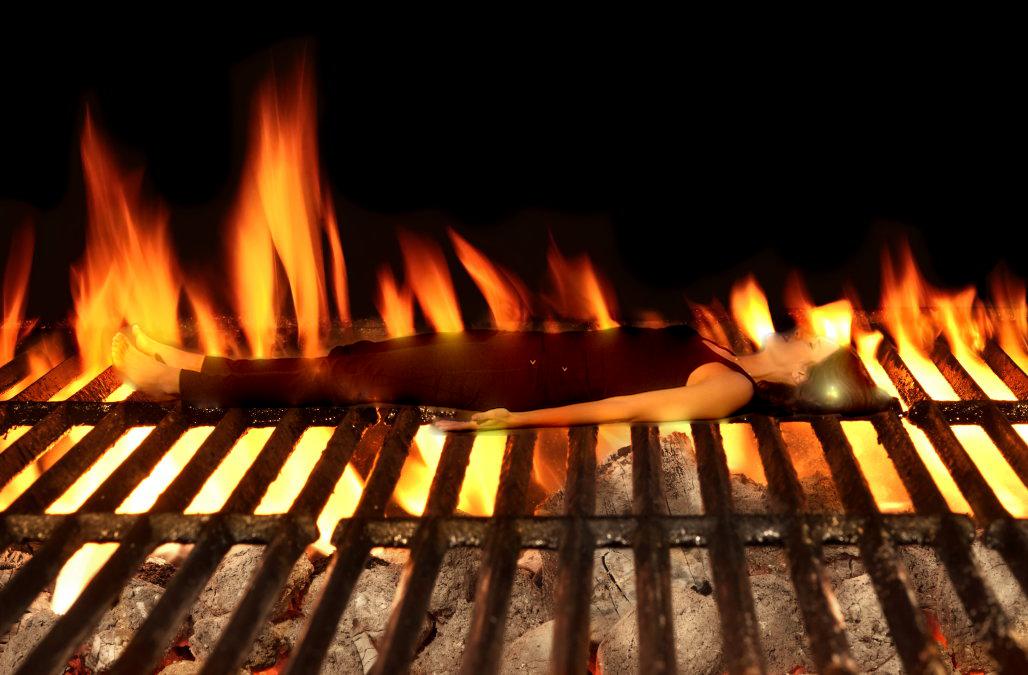 Woman Resting on Grill
|
Laplacian vs. Poisson Blending
Here is an image from part 1.4 that I blended (the lemon and the flower). I think the Poisson blended image looks a lot better because the texture of the flower matches the lemon. In the laplacian stack blended image, the texture is a little see through and doesn't blend as well into the lemon as the Poisson blended image does. Poisson blending makes the blending more seameless. Laplacian blending might be better if we wanted to preserve the different textures of the images.
 Yellow Rose
|
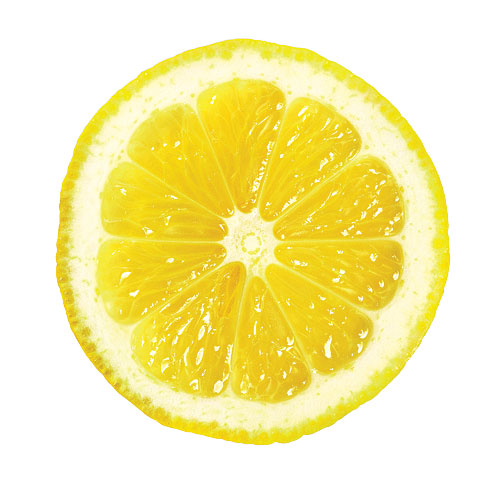 Lemon
Lemon
|
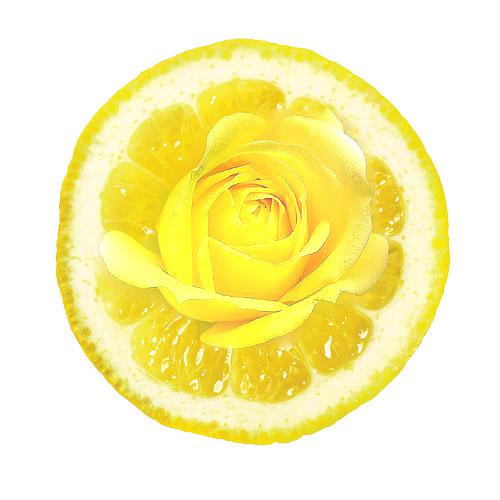 Poisson Blend Lemon Flower
|
Laplacian Blend Lemon Flower
|
Conclusion
Overall, I learned a lot from this project. It taught me a lot about how people look at images and how frequencies play a role in it. Additionally, it taught me a lot about the different ways to combine different images together, such as hybrid images, multiresolution blending, and poisson blending.