 CS194-26-adf: Project 3 by Edward Fang
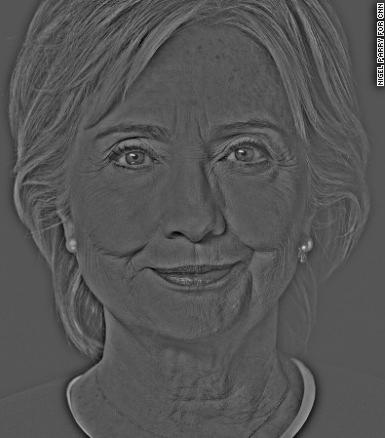
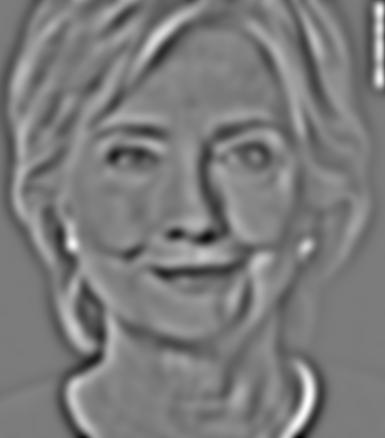
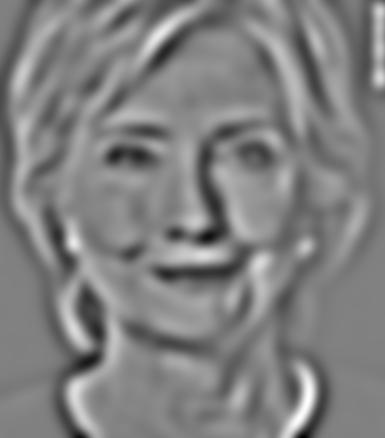
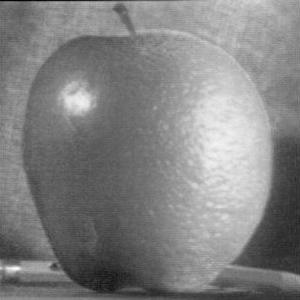
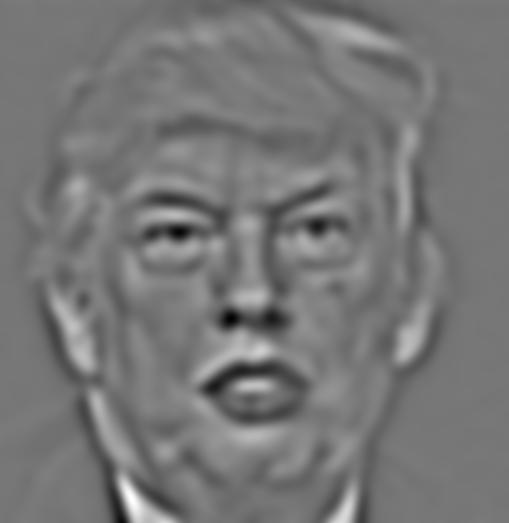
My pictures are the sharpest, simply the greatest. There are non quite as sharp as mine. I only use the best, most cutting edge methods to sharpen my images. You're wondering, what do I do to sharpen my images? My techniques are the best, the greatest. I use the unsharp mask method to create the sharpest images.
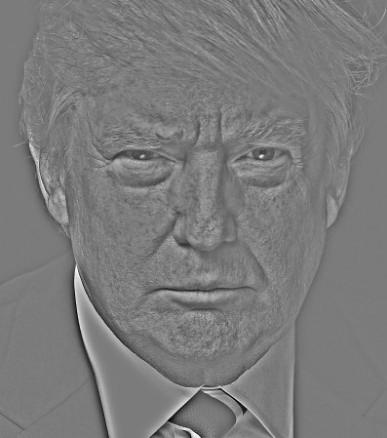
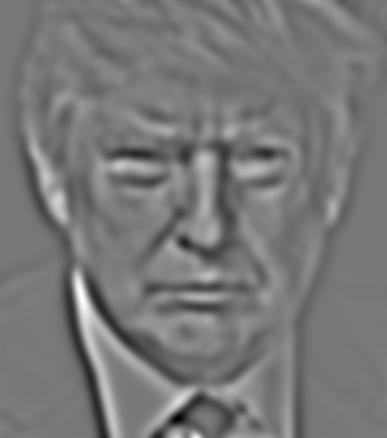
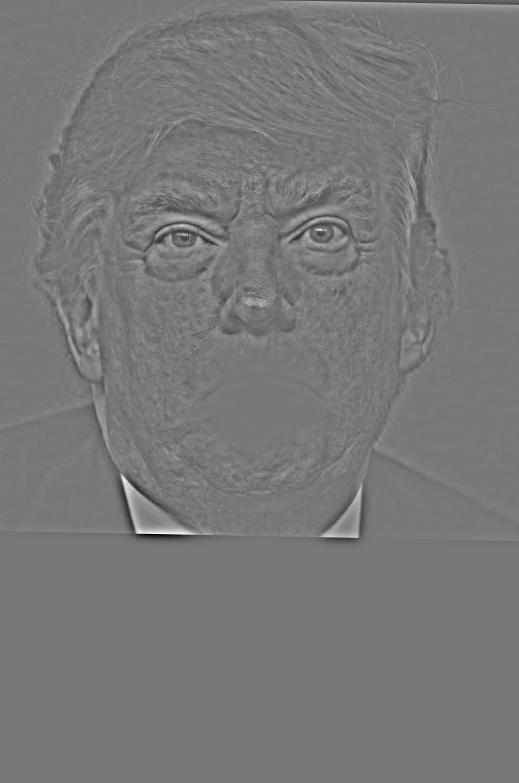
Translation: We can sharpen images using the unsharp mask method. The unsharp mask is created by applying a gaussian filter to an image and then subtracting the result of filtering from the original image. Since a gaussian filter acts like a low pass filter, we are left with just the high frequencies, or edges. We then add these edges back to "sharpen" the image.

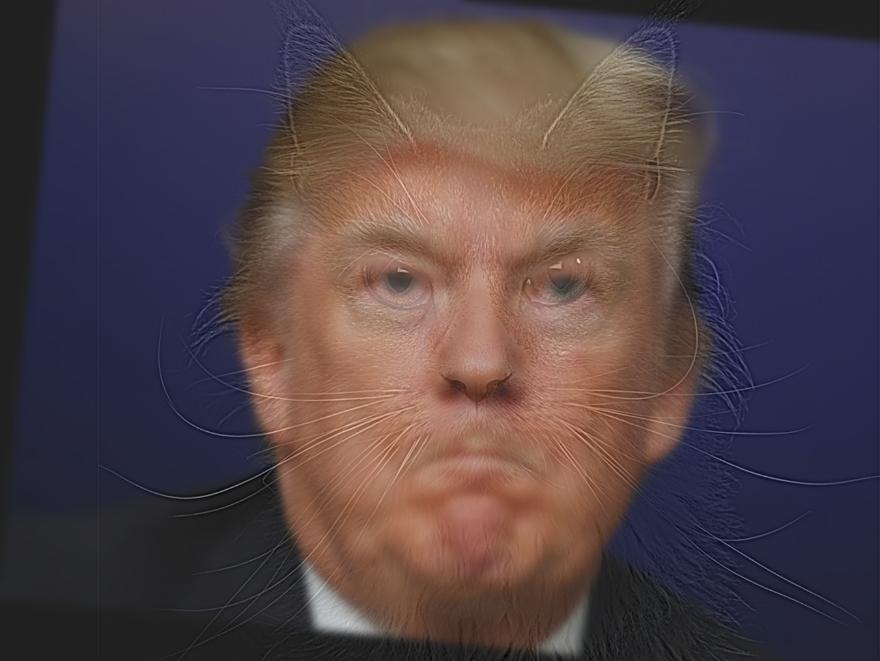
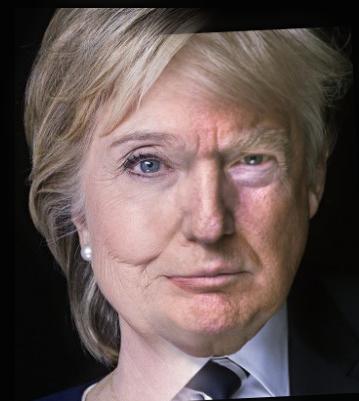
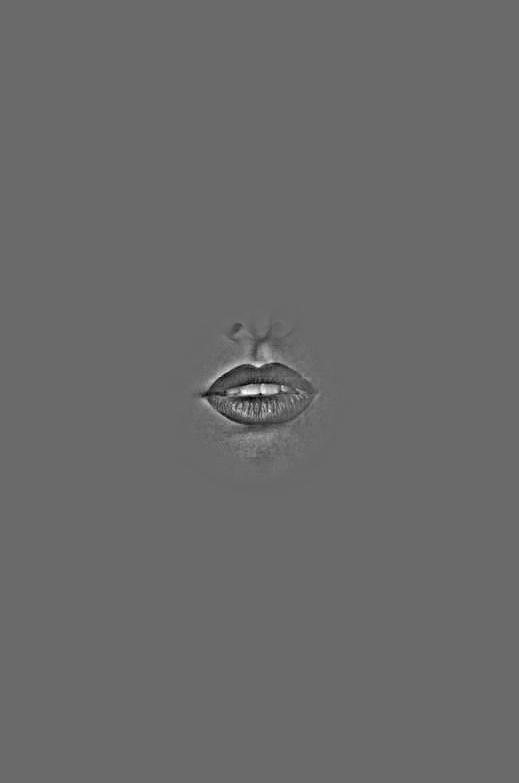
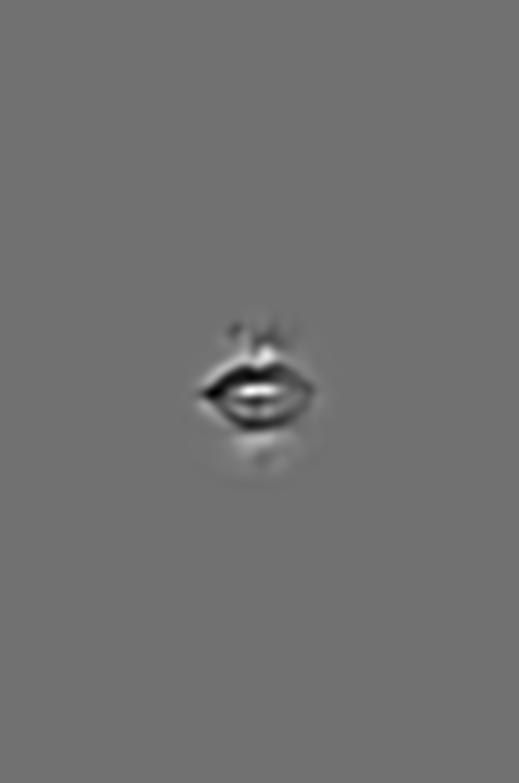
The best images, in my honest opinion are hybrid images. Hybrid images are so advanced that they are two images in one. You can not find that anywhere else. I've read the science behind it and it's the most difficult, complicated science. There are fast pixels (high frequency) and slow pixels (slow frequency). When you look at it close up, you can see the slow pixels but when you look at it from far away you can see the fast pixels. It's the most advanced images I know.
Translation: We can create hybrid images by leveraging the limits of human perception. There are high frequencies and low frequencies in images. High frequencies correspond to edges and sharpness, while low frequencies represent the non edges and blurriness. From further away, we are unable to perceive frequencies and low frequencies begin to seem like high frequencies. Thus, if we layer a high frequency image with a low frequency background, we can create a hybrid image that changes based on the distance which we perceive it at.
Few image artifacts due to alignment, but this can be cropped out. The overall blend is decent.

Significant horizontal line artifact due to image borders, but if you look closely you can see fake news!


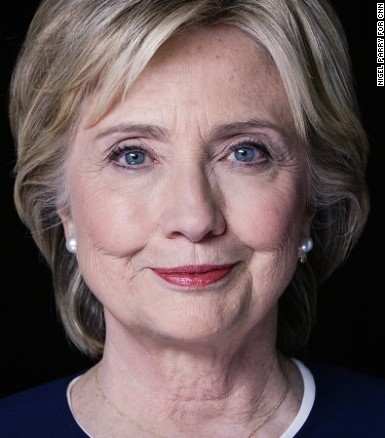
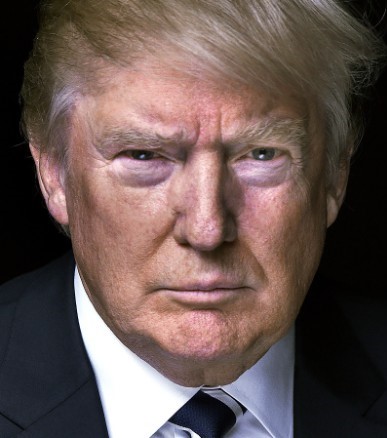
Best result of hybrid images since both images are faces and blend smoothly.


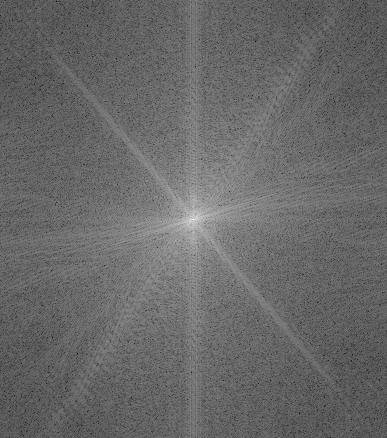
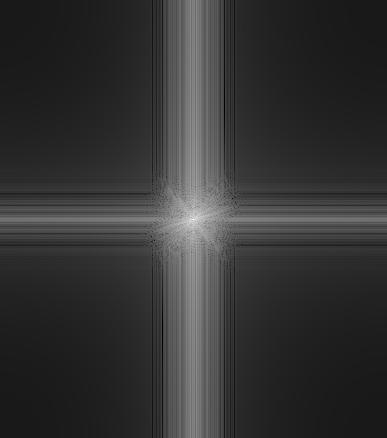
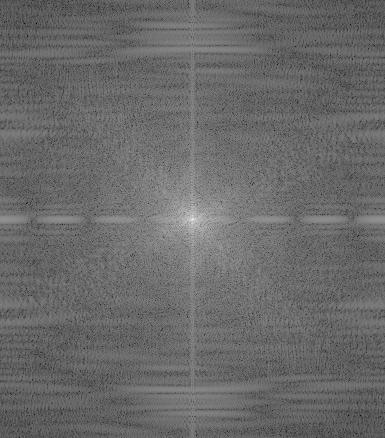
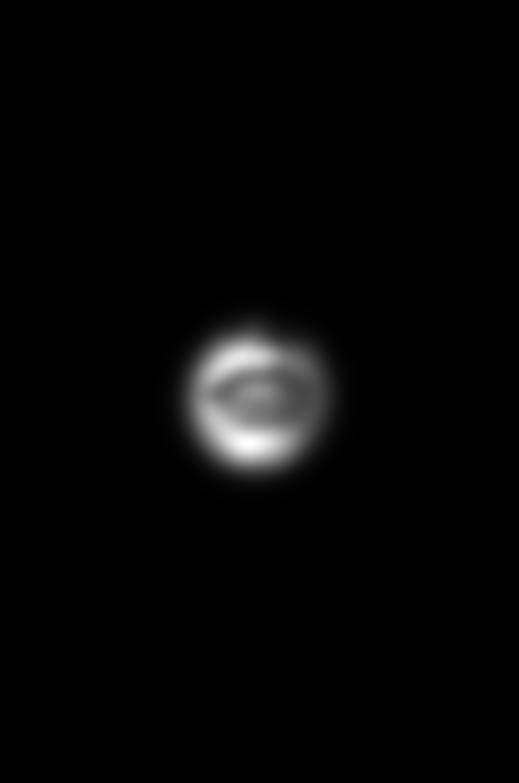
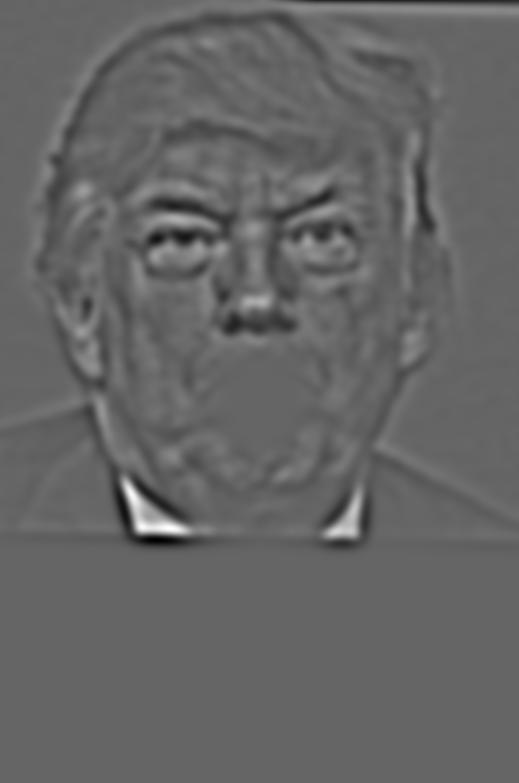
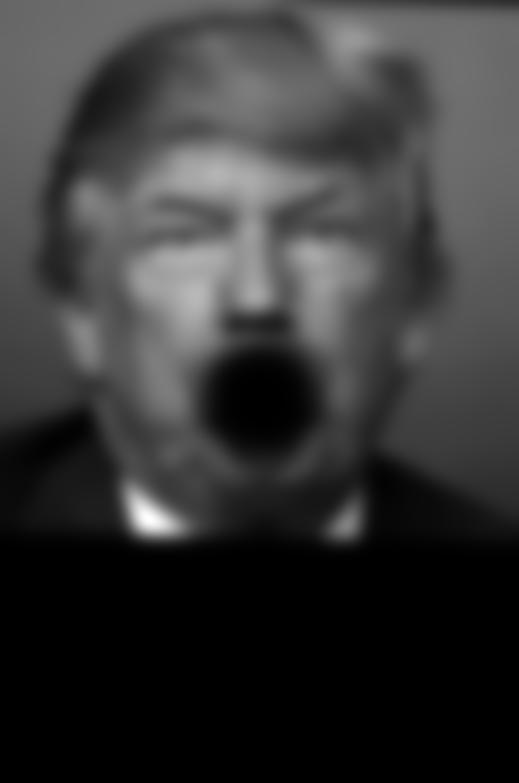
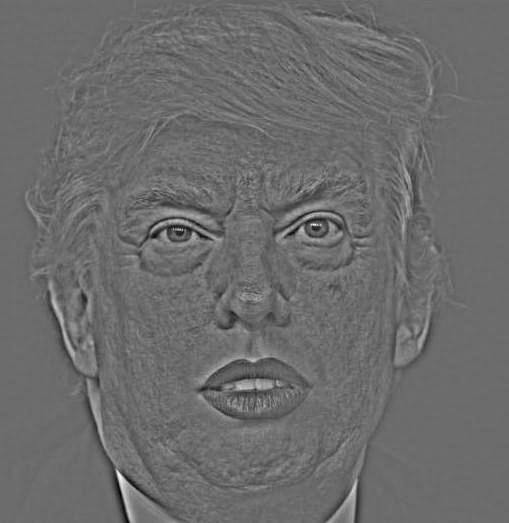
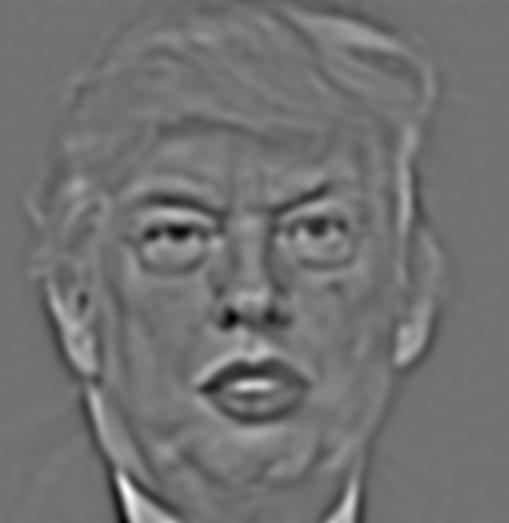
Low pass clearly removes high frequencies and high pass removes low frequencies.
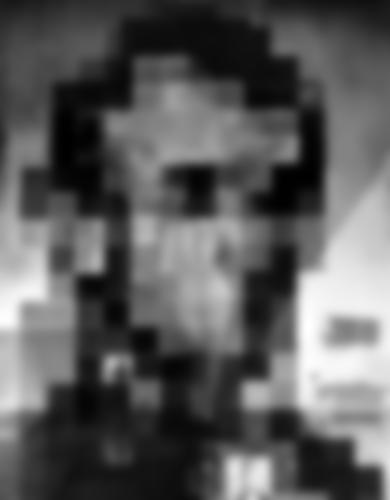
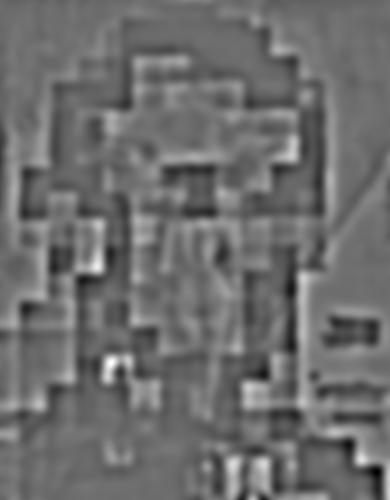
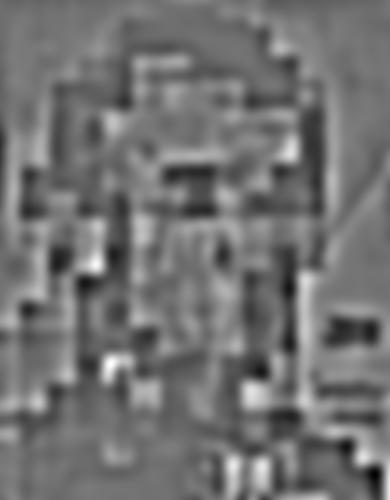
My favorite painting is Lincoln in Dalivision, by Dali. There is no one who loves this painting more than me. The absolute best way to see this painting, in my honest opinion, is through Gaussian and Laplacian stacks. These stacks are the most advanced in stack technology. They let you see the fast pixels and slow pixels by splitting the image into different layers.
Translation: Gaussian stacks are created by repeatedly applying a gaussian filter to an image and storing the results in a stack. Similarily, laplacian stacks are created taking the difference of the image and the gaussian stack. These are useful in multi-resolution blending as we can blend various frequencies separately rather than blending the entire image at once. It also helps us visualize the various frequencies that exist within an image.
Showing 3 levels for space


Mutli resolution blending is the best way to blend two images. Simply the best. It uses the absolutely most advanced technology. It uses Laplacian stacks and Gaussian stacks, the most advanced forms of stack algorithms and an image spline to get the best seam between images. My favorite way also uses a Gaussian mask to lightly distort the seam. It is the greatest way to combine images.
Translation: Multi-resolution blending utilizes gaussian and laplacian stacks to blend across different frequencies in images. Instead of blending the entire image at once, we can split the image into its basis frequencies and customize the blend at each level of the stack. This results in smoother and more realistic blending.
Slight artifacts due to image alignment, but this can be resolved by cropping. Color enhances the blend because both faces are similar in skin tone.
Removed image artifacts by cropping
My favorite image by far; color actually harms the blending because of the difference in skin tone. Gradient fusion fixes this in part 2.
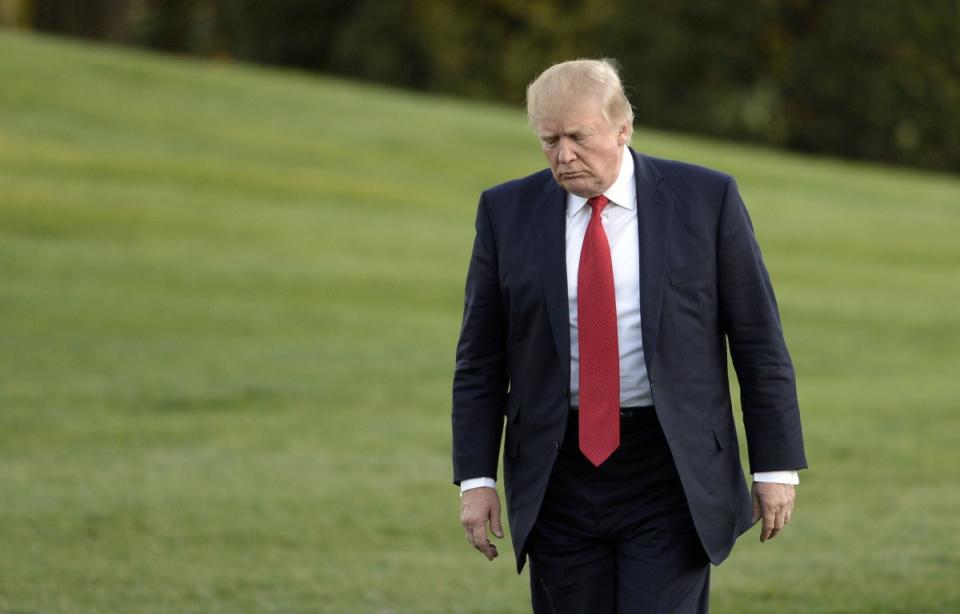
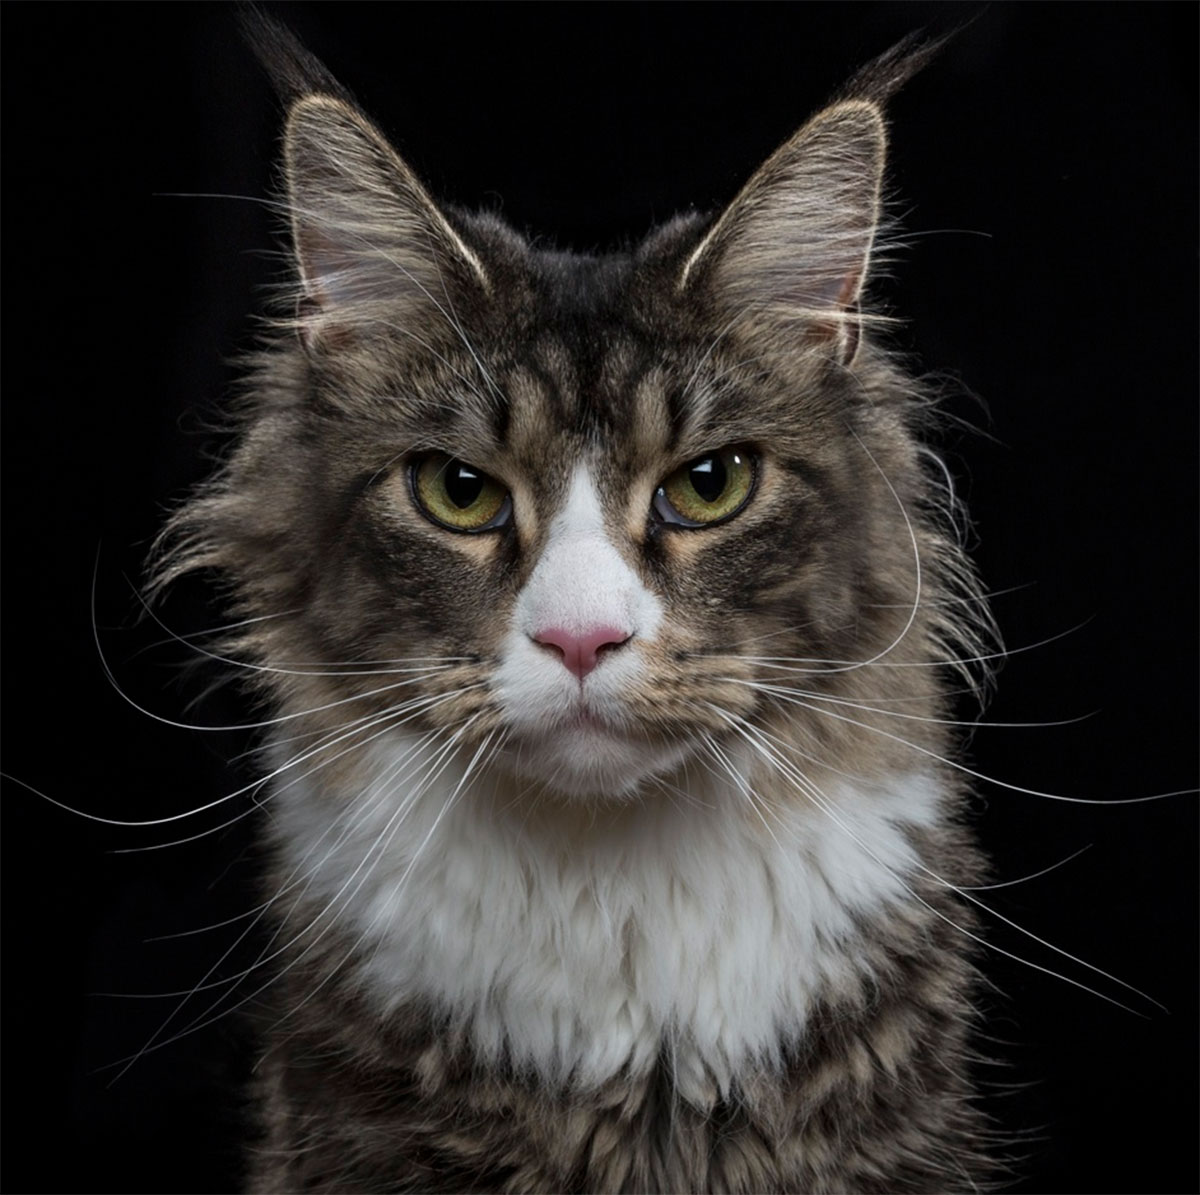
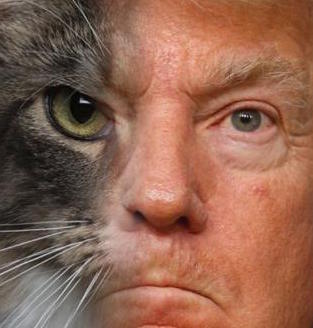
The first image on the second row is quite terrifying.
I gave up on Trumpifying the descriptions here.
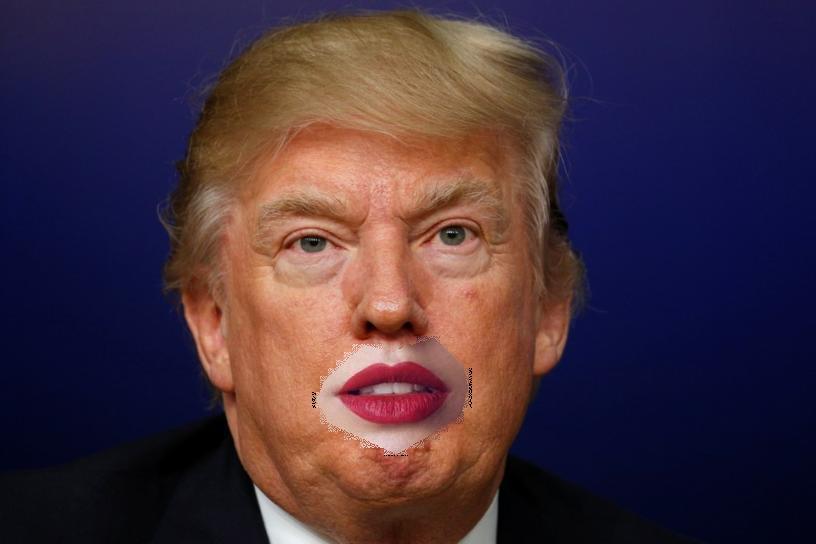
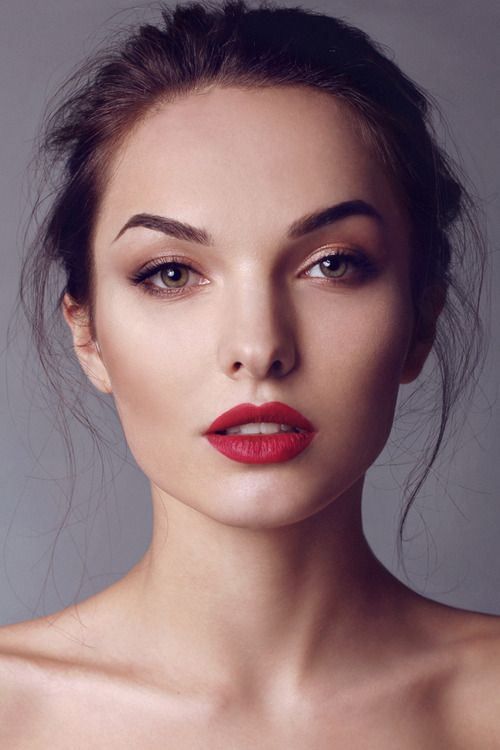
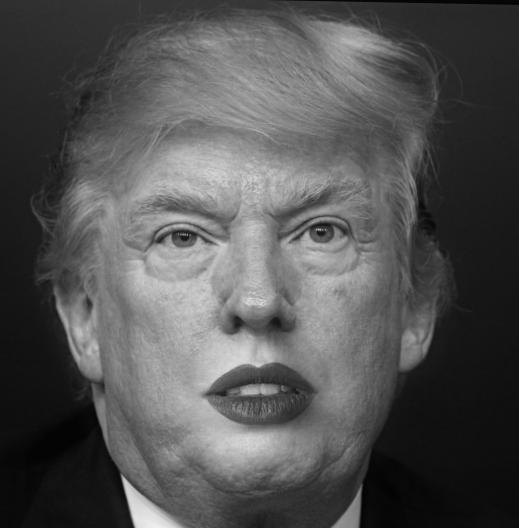
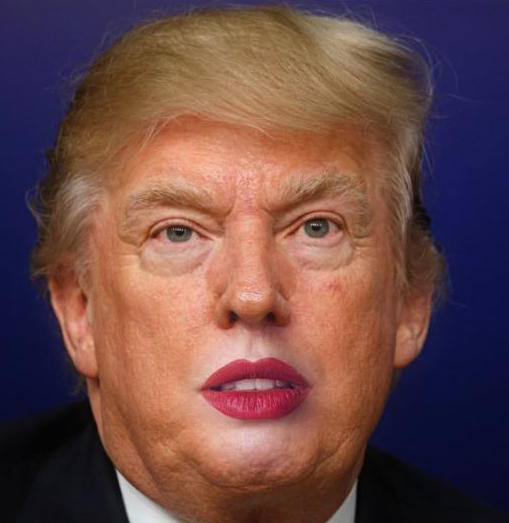
When we combined Lips with Trump, we saw some of the shortcomings of multi-resolution blending. Essentially the difference in skin tone created a noticeable gradient in the blended region, which detracts from the effect of blending. A different way to approach this problem is inspired by the following insight: people often care much more about the gradient of an image than the overall intensity. So we can set up the problem as finding values for the target pixels that maximally preserve the gradient of the source region without changing any of the background pixels. It's possible that ignoring intensities may distort colors, but the benefit of optimizing over the gradient domain is a more seamless image. Part 2 explores gradient domain processing; we will focus on "Poisson blending".
Before attempting Poisson blending, we will construct a toy problem: compute the x and y gradients from an image s, then use all the gradients, plus one pixel intensity, to reconstruct an image v. In other words, we want to solve the following optimization problem:
Equation 1 attempts to minimize the squared error between the x gradients of the reconstructed and source images. Equation 2 attempts to minimize the squared error between the y gradients of the reconstructed and source images. Since equation 1 and equation 2 can be solved by adding any constant value to v, we use equation 3 to match the top left pixel of the reconstructed image and the source image.


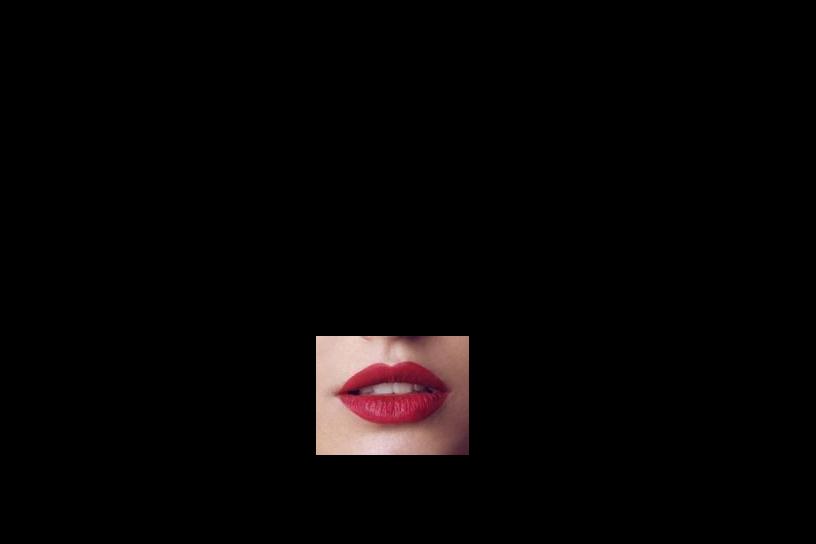
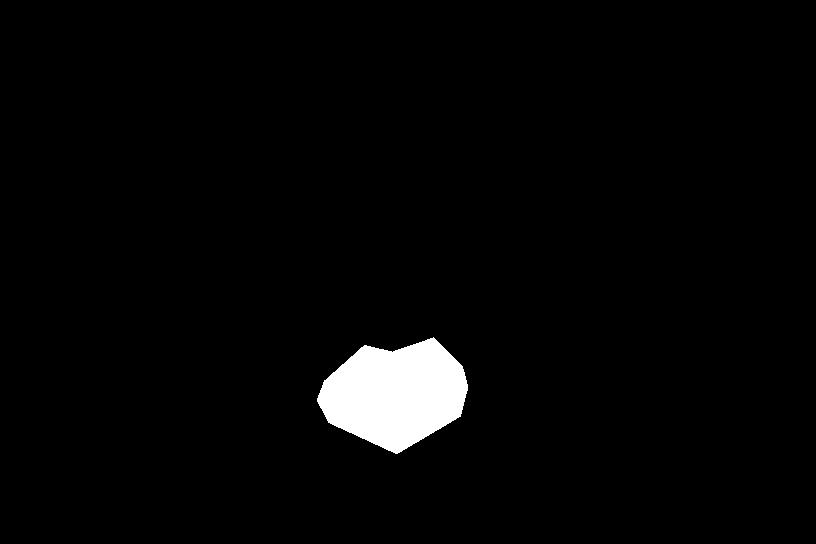
The first step is to select the source and target regions. I select the boundaries of a region in a source image and specify a location in the target image where it should be blended. Then, I transform the source image so that the indices of pixels in the source and target regions match. To do this I used Jun-Yan's provided starter code.
The second step is to solve the blending constraints as defined poisson blending. This is similar to the toy problem, where we want to match the gradients (top, bottom, left, right) between the reconstructed image and the source region. A key difference in the optimization constraints is the existence of pixels outside the mask range. To handle these pixels, we use the corresponding target image pixel to minimize the difference between gradients of the reconstructed and source image. I used sparse matrices to optimize runtime and a least squares solver to solve the optimization problem.
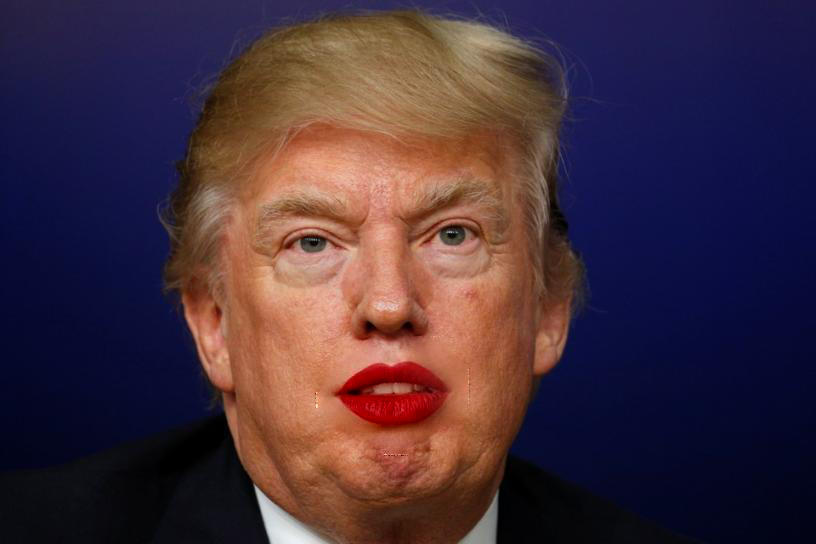
After solving the optimization problem, the last step is to simply copy these reconstructed pixels into the target input location. If done correctly, this should result in a smoothly blended image. For displaying the results, the first row contains the target, the source, and the mask in that order. All combinations include a side by side comparison of direct copying with poisson blending. The last combination of Trump and Lips includes the multi-resolution blending as well.
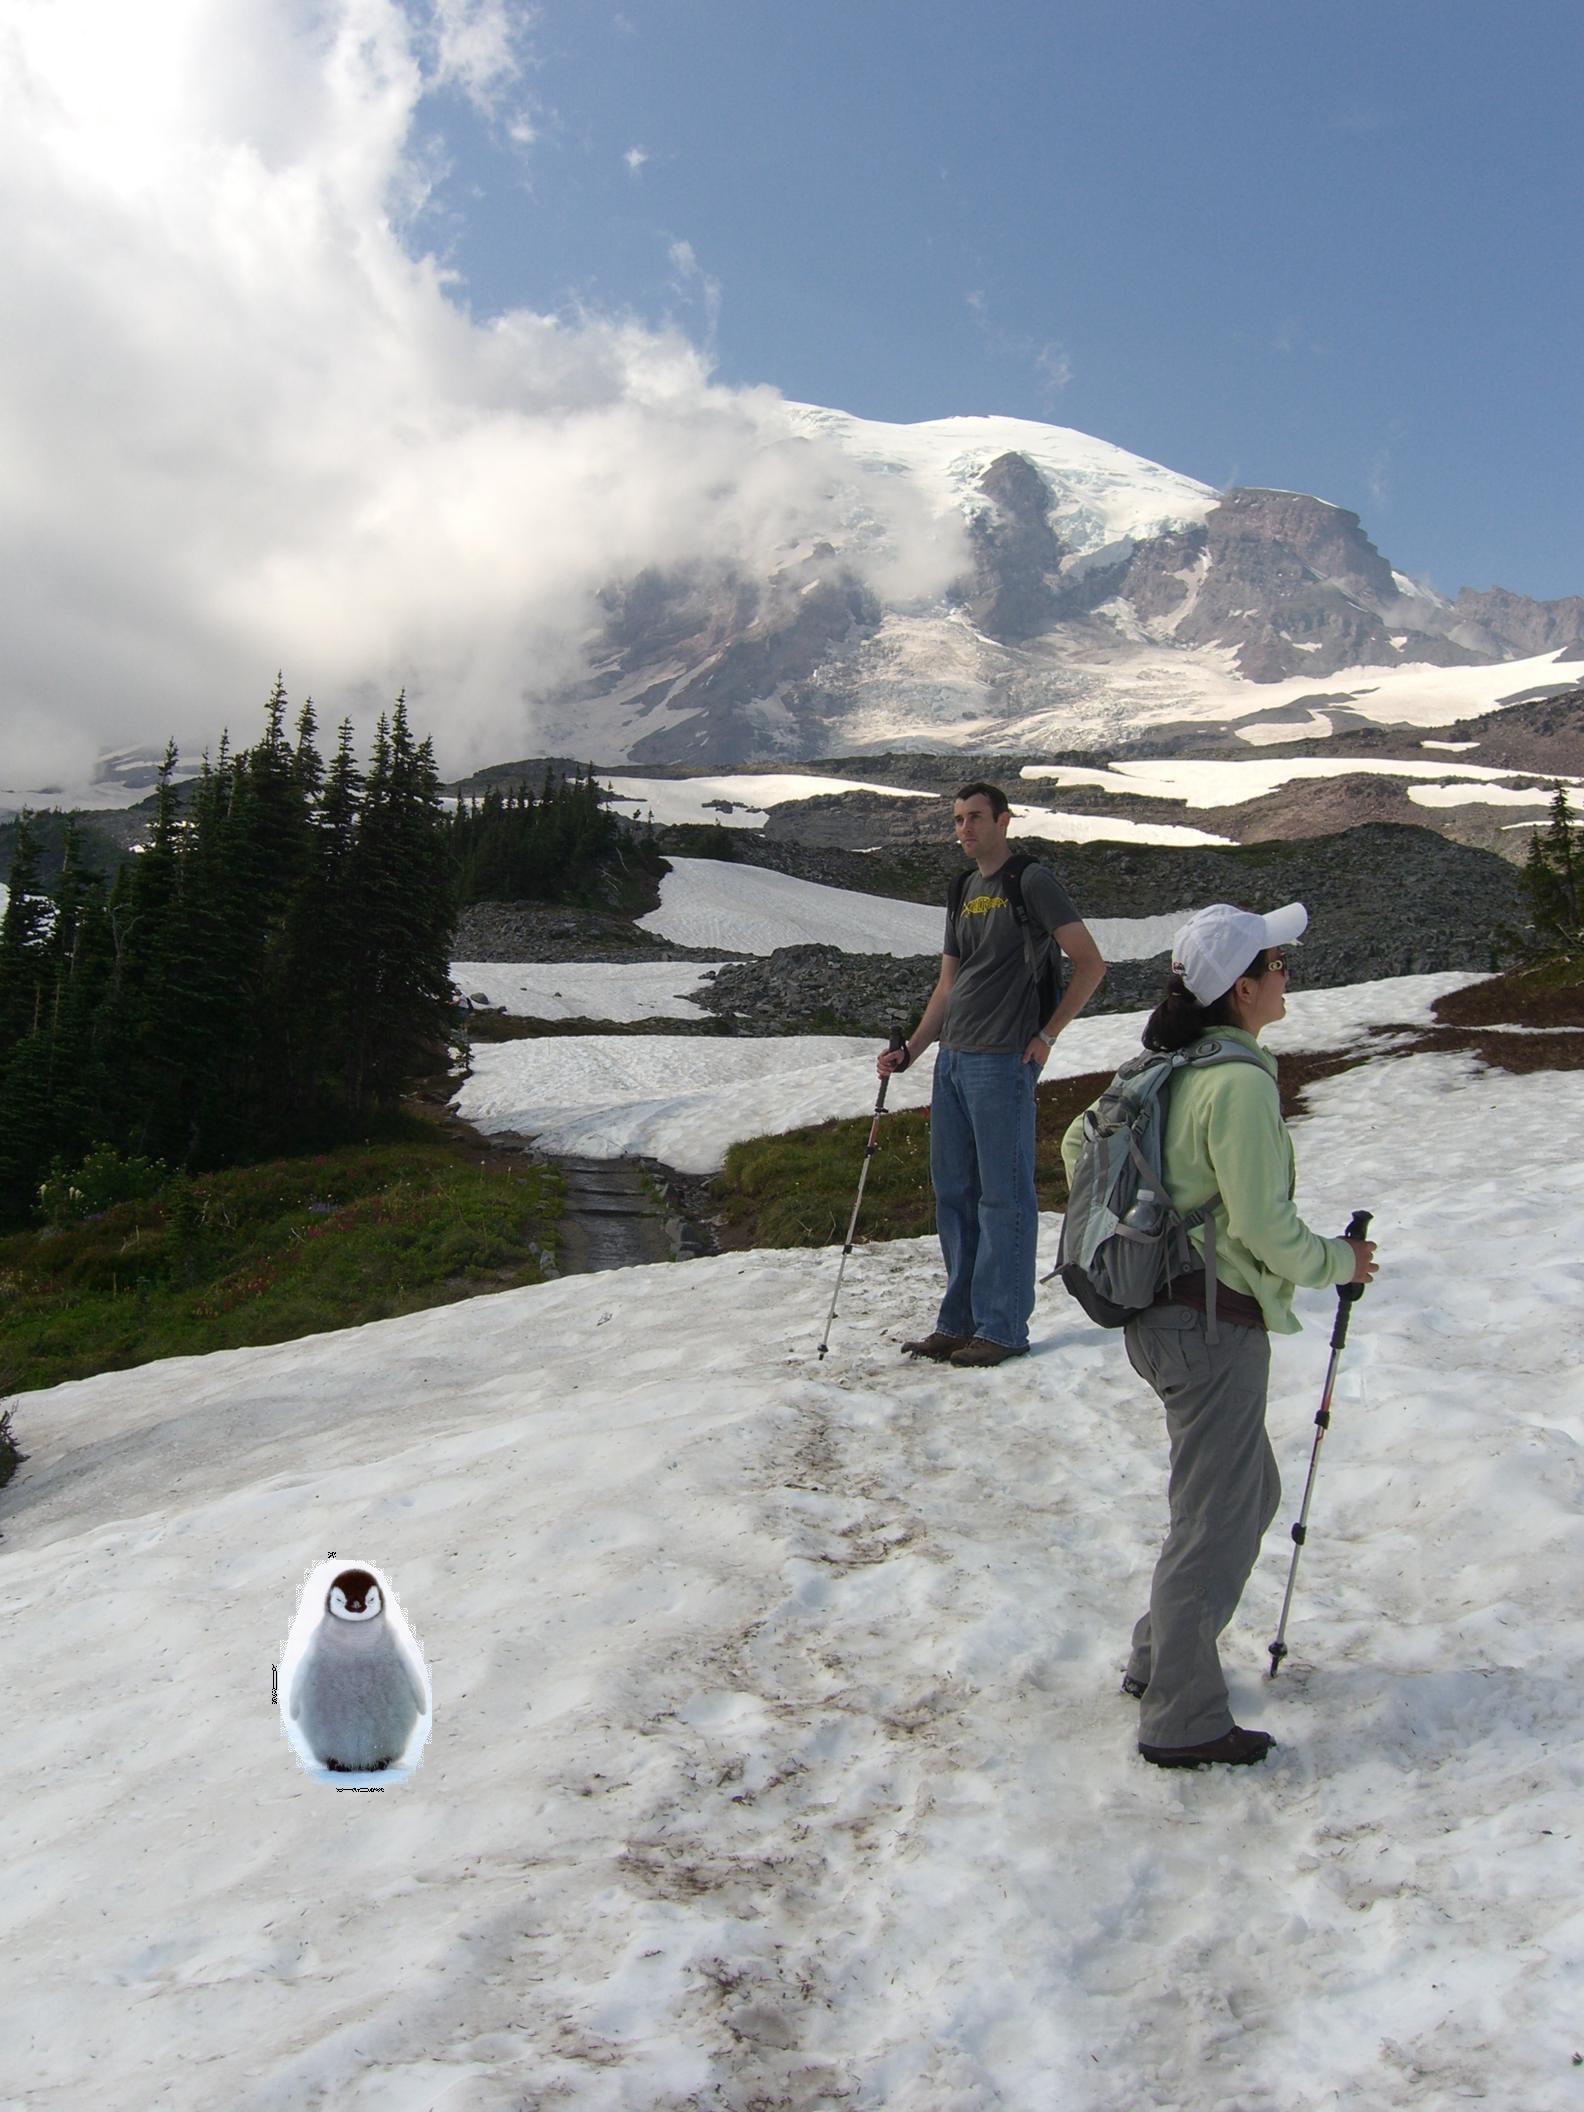
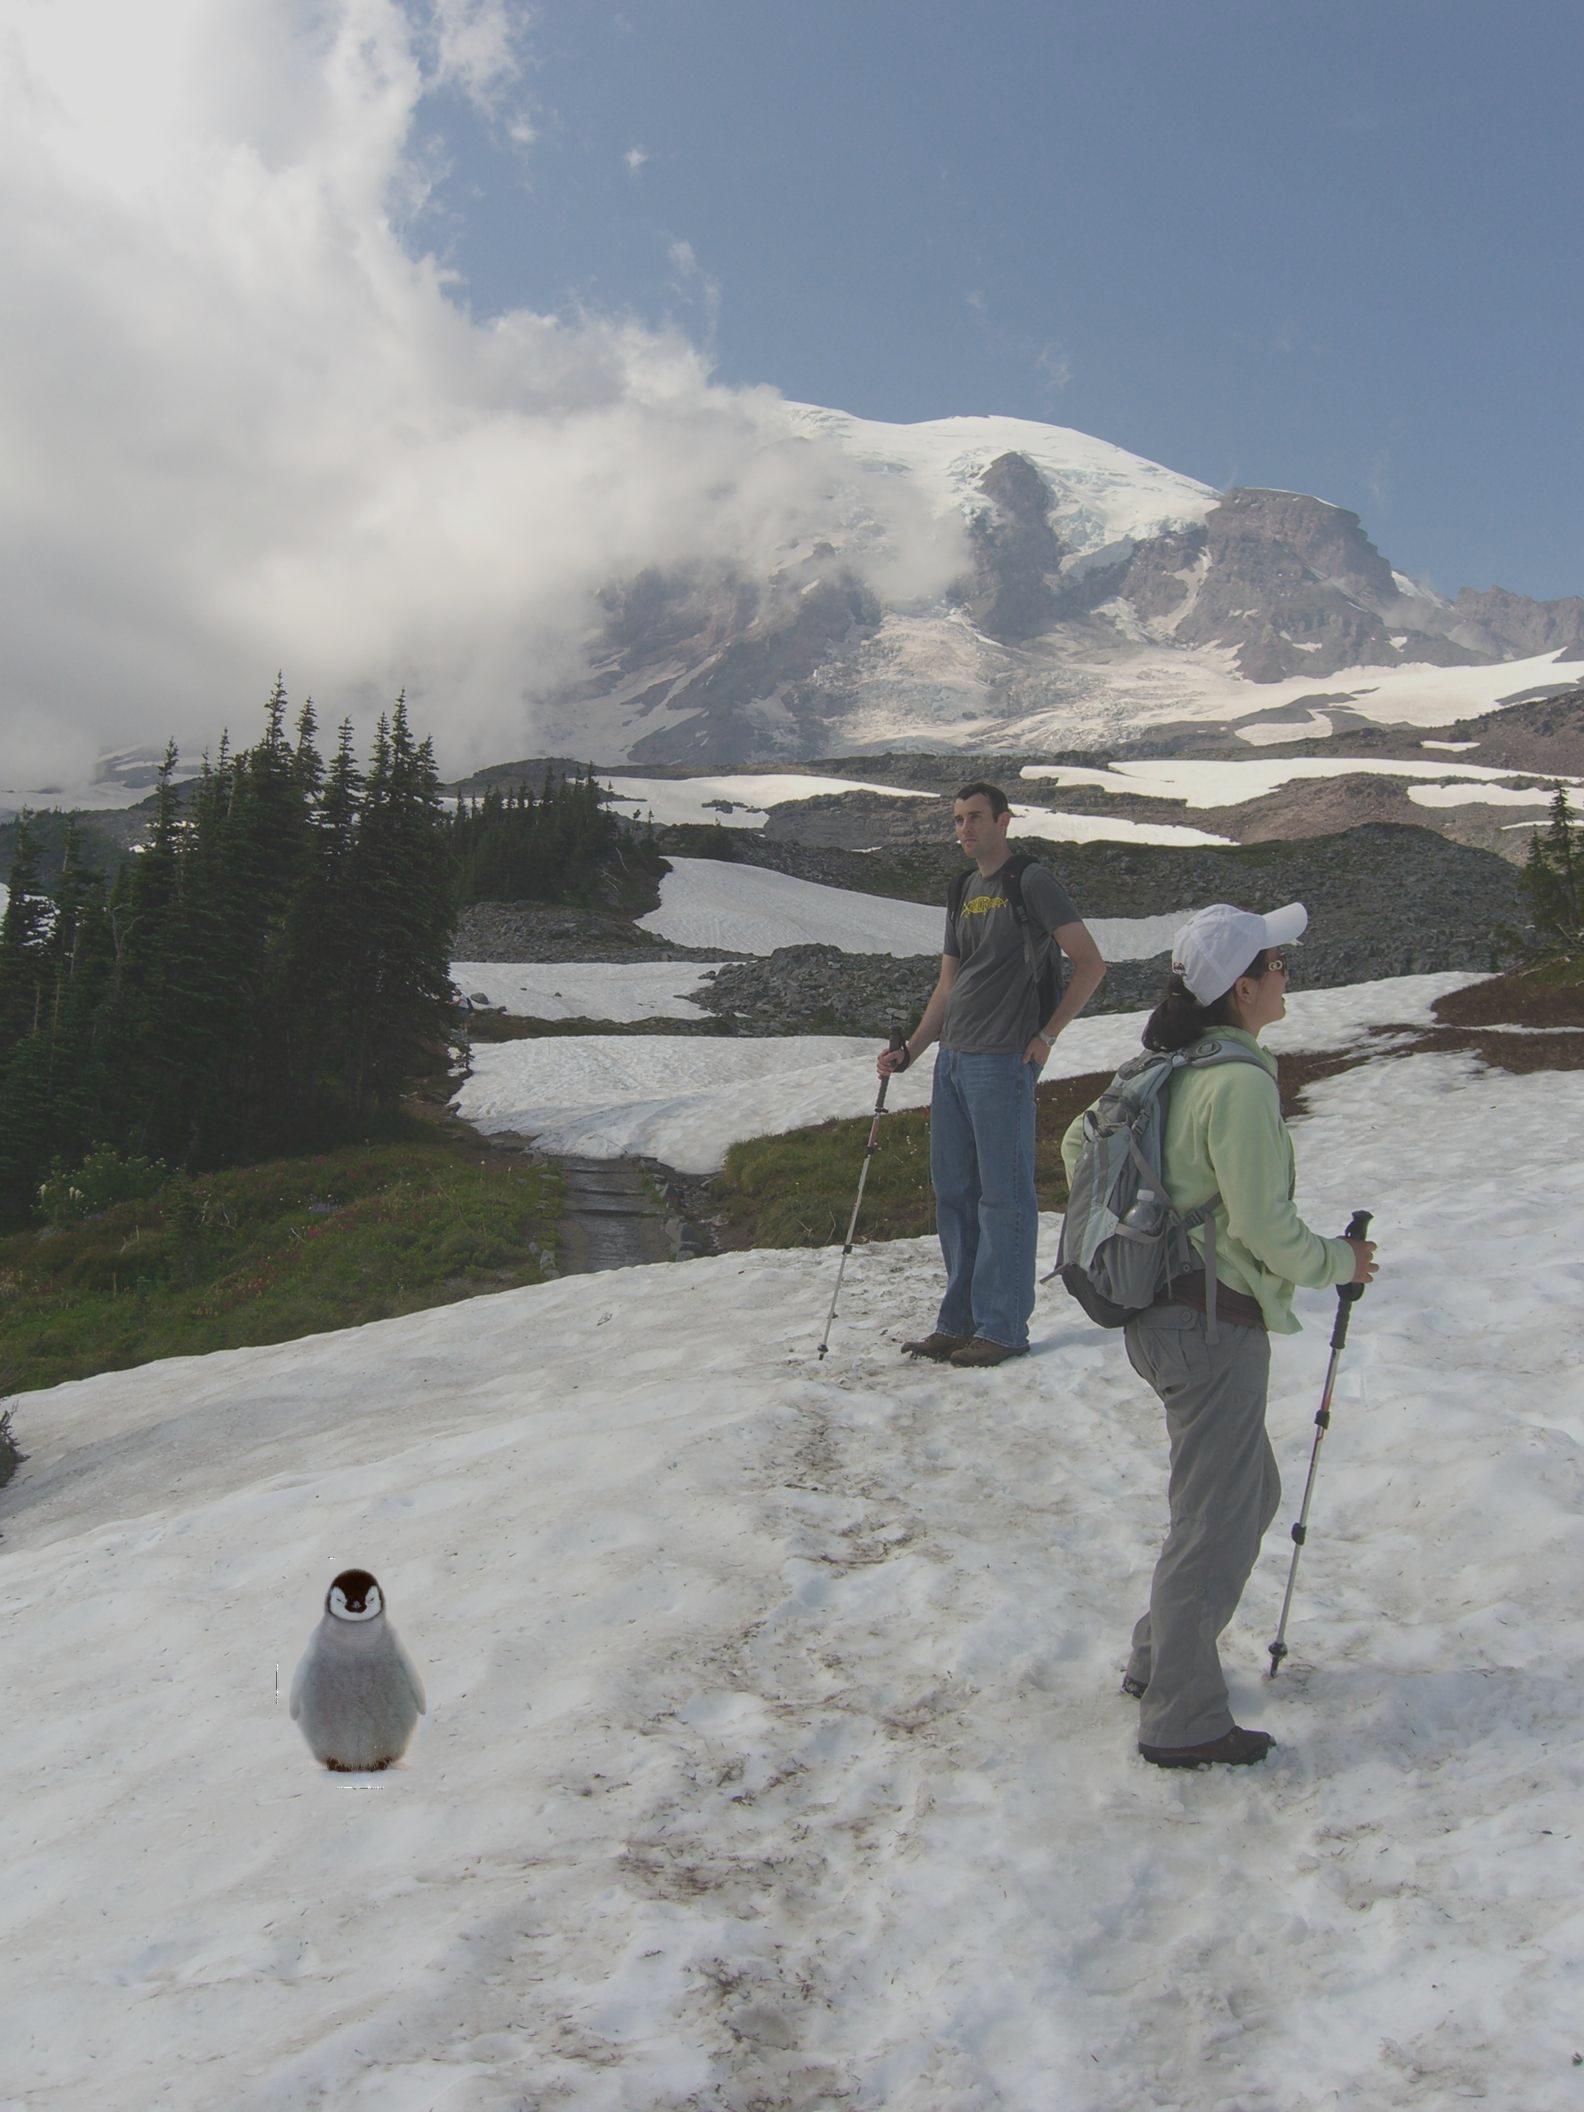
Fairly seamless blending. It helps that the penguin image already had snow in the background.
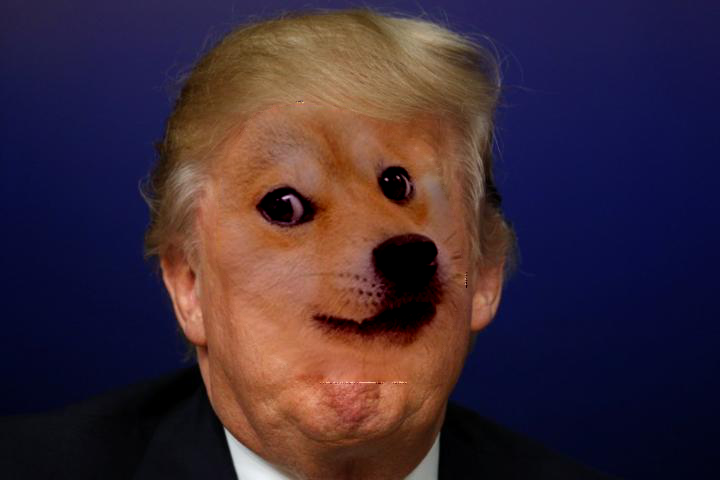
There are slight edge artifacts on Doge Trump's chin; this may be because the texture of Trump's chin made it difficult to match the smoothness of the doge face. When cropping the source image, I also made the bottom edge a little too flat. I've found that having perfectly straight lines leads to noticeable artifacts in the reconstructed image. This is probably because in straight edge cases, we are only ever matching the x or the y gradient which leads to failure to accomodate the gradient in the opposite orientation.


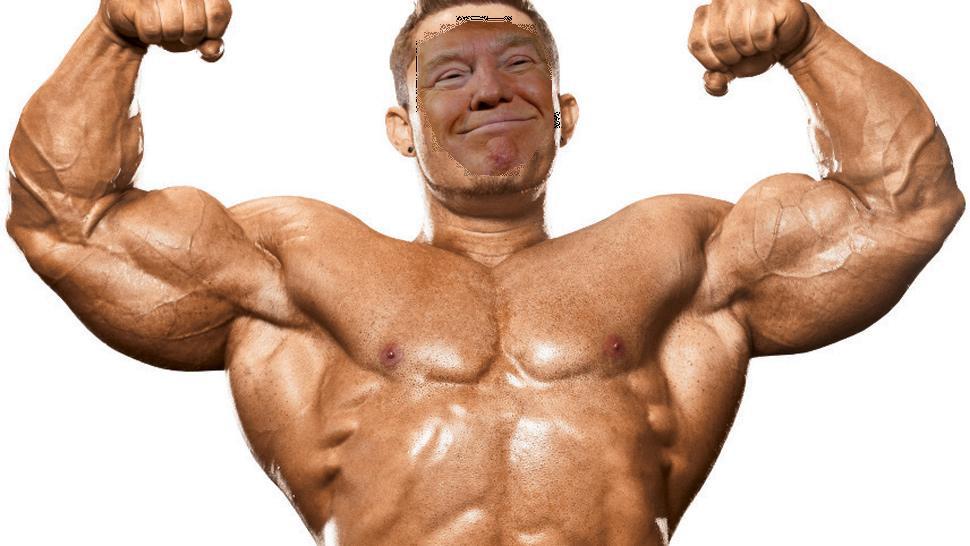
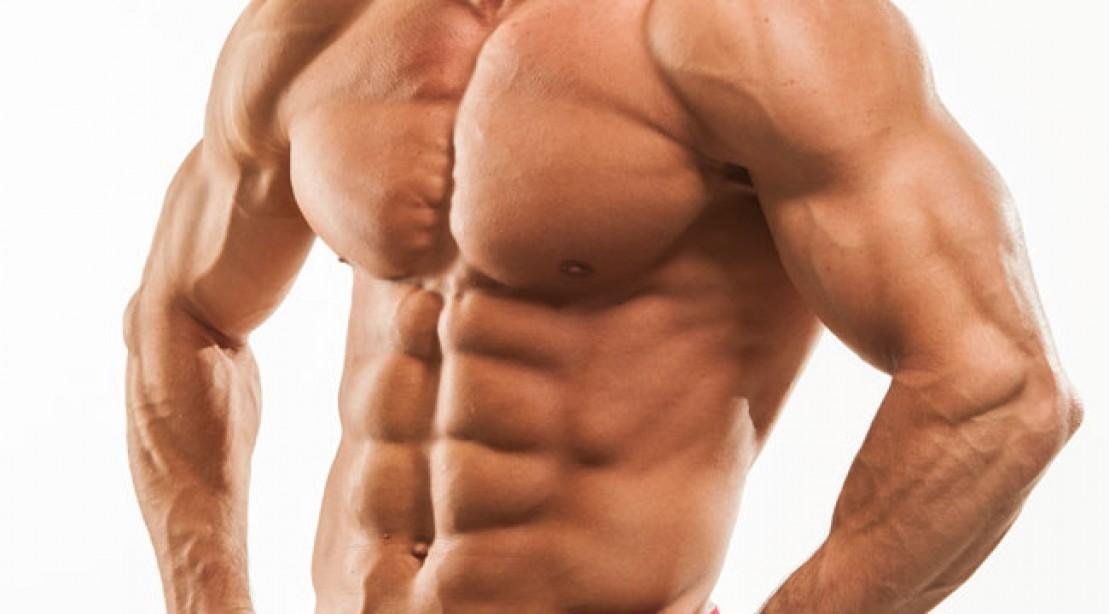
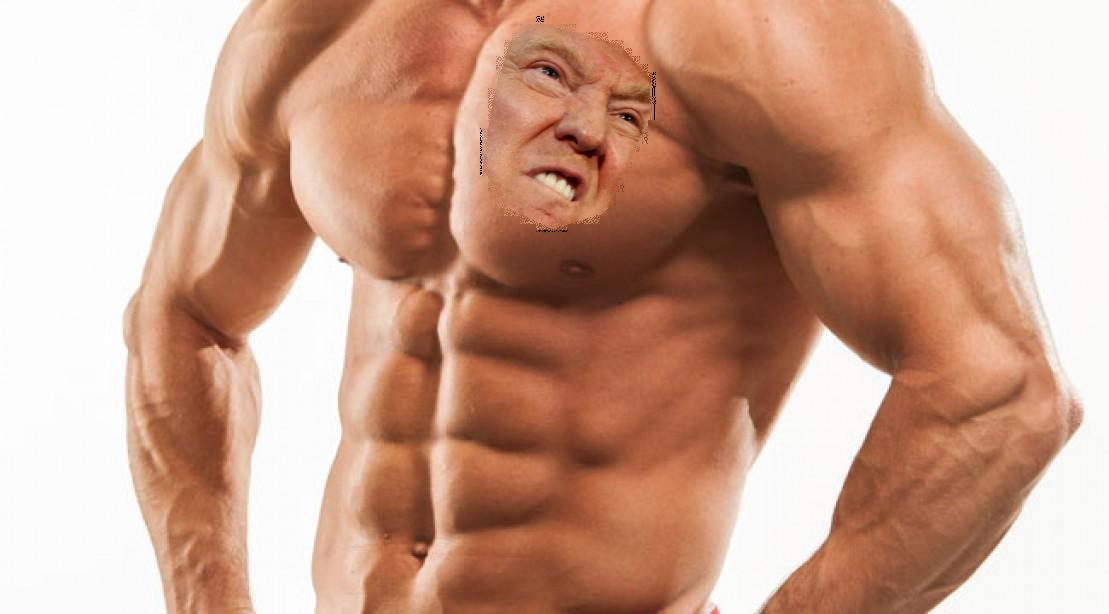
This one turned out a bit better; this is probably because the texture and tone of Trump's face and the body builder face were similar which resulted in a better optimization over the reconstructed image.


This was probably the worst performing blend, although it's still decent across some of the blended area. Again, the failure cases are probably caused by differences in texture between the cropped region and the target image. There are some mildly sharp edges even after blending.


The moment we've been waiting for... does poisson blending "edge out" multi-resolution blending? In this case, it does. Poisson blending successfully creates a smooth seam between the source image and the target image, at the same time preserving the color gradient across the seam. Unlike the multi-resolution blend where it's very obvious that the two portions of the image were taken from different people because of the difference in skin tone, the poisson blended image is nearly flawless in giving Trump glamarous lips. In this scenario, poission blending works better because it matches the color gradient across the seam. For more complex or different images, poisson is probably better. For more similar and homogenous images, multi-resolution blending might be better. The last three images are a side by side comparison. The one on the left is multi-resolution blended, the middle is copied, the right is poisson blended.