CS194-26 Project #3
Fun With Frequencies!
PART 1: FREQUENCY DOMAIN
OVERVIEW
We use high pass and low pass filters to extract various parts of an image and use that information to create interesting combinations.
PART 1.1: IMAGE SHARPENING WARMUP
Image sharpening is a basic of photo editing. But if we were to do it ourselves without the help of any photo editing program, how would
we do this? The key is to use the formula img + α * highpass(img),
where highpass(img) is the high pass version of our original image, obtained by subtracting the low pass Gaussian version from the original image.
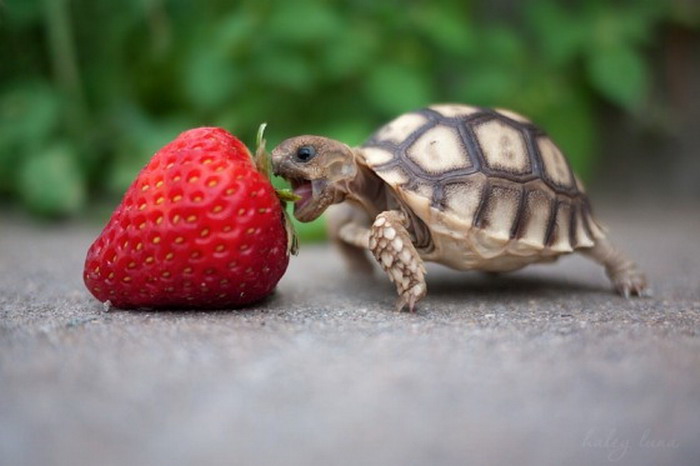
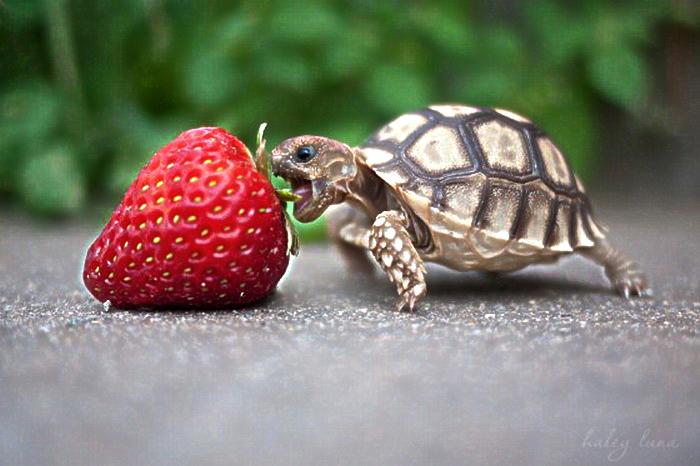
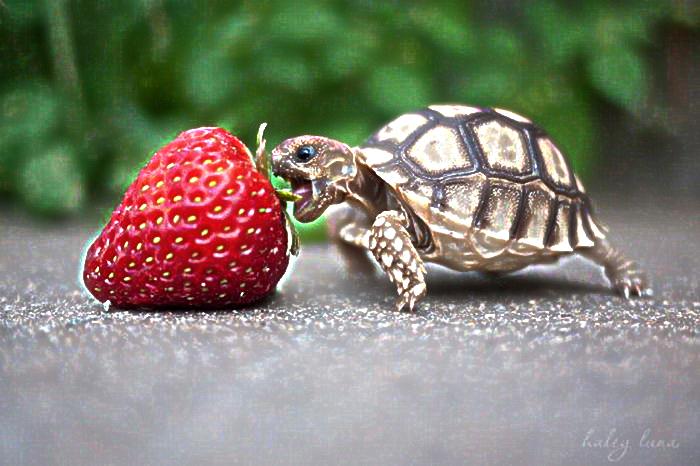
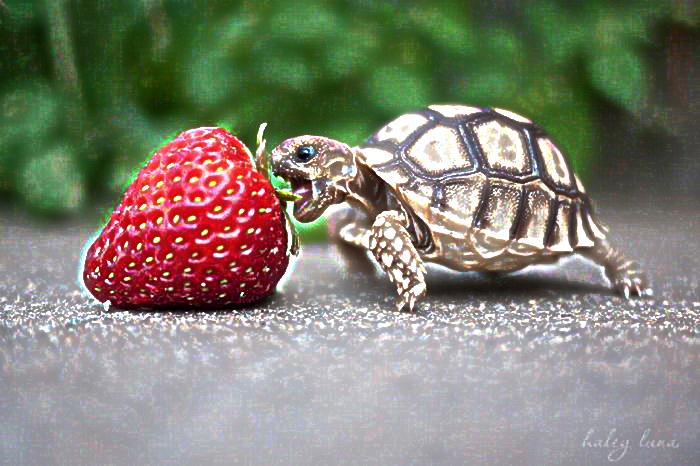
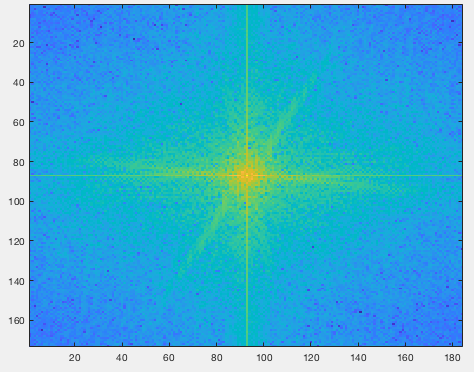
PART 1.2: HYBRID IMAGES
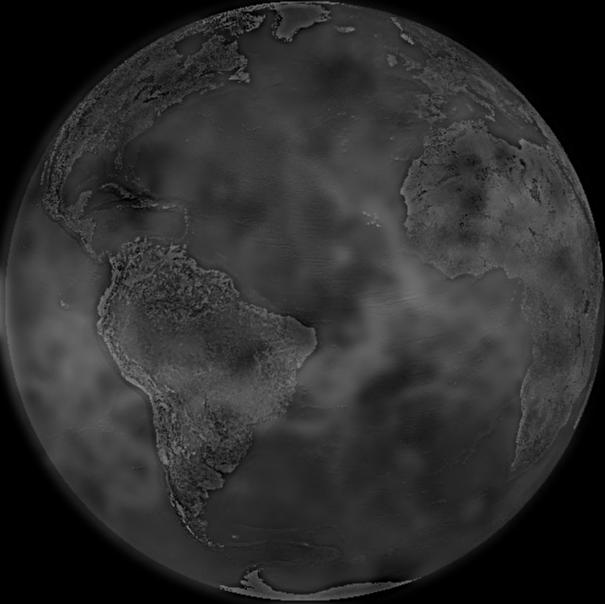
Using high pass and low pass filters to our advantage, we can create combinations of photos that change in appearance as a function of viewing distance. So when viewed up close, an image may look like one thing, but when viewed from afar, its appearance changes! This works because at shorter distances, high frequency dominates while at longer distances, low frequency dominates.
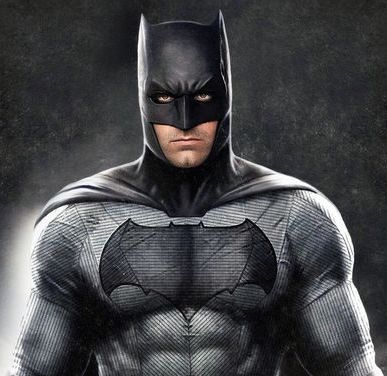
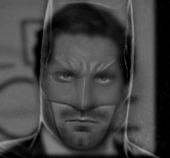
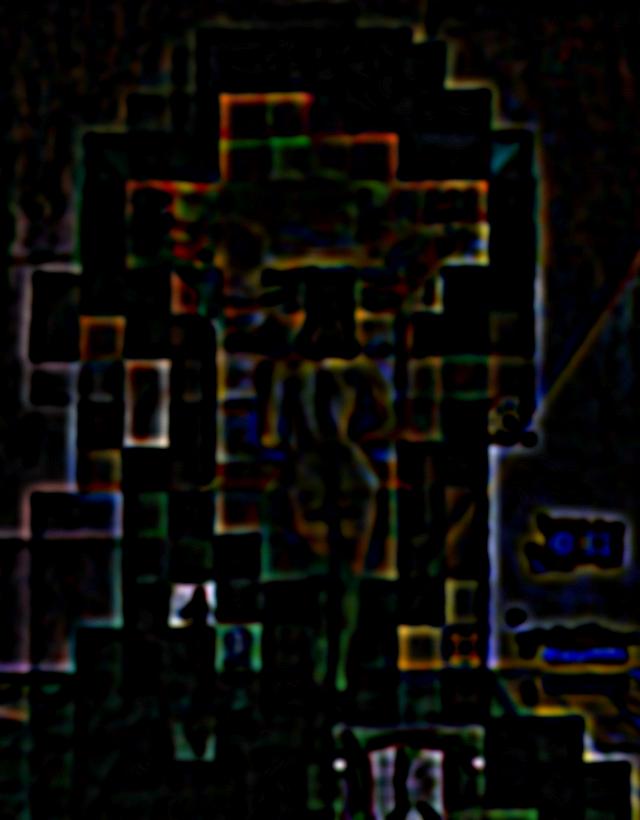
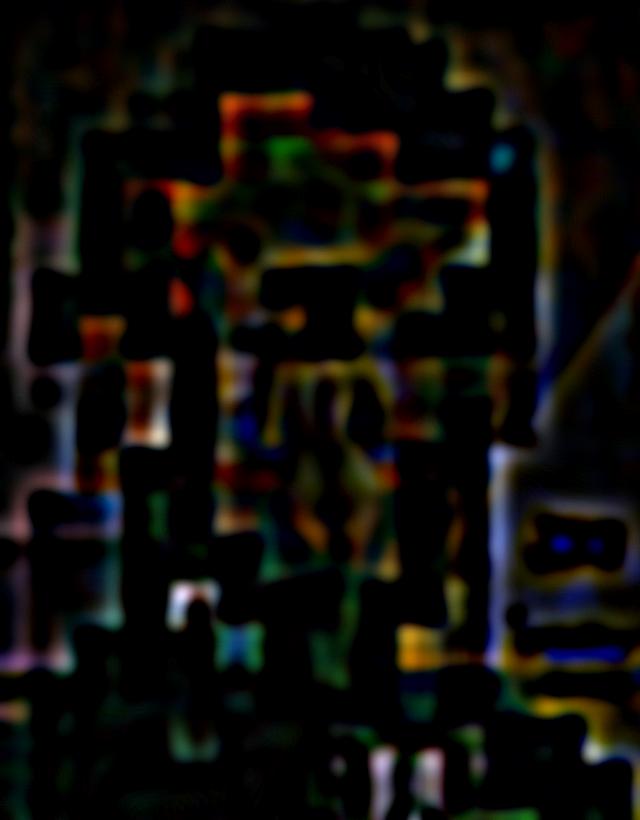
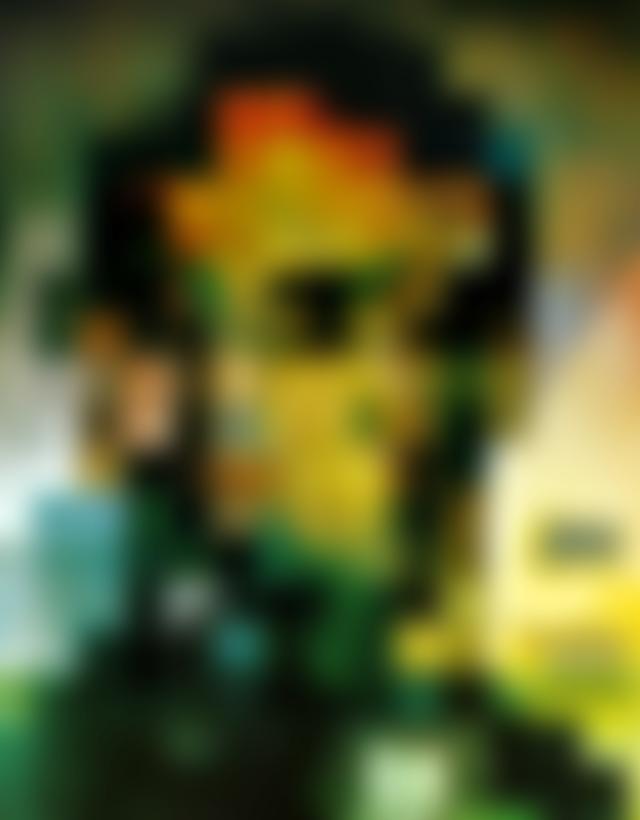
Christian Bale & Batman
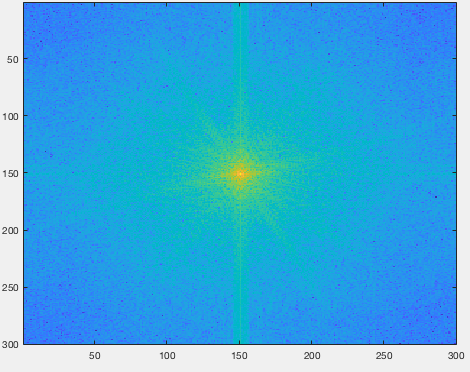
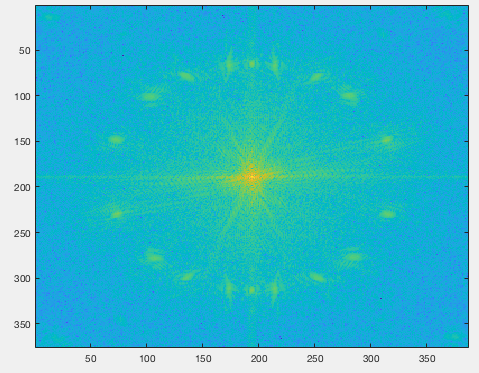
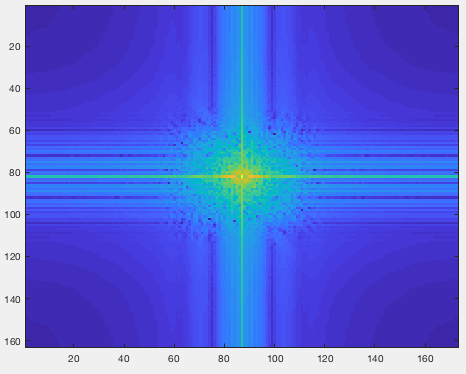
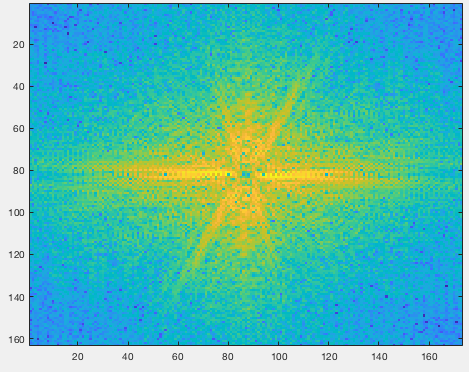
Frequency Analysis
Input: Christian Bale
Input: Batman
Low-pass Filter
High-pass Filter
Result
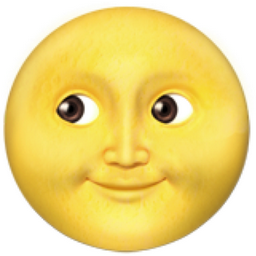
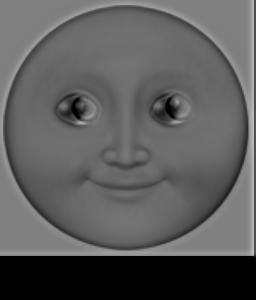
Sun & Moon Emoji
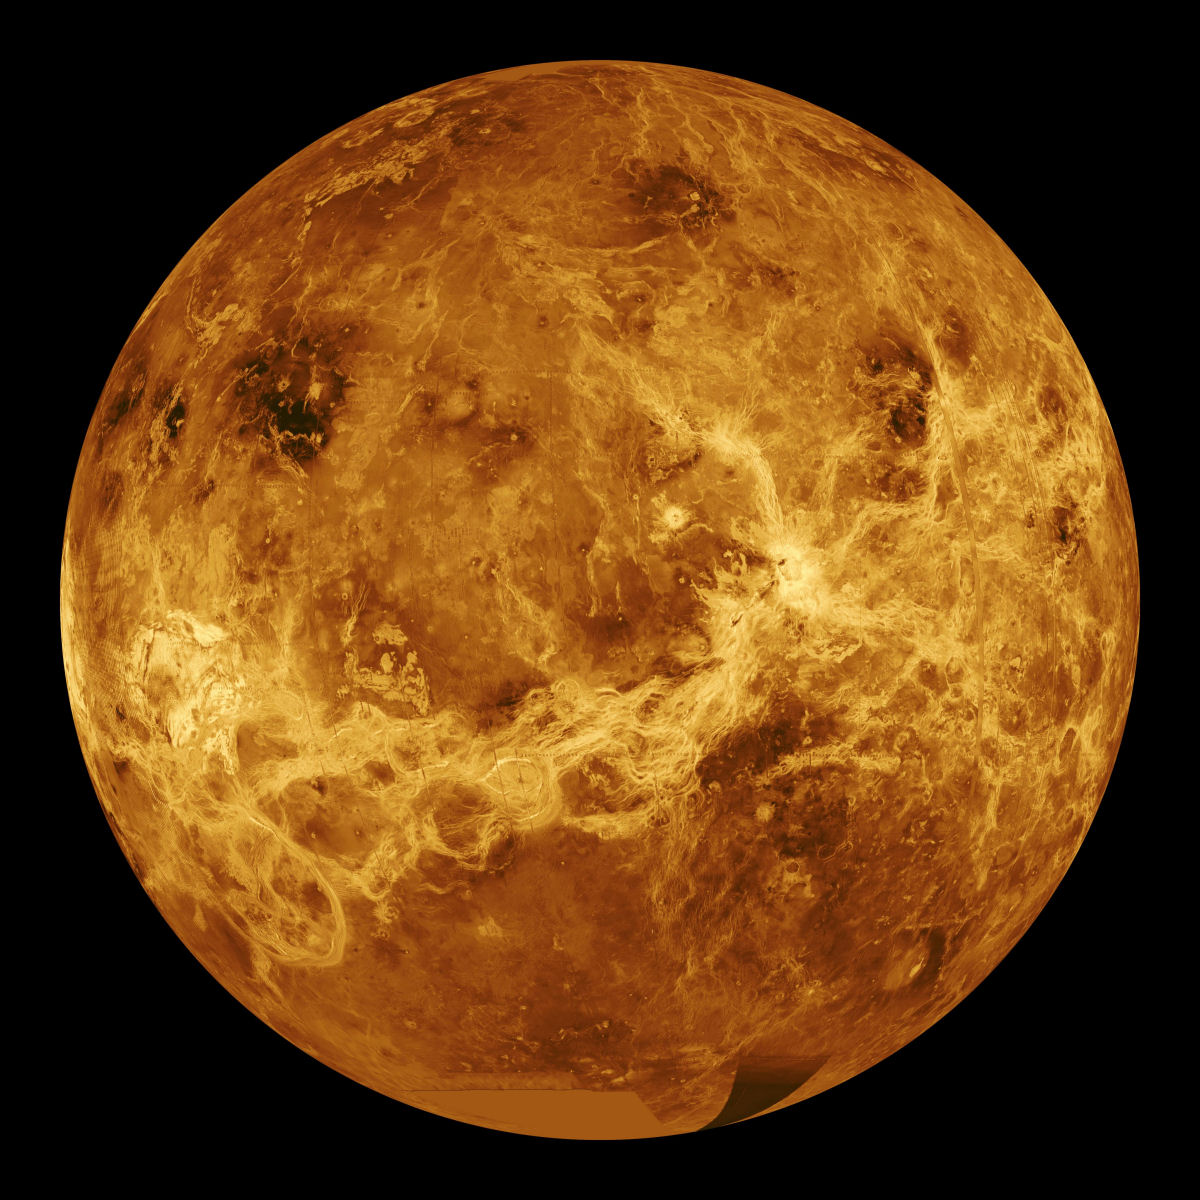
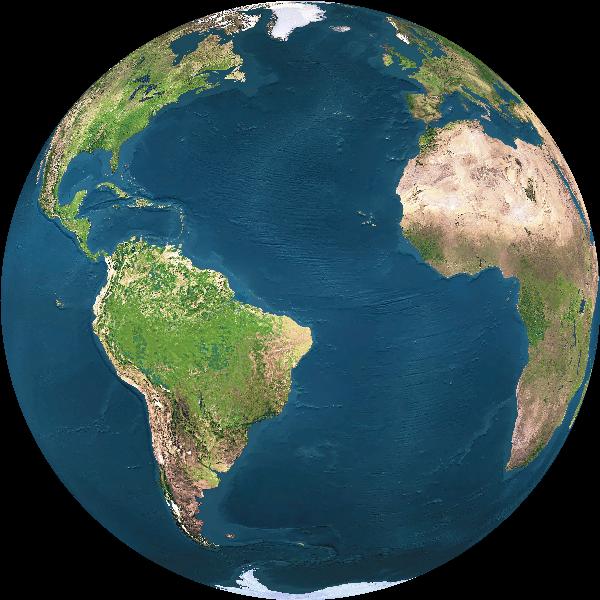
Mercury & Earth
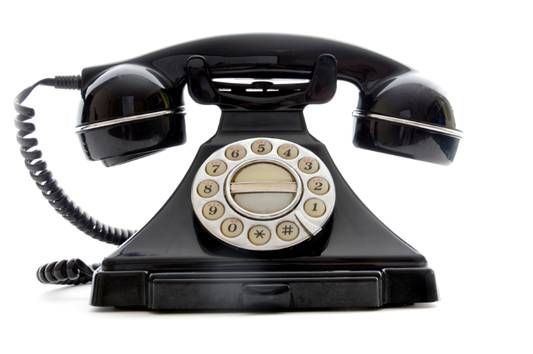
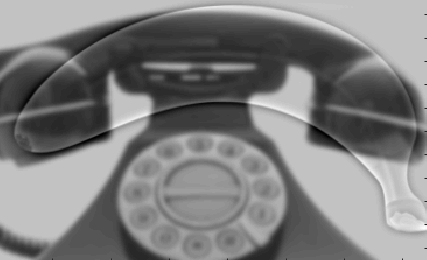
Failure: BananaPhone
PART 1.3: GAUSSIAN AND LAPLACIAN STACKS
Salvador Dali
Original

Gaussian Stack
Level 1: σ = 1

Level 2: σ = 2

Level 3: σ = 4

Level 4: σ = 8

Level 5: σ = 16
Laplacian Stack
Level 1
Level 2
Level 3
Level 4
Level 5
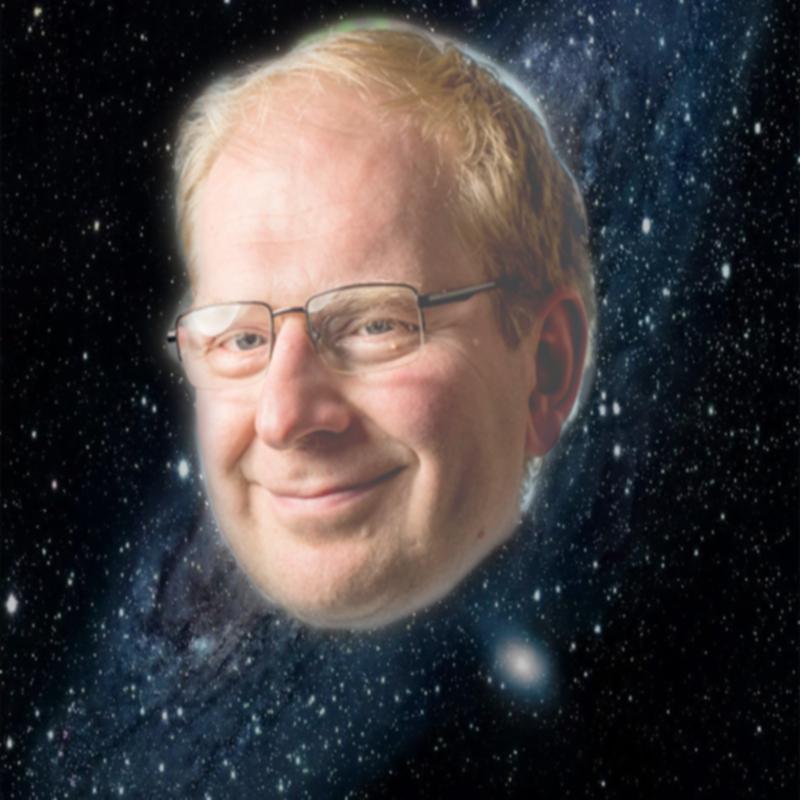
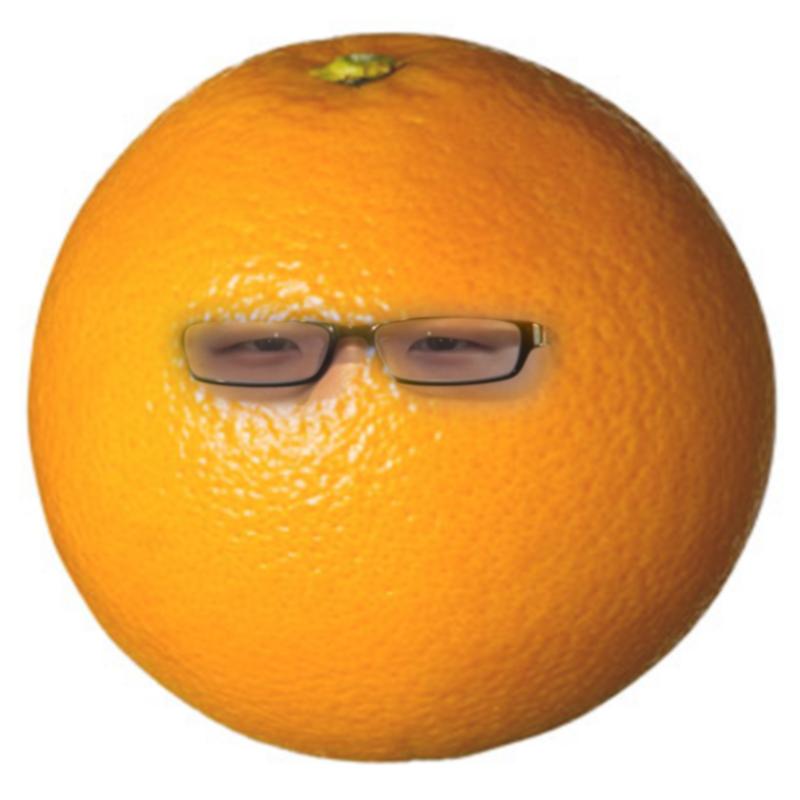
PART 1.4: MULTIRESOLUTION BLENDING
Class Example
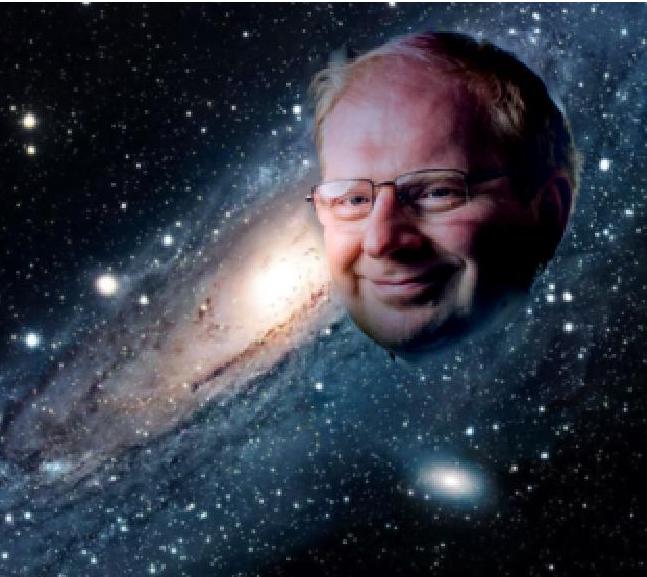
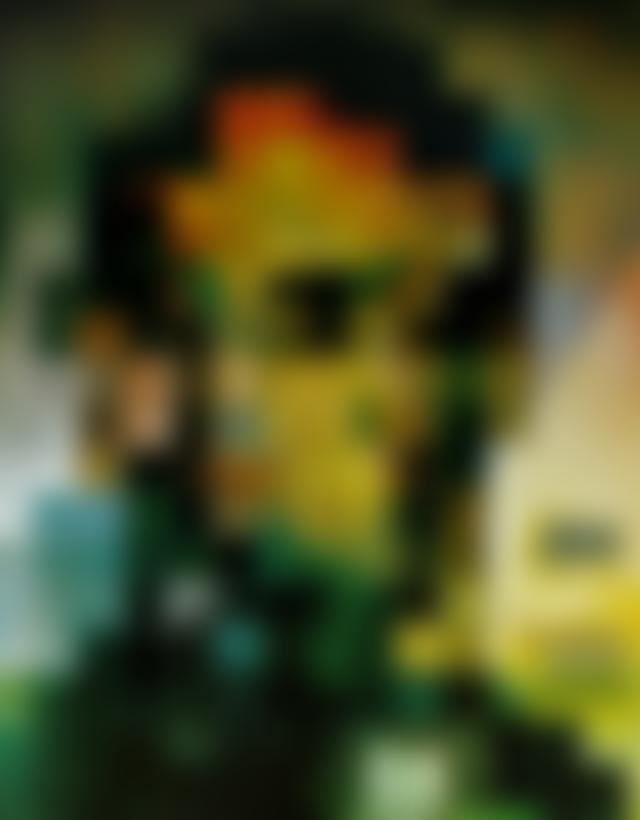
Alexei Efros, King of the Galaxy
Jun-Yan the Orange
PART 2: GRADIENT DOMAIN FUSION
OVERVIEW
Previously, with multiresolution blending, we used Laplacian stacks to blend the images together. In this portion of the project, we focus on Poisson Blending and how we can use it to seamlessly blend parts of images together. Using the source and target images, we find values for the target pixels that preserve the source image's gradient as much as possible. We choose to ignore intensity and prioritize gradient values since that is what people tend to notice more. We do this by taking into account a pixel as well as its four neighbors. This will create a resulting image that looks as natural as possible.
PART 2.1: TOY PROBLEM
Here is the result of the toy problem:
PART 2.2: POISSON BLENDING
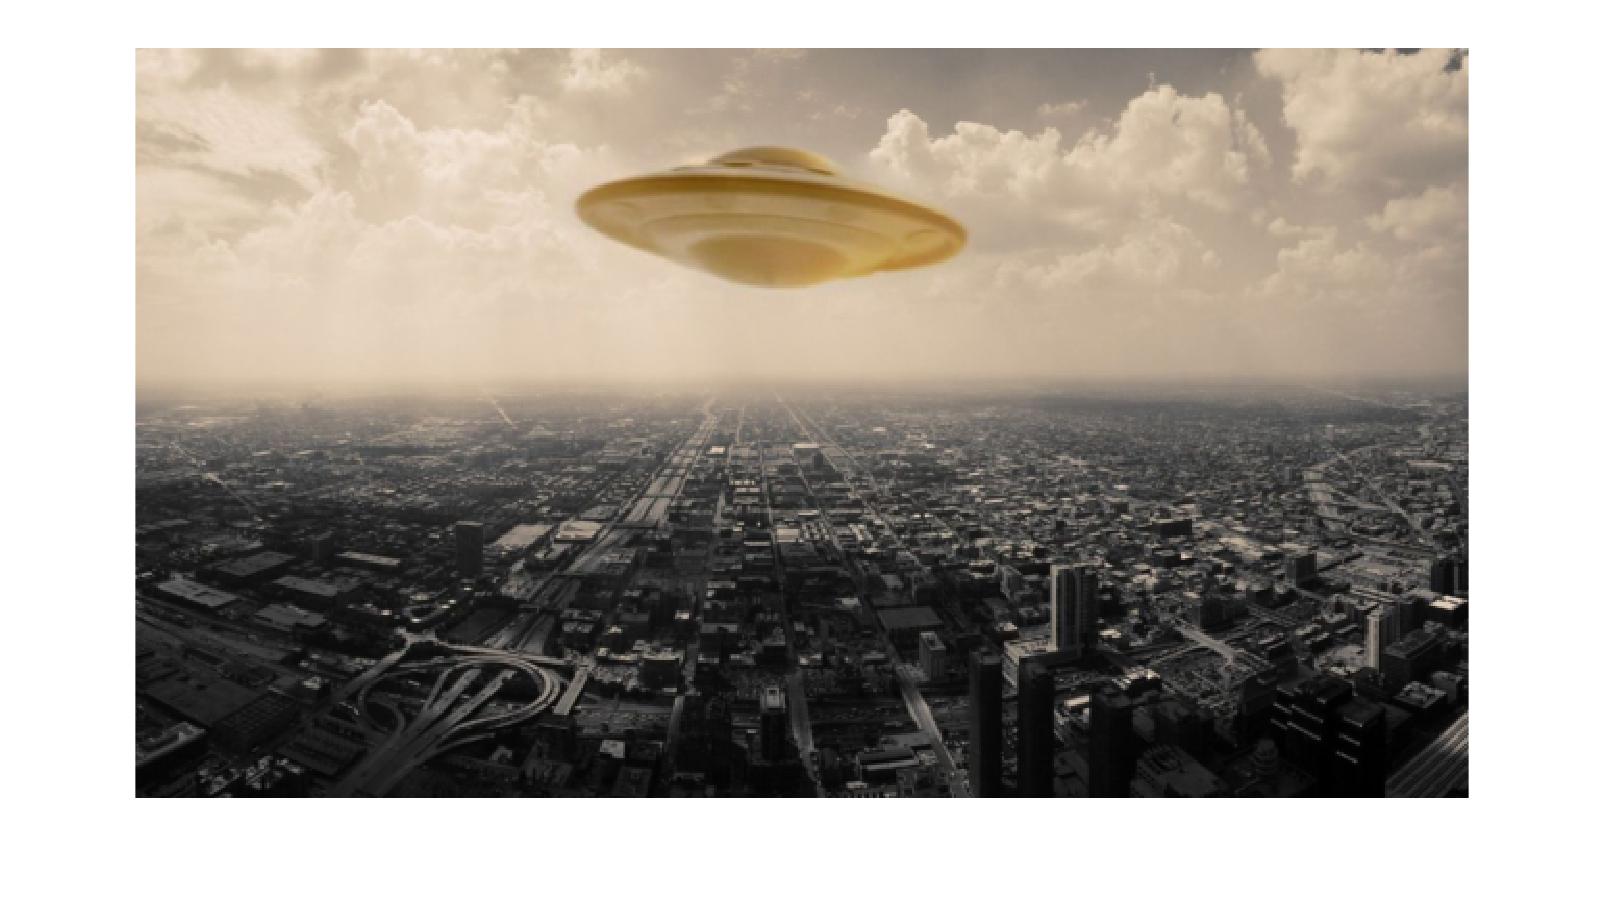
UFO
Source Image: UFO
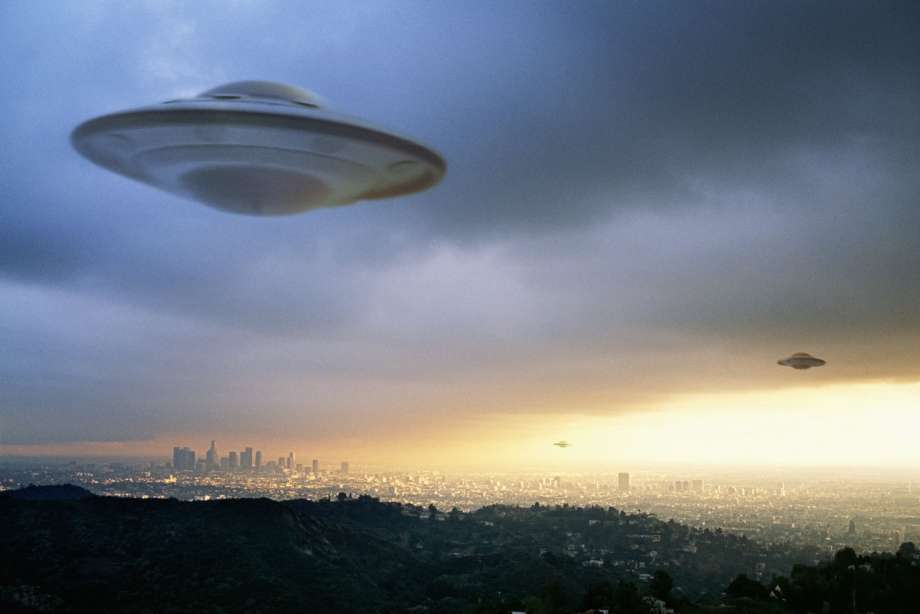
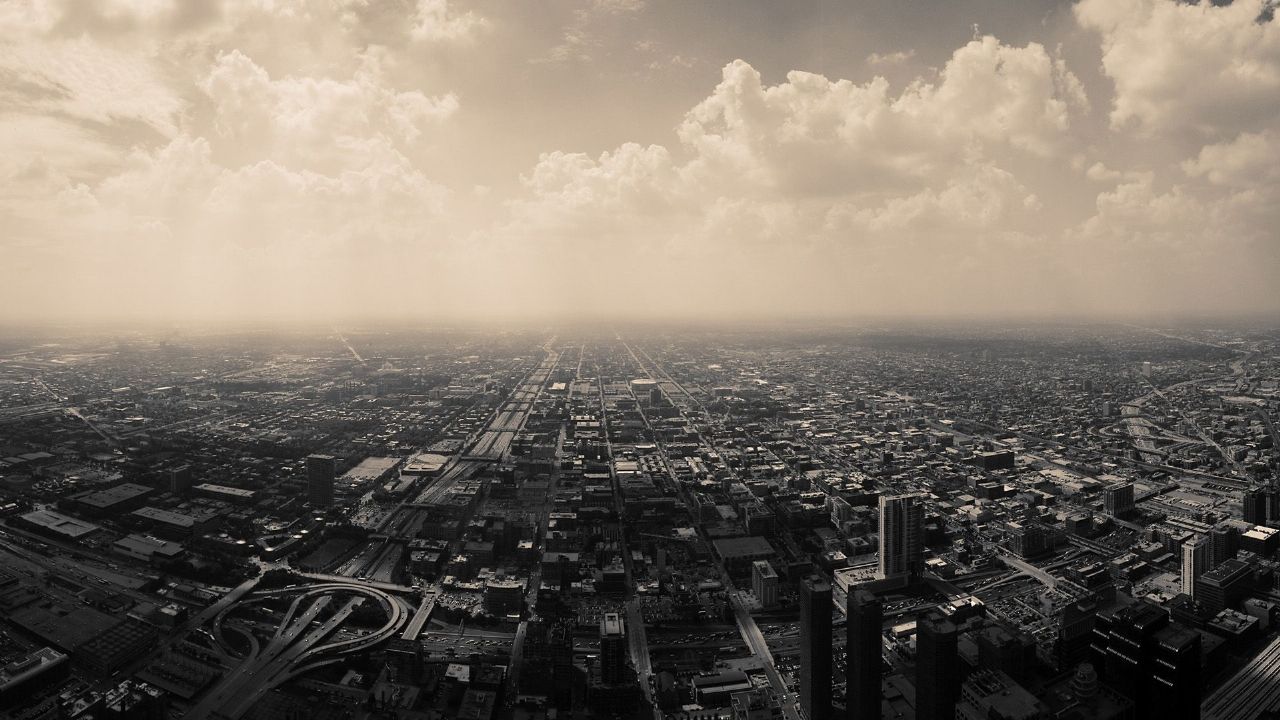
Target Image: City
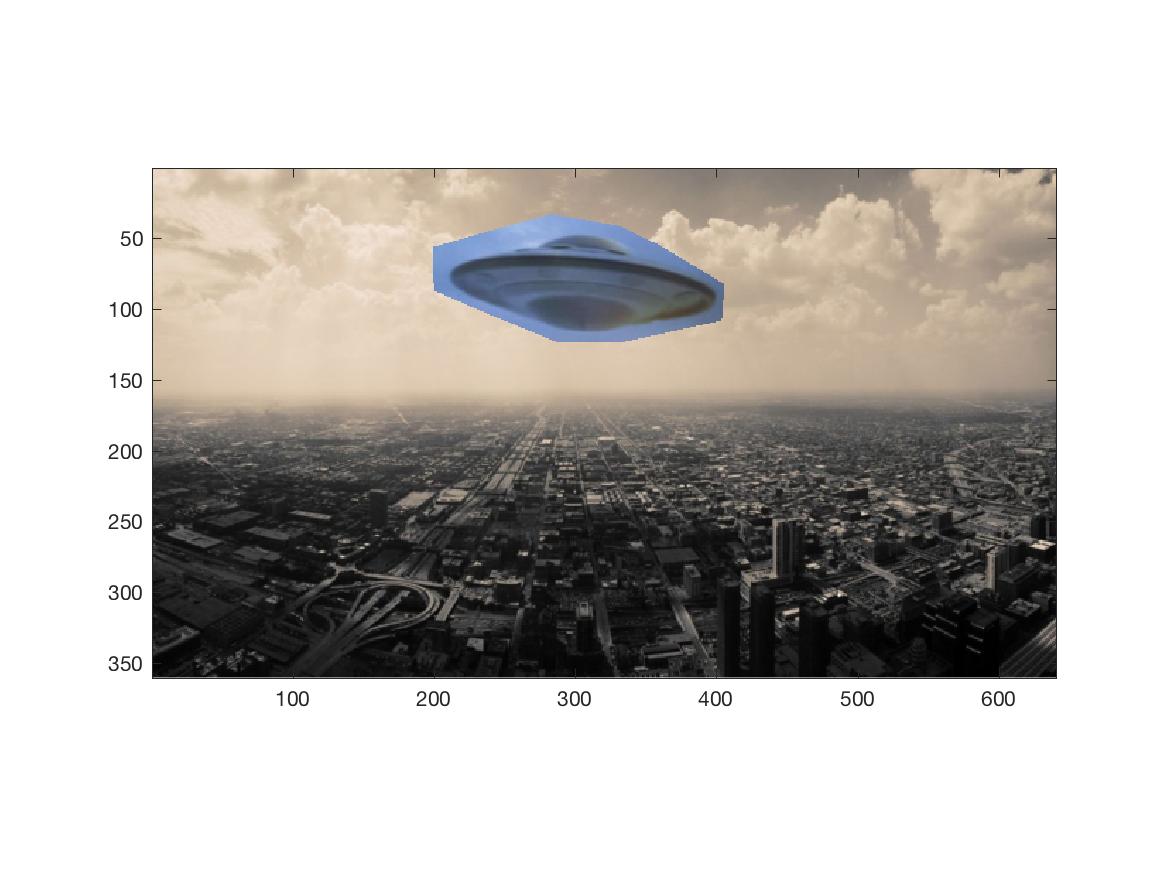
Source pixels copied into target image
Final
How does it work?
I set up a least squares problem to solve for the appropriate pixel values. I solve for each RGB channel separately. In order to maximize efficiency, I find the pixels that we actually care about (the ones where the value in the mask is not 0). These are the variables we need to solve for, because the rest of them are just copied directly from the background. Using a sparse matrix for A also made the algorithm a lot more efficient. After solving, I clamp all the negative values to ensure a valid result.
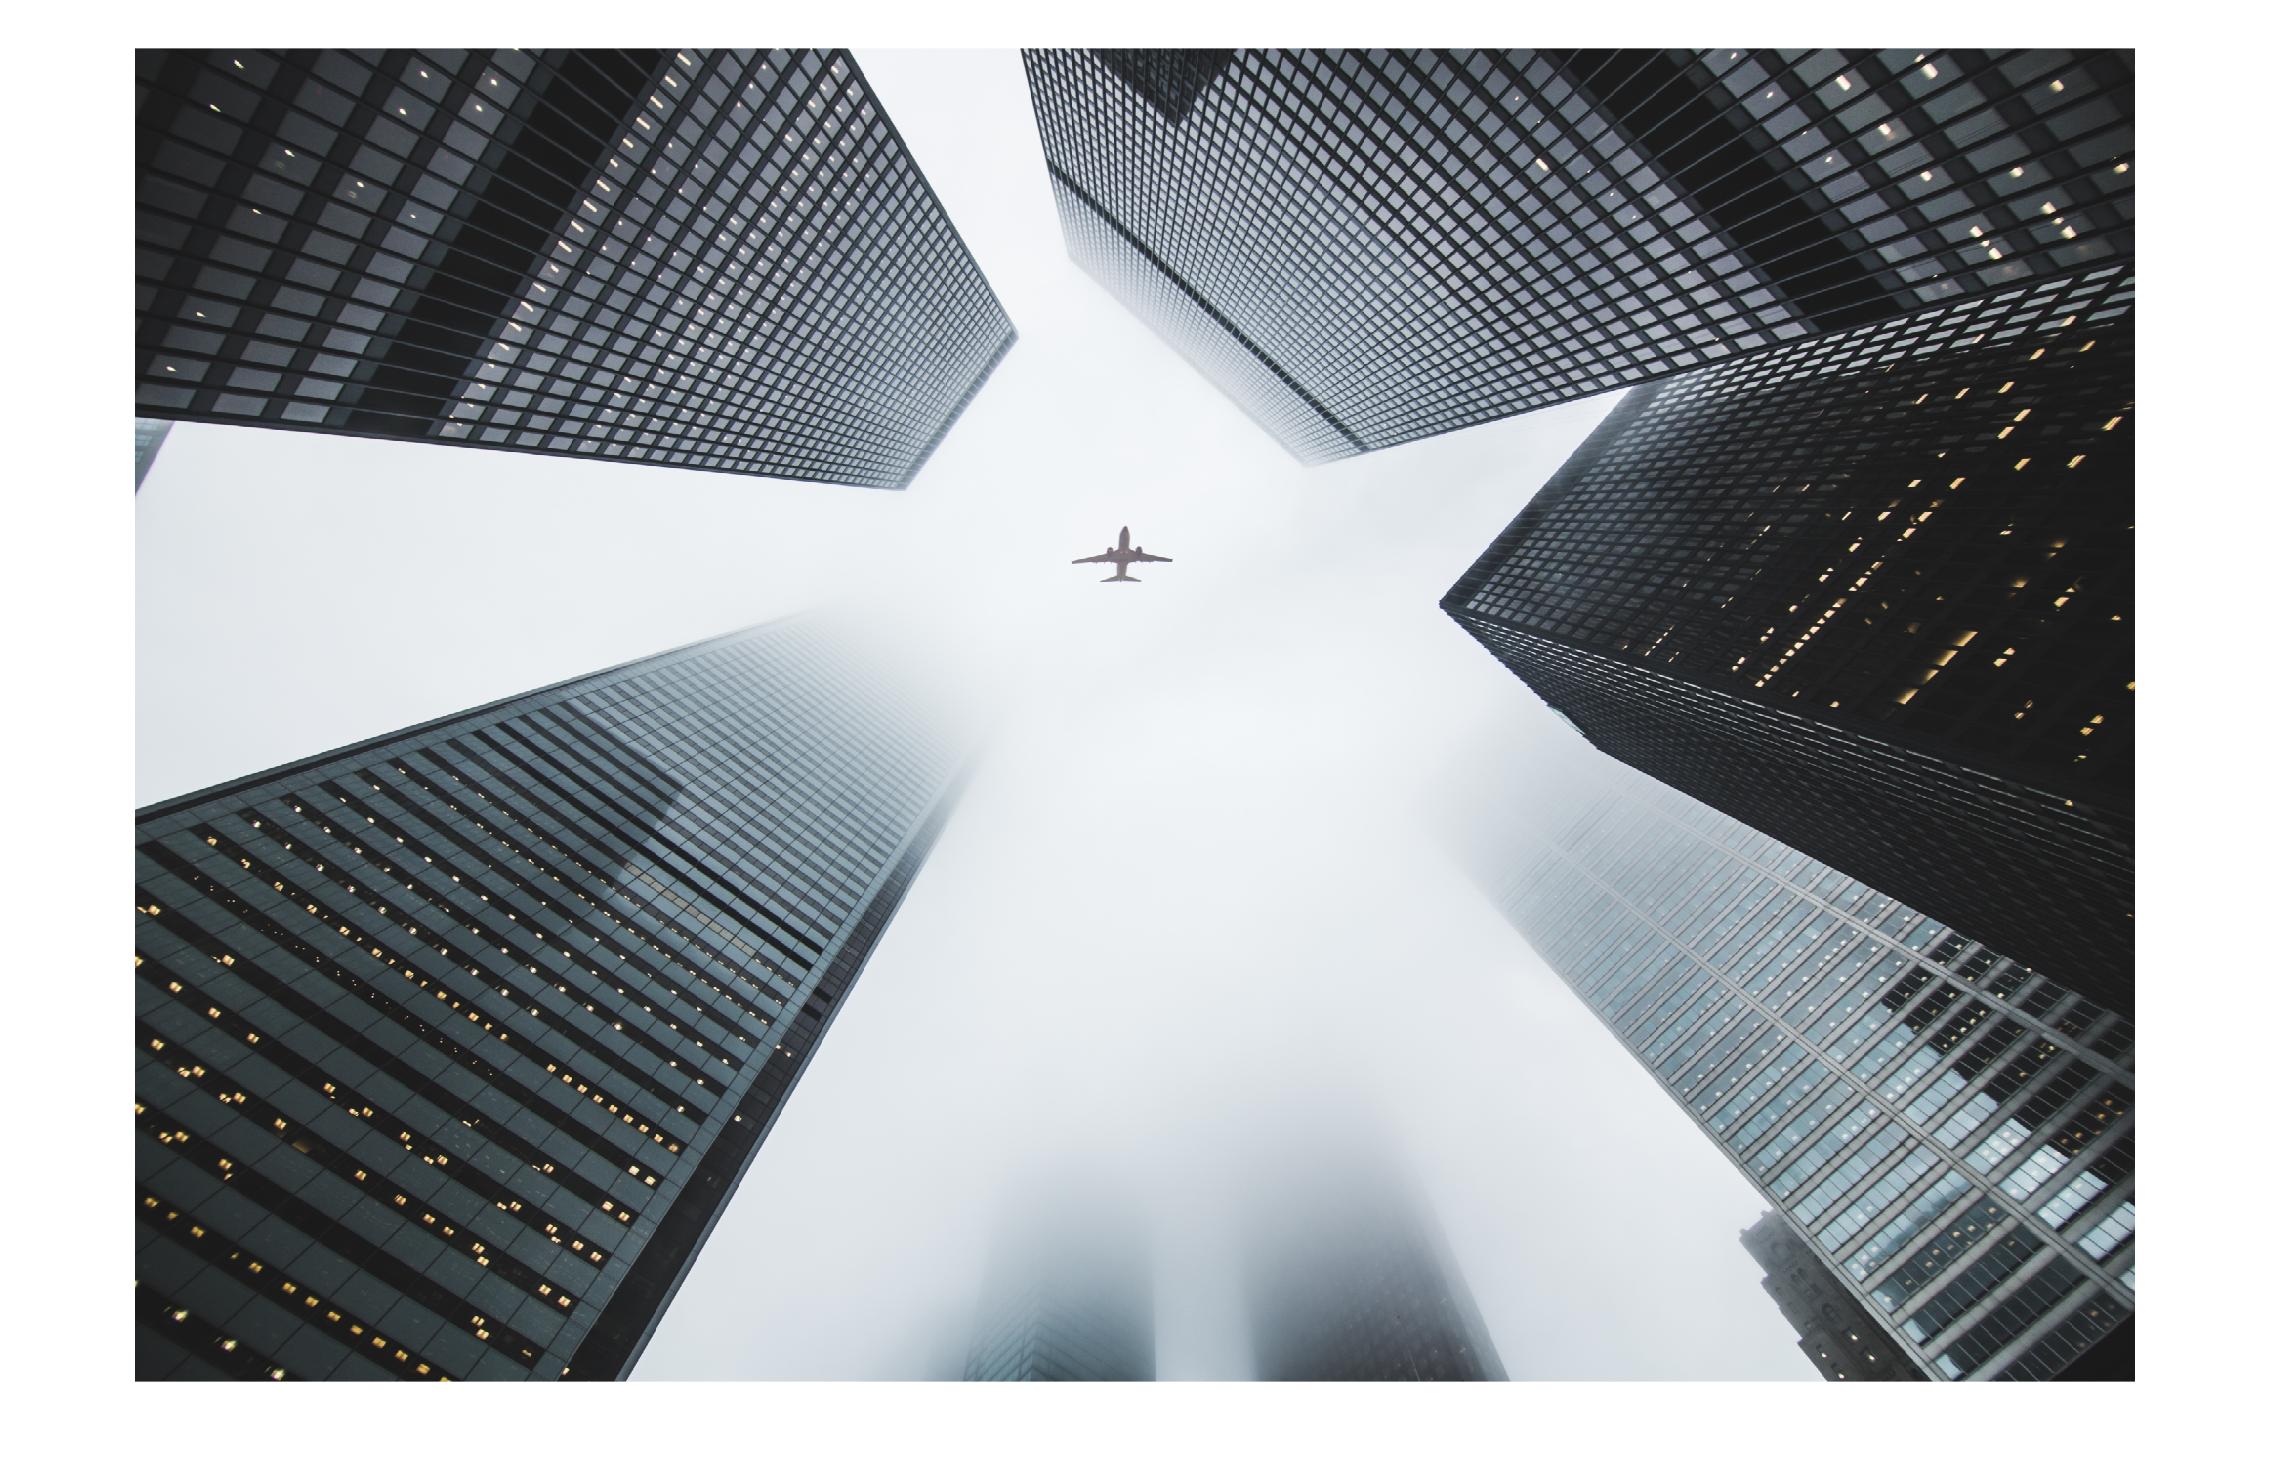
Plane in the Sky
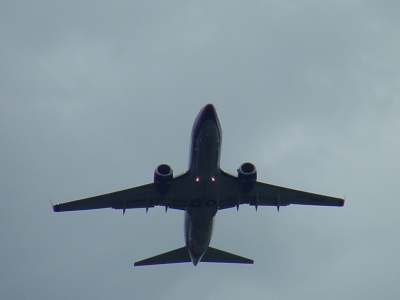
Source Image: Plane
Target Image: Sky
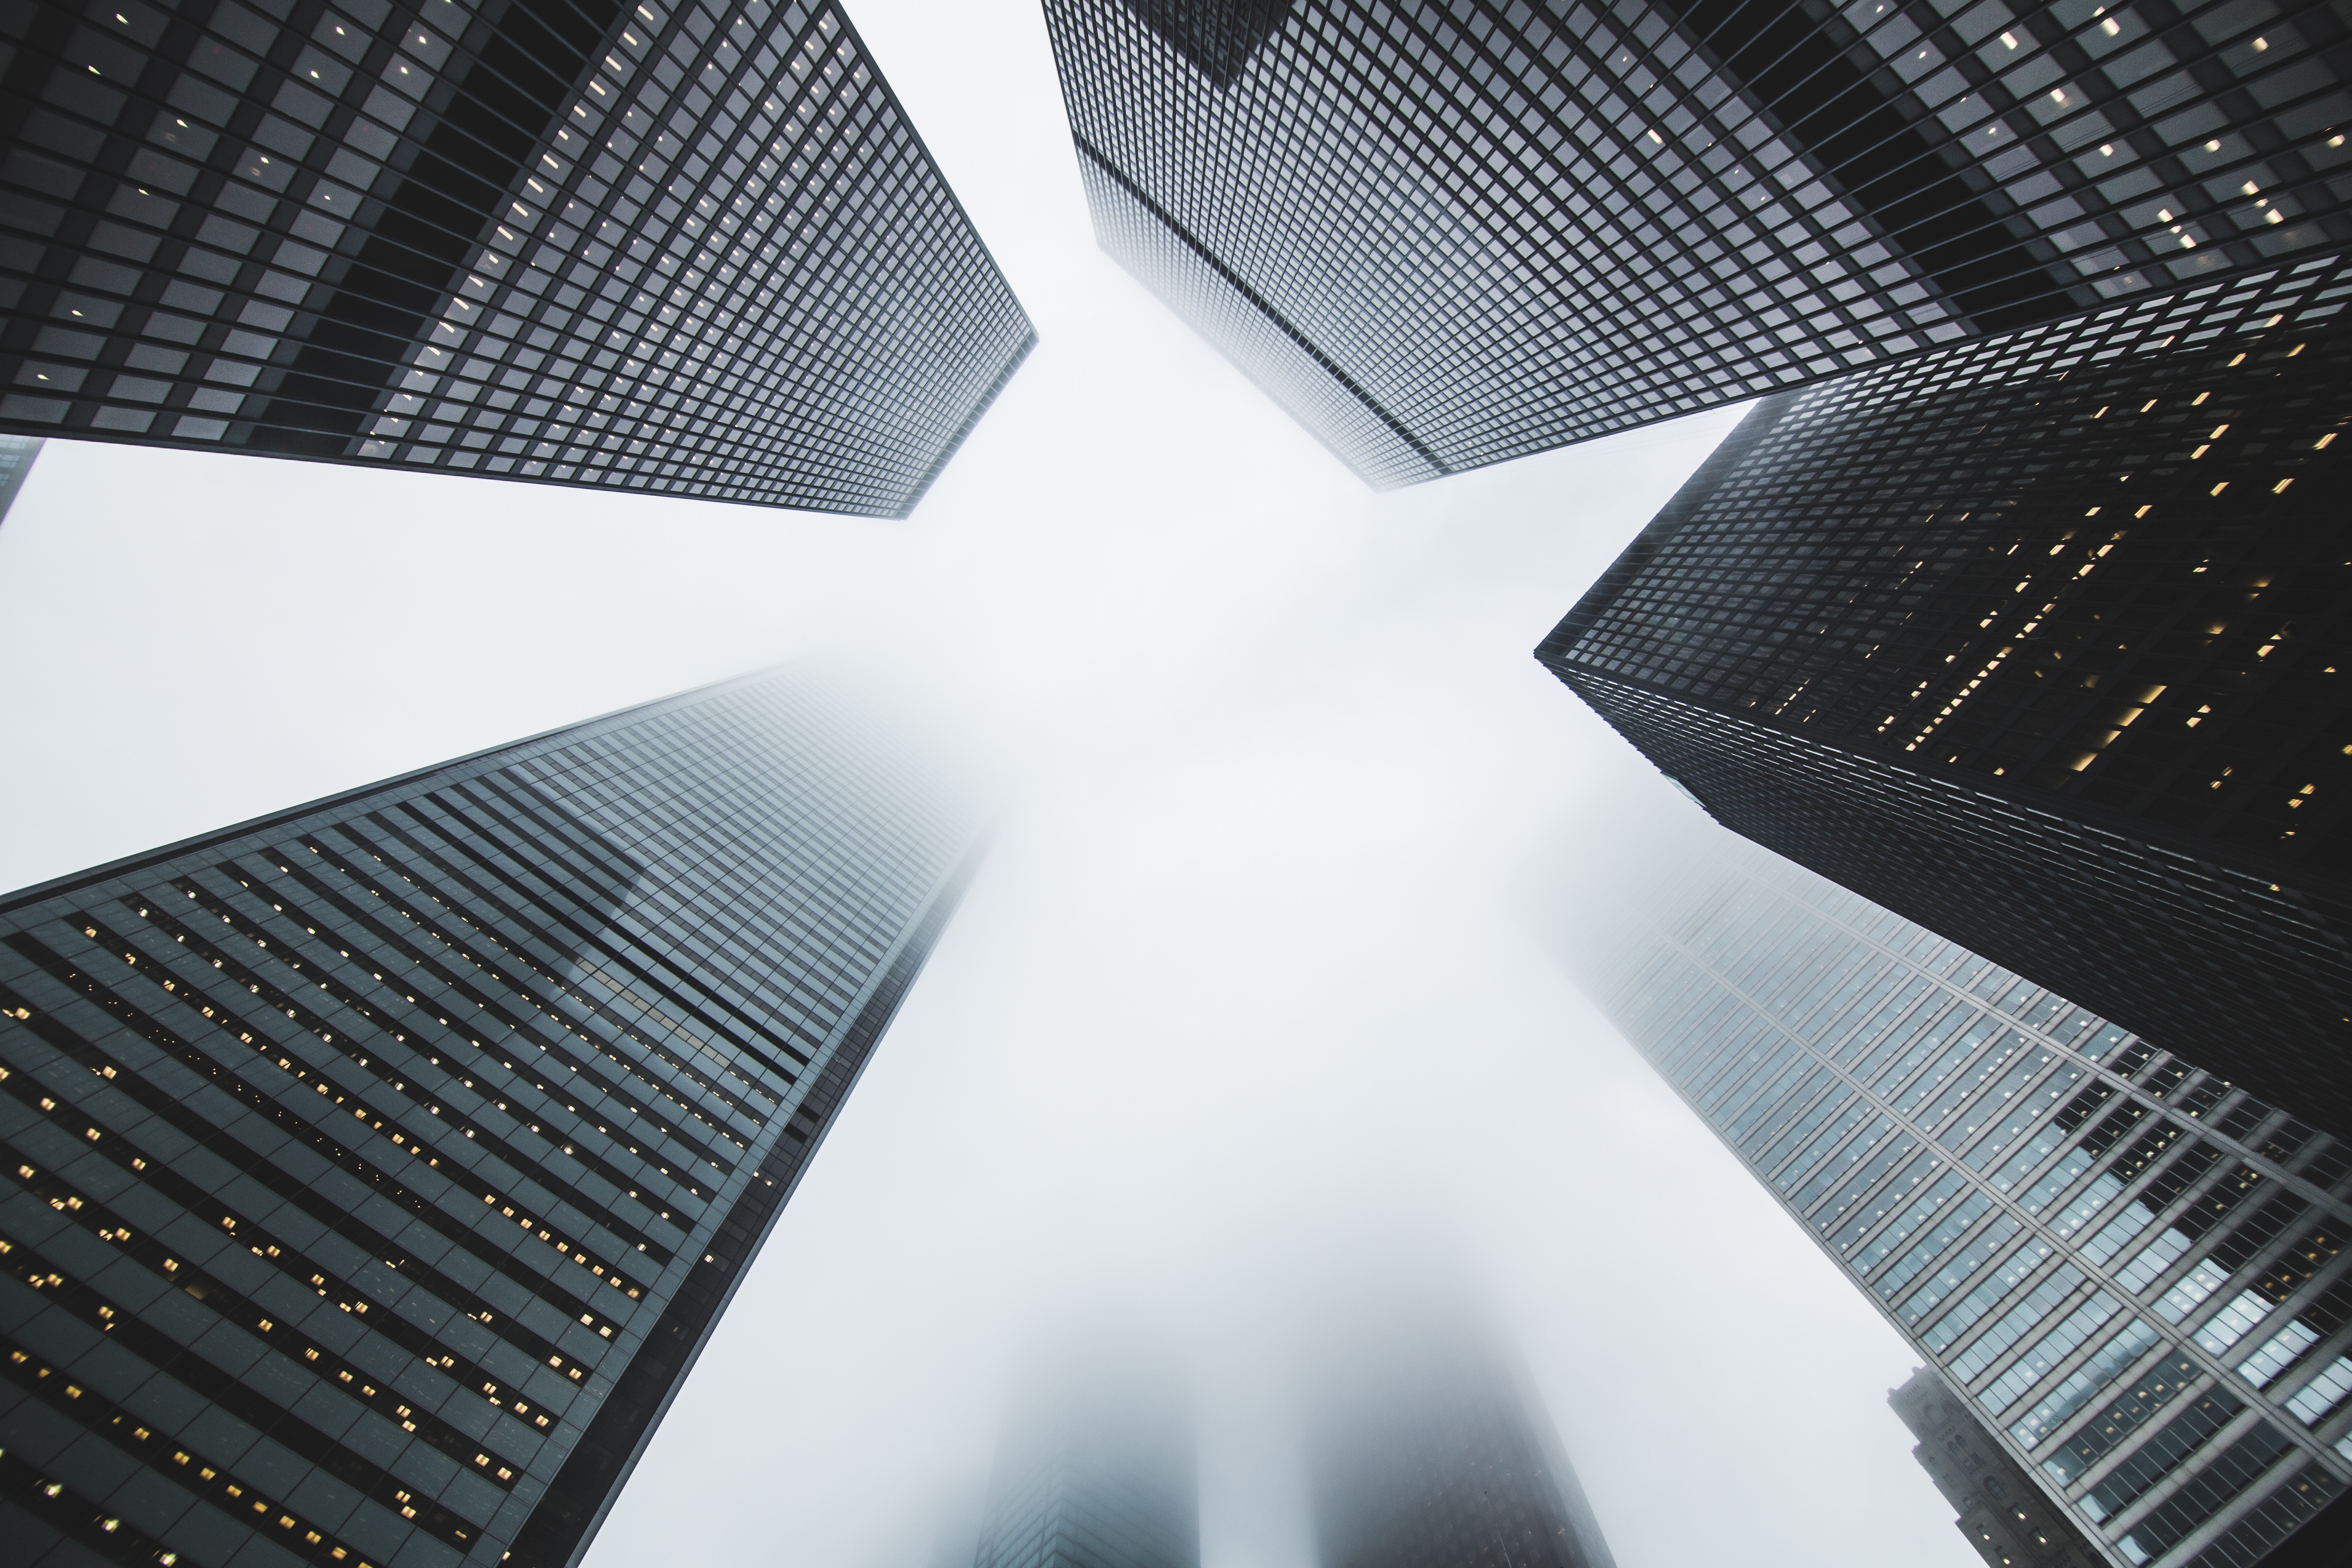
Source pixels copied into target image
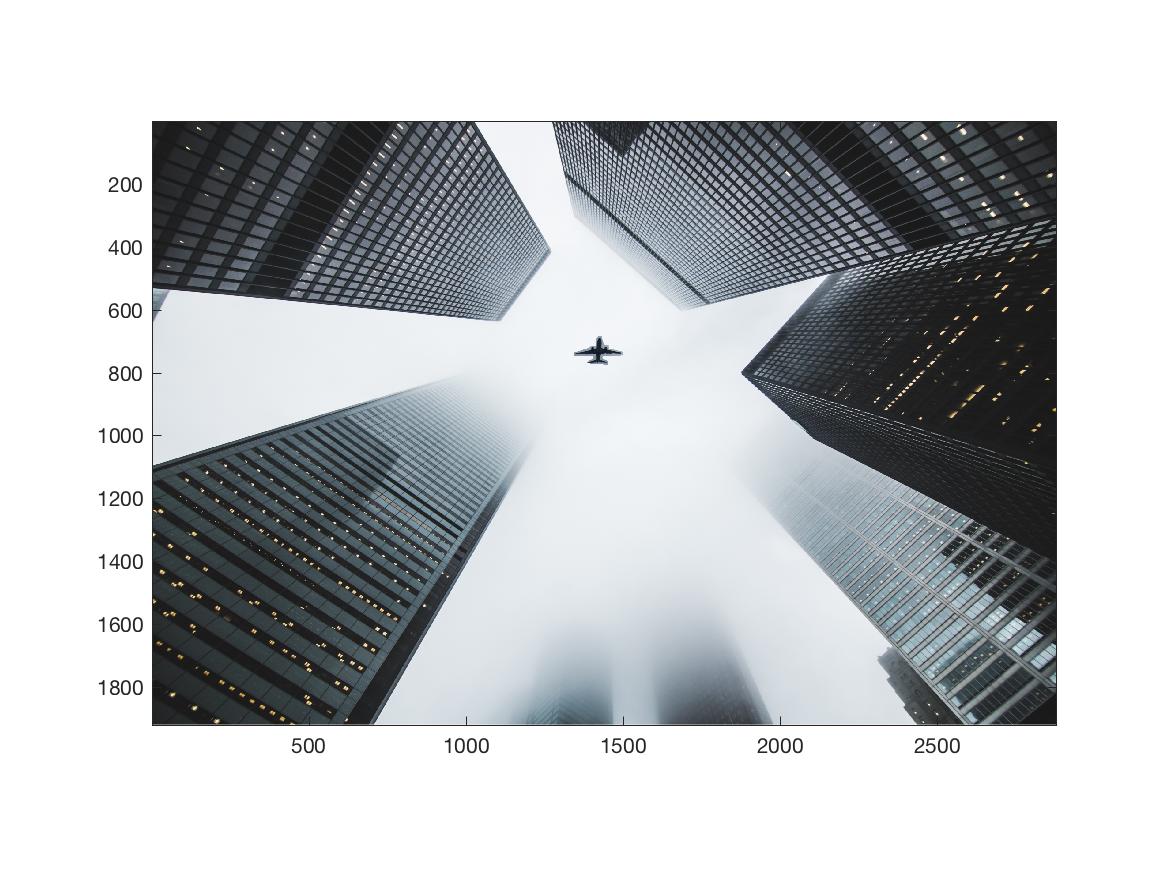
Final
Failure: Slenderman in the Forest
Source Image: Slenderman

Target Image: Forest
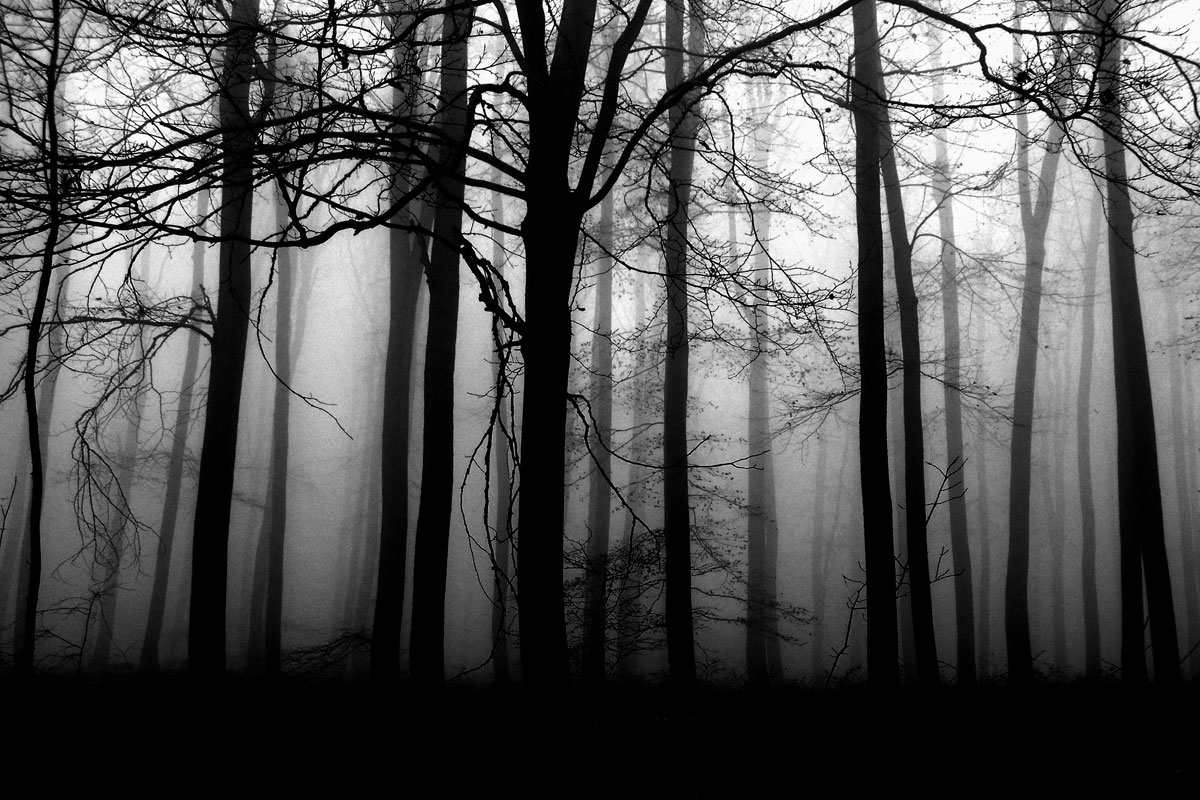
Source pixels copied into target image
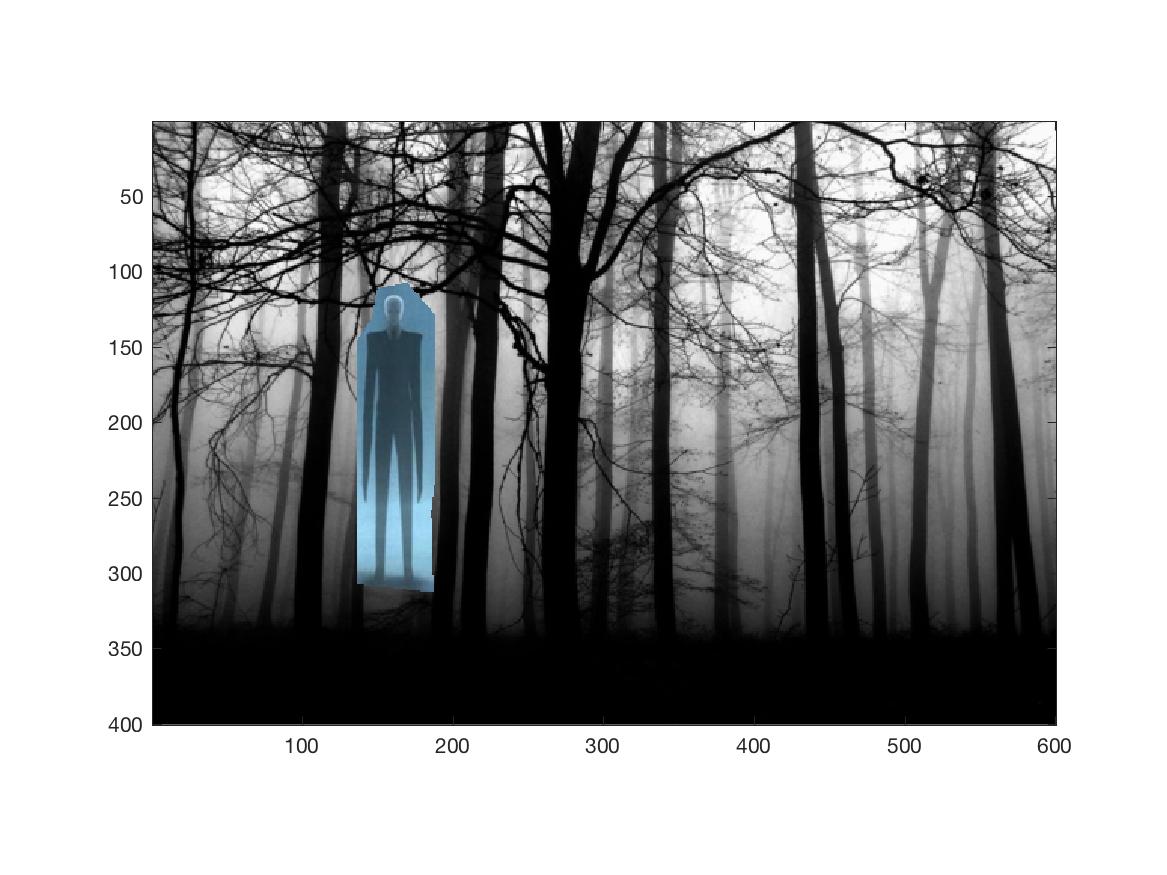
Final
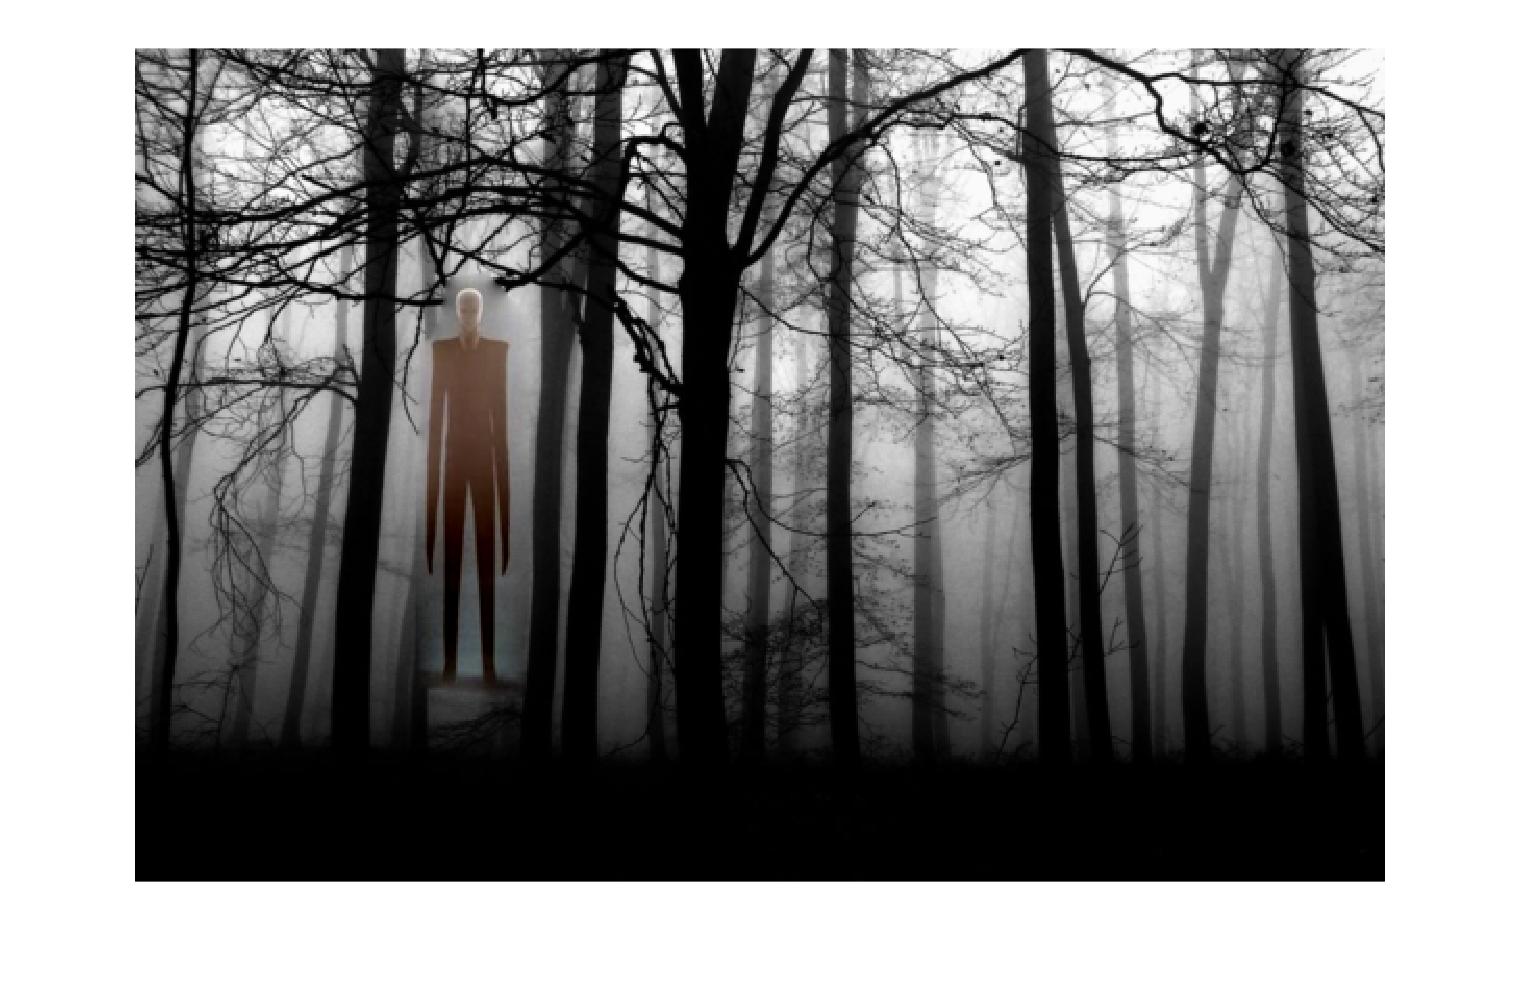
This was a failure. As you can see, the coloring of Slenderman does not match the background image of the forest. Also, the gradients don't seem to match very well as you can still see the outline of the polygon drawn around the figure despite using the Poisson Blending algorithm. I think this problem occurred due to the nature of the background image chosen. The forest has a lot of branches and trees, which can get in the way of seamless blending because it is very obvious to the eye if part of a branch or tree disappears due to the blending algorithm. This is why this algorithm tends to work best with background images that are simple and don't have a lot of patterns that could be easily disrupted.
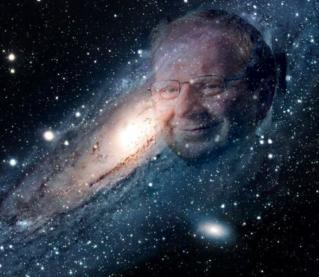
Efros, King of the Galaxy using Poisson Blending!
BELLS & WHISTLES: MIXED BLEND GRADIENT
Here is an example done with mixed blend gradient: