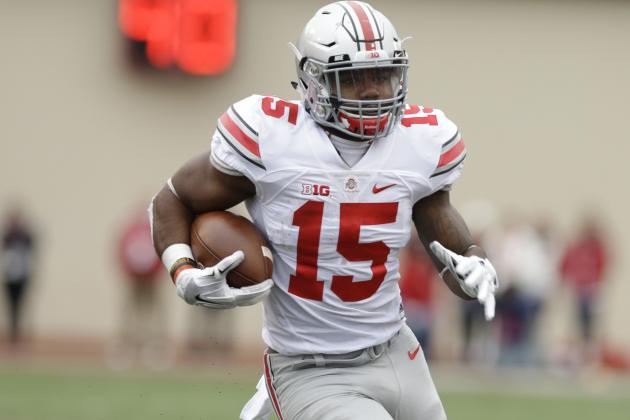
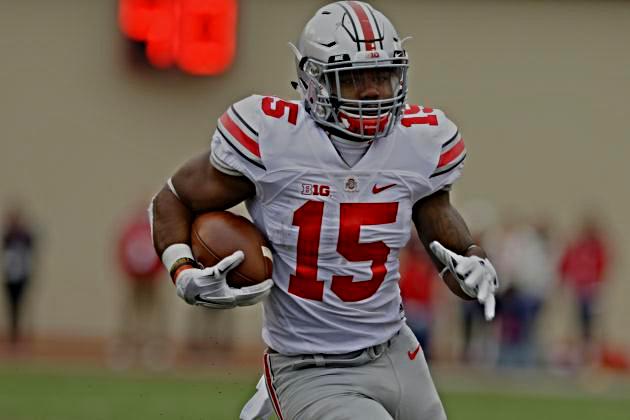
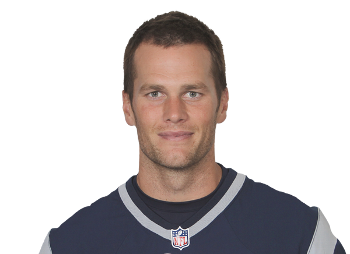
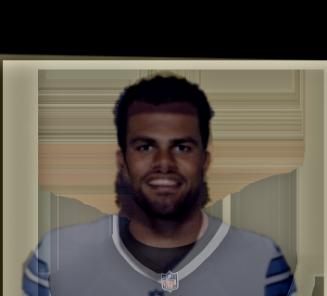
For part one I sharpened a picture of the great running back Ezekiel Elliott from The Ohio State University. Below are the before and after pictures of Zeke regular and sharp!
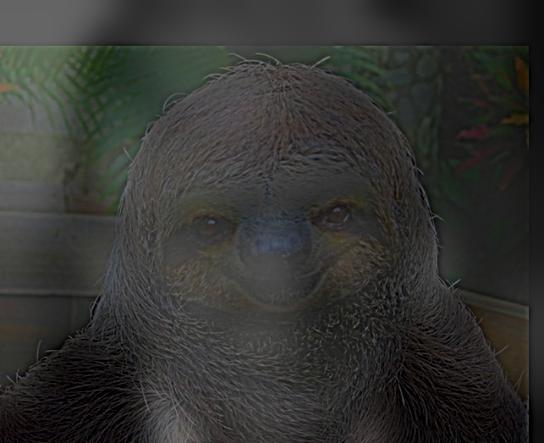
For part 2, I created two really cool working hybrid images. This part was definitely my favorite of the project as we got to see how high pass and low pass filters do to image manipulation. The two images that happen to work both contain Donald Trump. The first image is a mix of Trump and Sloth where you can see the Sloth up close and Trump when standing far away. That means that Trump went through a low-pass filter and the Sloth went through a high-pass filter.
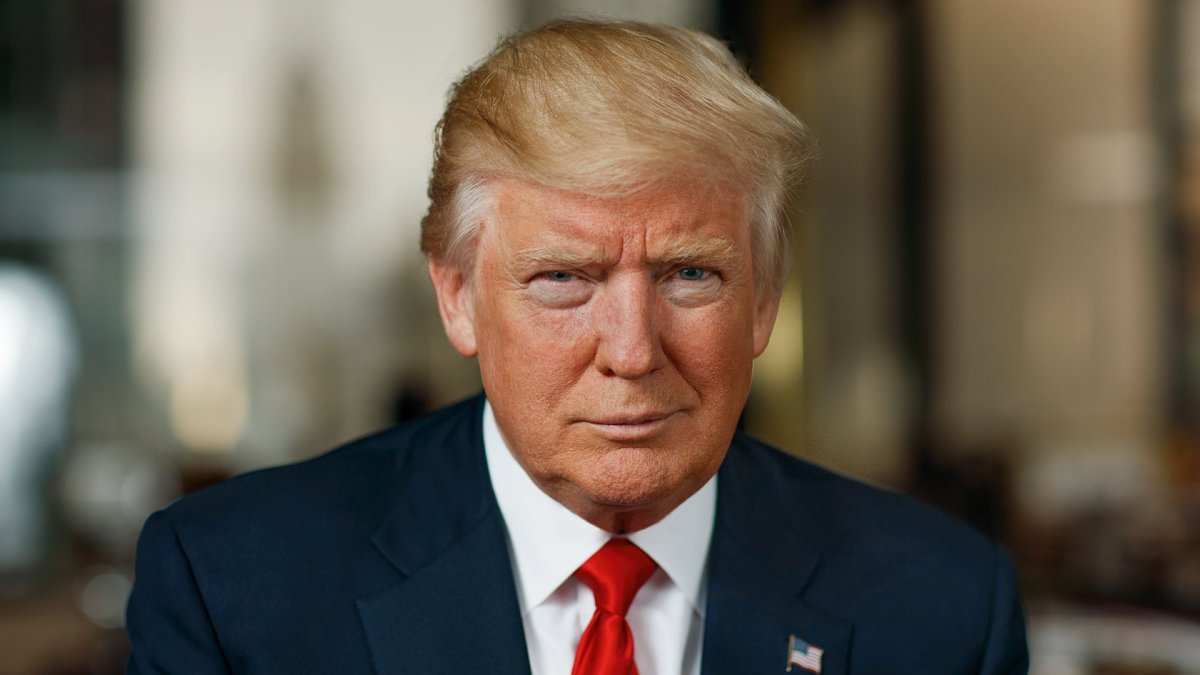
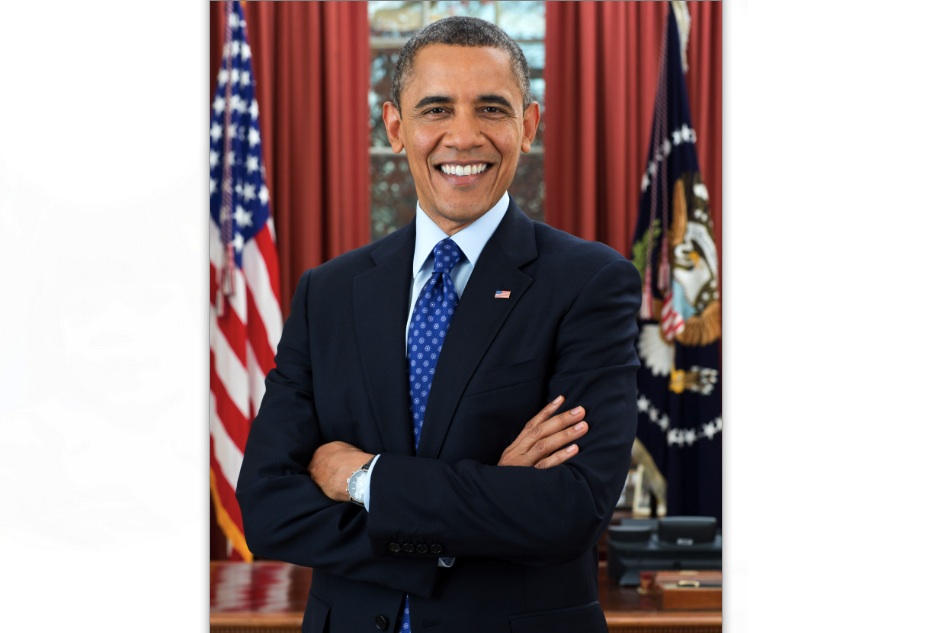
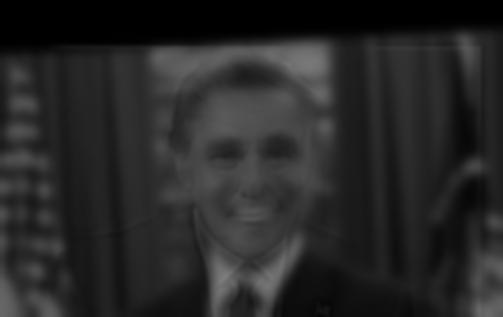
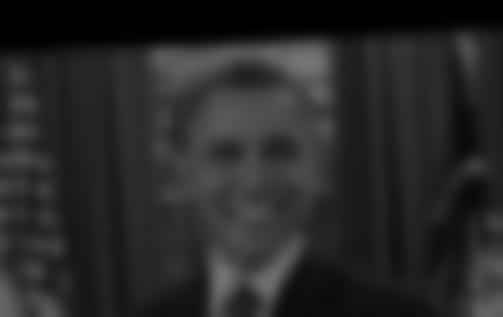
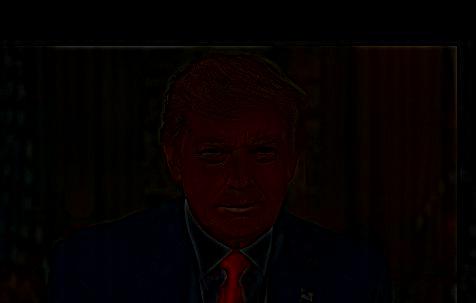
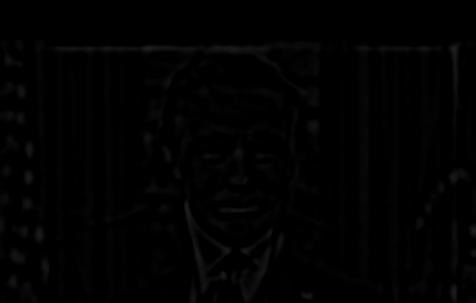
The second image is a mix of Trump and Obama where you can see Trump up close and Obama when standing far away. That means that Obama went through a low-pass filter and Trump went through a high-pass filter.
The third image is my failure image which is a mix between Ezekiel Elliot and Tom Brady. I ran Zeke through the high-pass filter and Obama through the low-pass filter. That being said, I think this image fails beacuse Zeke has very distinct charateristics (aka his beard) which makes it hard to put a high-pass of Brady over him.


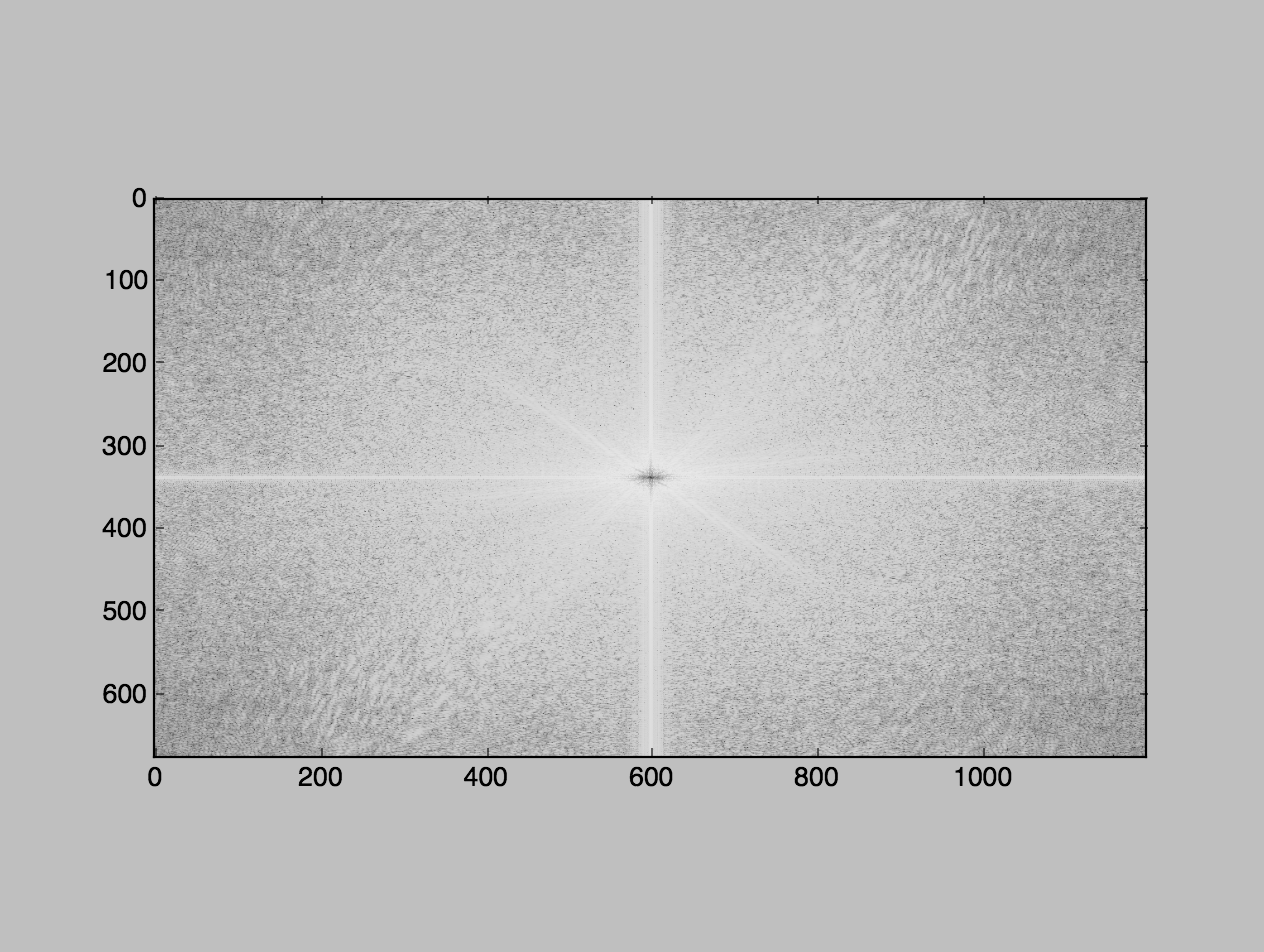
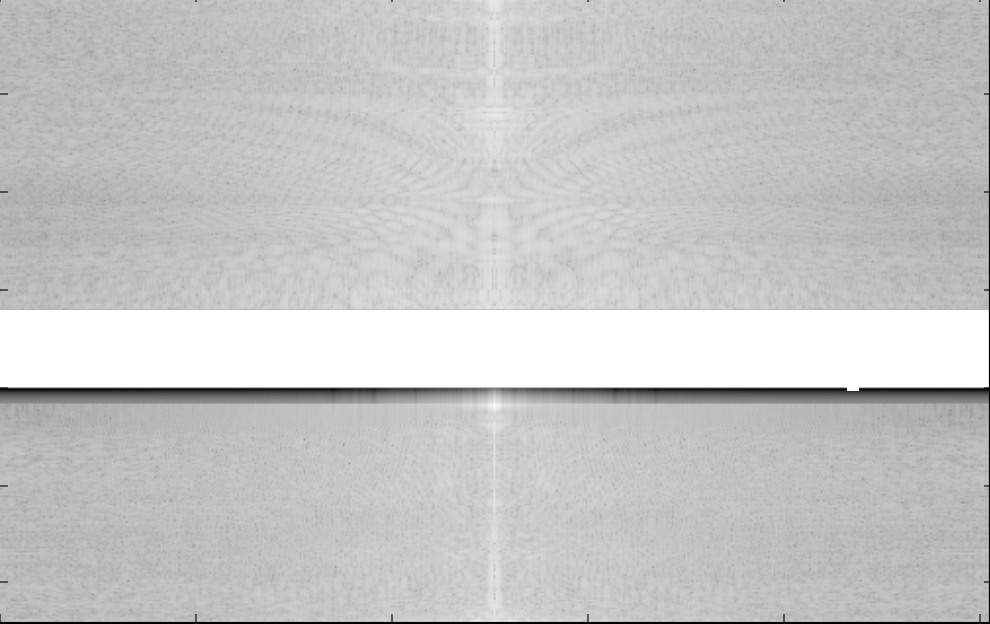
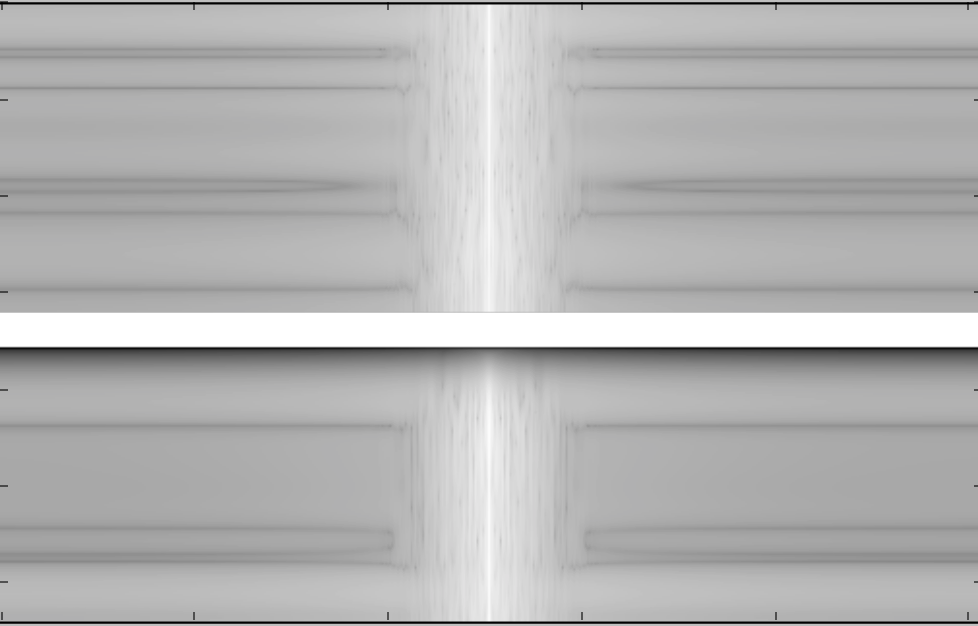
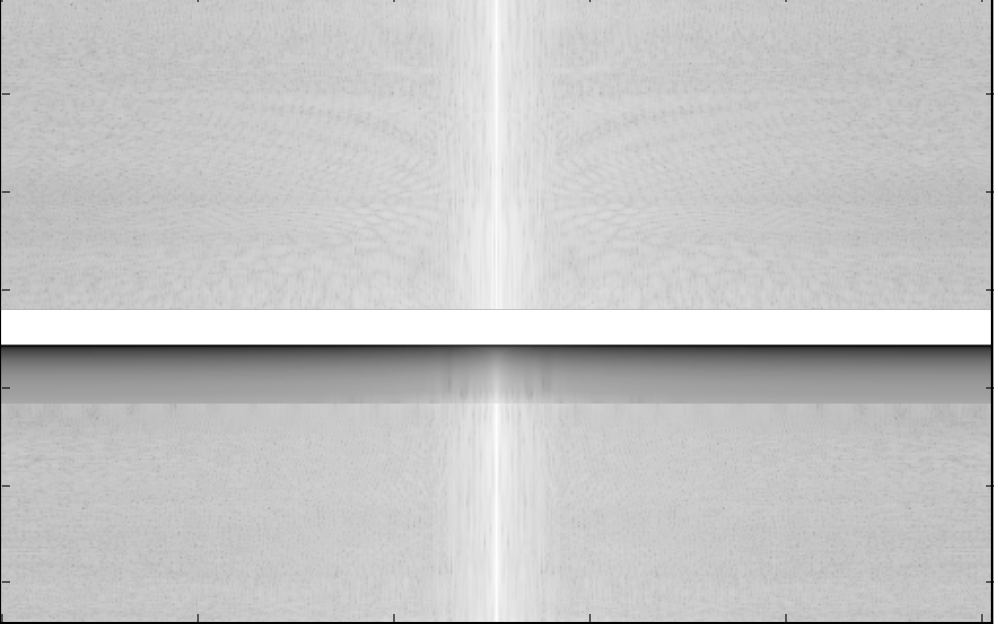
Finally below, I run the FFTs on my favorite image, the dual presidents of Trump and Obama. The FFTs for the input images I manage to grayscale well but the had trouble with the FFTs for color images. I think its because the plt.imshow creates a lot of noise when it comes to displaying color, a theme I have started to develop as going through this course. So because of this I grayscaled all of my FFT images to better understand the full analysis of FFT. Please see below of the images in the order of im1, im2, high_pass, low_pass, final!

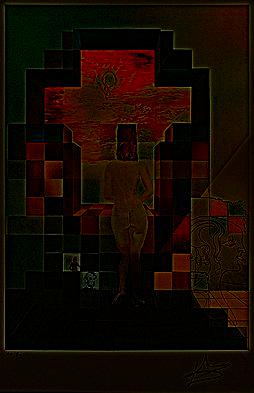
In this part we created Gaussian and Laplacian stacks from both the Salvador Dali painting of Lincoln and Gala from class and my president image above.
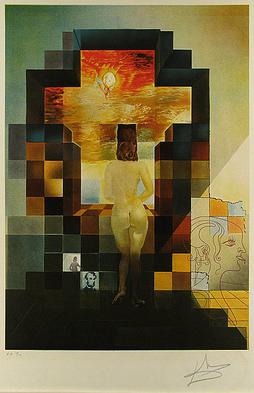

To find the Gaussian stack, we basically keep applying low-pass filter to the previous level of the stack and change the sigma to be sigma*2. From this, we start from a slightly blurry image to a completely blurred image. I also do this for my dual president image too where you can see low-pass pixels of Obama more clearly further down in the stack.
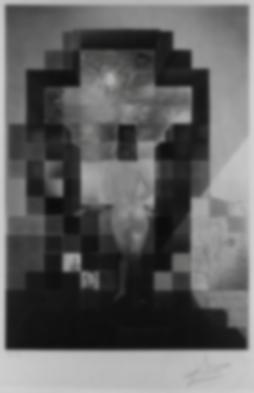


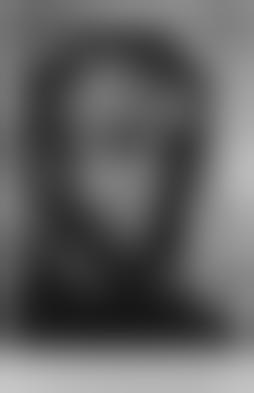


Now to find the Laplacian stack, we find the difference between the different Gaussian levels, doing the previous Gaussian level minus the current Gaussian level. The Laplacian stack shows us the finer details of every pciture. I do this for both the Lincoln picture in class as well as the dual presidents picture I blended myself as well. The colors are very dark due to the fact that I used color in my images.


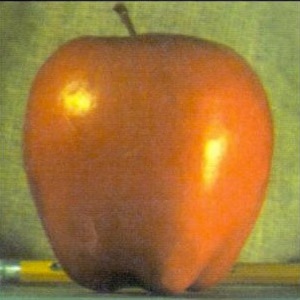
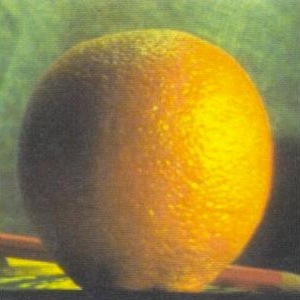
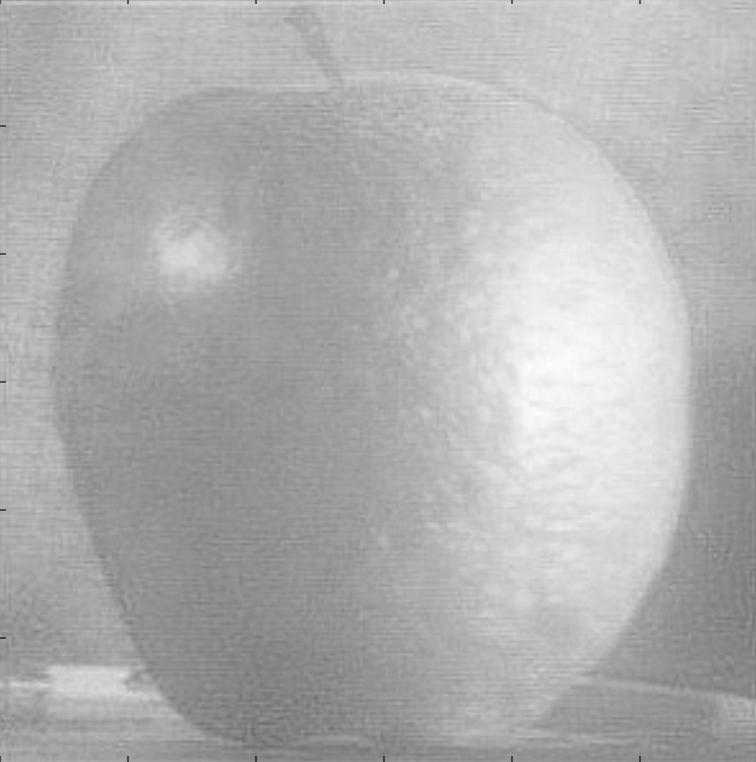
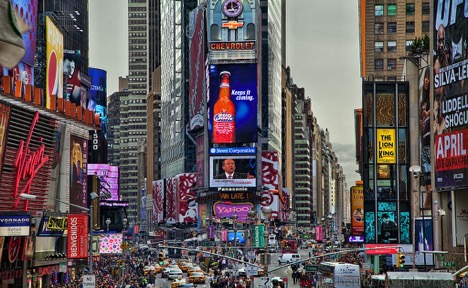
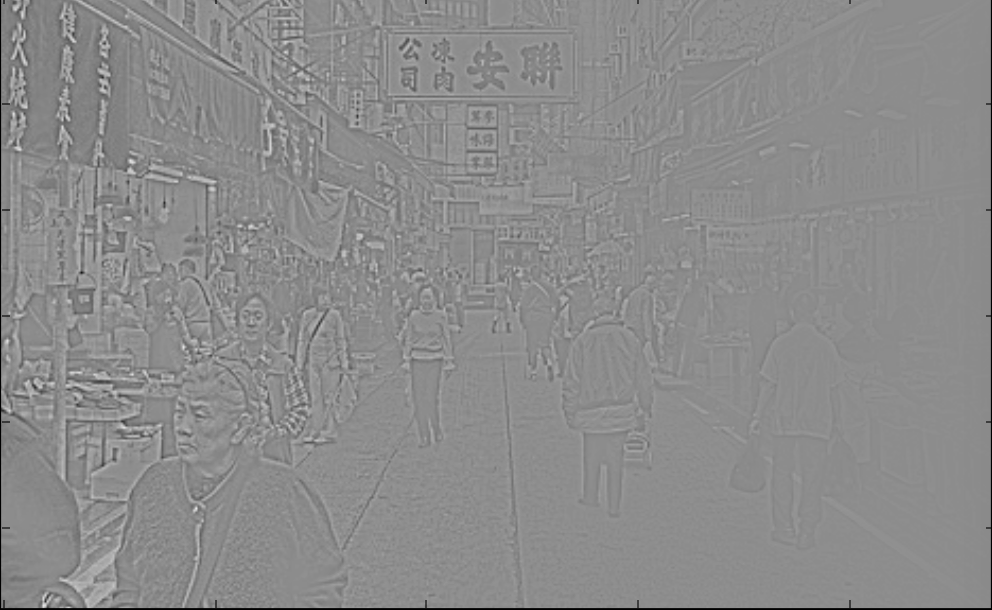
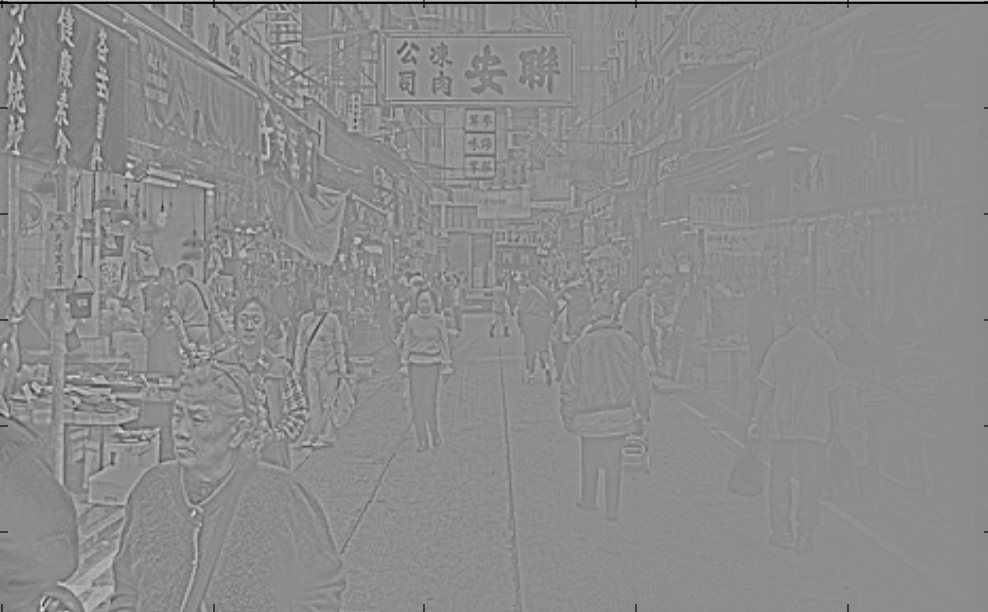
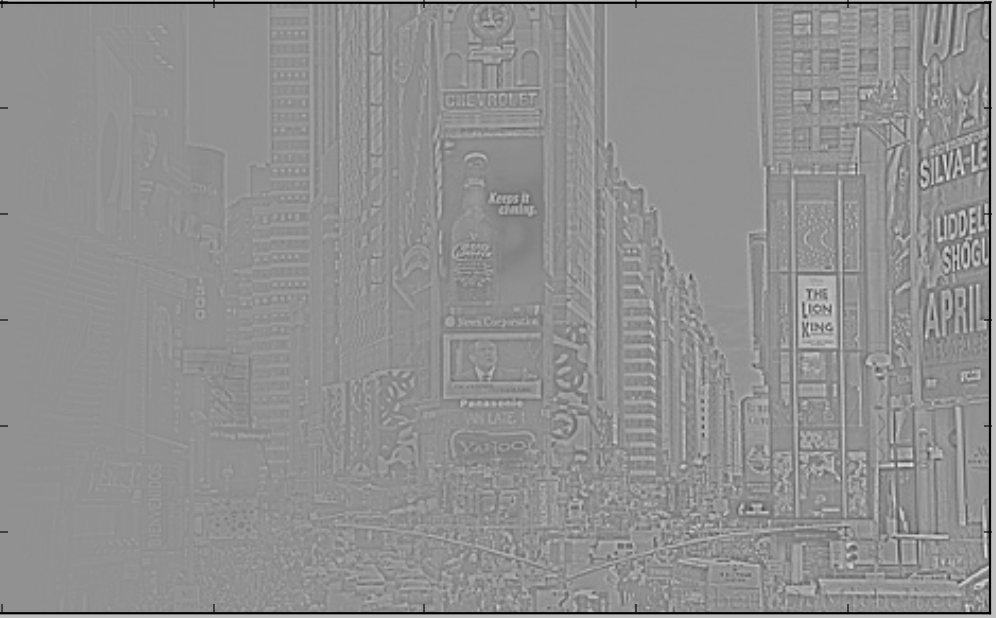
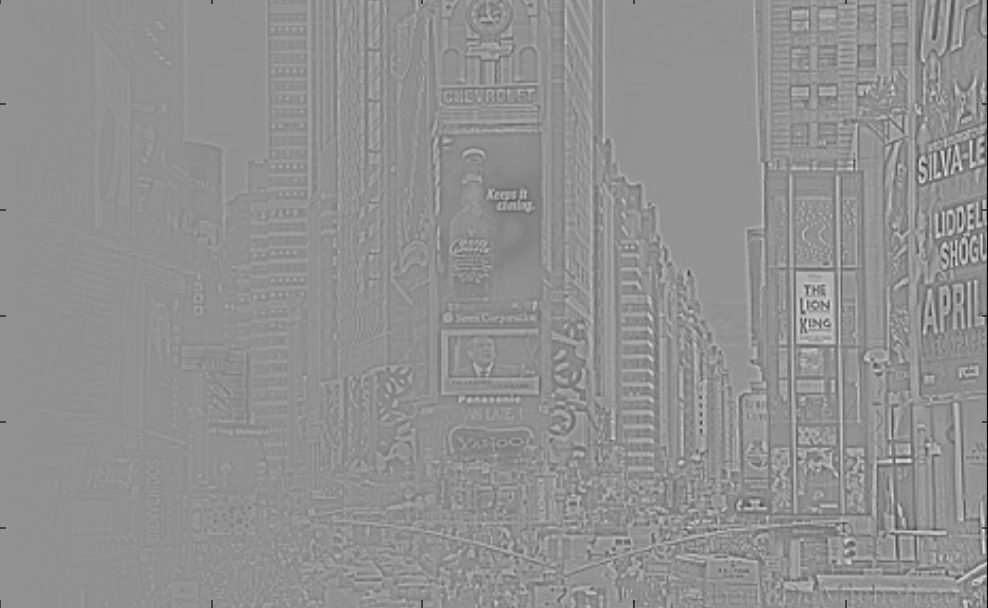
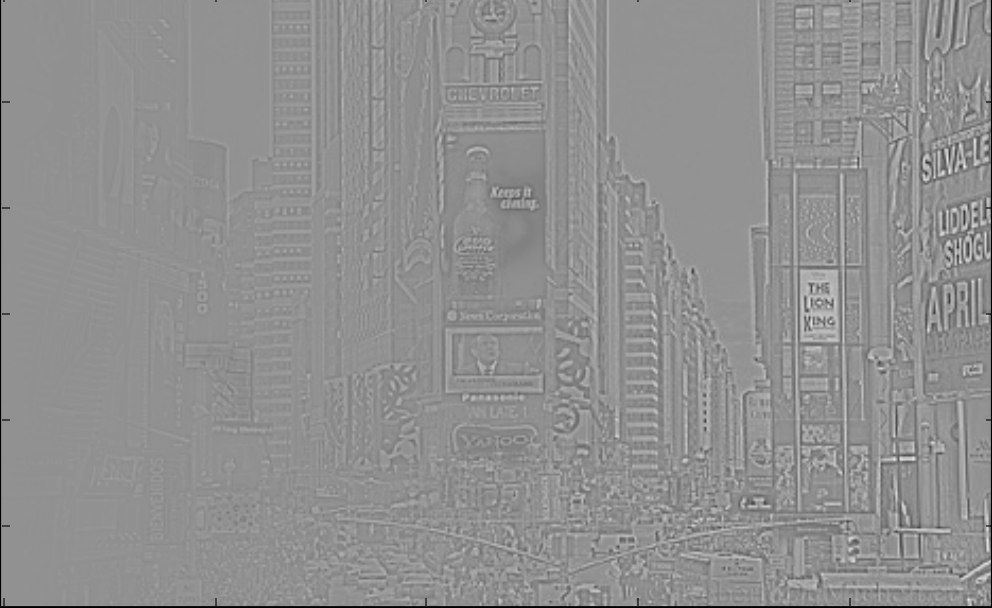
This part was the meat of part 1 and took a lot of time in its own right. Here what we did was applied the techniques of multi-resolution blending that we found in the paper written. It was difficult to get color to work, so I grayscaled all of my images. Below you can see my original apple, orange and grayscaled oraple. I also blended Time Square with Hong Kong and grayscaled that which you can see below.
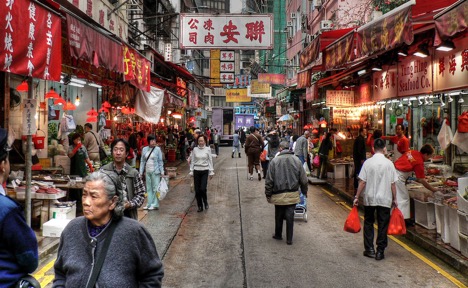
In addition, here are the different Lapacian stacks for Hong Kong that was used to make the image. Again, I grayscaled them for better granularity.

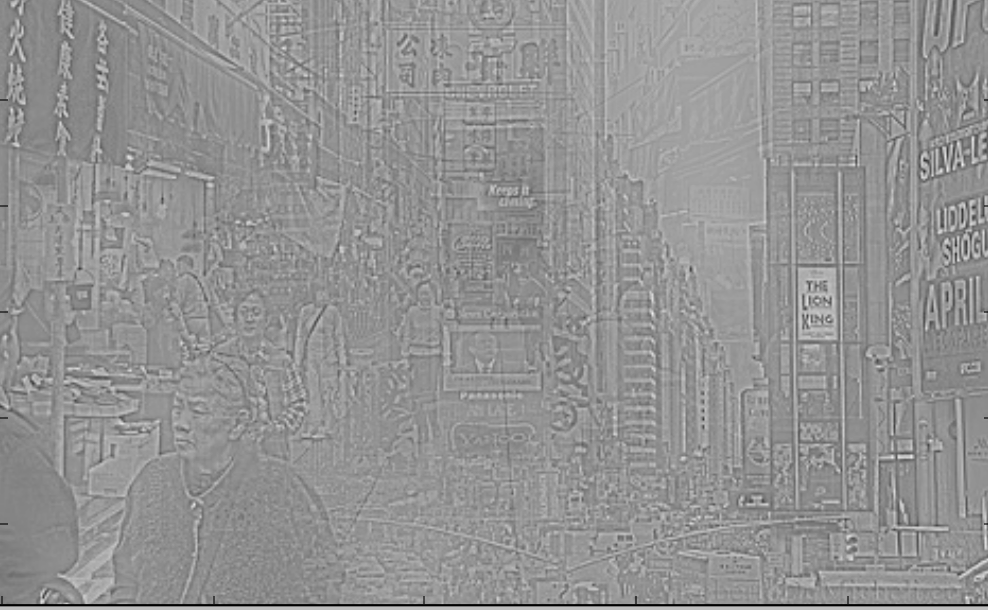
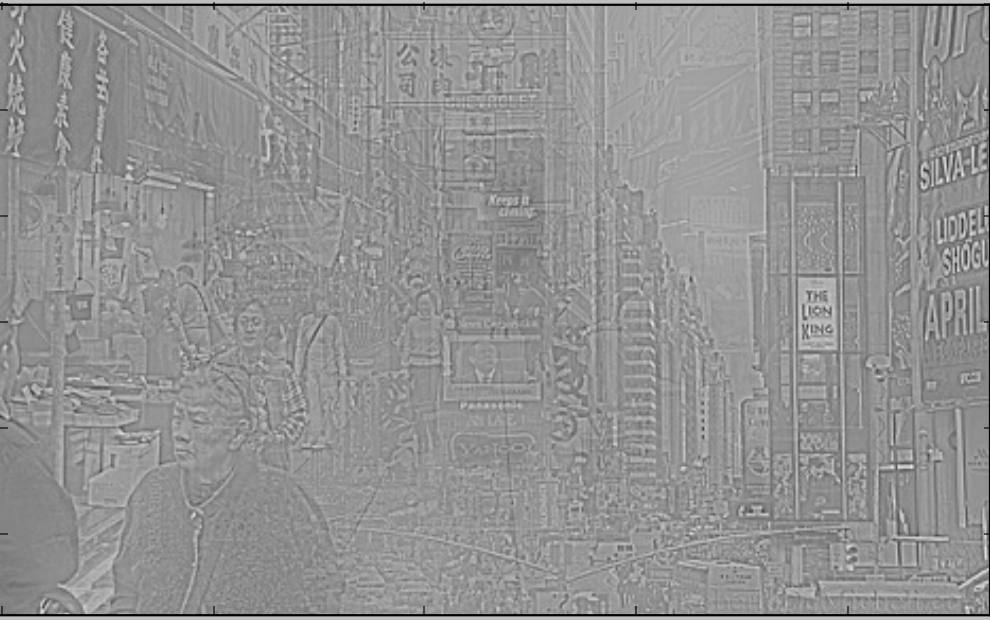
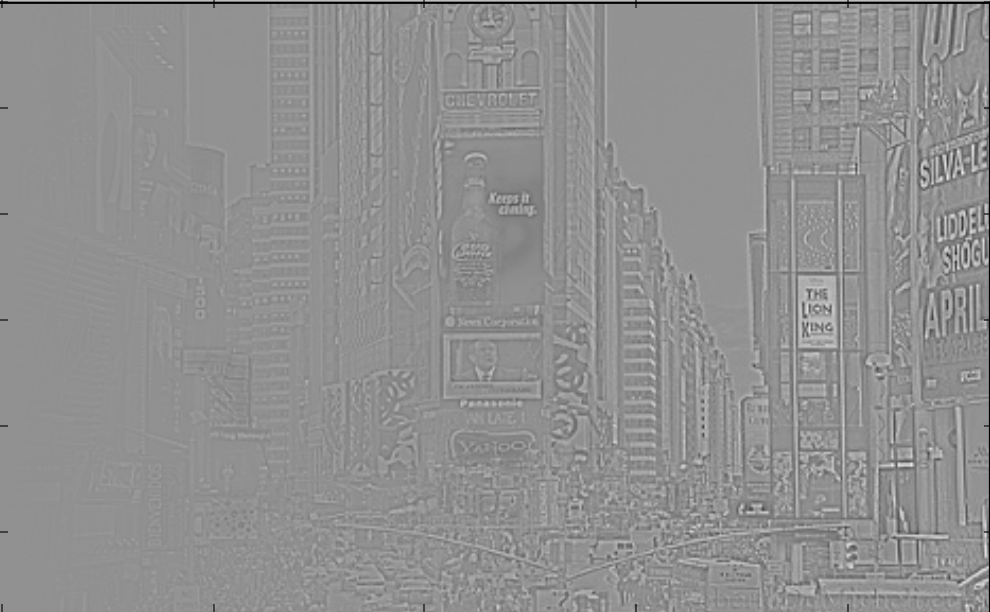
In addition, here are the different Lapacian stacks for Times Square that was used to make the image. Again, I grayscaled them for better granularity.
Below is the toy example we talked about in class. We constructed our A matrix with three goals in mind of making sure the x-gradients of v matched the x-graadients of s, the y-gradients of v matched the y-graadients of s and the top left corners of the two images were the same. We then converted A to a sparse matrix that we then used least squares to construct a rough version of the original toy image. Below are the toy images before and after!

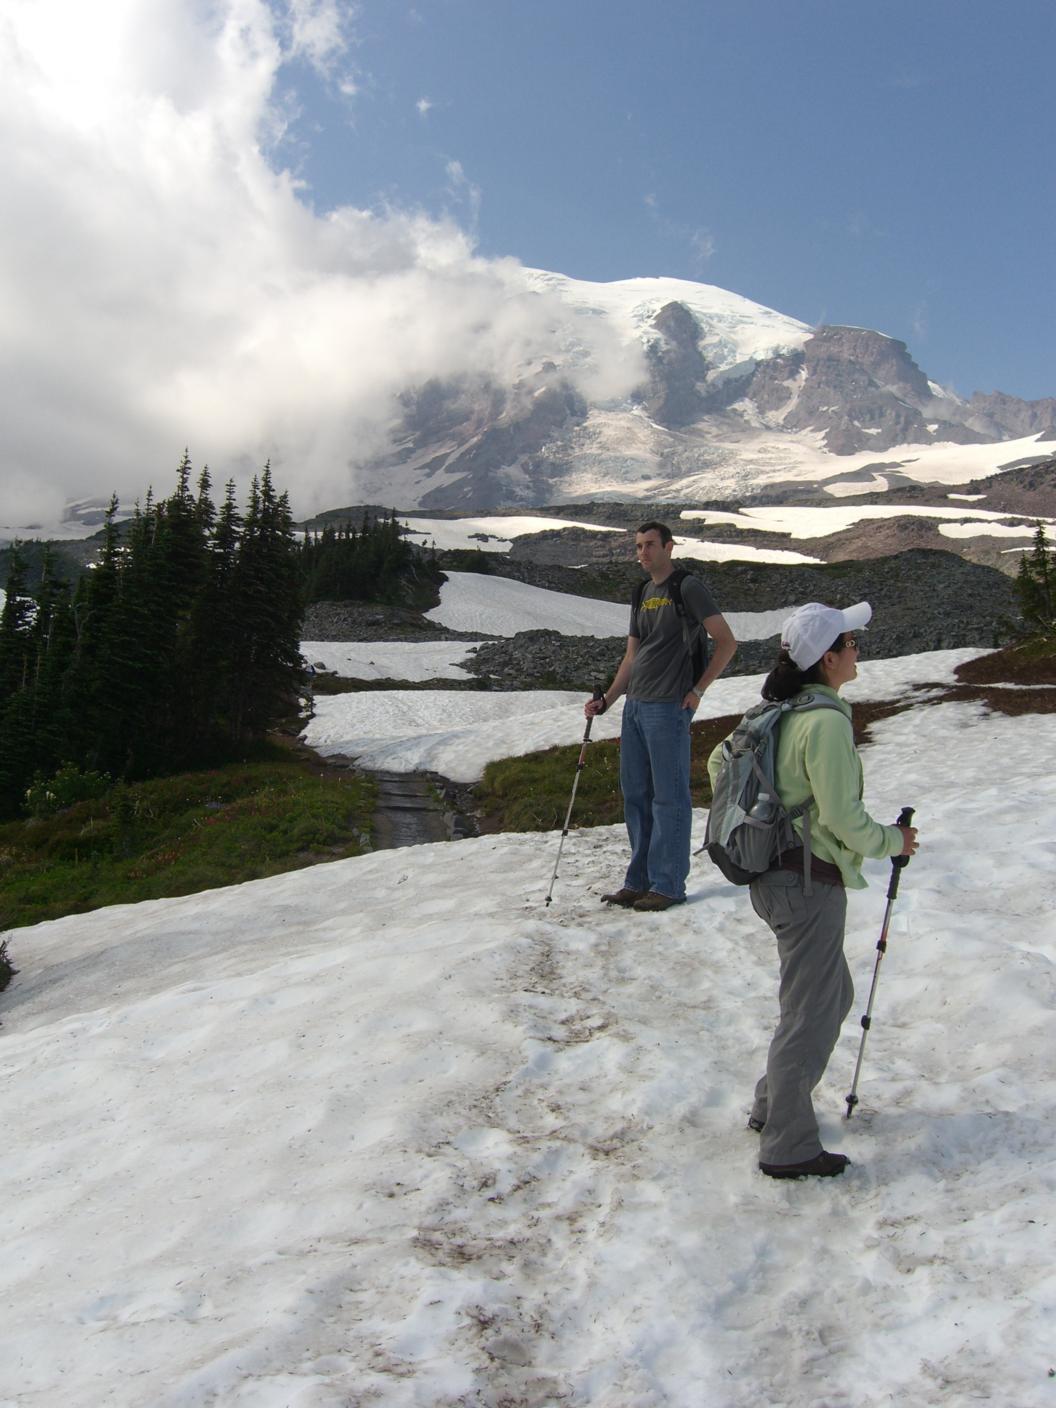
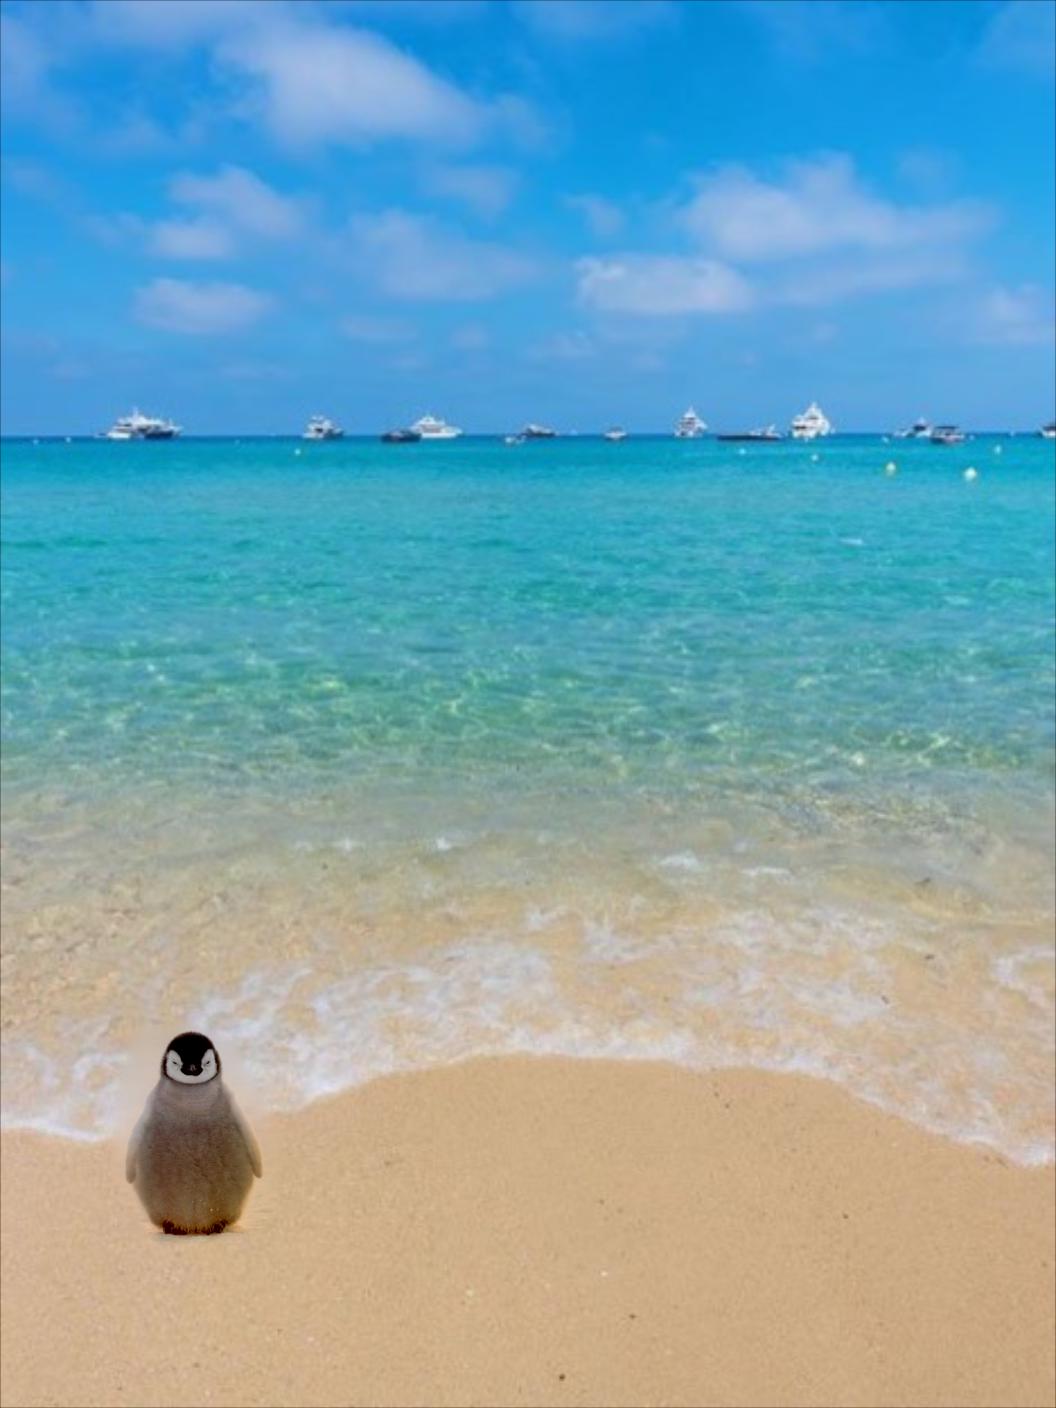
Finally, by far the hardest part of the project and the place I struggled the most. Here I was able to blend the sample images of the penguin and the background together.
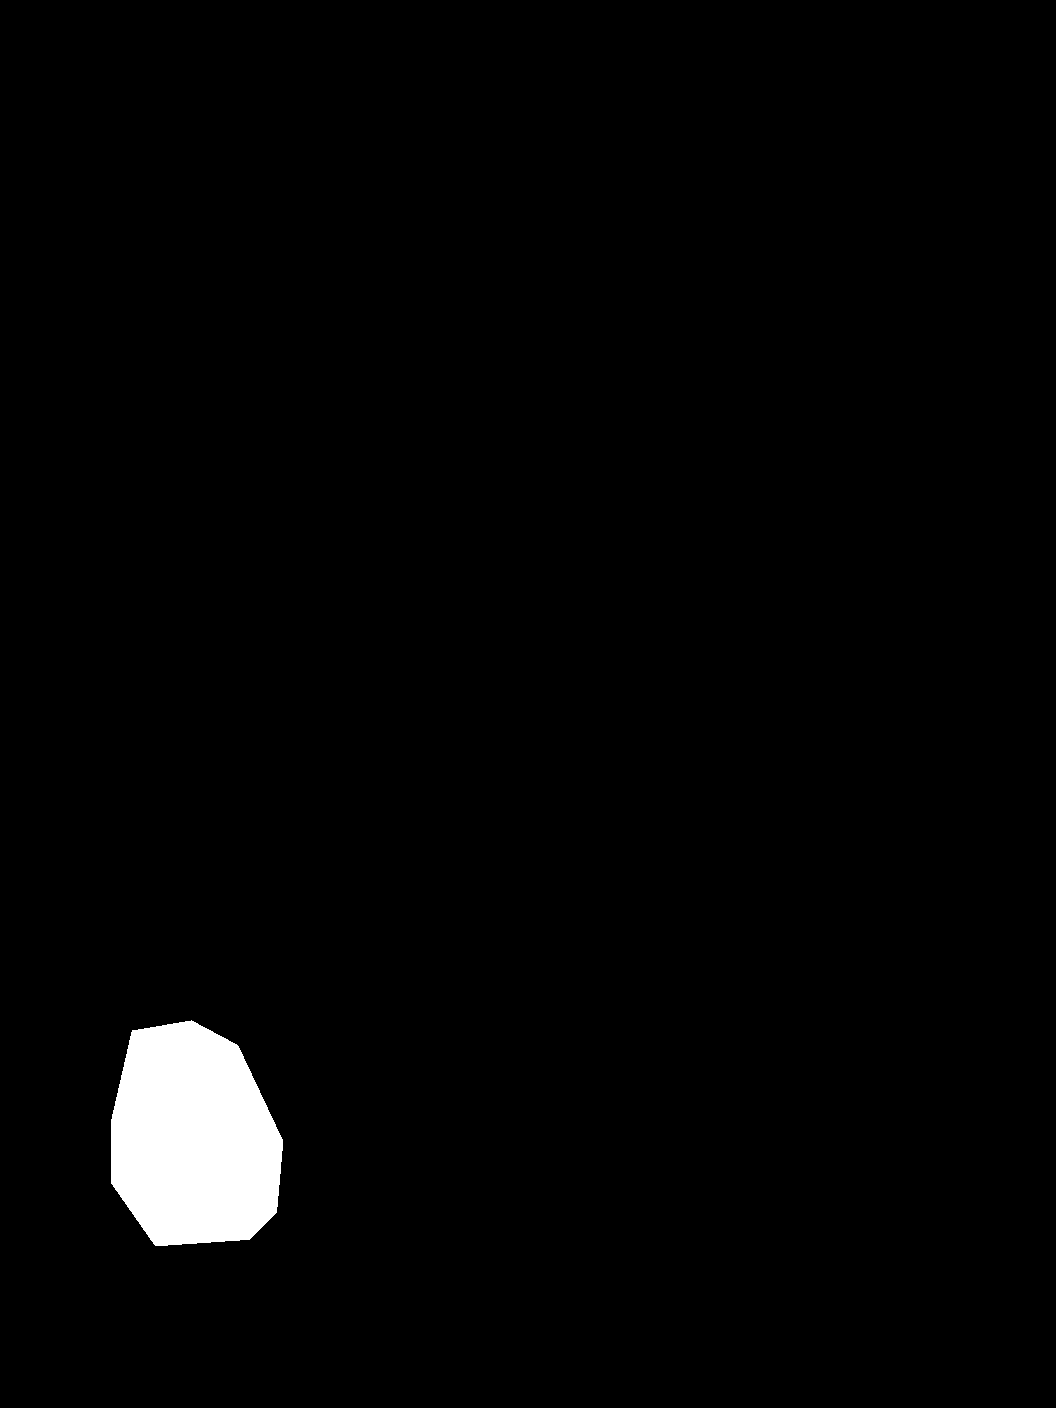
My algorithm works as follows. First, I read in the source, mask (created manually) and target image and divide them by 255 to ensure the scaling is correct. I also ensure that the images are all the same size.I then split them up into their blue, green, and red components as colors need to be blended seperately. For each blend, I first create a lil sparse matrix that is source_height * source_width by source_height * source_width big with 1s on the diagonals. I then create my vector b which originally is a source_height * source_width by 1 vector. My next step is to loop through all the image pixels one by one. If the pixel index is not in the mask, I set the corresponding vector row to be the corresponding target pixel. If the pixel index is mask, I updated sparse matrix based on the laplcian algorithm talked about in class and update vector b based on the algorithm talked about it in class as well. Finally, I convert my lil matrix to a csr matrix, run spsolve on that csr matrix and vector b, and return my output vector. From there, I set the corresponding blends to the correct color channels and return my final result.
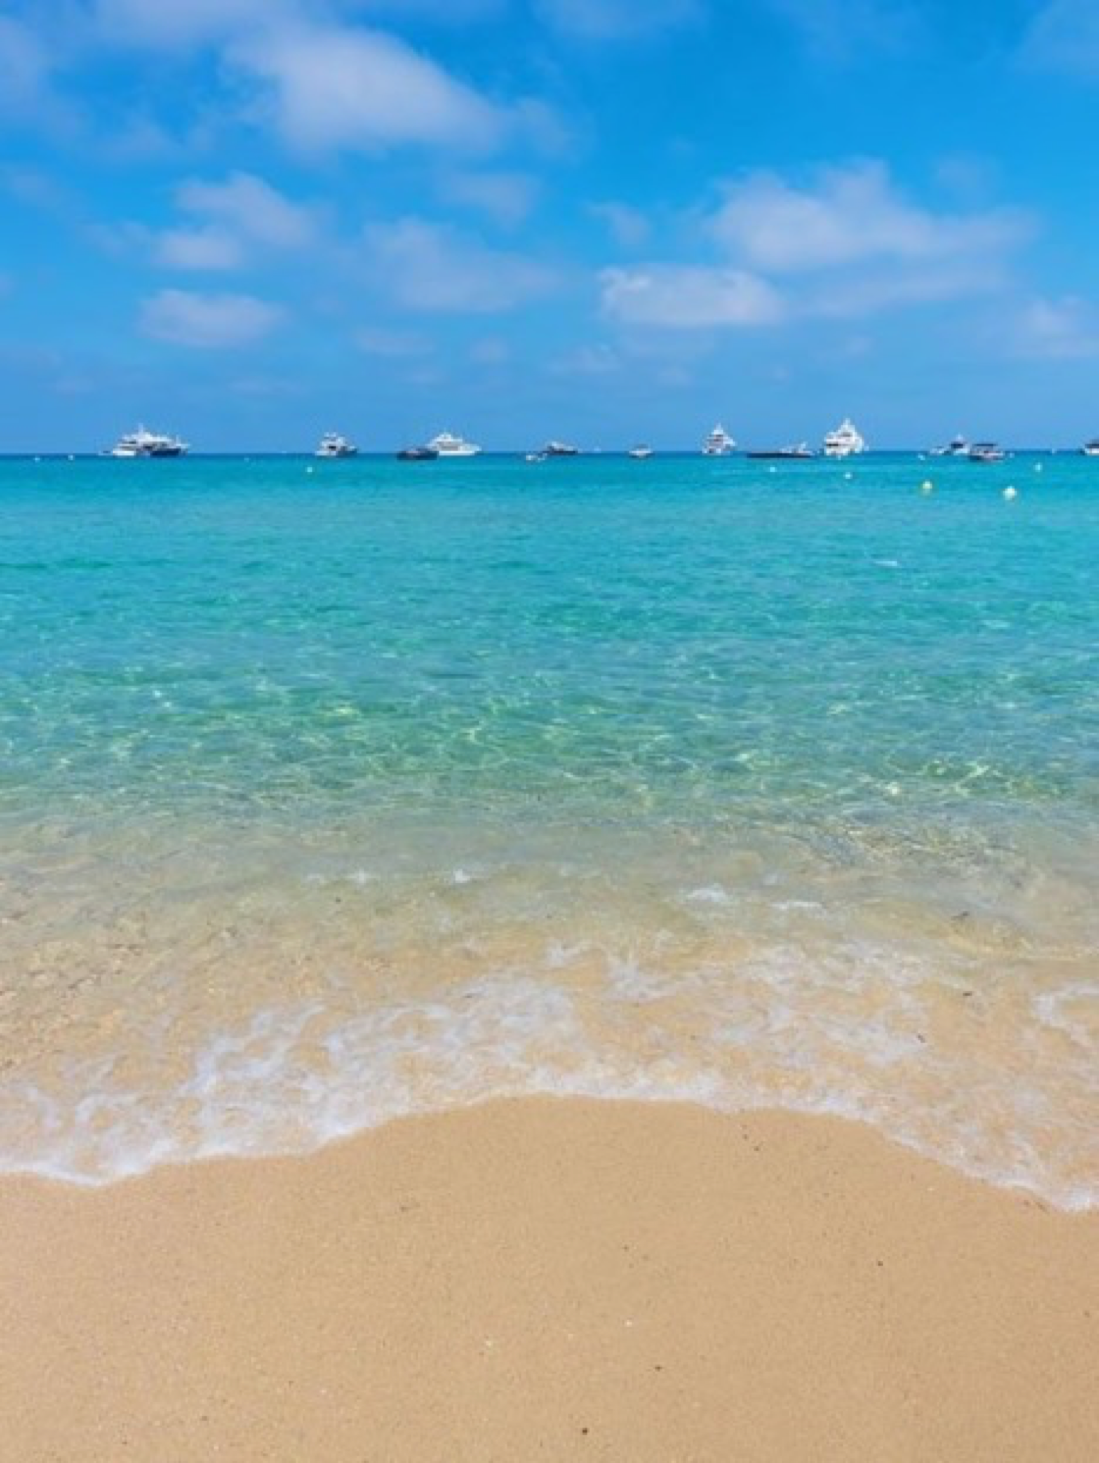
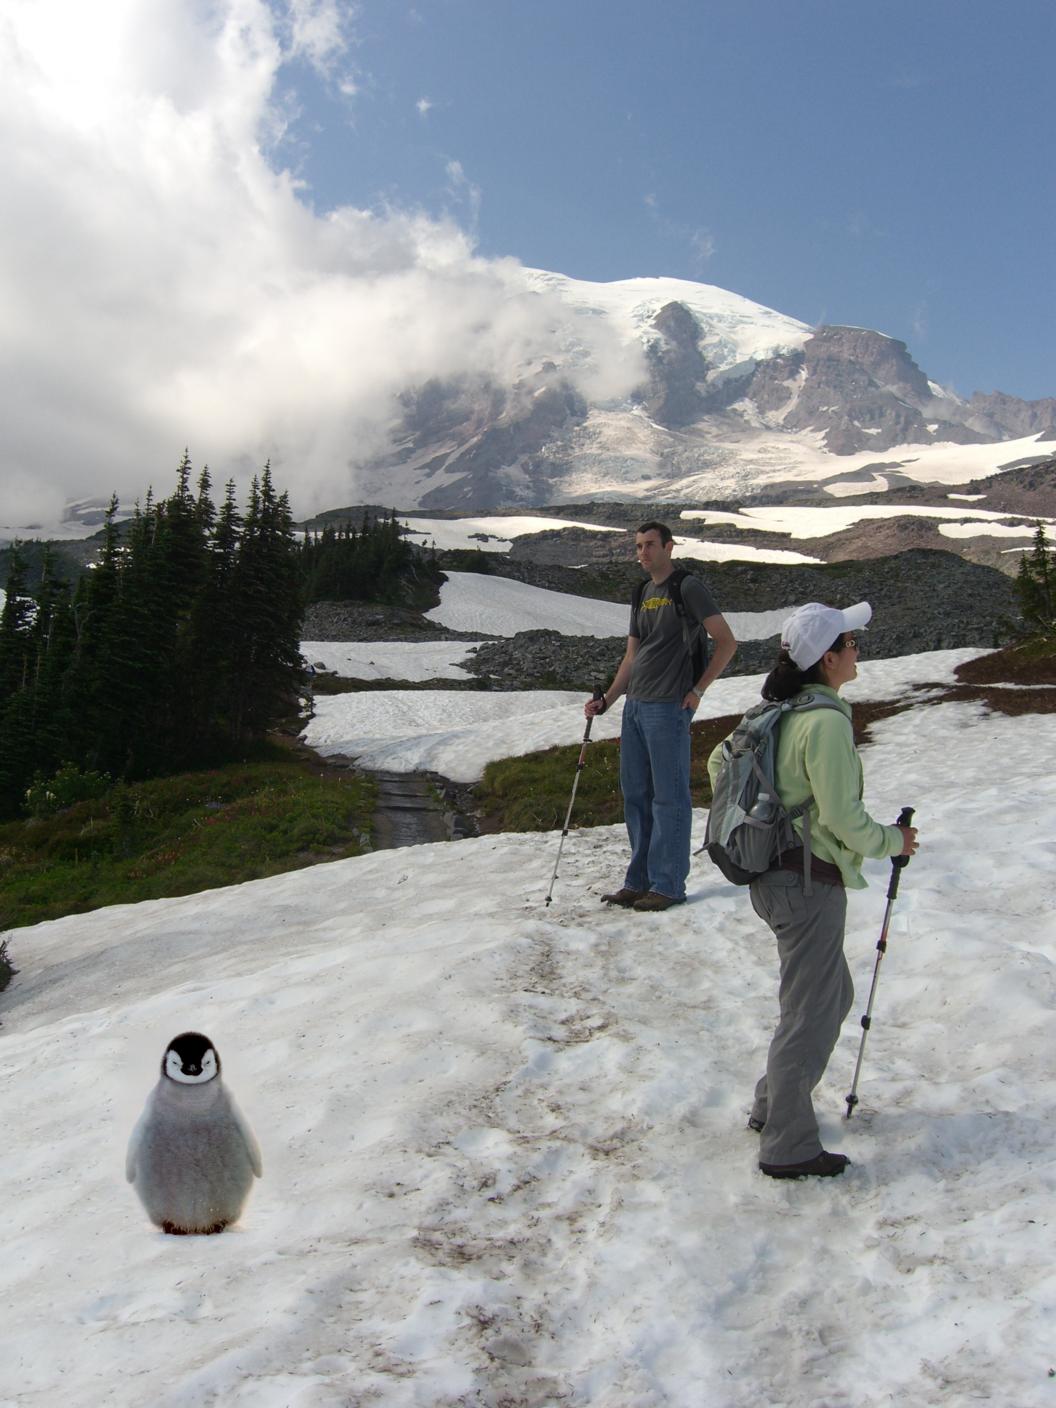
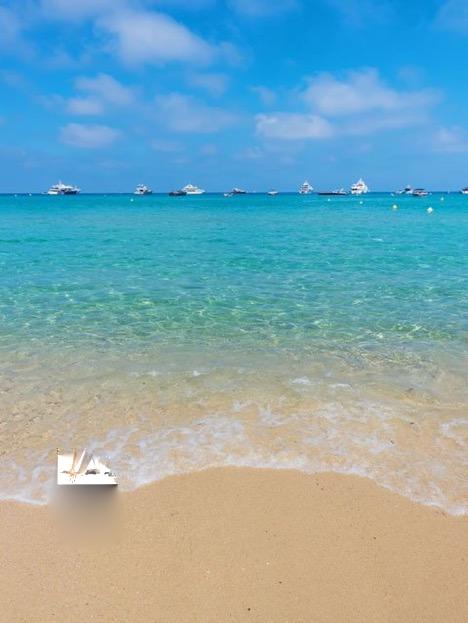
Below are the input image, mask, and target and my blended result. I really liked the penguin and felt he was too cold in the winter and decided to put him in a nice beach instead! Below are the original images, mask and the blended output of the penguin in the mountain and on the beach.

Here is a failure of trying to put a monkey on the beach with my penguin. Sad!
All in all this was a very fun project but also very very very hard. My key learnings is to grapple with the material earlier and make use of office hours and other resources in the future.