Overview
This project implemented pixel manipulation as well as laplacian and gaussian stacks. It was pretty interesting how we were able to blend images together using a mask to assist in the process.Part 1
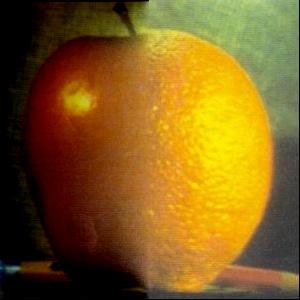
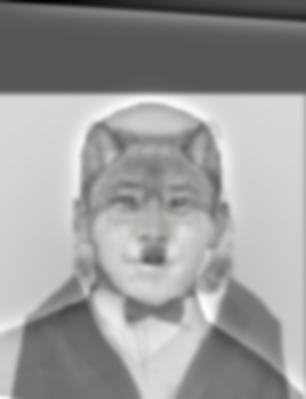
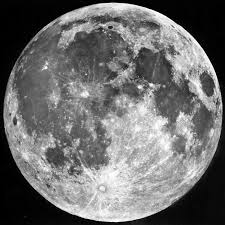
We started with unblurring images using a gaussian filter. This process was pretty straightforward. We took a gaussian filter, subtracted it from the original image, scaled it, then added it back to the original image. In Part 1.2, we created a hybrid image using the high and low frequencies of two images. When close up, the high frequency image is more visible. At a far away distance, the low frequency image becomes visible. In 1.3, we simply applied gaussian and lapalcian stacks to the previous concept. By doing so, we can break down an image into its two separate components. Finally, in Part 1.4, we combined everything in order to create a blended image using least squares. I used the orange apple example to debug, and created my own example using a sun and moon image. We essentially splined the images at the boundary so that there was a smooth transition between the two halves.
JPG


Part2
Here, we really got into gradient domain fusion. Rather than using gaussian filters, we manipulated gradients to create our images.


Here we computed all the x and y gradients of the original toy problem. Then by selecting one pixel from the original image, and solving the equations we generated, we were able to recreate the image.
And now we dive into the most fun I had with this project. 2.2 was the bread and butter of this project. I feel like everything up until this point was interesting in terms of understanding the theory, but with 2.2 we have a lot of freedom in terms of generating images with poisson blending. We have the freedom to create ridiculous images and it essentially imitates photoshop in terms of the final images we create.


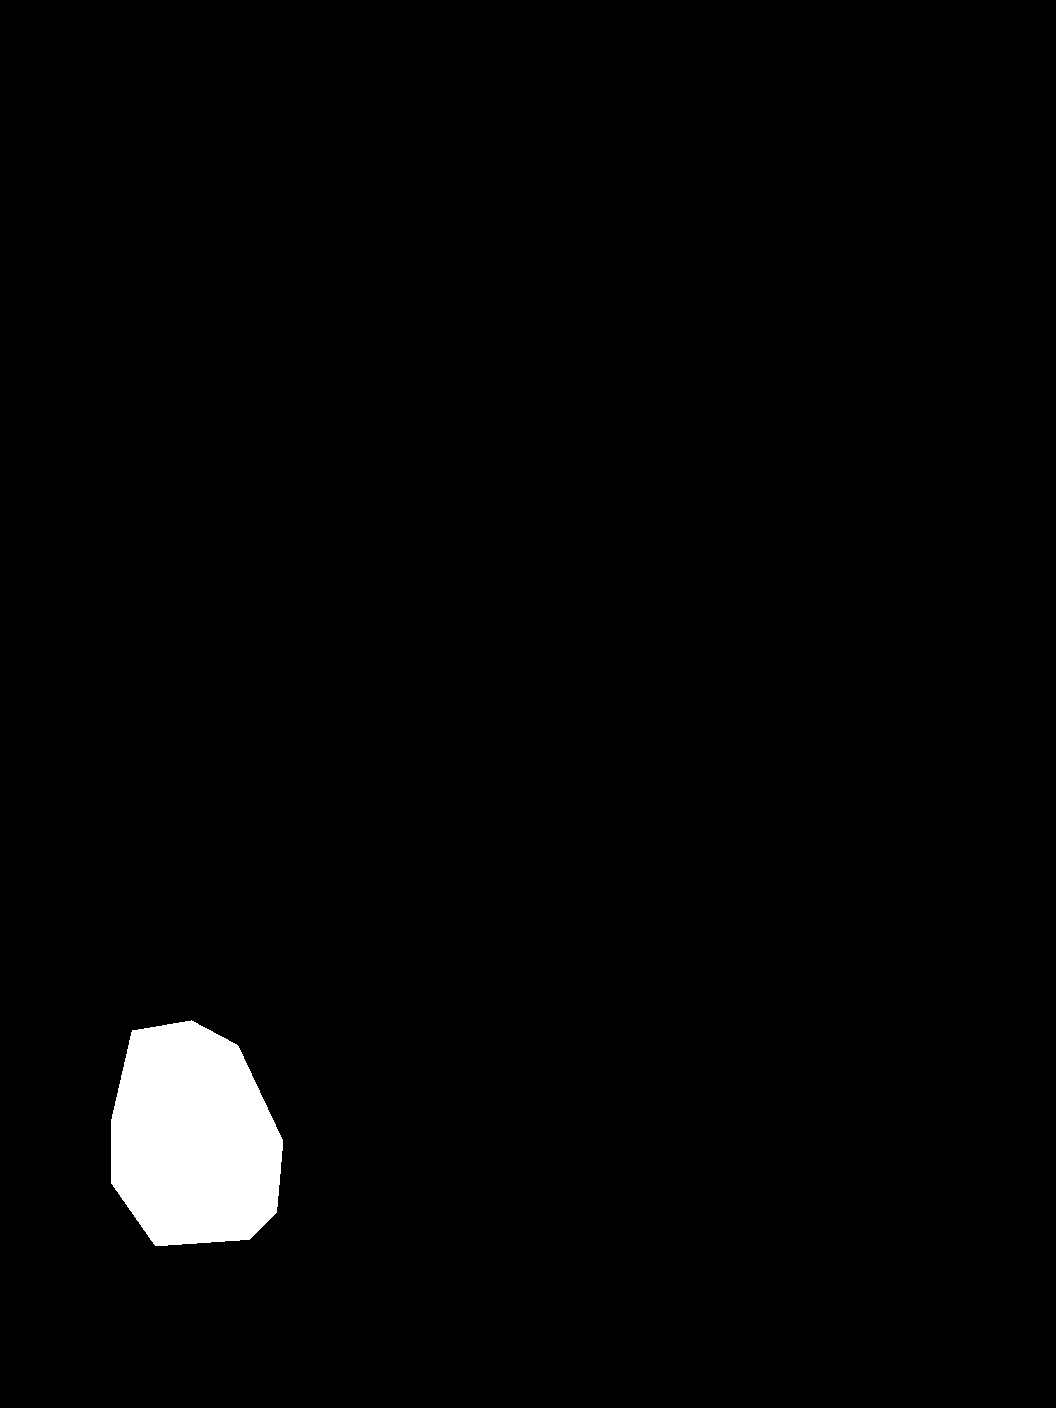


On the test images, the picture of the hikers is the target, the penguin was the source, and the mask essentially captured the pixels from the penguin image that we wanted. Depending on how accurate the mask is, the image will blend more smoothly. this mask was pretty rough, but it was still able to produce decent images. This process involved using the algorithm described in class (image blending in 10 mins). I essentially expanded on part 2.1, created a more robust equation using all adjacent pixels rather than just 1, and processed the channnels separately in order to maintain color. I was also able to create a pretty amusing image with a penguin completely out of its environemtn by picking a different target image. The blending did not end that well because the mask isn't perfect and the difference in the penguin's skin tone vs the background is a little too much


As for my own image, I was able to create a pretty cool blend of a beach front and a space image. Again, the blending won't be as smooth if there a huge color discrepancy between where you are trying to blend the images.


Here, we have a case where the blending did not go as well as I wanted it to. You the blending isn't that smooth and theres a somewhat visible discrepancy between the images. I think that the overall lesson is that the more accurate the masks are, the better the final result will be, and that the images shouldnt differ too extremely in color in the place that we are trying to blend.