A timelapse that demonstrates how blending can look if an image is aligned.
Failed blending because features are not aligned.
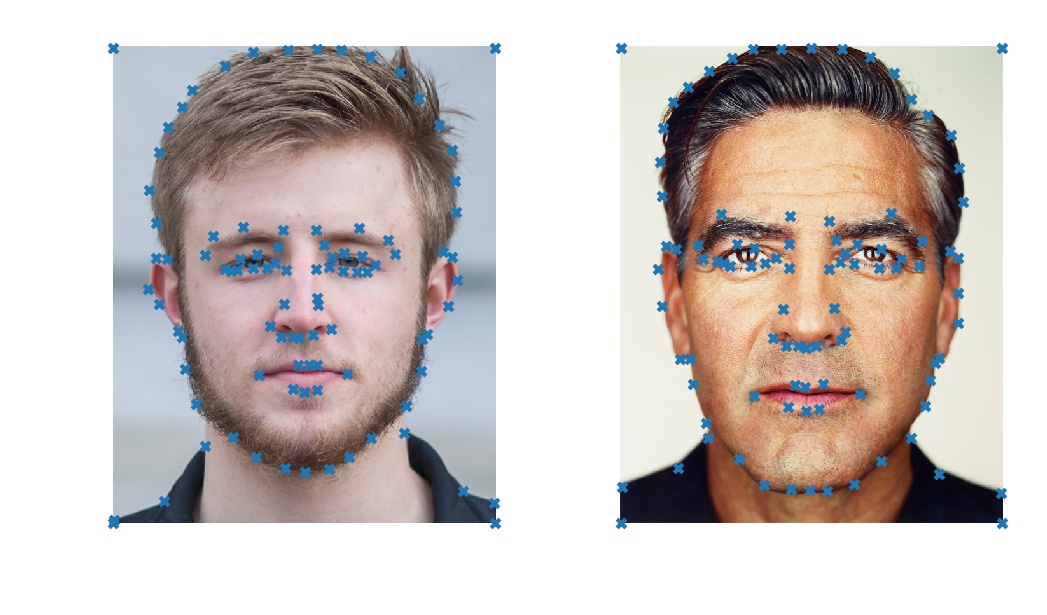
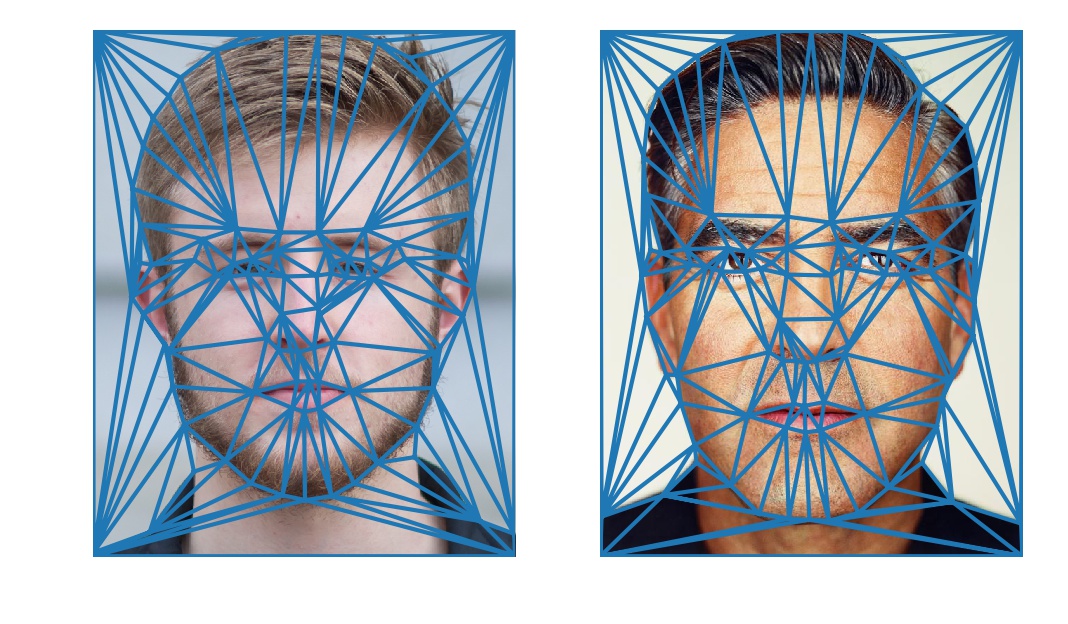

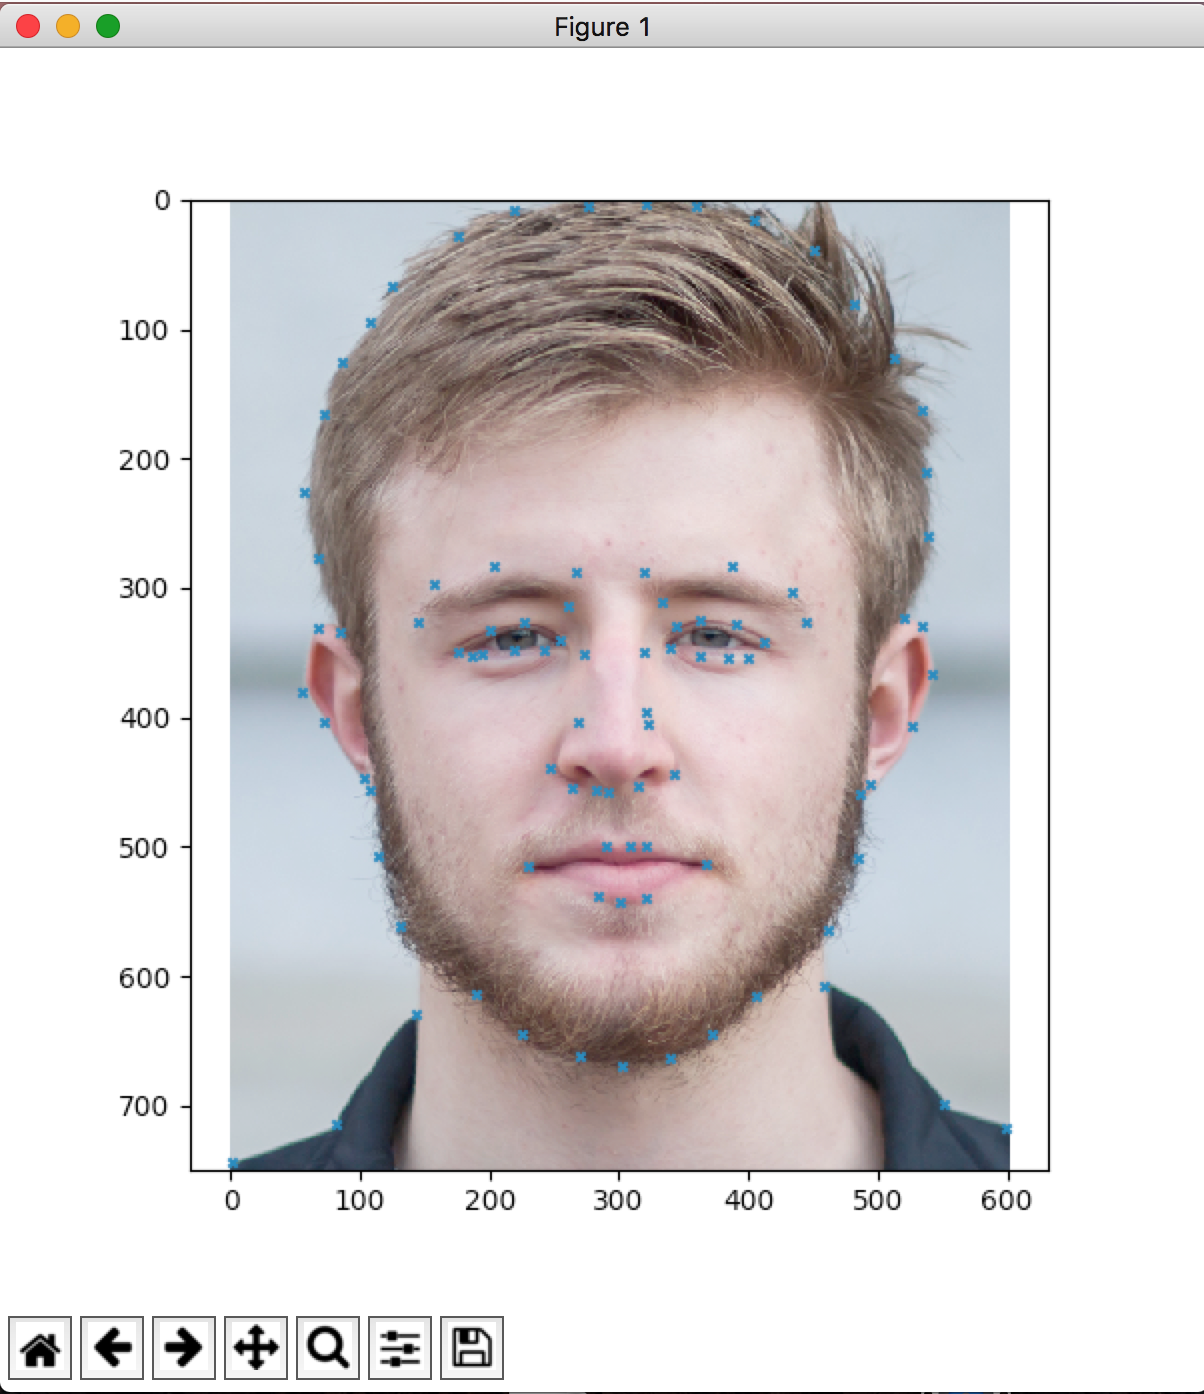
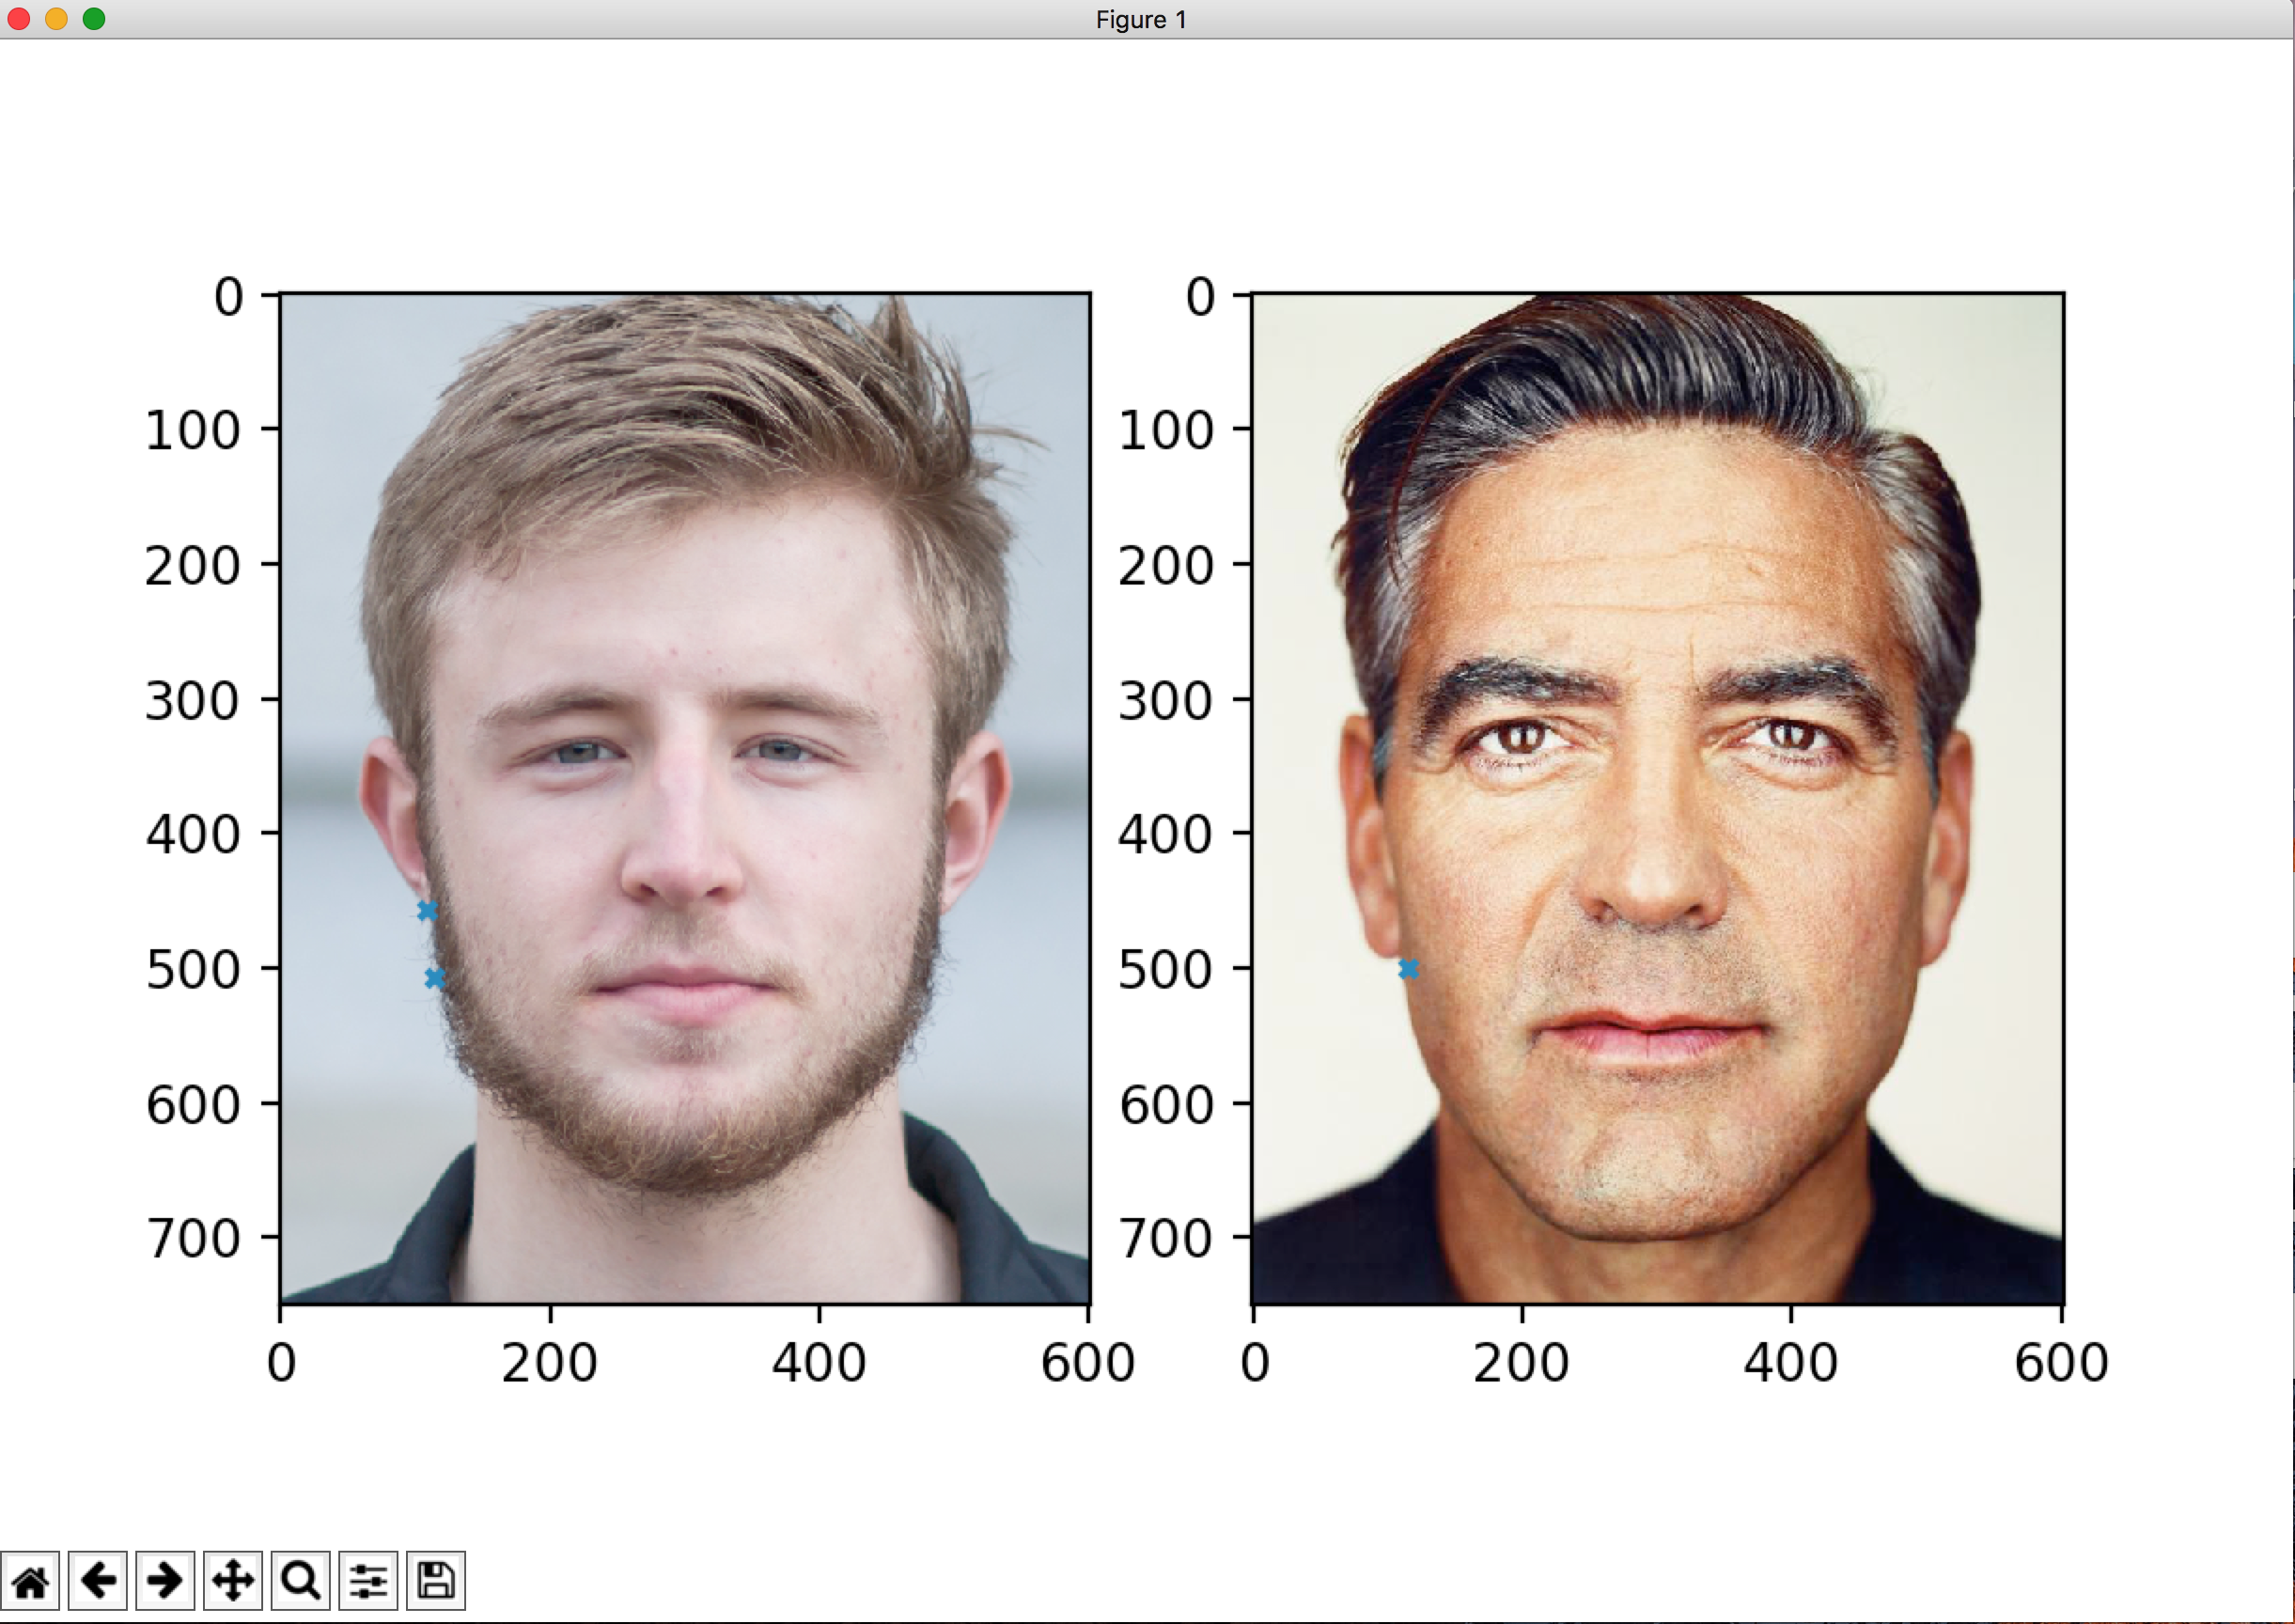
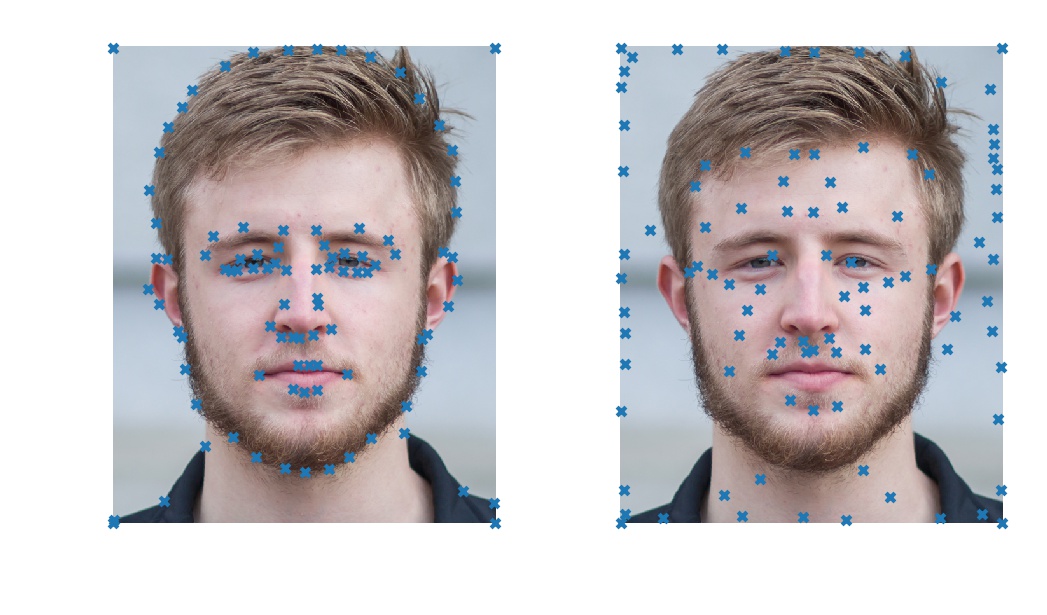
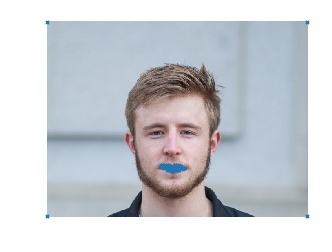
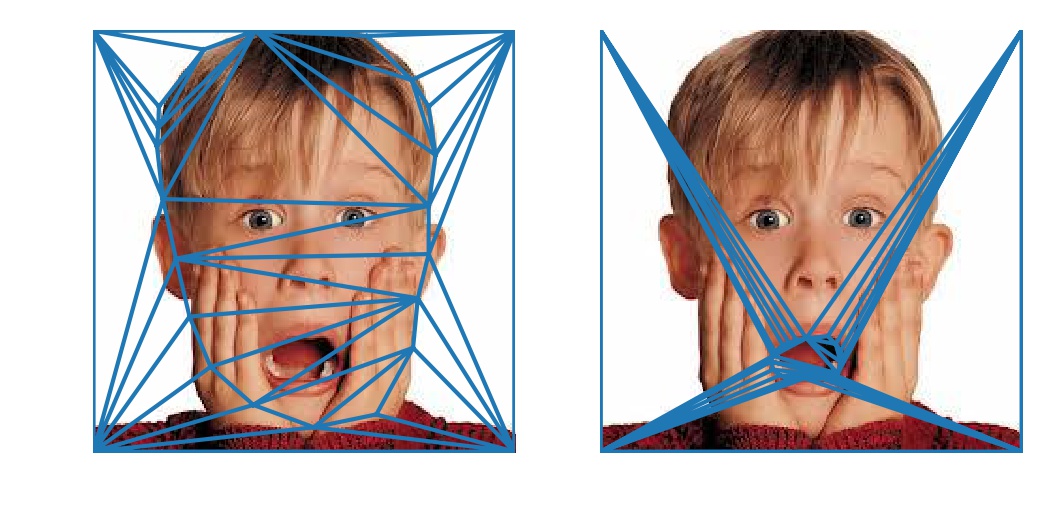
Correspondence UI
Mid-Way Face


Morph Sequence
"Mean Face" of a Population
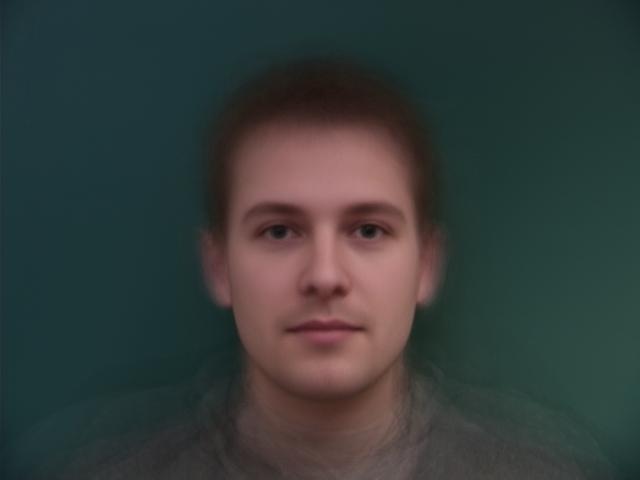
Average face of danes
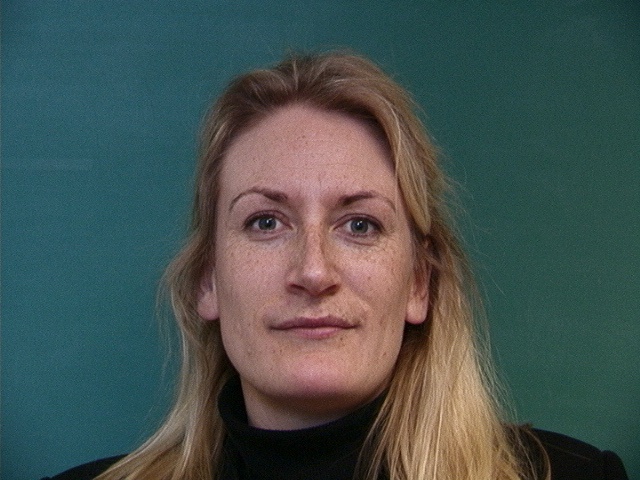
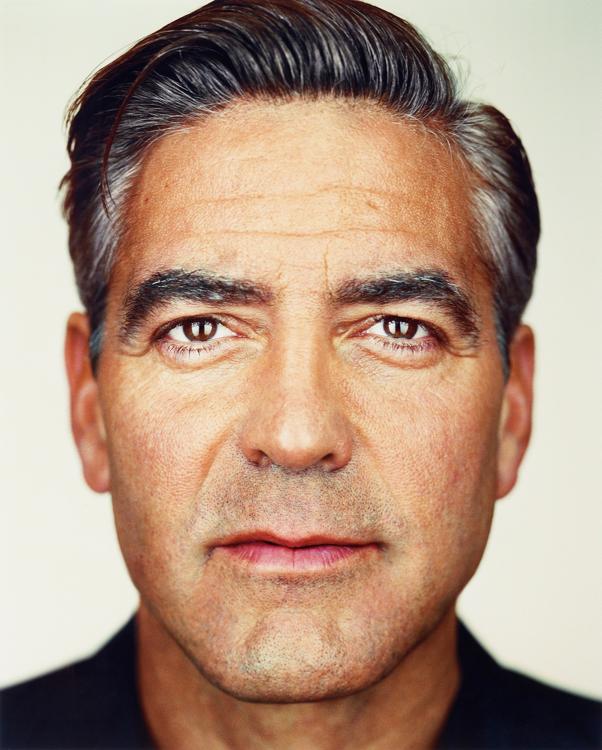
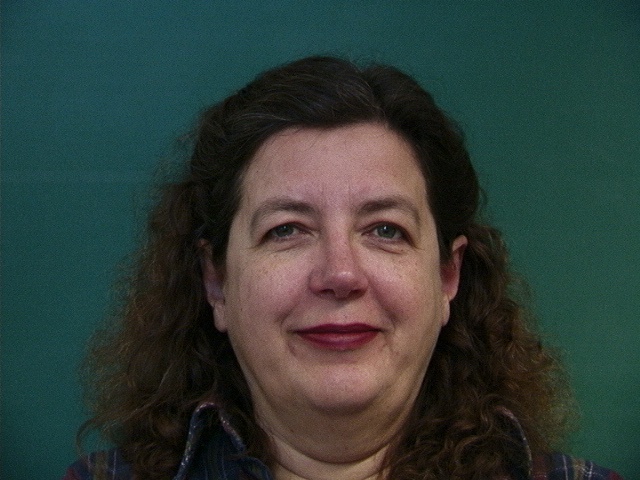
Original image
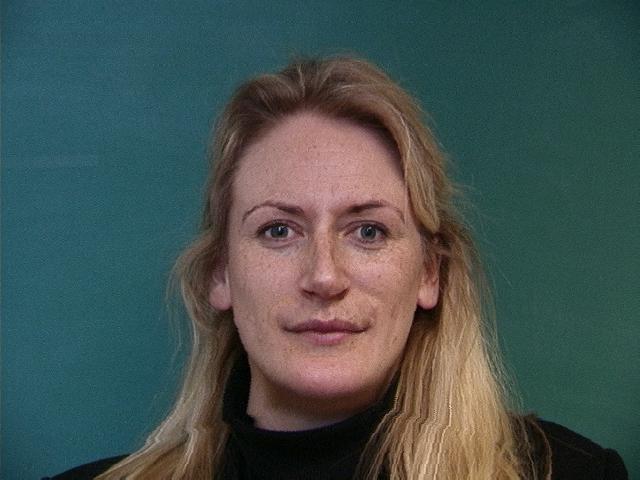
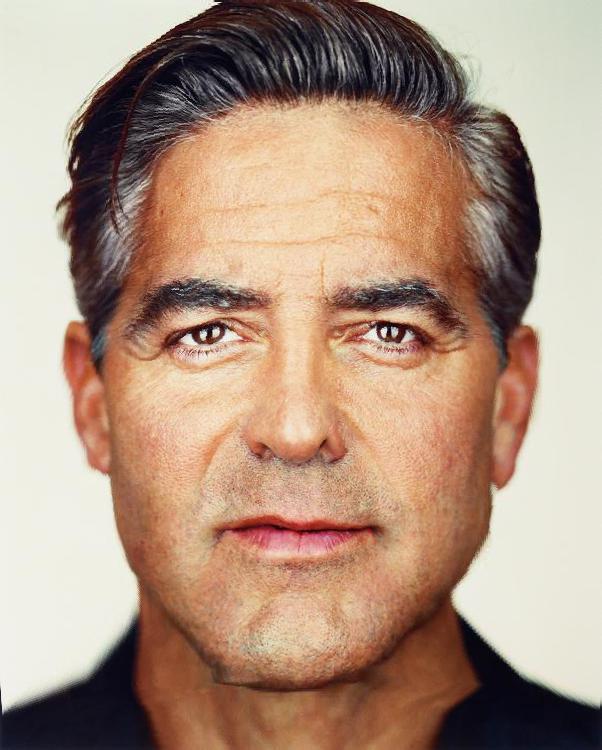
Image mapped to average danish shape
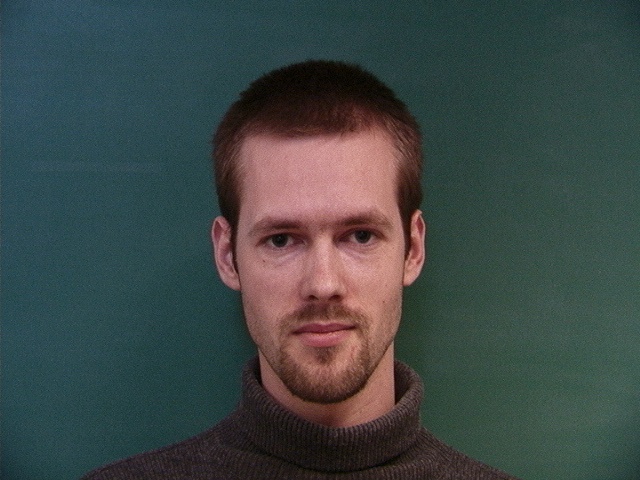
Original image

Image mapped to average danish shape
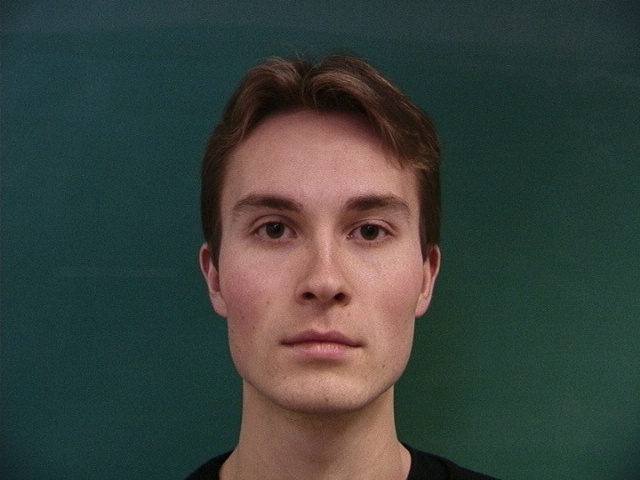
Original image

Image mapped to average danish shape
Original image
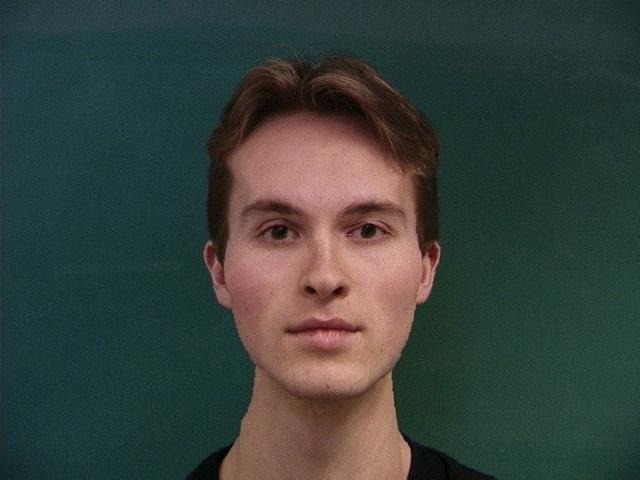
Image mapped to average danish shape
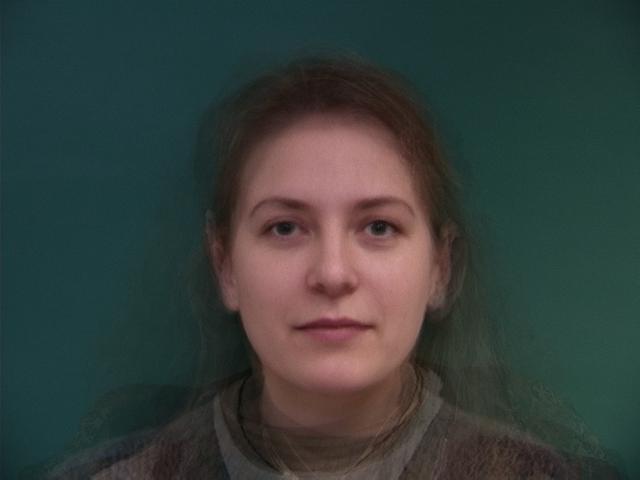
Average female danish computer scientist.
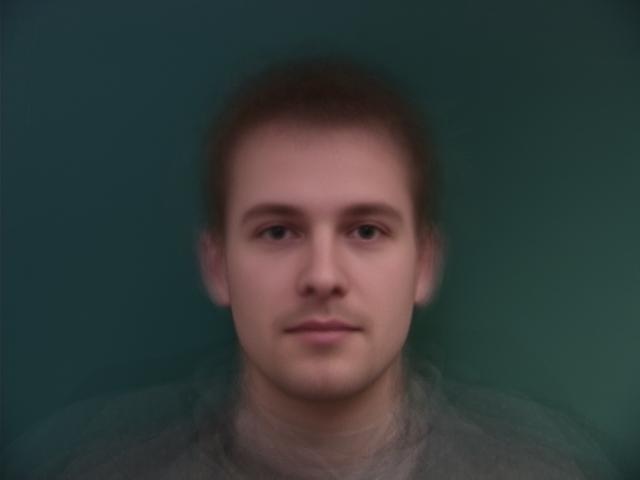
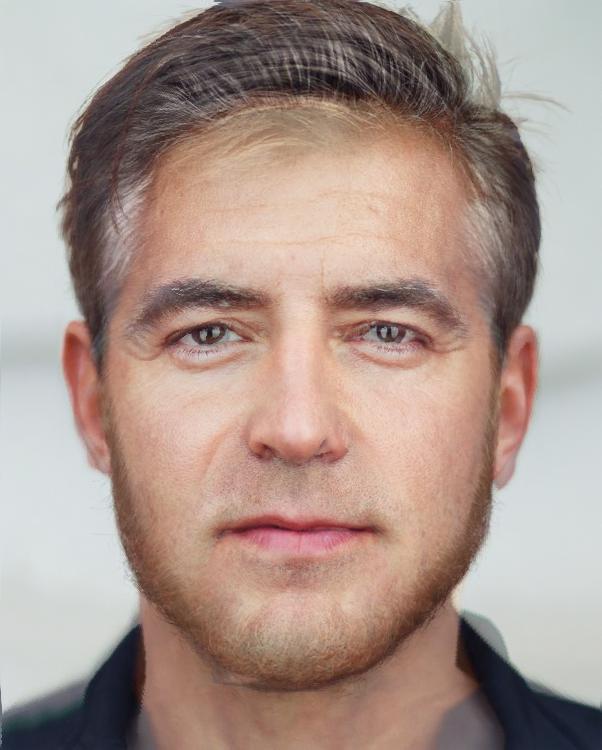
Average male danish computer scientist.
Original image
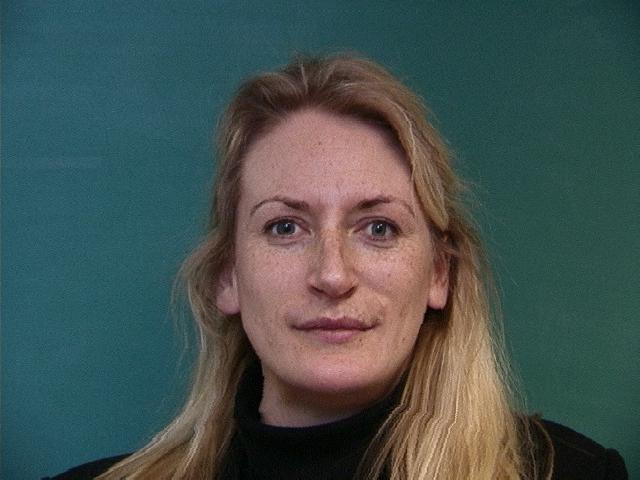
Image mapped to average danish female geometry
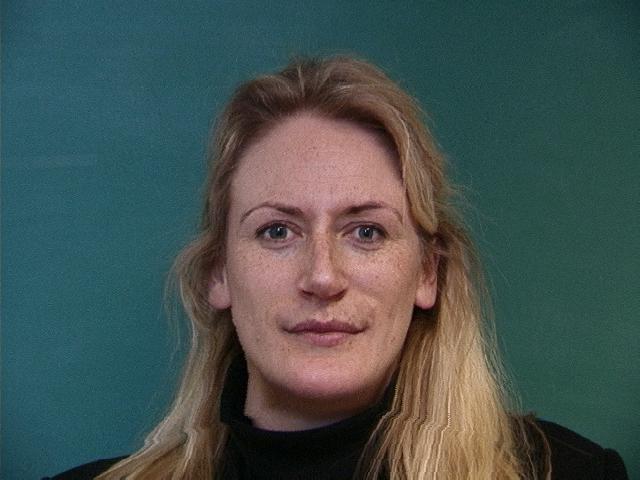
Image mapped to average danish male geometry
Original image

Image mapped to average danish female geometry

Image mapped to average danish male geometry
Original image

Image mapped to average danish female geometry

Image mapped to average danish male geometry
Original image
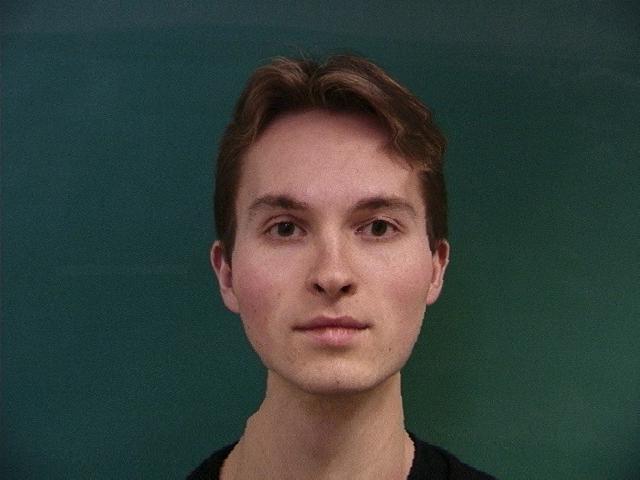
Image mapped to average danish female geometry
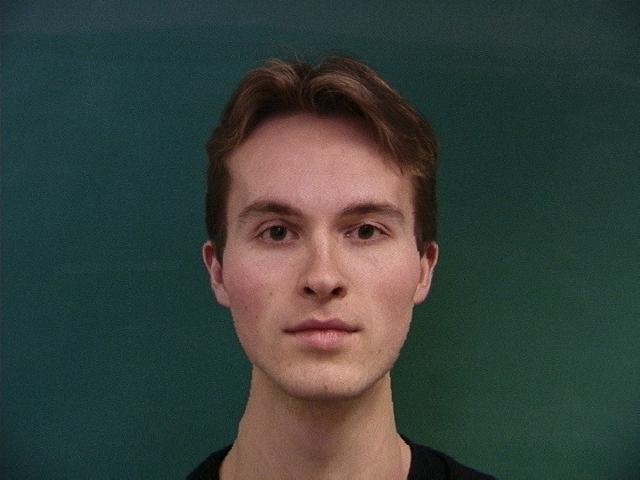
Image mapped to average danish male geometry
Average danish computer scientist - genders balanced
Original image
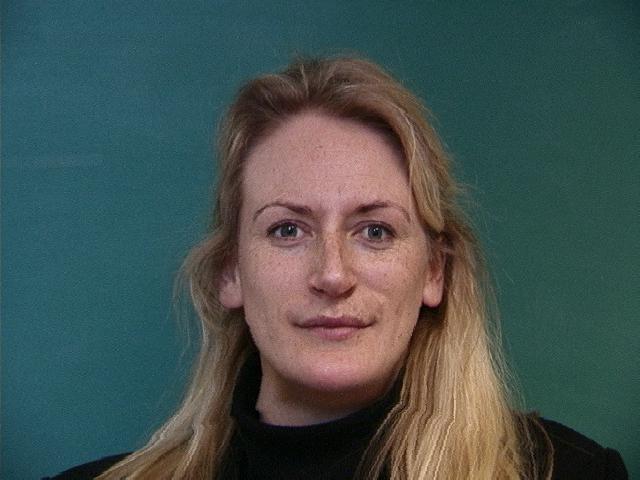
Image mapped to average danish shape
Original image

Image mapped to average danish shape
Original image

Image mapped to average danish shape
Original image
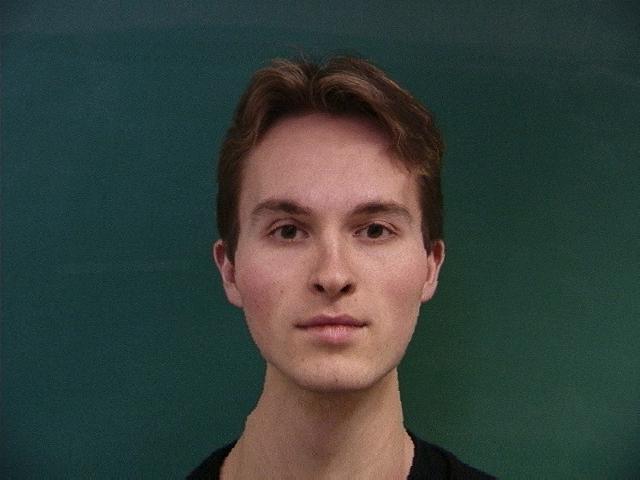
Image mapped to average danish shape

My original face
My face mapped to average danish face
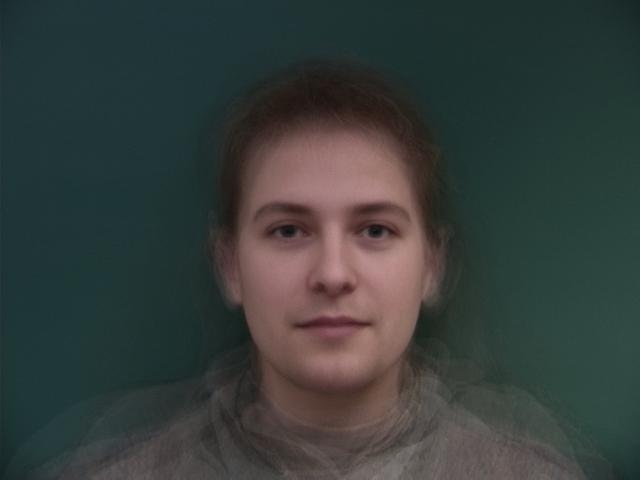
My face mapped to average female face
My face mapped to average male face

My face mapped to average balanced face
Extrapolating from the Mean
Original image

Image extrapolated to female geometry with $\alpha = -0.5$
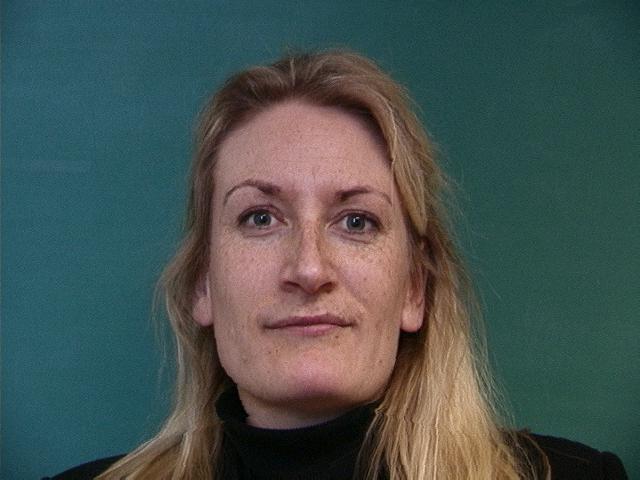
Image extrapolated to male geometry with $\alpha = -0.5$
Original image

Image extrapolated to female geometry with $\alpha = -0.5$

Image extrapolated to male geometry with $\alpha = -0.5$
Original image

Image extrapolated to female geometry with $\alpha = -0.5$

Image extrapolated to male geometry with $\alpha = -0.5$
Original image
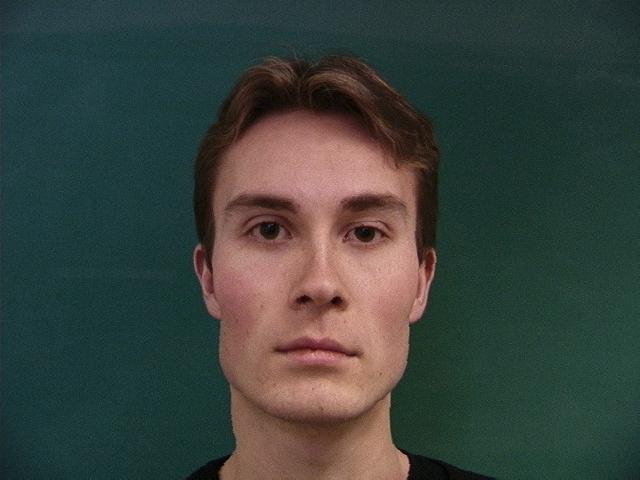
Image extrapolated to female geometry with $\alpha = -0.5$
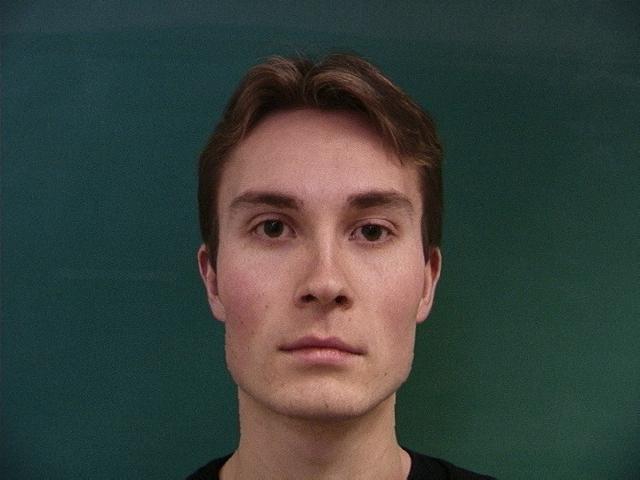
Image extrapolated to male geometry with $\alpha = -0.5$
Bells and Whistles
Crazy Face Warps
Face Blow Up

Growing a new head

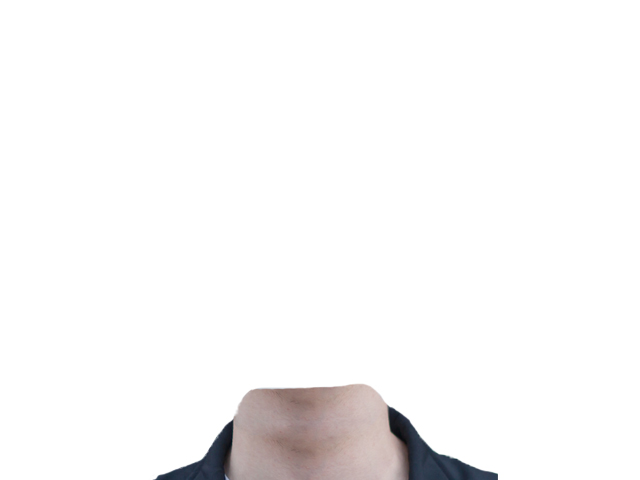
The source images for this morph and the headless image's correspondences

The original intention was to make a creepy-looking head regrow.

The accidental product

The accidental product - now with more speed!
Home Alone


Nightmare fuel