Getting Started
The package is written in Python 3 and requires a recent version of numpy and scikit-image. Invoke the main.py file to run each tool.
main.py contains two sub-utilities: one for refocusing light-field data, and the other for controlling the aperture of light-field data in post-production.
usage: main.py [-h] [--rescale RESCALE] {refocus,aperture} ...

Lightfield camera utilities

positional arguments:
  {refocus,aperture}
    refocus           Refocus lightfield data
    aperture          Control aperture size

optional arguments:
  -h, --help          show this help message and exit
  --rescale RESCALE   int scale
Depth Refocusing
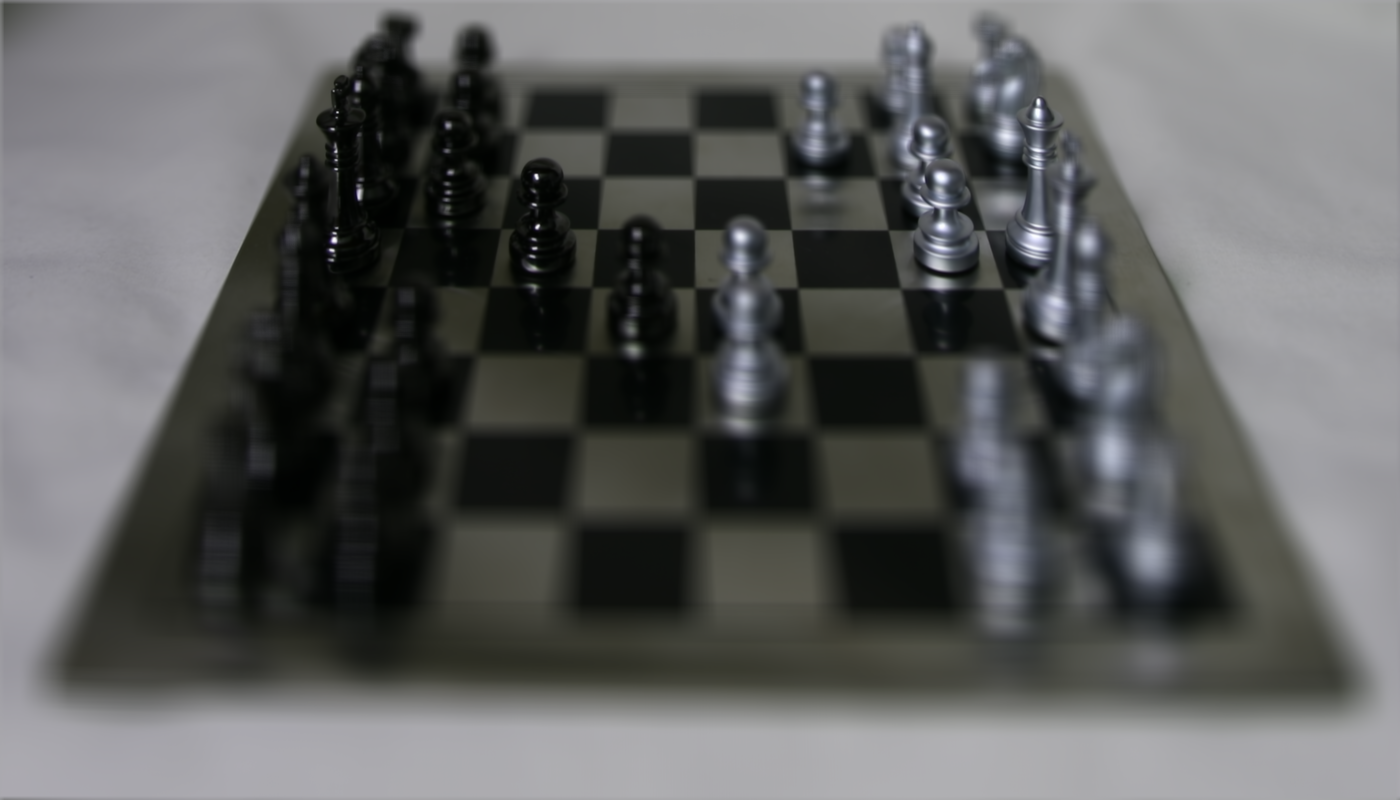
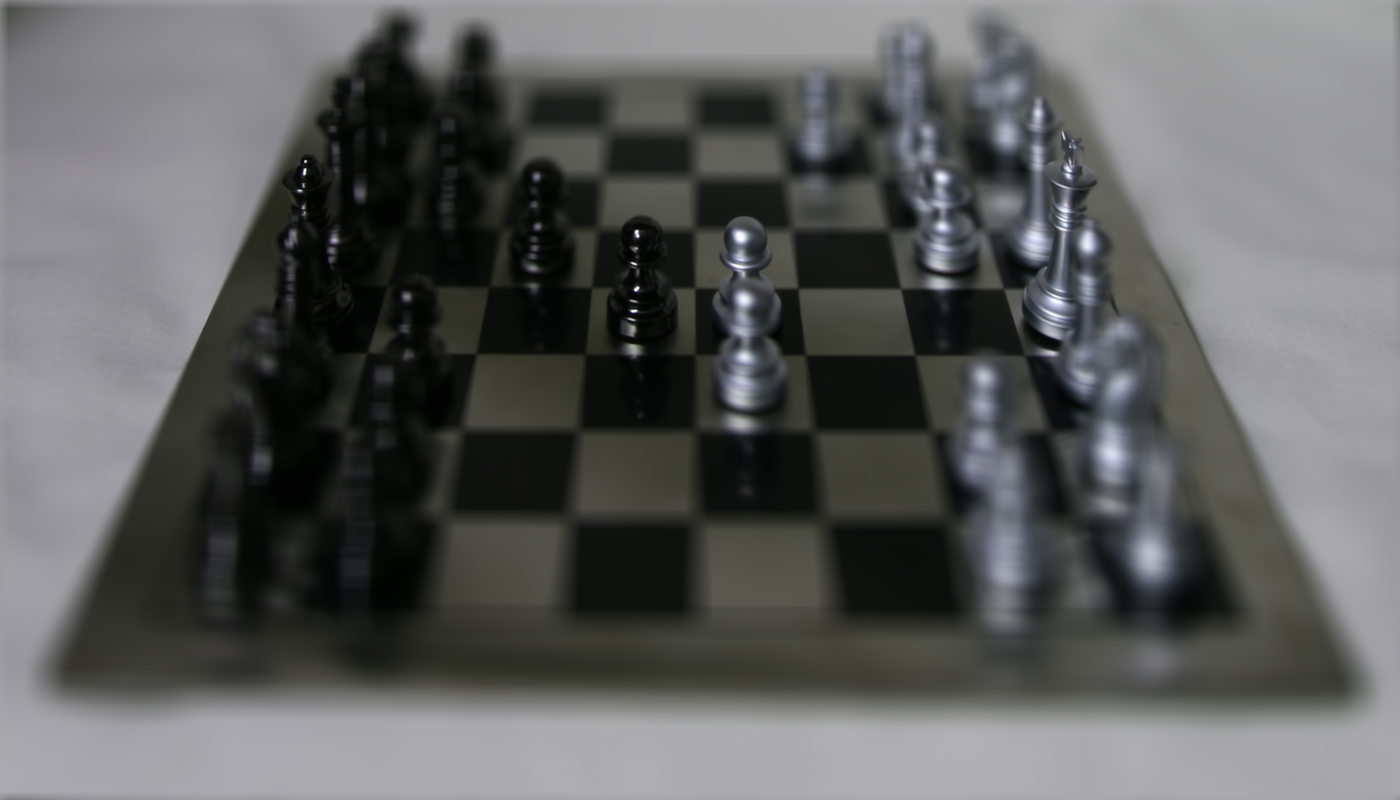
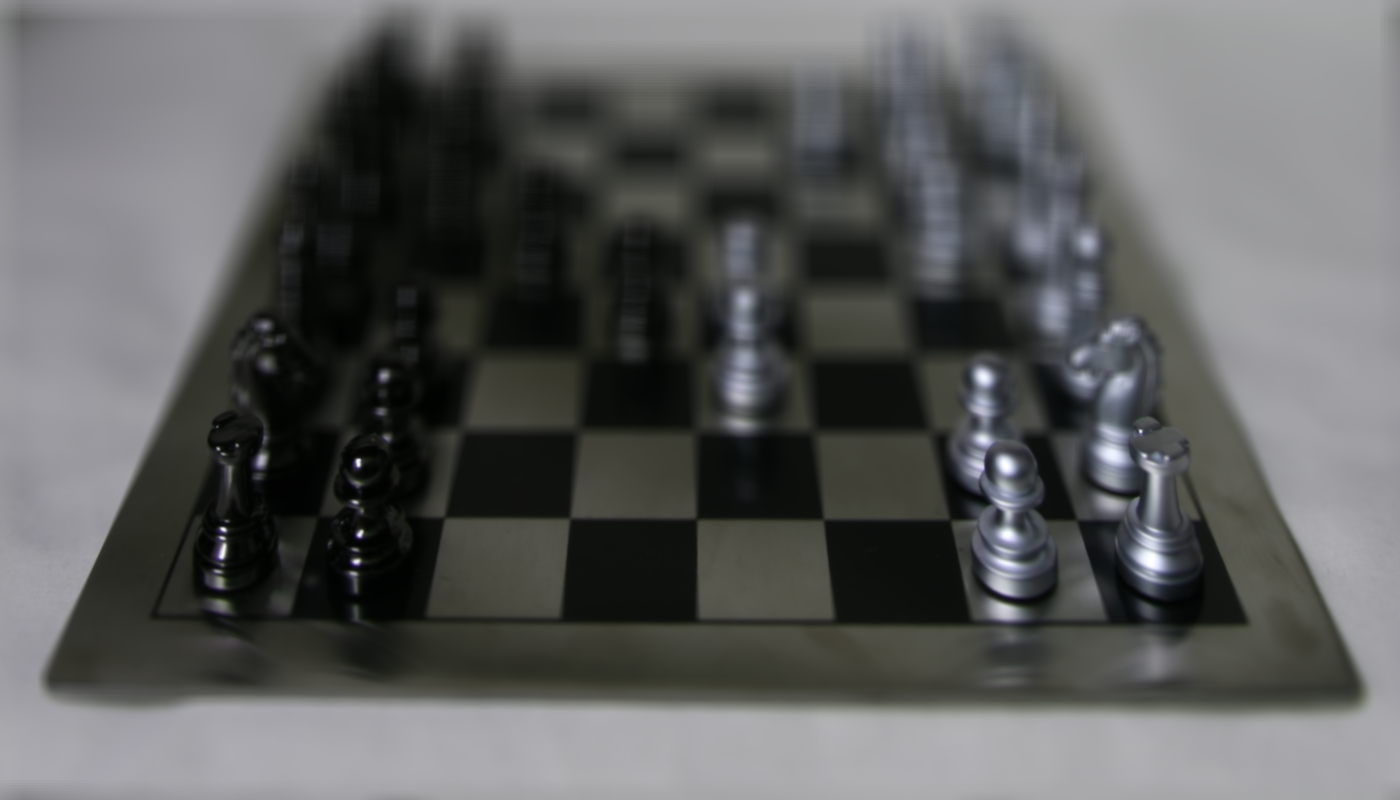
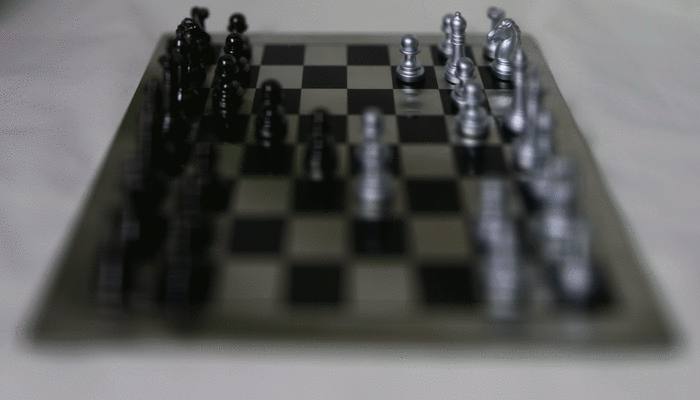
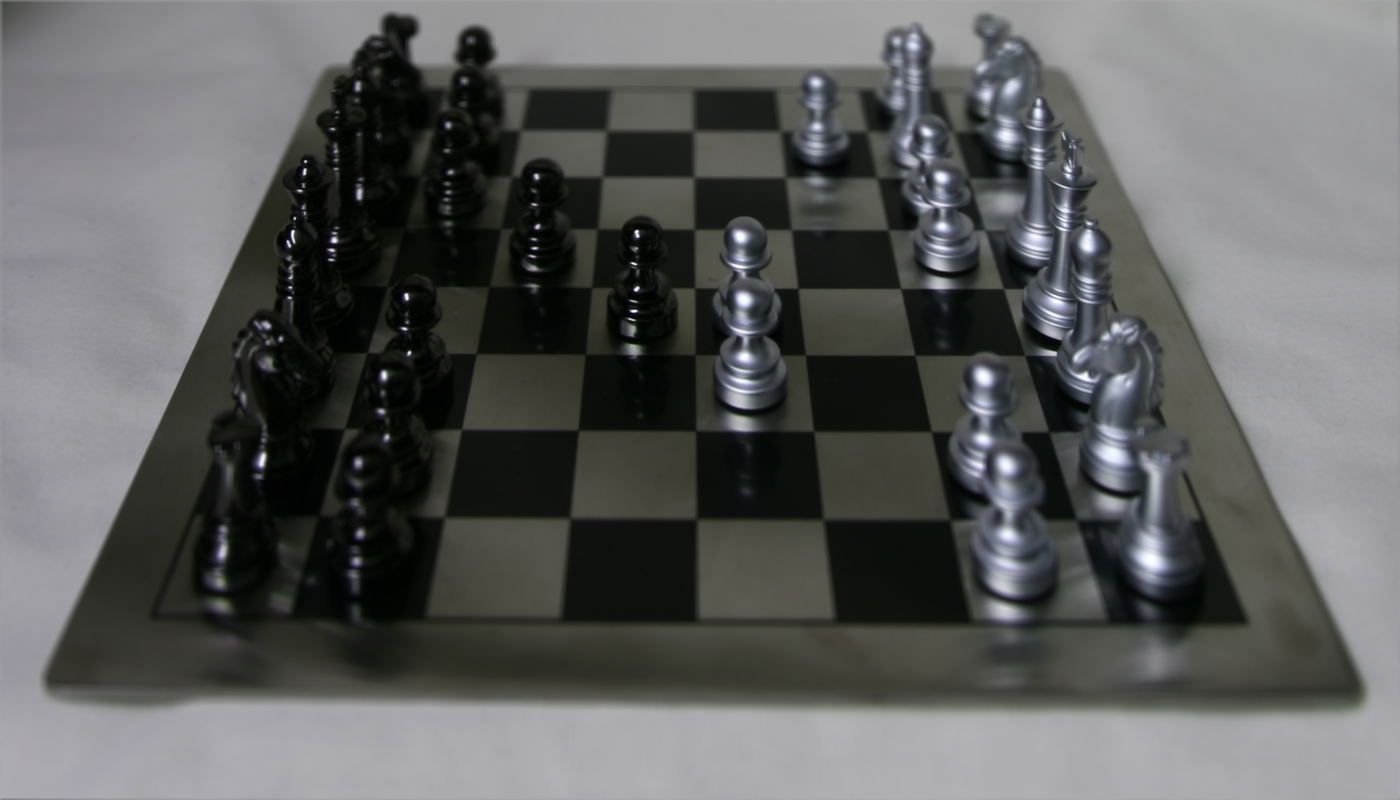
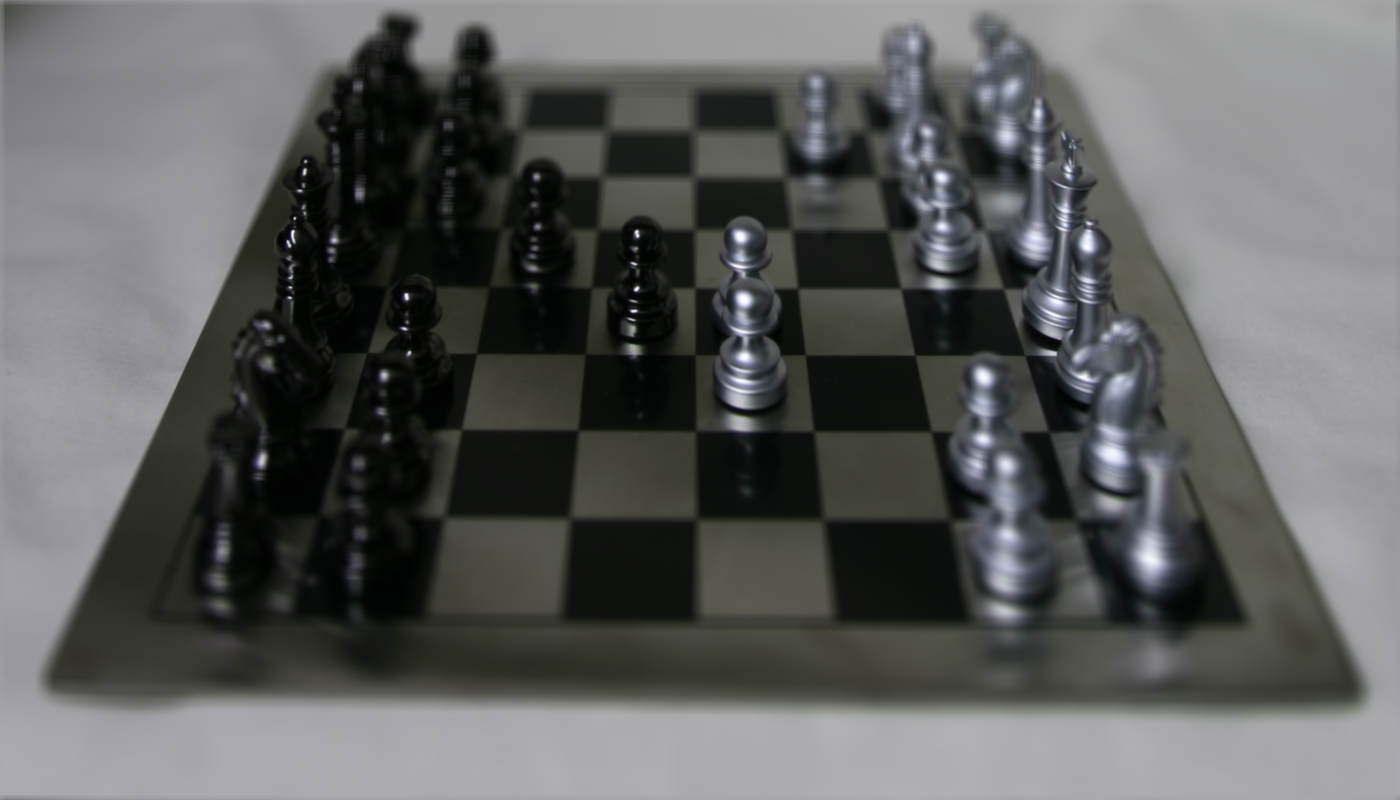
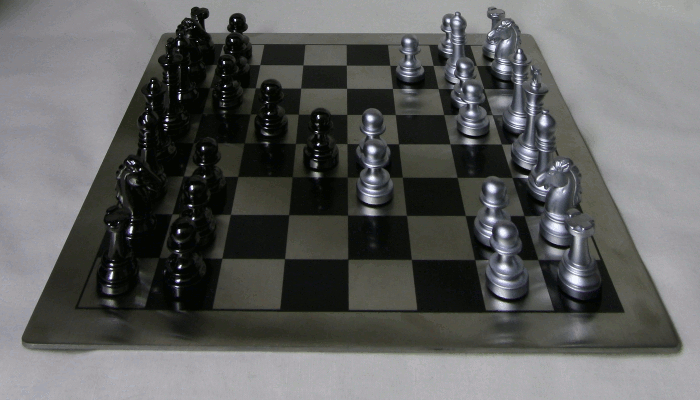
The light-field gantry takes hundreds of photographs of the same subject at slightly different (x, y) coordinates. We wrote a script which aligns these images at different depths and create a depth of field effect.
Naive blending of the images results in a blurry foreground and sharp background: this is because the parallax effect is stronger for objects near the viewer and weaker for objects further away. To change the depth of field, we realigned each image before blending. With a single alignment vector, we can stretch the depth of field effect from the background to the foreground by changing the magnitude of the vector.


Below is another example from the Stanford Light-Field Archive.


Aperture Adjustment
Using the same principle, we can also modify the aperture size by holding the magnitude constant but selecting a different sample of the light-field data. A single image contains almost no depth of field effect, but by adding nearby samples of the plenoptic function, we can simulate a change in aperture size and increase the depth of field effect.


Summary
The most eye-opening part of this project was learning about the plenoptic function and the perspective that comes with viewing images only as a sample of the world state. It also reminded me of how incredibly simple techniques can produce good results, a recurring trend in this course.