Lightfield Camera
CS 194-26 Project 5 · Madeline Wu
Overview
This project is based off of this paper and light field datasets found here. The light field data can be used to achieve depth refocusing and adjust the aperture, after taking the photos. In traditional photography, the depth refocusing and aperture adjustment happens prior to taking the photograph. However, these datasets include many images taken in a 17x17 grid. Each of the photos is shifted along this 2D plane to capture a different perspective/view, but share the same orthogonal plane. In this project, we'll investigate how to perform depth refocusing and aperture adjustment on some example datasets and recreate the results of the paper.
Part 1: Depth Refocusing
Approach
In real life, whether it's perception through our own vision or a photo captured by a camera, not all objects are in focus in a given image. If you choose to focus on something closer to you, objects rather away will be blurry. Similarly, if you choose to focus your vision or your camera lens on something far away, things that are closer to you will be out of focus. When considering a normal camera, we specify a single depth and capture a photograph with that depth in focus. With the light field data, we can easily vary the specific depth we focus on, thus leading to the concept of depth refocusing. We can accomplish this with the following algorithm:
For each image in the dataset:
- compute the (u,v) relative to the reference image coordinates
- pick a scaling constant, c, and shift the image by c*(u,v)
- average the shifted image result into an output image
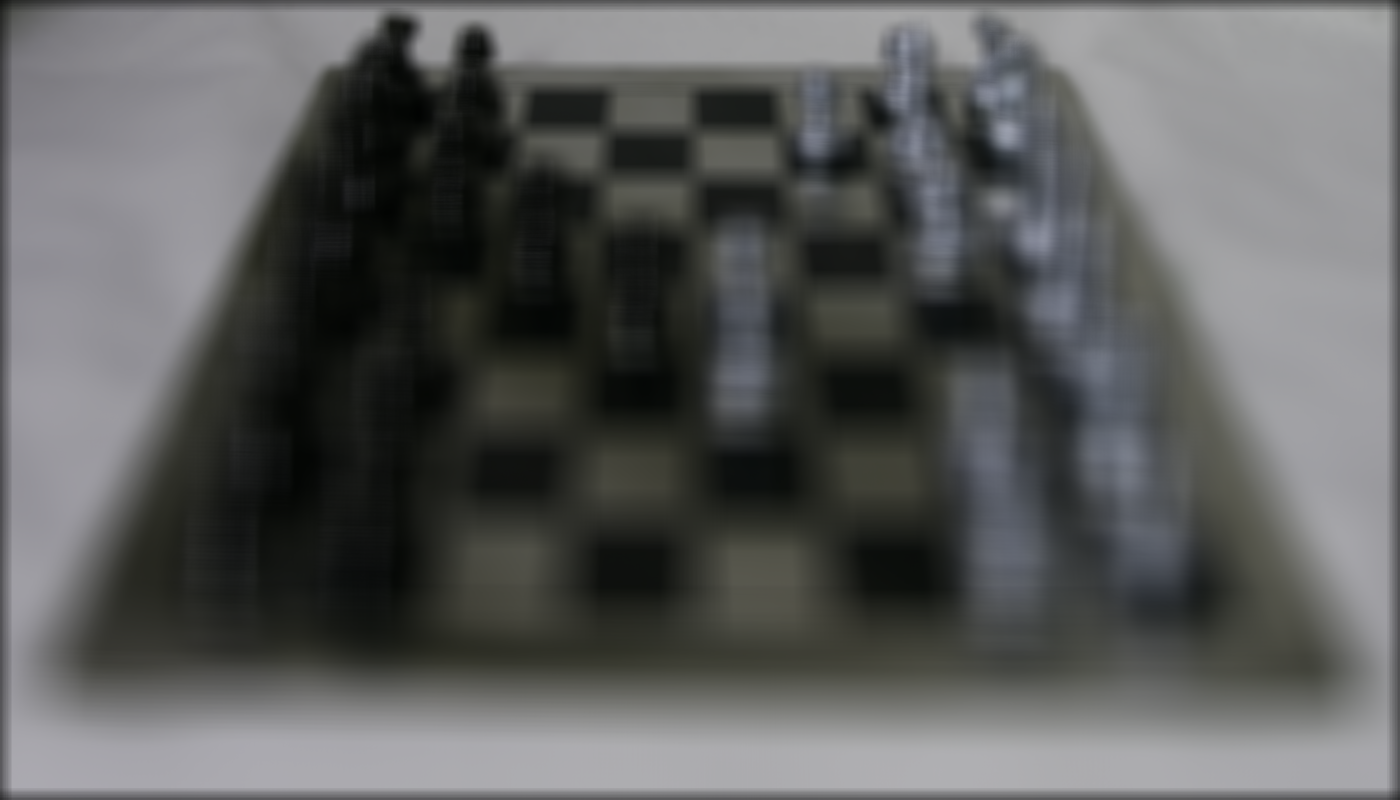
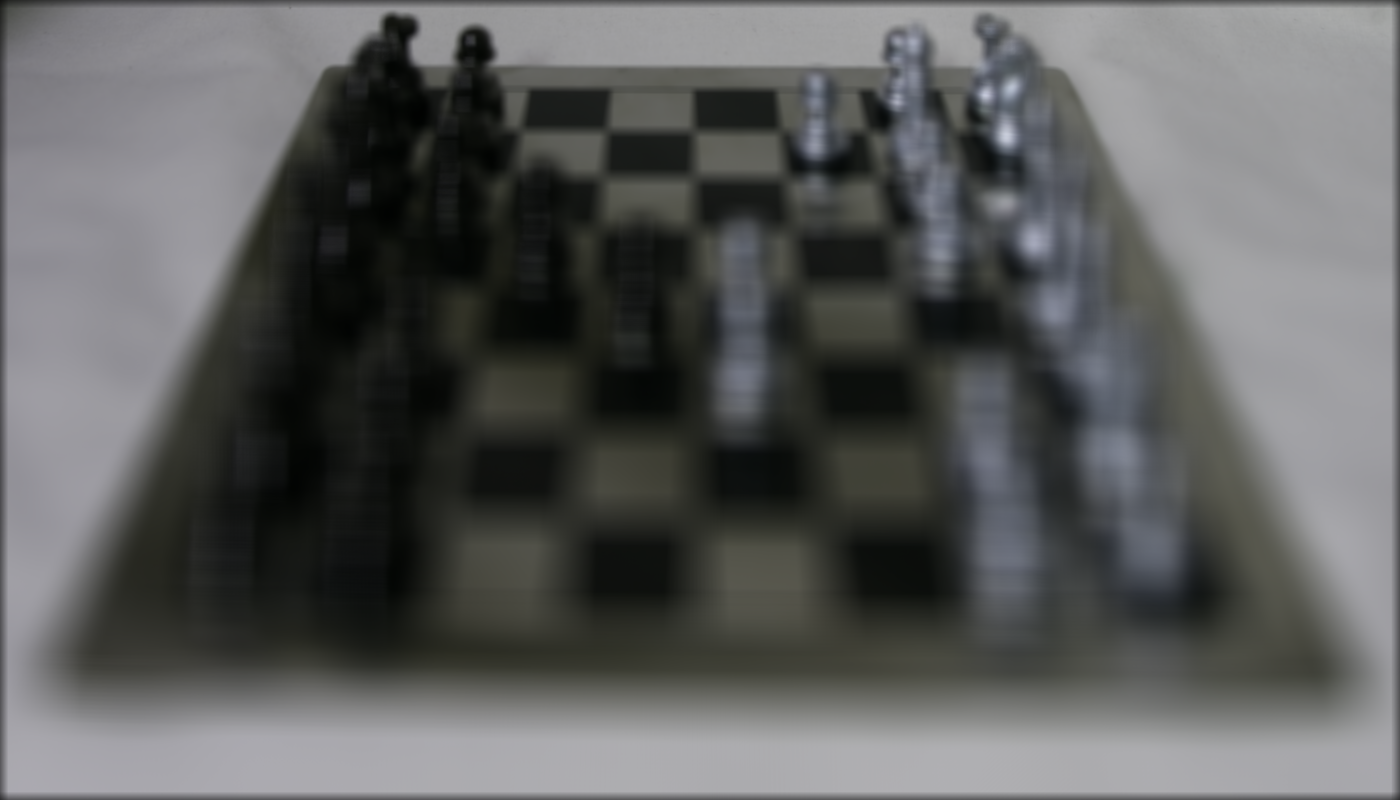
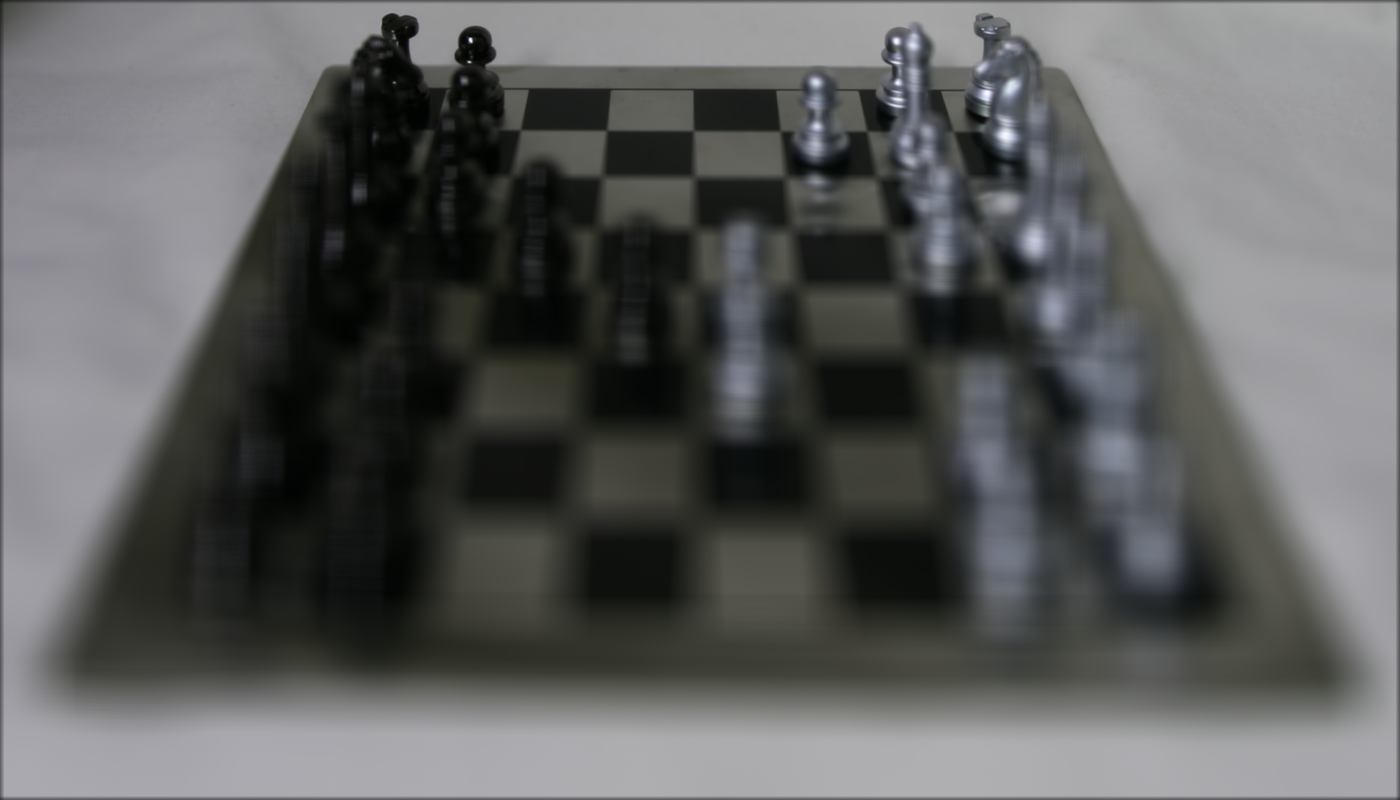
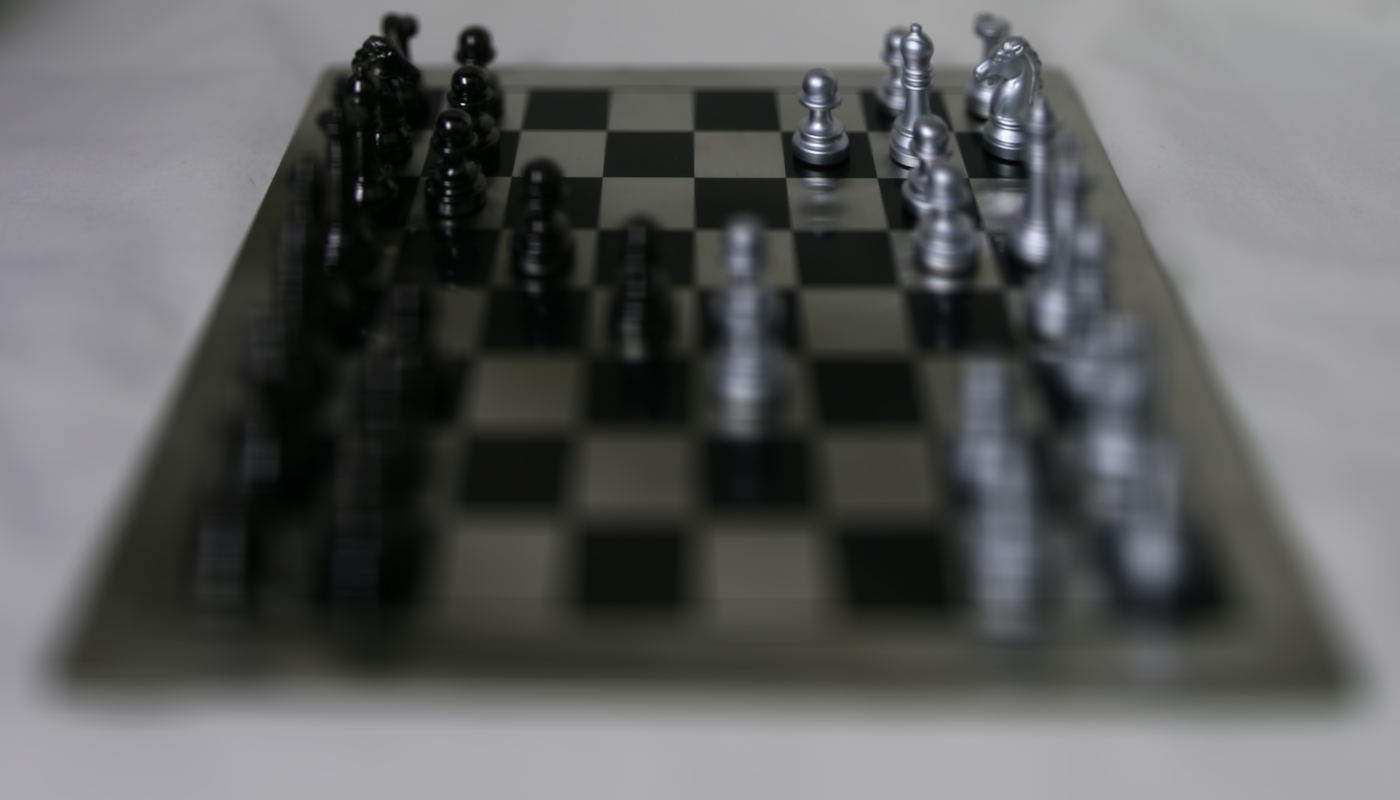
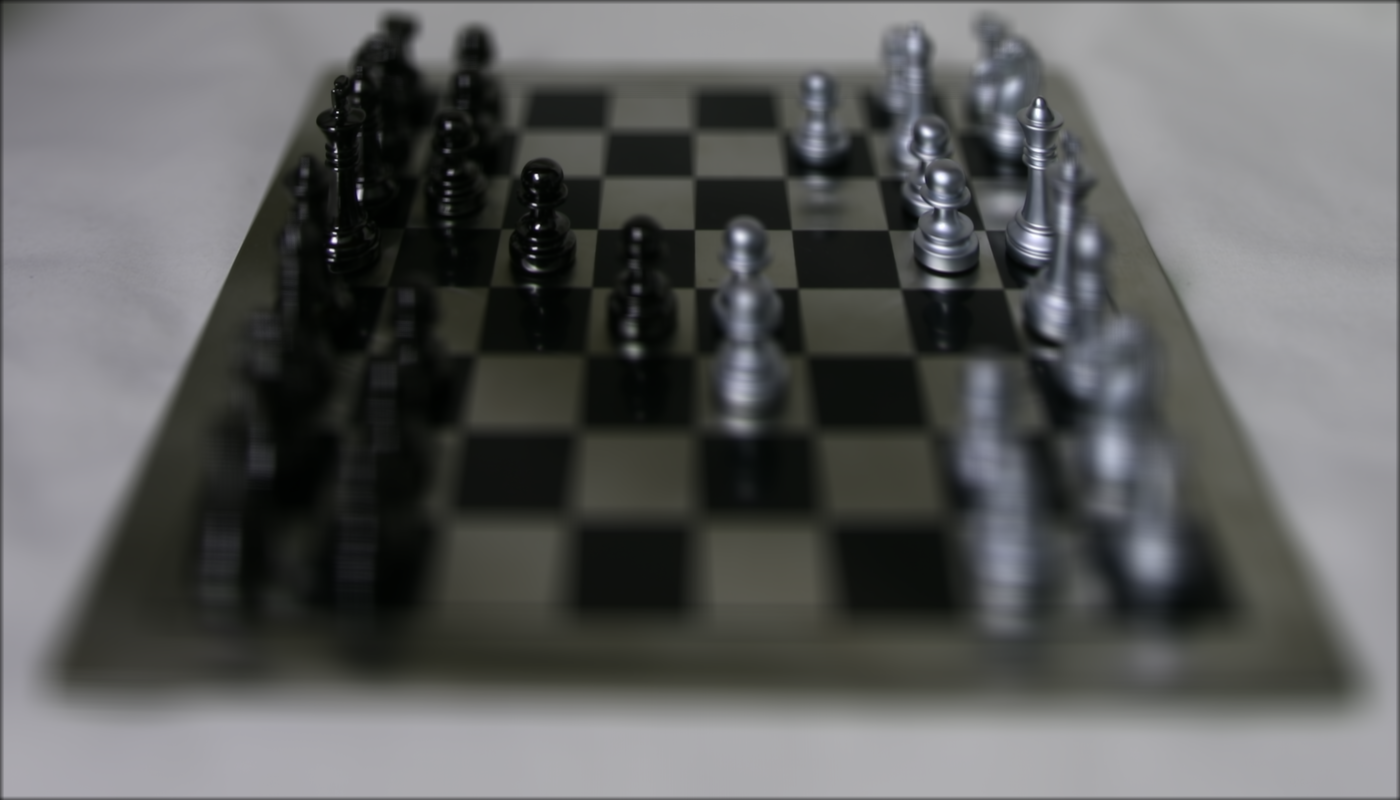
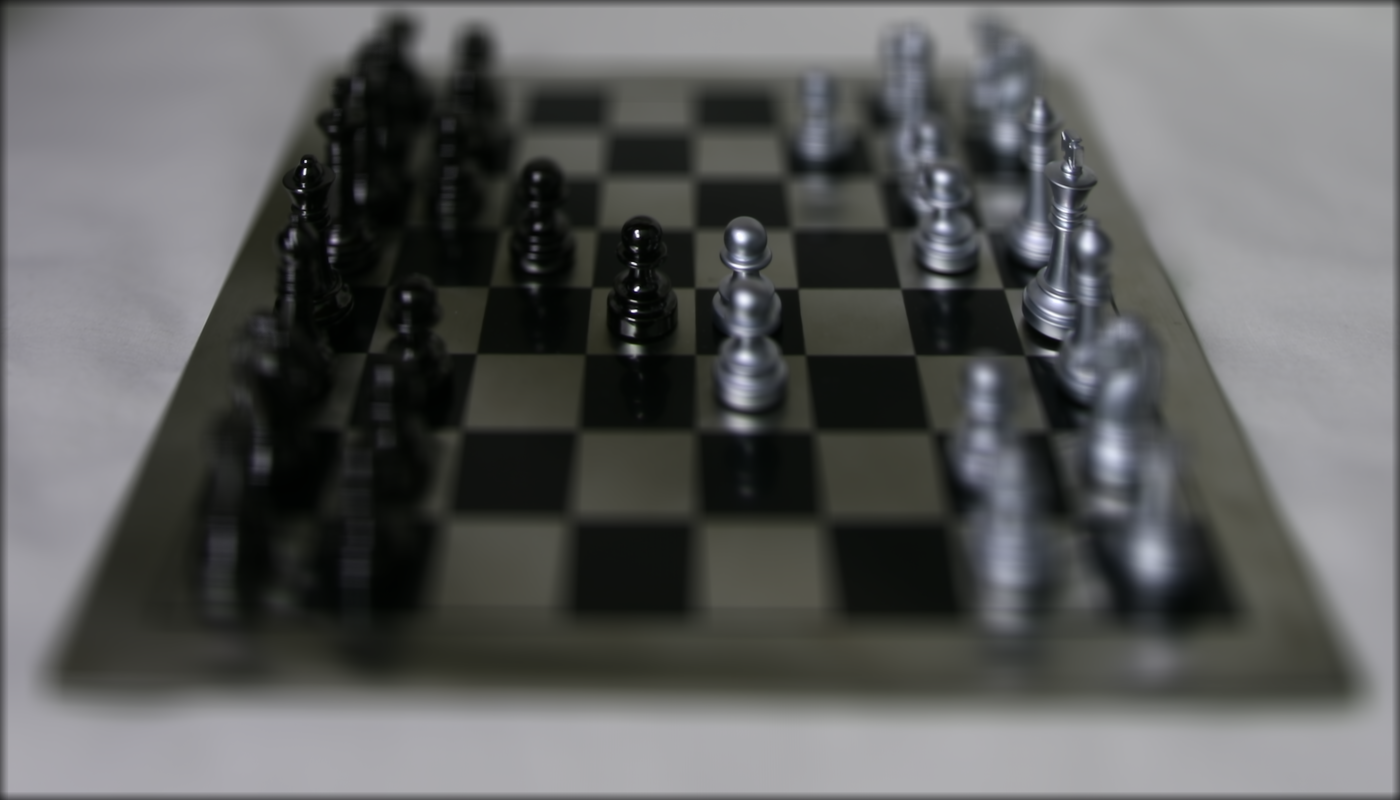
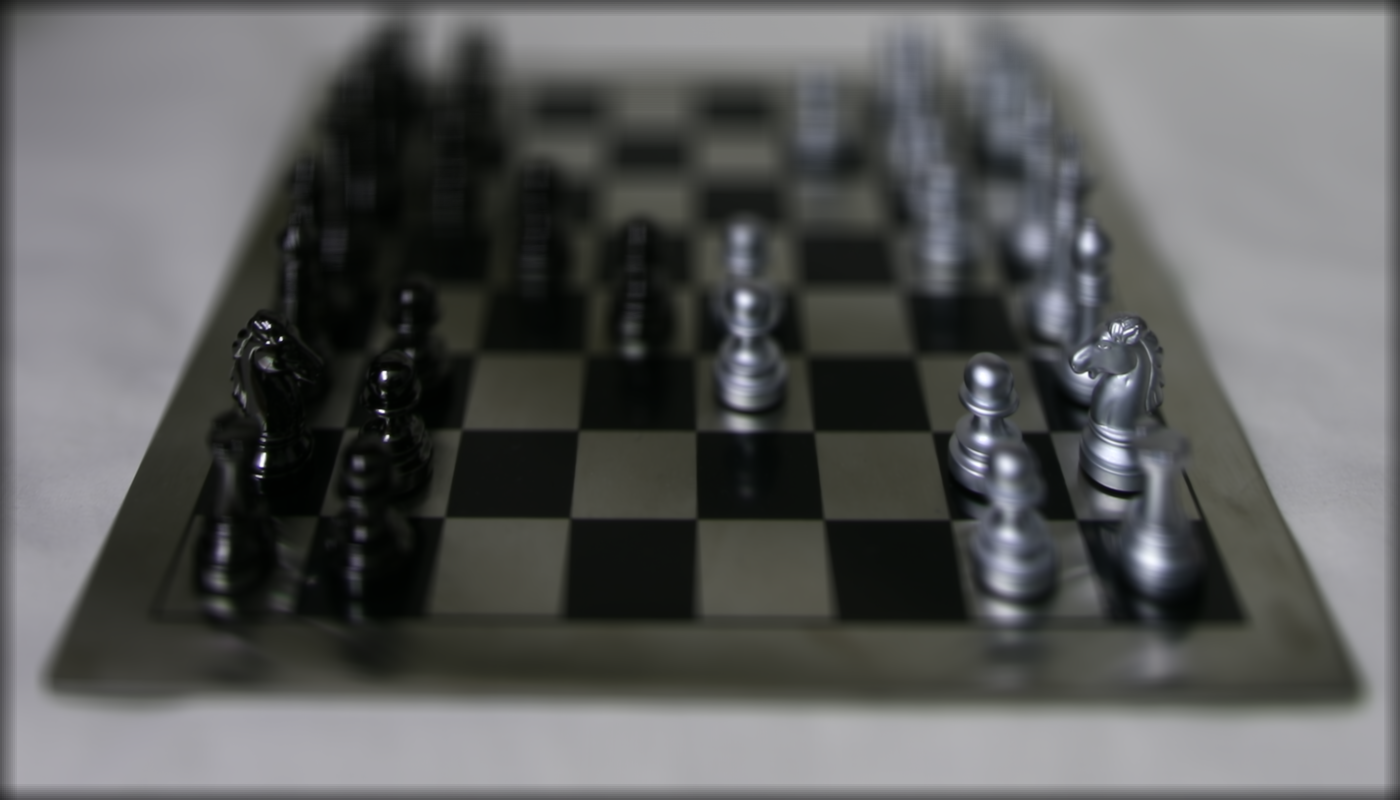
The depth to which the output image is being refocused to is dependent on the value of the scaling constant, c. A smaller c results in the focus being farther away. A large c results in the refocusing to be closer.
Results
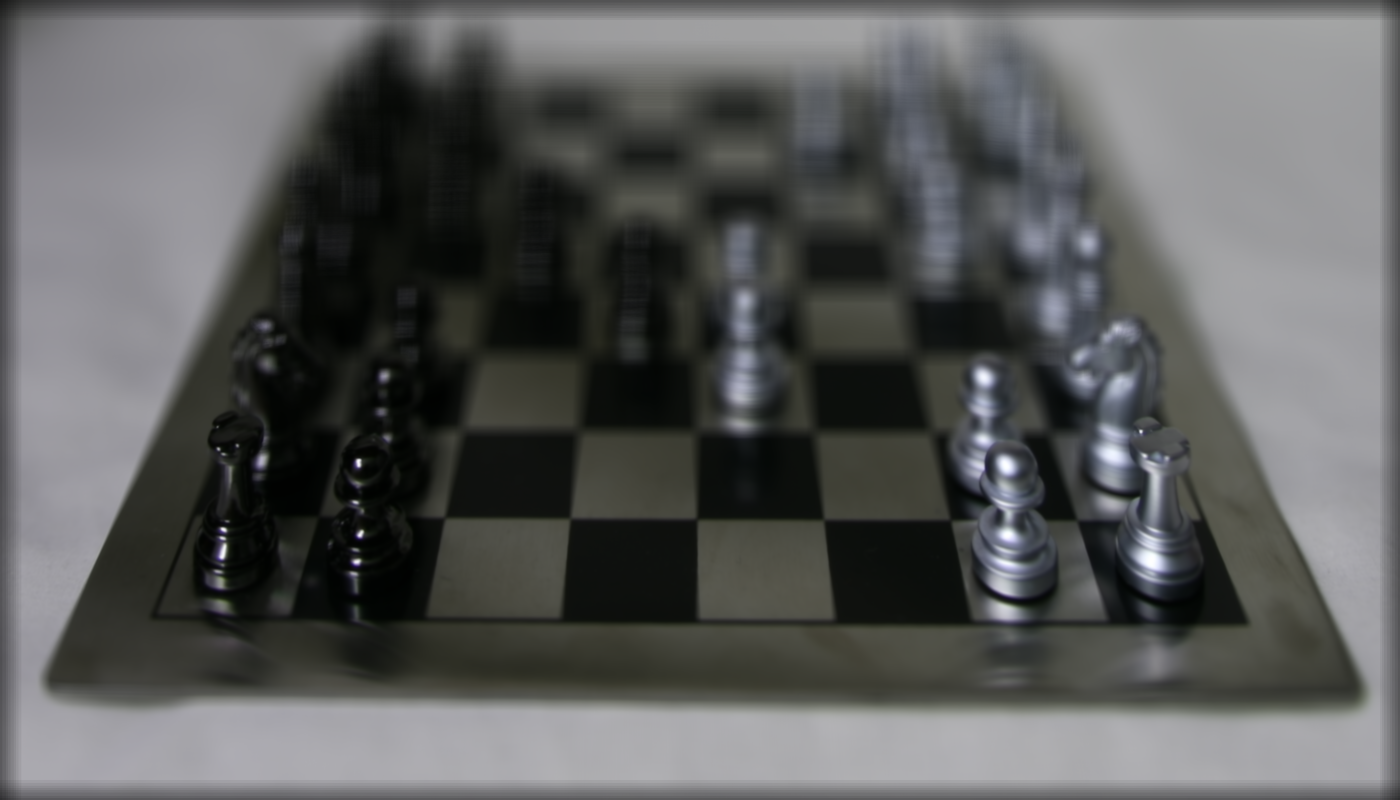
Chessboard
|
|
|
|
|
|
|

|
|
|
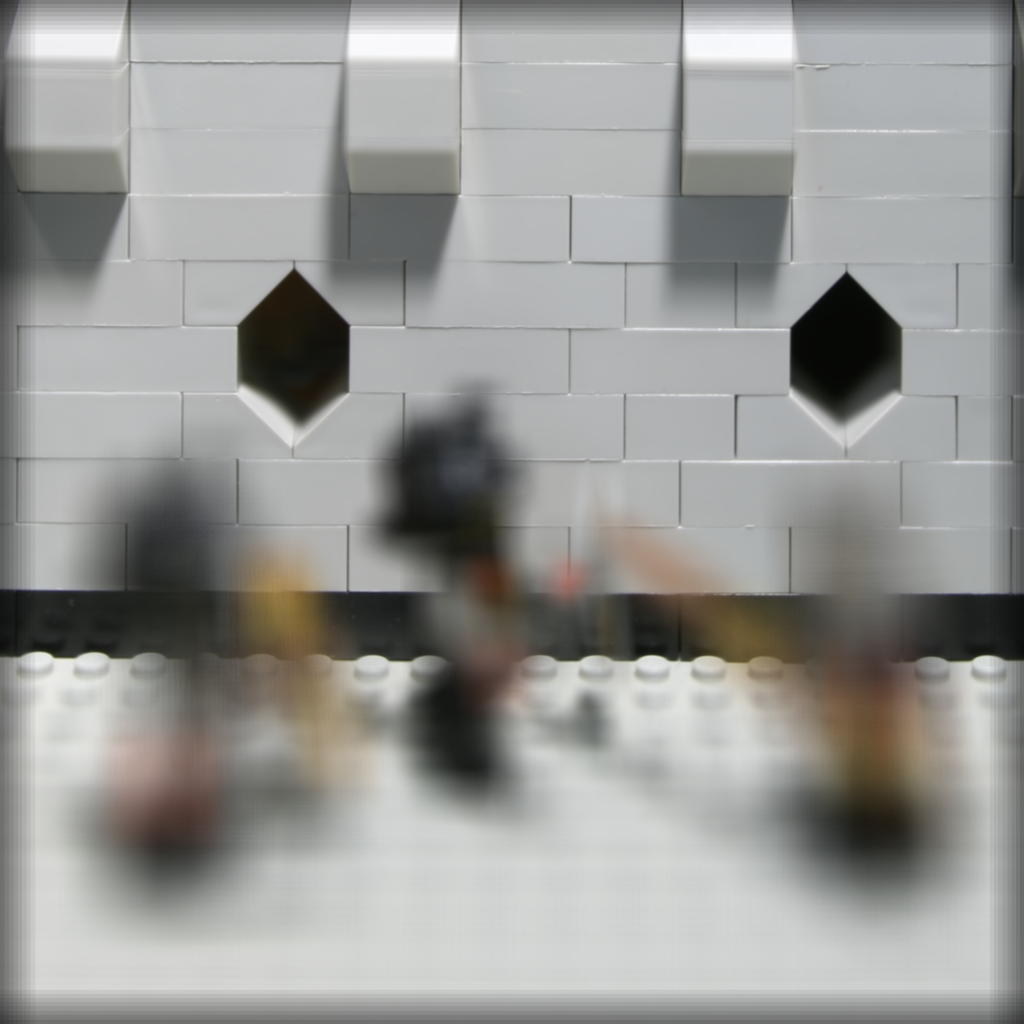
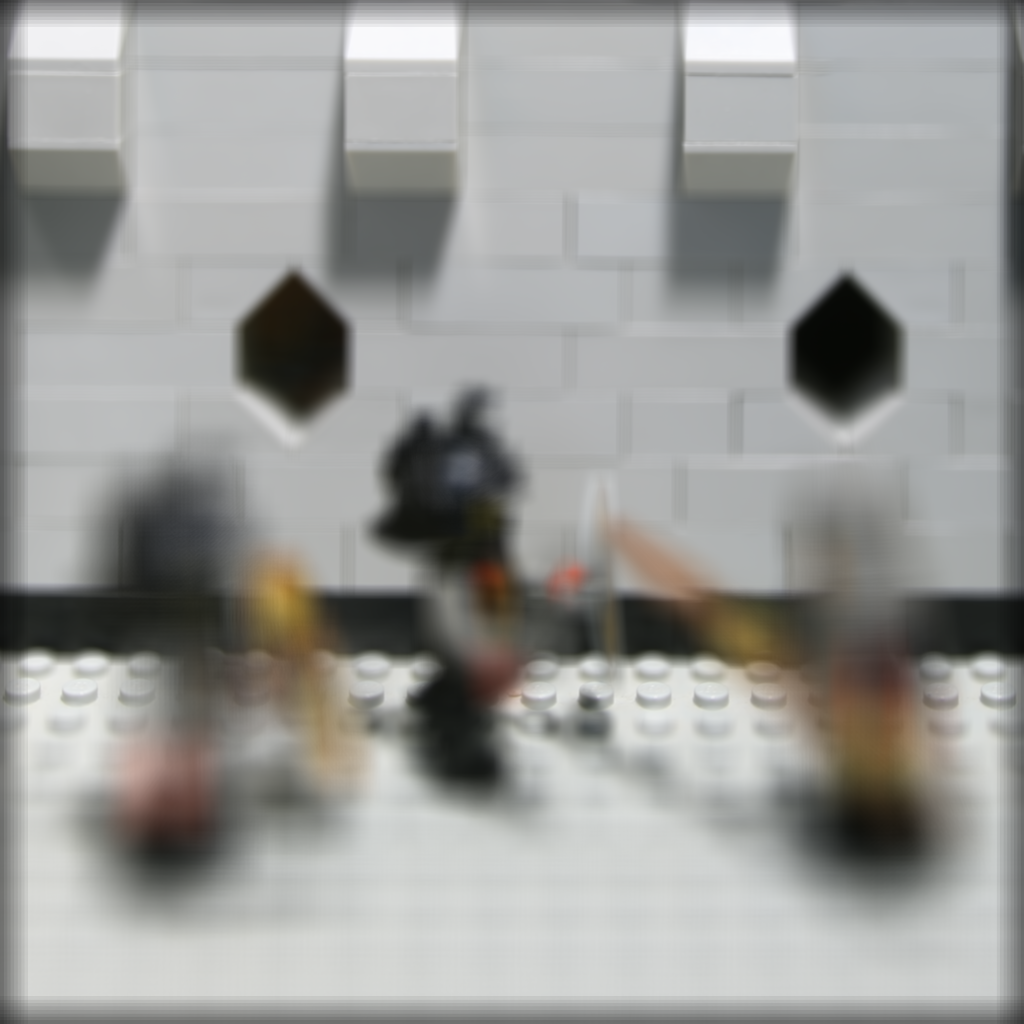
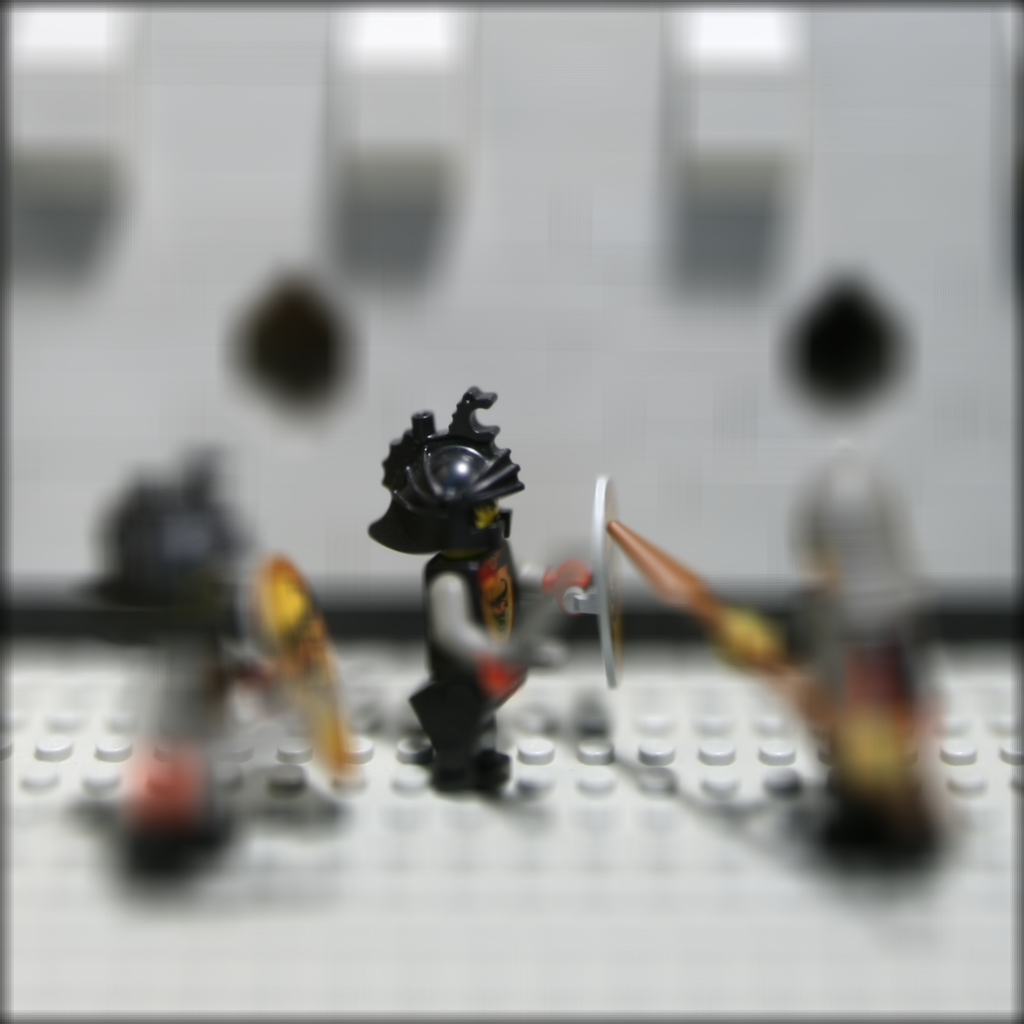
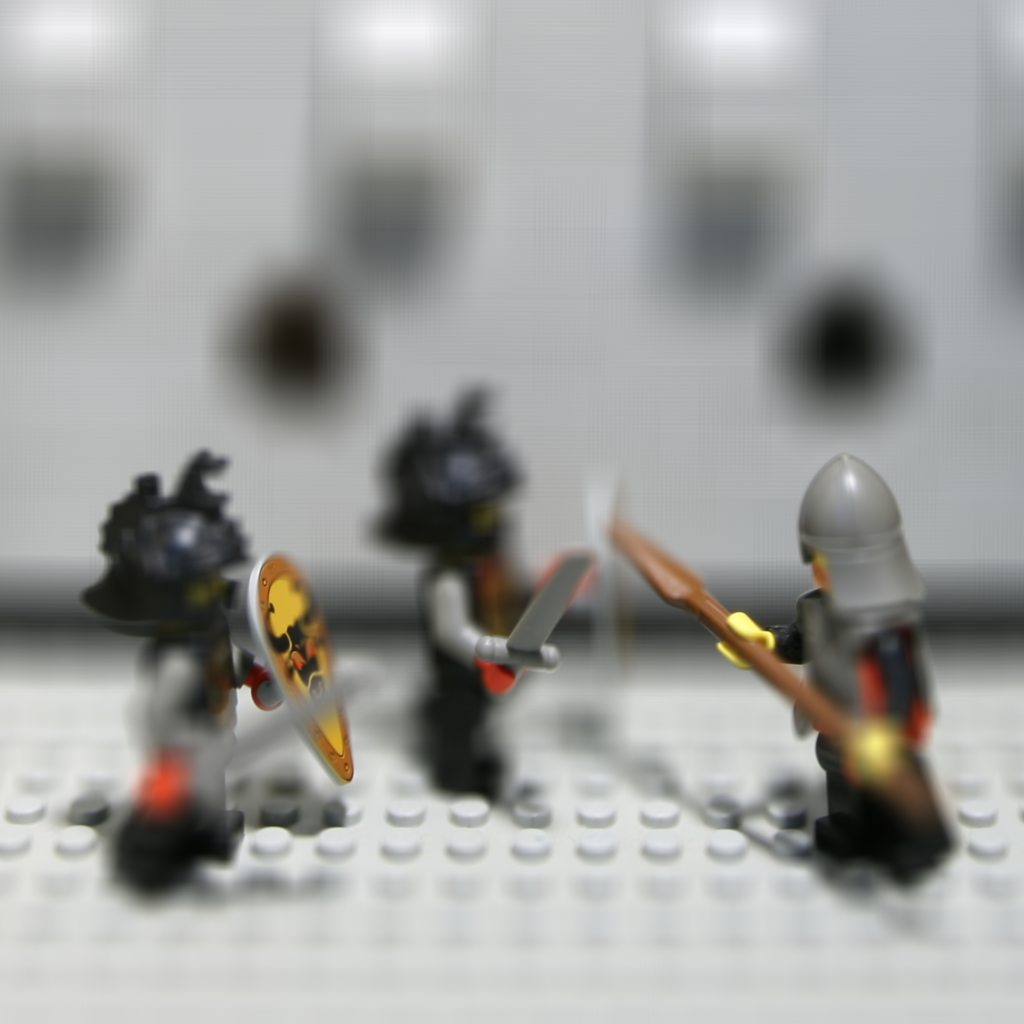
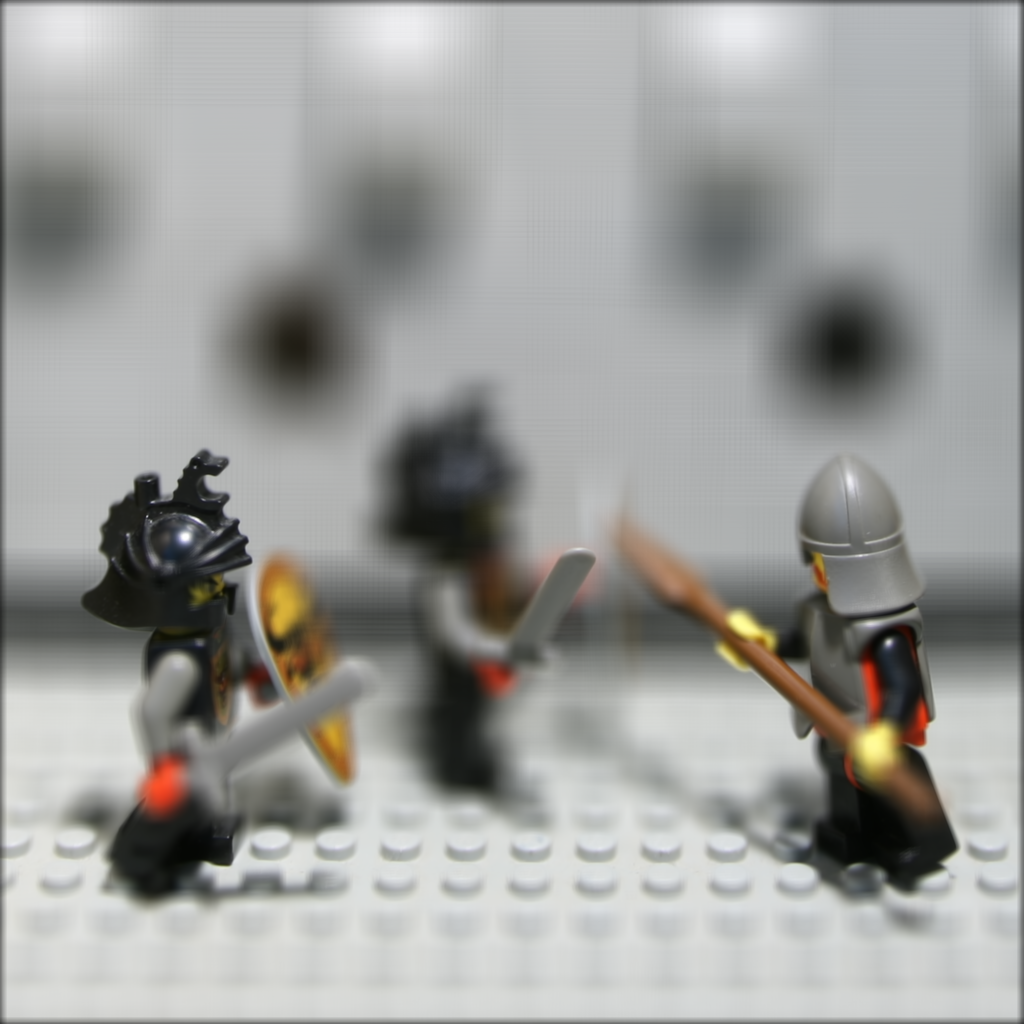
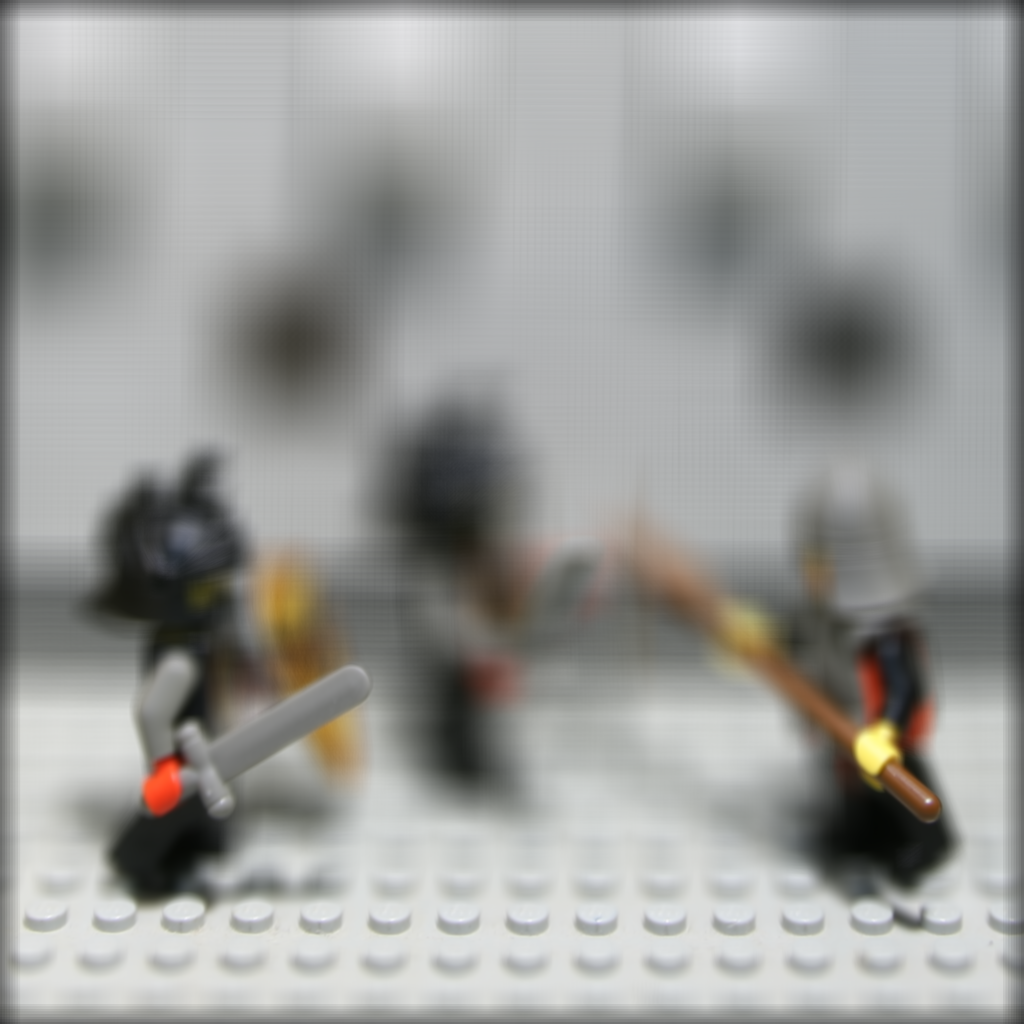
Legos (a better example)
We can really see the effect of the scaling constant, c, in these photos with the Lego grids. The refocused photos are arranged in ascending order. Similarly, we can observe the effect through the focus on the Lego grid rows.
|
|
|

|
|

|
|
|

|
|
Part 2: Aperture Adjustment
Approach
Adjusting the aperture of light field data is quite similar to depth refocusing, the only difference being that we don't shift any of the photos. We specify a radius, r, which corresponds to how large we want the simulated aperture to be. To adjust an aperture to a radius, r, we use the following algorithm:
For each image in the dataset within radius, r, from the reference image:
- average the image result into an output image
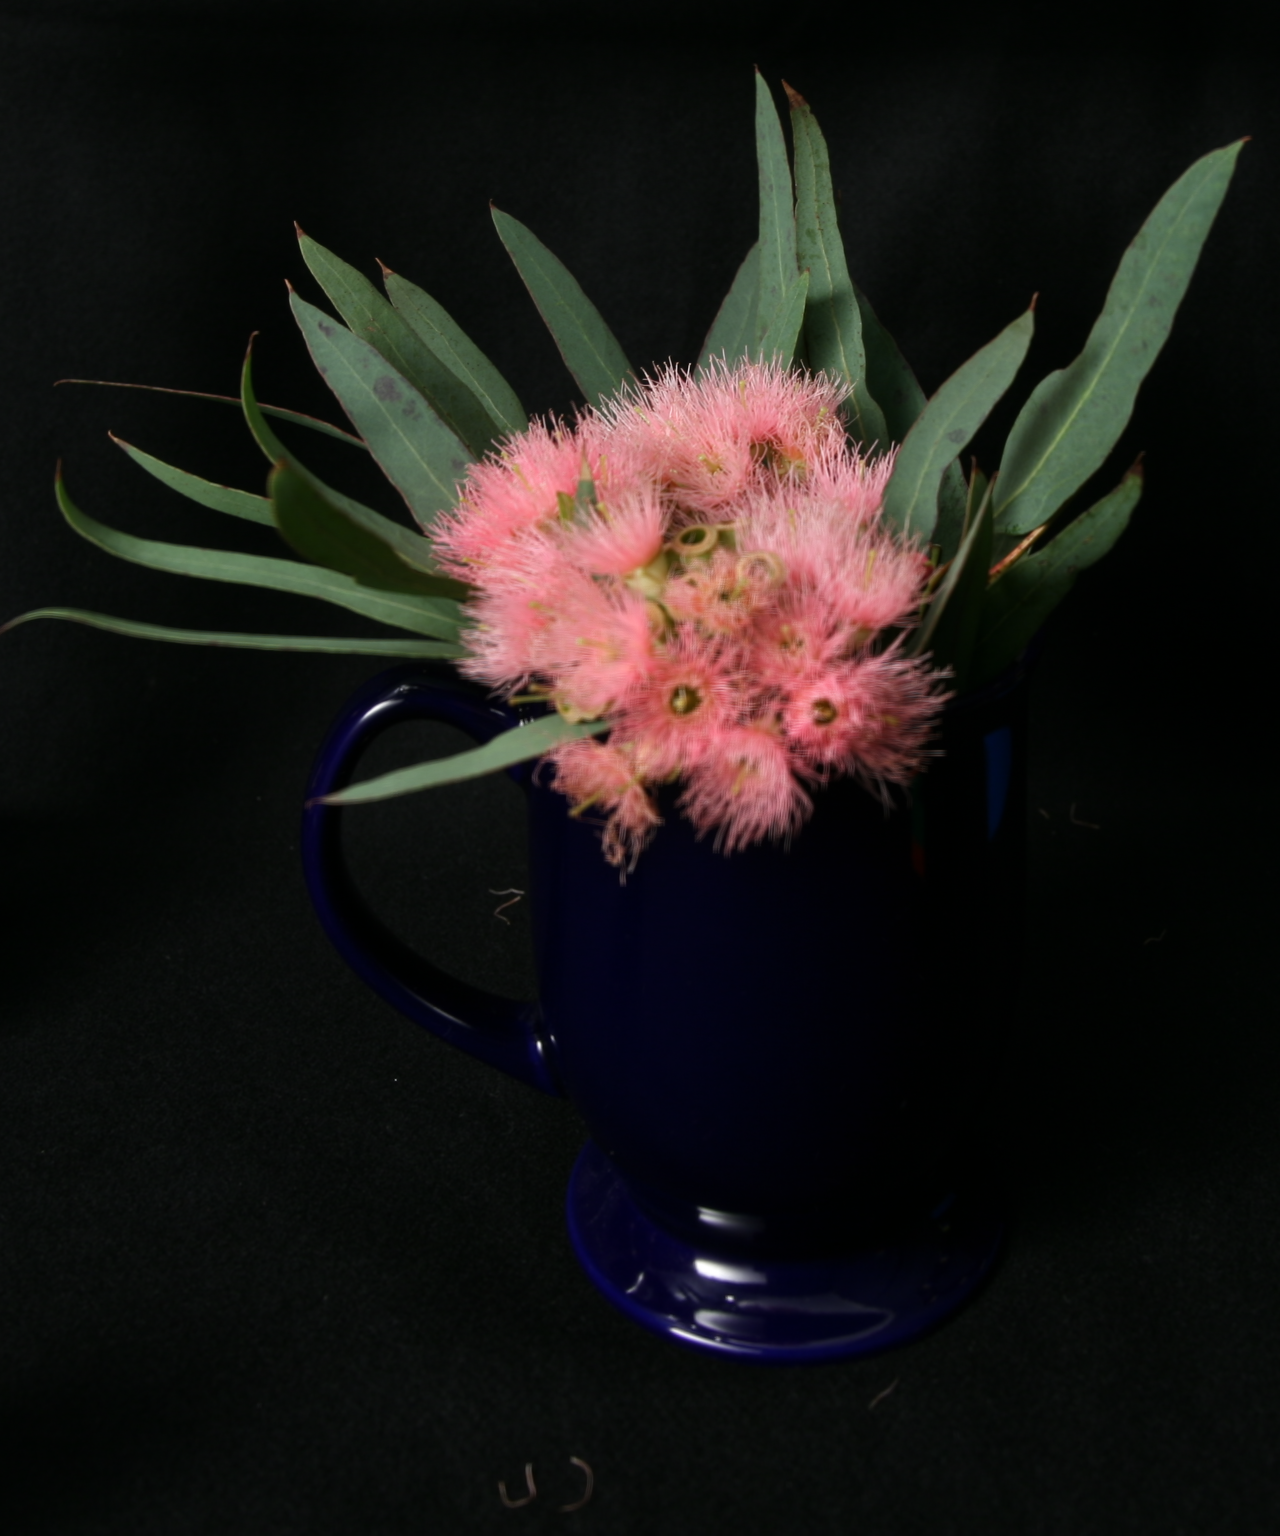
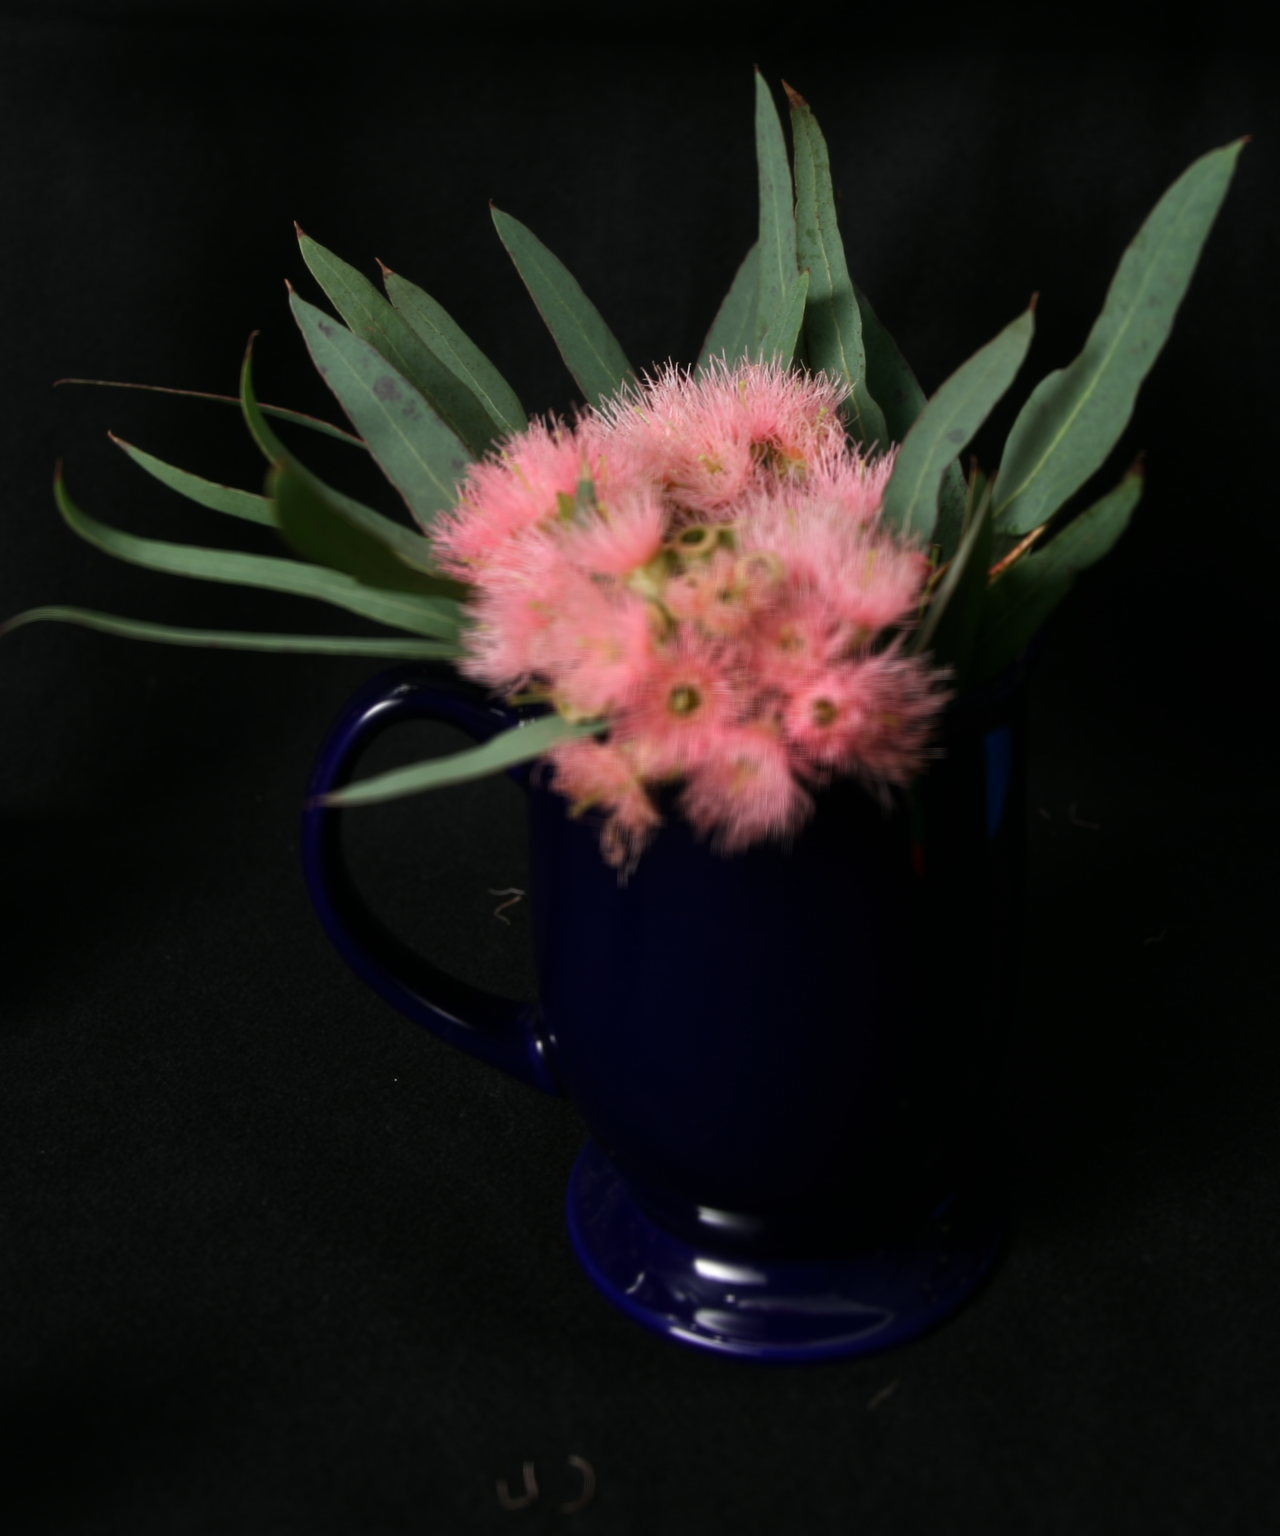
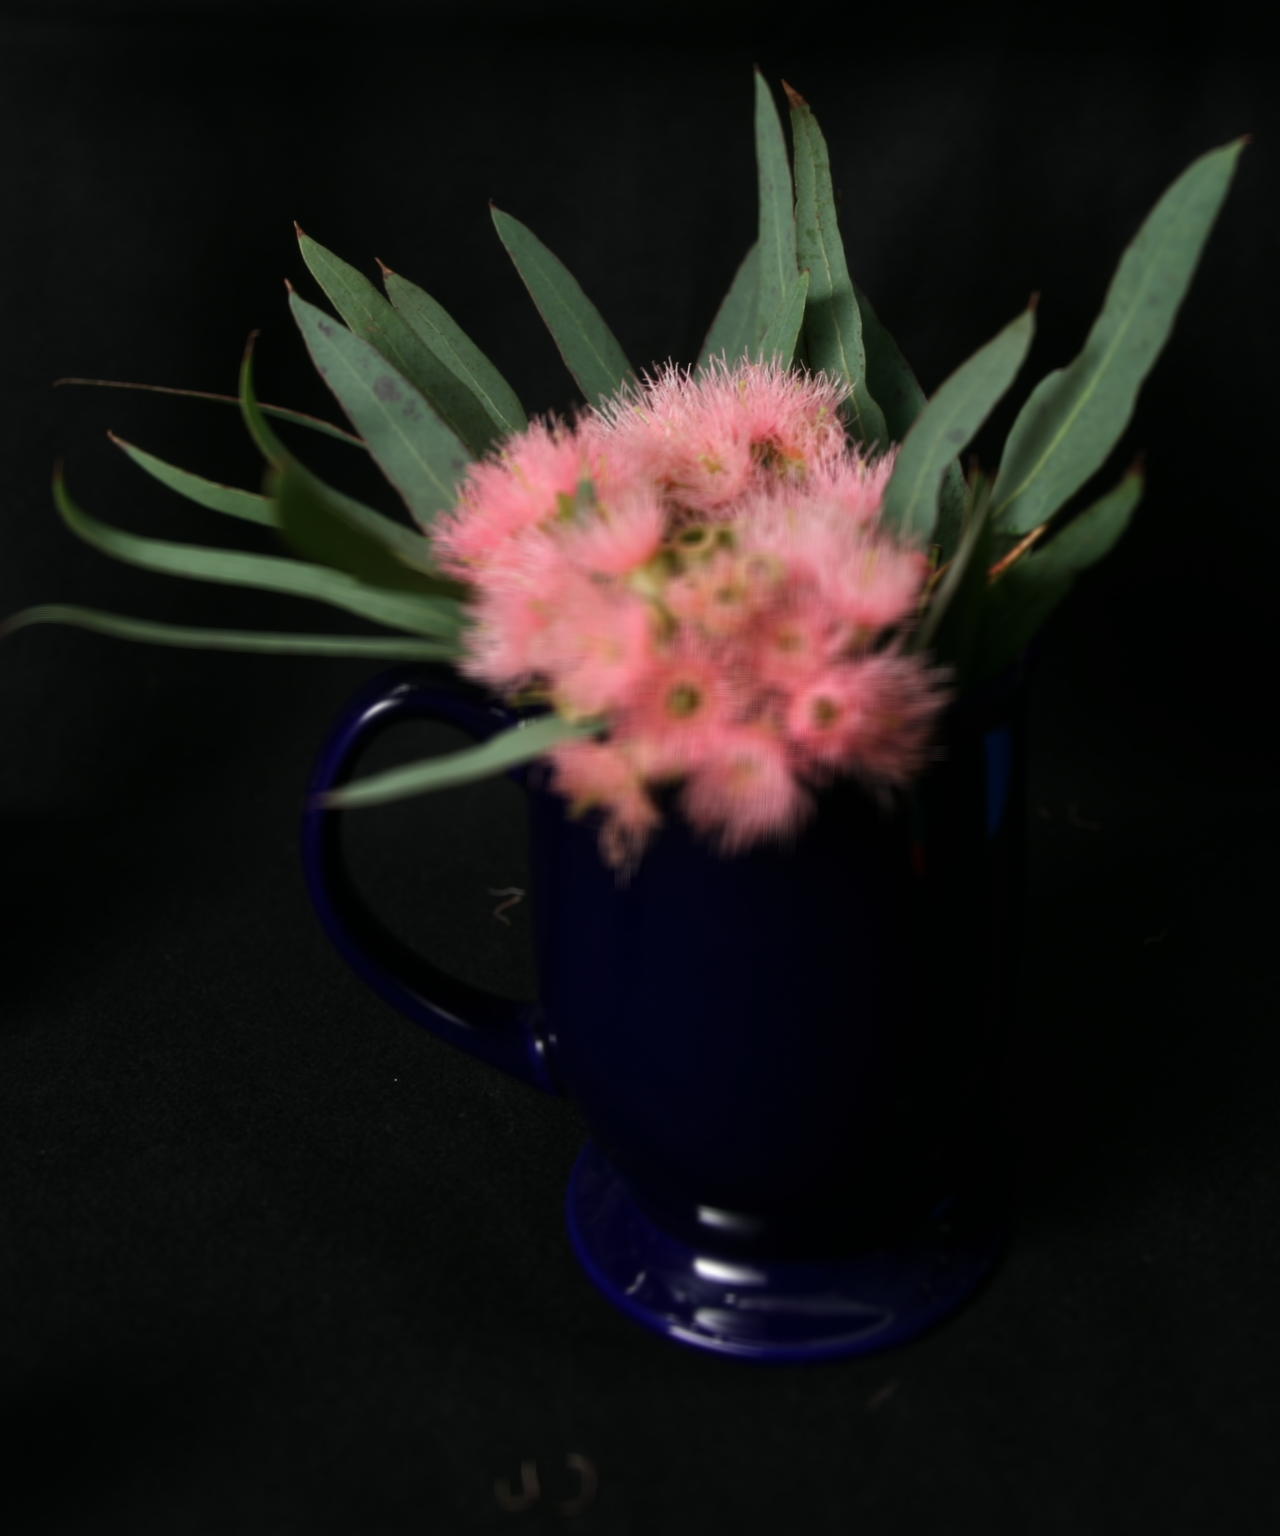
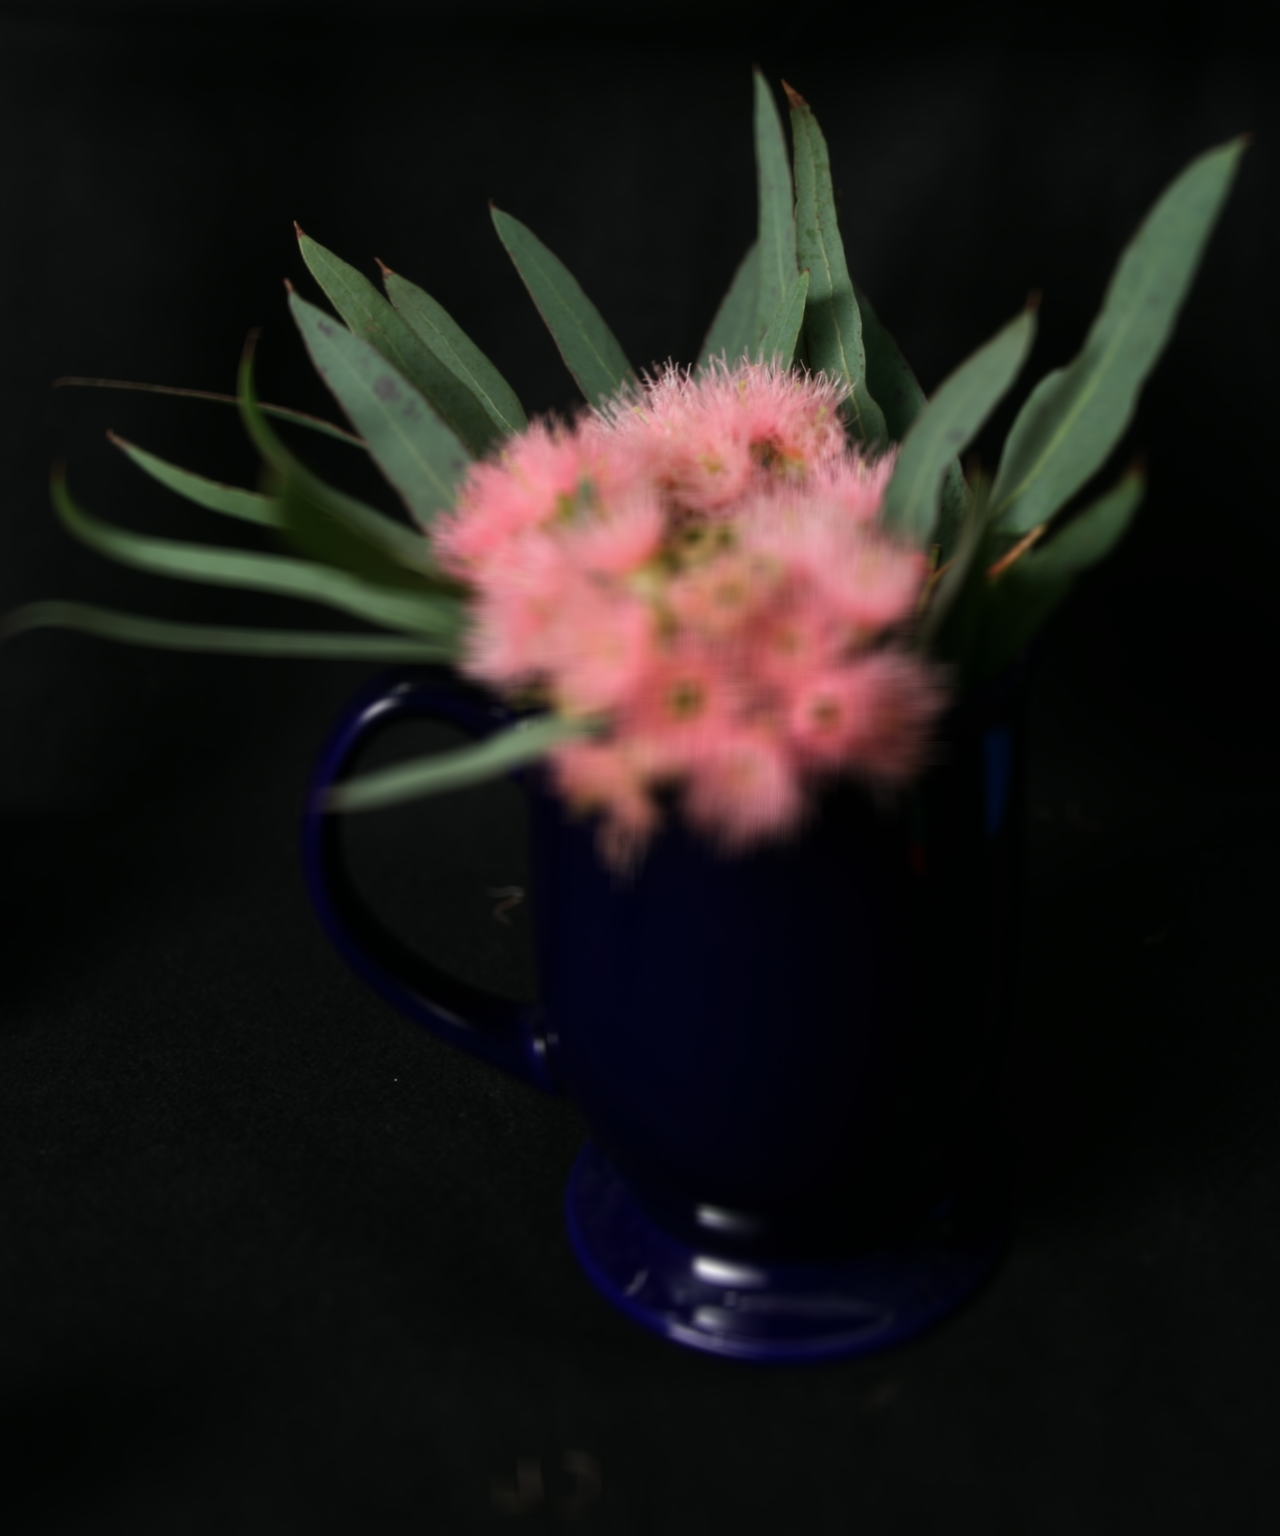
The important point here is that we only average the images that are within that radius, so a subset of the original photos. The more photos we average, the wider the aperture, and the more focused the resulting image is (more blurring).
Results
Flowers

|

|
|
|
|

|
|
Conclusion
This project has taught me a lot about light fields. I'm also interested in phtoography in general, so it has been cool to see how we can use the light field data to manipulate the depth of field and simulate different aperture sizes. I wish I had my own plenoptic camera because many times, I'll take photos and discover that I should have used a different aperture after the fact when I'm editing. If I had all the light field data, I could easily manipulate my own photos to achieve a look that I like.