Overview
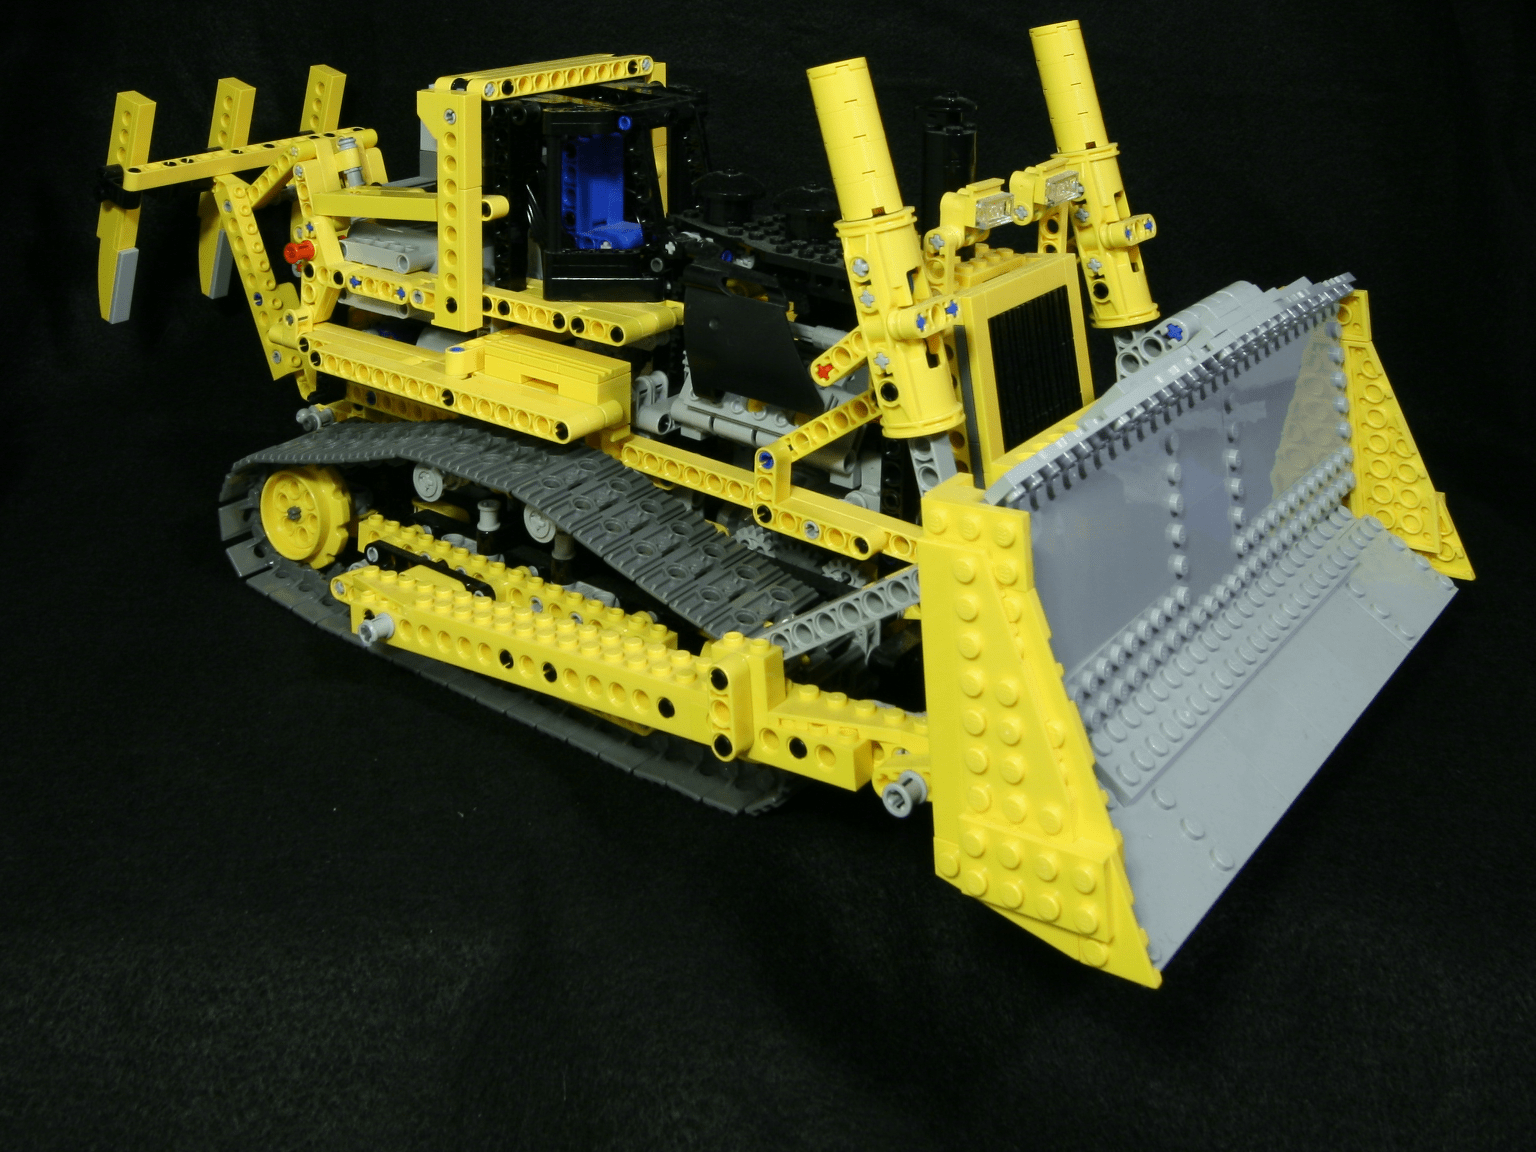
Lightfields are an interesting extension/generalization of a camera. A lightfield is generated by taking many pictures of the same scene from many different points in a 2D grid. The scene/object of interest can be seen as a point that sends out light rays in all directions, and a single camera shot captures all light rays that pass into that point in space. By moving the camera around, we capture all the light rays intersecting many different points, giving us an 'object' plane and an 'image' plane that can essentially be interpreted as a 4D dataset of the scene!
Part 1: Changing Depth of Field
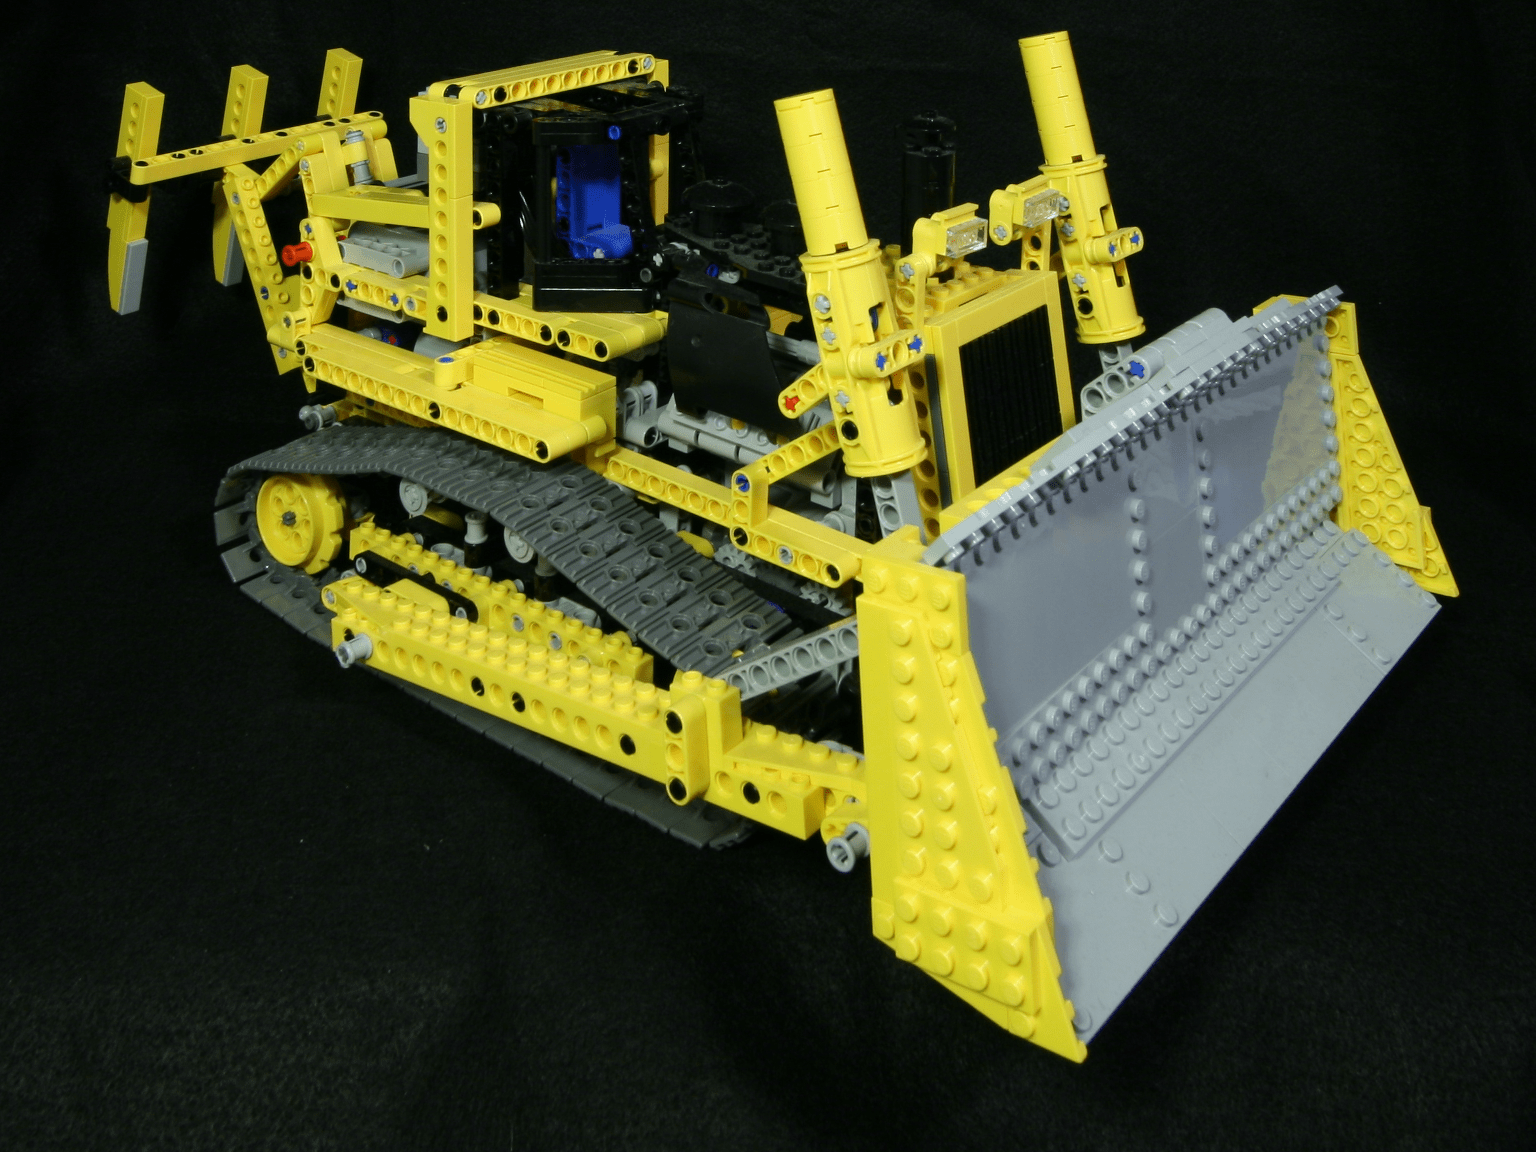
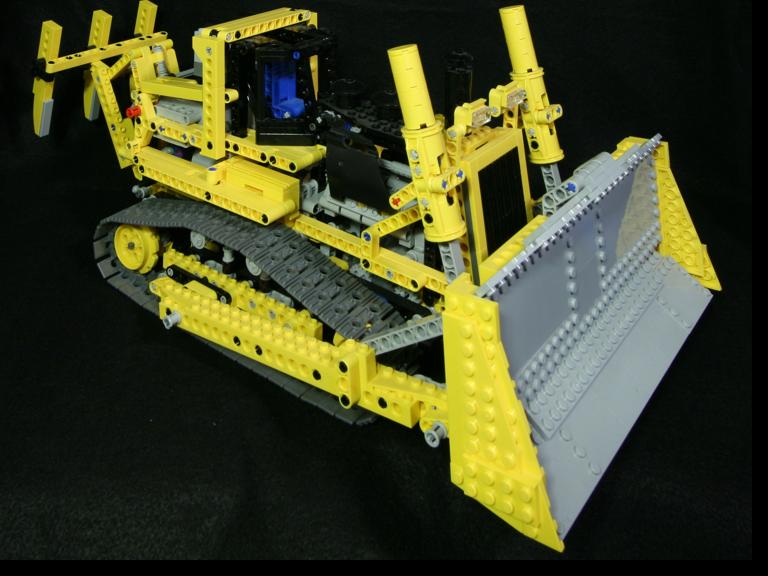
By averaging all the images in a dataset, we get a view of what a camera positioned in the 'image' plane would see. Far away objects do not move much between differently positioned shots and are clear, while close-up details move around a lot and end up blurred due to the averaging.
But what if we could move the image plane? Shifting and re-averaging all the images in the light field gives the effect of re-focusing the image at a different depth of view. Pretty cool! More specifically, each non-center image is shifted by C * ∆(x, y), where C is a constant that determines new depth of field; C's sign determines whether to shift the DOF closer or further away, and the magnitude determines the amount of shift.
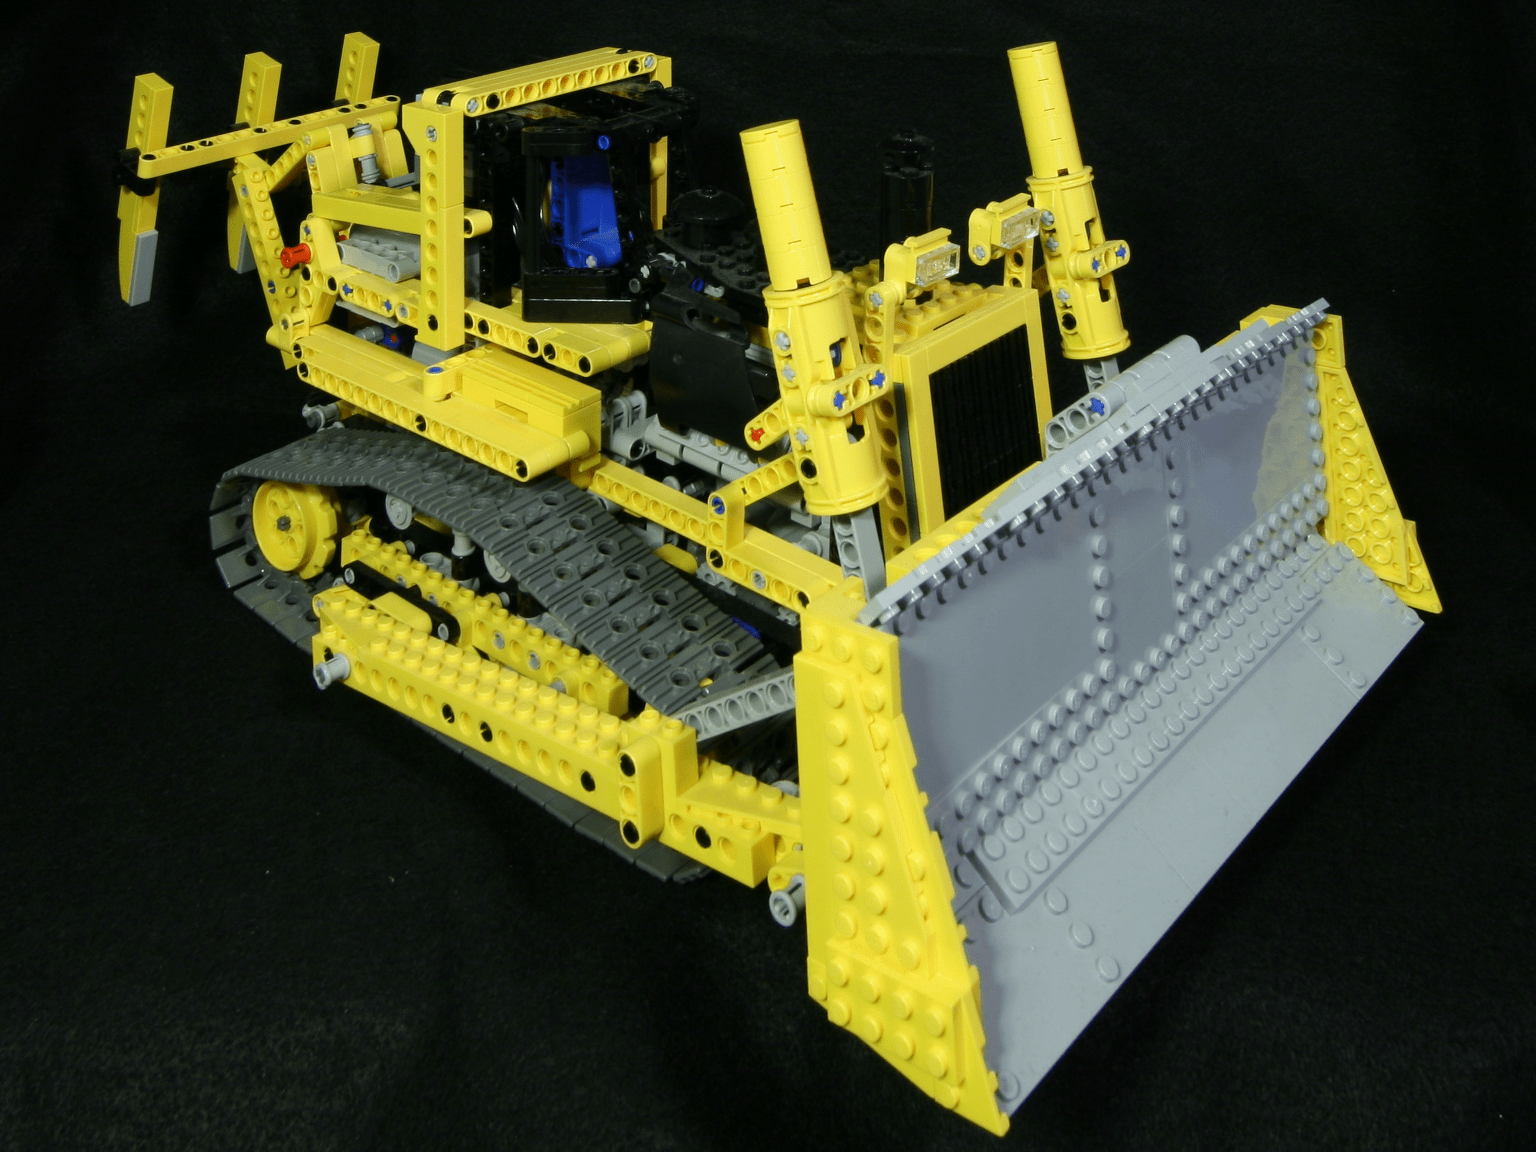


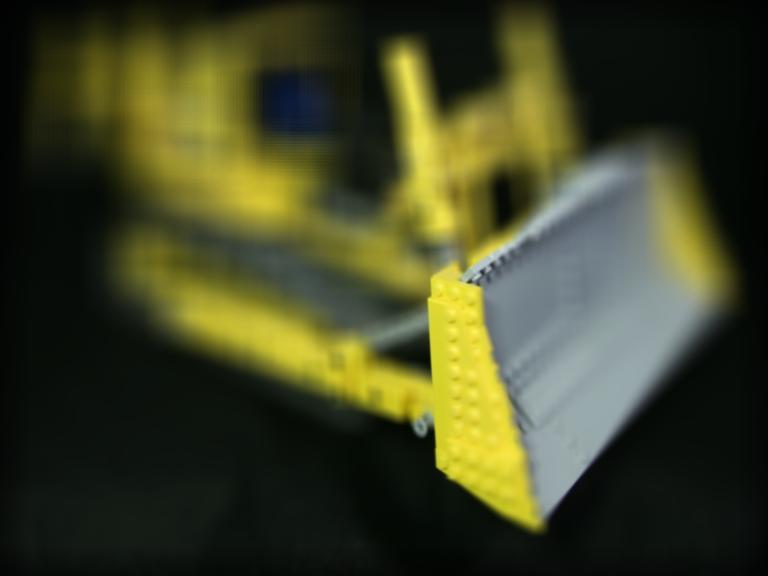
Part 2: Changing Aperture
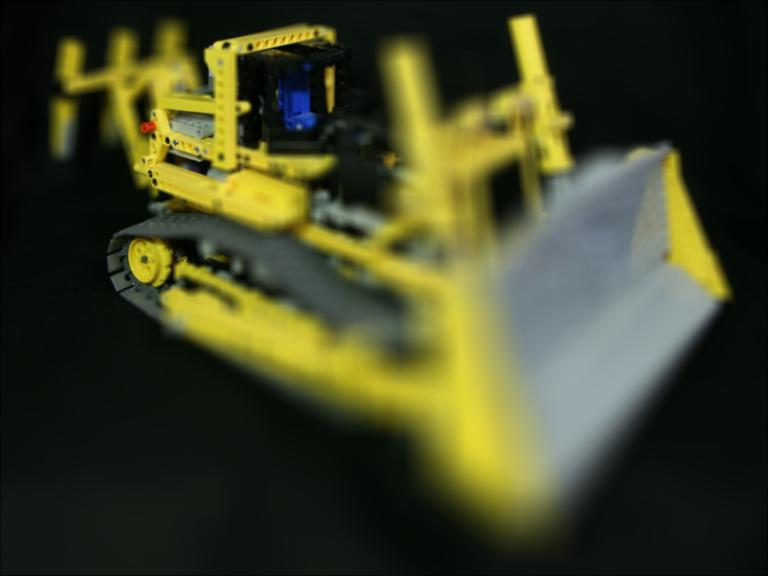
Now instead of shifting and averaging all images we'll inspect what happens when we choose just a certain subset of perspectives in the lightfield. If, by choosing a depth and holding it constant, we also define a "radius" (just the Euclidean distance between the center of 2 images in the grid), then we can average only images up to a certain radius from the depth of interest. This has the effect of focusing on the same part of the scene but changing the aperture of our synthetic camera, allowing more or less of the scene to be in focus.
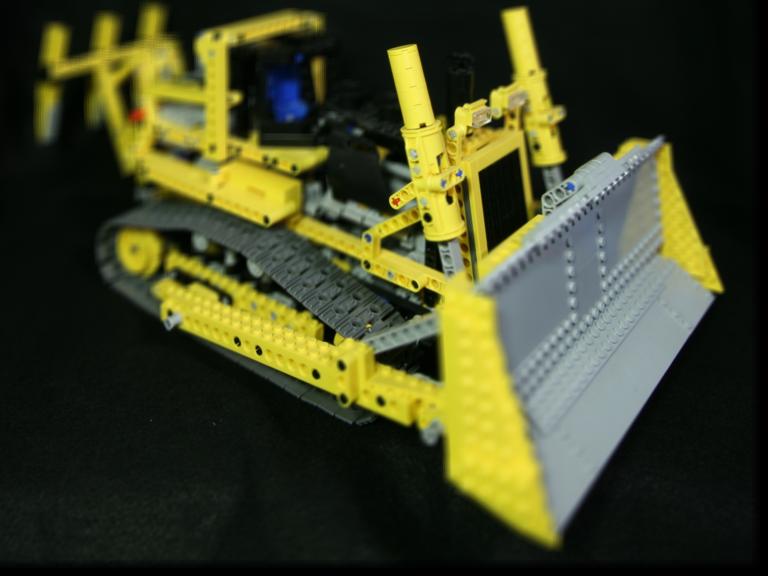
but more and more of the surrounding becomes blurry.

Conclusion
When it came to other projects in class I knew such things were possible (image alignment, iamge blending, face morphing), I just wasn't aware of the underlying mechanics and mathematics until I got a hands-on experience with them in this course. With lightfields and 3D cameras, however, I had no idea such a thing was possible!! So it was especially fun to be completely amazed by a new process to capture and visualize visual information (in this case the 4D lightfield).
Moral of the story: high-dimensional data is fun if you know how to index it.