CS194-26 Project 5: Depth Refocusing and Aperture Adjustment with Light Field Data
Depth Refocusing
In this part of the project, we generated multiple images that focused at different depths. To do this, I focused on one point on the image grid as a reference (I chose the image at (8, 8) because the image grid is (17, 17)). Then, for the images at the other positions, I got their u, v values and took the difference from the reference image u, v values and the u, v values of the images at the other positions. I shifted the image by a constant from -1 to 1 times the difference in u, v values for each image. After that, I averaged those images together. The c constant can be changed to focus at different parts of the image.
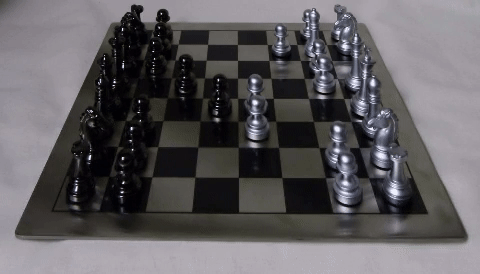
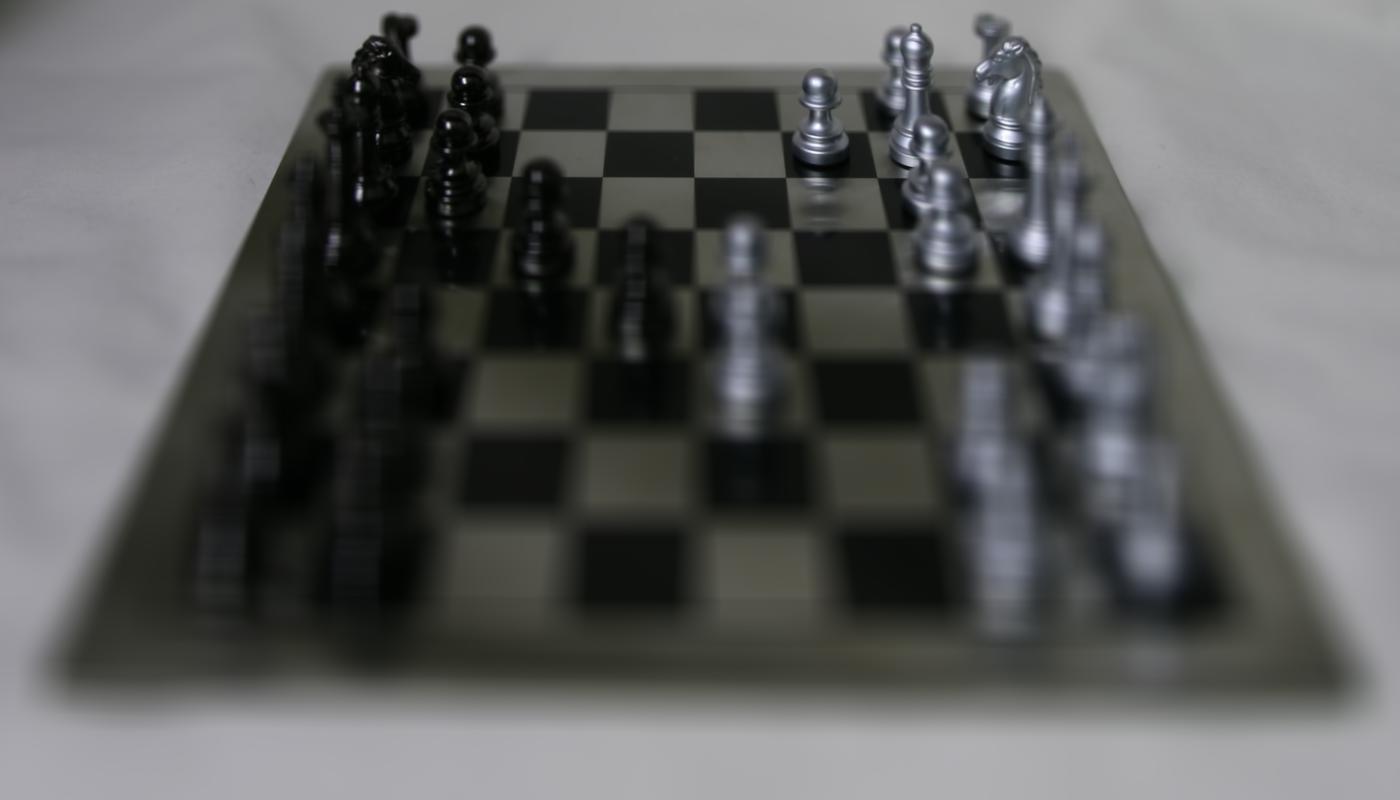 Average of All the Images without Shifts
|
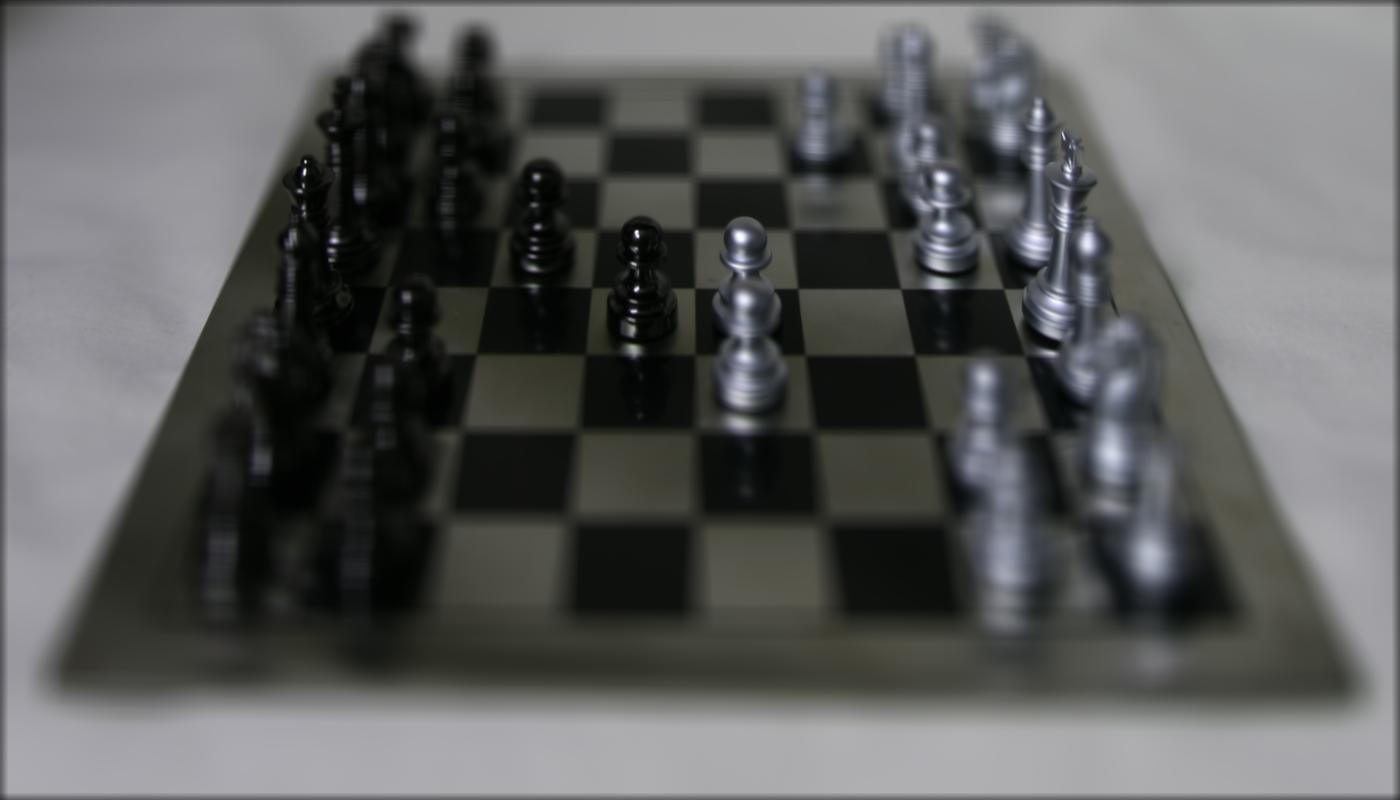
 c = -0.2
|
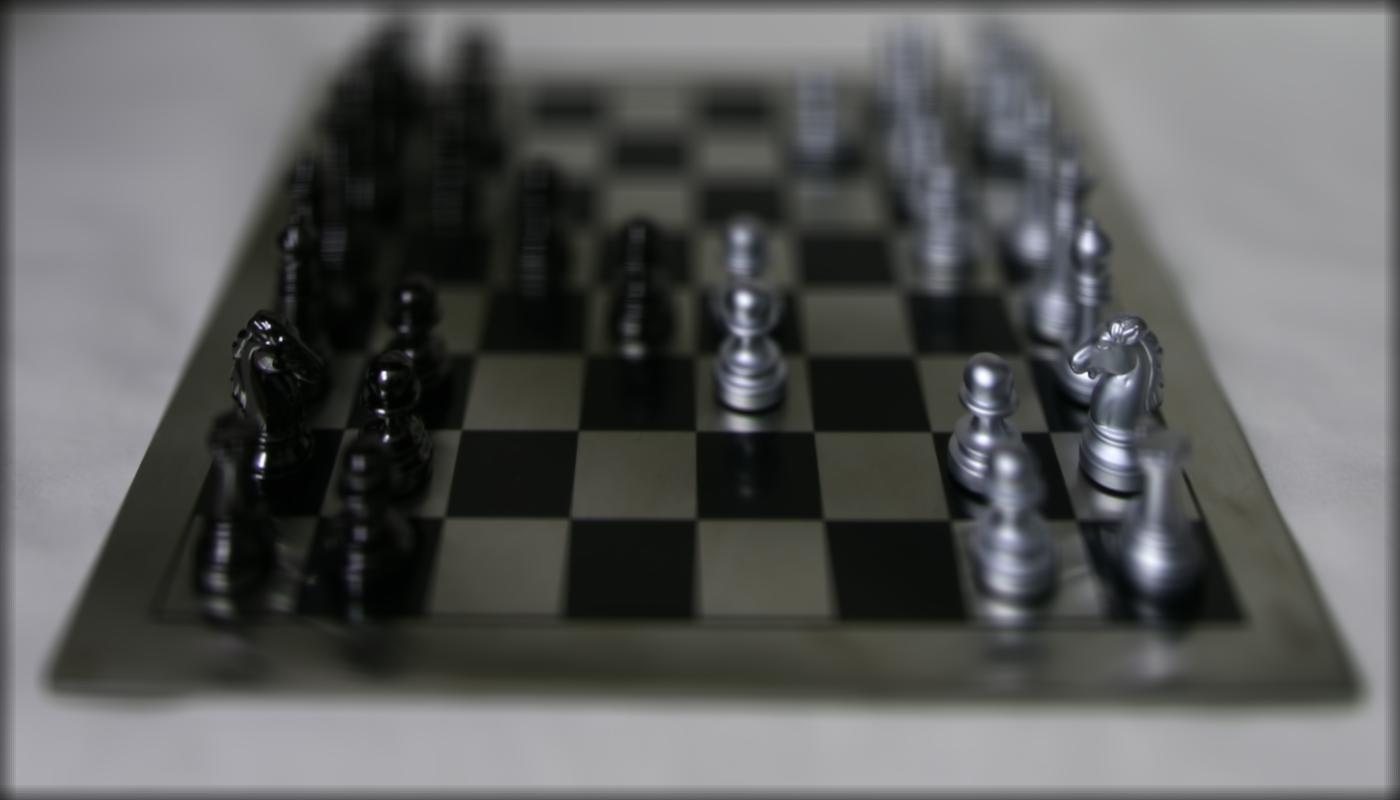
 c = 0.2
|
 c = 0.4
|
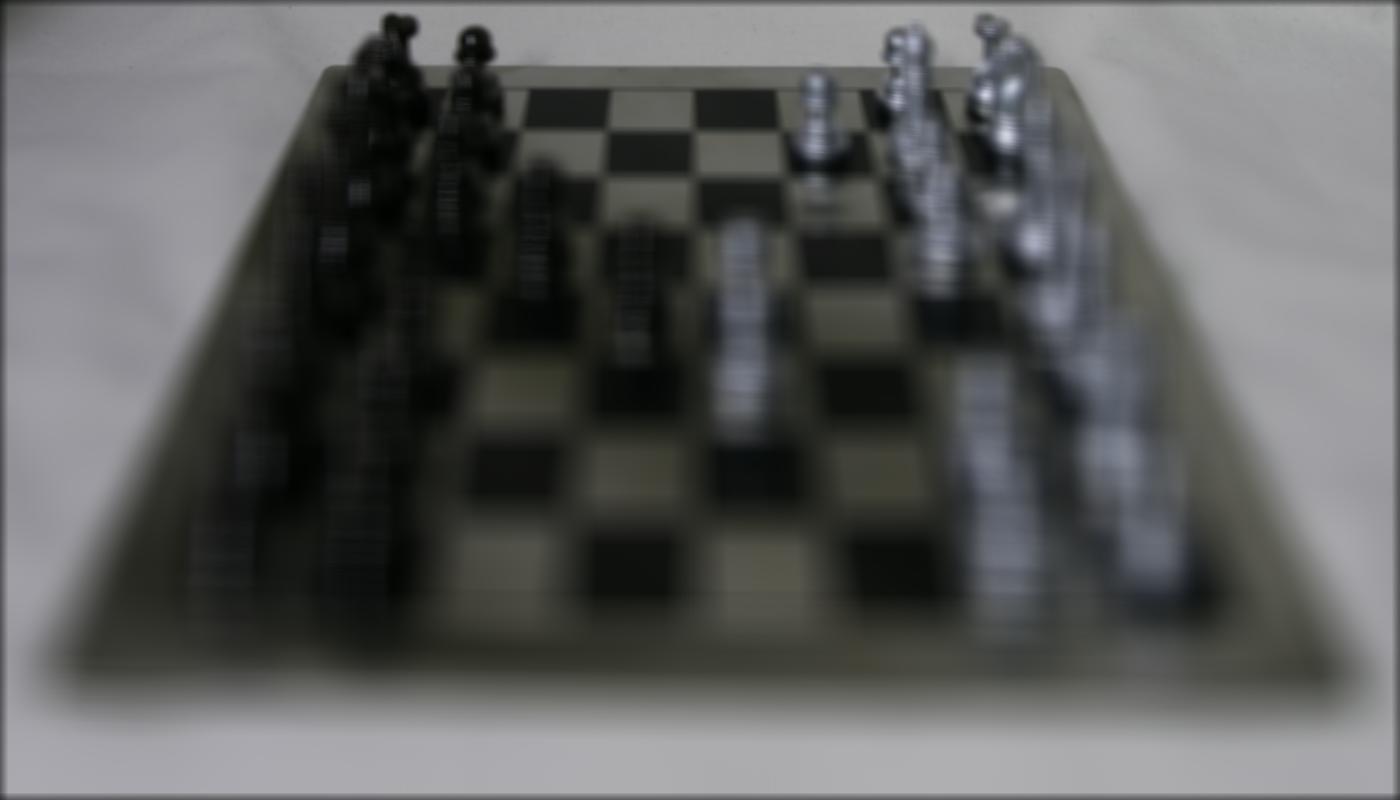
 c = 0.6
|
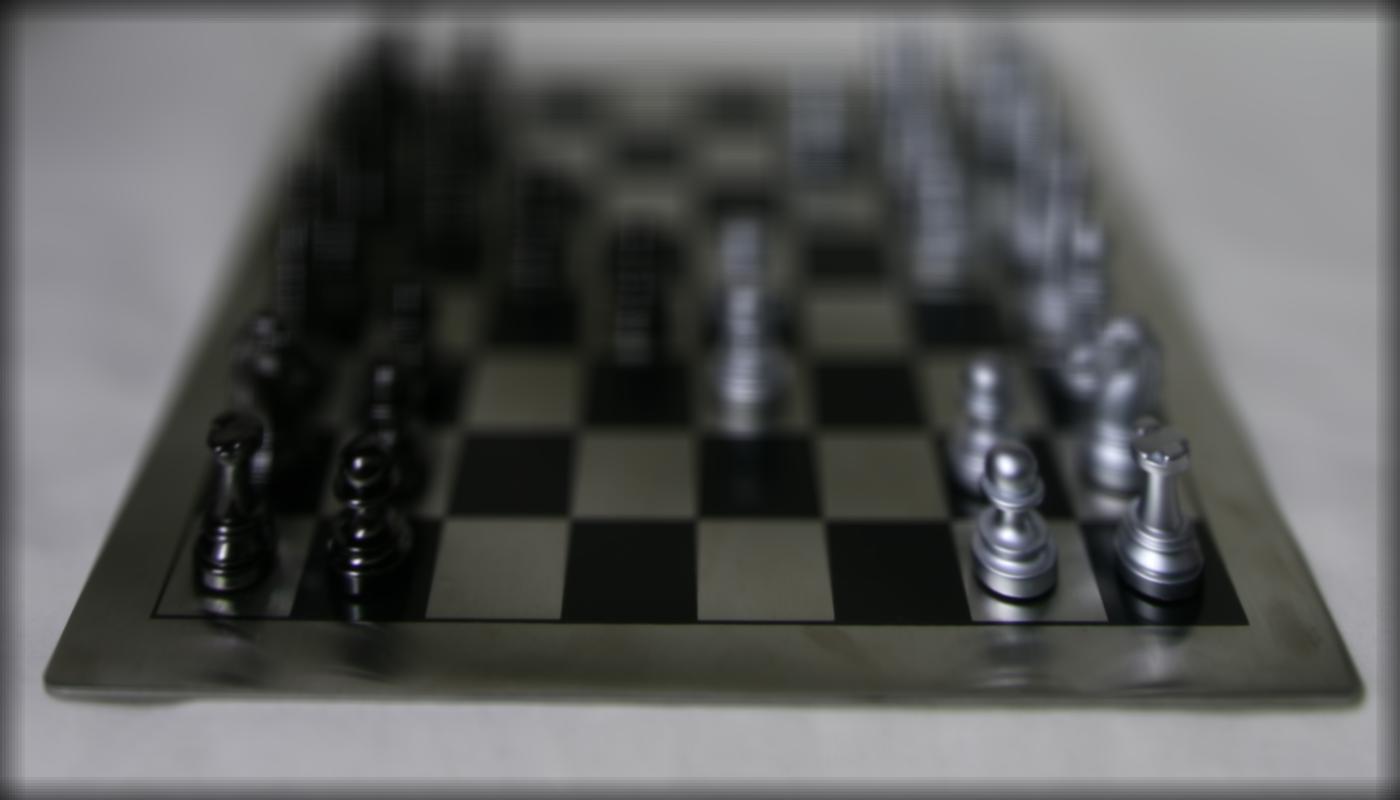
 GIF Showing c changing from 1 to -1, step size 0.2
|
Aperture Adjustment
For this part of the project, we changed the aperture of the image. Here, we pick a reference image (I picked the image at (8, 8)), and pick a radius. A smaller radius means a smaller aperture, which means there's more of a clear image. A bigger radius means a bigger aperture, which makes the clear region smaller. So, we just average the images that are within the distance of the chosen r. The bigger the aperture, the more images there are to average.
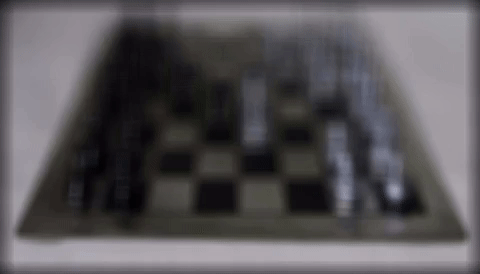
 GIF Showing Radius from 0 to 1
|
Summary
I learned that it's really easy to mimic depth refocusing and aperture adjustment using code! From this project, I learned that using images taken from different positions, we can capture multiple dimensions of the light field and use that data to artifically change the depths and apertures of the images.