CS194-26 Project 5 - Alex Zhang
Overview
In this assignment, we explored using lightfields to create images with varying focuses and apertures.
Depth Refocusing
For this part, we used the metadata embedded in the name of each file as the u,v coordinates mentioned in lecture. Then, we chose the u,v coordinates of the image at grid position (8,8) to be the center of reference and calculated the difference between each image's u,v coordinates and the center's u,v coordinates. Finally, we shifted each image by that amount scaled by a scalar c. The results for different values of c are displayed below:
c=-.25
c=-0.0125

c=0.225
c=0.4625
c=.7
Gif of refocusing
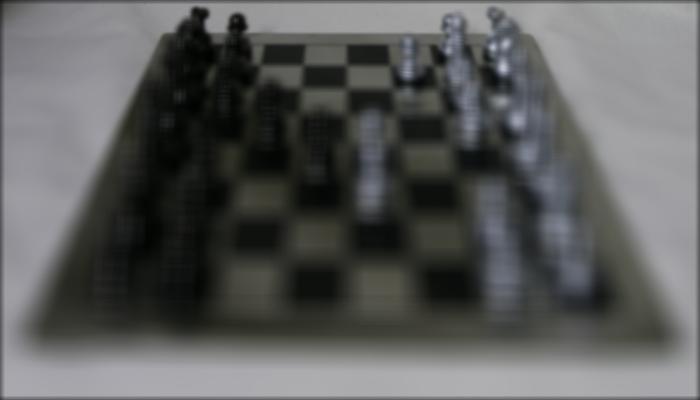
Aperture Adjustment
To simulate the adjusting the aperture, we simply average several images in a radius around the center image at grid position (8,8). Averaging fewer images results in a smaller simulated aperture and a larger DOF, while averaging more gives the appearance of a larger aperture and thus a smaller DOF.
So in the following images, we show the results of selecting different radius r and its affect on the perceived aperture. A given radius r means that we select a grid of (2r+1)x(2r+1) images around the center image.
As expected, the smallest radius has the highest depth of the field and the biggest radius has the smallest depth of field.
r = 0

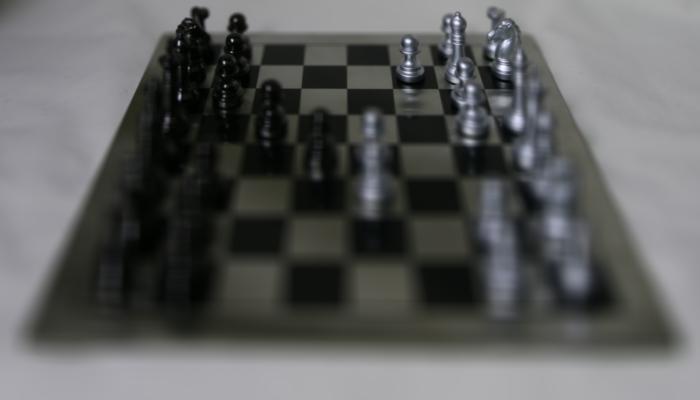
r = 3

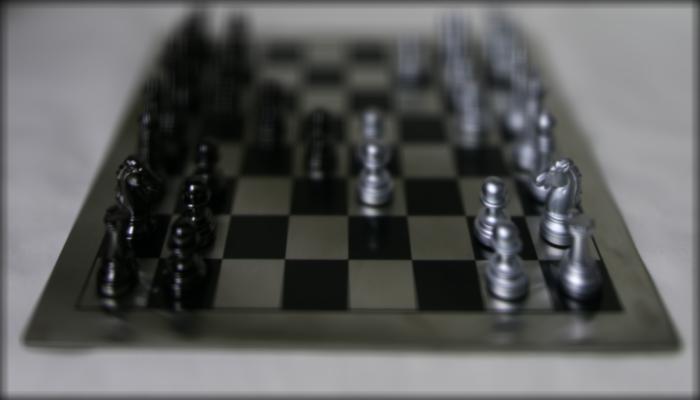
r = 5

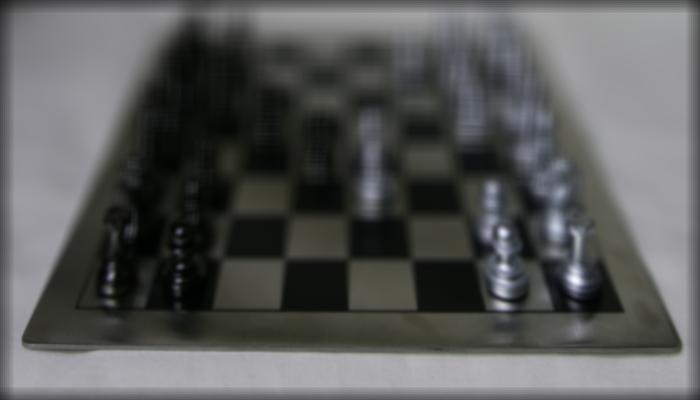
r = 8
Gif of adjusting aperture
Summary
It was really interesting that such a simple concept (taking images in a grid) could have such powerful results. I never knew that having a fourth dimension of data in terms of the lightfield could let us manipulate the perceived focus and aperature after taking the photos.