a = - 0.1
a = 0

a = 0.1
a = 0.3
a = 0.5
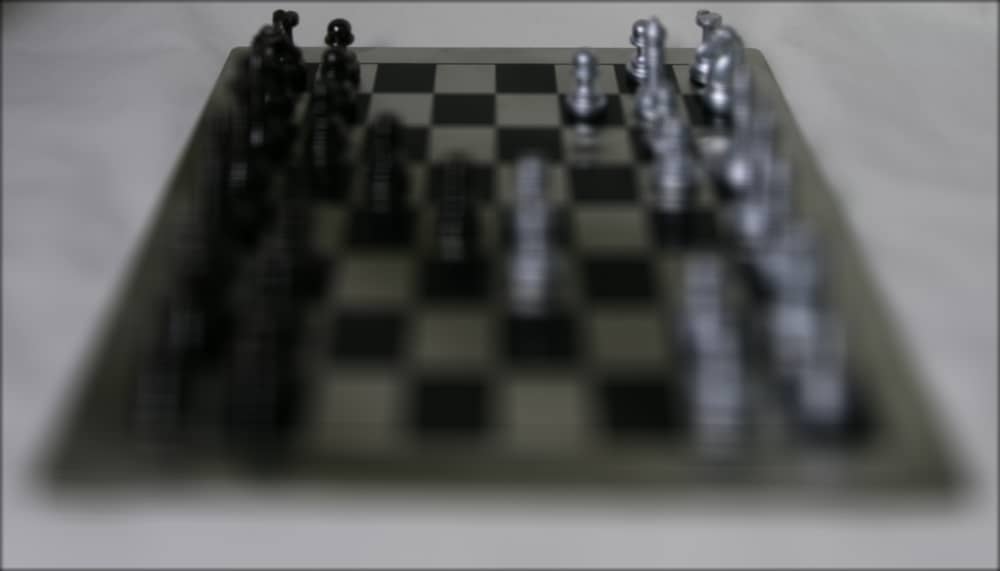
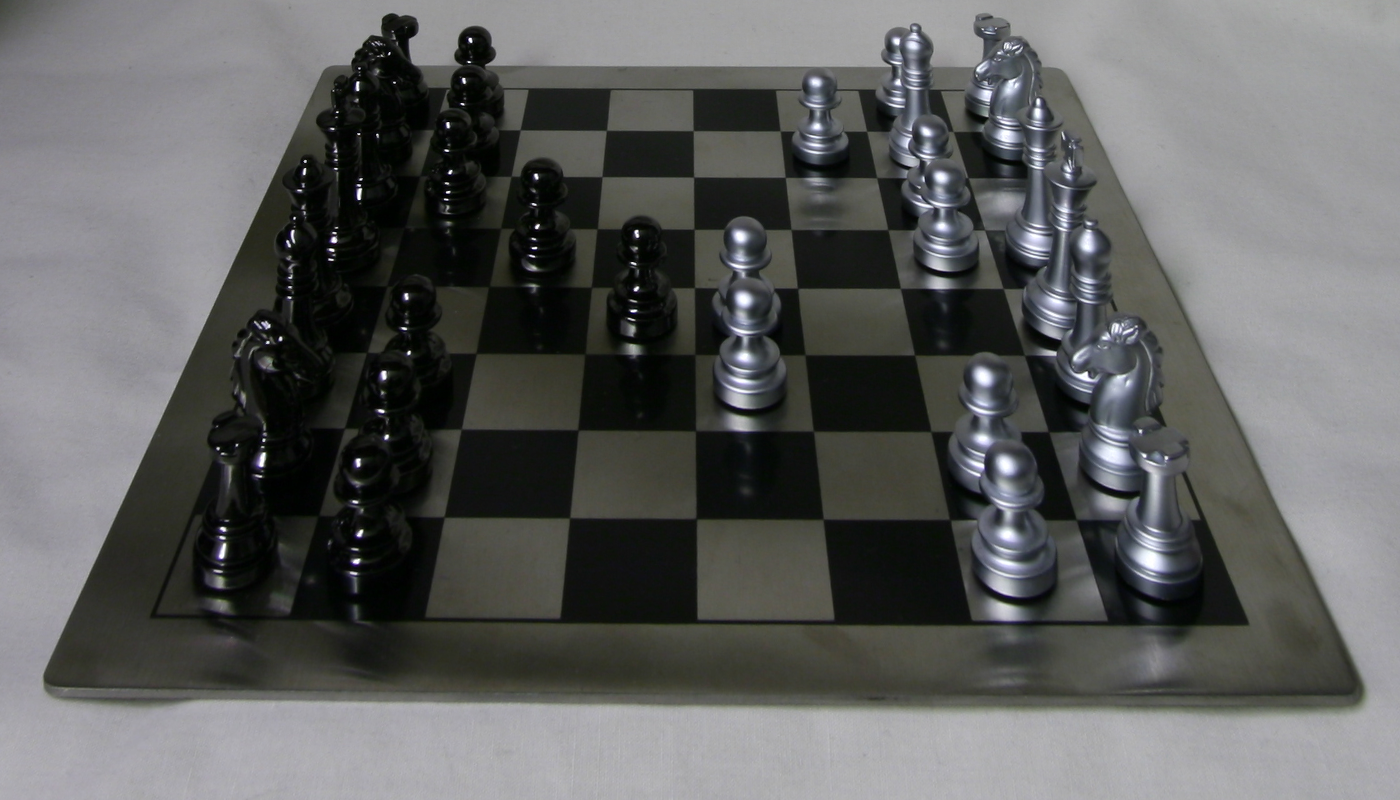
A lightfiled camera is a device that after an image is taken, can shift the focus from one image to another. The way how it works is by taking multiple images from different positions and then doing various shifting and averaging functions to those images. Through this basic functionality, we can mimic depth refocusing and aperture adjustment functionality that would occur in a lightfiled camera.
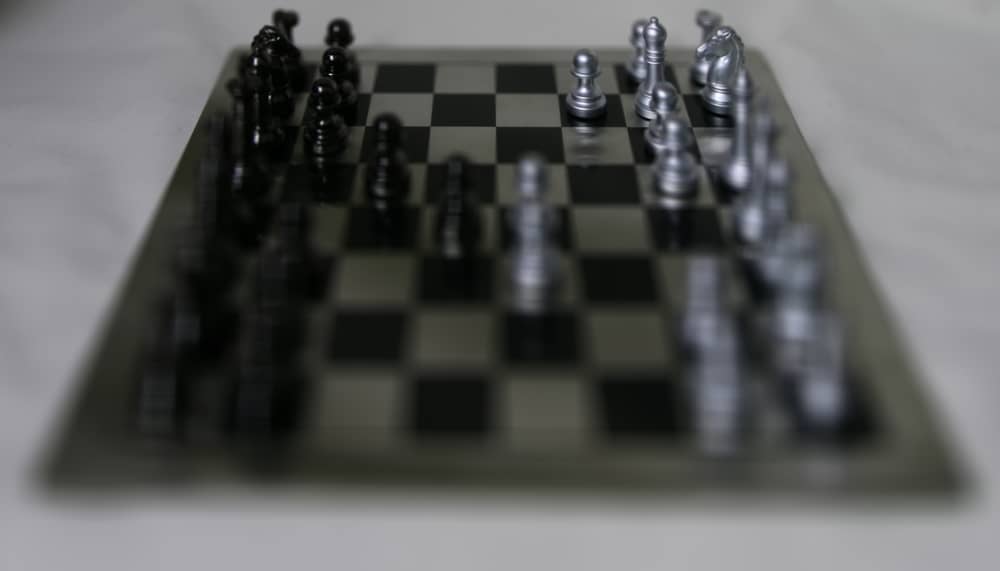
When a lightfield camera takes a picture, it samples a large amount of photos. From this data, the camera has enough information to change the focus from one object to another. The algorithm to cause this change of focus is simple. Each image in the dataset is associated with a particular camera and a particular position. In this particular experiment, there are 17 * 17 grid composed of cameras all taking the same image. So, the camera in the 9th row and 9th column is the center image. We then calculate how much to shift the rows and columns based on the index of the row and columns based on the given dataset. Assuming zeroth-indexing, the displacement between each image taken by camera i,j and the center image is calculated and multiplied by a c-value. The same idea occurs with the columns. This displacement is multipled by a factor c, in order to decide which section to focus on. A c-value of 0 corresponds to focusing on the back while images with a c-value greater than 0 corresponds to a focus closer towards the front.
a = - 0.1
a = 0
a = 0.1
a = 0.3
a = 0.5
Refocusing Gif
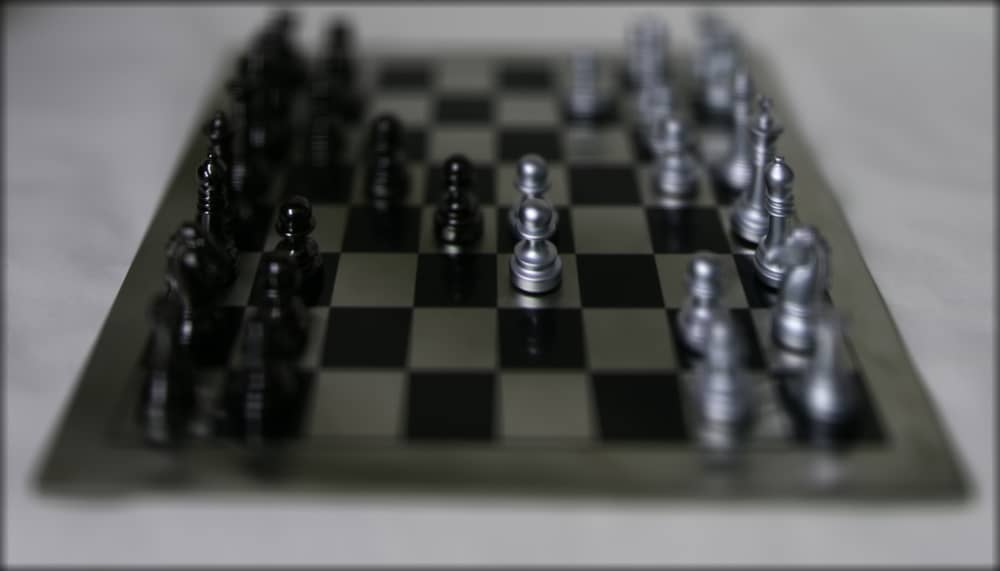
To mimic aperture adjustment, we simply select a group of photos and do similar operations above with a fixed-c value (0 in the gif below). In my algorithm, the aperture can vary from 0 to 12. 0 corresponds to strictly the center image being chosen while an aperture-size of 12 corresponds to all the images being chosen. So, for each increment in aperture size, we include 24 more photos. These photos will be shifted and averaged appropriately.
aperture-size = 0
aperture-size = 3
aperture-size = 6

aperture-size = 9
aperture-size = 12
Aperture Gif
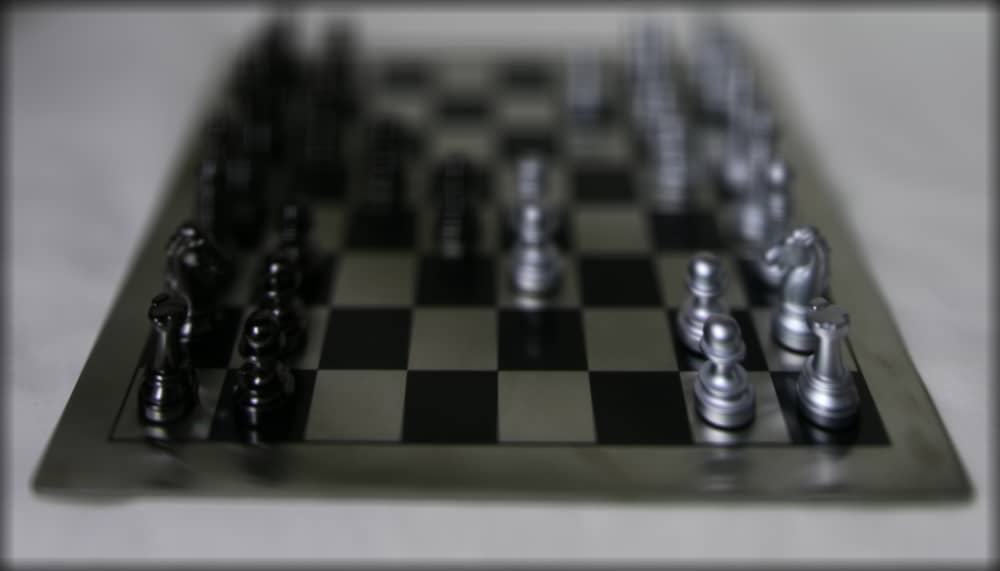
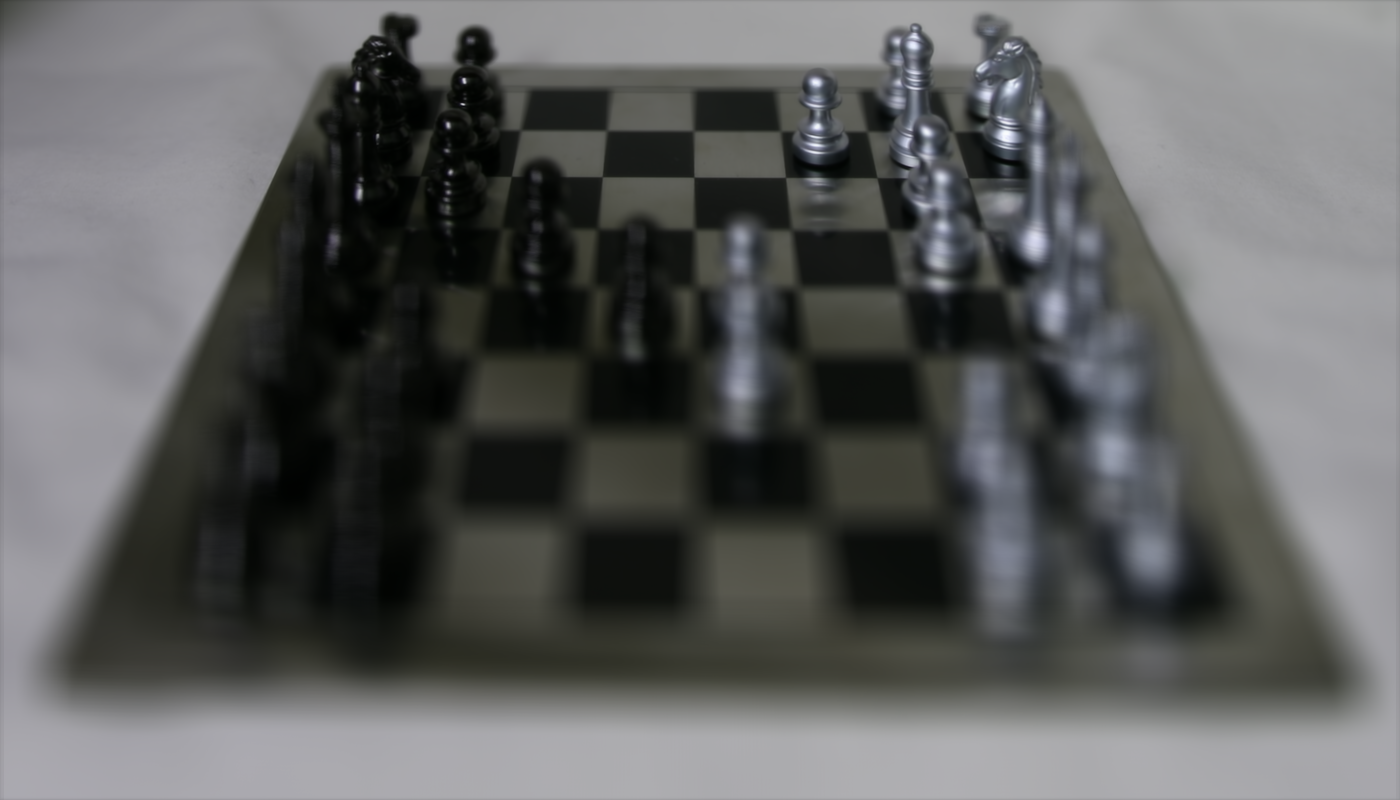
To create interactive refocusing, I primarily reused shifting code from Project 1. First, I create a small area around the point I clicked. Then, I index that same area across another one of the images. The best alignment that minimizes the SSD between the cross-sectional area around the point and the cross-sectionial-area of the other image should be calculated. Remember in the first part that all displacements were multiplied by the SAME c-value. Therefore, using the displacement of the chosen image and the best alignment for that image, the c-value can be calculated. Now, all displacements will again be multiplied by that c-value to get the best alignments for each image. The images will be appropriately shifted and averaged. The resulting image should focus on what is clicked.
Here is a video of me focusing the white pawn
Here is a video of me focusing the black pawn
I learned how simple arithemtic operations on a group of photos can create some very interesting effects.