Lightfield Camera: Depth Refocusing and Aperture Adjustment with Light Field Data
Jacob Huynh
CS 194-26: Image Manipulation and Computational Photography
Professor Alexei Efros
Overview
As this Stanford paper details, we can do complex tasks such as depth refocusing or aperture resizing, which are especially important to achieve effects such as bokeh in photography, utilizing very simple techniques like averaging and shifting images.
Depth Refocusing
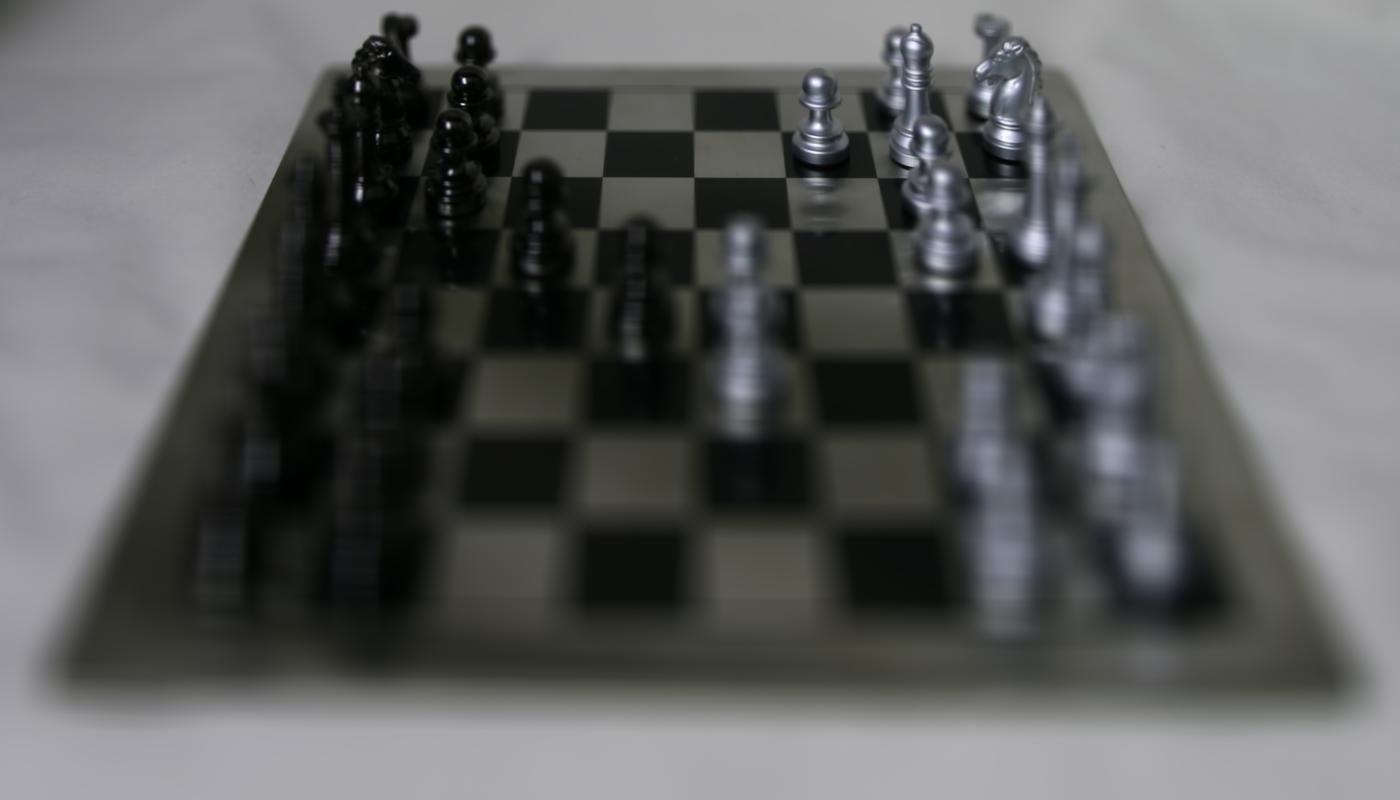
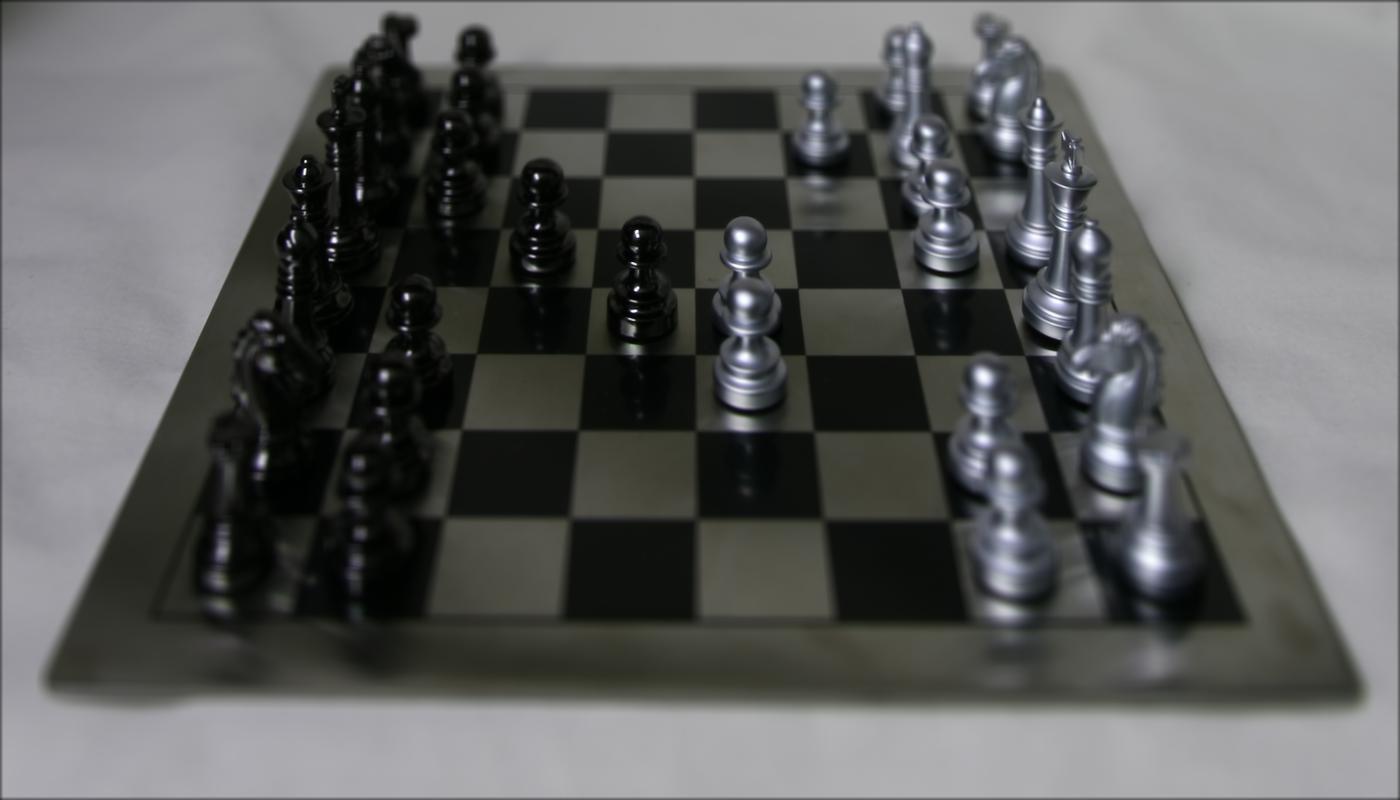
First, let's examine what happens if we simply average all the images in the dataset without any shifting.
|
We can observe that the top half of the image or, in other words, the focal point of the camera, is in focus while everything else is blurred. This makes sense intuitively because the parts of the image that are closer to the camera will move more relative to the focal point than the parts of the image that are further away from the camera. Naturally, that means that parts of the images that are closer to the focal point will be more aligned with the optical axis than parts that are further away from the focal point.
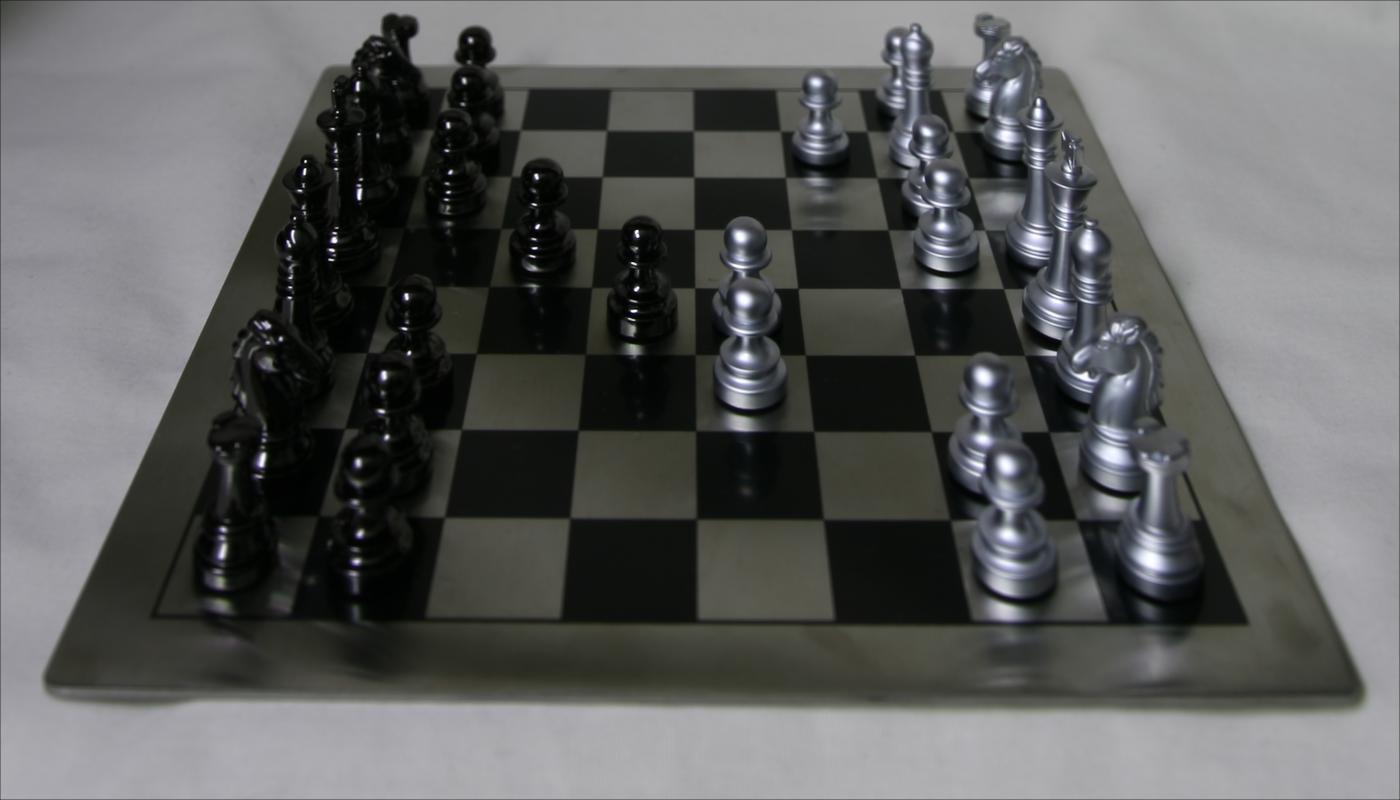
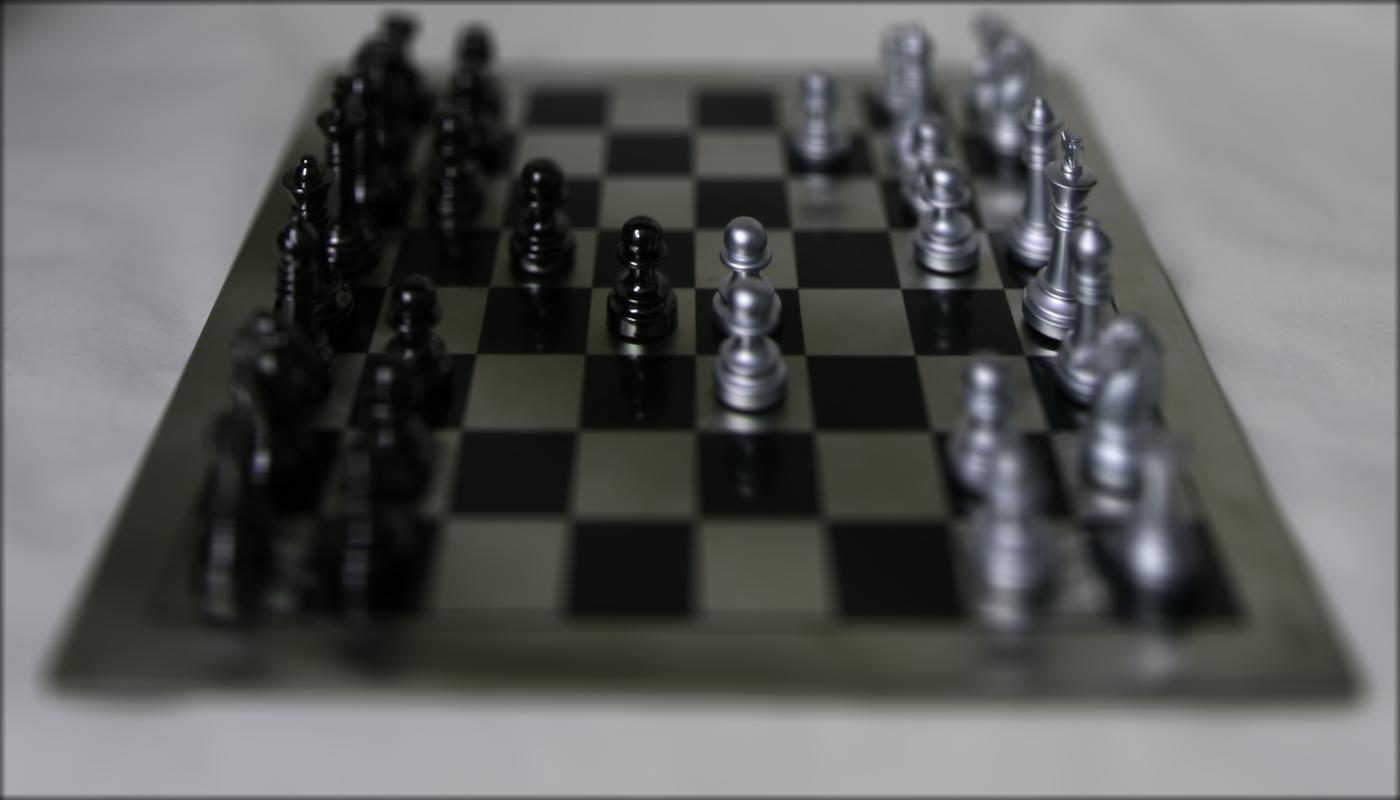
Knowing this, if we shift all the images towards the center, therefore changing the focal point, then the center of the image should be in focus while the other parts of the image will be blurred. Because we are given a grid of images with indices [0, 0] - [16, 16], the center I chose to shift the images towards was (8, 8). Furthermore, if we multiply the shift by a constant scalar, in my case a constant from [-3, 1] with a step size of 0.25, we can change the focal point to anywhere on the image. By taking all of these images and combining them into a gif, we can replicate the animations shown in this gallery.
|
Aperture Adjustment
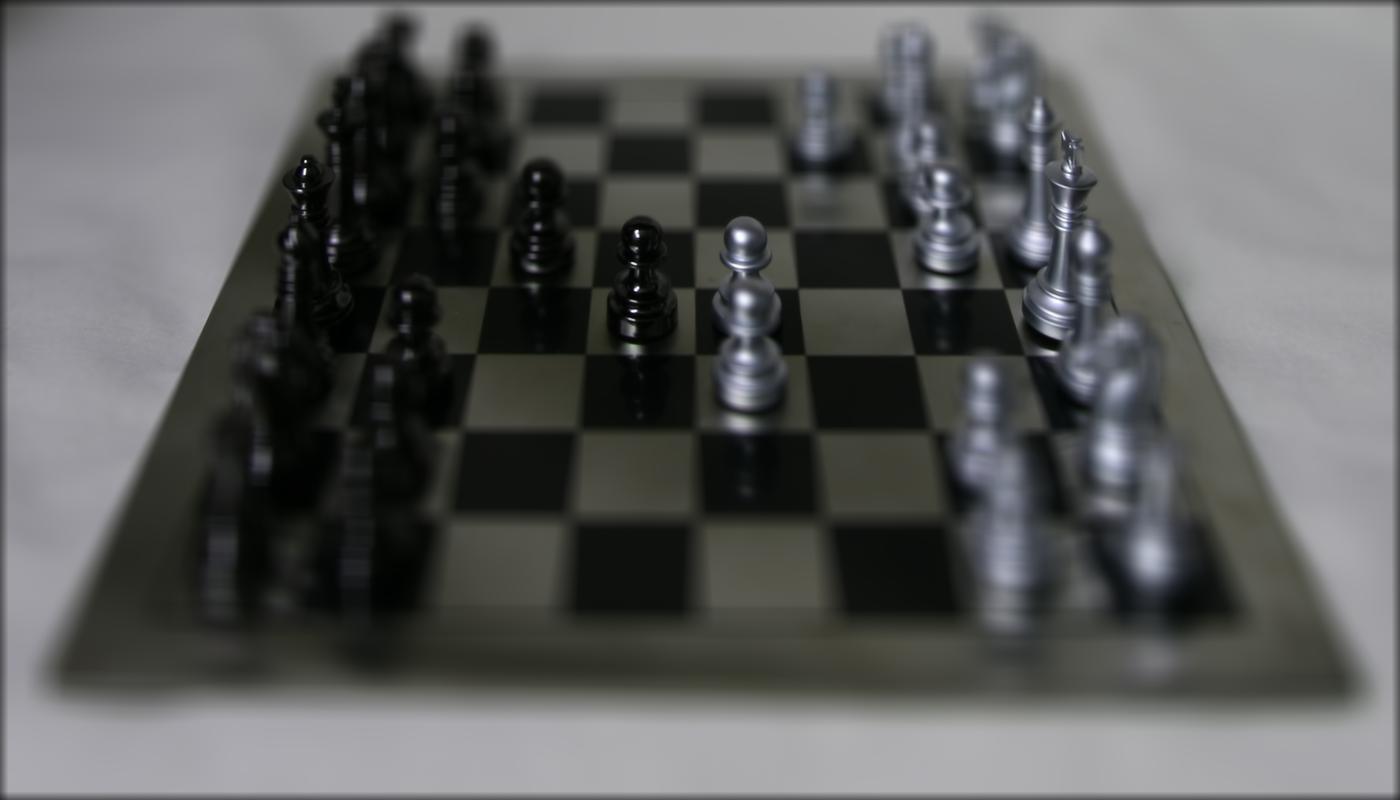
Aperture adjustment involves shifting and averaging the images as described in the previous section, with only a small subset of images. We only use the images that are perpindicular to the focal point when utilizing the shifting and averaging technique. Intuitively, we can think about it like this: with a small aperture size and therefore a very small subset of images utilized, the output image will be clearer since the images chosen are all relatively similar, while with a very large aperture size there will be a larger subset of images and the output image would be more blurry. As for our approach, we again choose our focal point to be at (8, 8). If we choose our aperture size to be 1, for example, we only use the images that are perpendicular to this focal point in our shifting and averaging technique, which will be (7, 7), (7, 8), (8, 8), (9, 8), and (9, 9). We shift all these images towards (8, 8) and output the image. The images output are all with focal point (8, 8), depth refocusing scalar of -1, and varying aperture size of [1, 8].
|
aperture size = 1 |

aperture size = 2 |
aperture size = 3 |

aperture size = 4 |

aperture size = 5 |
aperture size = 6 |

aperture size = 7 |
aperture size = 8 |
Summary
The ability to blur images utilizing post-processing techniques is extremely valuable and already pretty cool. However, doing so utilizing simple imaging techniques such as averaging and shifting makes it that much cooler. It amazes me to think about all the complex things that can be done utilizing simple imaging techniques, and makes me think about the much more complex imaging techniques that are not introduced in this class, and how those interact with photographs.