Overview
The objects which are far away from the camera do not vary their position significantly when the camera moves around while keeping the optical axis direction unchanged. This can be seen by holding two pencils: one close to you and one further away from you. When head position shifts left or right, the closer pencil will seem to shift position the most while the one in the back stays the same.
Depth Refocusing
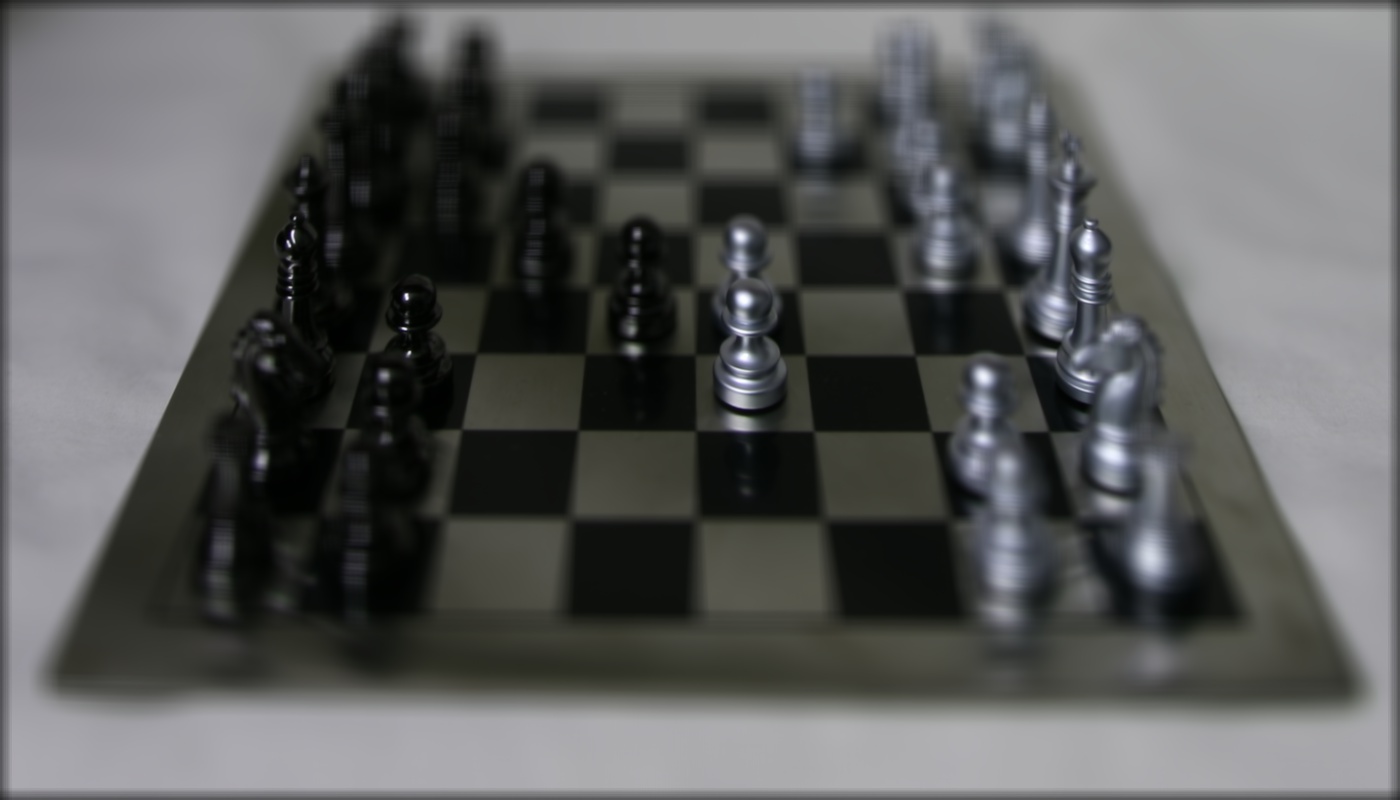
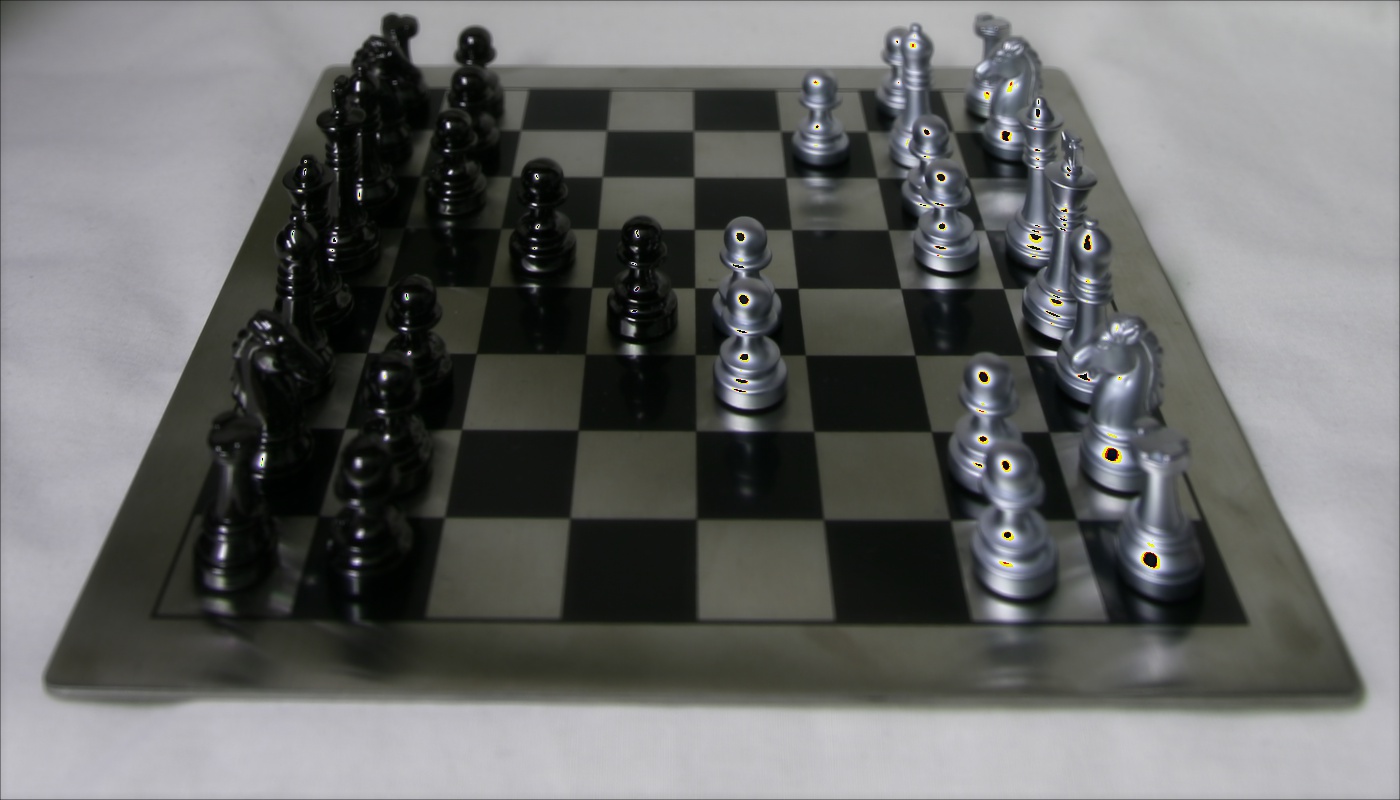
To create a depth of field effect using images in the light field grid, I first shifted all images to the center image (8, 8). This is achieved by shifting by the offset between the current image and the center image. A constant is then multplied to determine which part of the image to focus on. Do this for all images and then average to the get the final image. Below are examples of different results using different constants.
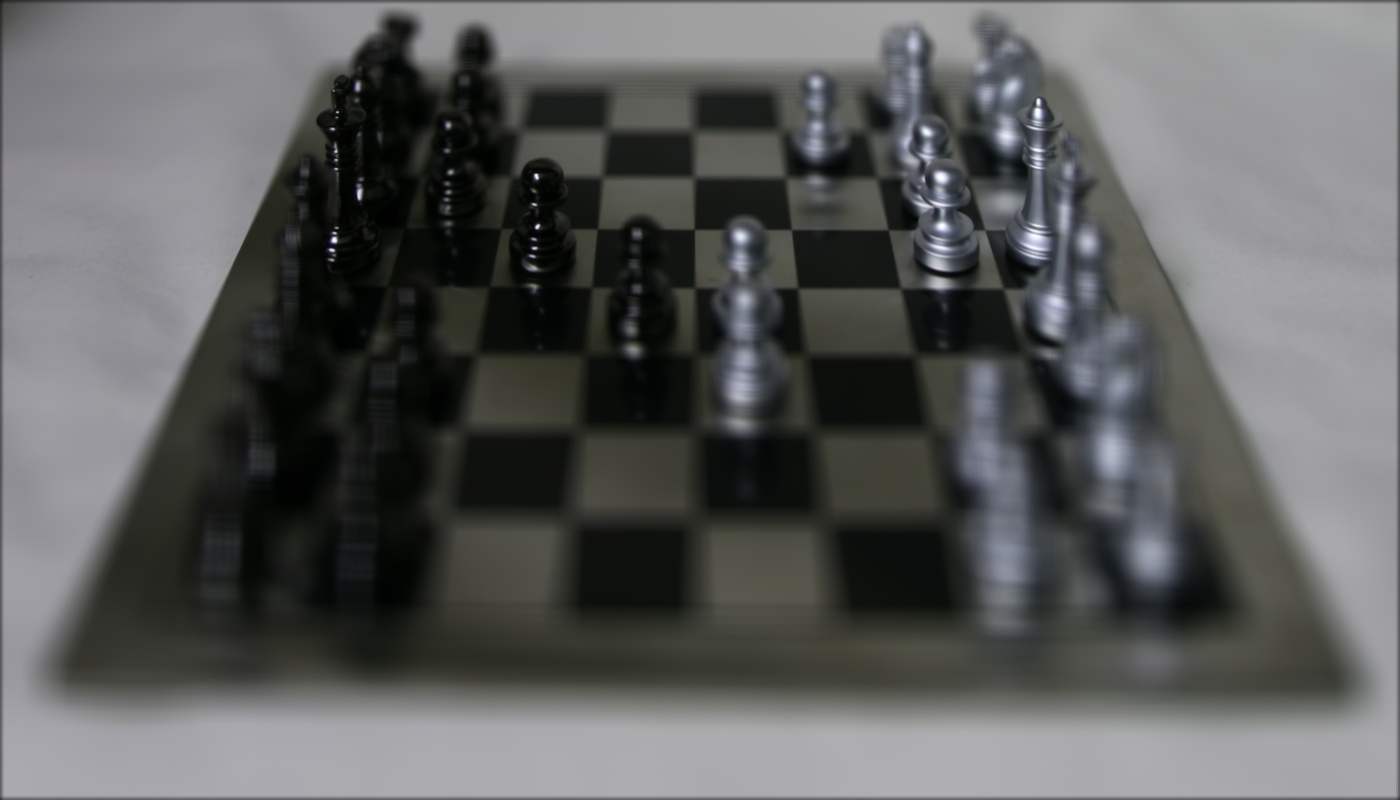
C = 0, 1

C = 2, 3
Aperture Adjustment
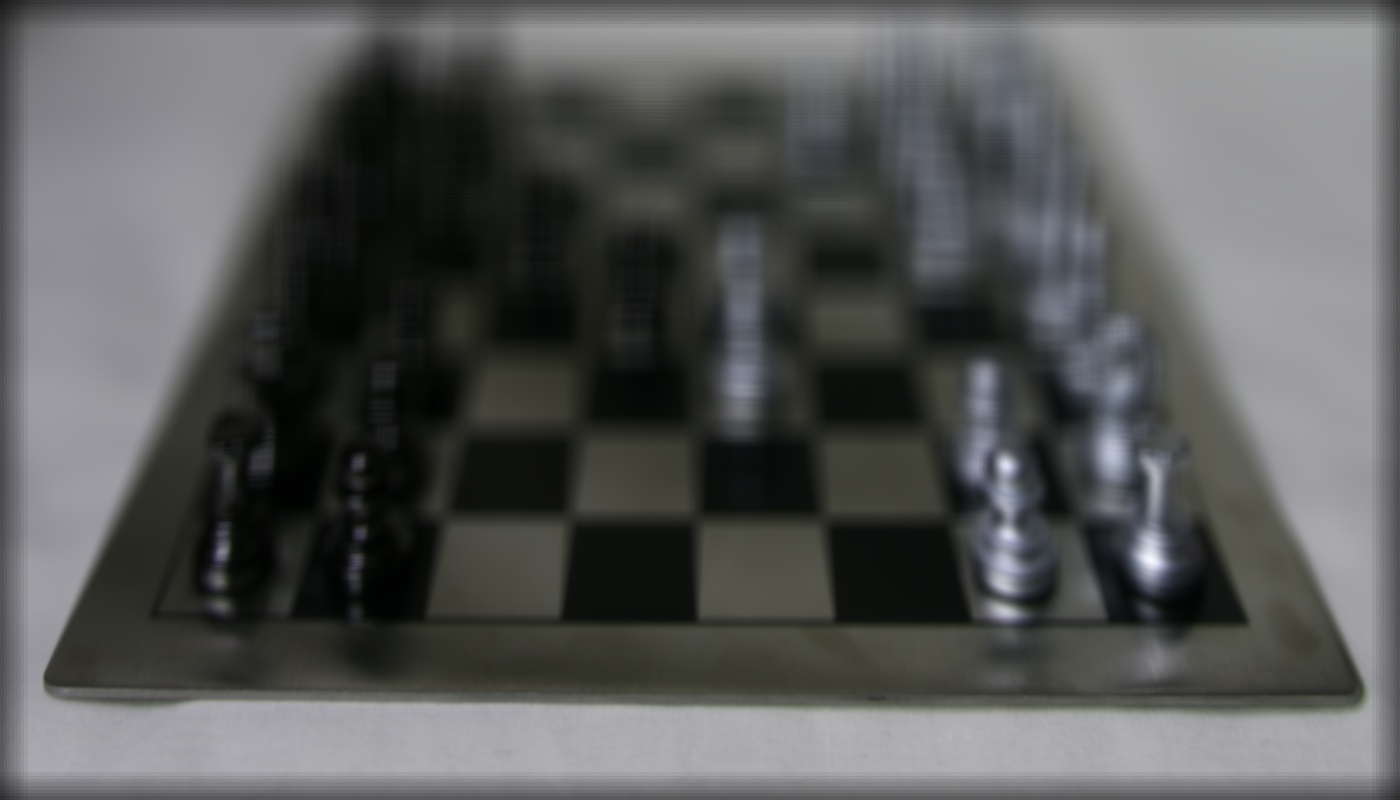
I focused on the center pawn pieces for this part. I shifted the surrounding images of the center (8, 8) towards the center and averaged it. To simulate the change in aperature, I steadily increase the radius from the center to cover and average more images. The resulting image gets blurrier on areas not focused. Below are the results of the averaging images where radius that covers the surround image equals 1,2,3,4,5,7,9.

C = 1, 2


C = 3, 4

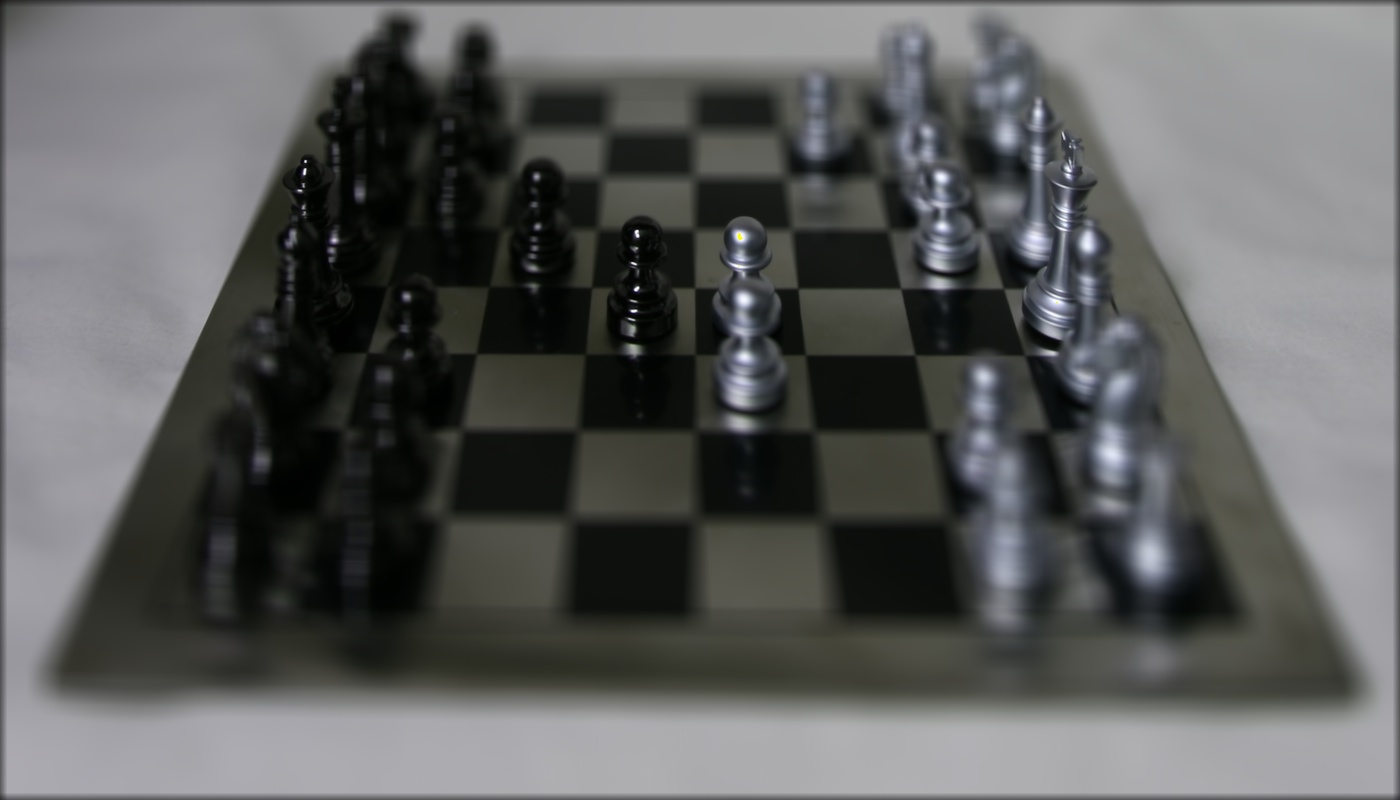
C = 5, 7

C = 9
What I learned
Although slightly different concepts, I have a better overall understanding of how apetures work due to this project. Also lightfields have opened my eyes on perspectives. I didn't realize how in a photo, you do not have the abilty to determine the distance and size of an object.