We can take images and rectify them to a different plane; in other words, we can transform the image into a different plane as if we were viewing the scene from a different point of view. To do this, we take an image, pick at least four known points or "corners" on the image, and match those points into a shape of corresponding points that we expect these corners would look like in the new perspective's plane.
With the pairs of corresponding points, we compute the parameters of the homography transformation from the equation $p' = H * p$. The tranformation here is a homography with 8 degrees of freedom, or the 8 unknown parameters in $H$. However, after setting the scaling factor $i = 1$, there are only 7 remaining unknowns in the transformation matrix. Thus, for each pair of corresponding coordinates $(x, y)$ and $(x', y')$, we have:
$$
\begin{bmatrix}
wx' \\
wy' \\
w
\end{bmatrix}
=
\begin{bmatrix}
a & b & c \\
d & e & f \\
g & h & 1 \\
\end{bmatrix}
*
\begin{bmatrix}
x \\
y \\
1
\end{bmatrix}
$$
where $w$ is a scalar factor.
In order to solve for the parameters in $H$, we can first solve the above matrix multiplication as linear equations to eliminate $w$ from the equation. After doing so, we can set the new linear equations up as matrix multiplications of the form $A * h = b$, and end up with this system of linear equations per pair of corresponding points $(x, y)$ and $(x', y')$:
$$
\begin{bmatrix}
x & y & 1 & 0 & 0 & 0 & -xx' & -yx' \\
0 & 0 & 0 & x & y & 1 & -xy' & -yy' \\
\end{bmatrix}
*
\begin{bmatrix}
a \\
b \\
c \\
d \\
e \\
f \\
g \\
h \\
\end{bmatrix}
=
\begin{bmatrix}
x' \\
y' \\
\end{bmatrix}
$$
We add two more rows to $A$ and $b$ per pair of corresponding points. Once we've set the system of equations up, we can use the least squares solver to find the 7 missing parameters. After plugging our newfound values of $h$ into our transformation matrix $H$, we can use the homography transformation matrix with inverse warping to map every coordinate $p$ in an image to its corresponding coordinate $p'$ in the warped image.
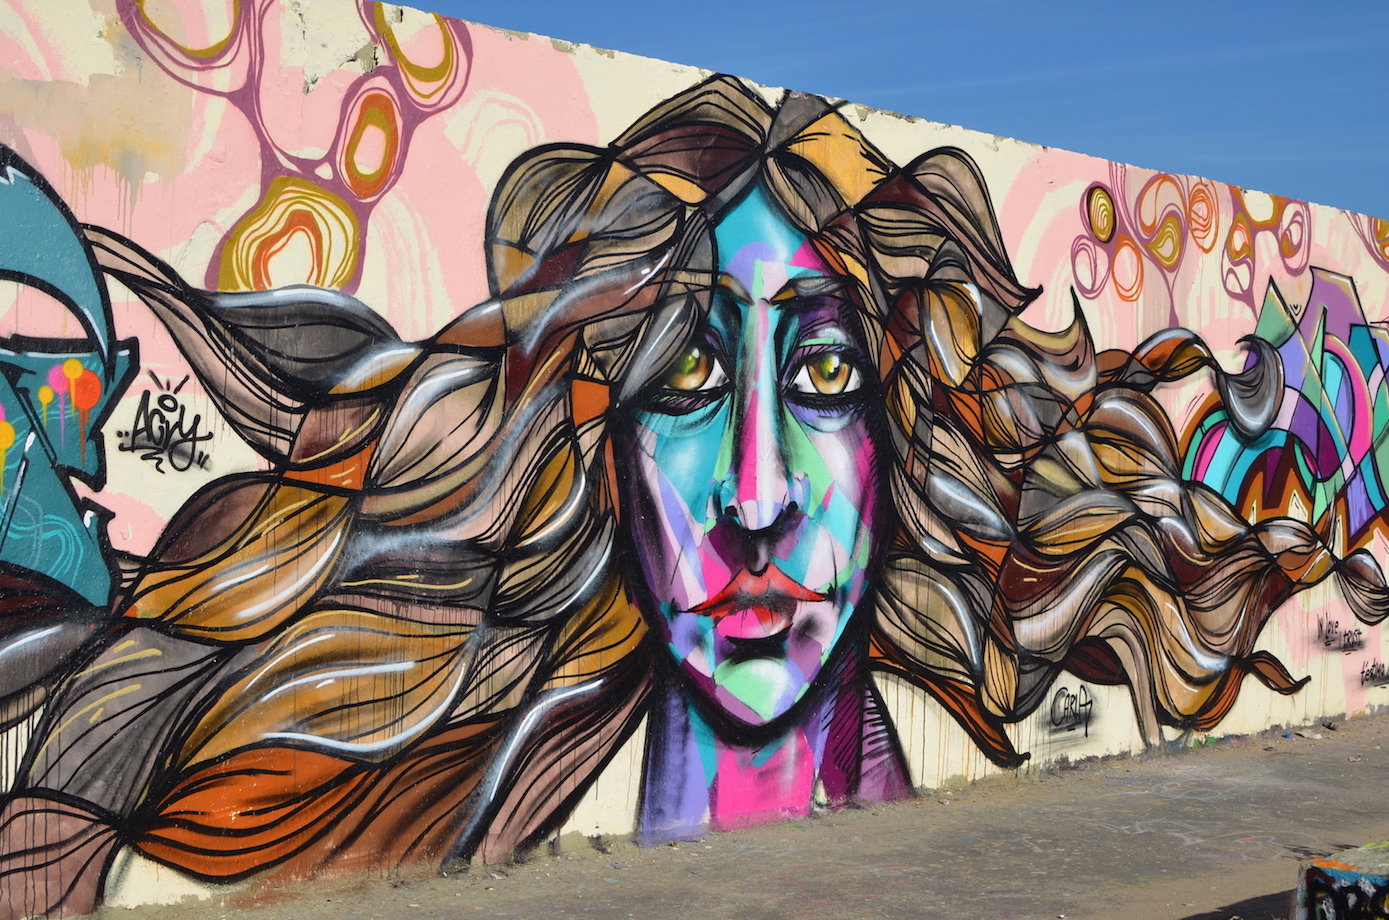
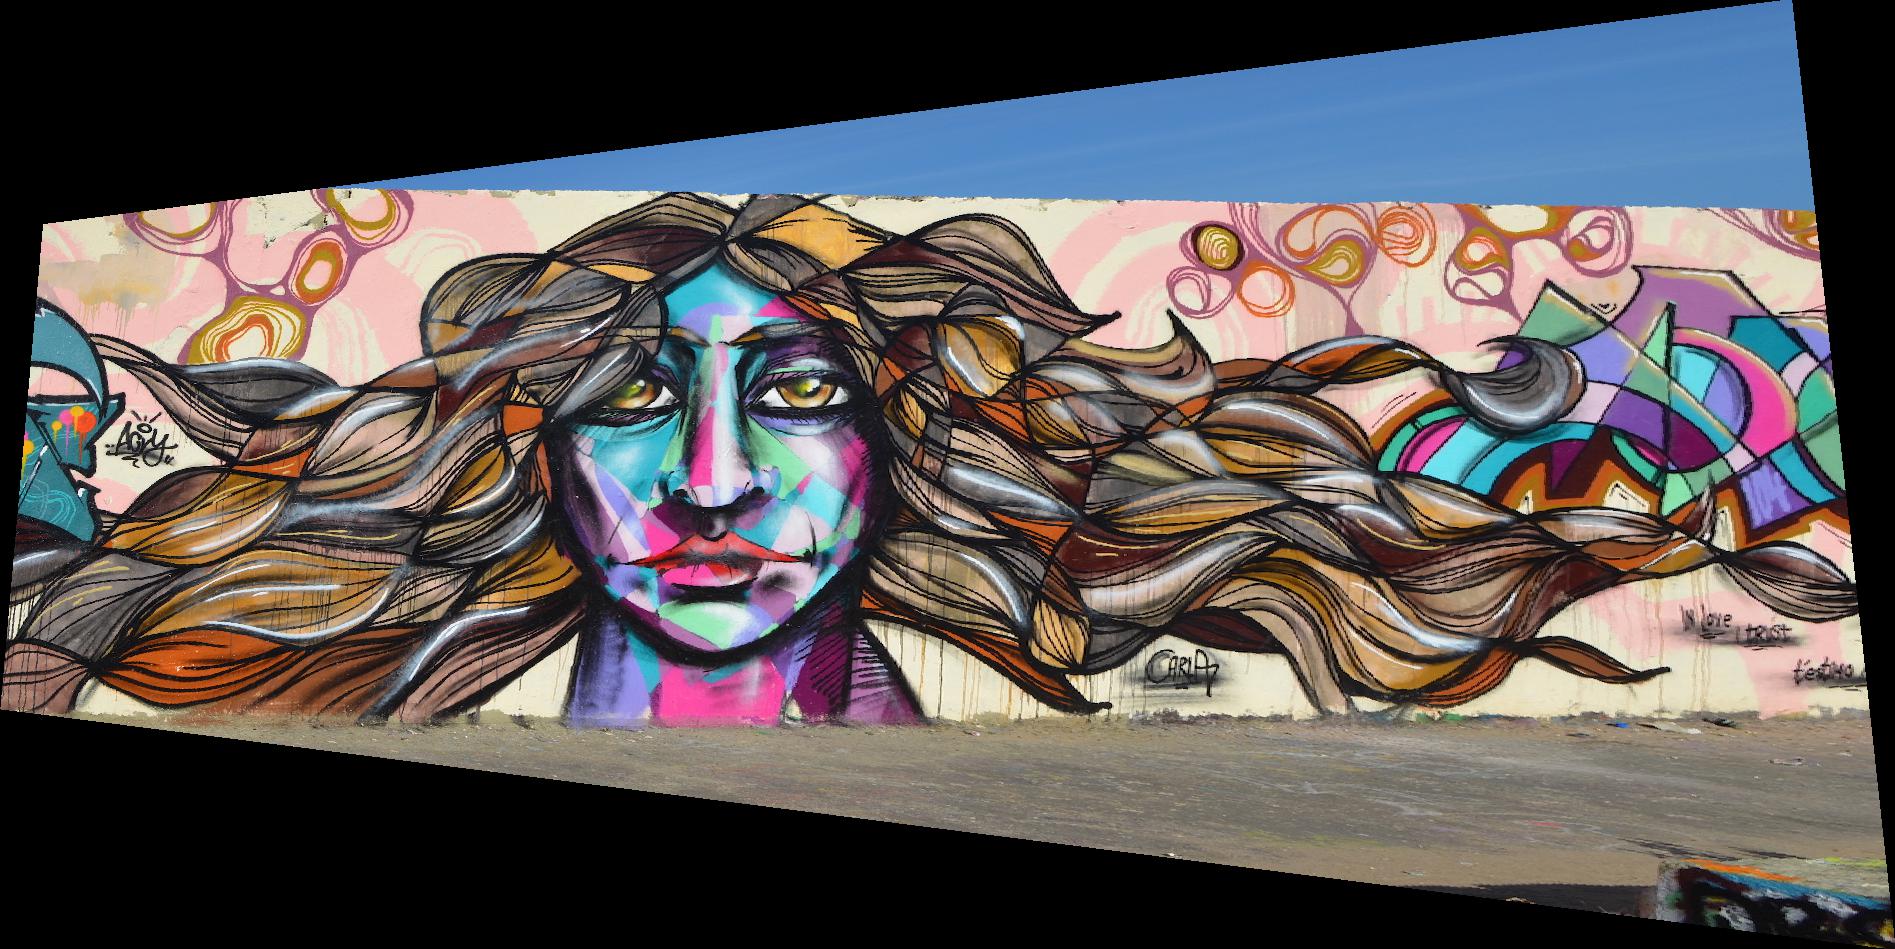
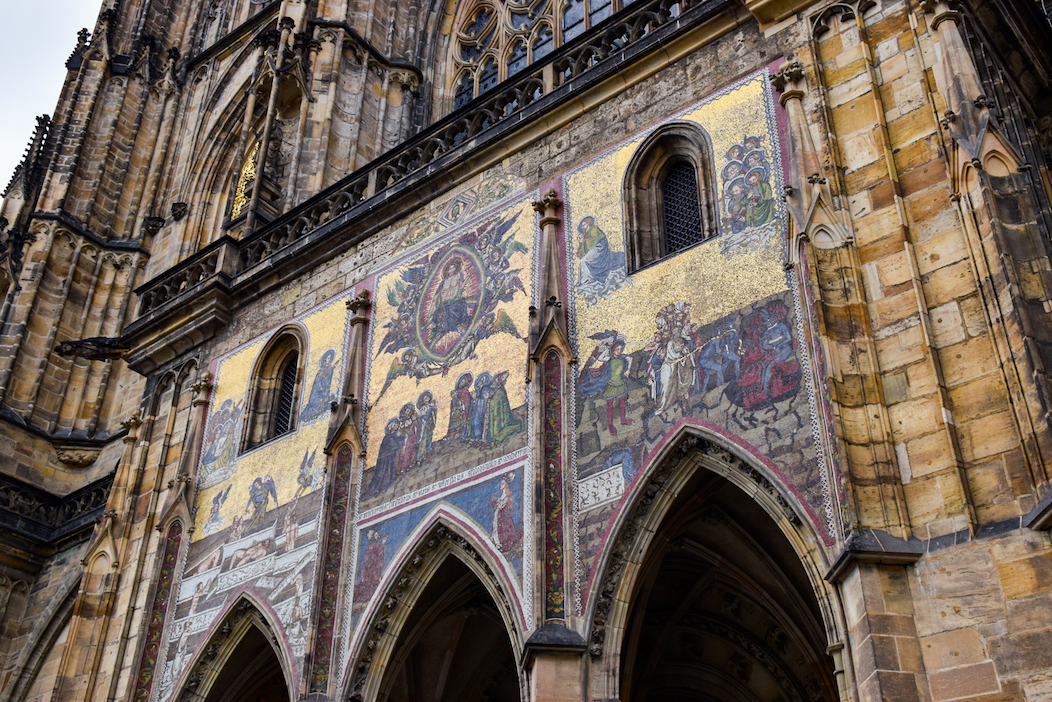
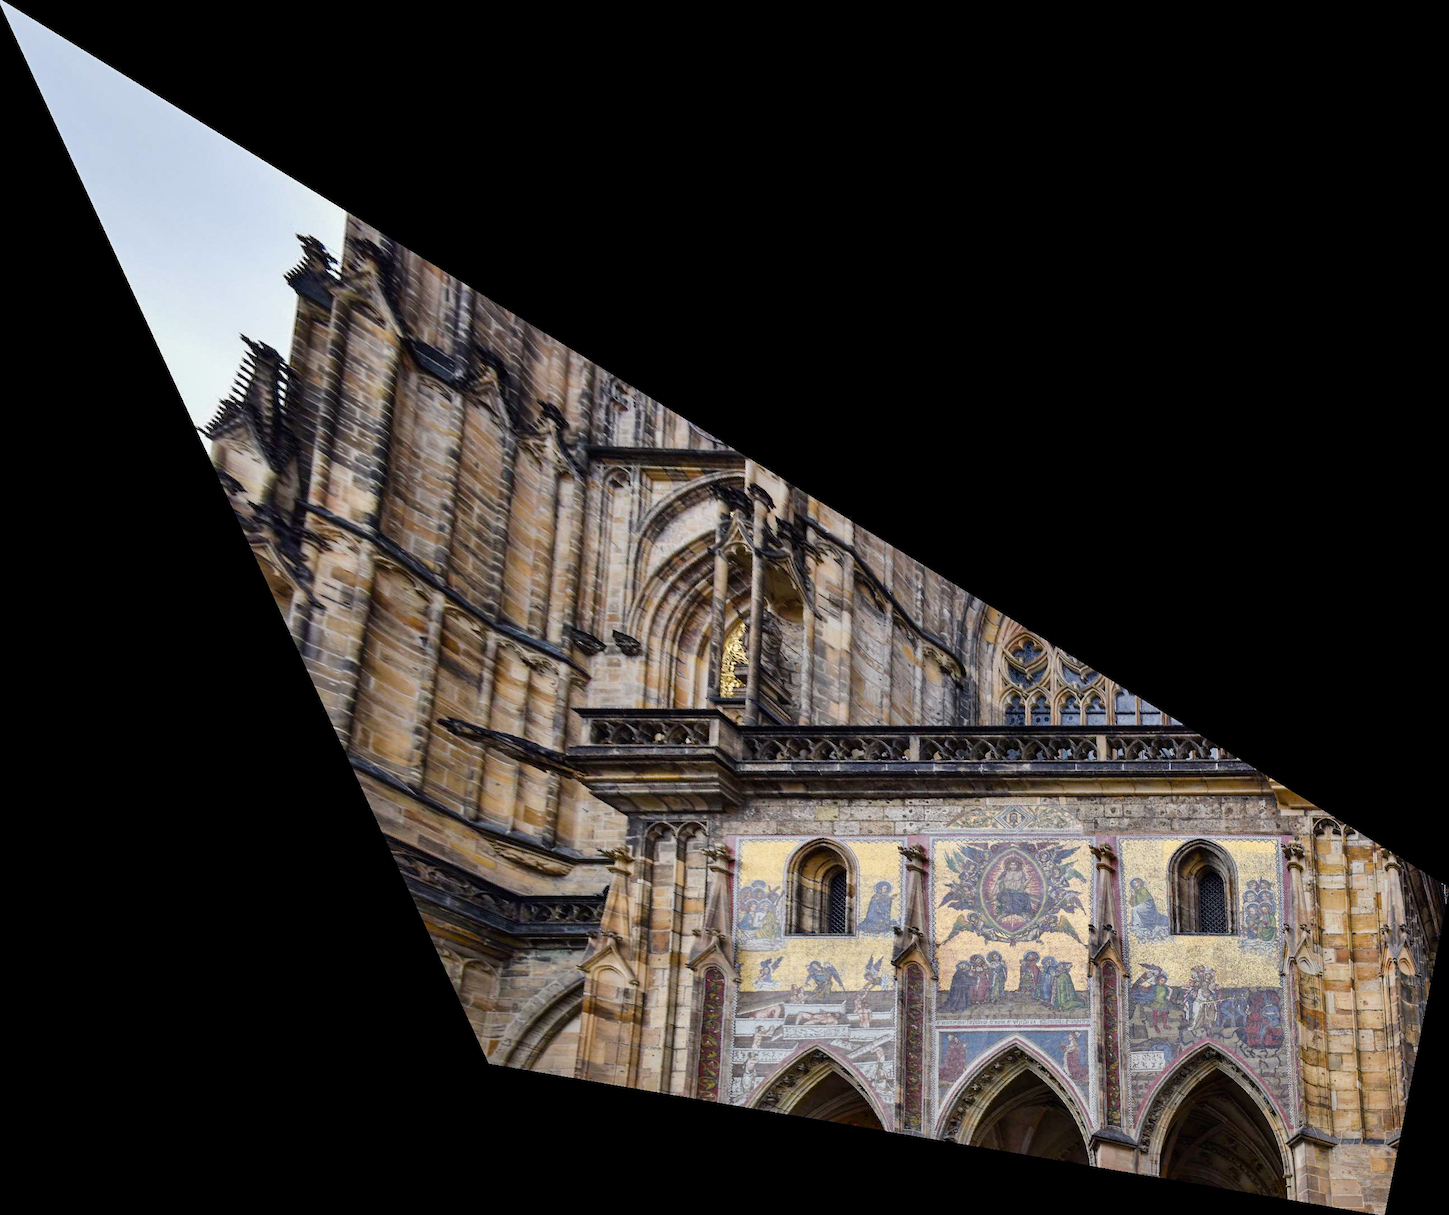
Below, we have a gallery of images that are rectified to a frontal-parallel perspective. For each image, we've selected four points to match with what we expect to be in the shape of a square in the rectified image.
Mosaic Blending
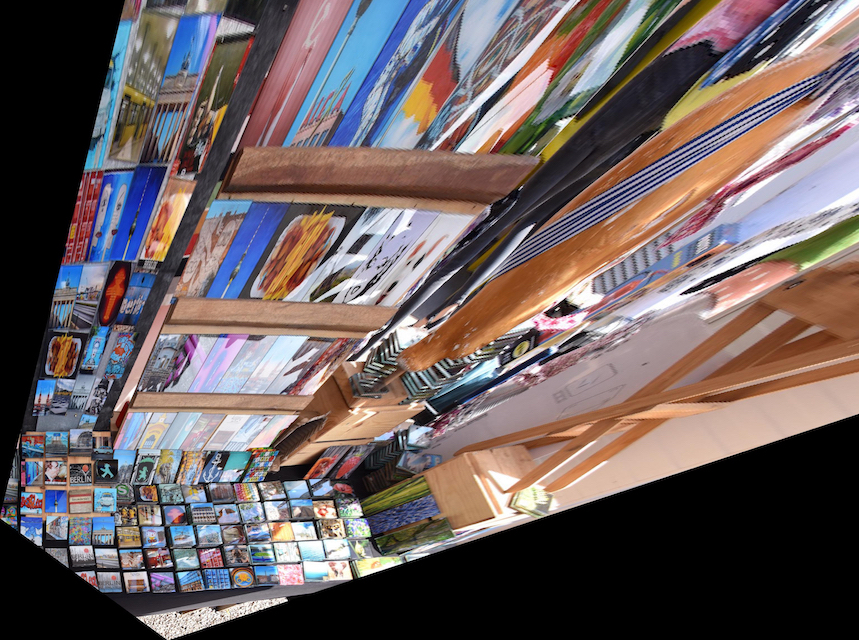
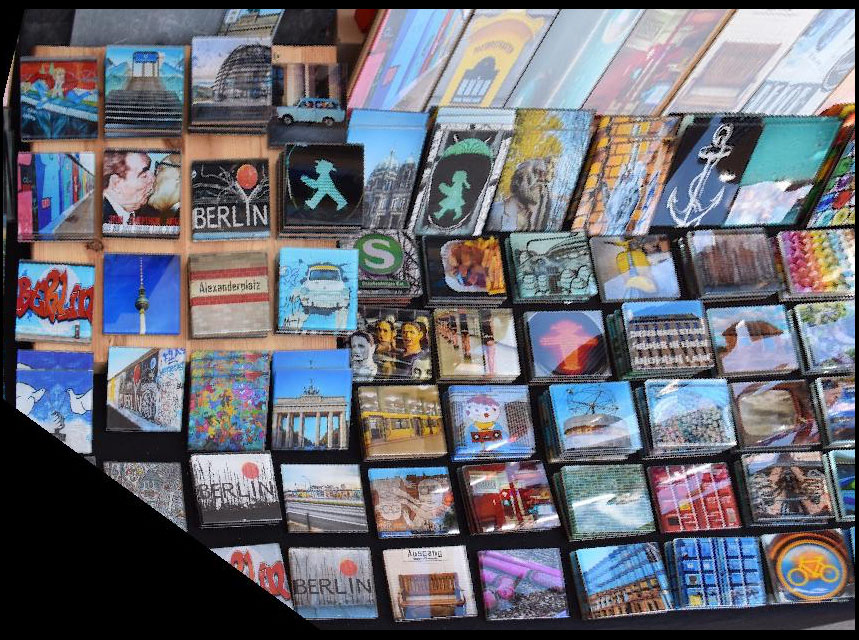
Using the same idea from the rectifications above, we can also warp overlapping images with a projective transformation into the same plane and stitch the overlapping portions together so that they form a panoramic photo. First, we pick an image from the set to use as our static plane. Then, we pick corresponding points between the other photo(s) and the static photo, and again rectify the other photo(s) to the first photo we are using as our base. The rectification process again follows the same idea as rectifying it to a known shape--this time, the known shape is the points we chose on the static photo. Thus, we set up our transformation matrix and find the parameters of the homography transformation, then use inverse warping to create our new warped image. After getting these warped images, we use multiresolution blending/Laplacian stack blending (Project 3) to stitch the photos together along the seam of the overlapping regions.
new york city skyline
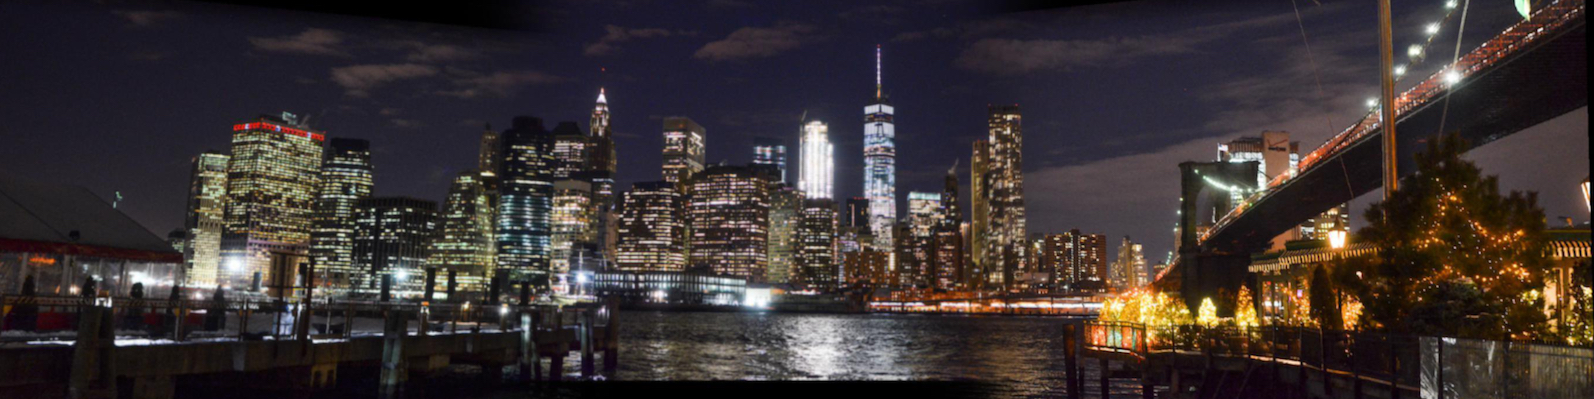
NYC skyline mosaic: cropped
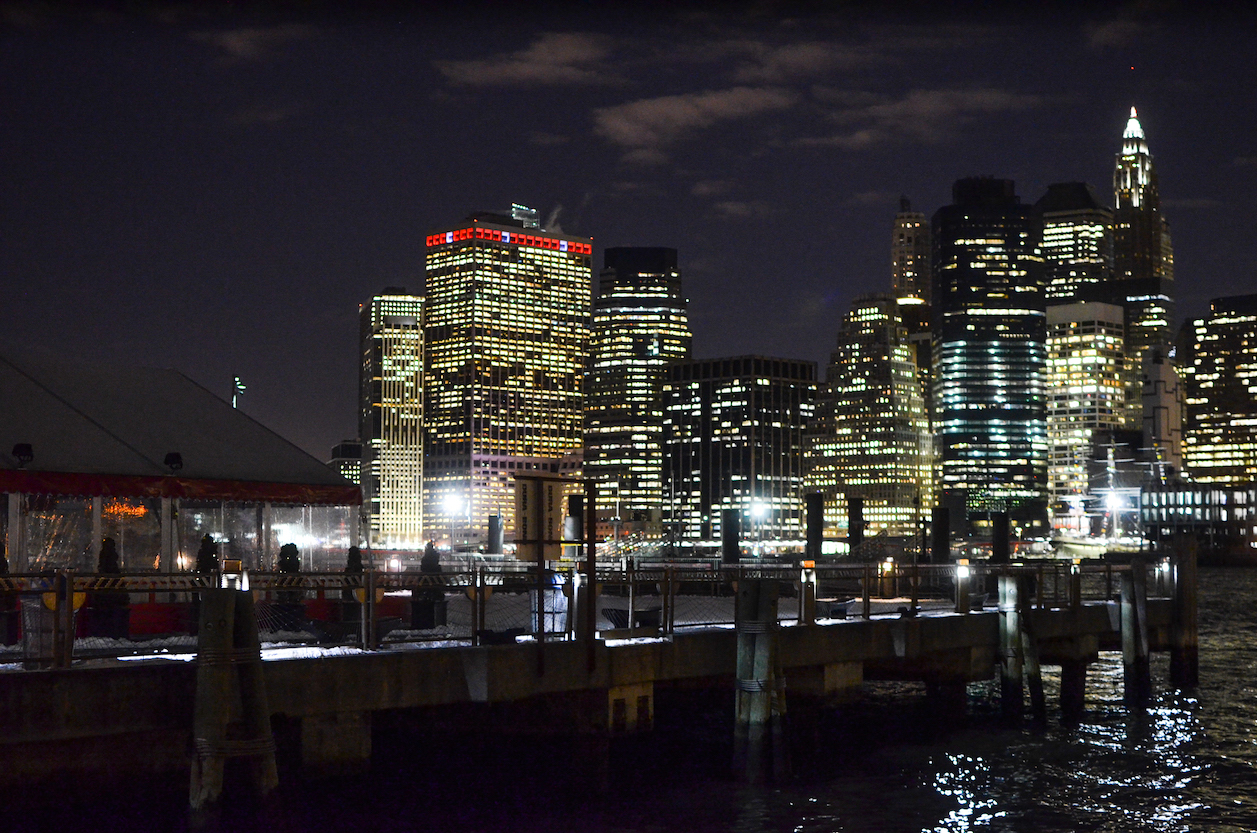
NYC skyline (left)
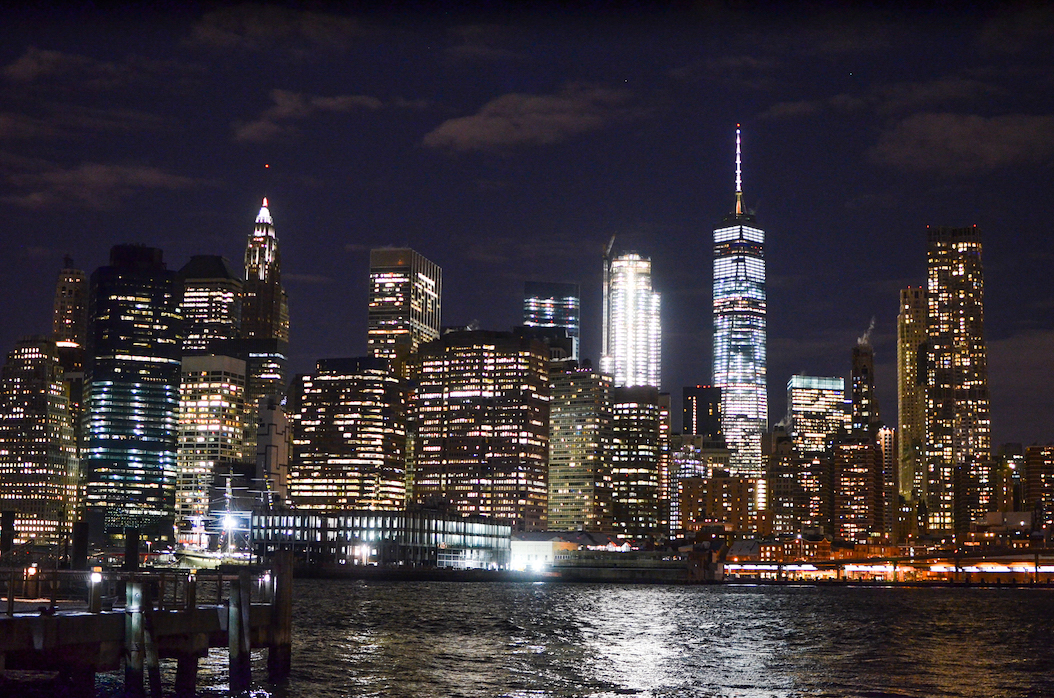
NYC skyline (center)
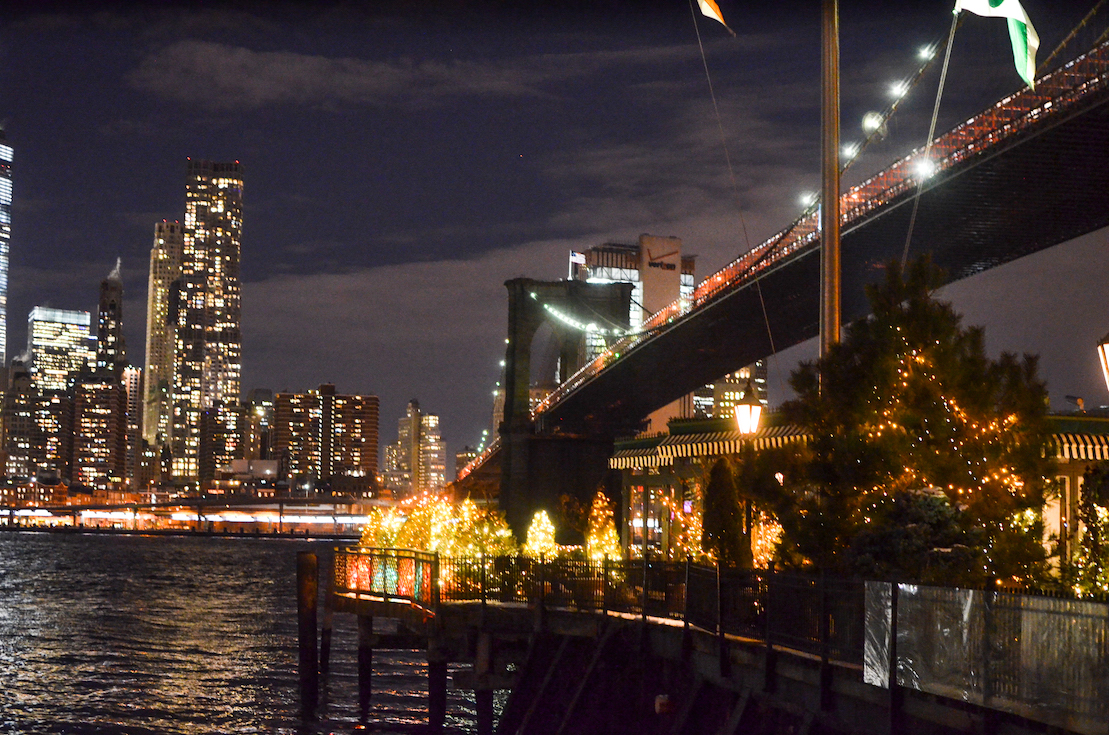
NYC skyline (right)
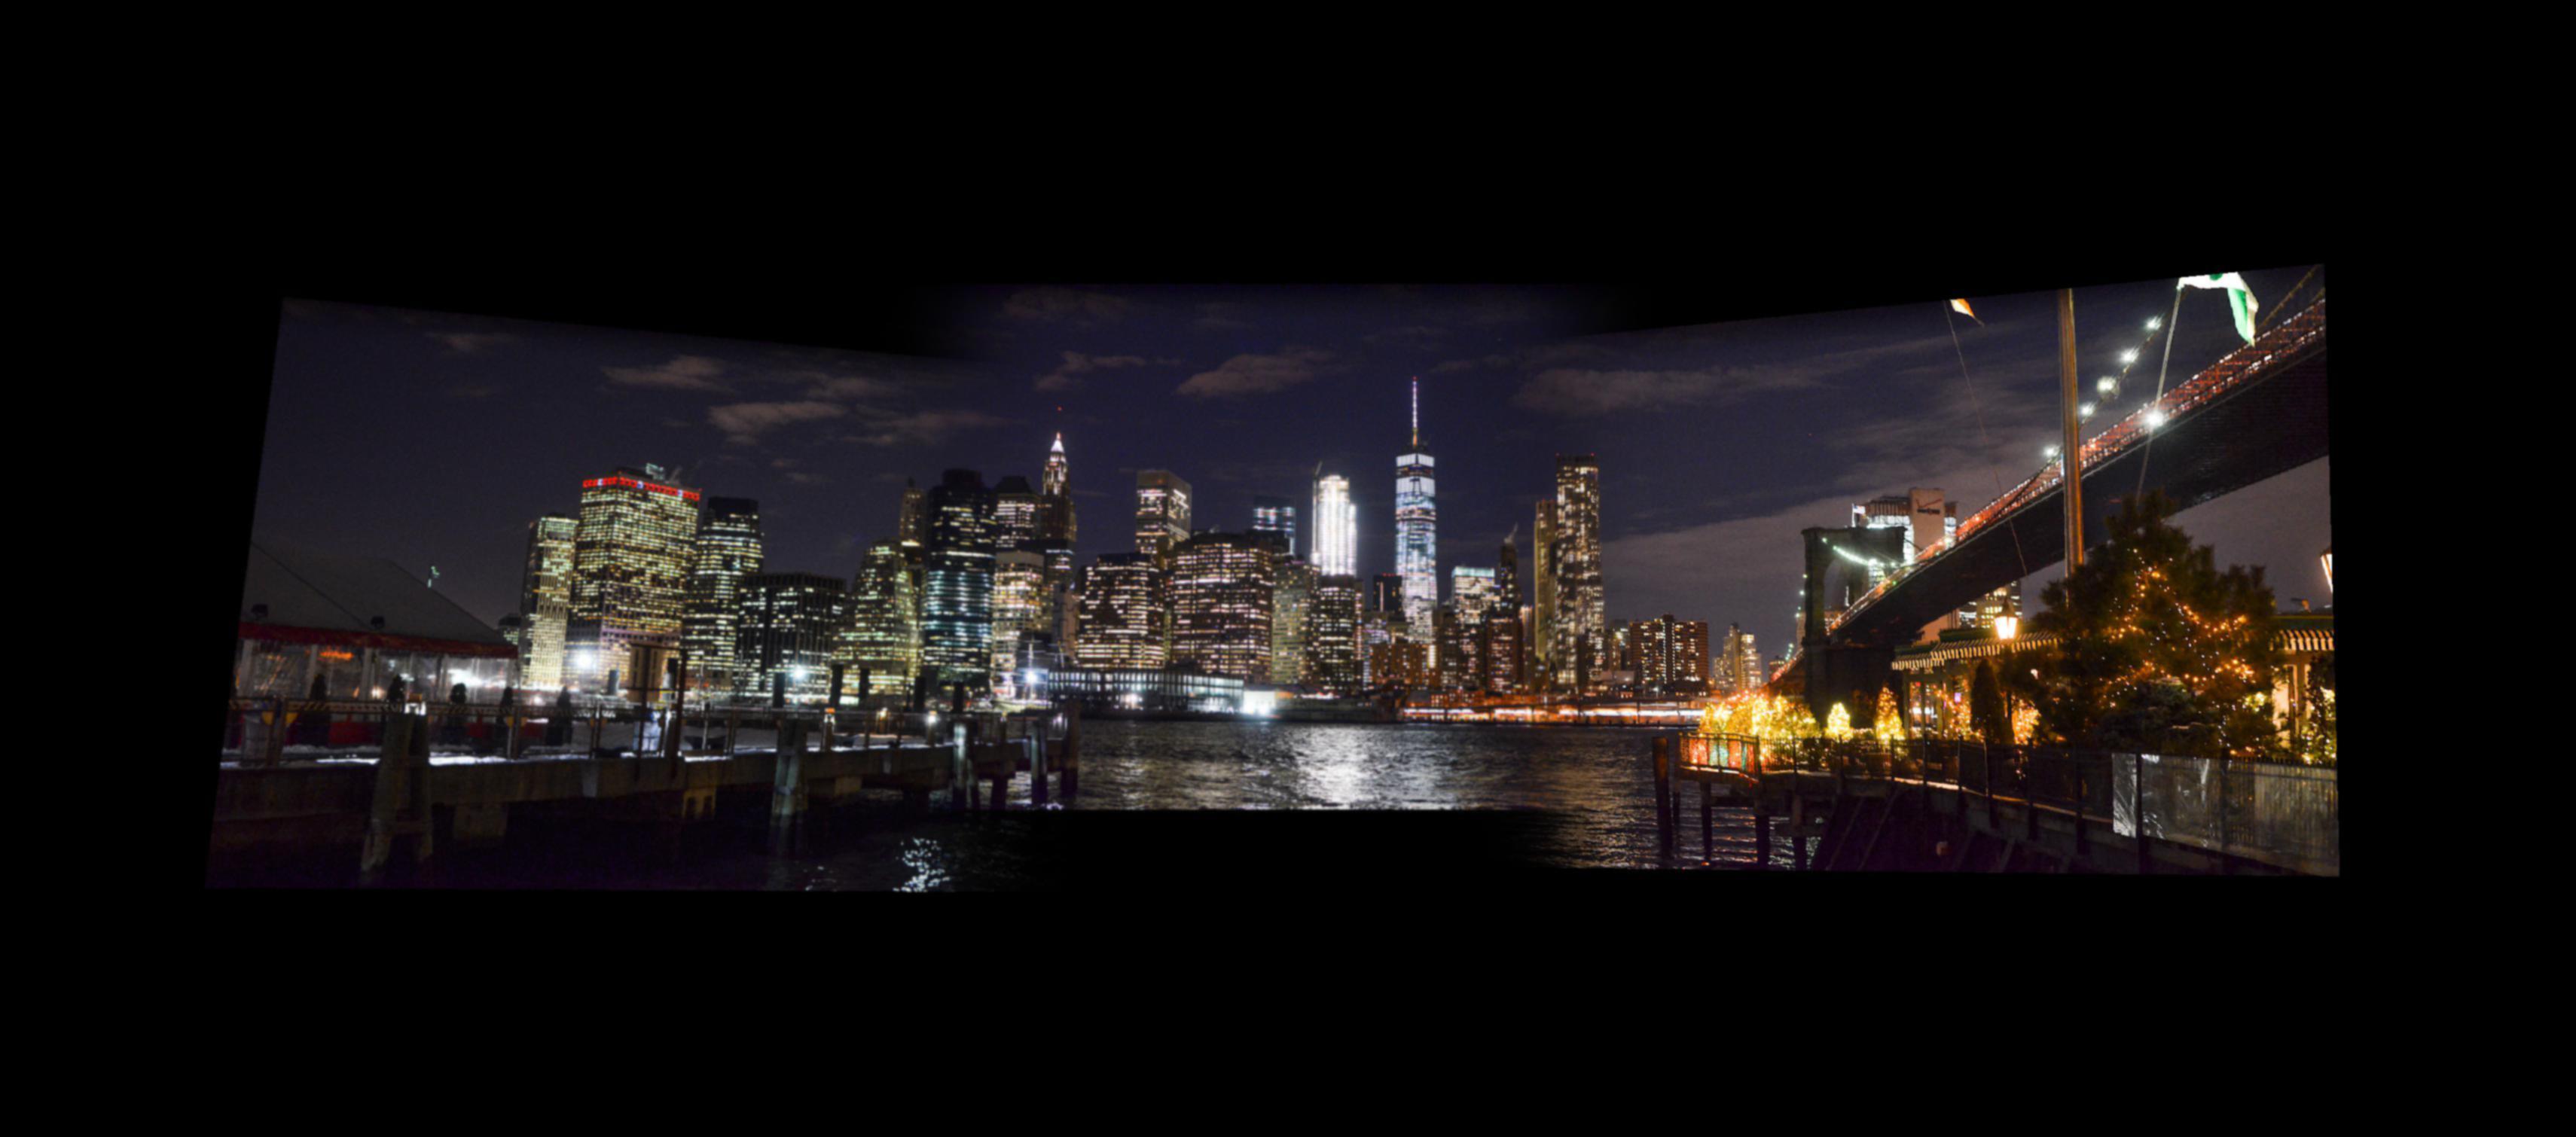
NYC skyline mosaic
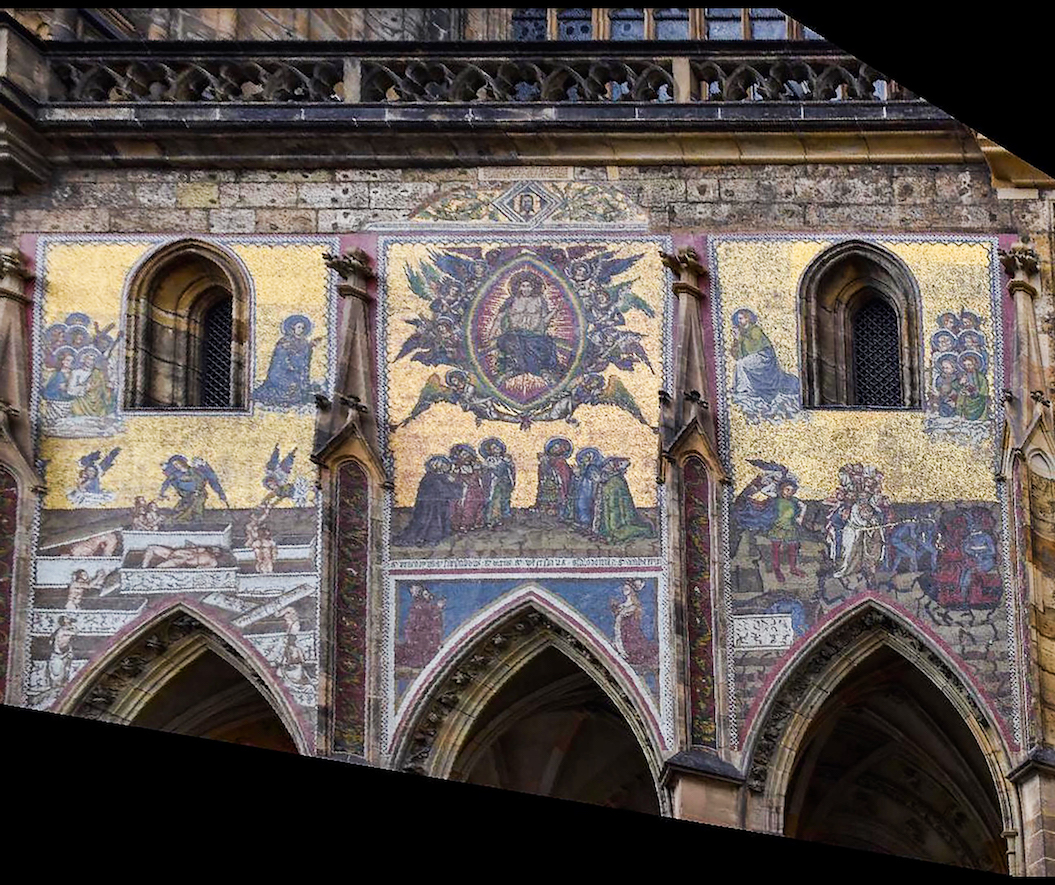
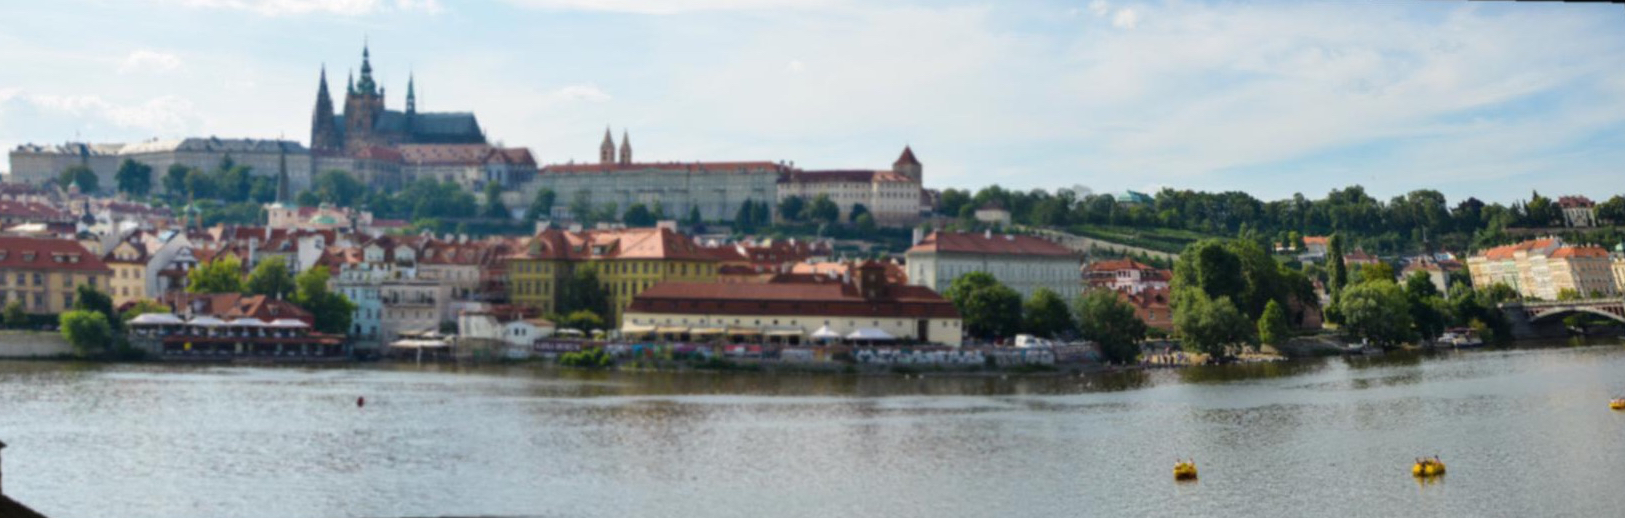
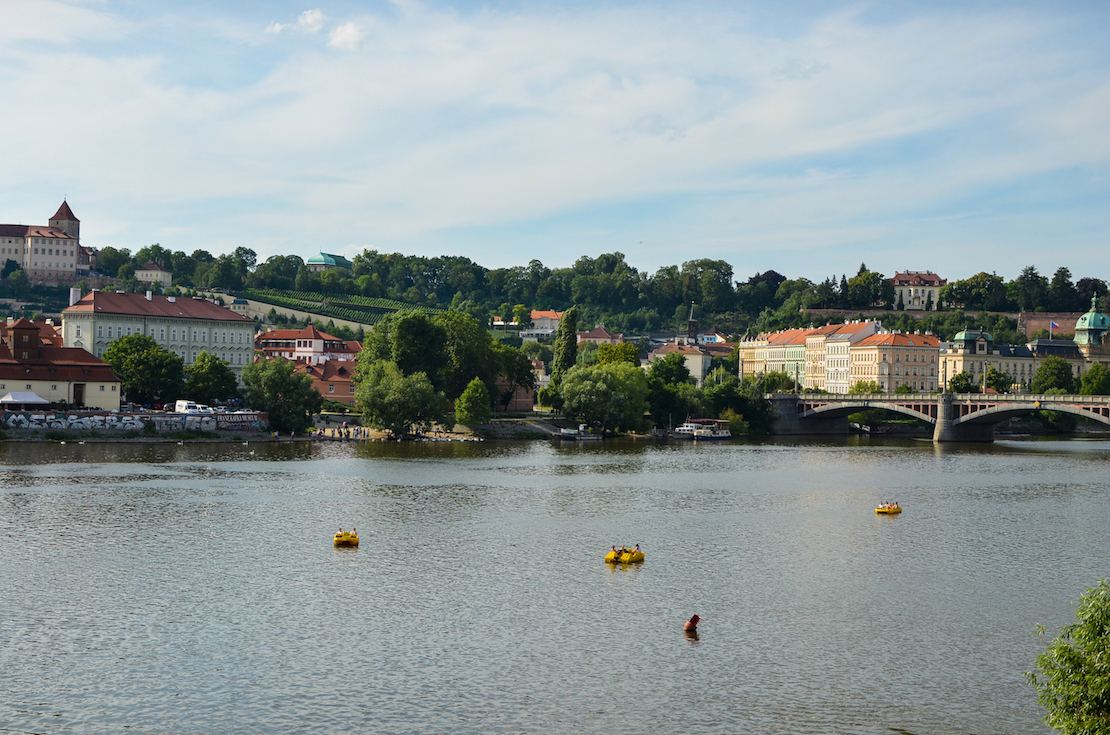
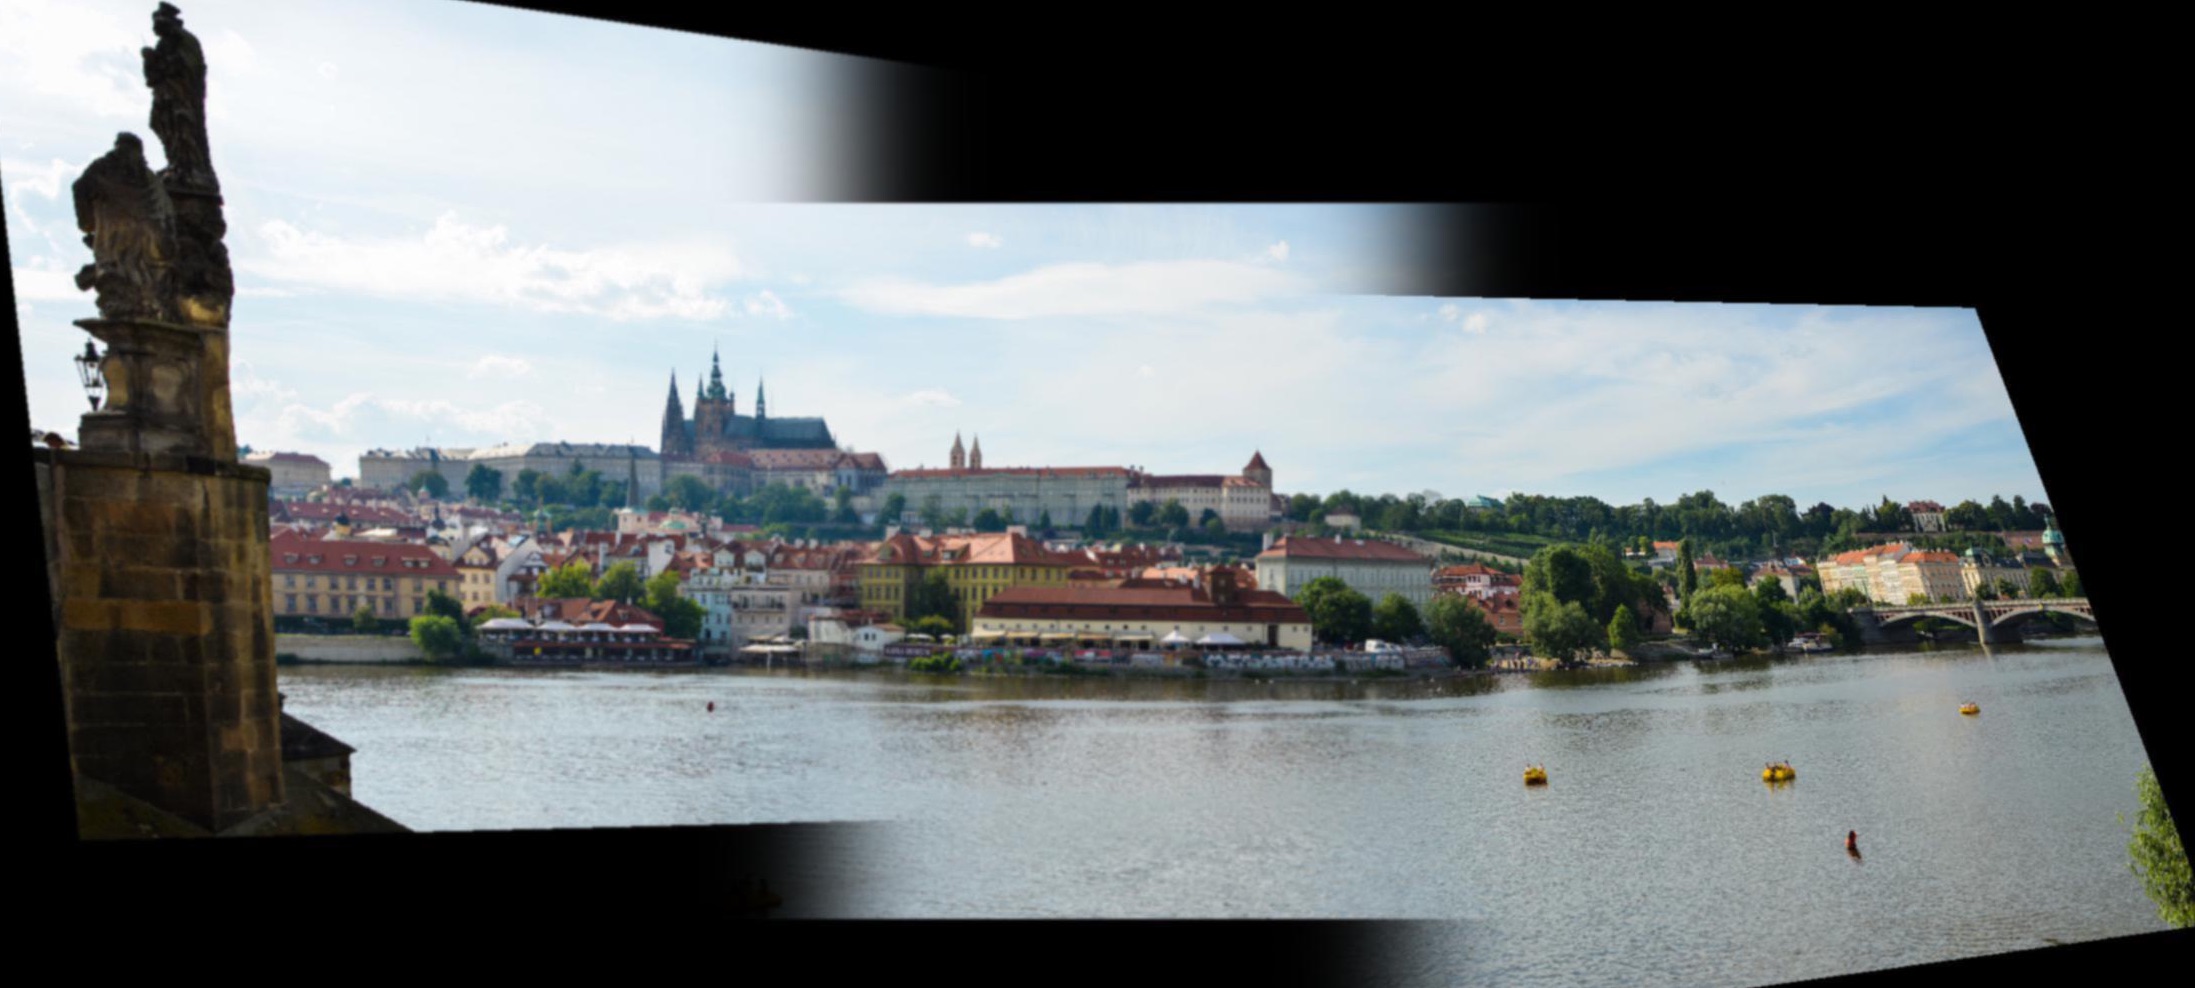
overlooking prague

prague mosaic: cropped

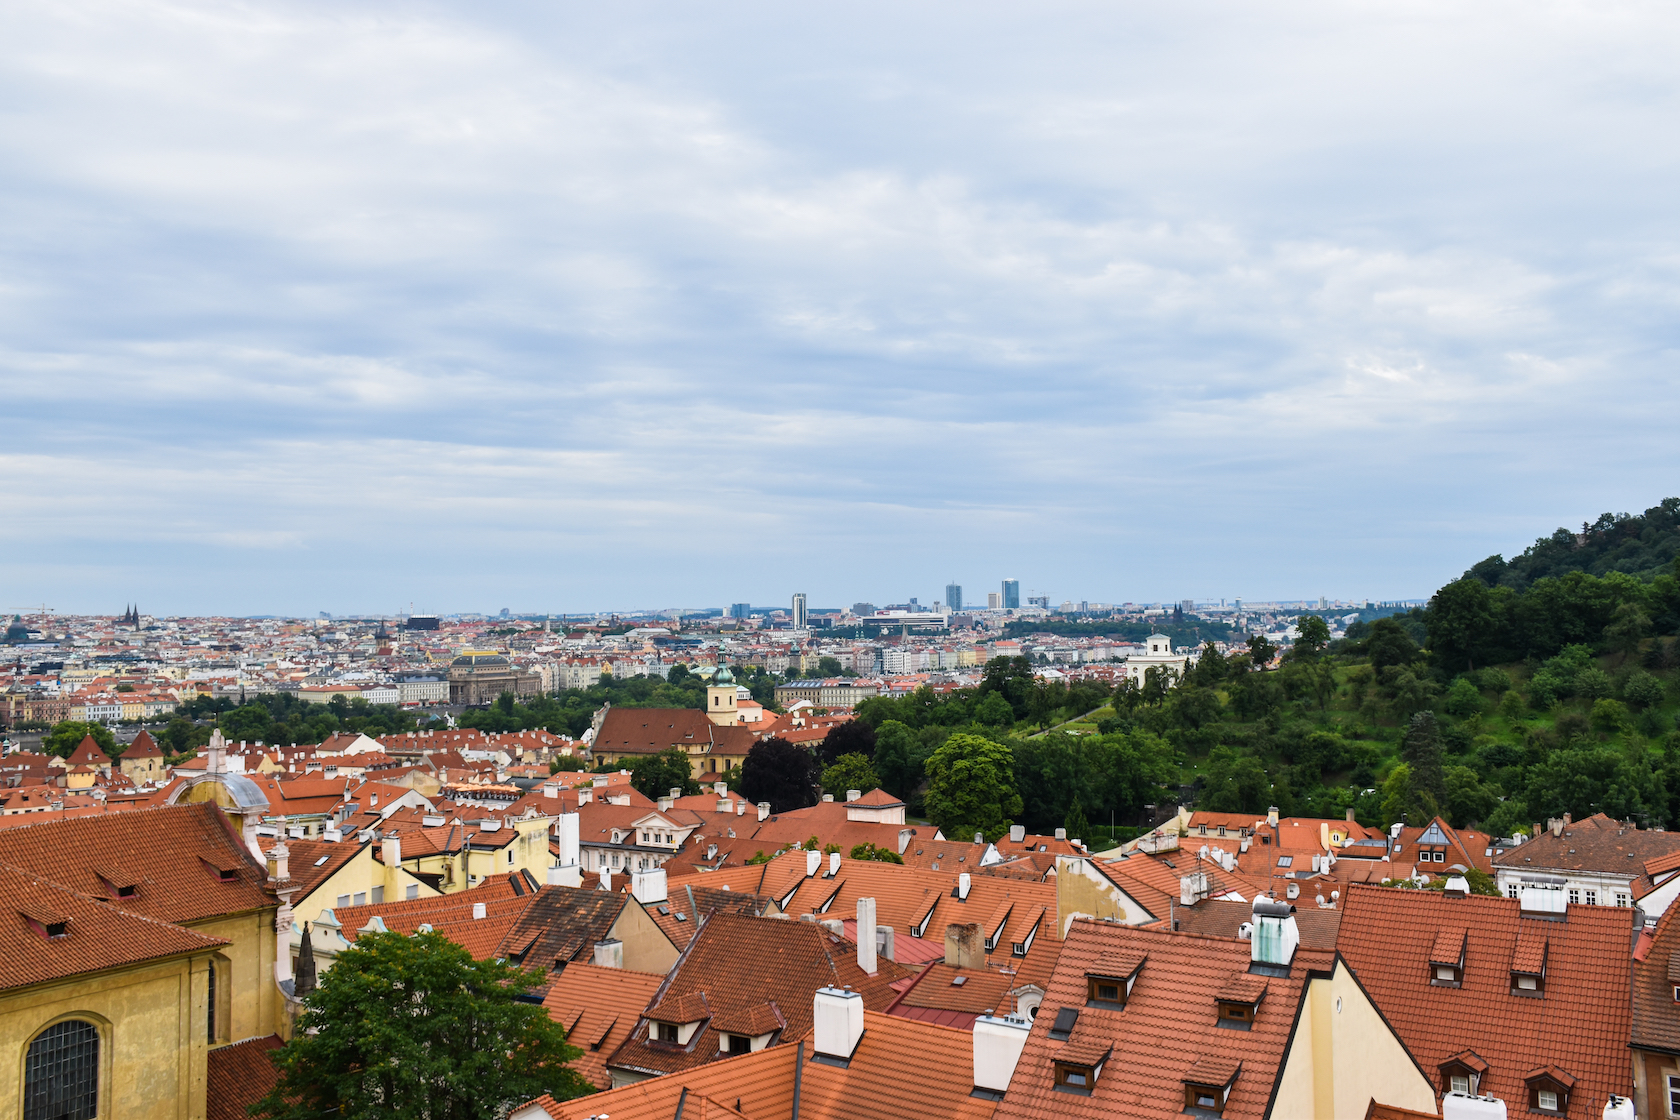
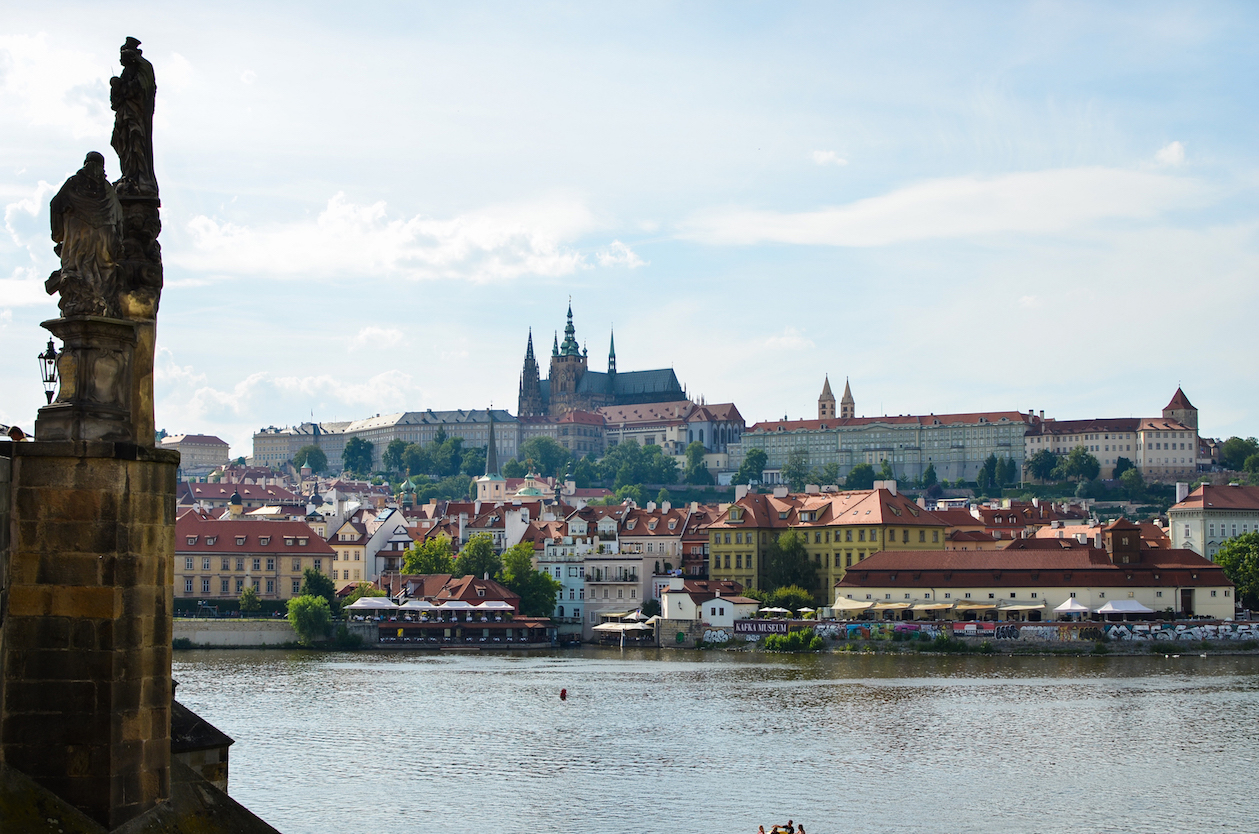
prague (left)
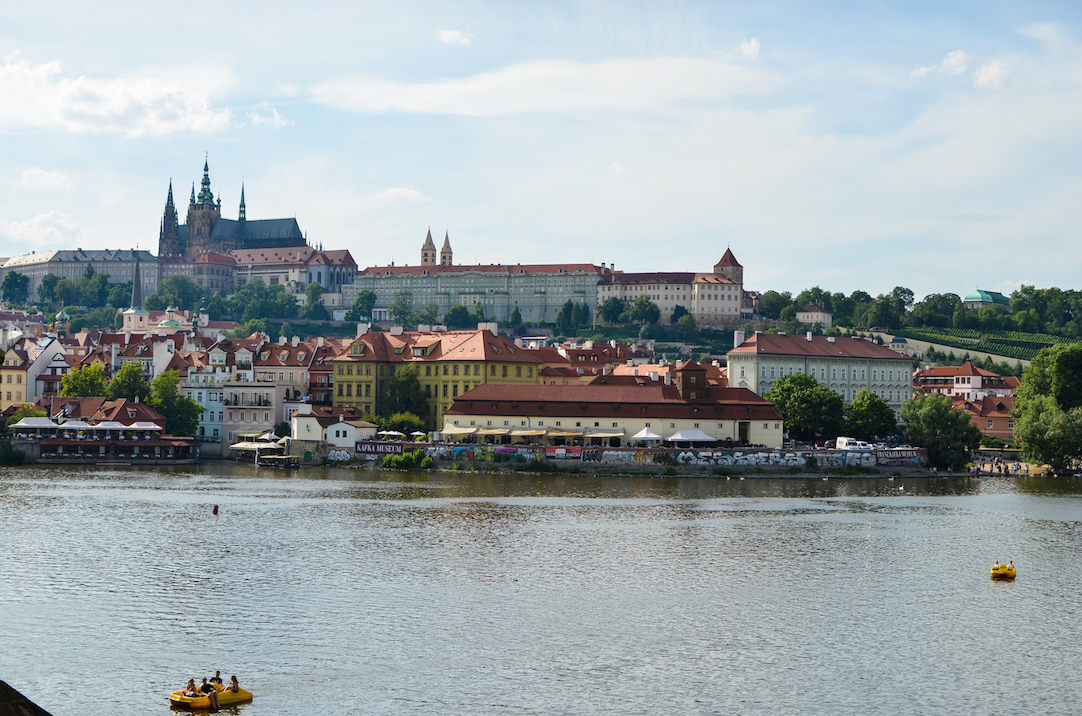
prague (center)
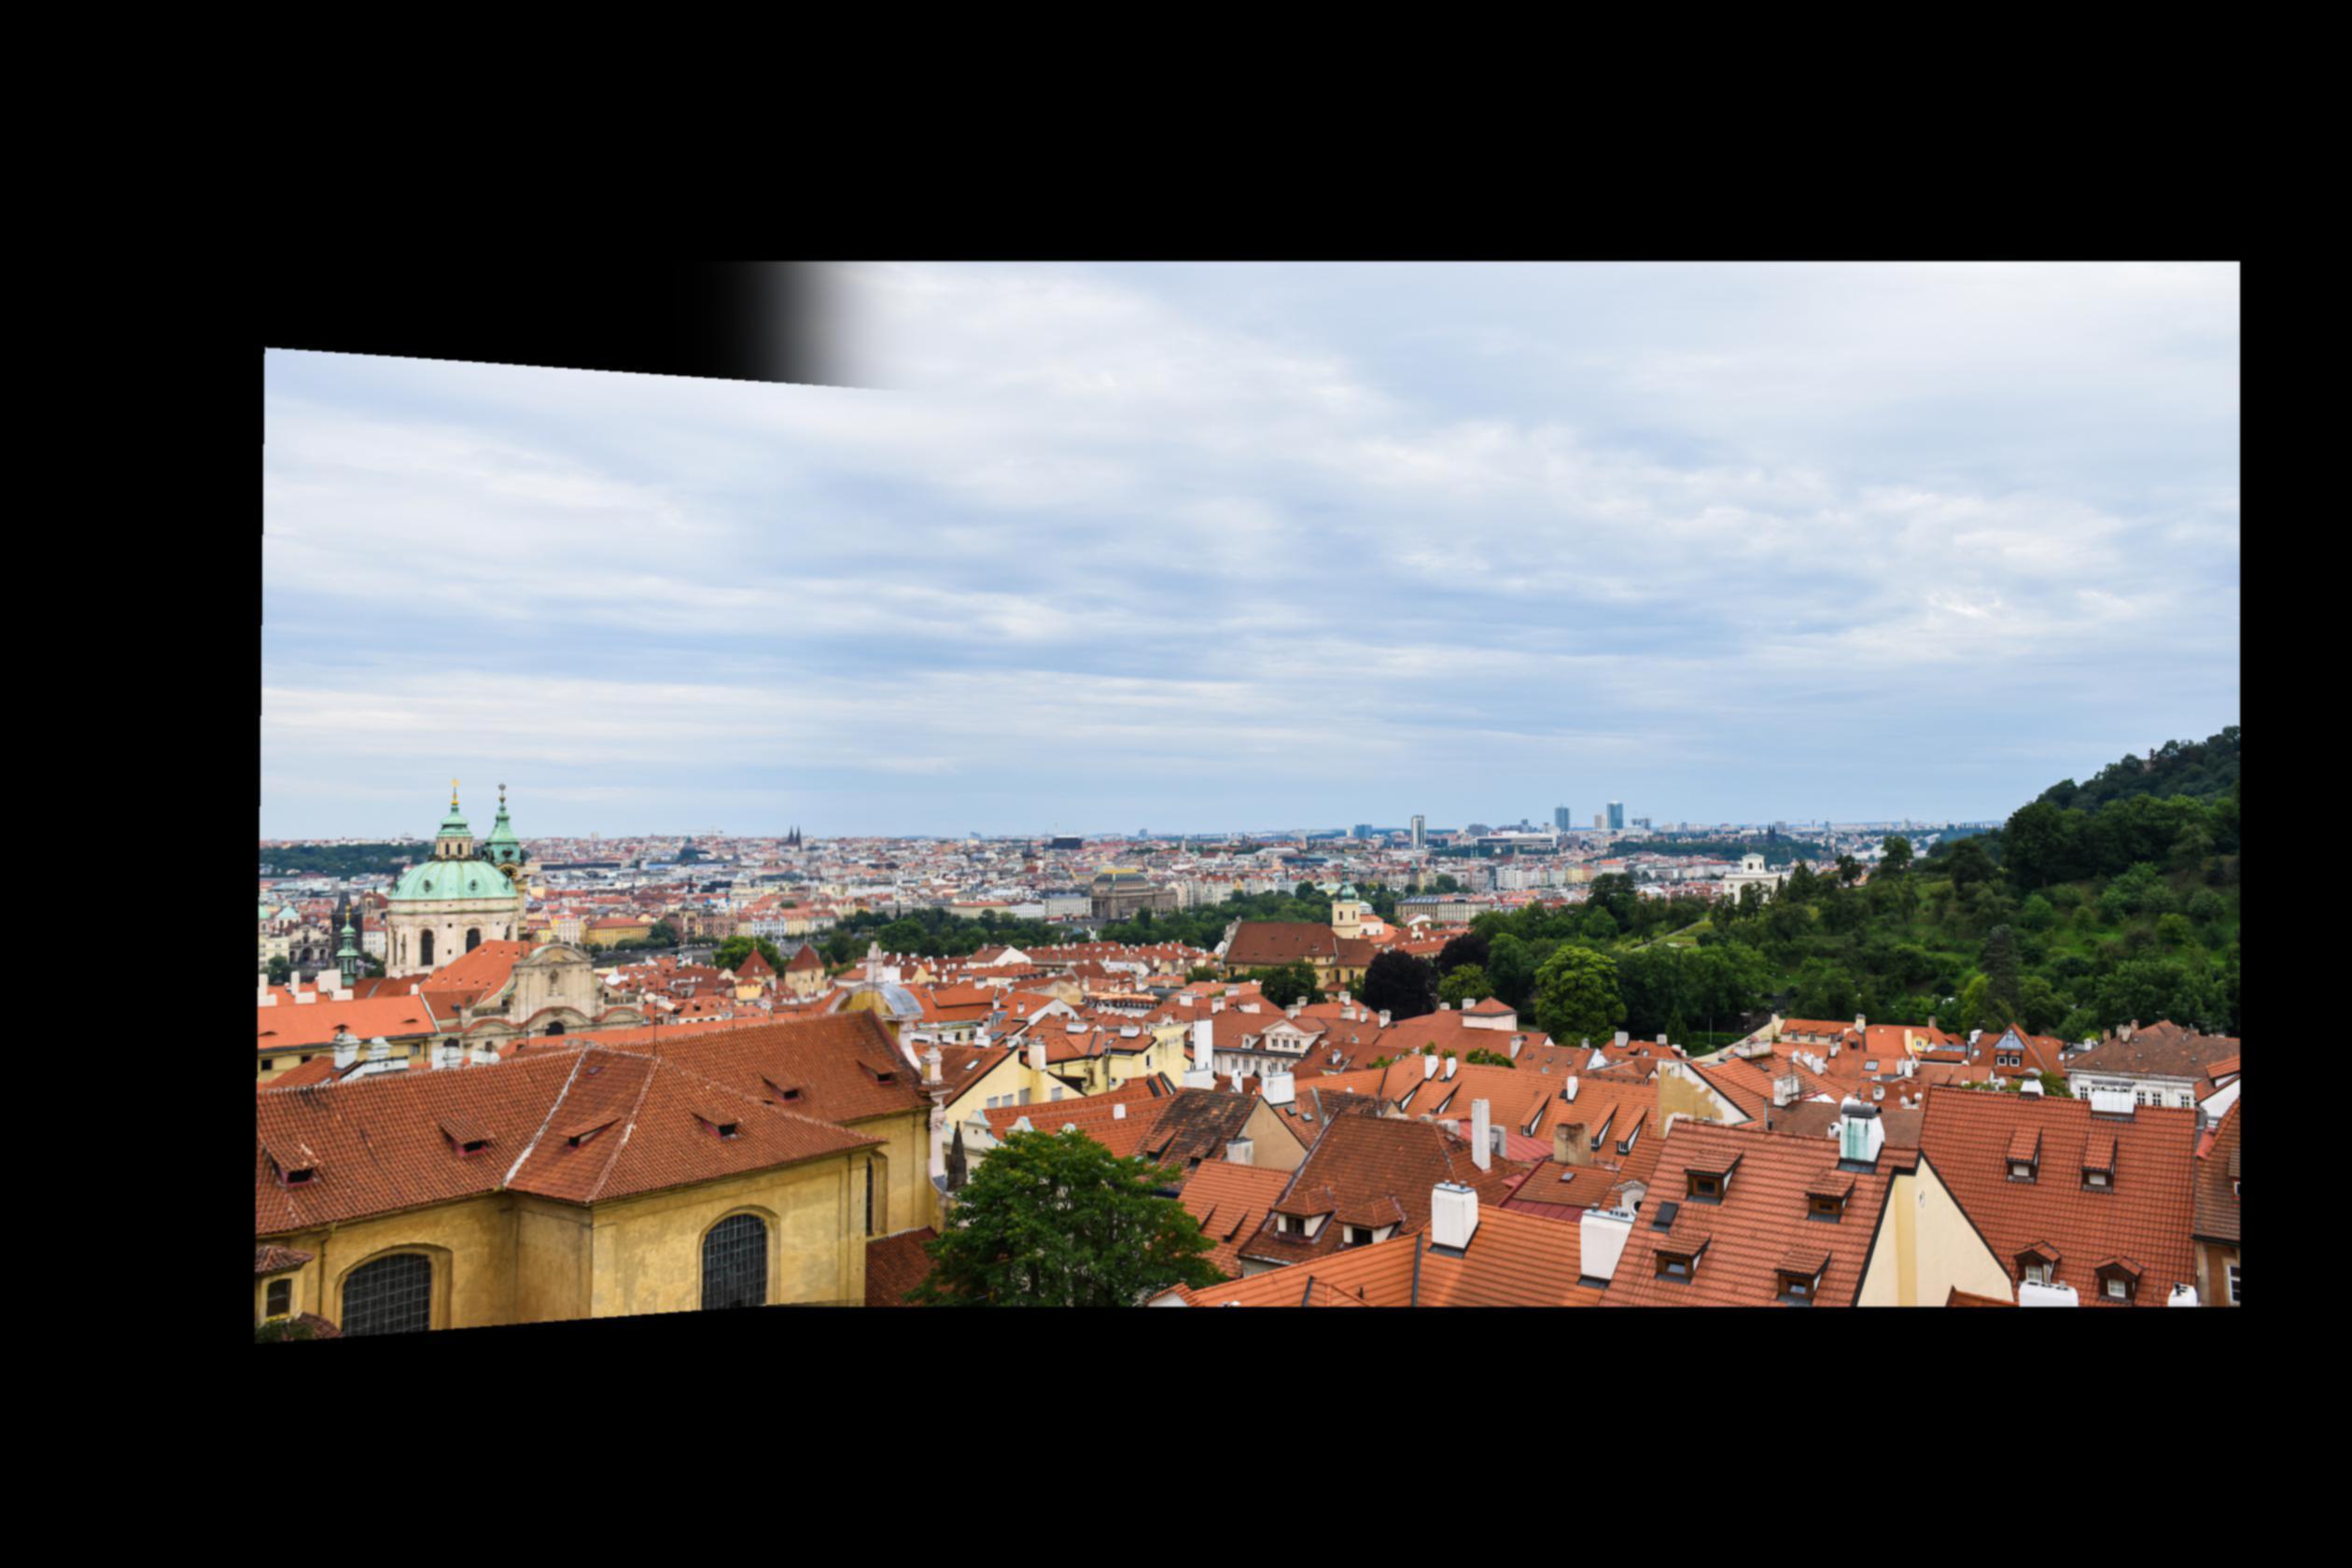
prague mosaic
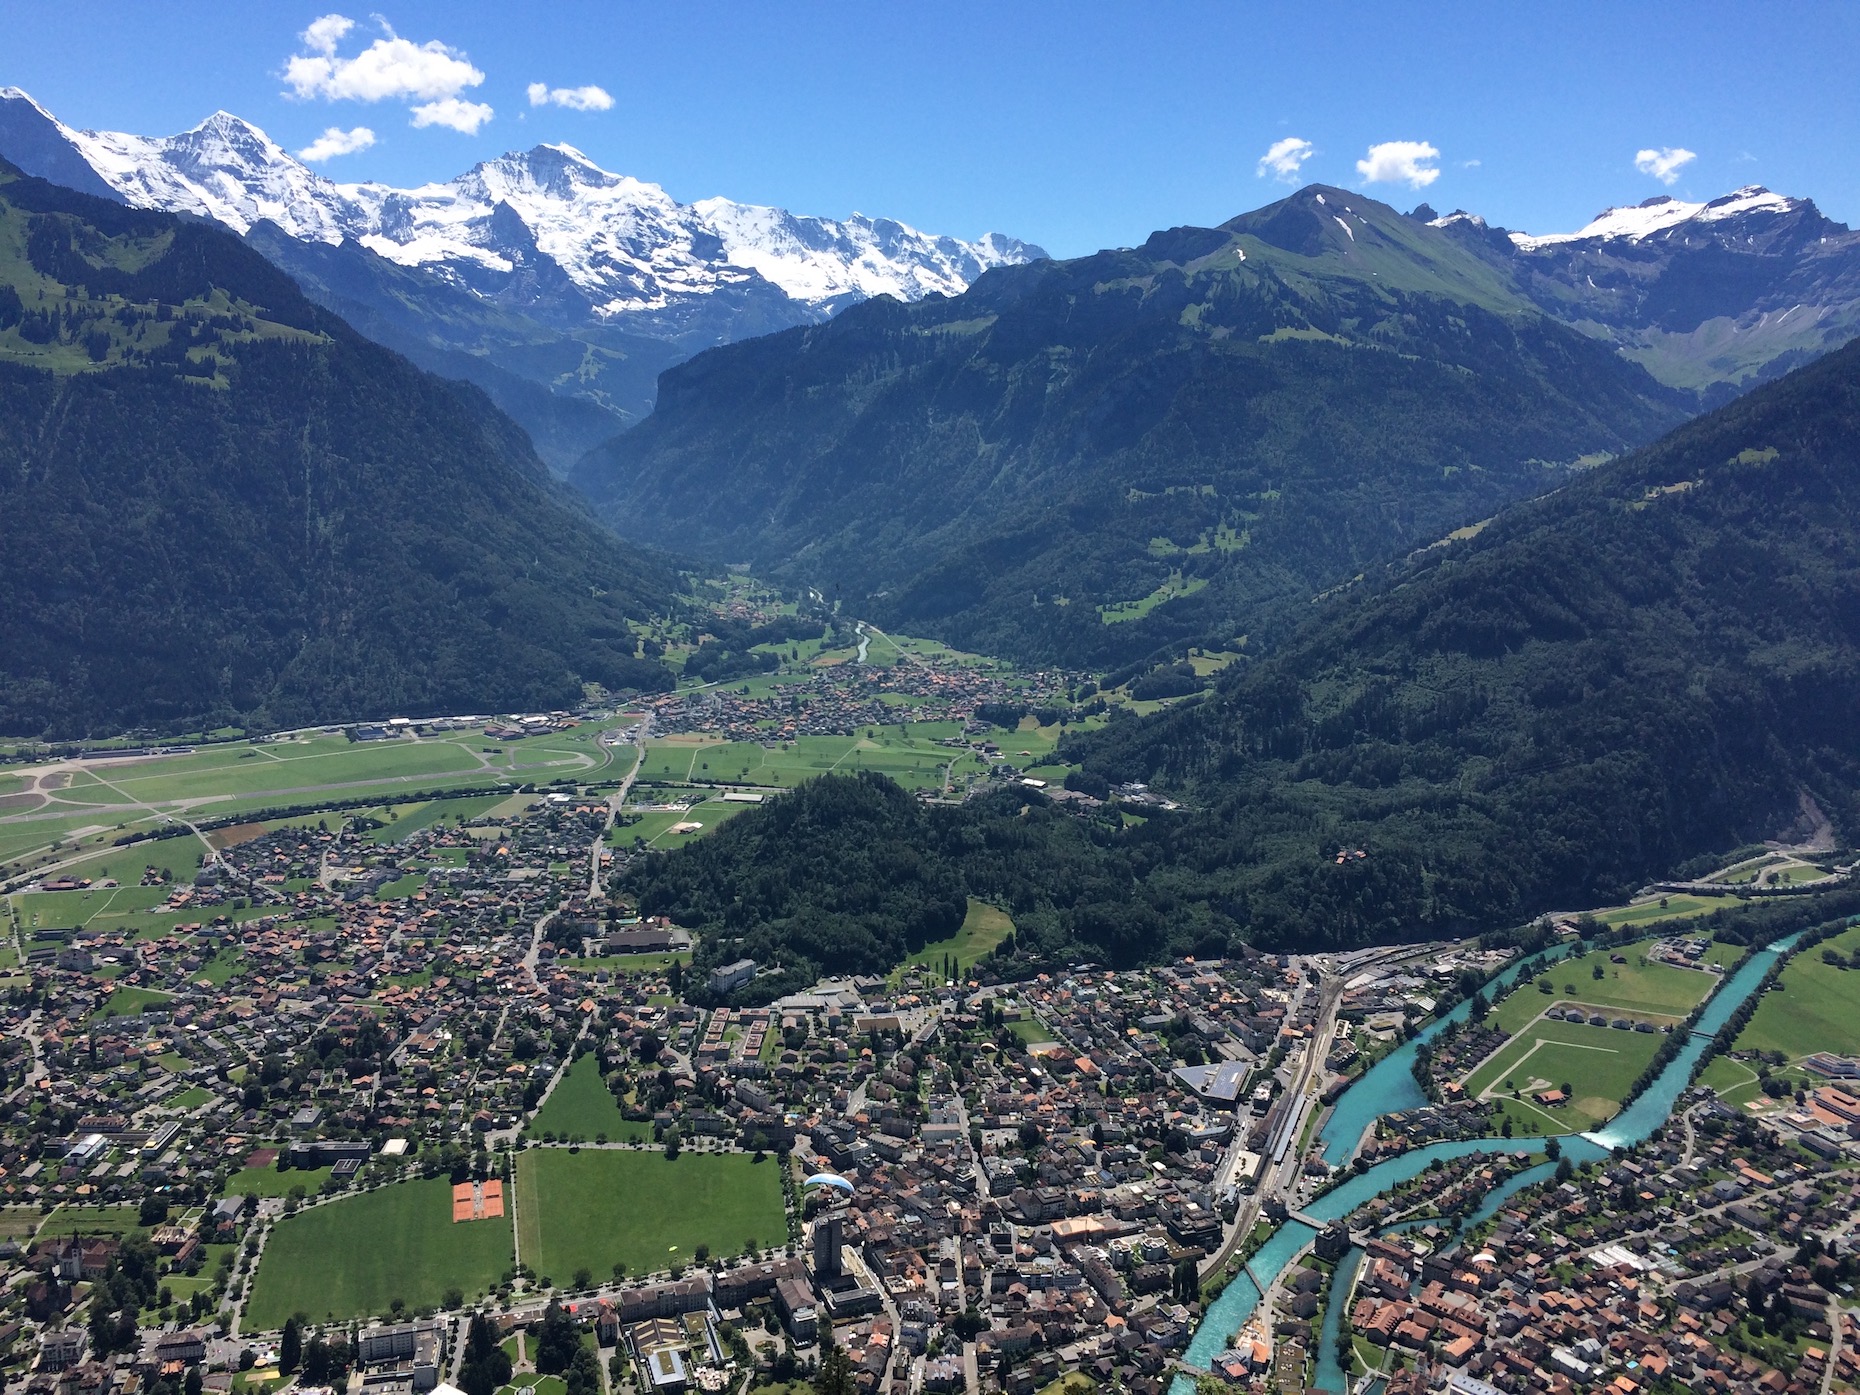
surrounded by the swiss alps

swiss alps mosaic: cropped
swiss alps (left)
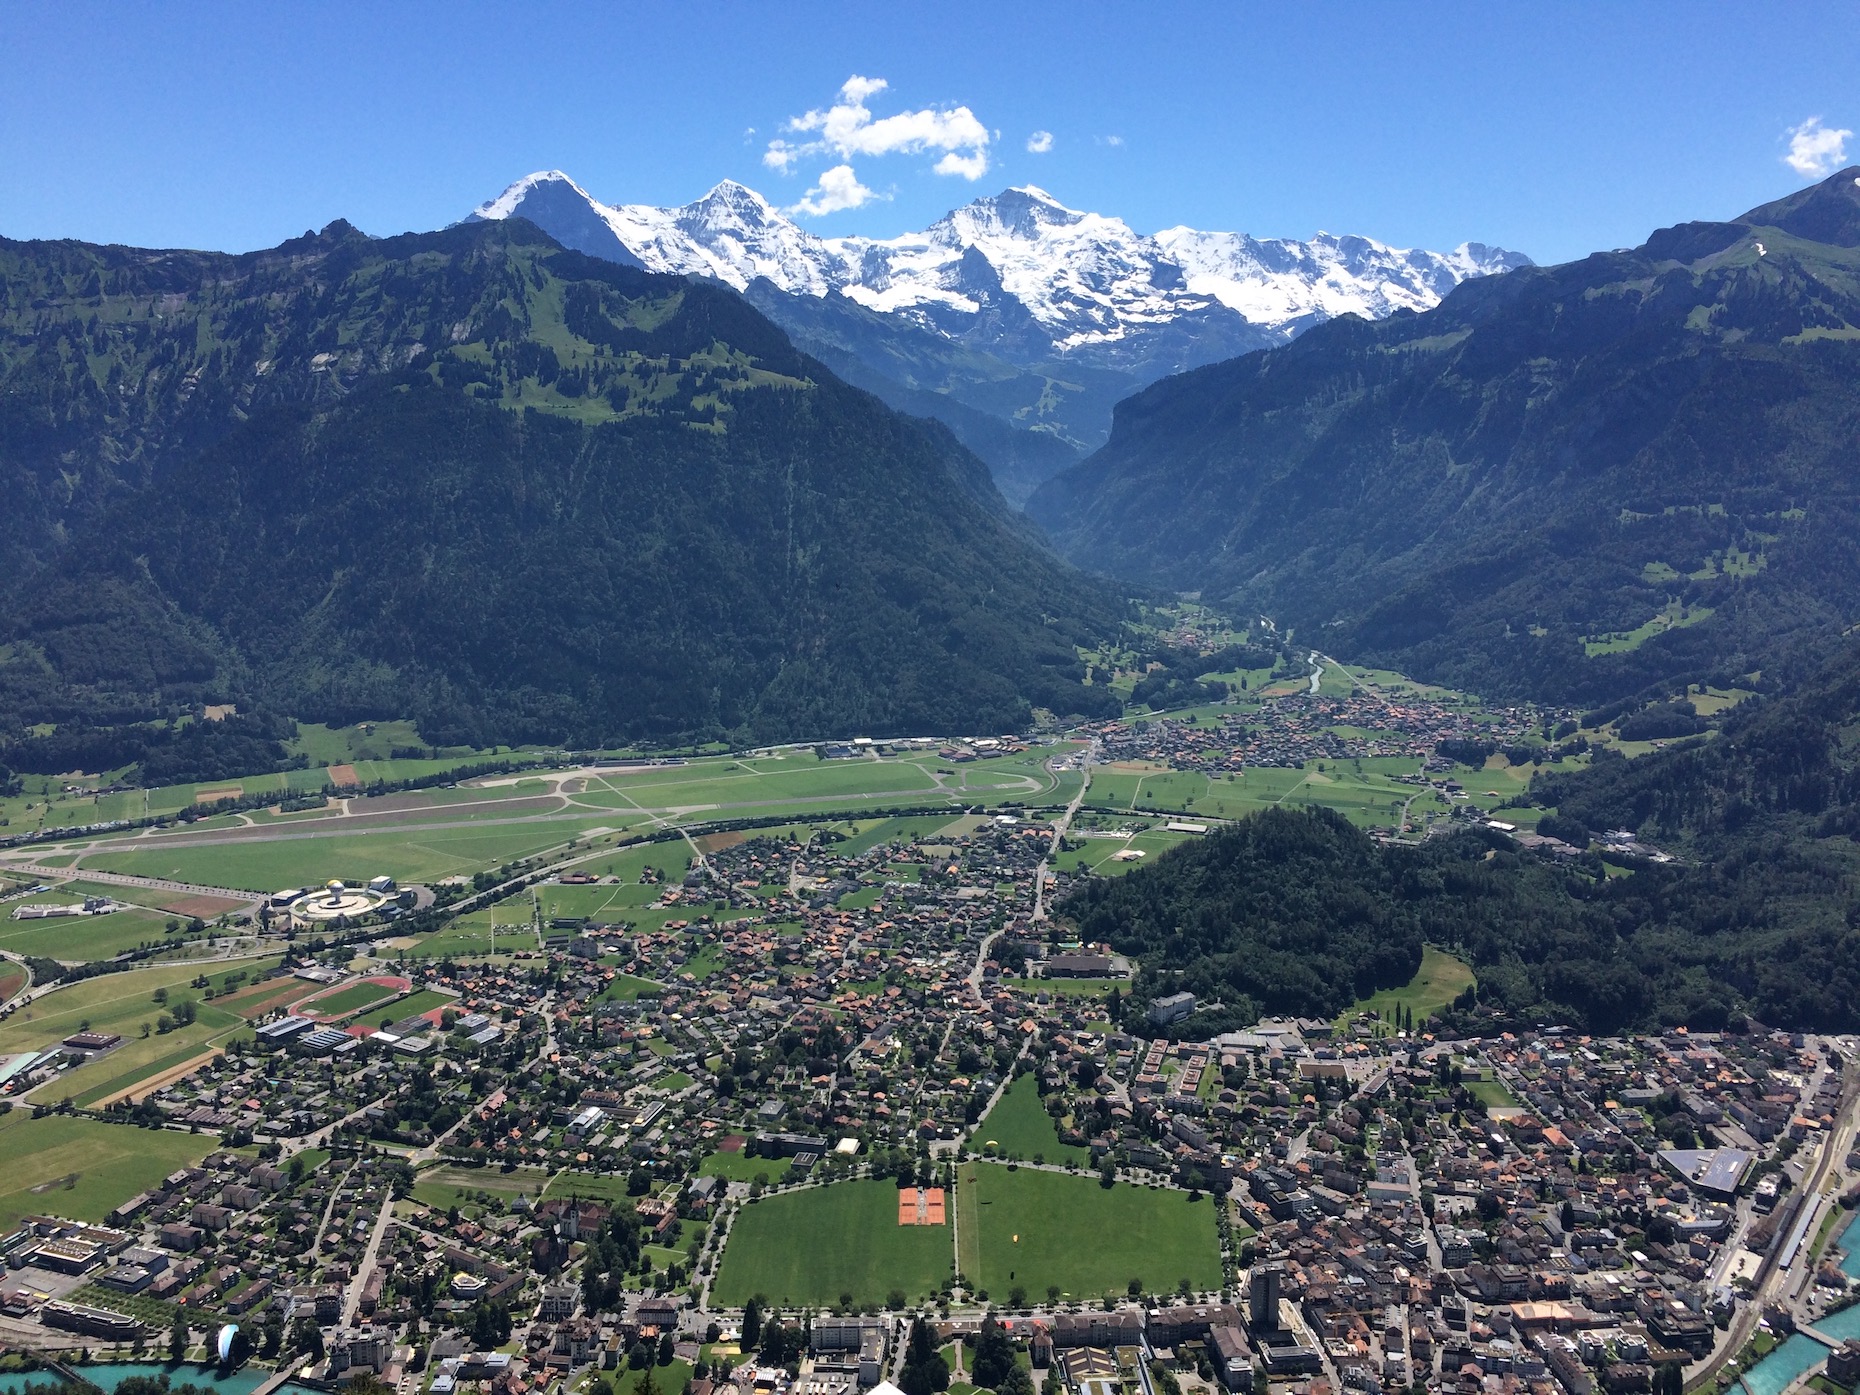
swiss alps (center)
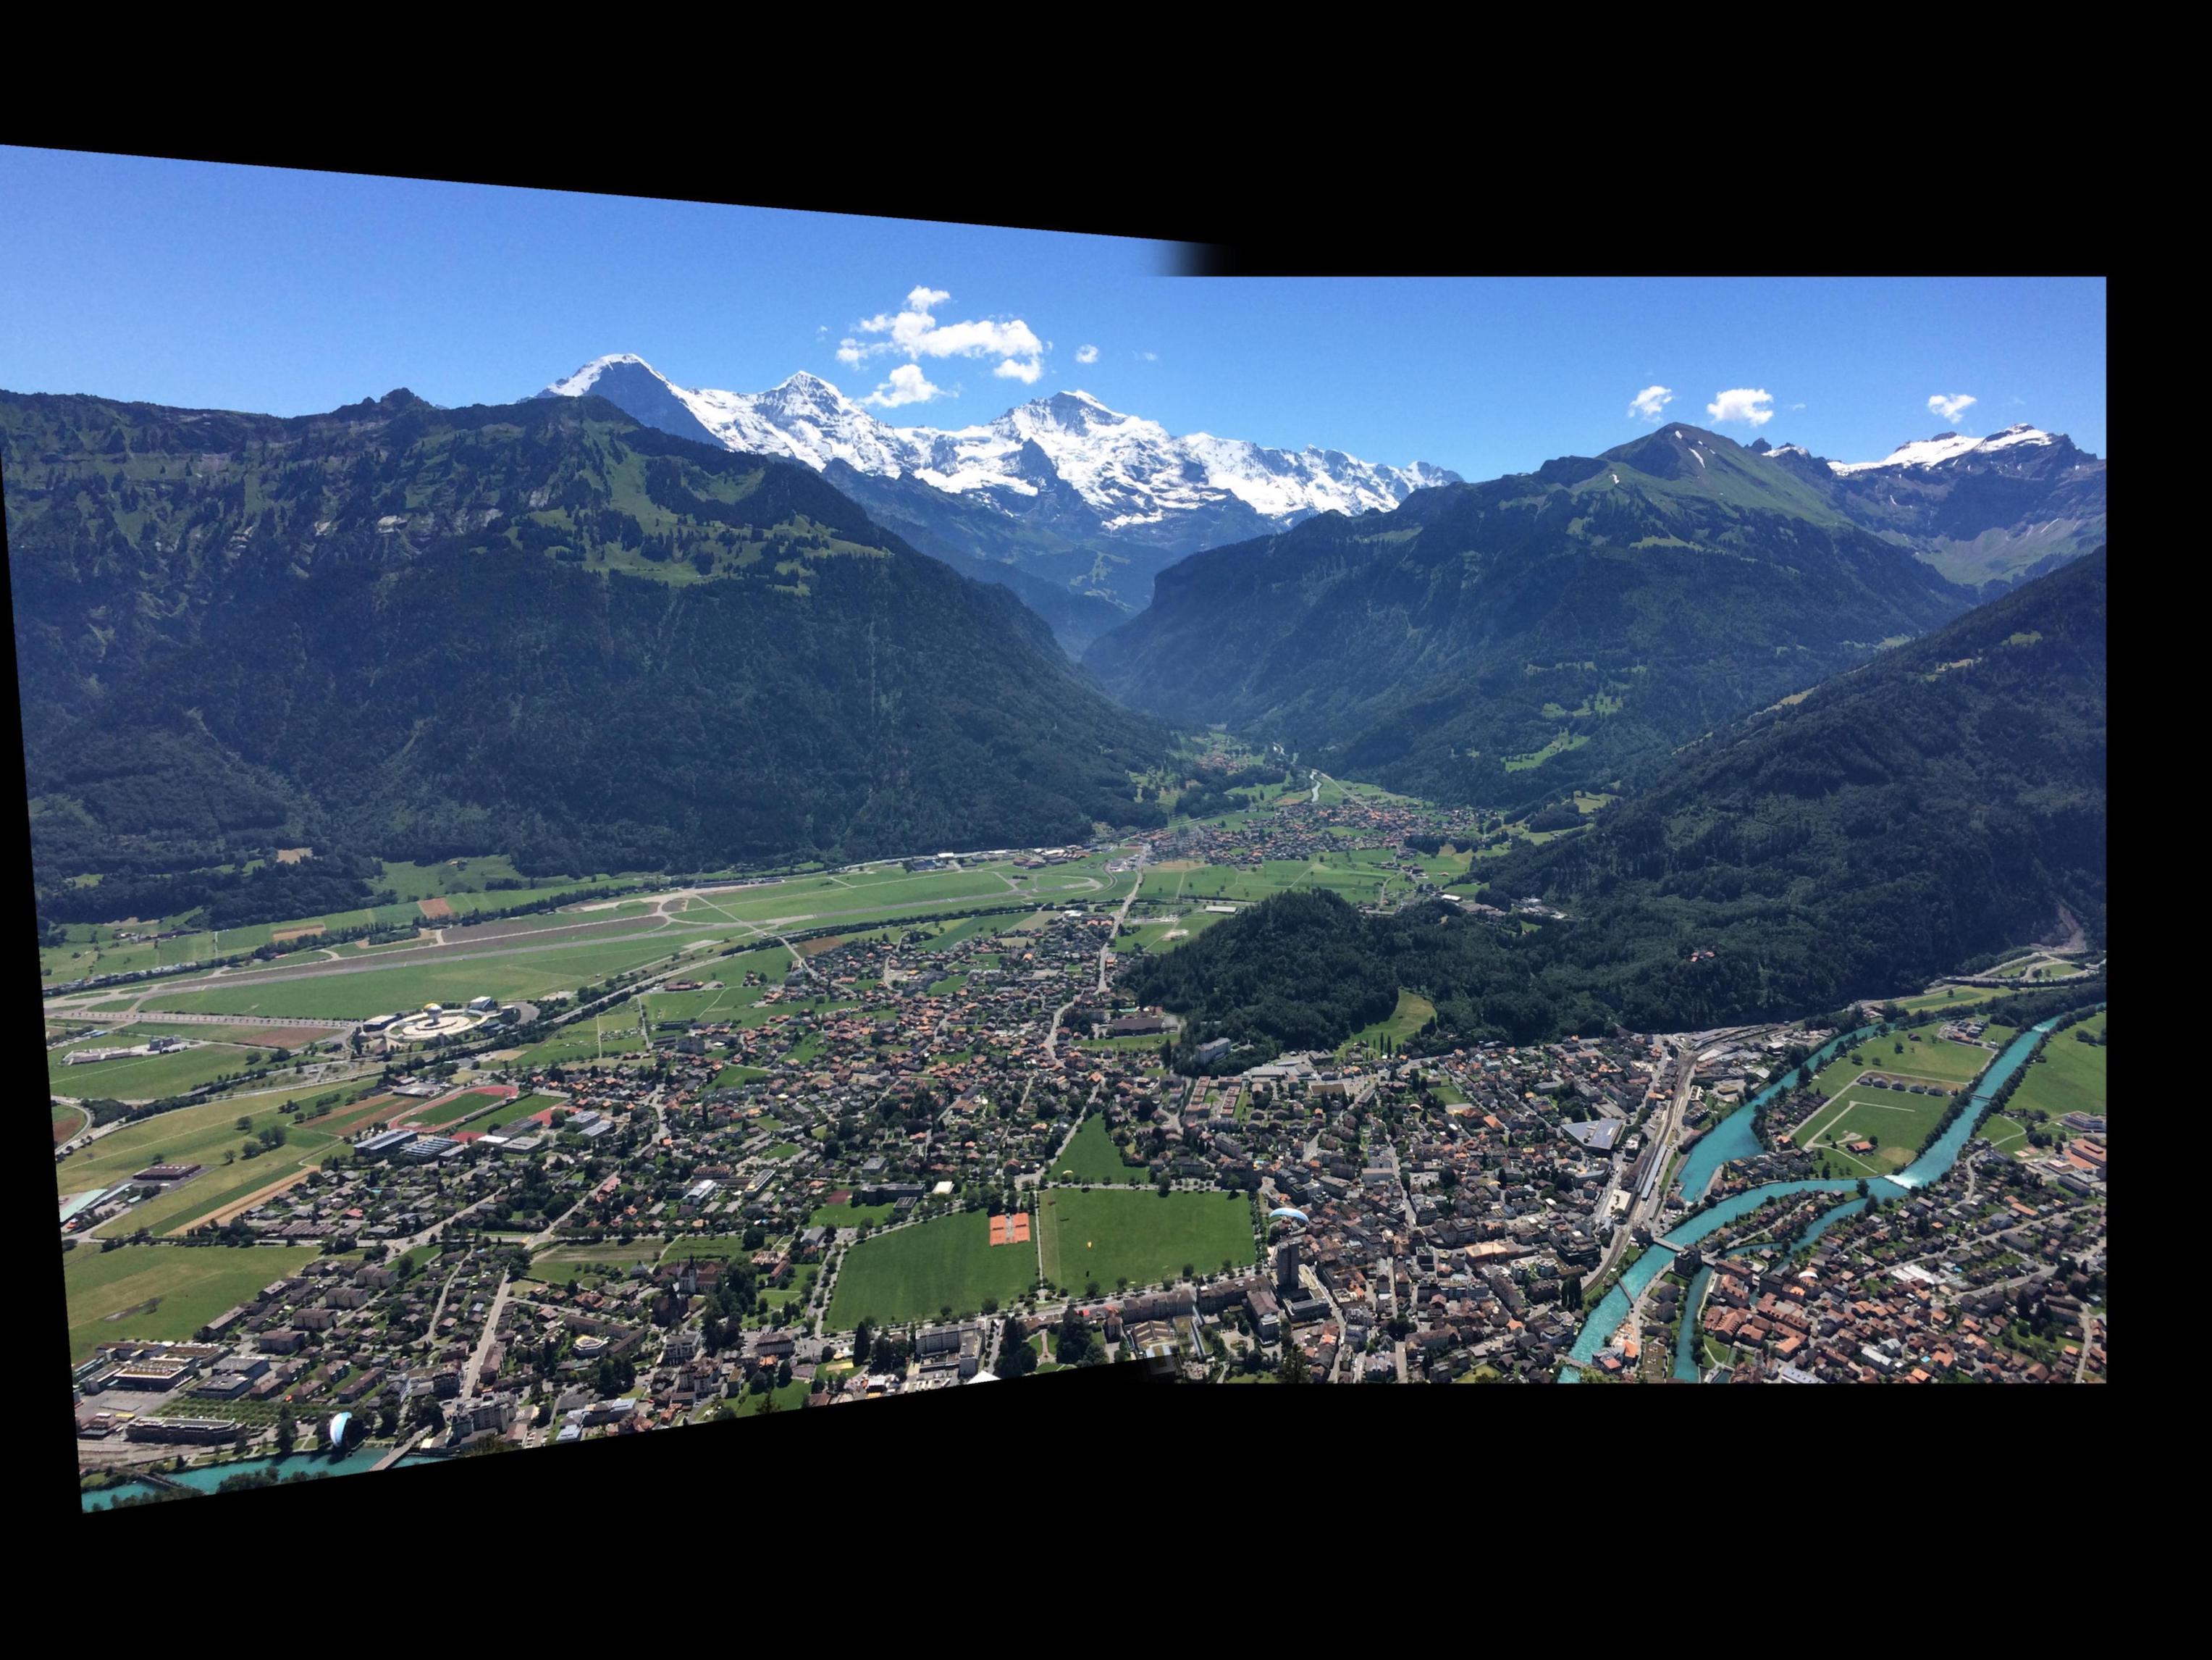
swiss alps mosaic
across the charles river
across the charles river mosaic: extra cropped (this photo set was very misaligned)
across the charles river (left)
across the charles river (center)
across the charles river (right)
across the charles river mosaic: cropped
Conclusion
I thought this project was pretty fun because it turns out I am a Huge Photo Hoarder and I found several series of photos in my photo library of the same exact scene from just a slightly different view that I am now able to stitch together into one!
Whether these photos came to be because lack of photography talent or because I had the foresight that I'd one day be able to turn them into panoramas, it was definitely cool getting to see these individual images turn into a mosaic. It was rewarding to see how just four corresponding points can lead to transformations that change the perspective of a photo, and learning how panoramic stitching works behind-the-scenes. Now, I can stitch together some old photos that couldn't quite capture everything before.