CS 194-26 Project 6A
Image Warping and Mosaicing - Part 1
Completed by Alex Krentsel
Yosemite stiched together and blended with optimized feathered blending
Description
In this project, we are going to be stitching images together to create image mosaics. We first get a pair of images take from the same point in space, only turning the camera to take the second image, with part of the image overlapping. We then define at least 4 corresponding points between the two images. We use this information to solve for a homography matrix, then apply this matrix to transform the first image into the "plane" of the second image, and translate the images to line up correctly, producing a panoramic mosaic image. We can optionally use some blending methods to make the alignment look smoother, as I have done below.
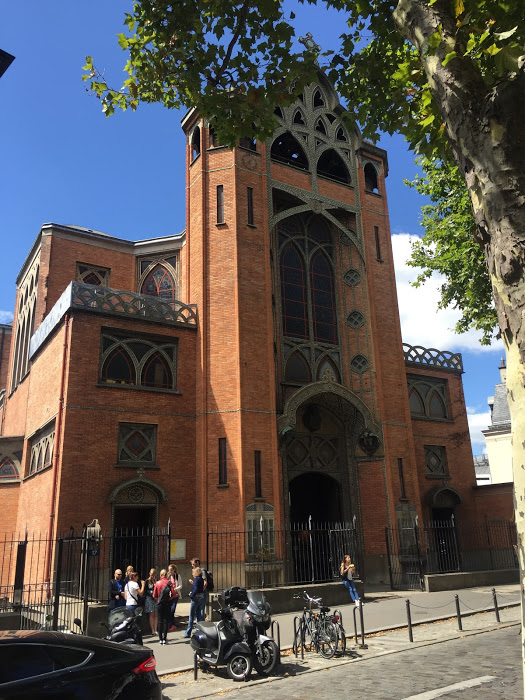
Shooting the Photos
I shot a a bunch of sets of photos for this project. I also dug into my Google Photos and pulled out some old photos of mine from Europe to use. I also experimented with some photos from online of Yosemite and other places.
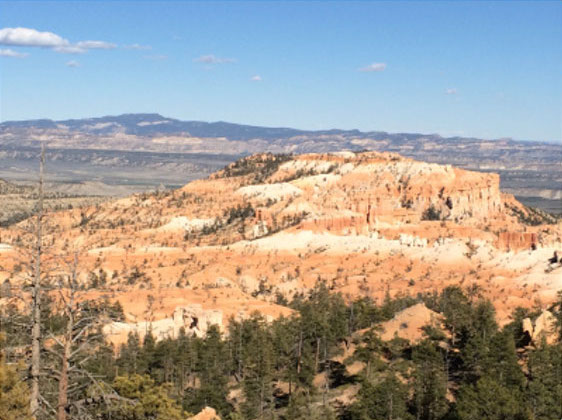
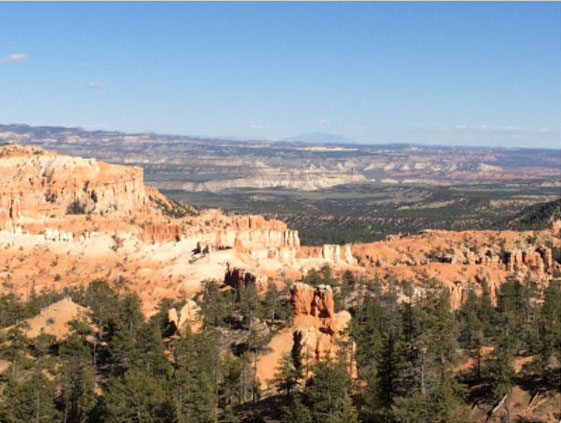
Here are a few of the images that I gathered:
I then labeled the pairs of images that I collected with sets of 4 corresponding points and stored them in a text file for each pair of images.
Recovering Homographies
Once I labeled the pairs of images with sets of corresponding points, I could proceed to find the matrix to trasnform the points in one image to the corresponding points in the other image. This matrix is called a
homogrpahy matrix. To find this matrix, we can set up a system of equations, where each equation comes from application of the homography matrix (which is made up of 9 unknowns):
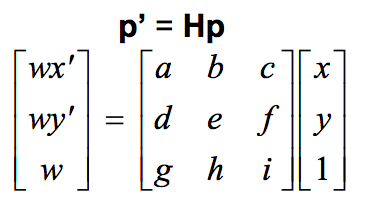
We can set
i to be 1, and therefore are left with 8 unknowns. Therefore we need 4 points to have a solvable set of equations, since each pair of points provides both an x and a y correspondance. We use linear least squares to solve for the 8 unknonws that we need to define our homography matrix. We use the homography equation in the future parts.
Image Rectification
Once we have a homograpy matrix, we can now change image perspective and apply rectification. In rectification, we select points in the image that correspond to a known shape in the real world and transform the image to match that known shape. See my results below:
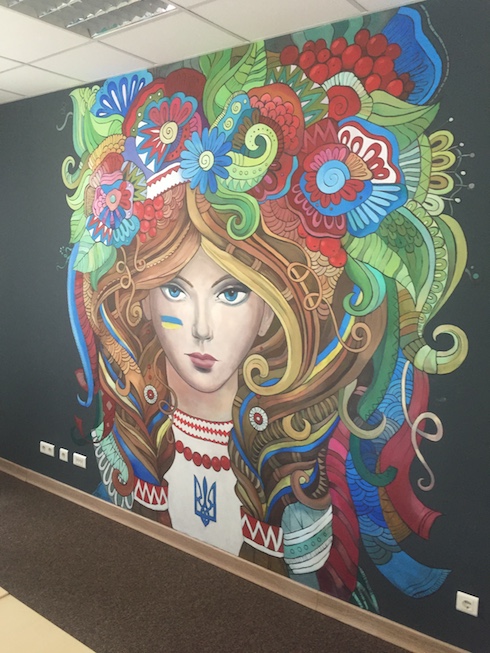
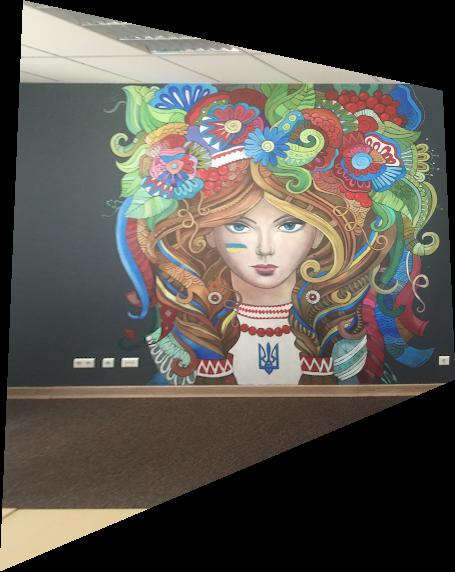
On the left is the original image, on the right we used a homagraphy to rectify the Ukrainian woman.
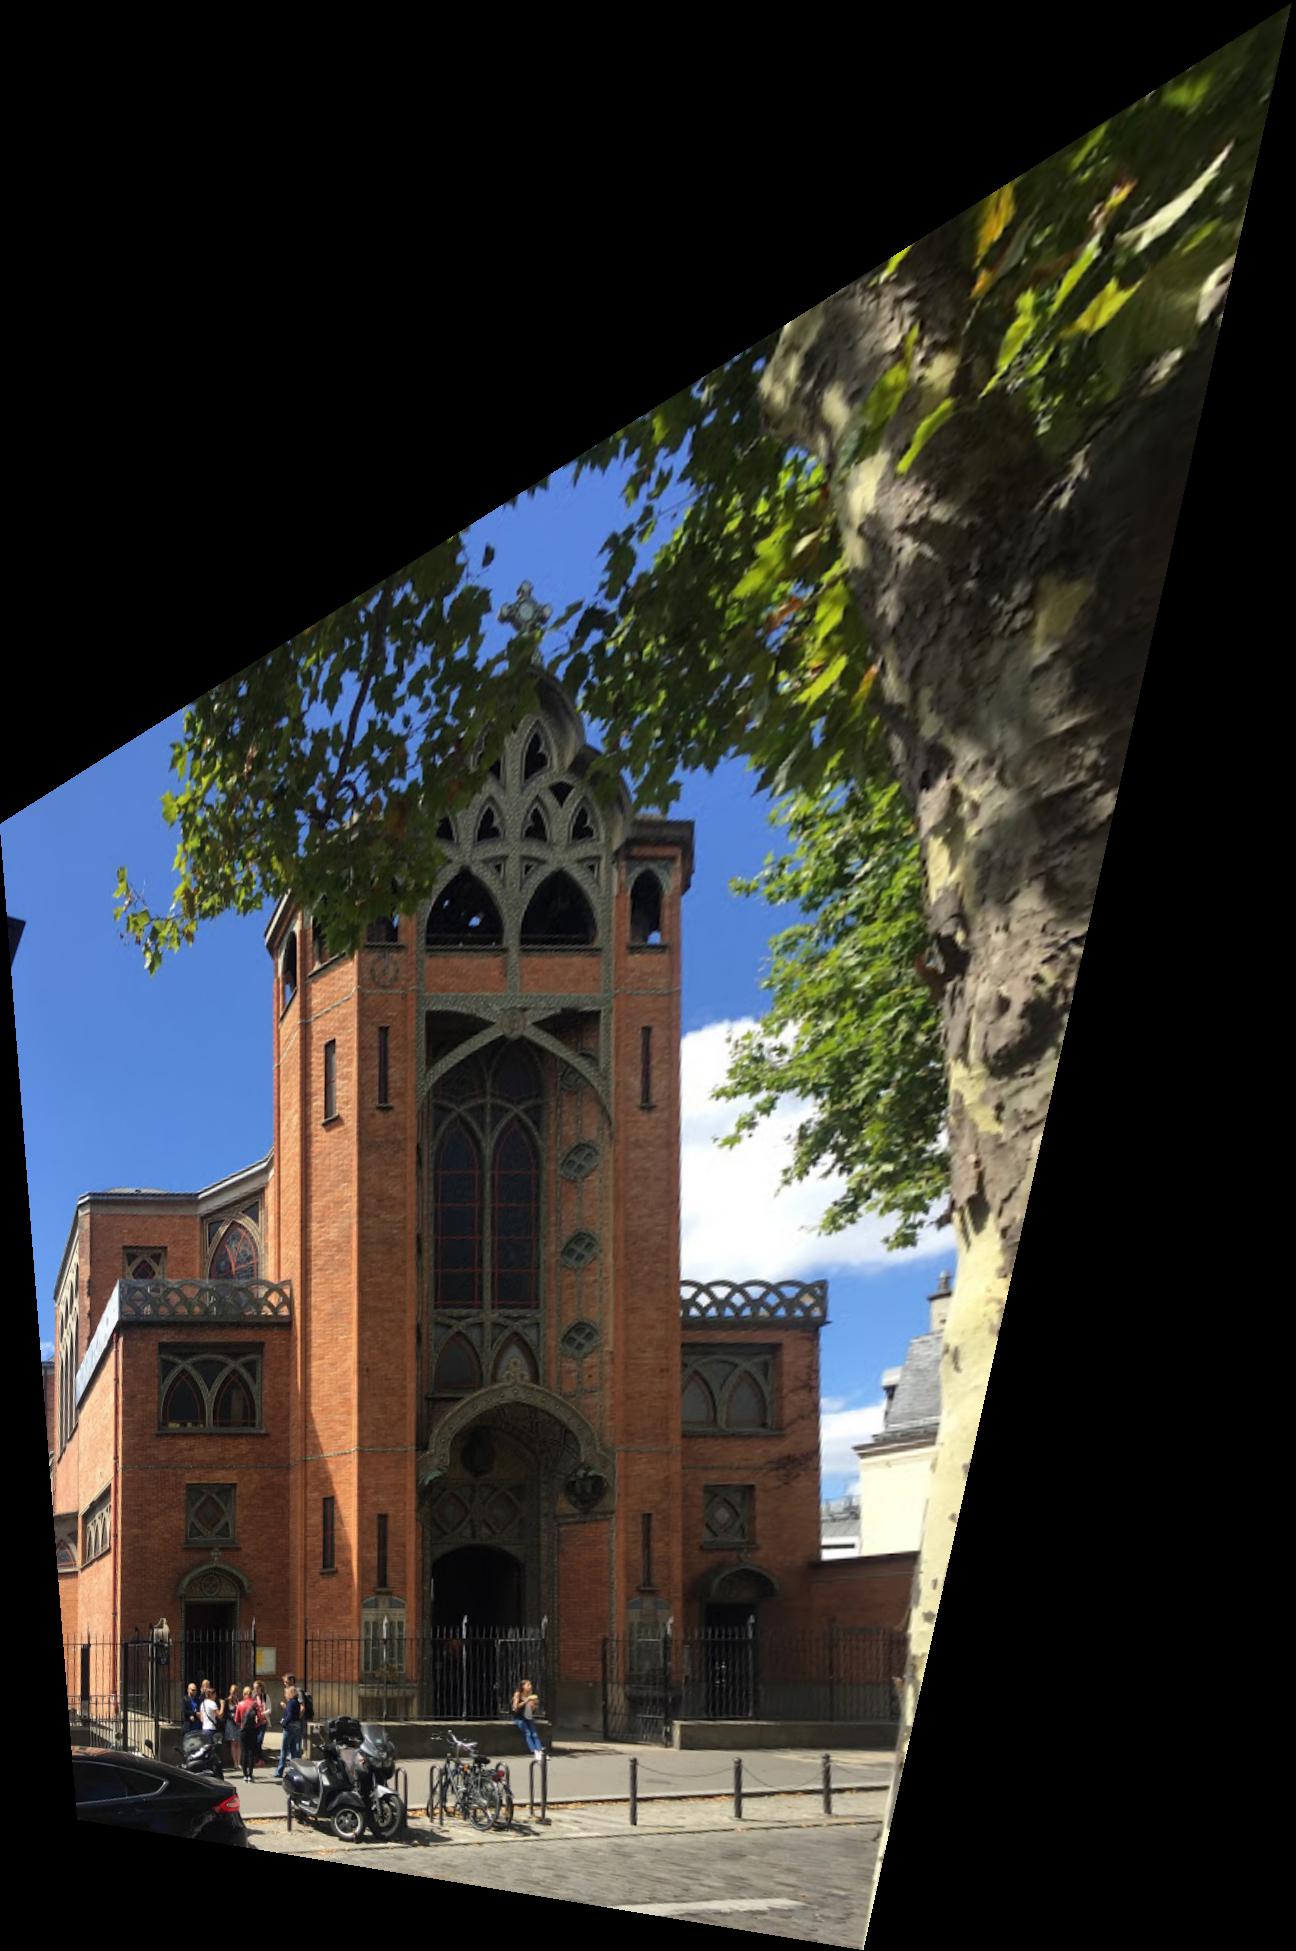
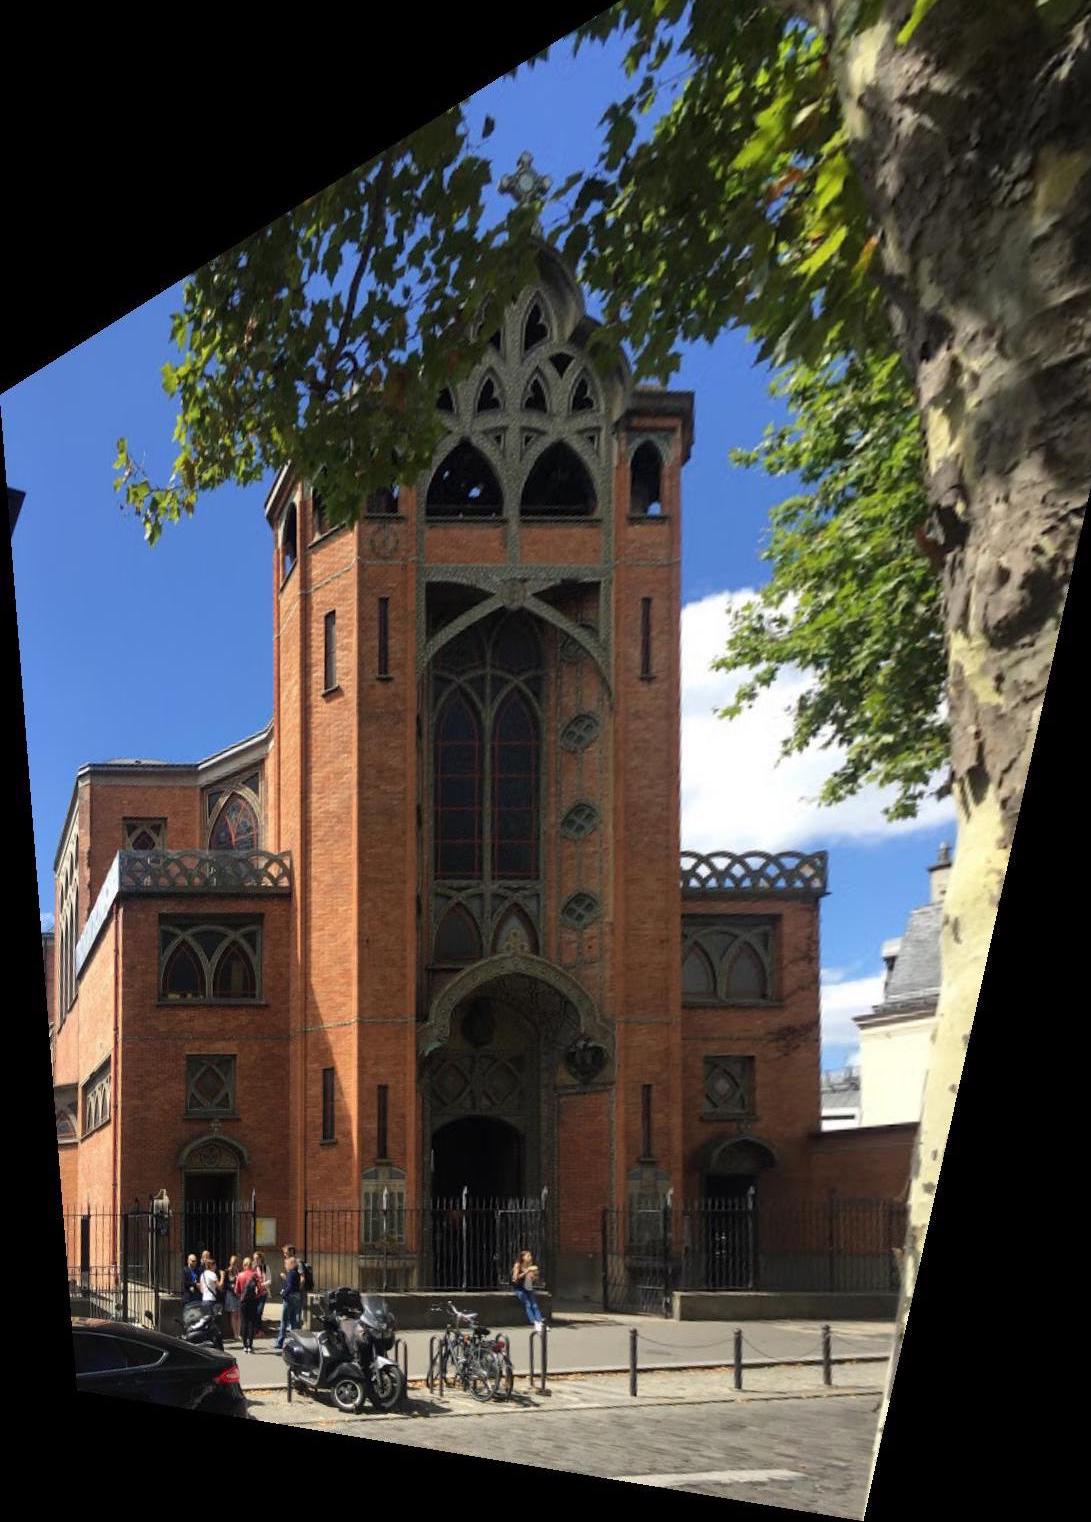
Mosaic Image Blending
Finally, once we have homographies working correctly, we can project images onto the same "plane" by apply the homographic transformation for the corresponding points between two images to the first image to map the first image to the "plane" of the second image. We then translate the first image by the amount dictated by the correspondance between the point mappings.
This can produce a result with a sharp edge between the two images, so we can use some feather-blending to smooth out the edge between the two images and make the mosaic loom more natural.
Results:
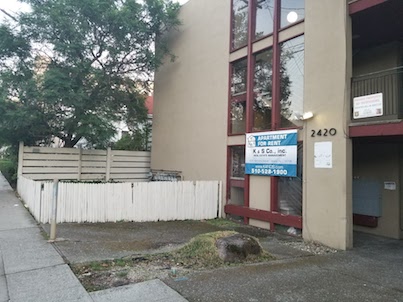
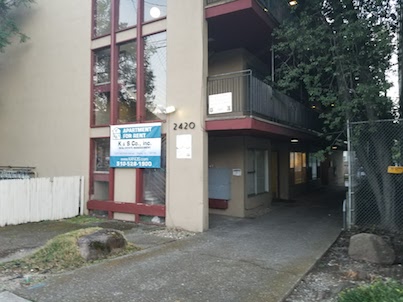
Apartment Photos
Combing these two images, I got these results:
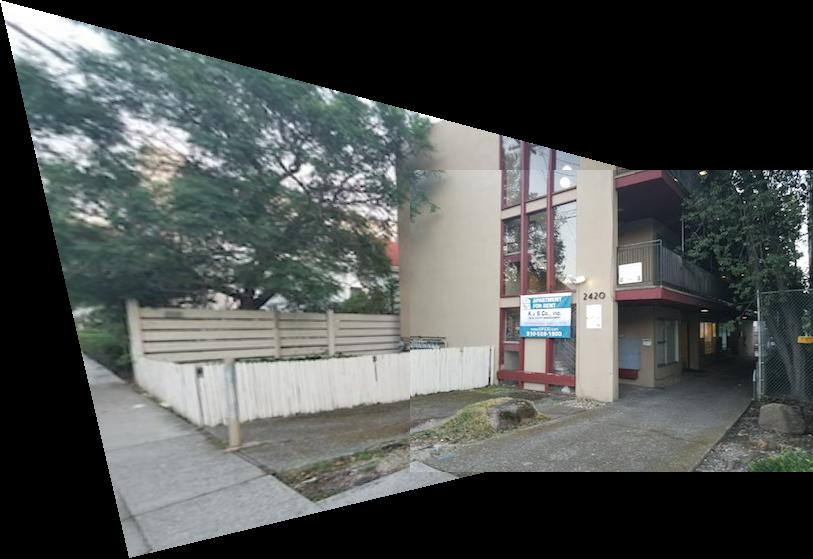

Naive blending on the left, horizontal feathered blending on the right
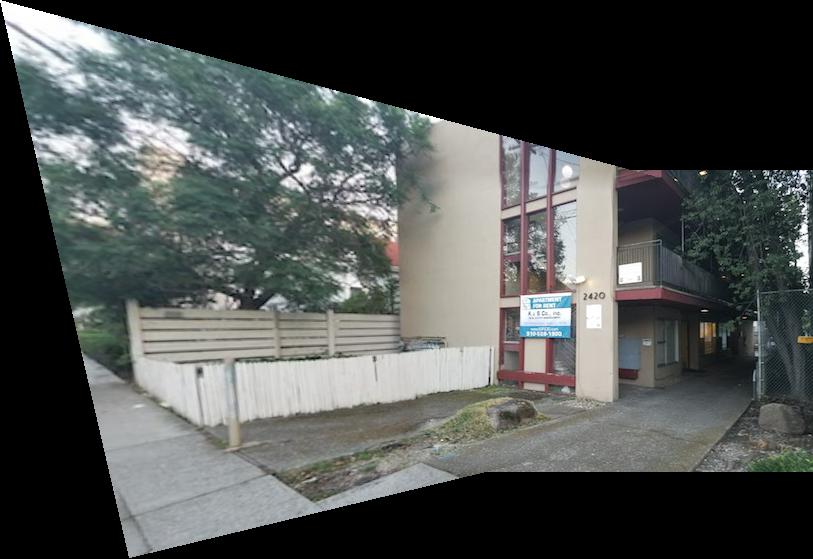
Now, this result looks pretty decent. But the horizontal feathered blending isn't perfect. Because the blending is only horizontal, you can still see the horizontal seams (in particular at the top). To deal with this, I made some modifications and added complementary vertical blending as well, producing this final result:
For the other two examples, I'll leave out the suboptimal blending result.
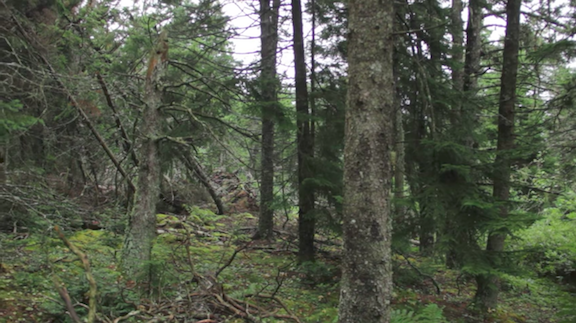
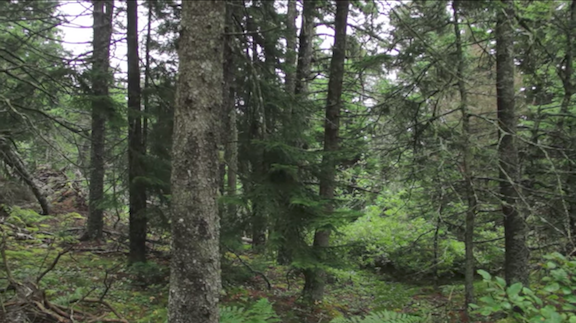
Forest Photos
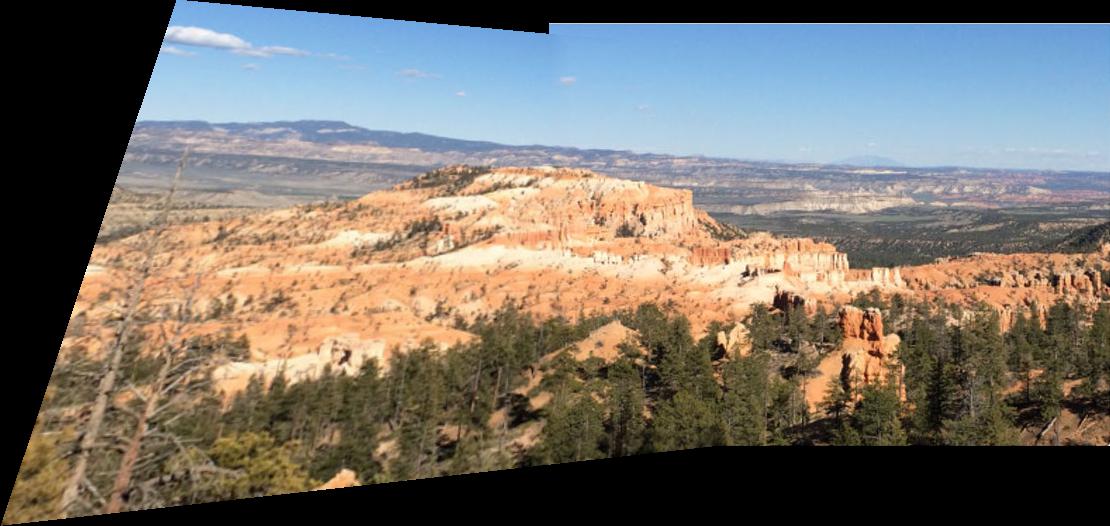
Combing these two images, I got these results:

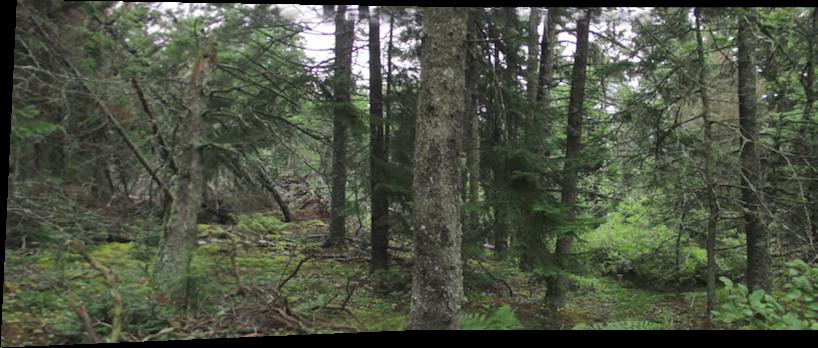
Naive blending on the left, optimized feathered blending on the right
This one turned out reasonably well as well, but there are some things that don't align exactly. I think this is because this is such a complicated image (lots of fine details), so it's easier to tell when something isn't perfectly aligned. Also, it was harder to match up points exactly because there weren't many hard corners, so some of the points could have been off by a little.
Yosemite Photos
Combing these two images, I got this result:
Optimized feathered blending
This one turned out really, really well. The seam is nearly impossible to see. The optimized blending makes it look great. I think it looks particularly good because the mountains are so far away, so any sort of accidental movement on the part of the camera is treated basically as error that is quite small and doesn't affect much.
Summary of What I've Learned
I've learned that homographies are super cool. It's especially amazing to see the additional power that we get by just adding one more corresponding point, as compared with the last project doing face morphing. An extra point of information let's us do way, way more things.
I've also learned that it takes a decent amount of thinking to figure out a nice way to blend the seam along two two slightly different images. Feathered blending isn't as easy as it seems. I'm looking forward to the second half of the project.
 On the left is the original image, in the middle is after a homographic rectification is applied, and on the right is the cropped final image.