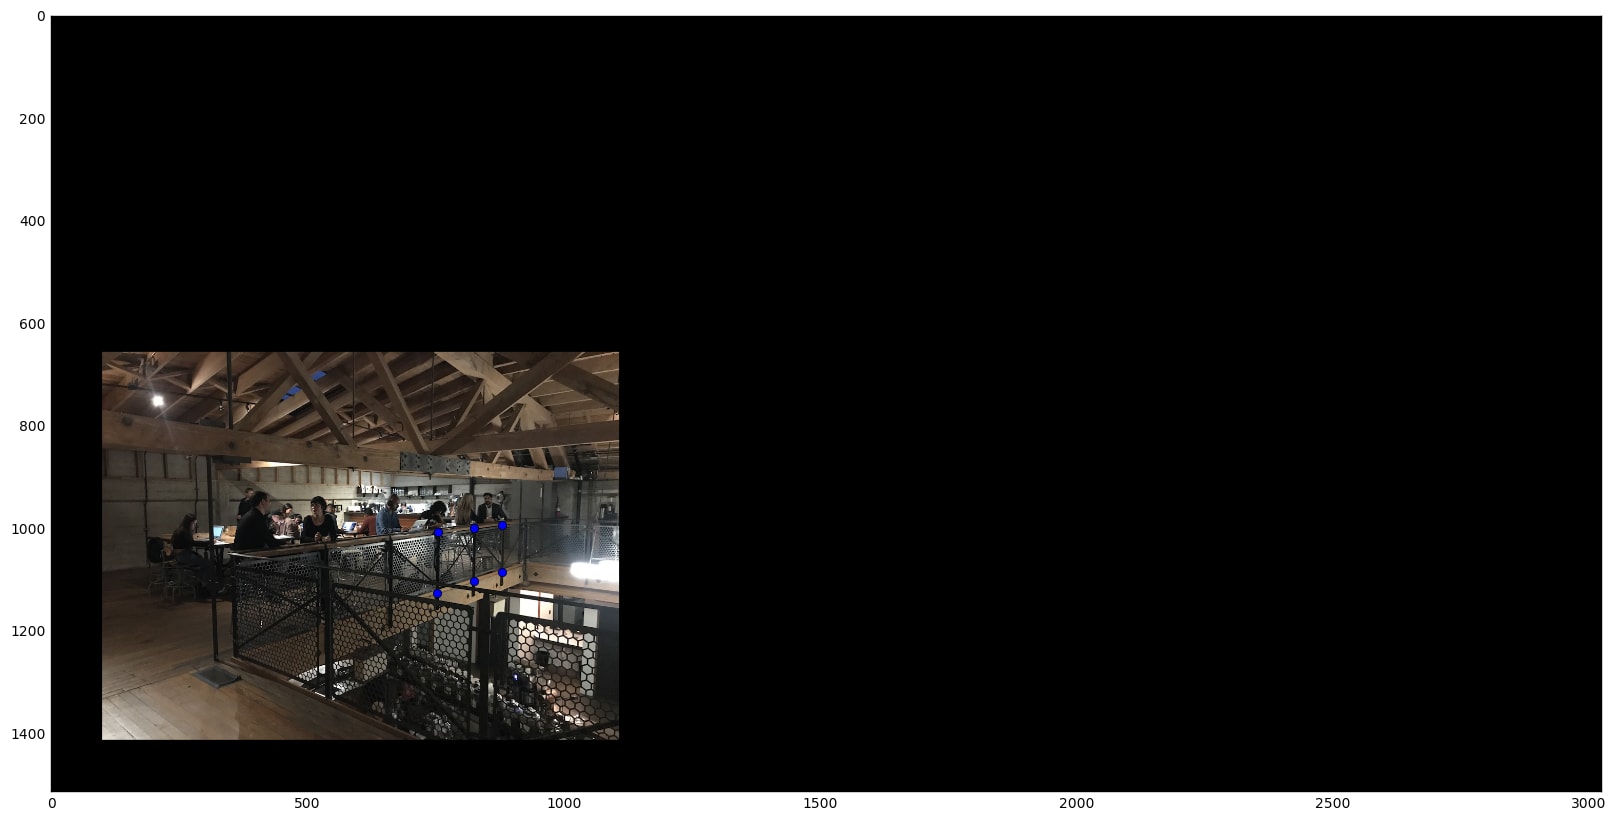
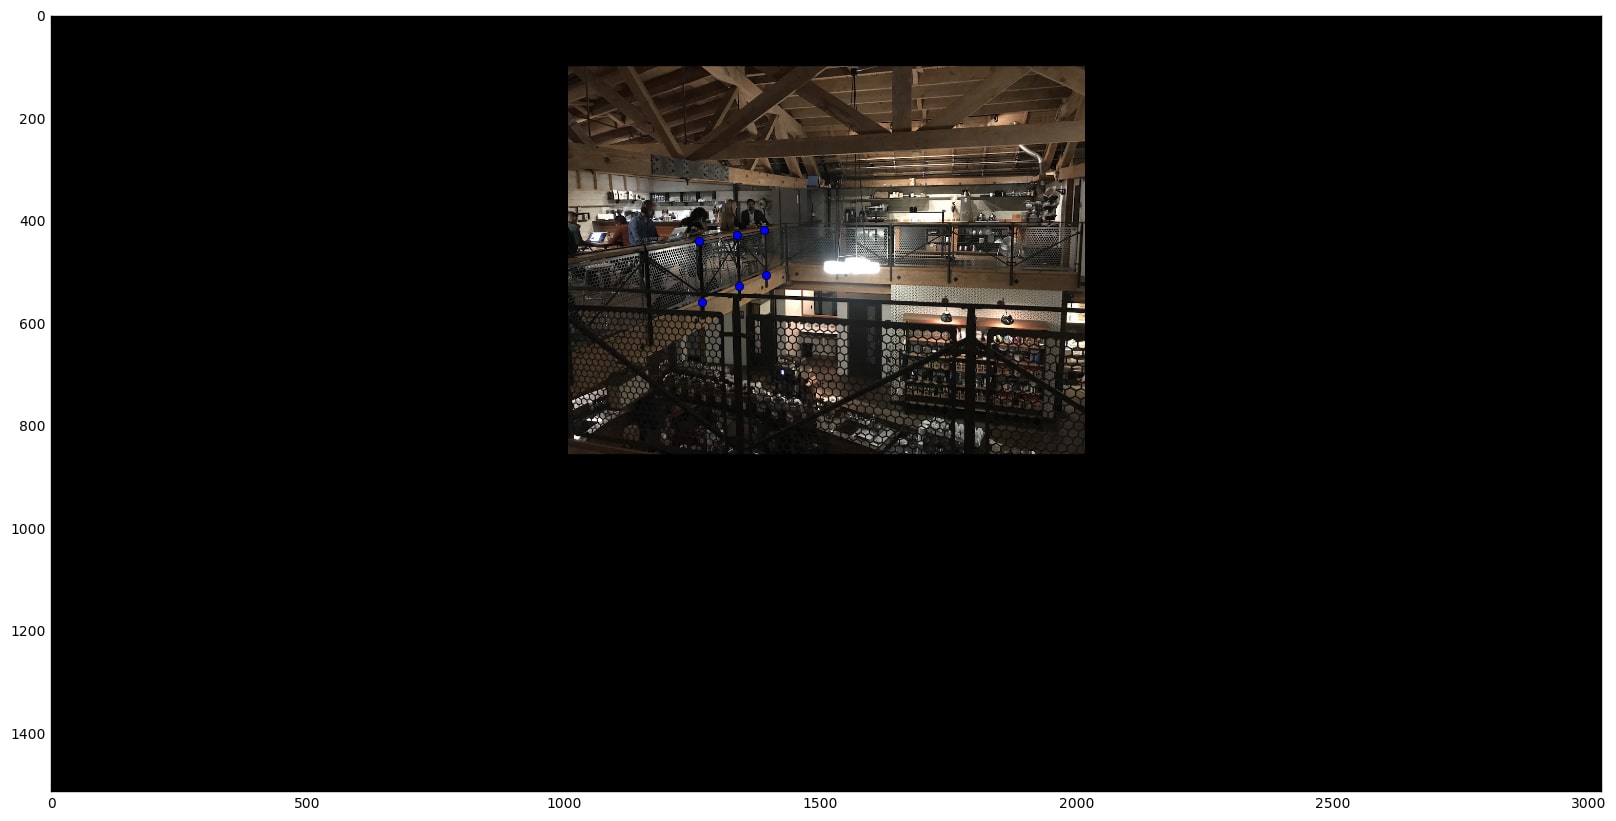
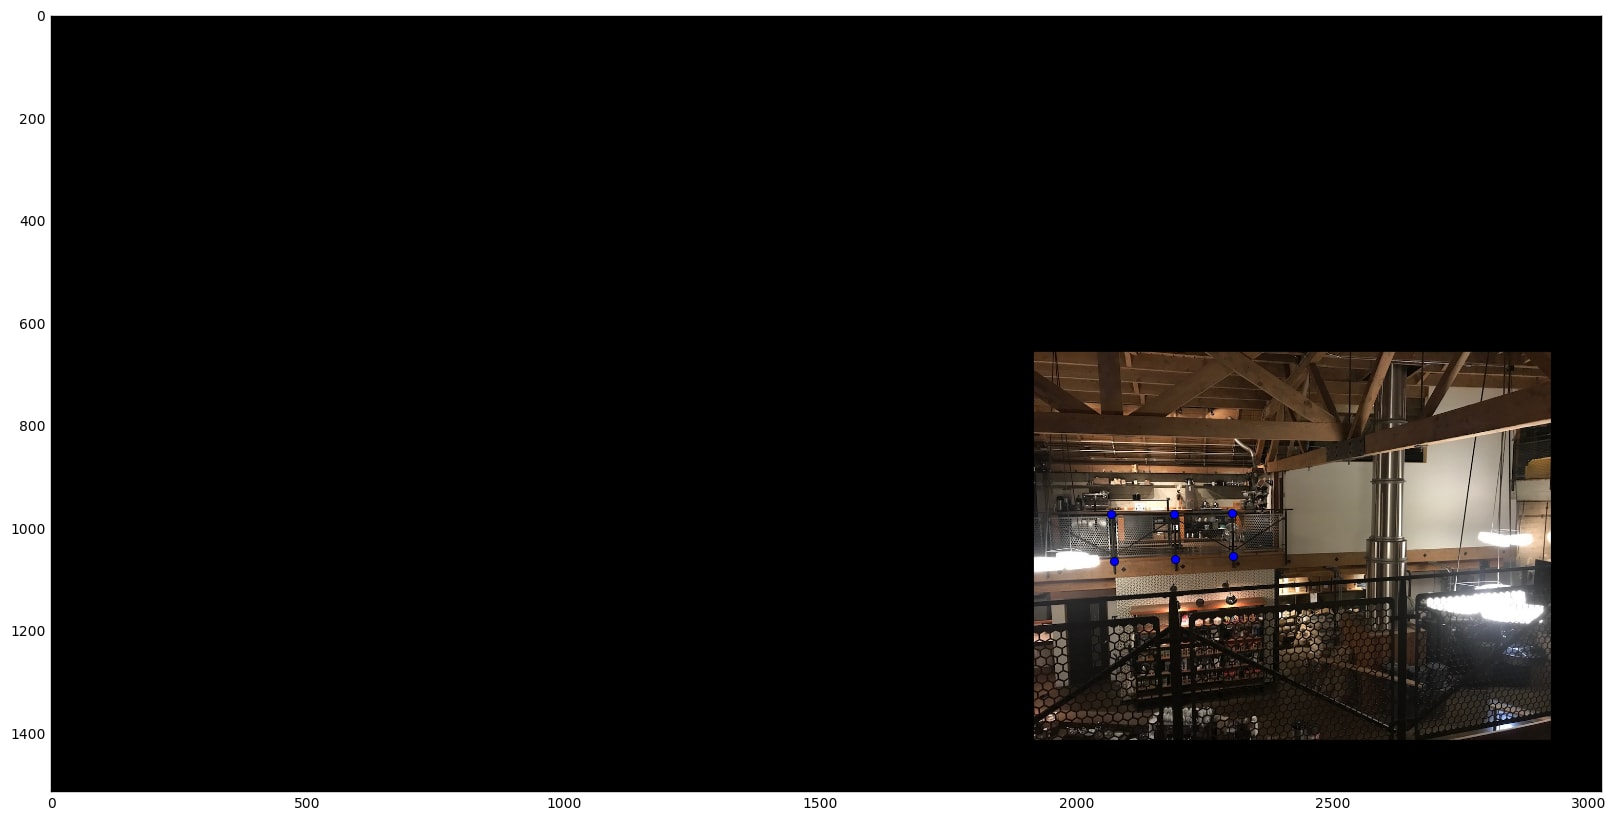
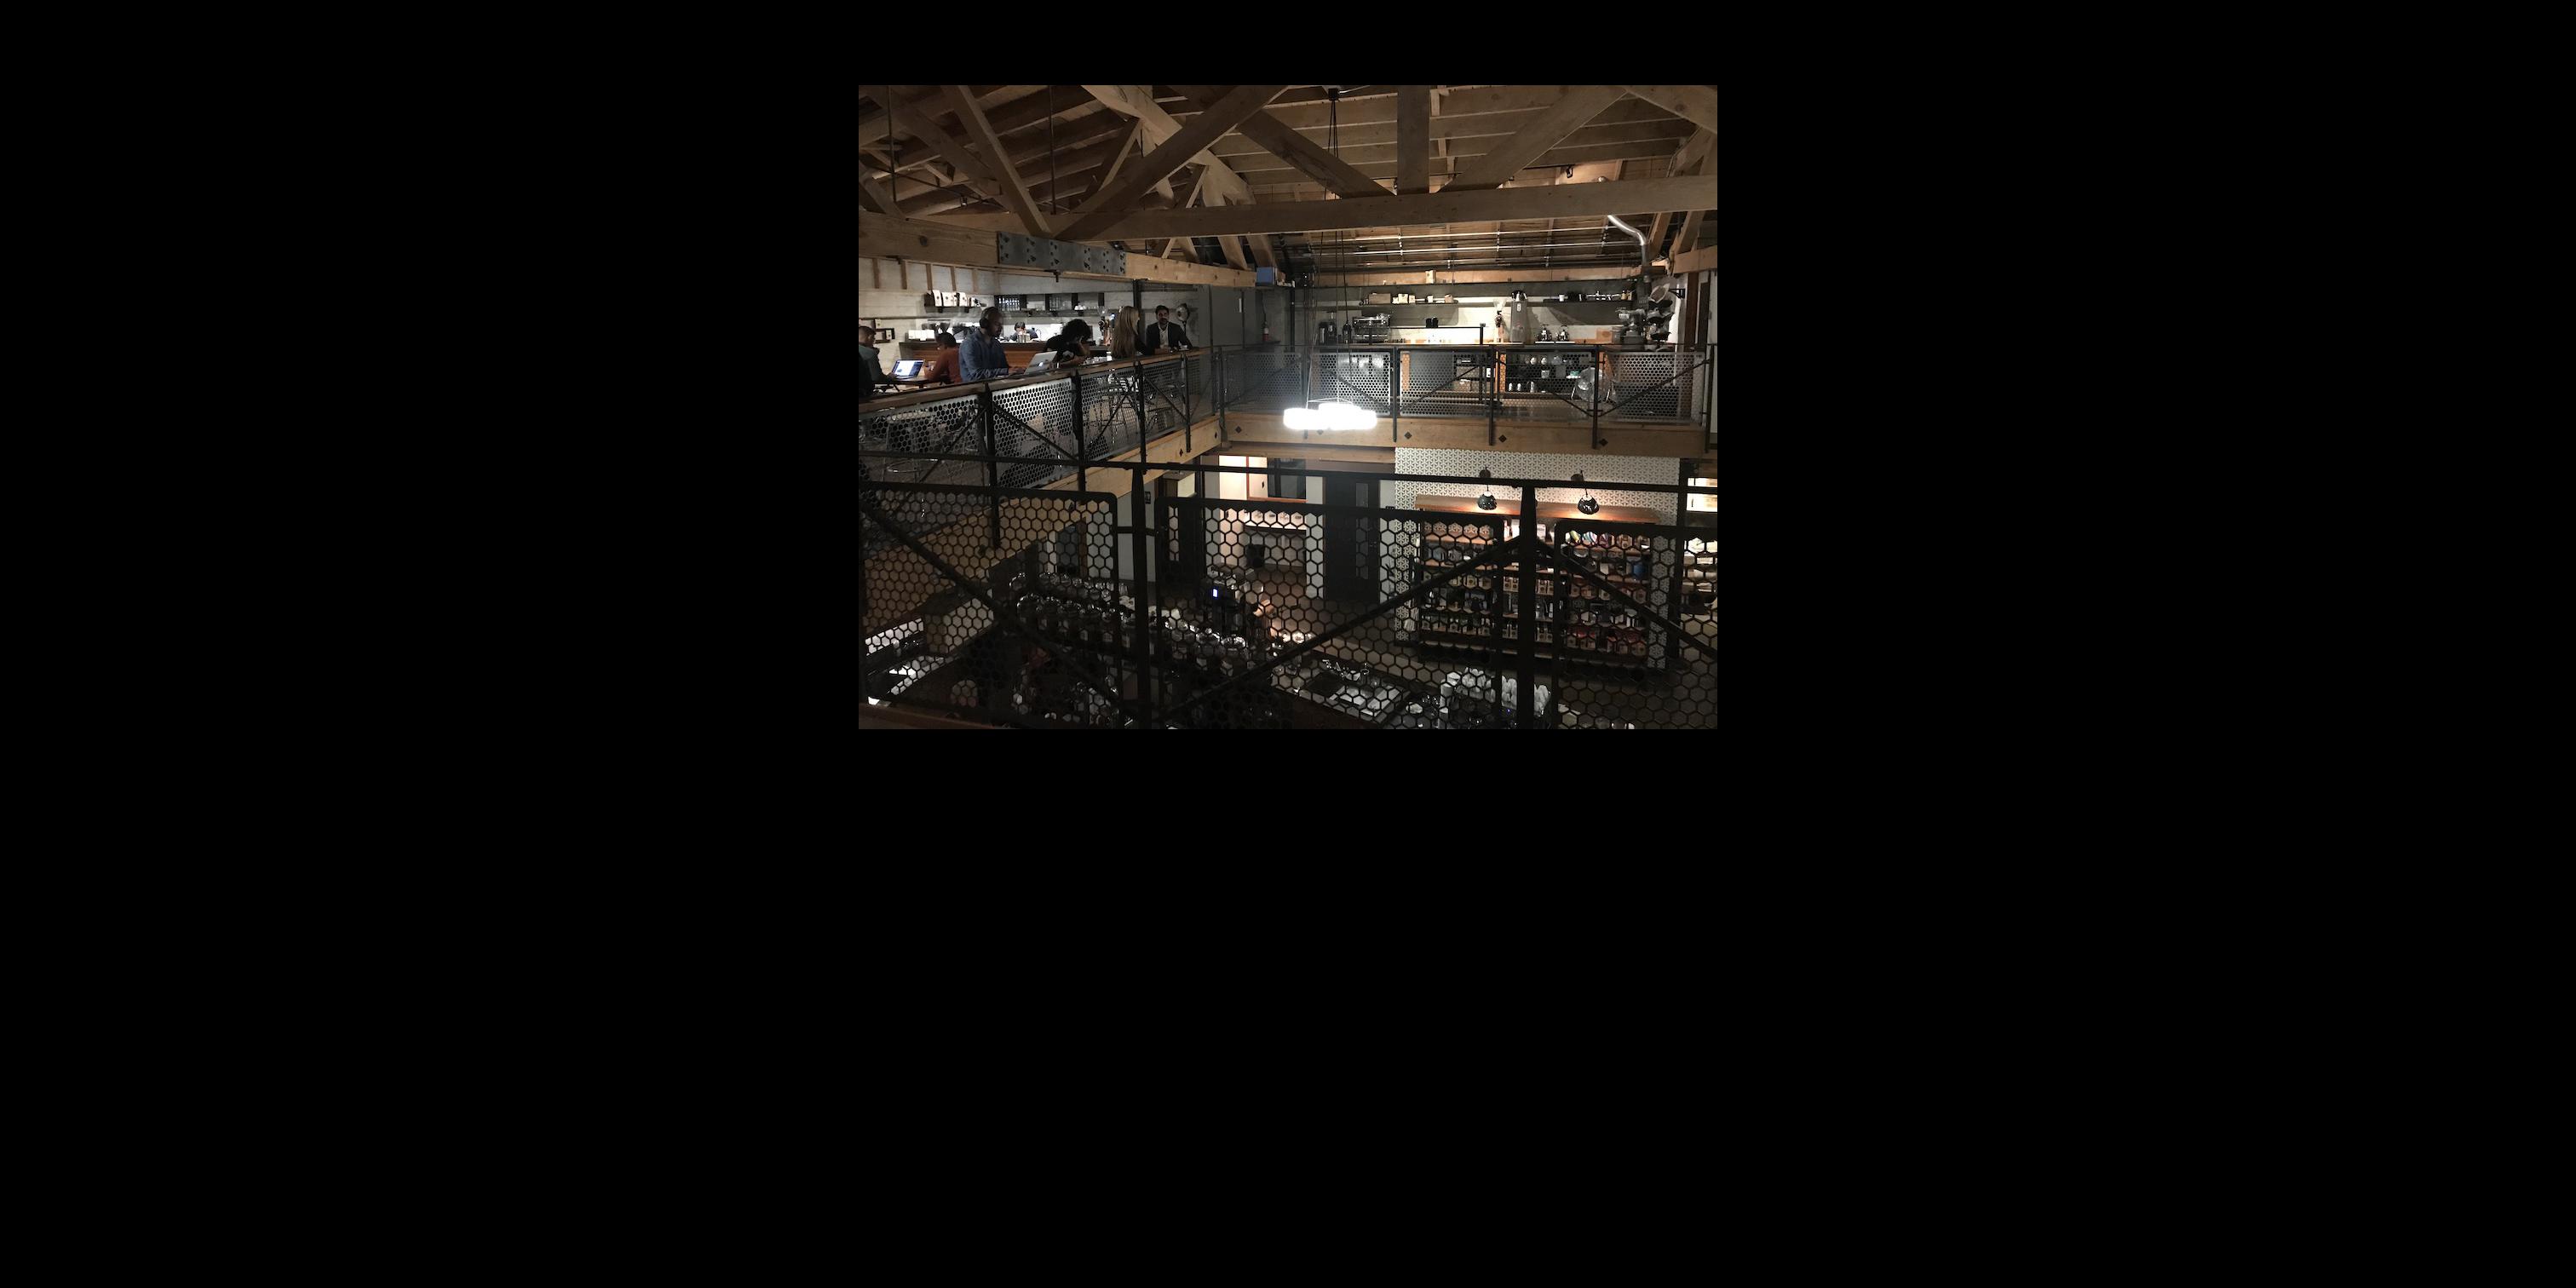
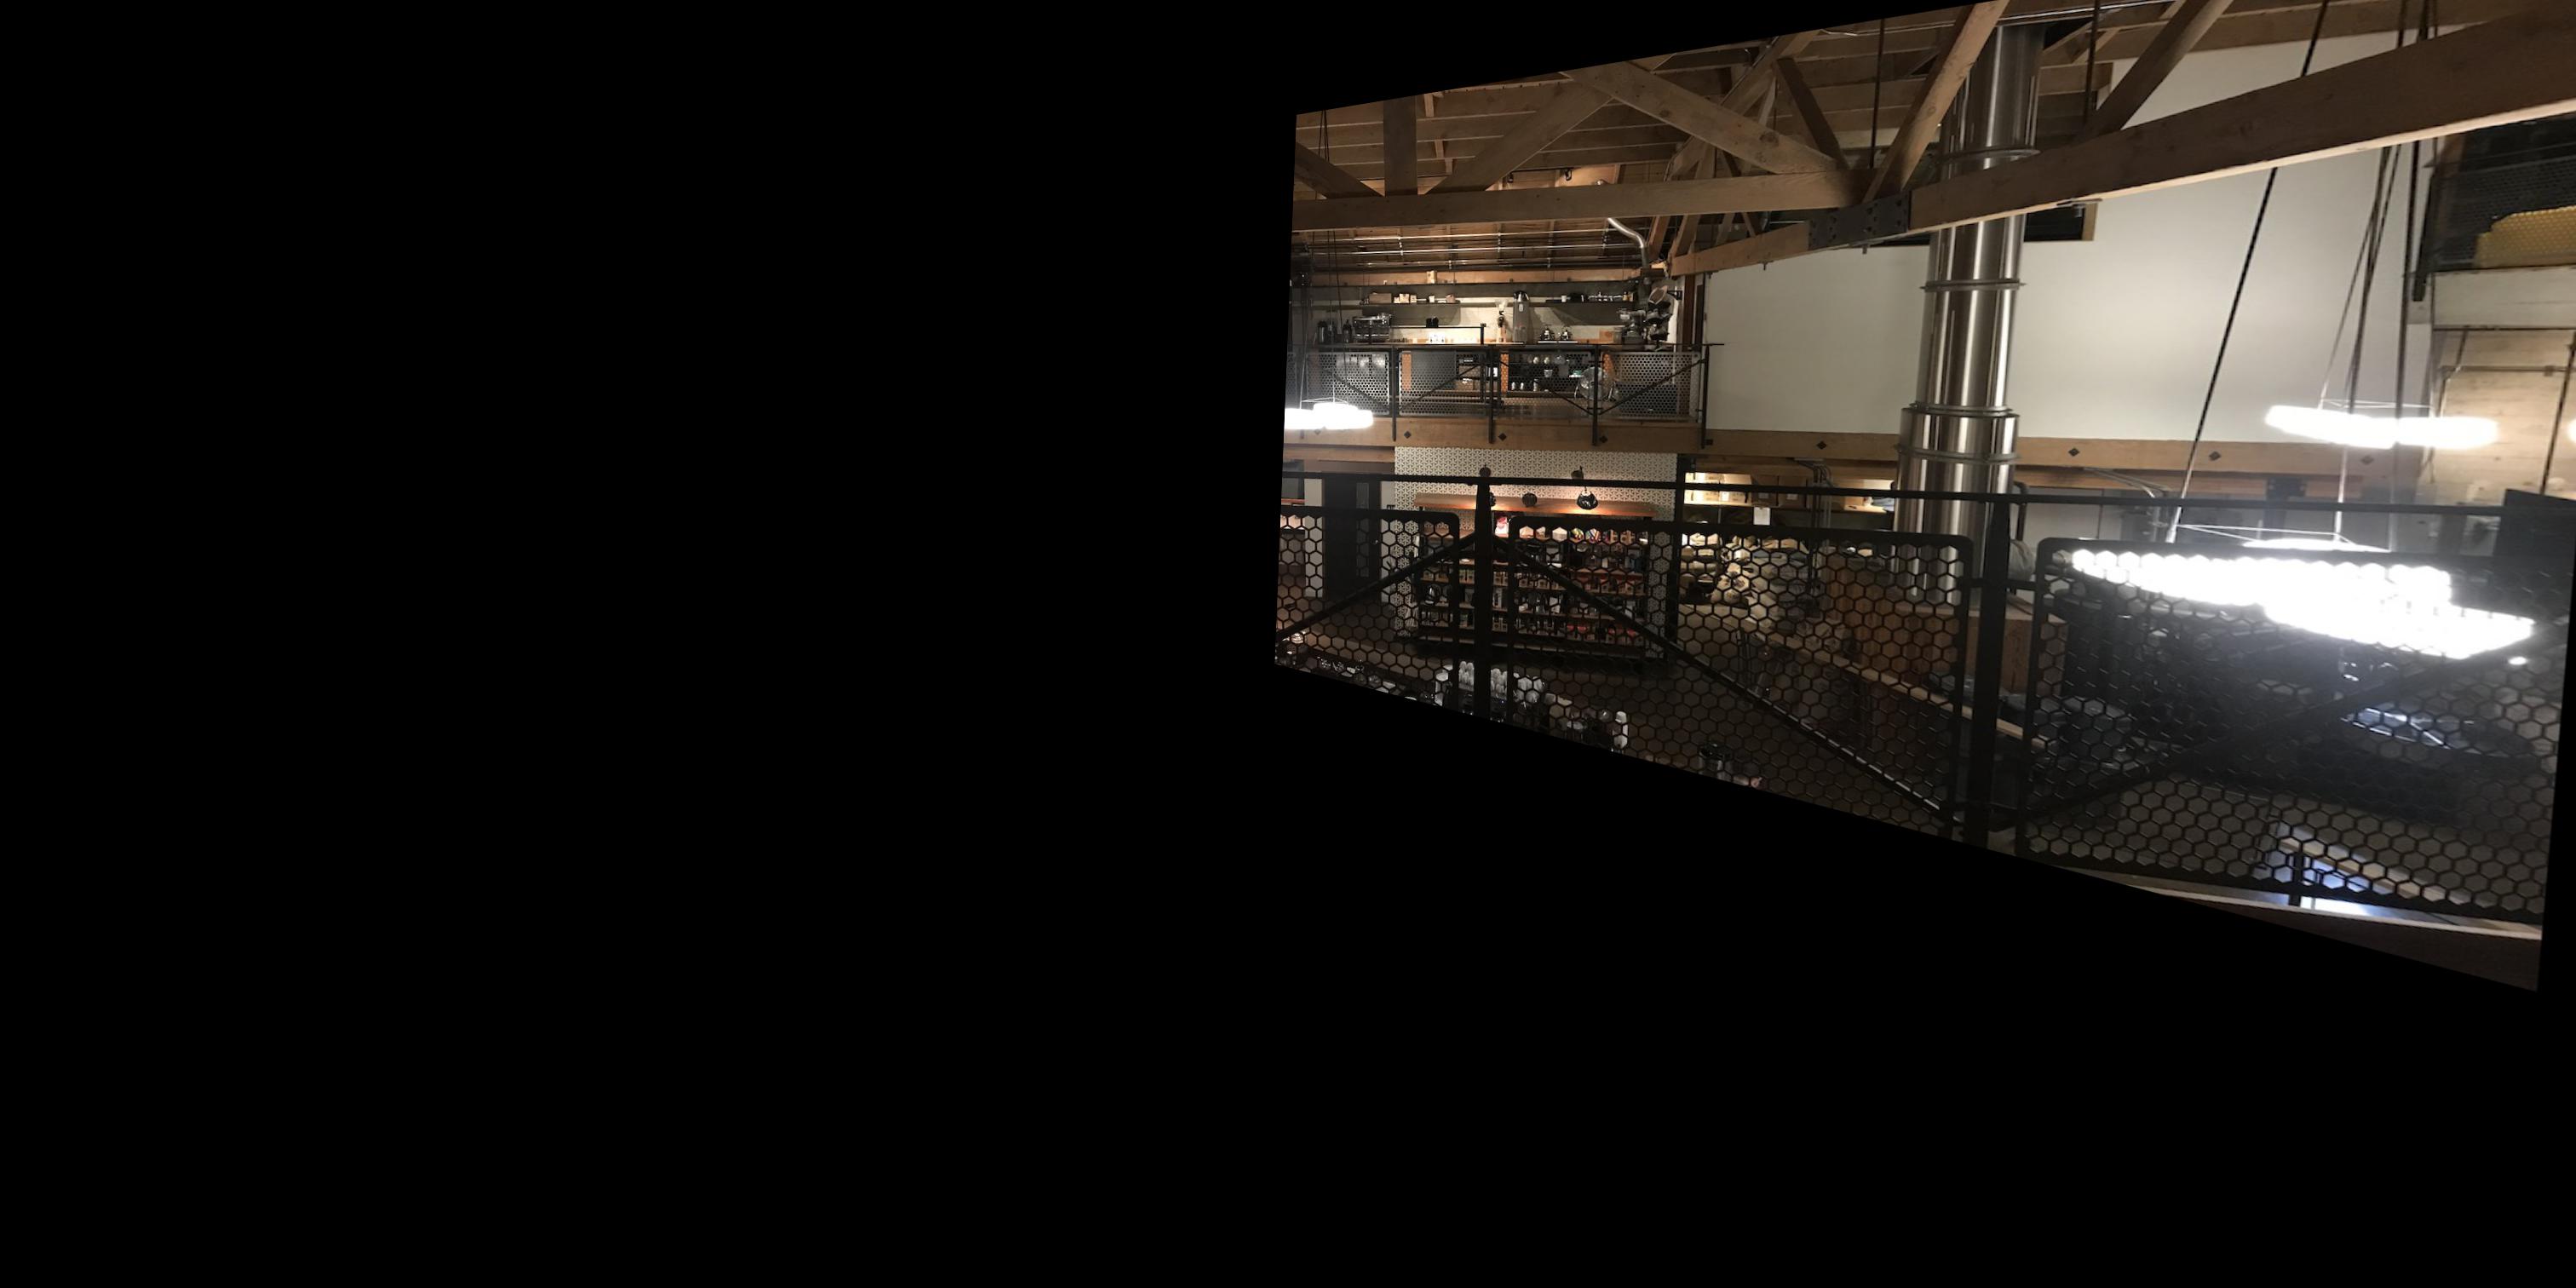
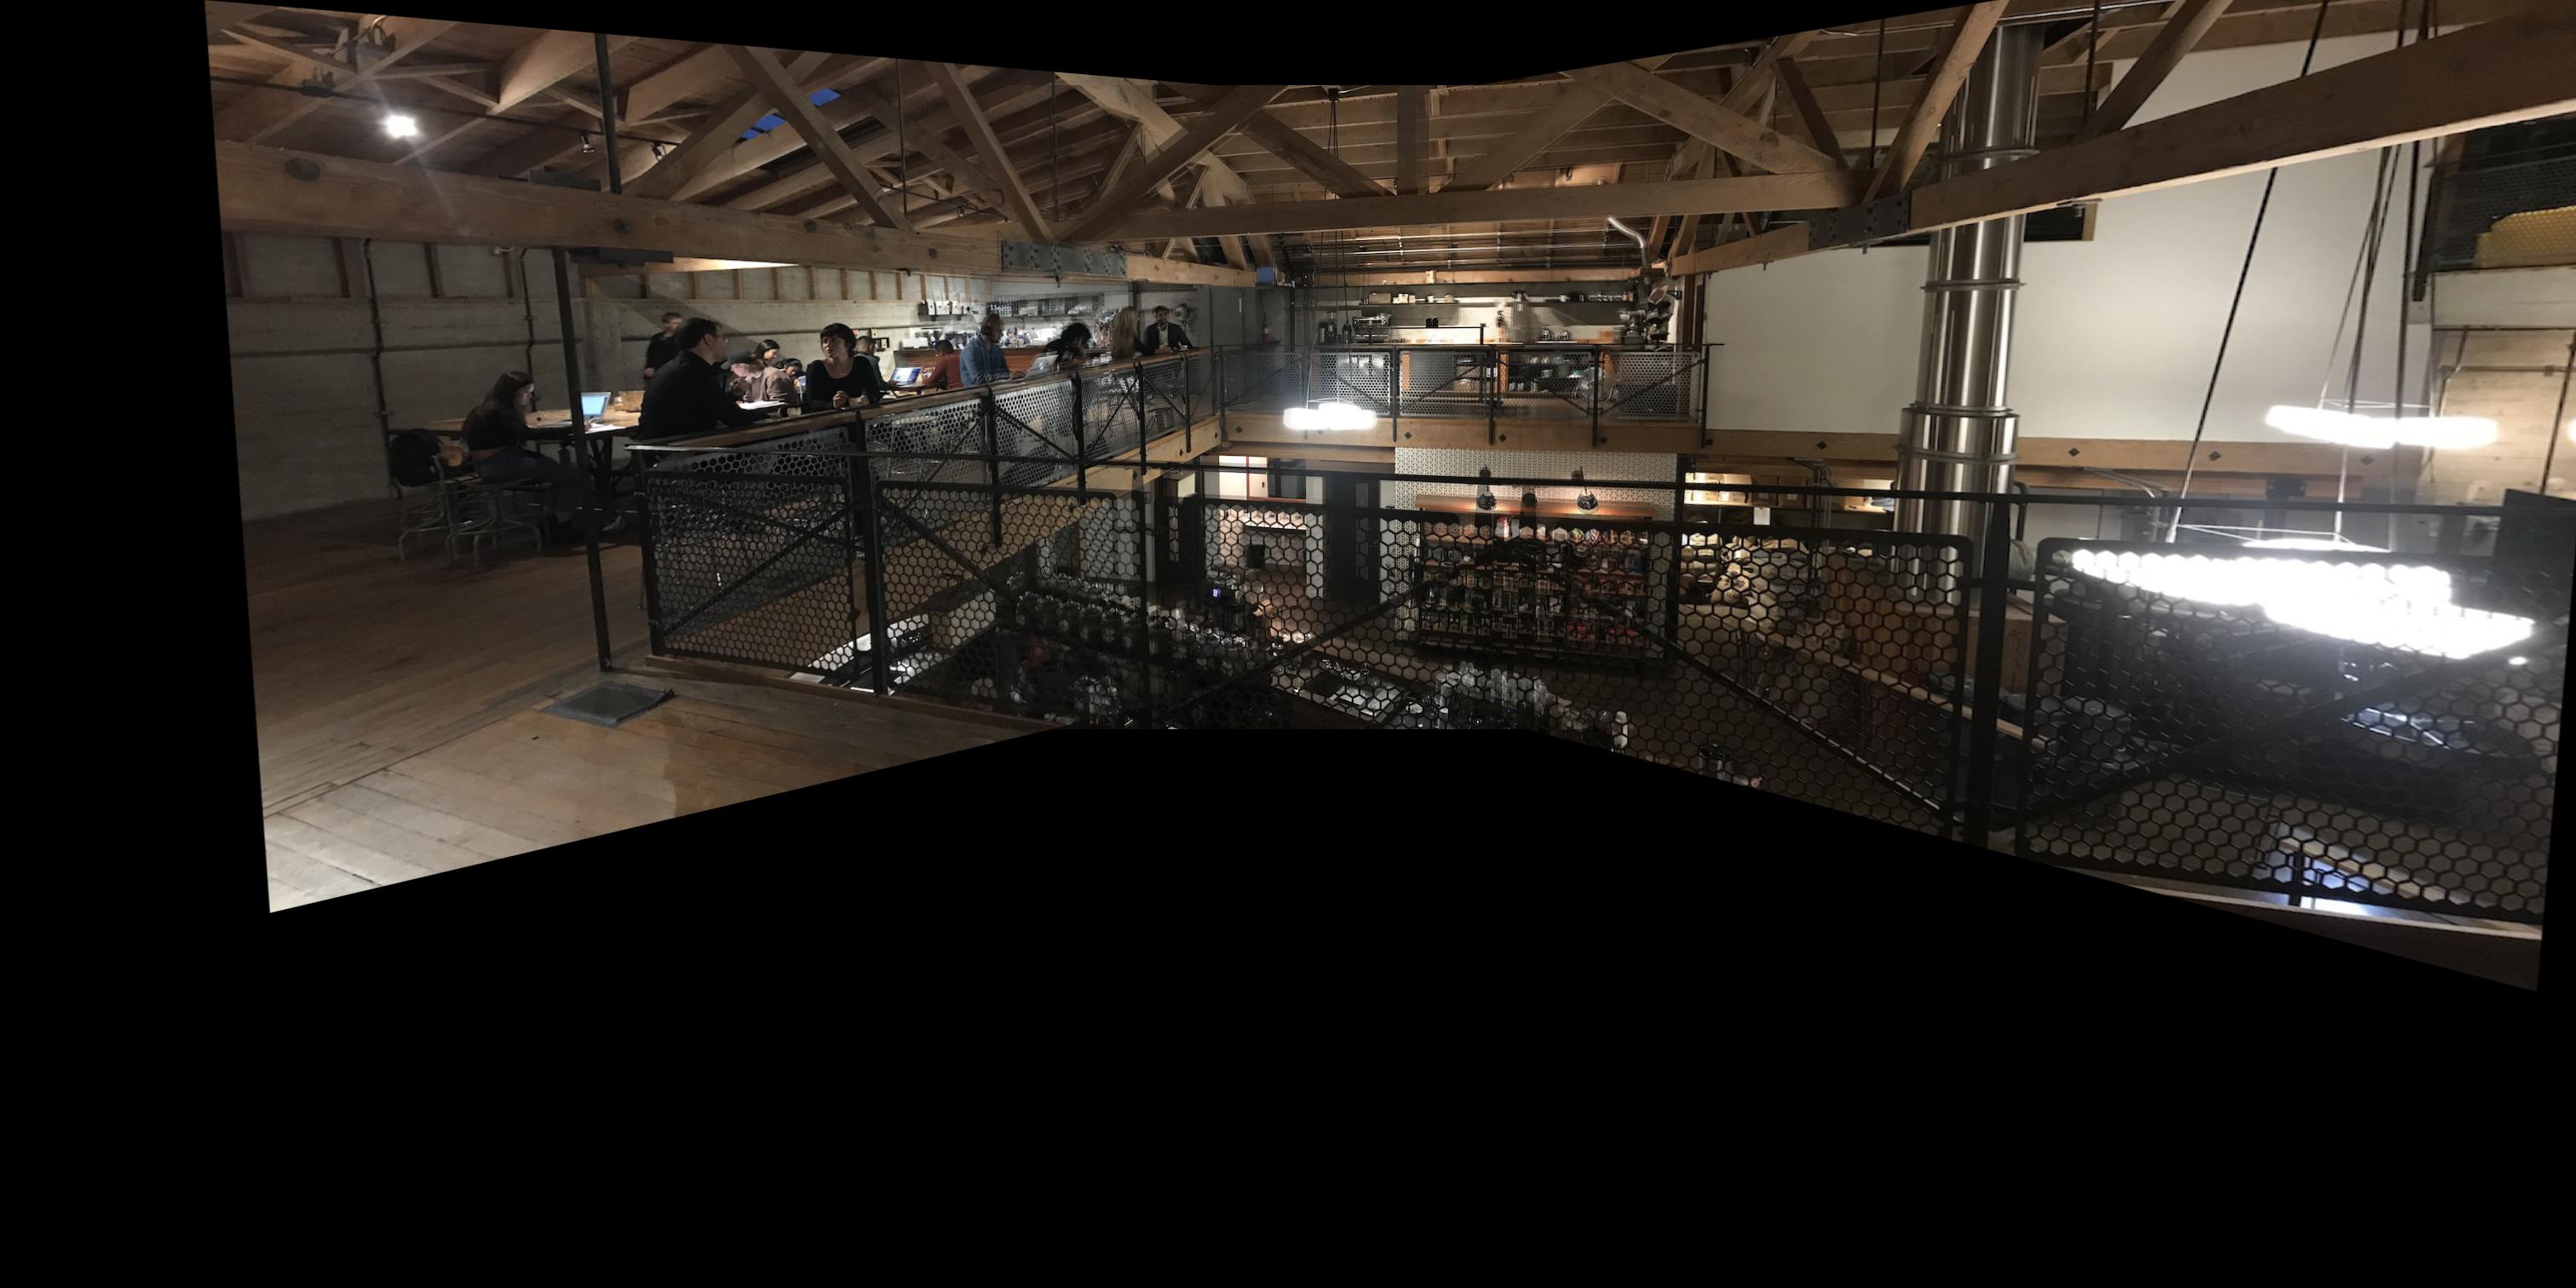
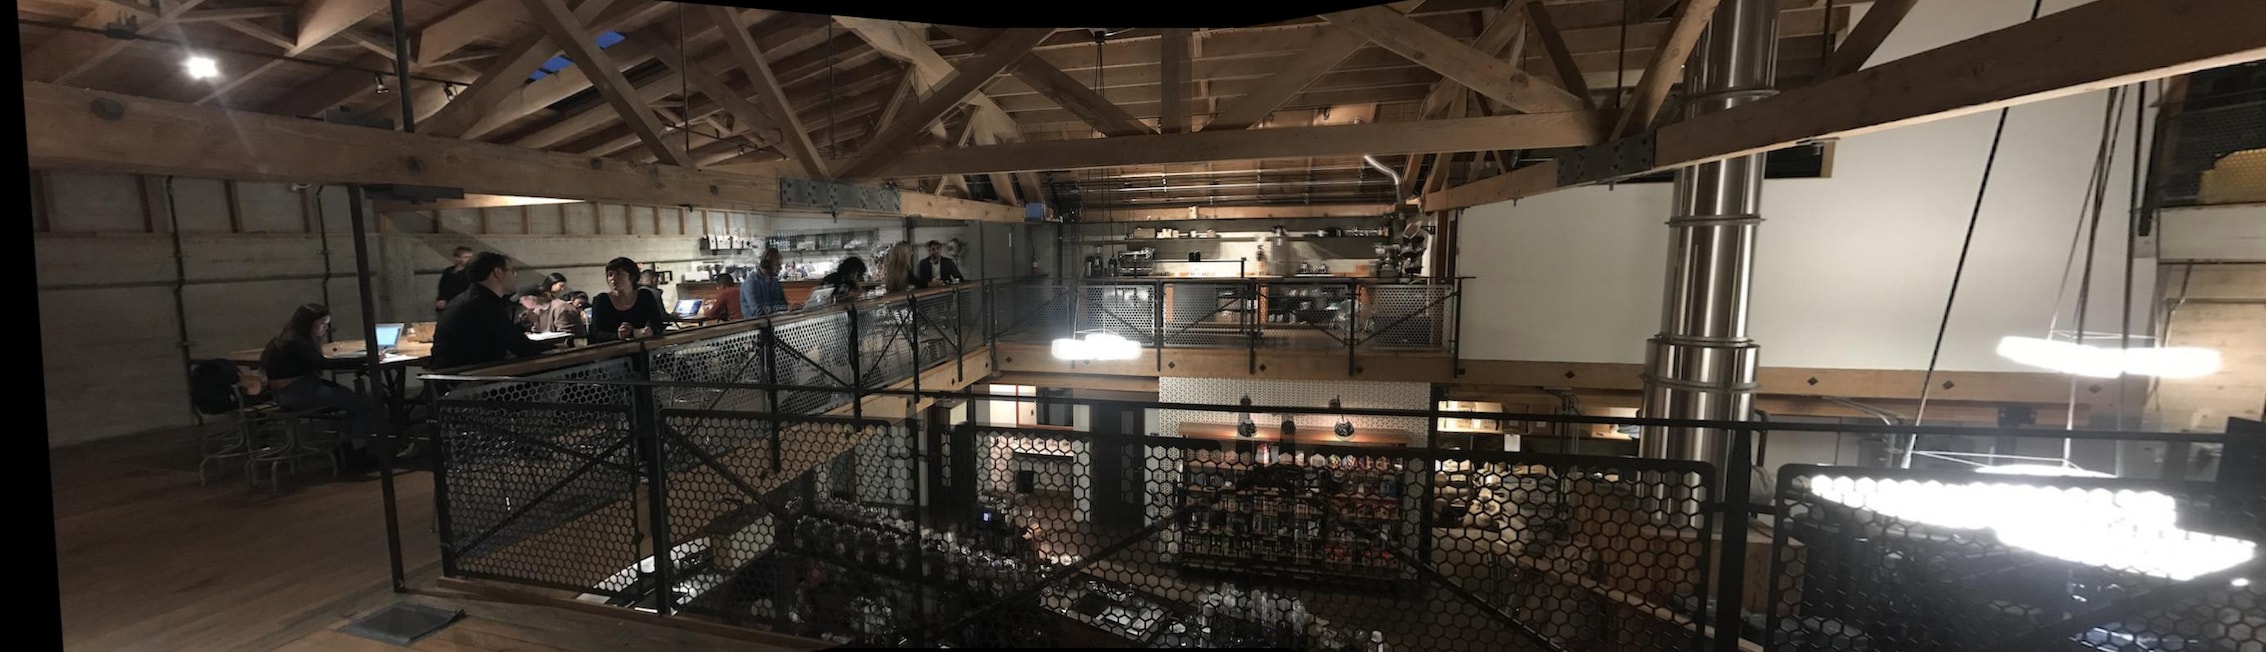
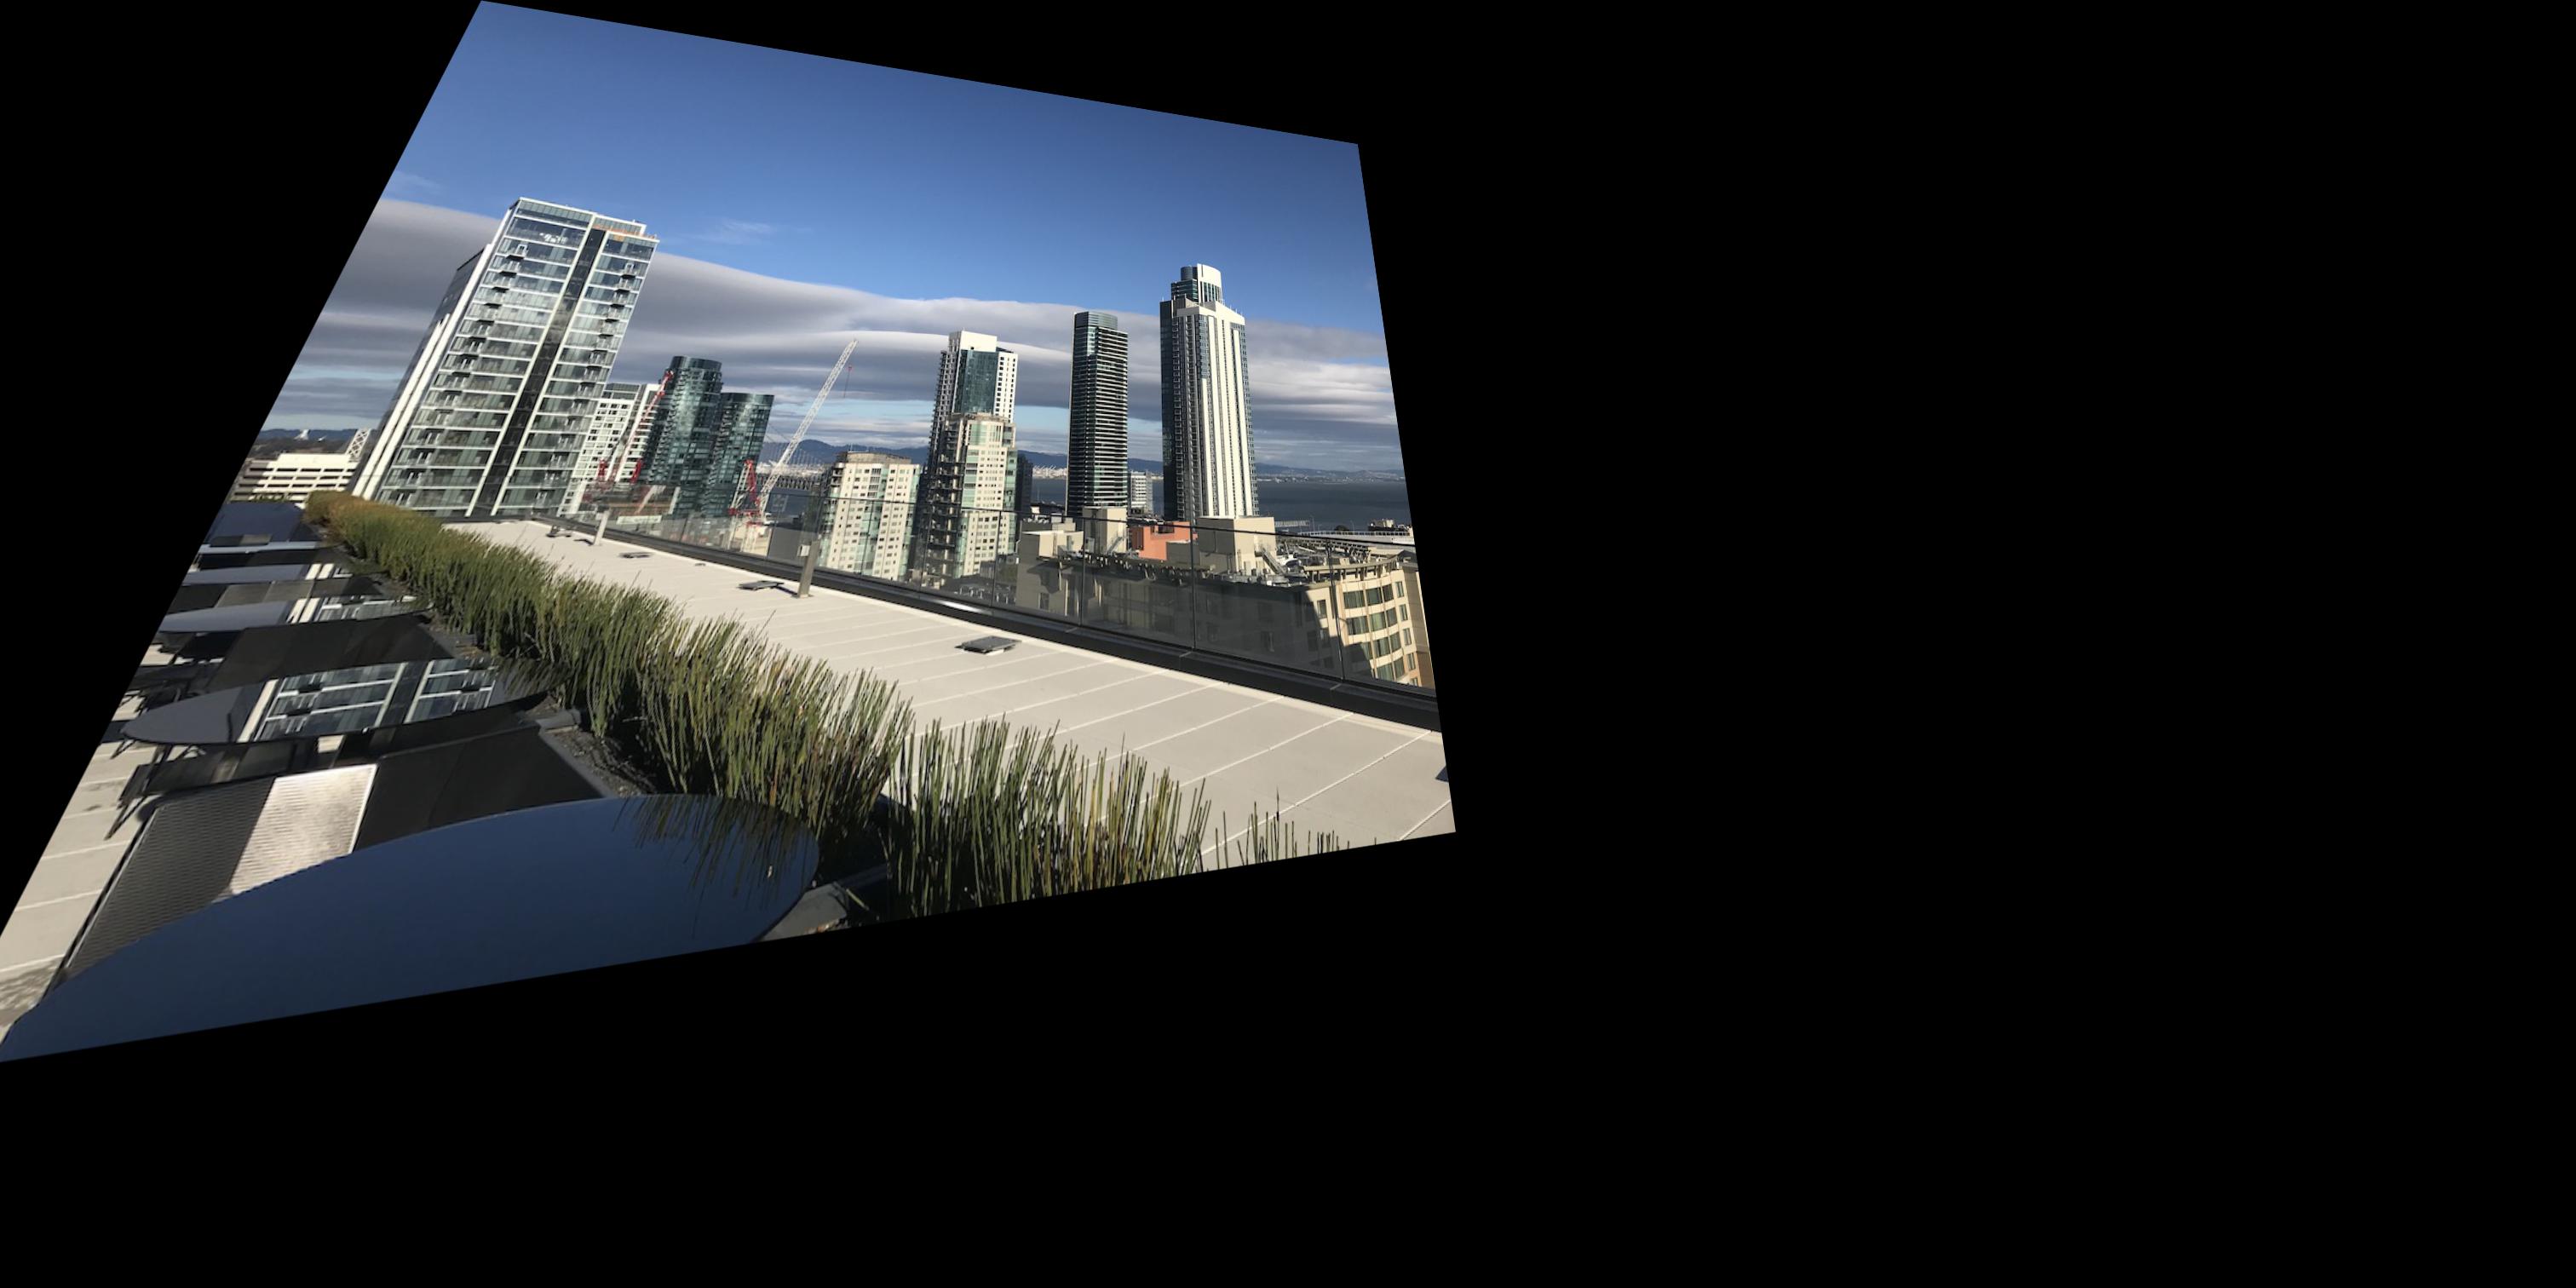
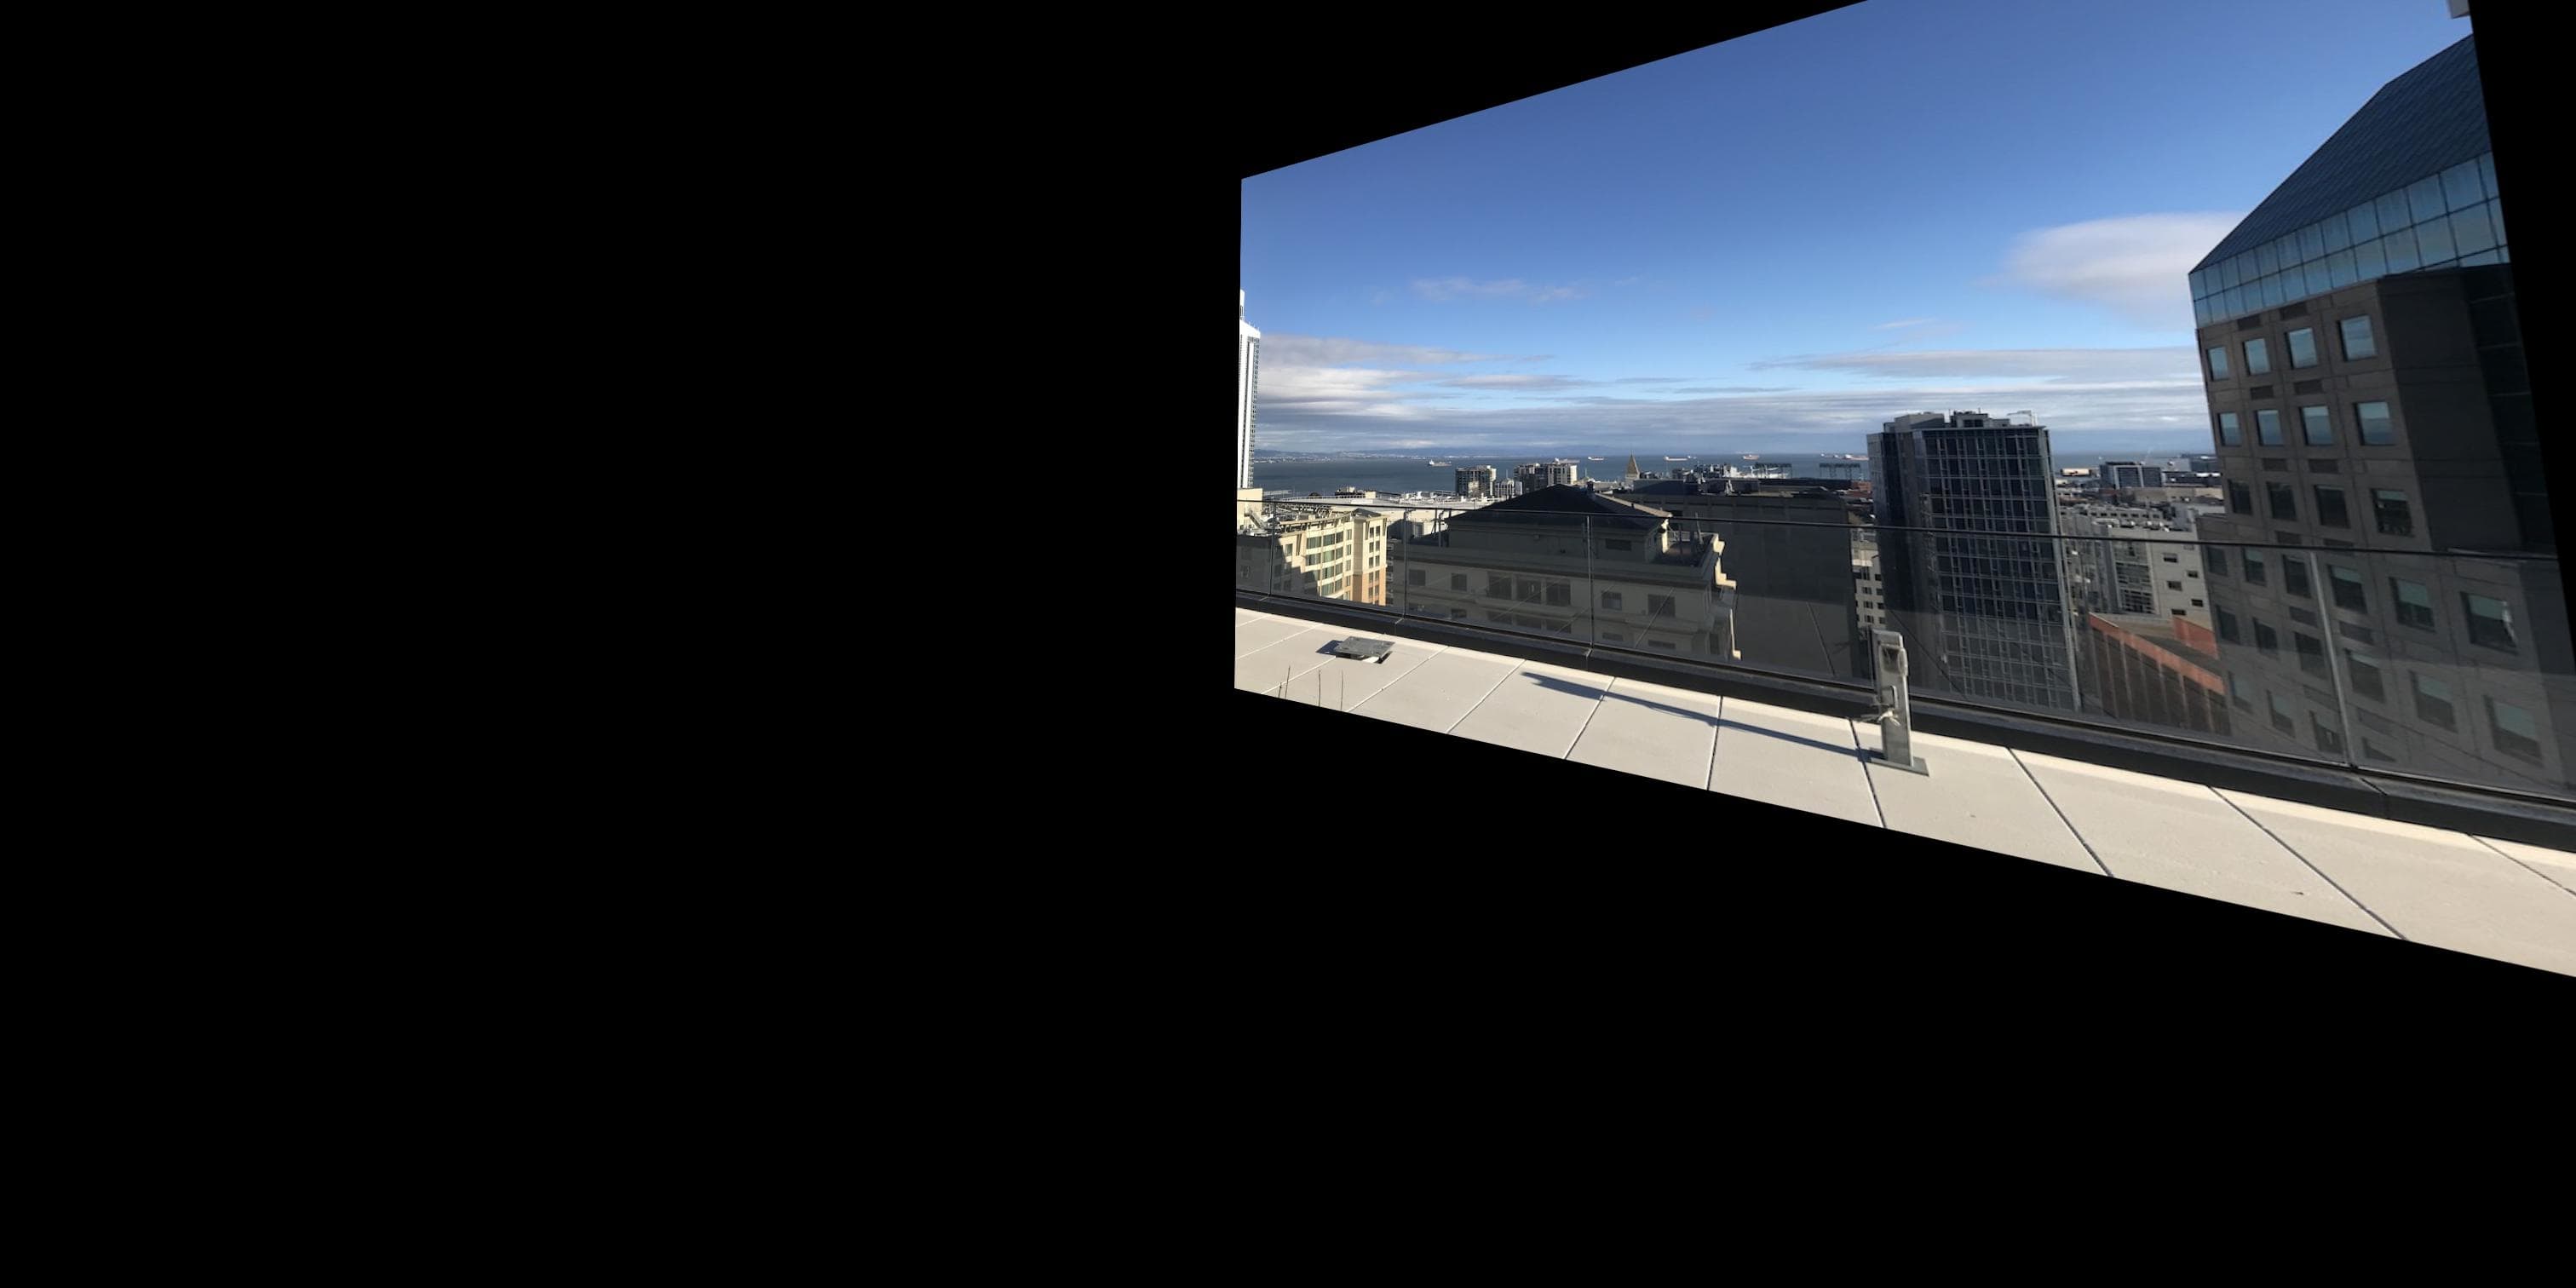
Manual Mosaics and Image Rectification with Kevin

The process of creating a mosaic involves selecting corresponding coordinates to define a transformation matrix H, which we then use to transform the perspective of one image to that of the other. This process is called rectification. We then blend the two images using alpha blending and continue the process again with the next image we plan to add to the mosaic.

Image Rectification

We check our H matrix by doing a couple image rectifications. First we select a set of points p in on our original image and then a set of target images p'. We then just solve the system of linear equations Hp = p'. We can then use the warp function using the H that we calculate using least squares on the set of points p we selected. The output is our rectified image.

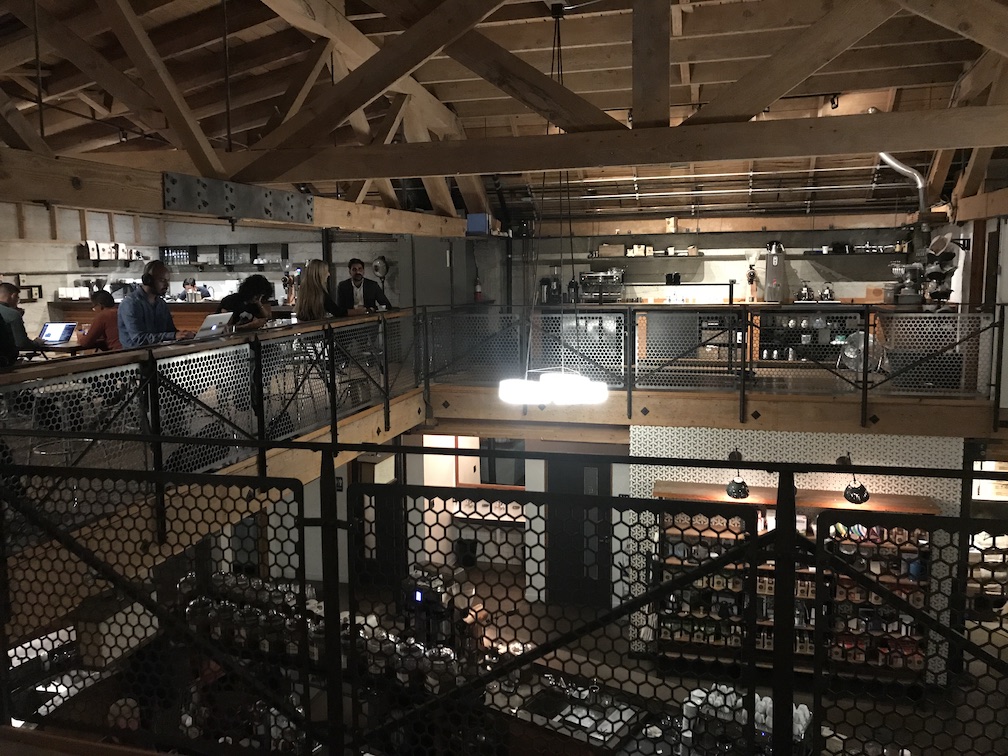
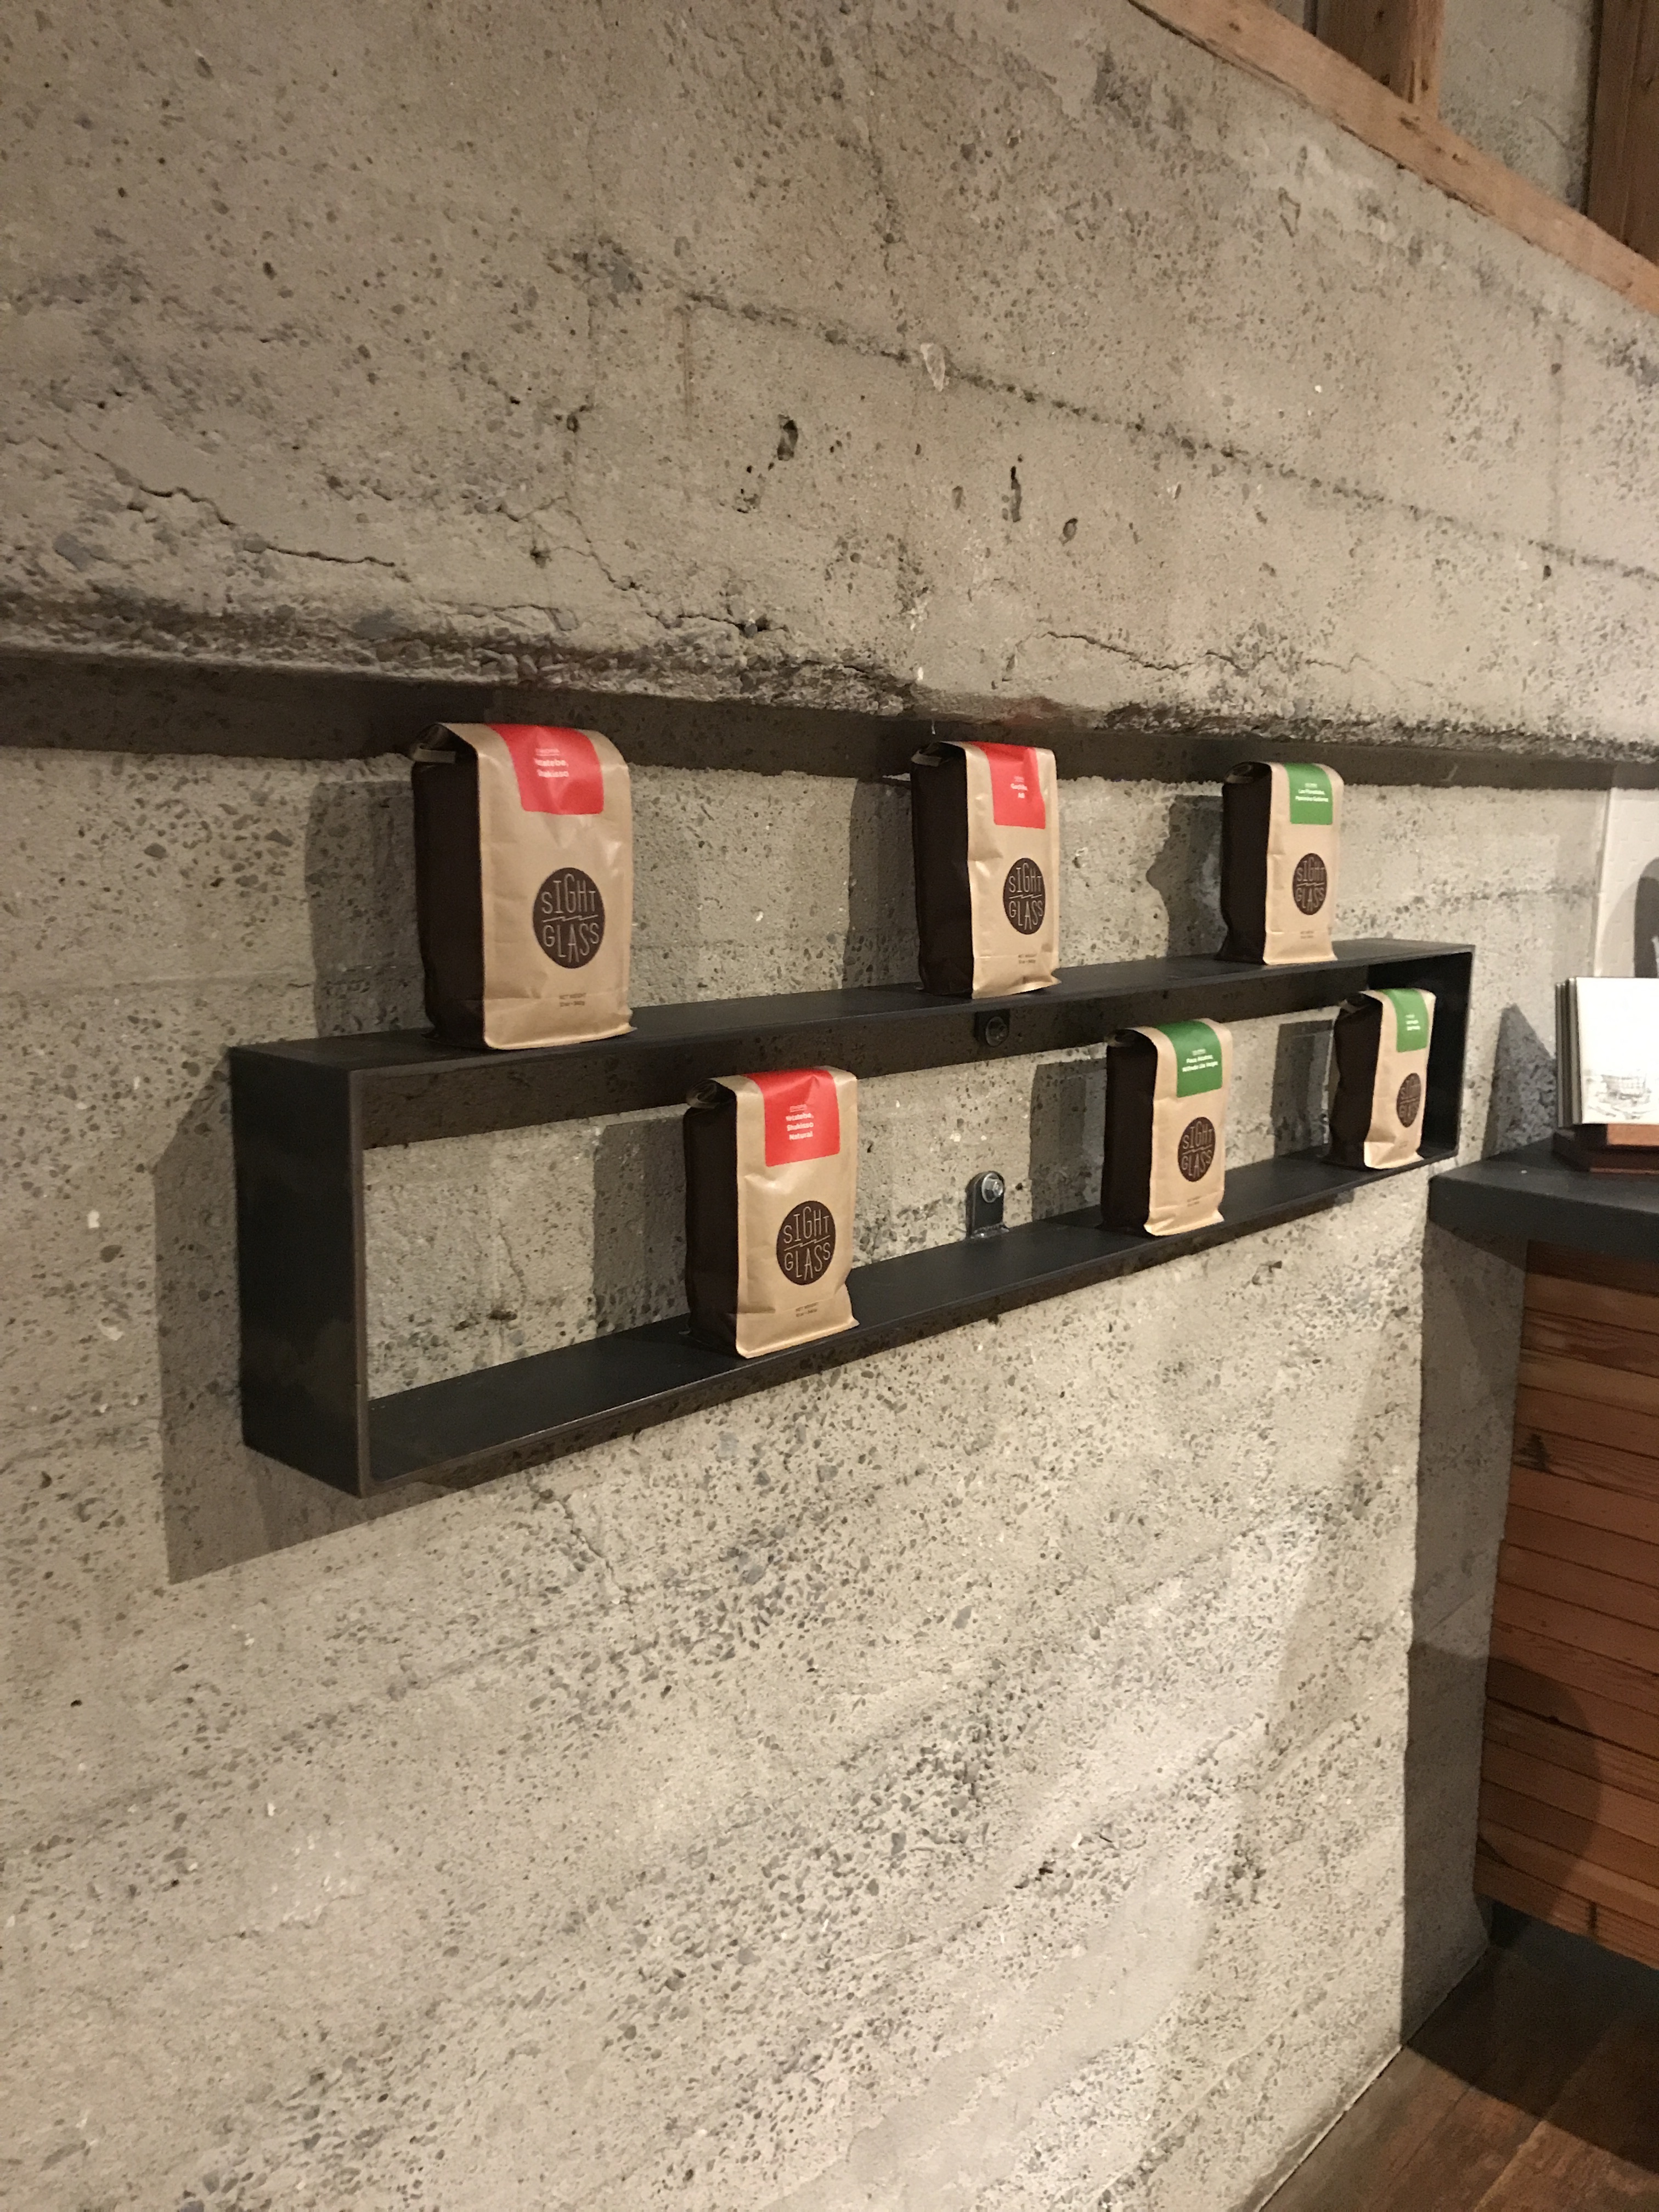
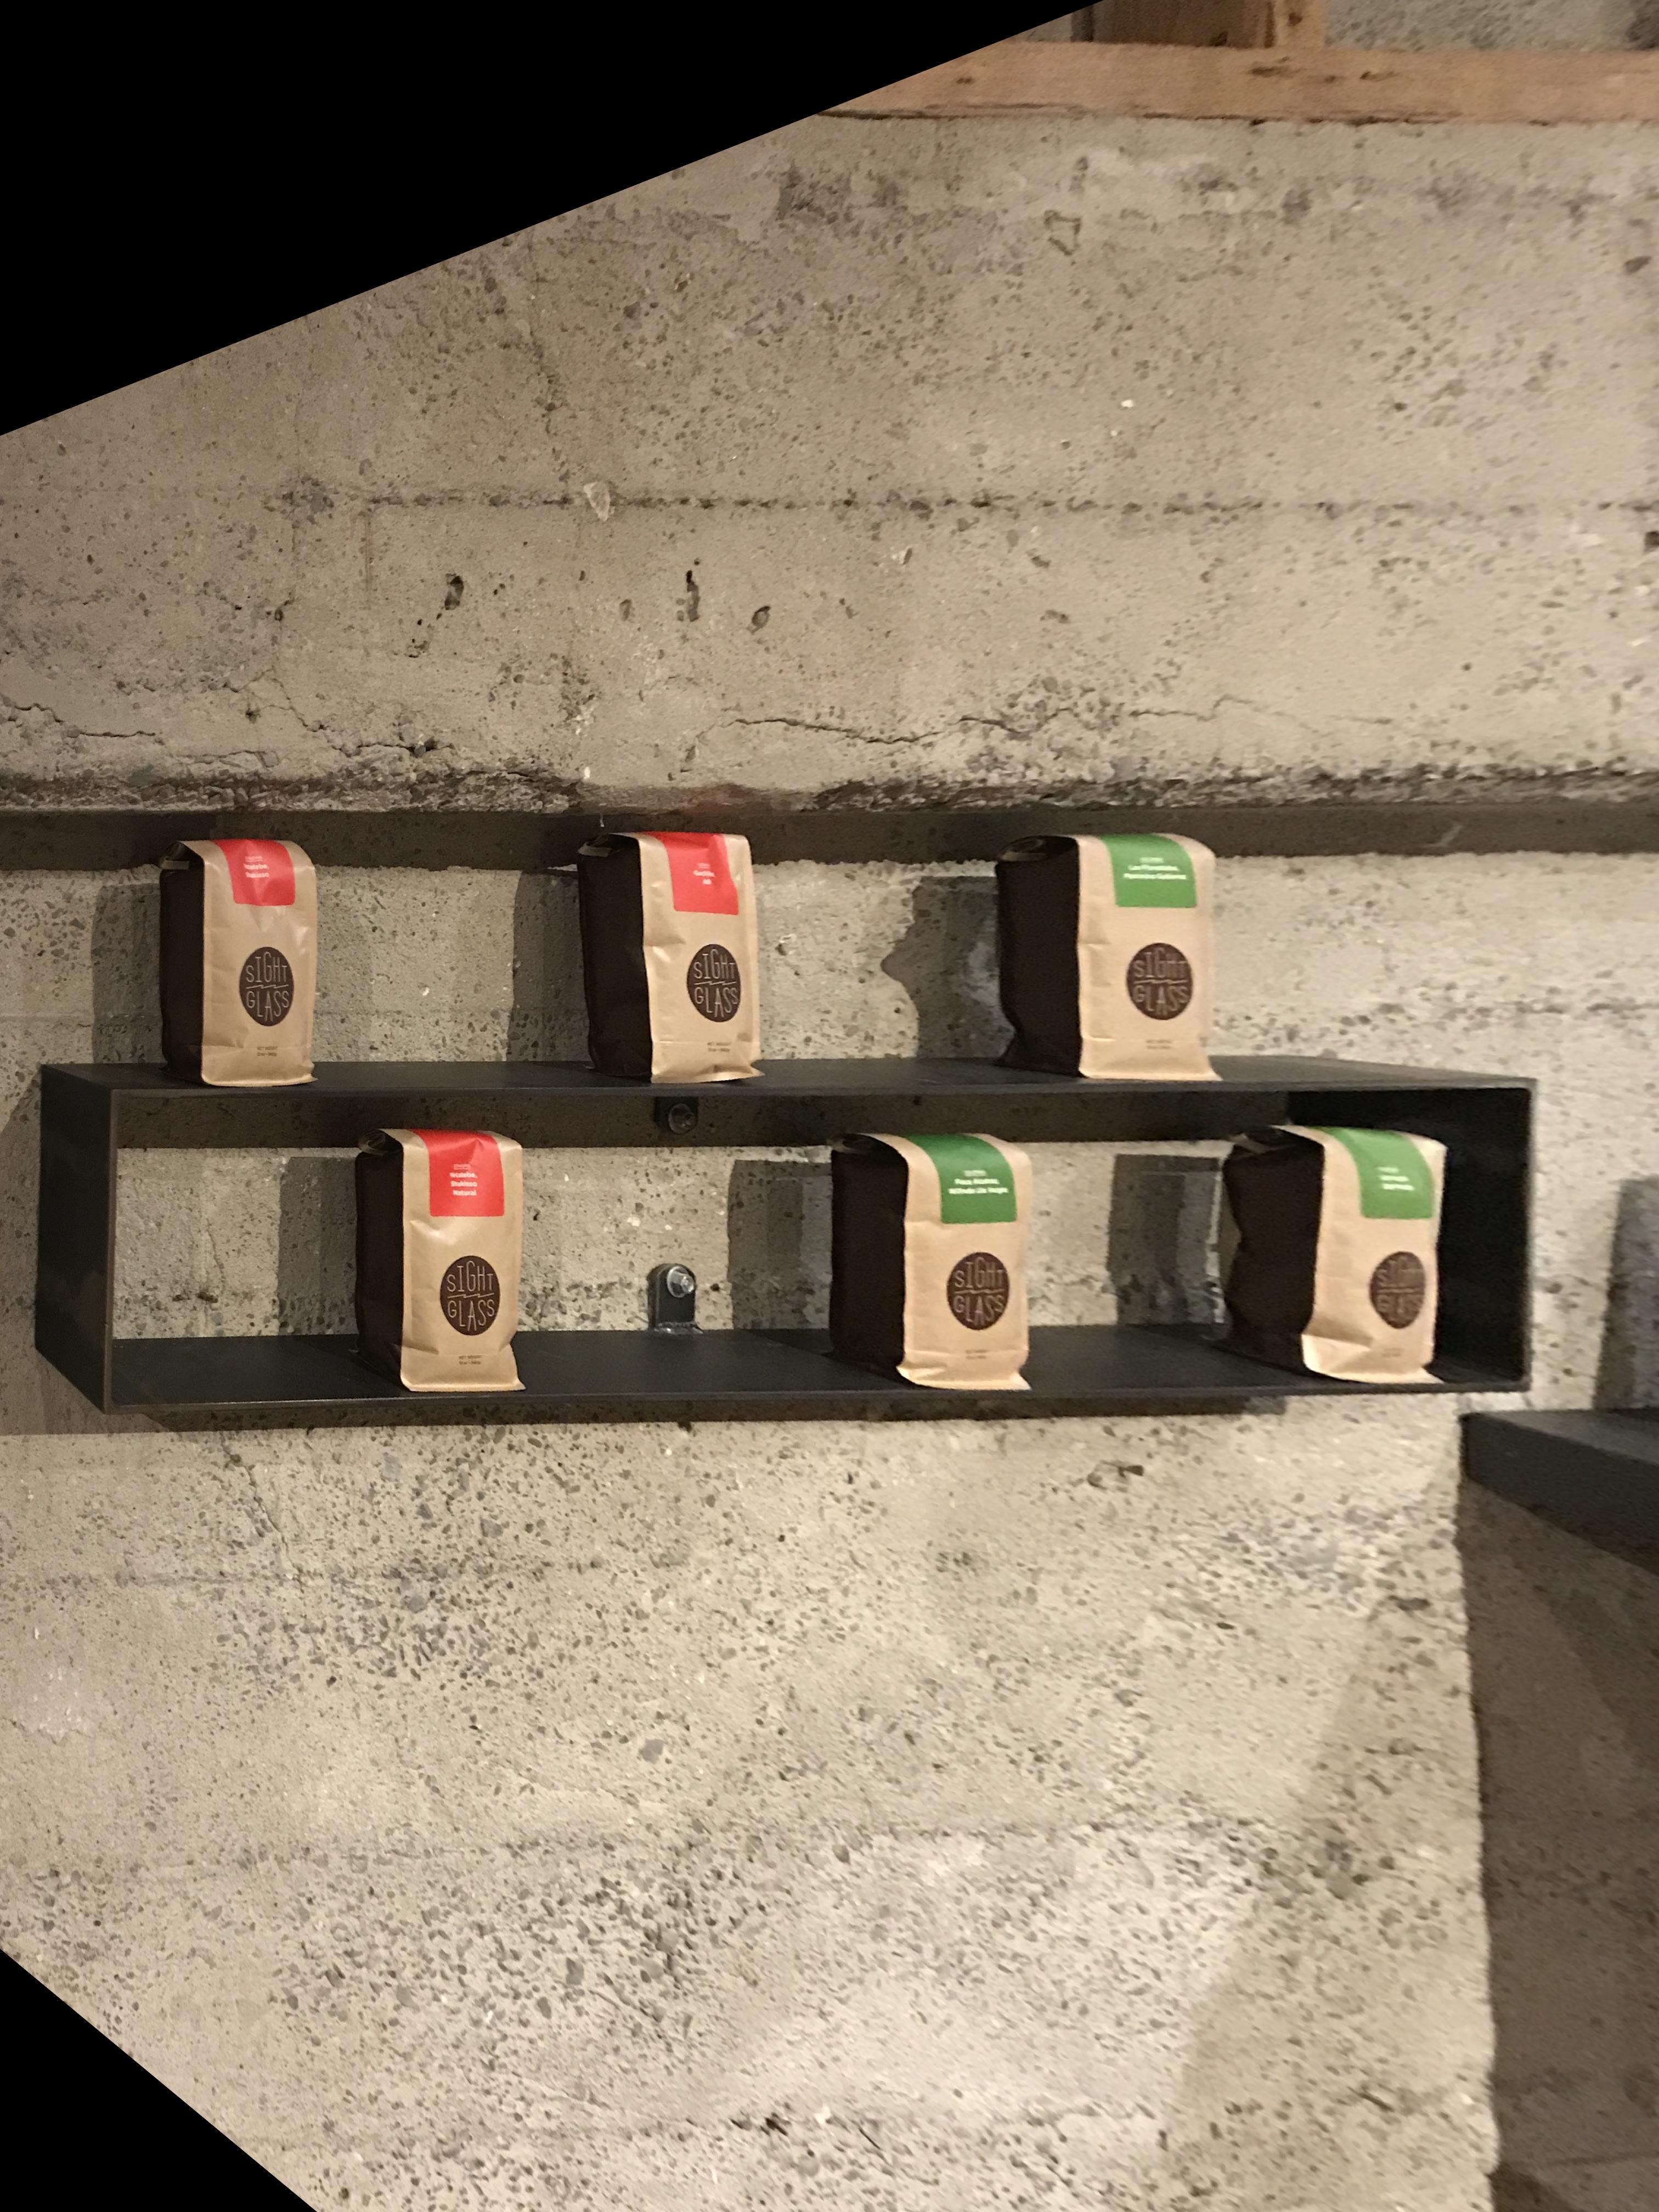
Bags of Coffee at Sightglass SF

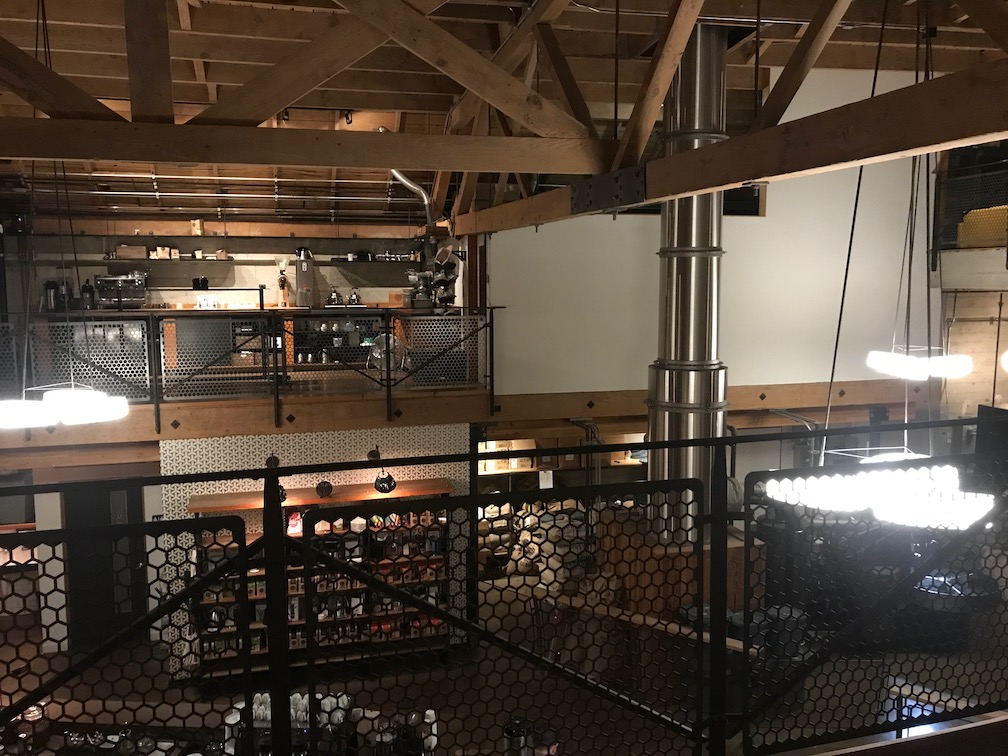
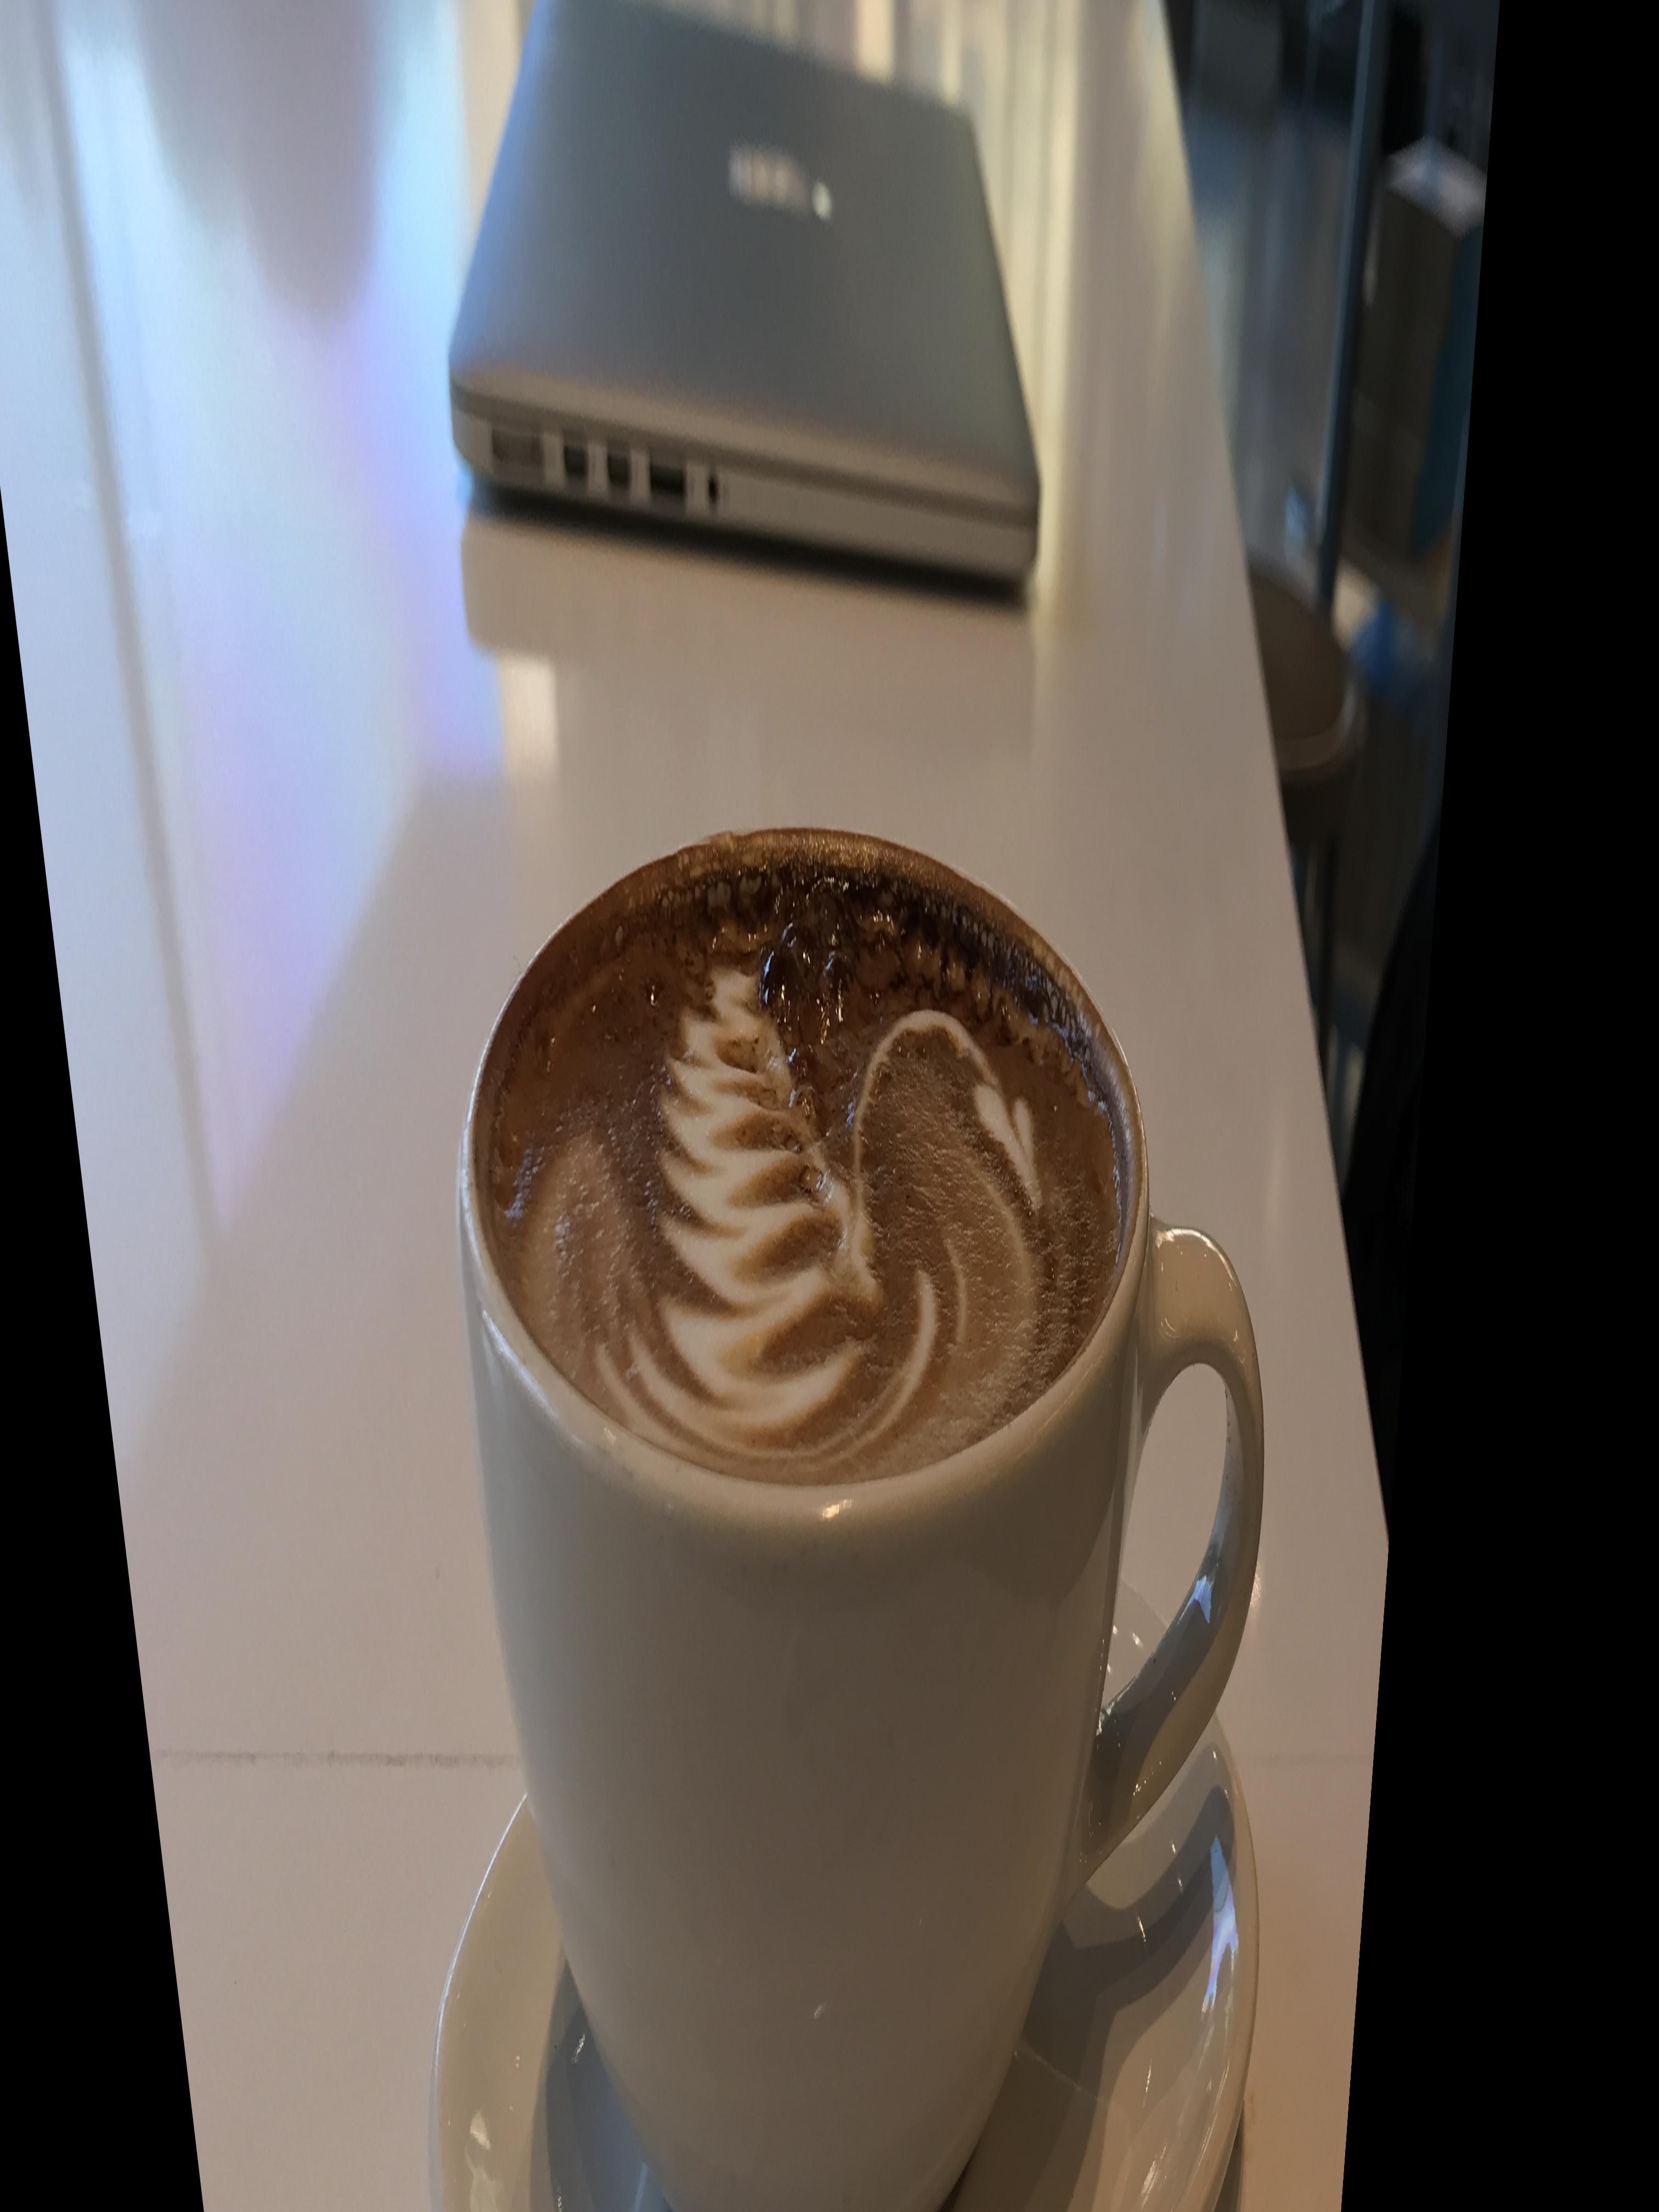
Blue Bottle Latte Art

Macbook

Manual Mosaics

Let us now go through the process of developing a mosaic. We start by placing each of the images on a large canvas. Then we select a series of corresponding points in the images as shown below.

Now that we have the corresponding points, we warp the left and right images into the perspective of the center image.

Then we blend the images together using alpha blending. First I blended the left warped image to the center and then I blended the right warped image to the blended image, producing our mosaic.

Here is our final image!

Another Example

Another Another Example

This was a super cool project and it was cool seeing how you could change the persepctive of an image using a homography and then stitch together images.