
The goal of this project is to apply image warping to create image mosaics. This is done by registering, projective warping, resampling, and compositing them. I also compute homographies, and how to use them to warp images, create rectified images, and mosaics.
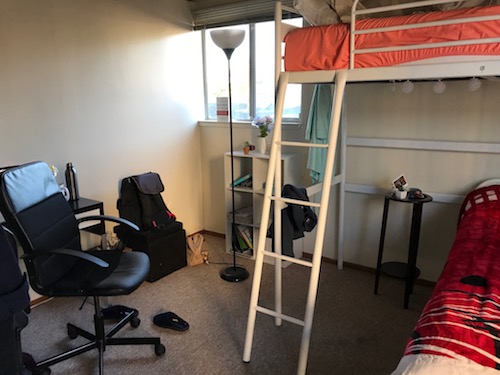
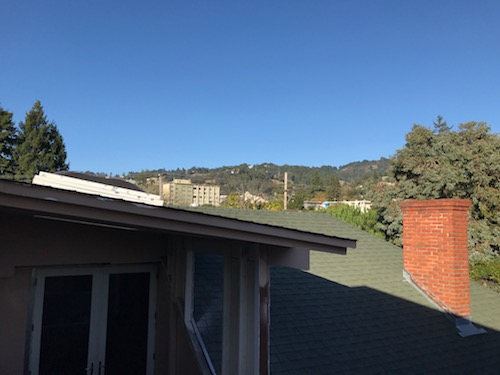
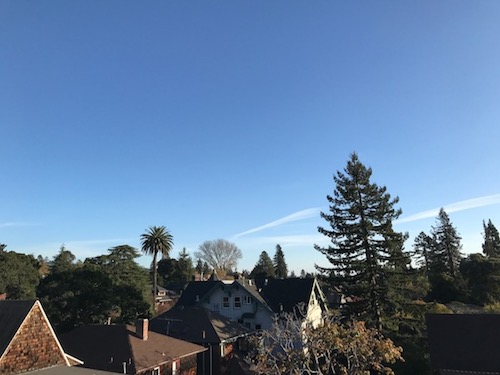
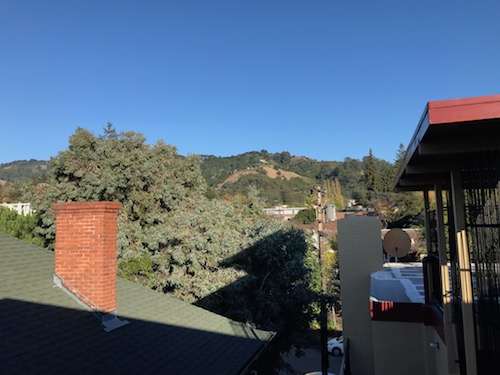
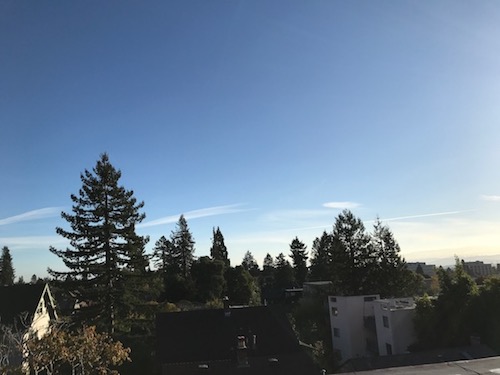
These photos were shot all around the top floor and outside patio of my apartment.


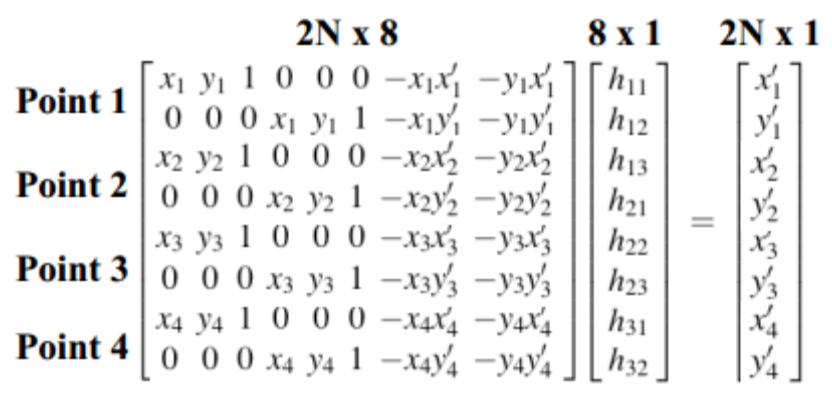
We use the homography matrix formula from lecture to calculate H. (See `computeH` functions in submitted code.)
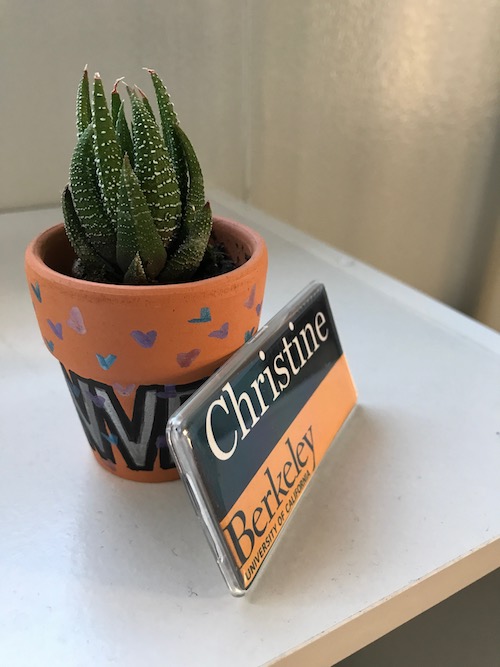
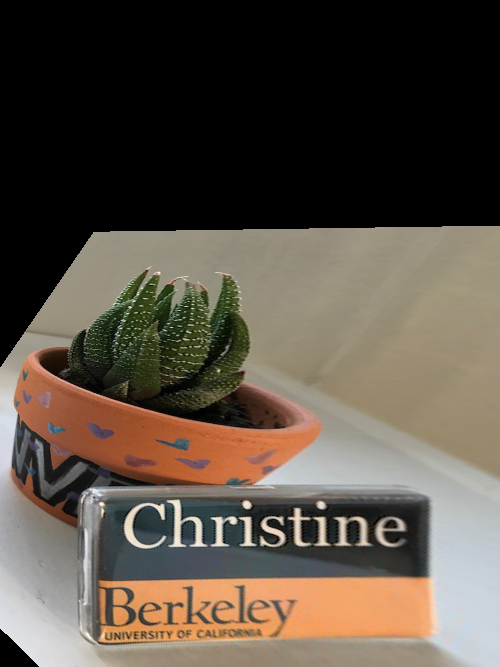
Here we use a warp image function. I've taken a few sample images with some planar surfaces and warped them so that the plane is frontal-parallel. I used rectangular shapes to define correspondences easier.
Original
Rectified
Original
Rectified

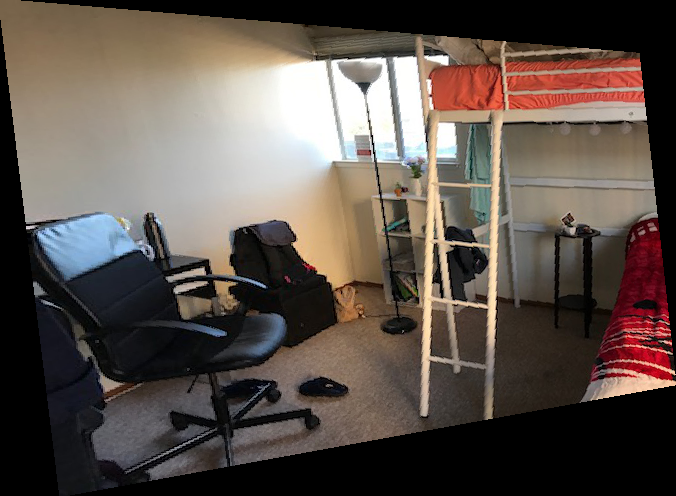
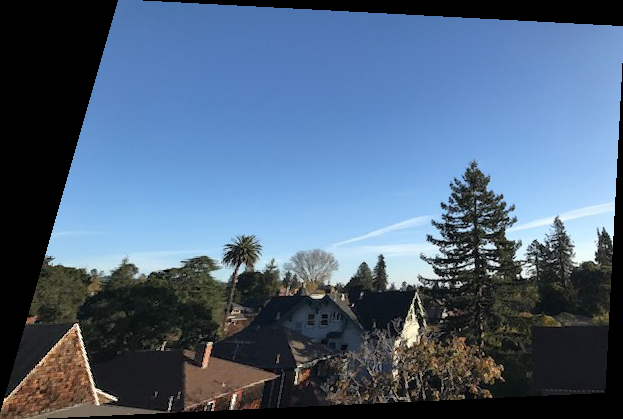
Here I use weighted averaging and warp the left image into its projection of the right (unwarped) using alpha blending.
Left Image
Right Image
Left Image Warped
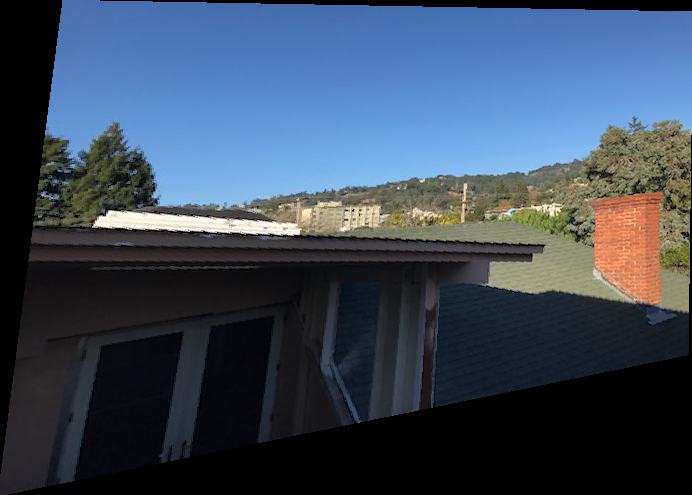
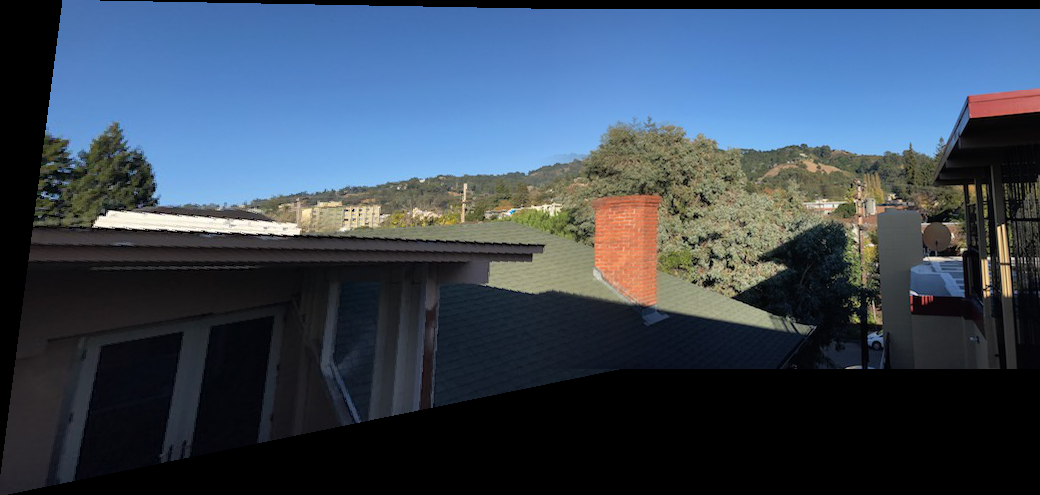
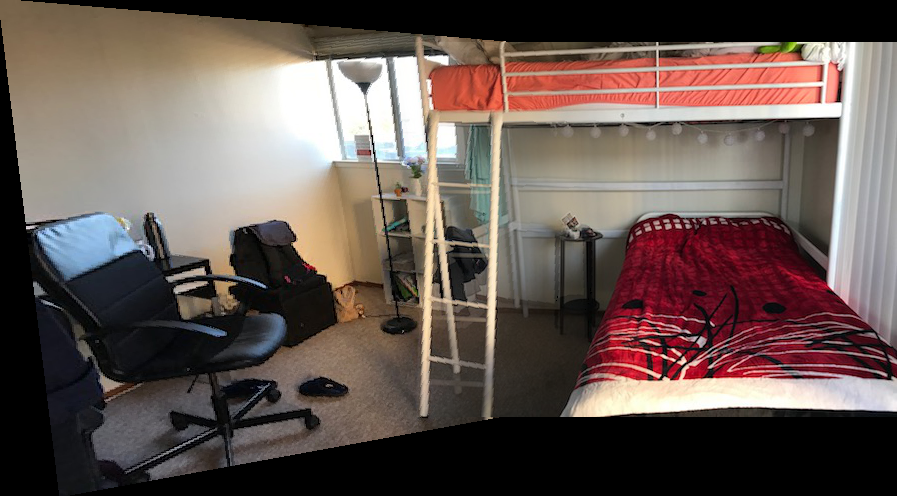
Full Mosaic Image
Left Image
Right Image
Left Image Warped
Full Mosaic Image
Left Image
Right Image
Left Image Warped
Full Mosaic Image
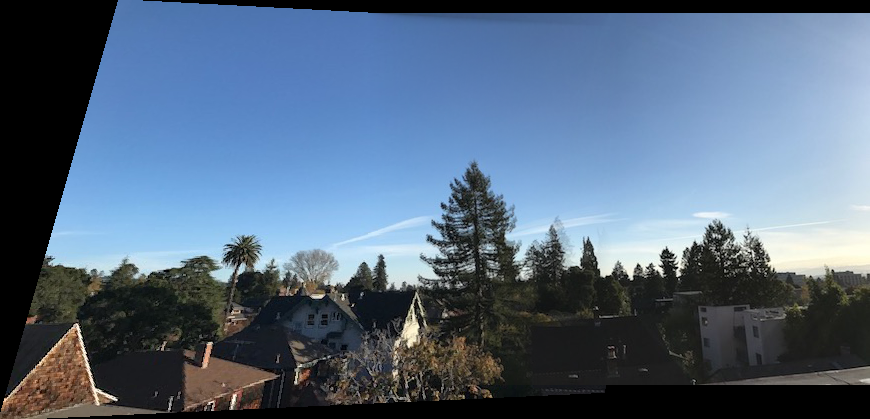
The coolest thing I learned is how easy it is to have good corresponding points by identifying a simple or similar shape within the original image(s). By only using four points, the images aligned suprisingly well.