CS194-26 Project 6A: Image Warping and Mosaicing
cs194-26-abl, Alexander Hwang
Overview
In this project, we select corresponding features between pictures that contain the same features and then calculate a homography based on point correspondences. We use the homography to then warp images into the same image space so that they can be superimposed and blended to stitch them together into a larger continuous image. We model our homographies as projective transformations with eight degrees of freedom (the matrix has eight unknowns). Therfore with at least four correspondences we can construct a system of equations to estimate a homography.
Shoot the Pictures
I took pictures with my glorious Pixel 2.
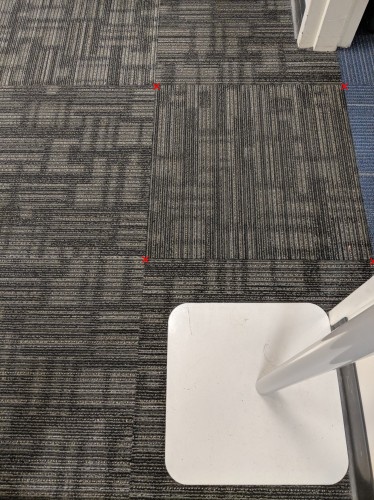
| Soda 277 Floor |
Kitchen Floor |
Wall Above My Desk |
 |
 |
 |
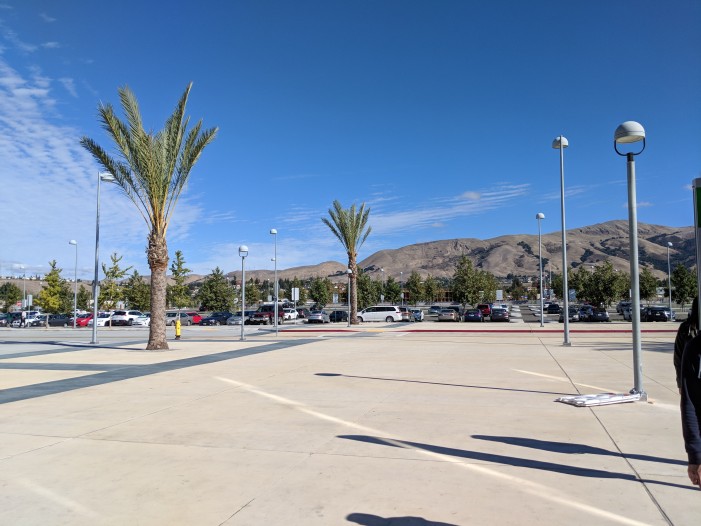
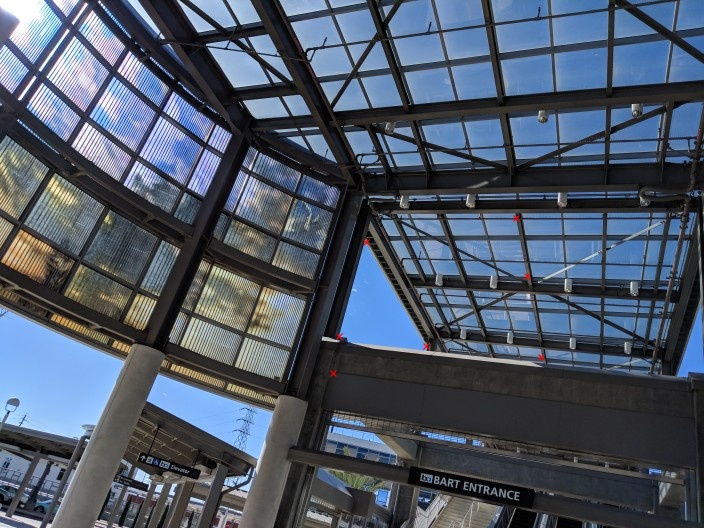
Warm Springs/South Fremont BART Entrance
| Warm Springs/South Fremont BART Entrance Center |
Warm Springs/South Fremont BART Entrance Left |
 |
 |
| Warm Springs/South Fremont BART Plaza Center |
Warm Springs/South Fremont BART Plaza Left |
 |
 |
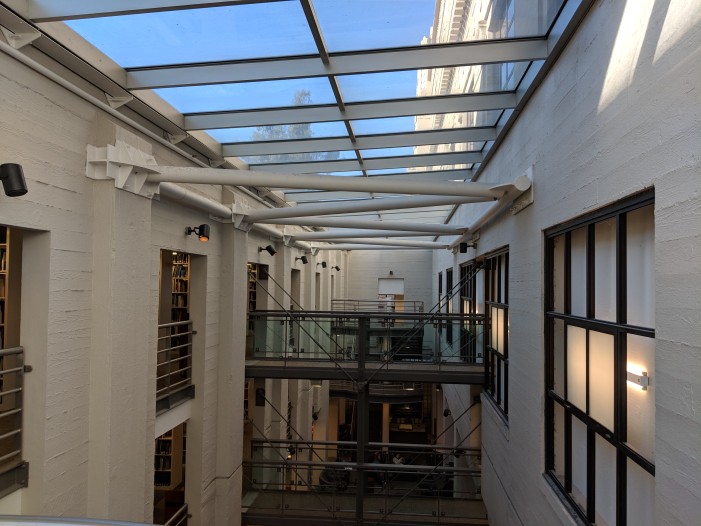
| Marian Koshland Bioscience & Natural Resources Library Center |
Marian Koshland Bioscience & Natural Resources Library Right |
 |
 |
Image Rectification
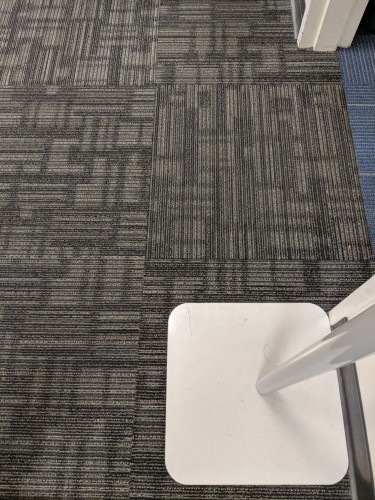
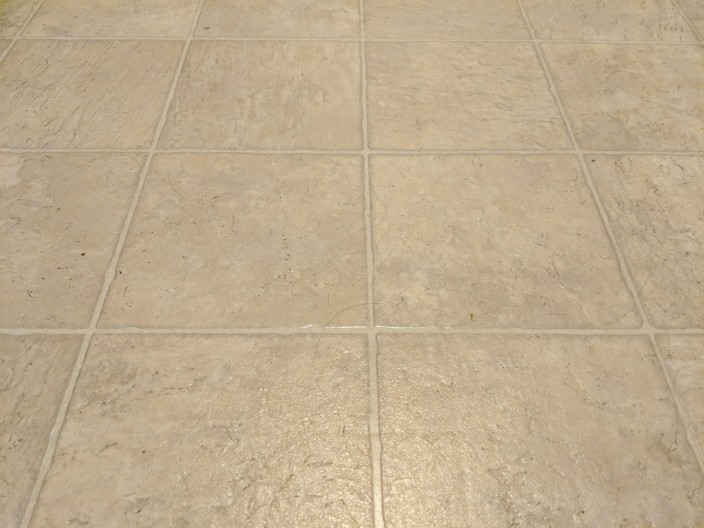
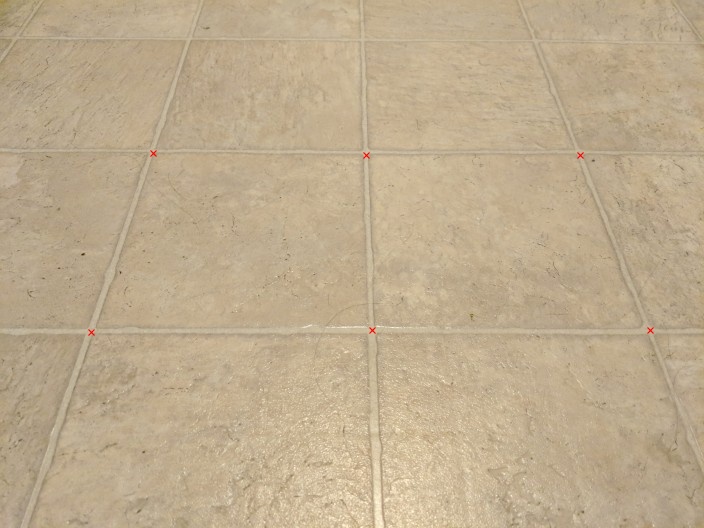
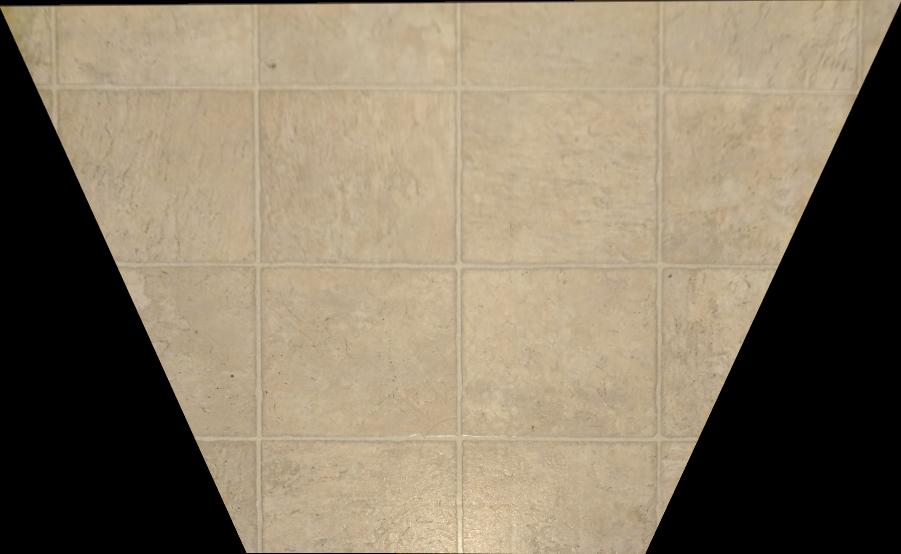
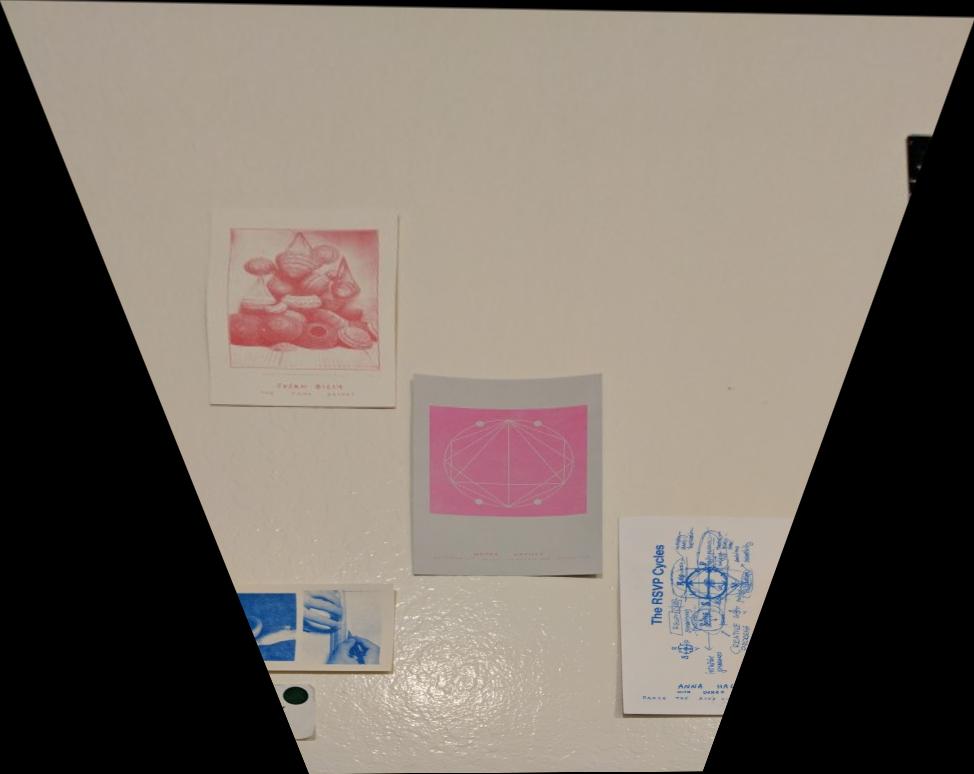
First, I tested my homography computation and warping by checking that I could correctly retify objects in images. I took pictures of rectangular objects at slanted angles and then picked flat correspondences (coordinates of rectangles on a flat plane) to warp them to. The correspondences are shown in the 'Before' images.
| Soda 277 Floor Before |
Soda 277 Floor After |
 |
 |
| Kitchen Floor Before |
Kitchen Floor After |
 |
 |
| Wall Before |
Wall After |
 |
 |
Warp and Blend the Images
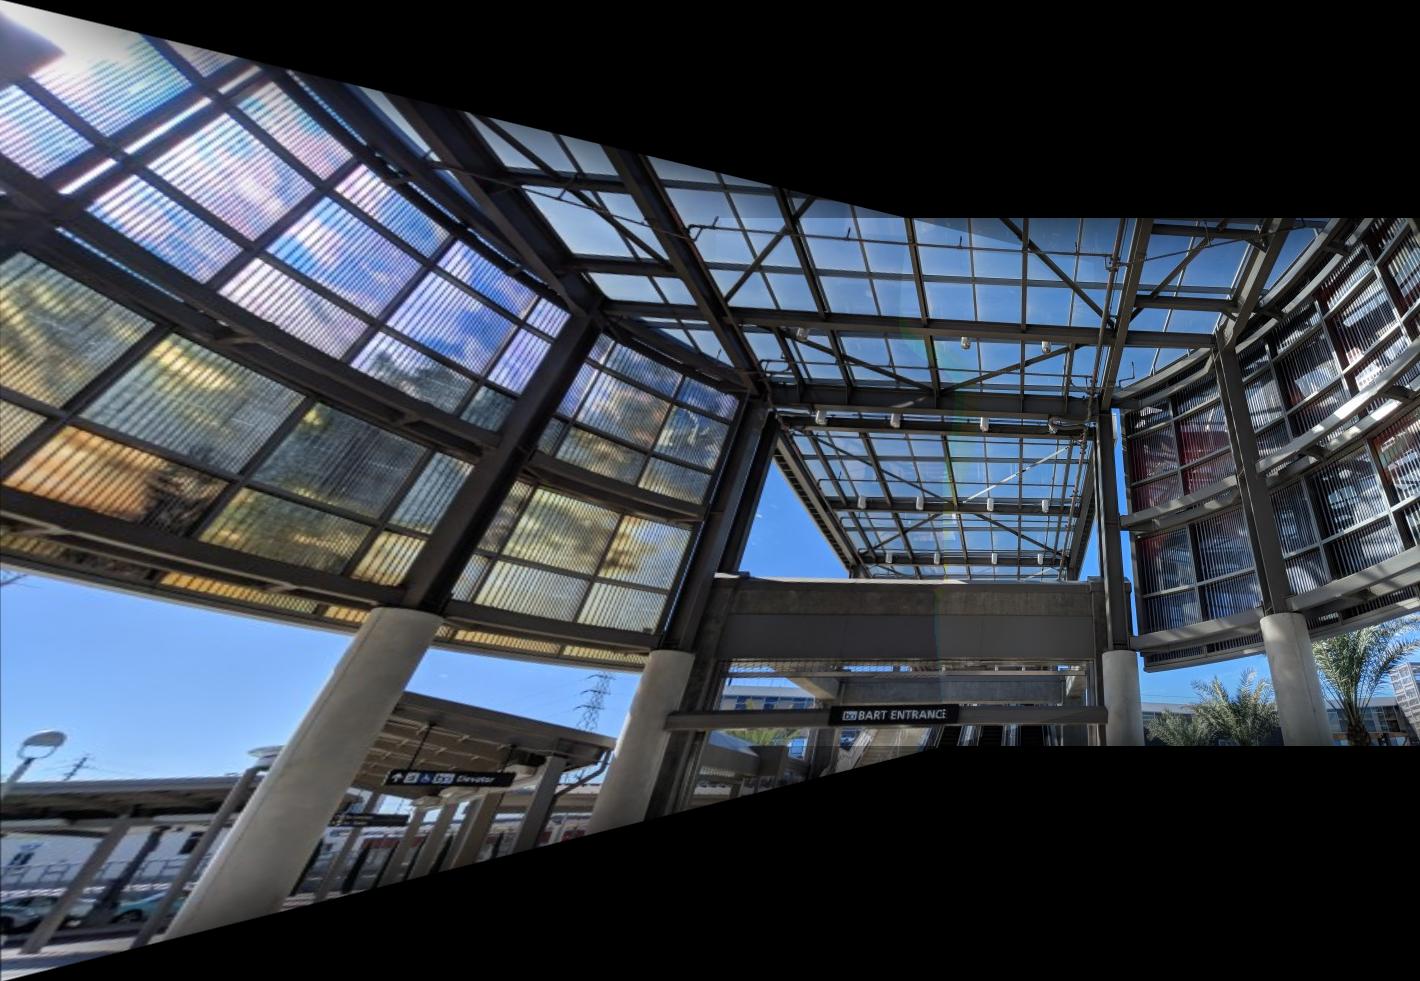
Using the various images I took for mosaics, I then selected a couple of correspondences, warped the images into a common image space, padded the images, and then overlaid and blended the images together.
I ended up creating an ad hoc blending method that uses a Gaussian filter to create a mask that decreases towards the edge of an image. I then used the masks to determine weights in a linear blend of the images. For each pixel, I fix the greater weight and then make sure the other image receives a weight so that the sum of the weights is one.
There are a couple of noticeable artifacts from this blending. For one, you can still see some of the edges towards the top and bottom of the intersection. The second type of artifact is some color splotches caused by the fact that the blending occurred independently on each color channel, and the max function used in blending may have picked different weights in each channel, creating different linear blends for each channel. I had to balance the two types of artifacts: changing the Gaussian filter to make less color splotches would show more of the image edges and vice versa.
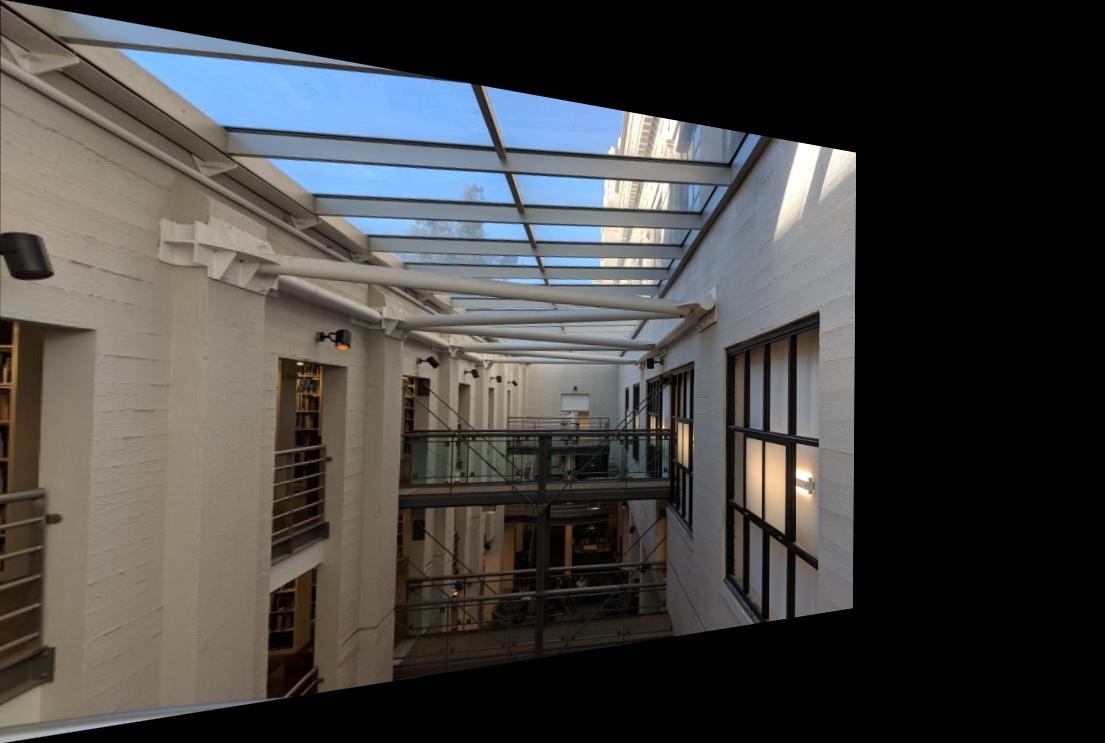
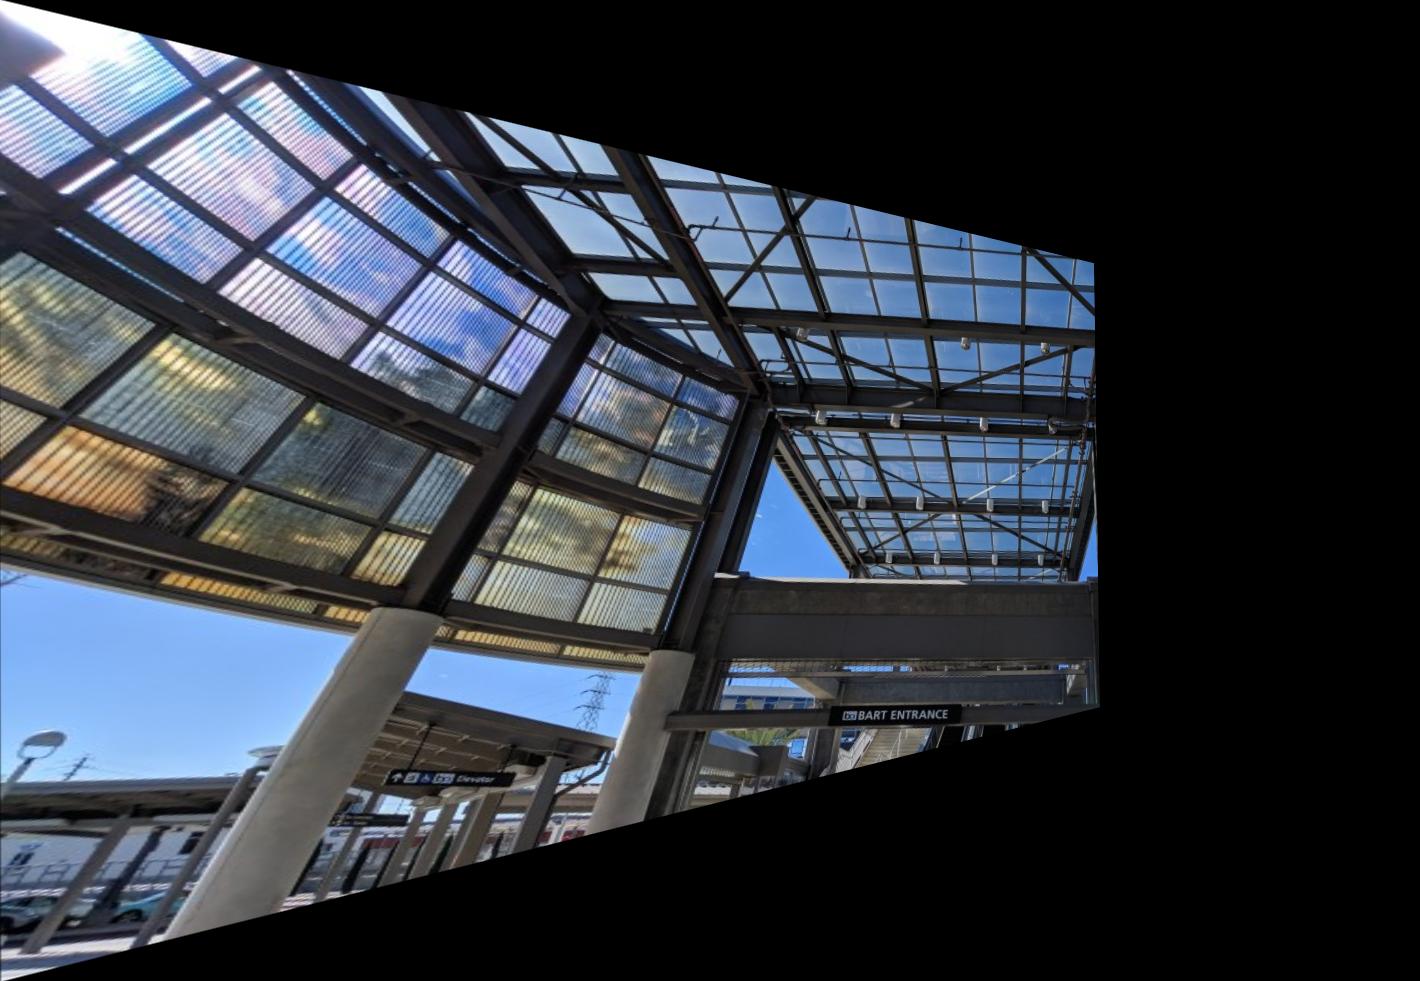
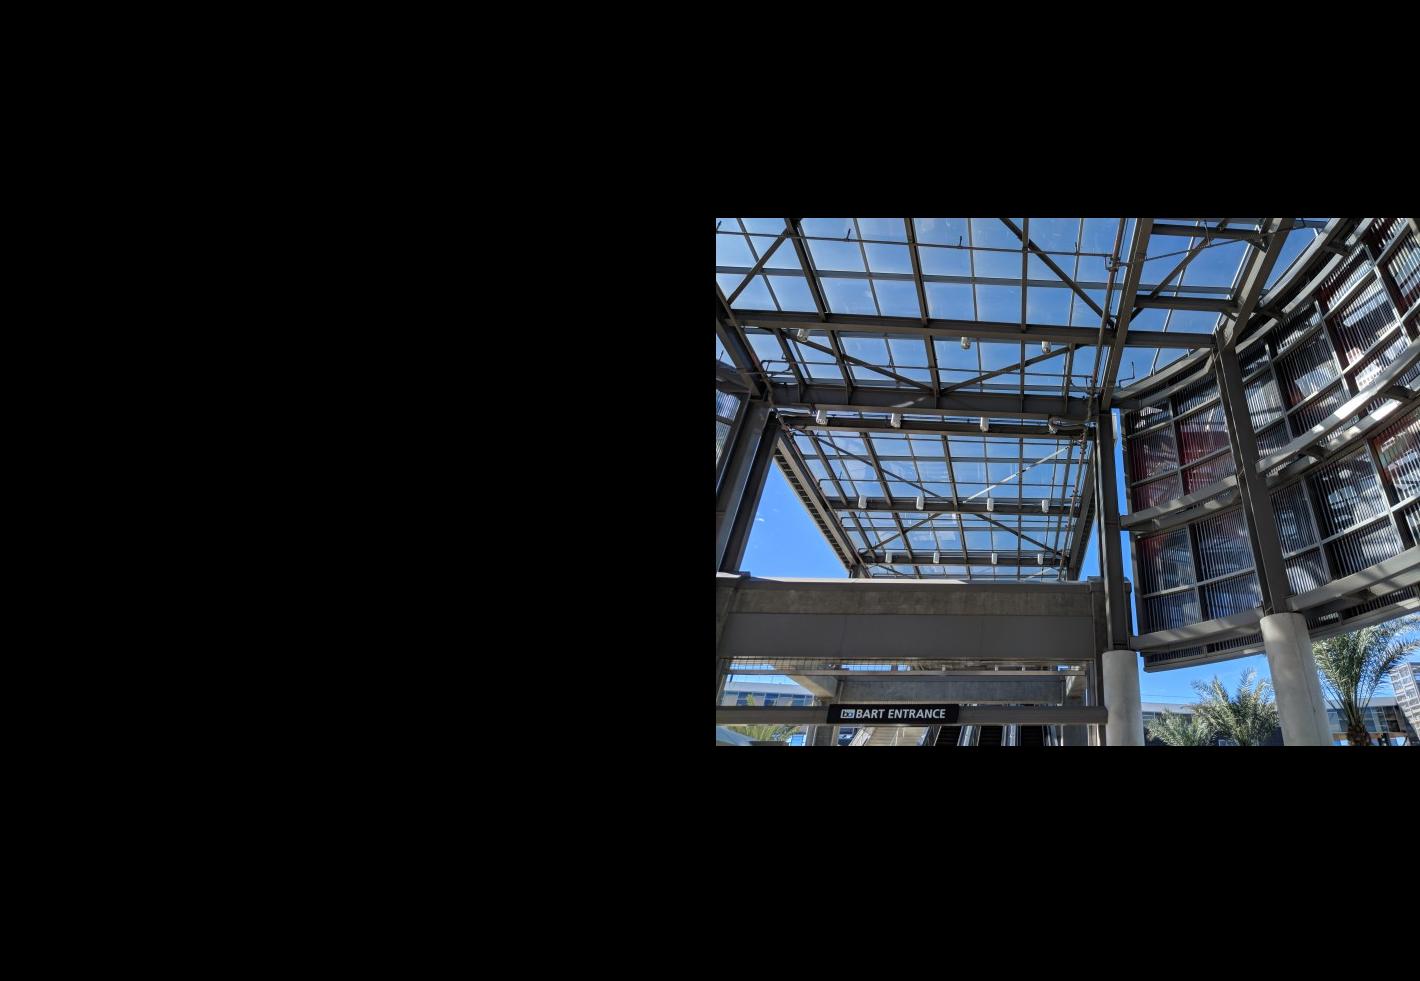
| BART Entrance Left Source |
BART Entrance Center Source |
 |
 |
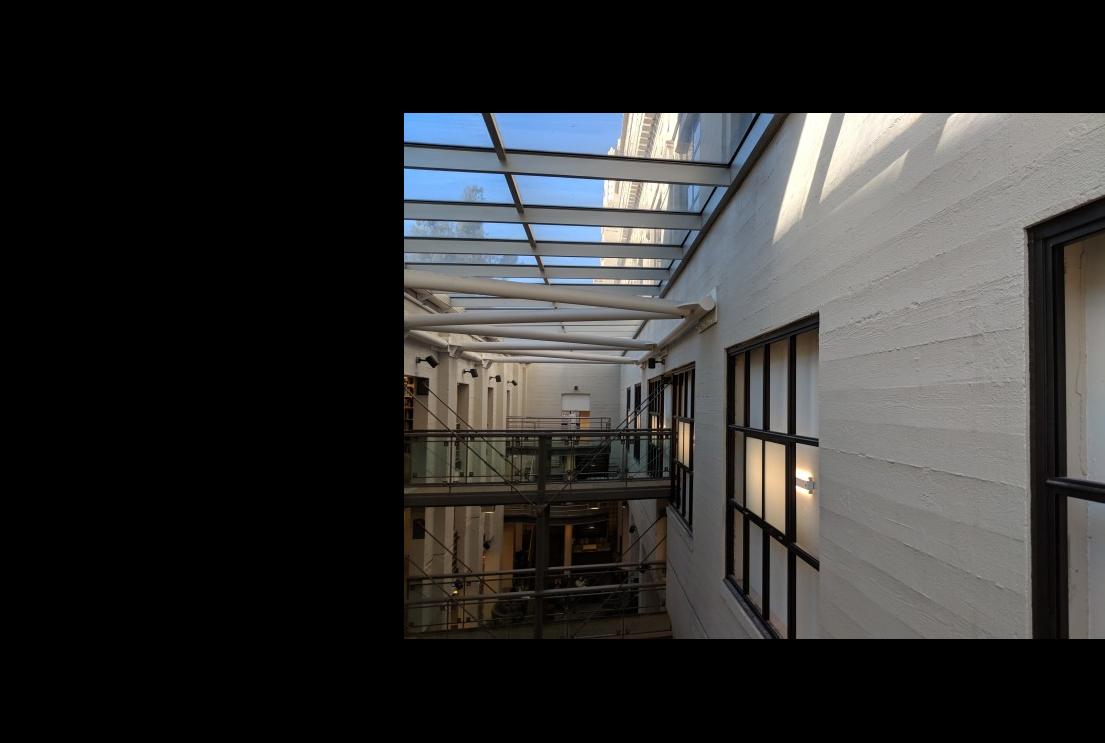
| BART Entrance Left Padded |
BART Entrance Center Padded |
 |
 |
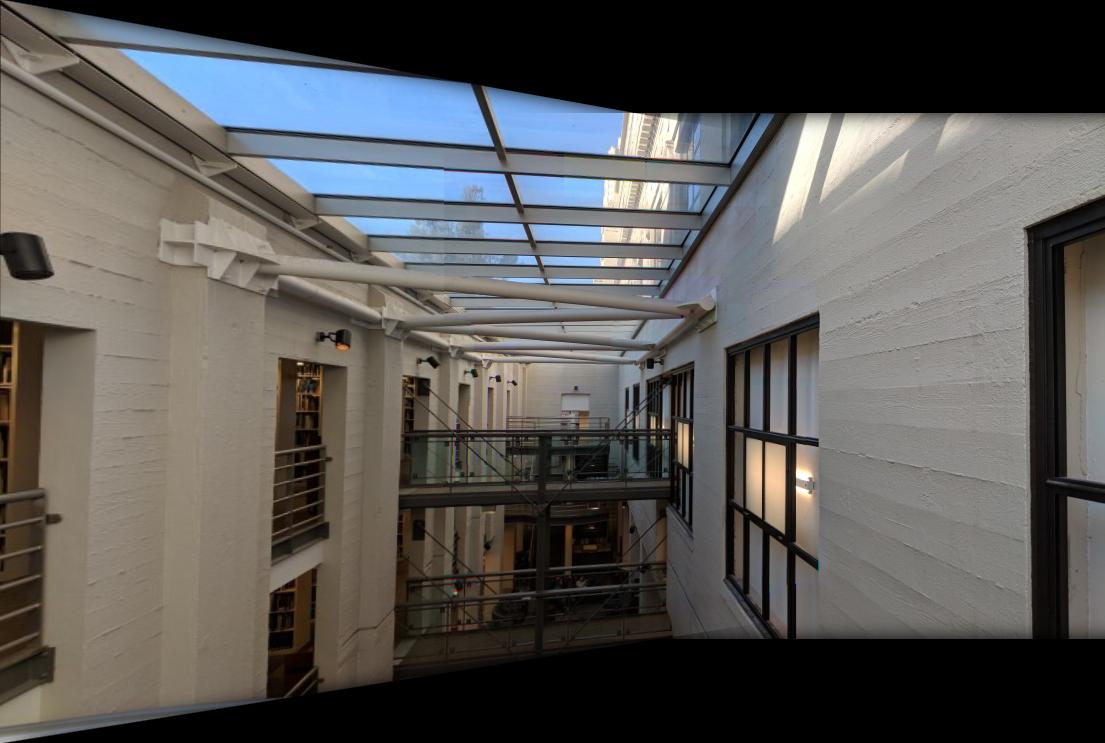
| Resulting BART Entrance Mosaic |
 |
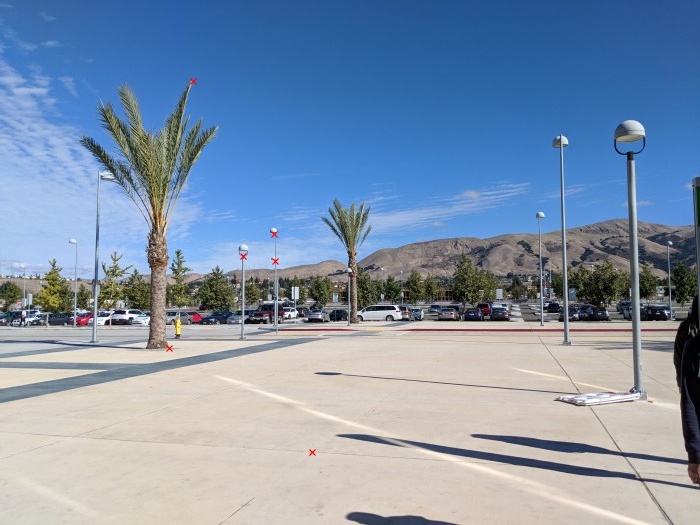
| BART Plaza Center Source |
BART Plaza Right Source |
 |
 |
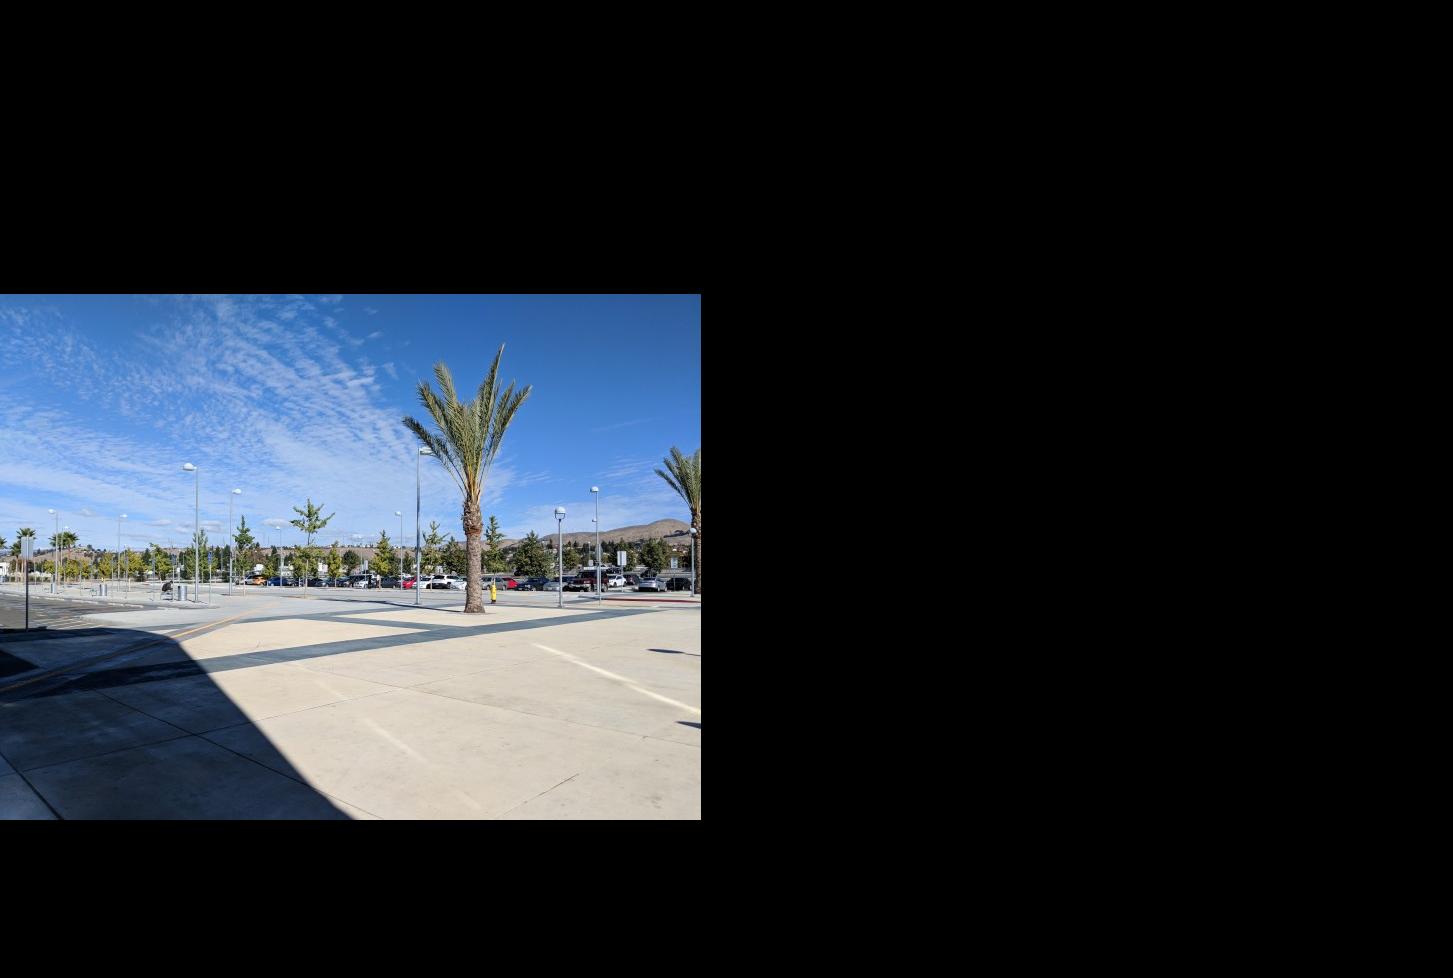
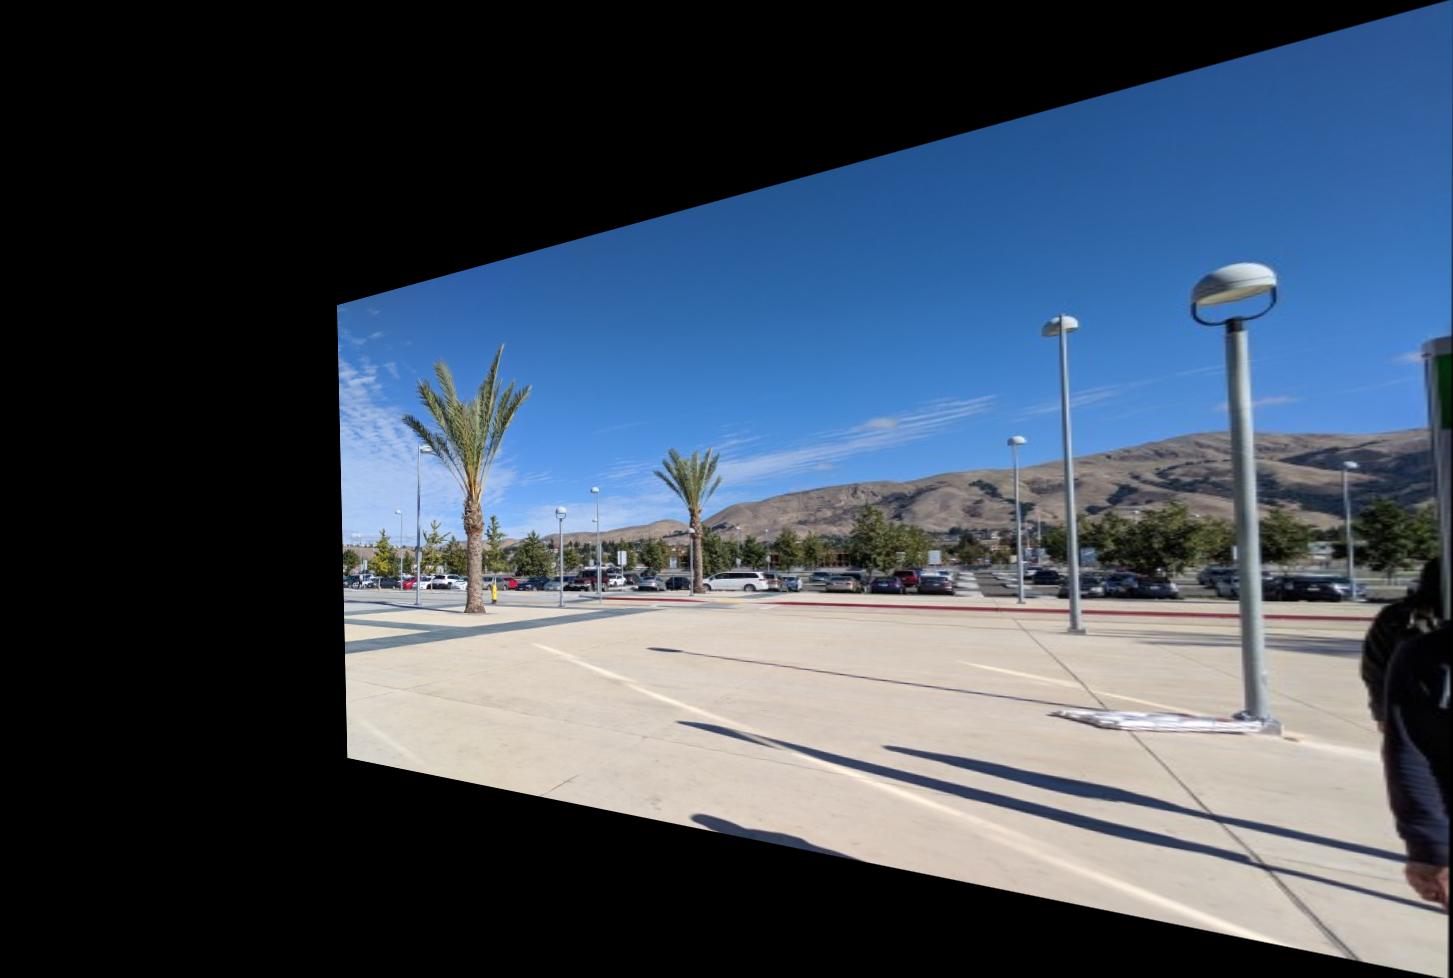
| BART Plaza Center Padded |
BART Plaza Right Padded |
 |
 |
| Resulting BART Plaza Mosaic |
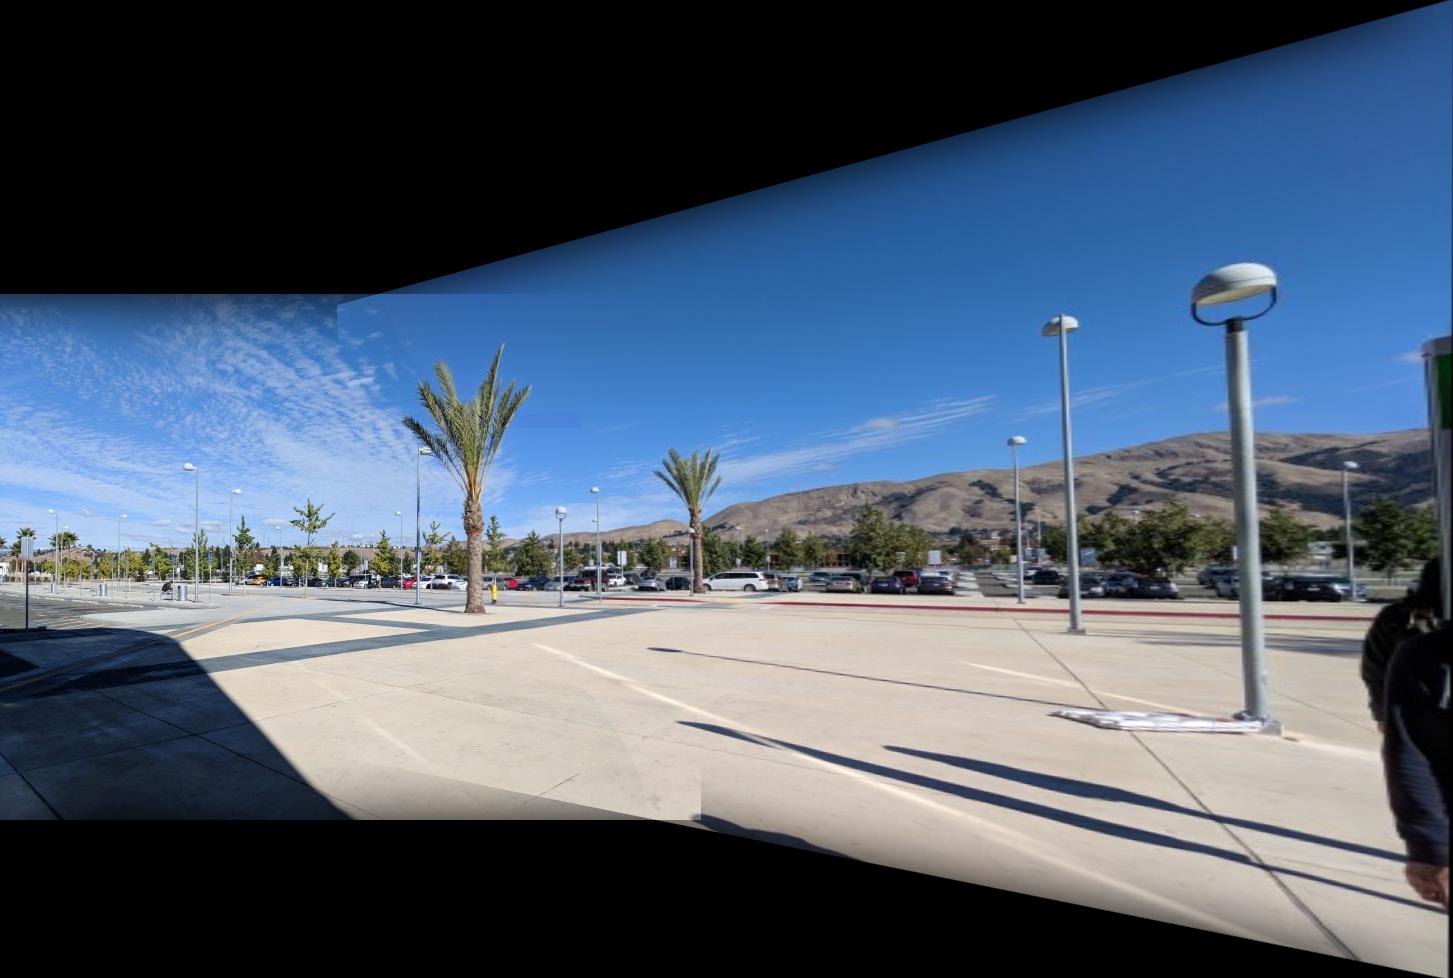 |